etc.

Summer Spotlight Series – Rachel Mae Smith of The Crafted Life

June 9, 2015

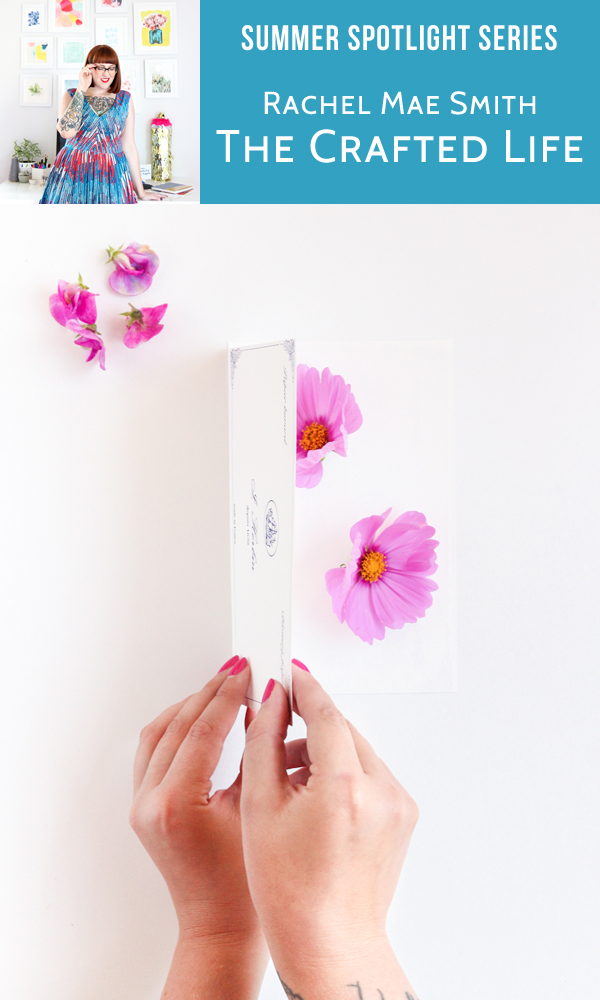
I’ve known Rachel via the internet for a few years now, but I had the pleasure of getting to know her in person this last January at Alt Summit.  We roomed together and served as Alt Reps in Salt Lake City.  I have to tell you, right off the bat, that Rachel’s hair looks as good in person as it does in all her pics.  Yes, it’s really that shiny and healthy.  And now, she is sporting fun PINK hair – I love it! Rachel is sweet, genuine, and the most down to earth person.  
Rachel is not only a super creative lady, she’s also a savvy business women.  This girl has grown her blog and social media accounts like a boss over the last couple of years.  I admire her tenacity and work ethic.  
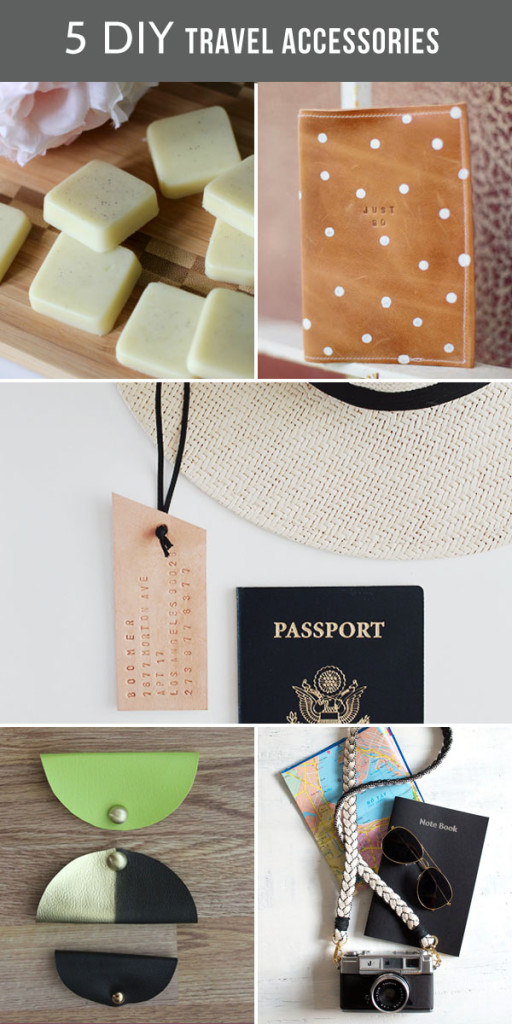
With 
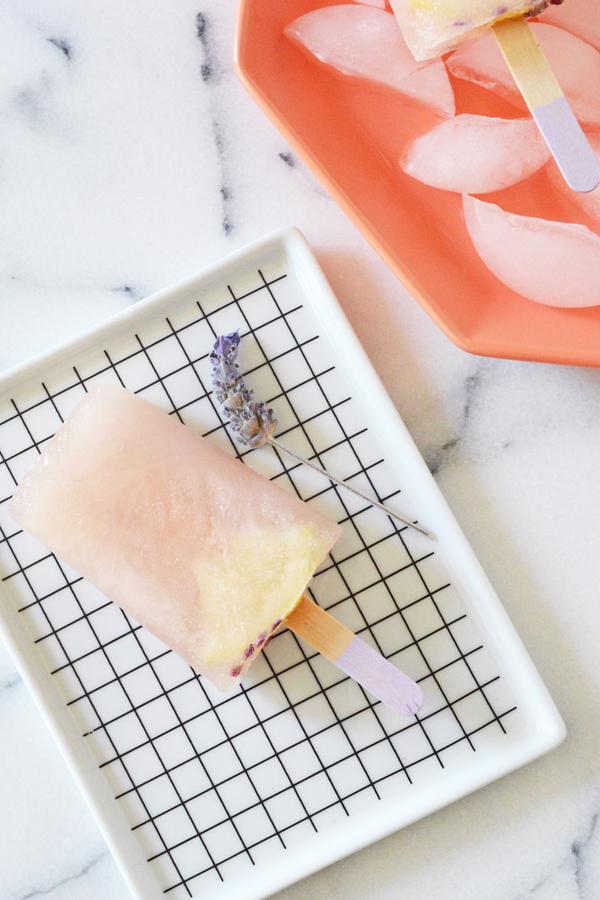
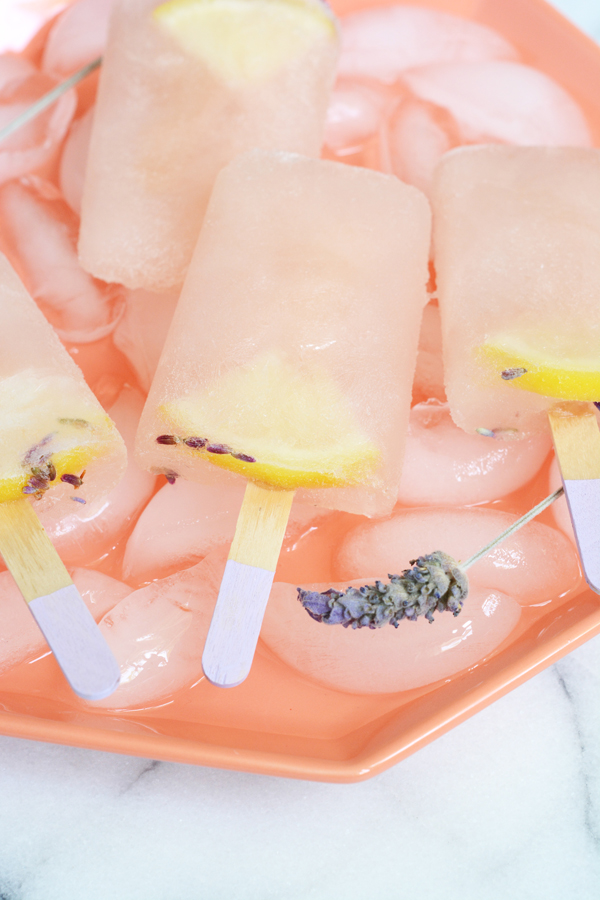
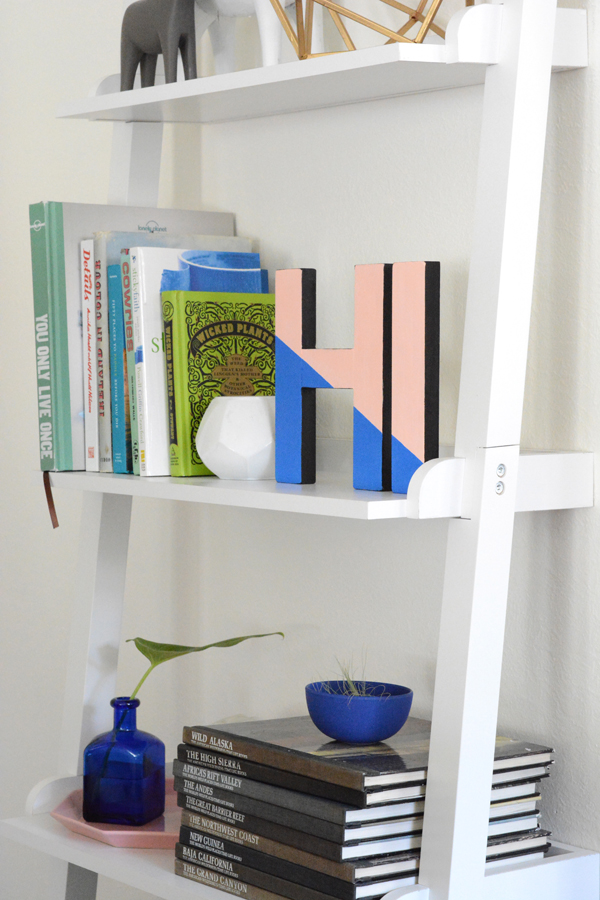
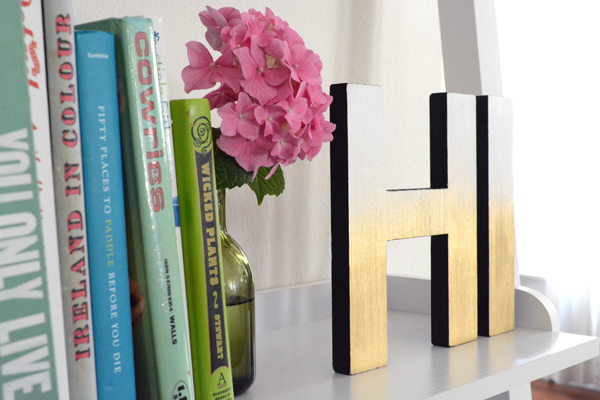
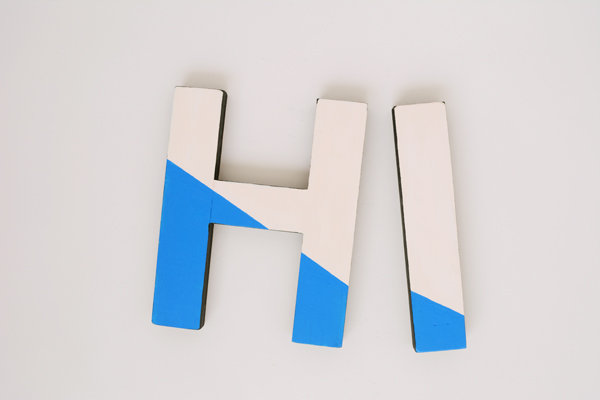
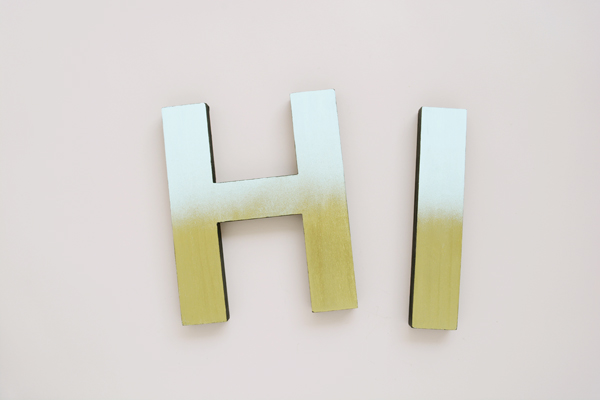
Rachel’s DIYs, you know you are going to get a healthy dose of color and easy to follow how-to’s.  But, I also love her new series Meet the Maker, where she interviews other makers.  

So Rachel, let’s talk a your Summer. 


What does a perfect Summer day look like to you?
Sleeping in, color hunting, picnic, a nice drive followed by ice cream.

How do you stay cool?
Ice cream all the way. Unless we’re talking about fashion, in which case, sequins 🙂

What is your essential Summer item?
Sunglasses (and sunscreen!)

Pool, Lake or Ocean?
None of the above, we float down the Sandy River!

Tan, Burn, or Freckle?
Burn

Flip Flops, Slip-ons, or Bare Feet?
Slip-ons

What’s on your Summer reading list?
A few back issues of Real Simple– I’m so behind!

What is one Summer activity you are looking forward to?
Picnics in the park.

Do you have a goal or project for this Summer?
Don’t get a sunburn. That and explore California. 

Be sure to follow Rachel on Pinterest, Instagram, Facebook, and Twitter.

Food & Drink

Lavender Lemon Popsicles

June 8, 2015

Do you remember the amazing the Merry Mag, a handmade holiday guide, that I was a part of this last Christmas? Well, I’ve got some great news for you, there’s a Summer addition, Merry Mag Summer, and it might be even better.  If you are in need of some inspiration and ideas to give your home, parties, and self some handmade Summery touches, look no further.  Every page is bright and beautifully put together. So, grab a tall glass of lemonade, put your feet up and soak up all these lovely ideas. Once again, Melissa of The Sweet Escape is the master mind behind this amazing Summer edition.  And once again, I am flattered to be included with all these top notch bloggers. You are in for a treat friends.


Now, how about a refreshing treat to these hot Summer days we have ahead of us?  Lemon and lavender are two flavors that are meant to be together.  The tart bright flavor of lemon goes so well with the earthy, mellowness of lavender.  I kept this recipe really easy peasy – just 2 ingredients needed.


Lemon Lavender Popsicles

1 12 oz. can of frozen lemonade concentrate
2 tbsp. of dried lavender
2 1/4 cups of water or 1 1/2 cans of water using the lemonade concentrate can

Pour all the ingredients into a small pan.  Bring to a boil and then turn off immediately.  Pour the mixture into a glass bowl, cover with plastic wrap and chill in the fridge over night (or at least 12 hours).  Strain the mixture through a fine sieve, to remove the lavender.  Pour into popsicle molds and top each with a quarter round of a lemon slice and a sprinkling or lavender.  Freeze until solid.

Before putting them in, I painted the end of wooden popsicle stick a pretty lavender color, just for fun.


If you want to check out my articles from the Holiday edition, here’s the White Cheddar Dill Scones and the DIY Holiday Floral Arrangement I made.

DIY

Reversible ‘Hi” Sign

June 5, 2015

If you are anything like me, you like to change up your decor and often. Sometimes it’s just a matter of shopping my closets and other rooms in my house.  But, today I have a fun DIY, that will allow you to change up your decor when ever you’re in the mood.  I’ve made a reversible ‘HI’ sign that gives you the option of either a classy, subtle gold and white side or if your want a splash a color and some bold shapes, the pink and blue side is sure to add some funk.

For Summer I think I’ll be displaying the colorful side.  And then, come Fall when I’m ready to make my home feel cozy and warm, I’ll switch they over to the ombre gold and white side.

Be sure to head of to Curbly for the full how-to today.  I’d love to know which side is your favorite?

etc.

Summer Spotlight Series – Sarah Khandjian of Sarah Hearts

June 4, 2015

It should come as no surprise to you that I’m featuring the super sweet Sarah Khandjian of Sarah Hearts. I claim Sarah as my blogging BFF. We met at a party at Alt 3 years ago, and I feel so privileged to call her my friend.  Sarah is an extremely talented graphic designer and maker.  She has a clean, modern aesthetic with lots of hints of mid century modern. She has this great way of making everything beautiful and feminine. Sarah has a pink sofa in her office for crying out load. And if you don’t already love scallops and polka dots, read her blog for a while and you will, I guarantee it.
Sarah has some great series that I love to come back to over and over.  Every month she has a new wallpaper for all your devices, I adore her Color Palette posts and she is the an expert at how-to videos.


So Sarah,  let’s talk a little bit about your Summer. 


What does a perfect Summer day look like to you?
An early morning ride at the barn followed up by mimosas. Lunch at one of my favorites around town: Winter Park Fish, The Strand, or Yellow Dog Eats, or brunch at Se7enbites on the weekend. An afternoon walk around Lake Eola with the pup and a backyard barbecue at home with close friends.

How do you stay cool?
Stay indoors and drink lots of lemonade with layered ice cubes!


What is your essential Summer item?
Cotton sun dresses! They can be dressed up and down and are so much more comfortable than shorts and pants in this hot summer heat.

Pool, Lake or Ocean?
Ocean

Tan, Burn, or Freckle?
A mix of both! I’m half Cuban so I turn pink and then I get tan!

Flip Flops, Slip-ons, or Bare Feet?
My comfy gold Vionic sandals. I wear them so much I bought a second pair as a back up!

What’s on your Summer reading list?
I just finished Amy Poehler’s Yes Please. Next on my list are Sevenly founder’s People Over Profit and Do Over by Jon Acuff.

What is one Summer activity you are looking forward to?
Riding my horse in the early mornings and late evenings! Summer’s in central Florida a brutal (think near 100 degrees and 80% humidity) so you really can only be outside first thing in the morning or as the sun is setting.

Do you have a goal or project for this Summer?
To host more Meet + Makes! My creative workshops continue to grow so I’m planning on hosting them more frequently!

Be sure to follow Sarah Hearts on Instagram, Facebook, Pinterest and Twitter

DIY

Rude Botanical Prints

June 2, 2015

I had so much fun creating my Tropical Foliage Alphabet Chart, that I thought it would be fun to create a few printable saying using the font I created.  And instead of going with something inspirational and motivational, I went with these rude botanical prints.  These are pretty enough to frame on your wall, but when folks read what they have to say, they will be a little surprised.  
Click HERE to get the free 8×10″ printable PDFs.

So, are these just too rude and mean for your liking, or are you weird like me and think it’s kind of fun to display something salty and slightly irreverent?

Also, I’m still working on finding a printing source for the ABC chart.  I’ve tried a few and maybe I’m super picky, but I haven’t loved the quality yet.  I’ll let you know when I finally get some printed.

etc.

Summer Spotlight Series – Ashley Rose of Sugar & Cloth

June 1, 2015

I’m so excited to share a new series with you.  This Summer, I will be interviewing some of my favorite bloggers with my Summer Spotlight Series.  These are bloggers I admire and think you should know about as well. And Summer is the perfect time to add to your blog reading list.  
First up is Ashley Rose of the beautiful blog Sugar & Cloth. If you are looking for bright, color, modern DIY’s for your home or the next party you are hosting, look no further.  Ashley’s projects are as adorable as she is in person. I have especially loved following her studio adventures and renovations.  And if you are looking for some super creative macaron ideas, you’ve come to the right place.  Be sure to check out Ashley’s amazing macaron DIYs.  Now, how cute are these Ice Cream Cone Macarons?  Almost too cute to eat, right? 


So Ashley, let’s talk a little bit about your Summer.


What does a perfect Summer day look like to you?
By the pool with no time restraints… and a pina colada of course.

How do you stay cool?
A pool is everyone’s best friend in Houston Summers!

What is your essential Summer item?
Breezy outfits

Pool, Lake or Ocean?
Pool

Tan, Burn, or Freckle?
Burn

Flip Flops, Slip-ons, or Bare Feet?
Slip-ons

What’s on your Summer reading list?
“Who” by Geoff Smart. Almost all of my reading is business related these days!

What is one Summer activity you are looking forward to?
Dinners al fresco.

Do you have a goal or project for this Summer?
Finally begin my ever-growing stack of books to read!

Be sure to follow Ashley on Instagram, Facebook, Pinterest and Twitter.

Isn’t this going to be fun?  I can’t wait to share more bloggers with you over the next couple of months.  I love reading about how my online friends will be spending their Summer days.  So, is there a blogger you’d like to see featured here?

Food & Drink

Chocolate Chipotle Marshmallows

May 29, 2015

I love this flavor combination, it’s one that I repeat over and over.  I recently made donuts with this sweet and spicey pairing, so I decided it might be a great flavor combination for a fluffy marshmallow. 
For Father’s Day, I’m giving customized mugs for the dad’s in my life filled with hot cocoa an these yummy, unique marshmallows. Head over to Tiny Prints’ Blog today to check out the fun mugs we made and the recipe for these marshmallows.

Have a great weekend.  I’ll be doing some last minute packing and preparing for our trip to the Dominican Republic.  We leave on Sunday! Oh boy, there’s so much to do and get ready.

etc.

5 DIY Travel Accessories to Make for Your Next Trip

May 28, 2015

Summer vacation is just about here.  And we have big plans for our Summer travels.  This Sunday we are flying to the Dominican Republic for 2 1/2 weeks.  We are going with my parent’s and Lon’s parents.  The first 10 days is a mission trip.  We will be doing some work on local church buildings and running some kid’s programs.  And then we are staying on for another week to site see and just have a vacation.  We are renting a few little bungalows and plan to rent a car and see and eat as much as we can.  
So, I better start packing.  There are a lot of things on this Tropical Travel Essentials list that we will be taking. But, I also came across some really awesome DIY travel accessories that would be great for any trip.
I will be posting while I’m gone, so be sure to check back. I’m not sure how the wifi situation will be the first half of the trip, but if you want to see some of our travels, be sure to follow me on Instagram
Be sure to head over this these fabulous blogs for the full how-to’s.  

DIY

DIY ‘Hi’ Garden Stakes

May 27, 2015

What better way to welcome your guests to your garden then with some friendly “HI” garden stakes. These were so much fun to make and require just a few simple supplies from the craft store.  Really these could be painted any color under the rainbow, I just chose to keep them simple with black and white and let the plants and flowers be the color.  

Here’s what you’ll need:

  • letters H and I wooded 6″ letter for your local craft store (I found these are Hobby Lobby, but these would also work)
  • 2 3ft square dowels
  • 4 1″ wood screws
  • power drill and a small bit
  • craft paint
  • small paint brush

Start by drilling through both the dowel and the back of the letter.  This will prevent the wood from splitting when you screw the two pieces together.

Secure the wood dowel to the back of the letters with two screws.  One screw near the bottom of the letter and one near the top.

With a small paint brush, paint and sides of the letters with black paint.  Also paint the wooden dowel black.  You may also want to seal the dowel with a clear coat since it will be in the soil and exposed to moisture and water.

Then paint the top of the letters white.  Brush towards the sides of the letters, so that the paint does not get on the sides of the letter where you have painted them black.

Now, how easy was that?  Place them in a large potted plant on your porch or in a flower bed.

Thank you to the gorgeous Cricklewood Secret Garden here in my neighborhood for allowing me to photograph my stakes in their shop.  If you a local, this place is magical!  It’s a little hidden gem in Bakersfield. Follow them on Facebook for store hours and for what’s new.  

DIY

DIY Customized Enamel Dishes

May 25, 2015

I love the chance to get to experiment with a new product.  Making custom things for a our little vintage trailer, Riley, is one of my favorite things. So, this week I made some custom dishes for Riley with DecoArt‘s really cool Chalky Finish Paint for Glass.  It has a completely matte finish and gives a fun well worn, vintage vibe.

This was a really simple DIY that gave a really custom look to some very plain enamel dishes.

To start you’ll need stencils for your mugs or dishes that you want to customize.  Craft stores offer a huge variety of pre-made stencils.  Or you can create your own custom stencil with a Cricut or Silhouette machine and some vinyl like I did.  I used the DecoArt Chalky Finish For Glass paint in the colors Relic and Everlasting

With a cotton ball and some rubbing alcohol, wipe down the side of the mug to remove any dirt or oil from the surface.

Adhere the stencil to the mug and using a foam stencil brush, dab on the paint in a thin even layer. When the paint is dry, remove the stencil carefully. To cure the paint and ensure that it sticks through wear and tear and even the dishwasher, you will want to follow this baking method. Place the dishes in a cold over and turn the oven on and bring to up to 325F.  Bake for 30 mins and then turn off the oven and leave the dishes in the oven until they are dry.

I love DIY’s like this that take just a couple simple supplies to make cool, one-of-a-kind pieces.  Oh and stayed tuned the recipe for these Homemade Chocolate Chipotle Marshmallows is coming soon.


This post is sponsored by DecoArt.  All my opinions and ideas are my own.  Thank you for supporting the companies that help make this blog possible.

Chalky Finish for Glass

  • Can be baked at 325F for 30 mins. for a dishwasher-safe finish
  • Covers in one coat on most surfaces.
  • Easily distressed for a vintage look.
  • Mixable colors for a custom design.