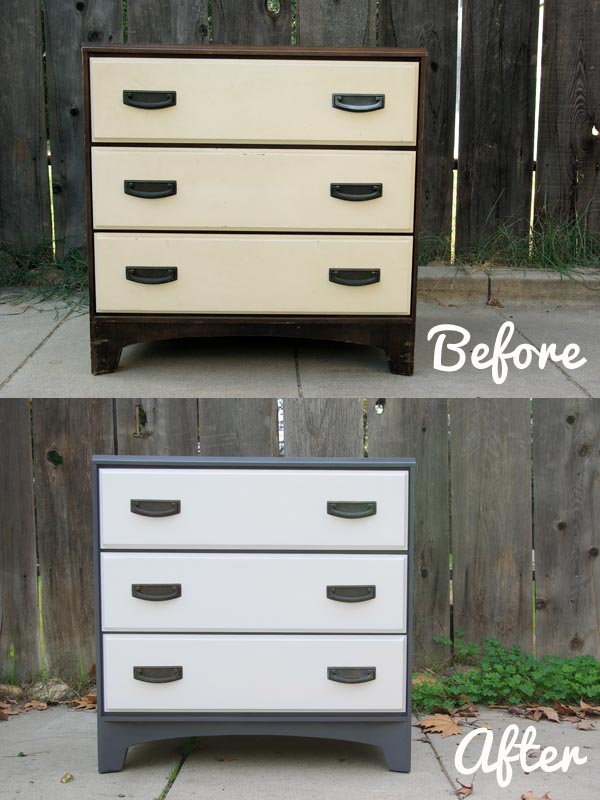
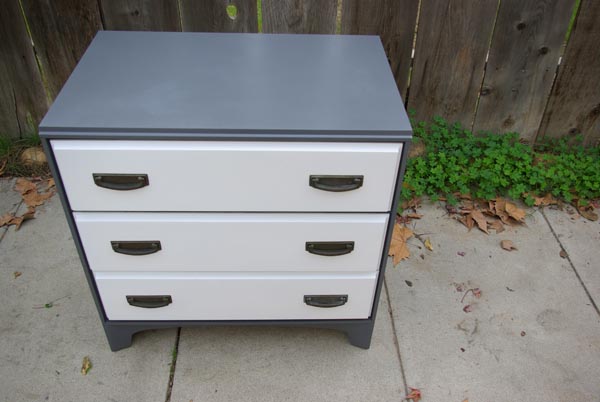
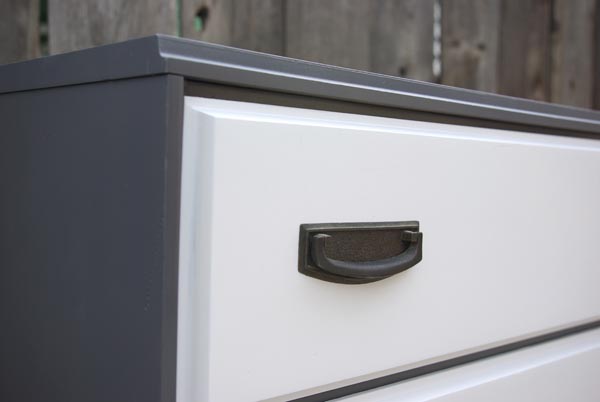
I couple months ago I posted this little dresser I found at my local Salvation Army. I finally refinished it earlier this month and now it’s my nightstand. It has really turned out to be one of my favorite thrift store finds now that it got a facelift. I had promised I would share more about the refinishing process. So, here’s the how-to.
I’ll try to make this as simple and easy to follow as possible.
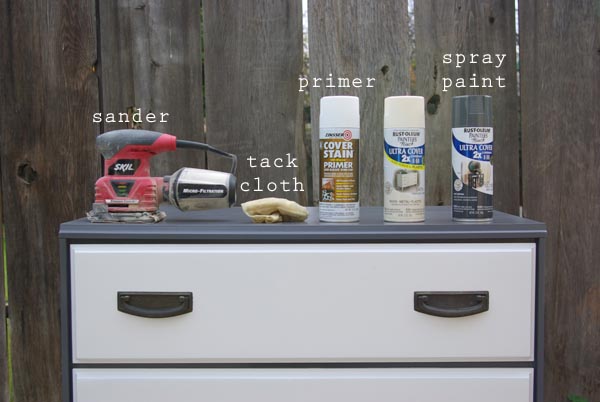
1. SAND – Remove all hardware and take apart the piece as much as possible. There is no substitute for sanding. Take a power sanding and run it over all the surfaces to smooth out any imperfections. You do not need to remove all the finish, just rough up the surface a bit so the primer has something to stick to.
2. DUST – remove all dust with a tack cloth. The paint won’t lay down and adhere well if their are particles on the surface.
3. PRIME – paint one coat of primer on, I use Zinsser Cover Stain Oil-Base Primer Primer (purchased at Home Depot). It’s the best! It is oil based and bonds fantastically and dries super fast.
4. SAND – sand super lightly with a piece of sand paper when the primer is good and dry (overnight is best).
5. DUST – tack cloth the entire piece again.
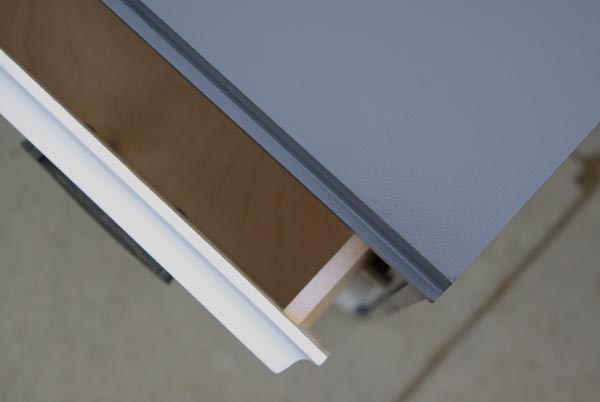
6. PAINT – I like Rustoleum’s Painter’s Touch (for this dresser I used Dark Grey and Heirloom White). It took two coats of to get good coverage. I learned from my dad to put on a light coat and then go back and do another coat. Putting it on thick to start with does not work as well, you can get yucky drips and bubbles.


Thanks for the tutorial… I am keeping my eyes open for a dresser and maybe a bookshelf for baby boy… and I would rather fix one up than buy something expensive.
Hi Jeran, Your night stand looks really nice. Did you remove the hardware or blue taped it, even the inside of the drawer looks very professionally done. Great job done!
I took off all the hardware, but I didn't worry about covering the inside of the drawers. There really wasn't much over spray. And maybe if I was working with a different color, not white, I would have protected it more.
Would you suggest still using spray paint if you were painting a larger dresser or bookshelf? I love the look of your furniture, I just wanted to see whether or not you thought using spray paint would still cover smoothly on a larger surface.
I think it would work great! You may need a can or two extra, but it will save you a lot of time. And there's no brush strokes – I like that for a polished, professional look. Good luck on your project.
Thanks for the extra detail and the products that you used to cover laminate furniture, I love a good make over!! Thanks for sharing
Excellent post. It's very nice to chalk painting. Thank's for sharing & tips.