A lot of what I make and do, is really simple, easy peasy stuff. This is definitely one of those crafts. But, man did I have fun making this one. From getting to pick out colors, to cutting and stringing the yarn, it was all enjoyment. It was relatively quick to make and adds big color and impact to a wall with very little cost.
I’m so in love with all the great macrame projects and fiber weaving out there lately. I’m sure you’ve seen Mandi’s (of Vintage Revivals) macrame head board and all of Rachel’s (of Smile and Wave) weaving projects on her instagram and pinterest. And when we were at the Fig House for Oh Joy for The Land of Nod launch party, I was so inspired by the gorgeous art in that place. I was especially in love with the String Sculptures by Nike Schroeder. So this is my dummies version. Yarn Art is kind of a fancy name, but I’m not sure what else to call it.
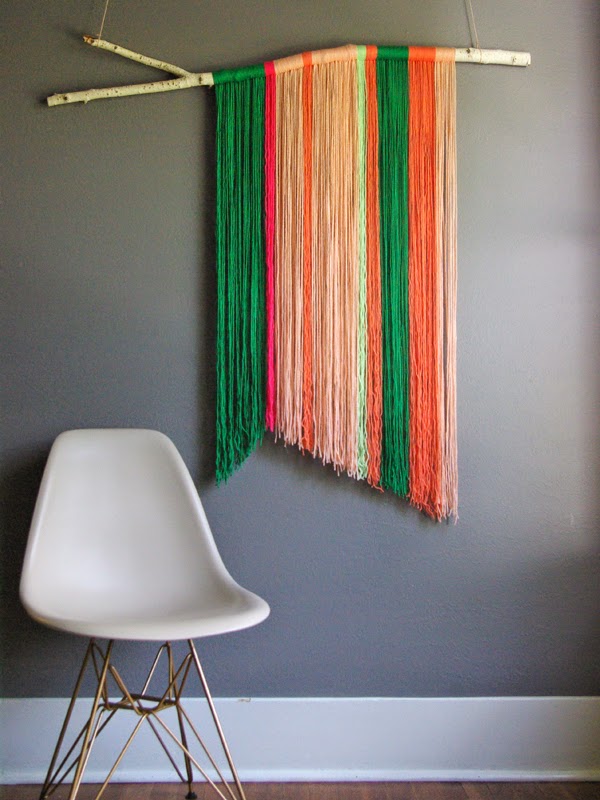
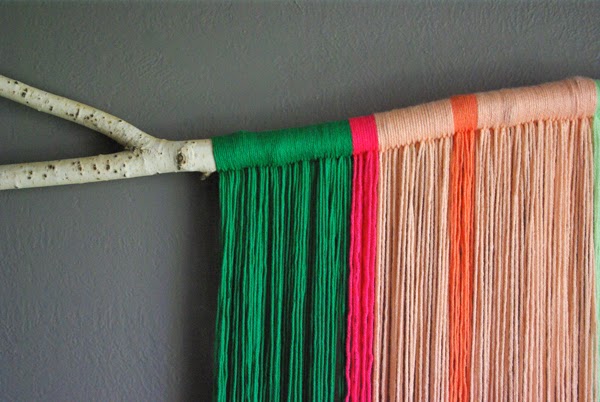
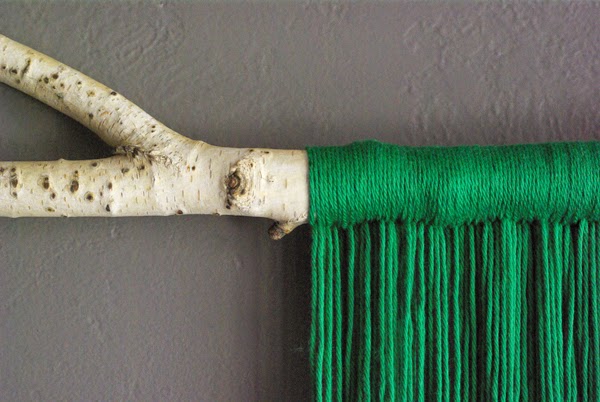
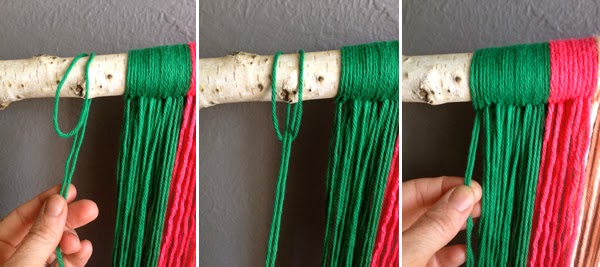
This is so simple to do. Start with a twig, branch or just a piece of dowel. Hang it from a wall so that you are working with gravity. Cut lengths of yarn twice as long as you’d like your piece to be. Then fold the piece of yarn in half and place the folded end over the twig towards the front. Pass the ends of the yarn through the loop and then pull tight (see images below). Slide each length of yarn right up against the last one, leaving no gaps.
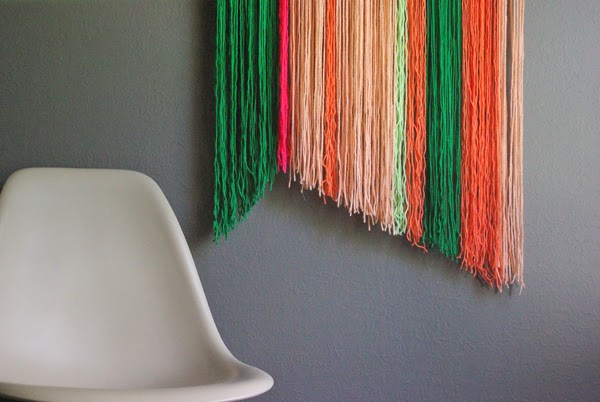
When you have all the yarn on your branch, then you can play with trimming the bottom. I decided, an asymmetrical angle would be fun. But, a V or W or curve would all look great as well. I cut a paper template, then held it up the the bottom on the yarn piece while I was cutting. It was nice to have a guide. The bottom of mine is far from perfectly straight. Some of the yarn wanted to spring back up, or had stretched out. I’m totally ok with this though, I’ll probably give it another trim in a couple days, after it’s hung for a little while longer.
I used a mixture of different yarns. The dark green was a 100% cotton yarn and hung the nicest, because of it’s weight. The others were chosen for their color and are mostly polyester blends. This piece is not staying on this wall, but when I do install it, I want to hang it without a string. I’m going to try to drill through each end of the branch and attach it to the wall with plugs. The branch has a natural curve in it, so the yarn will hang away from the wall.

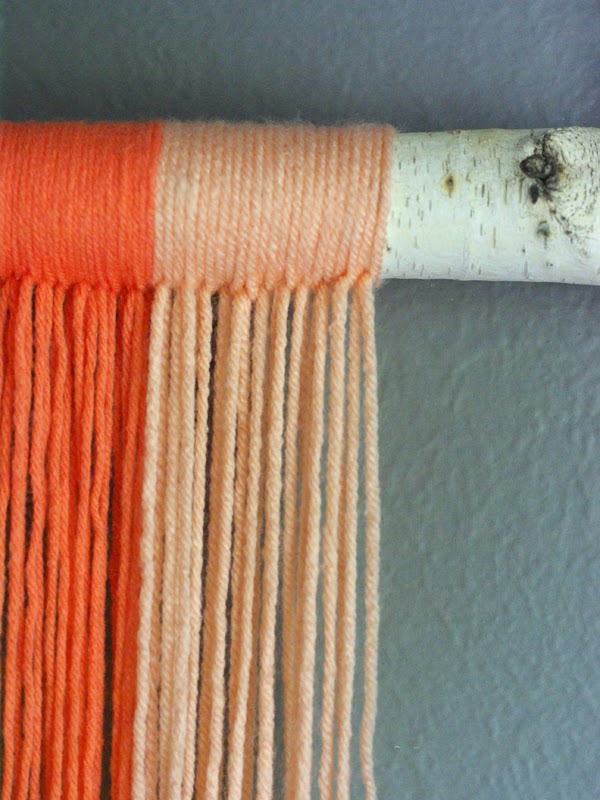
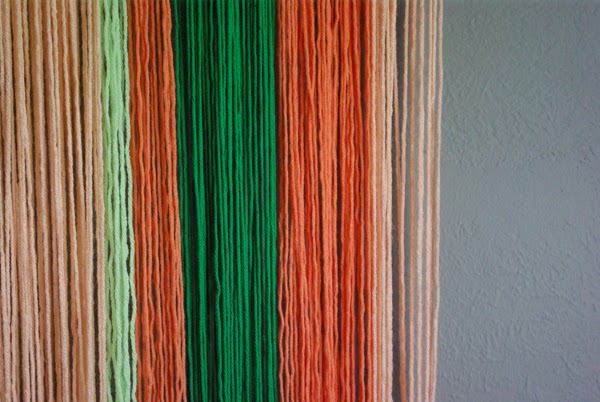
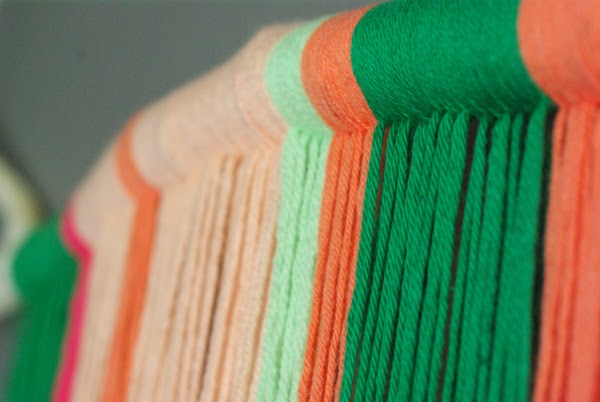
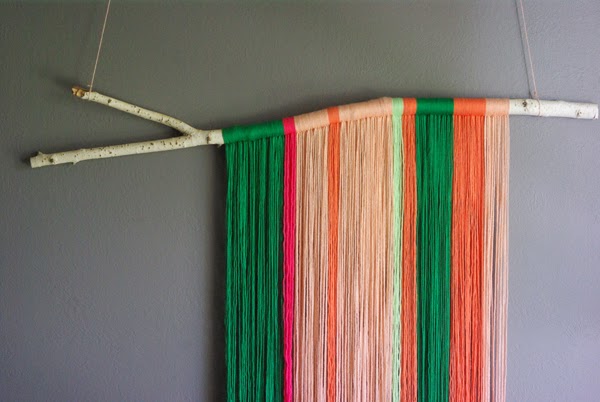
I love the natural curves of it and how affordable yet pretty it is! Those are considered apple blossom parade colors around these parts
Blossom parade? That sounds fun! The birch branch really makes it, you're right!
love the colors…so painterly! I could totally picture a larger one behind a sofa or bed. great idea!
Thanks Emily! I love the idea of a huge one over a bed, I'm itching to make another one, just trying to decide on colors.
LOVE it! The design is amazing, you totally killed it! And in signature Jeran colors too!
Ha, gotta have my green. I wanna weave or macrame – soon, but this is my simple substitute.
Really beautiful! This is definitely my next project! Thank you for the post!
Yay! Tag me in an IG of your finished piece so I can see it.
I love this, such a beautiful and affordable art piece! I was wondering how you hung the branch on the wall. Is the twine that's tied on either end connected or are there two hooks in the wall? Thanks for sharing this wonderful idea, this will definitely be my next project for my studio!
Just hung with twine. But, when I install it into the room I want it in, I want to attach it to the wall without a string. I'm going to drill through the branch and then screw into plugs/anchors in the wall.
In regards to hanging, how is the twine hung in the photos? Is it hung from the ceiling or some other way? I would really like to do this, although I don't want to drill it into the wall.
Wow …this is seriously gorgeous and does NOT look like yarn!!! Amazing job! Wow! And you just saved me from having to practise the patience for weaving etc. I could even do this with the kids!
Yay! I'm glad you like it. I think kids would LOVE making these. It's on our Summer to-do list.
This is amazing! I am thinking this would be a great faux headboard piece for our bedroom! You've got a great eye! Love this!
The headboard idea is great! It's big bang for your buck. I think I spent about $25 on all the yarn and it's a huge piece that makes a big statement.
I'm so excited to make my own this weekend! How many skeins of yarn did you end up using, especially for the more prominent colors like the green and light pink?
This is beyond amazing and I'm totally planning on trying my hand at this! xo
You need to learn how to edit your blogs before you post them.
I apologize "Anonymous", I'll look back through this post and make sure there are no spelling or grammatical errors. I'm sorry if this was not an easy read for you.
{snort} try not to do that while I am drinking my coffee, okay?
Well done! Thanks for sharing.
This is sooooooo cute!
Beautiful!
I really just love everything about this! I love how colorful and the way you cut it. Just beautiful! : )
don't worry- i suck at editing as well. and with punctuation, and grammar… and a lot of things. this diy post is way to cute to worry about them though. i love this.
Hi Jeran! I absolutely love your DIY yarn art- it's simply beautiful! I recently published a blog post about DIY wall art and included a link to your inspiring project. Go check it out! http://stitchandunwind.com/diy-wall-art/
I adore this! And the mini ones you did too. I have a TON of yarn left by my grandmother and at first I was making dream catchers but after about 10 I got burned out. Can't wait to try this!
this is really great. and if you tire of it – you can recycle into another project. my girls are constantly knitting or crocheting – they would love this.
This is so so cool! it would be a great project to even do with my little one – well the picking up of the branch, and the choosing of the colours.. Thanks for the tutorial.
SO simple but such an impact! We have a section in our hallway between two doors that needs something like this. Thank you for the inspiration! <3
Beautiful art! Did you use a thick heavy yarn or a regular yarn. I assume the thick yarn would hang down straight, while a lighter yarn would turn wavy. Thanks.
thank you for this tutorial! I love Nike's work, as well, and really like how you emulated it but with the addition of the birch branch. Where did you find a single branch like that? Thanks!
What type of tree did this branch come from? beautiful piece