
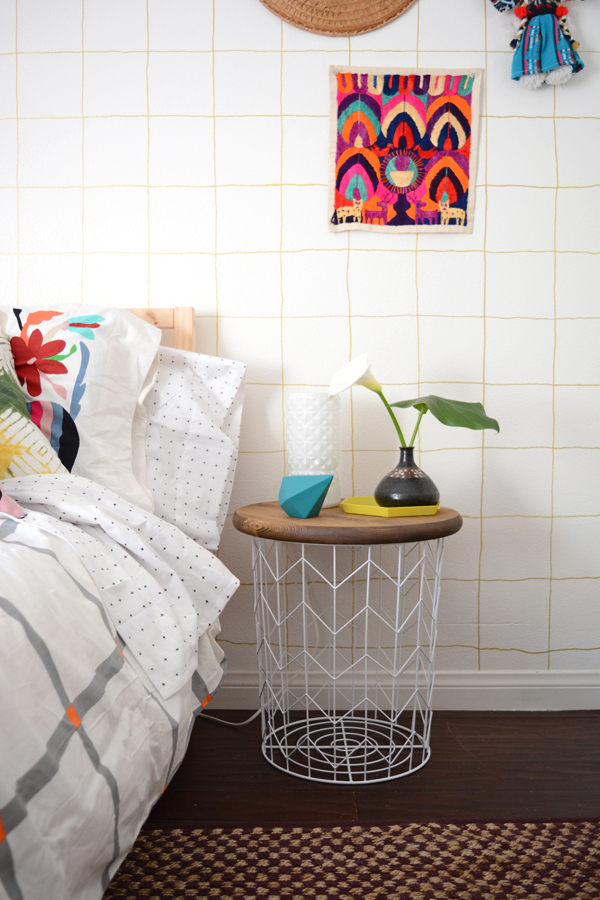
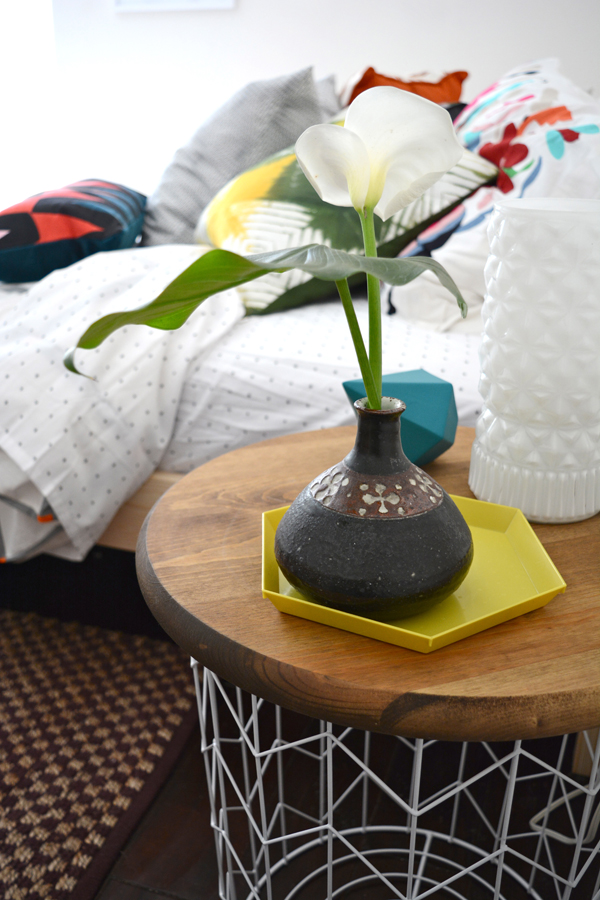
I’ve been working on a fun makeover for a college kid this last week. It’s a really playful, quirky space – my favorite kind. The reveal is coming soon, but I’m giving you a little sneak peek today and sharing one of my favorite DIY’s from the room – this little DIY Wire Basket Side Table. It adds pattern to the space without being heavy and weighing it down.
I used this same wire basket in Dylan’s closet makeover. I love the shape and design of this Target basket, I like to think it’s an inexpensive version of this Ferm Living basket that I’ve been eyeing for over a year now. So, for about $30, I DIYed this little side table, and it took me just a few minutes to put together.
Here’s what you’ll need:
Wire Basket
Solid Pine 18″ Round
Wood Stain (I used Old Master’s Wiping stain in Walnut)
8 3/4″ wood screws
8 1/4″ nylon cable clamp (1/4″ not available online, but this is what they look like)
Power drill or just a screw driver
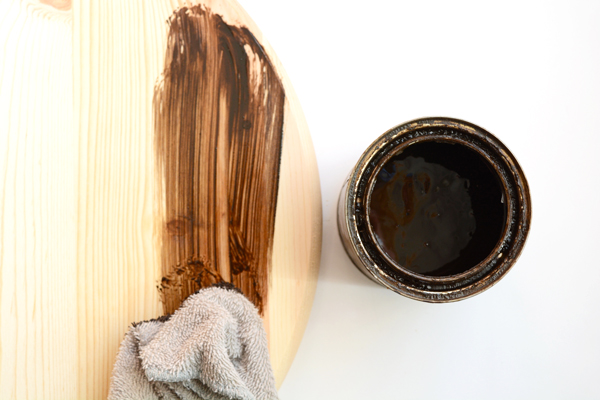
Start by staining the 18″ pine piece. I love a wiping stain, it’s totally fool proof. Simply wipe on the stain with a rag and then wipe off the excess and let it dry. A little dark walnut stain can make even the palest pine look rich. Stain is your friend, I find myself using it more and more these days.
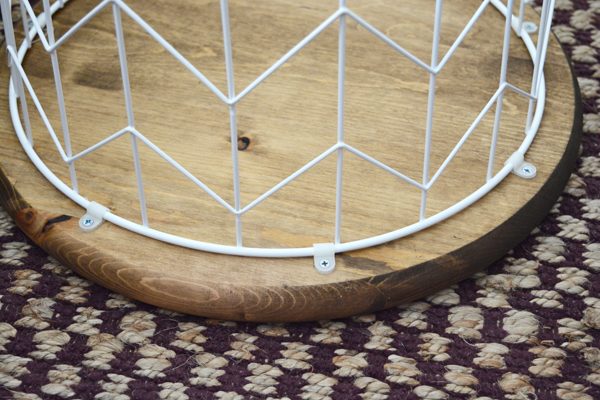

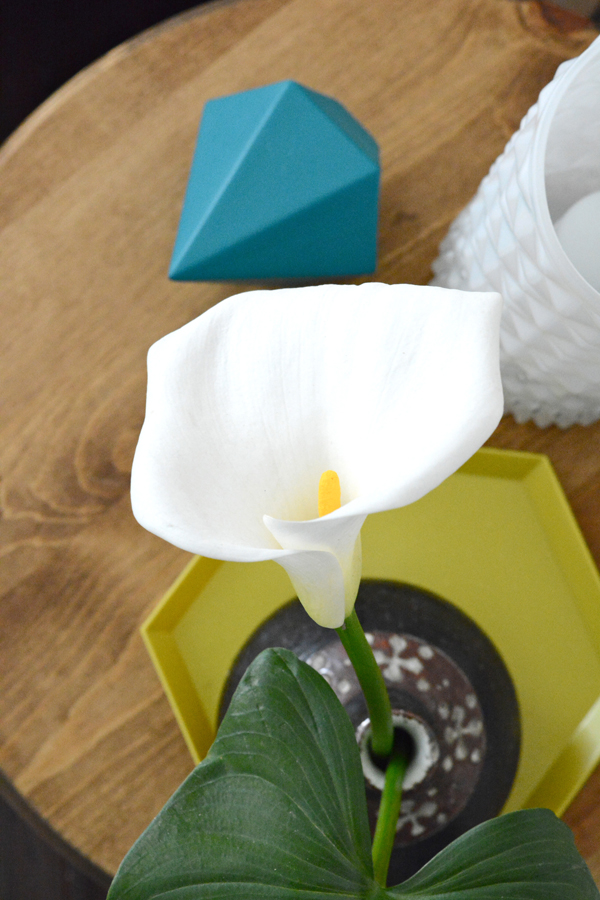
The next step is even easier. Simply flip the basket over and center it in the middle of the wood top. Using a power drill or screw driver, attach the clamps spacing them evenly around the table top. Now how easy was that? DONE! You have a unique table, that is modern and clean. Now accessorize that bad boy.
Stay tuned to see more of the DIYs and thrifted treasures from this room makeover.
I'm so loving this little glimpse! I'm guessing you did sharpie on the wall, too. Love the pattern.
I can't even handle how amazing this is! You knocked it out of the park– can't wait to see the full room reveal!
I already have everything I need to make this. I've had the top for a while (vintage) but couldn't quite figure out the bottom. I have a vintage plant stand that would work perfectly. Sometimes you need a little help to see what's already in front of you?
you are the cleverest! this is so darling.
Love this! What a great way to take a cool piece and make it even more functional.
Love it!! Very very clever girl!