I have partnered with the Martha Stewart team and Plaid Crafts for this post. Thank you for supporting the companies that help make this blog possible.
You know life is too busy when it’s been months since you’ve had time to tackle a DIY. This week, I really didn’t think I had time to squeeze in one more thing and then I sat down and started painting and I was so grateful I was in the middle of a DIY. I’m sure a lot of you can relate, there is something so therapeutic about making. It calms and relaxes me. I definitely will be allowing a lot more time this month to bake and make with and for my family.
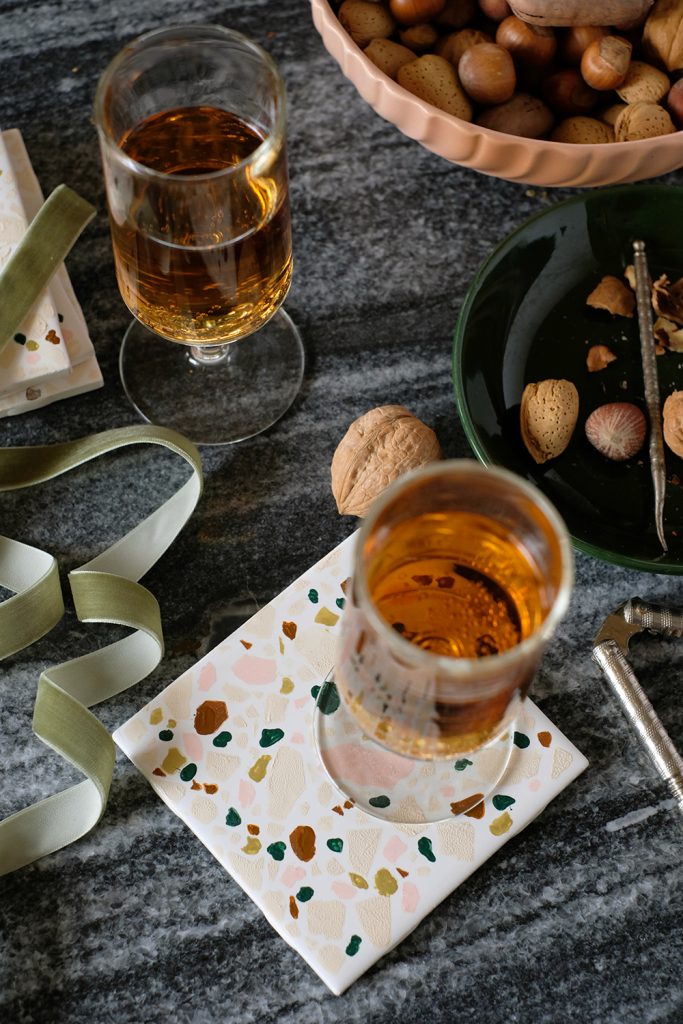
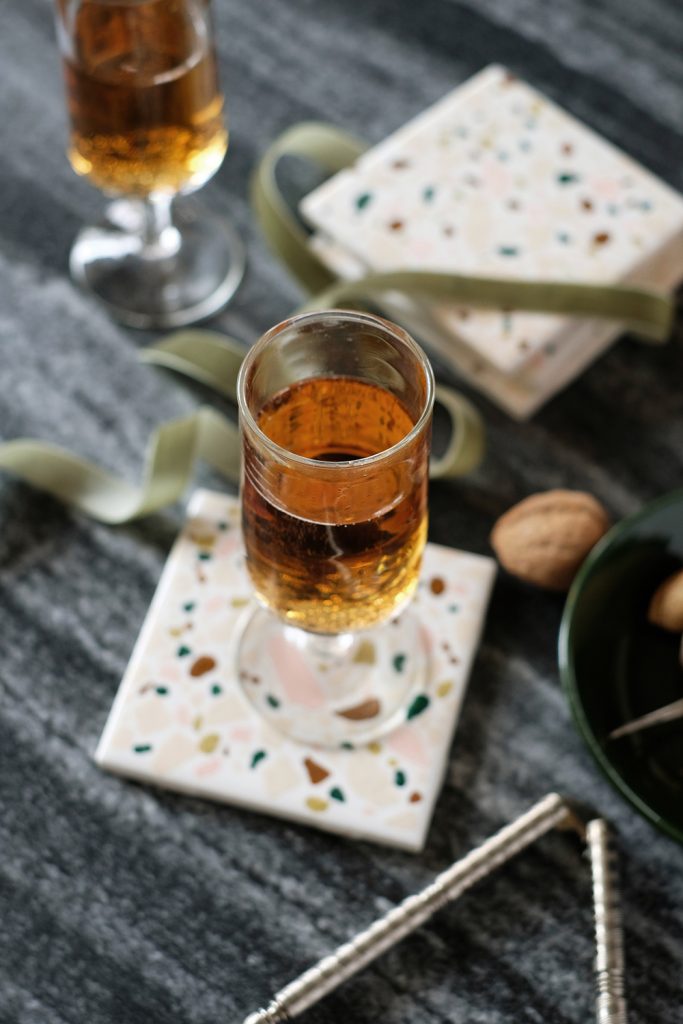
Holiday Party season is here, and I know we have a few that we are attending in the next week of so. Therefore, I’m on the hunt for some good host/hostess gifts and this year I think a few friends will be getting a set of these DIY Terrazzo Coasters.
I’ve been itching to try something terrazzo inspired. When I was in Sweden last year, there were so many fun terrazzo accessories for the home. And since my house is not built for terrazzo floors, these little coaster will have to do. So, a trip to Michaels and a little shopping in the Martha isle, and I came home with all the supplies I needed.
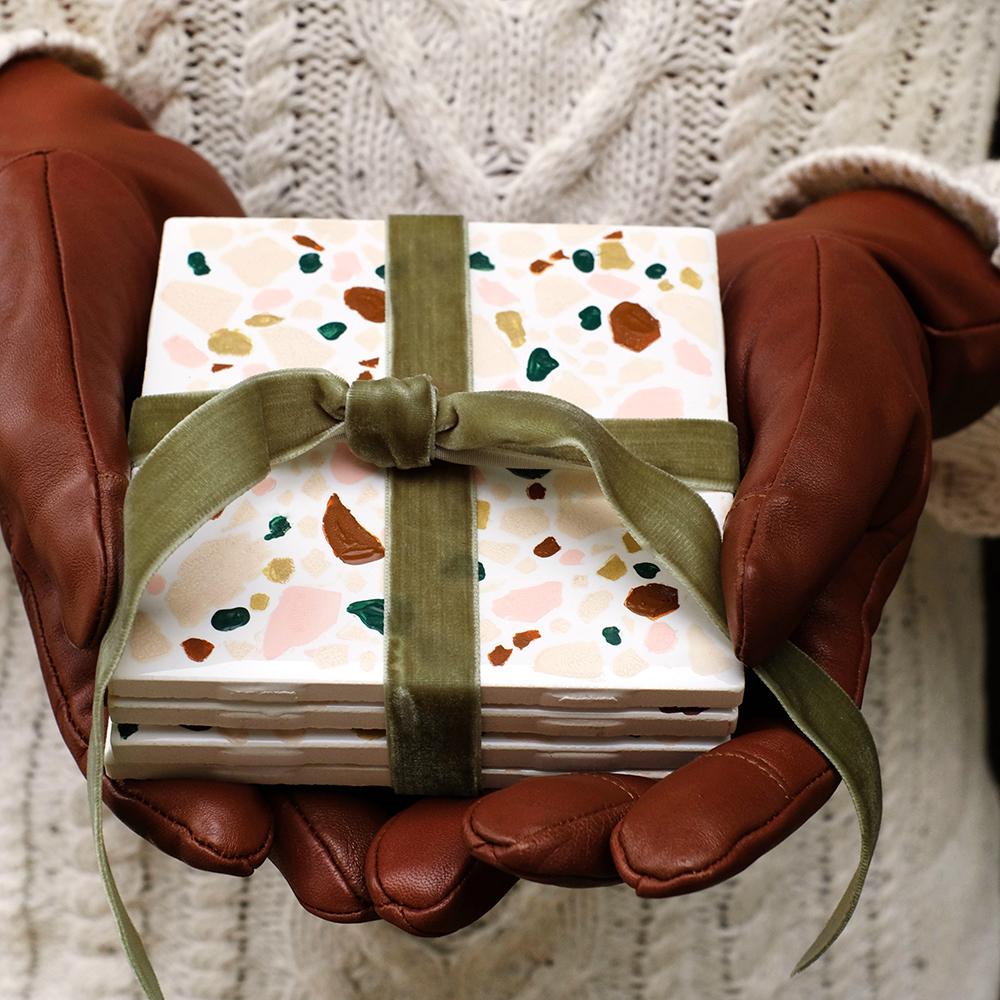
Here’s what you will need:
- 4 inch square ceramic tiles
- felt
- hot glue gun
- Martha Stewart Terrazzo Stencil
- paint brushes
- Martha Stewart Multi-surface Paints in the colors HD Metallic Brass, Ballet Slipper Pink, Seaweed, Summer Linen and Chestnut Brown
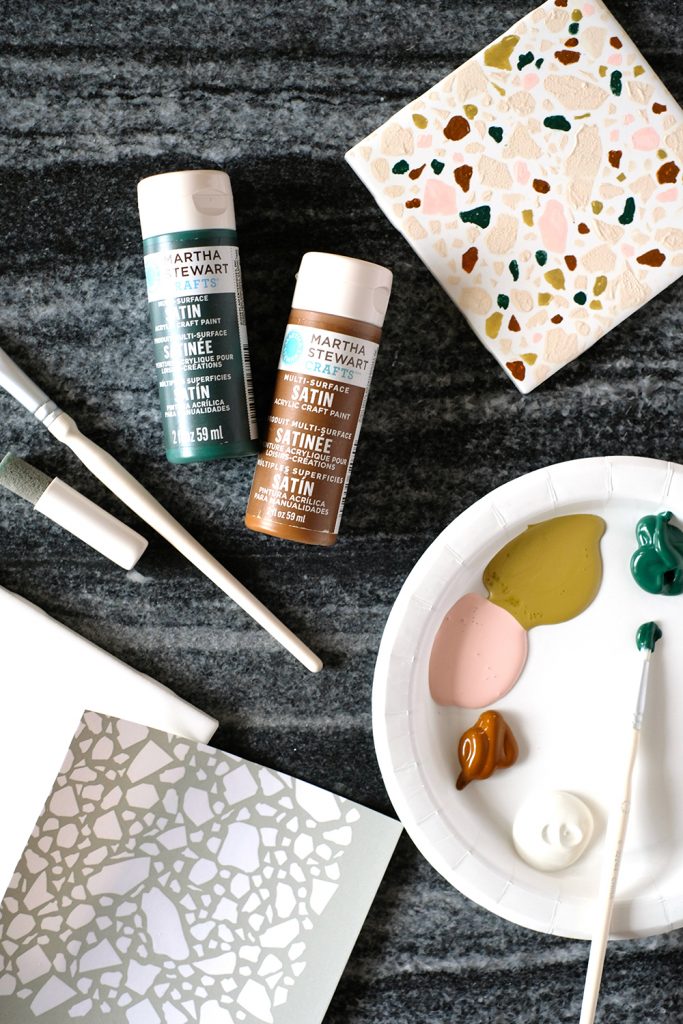
Start by making sure the surface of the tile is clean. A little glass cleaner will do the trick. Then cut the stencil to a 4×4 inch square, remove the backing and adhere the stencil to the tile.
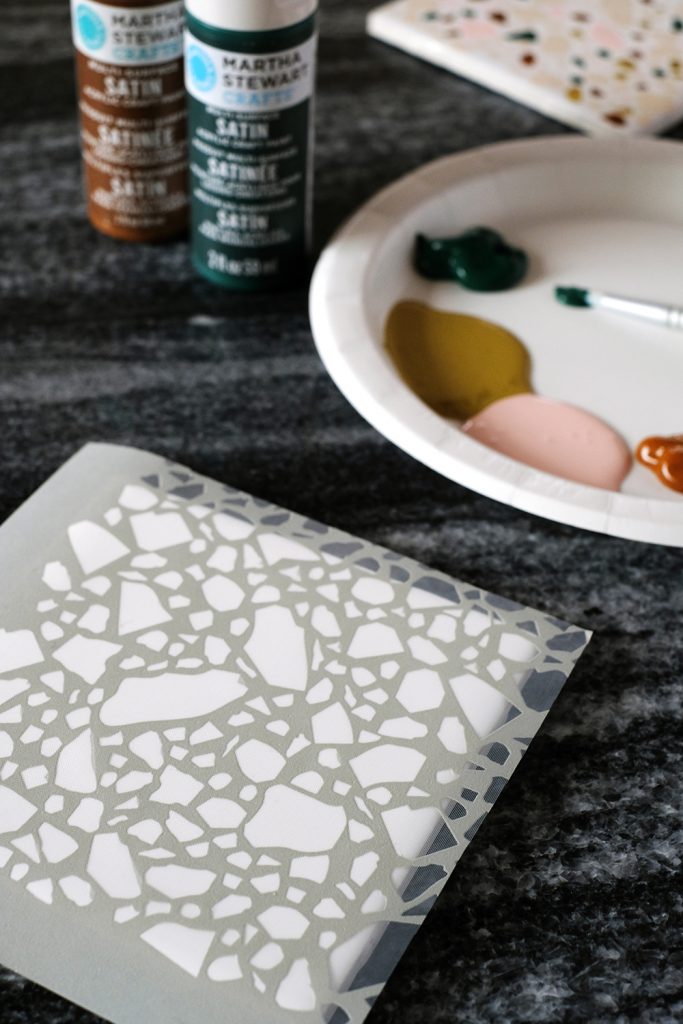
Begin by painting the darker colors first. I tried a few different methods and found that this gave me the best terrazzo-like affect. I chose a few stronger colors and painted them first and then filled in the remaining shapes with a pale cream color.
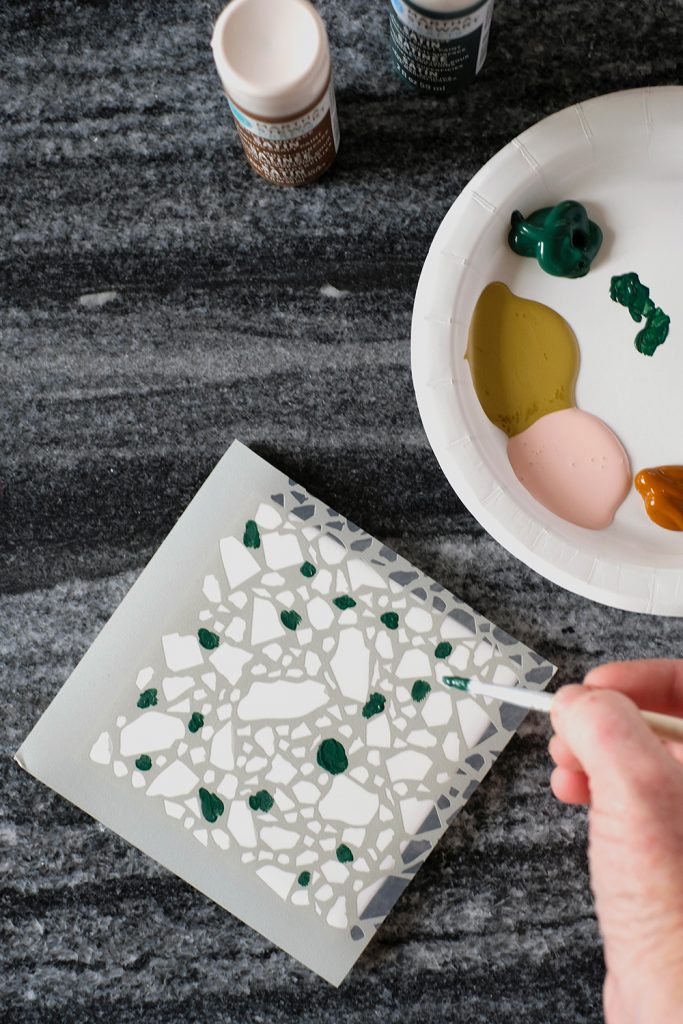
Often when I use stencils, I like to use a stencil pouncer, but with this being so highly detailed, a small fine-tipped paint brush worked so much better.
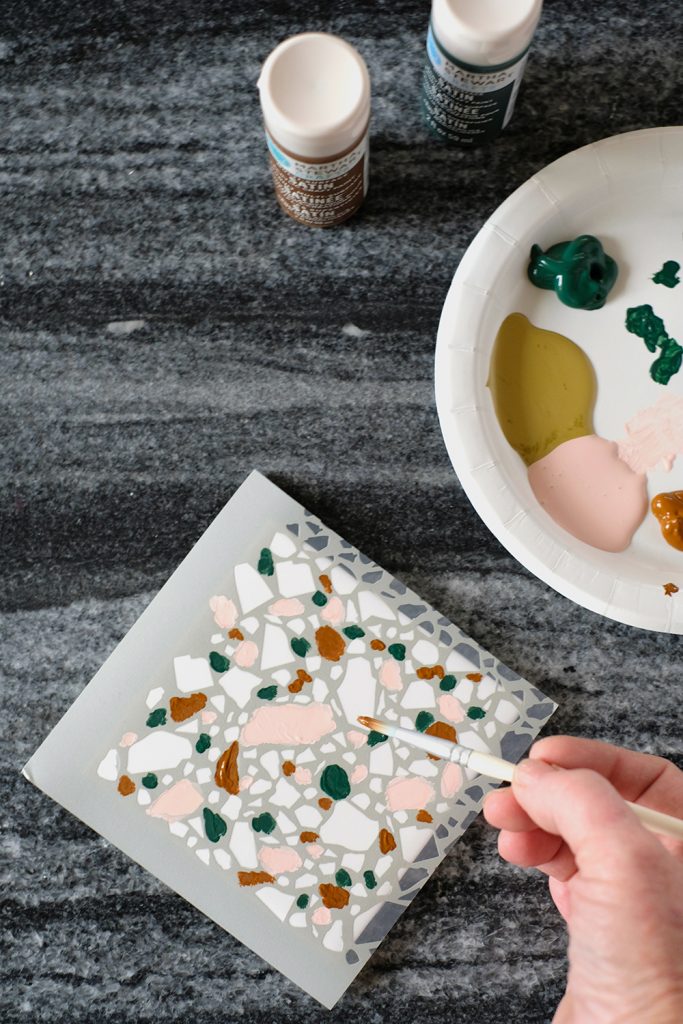
Once I had filled in the green, brown, pink and gold, I painted the remaining spaces with the lighter color.
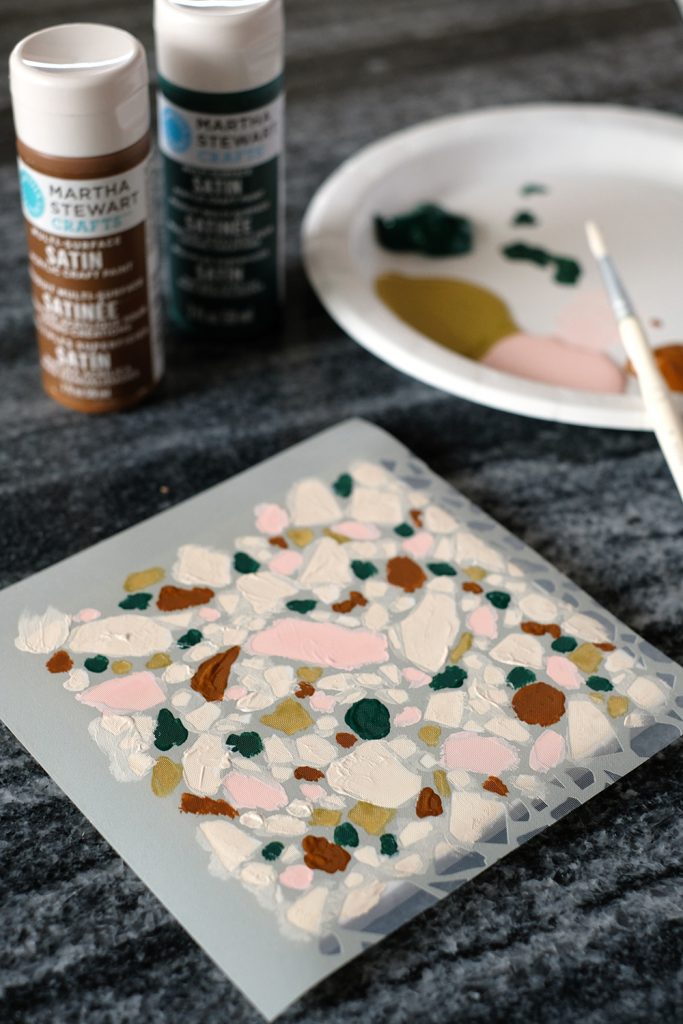
Then, while the paint is still wet, remove the stencil and rinse it immediately under warm water. These stencils can be used a couple of times. Just place the clean stencil back on the paper backing it came with.
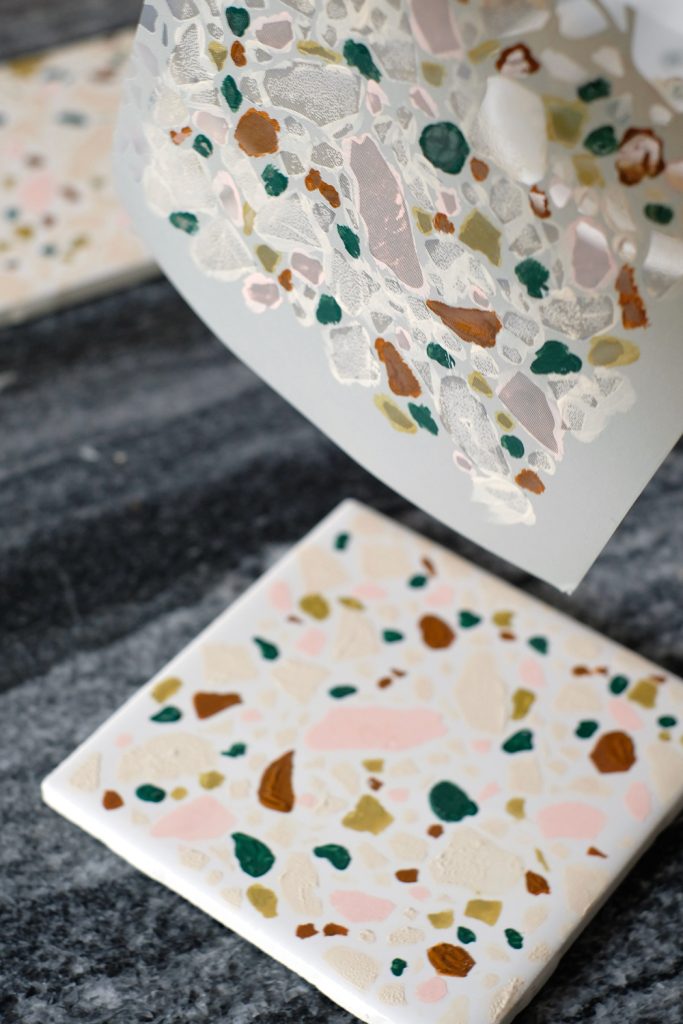
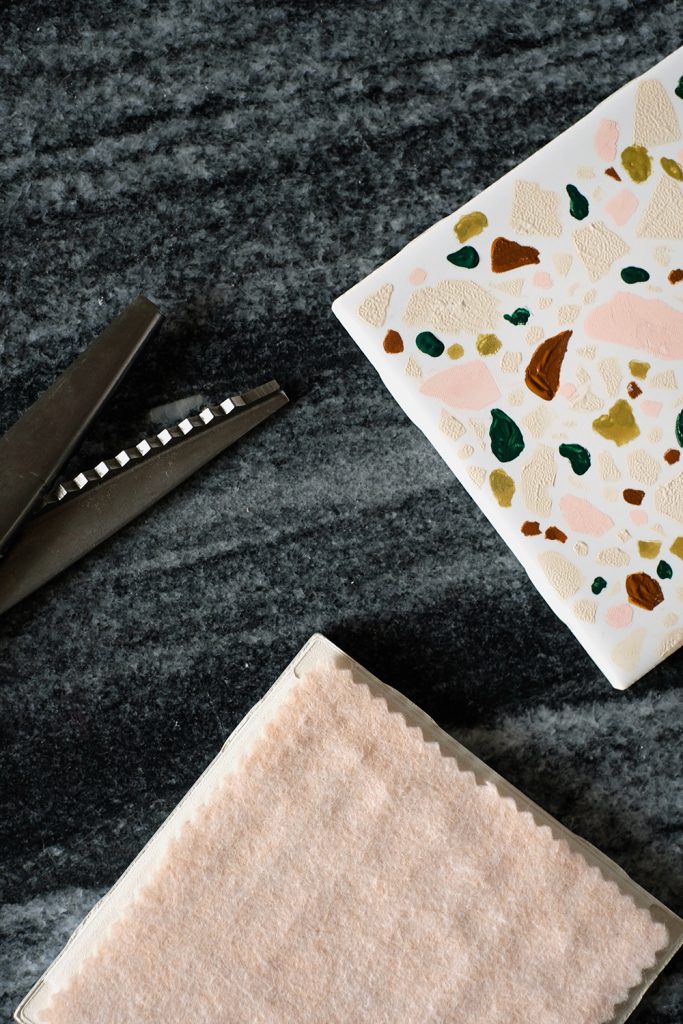
Once the paint is completely dry, I cut a square of felt, just slightly smaller then the tile and adhered it to the back of the tile with a little hot glue.
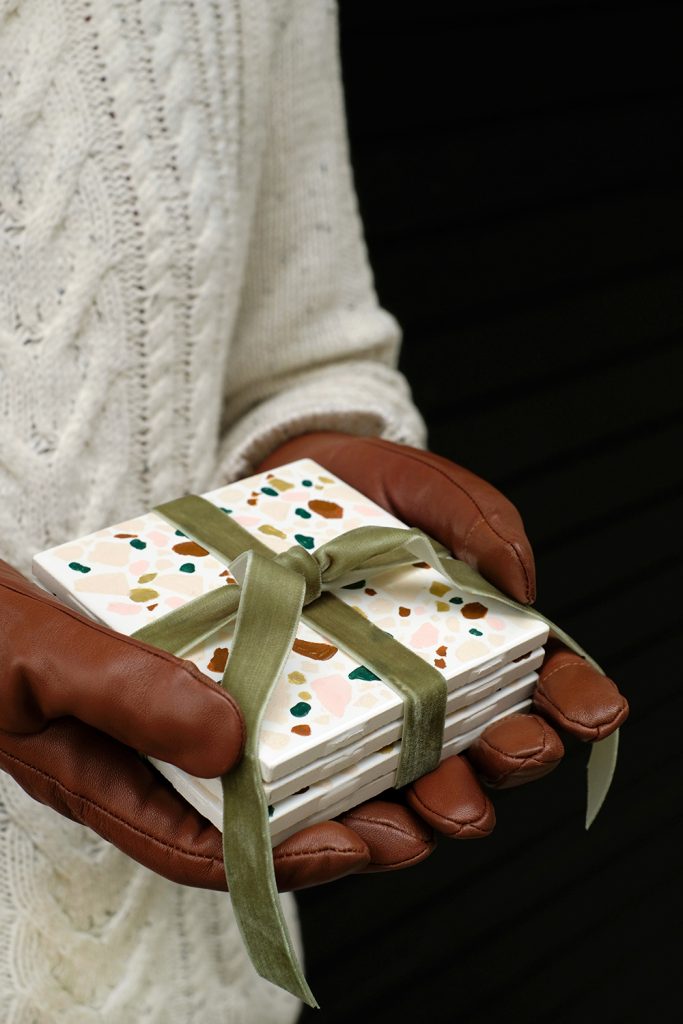
I decided 4 was a nice sized set to receive, so I stacked them and tied them with a little velvet ribbon.
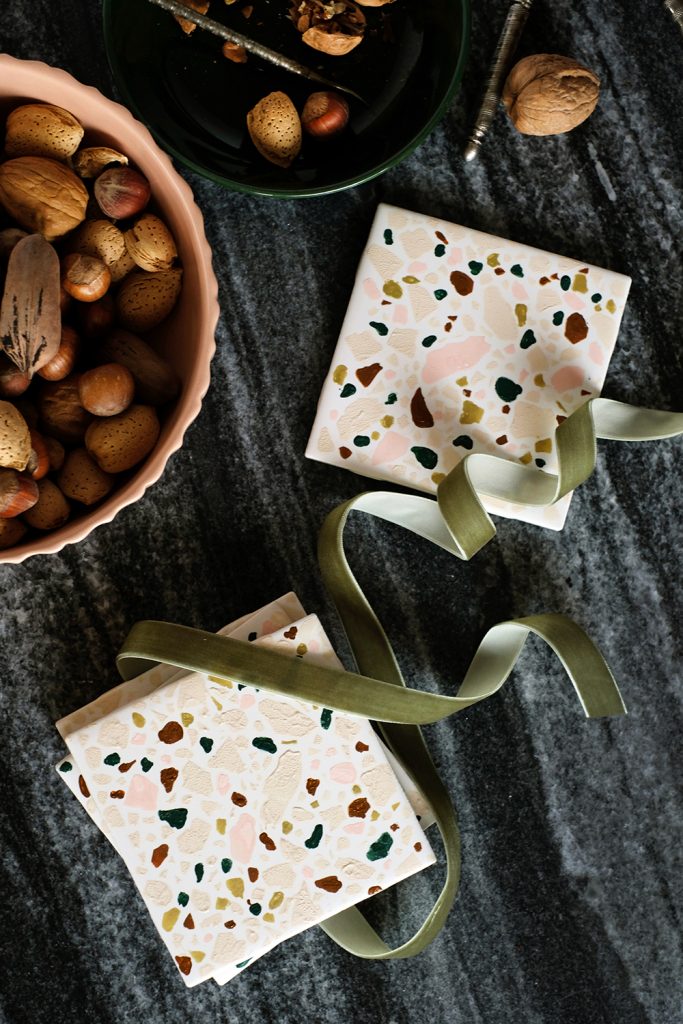
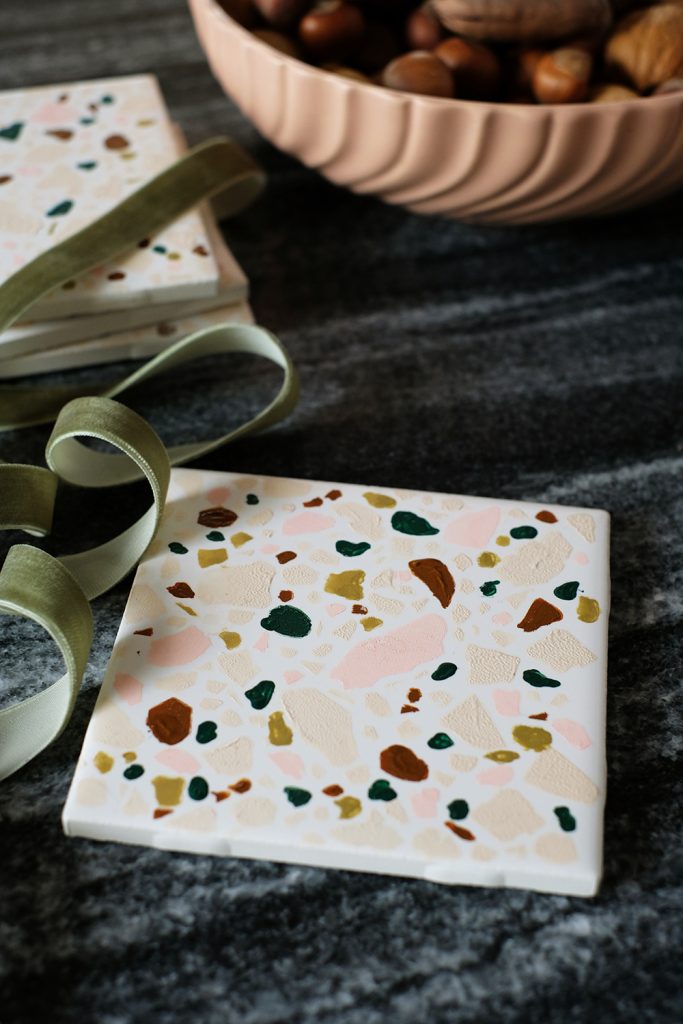
They are far from perfect, but I kind of love the little imperfections of something handmade. But, if you like a more polished look, you could definitely go back and fill in some of the shapes that maybe didn’t get as much paint as the others.
You can find Martha Stewart products exclusively at Michaels.
Now, what’s the best hostess gift you’ve given or received? Was is something homemade?
