This post is sponsored by Sherwin Williams. A big thank you to Sherwin Williams for helping provide paint for this project. And a thank you for supporting the brands that help make this blog possible.
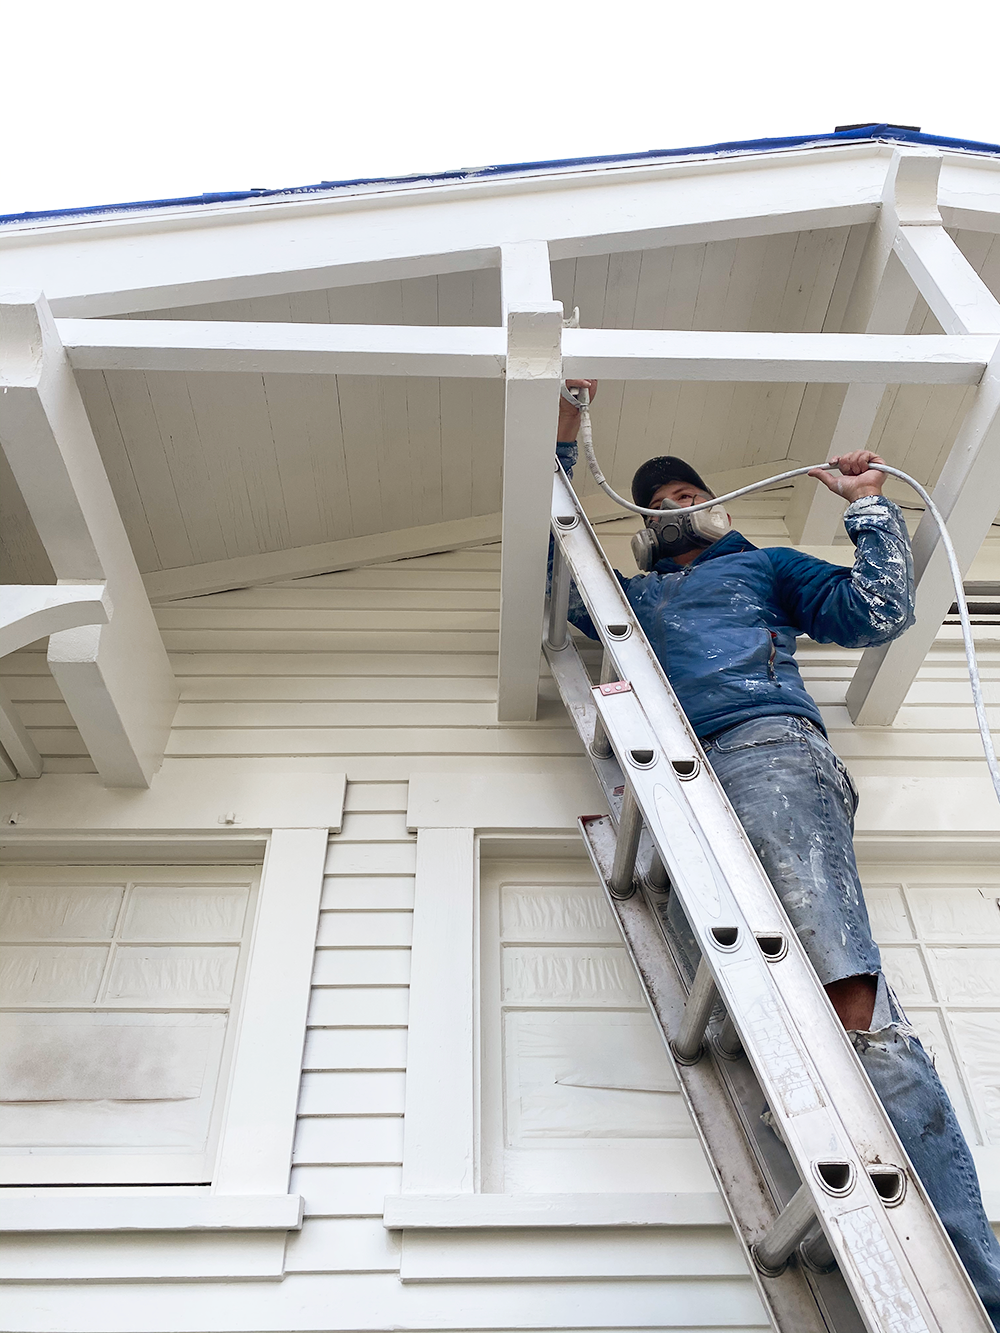
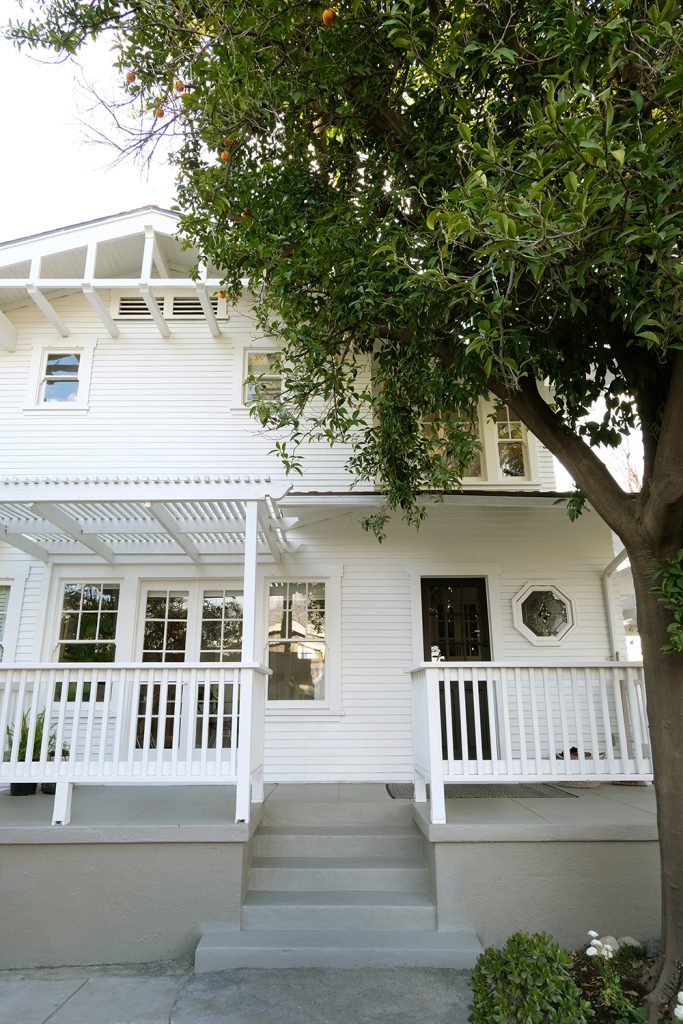
Yes, we painted our house. You can see all the angles HERE! Ok, humor me while we look at a couple more befores and afters before we get started whitee all the how-to information and the process of getting this BIG job done.
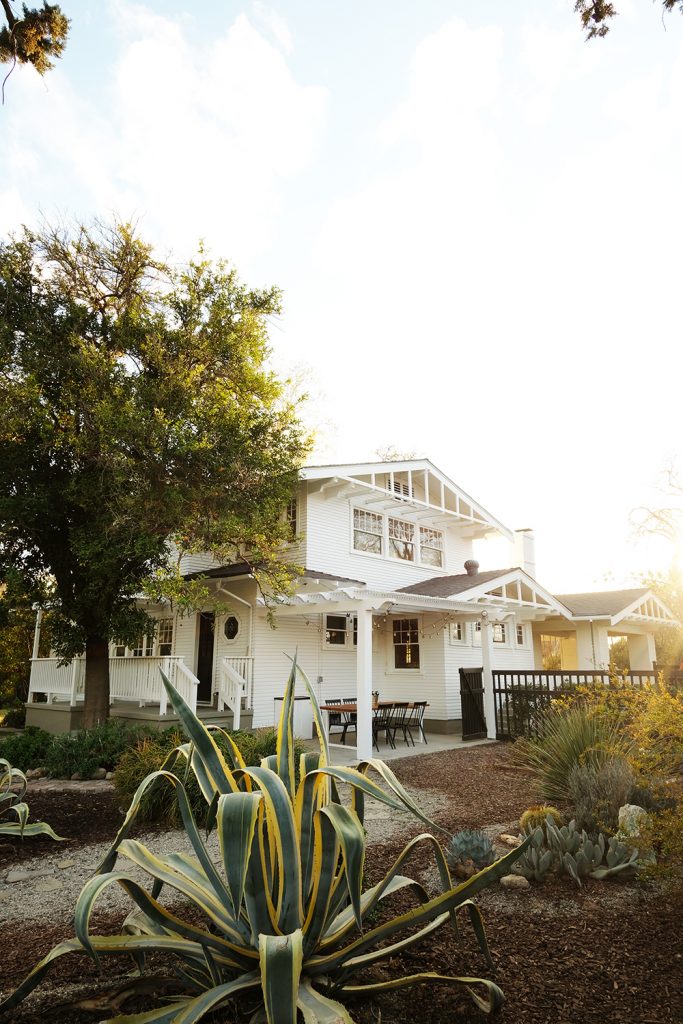
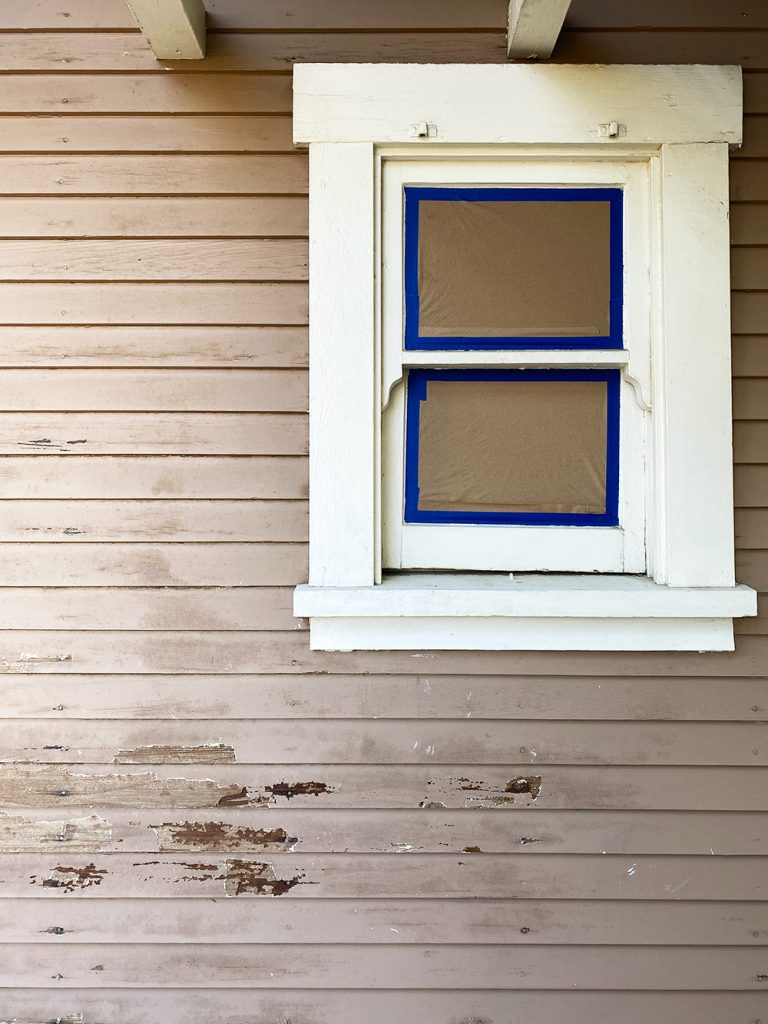
Now, let’s get into the nitty gritty of all the supplies you’ll need and how we went about painting our house. I’m going to link products as much as possible and explain in detail the steps. If I miss anything, please leave a question in the comments. Ok, here we go.
Supplies Needed:
- Power washer
- Stiff Chisel Scraper
- Sander and Sandpaper
- Sherwin Williams ProBlock Exterior Primer
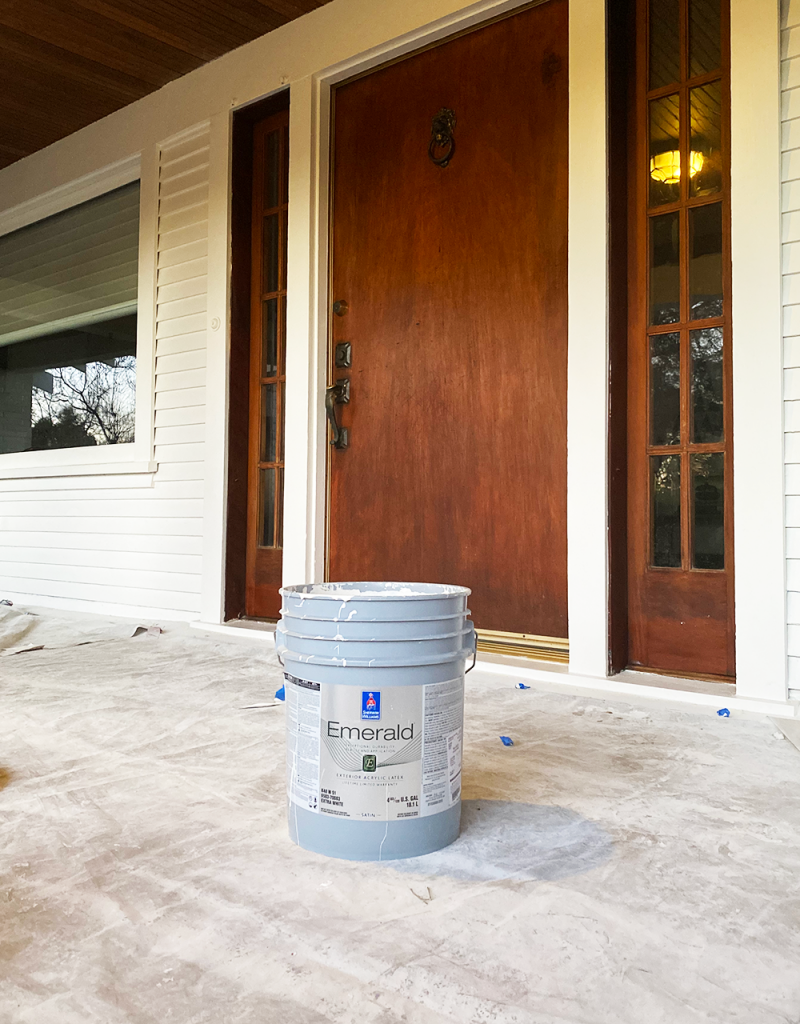
- Sherwin Williams Emerald Exterior Acrylic Latex Paint
- Caulk and Wood Fill
- Graeco Sprayer
- Painters Tape
- Plastic Drop clothes
- Butcher paper for the windows
- Window glazing
I have only 2 pieces of advice for painting. Number 1. PREP PREP PREP and PREP. and Number 2. USE THE BEST PAINT THERE IS. Once you start reading my instructions, you will see that painting a house is really mostly a bunch of prep and then just a little painting. I firmly believe that the quality of your painting is only as good as the prep you do. The more prep you do, the better your results will be. And if you are going to go to all this work, you should definitely use the best paint there is. Weeks and weeks of work, and then you use a cheap, thin paint that can’t stand up to the weather, that doesn’t make sense. That’s why I always use Sherwin Williams product. They are the
BEST!
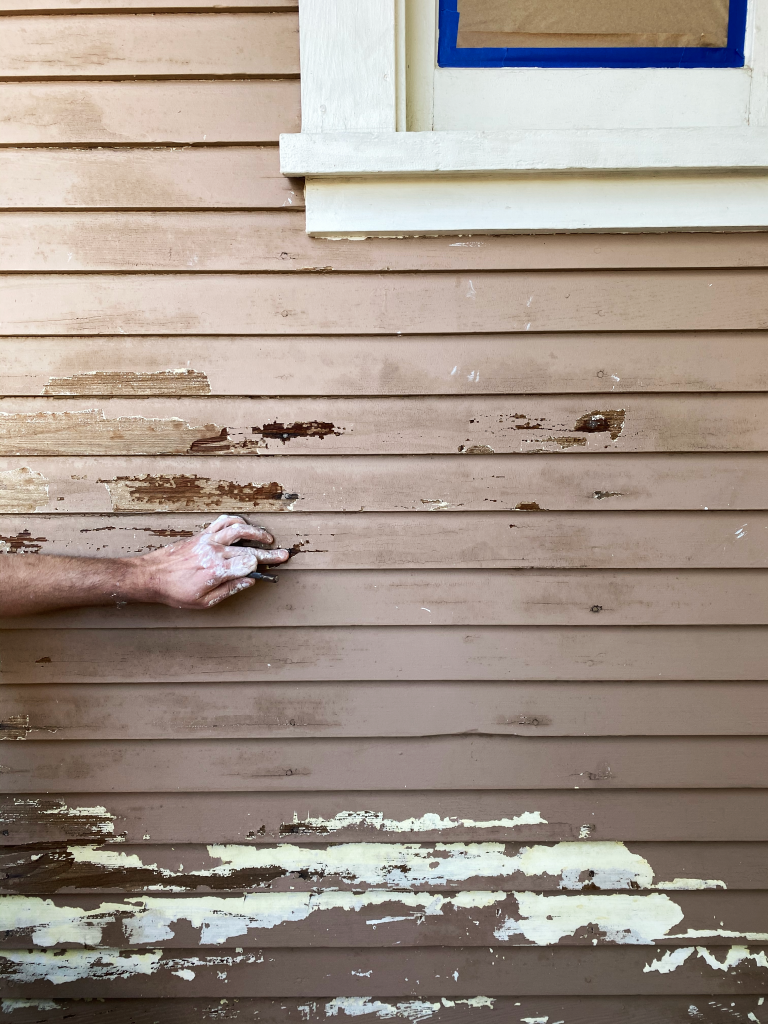
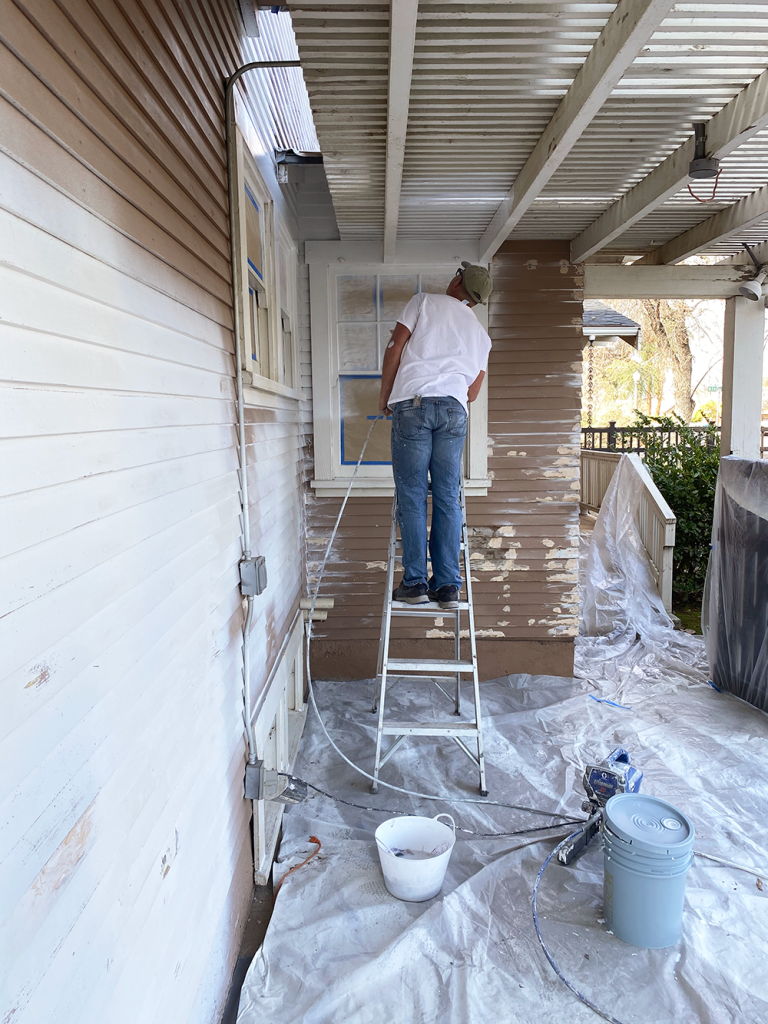
Method and Order of Operations:
We worked in sections for these steps. Once one side of the house was done, we would remove all the tape and drop clothes and then start from scratch on the next side.
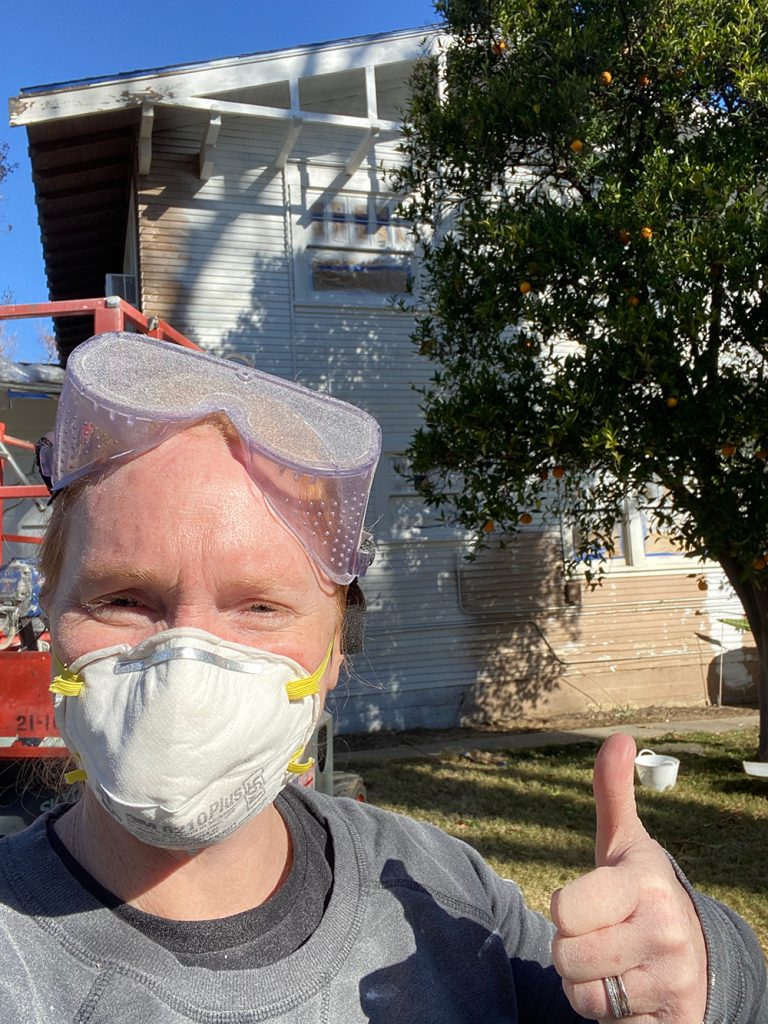
- Scrape – the first step is to get the big, flakey chunks off. Depending on the type of peeling or lifting of the paint either a chisel scraper or a wire brush may work.
- Power Wash – after scraping, this is a good time to power wash. It will knock down a lot of the dust and probably take off a little more loose paint. Allow the siding to dry completely
- Wood Fill – There maybe boards or edges that have more damage then just pealing paint. Wood fill can fill in those gaps and holes. Apply a thin coat and allow it to dry completely.
- Sand – now it’s time to take a sander to every inch on the house. It will give any remaining paint a good surface to accept the primer and where the paint is lifting, you can soften those edges. You really just want to sand till paint chips aren’t coming off any longer. And you will be sanding down all the areas that you applied wood fill to. You will want to sand those down till the wood fill is flush with the original board.
- Power Wash – AGAIN, if you have created a lot of dust with the sanding it’s good to take a power washer to the siding again. Allow the siding to dry again.
- Tape and Cover – while everything is clean and dust free, tape all the panes of glass and any areas that you do not want to be covered with paint.
- Set Nails – with all siding, you may notice that nails are lifting and the heads of the nail stick out from the boards. Using a nail set and hammer, hammer the nails so that they sit in the wood siding.
- Caulk – this is when you will fill in all the nails that have been set and also fill in any gaps between the siding boards and details on the windows. If there is gap – fill it. Simply apply a small bead of caulk with a caulking gun and then wipe down the caulking with a wet rag to smooth out the caulk and remove any excess caulk.
- Prime – we bought the primer in 5 gallon buckets, so we prepped out sprayer and put the hose in it. We primed everything and we primed it well. No thin, sparse coats, we made sure everything had a good, strong layer of primer.
- Caulk More – after you have a nice even coat of primer on and it’s dried, you may notice some imperfections or areas that need a little more sanding and filling. Sand and apply caulk to those spots.
- Paint – are you tired yet? NOW, you can finally paint your house. We used a satin finish for everything. I really didn’t want a lot of sheen, but I also want too make sure that all the dust in this area wouldn’t immediately stick to the house. Working in sections we painted everything and then before we put away the sprayer, we made sure to go back and do touch ups and get second coats where the paint looked too thin.
- Touch Up – there will be places that need a little more attention. I found spots we missed or ever over sprayed where we shouldn’t have. I also discovered that our window sills all got a little dusting of over spray. So, I sanded them down and then brushed on a couple of smooth coats. I knew these surfaces would attract dust, so I wanted them to be well coated with paint for easy clean up.
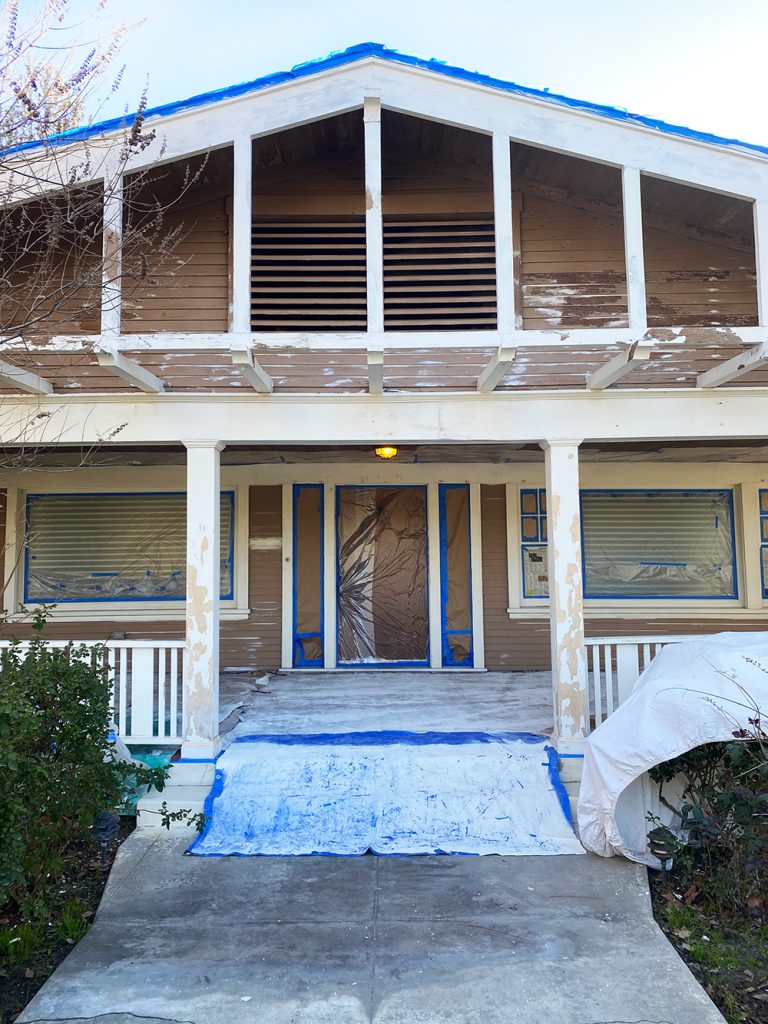
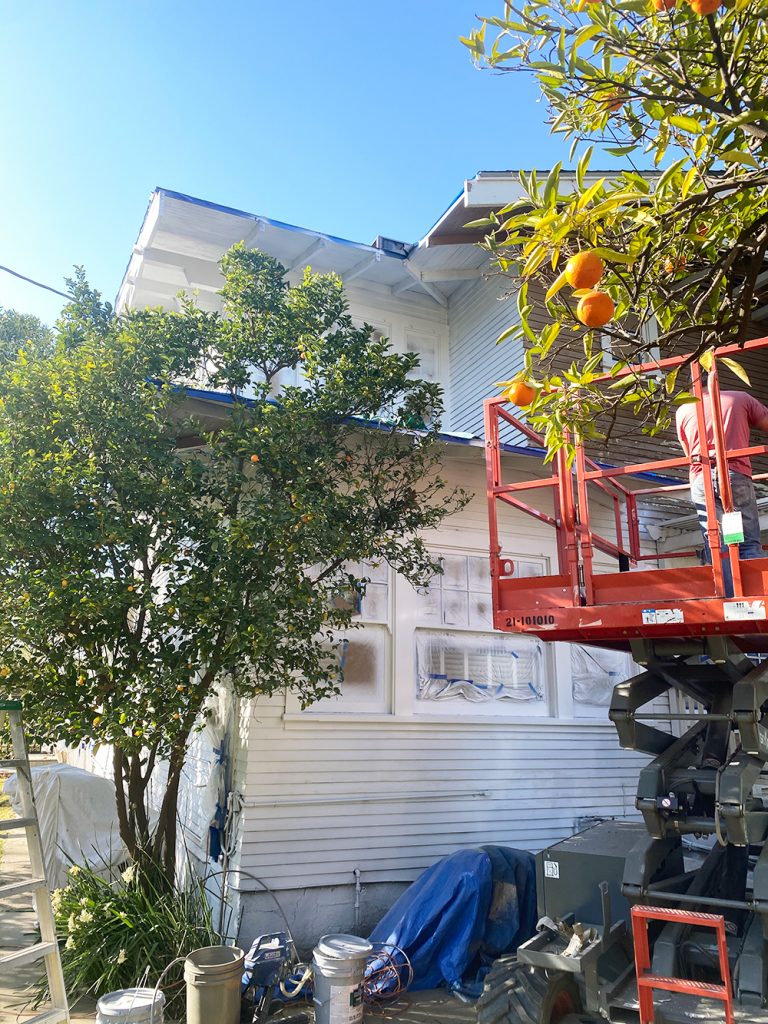
And last but not least, we (my dad) painted all the foundations around the house Sherwin Williams Studio Clay. I think it really wrapped up the look so nicely. I think a white foundation would have looked off. And the darker grey of studio clay was very grounding and really just made the foundation blend in. I used that same color to paint the outside porches and stairs as well. They had been stained and painted over the years, so a fresh coat really cleaned up the back porch especially.
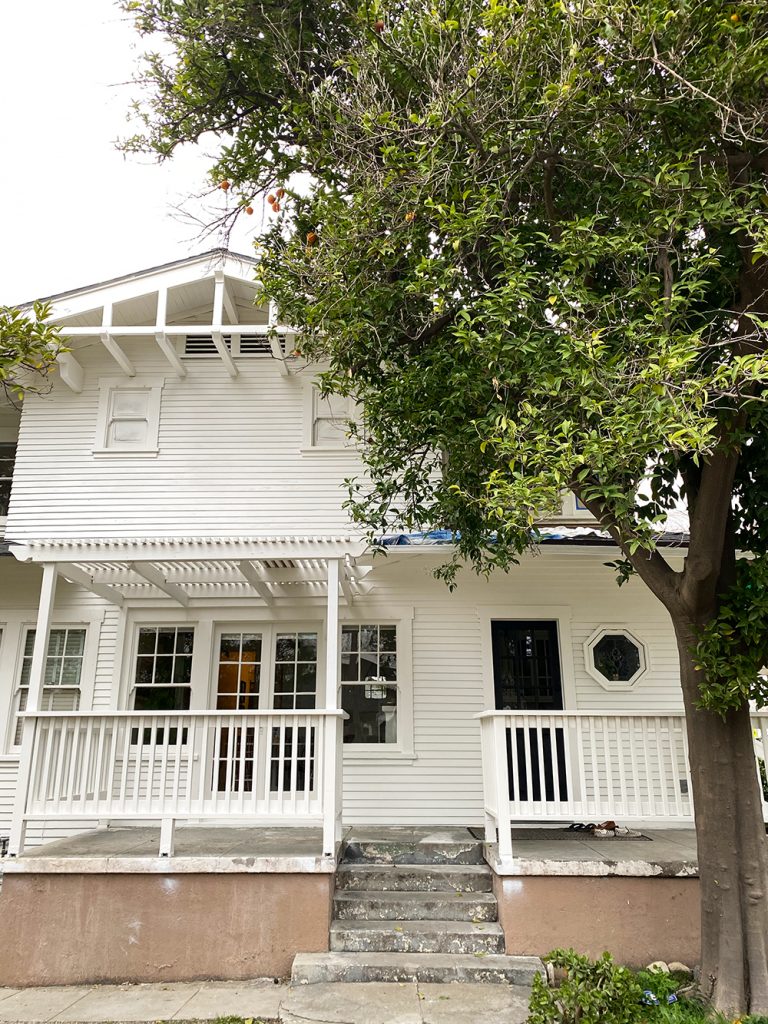
I’m sure I’ve missed some details along the way, but I’ve saved all the painting stories from the last 7 weeks to my Instagram Highlights (it’s called Exterior Paint).
Ok, and are ready to hear how much paint we used? It’s a lot!!! 31 gallons – 11 gallons of primer, 16 gallons of paint and 4 gallons for the foundations and porches. Yikes.

What a massive job! Well done!! We are about to move into our house on Friday (yay!) I ended up going white with black trim….but first choice wasn’t right (the white or the black) I kept driving past the house as they were painting and kept feeling sick in the stomach. So I bravely announced I couldn’t live with those colours and we found a better white and truer black (first black just looked navy). Costing some extra $$$ to change but I knew I couldn’t drive up to my home every day feeling like I did. I will send a couple of pics. Unfortunately we can’t get Sherwin-Williams paint here in Australia ? I adore their colours as seen on Pinterest. You should be super proud of yourself…a truely lovely Home. ☺️
Oh my goodness, it looks beautiful!!? I’m going to have to drive by and take a looksie. Hope you guys are doing well. xo