I do like to sew, but putting in a zipper is not my favorite. So, I found a couple simple canvas bags at Hobby Lobby and just changed the shape of them.
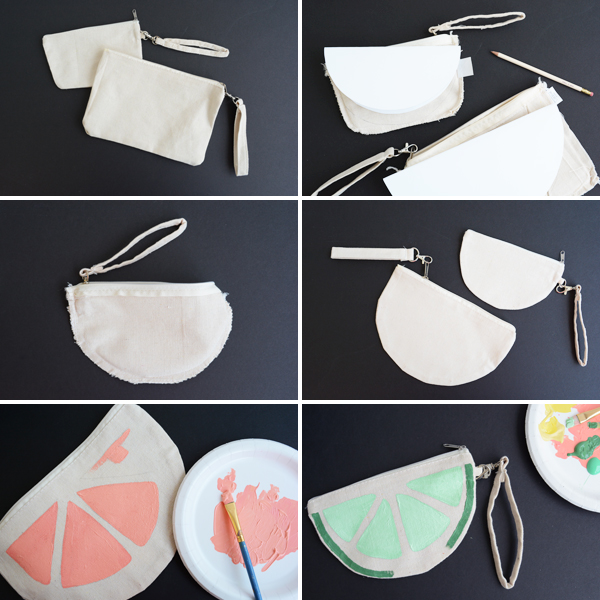
Start by turning the bags inside out. Make a circle pattern on card stock, I used a couple different bowls from my kitchen that where the same width as the bags. Fold the circles in half and trace the shape on the bags.
Using a sewing machine, stitch along the curved line. I also zig zag stitched along the raw edges. Then turn the bag back the right way and iron flat.
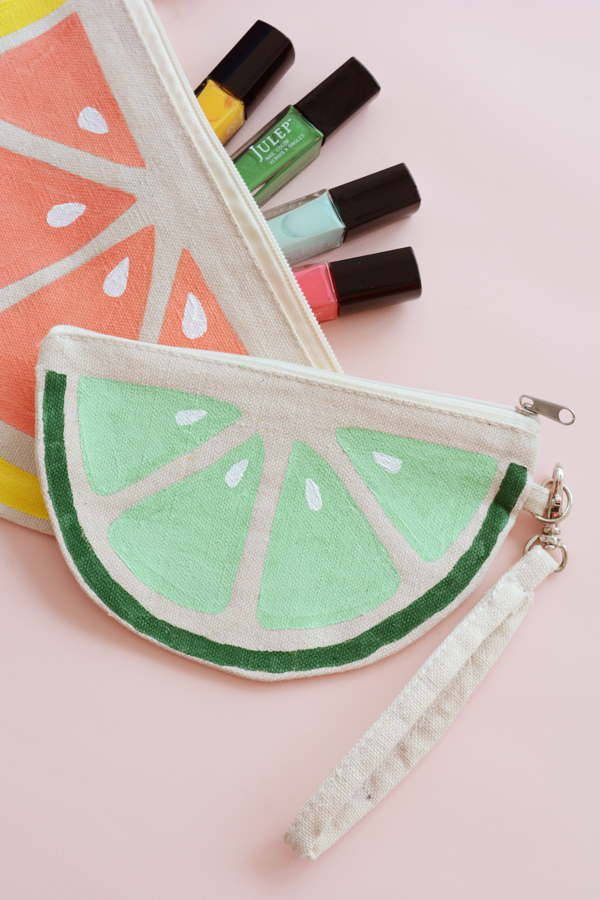
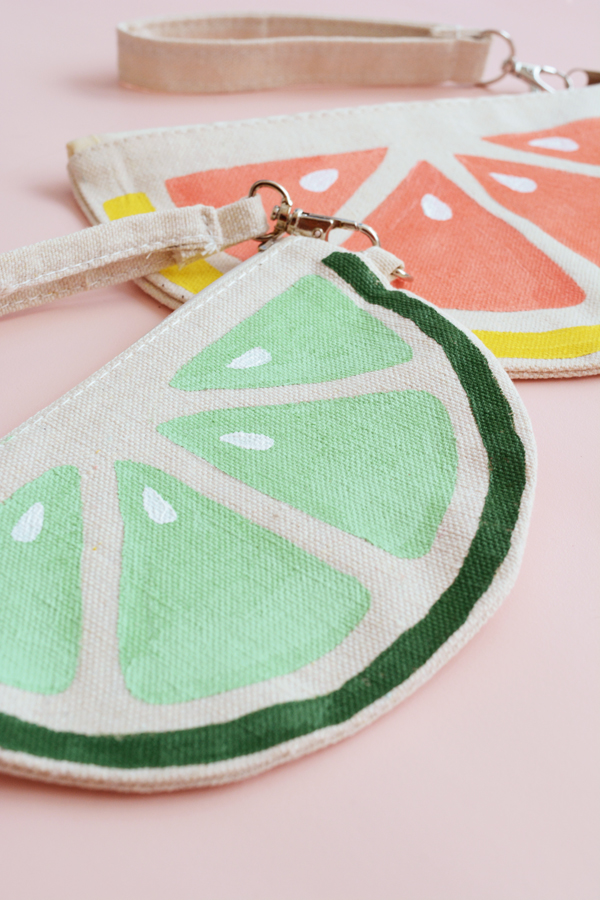
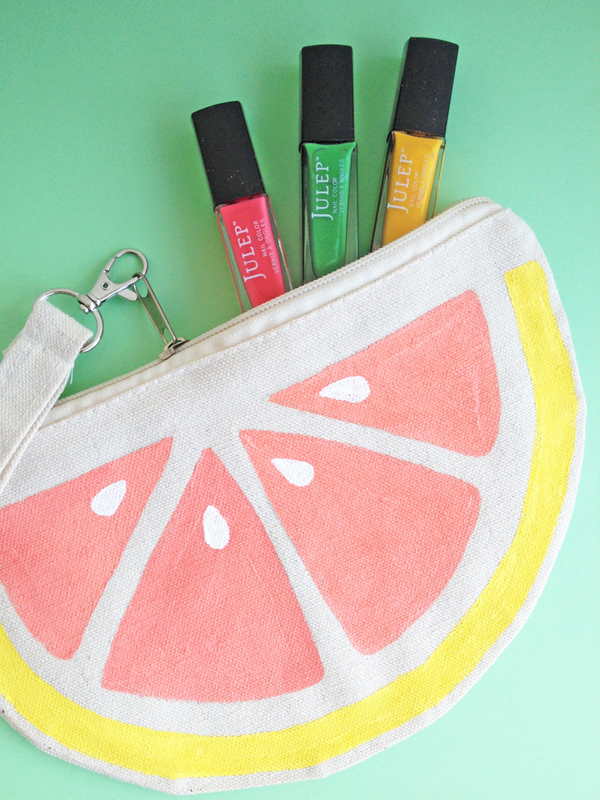
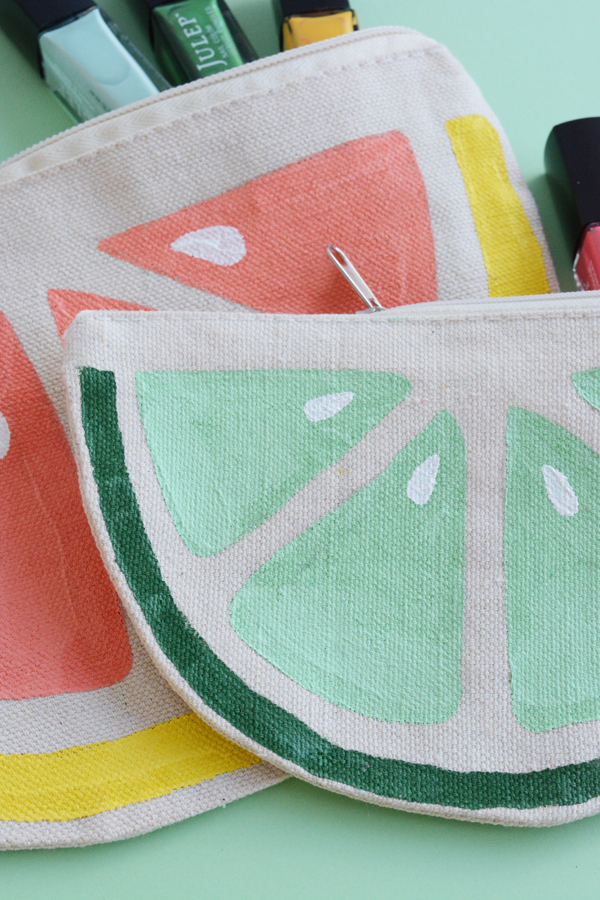
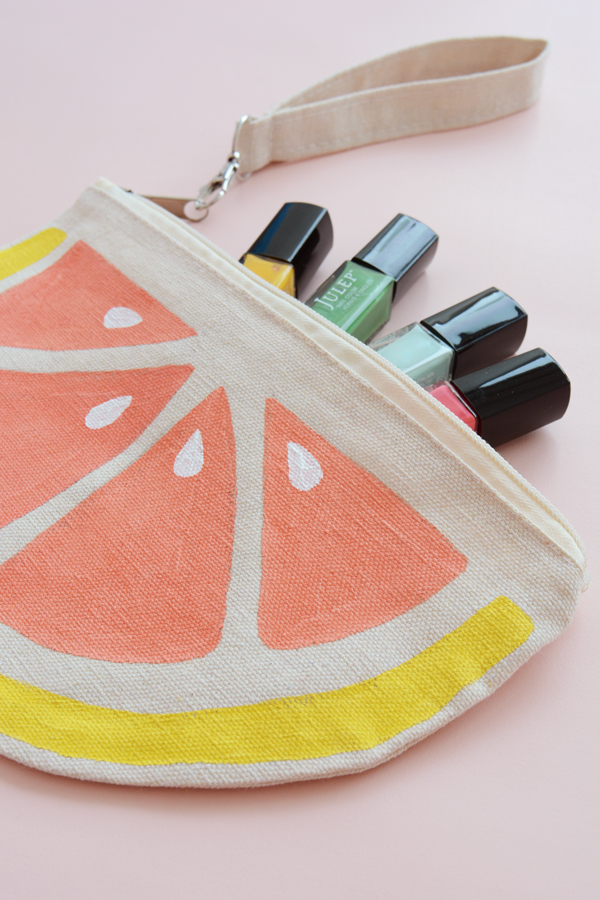
lightly sketch 4 triangle segments on the front of the bag with a pencil. Using craft paint (I like Martha Stewart’s) fill in the segments and paint the edge of the bag for the rind. When it was completely dry, paint on a seed in each section with white paint.
And that’s it, super simple, but super summery cute.
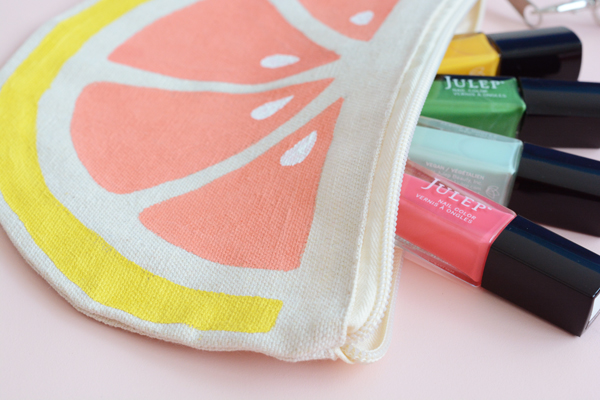
Right now I’m obsessed with Julep nail polishes. These pretty colors go on beautifully with one coat. I can’t get enough of these unique bright colors.

Brilliant! I hate putting in zippers too, but it never occurred to me to just change the shape of an already-zippered bag. This is the perfect project as I'm teaching my girl to sew on a machine this summer — cute, simple, and adorbs. Thanks!
Adorable! And so smart too!
wondurfull ! it's such a good idea !!!
Adorable!!!
Awesome tutorial, and so useful! Thanks for sharing.