DIY

DIY Touch of Gold Modern Wreaths

December 21, 2016

DIY Touch of Gold Wintery Greens Wreaths

I’m still decking the halls, or at least trying to. This has been such a frazzled holiday season for me. And like usual, I had all these hopes and expectations of what Christmas would look like in our new home. This is one of the first years that we haven’t had to travel for the holidays, so I had imaged all these wonderful memories being made in our new home. But, instead, it kind of doesn’t feel like Christmas at all. Ya sure, we have a tree. But, I’m just running from task to task and feeling like I’m actually not accomplishing anything at all. I had hoped to throw a big holiday open house – nope, that didn’t happen. I wanted to have all sorts of cookies baked by now – nope, just one dozen in the freezer. I was really wanting to spend some time making our new mantle look off-the-hook Christmasy – nope, it’s just a bunch of random things that really don’t go together. And I could complain some more, but I won’t. This morning I decided I can’t wish for the what-ifs and all the things that haven’t happened, instead I’m choosing JOY! I know the real reason for the season and I have a lot to be grateful for. I determined to make the most of what’s left of this Christmas season. Yes, I still have lots of work to do, but I’m just going to try to power through it the next couple of days and focus on all the good things in my life. And tonight, I’m going to bake some cookies, even if it’s at 2:00 AM. I don’t know, can you relate? I don’t want to be disappointed this Christmas, I want my family to have fun memories this year.

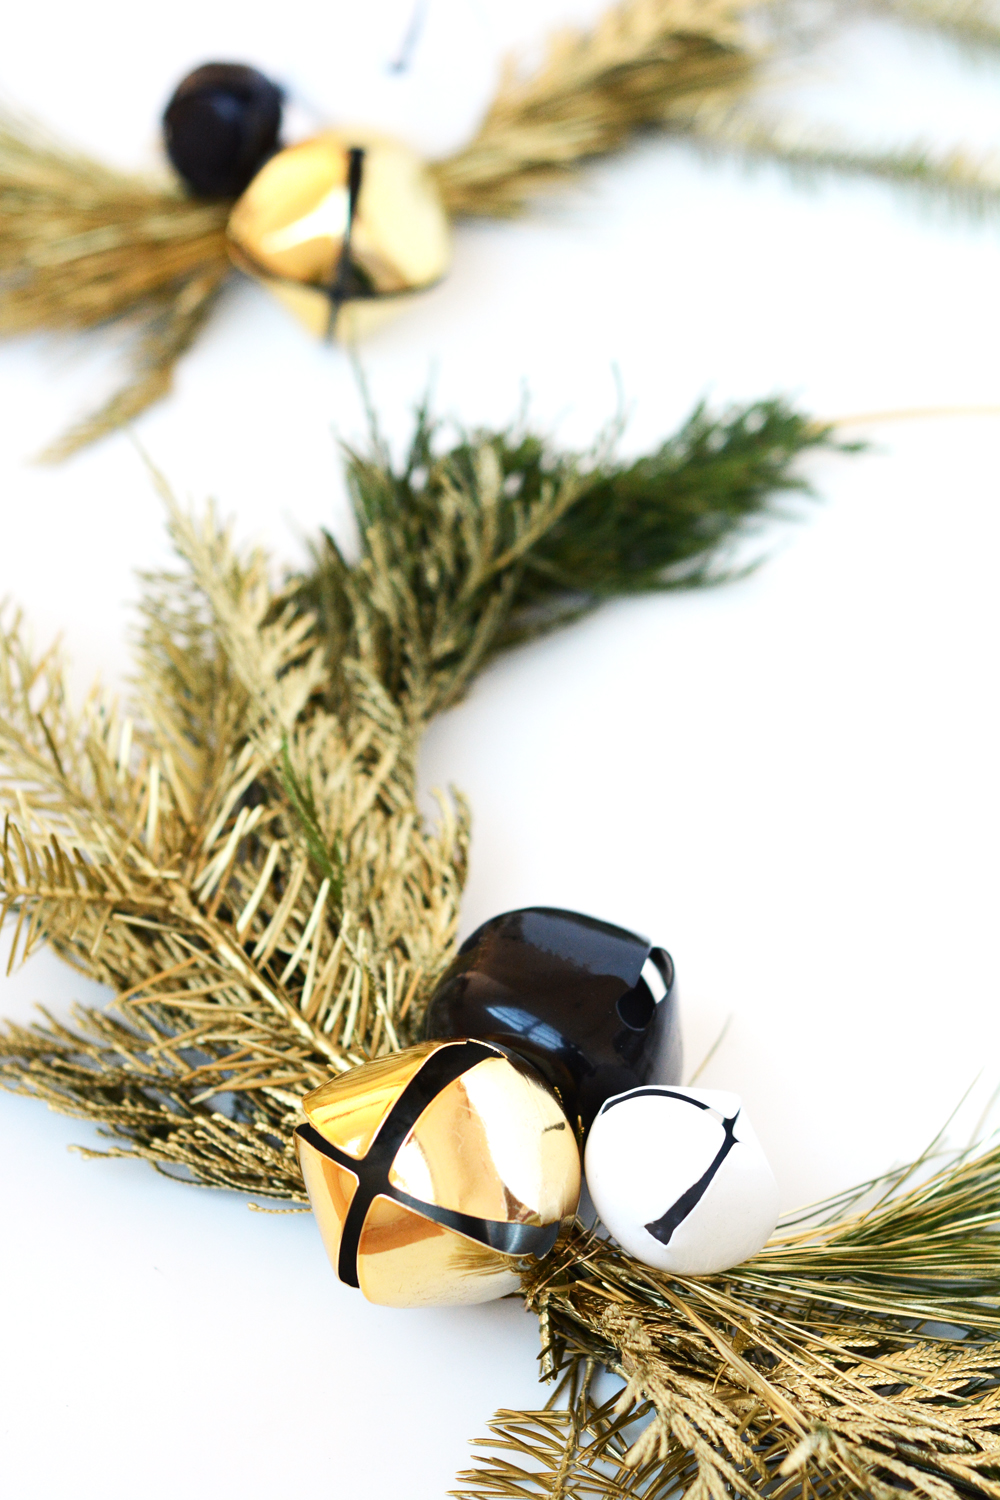
DIY Wintery Green WreathsDIY Gold Wintery Green Wreath

So, even though my to-do this is super long, and I really should be sanding floors or something more productive. I decided to take some time this weekend to make some modern wreaths to hang in our windows. And because it’s the holidays, a little gold is always a good idea. Last year, I friend and I made about a dozen wreaths similar to these with eucalyptus we foraged from our neighborhood. I’ve been wanting to make more this year, so I just did it and I’m super

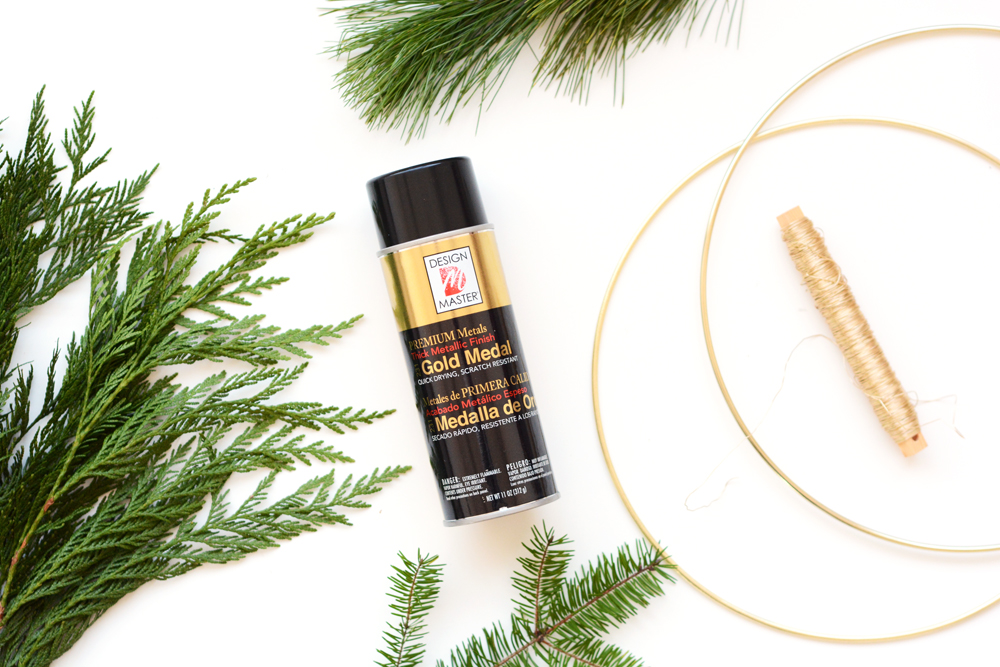
Here’s what you’ll need:

  • 16″ brass hoops
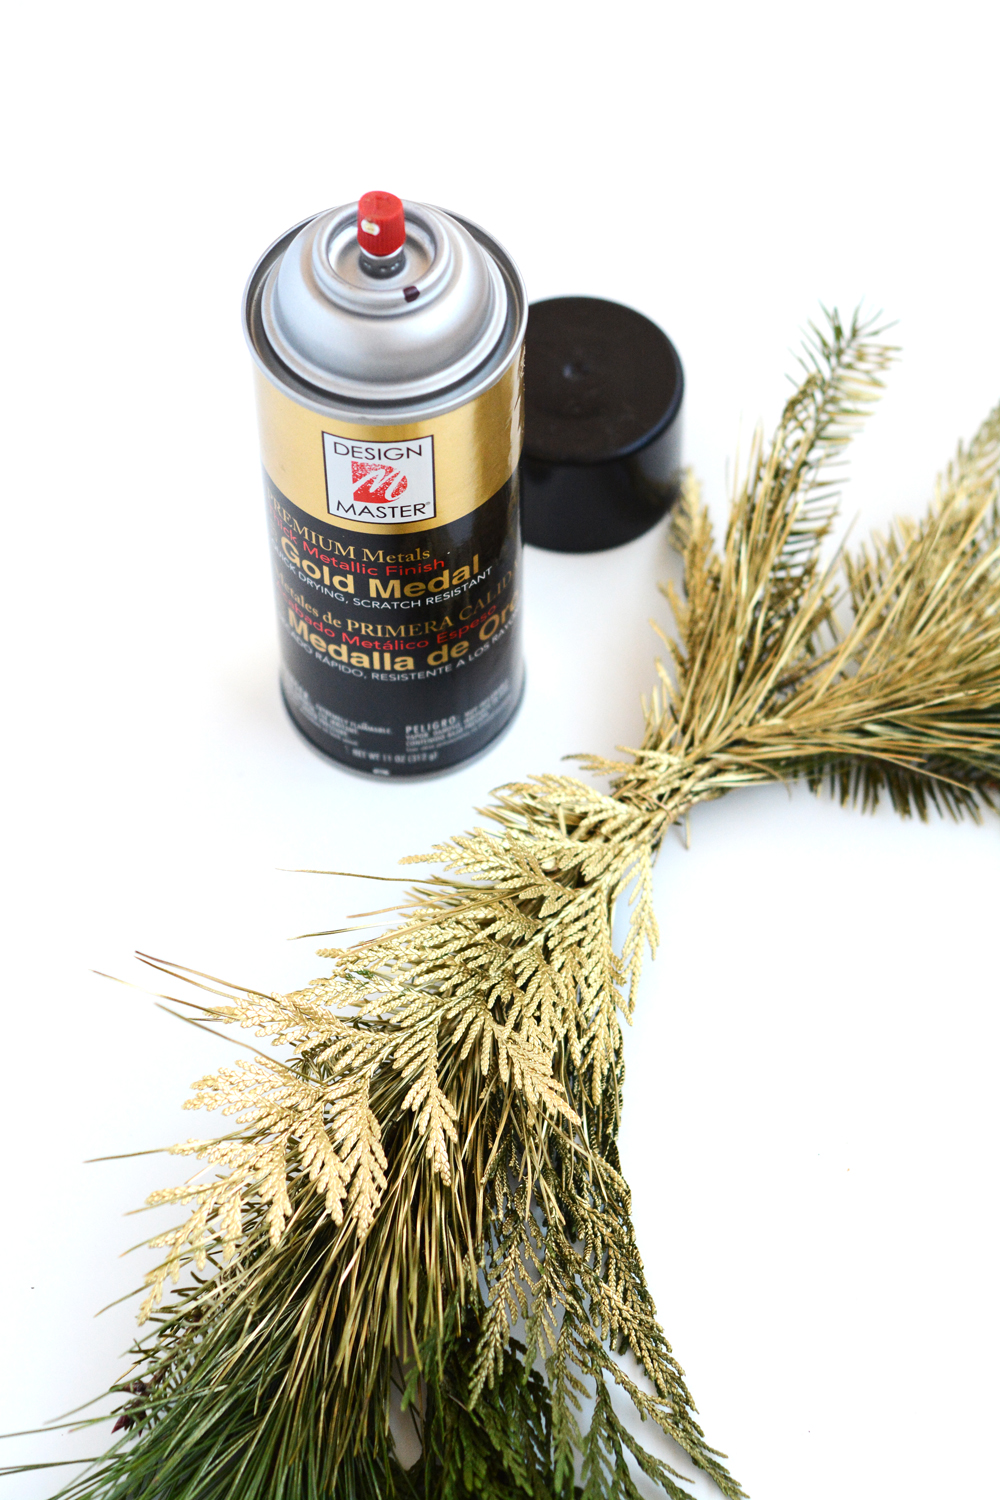
  • Design Master Gold Medal Spray Paint
  • Florist’s Wire
  • Winter Greenery (I bought a $4.99 bunch from Trader Joes to make all three wreaths)
  • Large Jingle Bells
  • Wire snips or heavy duty scissors

DIY Modern Winter Wreaths

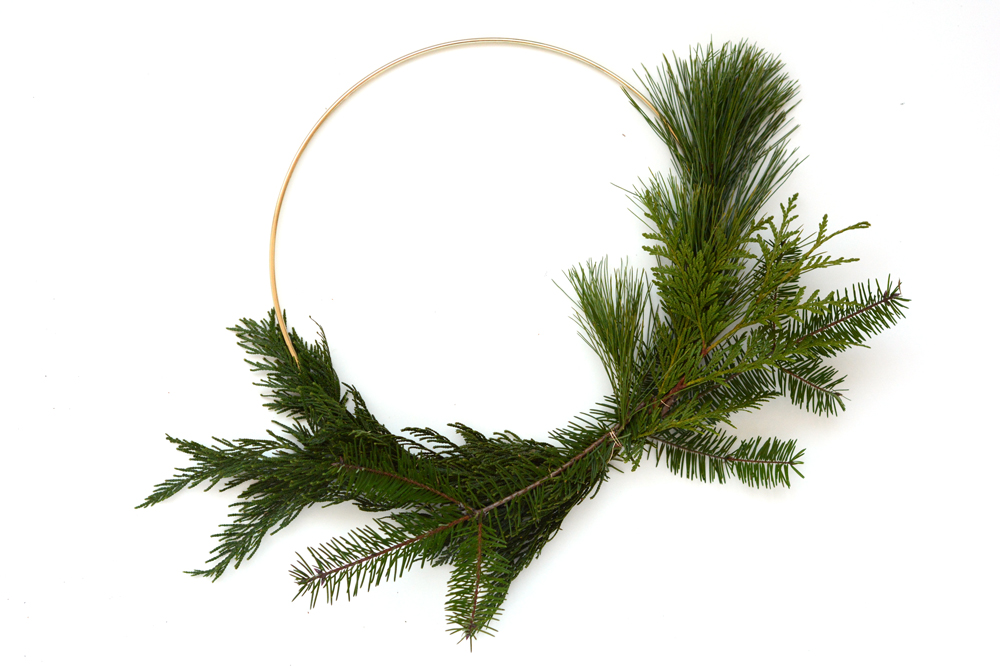
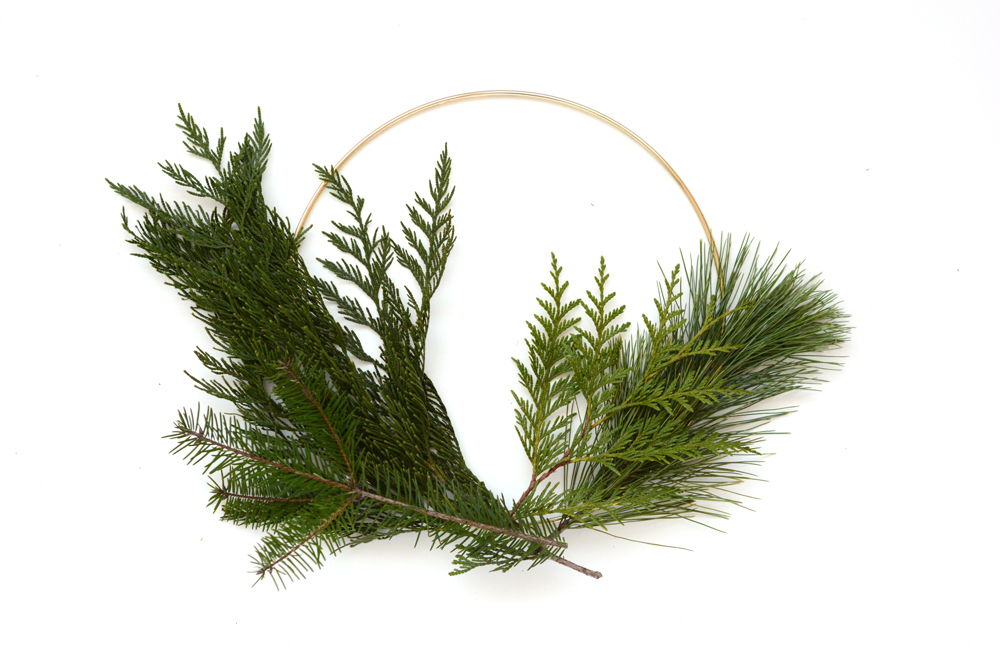
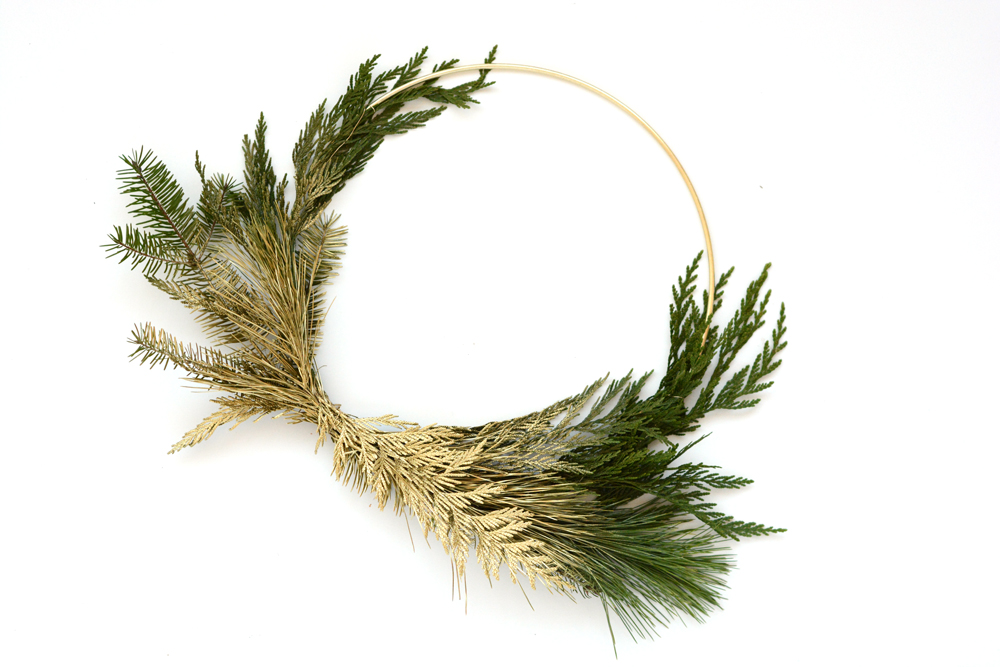
Start by laying out branches to get a general idea of how you’d like the wreath to look. I kept mine all very sparse and kind of asymmetrical.
DIY Modern Winter Wreaths

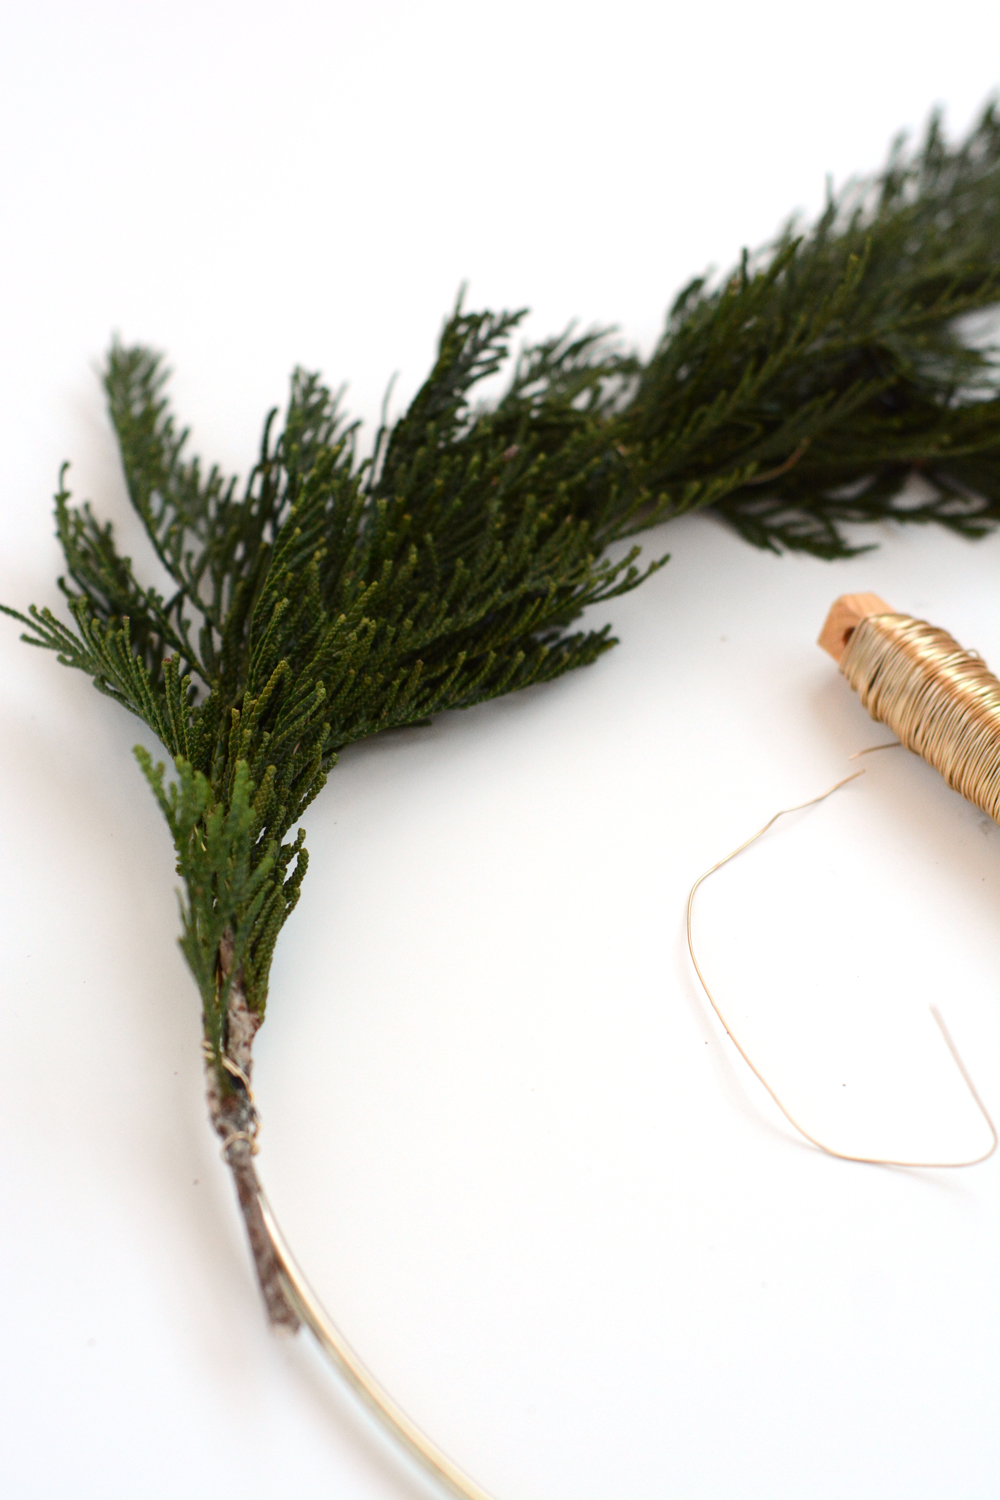
Begin wiring on the branches. Try to tuck the wire in under leaves and needles to hide it as you wrap up the branch.
DIY Modern Winter Wreaths

Layer on more branches as needed.

DIY Modern Winter Wreaths

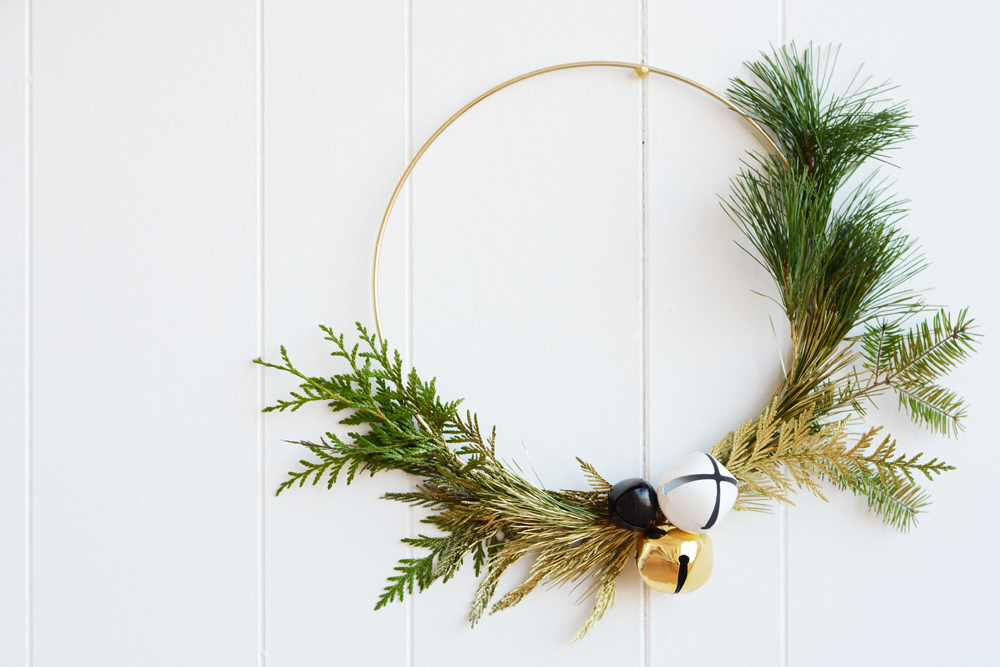
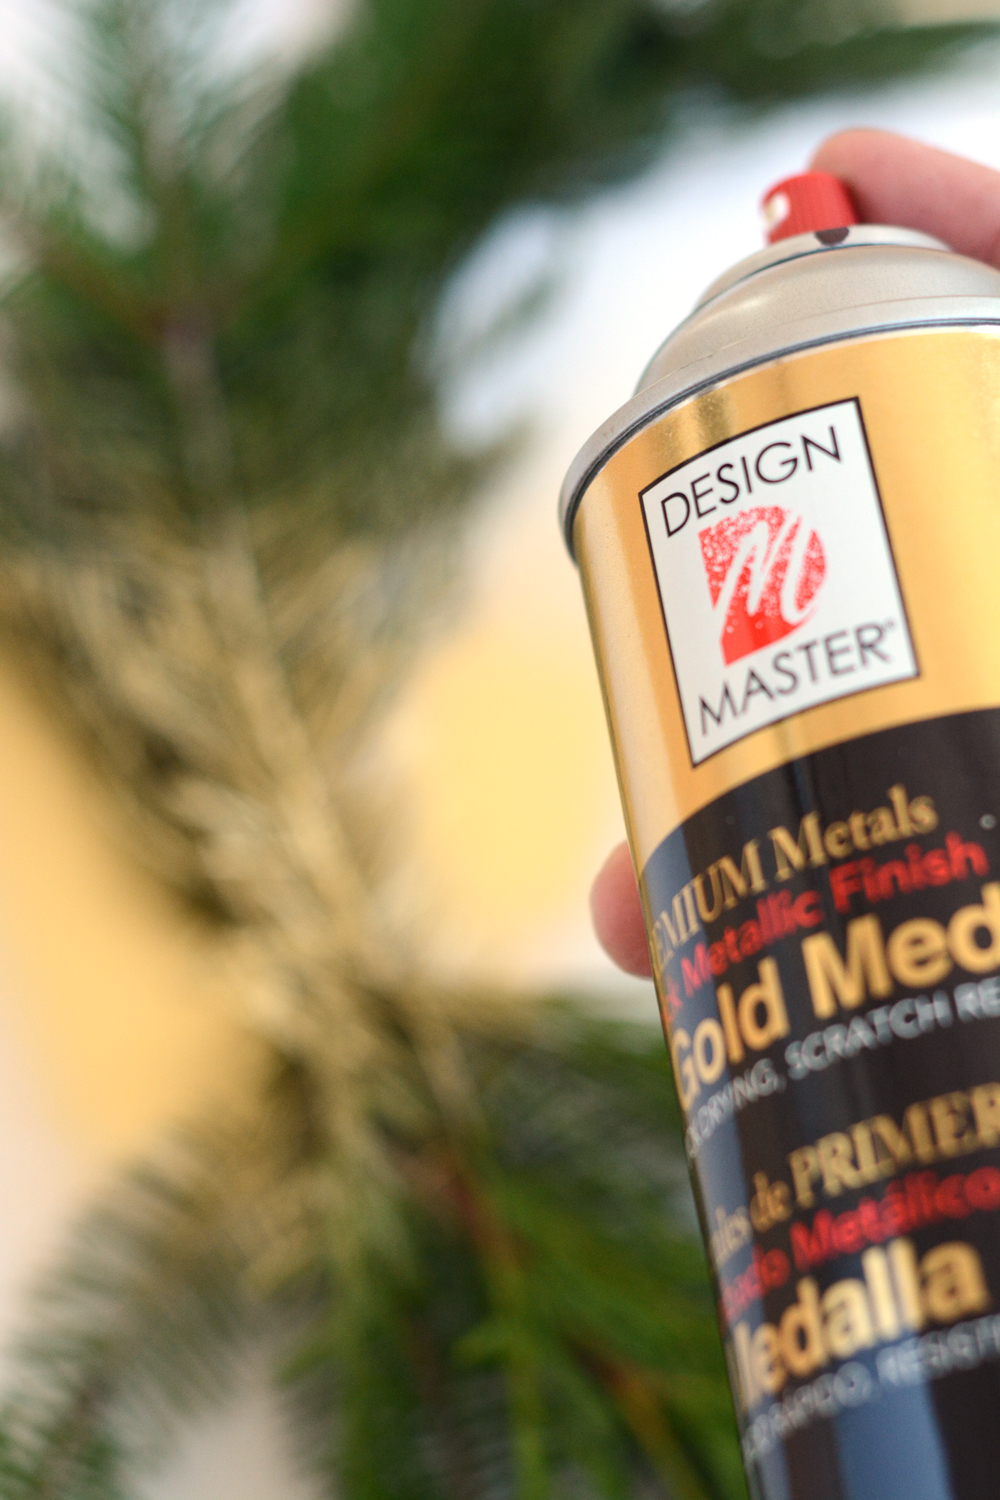
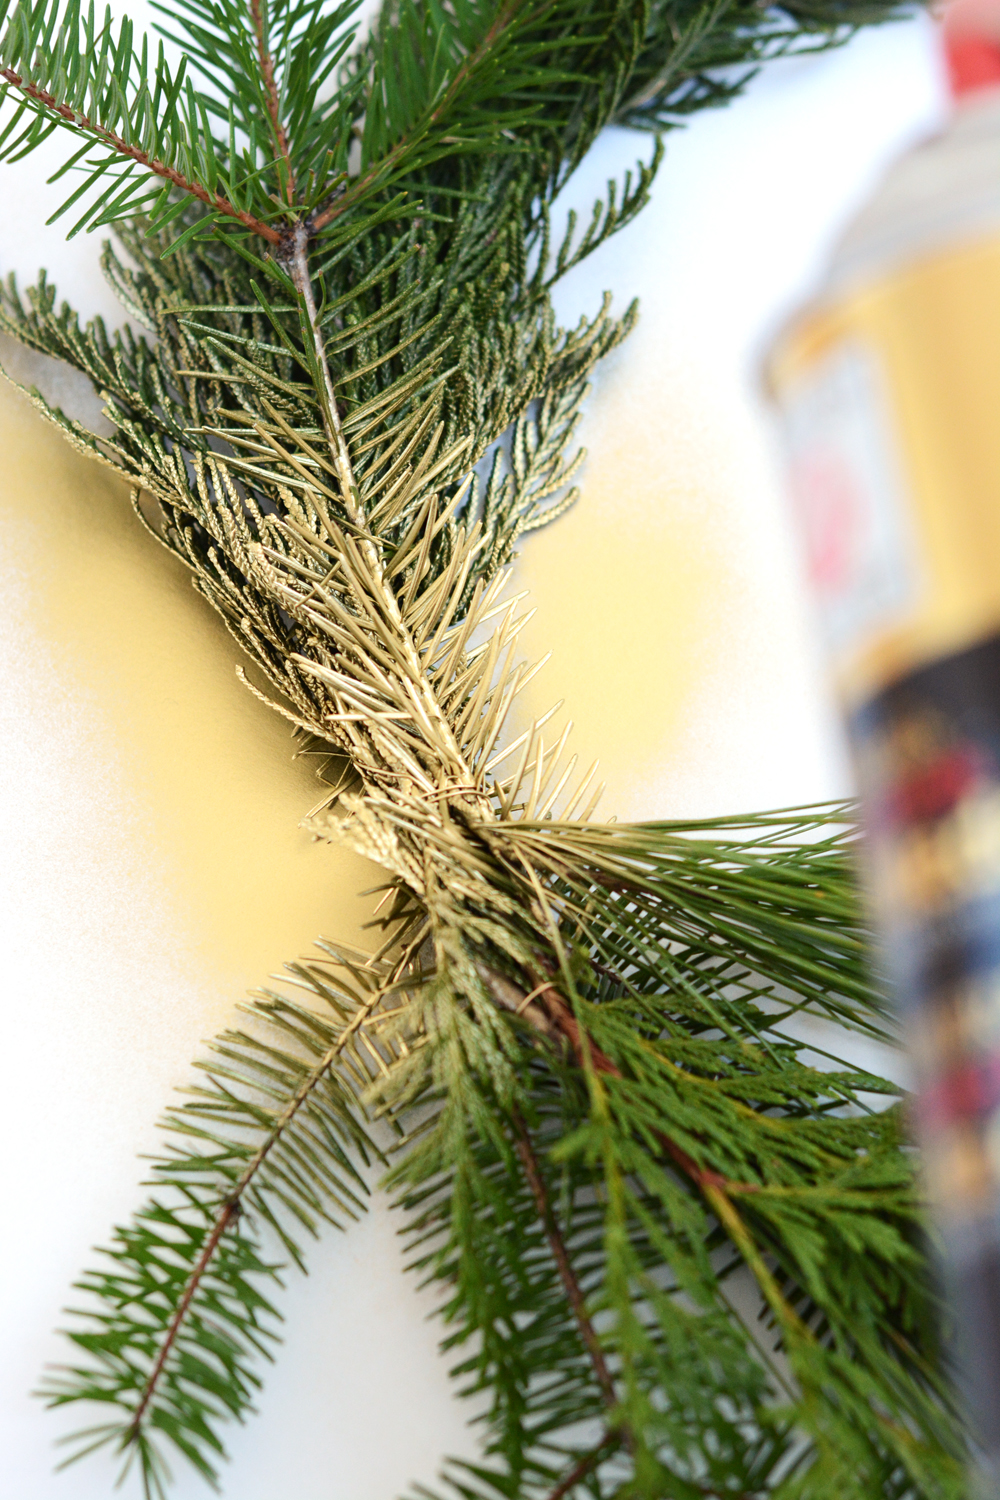
Starting at the center point of the wreath and spray on a even thin coat of gold spray paint work out towards the ends of the branches. Leave the ends their natural green and feather out the paint so that there isn’t a harsh line where the gold paint ends.
DIY Modern Winter Wreaths

Design Master paints are perfect for jobs like this. This paint goes on in even, light coats that can be layered. It also dries super fast.
DIY Gold Winter Greenery Wreath DIY Gold Winter Greenery Wreath

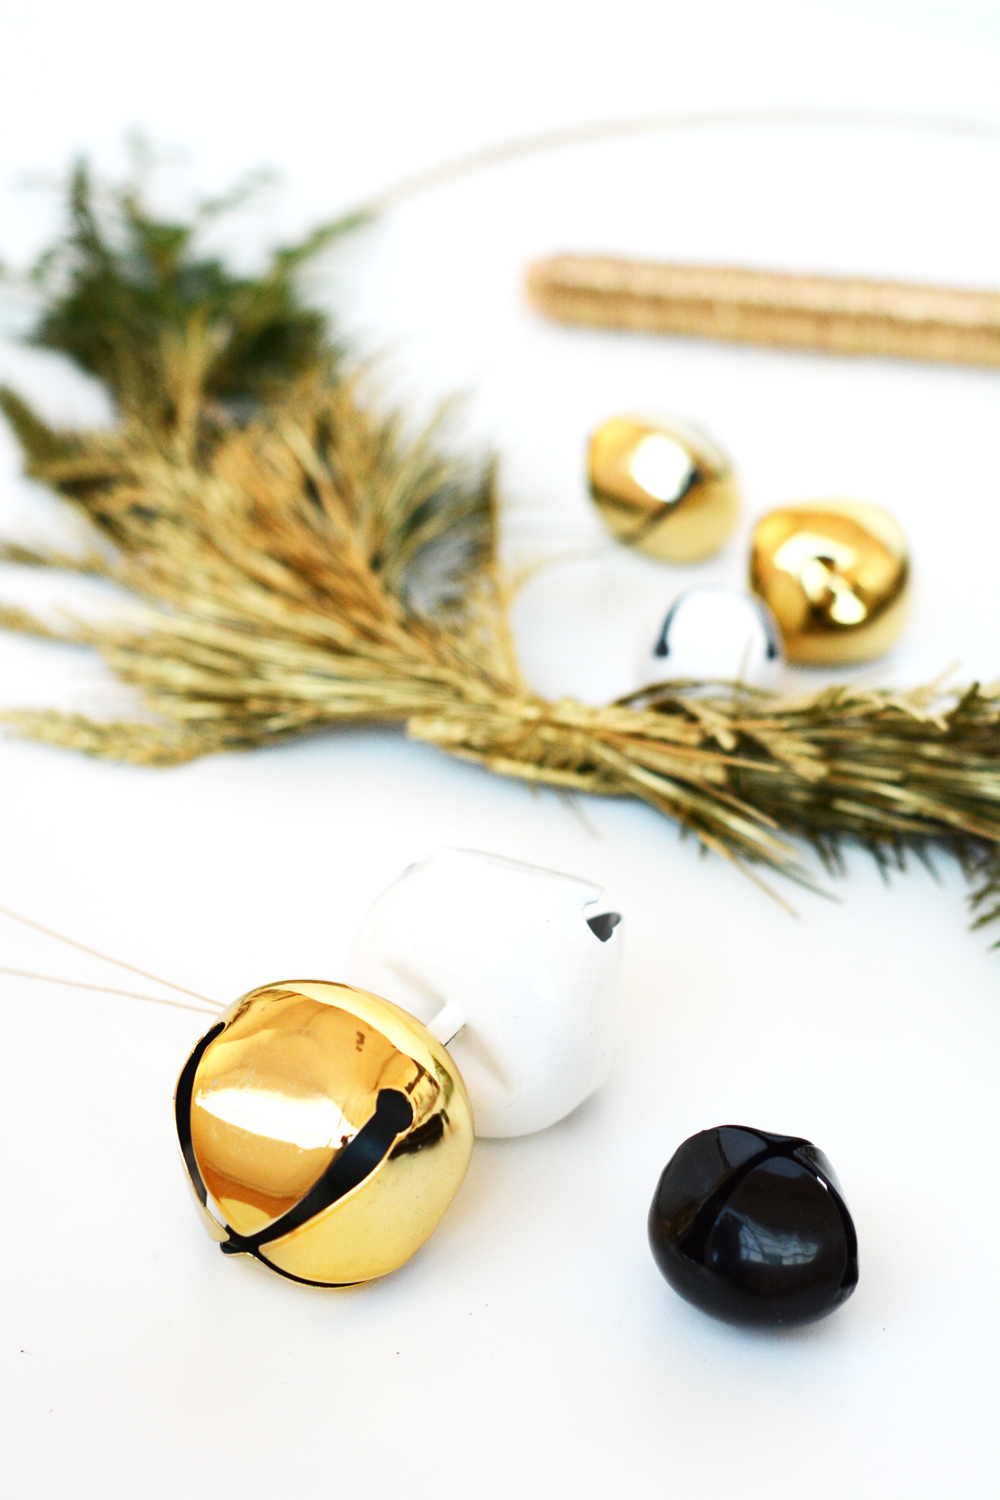
Using a little more florist’s wire, wire on the jingle bells to cover the mess of visible wire in the center of the wreath.

DIY Modern Gold Winter Greenery Wreaths DIY Modern Gold Winter Greenery WreathsDIY Modern Gold Winter Greenery Be sure to check out the some of the other fun DIYs I’ve created using Design Master Spray Paint – 3 Tiered Hanging PlanterDIY Modern Decorative PlatesDIY Faux Copper VaseDIY Ombre Give Thanks BannerMetallic Dipped Taper CandlesDala Horse Salt Dough Ornaments, DIY Ombre Shoes and Laces and the Gold Dipped Yarn Hanging.

I buy my Design Master paints and my local Michaels. Design Master paints can paint the most delicate of surfaces, such as silk and fresh flowers, fabric, ribbon, tulle, lace, paper, foam board and Stryrofoam TO the sturdy hard surfaces such as wood, metal, masonry, terra cotta, ceramics and plaster. Design Master is a great resource for products and ideas.  Be sure to check out all the craft and project ideas on their blog.

This post is sponsored by Design Master, thank you for supporting the companies that help make this blog possible. 
DIY Gold Wintery Greens Wreath

Design

The Guesthouse Bedroom Plan

December 20, 2016

I’m sorry for the radio silence last week. But, we are in up to our elbows in this Guesthouse project. I did A LOT of sanding and painting in the last week and a half. Today some of the tile is being installed and I’m absolutely giddy. I’ve been sharing lots of the behind-the-scenes over on my instagram stories. So, if you like awkward videos of me talking and seeing the mess that goes into a project like this, then feel free to follow along. I’ll share the tile process today. We hired a professional and I’m feeling really good about that. We try to DIY as much as possible. But, sometimes having someone who REALLY knows what they are doing and has all the right equipment and tools is a nice luxury.

The Oleander + Palm Guesthouse - the bedroom plan.

Today I wanted to share with you the plan for the Guesthouse bedroom. It’s going to be super cute. I’ve partnered with AllModern and this room is decked out with Scandinavian design and stylish modern and mid century pieces. I kept the palette very muted, but played with some fun geometric patterns and lots of texture. There is also a hint of pink to soften all those bold black and whites. I keep saying that I’m moving out there, and really, looking at these gorgeous pieces, I really think I should.

  1. Geometric Rug
  2. Pastel Pillow (similar)
  3. Wall Sconces
  4. Mustard Sheepskin Pillow
  5. Chandelier
  6. Vase Set
  7. Mid Century Bed
  8. Brass Chair
  9. Throw
  10. Wire Basket
  11. Woven Wall Art
  12. Metal Plant Stand
  13. Brass Planter

Even though the bathroom isn’t totally done, the hope is to have the bedroom set up by the end of this week for my parents to stay in. Fingers crossed and lots of coffee to be had. I’ll keep you posted on the progress.

The Oleander + Palm Guesthouse - the bedroom plan.

Food & Drink

Milk Mocktails and Appetizers

December 19, 2016

AdvertisementMilk Mocktails and Appetizers Milk Mocktails and Appetizers

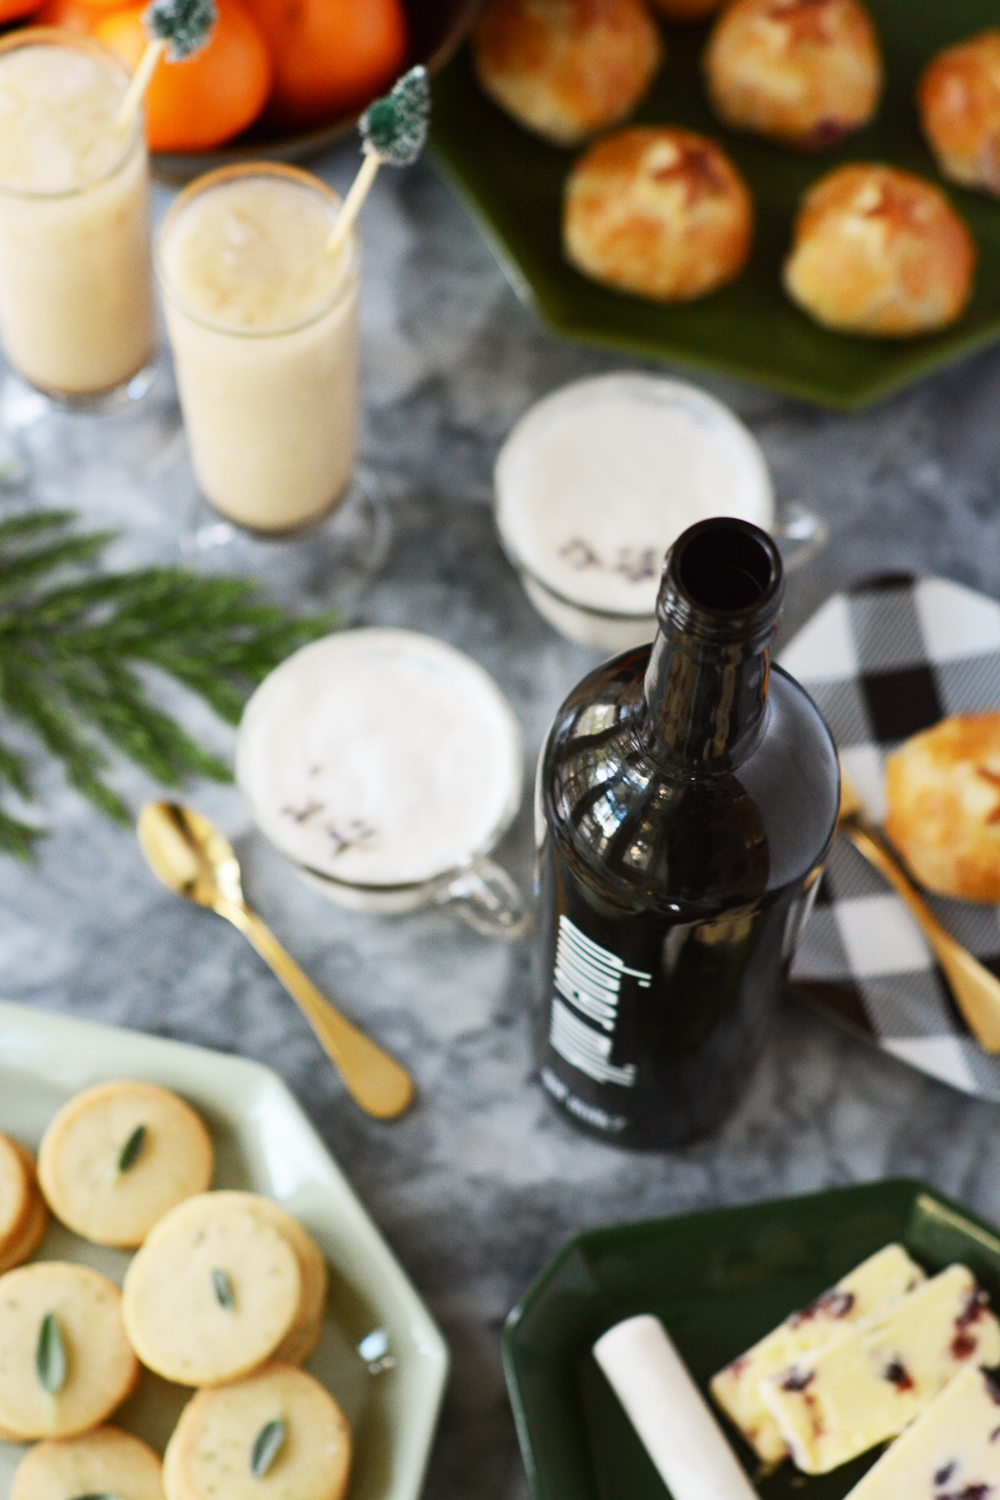
I’ve partnered with got milk? to share two new fun mocktail recipes with you today. It’s the season for entertaining, so why not try something new – Milk Mocktails are where it’s at. These really are fun for the whole family. For your next get together, I suggest skipping dinner and serve mocktails and appetizers. These recipes are jam packed with flavor.

Milk Mocktails and AppetizersMilk Mocktails and Appetizers


On the menu:

  • Earl Grey and Lavender Milk Steamers
  • Iced Gingerbread Milk
  • Mini Cranberry Baked Brie
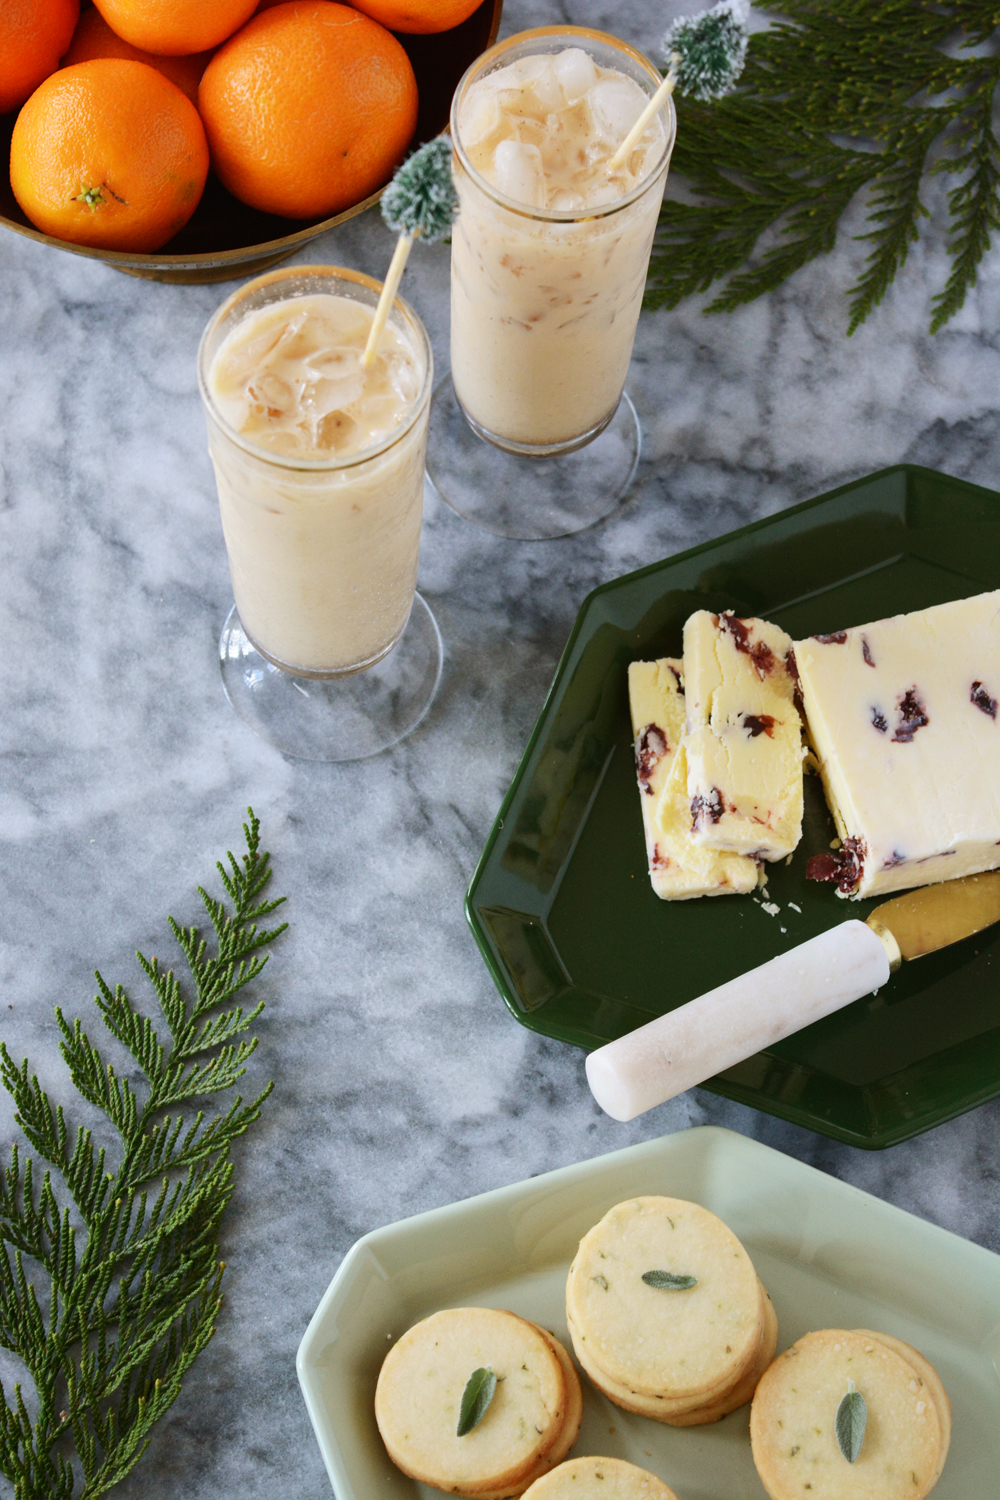
  • Sage Shortbread Cookies and Wensleydale with Cranberries

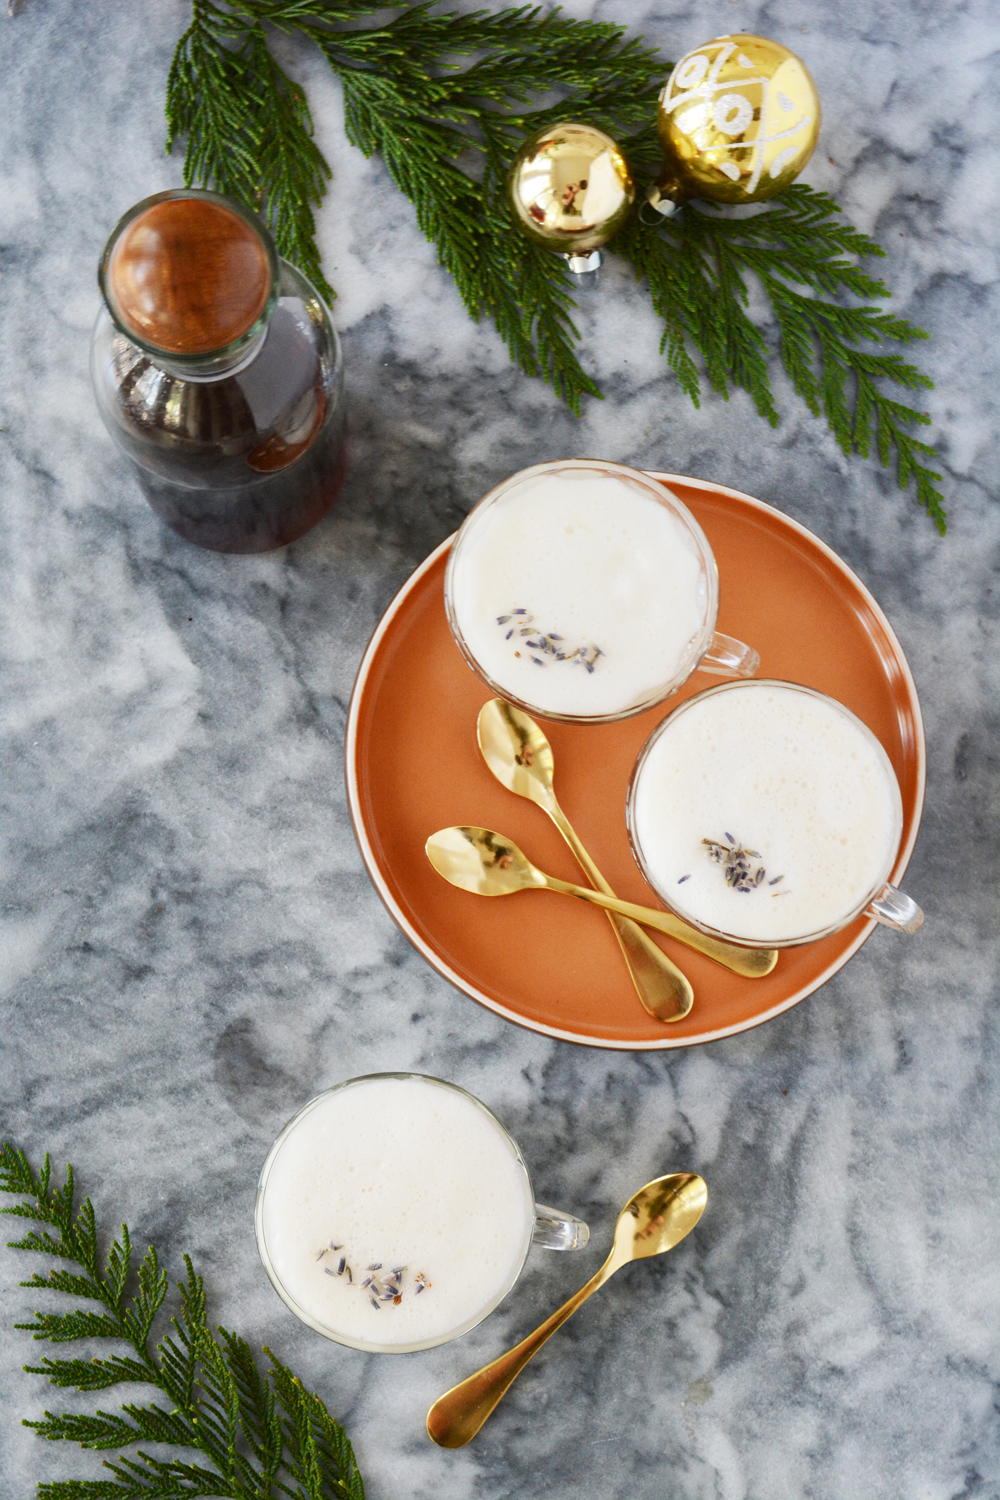
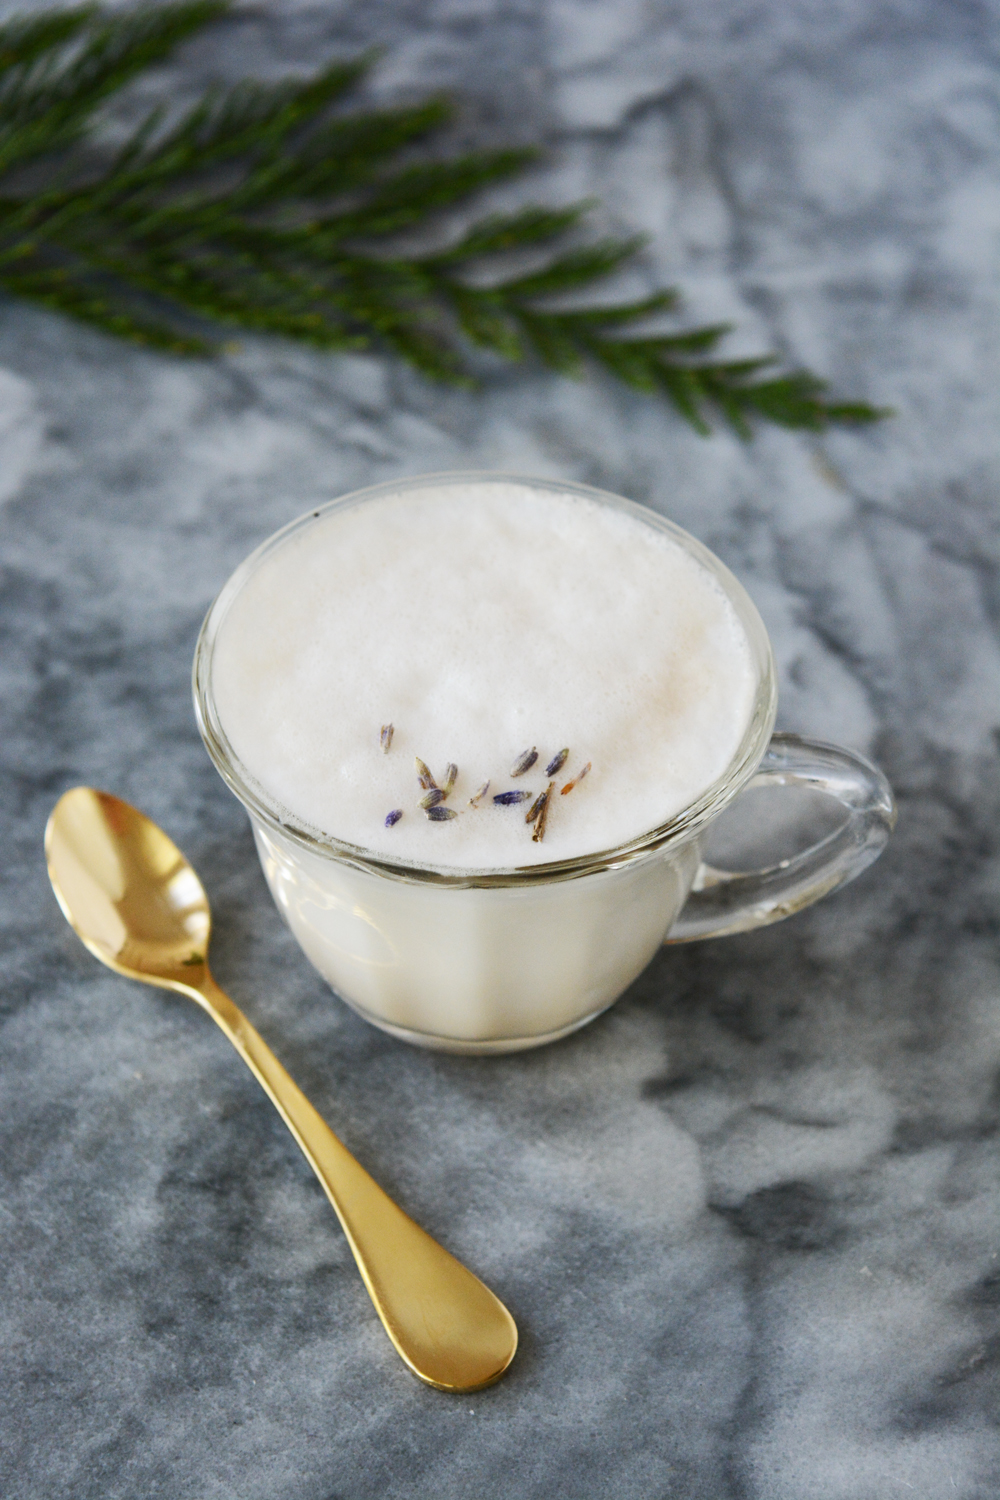
Earl Grey Lavender Milk SteamersEarl Grey + Lavender Milk Steamers

Earl Grey and Lavender Milk Steamers

  • 2 earl grey tea bags
  • 1 tbsp dried lavender
  • 1tsp. vanilla
  • 1 cup water
  • 1 cup sugar
  • steamed whole milk

Bring the water to a boil. Add the tea bags and lavender, allow the it to steep for an hour. Strain the tea and lavender. In a small pot, bring steeped water and sugar to a boil. Boil for one minute. Remove from heat and cool completely.

In a mug combine 2 tbsp. of the syrup with a cup of steamed milk. If you don’t have a milk steam or frother, milk can simple be heated in pot to the point just before it boils.

Top each milk steamer with a sprinkling of dried lavender.

Milk Mocktails and Appetizers - Earl Grey Lavender Steamers and Mini Baked BriesMini Cranberry Baked Bries


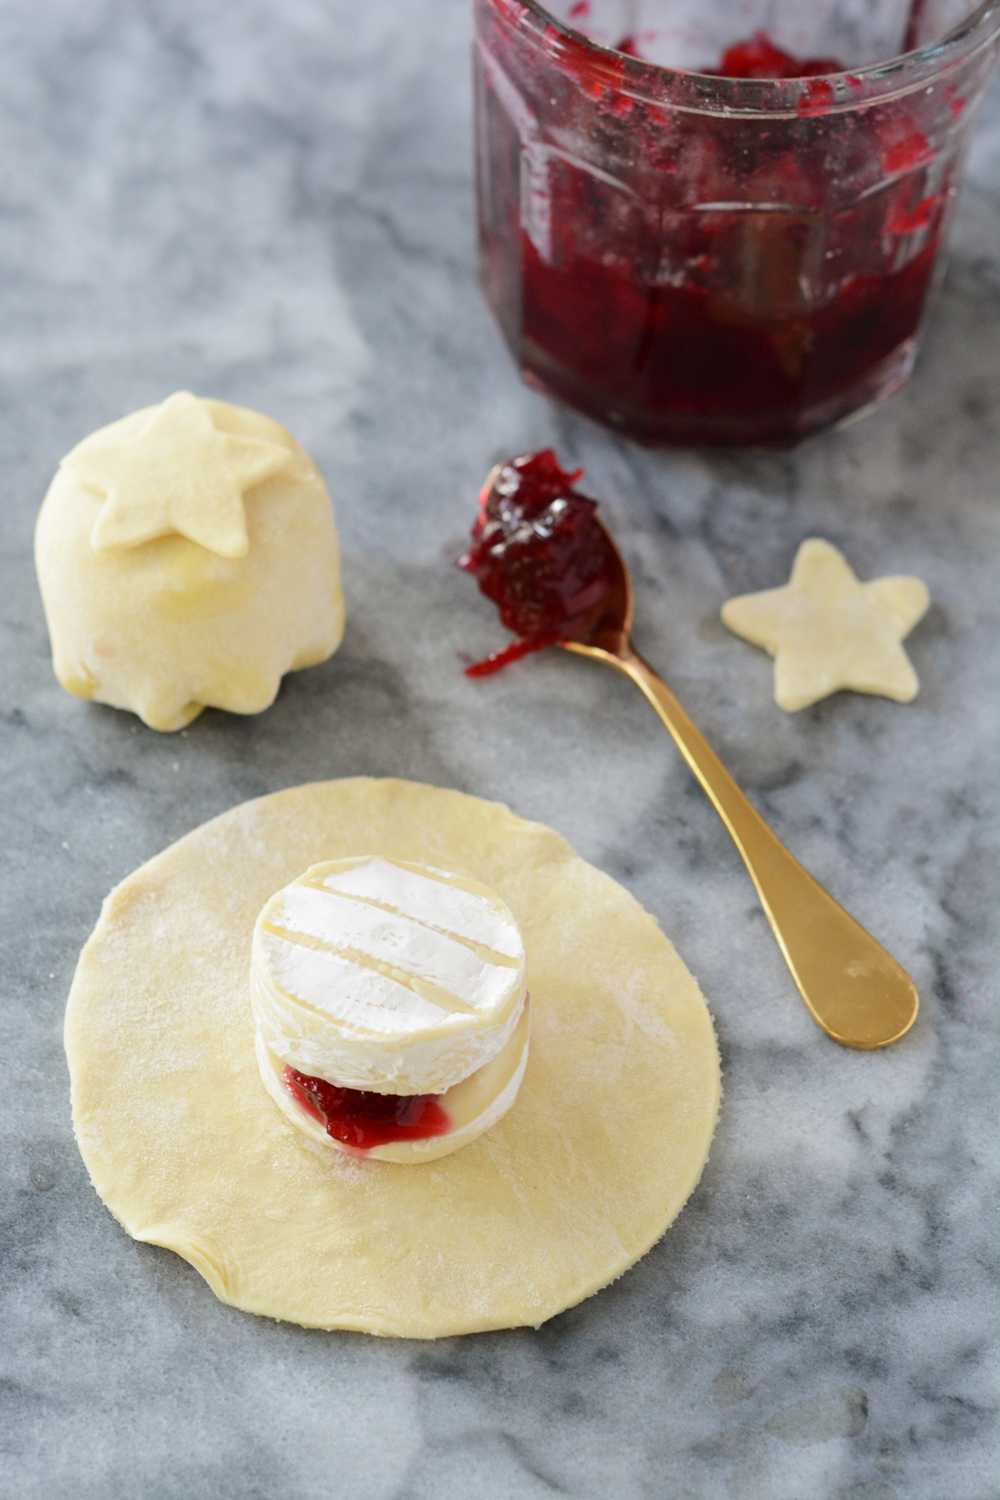
I’ve never met a guest that didn’t love baked brie, and how can you resist then adorable mini versions. Warm Earl Grey and Lavender Milk Steamers served with a piping hot baked brie is the perfect combination to warm you from the inside out on a chilly winter evening.

Mini Cranberry Baked Brie

  • pre-made puff pastry
  • mini brie or a large brie cut into 2 inch cubes
  • cranberry sauce (or any other fruit preserve)
  • 1 egg

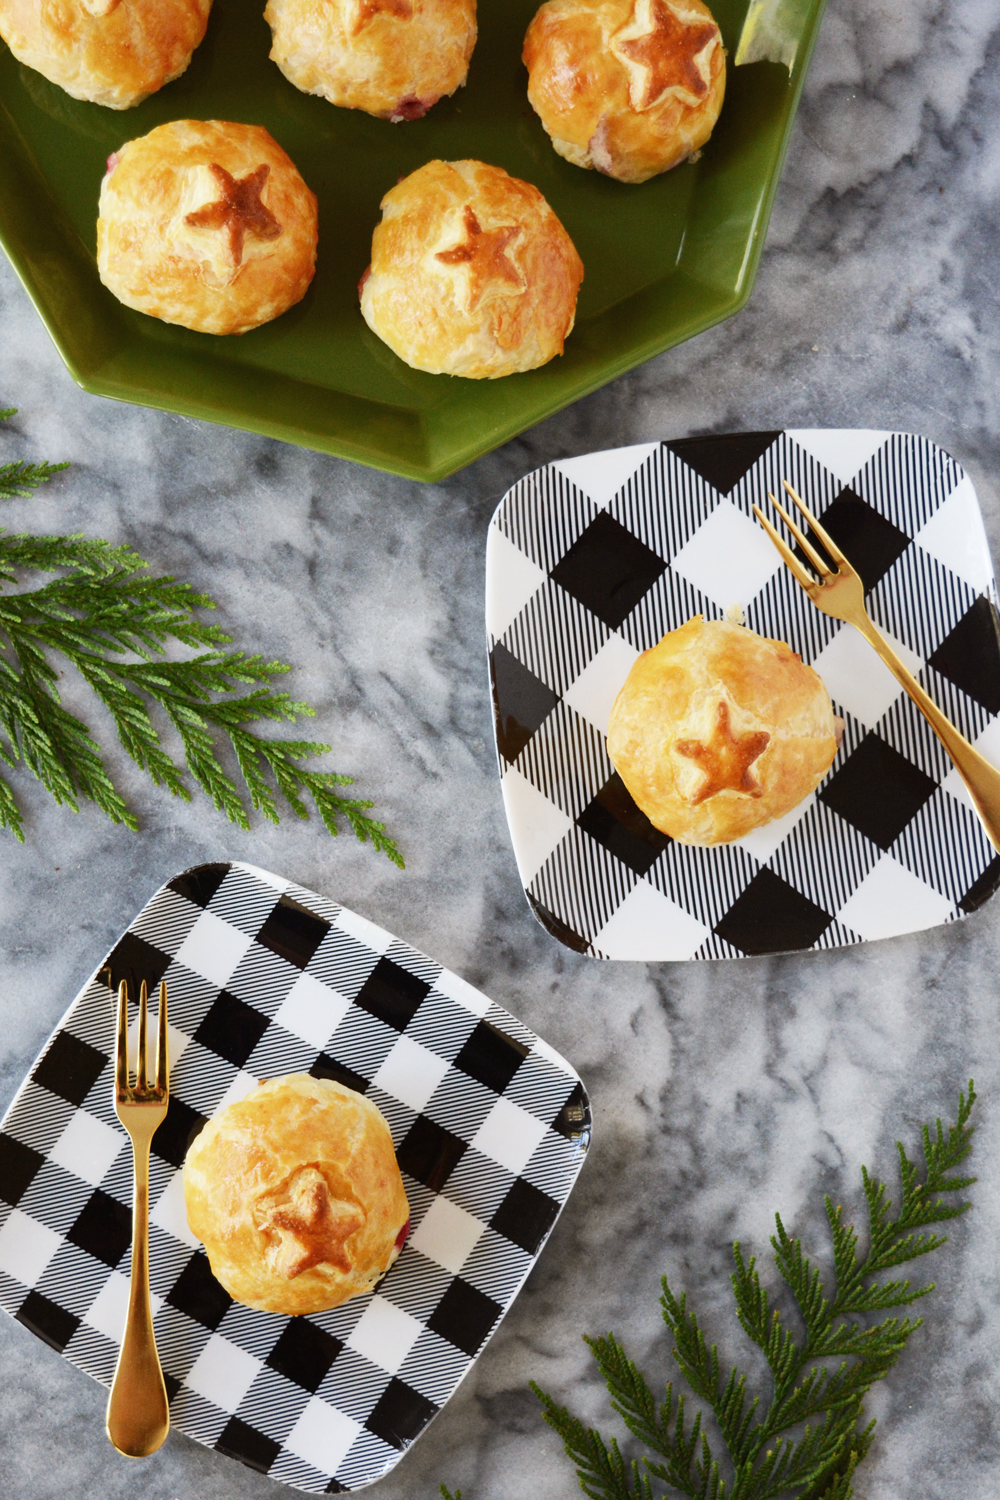
Cut the brie in half and spoon 1 tsp. cranberry sauce into the middle on the brie. Cut 5 inch. circles of puff pastry. Place the brie in the center of the pastry and wrap the pastry around the cheese. Beat the egg with a fork, using a pastry brush, brush a generous amount on the pastry to glue to edges together. Cut a small star shaped pieces of the the pastry and top each brie with a star. Brush the entire pastry wrapped brie with the egg wash. Bake at 400 F for about 18 mins. or until golden brown.

Mini Cranberry Baked BriesSavory Sage Shortbread Cookies


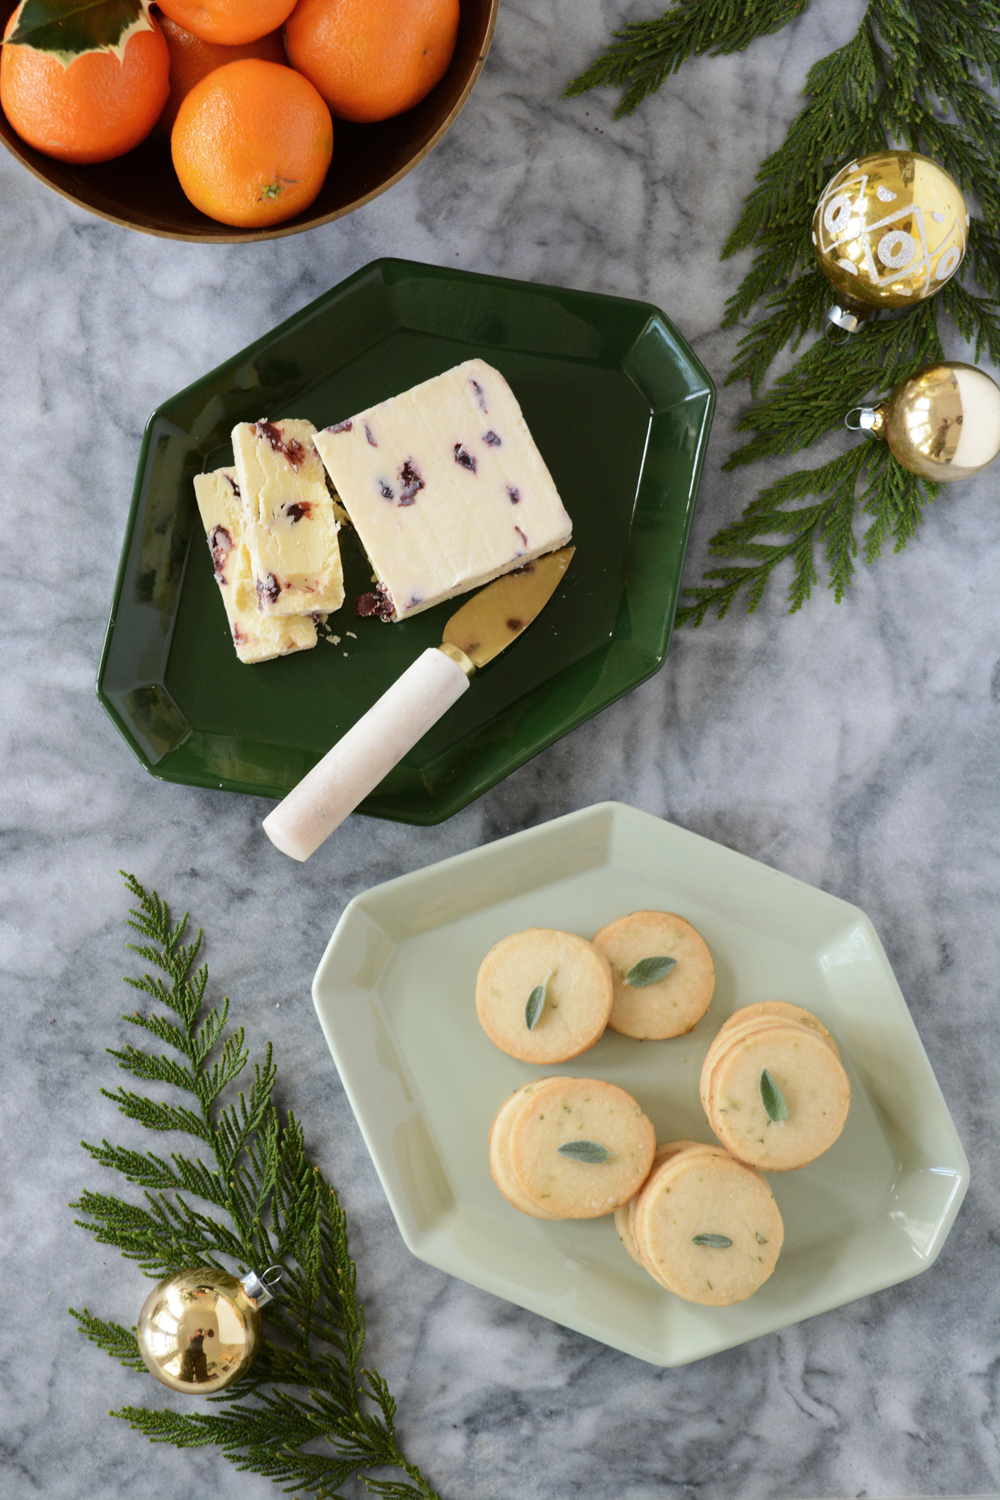
A savory sage shortbread is a surprising treat. Paired with Wensleydale Cheese with Cranberries, this pile of cookies and block of cheese was gone in no time. It’s a rich bite, so icy cold, spicy Gingerbread Milk is a perfect match.

Sage Shortbread Cookies

  • 1 cup butter (room temperature)
  • 2/3 cup powdered sugar
  • 1 3/4 cup flour
  • 2 tbsp. finely chopped fresh sage
  • a pinch of salt

With an electric mixer, beat the butter on high for a minute. Add the powdered sugar and beat until smooth. Add the flour and salt and beat again until smooth. Add the sage a mix until it is incorporated evenly.

Wrap the dough in plastic wrap and refrigerate for at least one hour. Roll out the dough to 1/4″ thickness on a well floured surface. Cut out 2 inch circles. Place the cookies on parchment lined baking sheet. Place the cookies in the freezer for at least 30 mins. Preheat the oven to 350 F, bake the cookies until just golden brown on the edges, about 12 mins.

Savory Sage Shortbread CookiesIced Gingerbread Milk Mocktails

Iced Gingerbread Milk

  • 1 cup water
  • 1 cup sugar
  • 2tsp. ginger
  • 1tsp. cinnamon
  • 2-3 tbsp. molasses
  • 1/4 tsp. nutmeg
  • 1/2 tsp. allspice
  • 1/4 tsp. cloves
  • whole milk
  • ice

In a pot, combine the first 8 ingredients, bring to a boil and cook for 4 mins on high.  Cool and store in an sealed jar or bottle. Keeps up to 2 weeks in the fridge.

In a glass filled with ice and cold milk, stir in 1-2 tbsp. gingerbread syrup.

Iced Gingerbread Milk MocktailIced Gingerbread Milk MocktailsMilk Mocktails and Appetizers

This post is sponsored by got milk? (Food Loves Milk!) Thanks for supporting the companies that help make this blog possible. 

Milk Mocktails and Appetizers

DIY

The Making of the O + P Guest House

December 13, 2016

So, if you follow me on instagram, I’ve mentioned that we are working on a really fun project. We are renovating a small apartment attached to our garage and making it into a really cool Guest House. It is just a one room studio with bathroom and a good sized closet. But, it’s going to be a really comfortable, stylish little guest house for our friends and family and also hopefully a little extra income as we will be listing it on Airbnb. I’ve partnered with one of my favorite companies, AllModern, to give this space a top notch look. I’m so excited about the details in this space – the lighting, furniture, fixtures, tile and accessories are OFF-THE-HOOK! (Stay tuned, I’ll be sharing the design plan with you very soon.) You guys, I think I might move out there when it’s finished. I’ll take Lonnie, but I think we’ll leave the kids in the main house (tee hee).

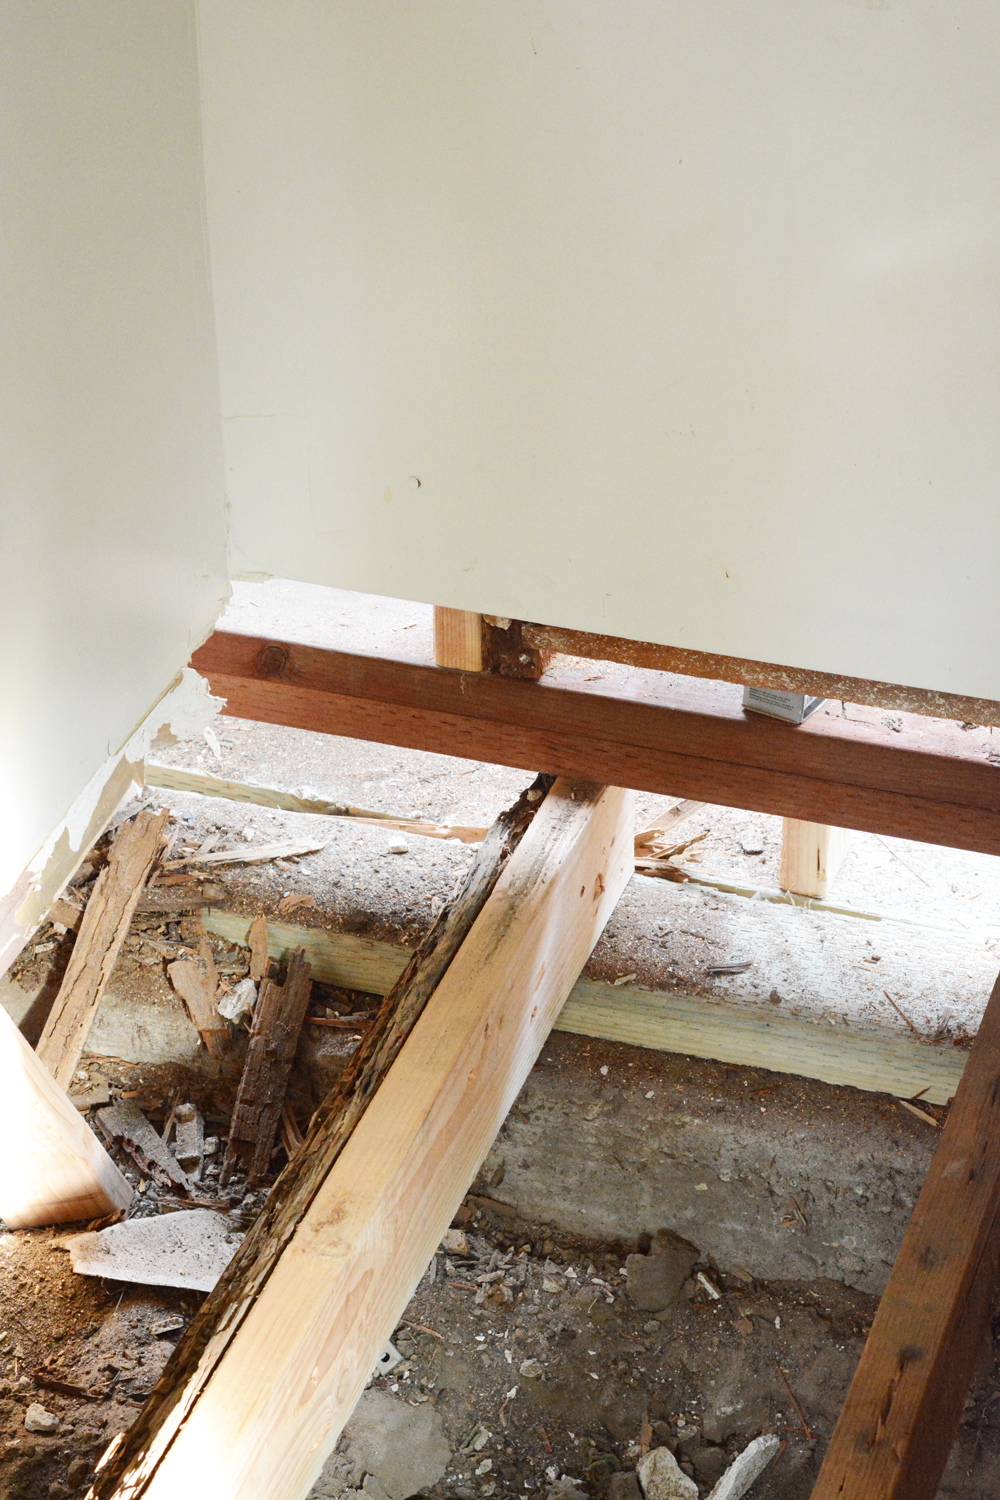
So, this has been a little bit of a “can of worms” situation, kind of like any old house renovation is. You get started thinking that this should be a totally doable project, and then after repairing termite damage to most of the floor joists and running all new water and plumbing lines, you are so deep into it that there is no turning back. I’m lucky to have a family that is very handy. My dad and brother Joash, who both helped us with our last house renovation, are the kind of experts that you need to know. Joash has actually been living with us for the last month and half and tirelessly repairing, replacing and rebuilding the space. We’ve loved having him around and he’s also very handy at picking up and dropping off 3 kids to 3 different schools (just saying). We will really never be able to repay him for all he has done. This is way over our DIY skill set. He’s done an amazing amount of structural work to this little space, and while it still looks very unfinished, we now know that it has a solid foundation and sturdy walls.

The bathroom plumbing had all been cut off, cement poured down, or removed many many years ago. So we hired a plumber to run new lines from the main house and install a new hot water heater. This was a pretty big chunk of change, but this much plumbing was definitely more then we could handle on our own.

This has been a big project, but I think it’s going to have a big pay off when we have a beautiful Guest House to welcome guests to. I hope you’ll follow along on the progress. (This is the messiest part of the process, pretty pictures to come.)

Find

14 of the Best 2017 Calendars

December 8, 2016

I hate to say it, but the year is almost over. And, to be honest, I’m ready to start planning for a new year. A fresh start sounds really good. I think the first place to start is with a new calendar. I’ve done a little online hunting and I’ve rounded up 14 calendars that I think I pretty darn great.

calendars-2017

  1. Black with Flowers
  2. Paint Palette
  3. Good Words
  4. Terrarium Tea Towel
  5. Pink Marble
  6. Mustard and Pink
  7. Brass Stand
  8. Large Scale Pink
  9. Lemons
  10. Charley Harper
  11. Marble and Stand
  12. Book Shelf
  13. National Parks
  14. Giant Black and White

Also there’s a couple more I need to mention. This coloring book version by the fabulous Rad & Happy and this free printable one The Crafted Life created with Sarah Hearts should both definitely be considered. I’m using the Rad & Happy one for my “big ideas” calendar, it’s perfect for drawing all over and adding all your important dates. The Crafted Life’s printable one is going over my desk for a daily positivity reminder and for a quick glance at the whole year.

Food & Drink

Pineapple Kumquat Cardamom Marmalade in Pineapple Jars

December 6, 2016

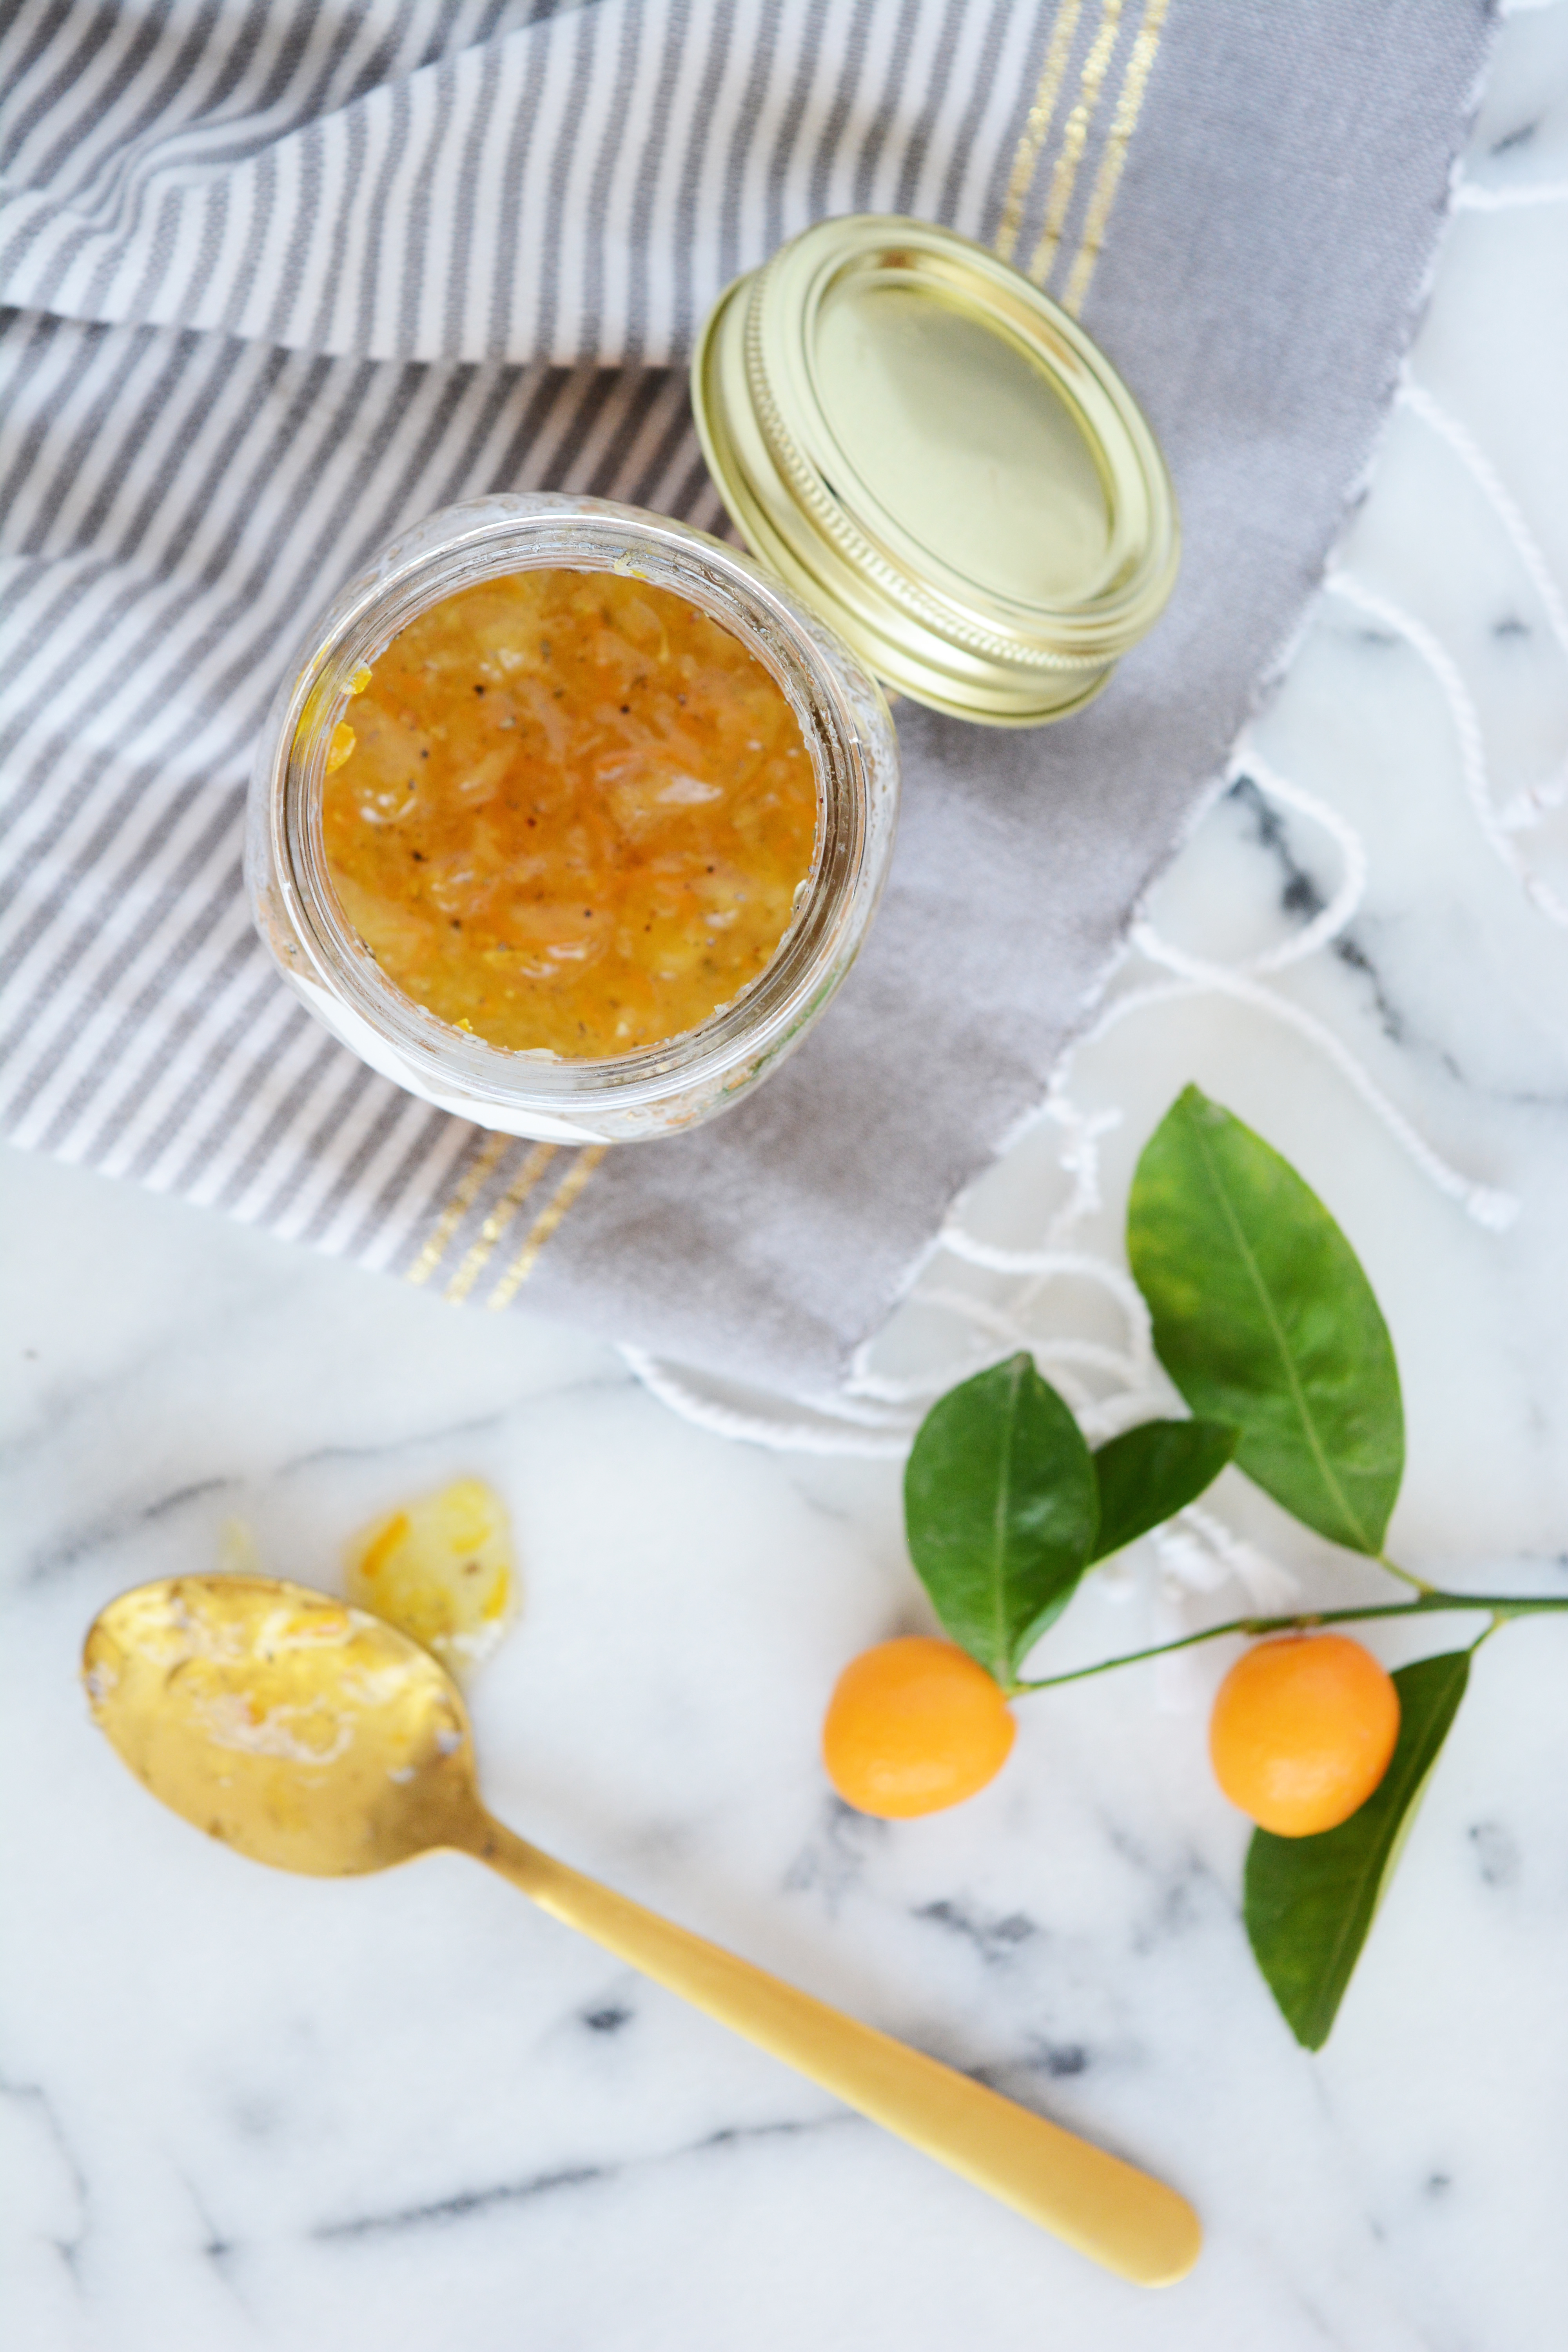
pineapple kumquat cardamom marmalade

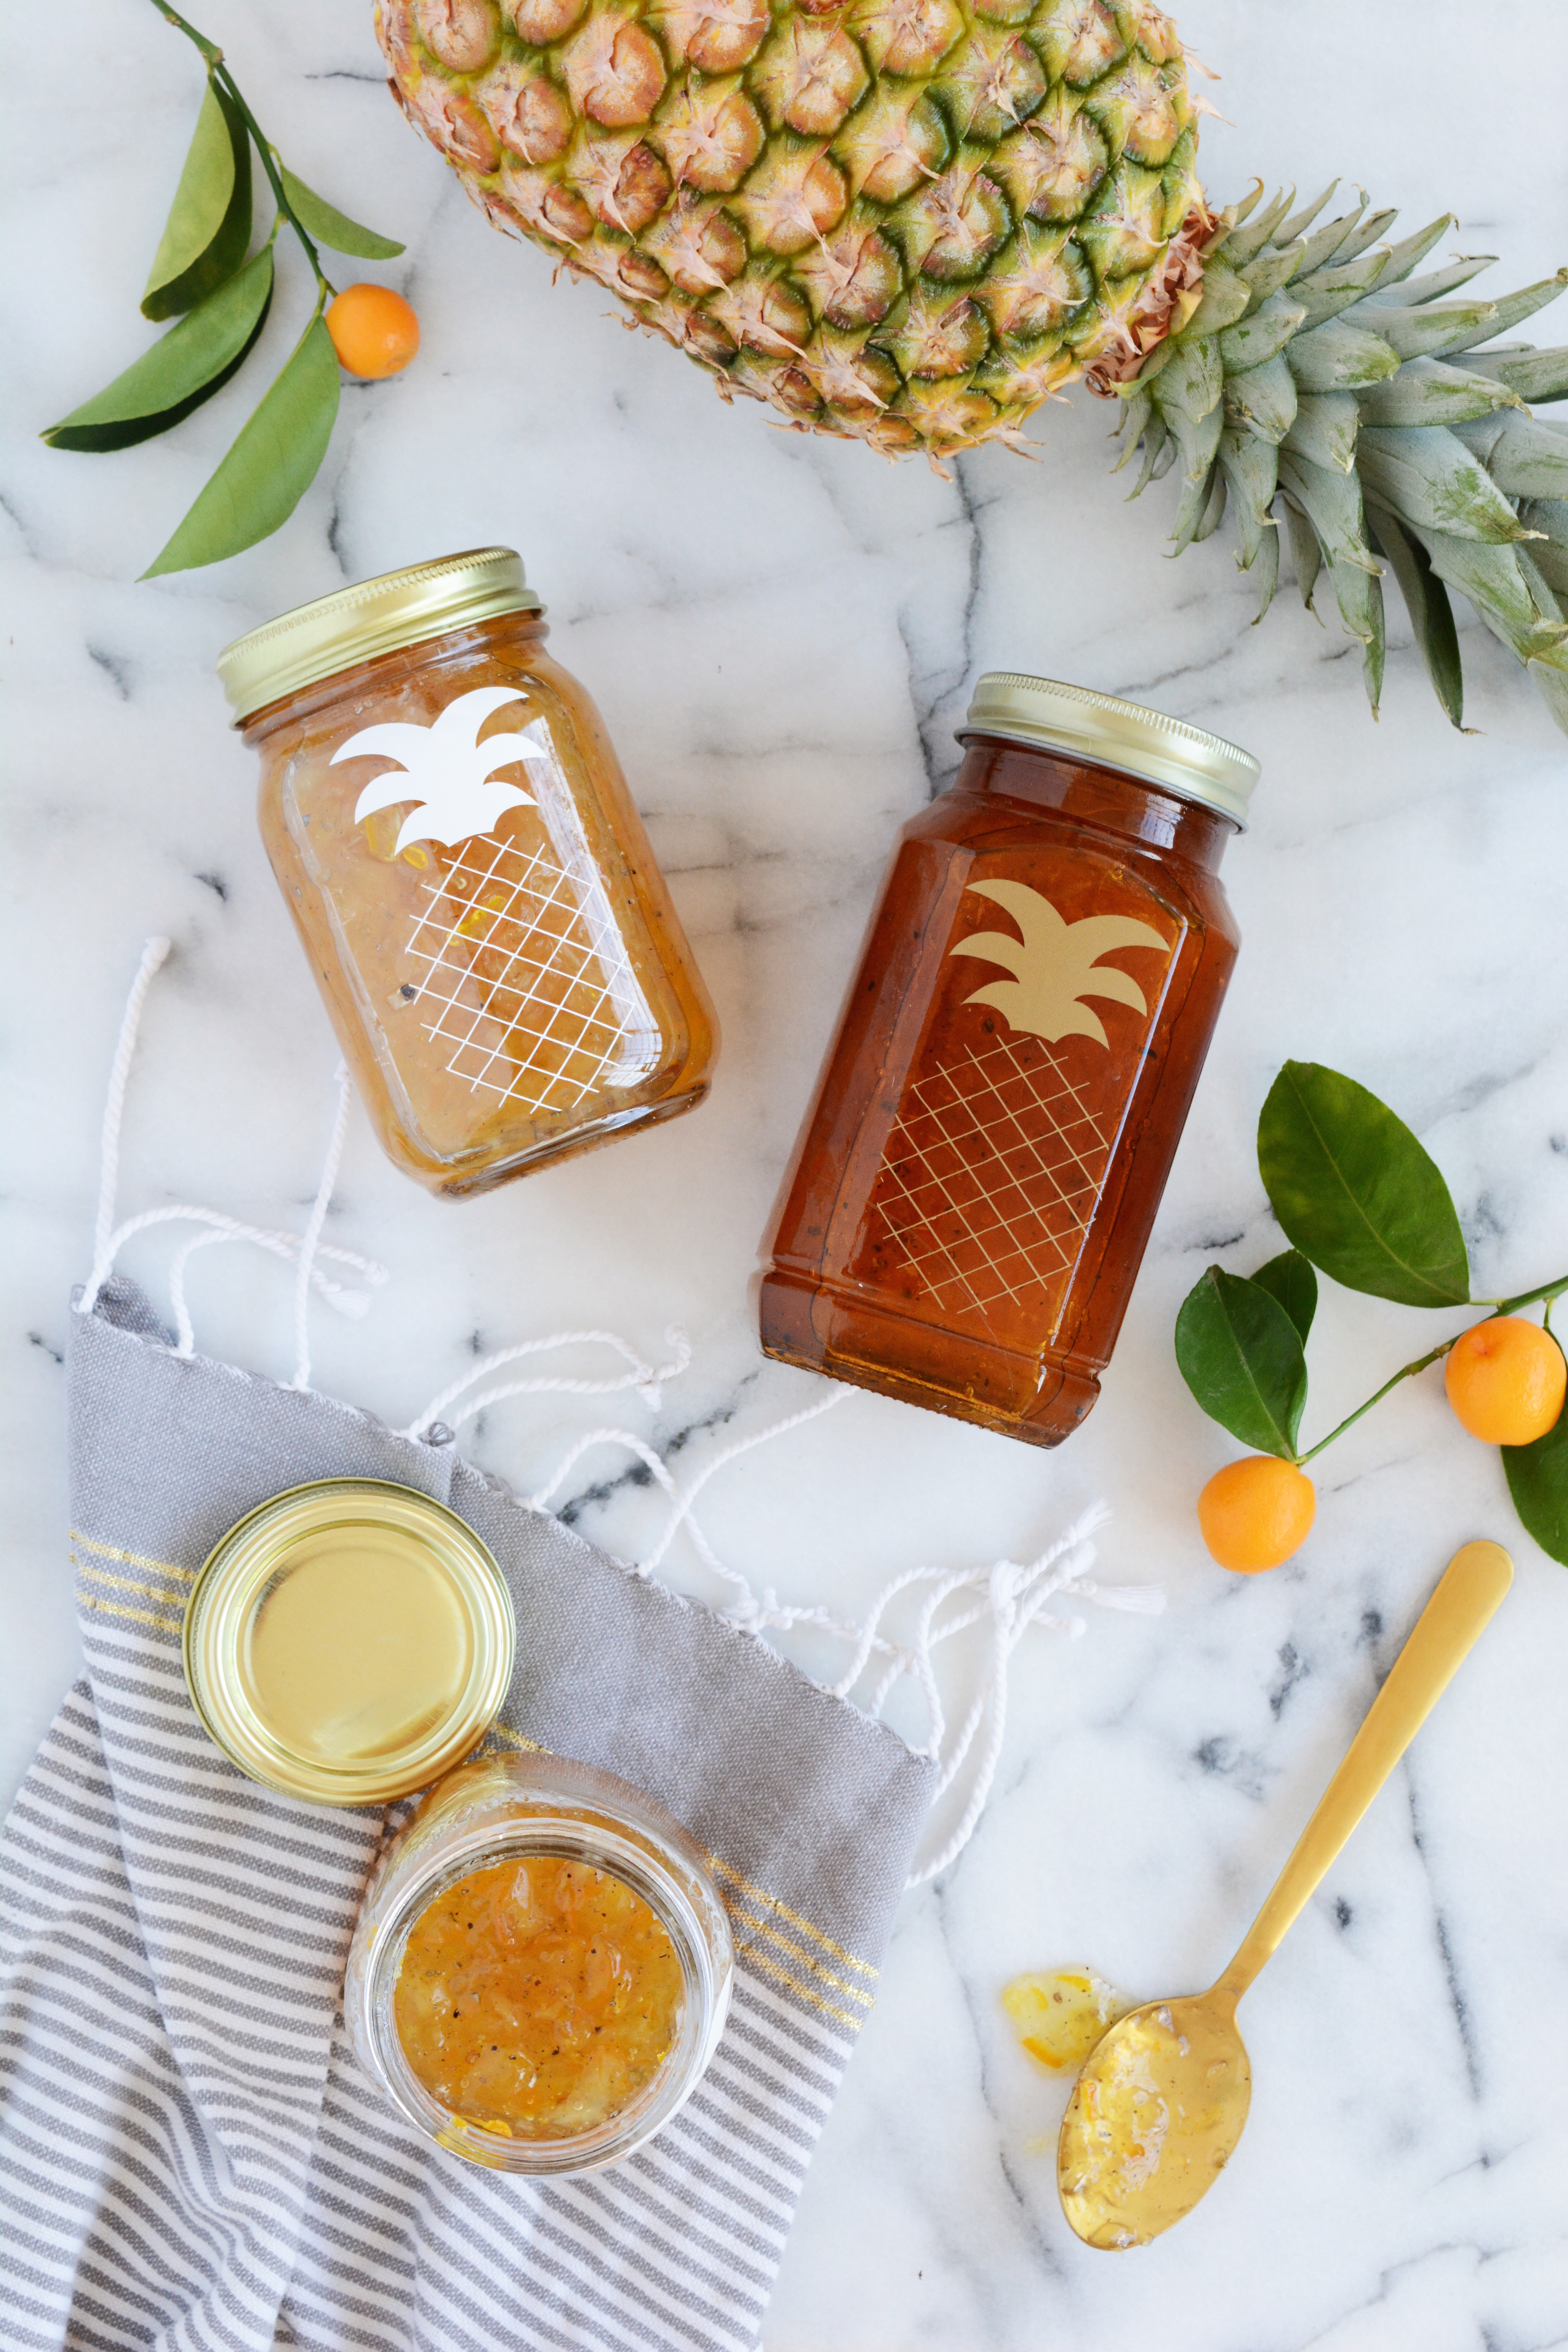
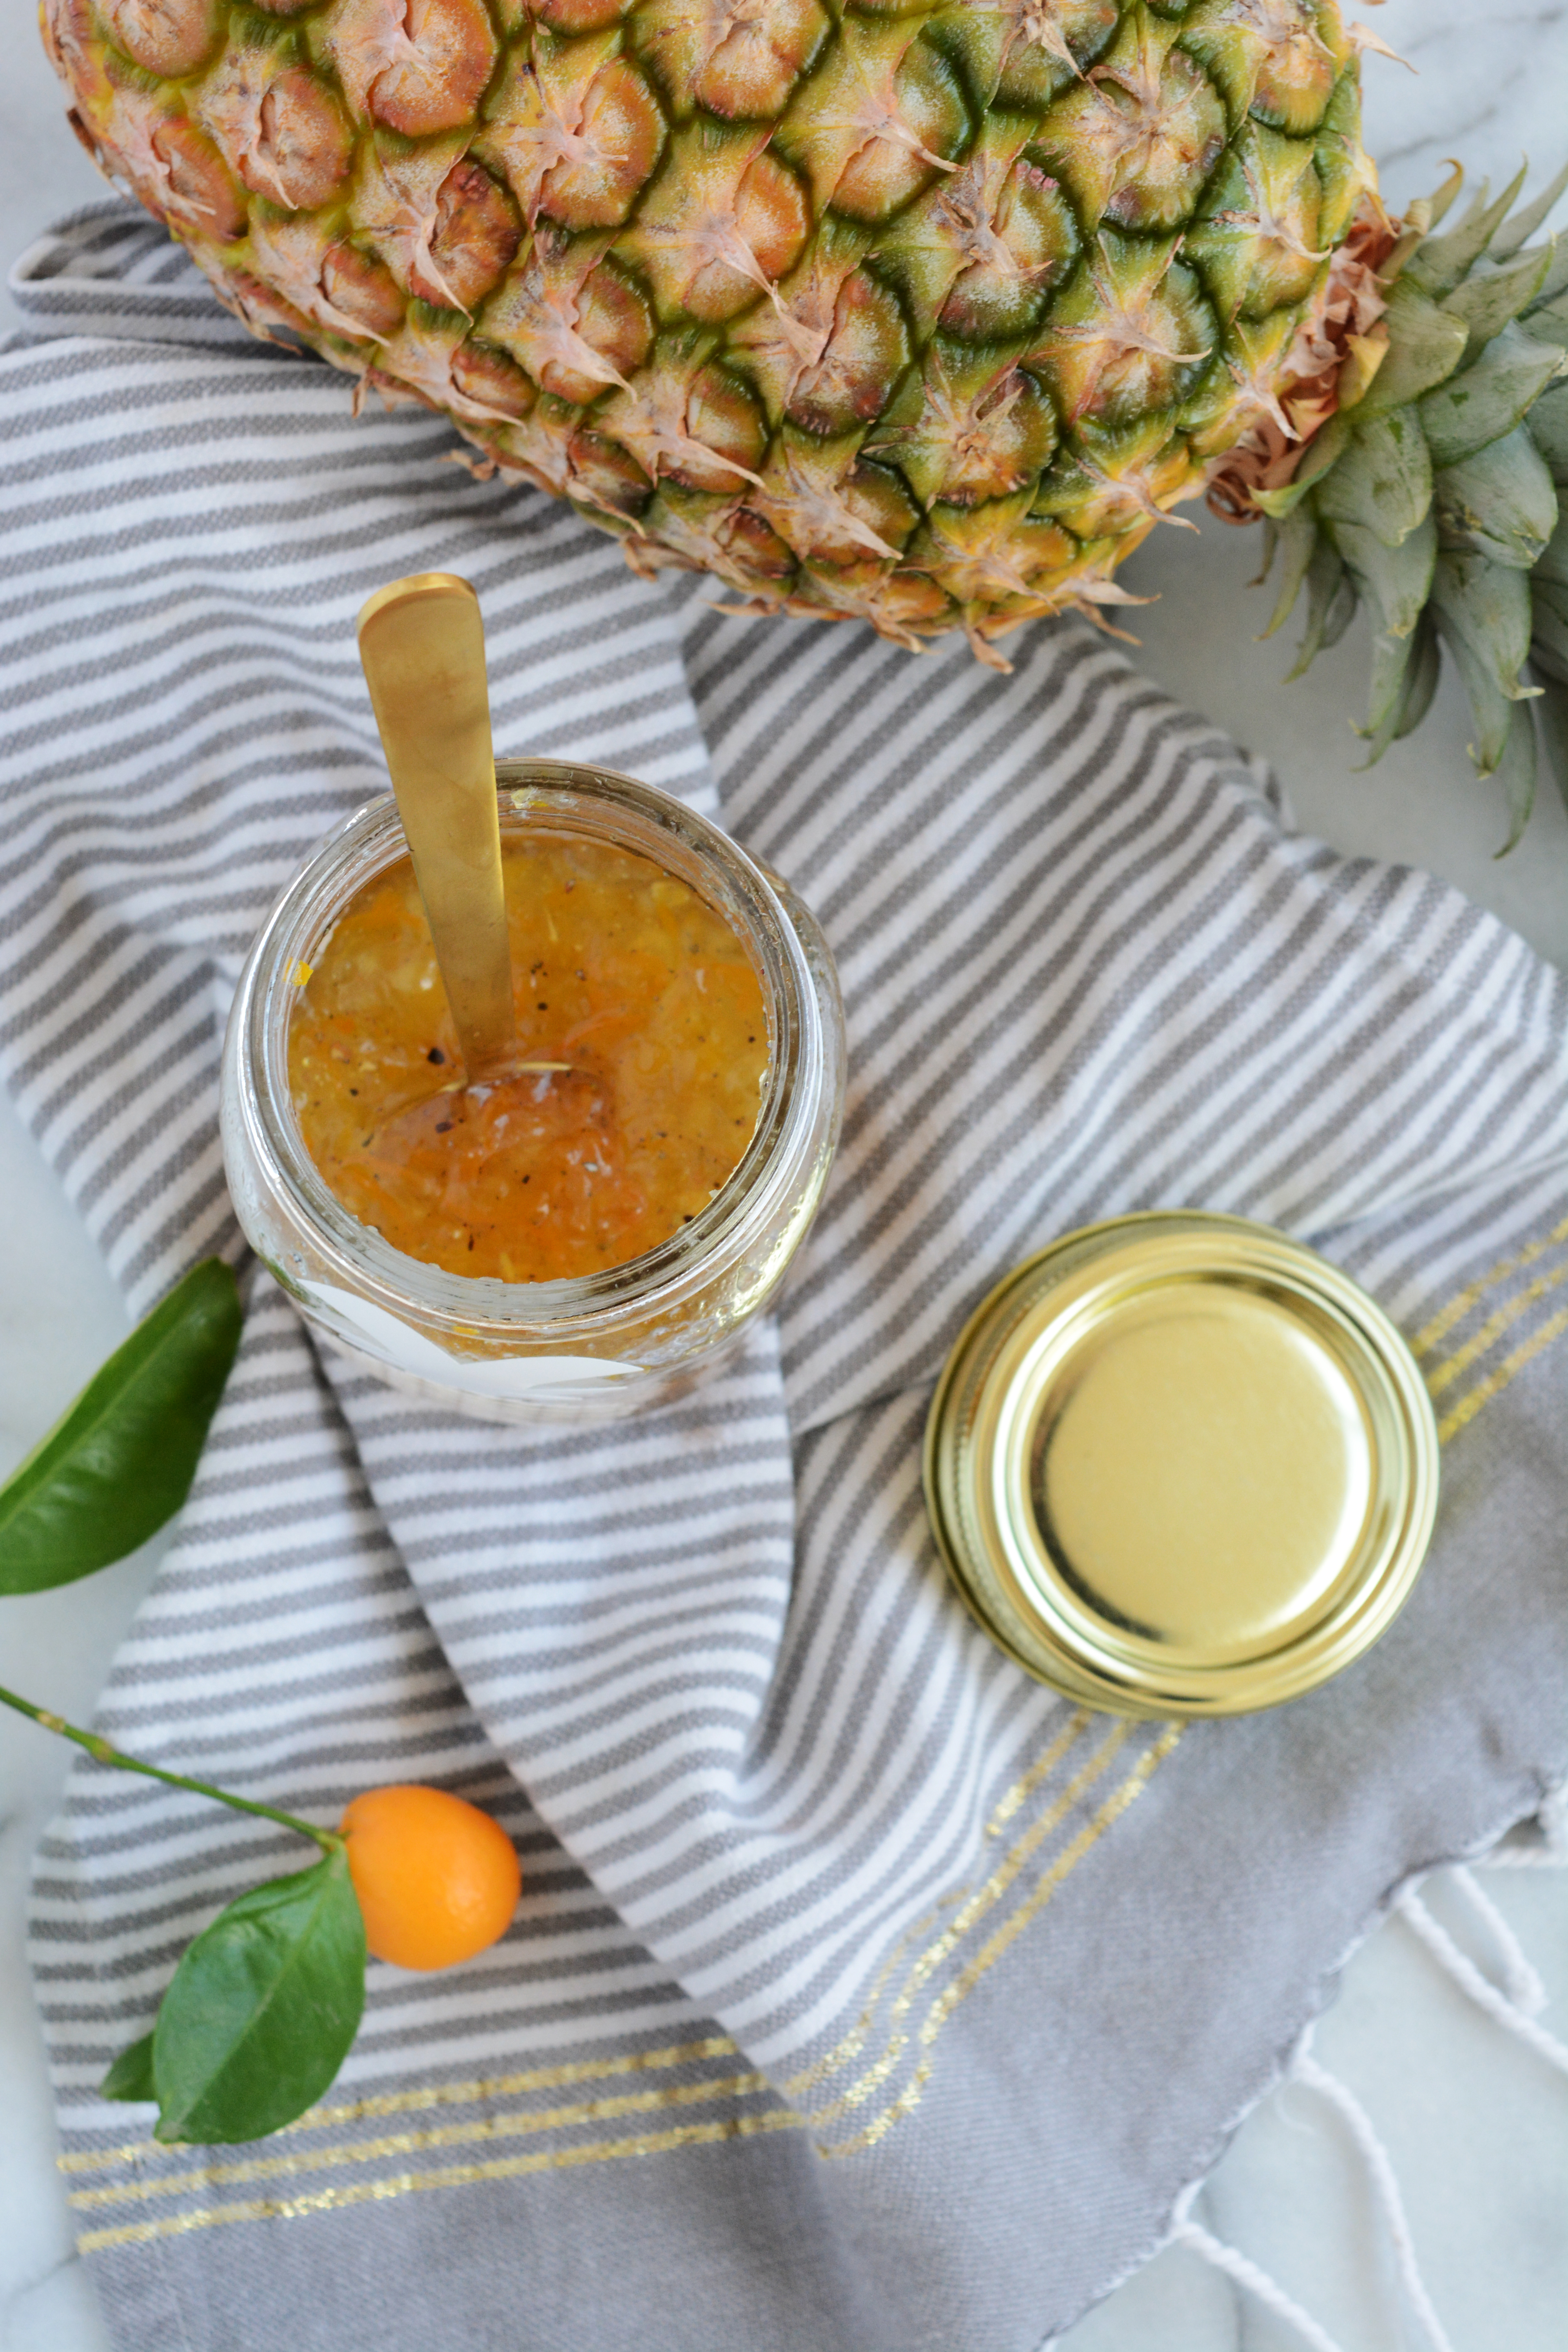
With the Holiday season here, I’m looking for some great hostess gifts to take to all the parties and events that there are to attend. I love taking something homemade, so this year, I’m making this Pineapple Kumquat Cardamom Marmalade. It might be the best preserves I’ve ever made. Or Kumquat tree is loaded with sweet, juicy fruit so I wanted to use them in a jam of some sort. This marmalade is definitely a twist on the traditional, with the taste of the tropics with sweet pineapple and a little spice with a healthy dose of freshly ground cardamom (my FAVORITE flavor!!!!!).

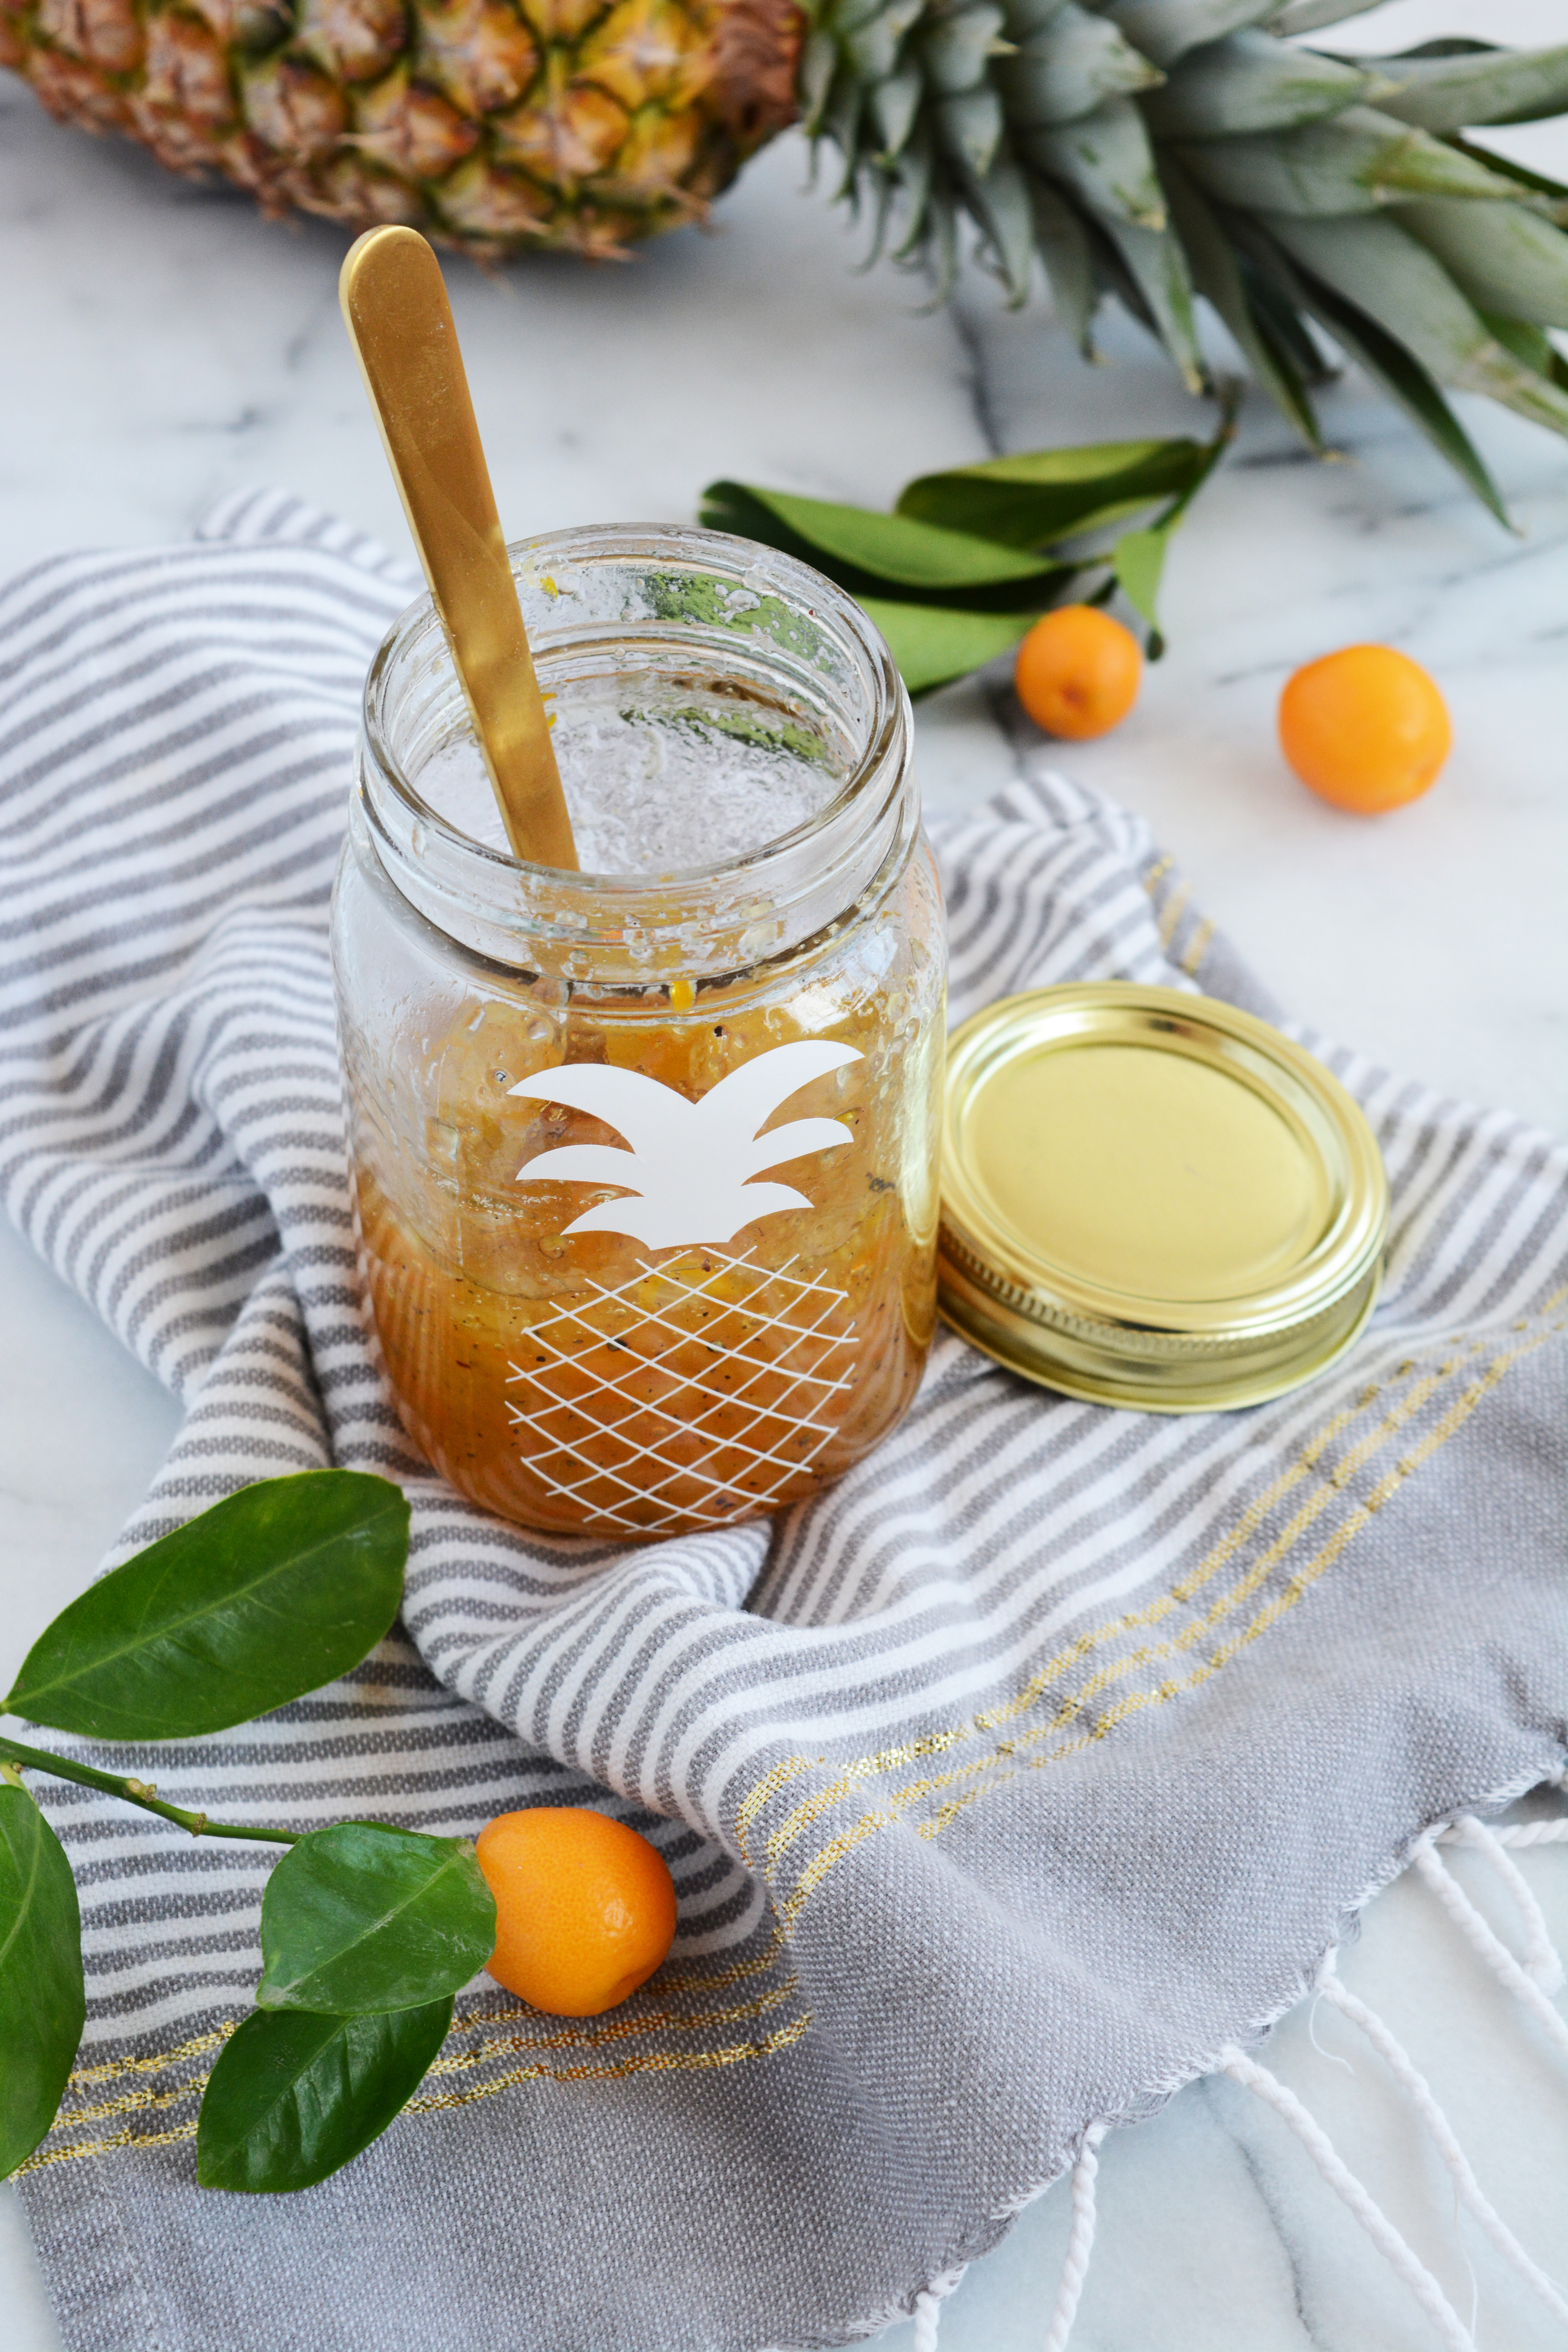
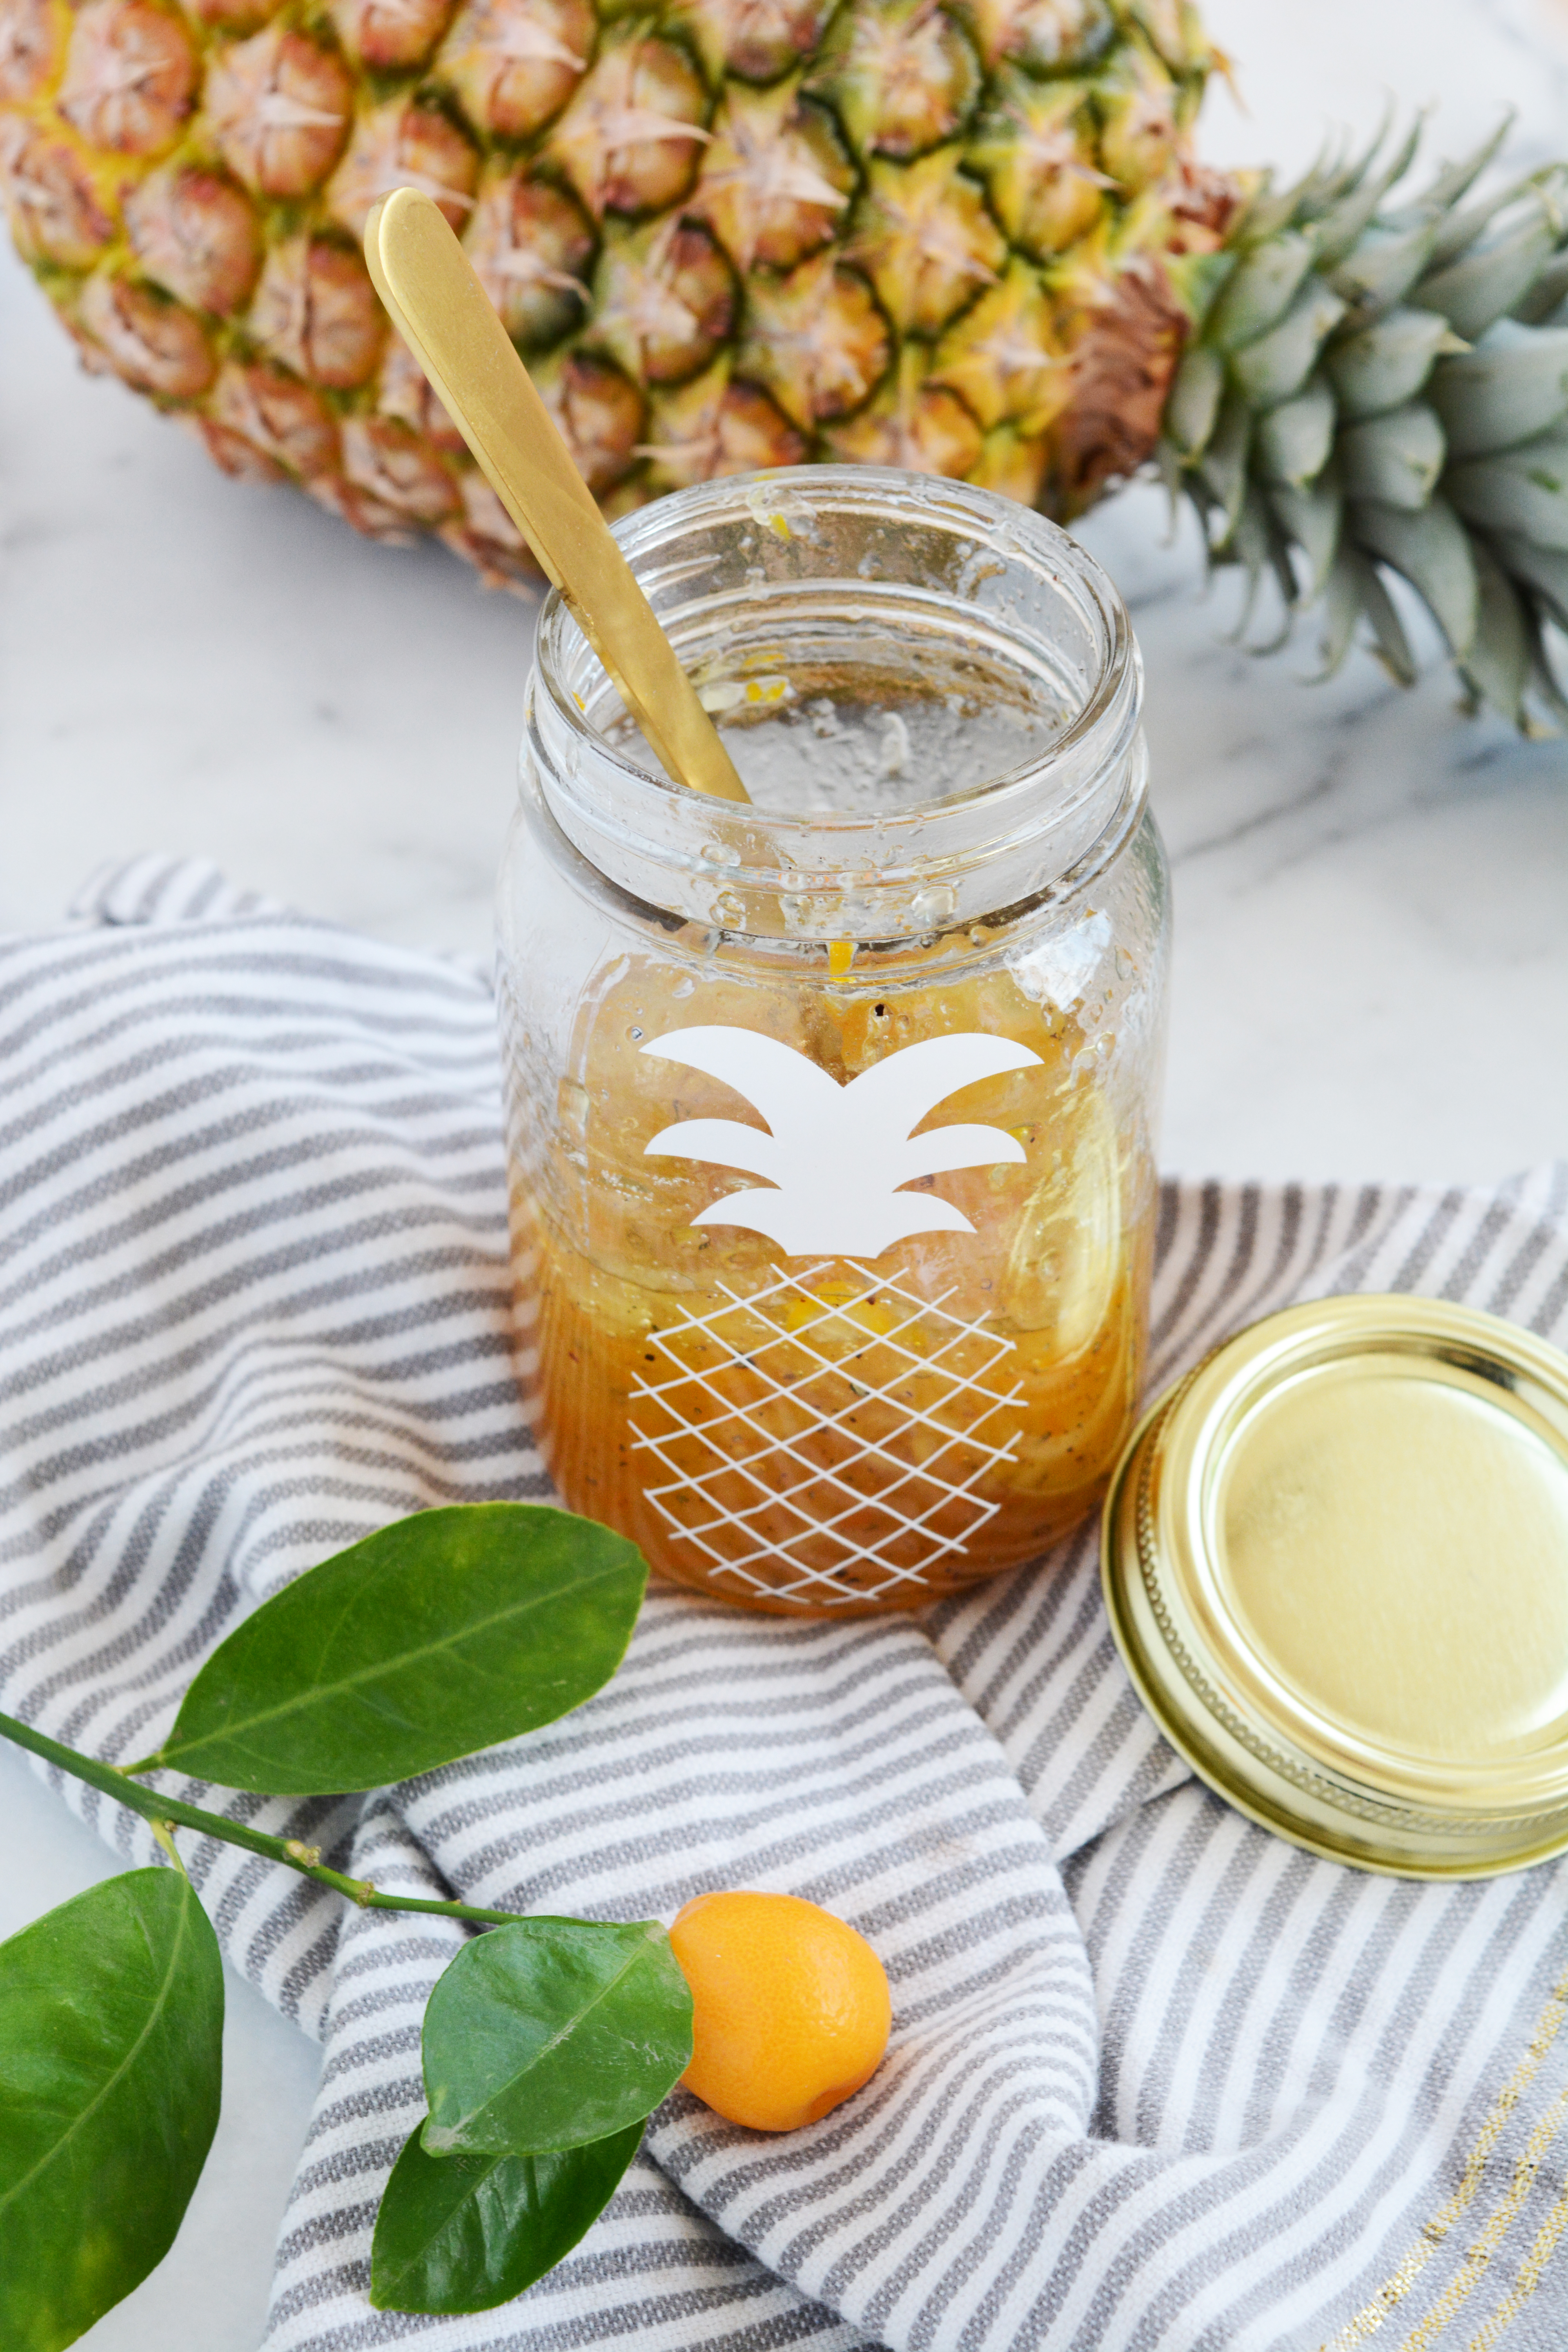
And to sweeten this gift a little more, I cut out cute little vinyl pineapples from Damask Love’s designs for the Cricut Gold Explore Machine for JoAnn Fabrics. This adorable modern pineapple is the perfect finishing touch for this homemade gift. Really, there’s no other label needed for these preserves. Whoever receives this marmalade is sure to remember the gift giver.

pineapple kumquat cardamom marmalade

You know I’m a huge fan of Cricut. It’s really the best crafting tool I own. I can give gifts a custom look with very little time or effort.

I cut this pineapple shape in both white and gold vinyl and using transfer tape, adhered them to the outside of the filled jars.

pineapple kumquat cardamom marmalade

Pineapple Kumquat Cardamom Marmalade

  • 20 oz. can of crushed pineapple
  • 2 cups of thinly sliced kumquats ( I used my mandolin slicer and then cut those slices in half)
  • 4 cups sugar
  • juice of one lemon
  • 1tbsp. freshly ground cardamom
  • 1 envelope liquid pectin

In a large heavy sauce pan, combine all the ingredients except the pectin. Stir to combine. Heat over high heat until the marmalade come to a rolling boil. Boil one minute and then add the liquid pectin. Bring back up to a rolling boil and boil for one more minute. Remove from the heat.

Pour the hot marmalade into prepared canning jars. Seal and process for at least 10 mins. in boiling water.

pineapple kumquat cardamom marmalade pineapple kumquat cardamom marmalade

Food & Drink

14 Mocktail Recipes for the Holidays

December 1, 2016

14 Mocktail Recipes for the Holidays

It’s the season for hosting parties and get-togethers. So, fancy drinks are a must. I’m a huge fan of the mocktail. It’s a fun way to play with flavors and make pretty drinks that the whole family can enjoy. Forget the 2-liter soda bottles, and upgrade your party beverages this year. I’ve got 14 fun mocktails for the holiday season.

mocktail-recipes-1

Grapefruit + Tonic Mocktail // Cranberry Shirley Temple

mocktail-recipes-2

Sparkling Vanilla Cider // Sparkling Nectarine Mint Lemonade

mocktail-recipes-3

Kiwi Mojitos // Hot Almond-Citrus Punch

mocktail-recipes-4

Candy Cane Italian Soda // Family Friendly Swedish Glogg

mocktail-recipes-5

Pineapple Rosemerry Spritzer // Blackberry Ginger Cooler

mocktail-recipes-6

Grapefruit Thyme Spritzer // Blueberry Bourbon Vanilla

mocktail-recipes-7

Sparkling Apple Ginger Mocktail // Grapefruit Jalapeno Lime Mock Margarita

Cocktail drinkers don’t have to have all the fun. You can still play with a little mixology and create special drinks the whole family can enjoy. Or these recipes can be spiked for a more grown up version. Cheers friends!

14 Mocktail Recipes - fun drinks the whole family can enjoy.

DIY

Modern Triangle Wall Christmas Tree

November 29, 2016

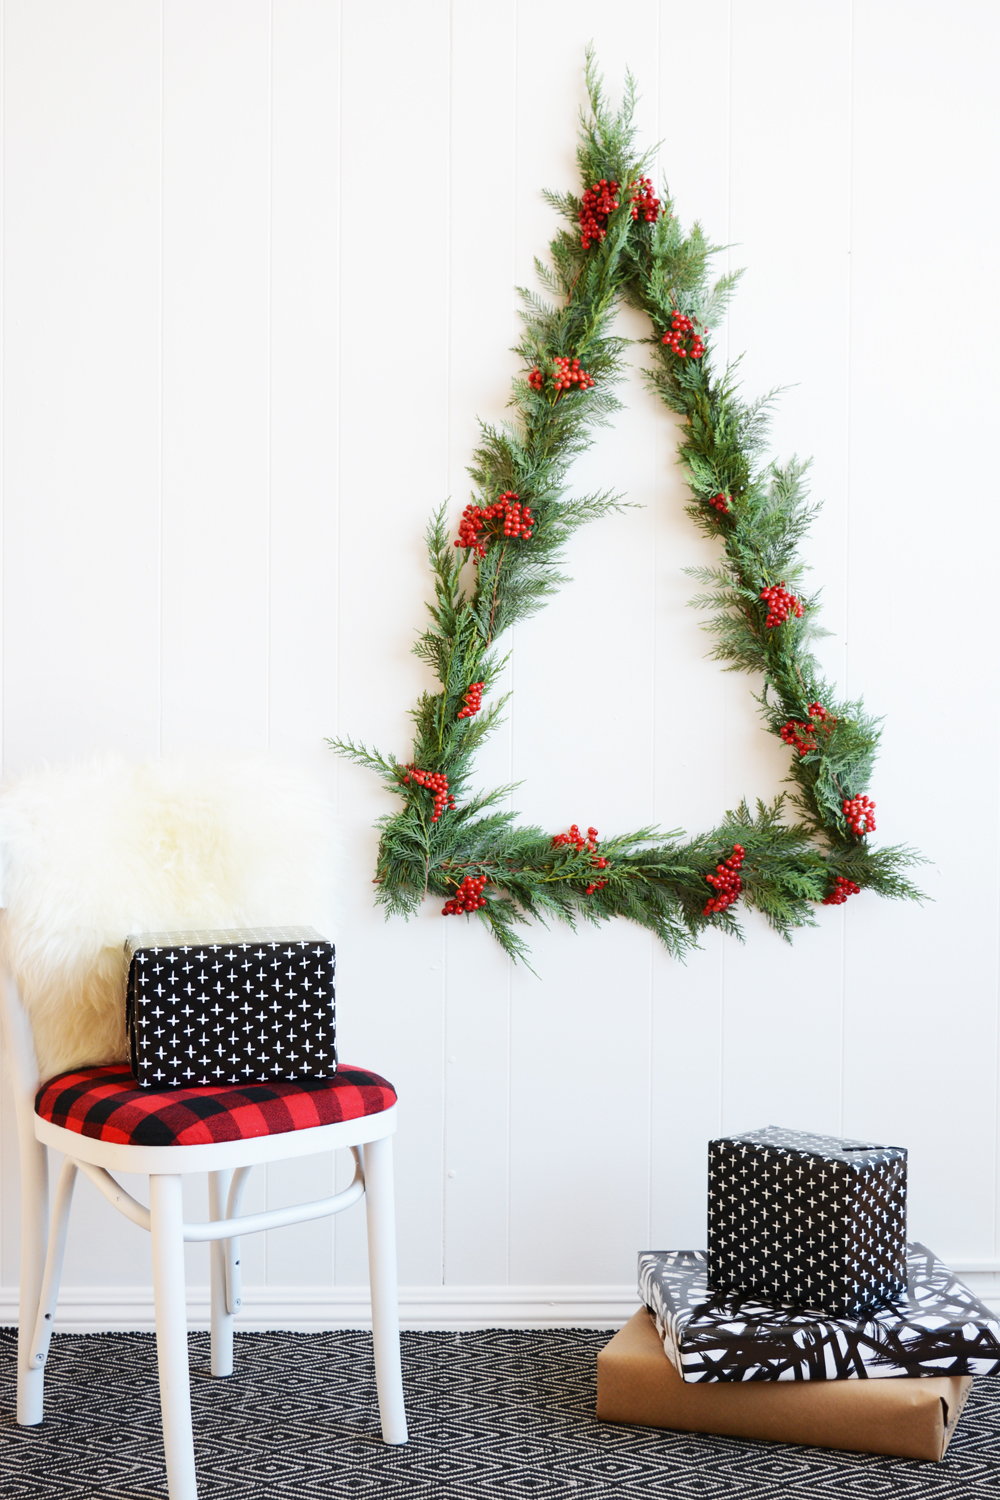
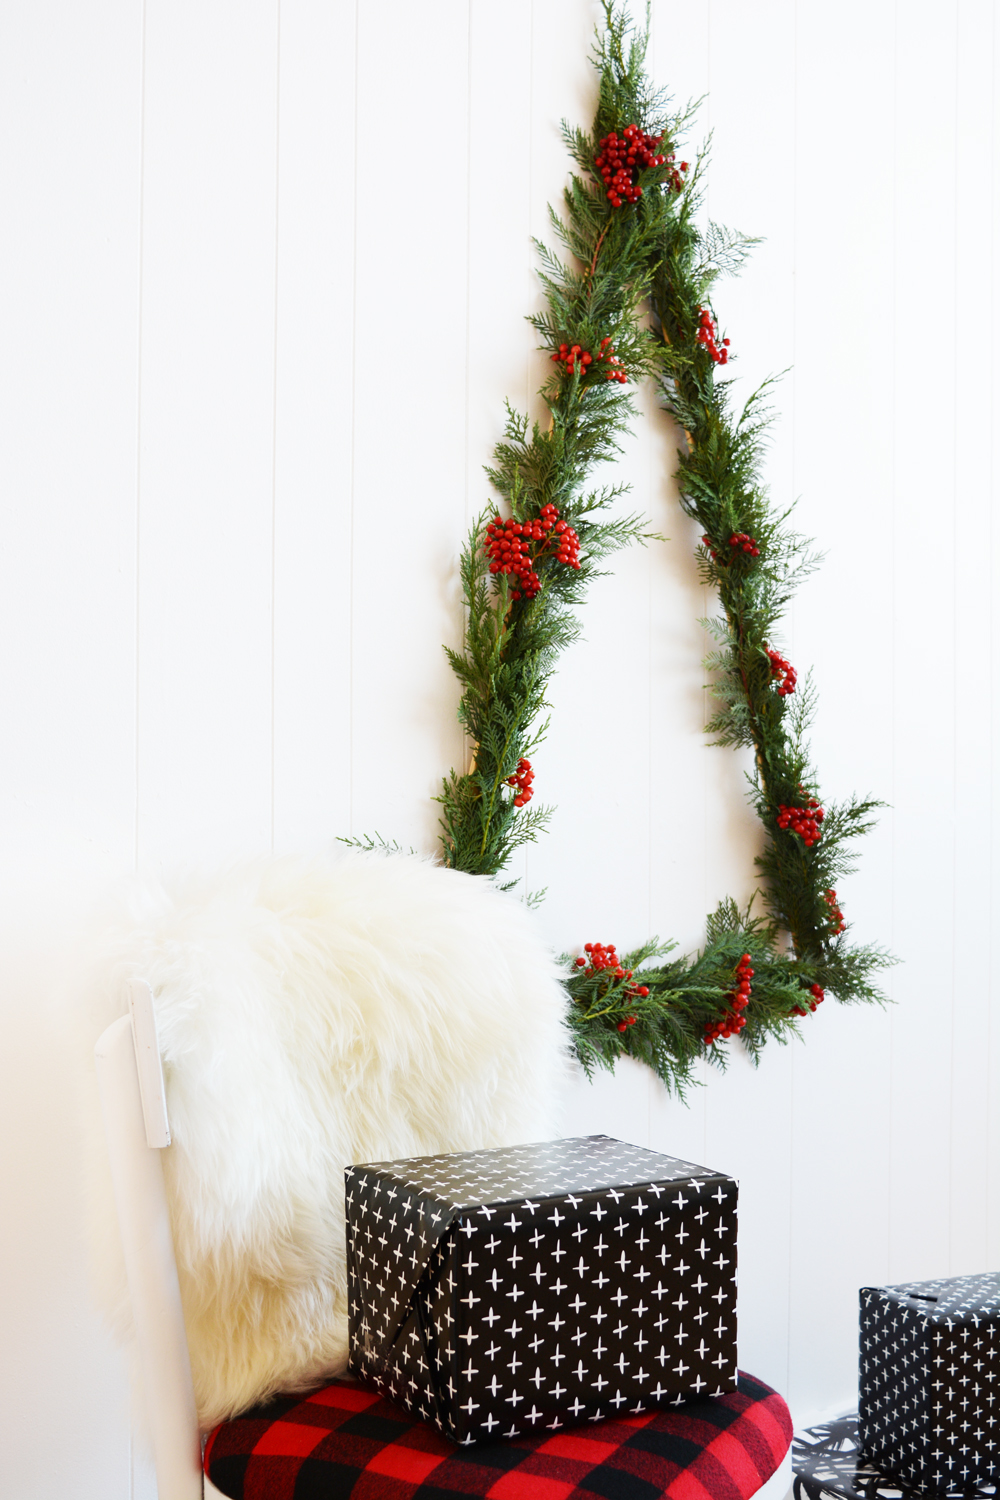
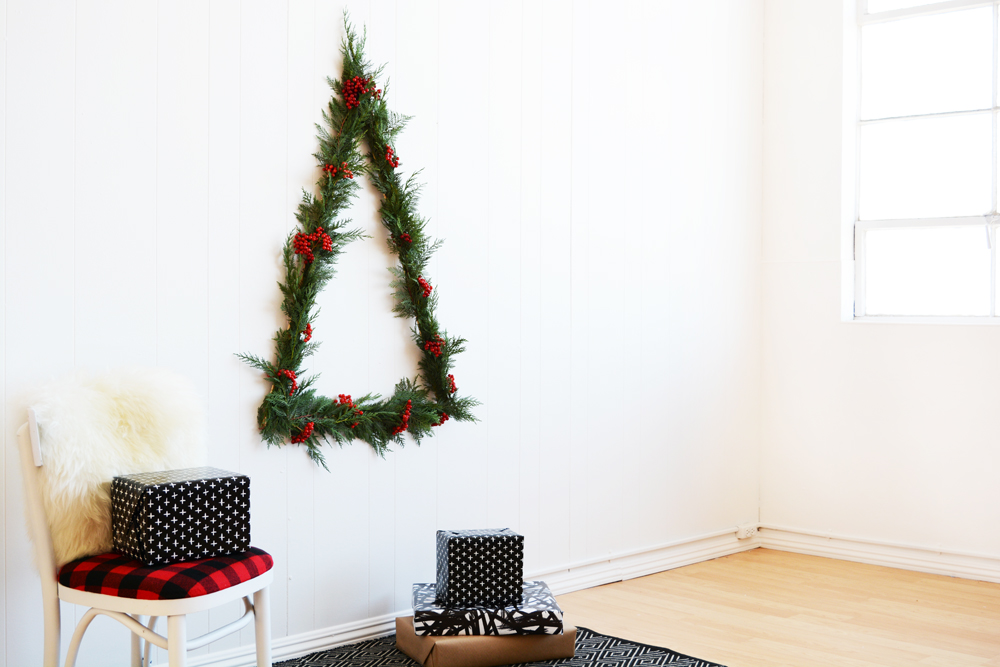
Do you have a small space that won’t allow for a full Christmas tree?  Or maybe you just want to add a little more Holiday cheer to another room in your house. This simple, but beautiful Modern Triangle Wall Christmas Tree might be a fun project for you. It’s make a big statement without taking up any floor space in your home.

With the right tools, a few supplies from the hardware store, foraged winter greens, some bright red berries and about an hour of your time, you’ll have a pretty new addition to your holiday decor. This easy-to make triangle frame can be disassembled and stored away neatly for future Christmases.

Modern Triangle Wall Tree

Here’s what you’ll need:

DIY Modern Triangle Wall Christmas Tree DIY Modern Triangle Wall Christmas Tree

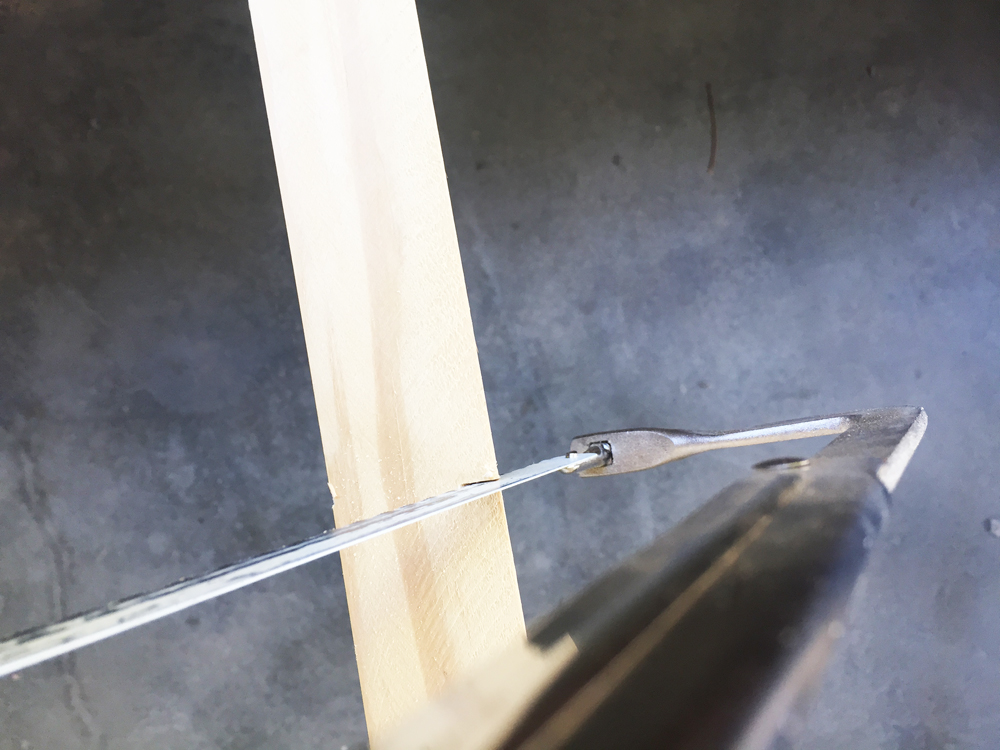
Start by measuring the wood to 2 lengths of 40 inches and one at 27 inches. Cut the three pieces with a saw.

_triangle tree 22

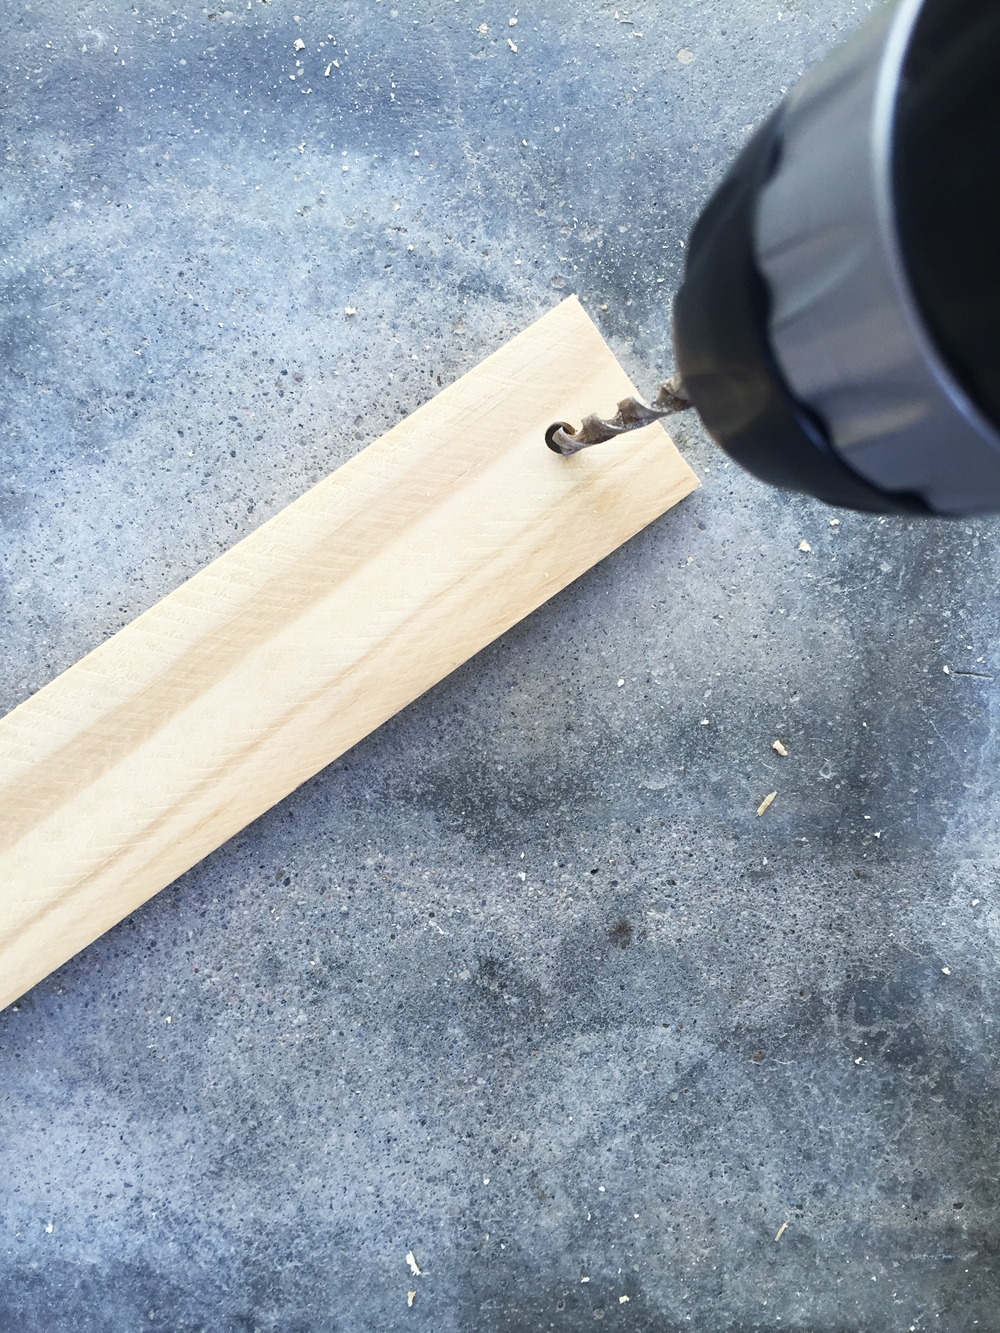
With a 1/4″ bit, drill holes on each end of the wood centered and 1/2 inch from the end.

_triangle tree 21

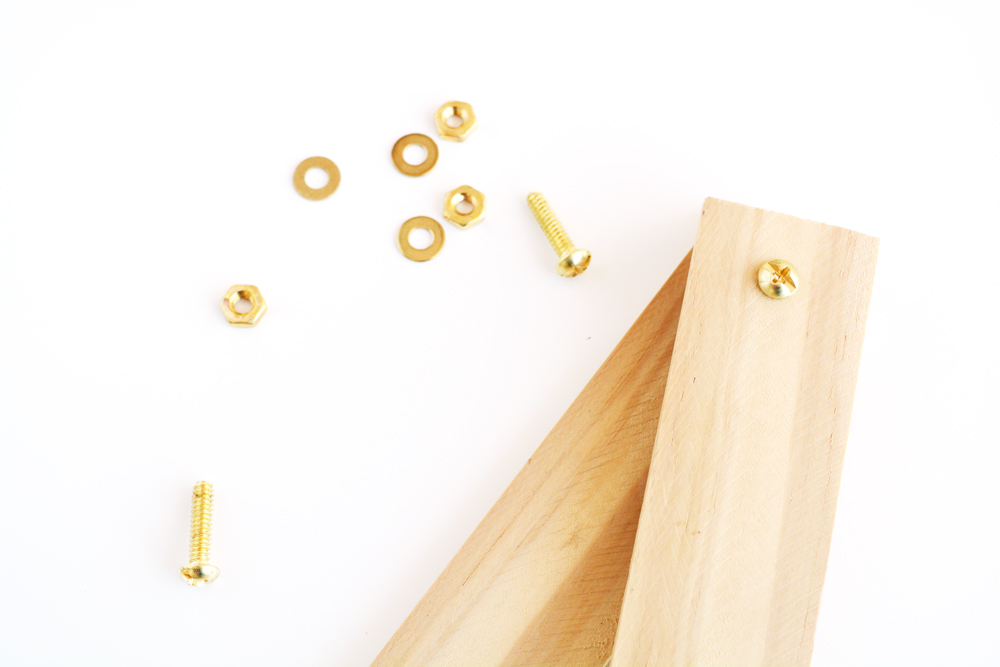
Line up the corners of the triangle and fasten them together with the bolt, washer and nut.

_triangle tree 19

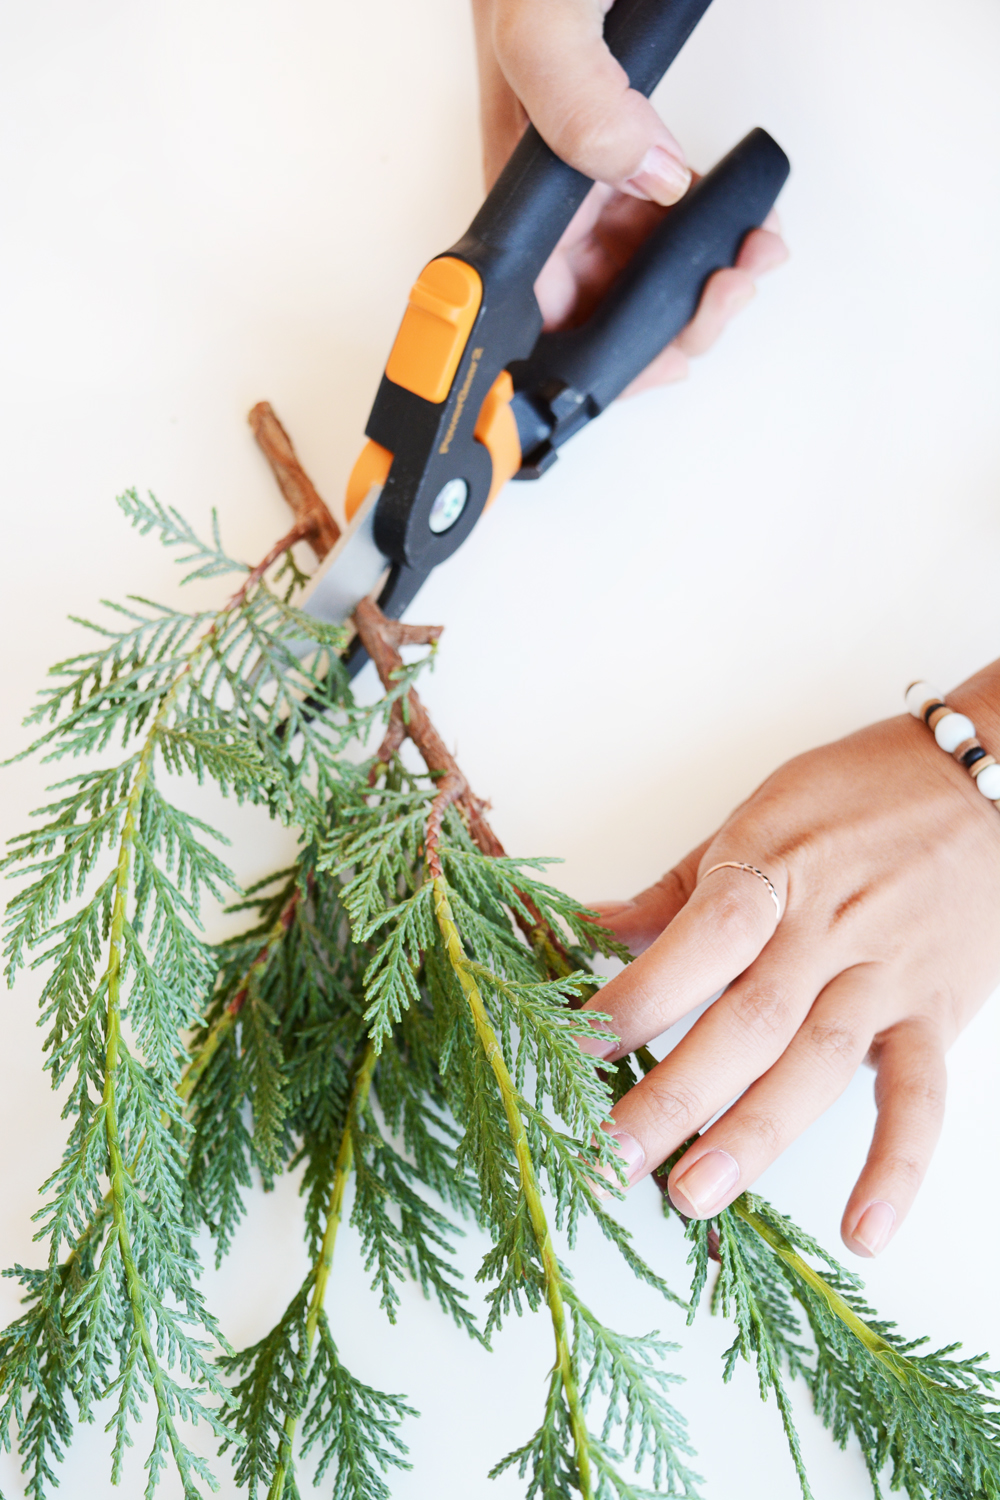
Now it’s time to gather some greenery and berries.  Using my new PowerGear2 Fiskars Pruners and Fiskars Lopper (25″) I cut healthy green branches from my Cedar tree. These pruners are the best. They are easy to hold and cut through thick woody branches like butter.

DIY Modern Triangle Wall Christmas Tree

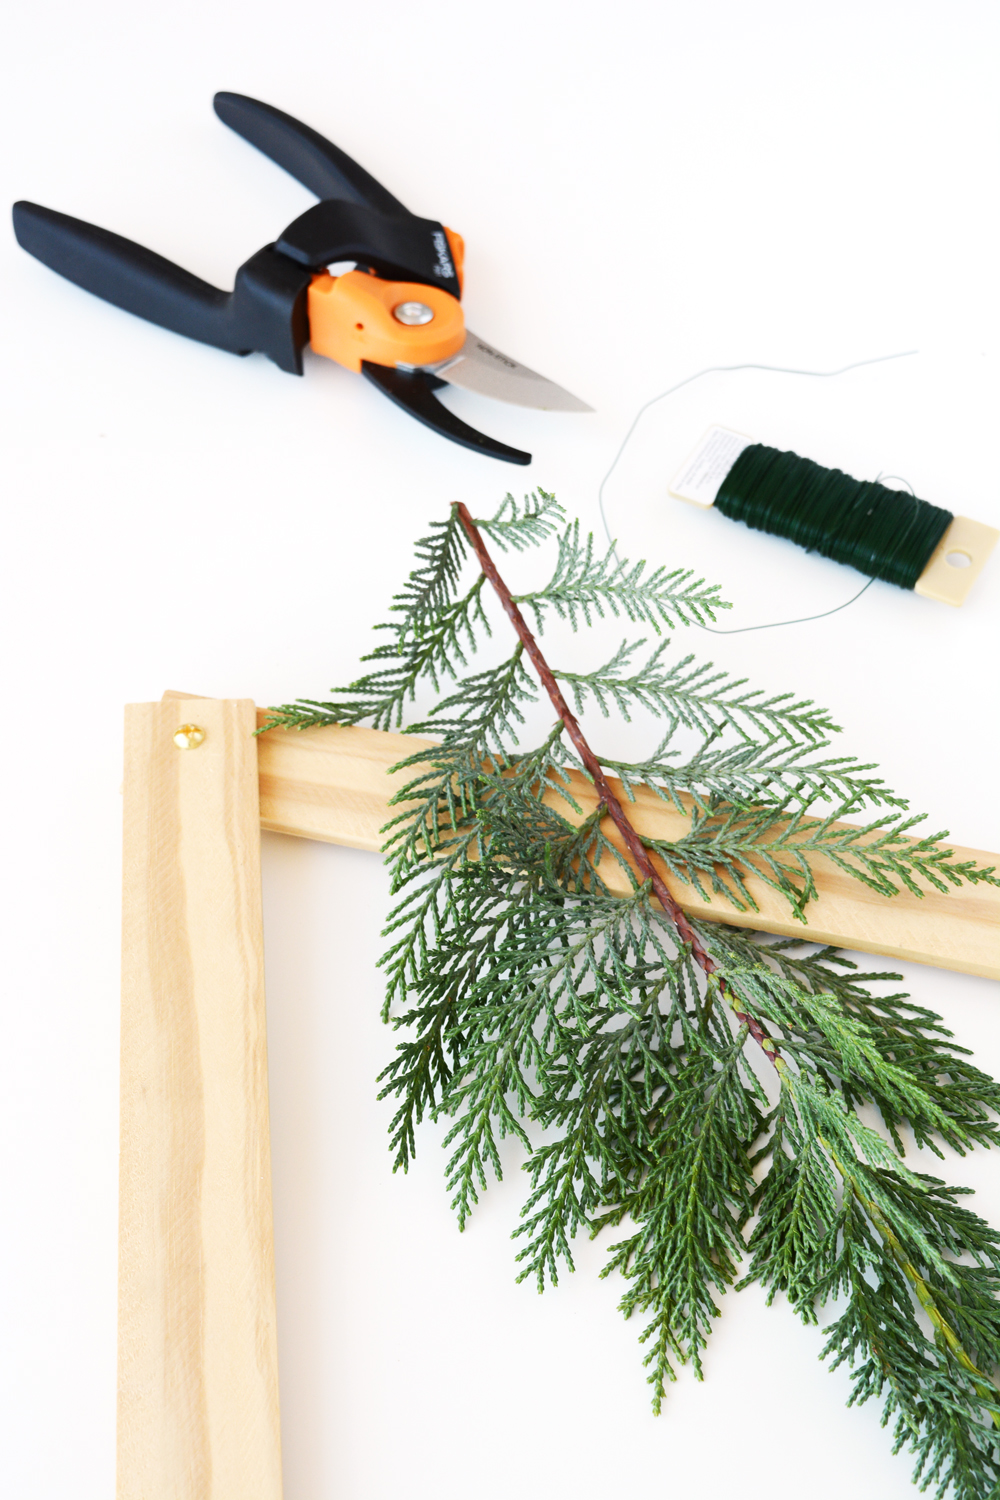
Once you think you have enough greenery, trim off the woody ends and lay out the branches on the triangle frame to determine if you have enough.  This tree only took about 3 large branches from my tree.

DIY Modern Triangle Wall Christmas Tree

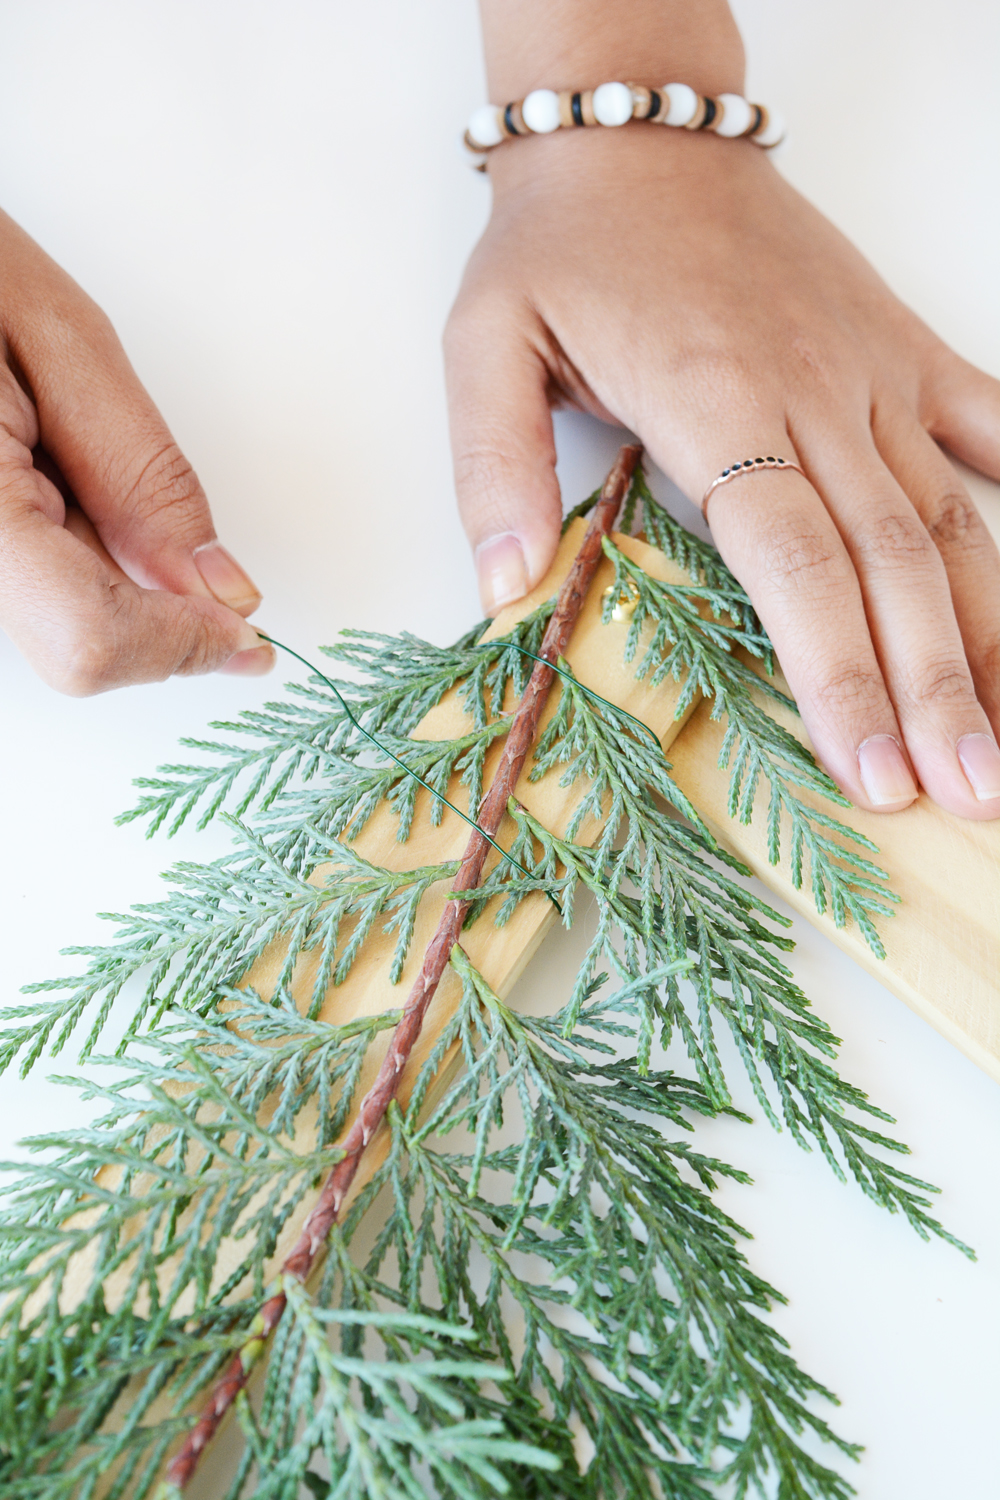
Starting in one of the bottom corners, begin wiring on the branches, layering a generous amount on top of each other. Lay all the branches in the same direction.  Lay the 2 sides of the triangle with the branches pointing up.

DIY Modern Triangle Wall Christmas Tree

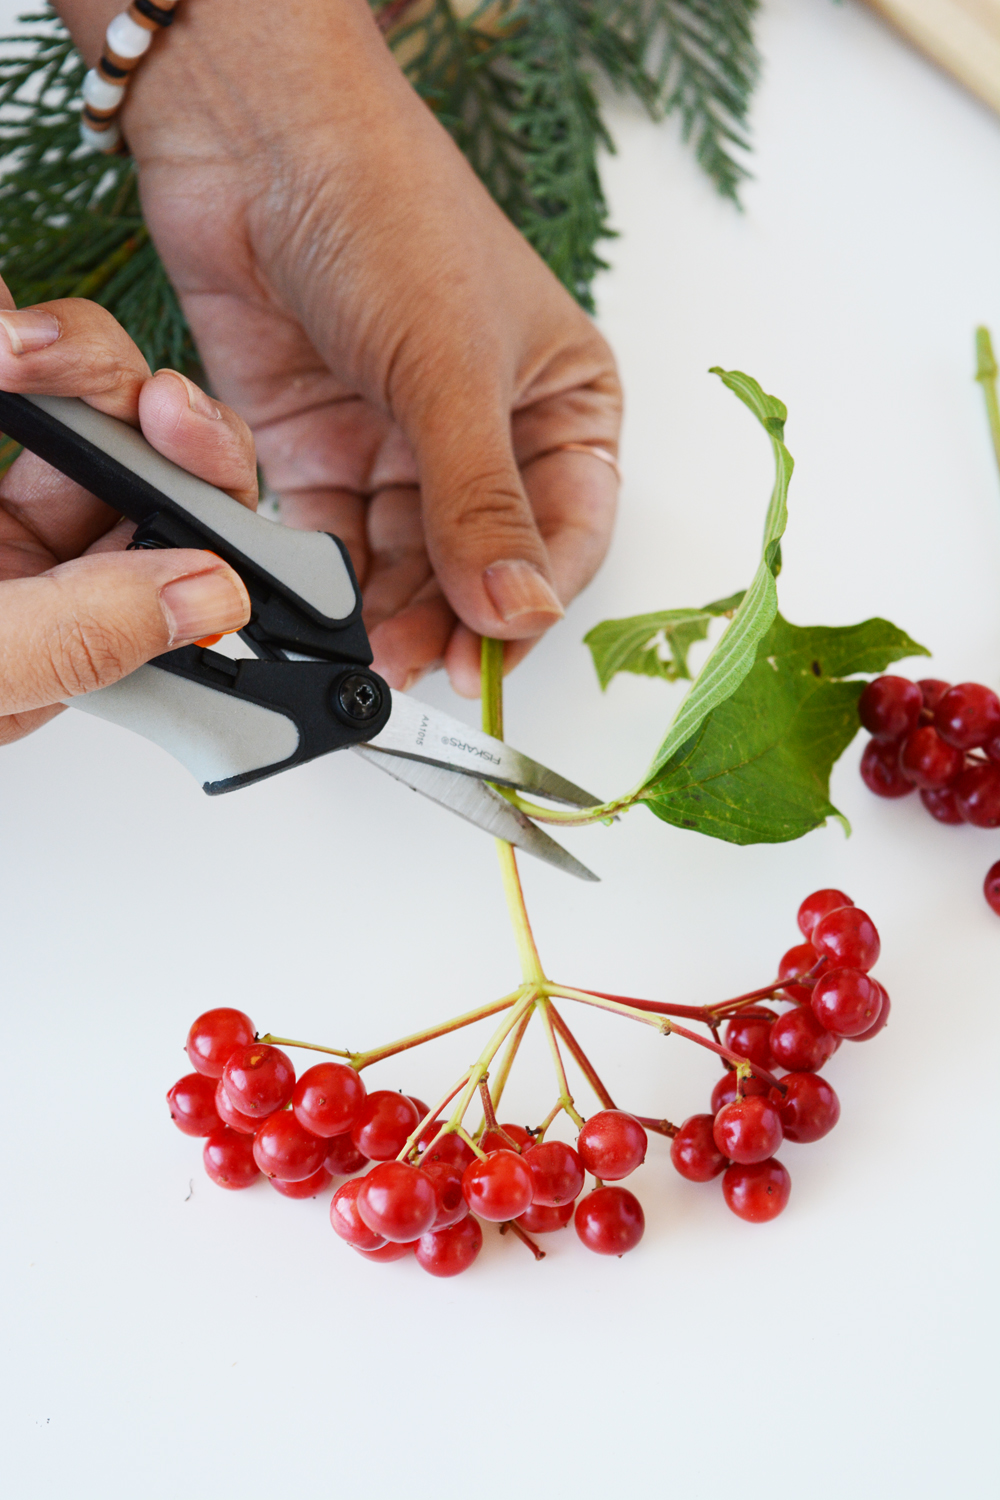
This bright pop of red really makes this tree.  I got these berries from my local florist, they are called . Using the Fiskars Softgrip Micro-Tip Pruning Snip to trim off all the leaves so that I was just left with bunches of berries.  These sharp little snips are perfect for detail work like this.

DIY Modern Triangle Wall Christmas Tree

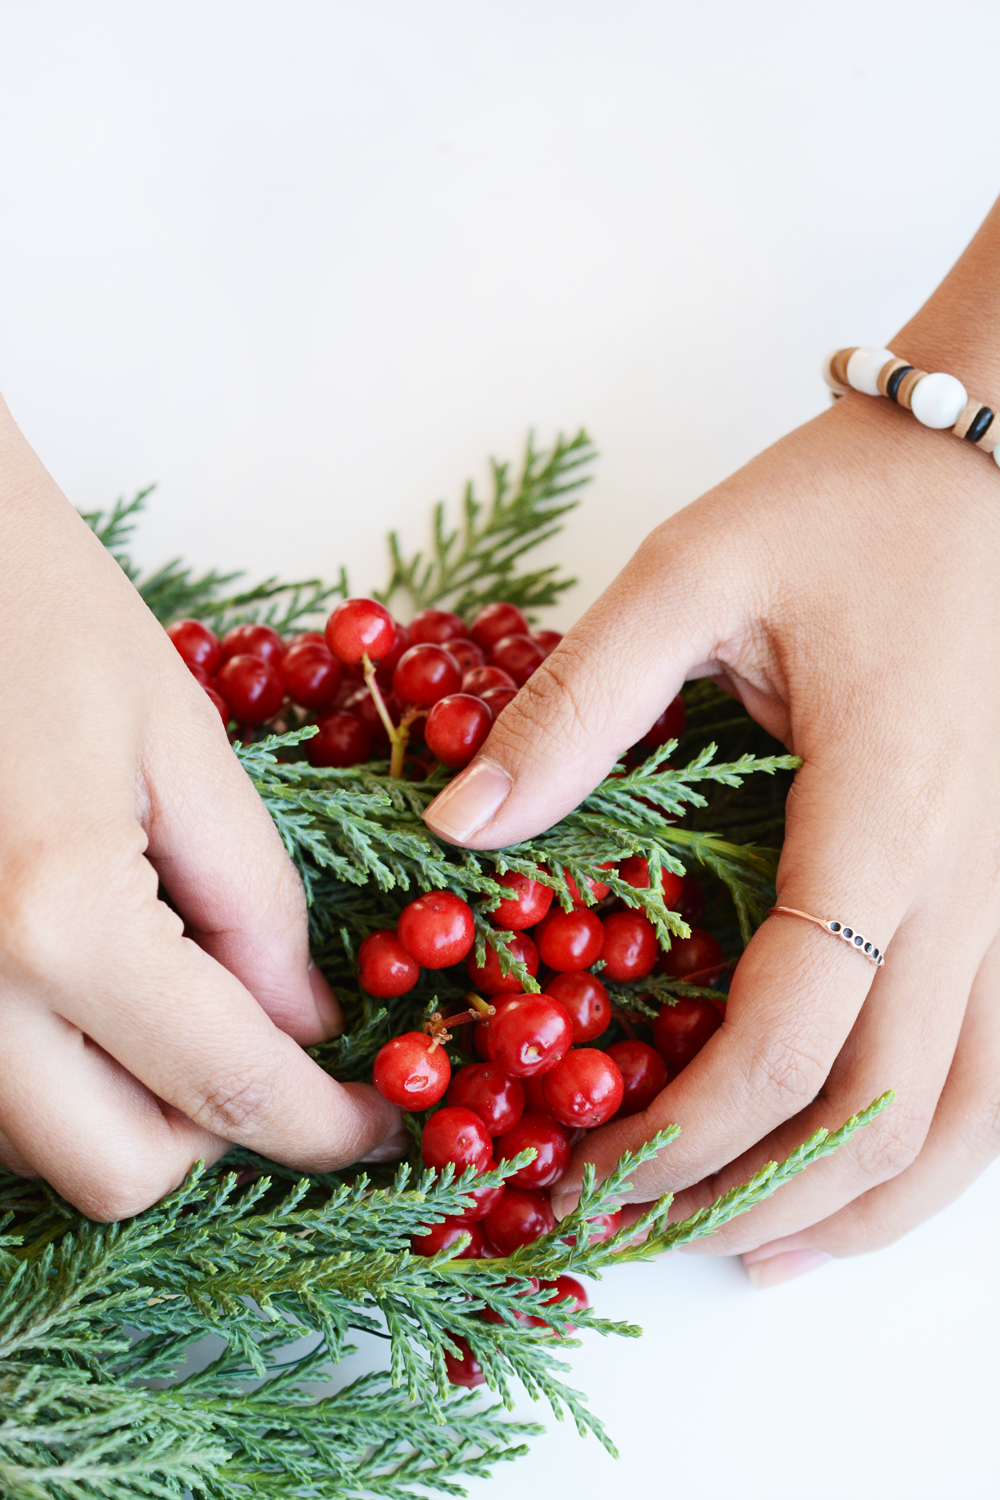
As you can see, I really just added the berries kind of randomly.  I didn’t want it to look too uniform, I wanted it to look a little more organic.  So, every 5-6 inches, I wired in the berries along with the greenery, making sure to tuck the stems in behind the greenery.

DIY Modern Triangle Wall Christmas Tree

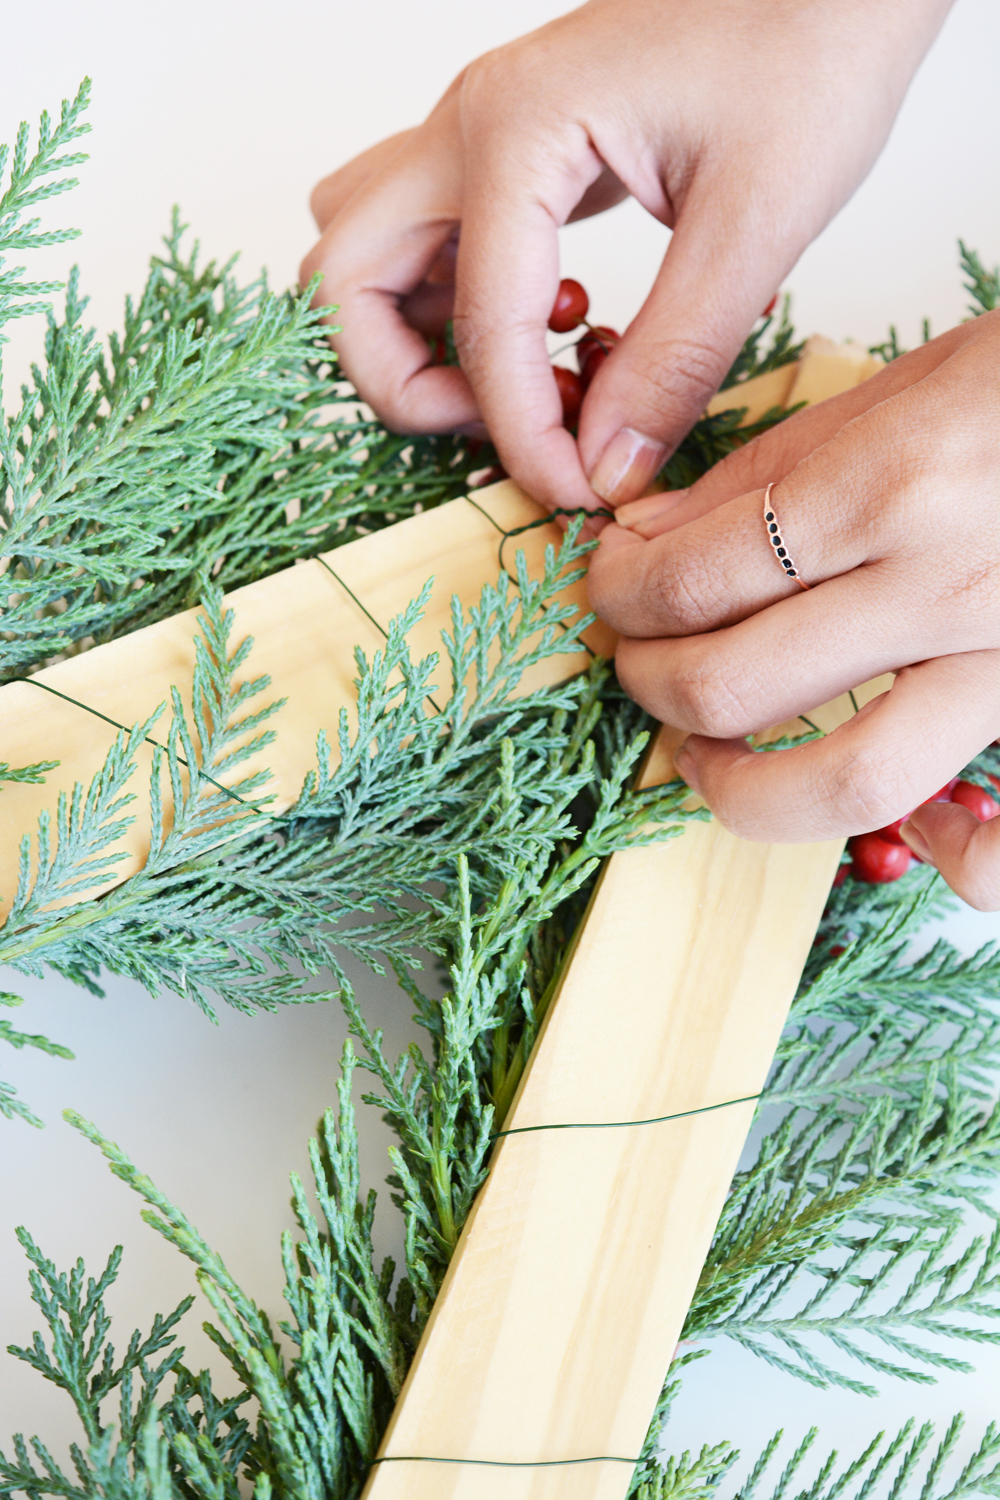
To make things a little easier, work with shorter pieces (about 1 yard) of wire at a time and join the piece together by simply twisting the ends together.

DIY Modern Triangle Wall Christmas Tree

And that’s it!  So easy right?  These greens and berries should last at least 2-3 weeks, kind of like any other fresh wreath or garland. The cooler it is, the longer it will last. They will dry out some, but it will still be a pretty.

Because this is so light weight, you only need a small picture hanger or even just a 3M Command Strip if you don’t want to make a hole in the wall.

When Christmas is over, simply cut the wire and remove all the greenery and berries. Unfasten the bolts and store the three sides of the triangle away till next year. I love a project that can be used over and over.

DIY Modern Triangle Wall Christmas TreeDIY Modern Triangle Wall Christmas TreeDIY Modern Triangle Wall Christmas TreeThis post is sponsored by Fiskars, thank you for supporting the companies that help make this blog possible. 
Hey, and if you like today’s post, be sure to also check out this gorgeous Summer Floral Arrangement and this Scandinavian Wooden Bead Icicle Garland I created in collaboration with Fiskars.

Travel

Fall Family Hike

November 28, 2016

I hope you all had a great Thanksgiving. We sure did. I lot of cooking and eating happened. Lonnie’s family all came from Idaho. So, we had a full house, which I love. The cousins had a blast together, and that’s always so much fun to watch.
I enjoyed having a little break from work. But, now I’m ready and excited for the holidays. We got a tree last night and decorated it. Are you ready for Christmas? I’ve got some fun Holiday posts headed your way!

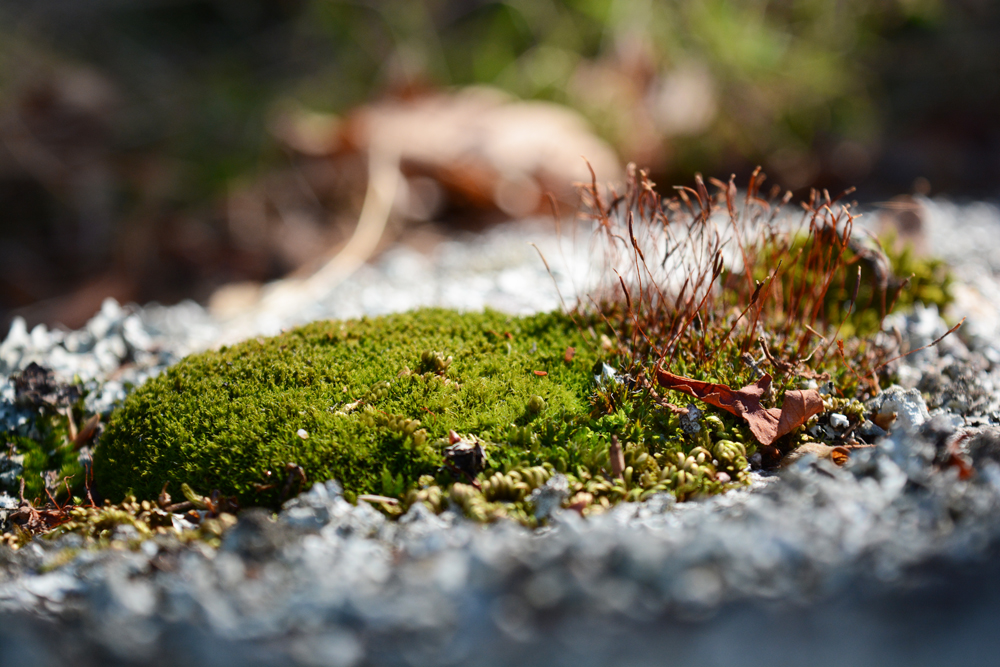
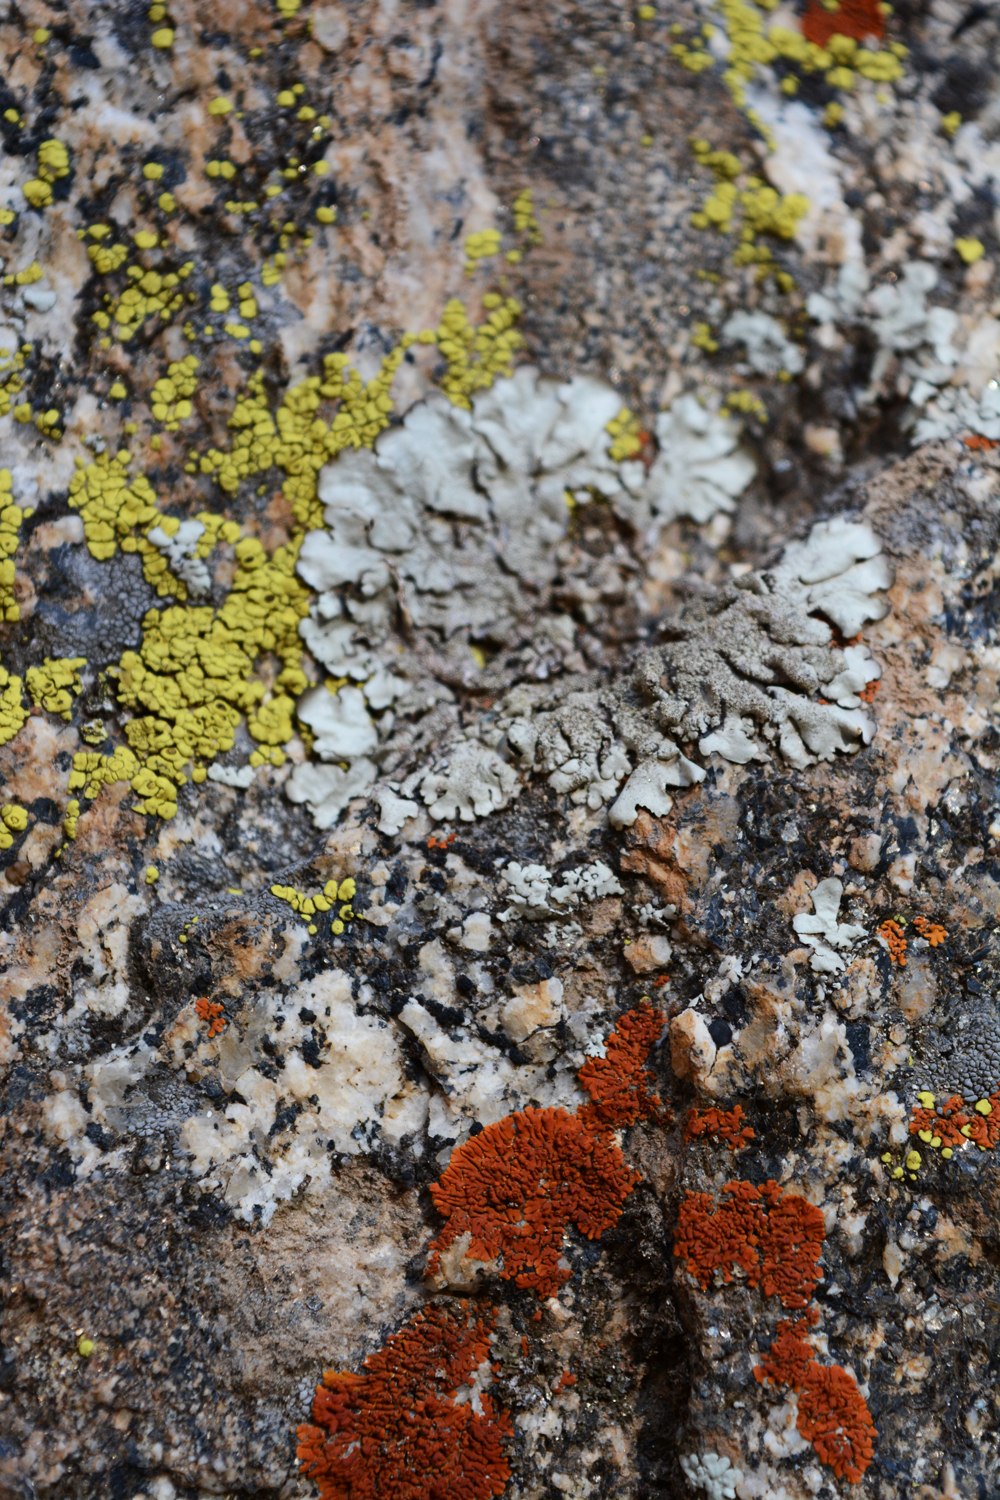
Fall Family HikeOn Black Friday we decided to #optoutside and take the family for a little hike. This is one of our favorite local hikes. It’s super dry, of course, but there still is a hint of fall in the colors. I had fun taking my camera. Lately, any pictures I take are for work and not for fun. So, it was felt good to just play with my camera.


If you are local, the Kern River Canyon is really a great spot for a day hike. If you head out highway 178 towards Lake Isabella, this trail is called Mill Creek.

_fall-hike-2_fall-hike-13_fall-hike-12_fall-hike-5_fall-hike-4_fall-hike-11_fall-hike-7

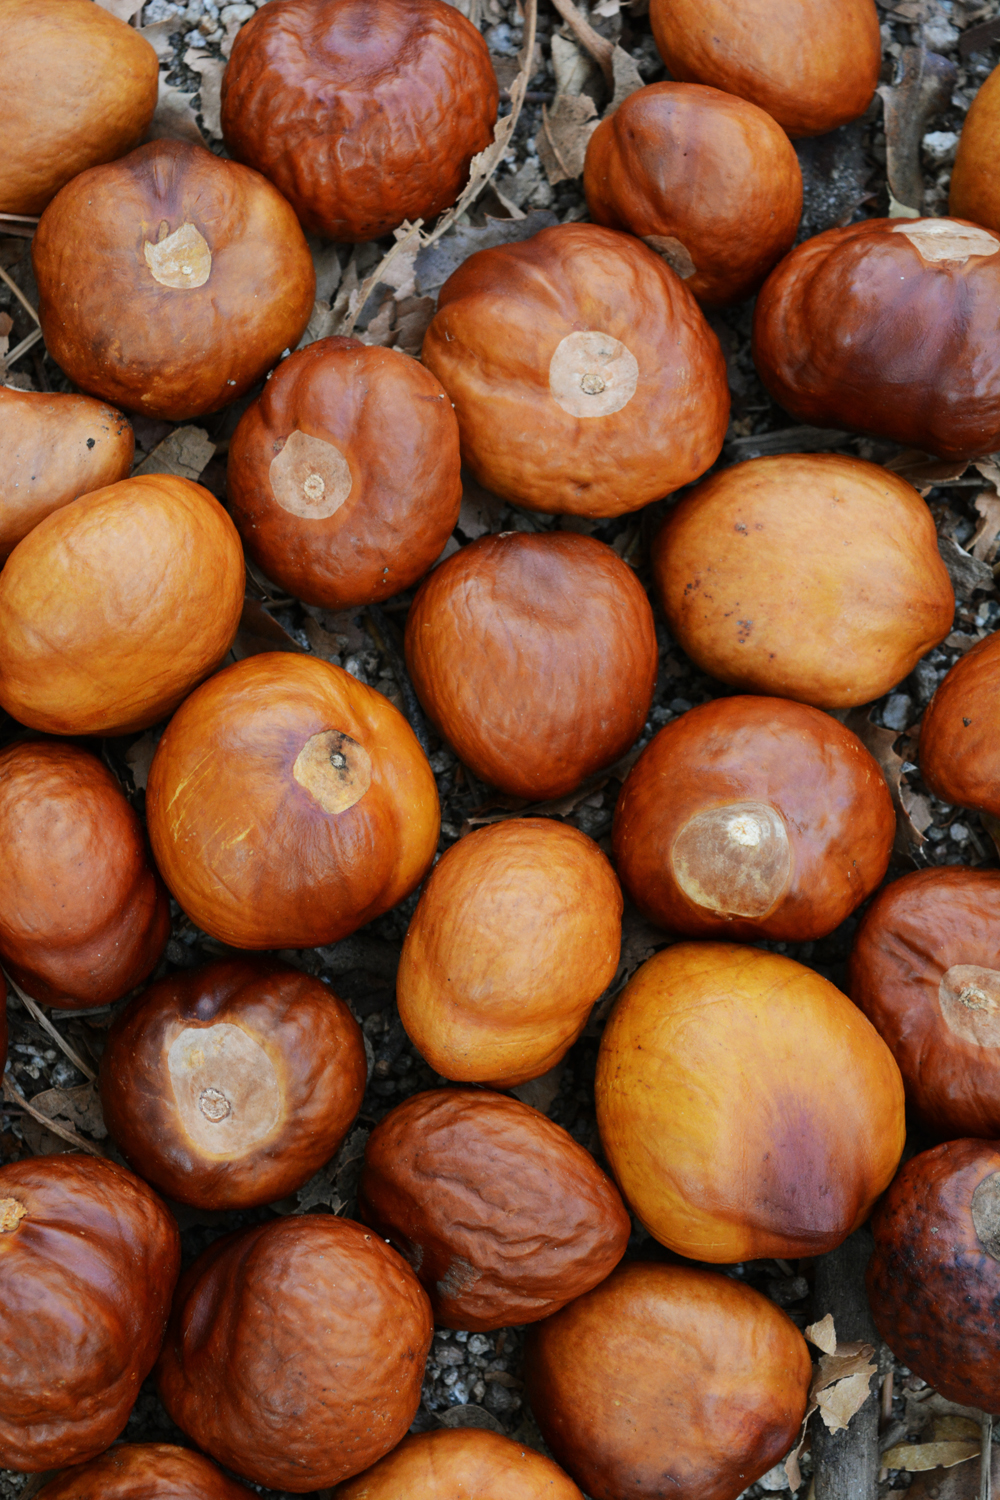
Olivia had so much fun collecting seeds and leaves. We only hiked about 4 miles, but anytime my kids are outside away from screens, I’m a happy mama.

_fall-hike-10 _fall-hike-9 _fall-hike-3

Ok, now let’s try to make it through this Monday. Bring on all the coffee.

_fall-hike-14

etc.

The Week’s End

November 18, 2016

The busiest time of year is just about to begin.  Are you ready?  I’m not sure if I am. But, ready or not, it’s happening. We are excited to be celebrating Thanksgiving here in our new home this year. Lonnie’s family is coming to town, so we will have a very full house, and that’s fun.Black BuildingI had hoped to have had the dining room and living room both painted before the holidays. So far, the dining room is almost primed. Once I’m finished writing this post I’m going to put in a couple hours of painting. And then when my mother-in-law arrives, I’m hoping to put her to work as well. Until I get these two rooms painted. I’m really not ready to hang anything on the walls or make any other furniture decisions. With just primer on the walls, the dining room is already feeling lighter and brighter.

For your weekend reading, here’s a few things you might like to check out:

Have a great weekend and be productive or lazy, whichever makes you happy.