DIY

Scandinavian Wooden Bead Icicle Garland

November 17, 2016

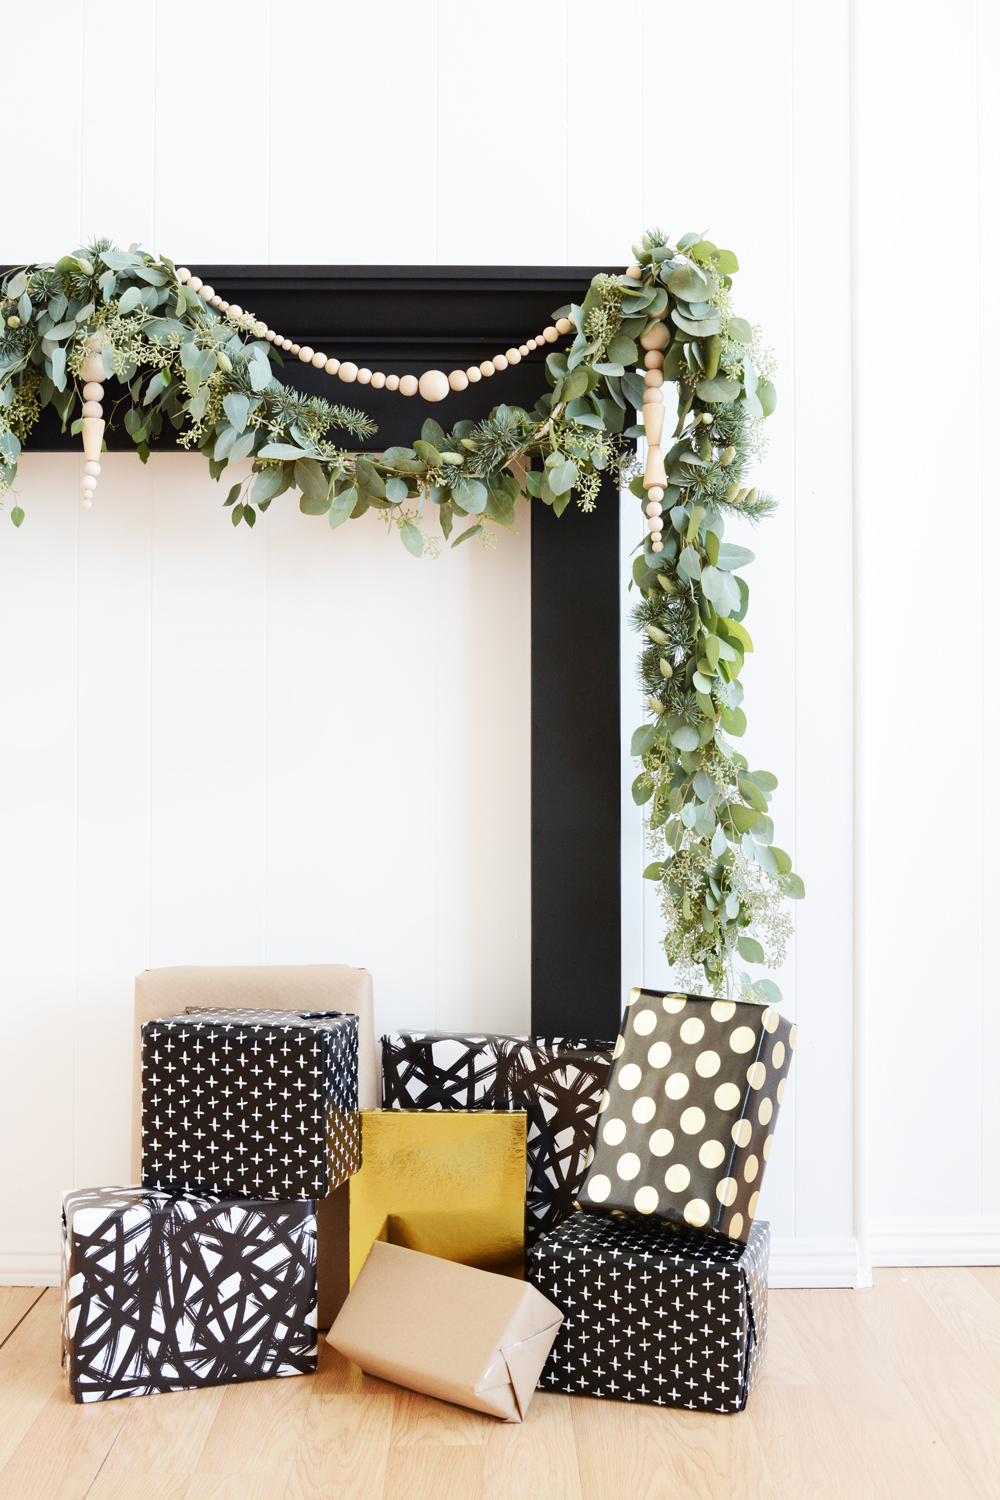
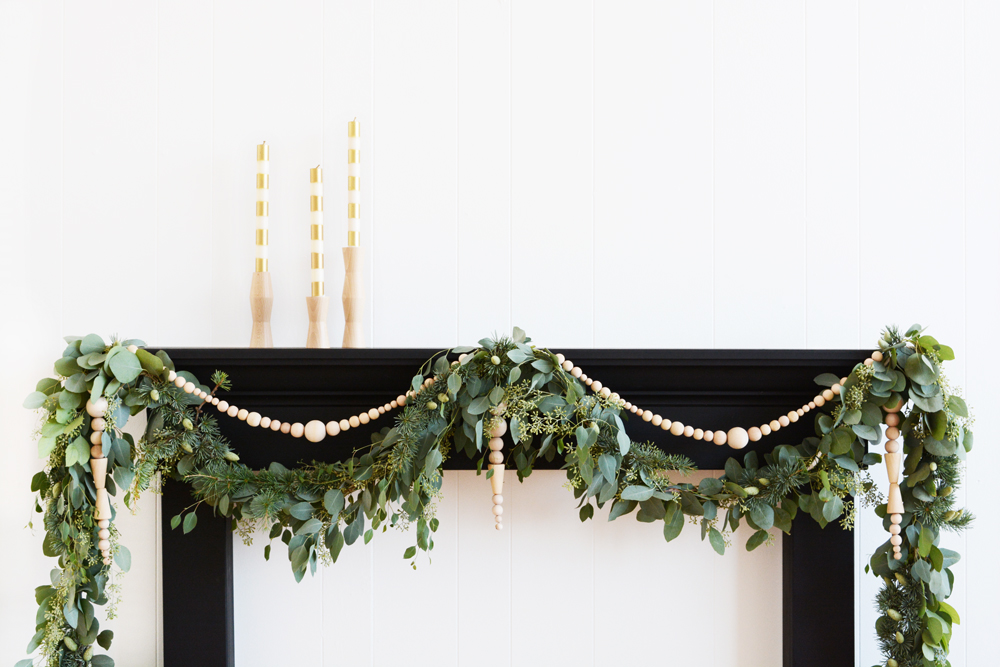
_beaded garland 16I know Thanksgiving is just one week away, but I think it’s ok to start planning your Christmas decorations. And the mantel is a great place to start.

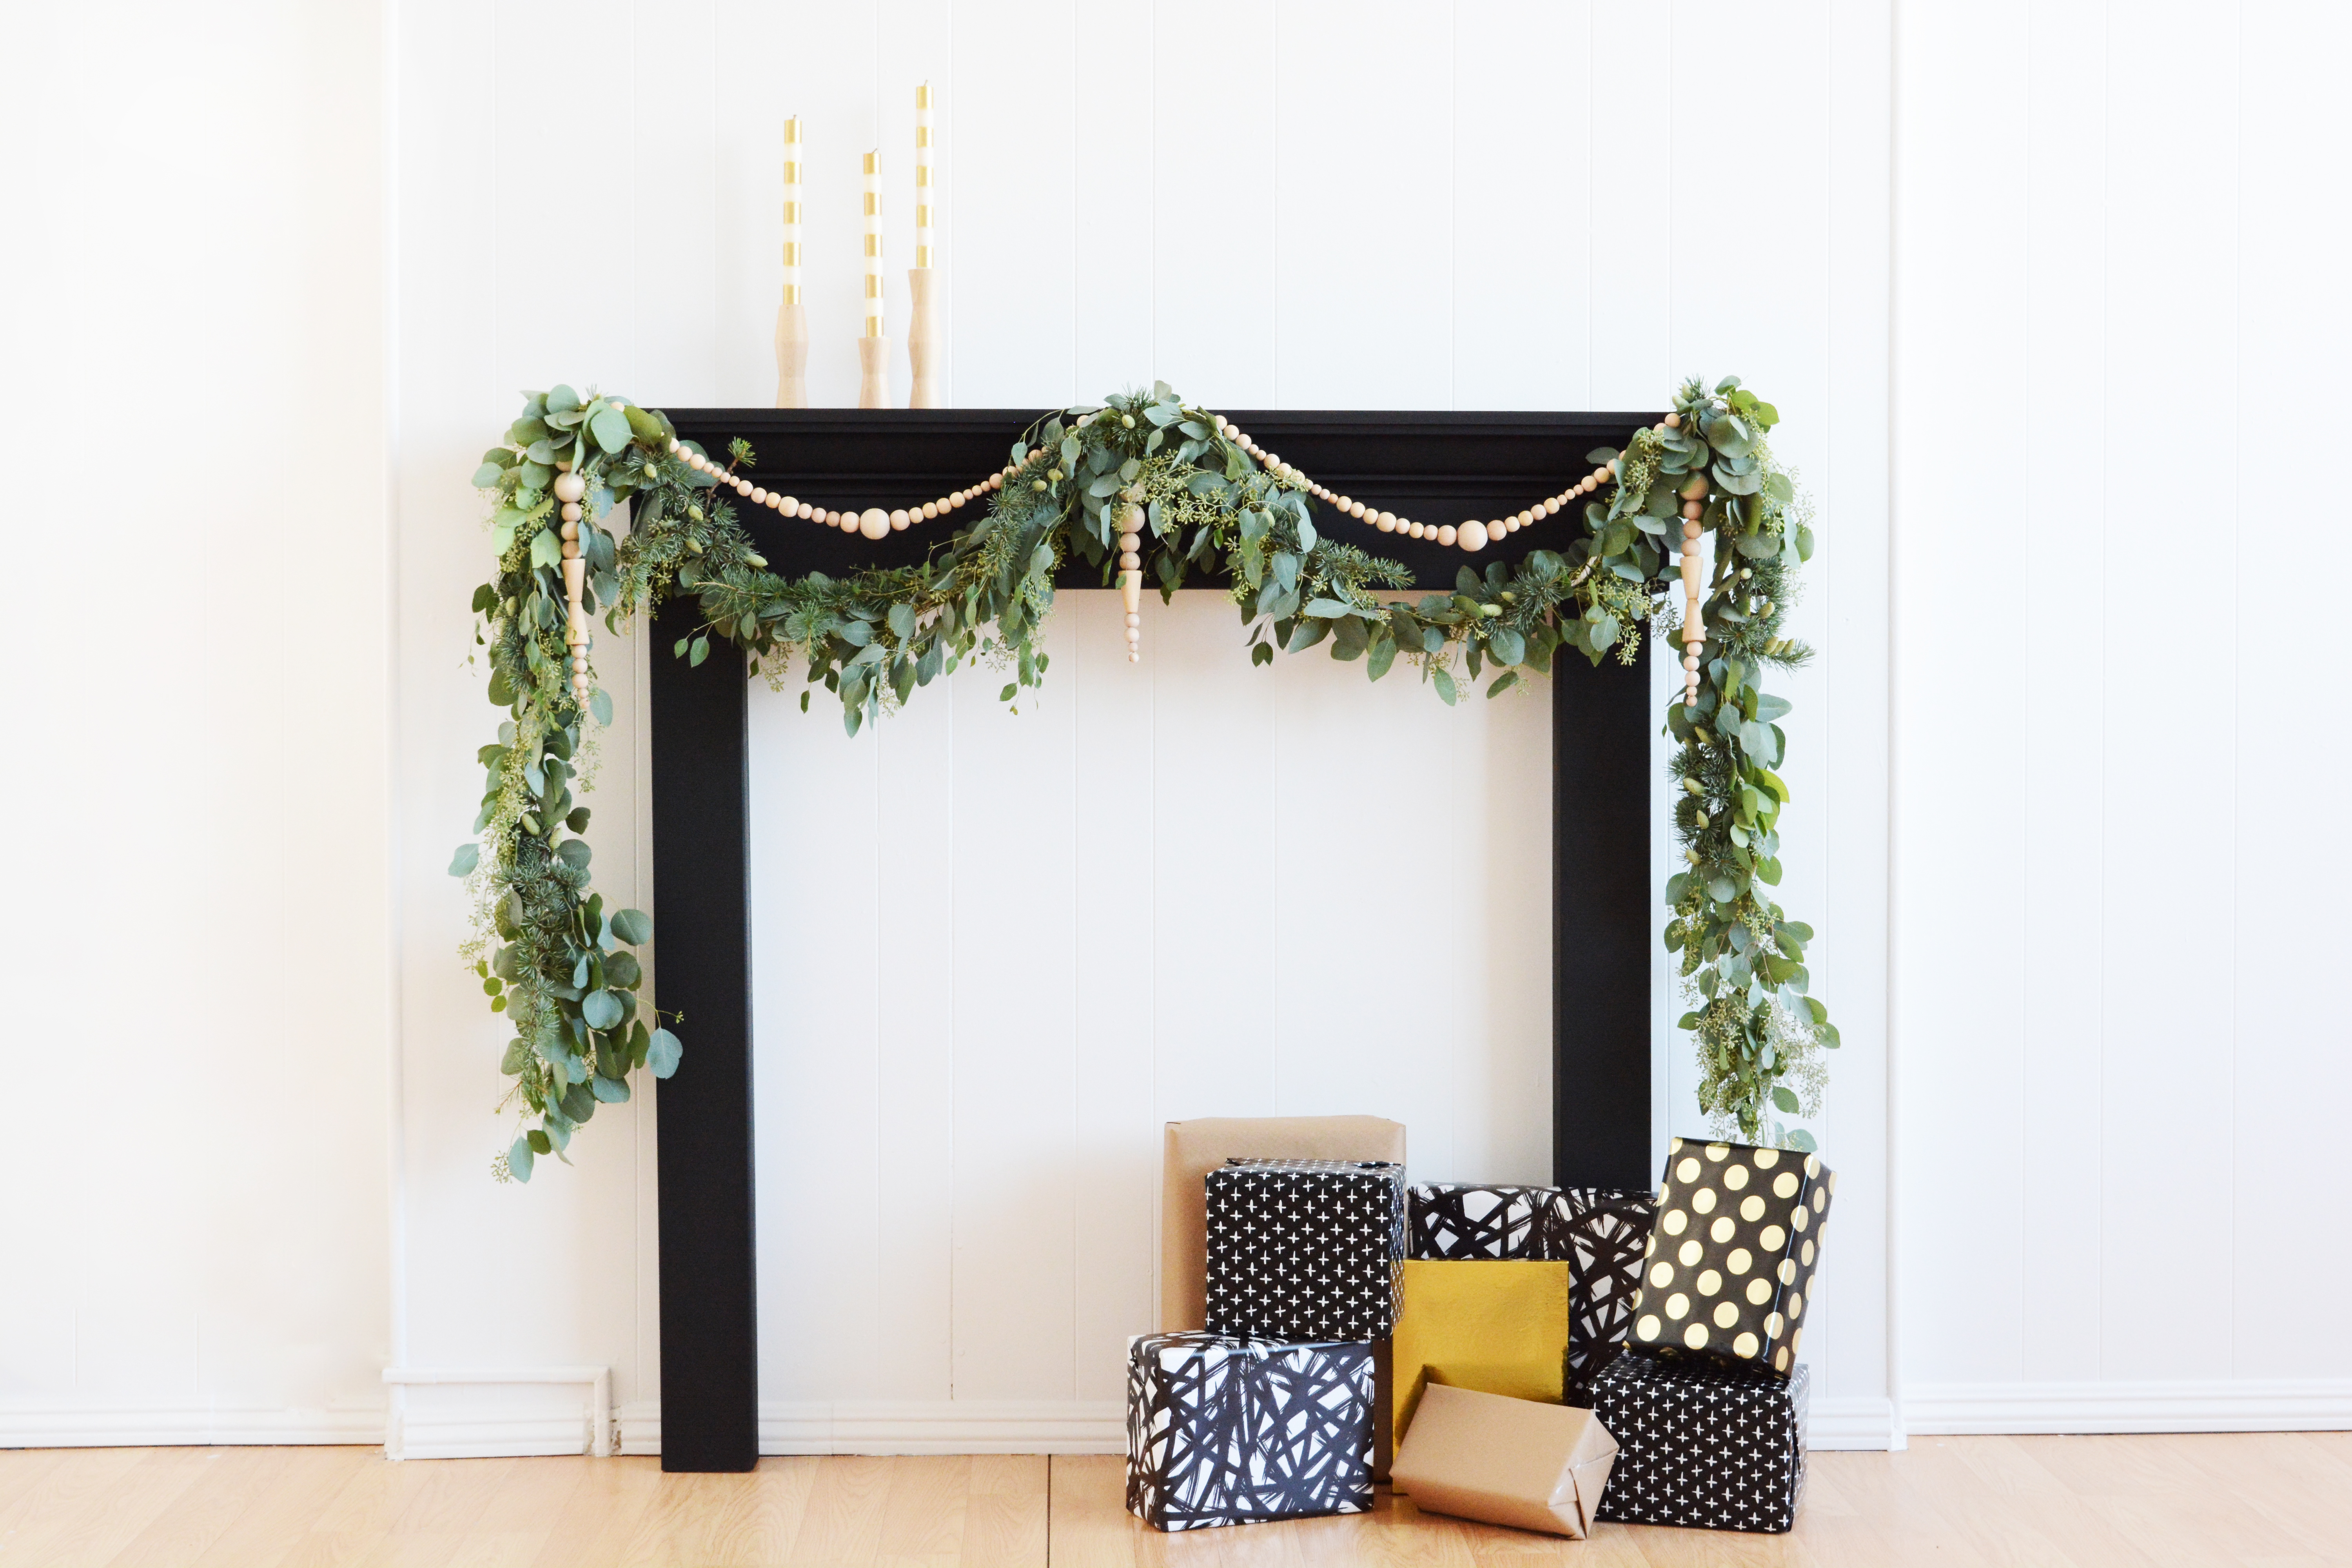
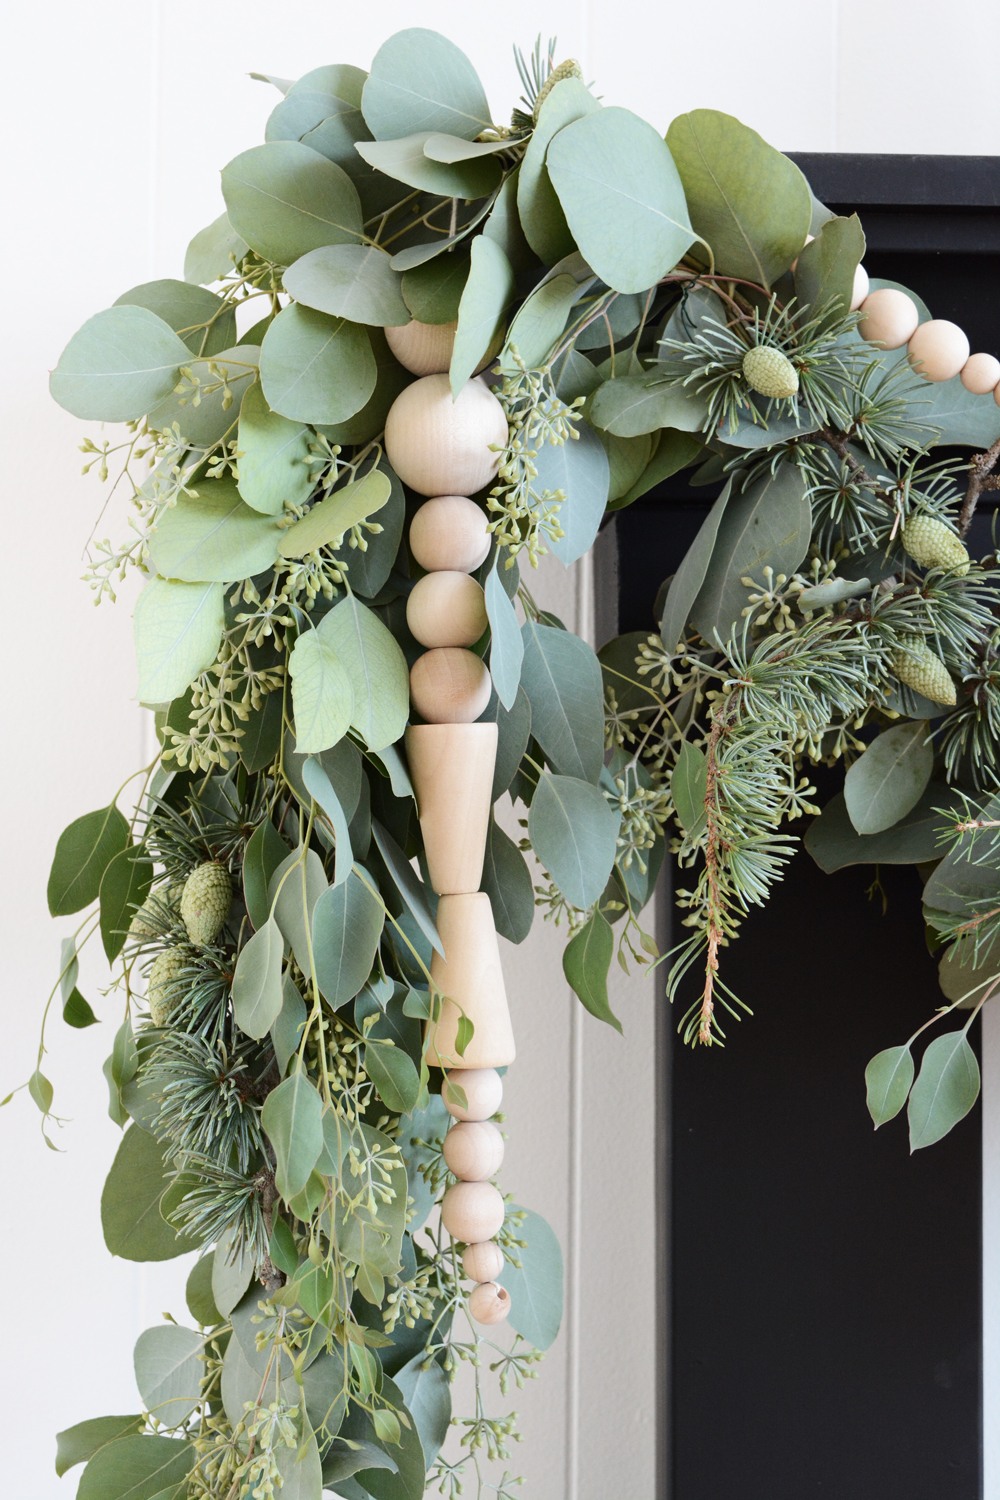
There really is nothing prettier then simple, and uncluttered, as far as I’m concerned. I’m trying to be all about the “less is more”. If you’ve read my blog for a while now, I can’t get enough of everything Scandinavian, no one does clean, minimal design better. Inspired by all the pretty blond wood tones that Scandinavian design uses, I created this simple Wooden Bead Icicle Garland.

This no-fuss wintery garland is easy to make and the eucalyptus smells so good. I kind of want to keep these wooden bead icicles up all year.
_beaded garland 18_beaded garland 19

Here’s what you’ll need:

  • Seeded Eucalyptus (available at the florist or just growing everywhere in my neighborhood)
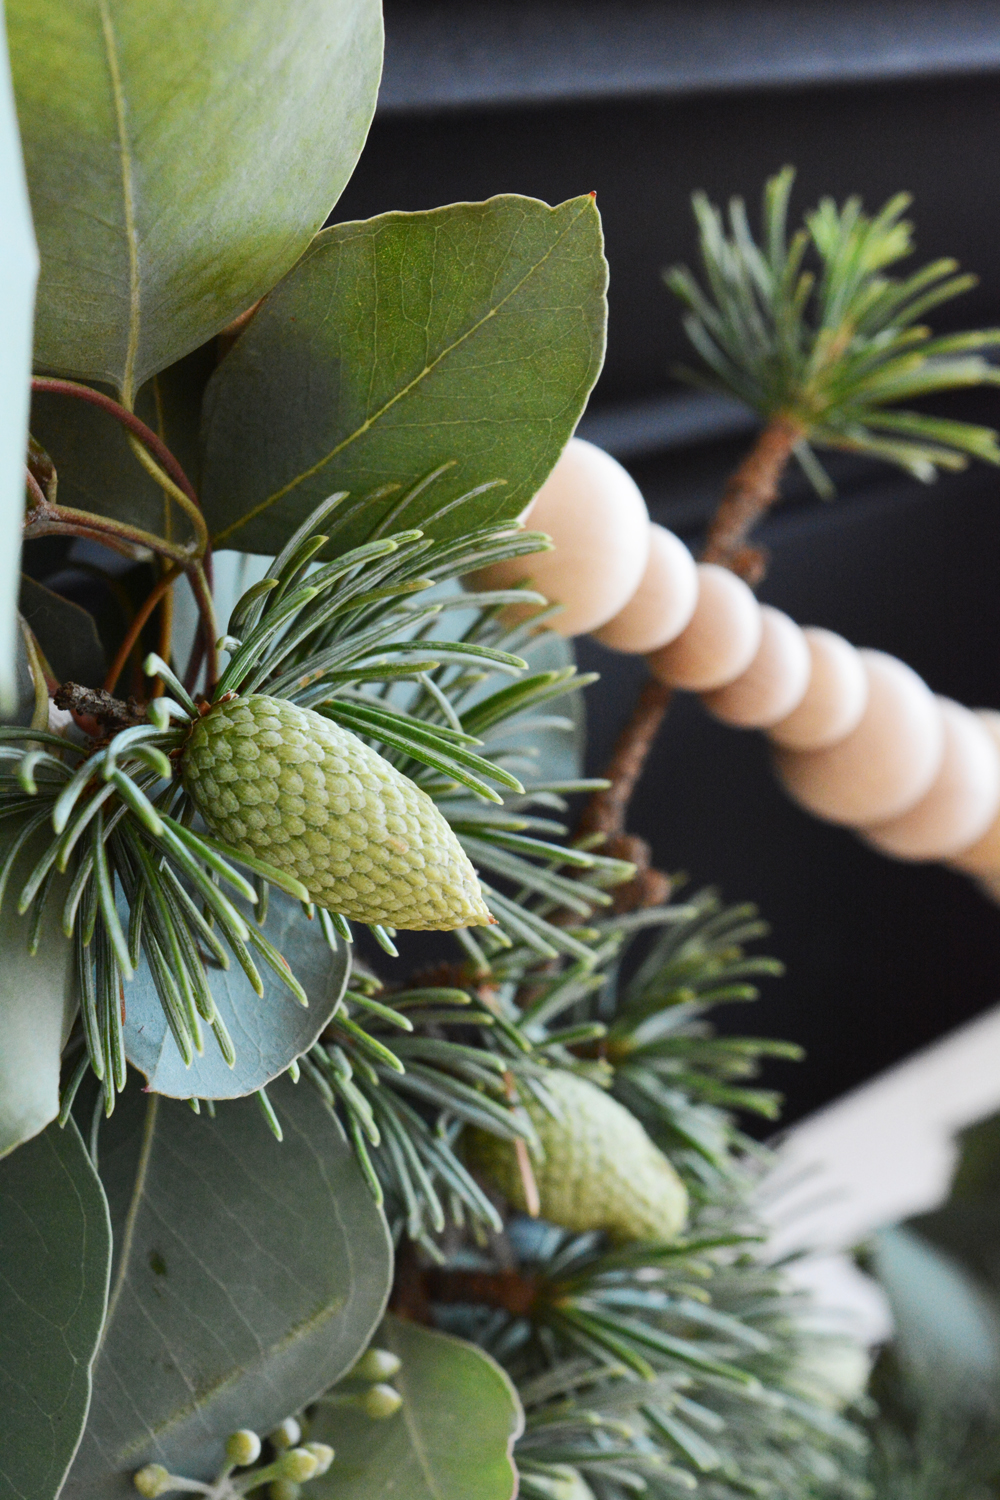
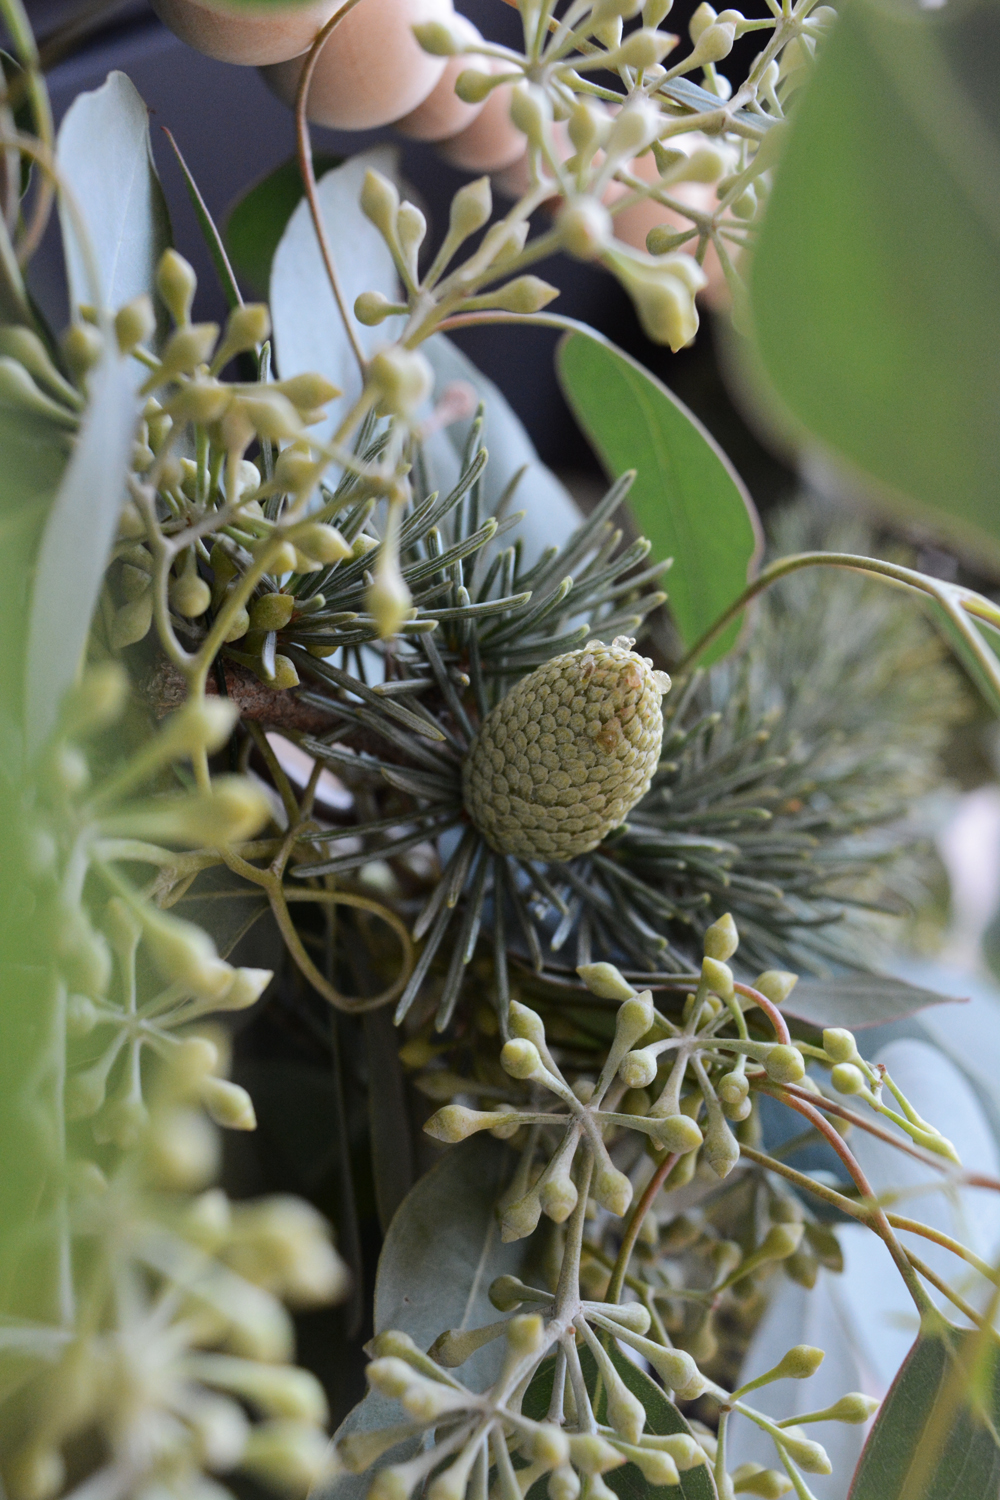
  • Pine or Spruce sprigs (I used branches that had a few baby pine cones on them)
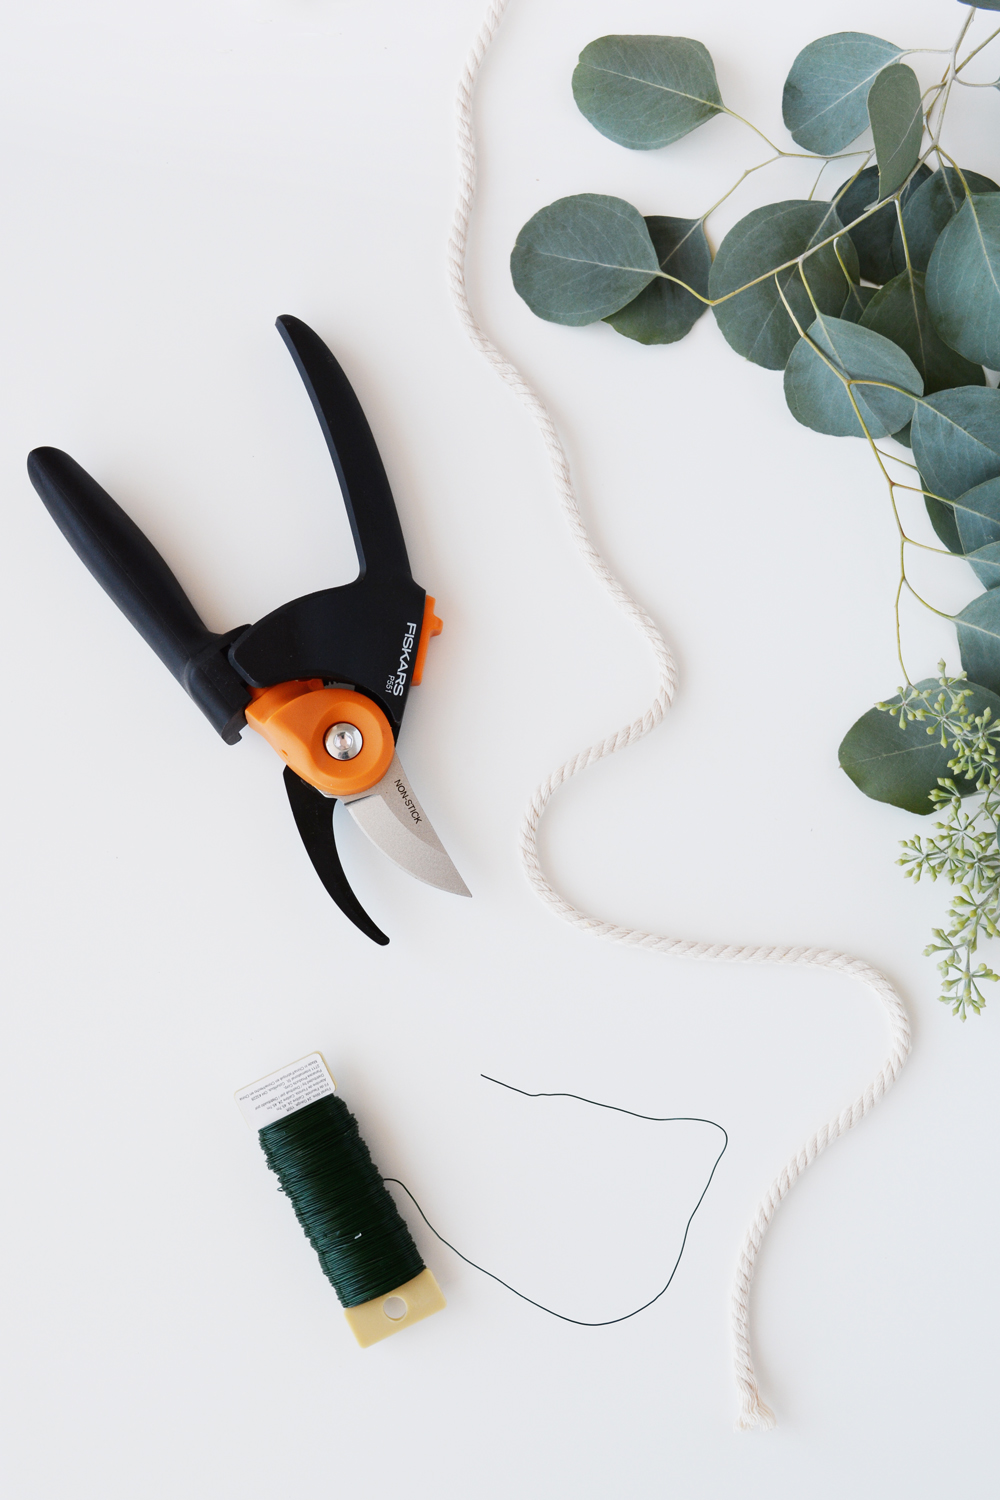
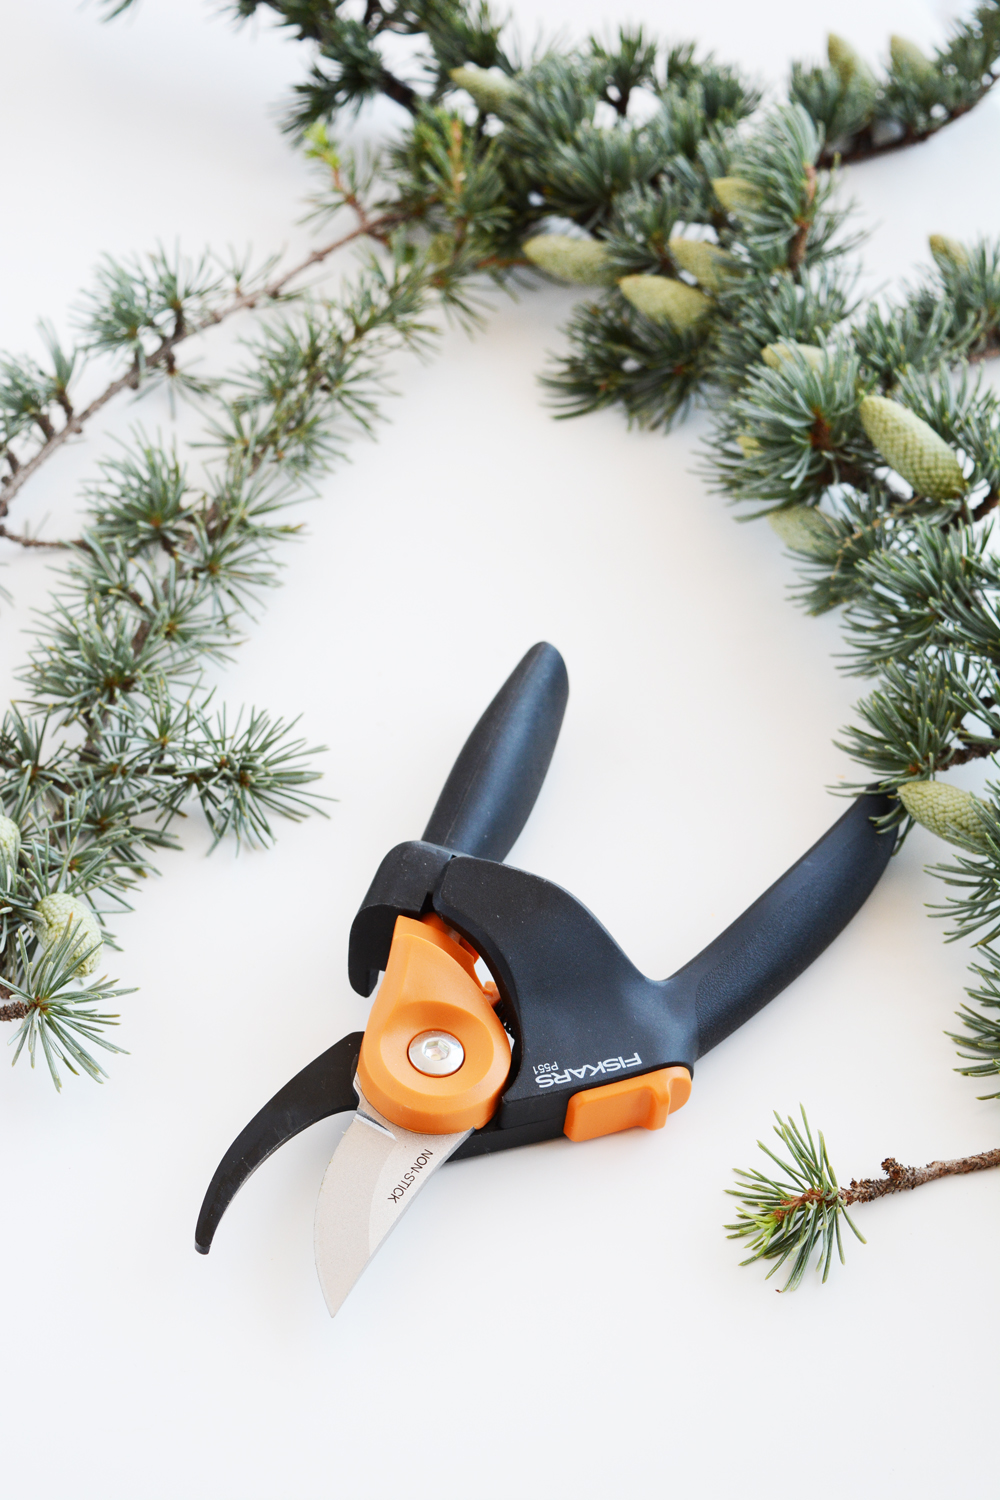
  • PowerGear2 Fiskars Pruners, Fiskars Lopper (25″), and Fiskars Softgrip Micro-Tip Pruning Snip
  • 1/4″ thick color piping or rope (available at the craft or fabric store)
  • 24 gauge Florist Wire
  • Wooded beads in a variety of sizes and shapes (I used about 8 dozen beads, the largest being 2 inches and the smallest 1/4 inch in diameter)
  • 3 push-pin tacks or 3 3M Command Strips Hooks
  • A large needle
  • White crochet thread

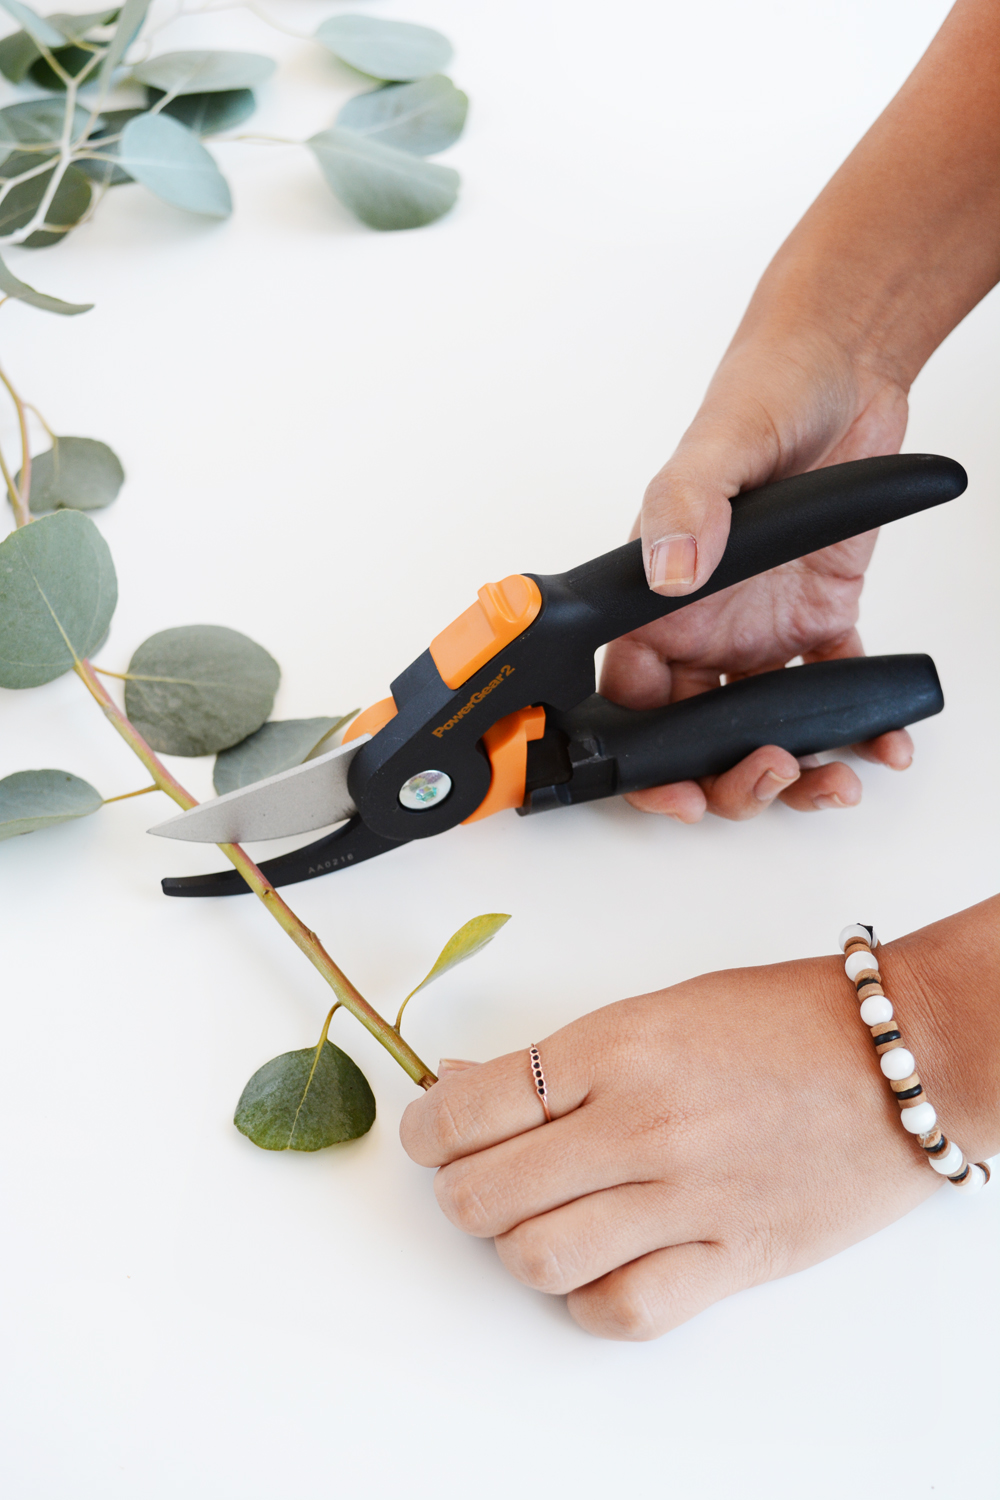
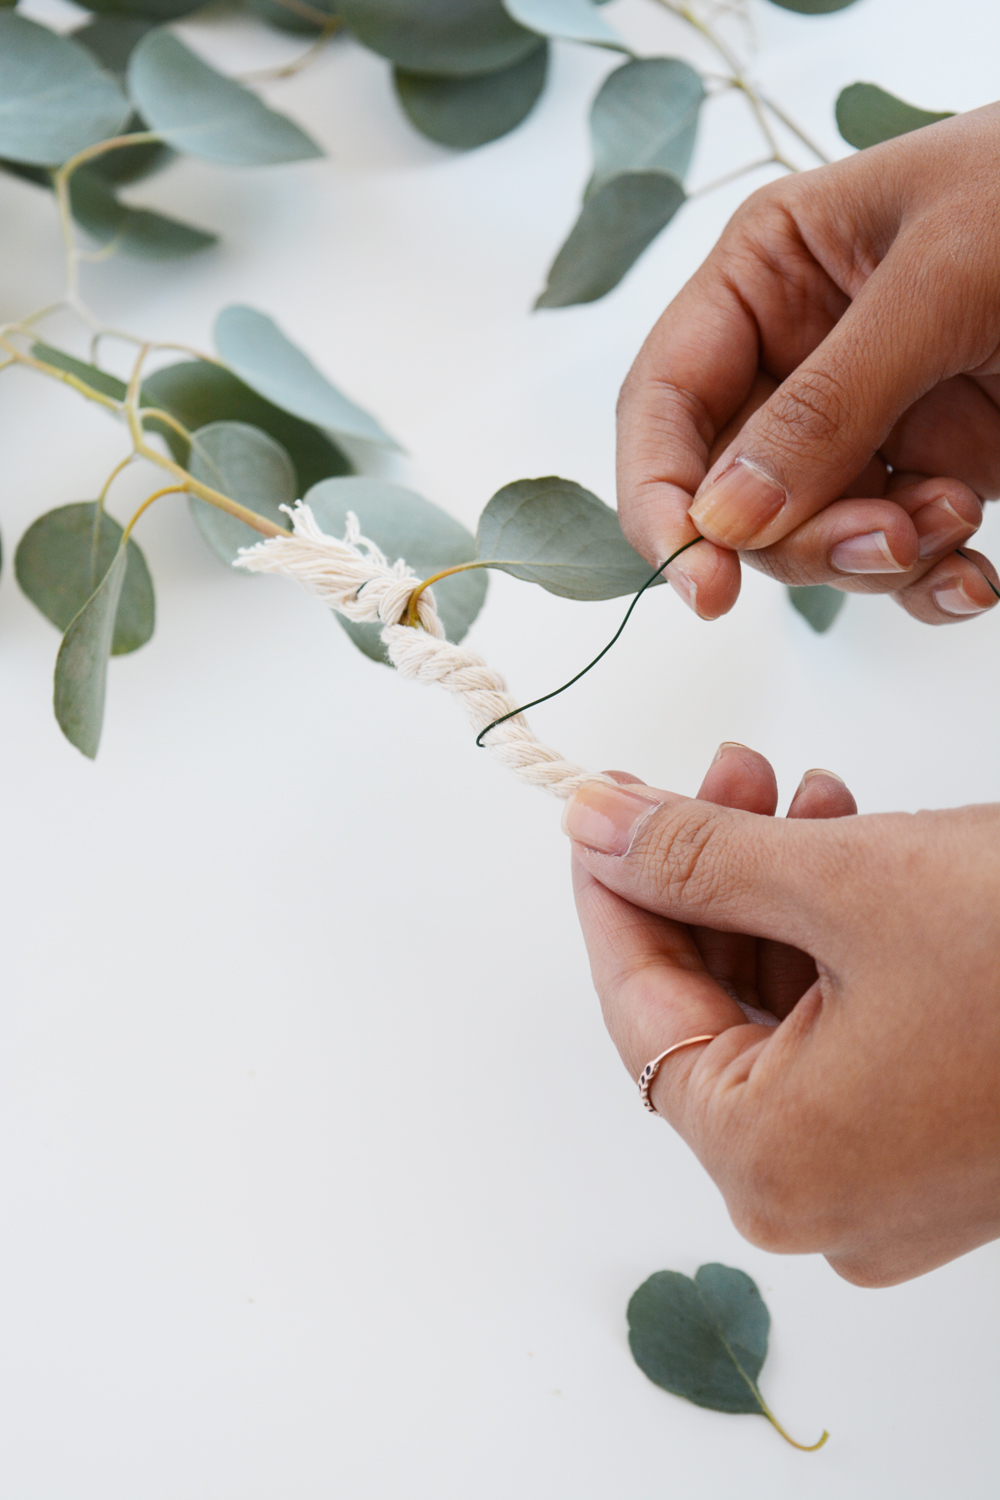
_beaded garland 23To start, you will want to measure your mantel for the length of the garland.  Using the 1/4″ rope, decide how long you want it to hang on the sides and also account for the swags along the top of the mantel. I made my garland to dip just twice._beaded garland 5Using the PowerGear2 Fiskars Pruners and Fiskars Lopper (25″) trim a lot of branches of eucalyptus. I trimmed mine from a neighbors tree and the long handles of the Lopper made it easy to my to reach taller, thicker branches of foliage._beaded garland 6I used the Pruners to trim away parts of the branches that didn’t have very many leaves.  These Pruners are one of the best tools I own. They are easy to grip and the non-stick blade cuts through thick branches with ease._beaded garland 8Starting at one end of the rope, I wired on a branch of eucalyptus with the foliage falling away from the end of the rope. Every couple inches, I added in another brand, laying them all the same direction, and wired them all tightly to the rope. I used enough foliage to be sure the rope was hidden and out of site._beaded garland 9Working with pieces of florist wire that are about a yard or two in length is the easiest.  You are less likely to get tangled in the leaves and branches.  And when you need more length, simply twist the two ends of the wire together to secure._beaded garland 10Next I trimmed about 8-10 sprigs of pine that had pine cones on it.  These were not big pieces, most were about 6 inches in length. Then, before I wired in the pine sprigs, I hung the eucalyptus garland on the mantel with just 3 tacks to secure in the middle and the 2 ends. I wanted to get an idea of how the piece hung and then attach the pine sprigs where they would be visible.
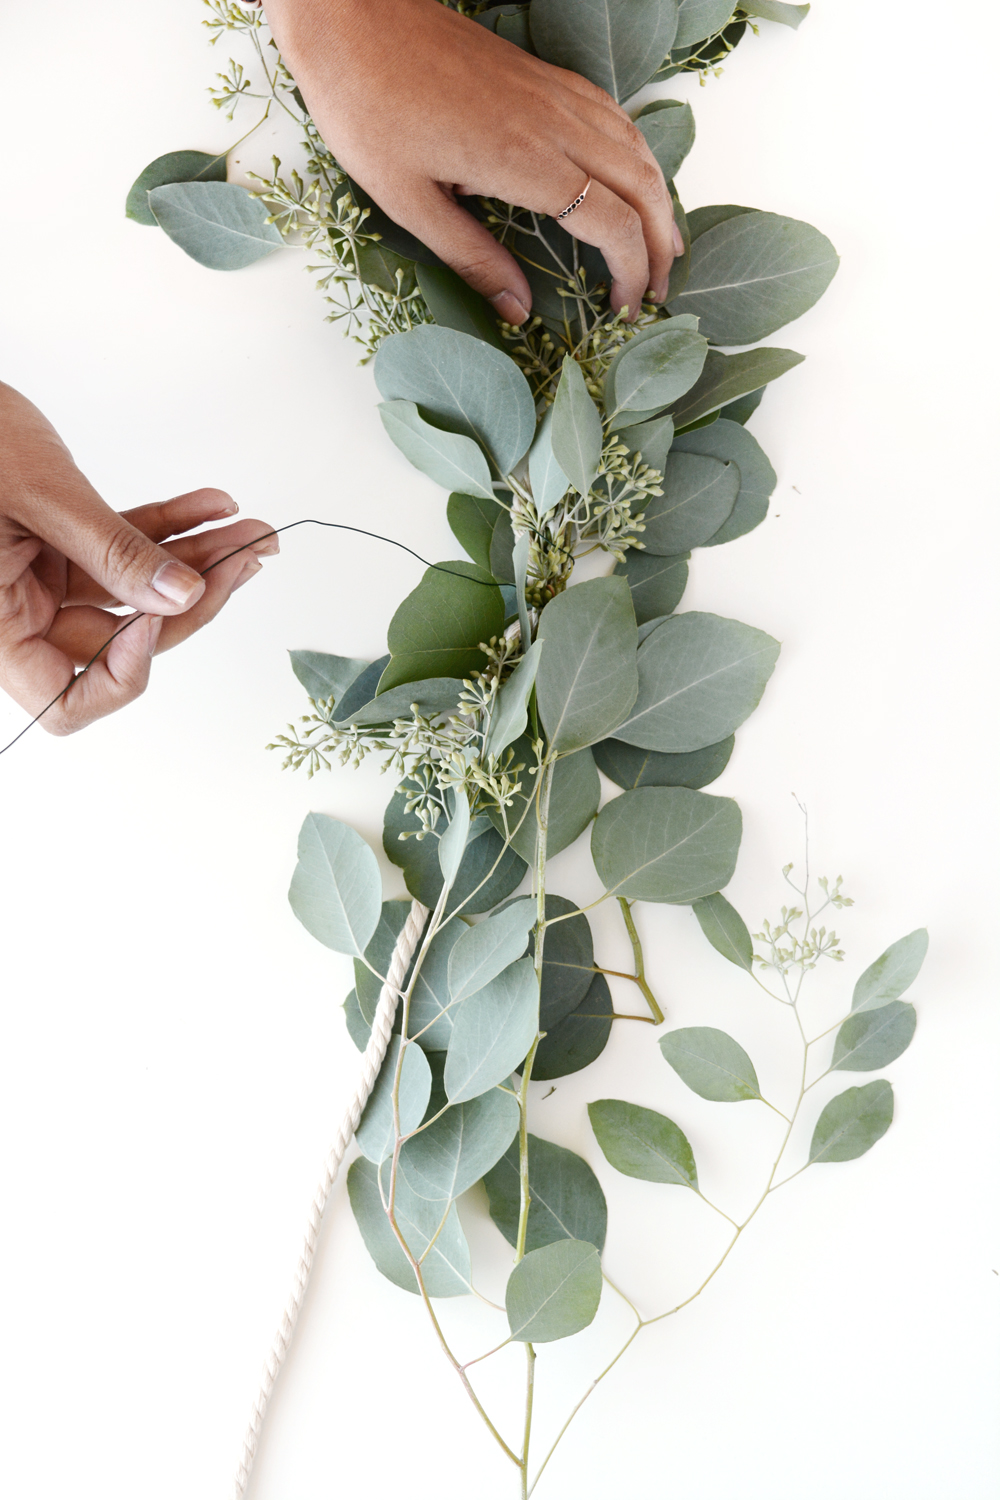
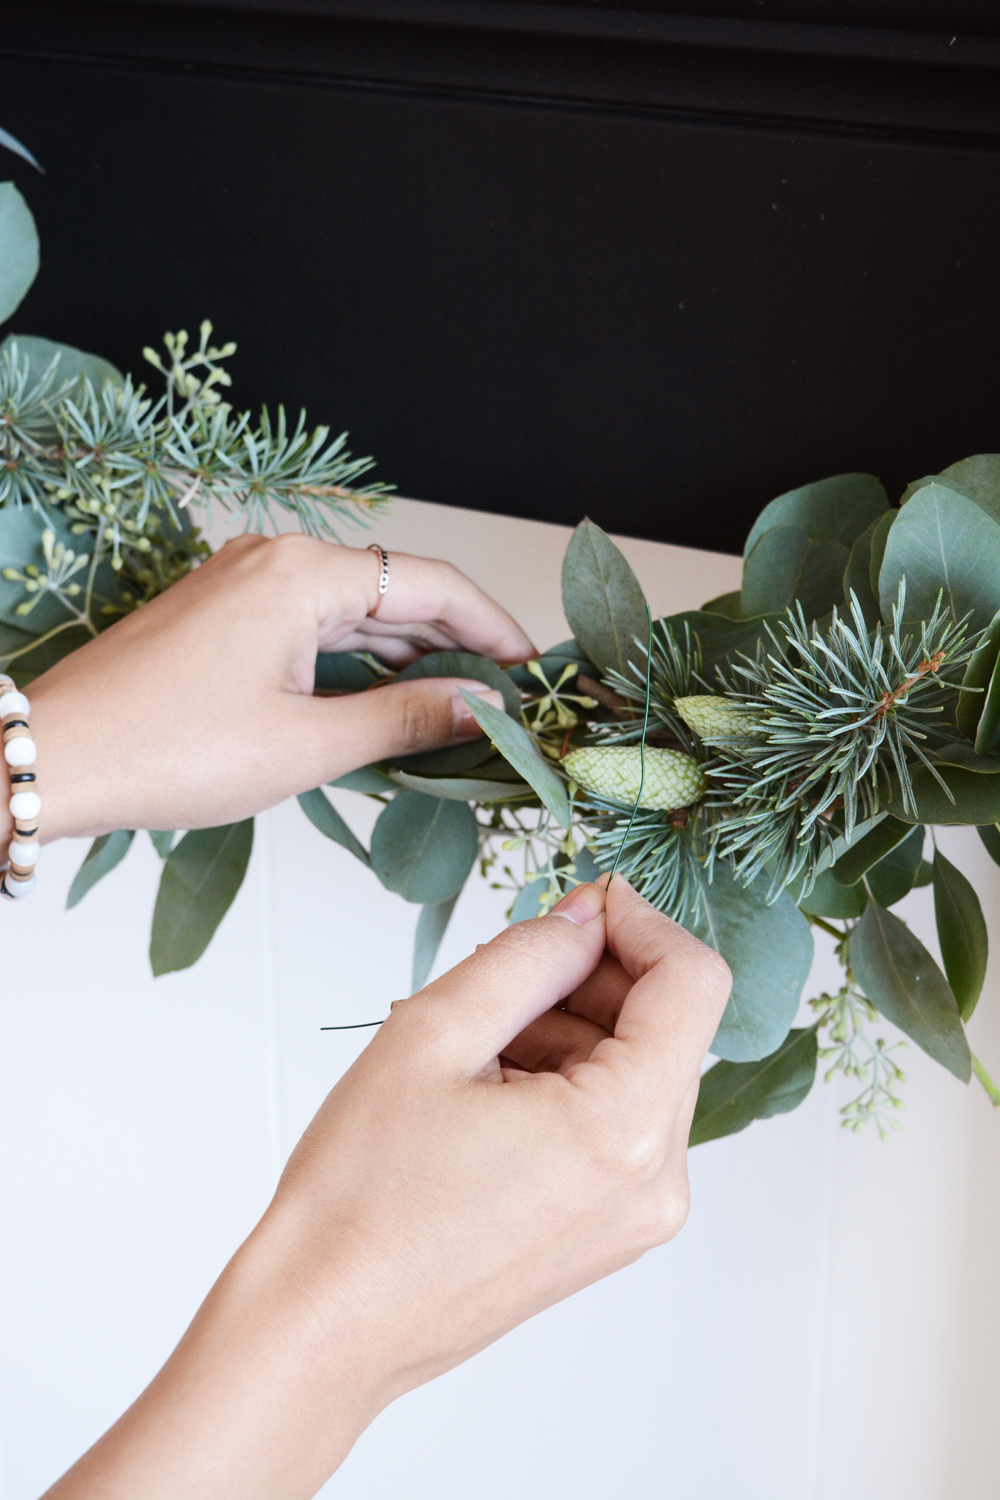
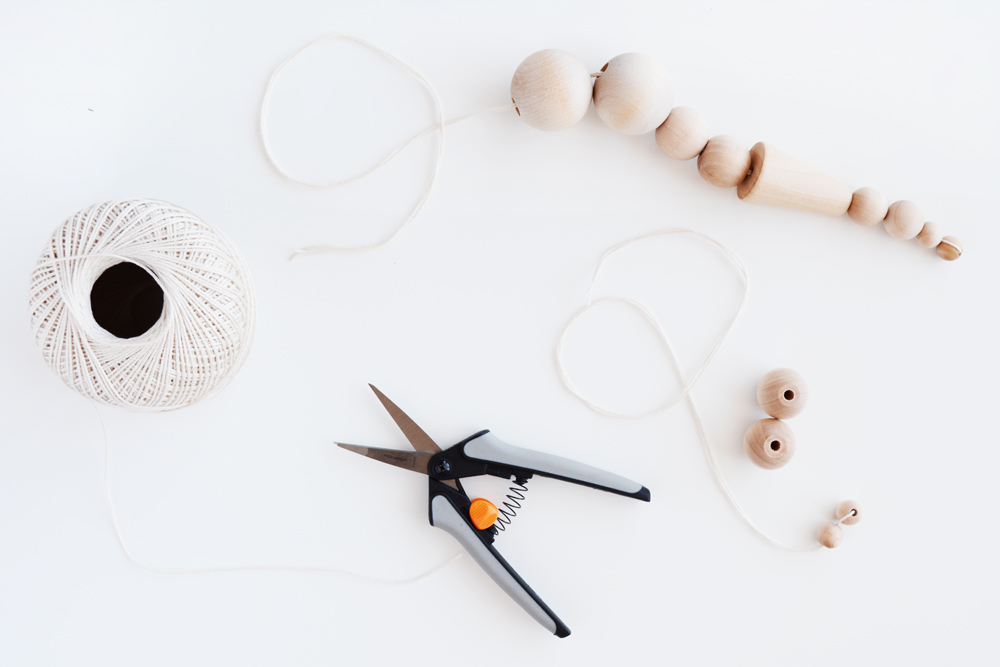
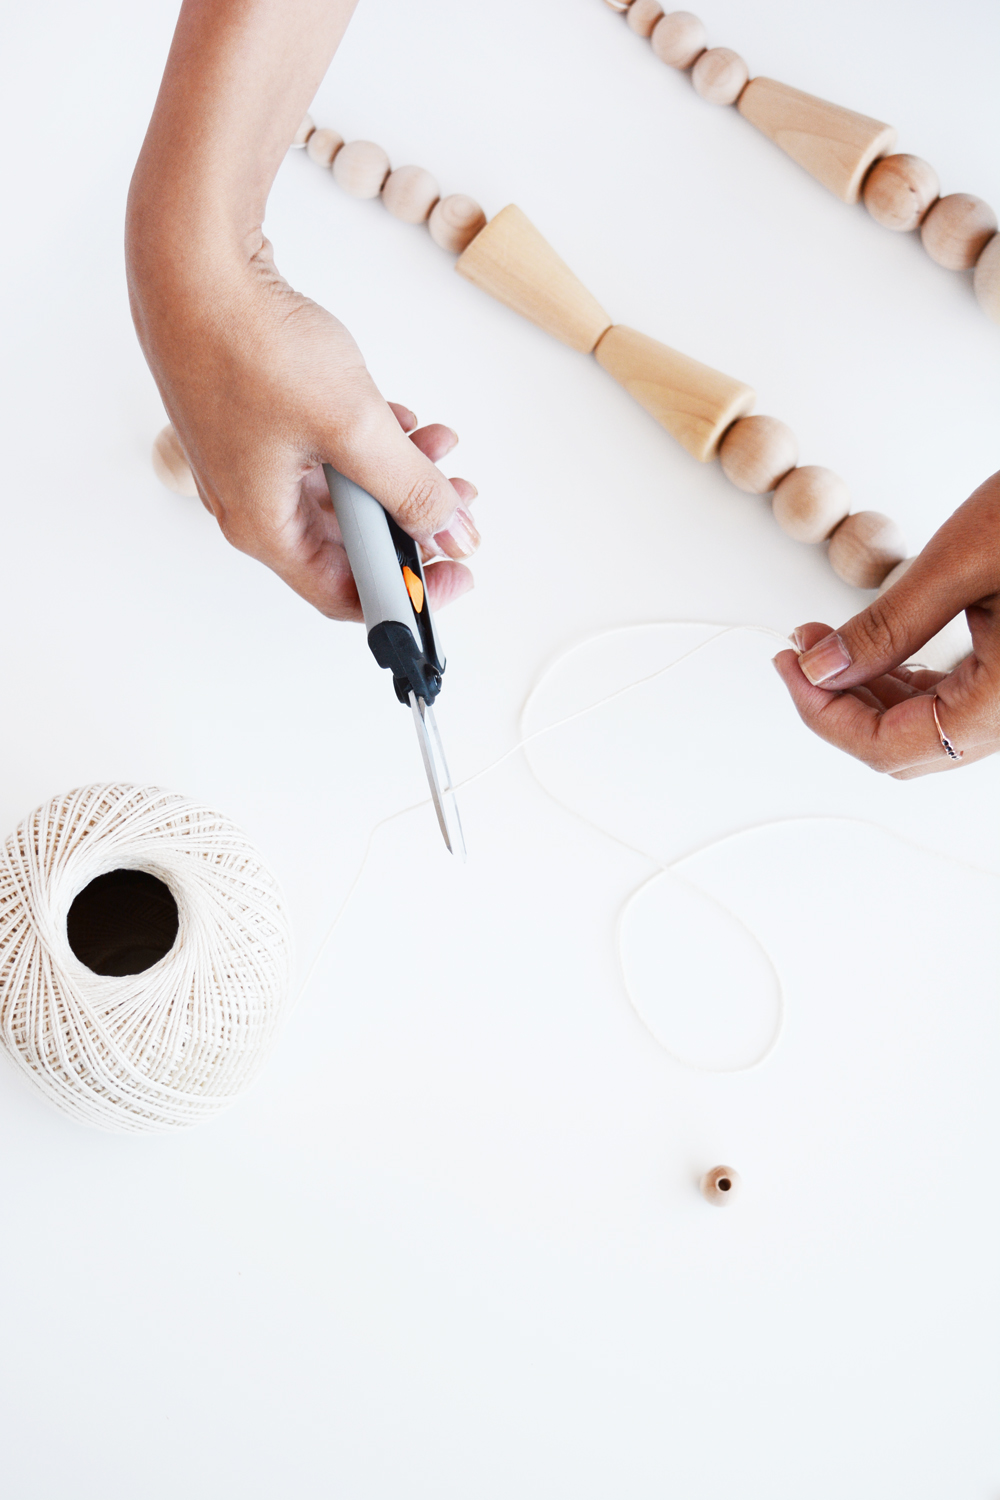
Using short, 5 inch, pieces of wire, I attached the pine sprigs to the garland._beaded garland 11Next I worked on my wooden bead icicles._beaded garland 4Start by cutting a 3 foot length piece of crochet thread. I love the Pruning Snips for jobs like this. They are super versatile and can go from cutting branches to snipping thread with ease._beaded garland 2Lay out your beads in the desired pattern.  I worked from biggest to smallest to create an icicle effect. Using the large needle, thread the smallest bead on and place it in the center of the length of thread._beaded garland 1Then re-thread the needle onto both ends of the thread and thread on a second bead._beaded garland 3Continue threading on all the beads.  I made 3 icicles for my mantel.  I simply tied them onto the tack that was securing the garland to the mantel.
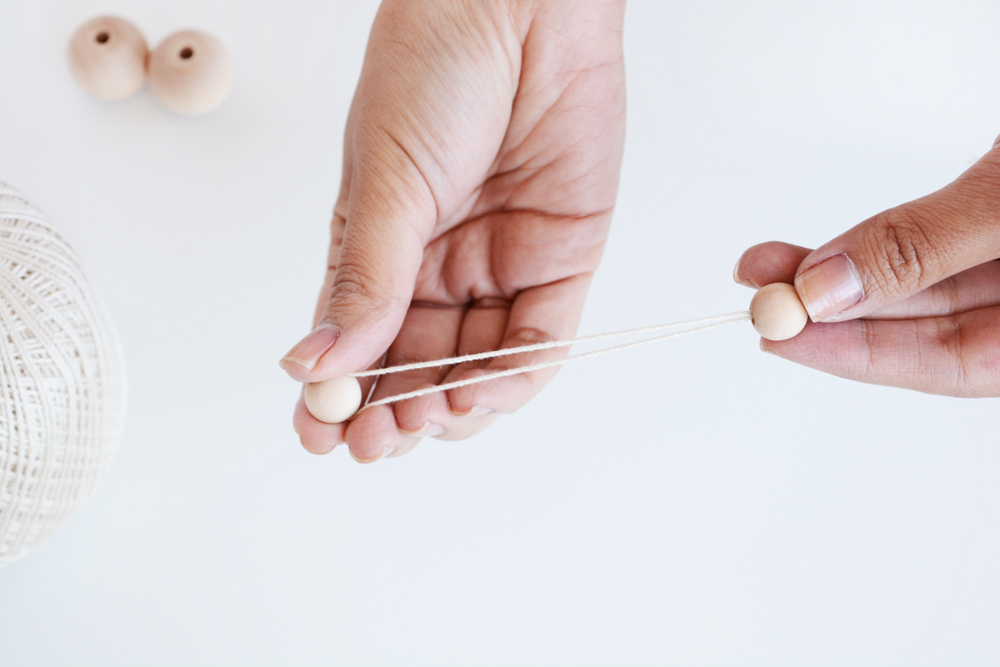
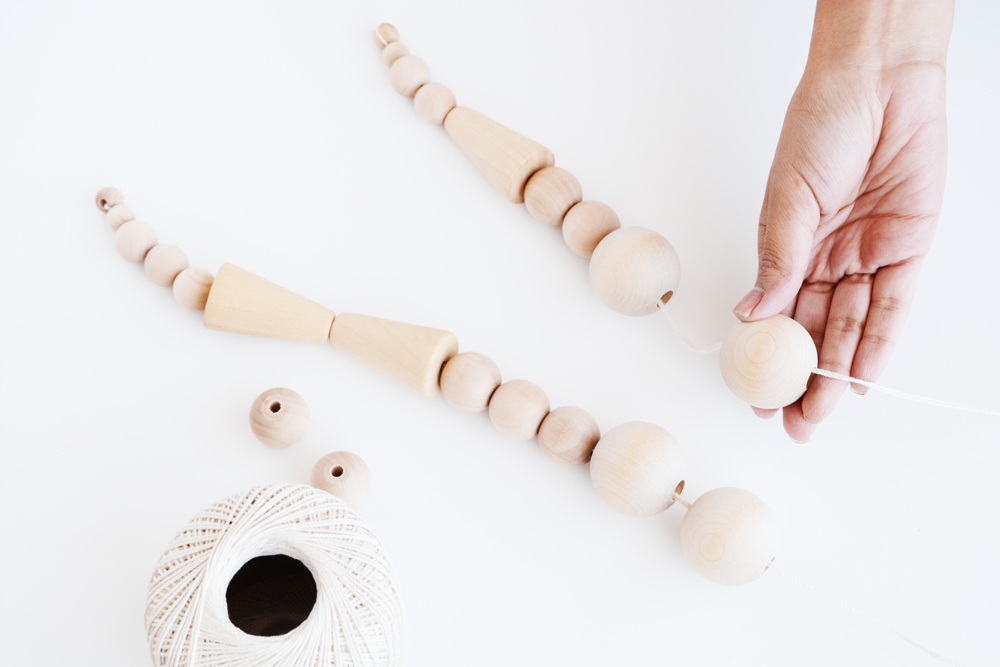
Then I created to more beaded strands to hang in between the icicles. And again,  I tied them to the tacks I had placed in the top of the mantel._beaded garland 20_beaded garland 17
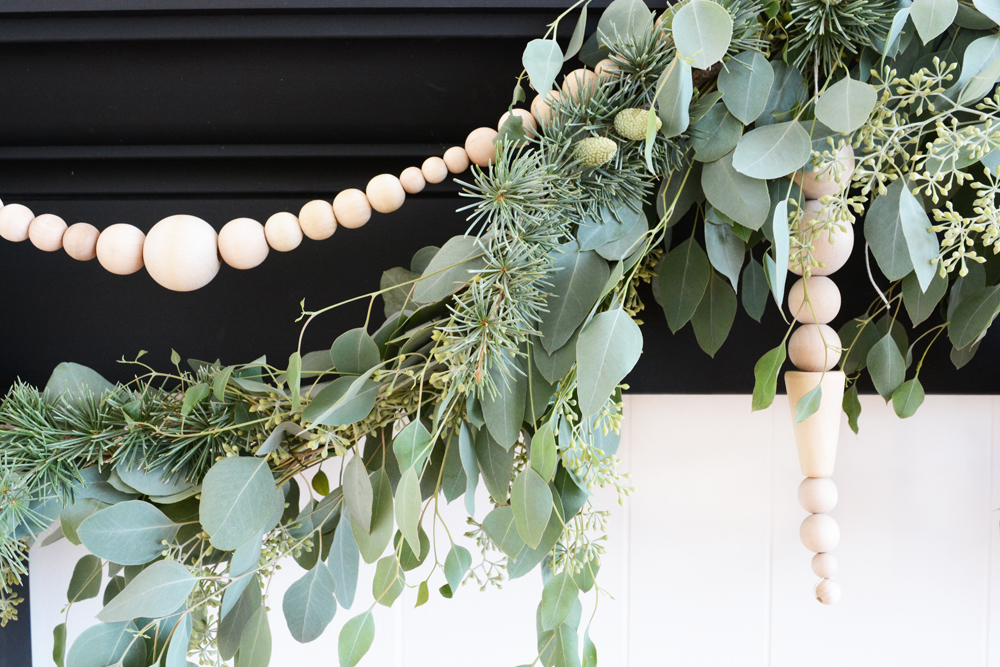
And now the halls are decked!

_beaded garland 13This post is sponsored by Fiskars, thank you for supporting the companies that help make this blog possible. 

Hey, and if you like today’s post, be sure to also check out this gorgeous Summer Floral Arrangement I created in collaboration with Fiskars.


Design / etc.

Framebridge Discount Code for O+P Readers

November 15, 2016

Framebridge 15% off discount code

You’ve heard me say this before, many times, but get those special images off your phones and computers and out of closets and frame them to hang on your walls. Unless it’s a thrifted piece, I really don’t like pre-frame, big-box-store art. I think you should really hang personal pieces on your walls, that tell YOUR story.  I love Framebridge, they make this such an easy task. You don’t even have to leave your home. You can either send them a digital file of your image or simply request a mailer to mail your art to them.

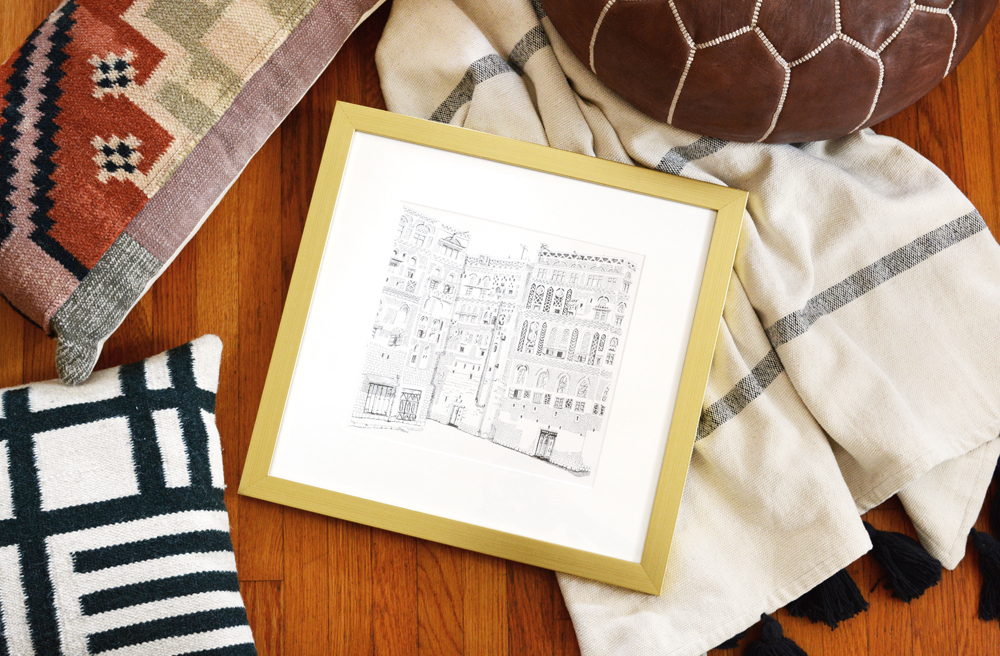
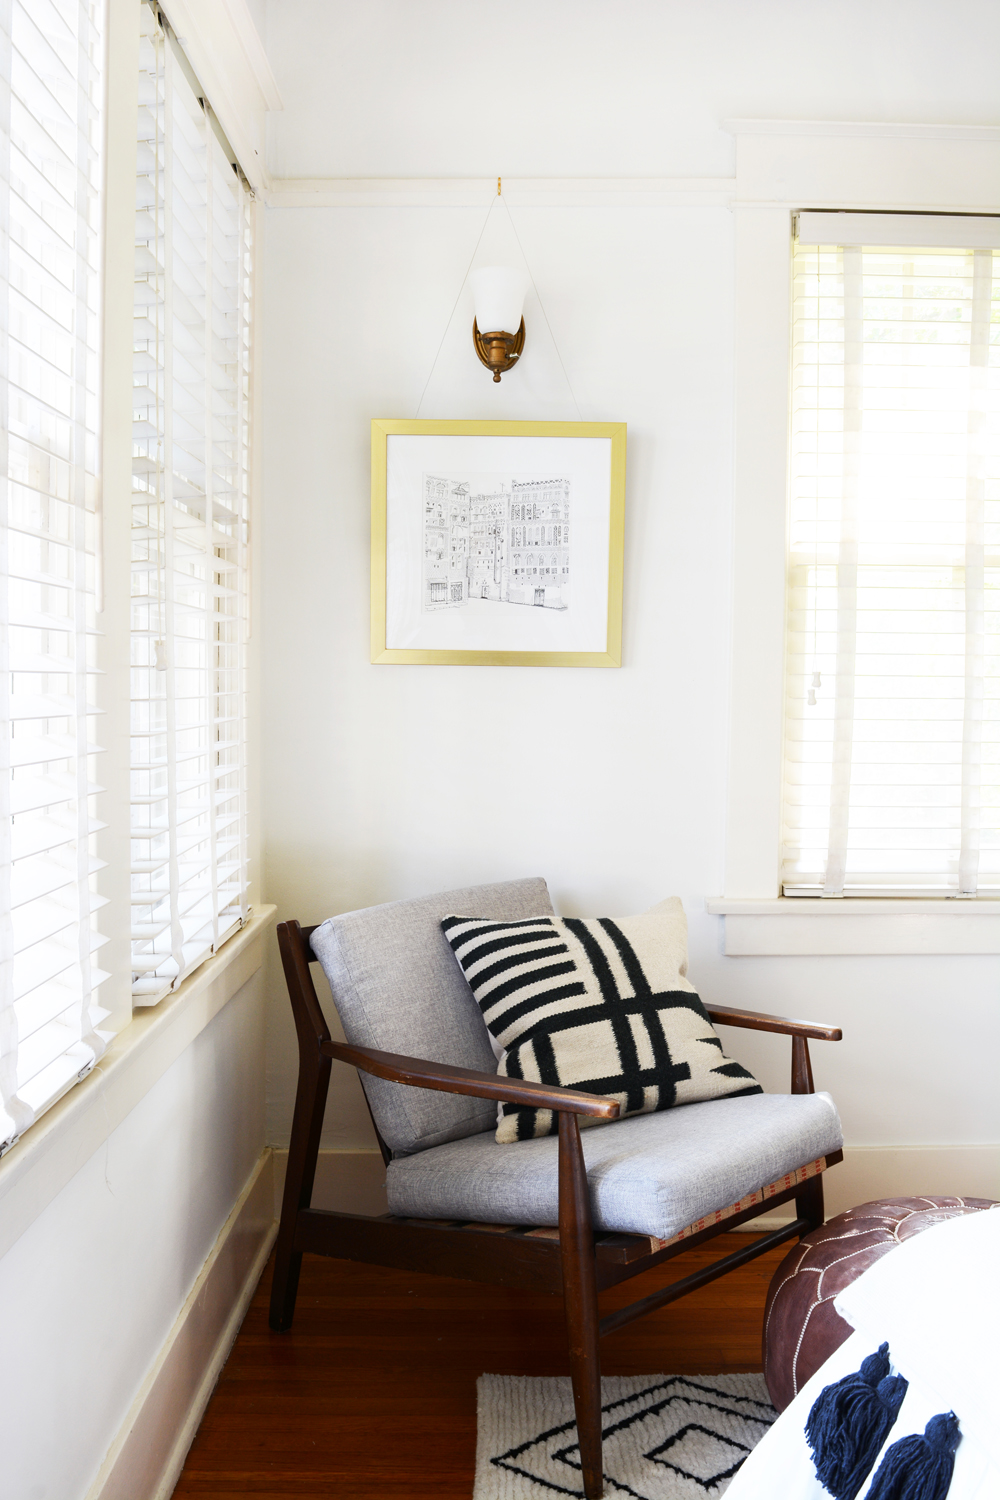
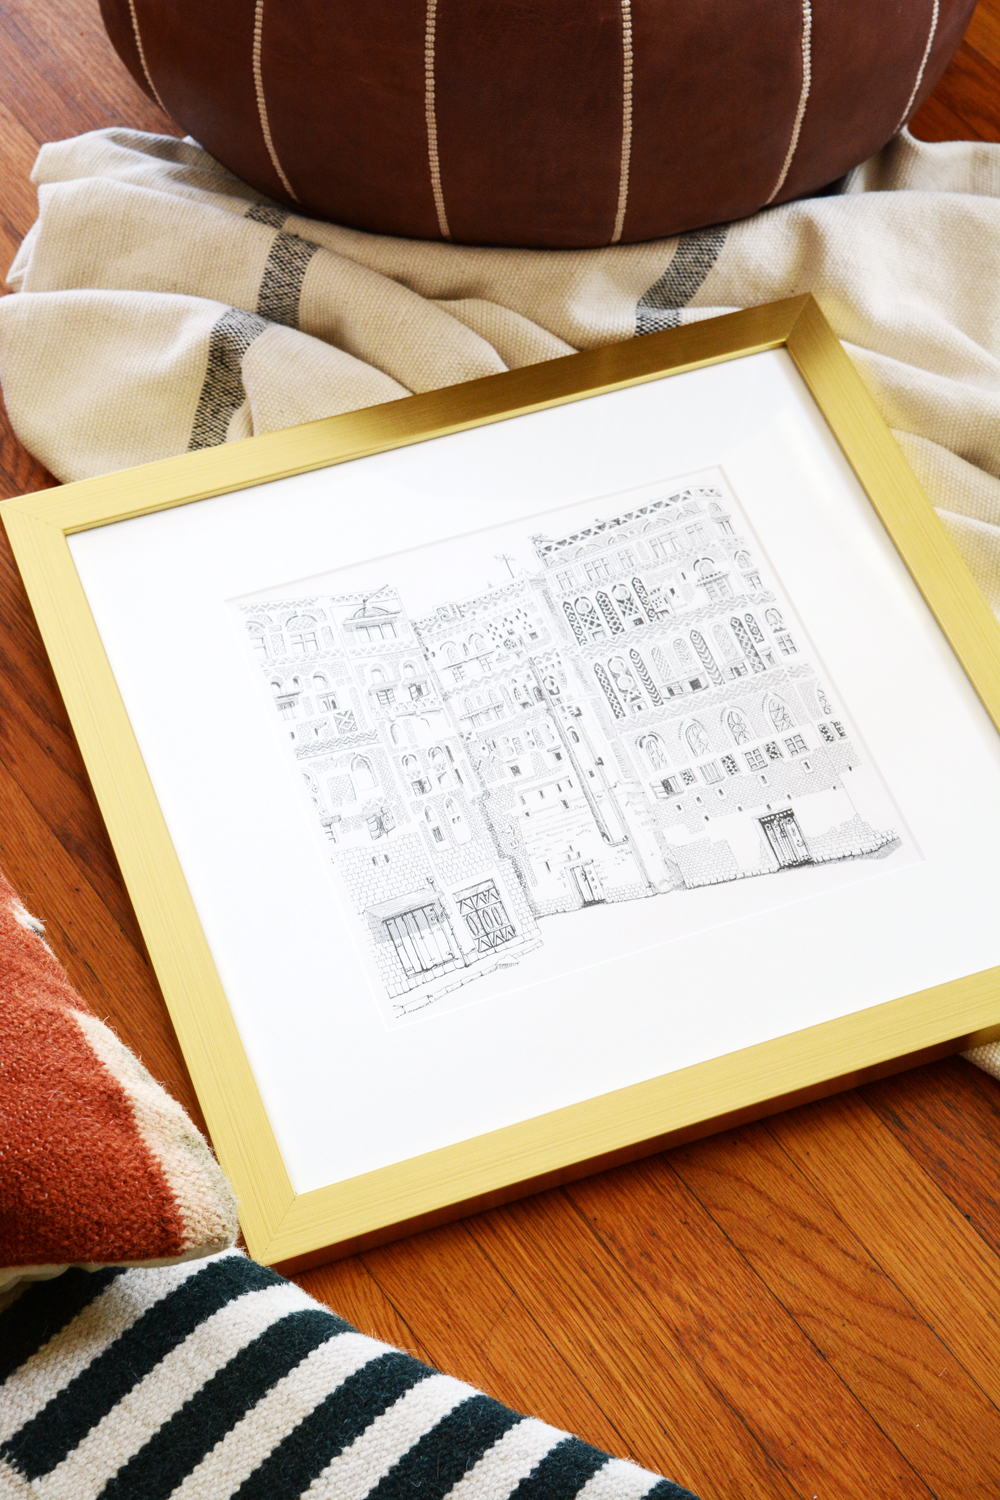
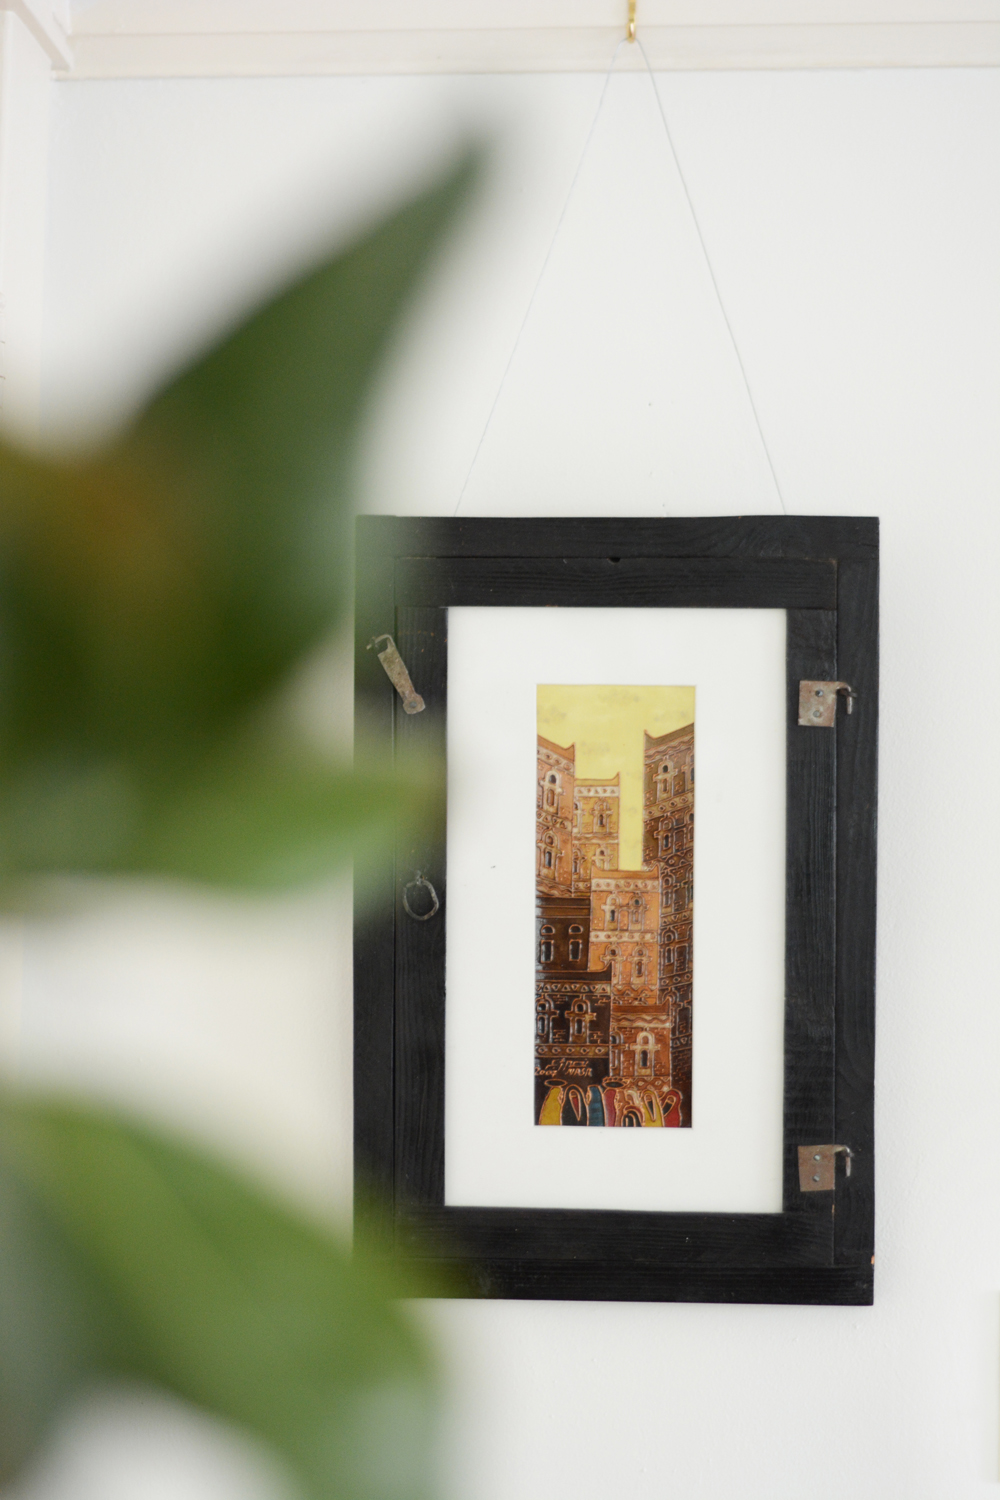
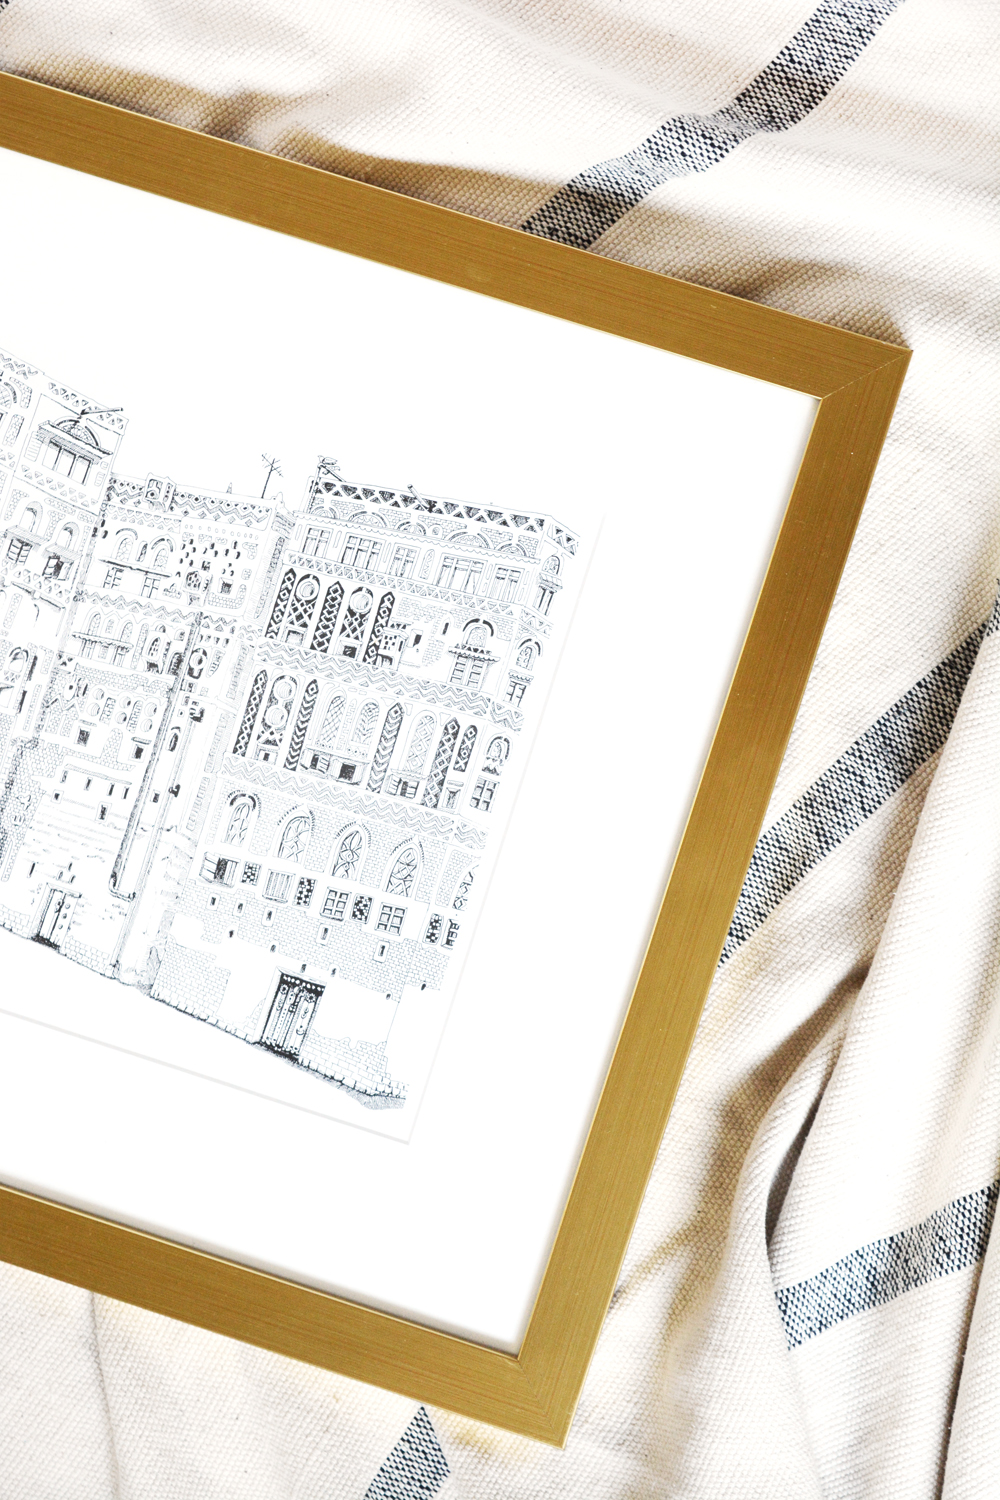
For our master bedroom, I finally had this pretty print of the Old City in Sanaa, Yemen framed (in cast you didn’t know, we lived there for 2 years). I’ve had it tucked away in our closet for almost 8 years now. That’s sad. But, now I’m so happy to have it on my wall. I’ve used Framebridge to frame some of my nature photography, so I knew I could trust them with this special piece. I chose a sleek, modern brass frame, and it looks fantastic. But, there are so many amazing frame options available. There’s something for everyone and every style.

Framebridge 15% off discount code And I’ve got a special treat for O+P readers. Enter the code OLEANDER15 to save 15% on your first order at Framebridge.
Framebridge 15% off discount codeFramebridge 15% off discount code

What art piece or picture do you have that really should be framed and hung on your walls?  This is the perfect time to frame something special as a holiday gift as well.

Design

Master Bedroom Reveal

November 11, 2016

_oleander-master-bedroom-12

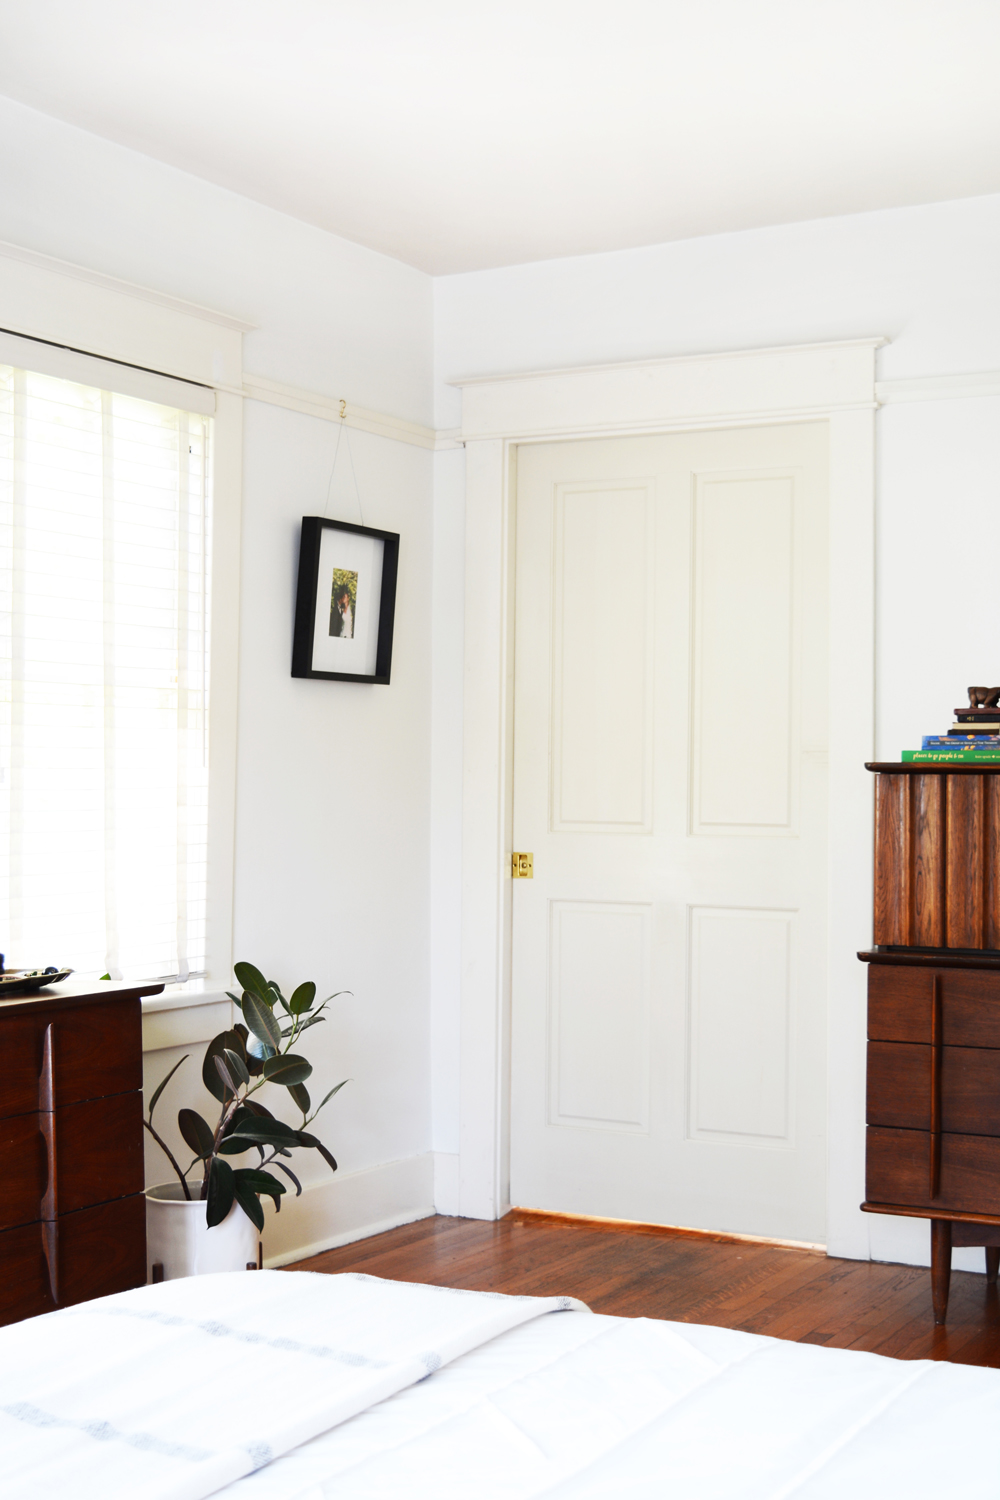
I was very tempted to invest time and energy into painting, decorating, and styling my kid’s rooms first.  I’m pretty sure that’s what I did in our first house. But, this time around I decided to do our bedroom first. The first thing we did when we moved in was to add some closet organization to the one very tiny closet in our room. And really, that has made life so much easier. But, now that the room has a fresh coat of paint and things are hung on the wall, this really does feel like a sanctuary and retreat for us.

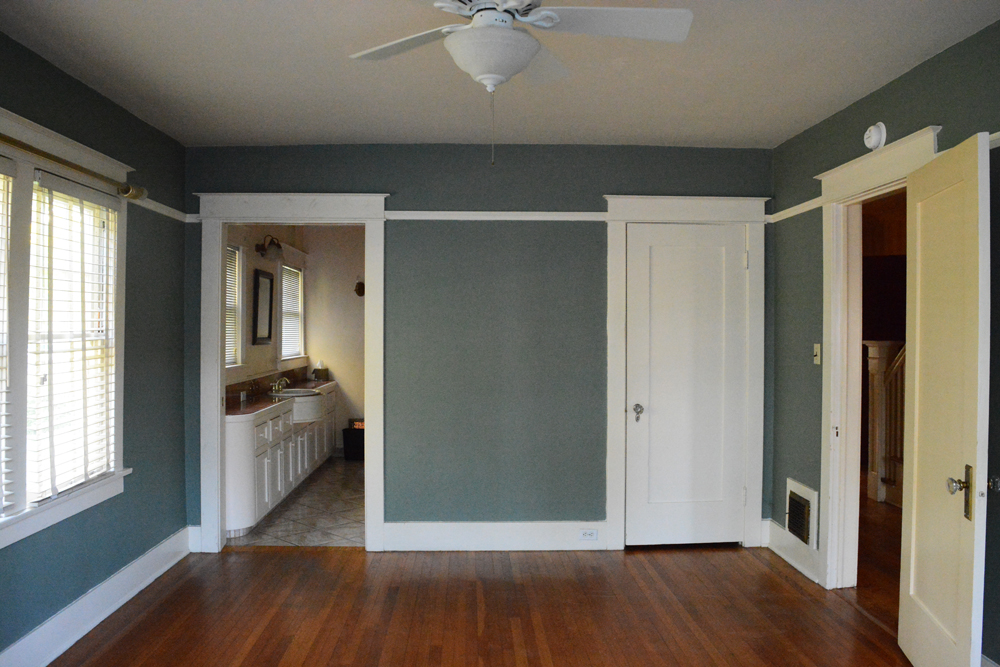
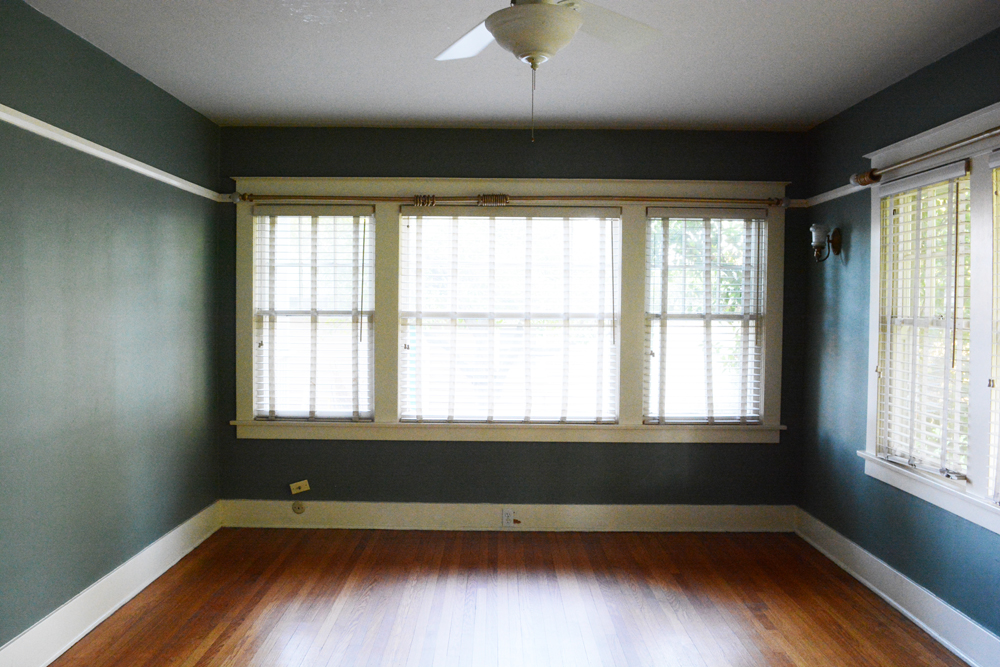
_master-bedroom-before-1

Here’s a look at the room before.

_master-bedroom-before-2_oleander-master-bedroom-15_oleander-master-bedroom-26_oleander-master-bedroom-8_oleander-master-bedroom-11_oleander-master-bedroom-10

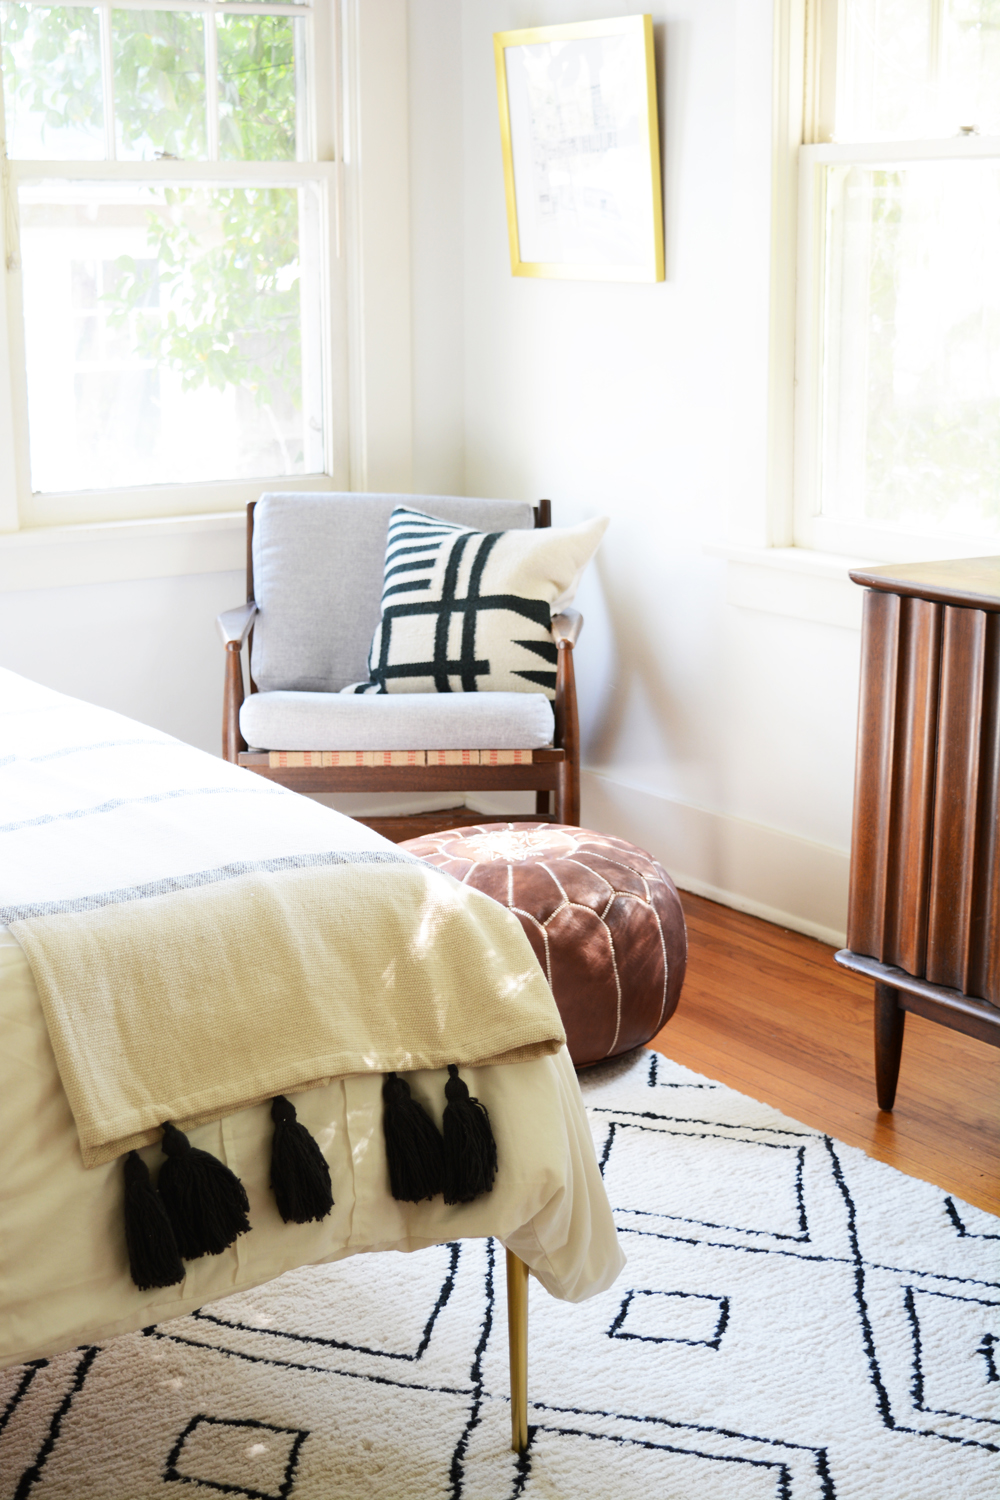
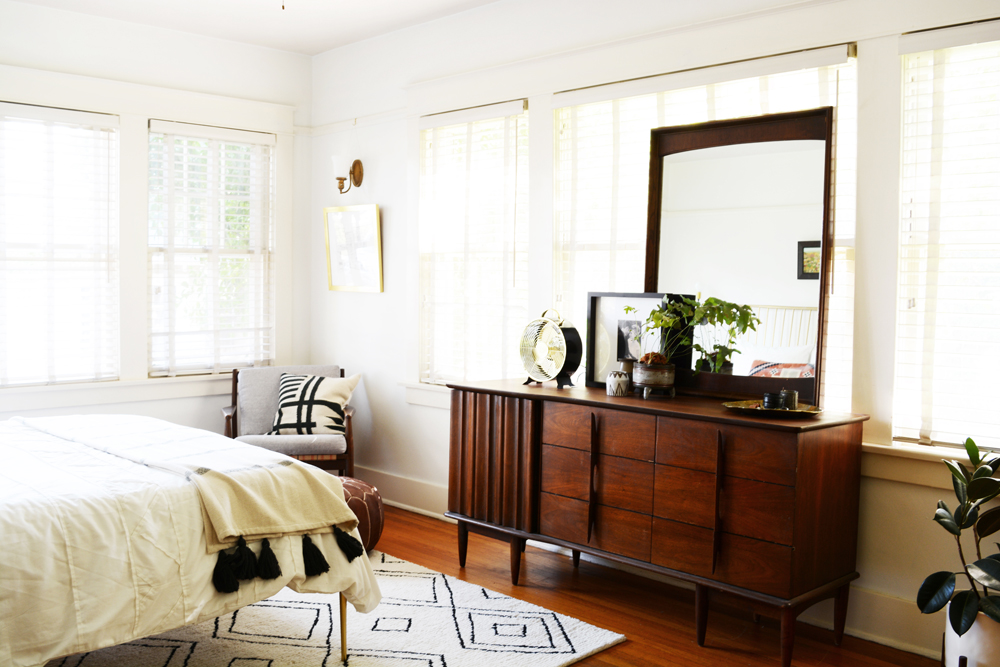
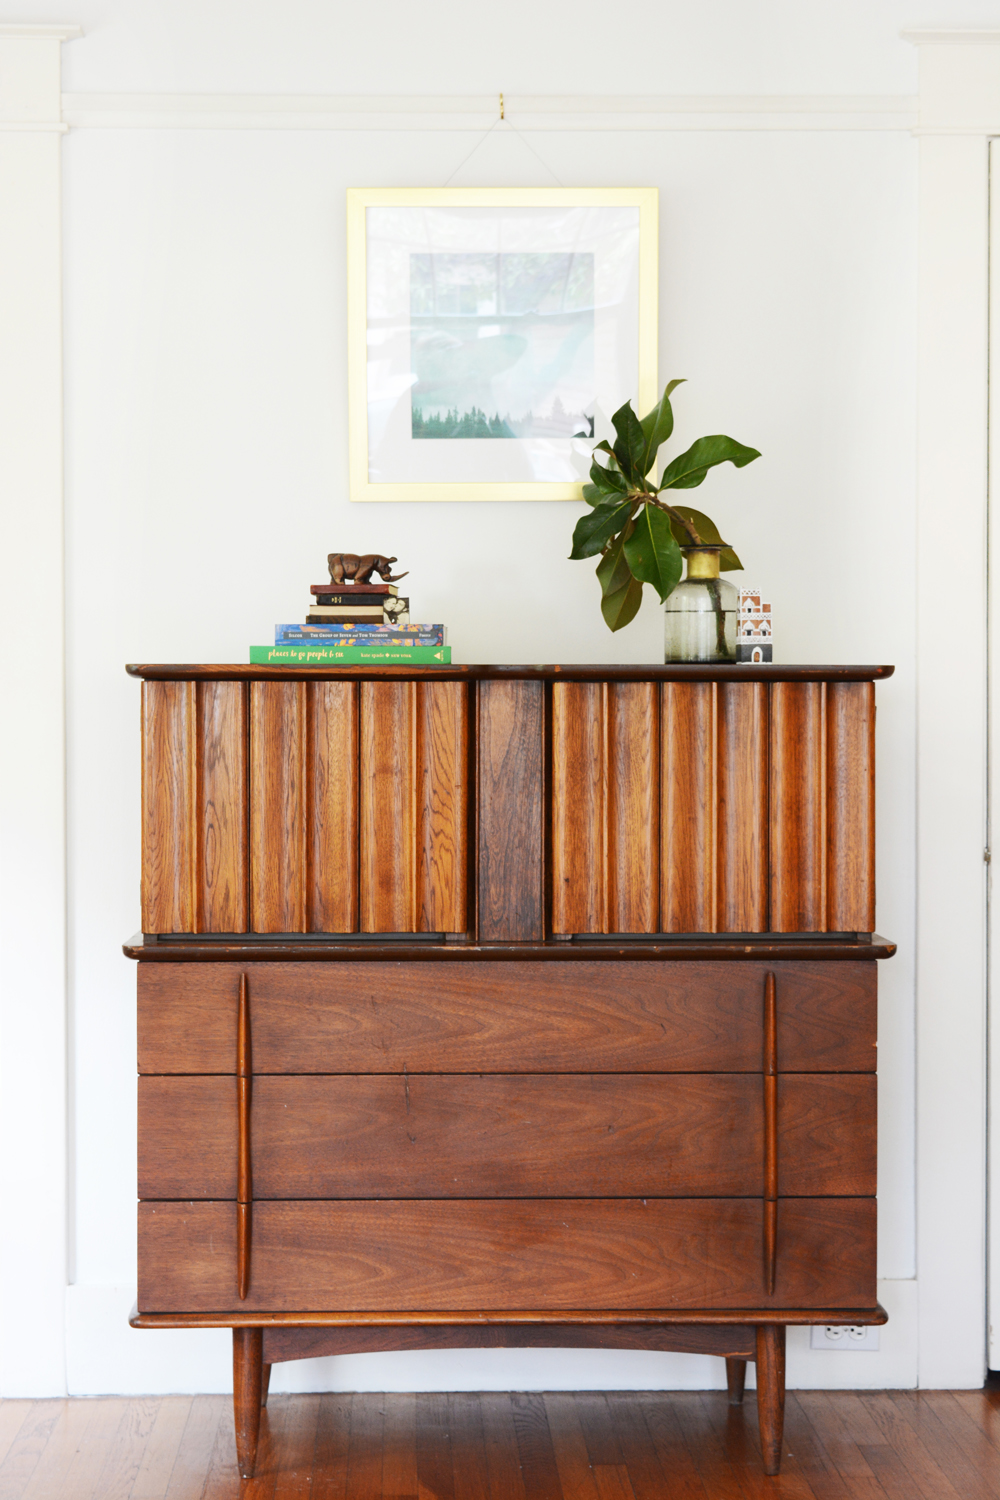
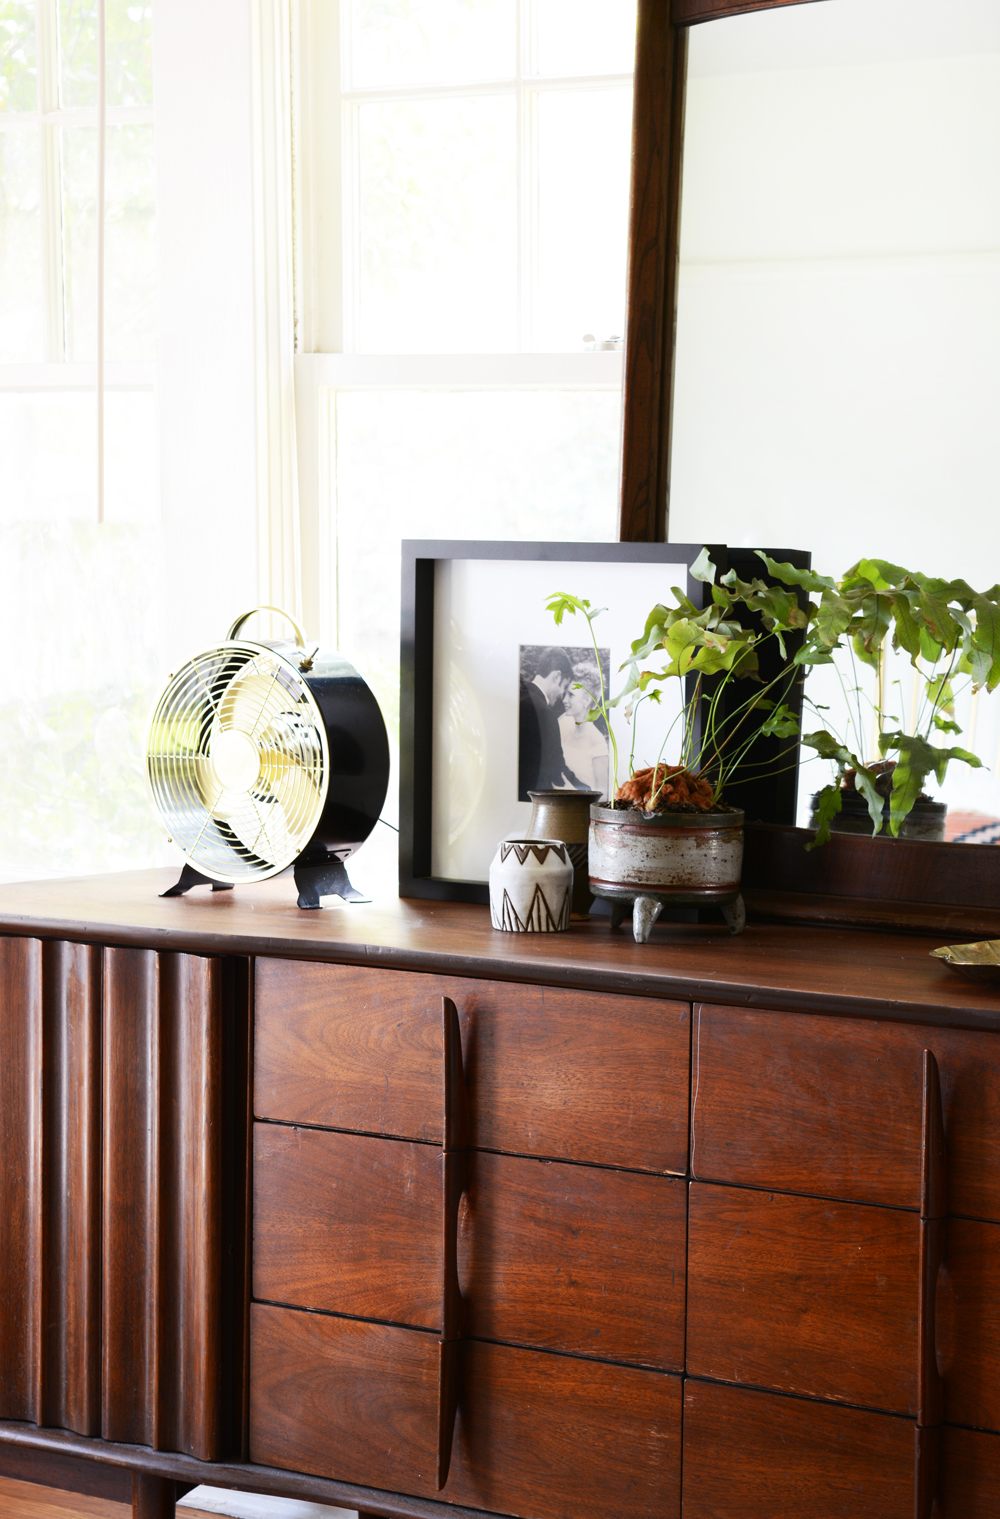
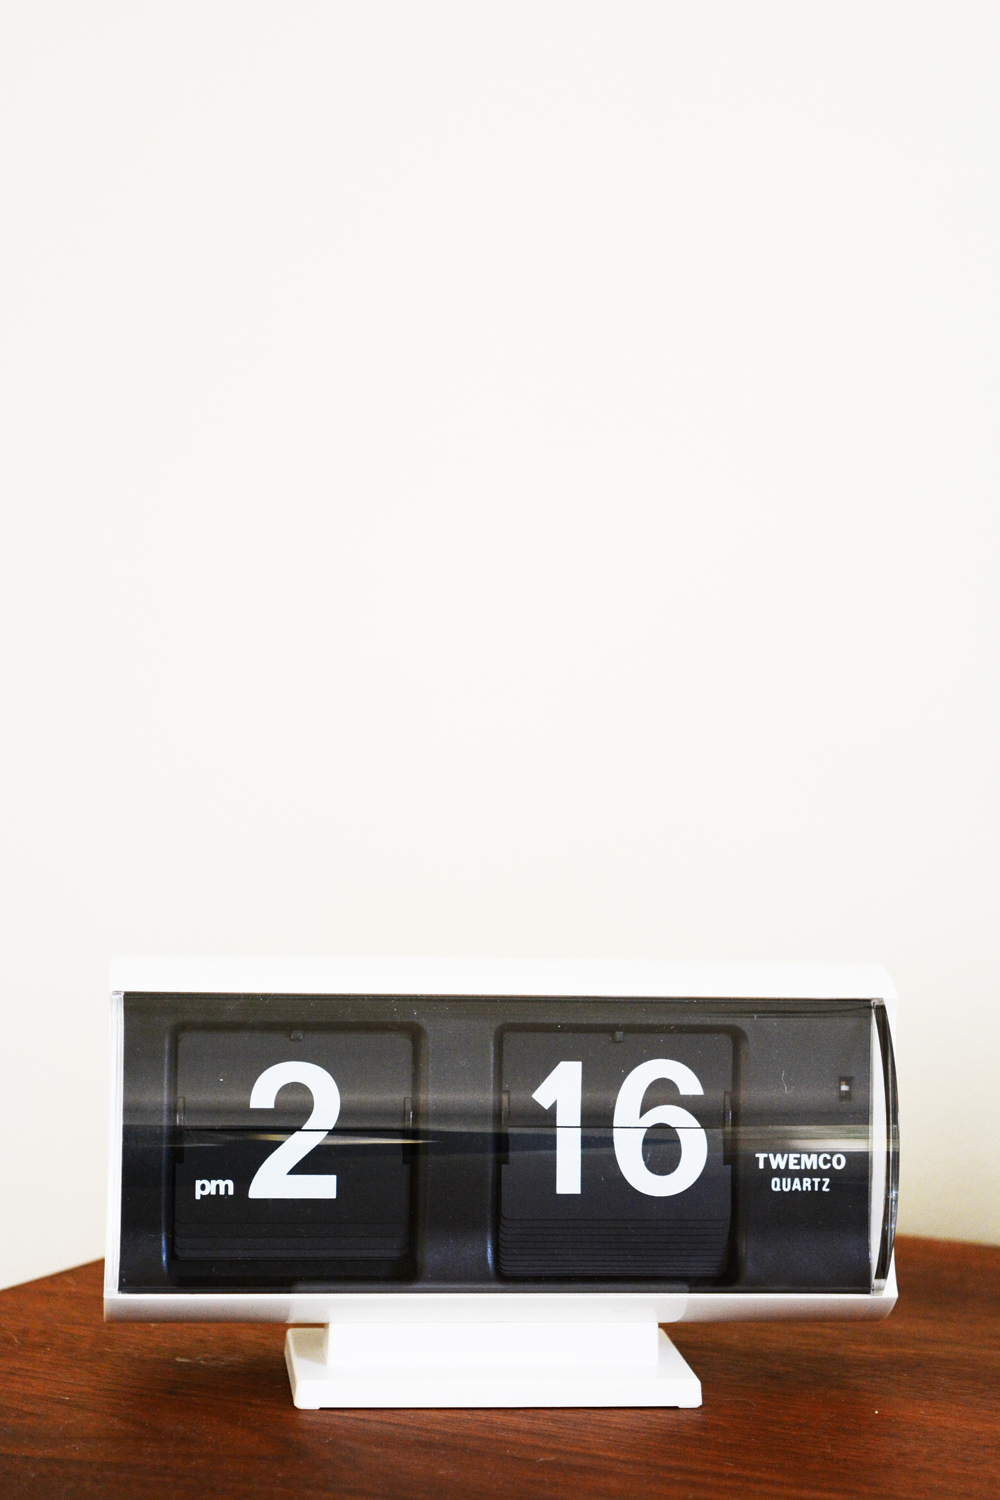
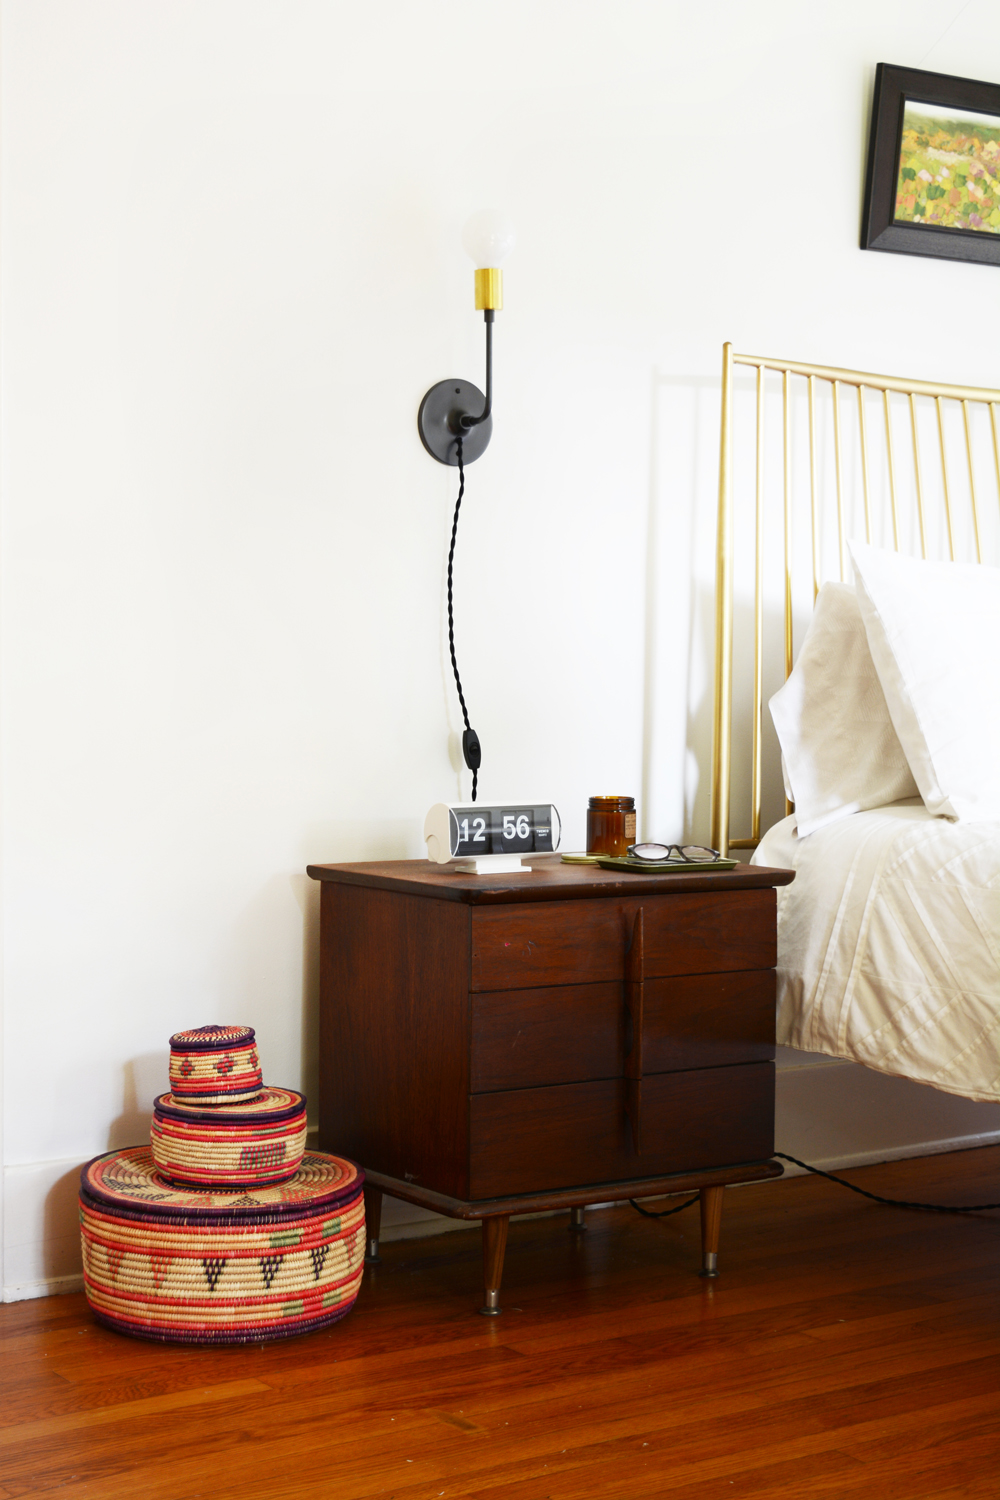
There are a few changes we made from our old bedroom. The first thing is we bought new/old dressers and night stands. A couple weeks before we closed on this his, Lonnie and I were wondering through a local antique mall and came across this gorgeous set of mid century furniture. And the crazy thing is, it matches my beloved mid century credenza that sits in my living room. We could’t believe it was we saw it. I know you are already jealous, just because these pieces are so beautiful, but you are really going to hate me when you hear that I only paid $499 for the set. YEP!!!! Just one of the dressers is worth probably twice that amount. I would normally choose pieces that aren’t so matchy-matchy, but I felt an obligation to keep this set of furniture together as a family. Before this set, we had lived 17 years of marriage sharing a thrifted dresser and keeping a majority of our clothes in plastic drawer containers in the back of our closet. I have to say that each of us having our own dresser has made life so much easier and organized.

_oleander-master-bedroom-13_oleander-master-bedroom-23


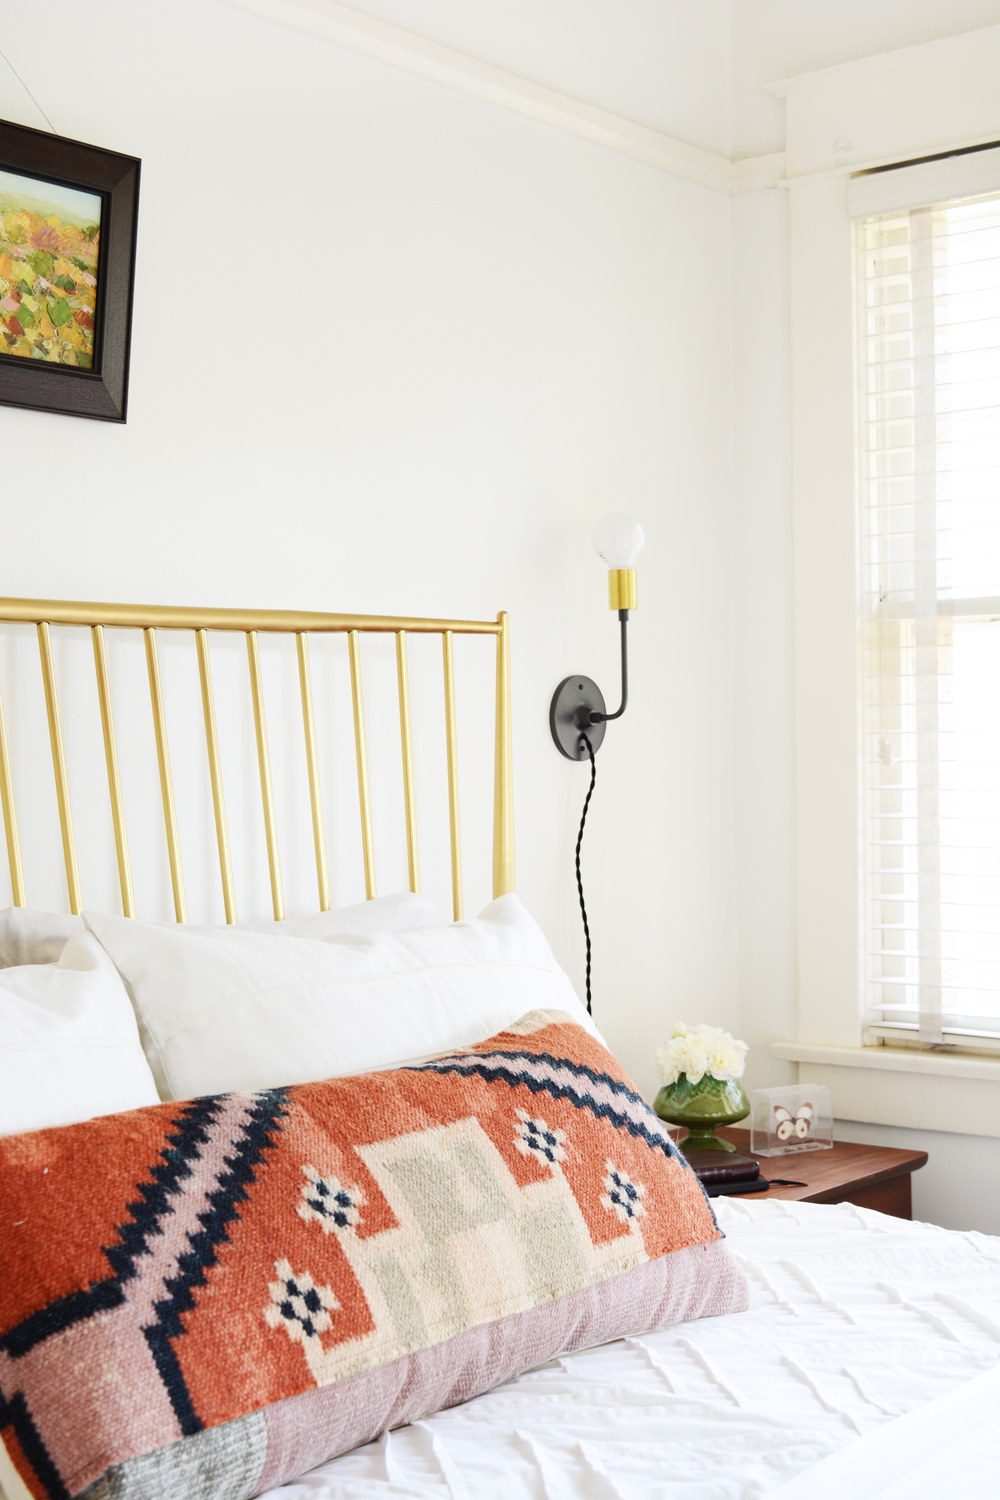
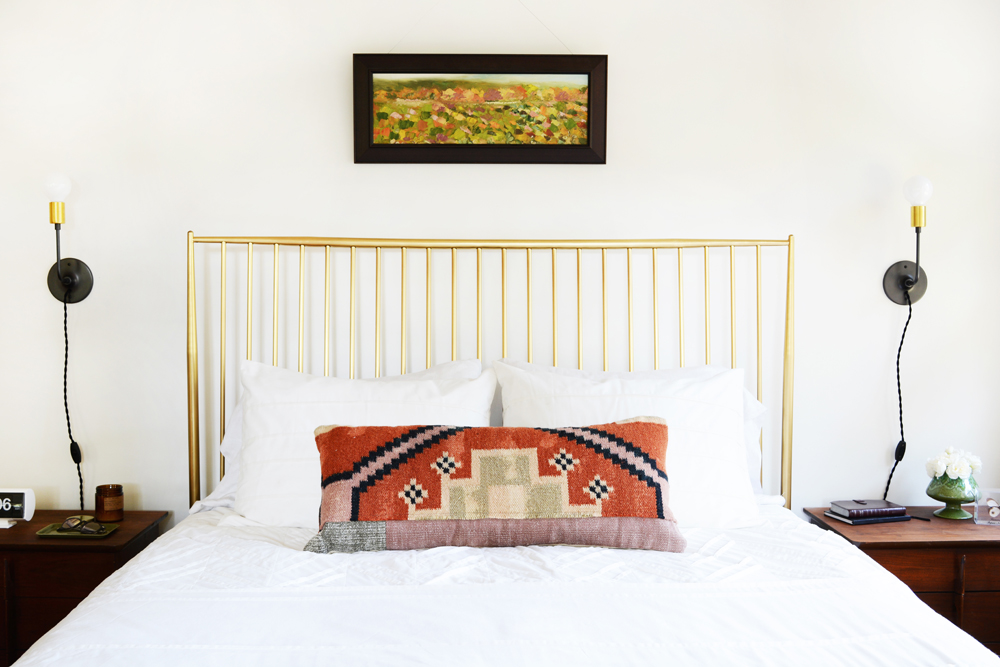
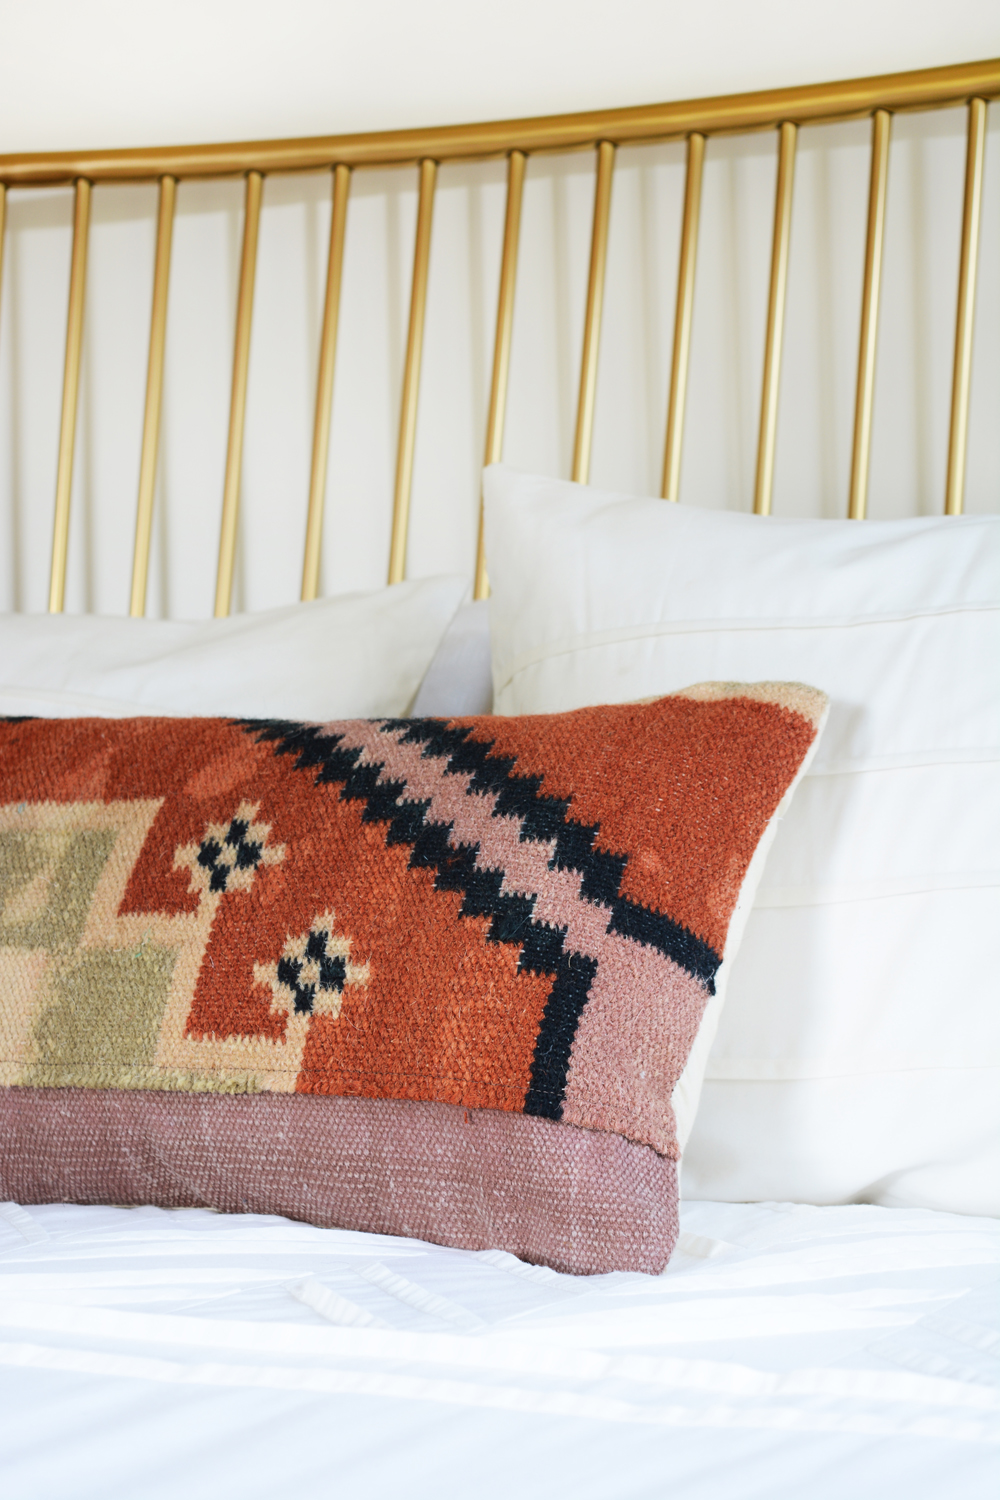
While we were still at the old house, I had bought a new white duvet cover. I was ready for less pattern and a brighter, lighter look. Now with just one new statement pillow (which I found at Marshalls for $20), my very pretty brass headboard is the star of the room.

_oleander-master-bedroom-14

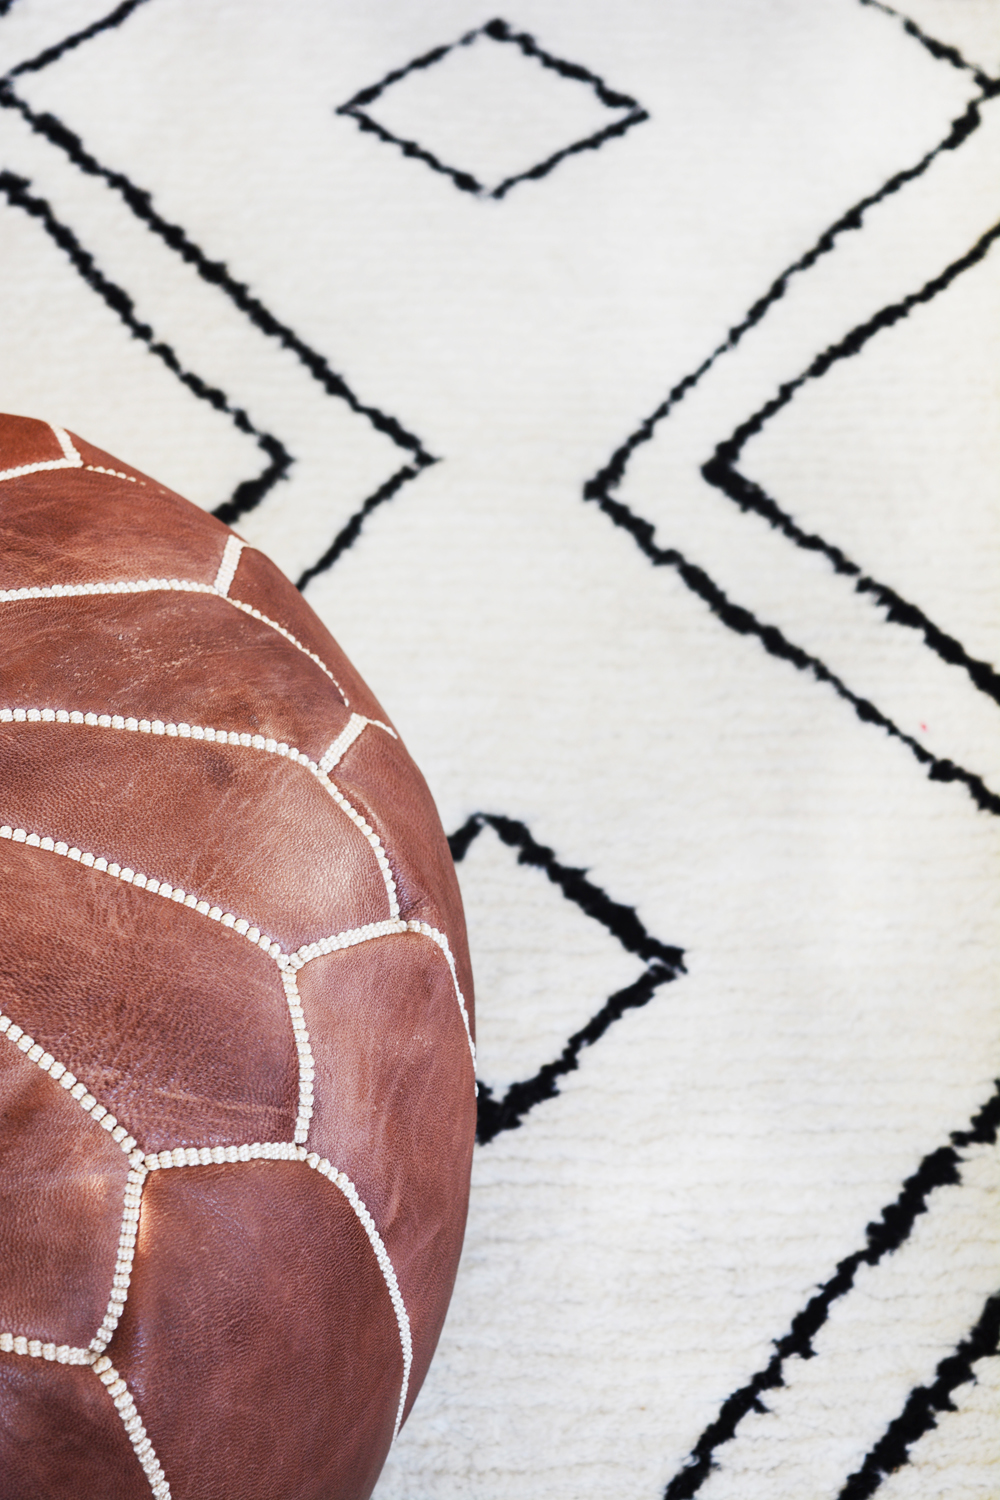
There’s probably no chance that I would buy a house that didn’t have hardwood floors throughout. Part of the reason I love them so much is because they give you a chance to play with pretty pattered rugs. And really it is nice to have a soft place for your feet to hit the floor in the morning. This fun, Moroccan hand tufted wool area rug from Rugs USA is just the right amount of pattern I was looking for. Without it, the room feels a little bare and boring.

_oleander-master-bedroom-22

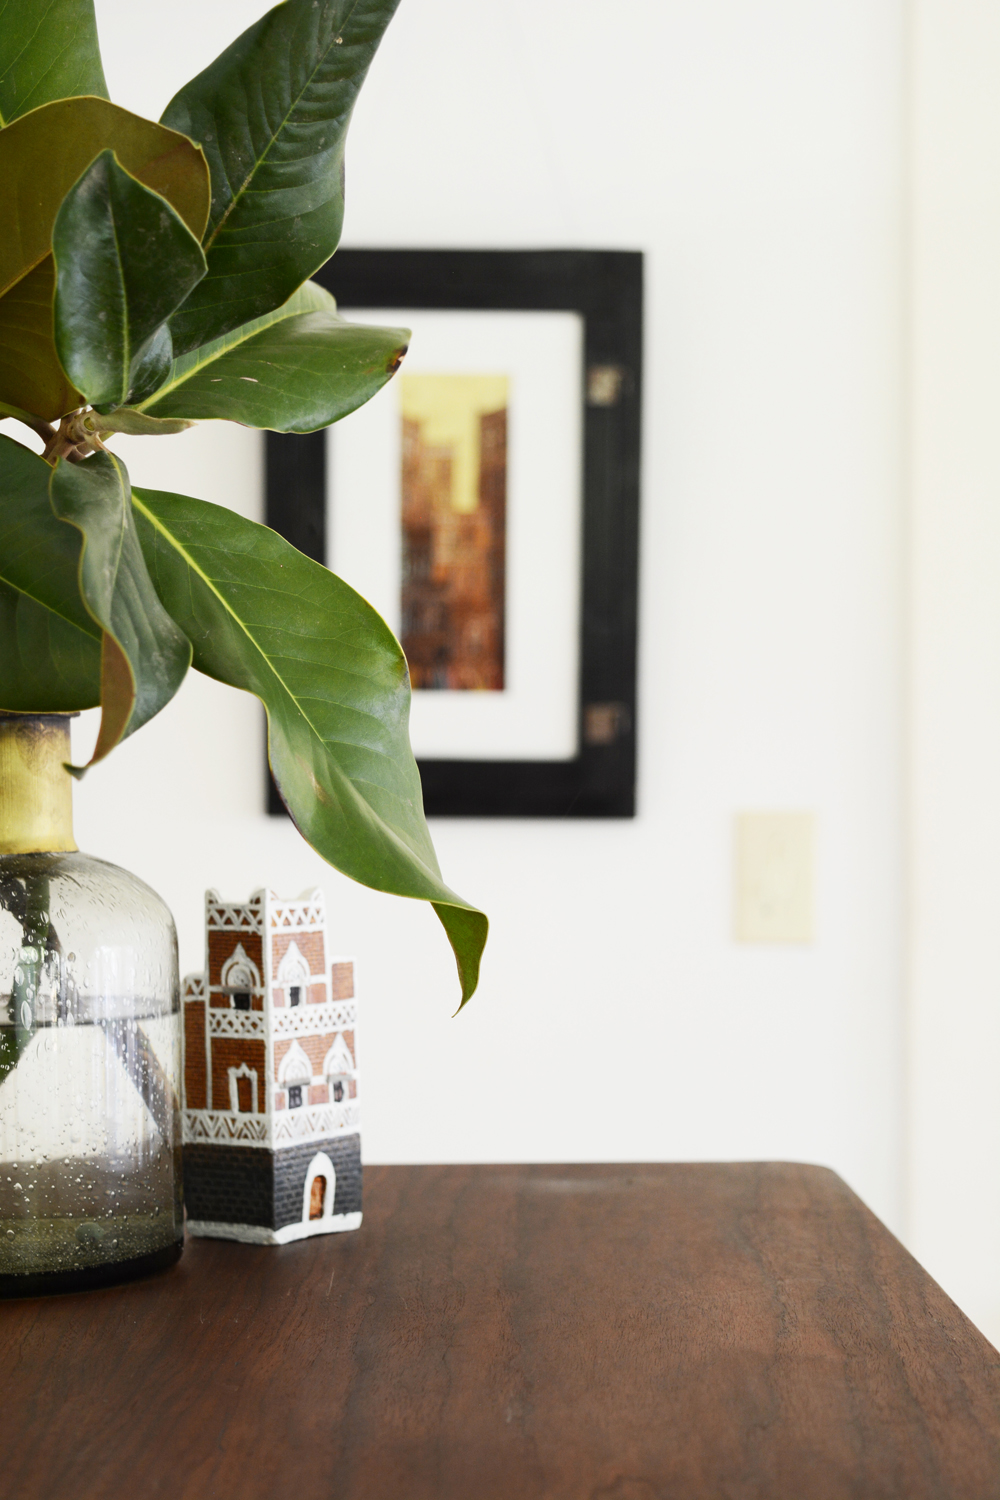
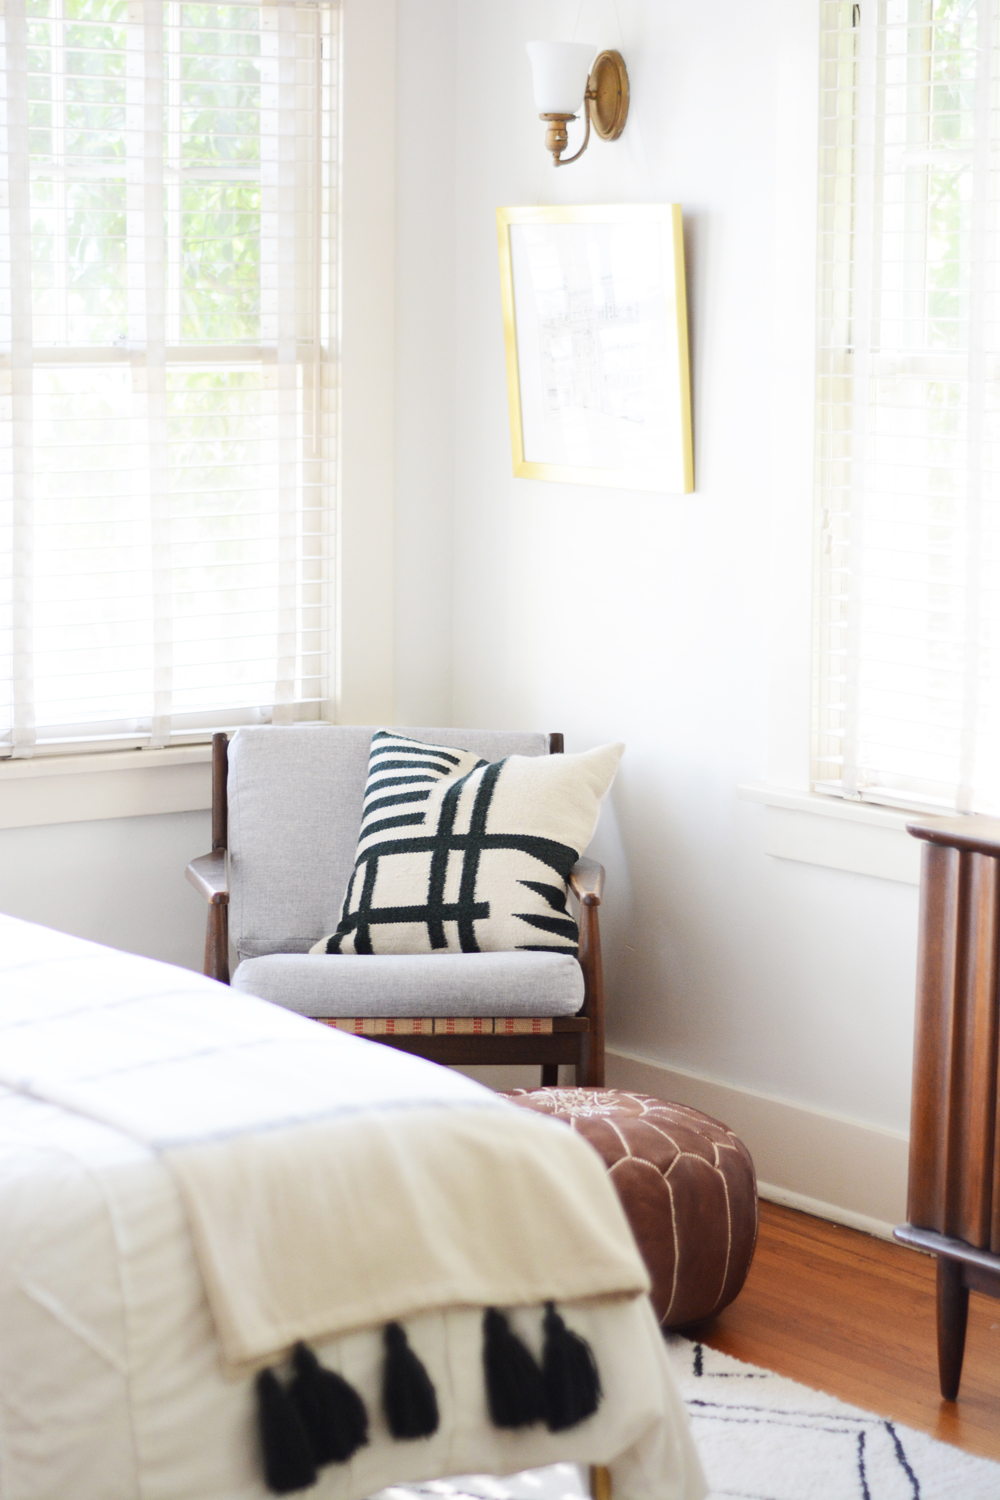
I haven’t bought any new art for our new house. Except for one special piece that now hangs in our room.  It’s an illustrated scene of the old city of Sanaa, Yemen that I’ve had for the last 8 years. It was tucked away in a cupboard, waiting to be framed. So instead of storing it again at this house. I sent it off to Framebridge to have it framed in a sleek, modern brass frame. I’ve had Framebridge frame some of my photography before, and it’s so nice to have those images off my computer and on my walls. It’s an awesome service. You can either send them a digital file of our art, or they will mail you an already post marked box to send art into them. It making framing so easy. Now I’m kicking myself for not doing this sooner. I LOVE having this piece of our past adventures on our wall.

_oleander-master-bedroom-1

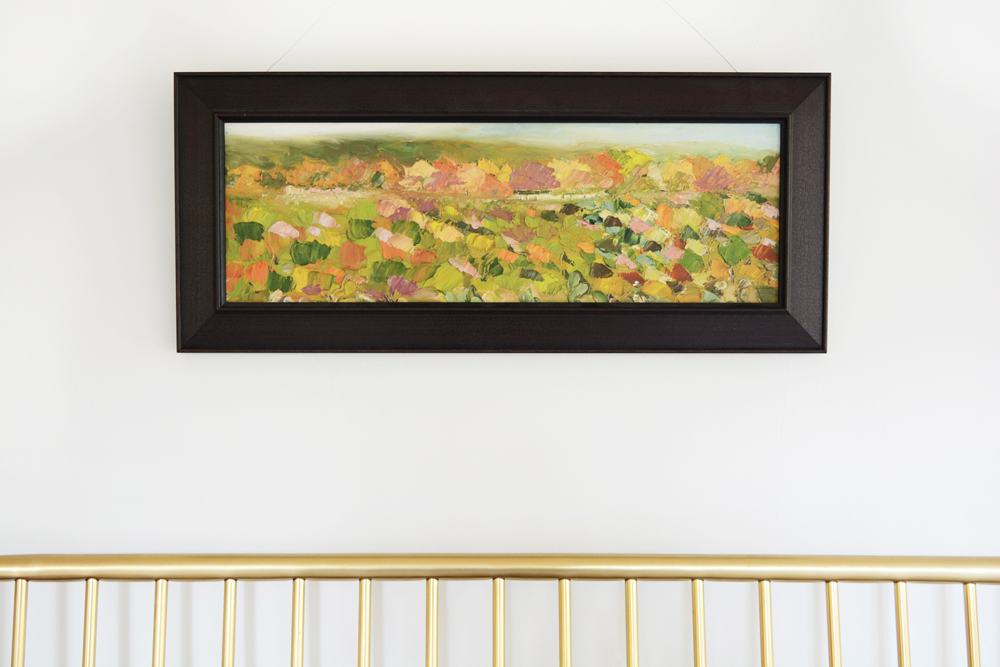
Besides that one piece of art, I’ve mostly just taken what we already own and moved it around from room to room. Pieces that used to live in our dining room, now have a new home in our bedroom. We tend to get stuck in a rut with art.  We decided that this is always the piece that hangs in my living room grouped with a specific chair and side table. But, it’s fun to experiment and move, what you already own, to different rooms in your home. It’s like shopping, but not having to spend a cent.

_oleander-master-bedroom-16_oleander-master-bedroom-9_oleander-master-bedroom-3_oleander-master-bedroom-19


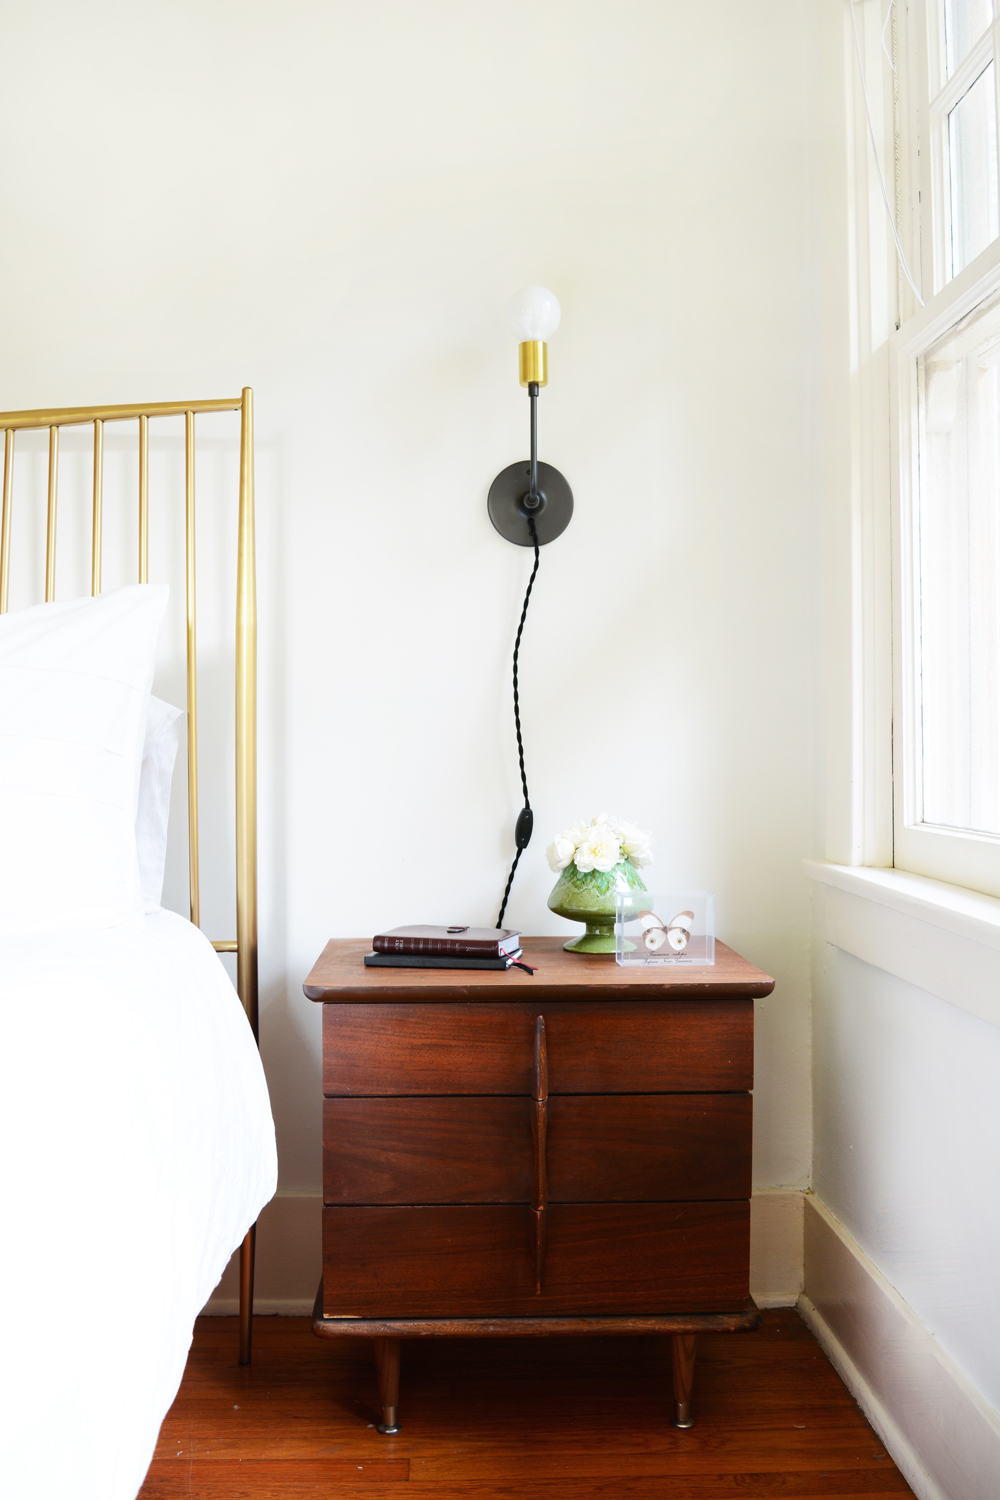
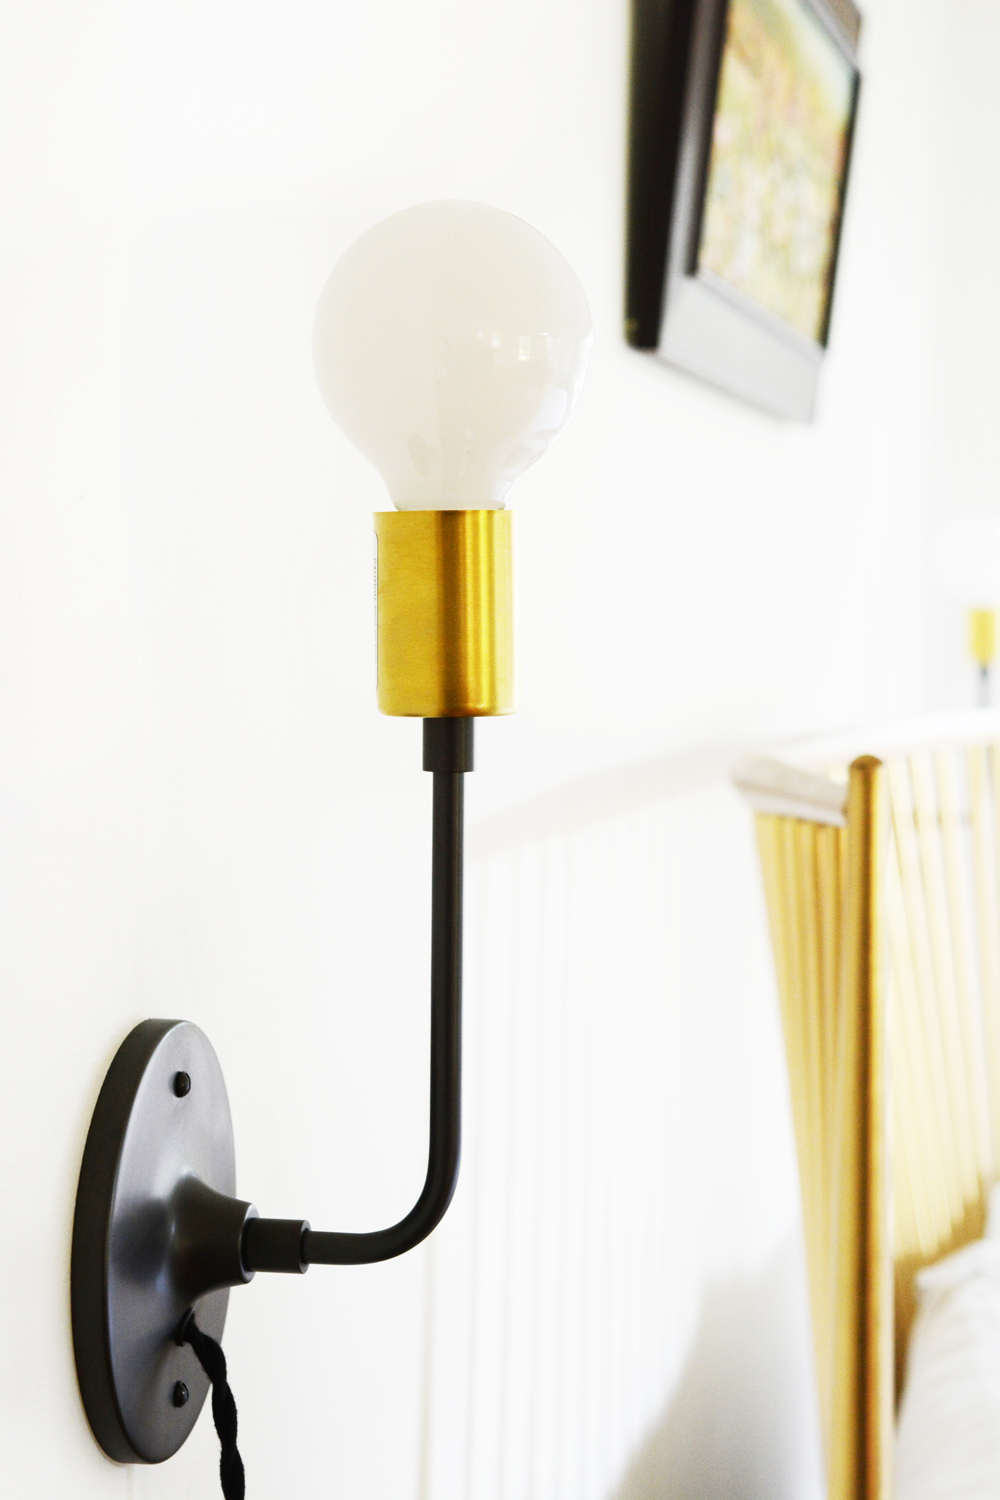
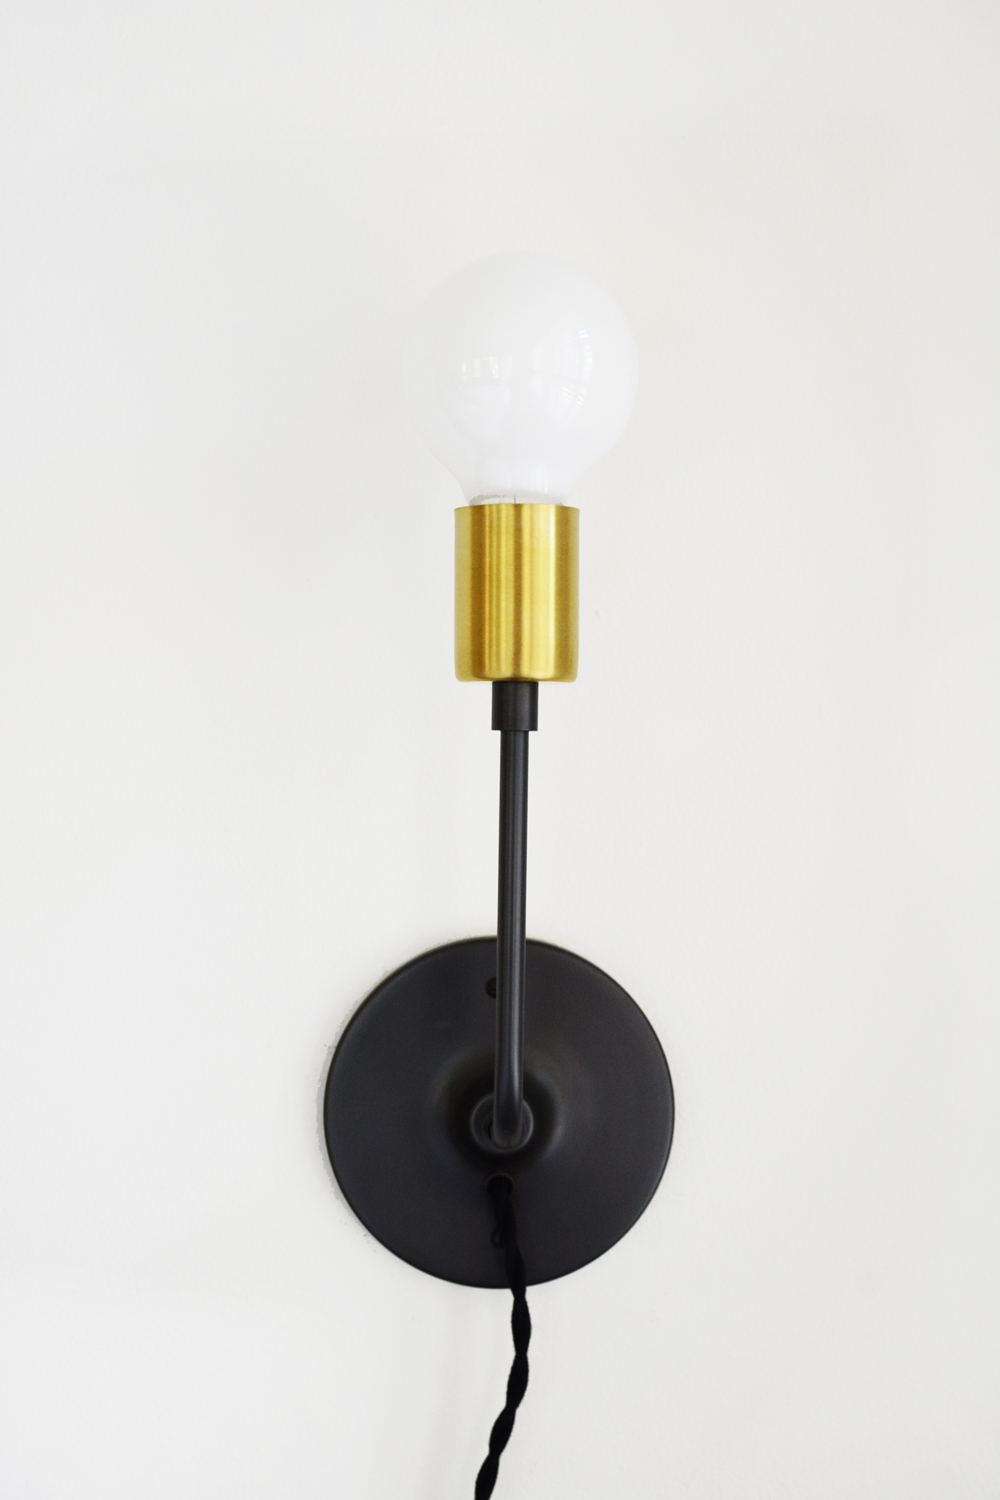
In our old bedroom, there was space for over-sized nightstands. I refinished 2 thrifted dresser to serve as bedside tables. They were great – they had huge drawers for storage and a nice big surface for lamps and accessories. But, this new room, with the location of the door, required smaller scale nightstands. While I really loved my mismatched, thrifted lamps from our old room, I really love the clean clutter-free look of these super chic wall mounted lamps for Schoolhouse Electric and Supply Company. Because the house is 1918 and most of the furniture is mid century, this beautiful lamps offer a modern element that helps keep the room feeling young and fresh. I love this combination of black and brass, it really feels like these were always meant to be on either side of my bed.

_oleander-master-bedroom-4

We’ve been in our new house almost 3 months now, and while I want all the rooms to be done right away, I’m having fun taking my time and putting some thought into how I want to live in this house. So, this is another room done and I’m ready to take on he next.  I think the living room is getting paint next.  I don’t think I can live with these dark walls any longer.

_oleander-master-bedroom-25_oleander-master-bedroom-7_oleander-master-bedroom-2_oleander-master-bedroom-20

I big thank you to Rugs USA, Framebridge and Schoolhouse Electric and Supply Company for providing gorgeous products for me to use in this room.

Food & Drink

Host Friendsgiving with Easy, No-Fuss Recipes

November 9, 2016

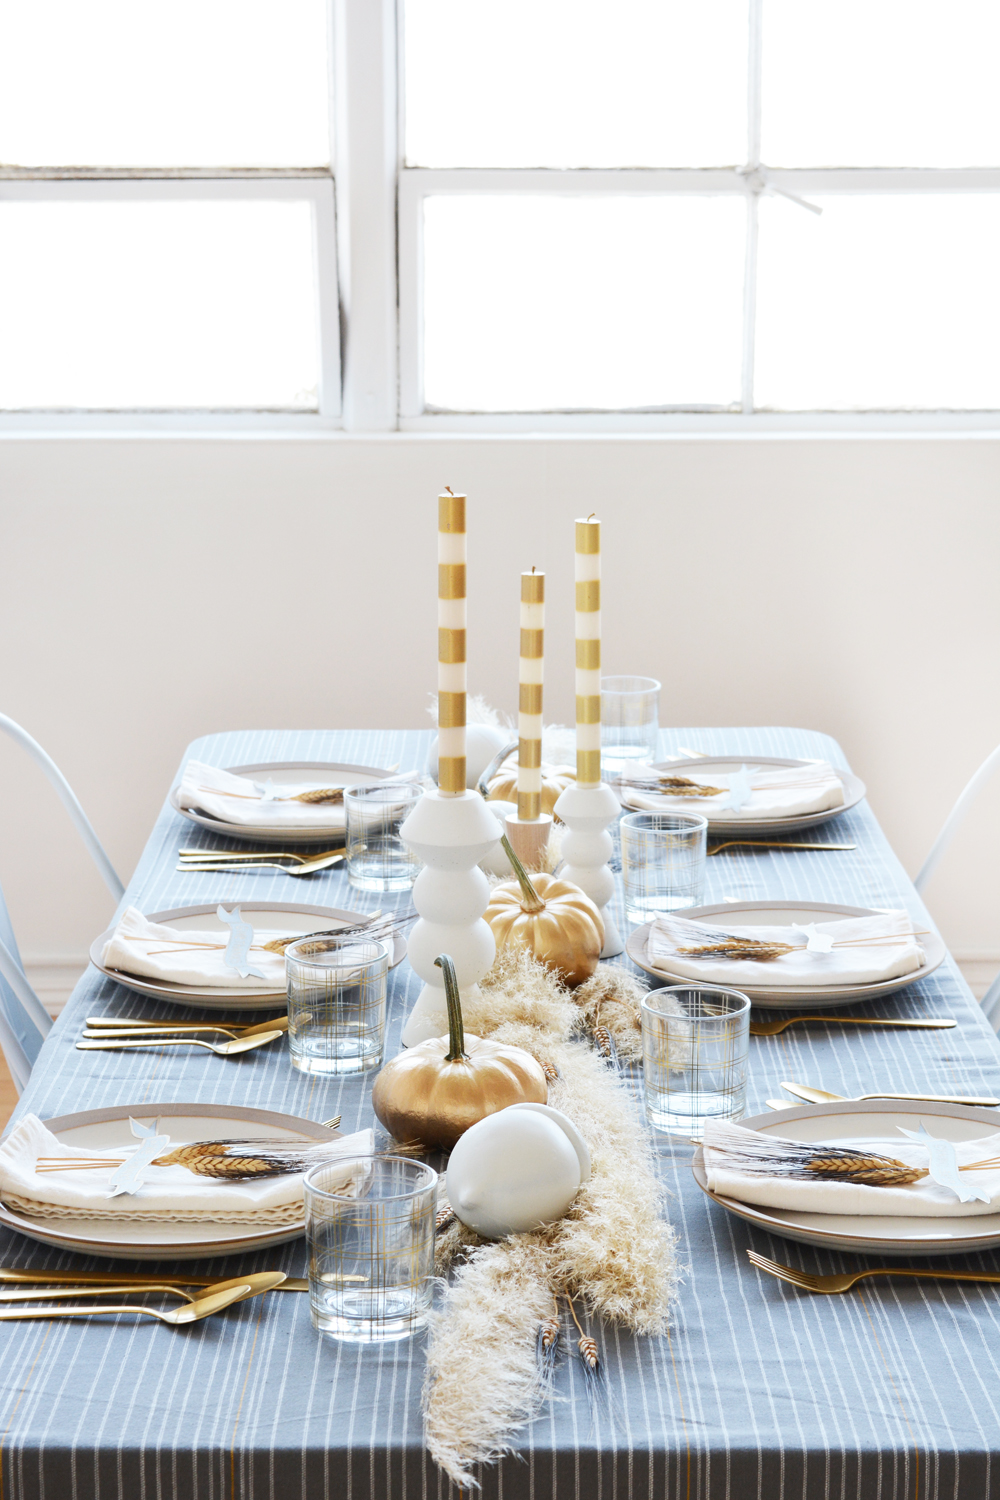
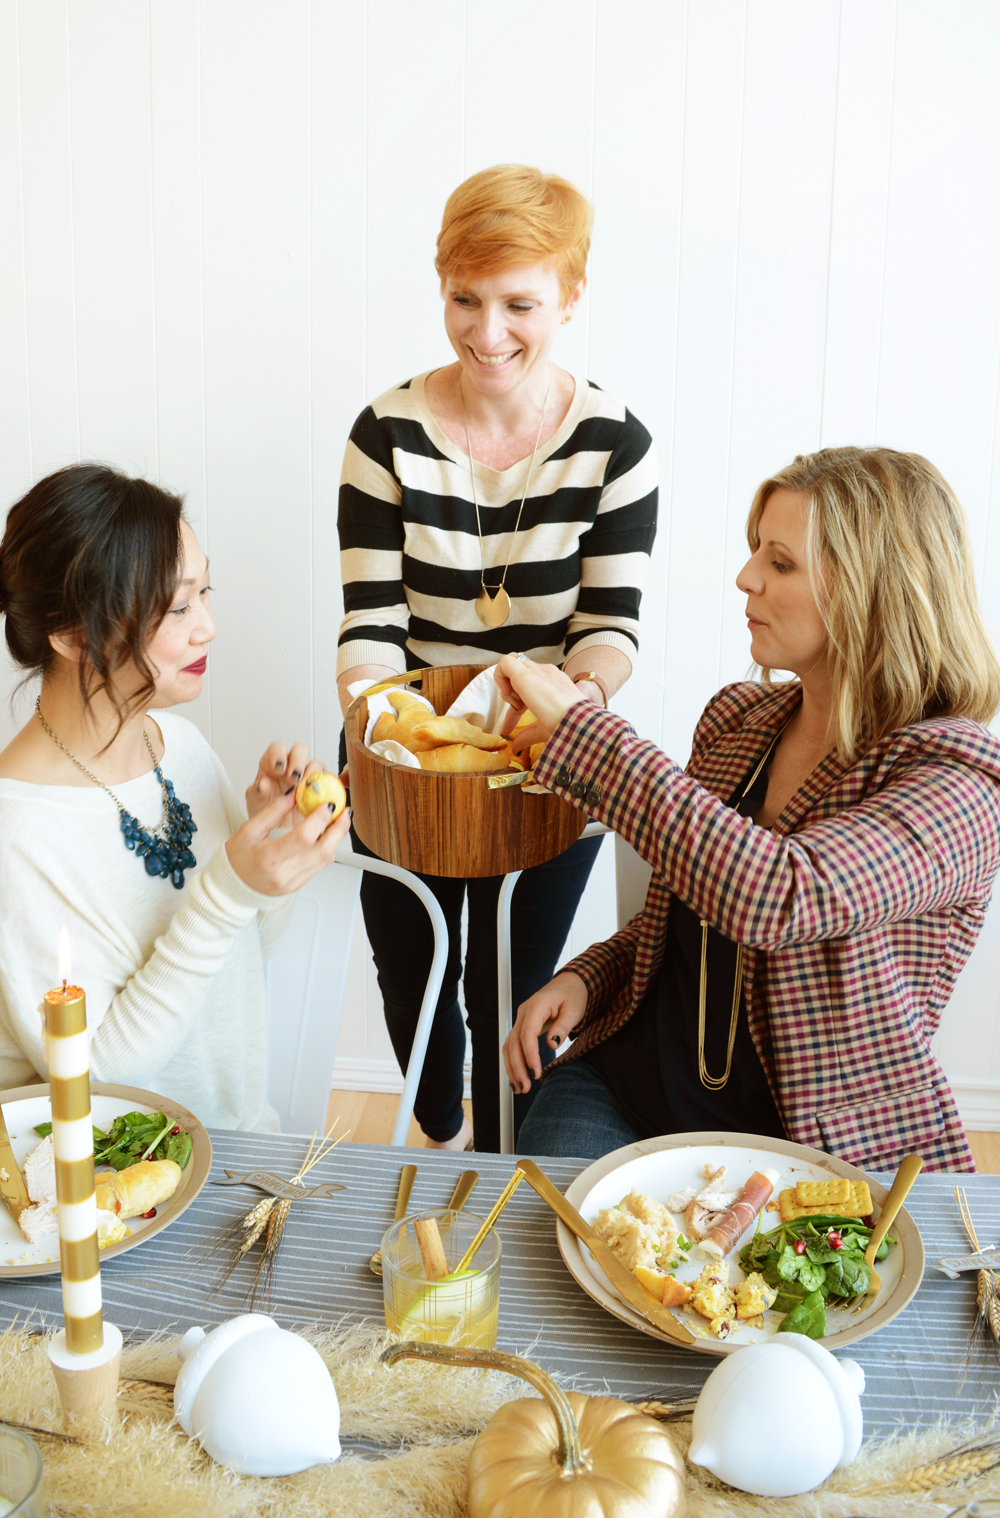
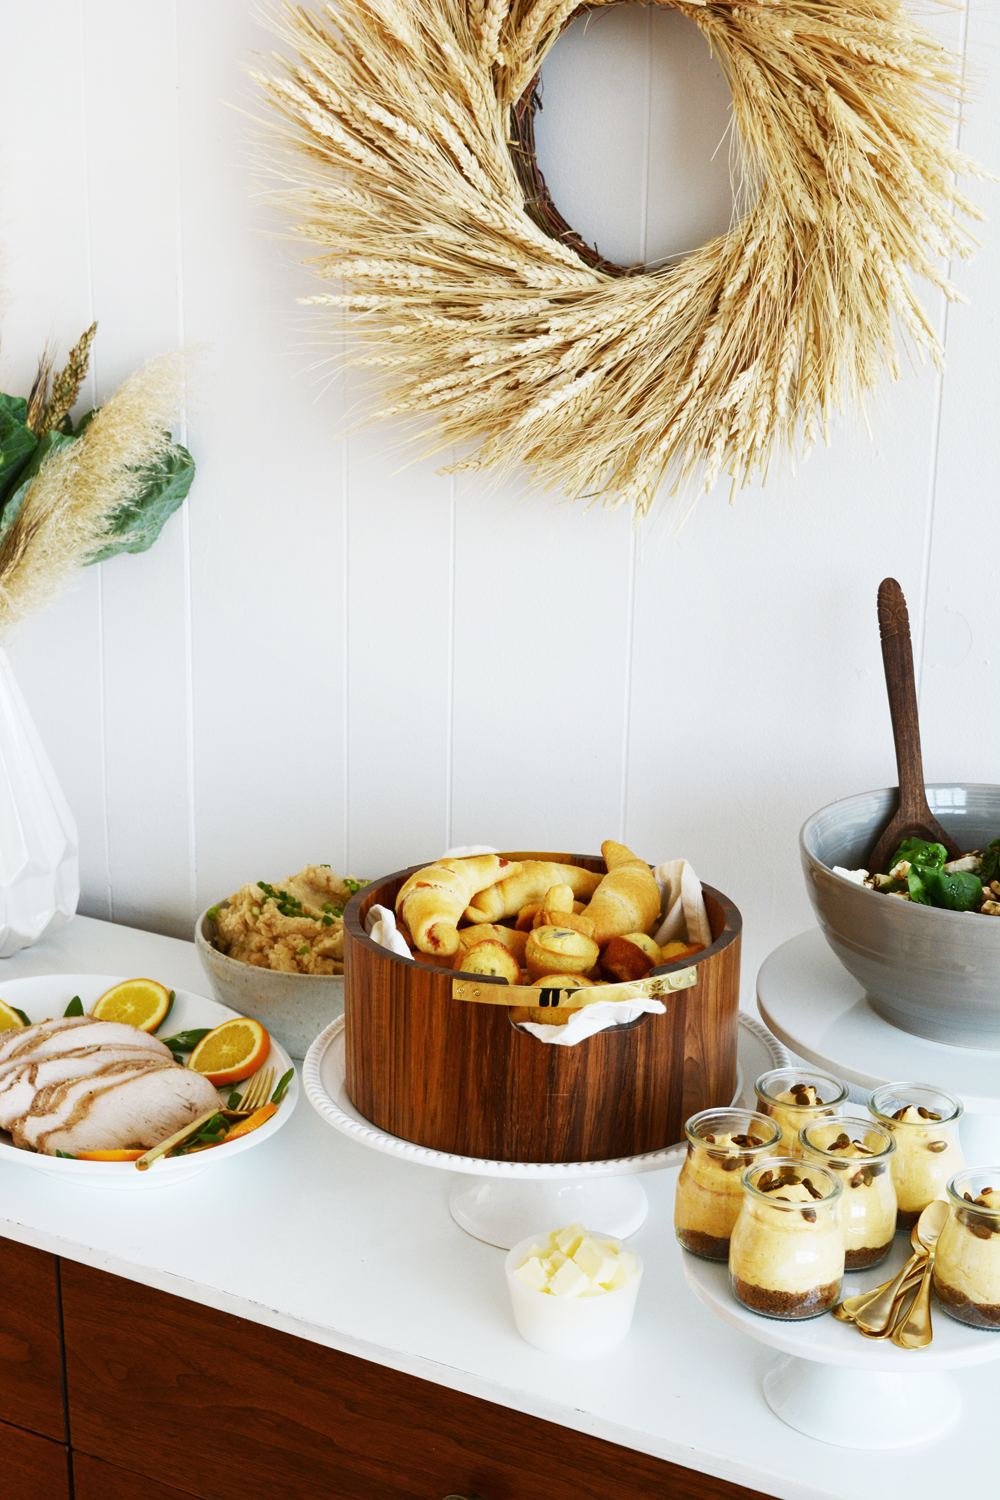
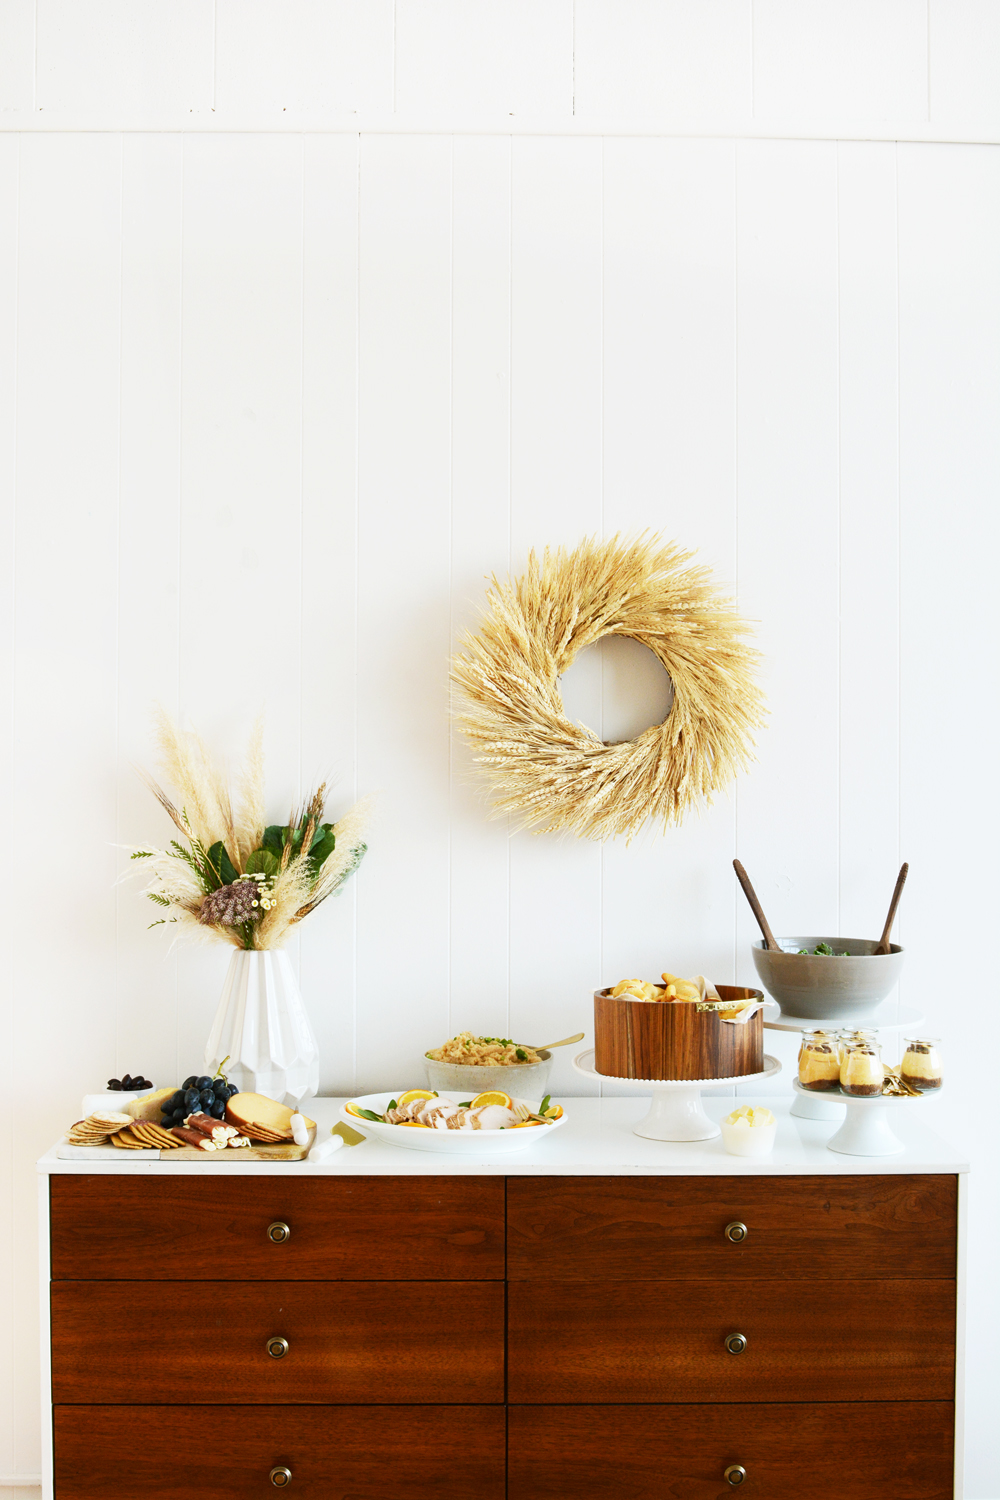
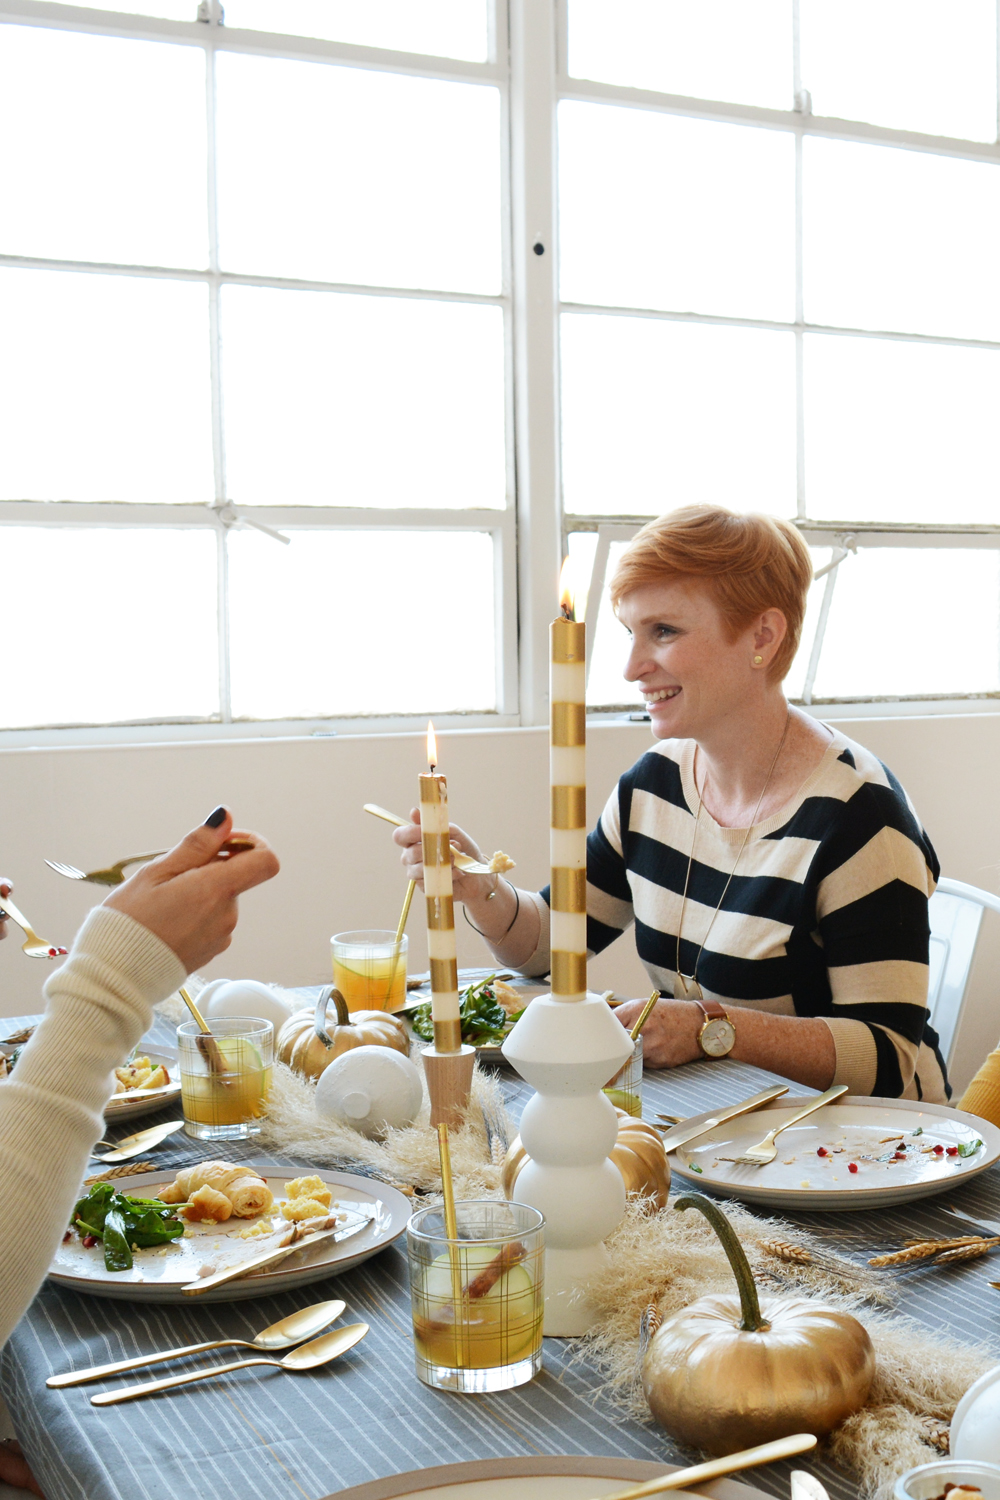
I love Friendsgiving, it’s all the fun of Thanksgiving with a lot less pressure (and a lot less family dynamics – tee hee). It doesn’t have to be perfect or fancy, it’s a fun relaxed way to celebrate the friendships we are thankful for. This week, I threw a little Friendsgiving at the studio. I put together an easy-to-make menu that is a twist on traditional Thanksgiving. It gave me a chance to try some non-traditional and a lot more casual takes on the usual staples you find at Thanksgiving.

Host an easy Friendsgivings with Target. Pumpkin Pie Cheesecake MousseHost a Friendsgiving Meal. A full menu of easy-to-make recipes.

Who wants to be driving all over town for the ingredients and supplies when you are throwing a party? From prep to plate, Target is my one-stop shop for affordable, simple and unique Thanksgiving solutions. I really do most of my grocery shopping at Target Grocery. Well, actually, I just do a lot of every kind of shopping at Target. All the ingredients and decor for this Friendsgiving get-together were all purchased at my local Target – now how easy is that?

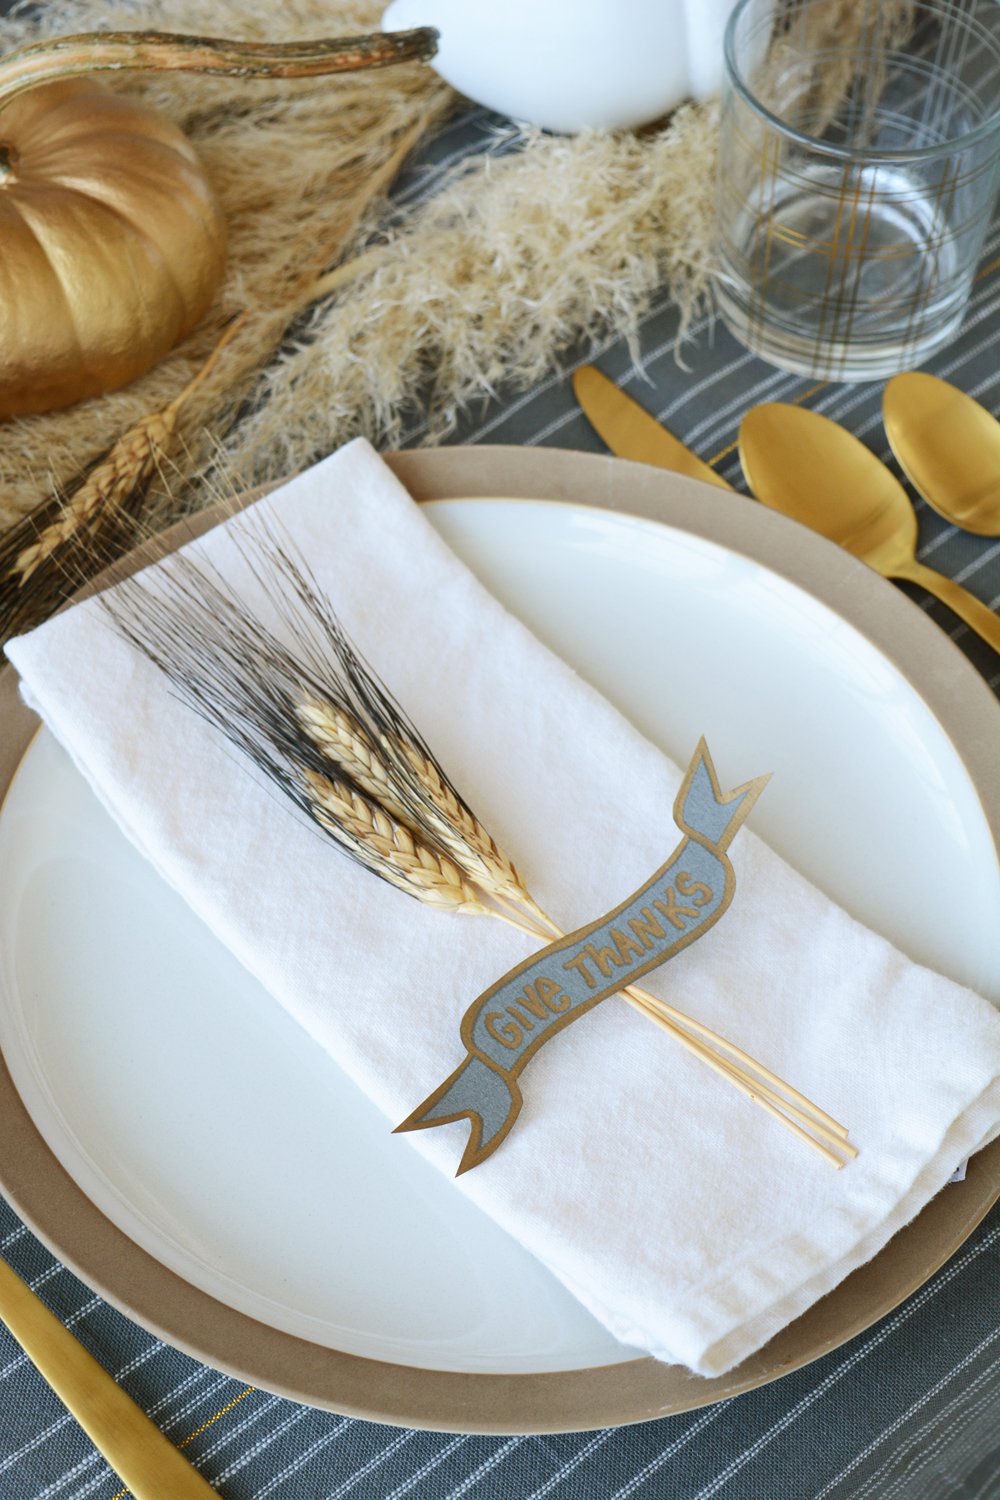
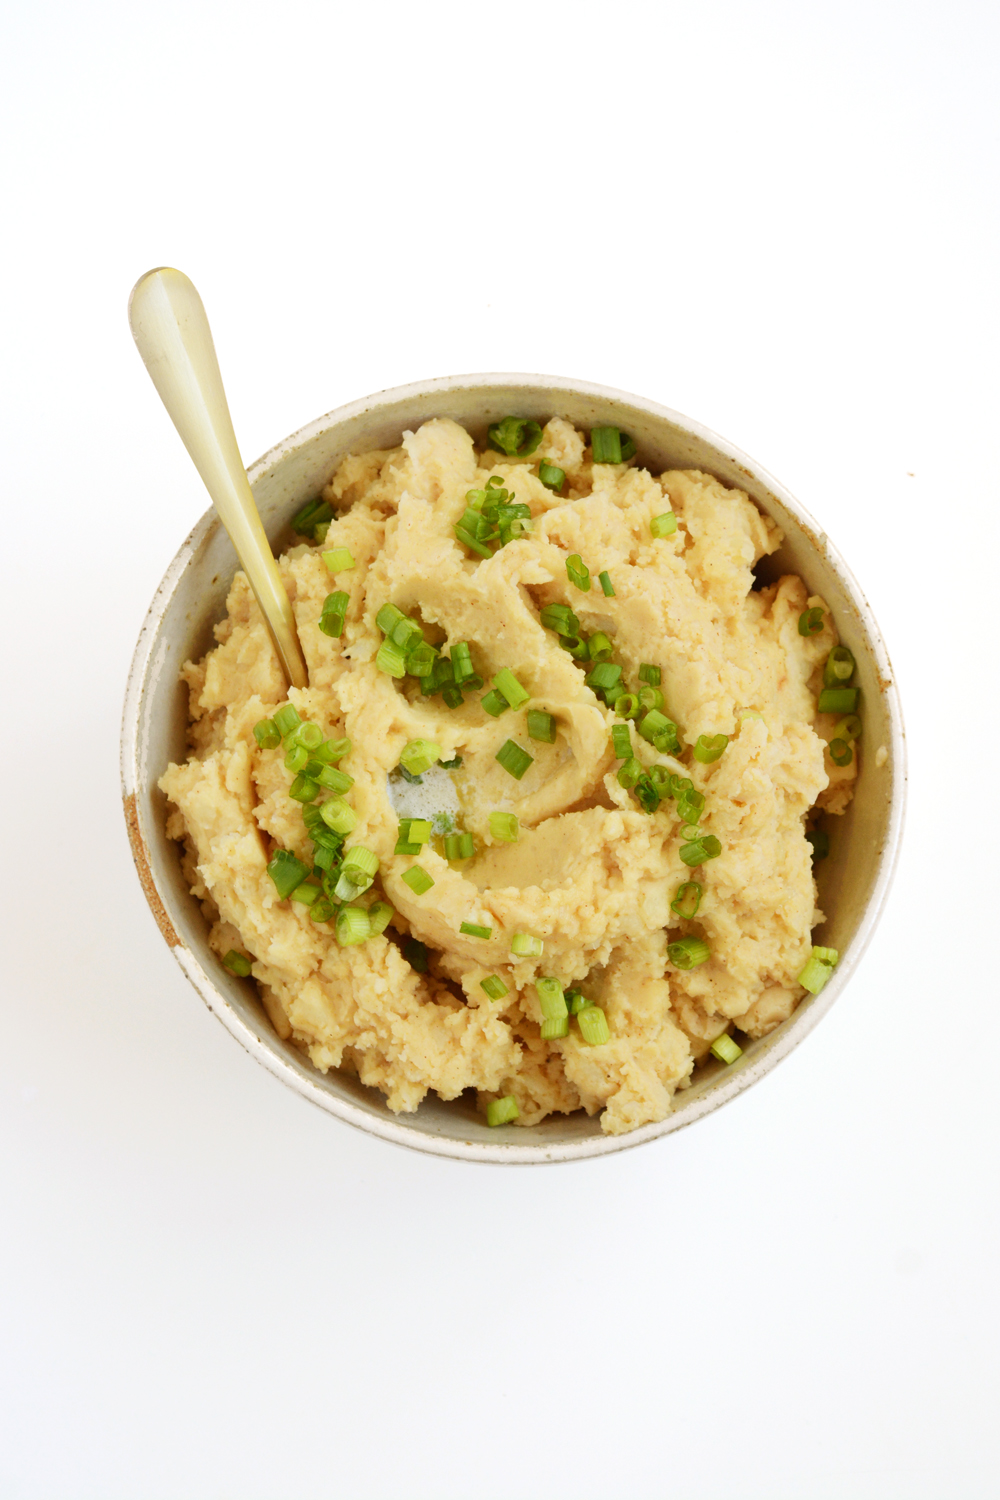
Host a Friendsgiving Meal. A full menu of easy-to-make recipes. Give ThanksSparkling Vanilla Cider MocktailHost a Friendsgiving Meal. A full menu of easy-to-make recipes. Chipotle Mashed Potatoes

Friendsgiving Menu

Get ready for a whole bunch of recipes!  This post is jam packed with no-fuss, totally yummy food.

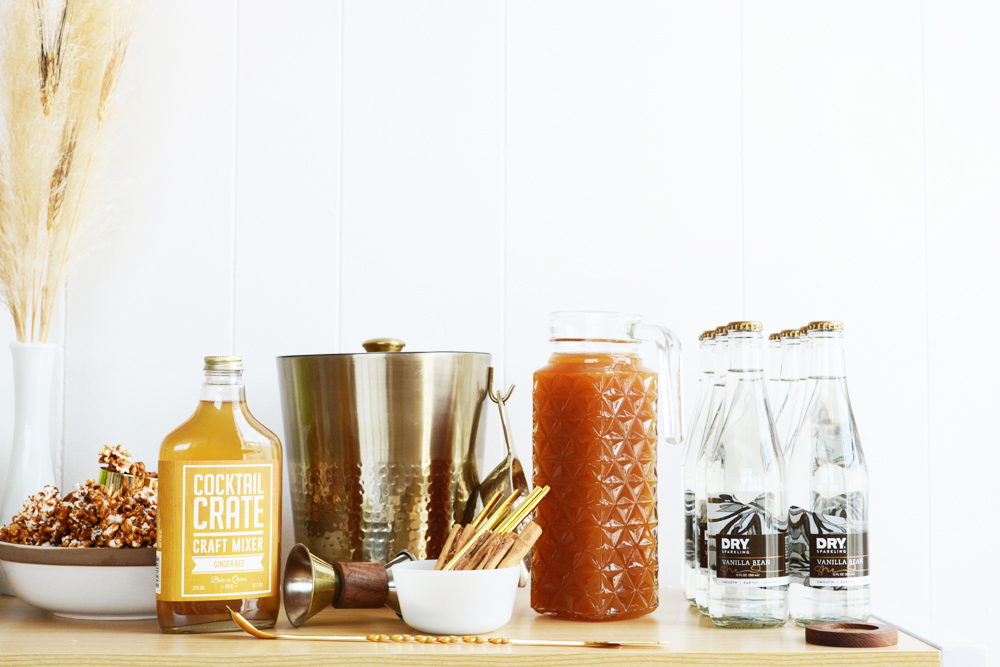
Sparkling Vanilla Cider Mocktail

I’m a huge fan of a Mocktail, they are fun drinks the whole family can enjoy, especially when you are celebrating in the middle of the day. This is the flavors of fall in one glass.

Sparkling Vanilla Cider Mocktail

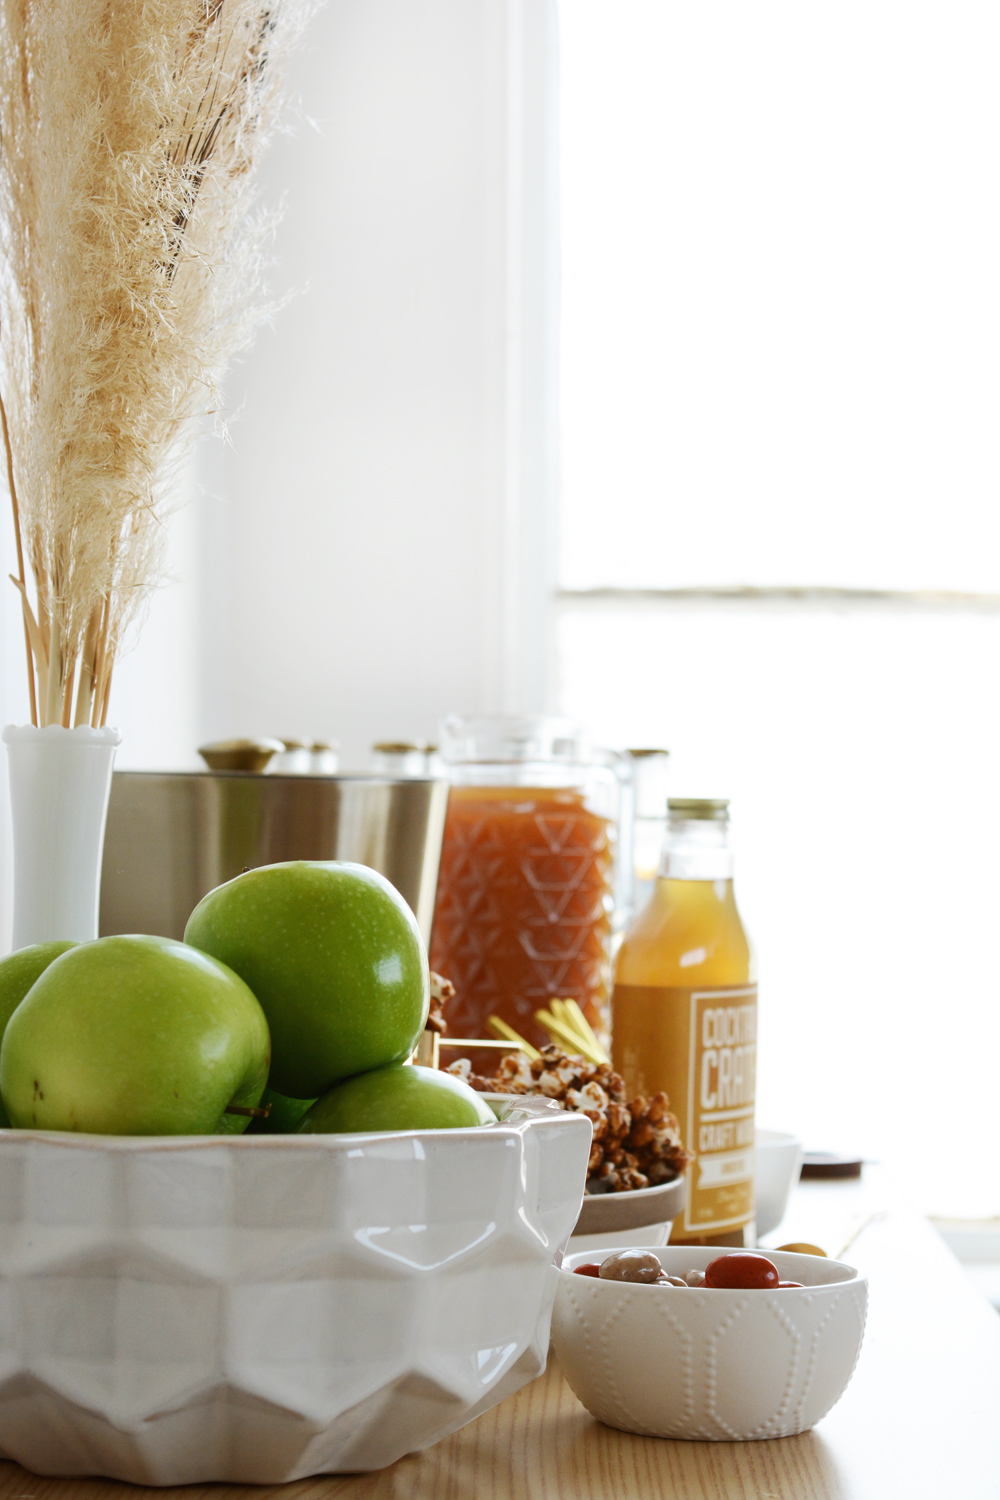
In a glass with ice, pour 2 ounces Drink Mix with about 1/2 cup Spiced Cider.  Top off the rest of the glass with Dry Vanilla Bean Soda. Stir and garnish with a cinnamon stick and a slice of green apple. (For a spiked version, add a shot of Apple Whiskey.)

Friendsgiving MocktailCheese and Meat Board

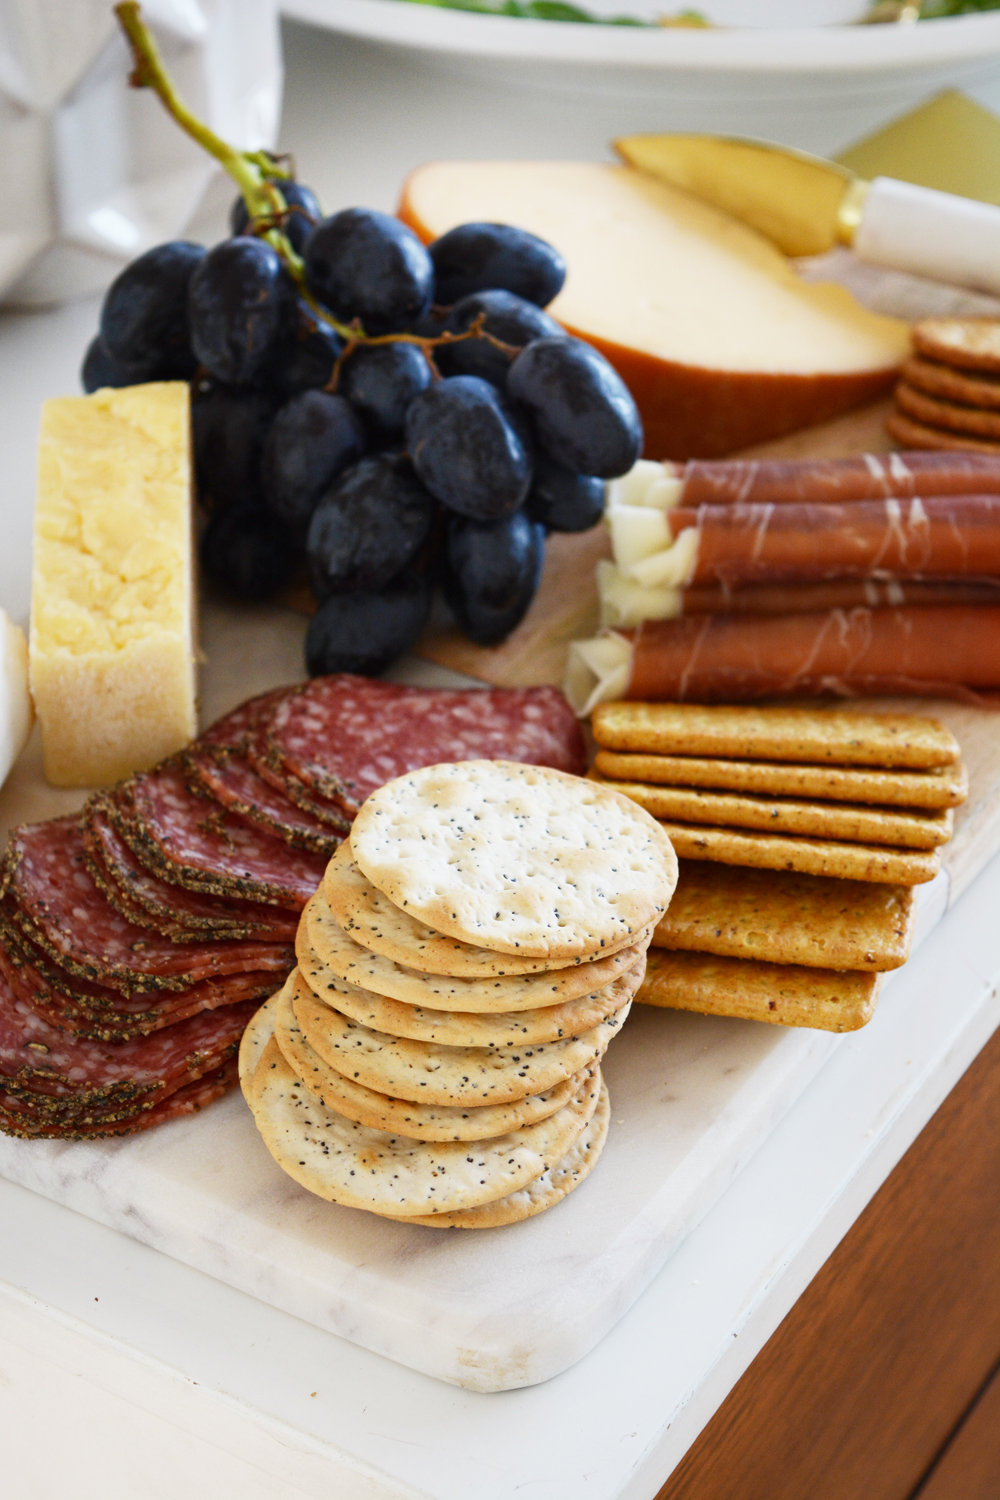
Any great party starts with a great Charcuterie and Cheese Board. It’s always a crowd favorite. While you put the finishing touches on the meal, guests can snack on bites of cheese, olives, and salami.

Charuterie and Cheese Board

I say anything goes with a Charcuterie Board, if you like it, put it on the board. A good mix of cheeses, meats, fruit, olives and bread or crackers and you are set. Arrange the ingredients on a pretty marble or wood cutting board. Olives can be placed in a small bowl. Cheese does not have to be sliced, just provide little cheese knives and guests can cut off what they want.

Cheese and Meat BoardHost a Friendsgiving Meal. A full menu of easy-to-make recipes.

In place of traditional stuffing, I decided to make mini corn muffins with all the flavors of Thanksgiving in packed in them. Fresh sage, dried cranberries and orange zest give these muffins a little kick. And since it’s the holidays, I say, “Give Me All Carbs!”, so I served two types of bread. Pumpkin Spice Dinner Rolls and Cranberry Sage Mini Corn Muffins are both fun, unique twists on the classic dinner roll. 

Cranberry Sage Mini Corn Muffins

In a large bowl mix all the ingredients. Spray a mini muffin pan generously with non-stick cooking spray. Fill each cup 2/3 full. Top each muffin with a leaf of fresh sage. Bake at 400 F for about 12 minutes, or until just golden brown.

Cranberry Sage Mini Corn Muffins and Pumpkin Spice Dinner Rolls

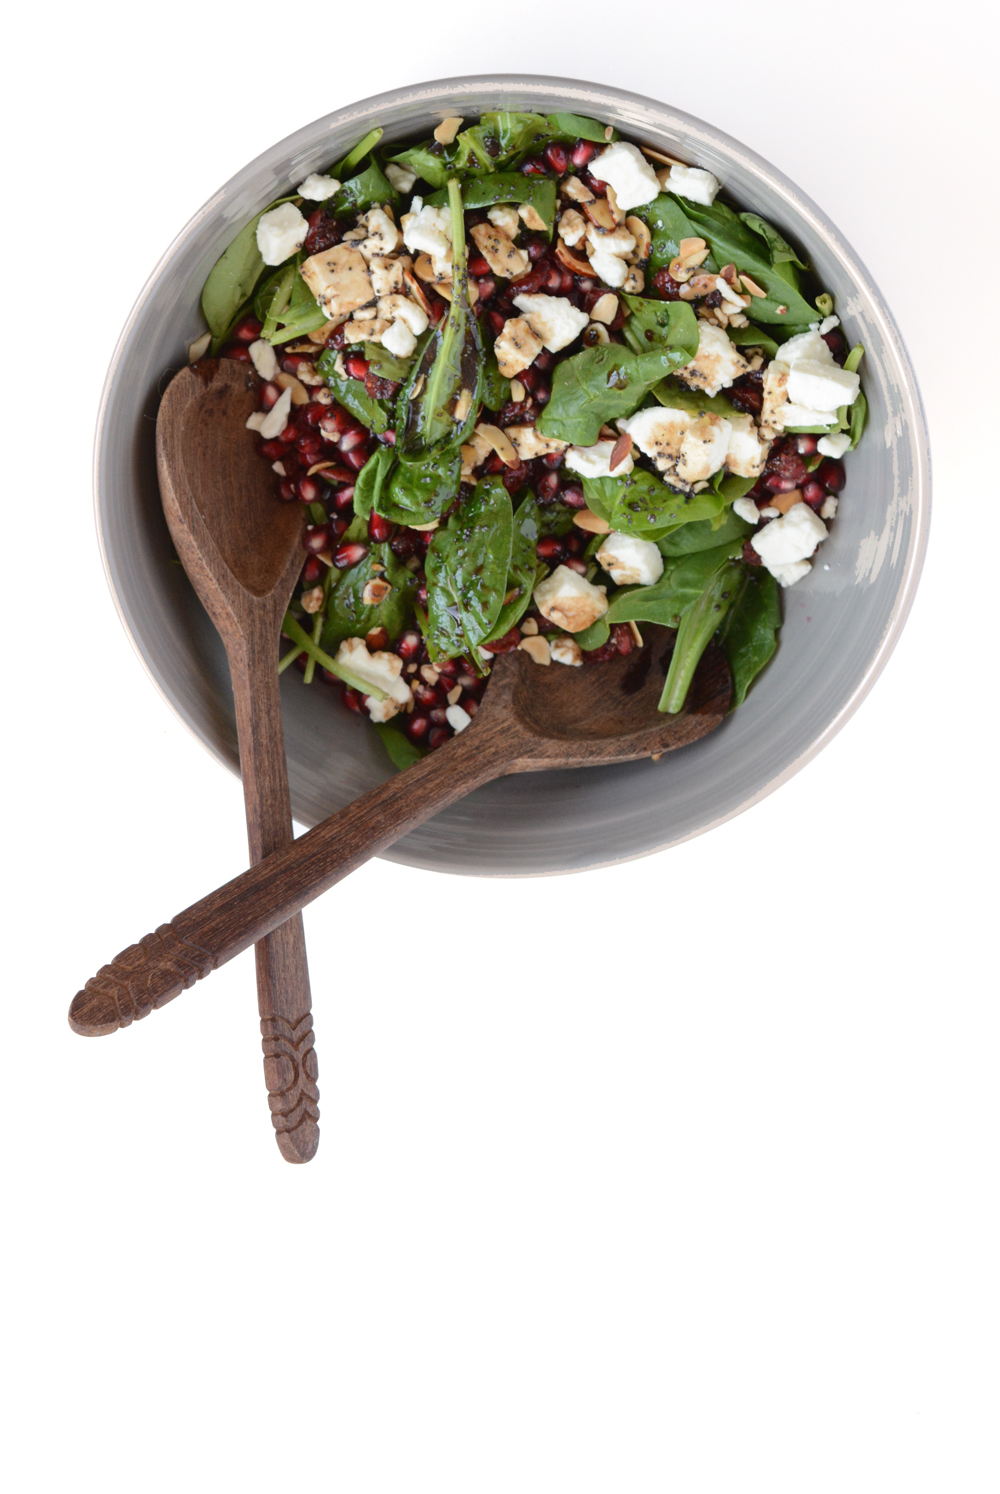
They holidays are all about indulging, but a healthy green salad with fruit, cheese and nuts, is still always a hit.

Spinach and Pomegranate Salad

In a small jar combine the oil, vinegar, juice, poppy seeds, honey and salt and pepper.  Seal the jar and shake to combine.

Place the spinach, pomegranate seeds, feta and salad topping in a large bowl. Drizzle with the balsamic dressing just before serving and toss.

Spinach and Pomegranate Salad

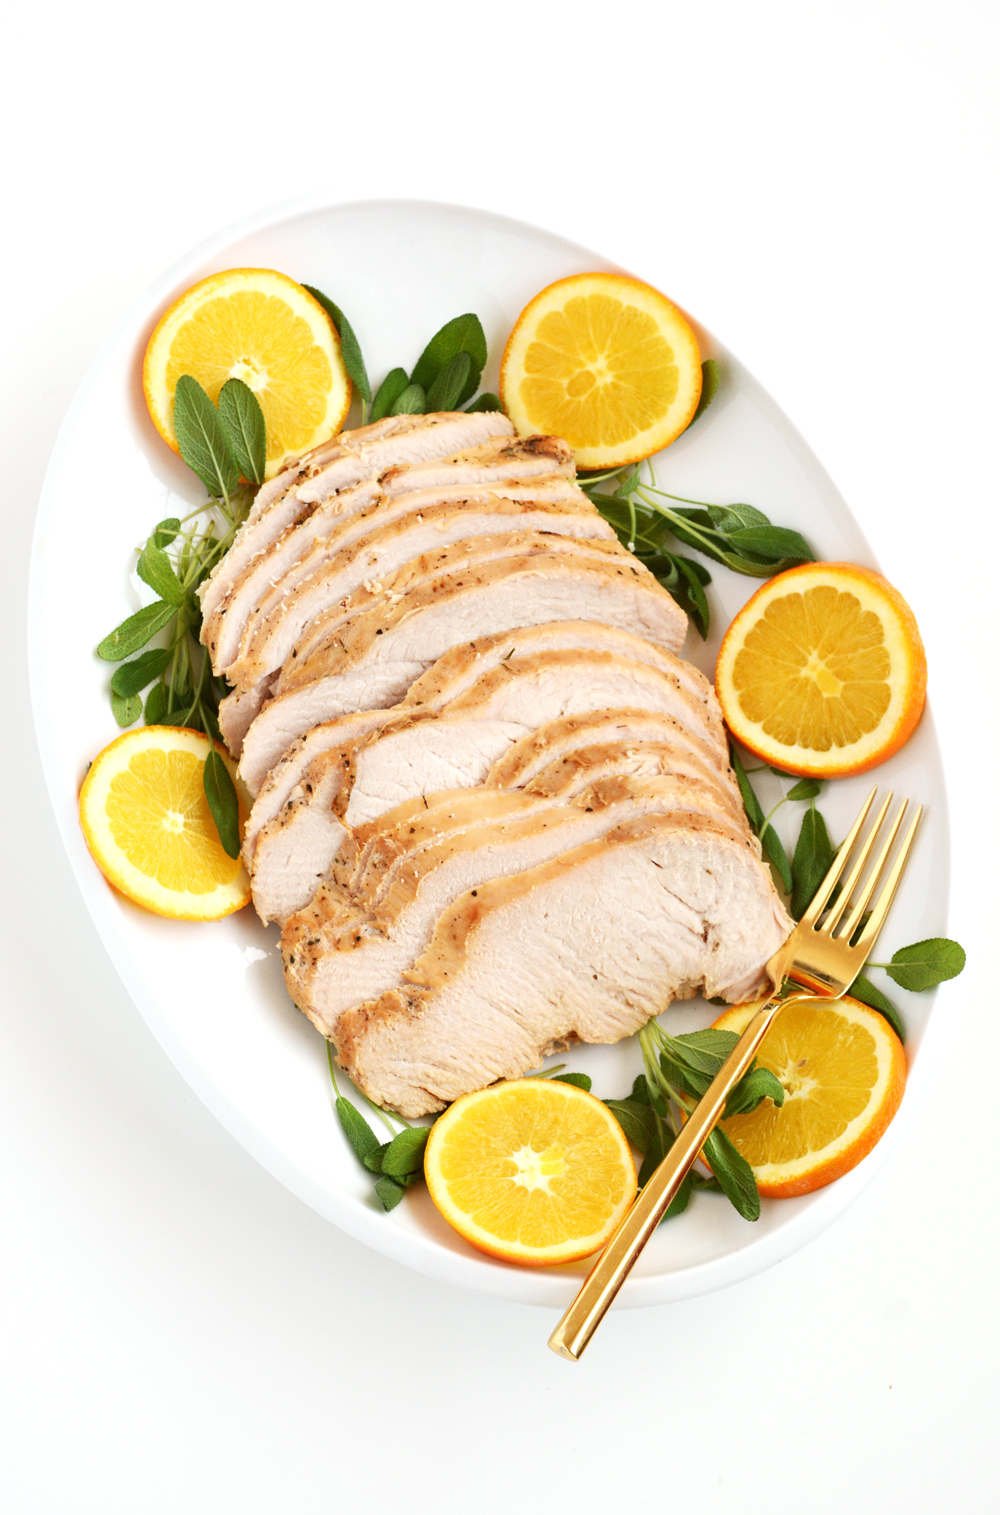
A lot of the pressure of cooking a whole Thanksgiving dinner comes from having to tackle a whole huge bird. This Citrus Brined Turkey Breast is quick to cook and a lot less stressful. I was nervous that a boneless, skinless breast had the potential to be dry and flavorless. But, brining this turkey breast made all the difference. This might be the juiciest, tastiest bird I’ve ever made. Really, I mean it!

Citrus Brined Turkey Breast

Since this recipe is just for cooking a turkey breast, a 1/2 recipe of the Cider Brine is more then enough. Combine all the ingredients for the brine in a large stock pot. Remove the turkey breast from the bag and place in the brine.  Then place the pot into the fridge.  I brined my turkey breast for about 36 hours and it was delicious!  When you are ready to cook the turkey, remove it from the brine and pat it dry with paper towels.  Spread the butter over the turkey breast and place in a small roasting bag. Prick a hole in the bag and seal it with the tie.  Place on a baking tray and roast in a 375 F oven for about 1 hour or till meat thermometer reads 165 F at the center of the breast (cook time really depends on how big your turkey breast is).

Cider Brined Turkey Breast

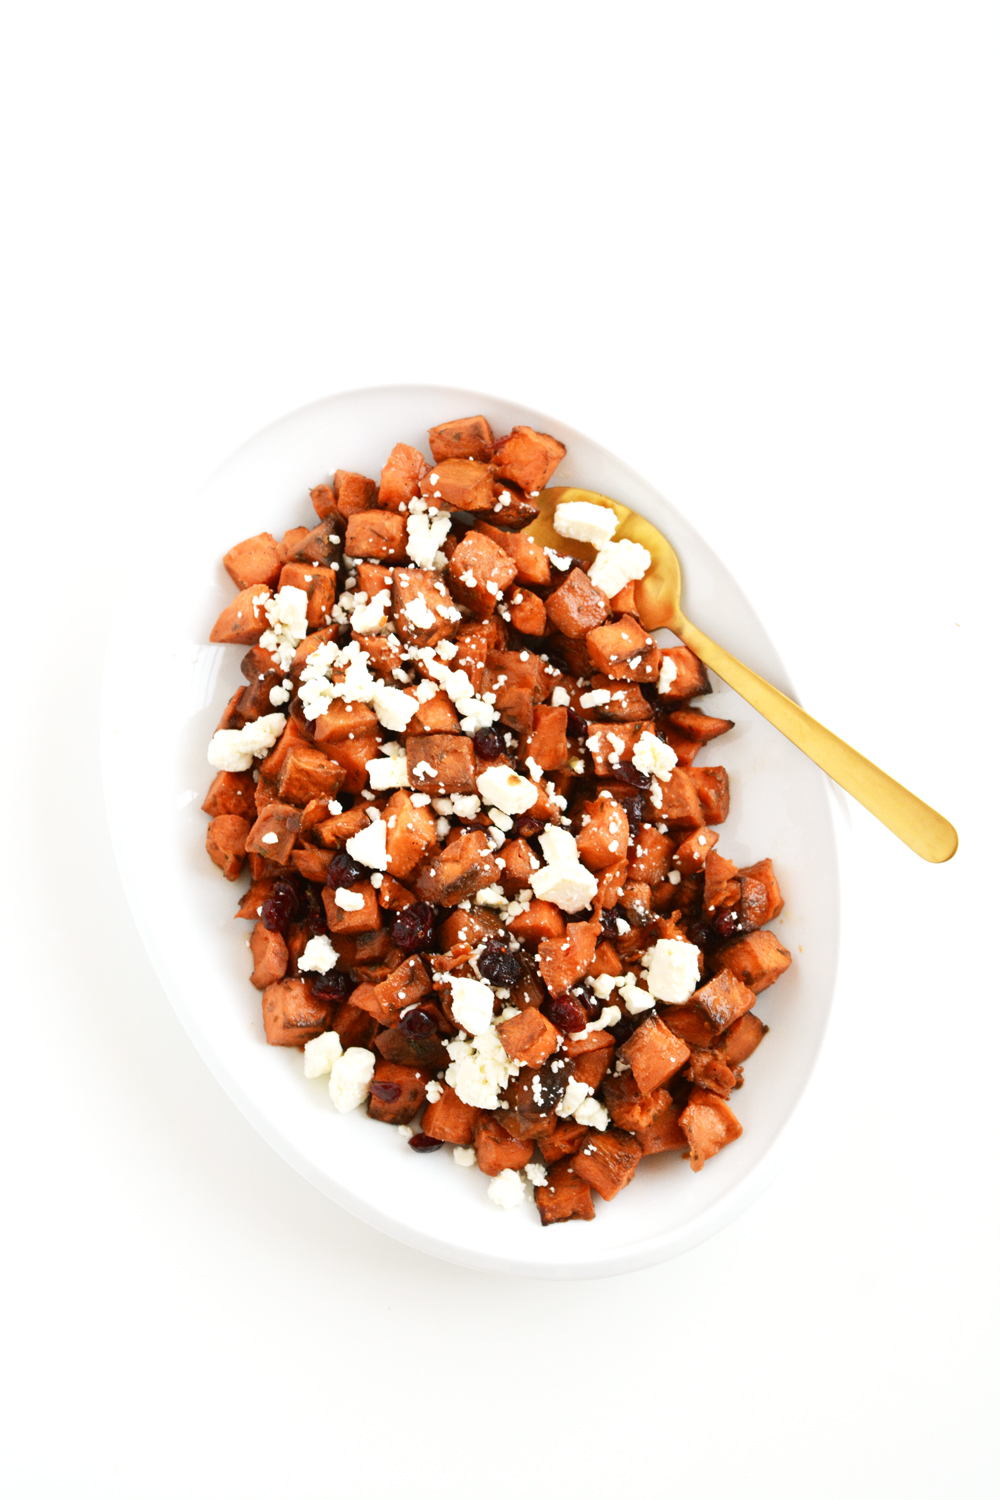
Move over marshmallow topped sweet potatoes, these maple glazed, golden sweet potatoes are one of new favorite sides.

Roasted Maple Sweet Potatoes with Feta and Cranberries

On a parchment line baking sheet, toss the sweet potatoes with the olive oil, maple syrup, parsley and salt and pepper. Roast in a 375 F over for about 30-40 mins or until the edges of the sweet potatoes are just barely charred and dark brown.  Place the sweet potatoes in a serving bowl or platter and top with the cranberries and feta.

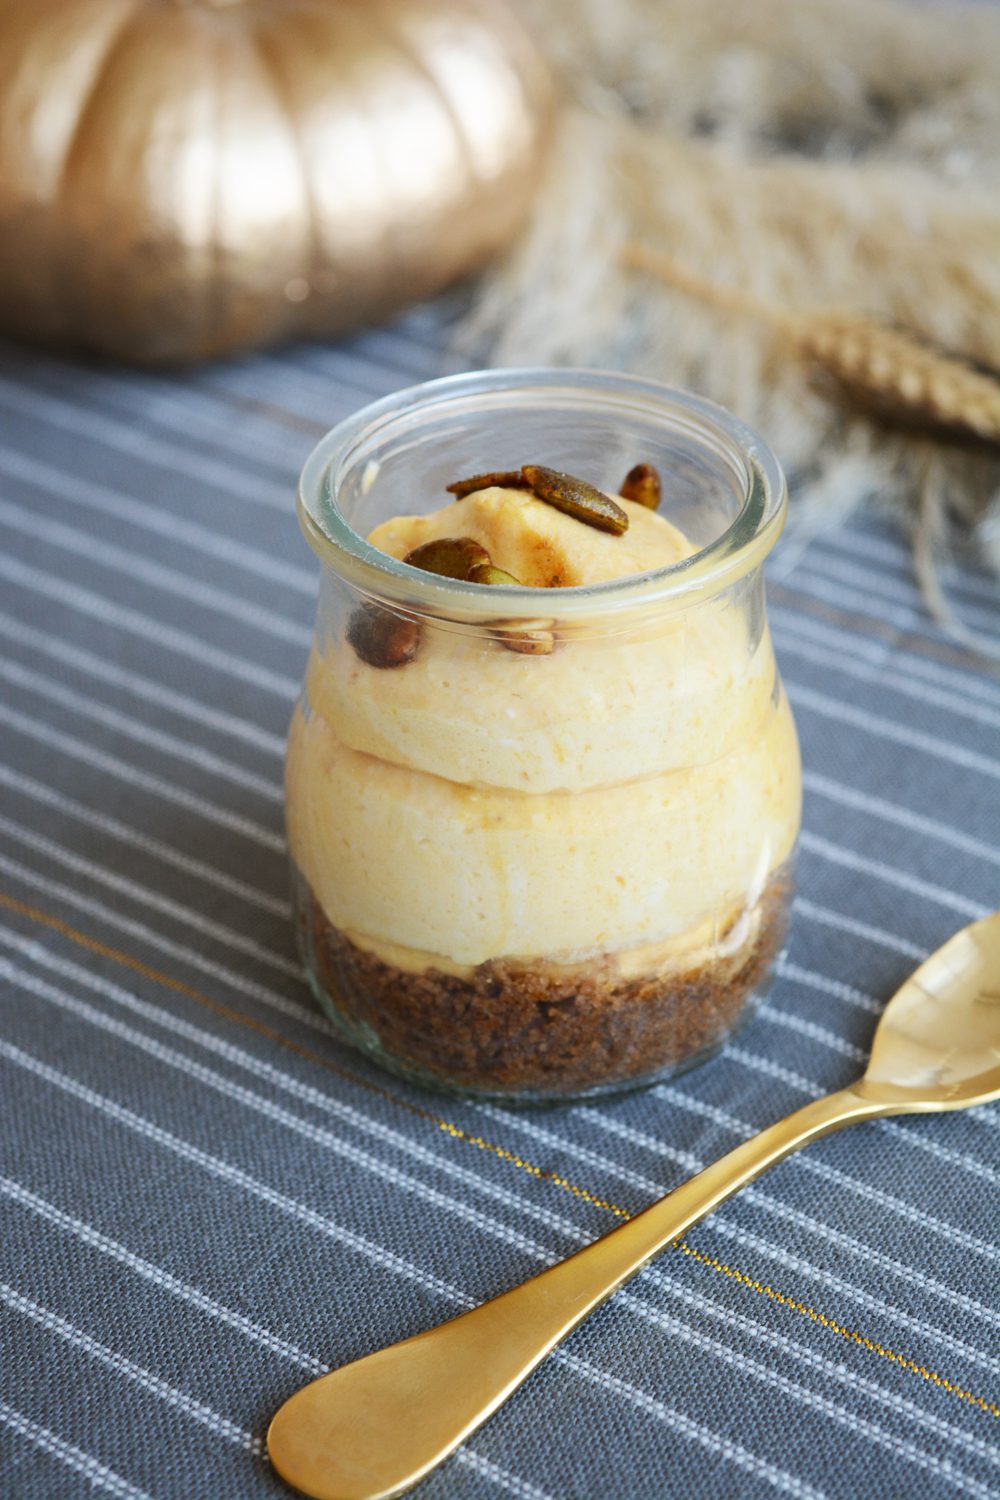
Roasted Maple Sweet Potatoes with Feta and CranberriesPumpkin Pie Cheesecake Mousse

No-bake Pumpkin Pie Cheesecake Mousse

This recipe can be made in a 9 inch. pie pan or in 10 individual mini versions like I did.

Prepare the ginger snap crust by placing the 20 ginger snap cookies in a food processor. Process until the cookies are fine crumbs. Melt the butter and add it to the cookie crumbs. Pulse to combine. With the back of a spoon, press the crumbs into the pie pan or glass jars.

Whip the heaving whipping cream to stiff peaks, set aside.  With an electric mixer, beat the cream cheese and powered sugar until smooth, add the pumpkin pie mix and beat again until smooth. In a small microwave safe bowl, combine the water and gelatin. Microwave on high for 10 seconds or until the gelatin is dissolved. With the mixer running, pour the gelatin into the cream cheese mixture. Fold the whipped cream into the cream cheese mixture. Spoon the filling into the pie pan, or place in a large piping bag and pipe in the jars.  Chill for at least 2 hours before serving. Top with Pumpkin Spice Glazed Pepitas.
Friendsgiving with Target. A whole menu of easy-to-make recipes.Host a Friendsgiving Meal. A full menu of easy-to-make recipes. Host a Friendsgiving Meal. A full menu of easy-to-make recipes. Target FriendsgivingFriendsgivingHost a Friendsgiving Meal. A full menu of easy-to-make recipes. Host a Friendsgiving Meal. A full menu of easy-to-make recipes.

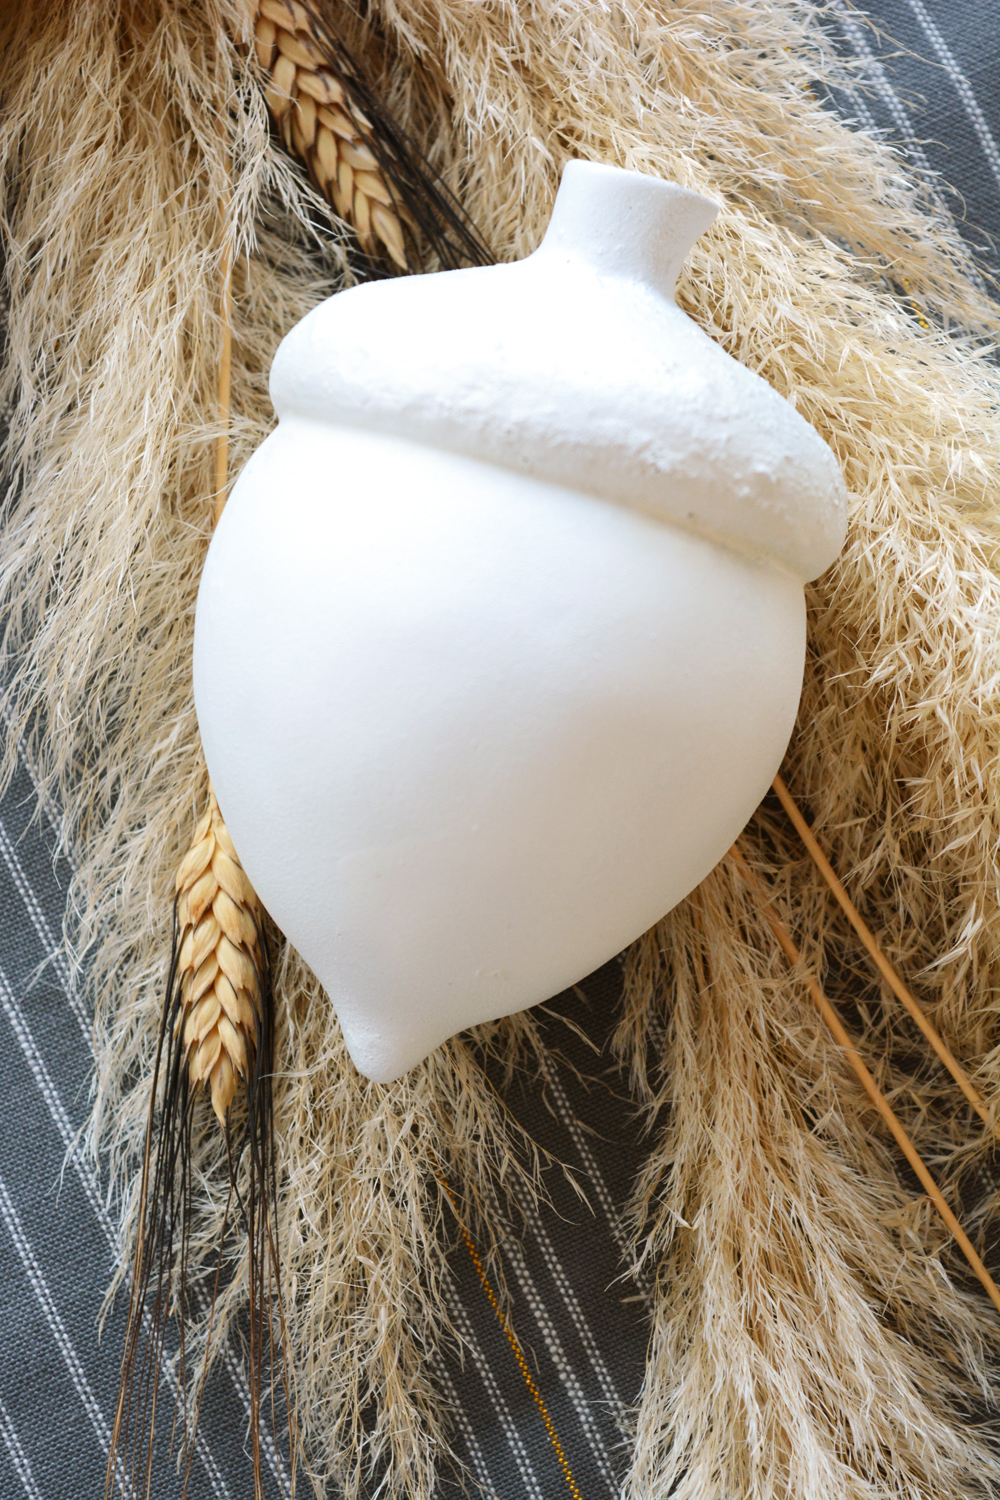
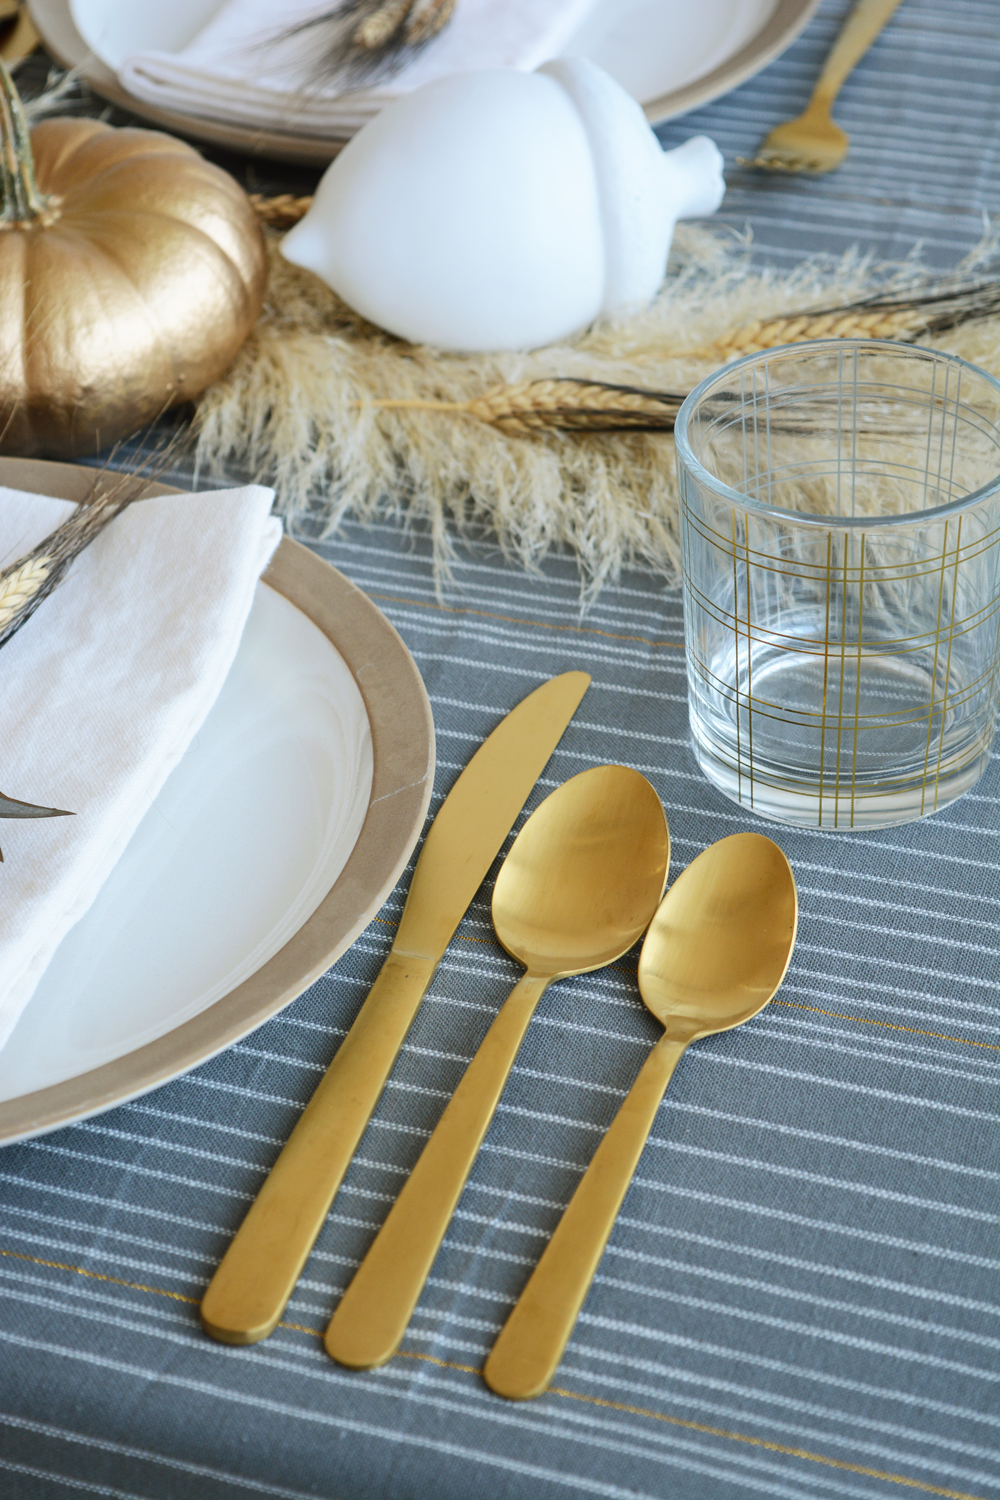
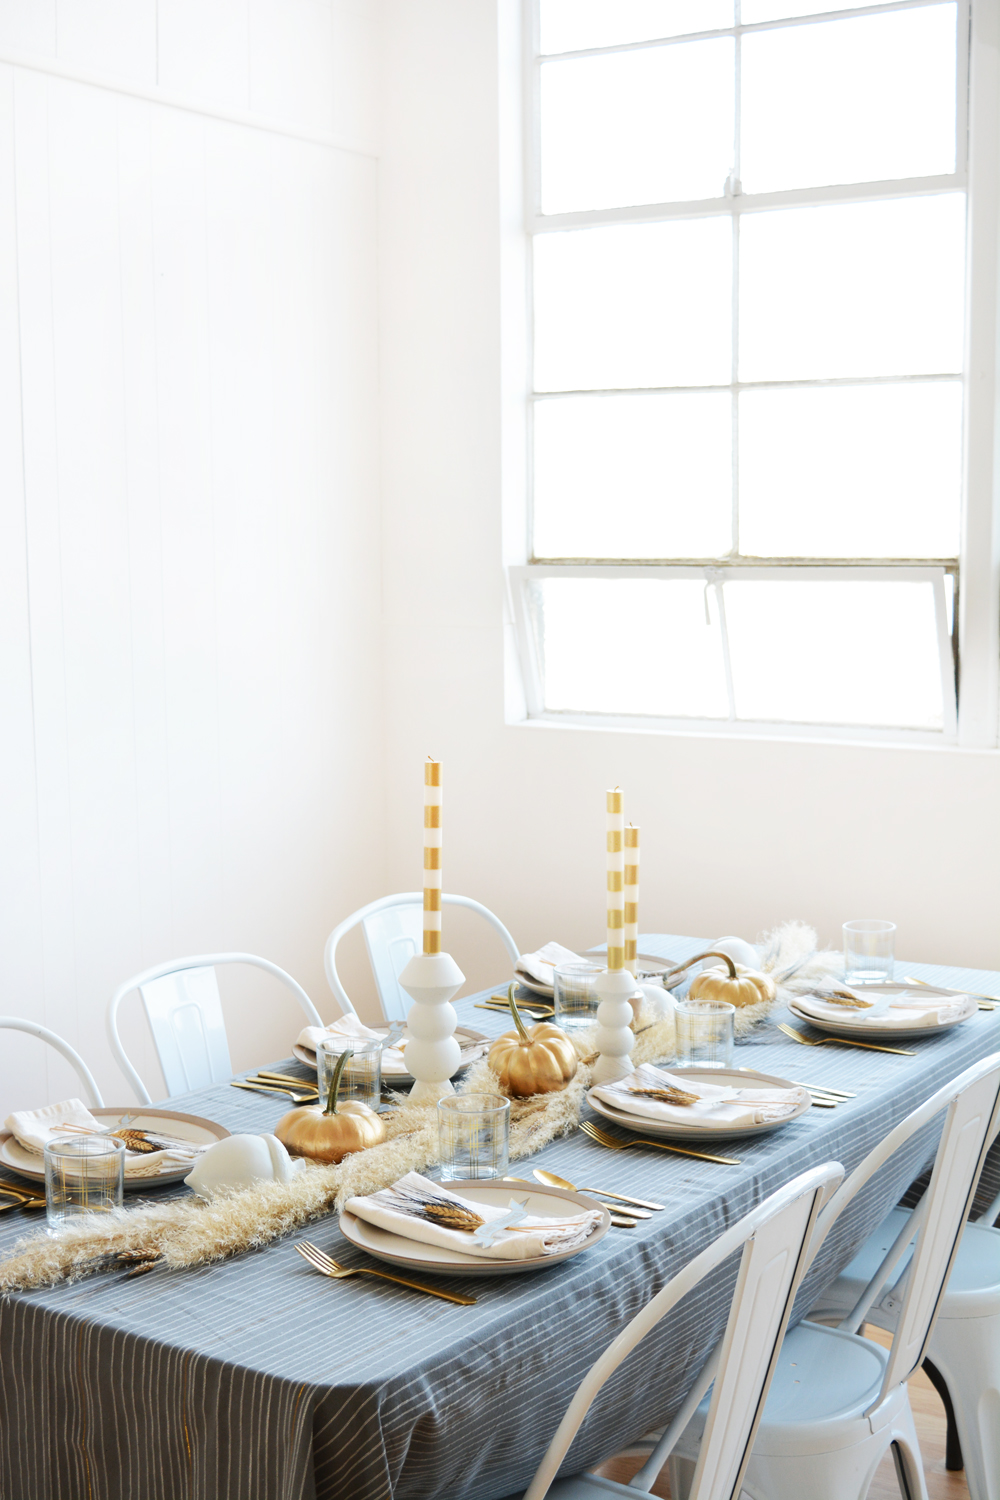
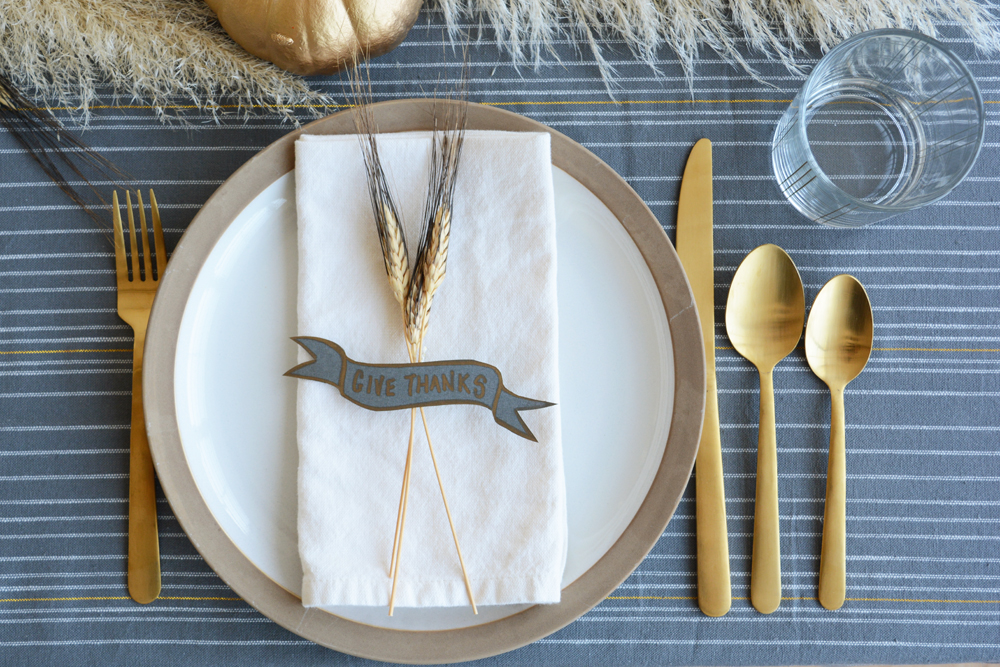
Here’s some of the pretty things I used to decorate the table with:

Host a Friendsgiving Meal. A full menu of easy-to-make recipes. Host a Friendsgiving Meal. A full menu of easy-to-make recipes.

This post is sponsored by Target. Thank you for supporting the companies that help make this blog possible. 

Design

Style Matters Podcast

November 7, 2016

Well this was fun and totally humiliating all at once.  The lovely Zandra and Karen of Little Yellow Couch interviewed me for their podcast, Style Matters! You can listen to what I have to say about design and all my awkward giggles HERE!


There’s really nothing worse then hearing your own voice, but the good news is, I didn’t snort or say “ummm” too many times. So pretty much I feel like I’m winning.

Jeran of Oleander + Palm

Happy Monday Friends!

DIY

DIY Thanksgiving Decorations with Cricut

November 4, 2016

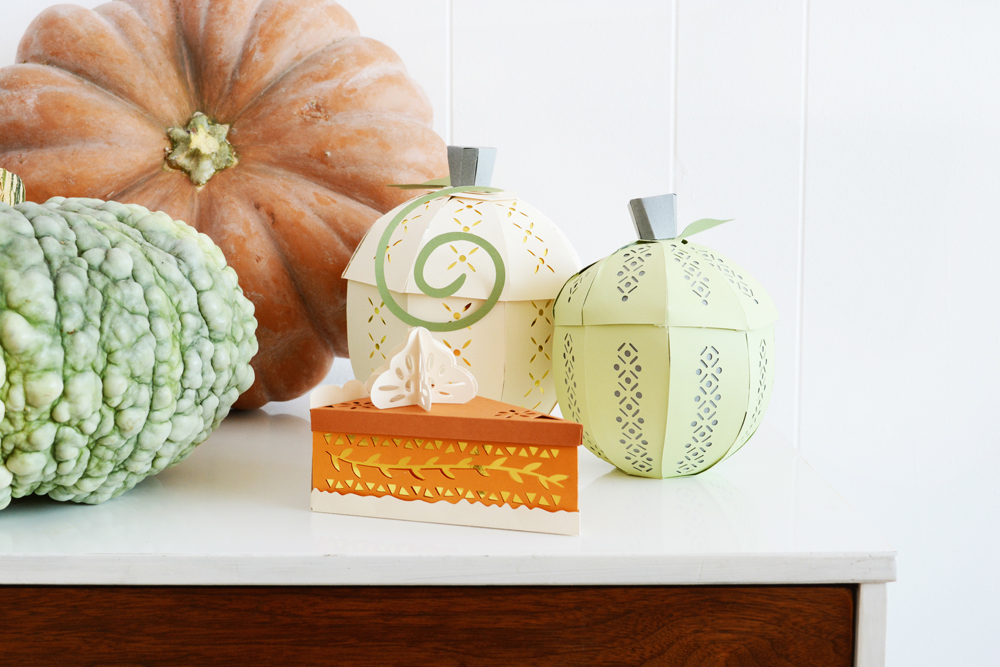
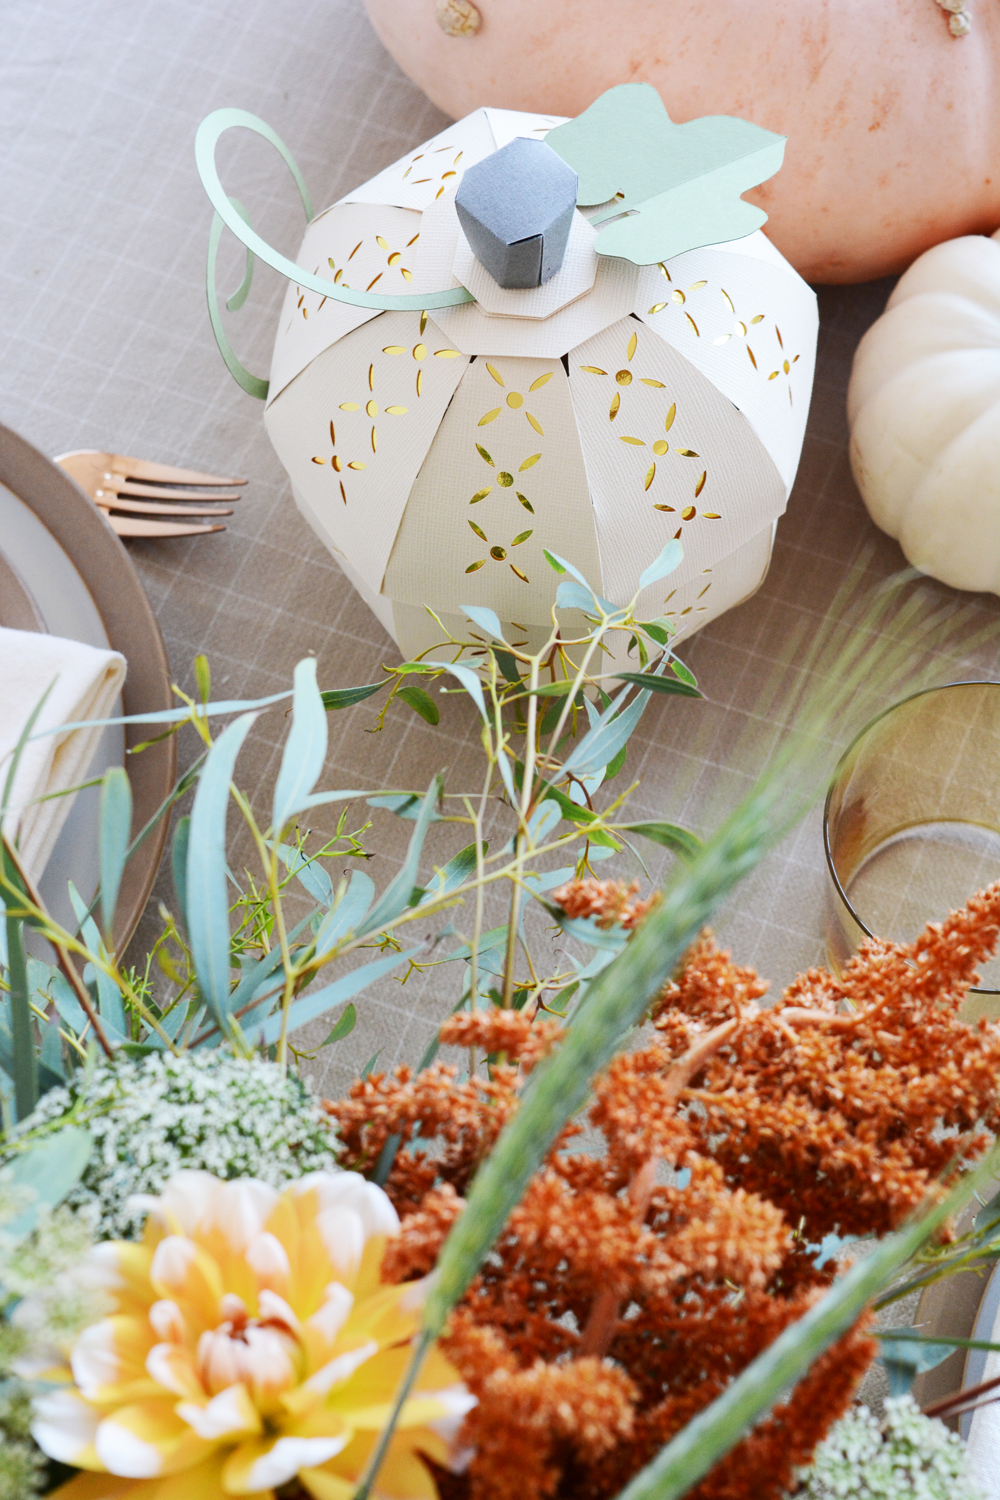
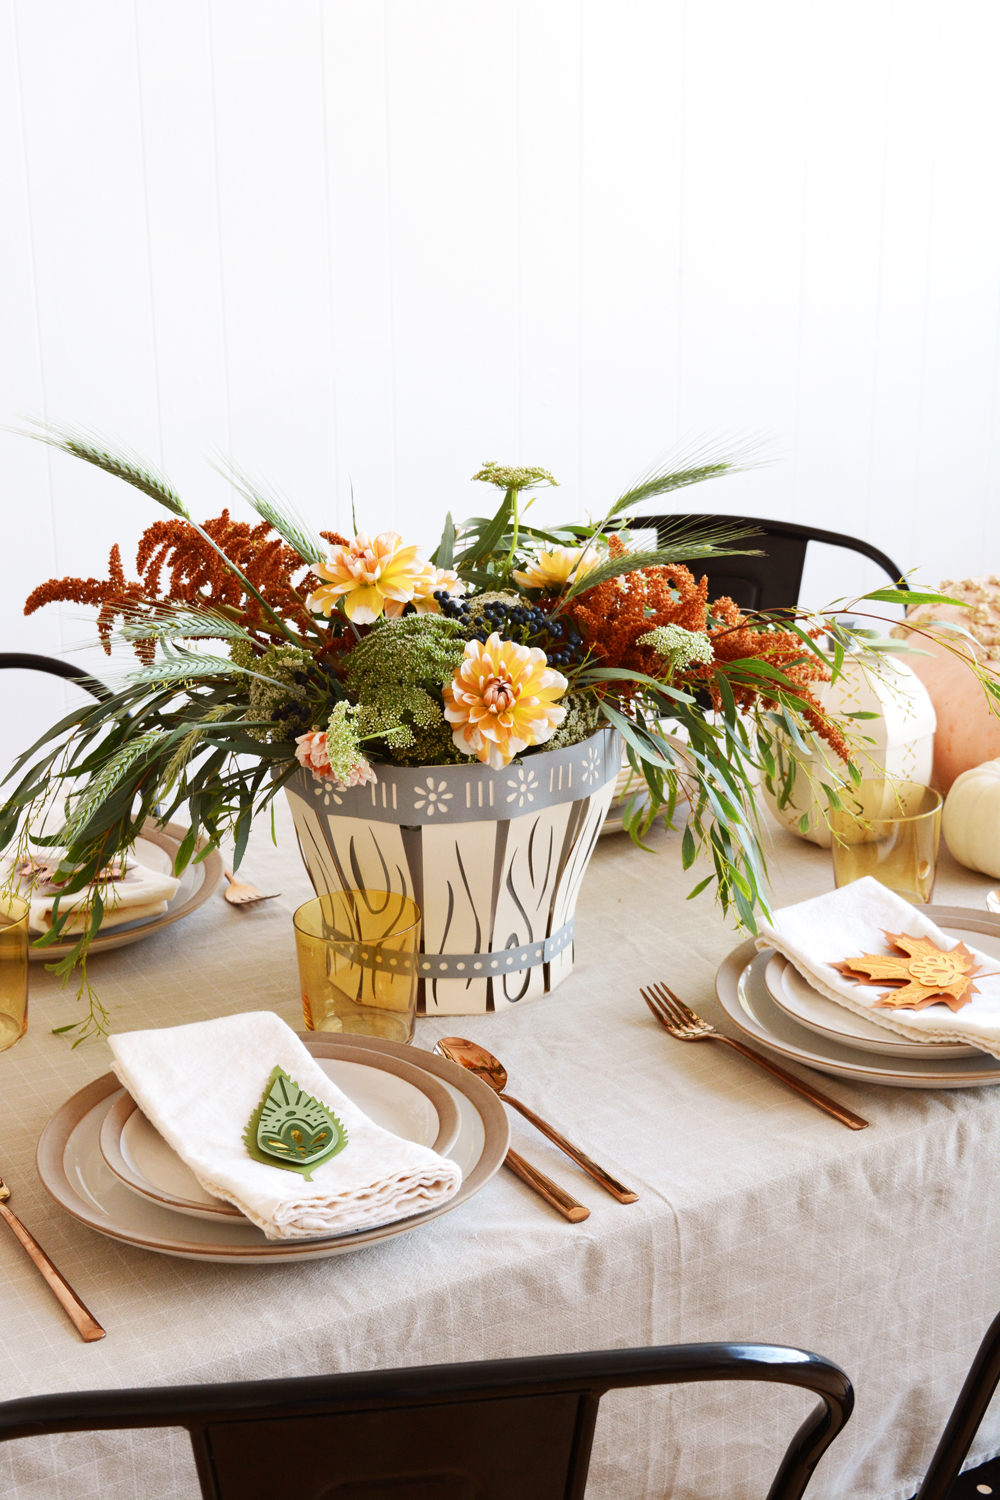
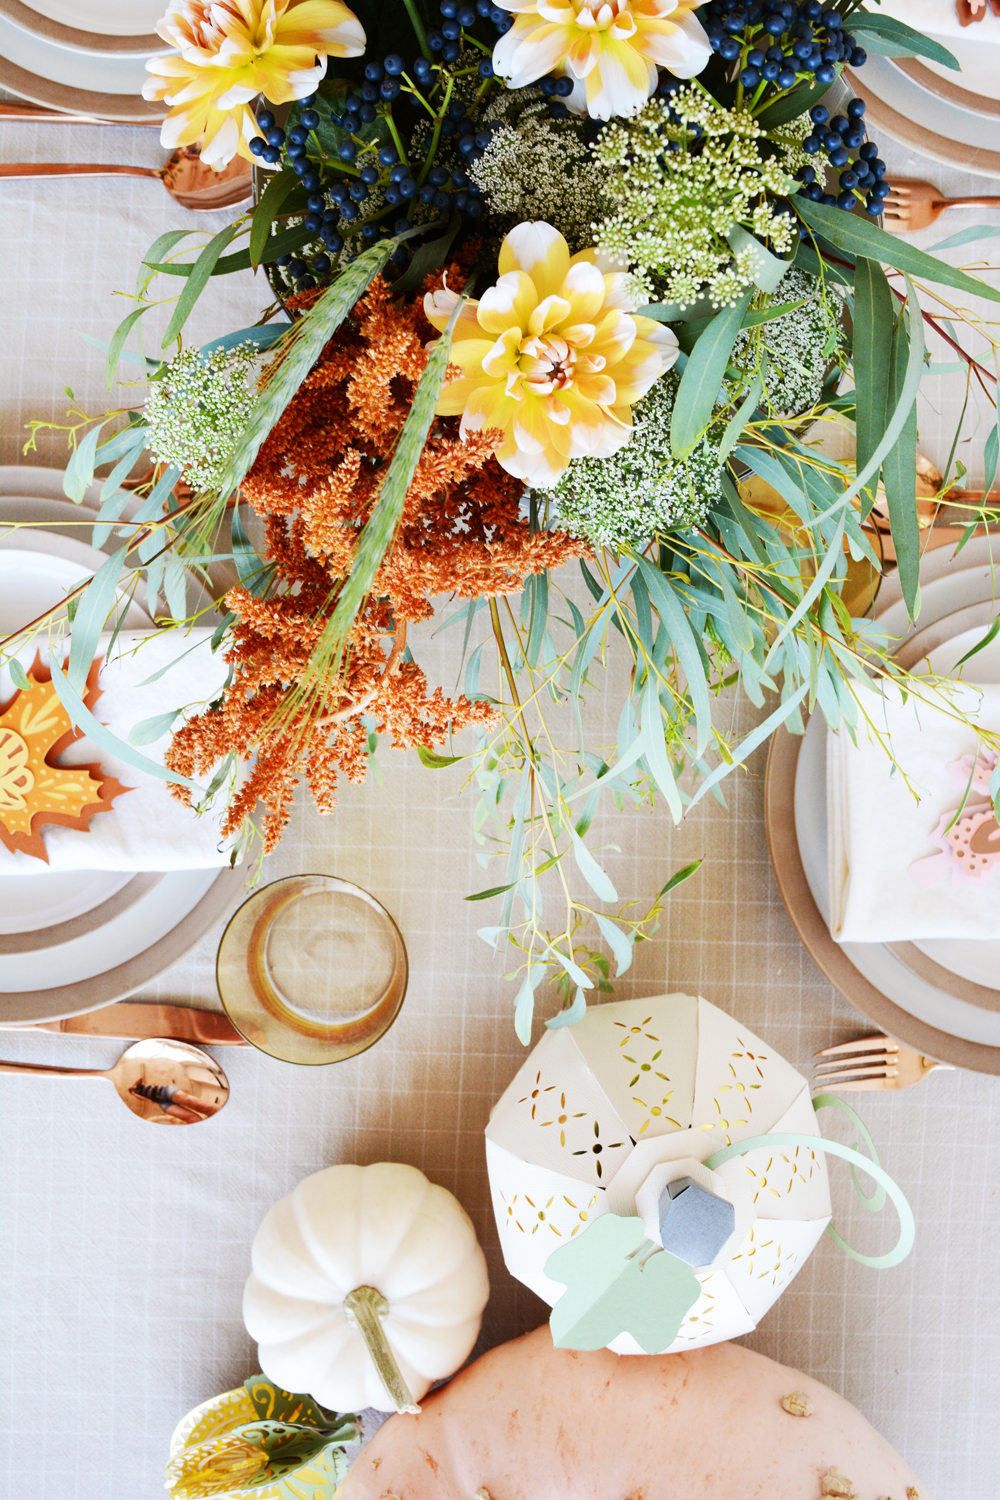
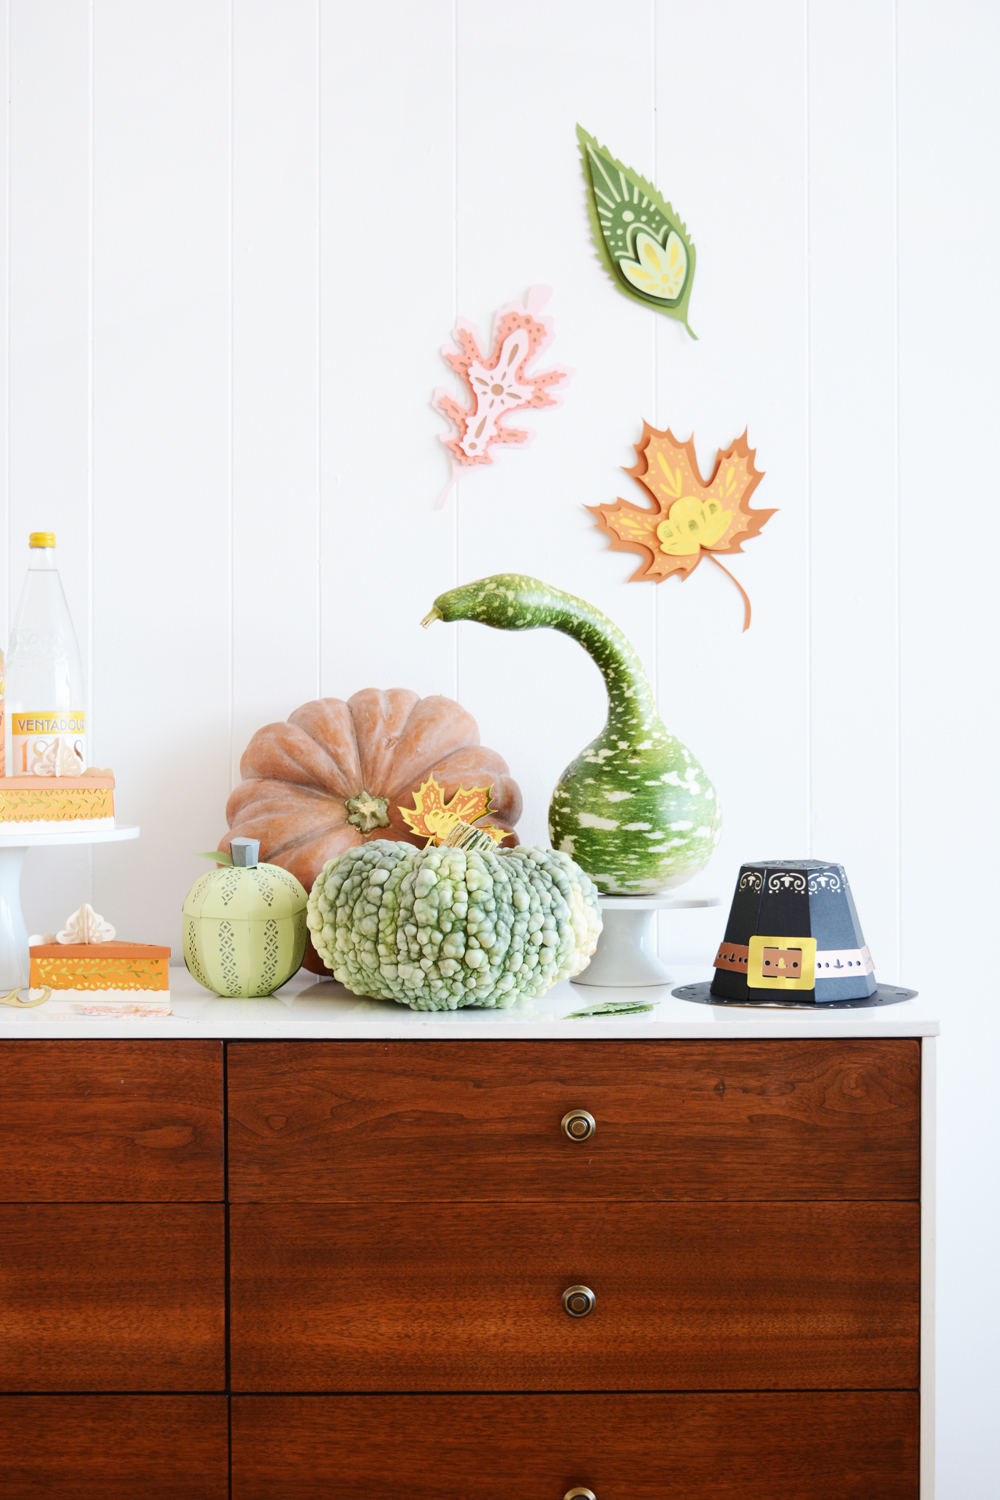
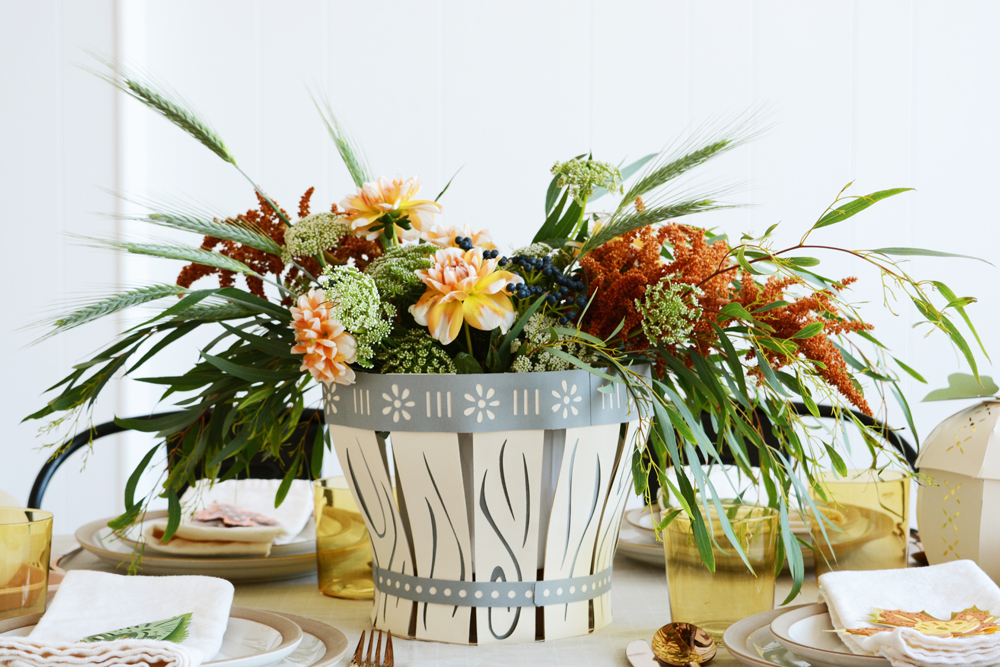
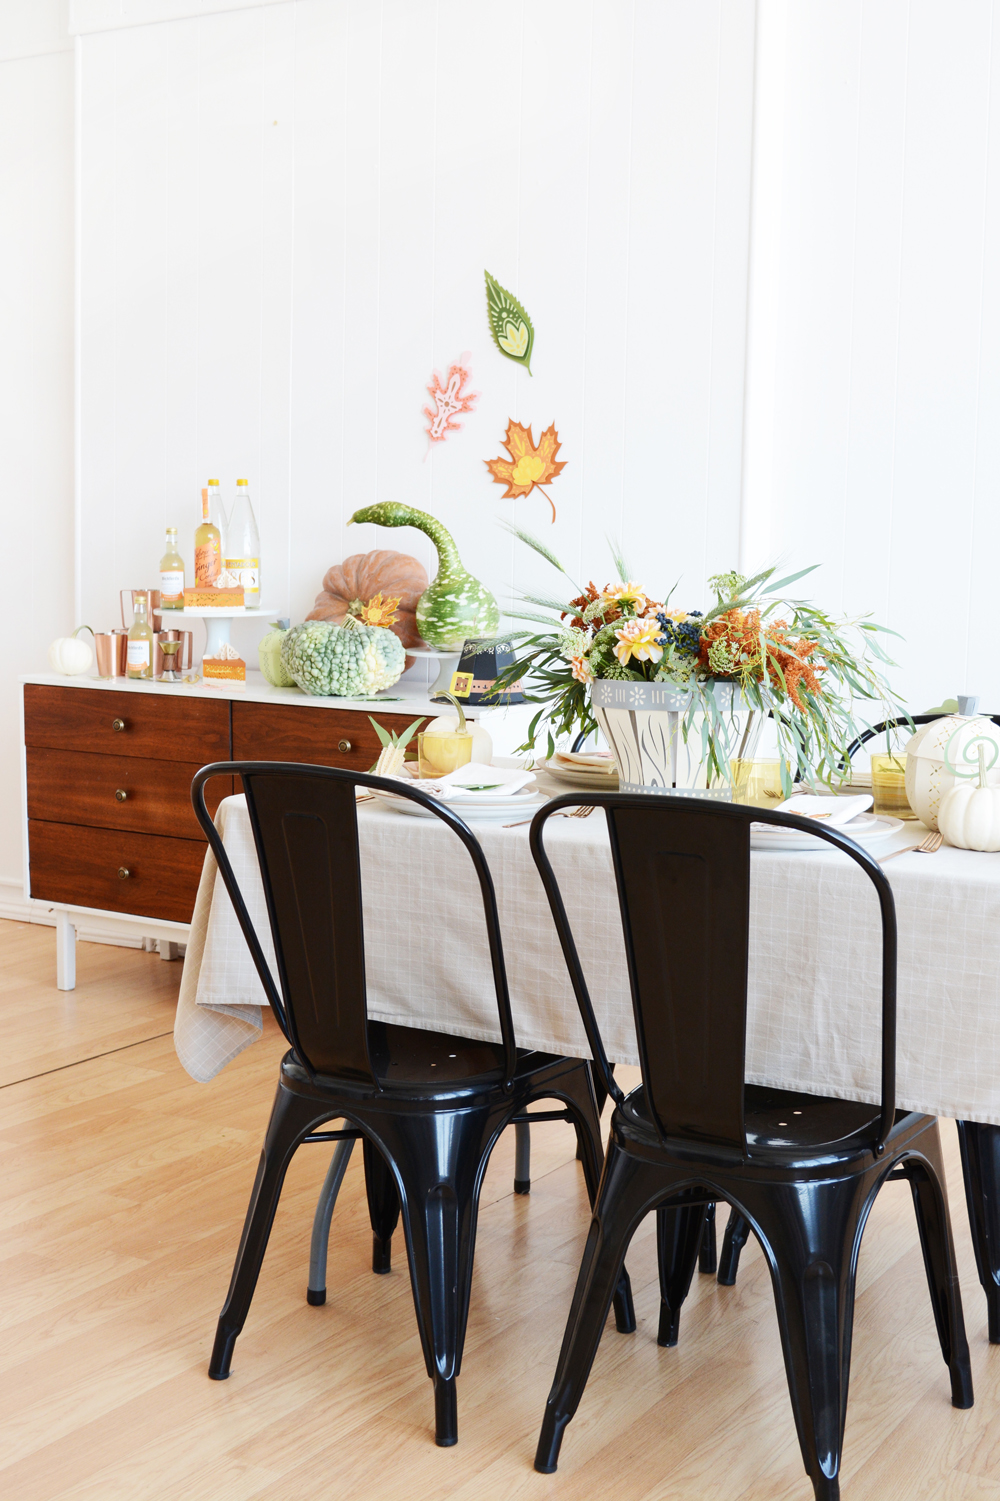
I’m sure you all know now that I am a huge fan of the Cricut. Even before I was a blogger, I used my Cricut to cut all kinds of fun things for my home and parties. Remember, I even got to design some content for the Gold machine sold at Jo-Ann Stores. It’s such a great tool to have as a DIYer and maker. And every season Cricut creates amazing new projects and designs. For Thanksgiving, there is a brand new series of projects and I wanted to try them all. So, with a big stack of cardstock and a little glue, I decorated a whole Thanksgiving table.

DIY Thanksgiving Decorations made with card stock and Cricut.

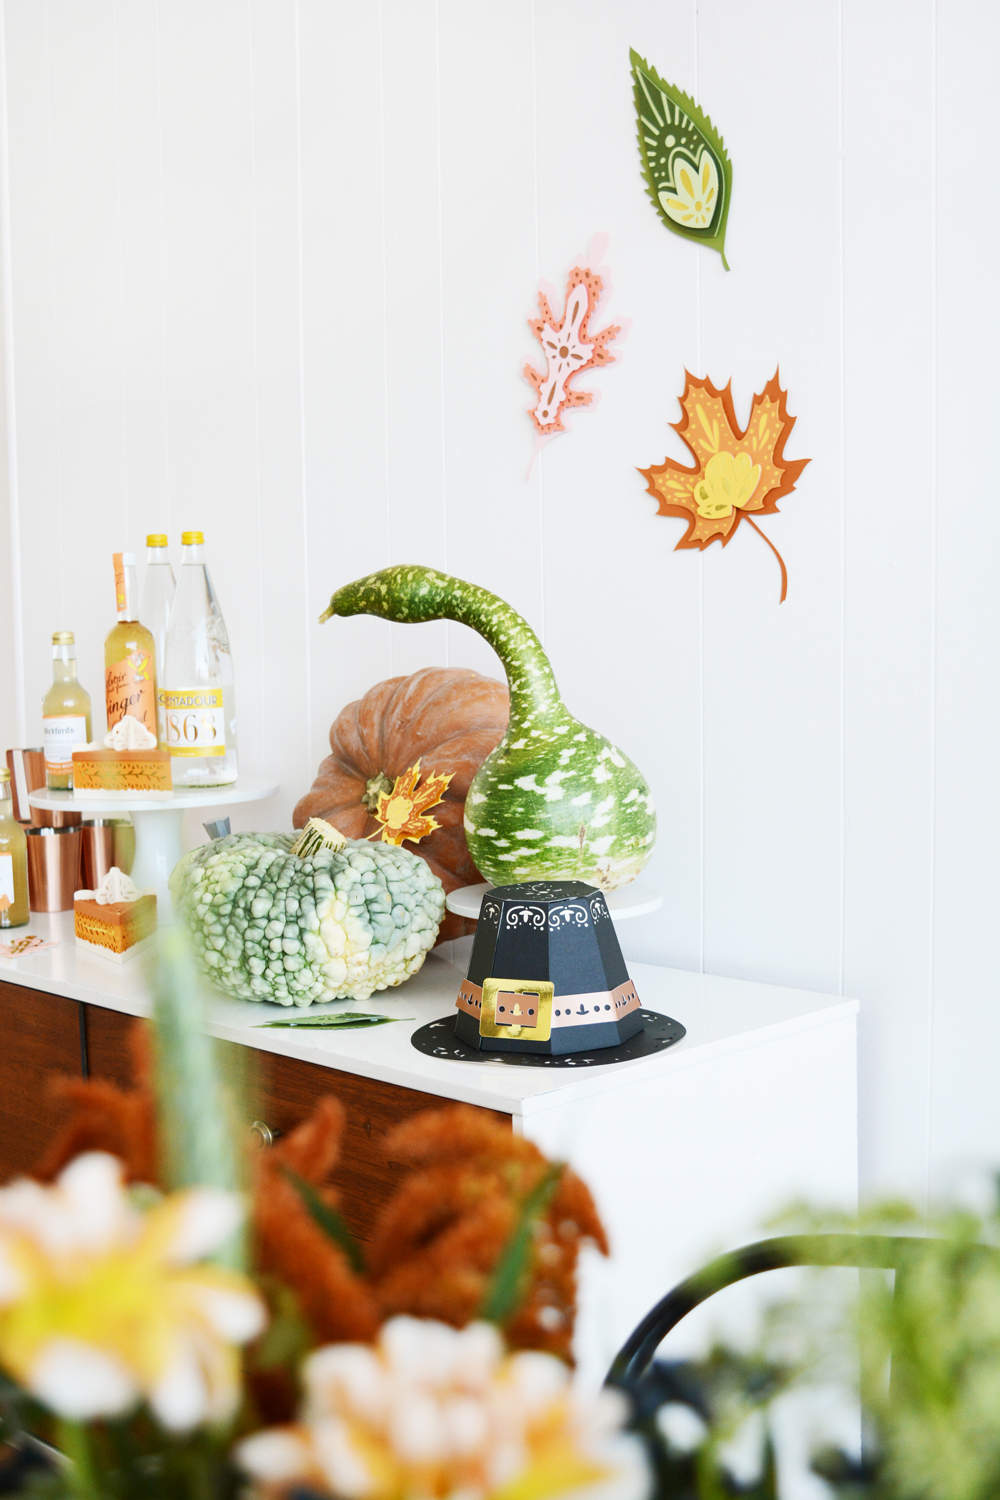
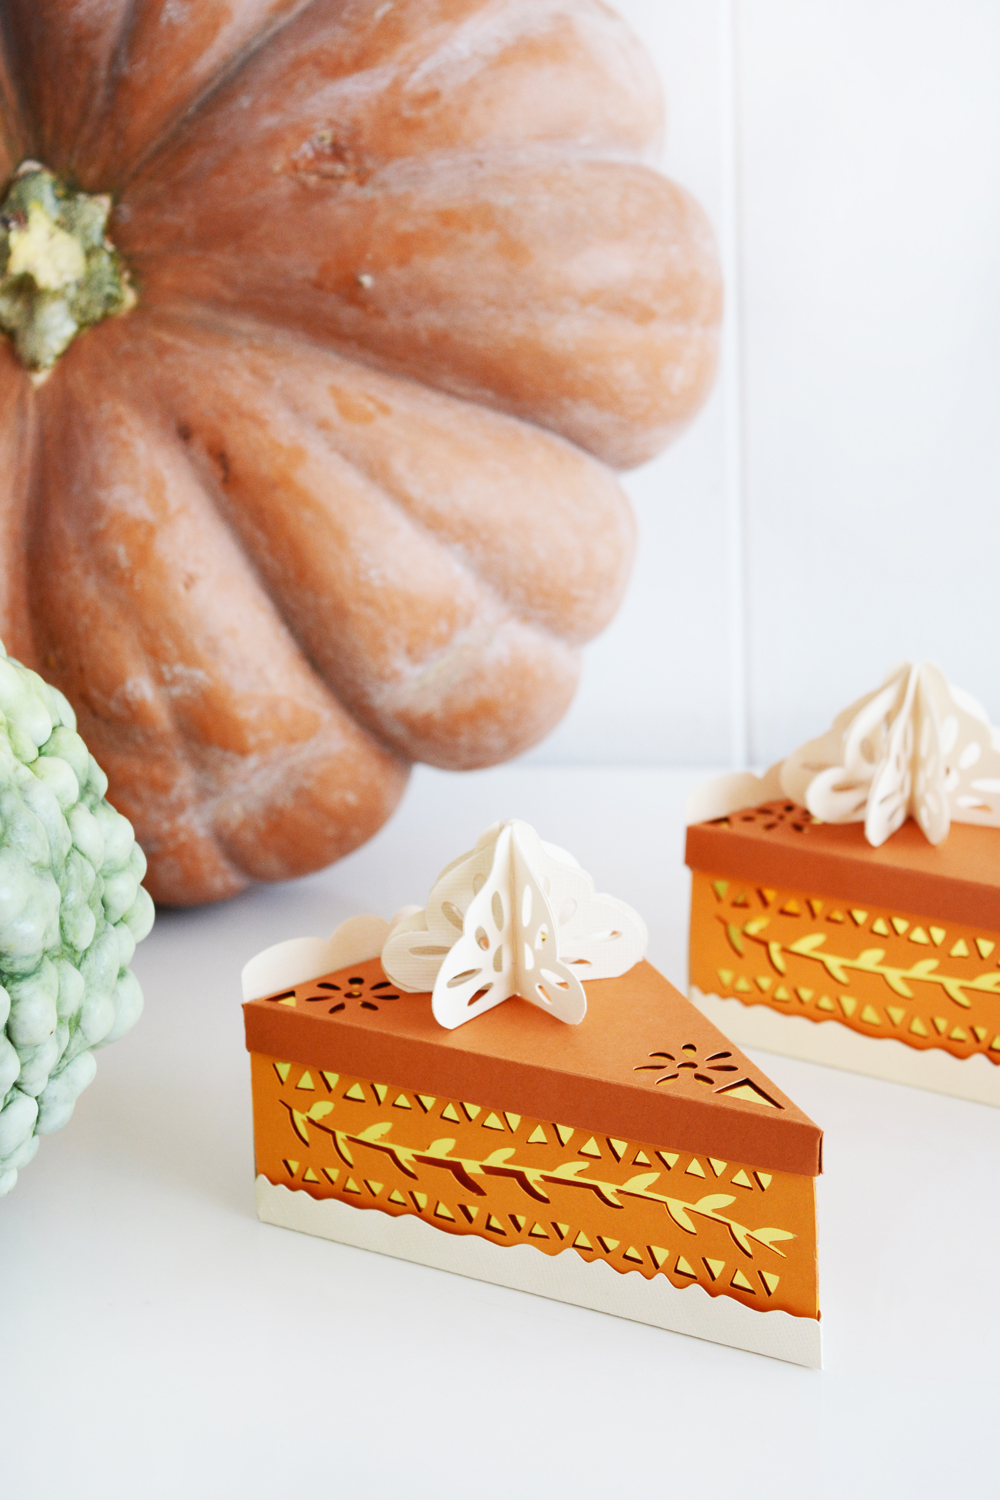
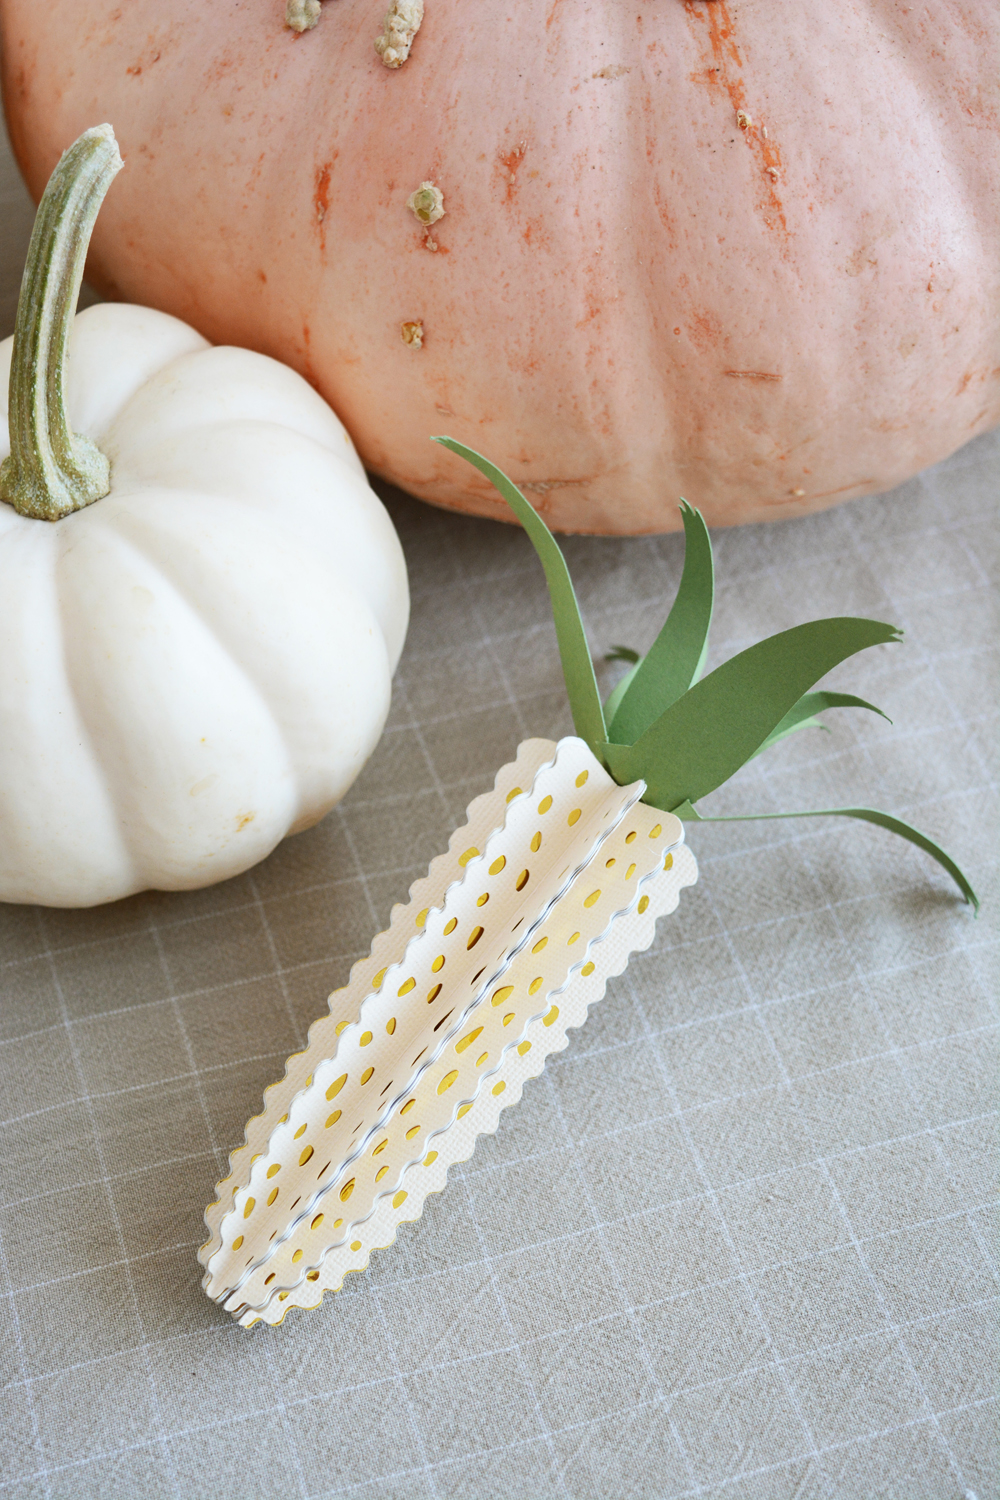
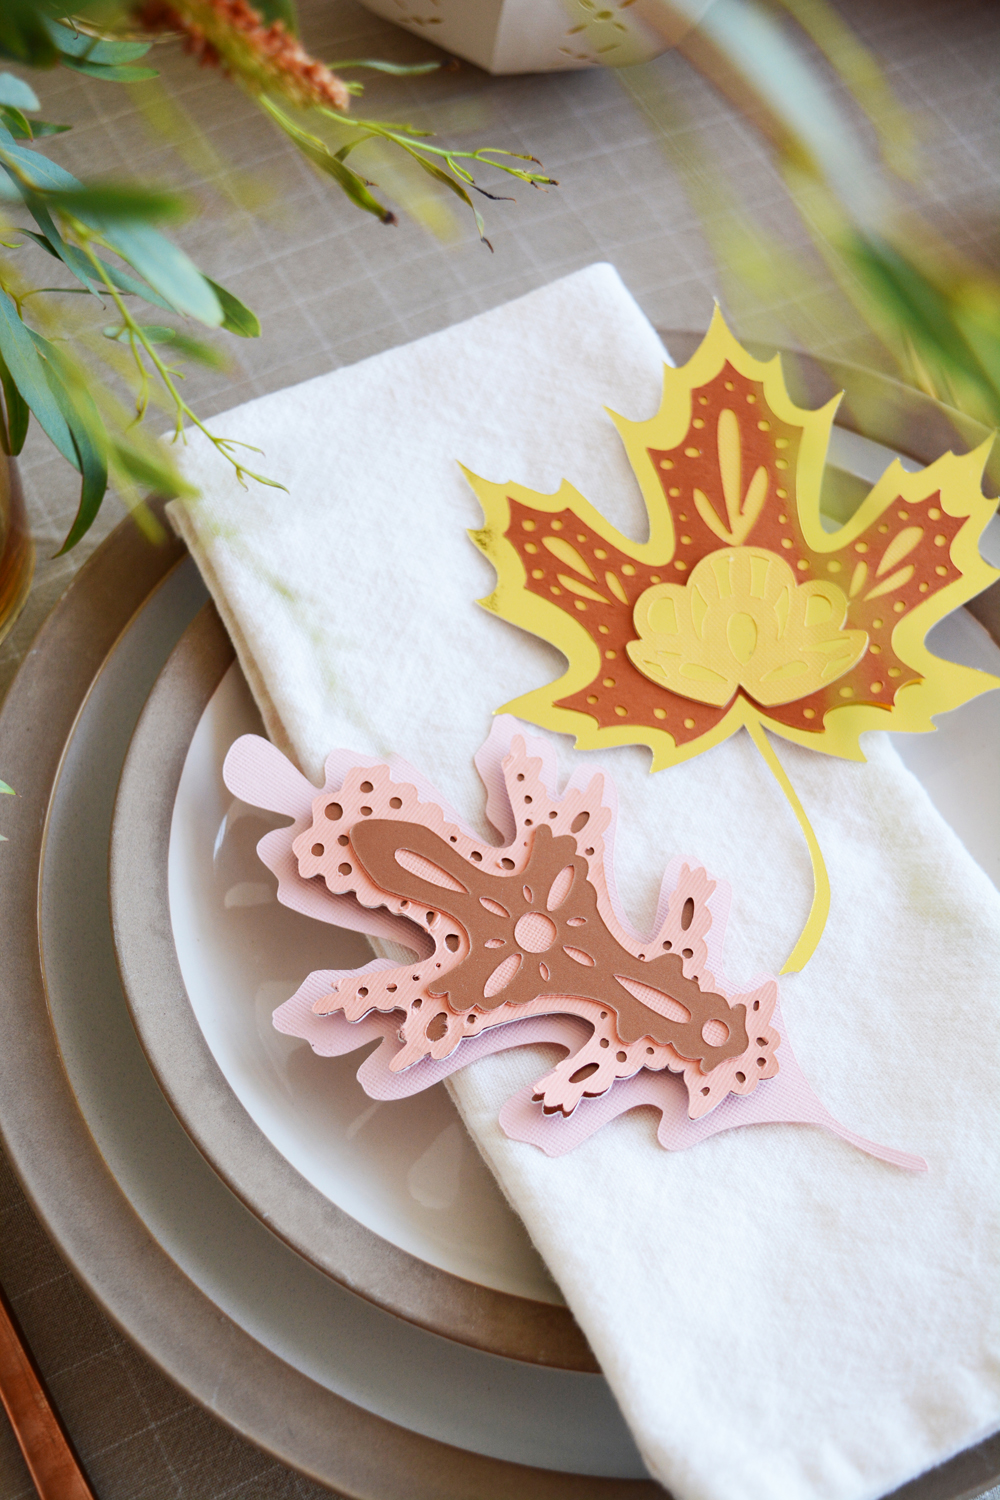
Instead of traditional oranges, reds and browns, I chose a softer more muted color palette. Each of these projects, has tiny detailed patterns and cuts that I’d never be able to achieve with scissors.

DIY Thanksgiving Decorations made with card stock and Cricut.

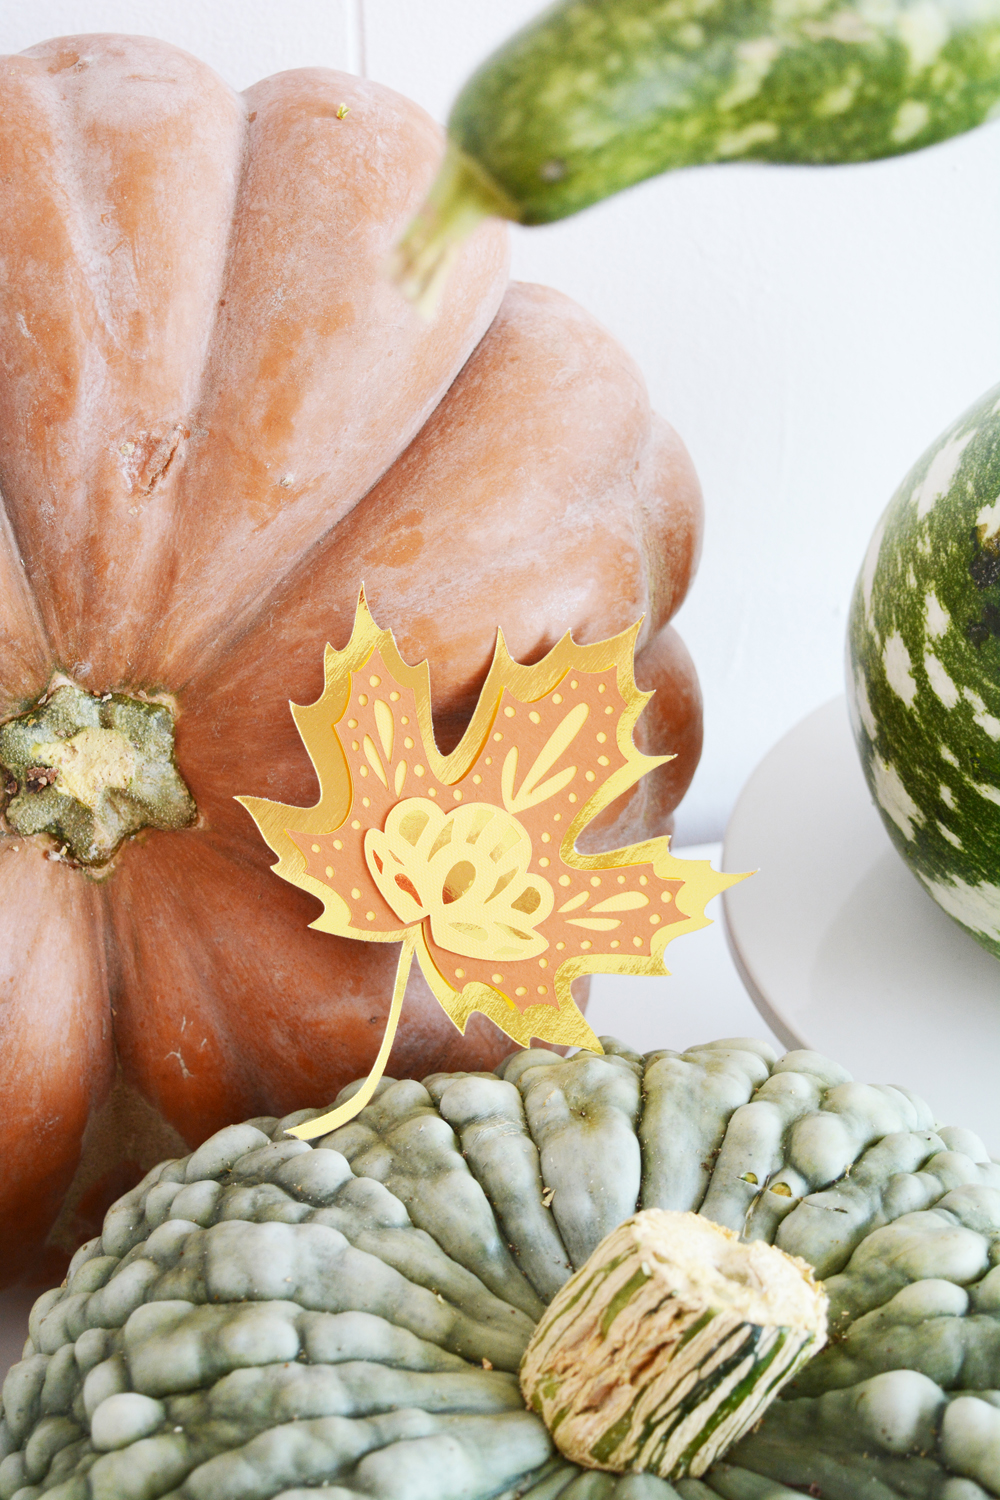
This series has so many pretty details. I love the intricate leaves. Here’s the direct links to each of the projects.  These are all Make-it-Now projects, so they are just one click away from cutting.

DIY Thanksgiving Decorations made with card stock and Cricut. DIY Thanksgiving Decorations made with card stock and Cricut. DIY Thanksgiving Decorations made with card stock and Cricut. DIY Thanksgiving Decorations made with card stock and Cricut. DIY Thanksgiving Decorations made with card stock and Cricut. DIY Thanksgiving Decorations made with card stock and Cricut. DIY Thanksgiving Decorations made with card stock and Cricut. DIY Thanksgiving Decorations made with card stock and Cricut. -6 DIY Thanksgiving Decorations made with card stock and Cricut.

Are you hosting Thanksgiving this year? How are you planning on setting your table? Are there colors and patterns that you are drawn to? I know my table is going to have lots of fresh flowers.  I’m not a florist, but I do enjoy playing with flowers and greenery.

DIY Thanksgiving Decorations made with card stock and Cricut.

Design

Upstairs Bathroom Reveal

November 3, 2016

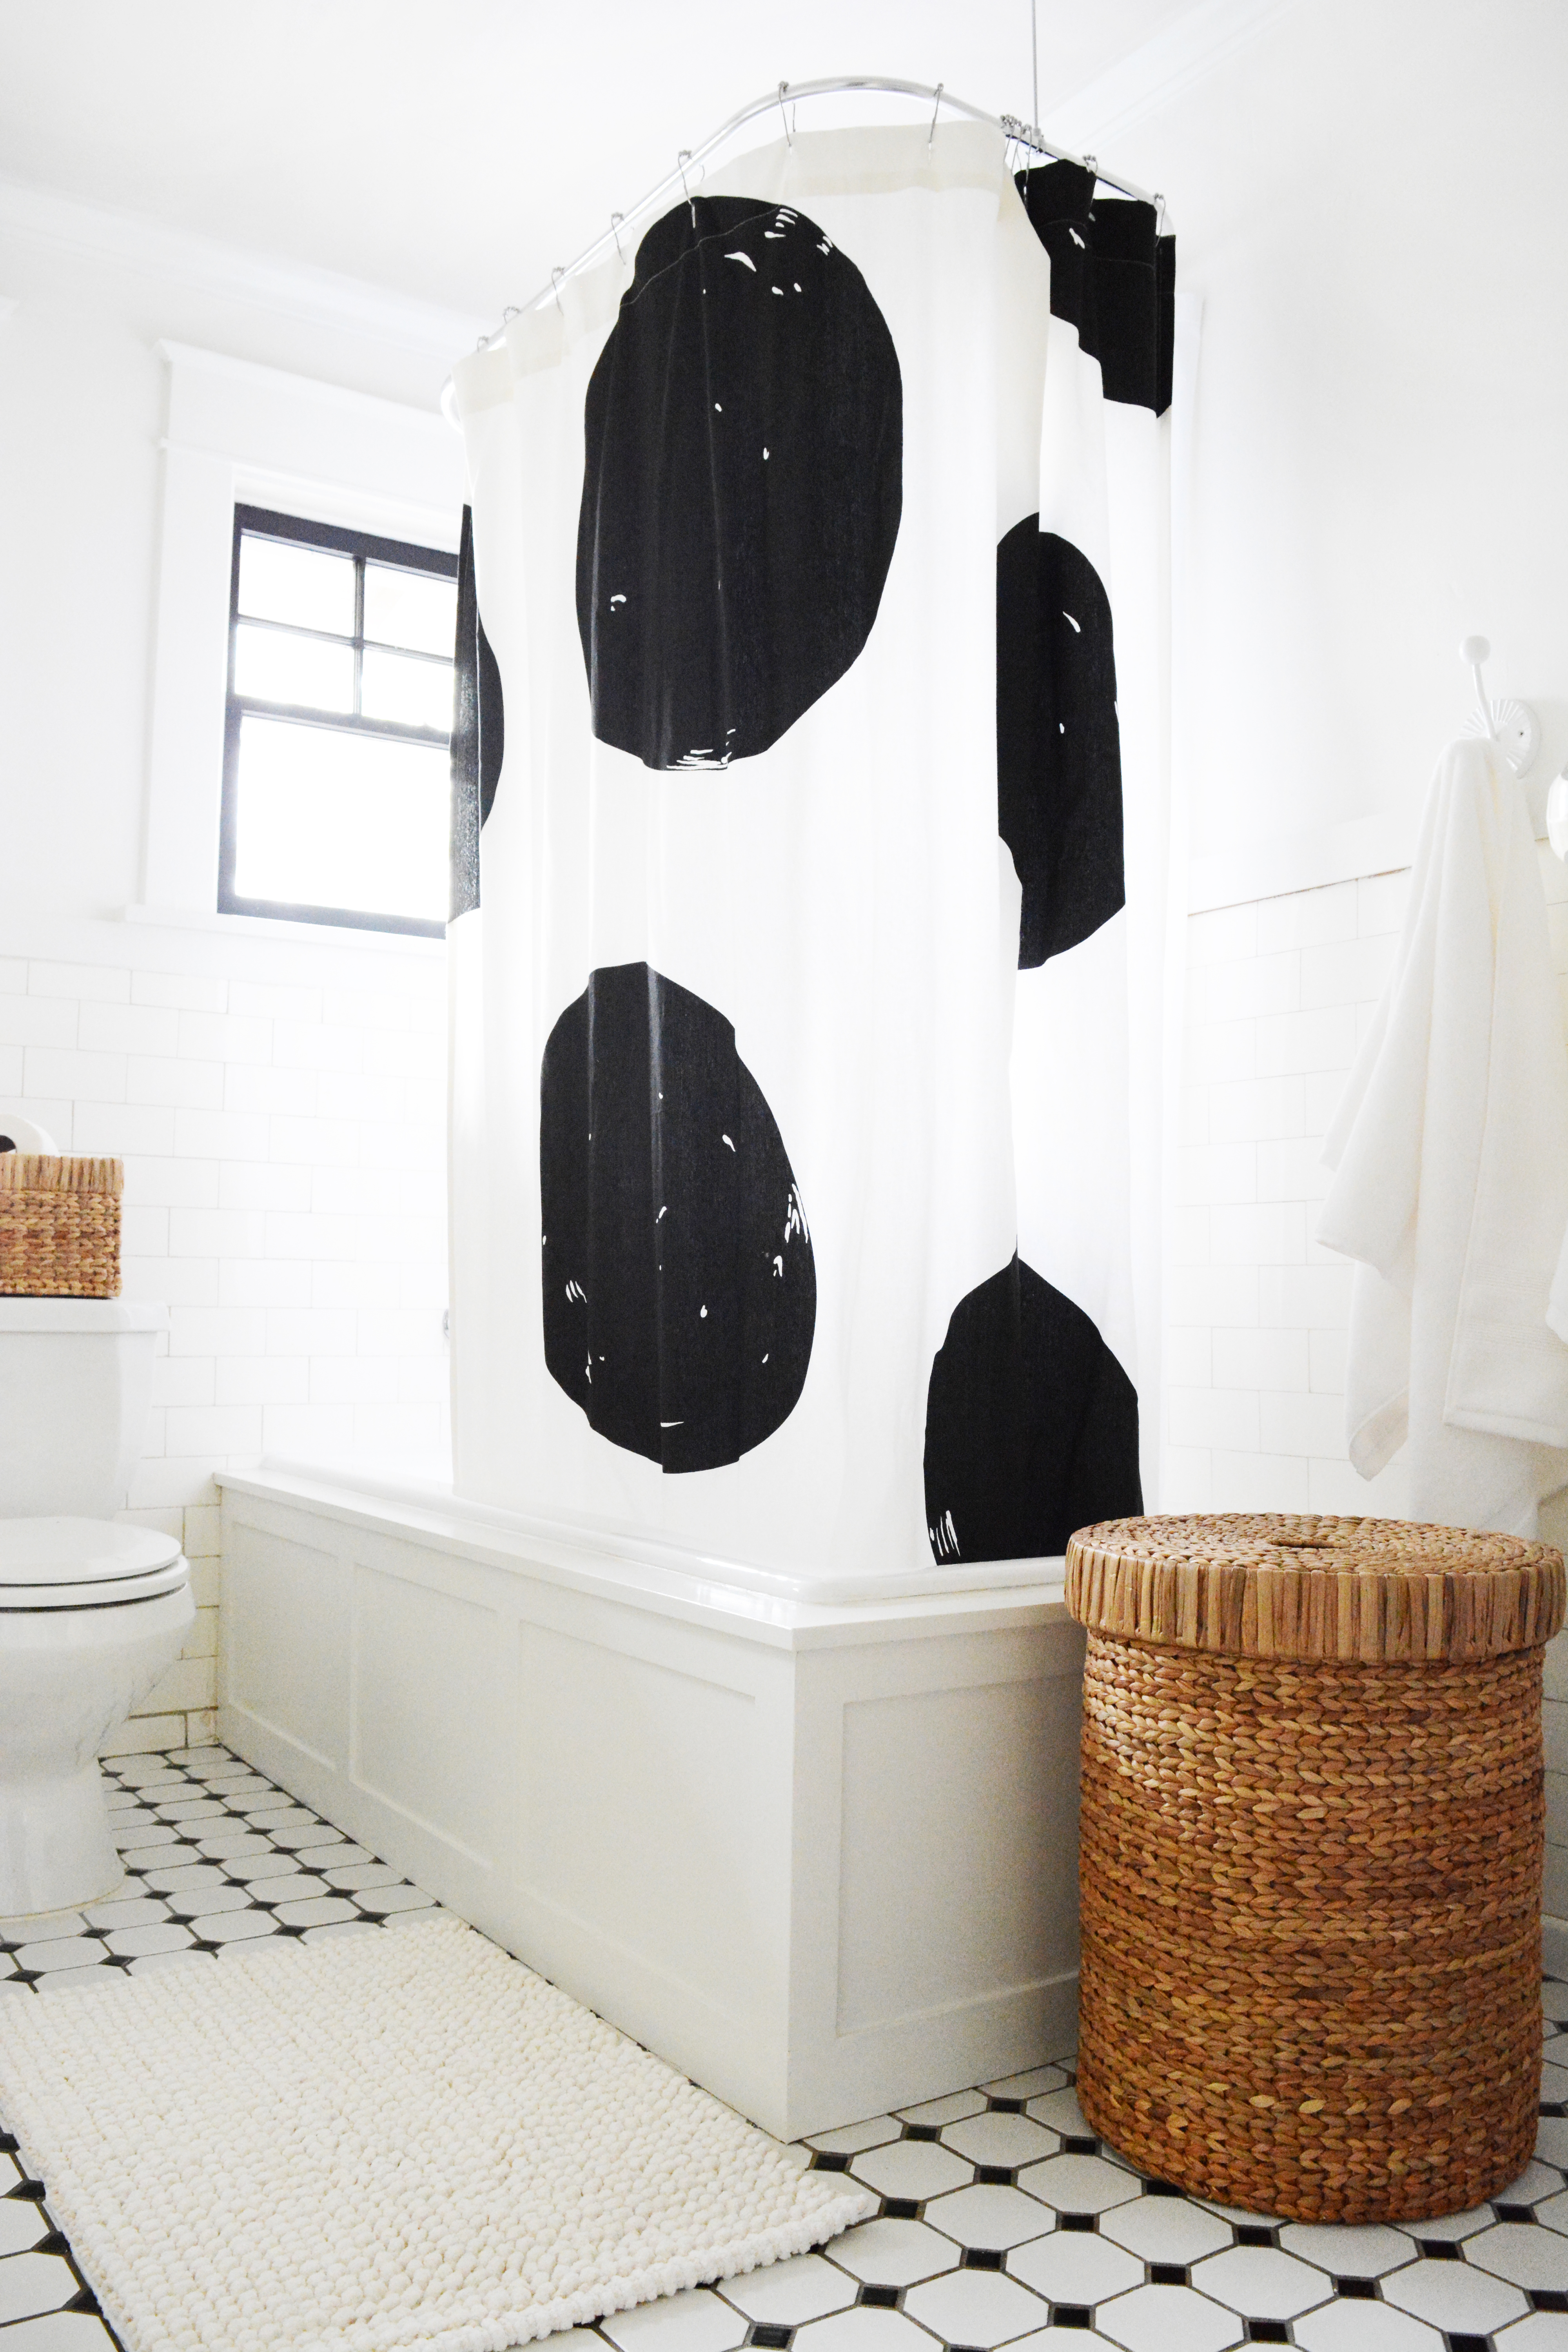
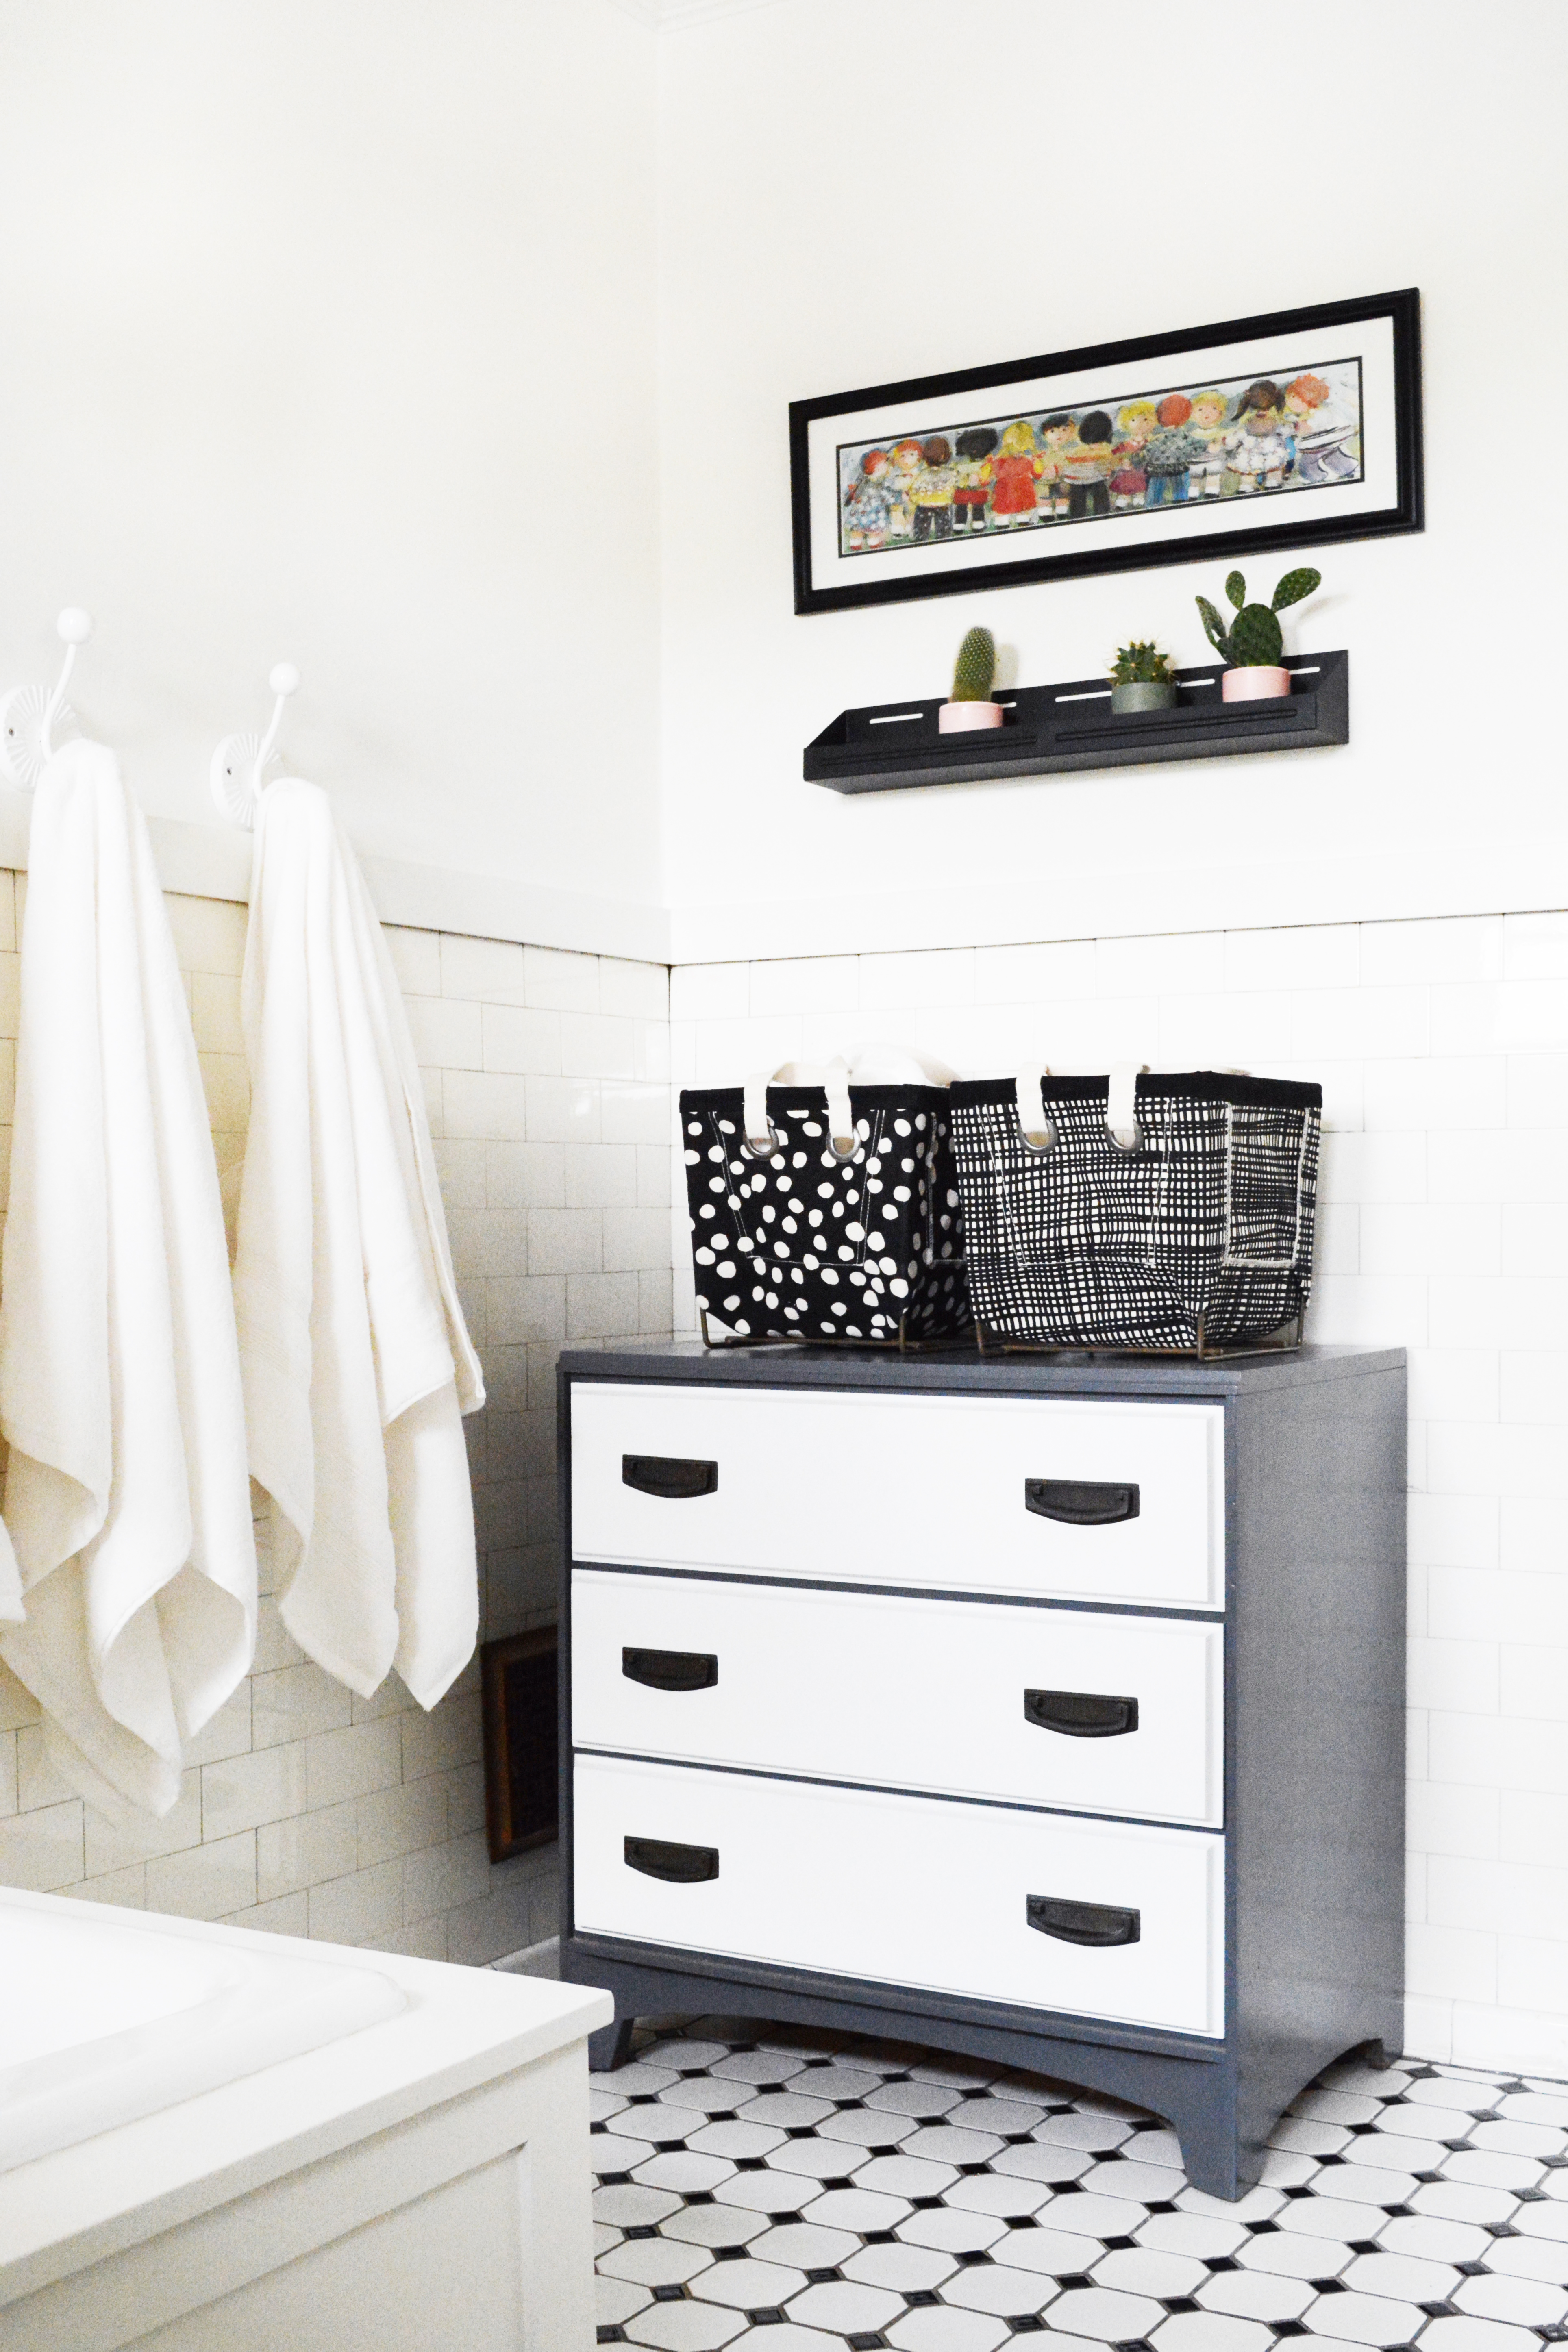
A couple weeks ago I shared my plan for the upstairs bathroom. Well, it’s done and I’m really excited for you to see this crisp, clean bathroom refresh.  After many many coats of paint, this room feels fresh and practically brand new.

Black and white bathroom refresh.Black and white bathroom refresh.

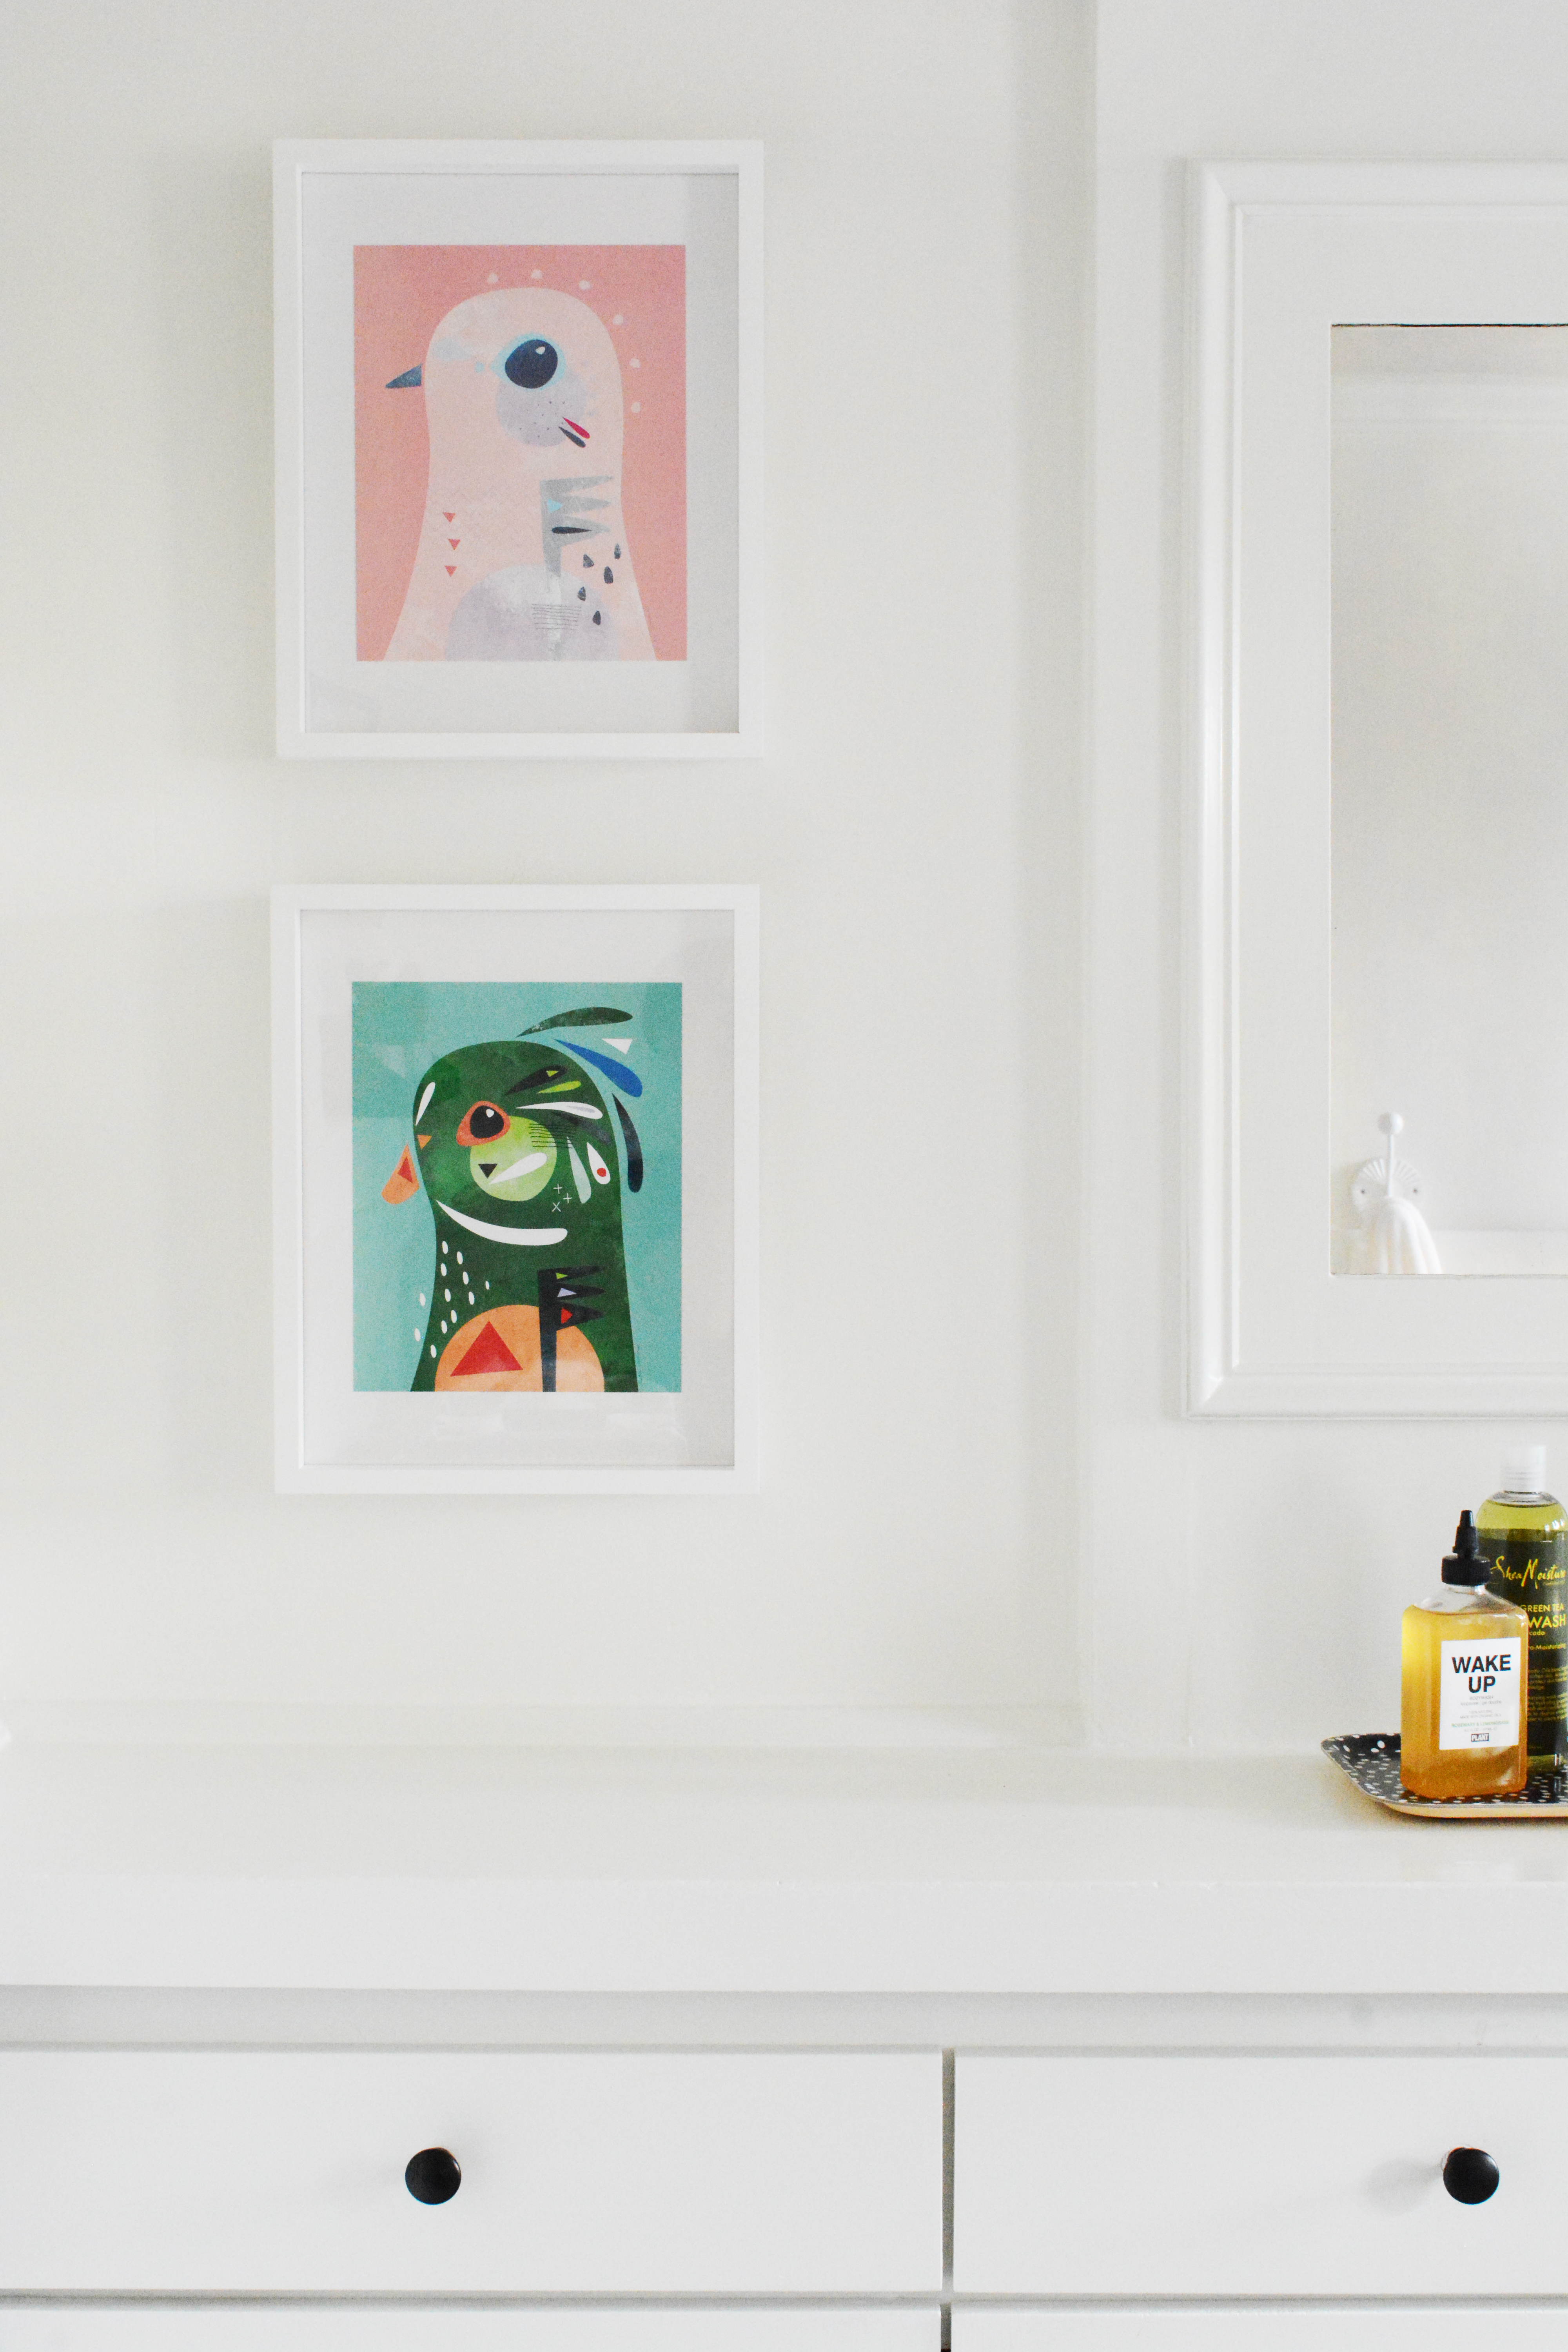
I teamed up with The Land of Nod to bring some subtle color and texture to this very white room.  Here’s a sneak peek, but if you really want to see all the details and sources, head over the Honest to Nod today.

black-and-white-bathroom-4Black and white bathroom refresh.

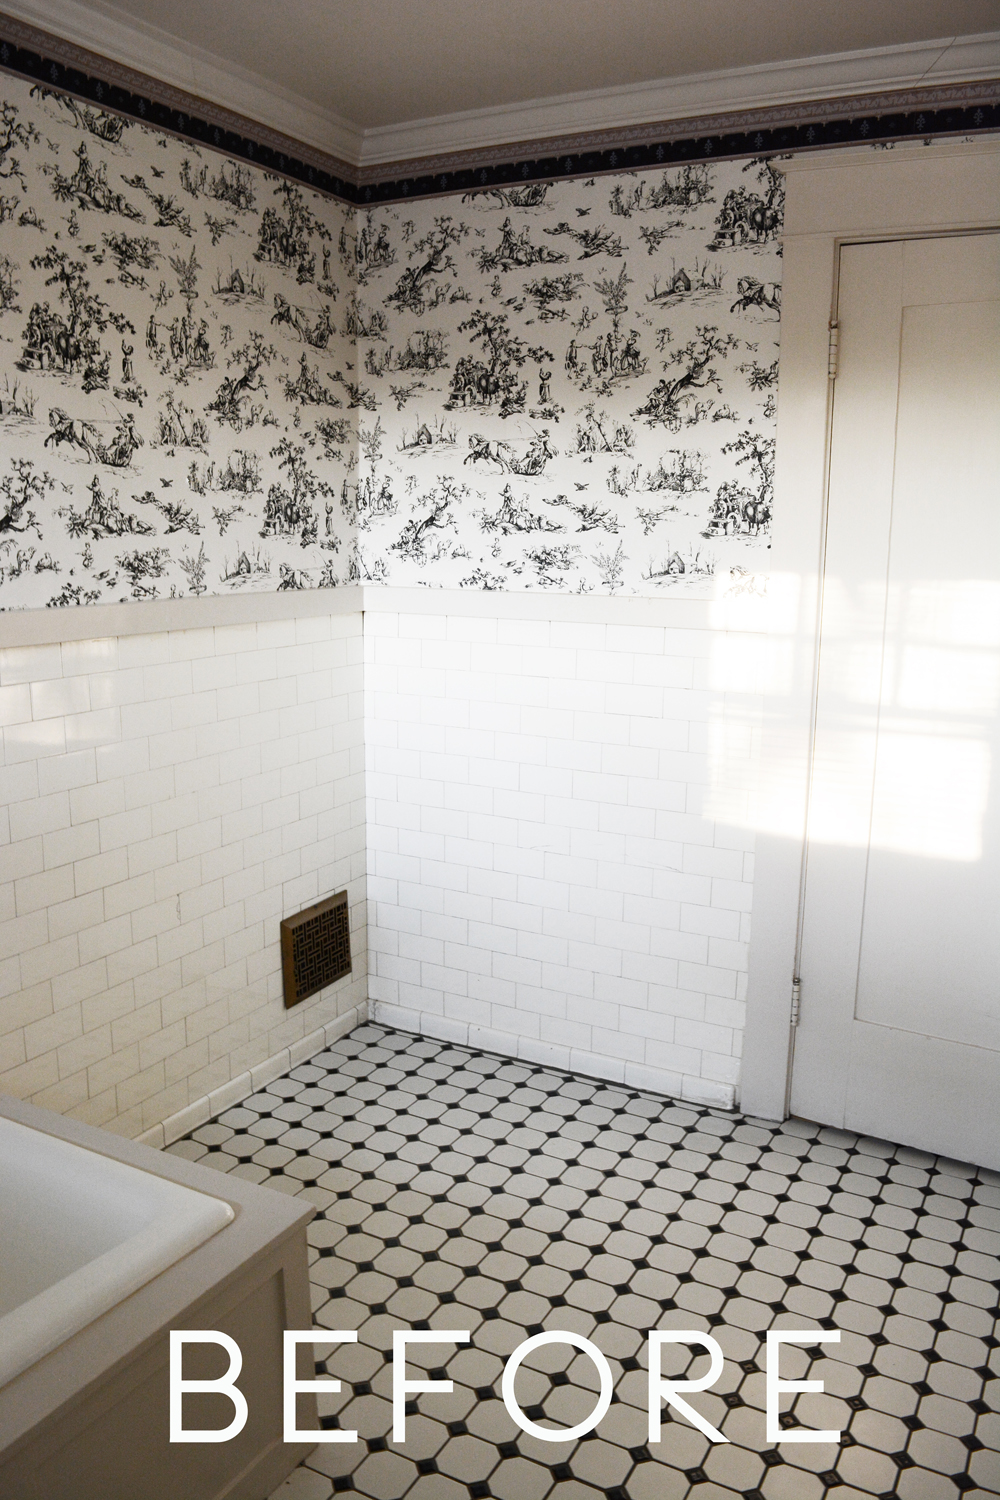
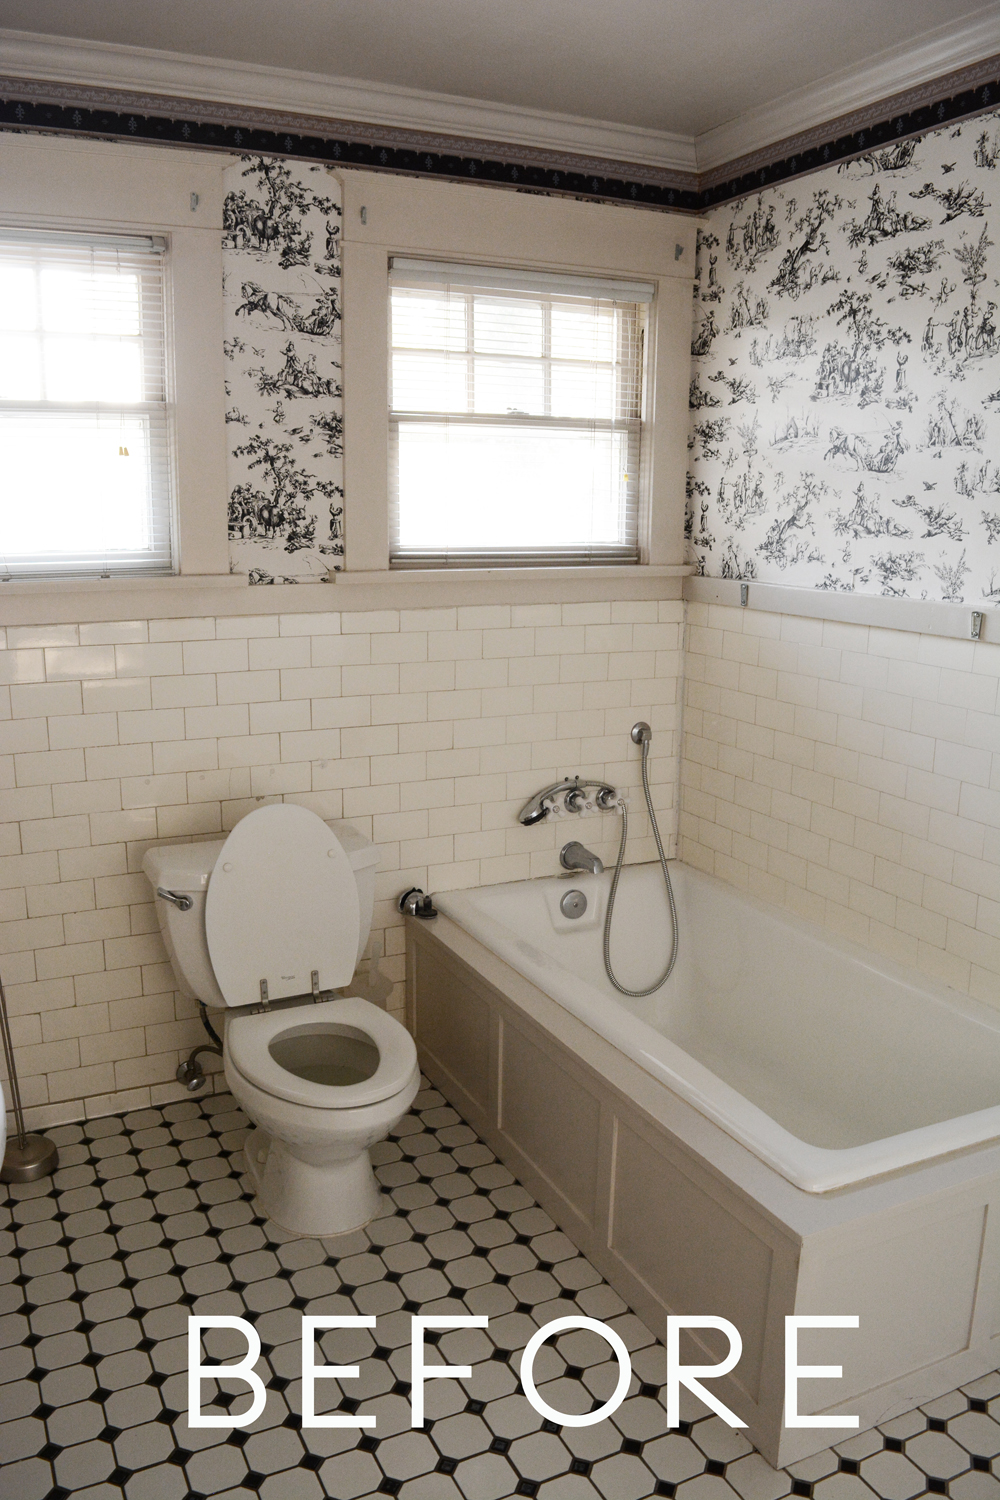
Here’s the bathroom BEFORE!

_bathroom-upstairs-before-2-text _bathroom-upstairs-before-1-text

It’s amazing what paint and a few fun accessories can do for a room.

Black and white bathroom refresh.Black and white bathroom refresh.Black and white bathroom reveal.

So, what do you think? Too much white? What do you think about the black windows?

Black and white bathroom refresh.

etc.

The Week’s End

October 30, 2016

Yep, Monday is just about here, but I thought I’d pop in and say hi before the next week is here. This last week and weekend was busy, but mostly I just felt like I was moving in slow motion because everyone in our house got a terrible head cold that took us all out.

This week I have some fun posts headed your way, like that upstairs bathroom, yep I’m finally sharing that makeover with you.  Tomorrow I’m throwing a big Halloween/Birthday Party for Denali’s 15th birthday.  You can follow along on my Instagram Stories.

Here’s some fun posts you should check out:

DIY

“From the Garden” Halloween Costumes For Siblings

October 26, 2016

I can’t believe it!!!! I actually have my kid’s Halloween costumes made days before Halloween.  It’s a Christmas Halloween Miracle. And I’m actually sharing them here on the blog BEFORE Halloween.  Every year I have such good intentions to get them done way before Halloween is here and then all of a sudden life gets so busy and I totally end up making these right up till the very last minute. So, I’m patting myself on the back and taking a nice deep breath.

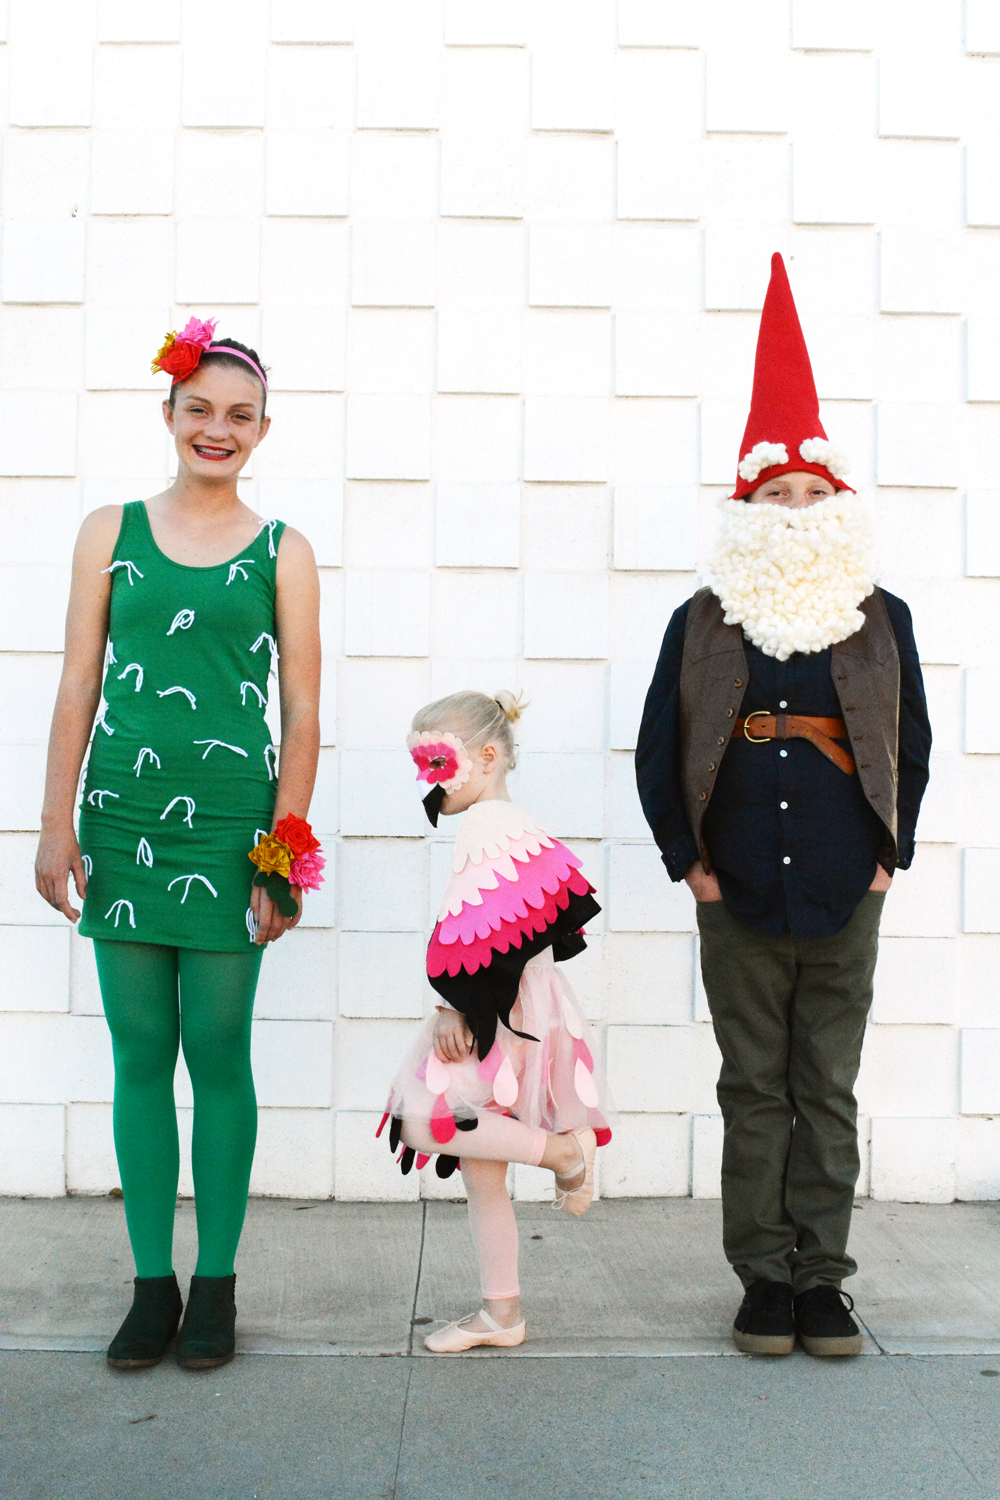
I love Halloween, my mom always made us crazy cool costumes, so I feel like I have to do the same for my kiddos. And I take it to an even crazier level and make my kids have costumes that go together. It gets harder and harder every year to come up with a theme that they all can agree on. Teenagers have opinions, if you didn’t know. This year I can take credit for the idea. We went with a fun “In the Garden” theme and Denali is a cute cactus, Olivia is a fabulous little Flamingo, and Dylan is a pretty good looking Garden Gnome.

DIY Garden Gnome, Cactus, and Flamingo Halloween Costumes for Siblings

For more costume ideas for siblings, check out some of the other costumes I’ve made over the years:

DIY Flamingo Halloween Costume

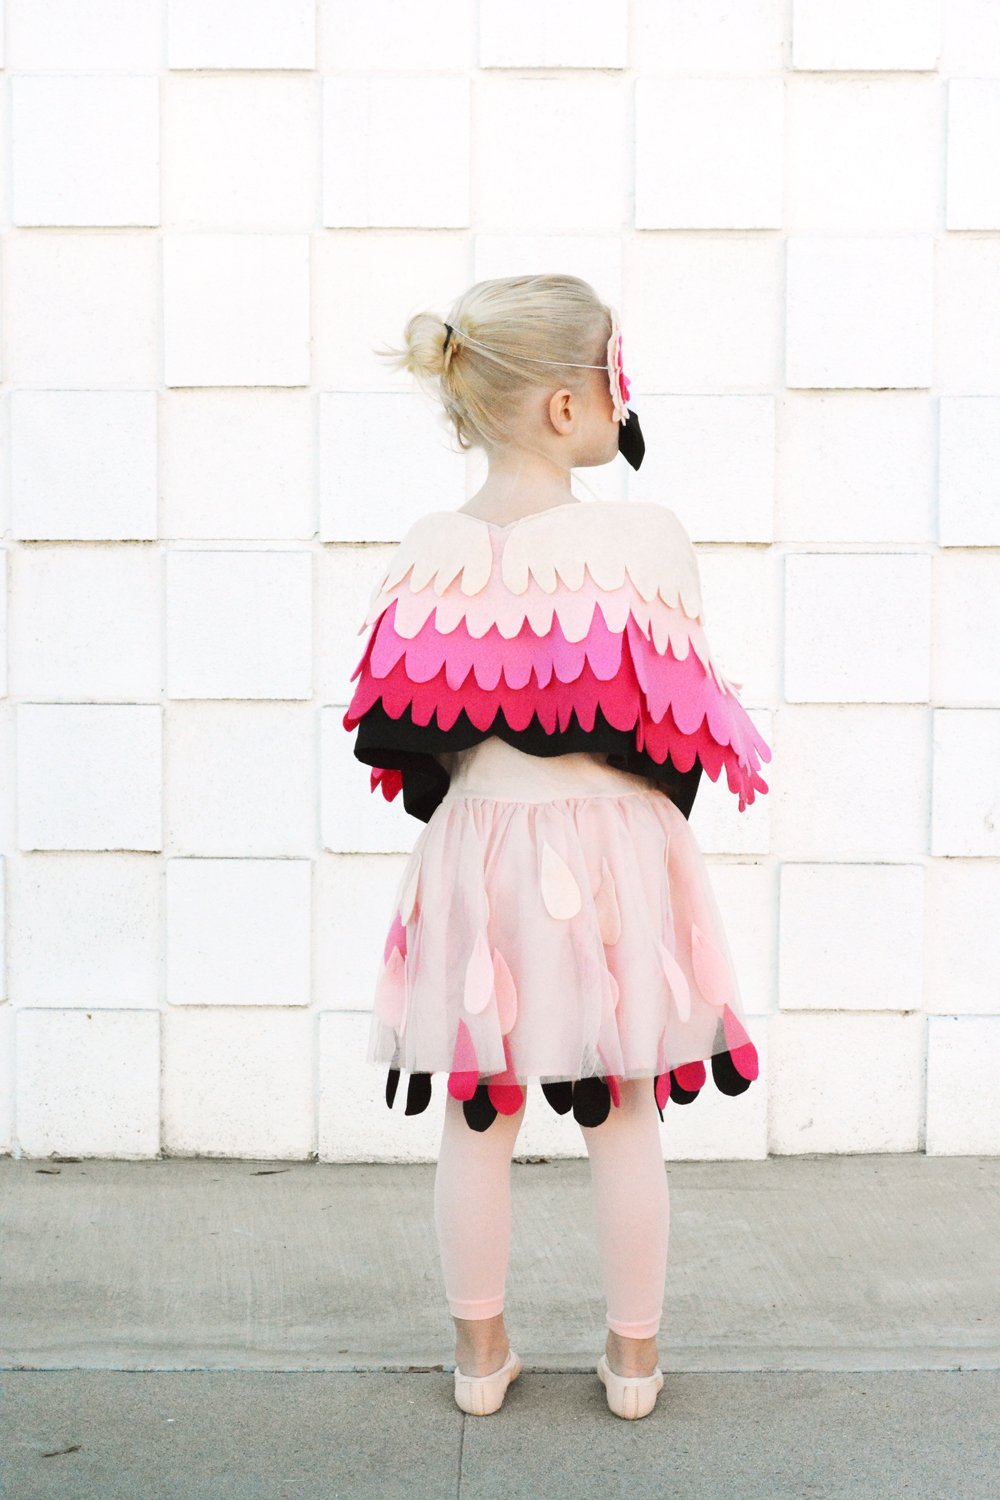
I had so much fun making Olivia’s flamingo costume. Felt is such a great fabric to work with. I love that you can cut it into such intricate shapes and never have to worry about edges fraying. And felt comes is sooooo many colors. So, I bought ALL the pinks and had fun making these pretty pink wings. I started with a large piece of black felt and cut the shape of the wings, then layering the different pinks, I made each layer a little smaller. I attached the wings to her arms with a little elastic on the inside of the wing.

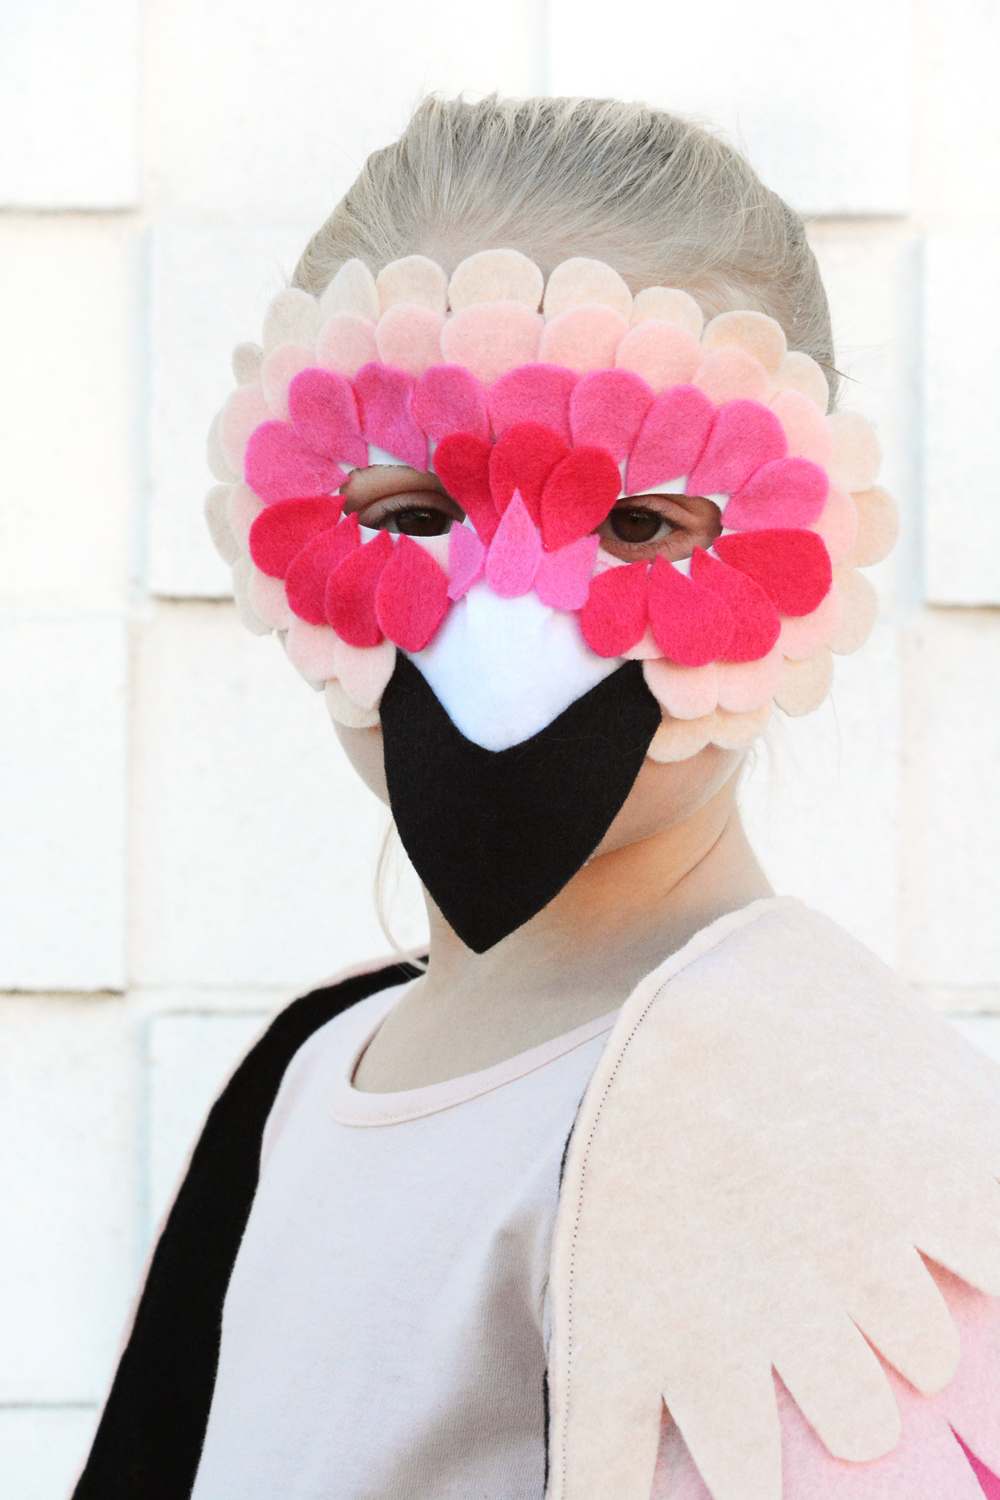
For her mask, I cut A LOT of tiny tear drop shaped pieces of felt and hot glued them onto a plain, plastic mask that I picked up at a craft store. And then I added a simple black and white beak. I found Olivia’s dress at Old Navy and sewed on larger feather shape pieces of felt in layers. Her costume is comfortable and easy to wear. I think it’s going to be one of her favorites.

DIY Flamingo Halloween Costume

DIY Flamingo Halloween Costume

DIY Flamingo Halloween Costume

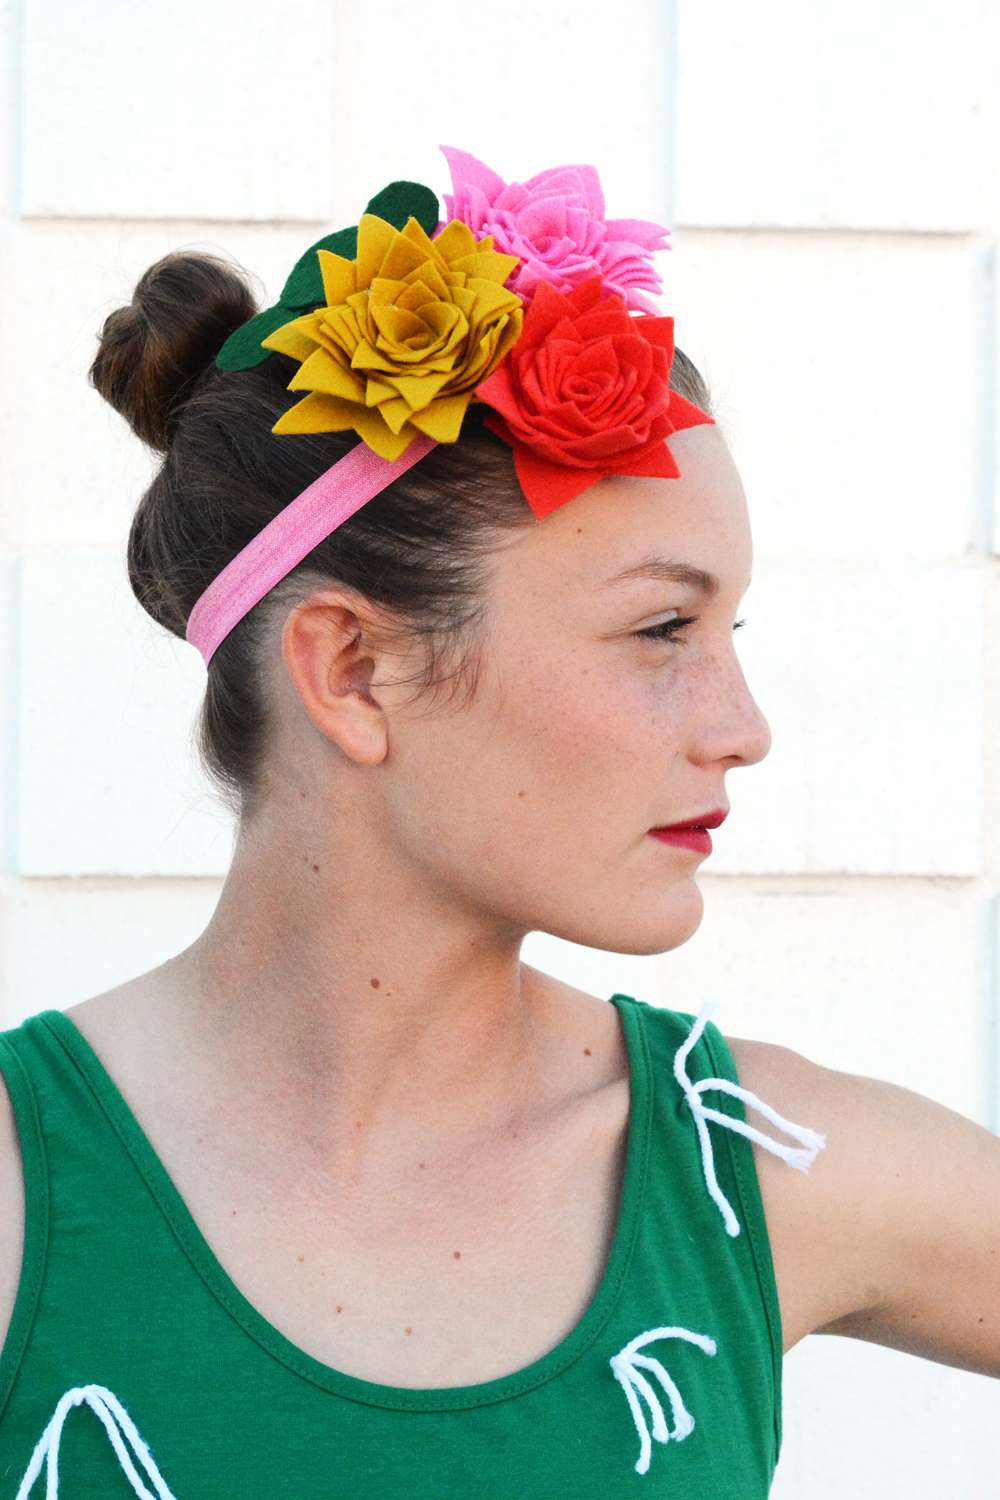
Denali’s costume idea has definitely been done before. But, she is 15 and loves to search out ideas and inspiration on Pinterest. This is a great costume for a teenager. It’s easy to make and she still looks stinkin adorable (which is super important to her). I had a lot of fun making huge oversized felt flowers for her head and wrist. We found the dress, tights and boots all on Amazon Prime, how easy is that?

DIY Cactus Halloween Costume DIY Cactus Halloween Costume DIY Cactus Halloween Costume

Dylan’s Garden Gnome Costume was really very easy to make, and I’m in love with the beard. I dressed him in some green pants, a denim shirt, and a pretty sweet leather vest that we thrifted. Then, I made him a huge, over-the-top beard and eyebrows with some fluffy cream colored yarn and a little felt. The hat is simply 2 triangle pieces of heavy red felt sew together. We stuffed a pillow in his shirt to give him a more round shape and cinched a belt around his middle. Dylan is planning on spending a lot of time standing awkwardly in the garden as trick-or-treaters pass by.

DIY Garden Gnome Halloween CostumeDIY Garden Gnome Halloween Costume

DIY Garden Gnome Halloween CostumeDIY Garden Gnome, Cactus, and Flamingo Halloween Costumes for Siblings

Happy Halloween Friend!!!

Food & Drink

Pumpkin Spice Caramel Corn

October 25, 2016

This is a recipe from the archives of O + P and it’s one that I grew up eating.  My mom made this caramel corn recipe every Fall. It’s buttery and crunchy and just so, so yummy. You think you’ll eat just a handful and then before you know it you’ve had 15 handfuls, it’s just that good.

Pumpkin Spice Caramel Corn wih PecansPumpkin Spice Caramel Corn wih Pecans

I found these little wax paper bags in the dollar section at Target. They are perfectly spooky just in time for Halloween. I really don’t like “evil” halloween, but I do like creepy, crawly. So, there will be lots of spiders and bats around our house.

We are planning a big Halloween party for Oct. 31st. Denali’s 15th birthday is the next day, so we are throwing her a fun Halloween/Birthday Party. This is actually the first time we’ve ever combined her birthday with Halloween. I’ve always tried to make her birthday feel special and set apart, but now that she is a full-on teenager, a Halloween party felt like a great idea.

This Pumpkin Spice Caramel Corn is sure to be a hit at the party! This recipe can definitely be made without the pumpkin spice and the pecans (but, pecans do make everything better, right?).  With the pecans as part of the mix, I like to call it Cockroach Nests, just to be a little gross this time of year.

_pumpkin-spice-caramel-corn-8

Pumpkin Spice Caramel Corn

  • 6 quarts popped popcorn
  • 1 cup butter
  • 2 cups brown sugar
  • 1/2 cup corn syrup
  • 1 tsp. salt
  • 1/2 tsp. baking soda
  • 1 tsp. vanilla
  • 2 tbsp. Pumpkin Pie Spice
  • 1 cup pecans (optional)
_pumpkin-spice-caramel-corn-7
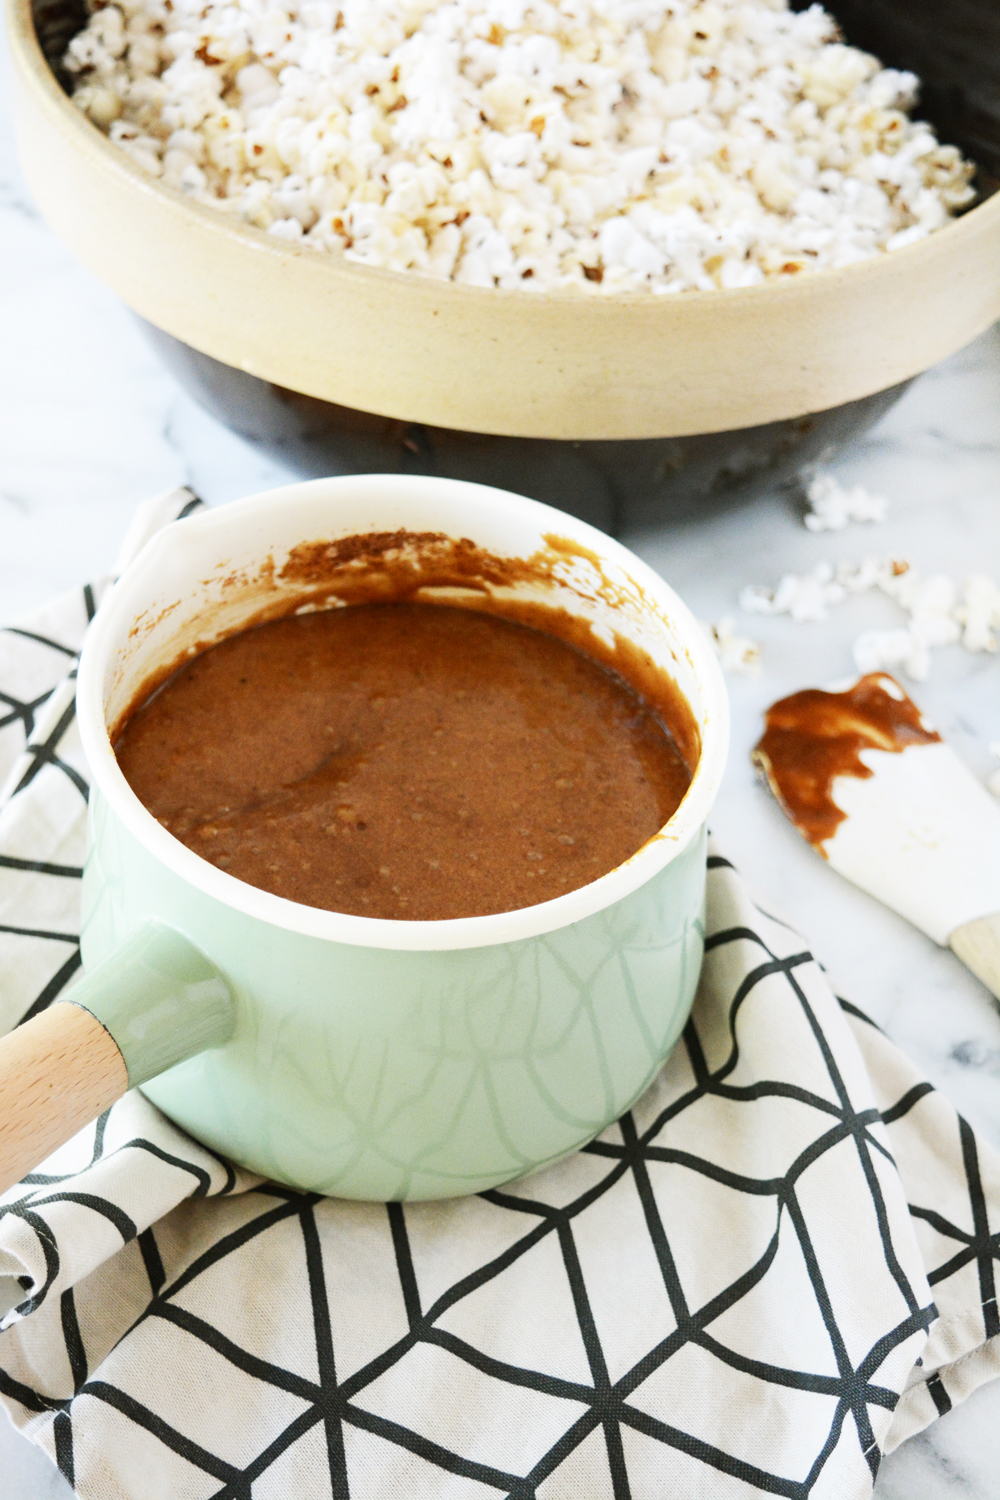
Melt butter, stir in sugar, syrup and salt.  Boil 5 minutes without stirring.  Remove from heat. Stir in vanilla, then stir in baking soda and pumpkin pie spice.  Then stir in the pecans.  Pour over popcorn and mix well to all kernels are coated.  Spread onto two cookie sheets and bake 1 hour at 250 F.  Stir every 15 minutes.
Cool completely.  Store in airtight containers.

Pumpkin Spice Caramel Corn wih Pecans