DIY

5 Home Keepsakes to Take When You Move

October 20, 2016

Leaving a home, even if you are moving to a better one, is not easy. Years of memories made within those walls can be hard to leave. When we sold our house, I definitely felt a little sad. We had 13 years of real life lived in that little house.  So many sweet memories, milestones, celebrations and hardships all lived out in those 1500 square feet.

I decided I wanted to make sure I made a few small mementos from our first home, so that I could take them with us to our new home. Today I’m sharing 5 ways to create a keepsake of a home.
House Portrait by MintedHouse Mementos

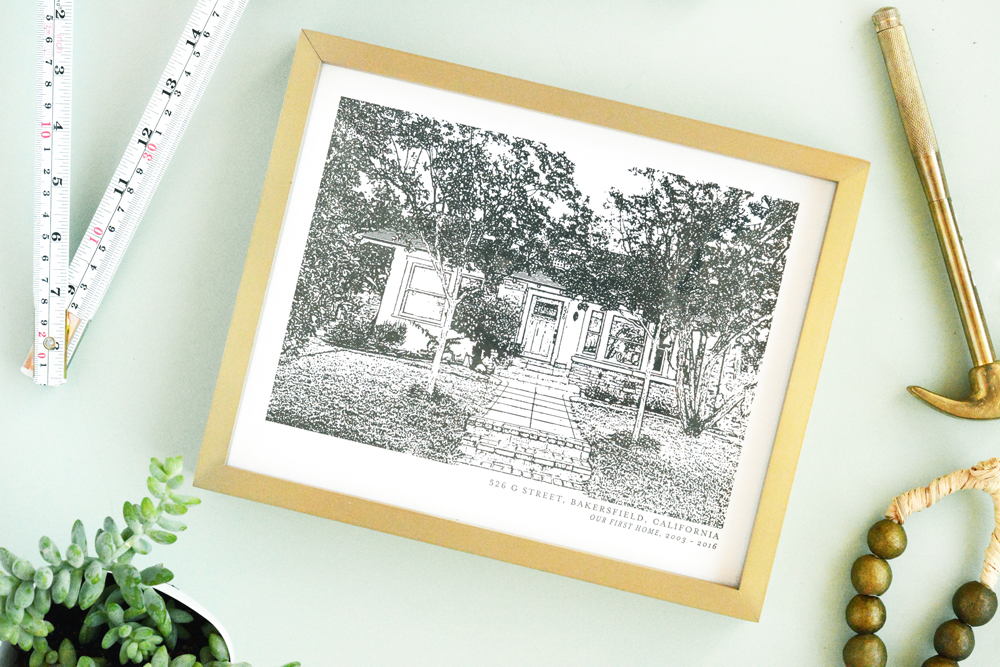
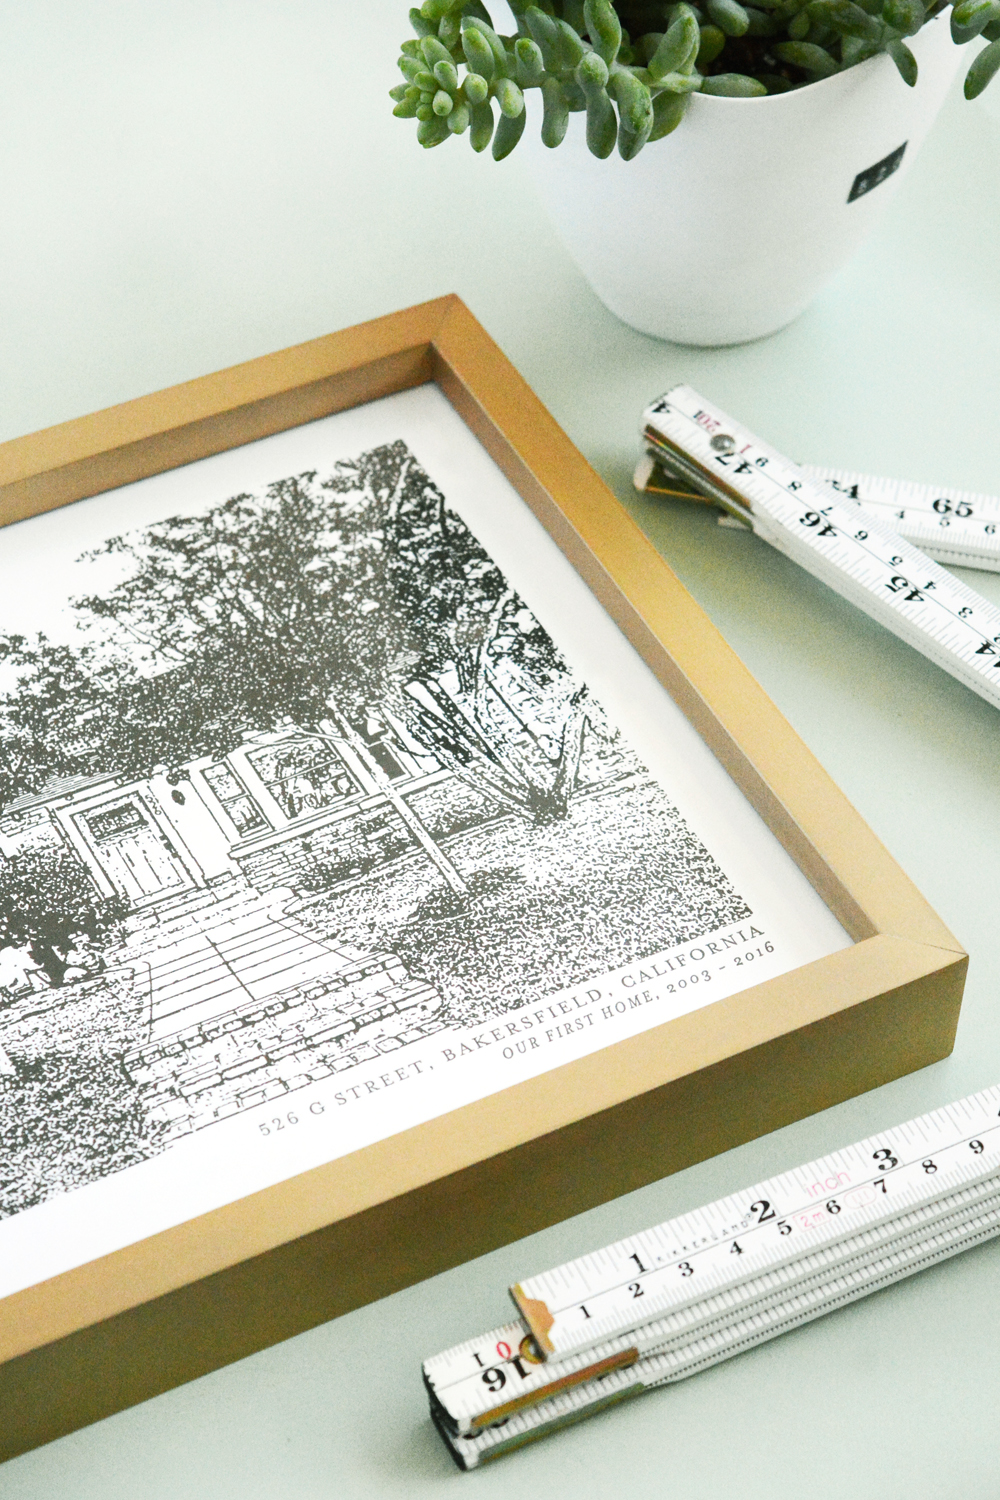
1. Frame a picture of your house, or even better have a custom, letterpress print made of your home. This gorgeous framed print with our home address, and the years we lived in it, is from Minted. I chose to do my Custom Letterpress House Art in a dark charcoal grey and had it frame in a matte brass. These are a great house warming gift as well, last year I had two friends buy their first homes, so I gave them each a print of their new homes.
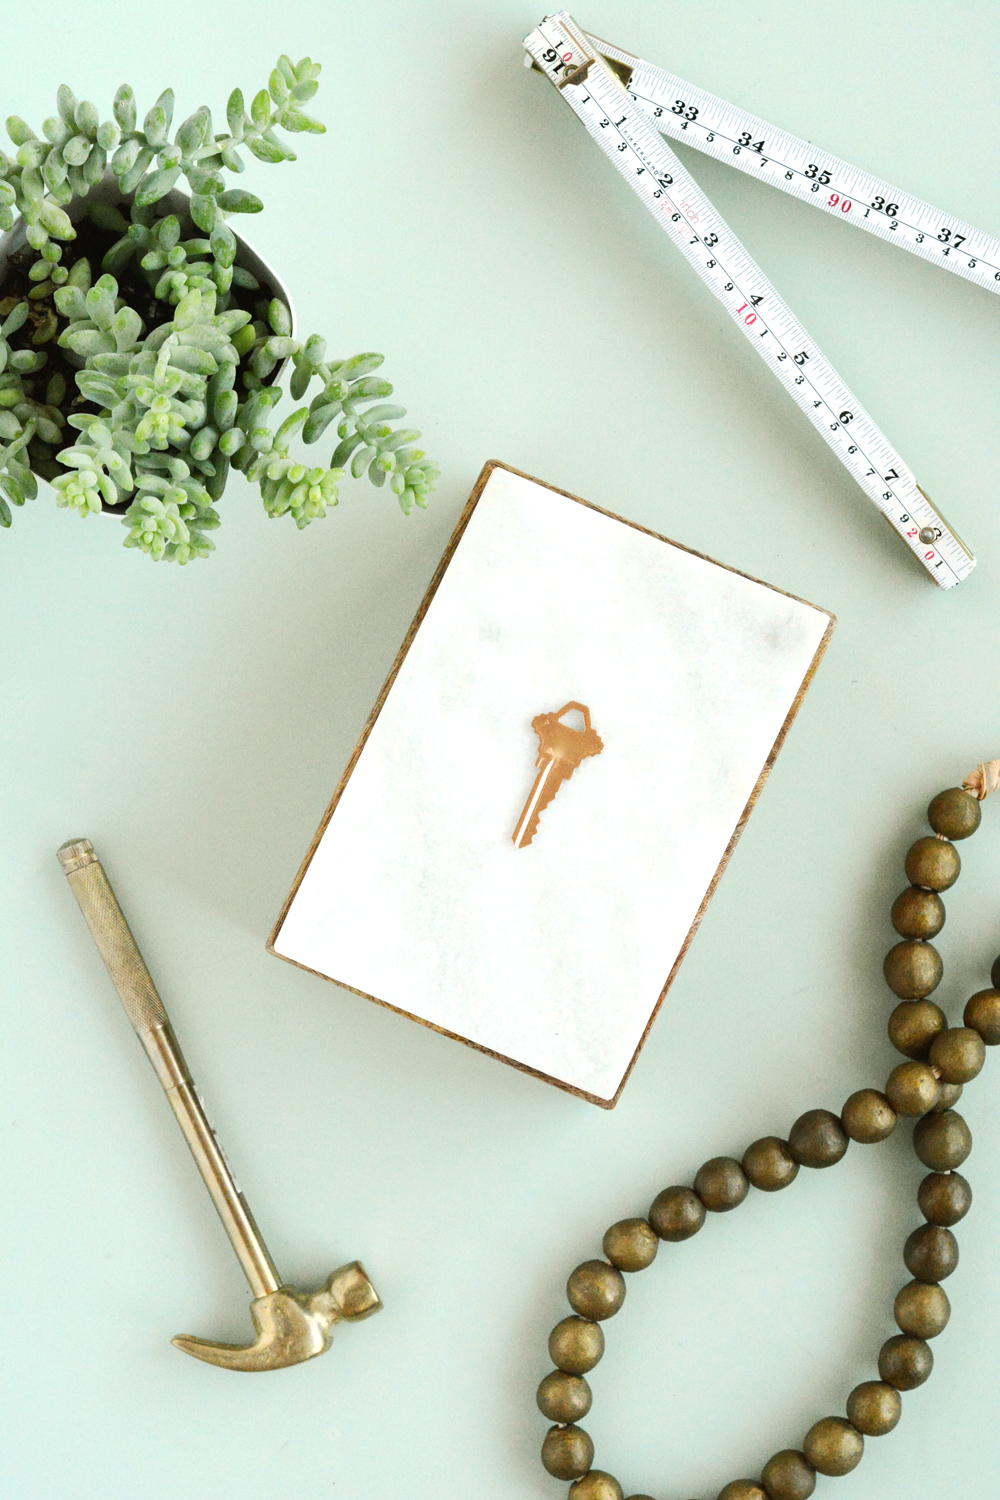
Key keepsake box.

2. Personalize a little keepsake box with the key to your home. I glued our front door key to a little wood and marble box. Now when I see it on a shelf, I’m instantly taken but to our first home. It’s a subtle touch, but I nice reminder of a place we truly loved.
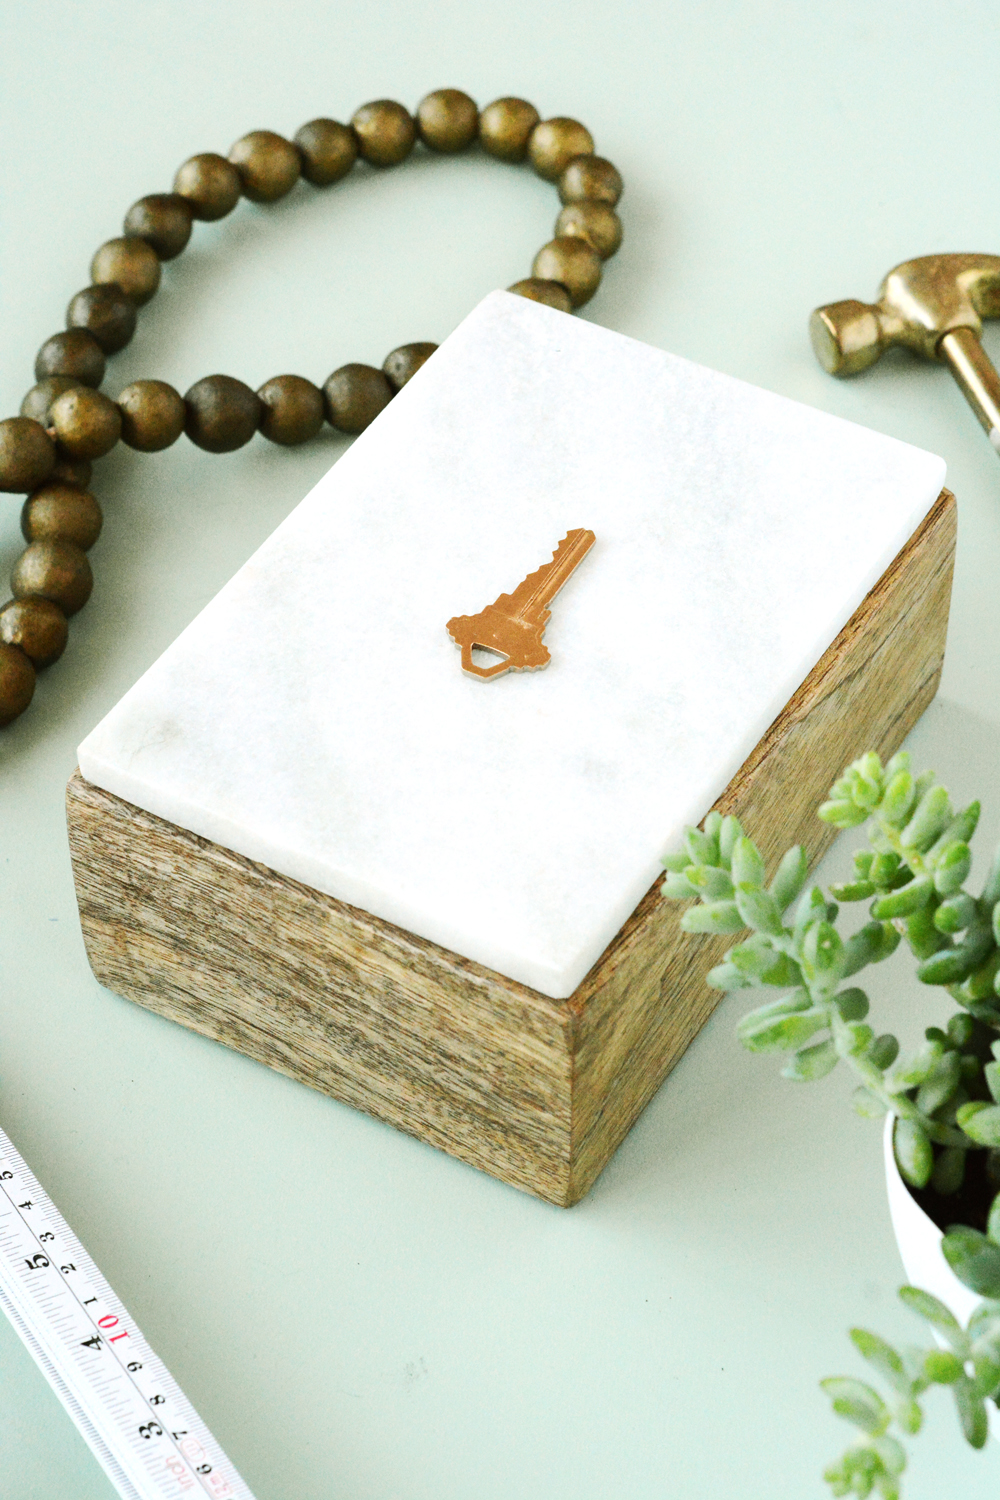
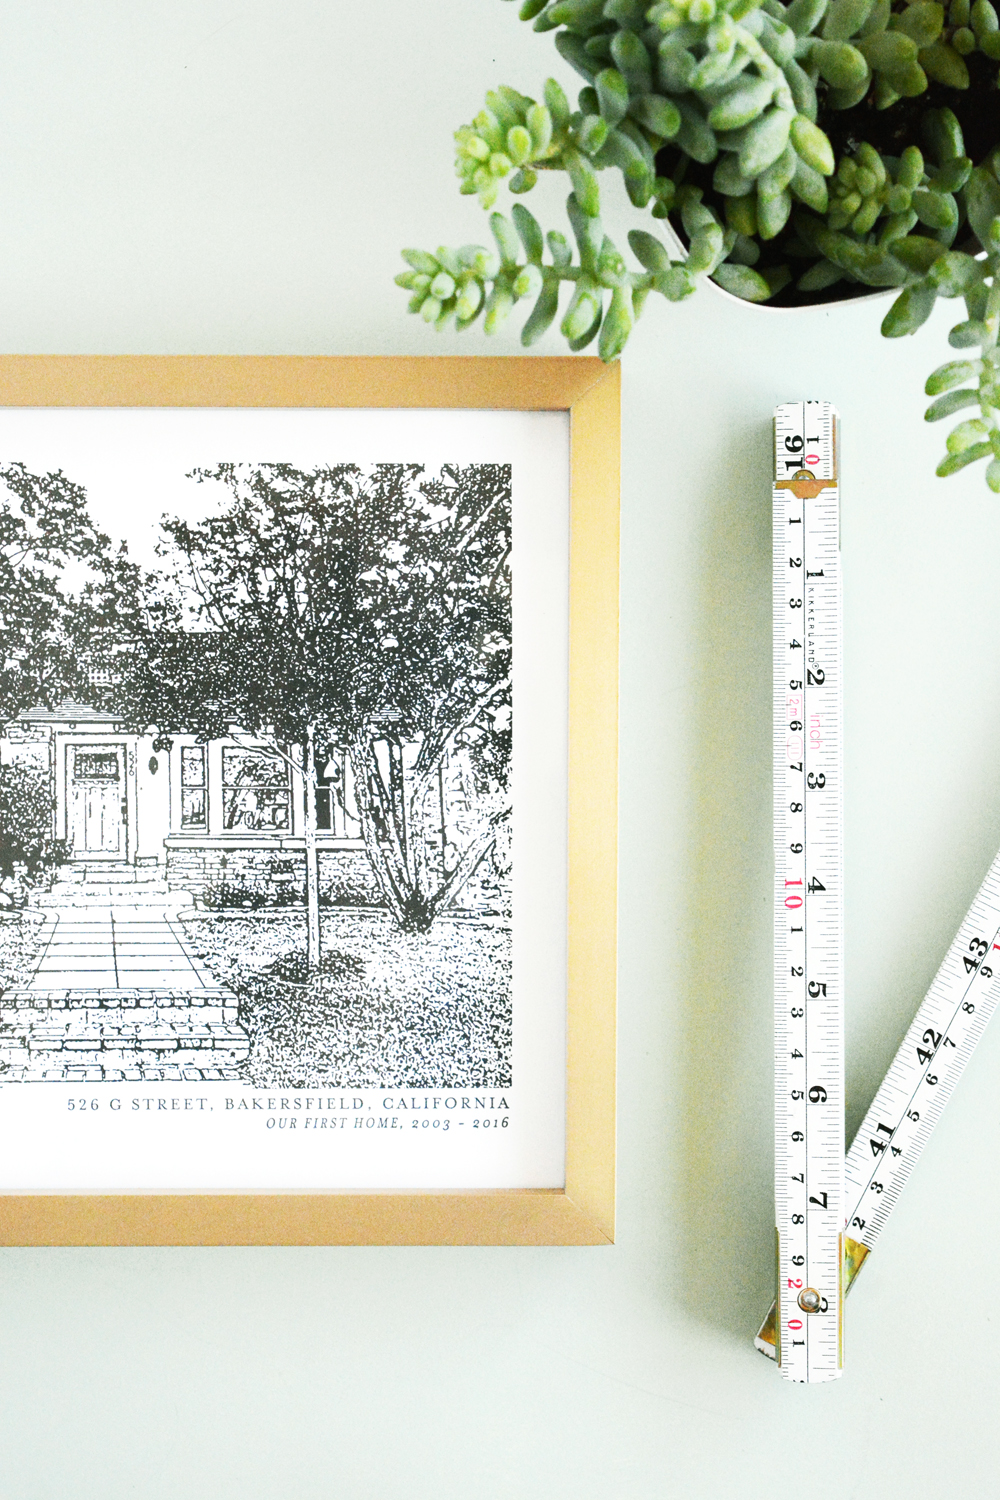
Key keepsake box. House Portrait by Minted

3. Bring along a favorite plant from your yard. We spent a lot of time in our yard, so I potted a little succulent from one of the flower beds. I also added our house numbers to the side of the pot, for a fun little detail. I used an old school label make and just stuck the adhesive numbers to pot.
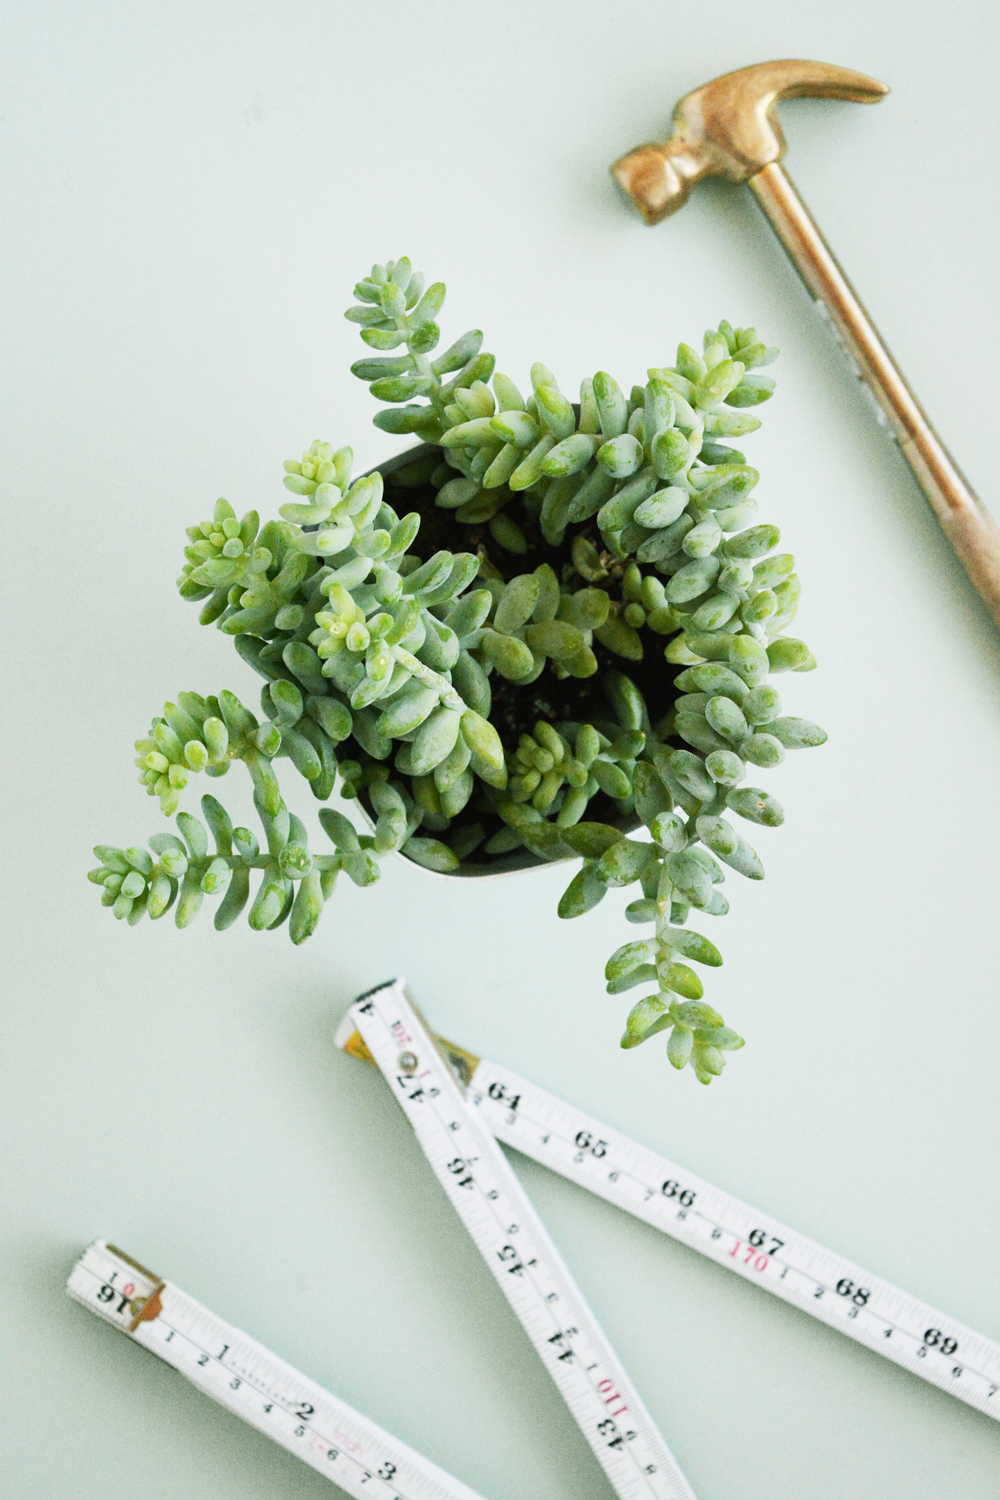
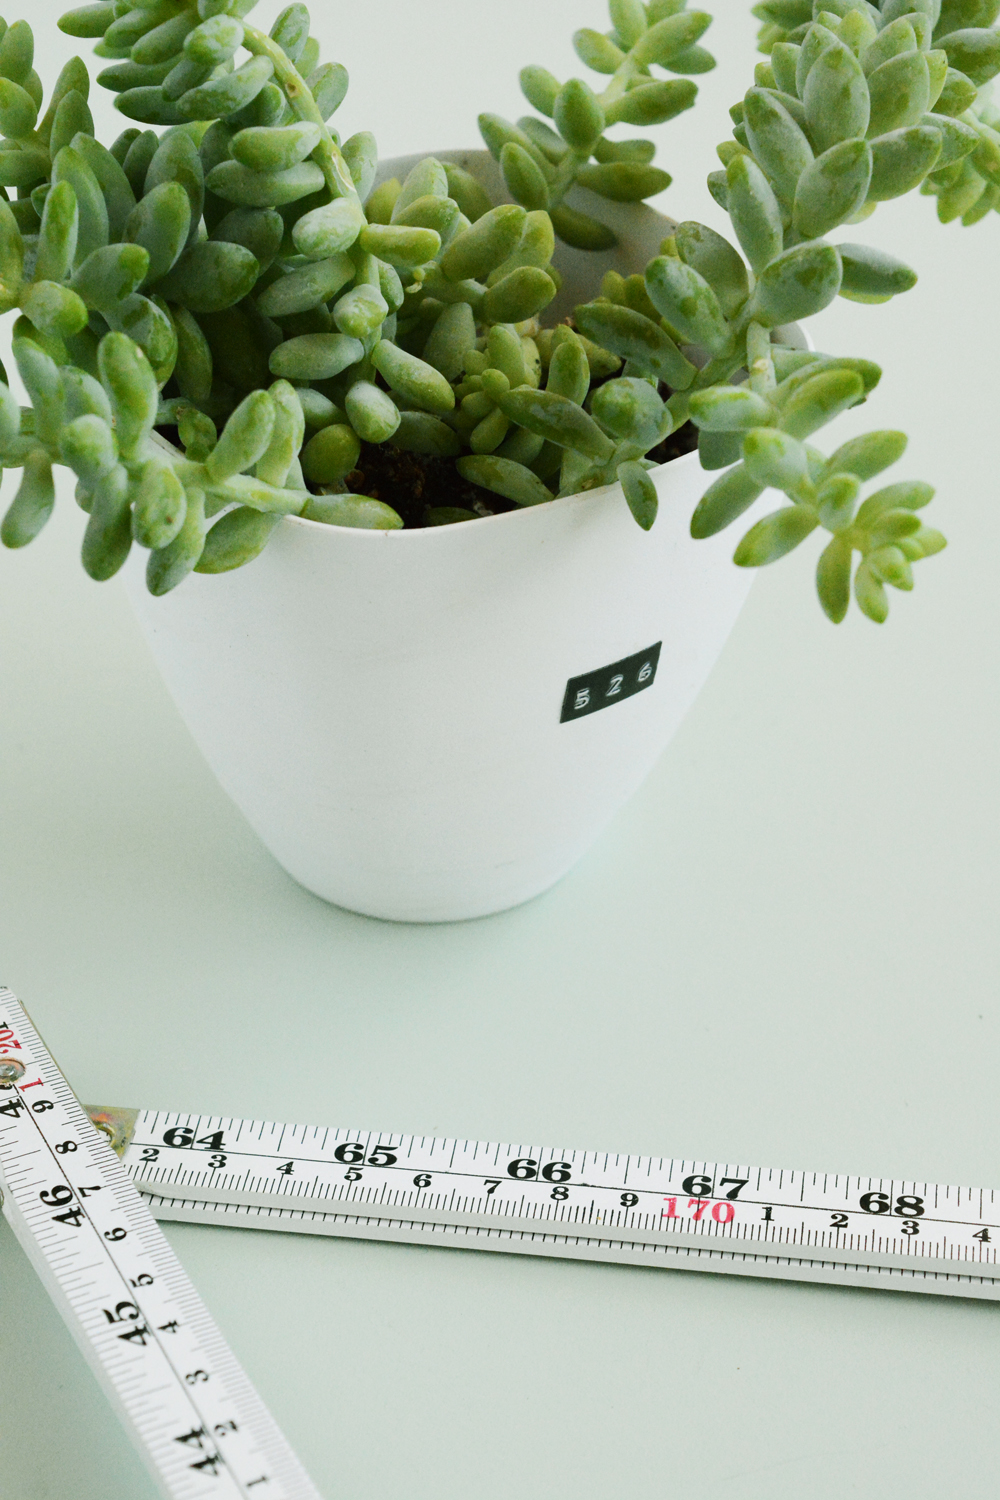
DIY keepsake from your home to take with you when you move. DIY keepsakes of your home to take with you when you move.

4. Have family pictures taken in your home. Forget the park or a studio this year, and have a photographer come to your home and take candid pictures of your family in your own space.
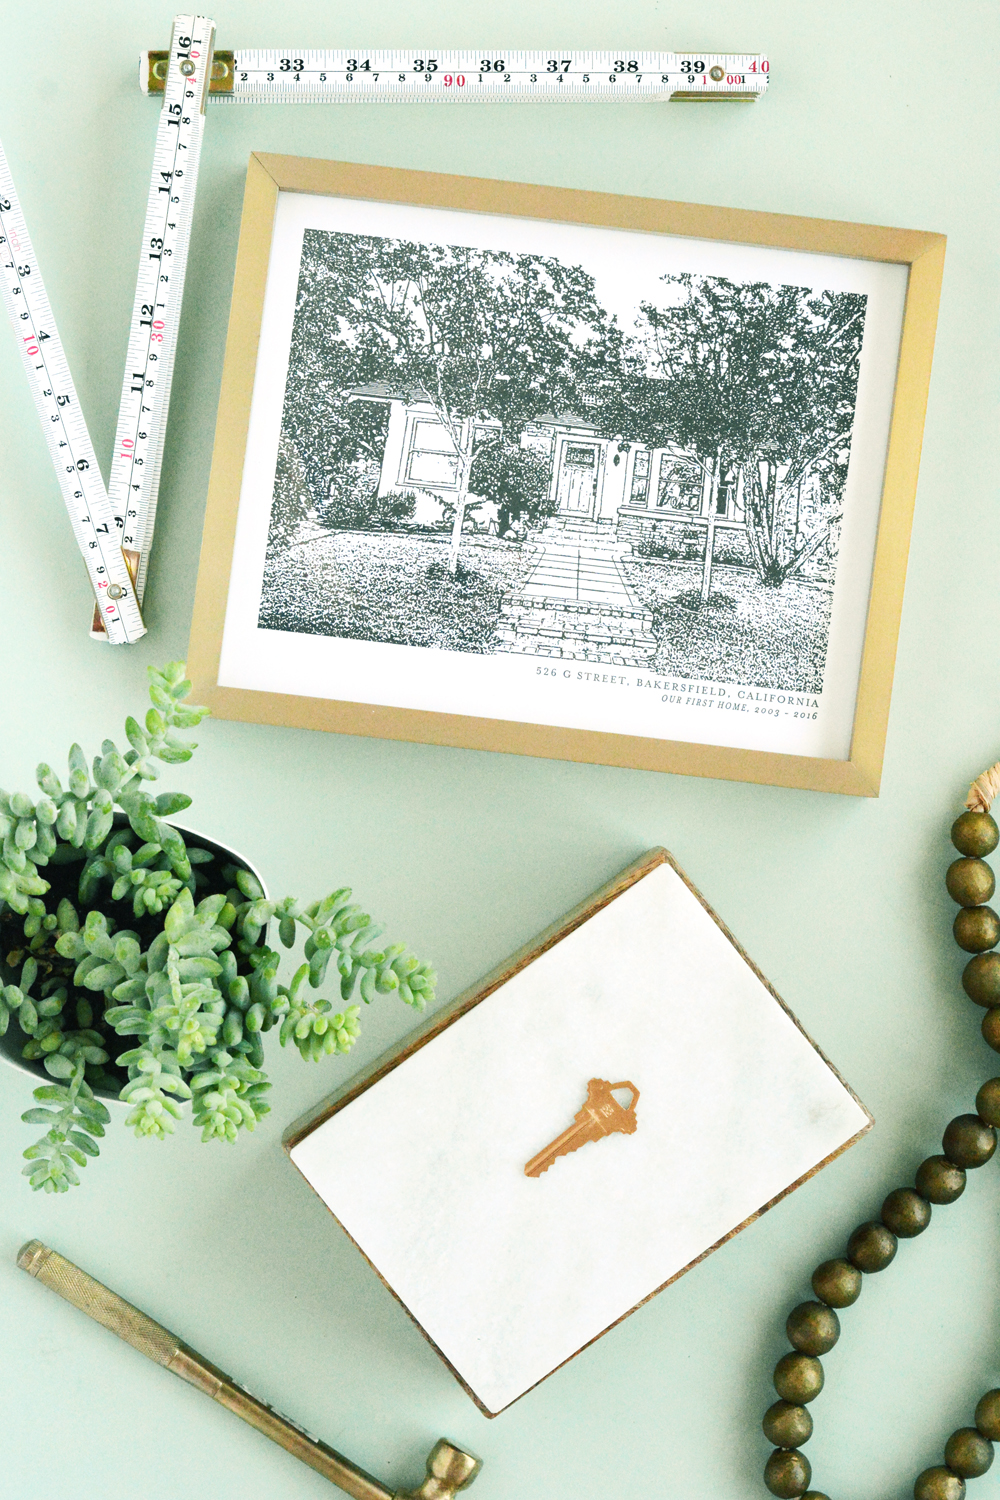
DIY Keepsakes from your home to take with you when you move.

5. A Custom Map Art piece of your old neighborhood can be a fun memento to take to your new home. Minted has options in gold foil, letterpress and all your favorite colors.

This post was sponsored by Minted. Thank you for supporting the companies that help make this blog possible. 


Design

Kid’s Bathroom Refresh

October 17, 2016

I feel like I’m working on projects around our house all the time, but I don’t necessarily share that here on the blog. My snapchat friends see a lot more of that. I bore them with play by plays of painting a room or scraping windows on the second story of my house. But, really, every spare minute I have, I’m plugging away at some project. The last couple of weeks, it’s been the kid’s bathroom upstairs. So, I thought I’d share a little sneak peek with you, so you can see the direction I’m taking the room.

We do not have the time or money to invest in any serious construction or plumbing in this room, so I’m giving it more of a refresh with LOTS and LOTS of paint and some adorable accessories from The Land of Nod.  This bathroom has only a bathtub, not a shower.  So, I did some research and found a ceiling-mounted shower curtain surround. And while it’s not perfect, it definitely makes the bathroom more useable for the time being.

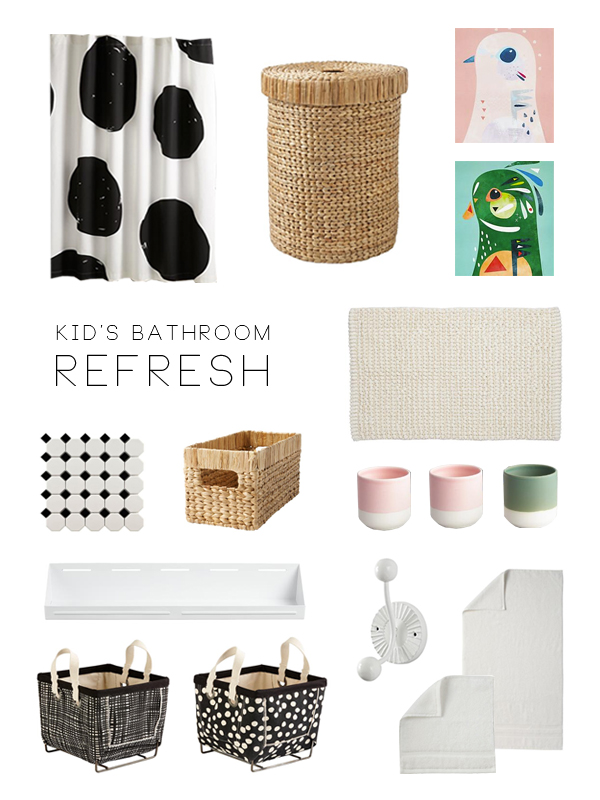
Kid's Bathroom Refresh

Shower Curtain // Laundry Basket // Pink Bird Print // Green Bird Print

Bath Mat

Tile // Basket // Small Pink and Green Planters

Shelf // Hook

Black and White Bin // Wash Cloth // Hand Towel // Bath Towel

The room has great black and white tile floors, so I decided to repeat that bold combo with accessories throughout the room. Fresh white paint EVERYWHERE gives the splashes of black a place to really pop. But, to keep the room from feeling too colorless, I’m adding some fun, colorful art, natural woven baskets, lots of plants, and some colorful little pots. This is my kid’s bathroom, so I want it to feel fresh and a little playful.

Fingers crossed this all looks as good in person as it does in my head. Stay tuned! I’m photographing the room today! I’m really excited to share this transformation with you. I can taste the finish line, it feels so good to have one more room DONE!

I hope your Monday is off to a great start or at least better then mine. Truthfully, I wrote this post in the early hours of the morning and somehow all of it was lost.  So, I had to rewrite it again and this time I don’t think it’s as interesting. So, I apologize, I’ve got a bad case of the Mondays happening over here.

Food & Drink

Hot Almond-Citrus Punch

October 14, 2016

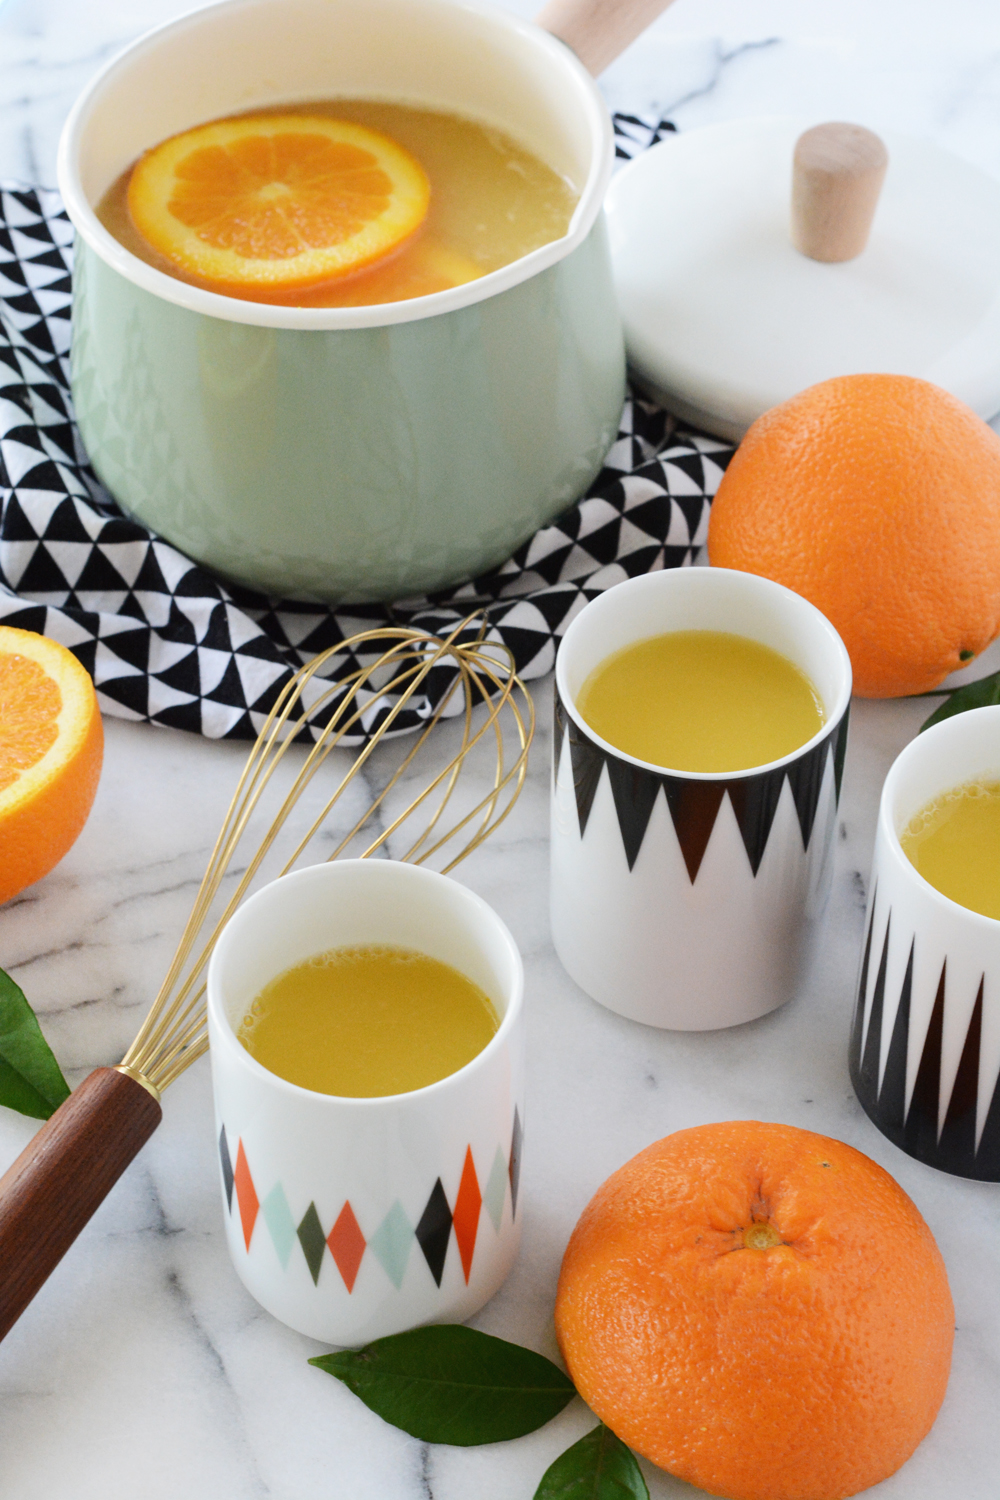
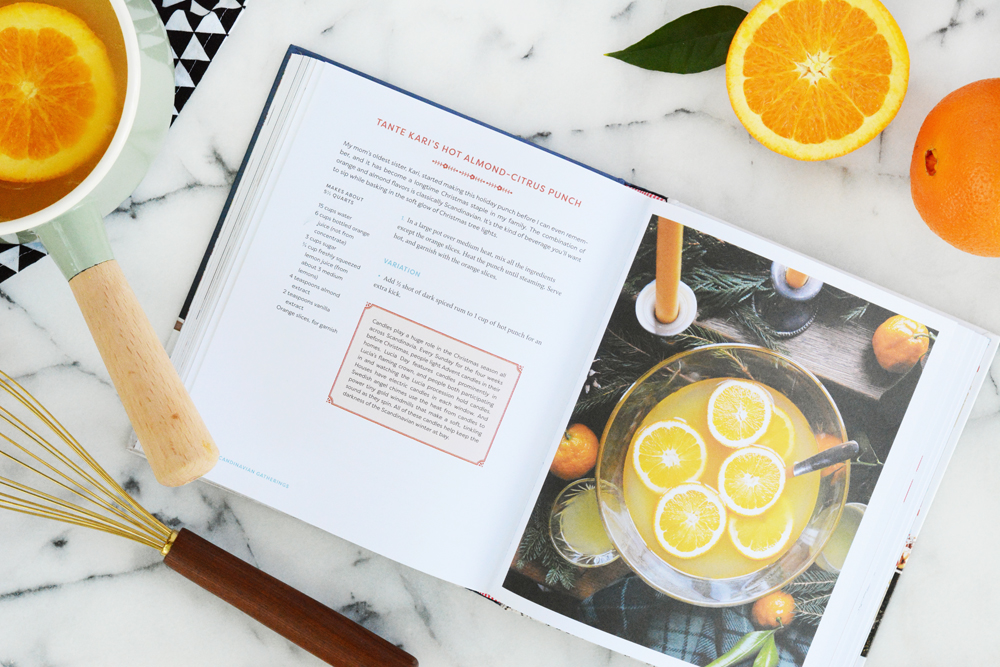
Hot Almond-Citrus Punch

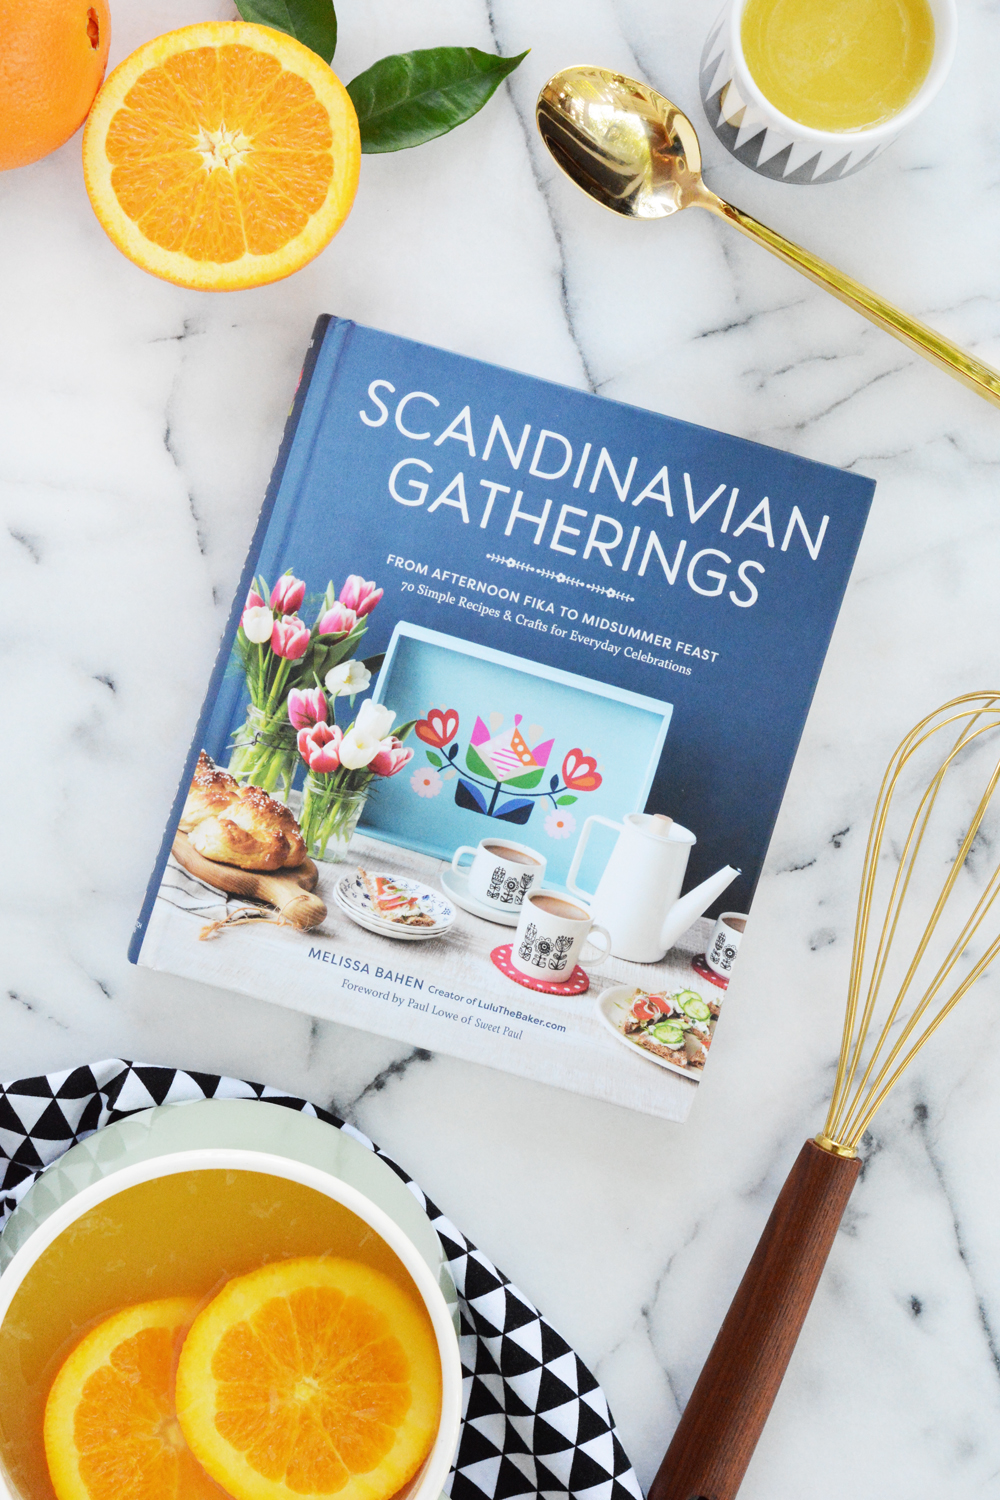
I’m really excited to share this fun Fall/Winter mocktail with you. It’s perfect for a chilly evening get-together. If citrus is involved, I’m sure to be fan. This Hot Almond-Citrus Punch is just one of the super yummy Scandinavian recipes from my friend, Melissa Bahen’s (aka Lulu the Baker) new book, Scandinavian Gatherings.

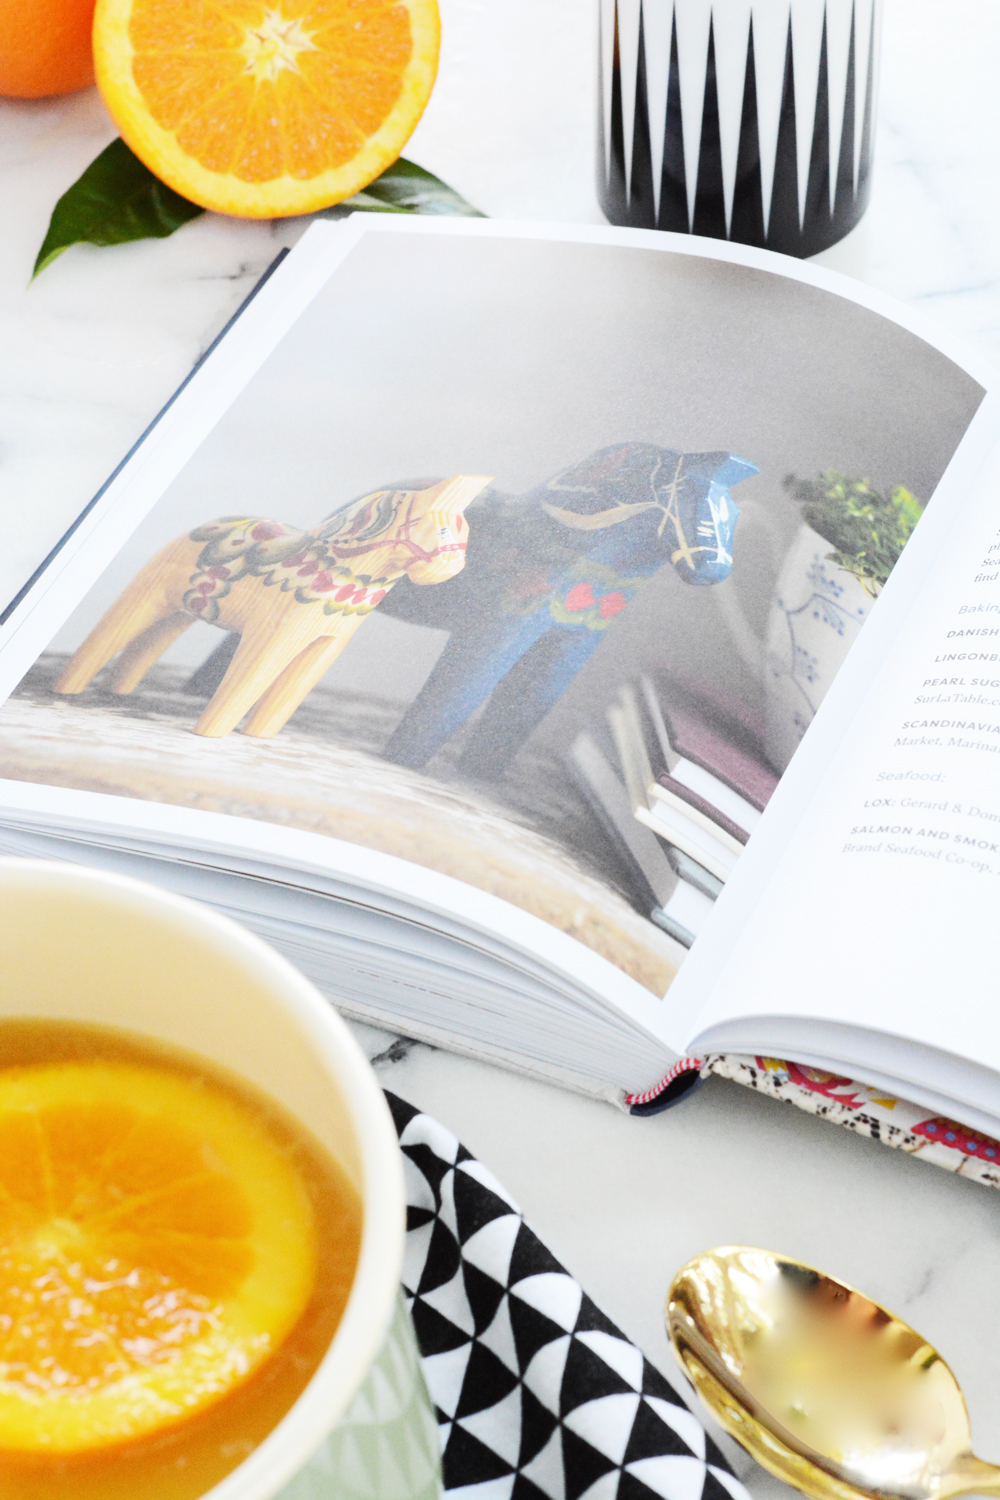
If you’ve followed me for any length of time, you know that I’m a sucker for everything Scandinavian. My grandpa was Swedish and I love connecting with this part of my heritage as often as possible. A couple years ago, we got to go to Sweden and visit my extended family. I fell even more in love with the culture and the food (oh the food is so good). I’m so excited to work my way through this gorgeous book. With gorgeous images and whimsical illustrations,  this book is filled with 70 recipes and crafts for everyday celebrations.
Scandinavian Gatherings Hot Almond-Citrus Punch

I’m excited to share one of the delicious recipes from Scandinavian Gatherings here with you.

This recipe makes a nice big batch for lots and guests. I chose to just make a 1/2 recipe for my little family and it was more then enough for everyone to have seconds, which we all definitely wanted.

Tante Kari’s Hot Almond- Citrus Punch

  • 15 cups water
  • 6 cups bottle orange juice (not from concentrate)
  • 3 cups sugar
  • 3/4 cup freshly squeezed lemon juice (from about 3 medium lemons)
  • 4 teaspoons almond extract
  • 2 teaspoons vanilla extract
  • Orange slices, for garnish

In a large pot over medium heat, mix all the ingredients except the orange slices. Heat th punch until steaming. Serve hot, and garnish with orange slices.

For a spiked version, add 1/2 shot of dark spiced rum to 1 cup of hot punch.

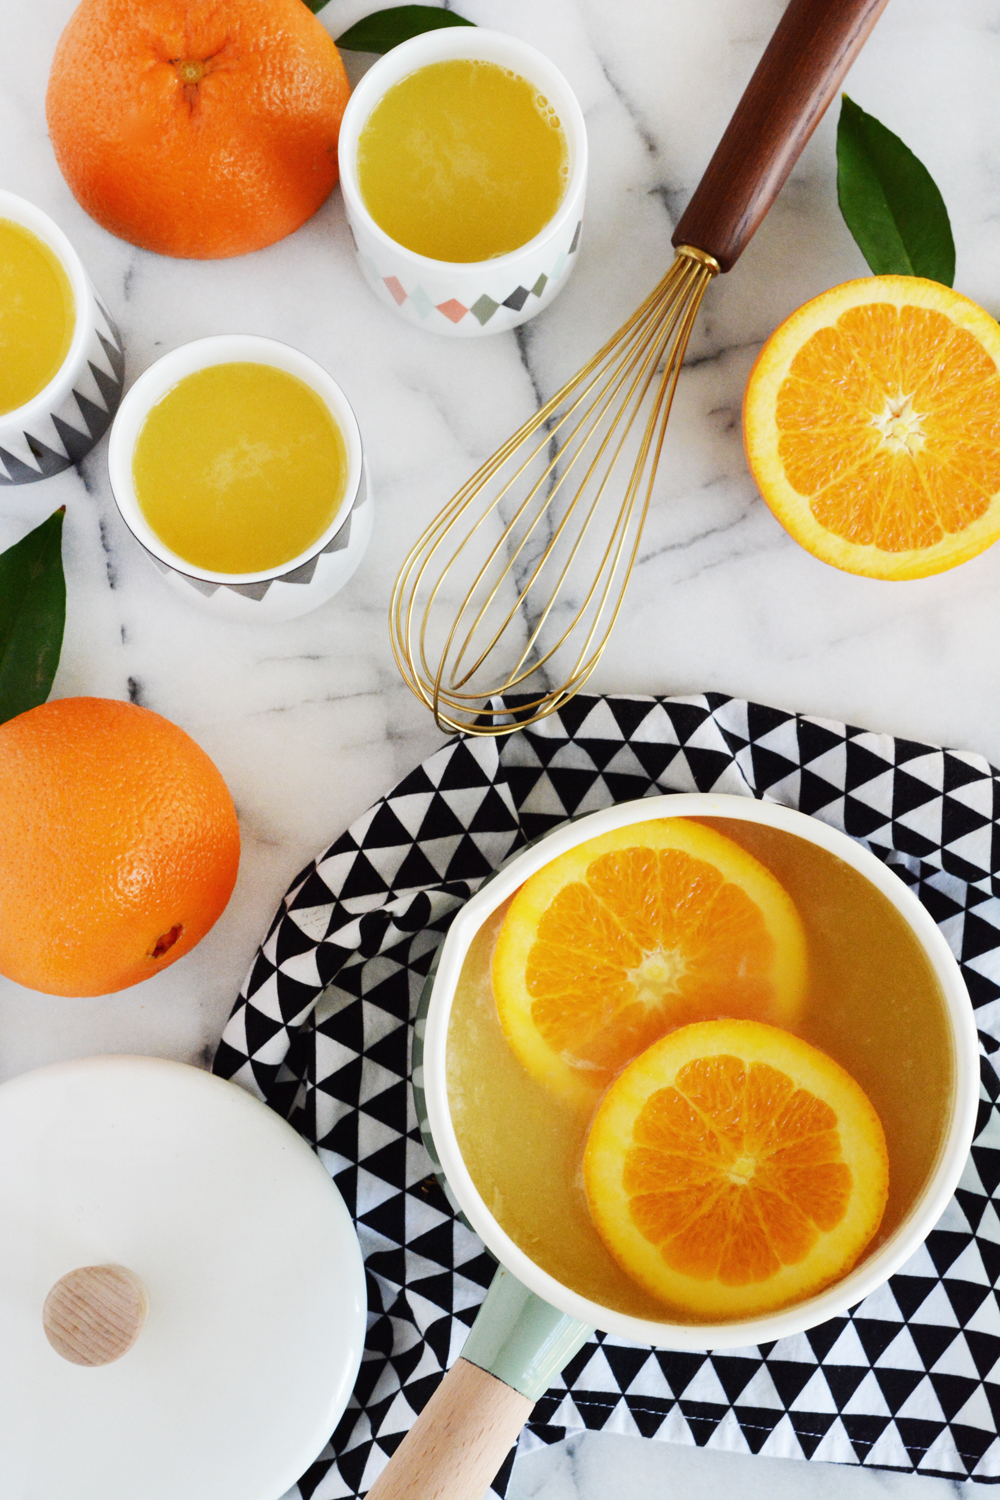
Hot Almond-Citrus Punch

It’s really a beautiful book with Melissa’s signature styling and gorgeous images. This book is on my Christmas shopping list for my mom and sister-in-laws for sure. And one lucky reader i going to win one over on Instagram this week.  So, head over there and check ENTER!

Hot Almond-Citrus Punch

DIY

DIY Splatter Painted Pinch Pots

October 11, 2016

_method-10

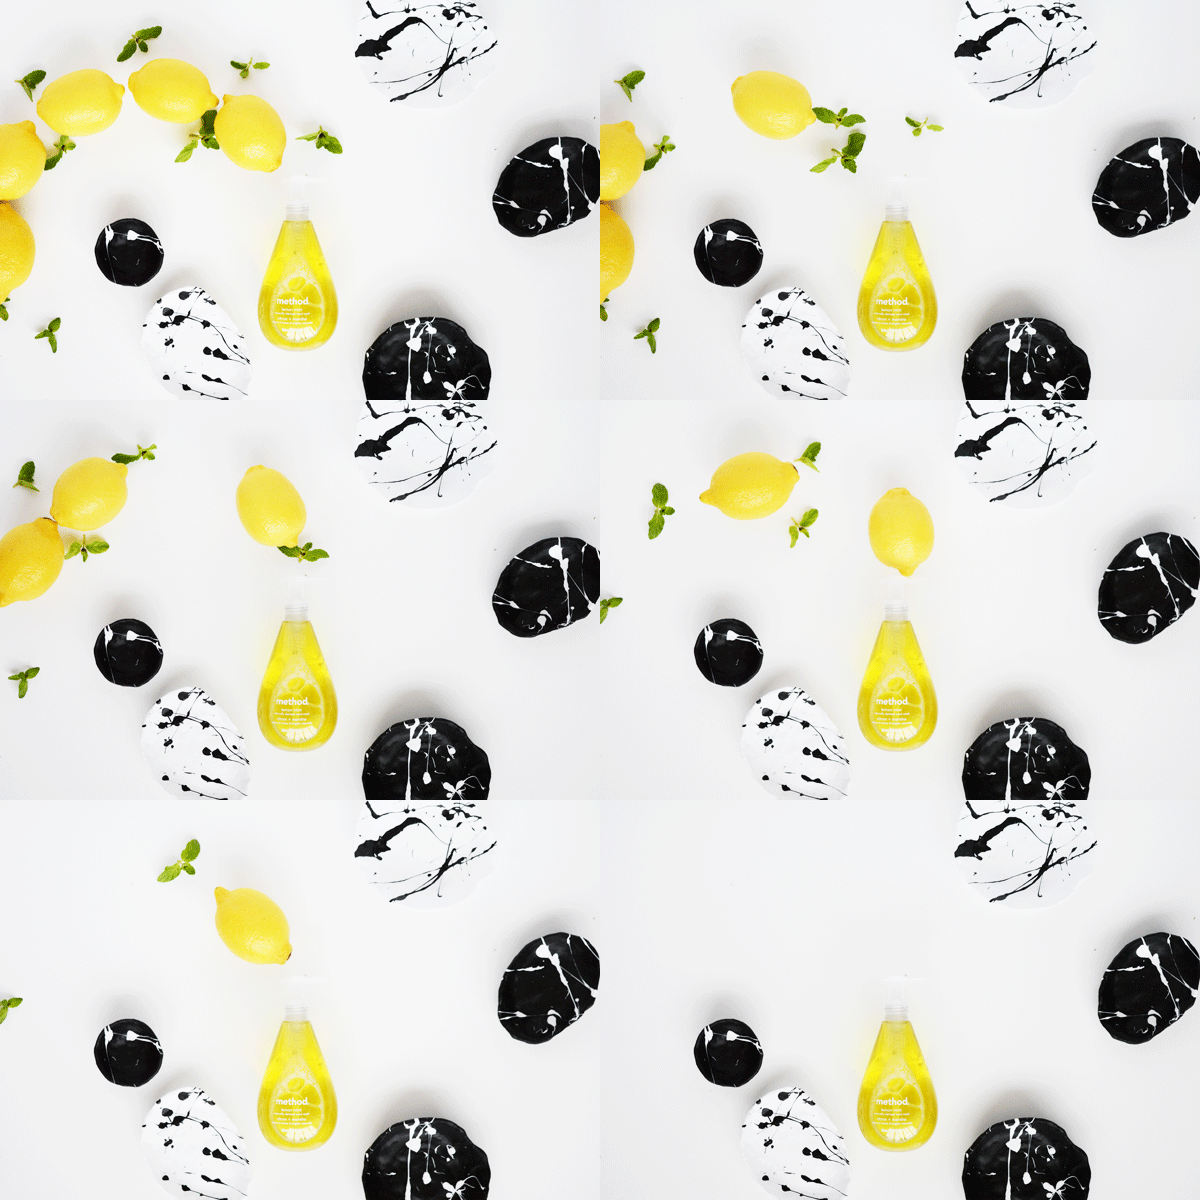
Lately I’ve been so busy  with house projects and assignments that keep me glued to my computer. I really have had no time to just be creative and make something with my hands. Messy making is just plain good for my soul. A brand that I use everyday in my home, method, encourages folks to FEAR NO MESS. So, we dove right in and got elbow deep into playing with clay.

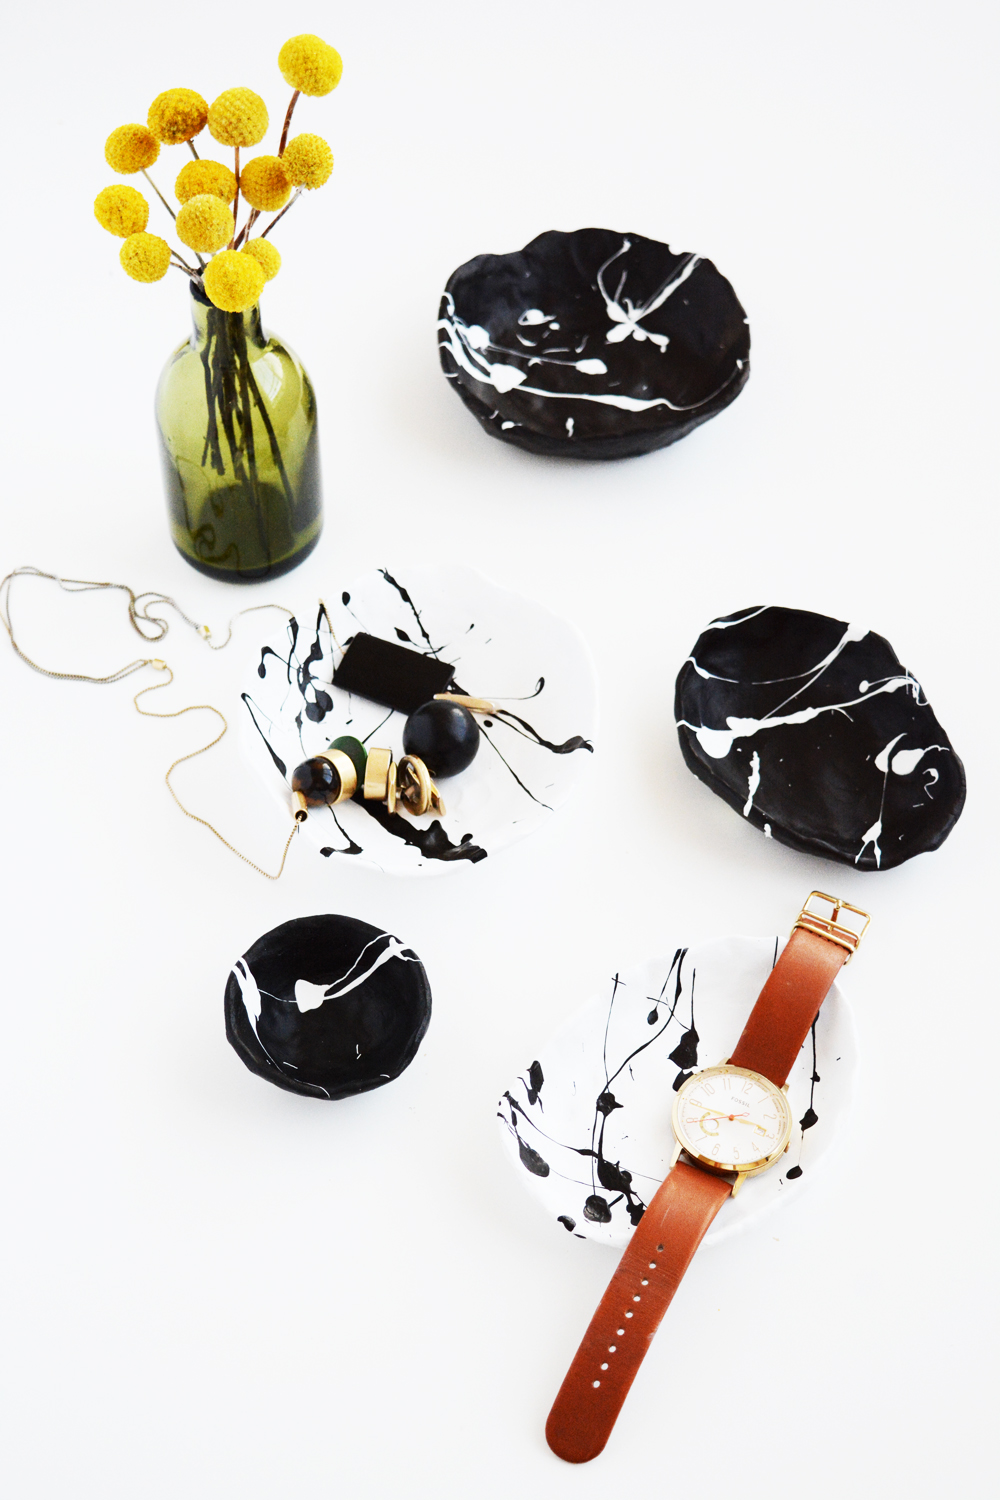
I’ve been itching to take a ceramics class for a couple of years now. In college a took a very basic intro class, and ever since I’ve always wanted to find a way to explore that art a little further. So, while I don’t have access to a kiln or wheel yet, playing with a little air-dry clay is a nice alternative.  This last week my two youngest kiddos and I sat at the kitchen table for a couple of hours just played with clay. They made a whole variety of little figurines and tiny set of tea cups. I was less ambitious and decided to make a few little pinch pot bowls or dishes for holding jewelry or the change from your pocket.

_method-1

lemons-and-mint

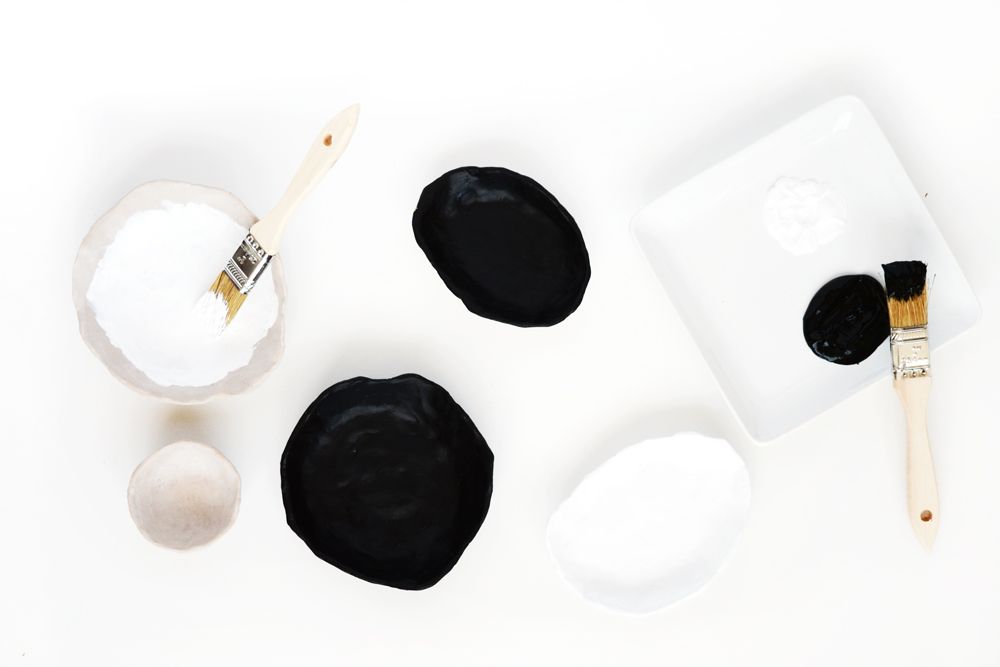
Here’s what you’ll need:

_method-3

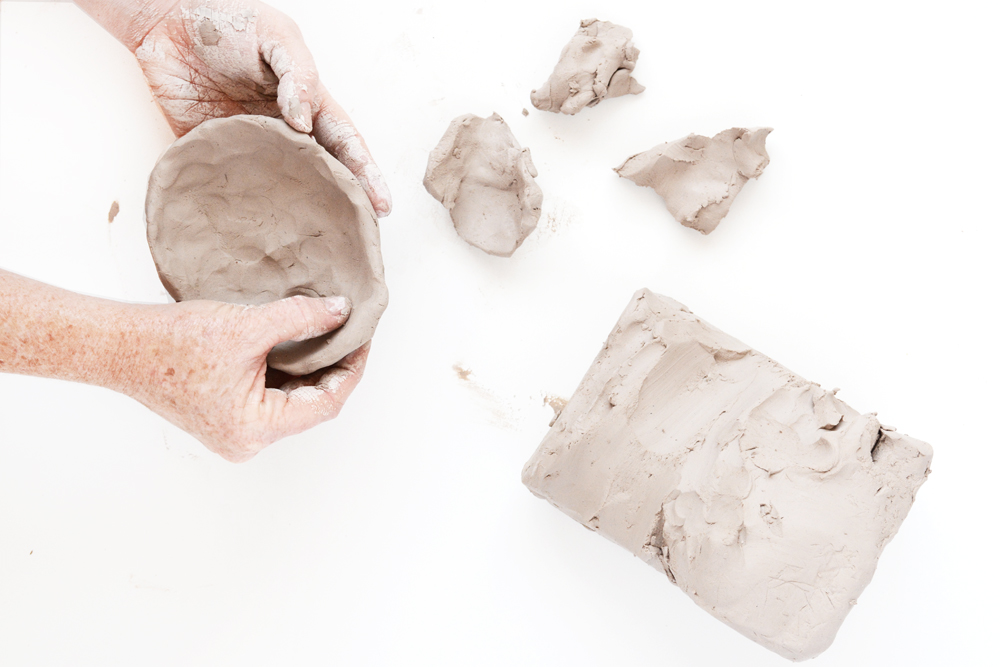
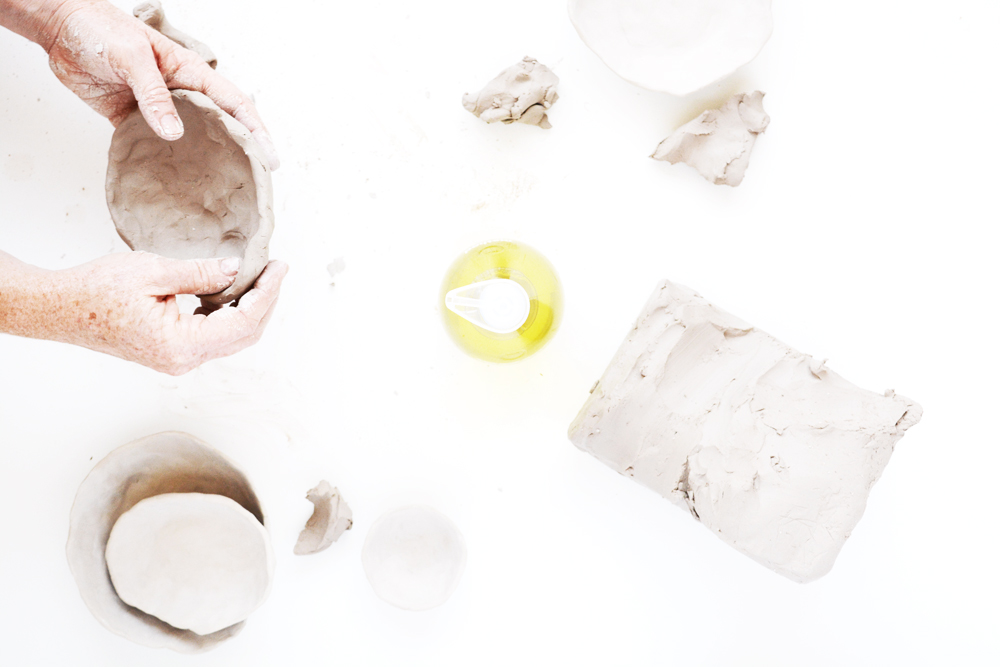
Starting with a tennis ball sized amount of clay. Pinch the clay from the center out, shaping the sides of the bowl as you go. (Be sure to keep any clay that you are not working with sealed in plastic bag so that it doesn’t dry out.)

To smooth out cracks and imperfections, wet your finger tips in a little water and rub on the clay. I wanted my pieces to feel organic and handmade, so I purposefully kept them from being perfectly round and smooth.

_method-8

Allow your pieces to dry at least 3-4 days. I live in the desert, so mine dried in about 3 days, but I could see a thicker piece of clay in a more humid climate needing a few more days.

_method-7

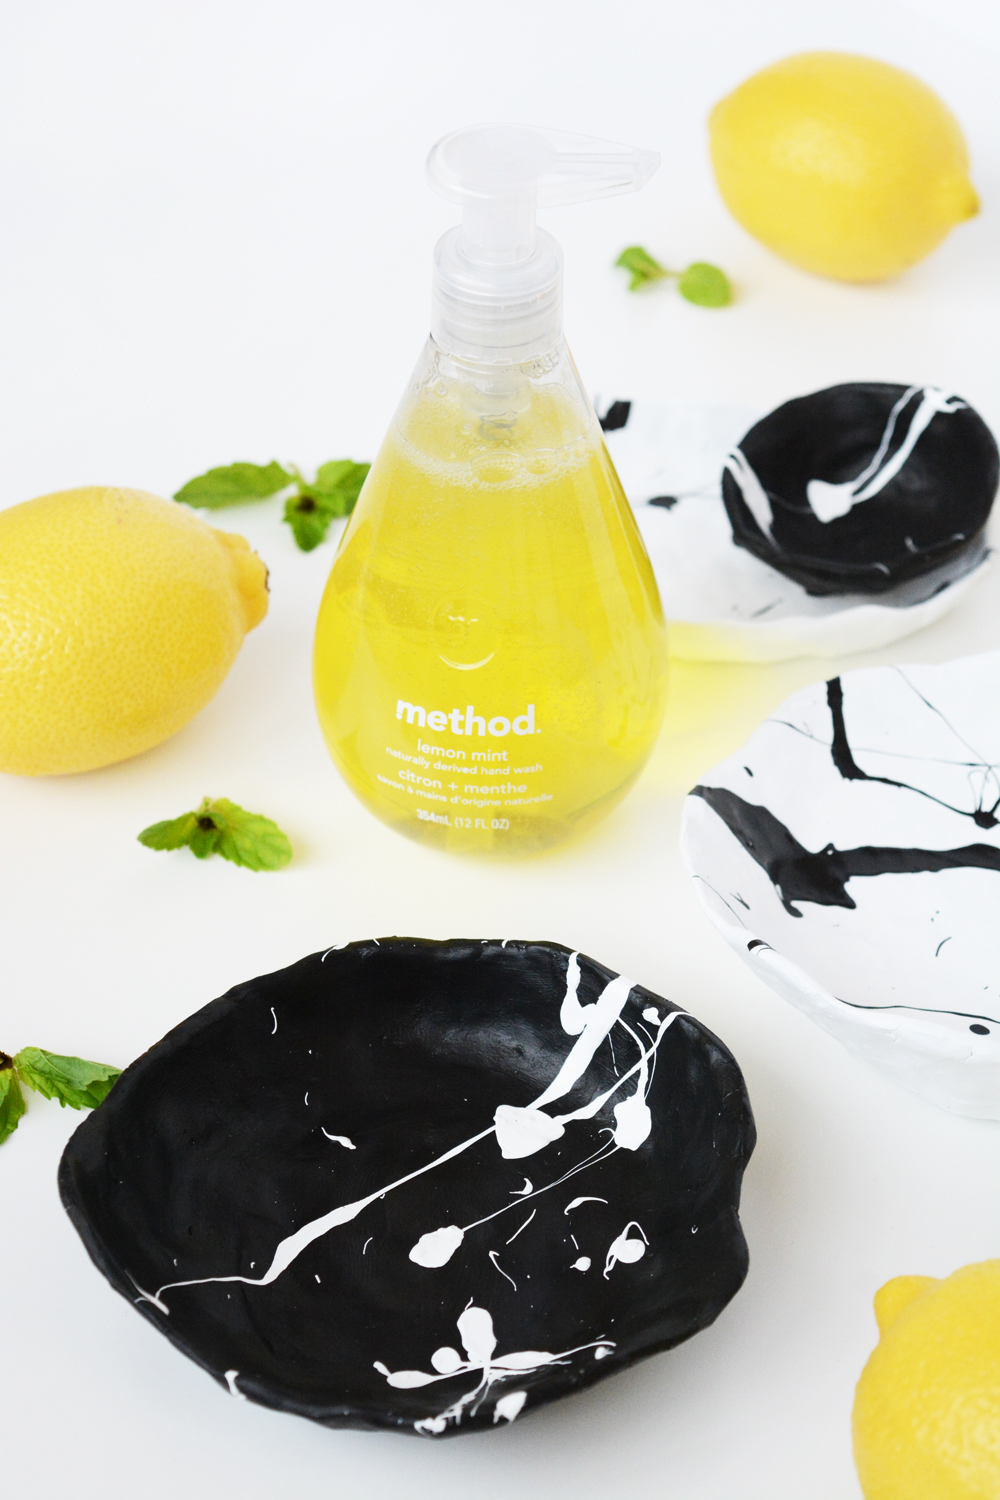
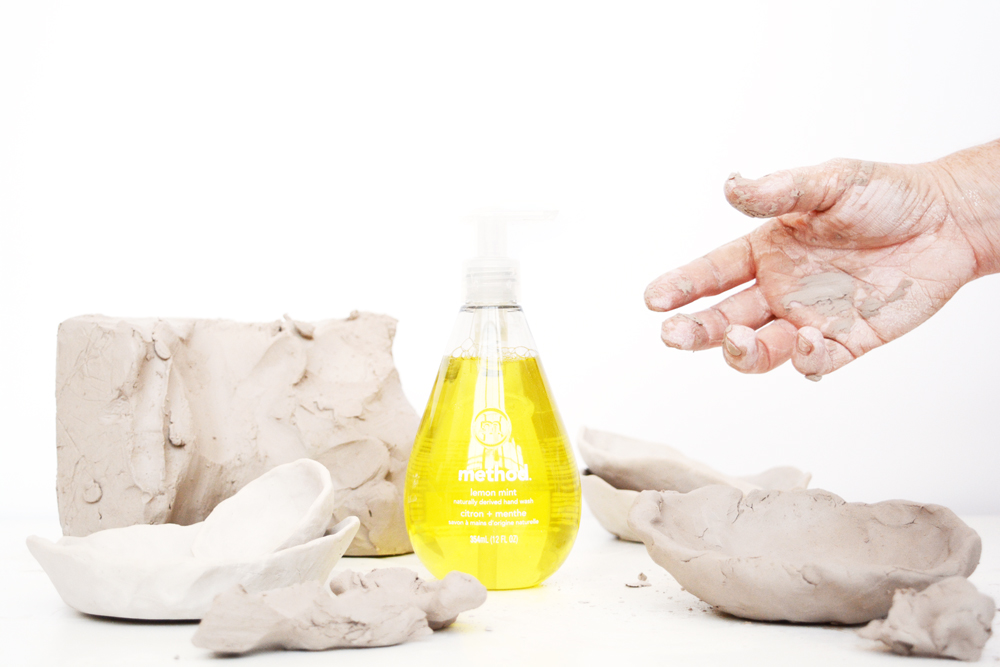
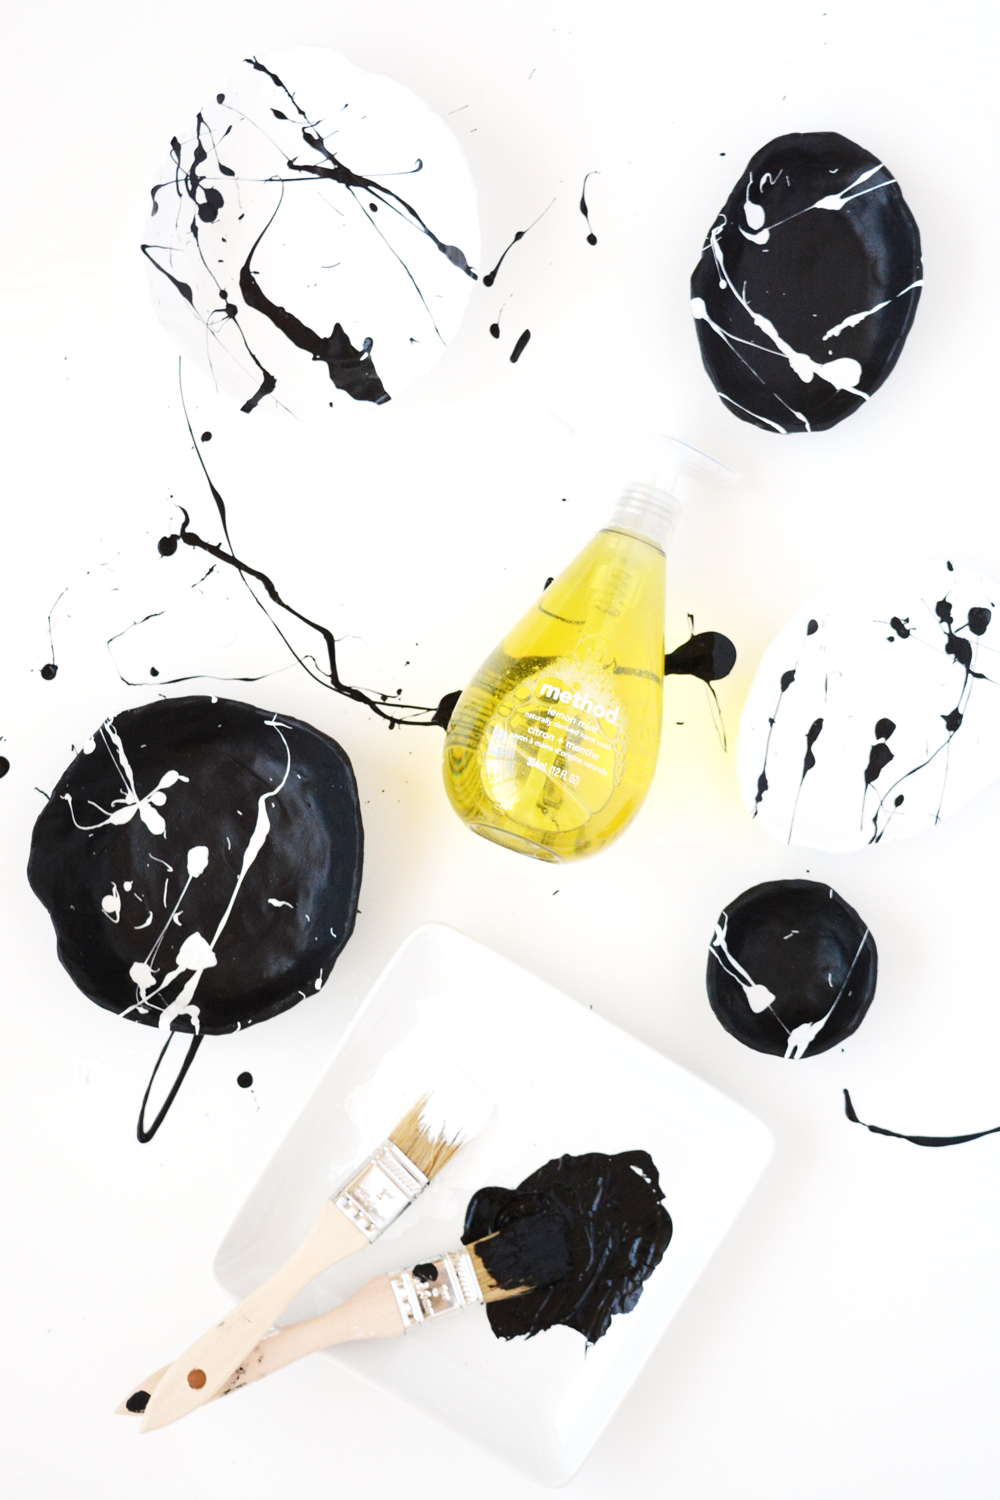
There really is something very therapeutic about getting your hands just caked in clay. And when you done playing, clean up is a breeze. I’m a huge fan of method products. method believes that clean should smell like cucumbers, not chemicals, that’s why their non-toxic soaps come in 70+ great-smelling scents. The Lemon Mint Gel Hand Wash is one of my all time favorite scents. method products are so much more then just a great scent, they are biodegradable, made from recycled materials and are 100% recyclable! These are all things my High School Biology/Ecology teacher husband loves.

_method-13

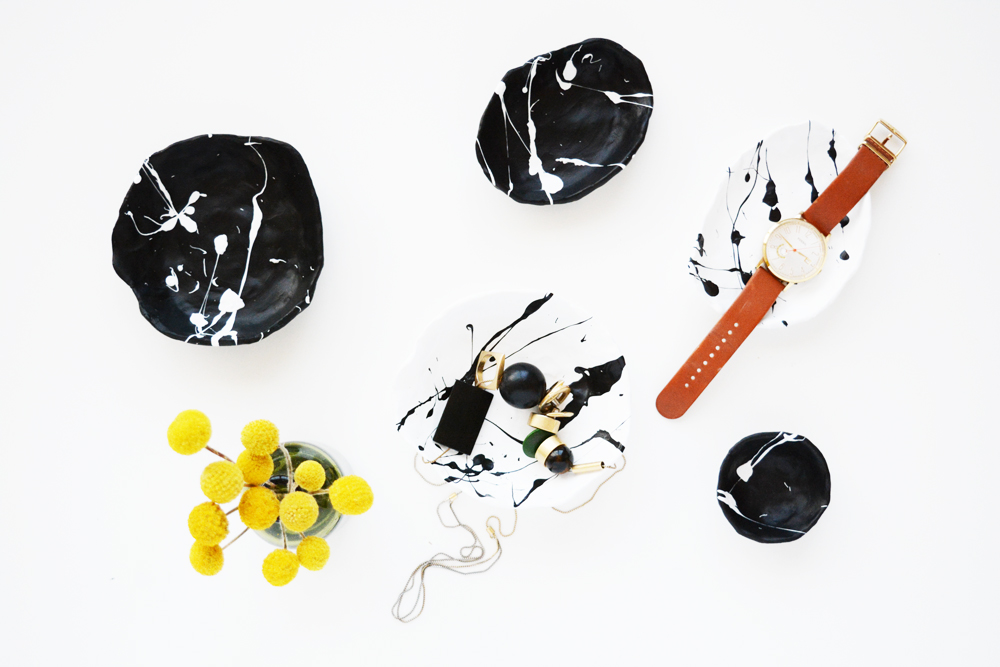
When the clay is completely dry, you can paint your pieces. I decided to stick with a bold black and white combo. I painted each piece with two coats of paint, allowing them to dry completely between each coat. And then I took the mess and step further and spatters painted them by flinging paint onto them with a loaded paint brush.

_method-11

When the pieces are completely dry, they are ready to be used. I have a couple beside my bed for jewelry and a place to lay my watch at night.

(These dishes are not intended for food, they are only for decorative purposes.)

_method-9

etc.

The Week’s End

October 7, 2016

Well friends. It’s been a busy month and it’s really only the first week of October. I feel like I’ve been going non-stop since, well I don’t know how long. I feel like an update and just a “what’s going on” post is needed.

So, O+P (that’s me) is really busy. I know that my posting here on the blog hasn’t been as frequent, so maybe I should explain. Blogging and freelance, online work is weird. And most people in my real life really have no idea what I do all day. I think most folks think this is just a little hobby and from time to time I post a pretty picture or two. But, really this is more then a full-time job. Right now my business has some momentum and I’m working, on average, 12 hours a day. I’m not complaining. I’ve worked for almost 6 years to make this blog the business that it is today. But, I feel like I should give my faithful readers a little more behind the scenes look at what I actually do.

pumpkins

Yes, I do create content for this blog and all my social media outlets, even though it doesn’t seem like a lot is going on right now. But, I also do a lot of work that you guys never see. The other work I do is still work I love, but it’s really more to pay the bills, so that I can blog for a living. Yes, I do create sponsored posts for my blog, but that doesn’t bring in enough income to really be a full-time salary. So, here’s a little of what I do that you don’t see.

  1. I’m a one-women show! I had an intern this last Summer, but she’s back in school and working full-time. You wouldn’t believe how much time I spend emailing, researching, book keeping and scheduling (I need a manager!). Making, styling, shooting and then editing pics is just a fraction of my time, even though I wish that is all I had to do.
  2. I do some design consulting for clients locally. Right now I have 3 homeowners that I’m working with. I love this part of my job. I help folks with tasks like picking out paint colors, styling their mantels and bookshelves, shopping for furniture, or sourcing lighting options. If you want my opinion on design, I’m happy to tell you what I’d do!
  3. I do quite a bit of freelance styling and photography. Just this last week I styled and shot a whole bunch of products for a company. These projects can take up a whole week of my time (hence the lack of blog posts). These are images that you won’t see on my blog. A lot of the time, companies hire me to create lifestyle images of their products that they will either use on the website or on their social media channels. I never intended to be a photographer. I always loved photography, but somewhere along the way of blogging I taught myself how to style objects and then photograph them.
  4. I also do some social media consulting locally and work on creating content for local company’s Instagram accounts. After 6 years of blogging, this is something I have experience in and have learned a little bit about what works and what doesn’t work.
  5. And last, but no least, I contribute to a few other blogs, right now I write for Ehow and Emily Henderson Design. These are awesome opportunities for me. It’s the blogging and content creation that I love, but it’s also an opportunity for me to get more eyes on my work. Yep, believe it our not, a lot more folks are heading to Emily’s blog everyday then they are to mine.

Ok, this might have been a boring post. If you are still reading, you really are the faithful follower that I thought deserved to know what was going on.

So, Is this interesting? Do you like knowing a little more about the behind-the-scenes? It’s messy and not curated at all, but you can follow me on snapchat for a more realistic look at my day to day (I’m @oleanderandpalm over there).


DIY / Entertain

Wild + Free Birthday Party

October 6, 2016

Wild and Free 5th Birthday Party

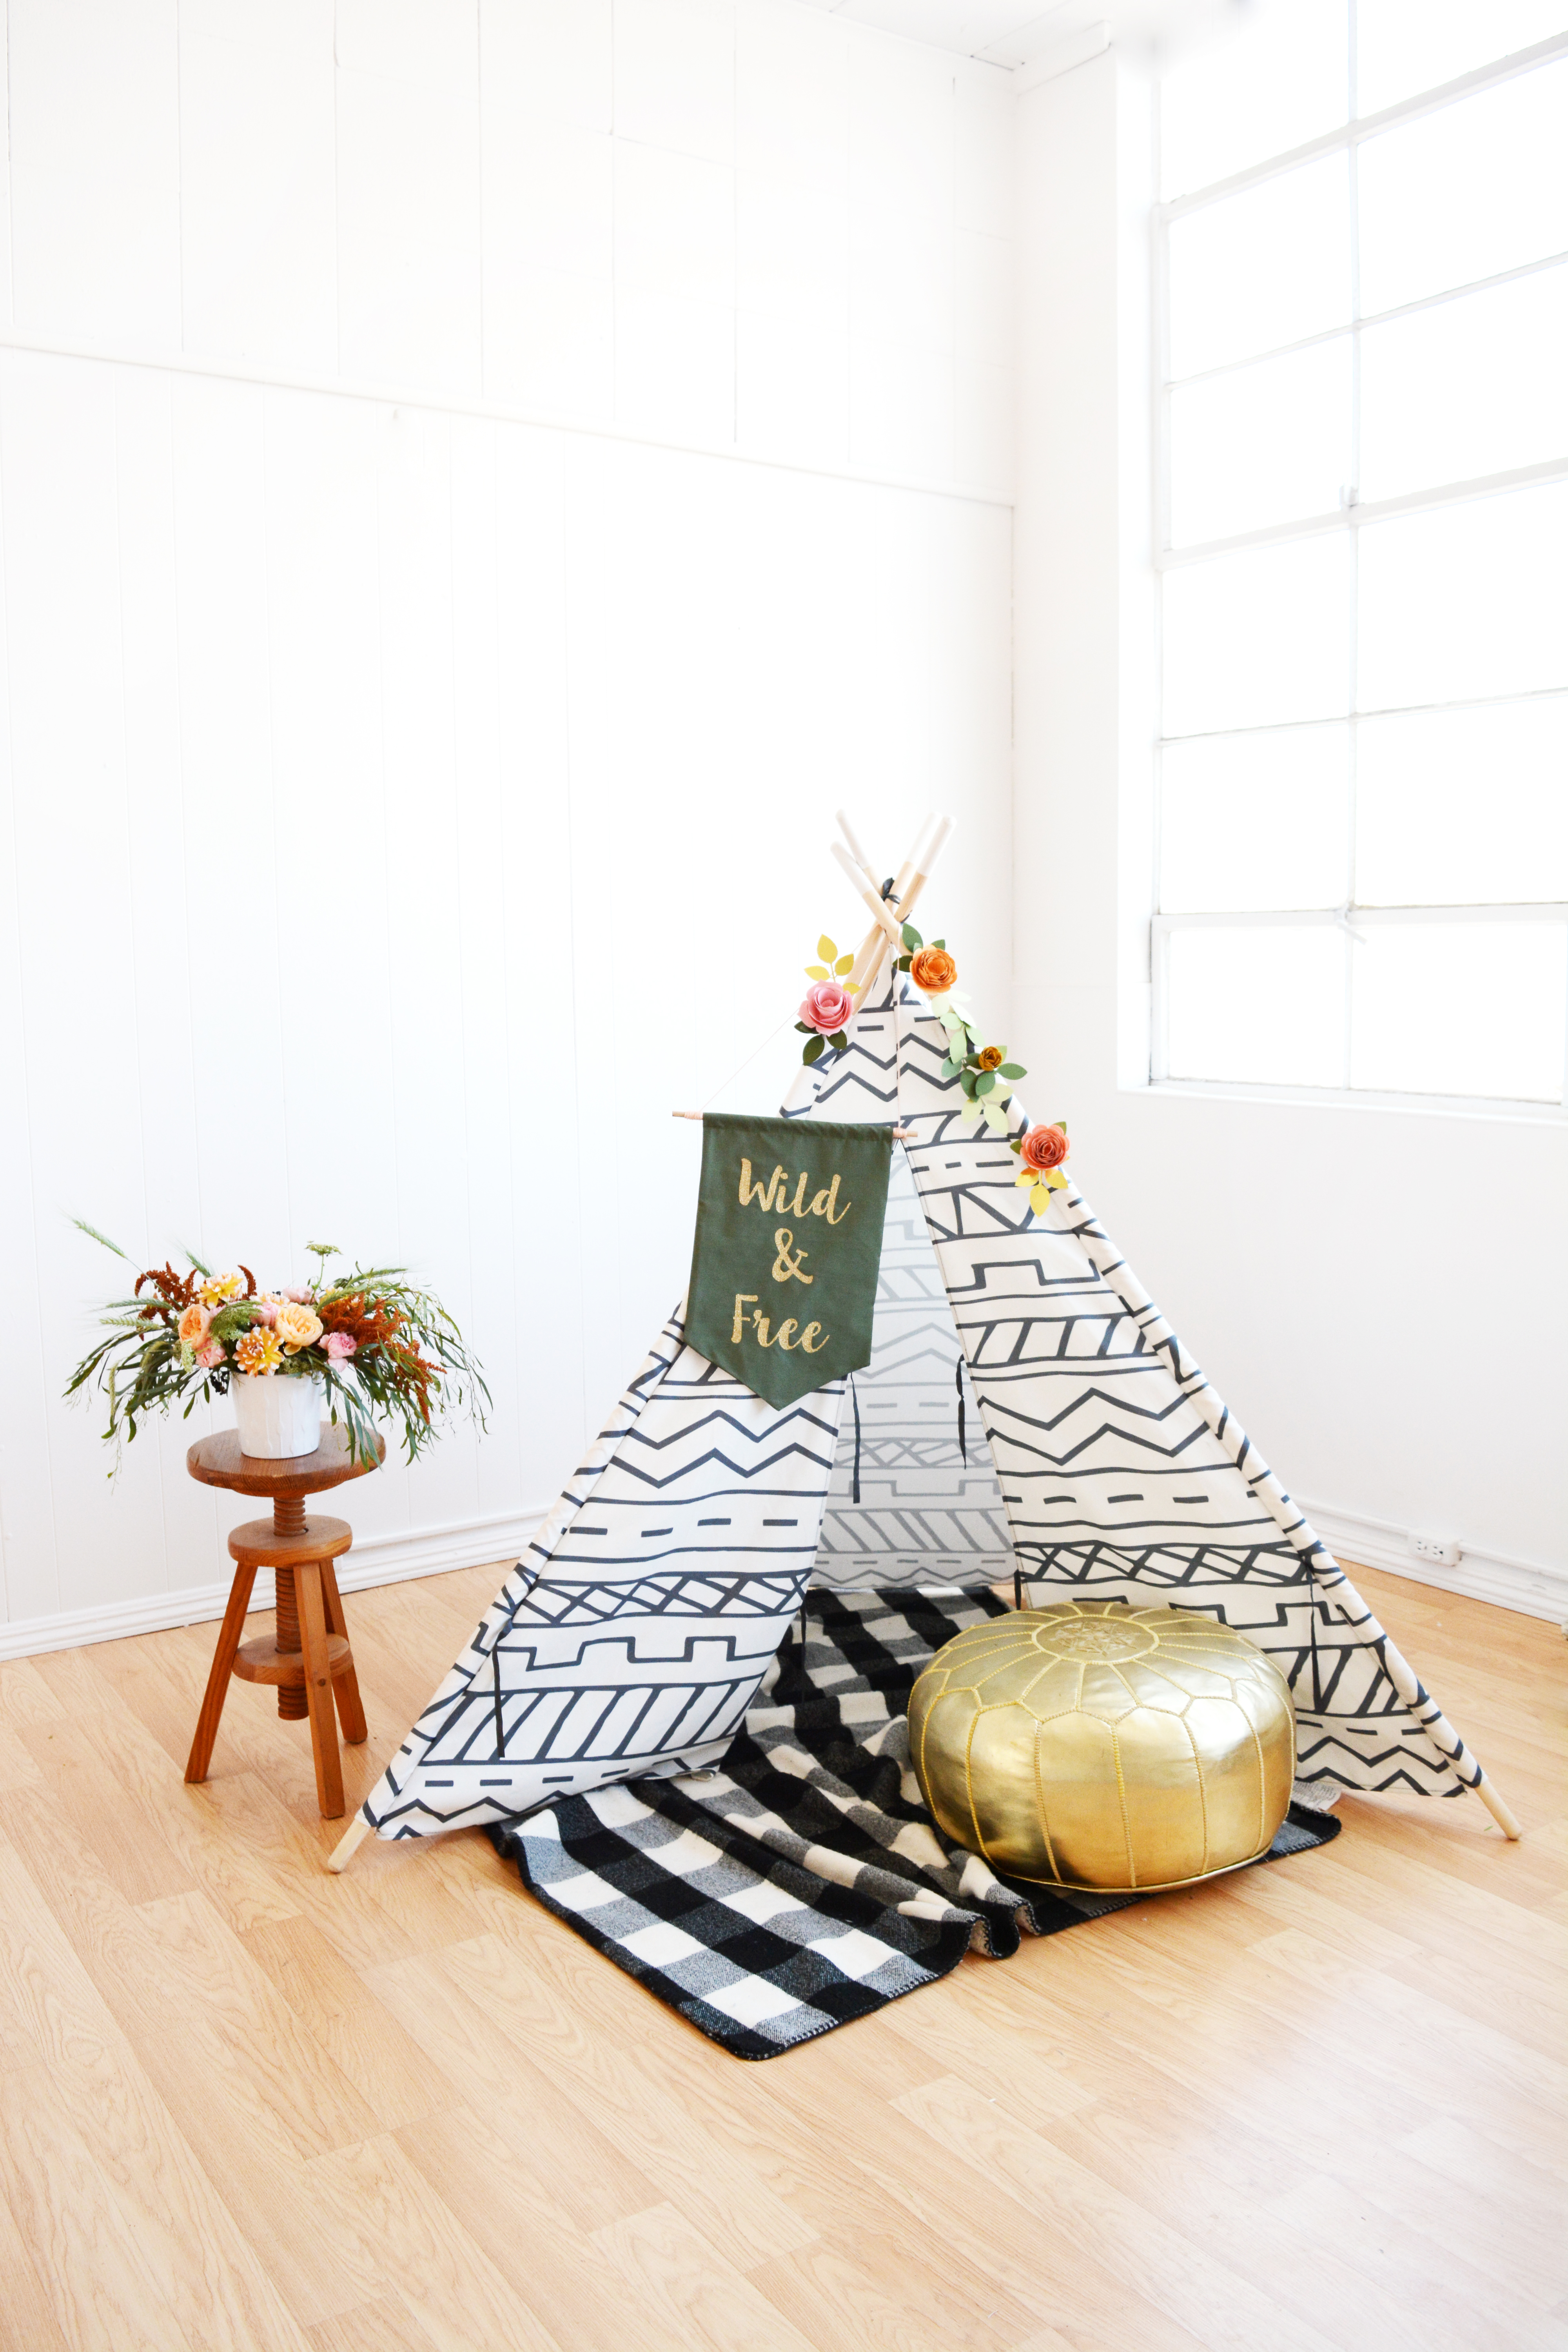
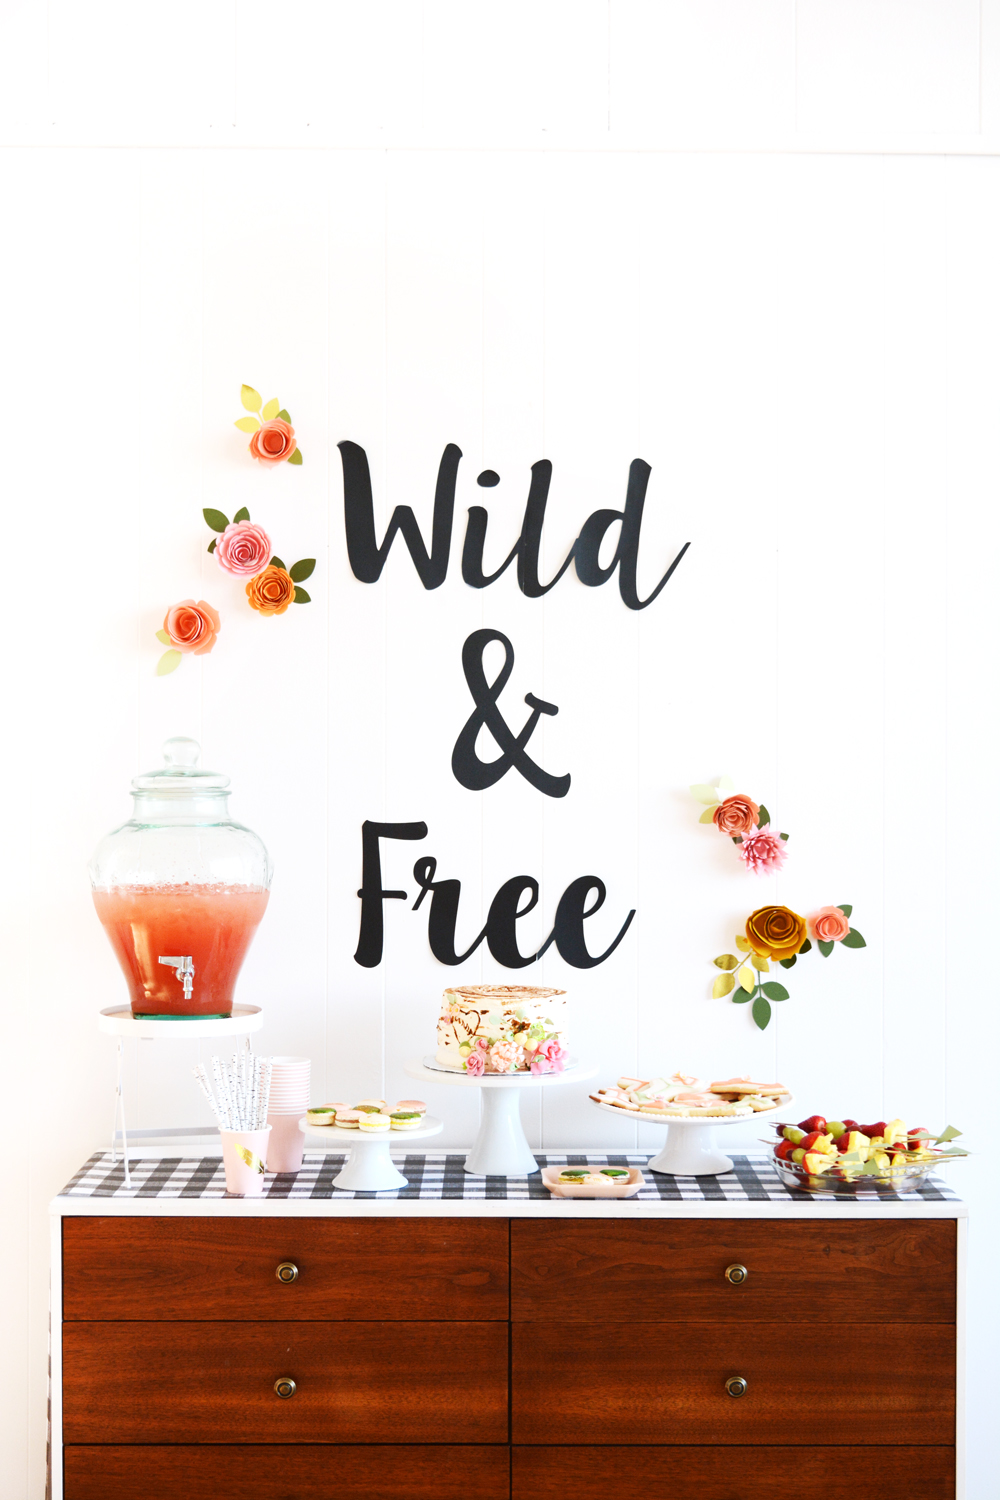
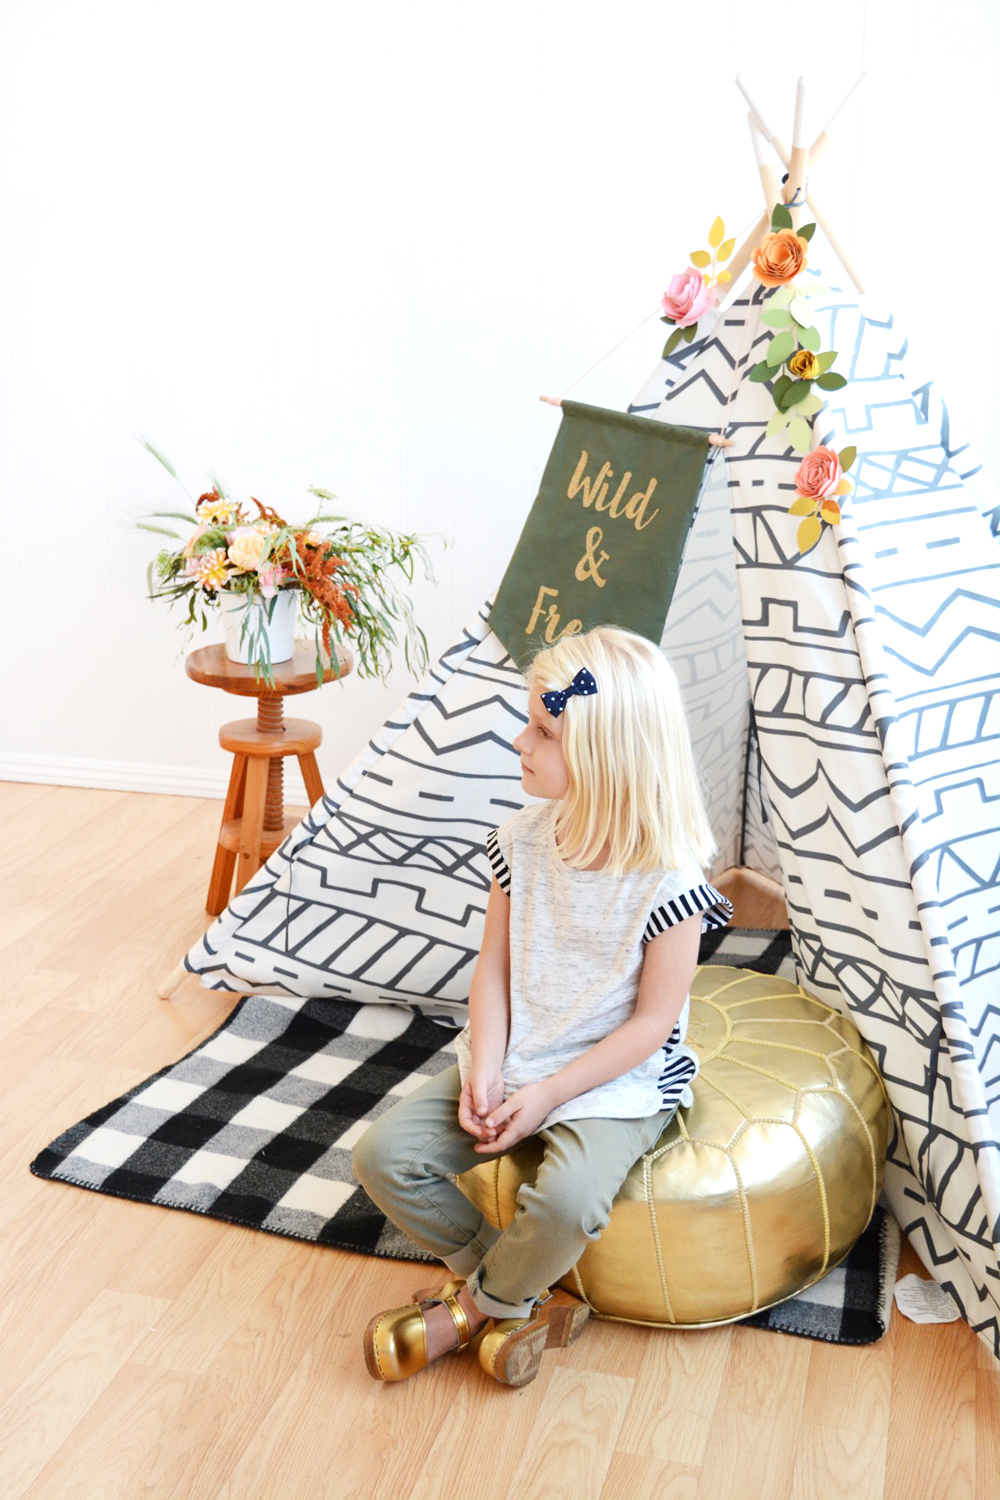
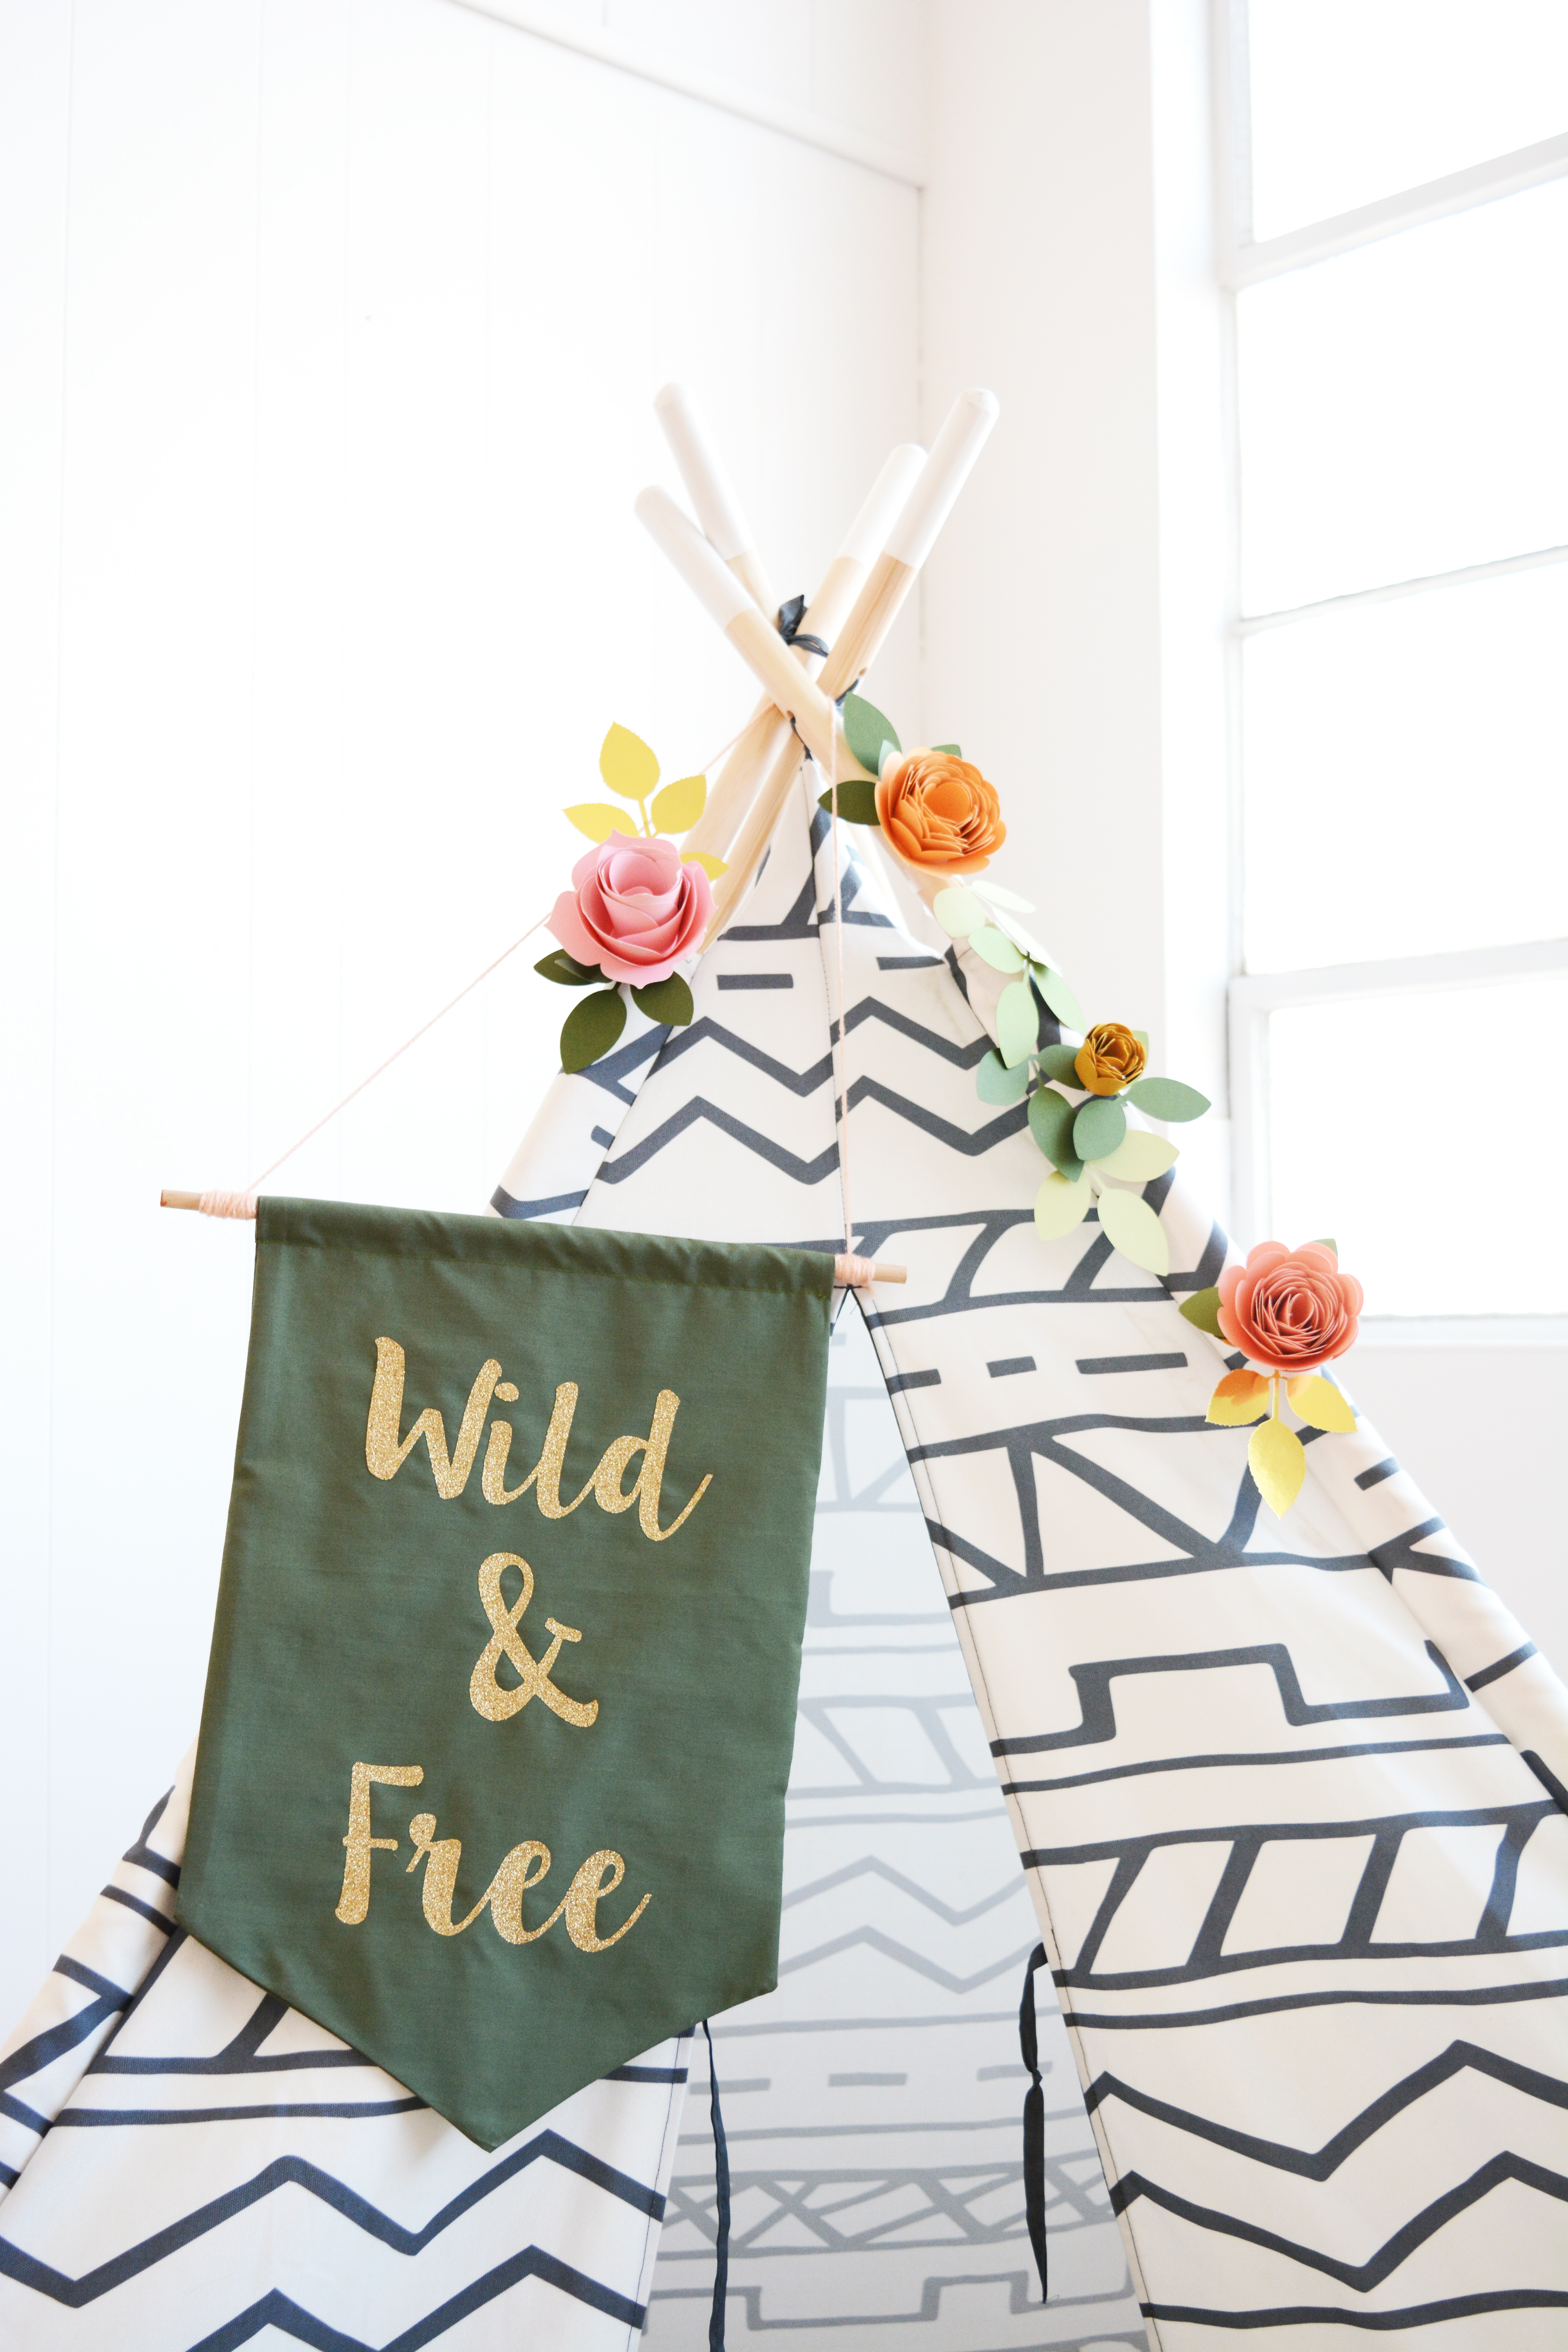
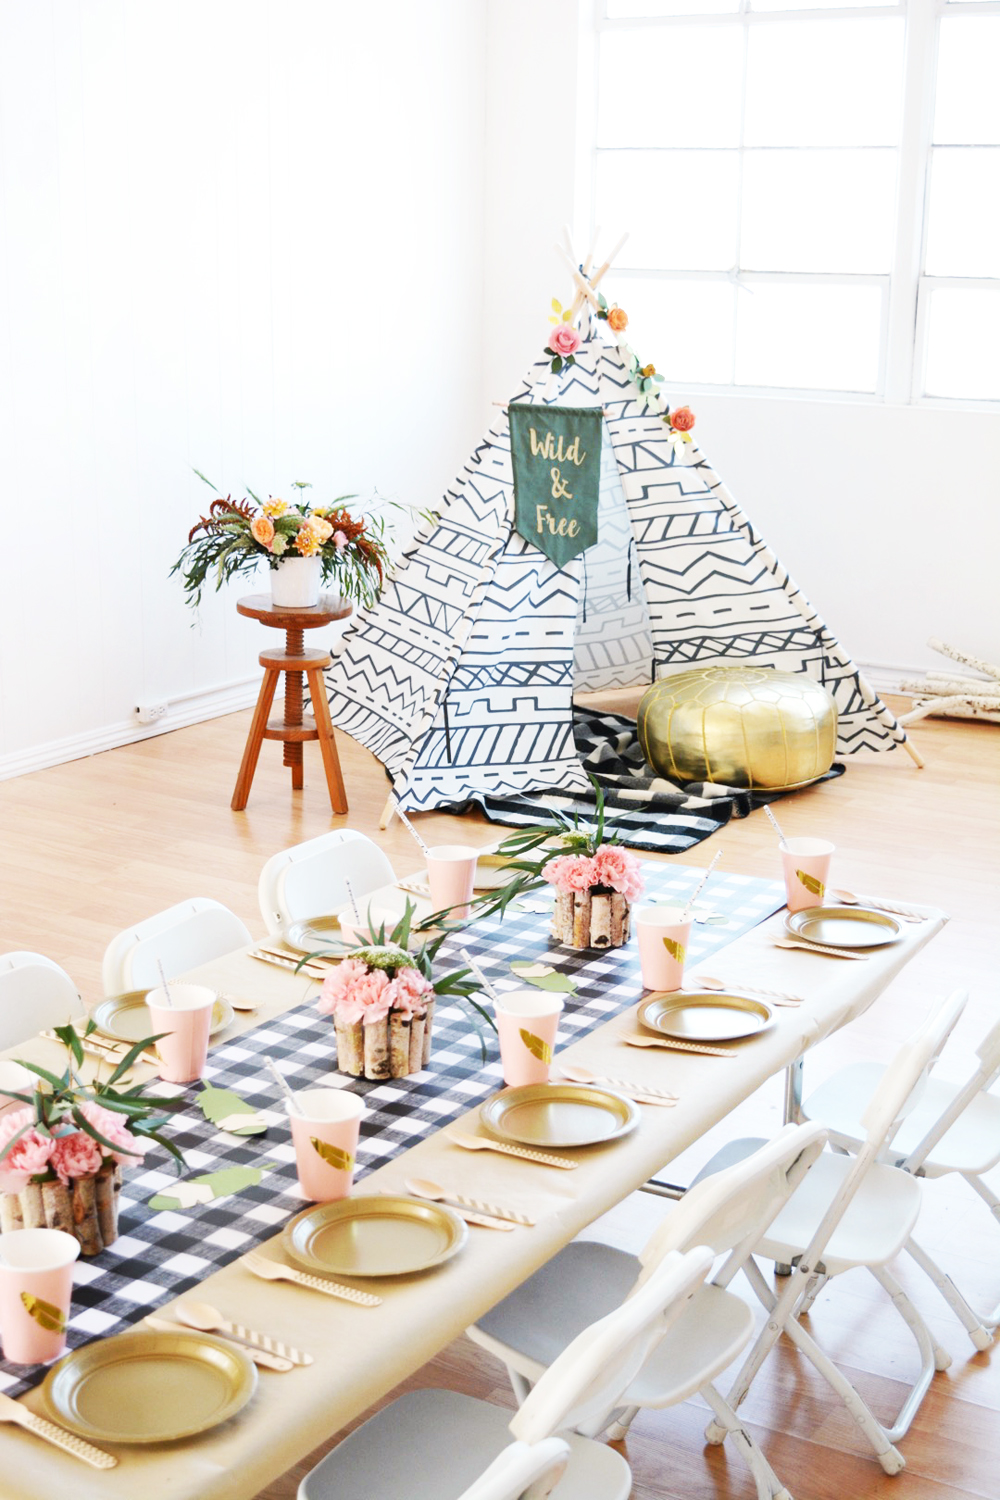
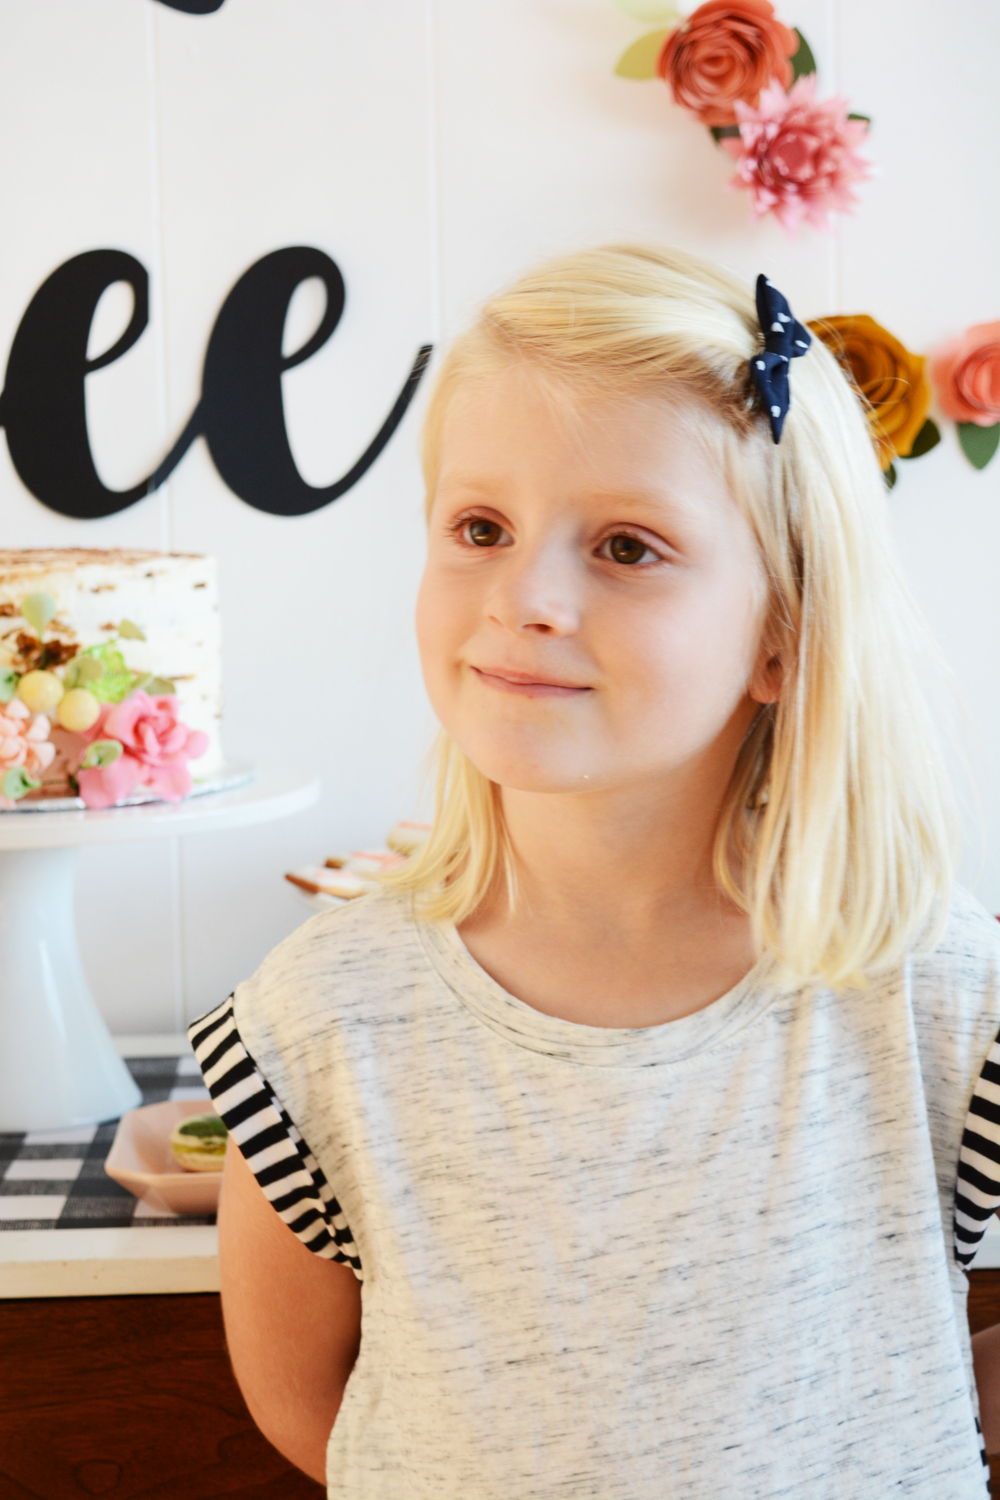
This last weekend we celebrated Olivia’s 5th birthday.  How is my baby 5? She’s a wild women and definitely has a free spirit, so I chose a sweet, boho camping themed party for her and called it Wild & Free. I’ll take any excuse to set up a teepee and play with flowers.

Wild & Free Boho Camping Birthday Party Dessert Table

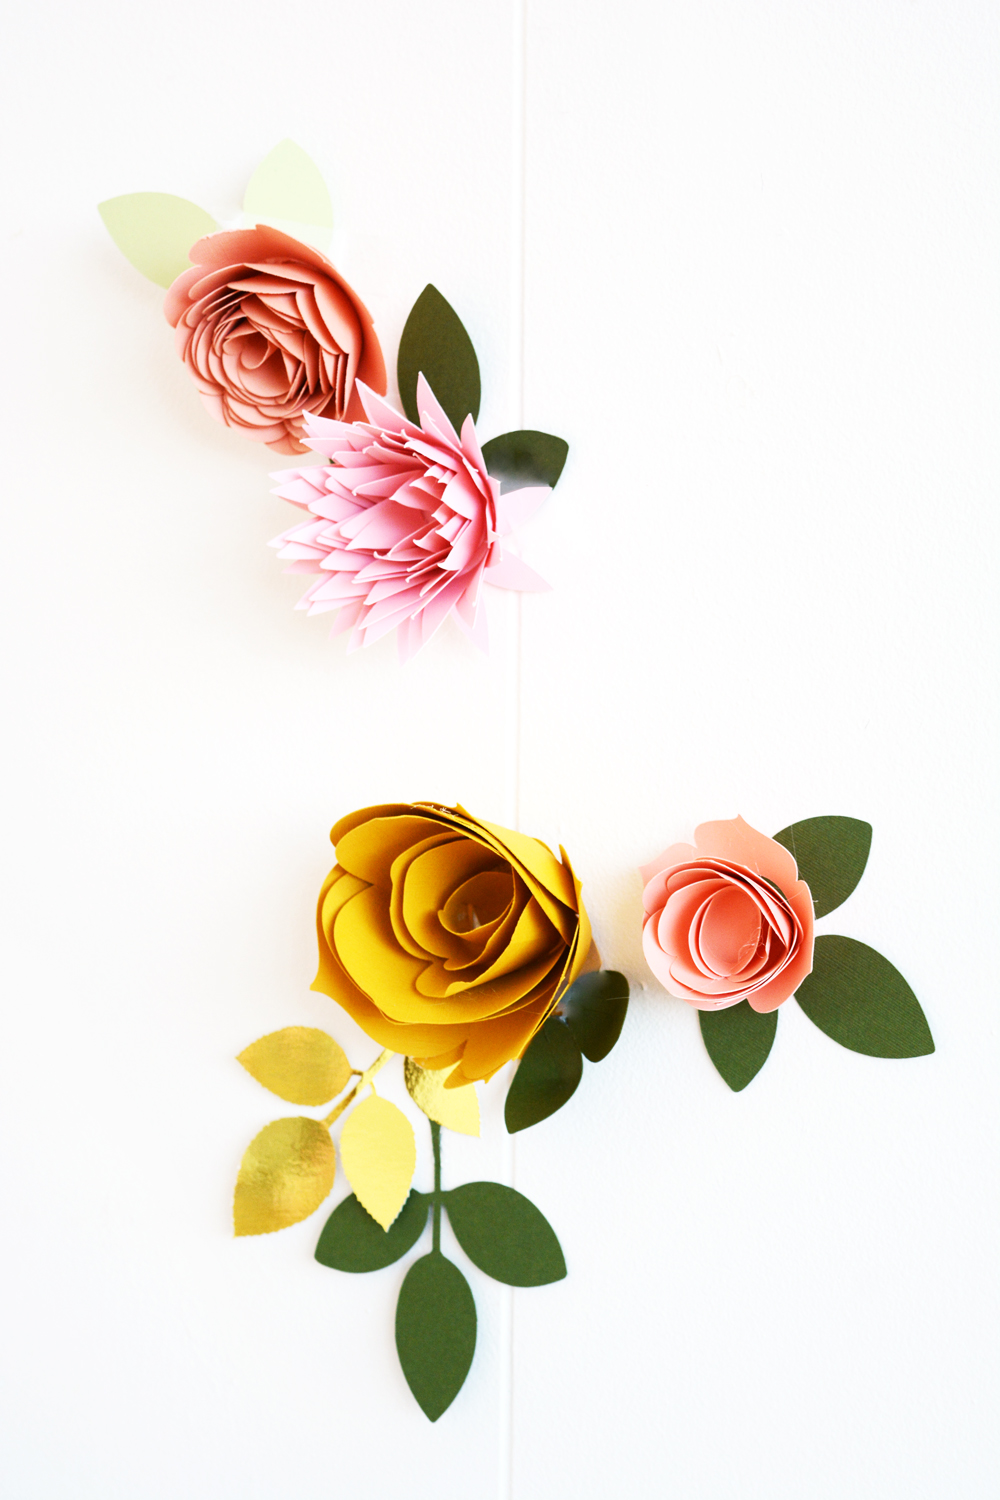
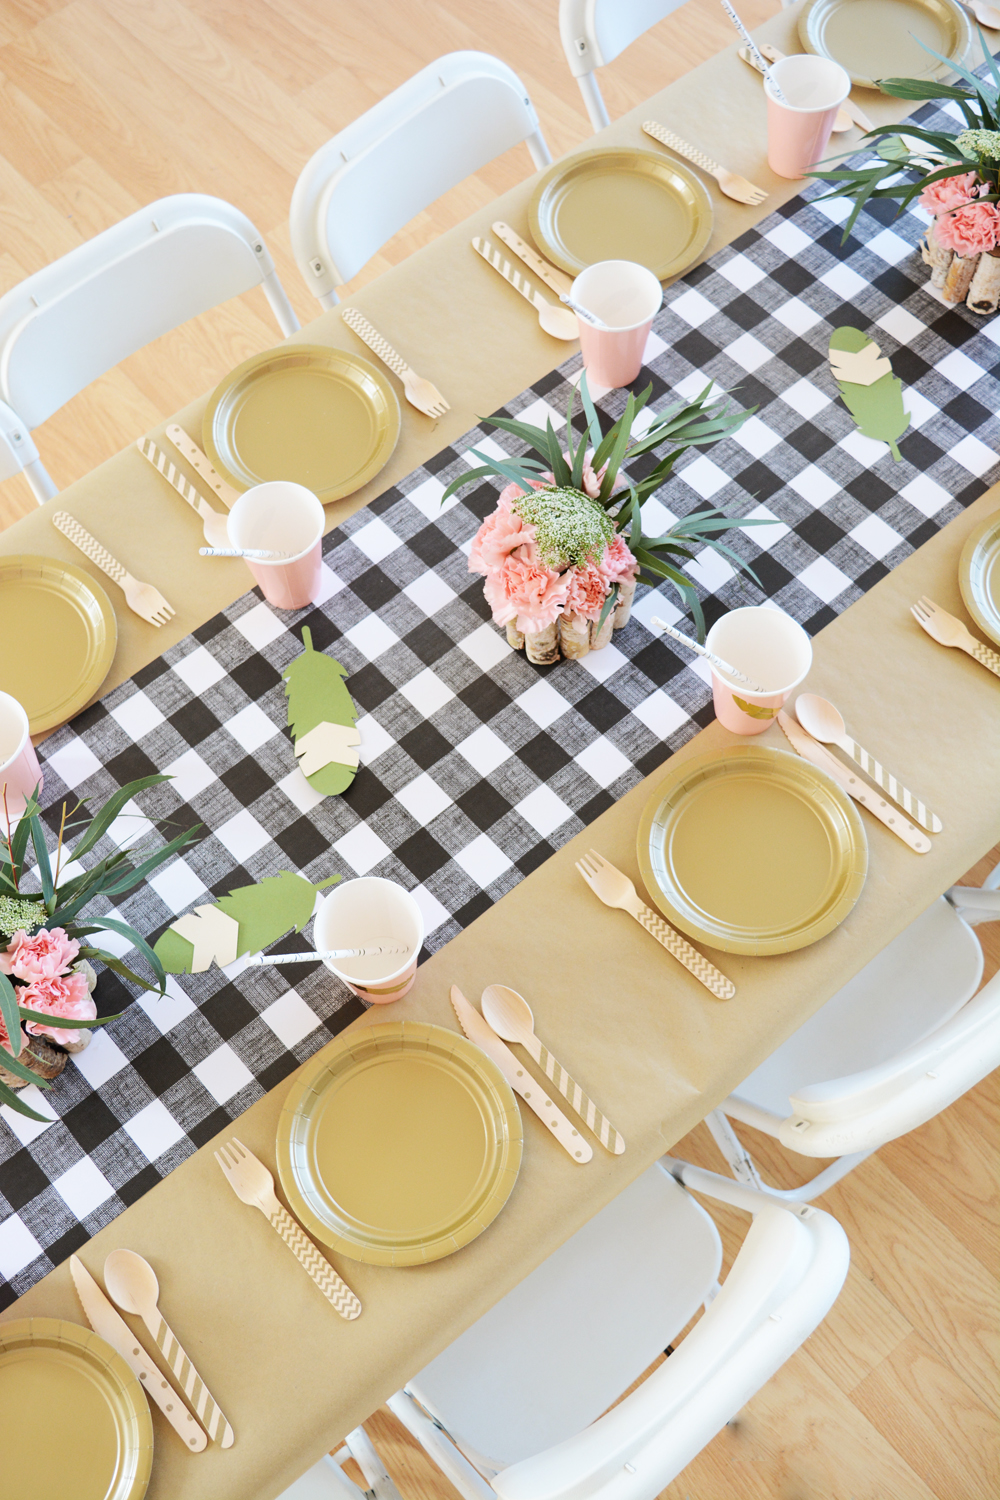
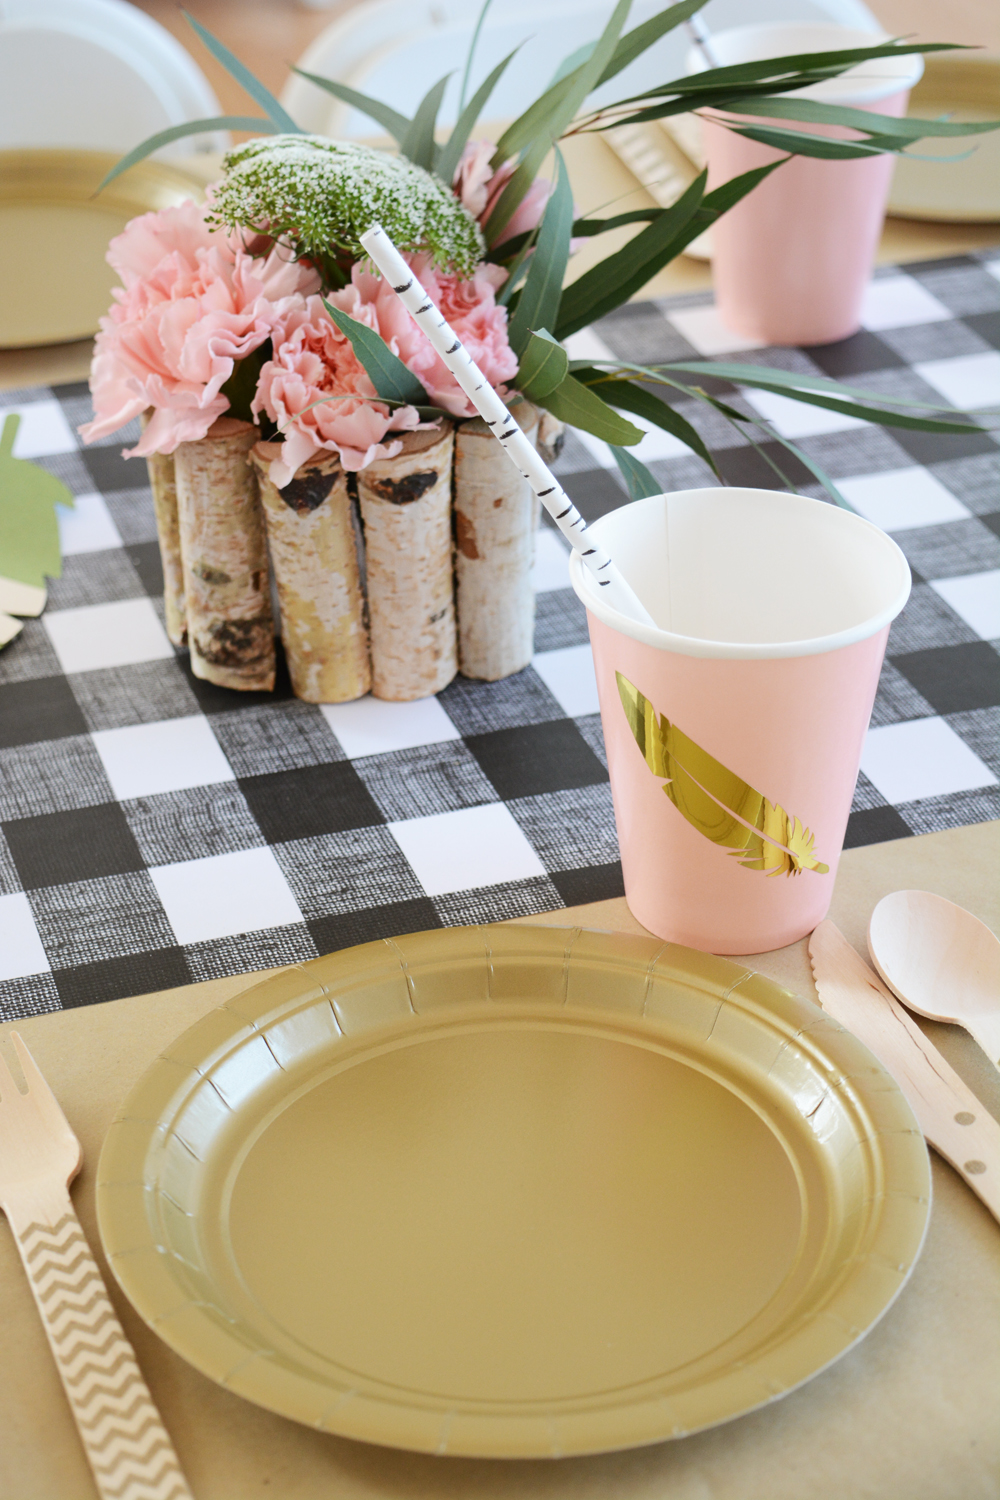
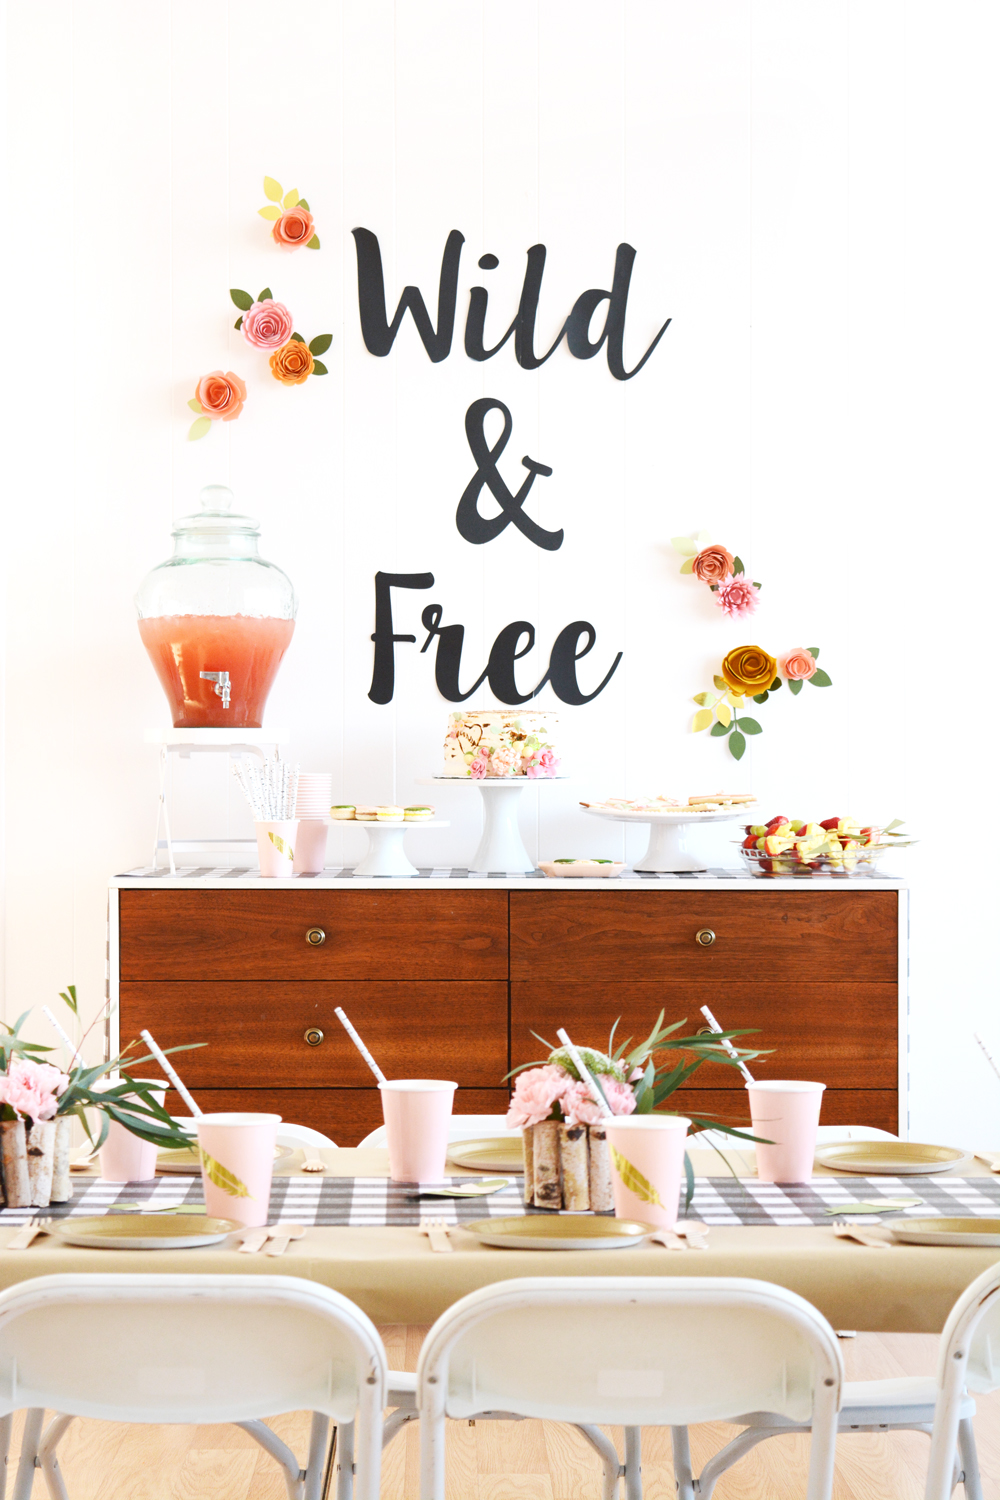
I put my Cricut machine to work for this party. I cut 3D paper flowers, gold feathers for the paper cups and “Wild & Free” lettering for the little banner hanging on the teepee and also for the sign above the dessert table.
3D Paper Flowers


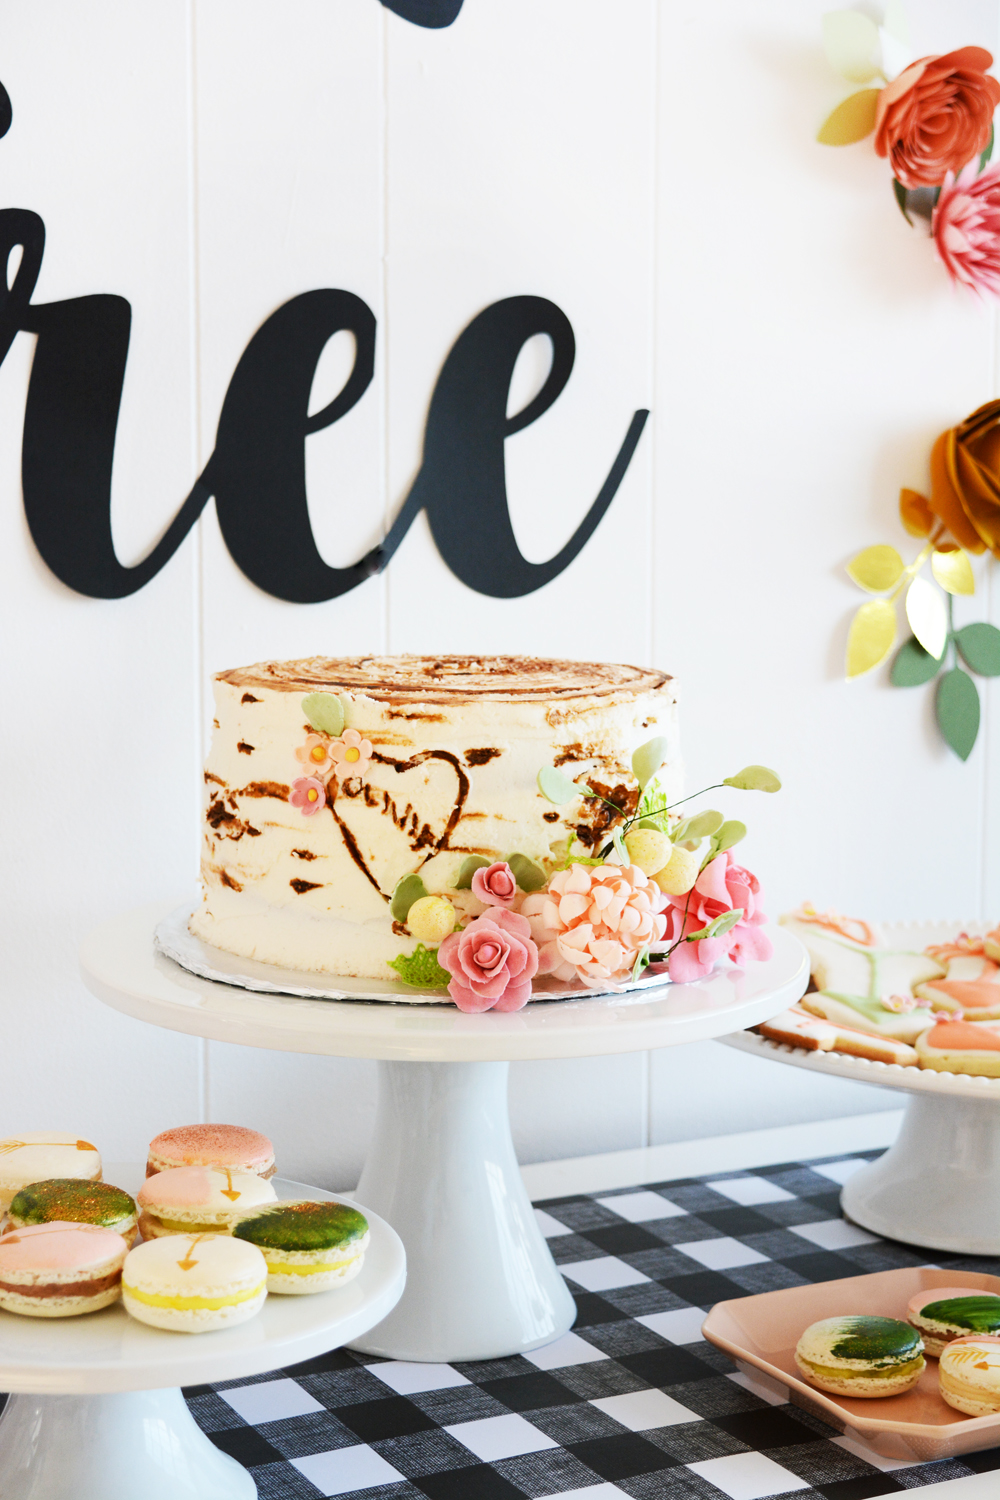
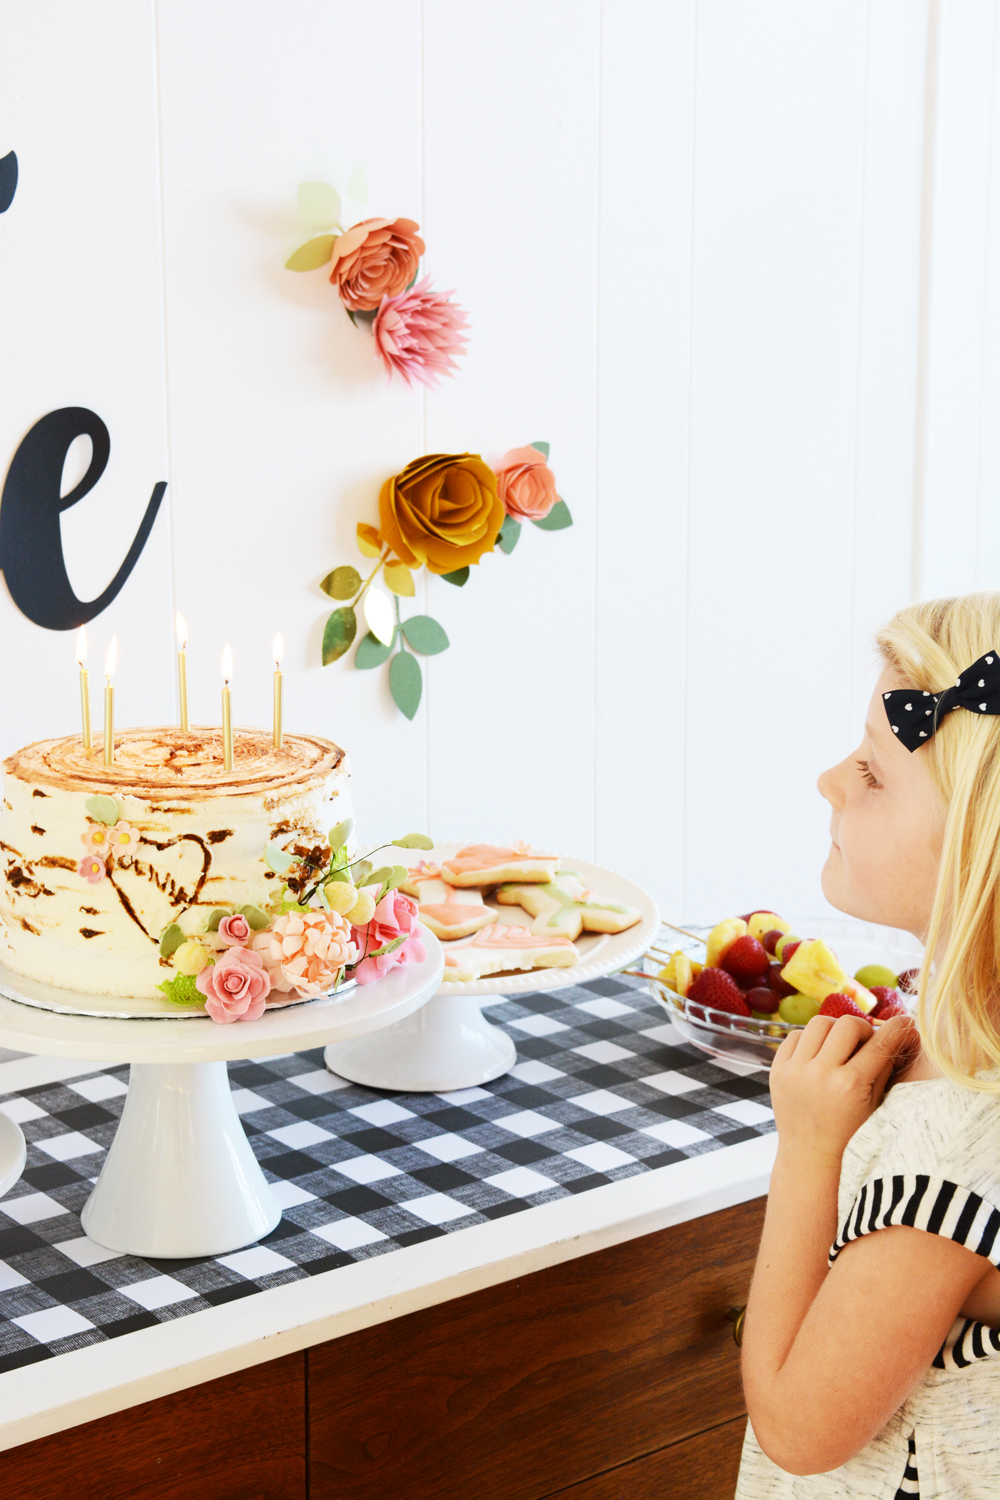
I was lucky to have my super talented mom in town the week before the party. She makes AMAZING cakes. She made the most adorable birch bark log cake with handmade sugar paste flowers for Olivia. I actually would have loved to have had this for my wedding cake. It turned out so cute.

Birch bark birthday cake with sugar past flowers. Wild & Free 5th Birthday Party

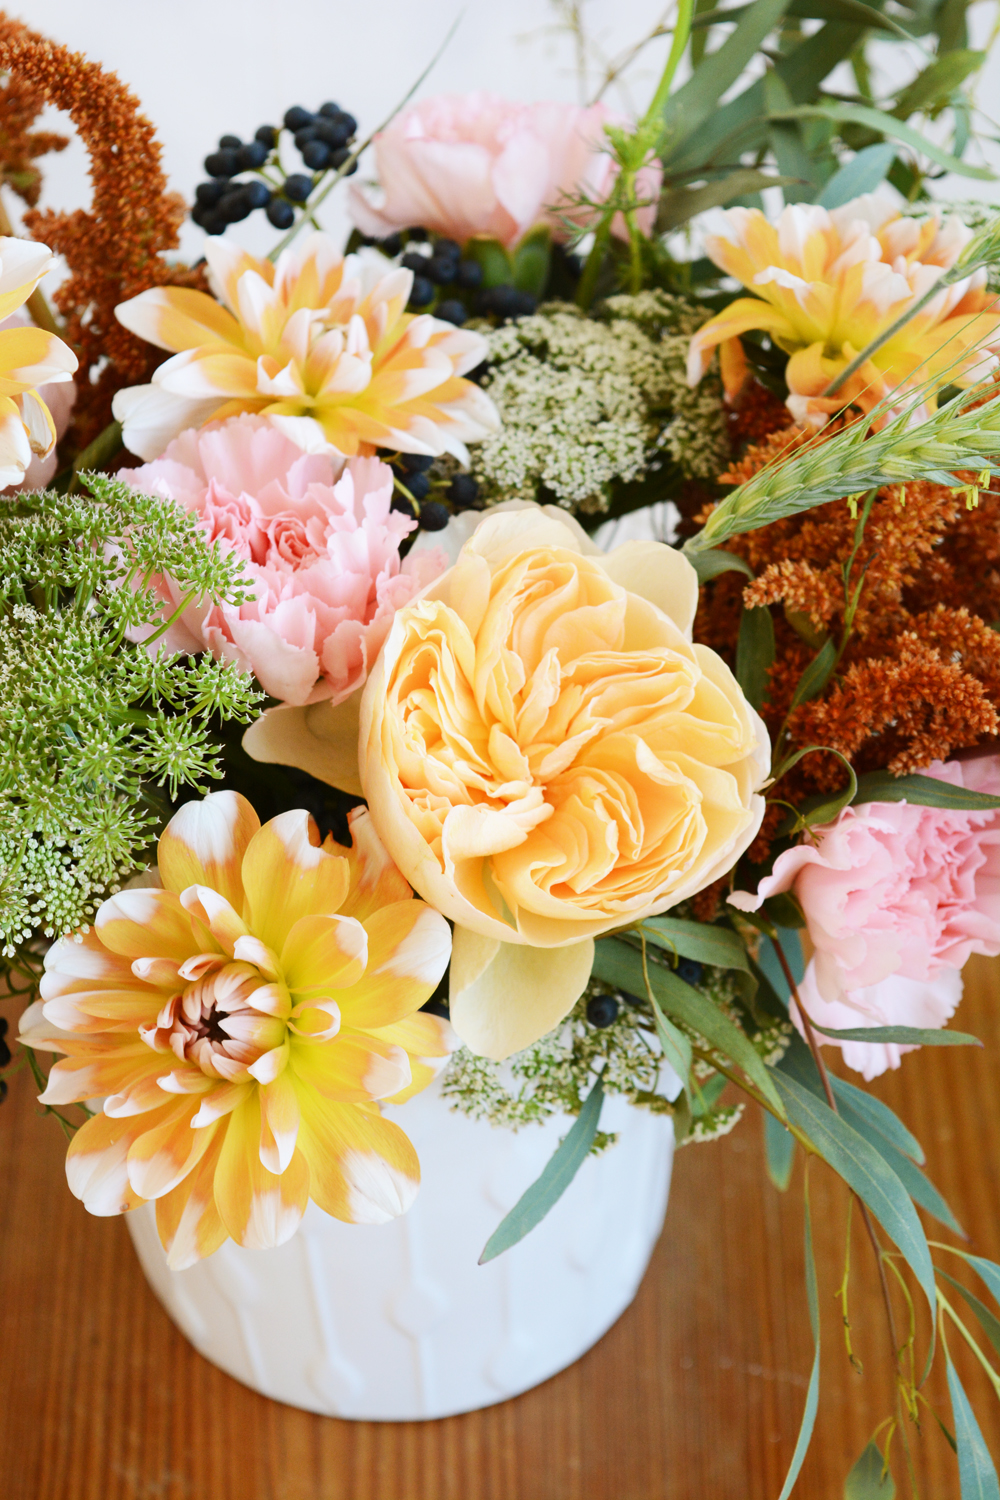
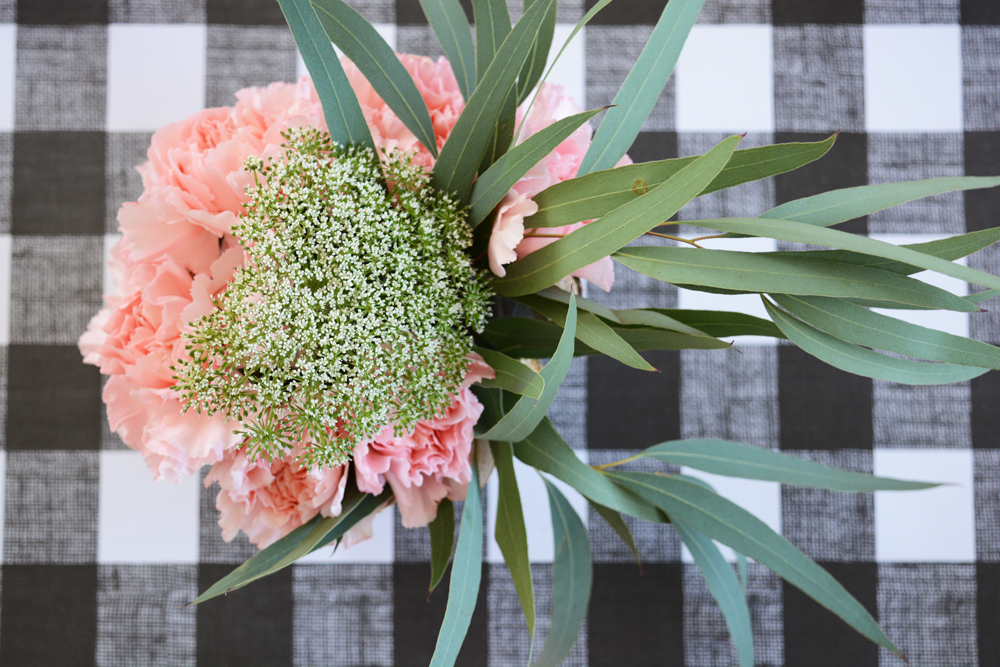
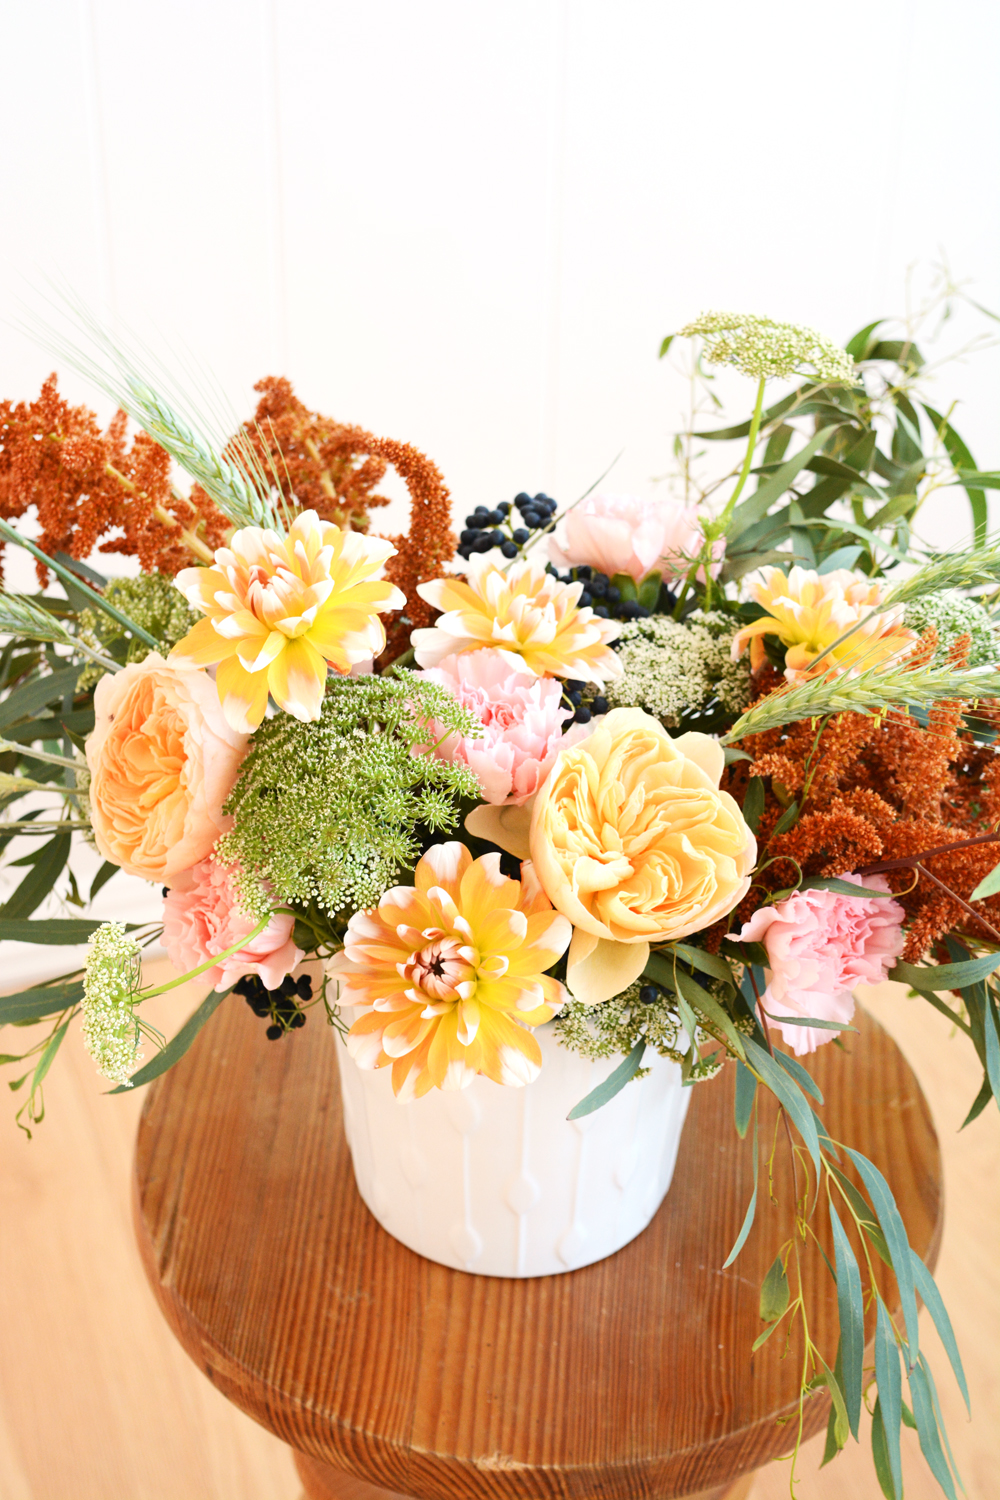
I think I’ve decided fresh flowers are so much better then balloons when it comes to decorating for a little girl’s party.  I played with some really fun colors and textures to create some wild and free arrangements. (House of Flowers, my local florist sourced all the gorgeous blooms and foliage for me.)

Peach and Pink Fall FloralsWild and Free Boho Teepee

Buffalo Check and Pink Flowers

I’m a huge fan of renting kid-sized tables and chairs for parties. Number 1 – they are stinkin adorable and number 2 – kids are more likely to actually sit down and eat in one spot (I’m always trying to reduce the mess situation).

Wild & Free Boho Camping Party Wild and Free Boho Camping Themed Birthday Party.Wild and Free Boho Camping Themed Birthday PartyWild and Free Birthday PartyArrow CookiesPeach and Pink Florals

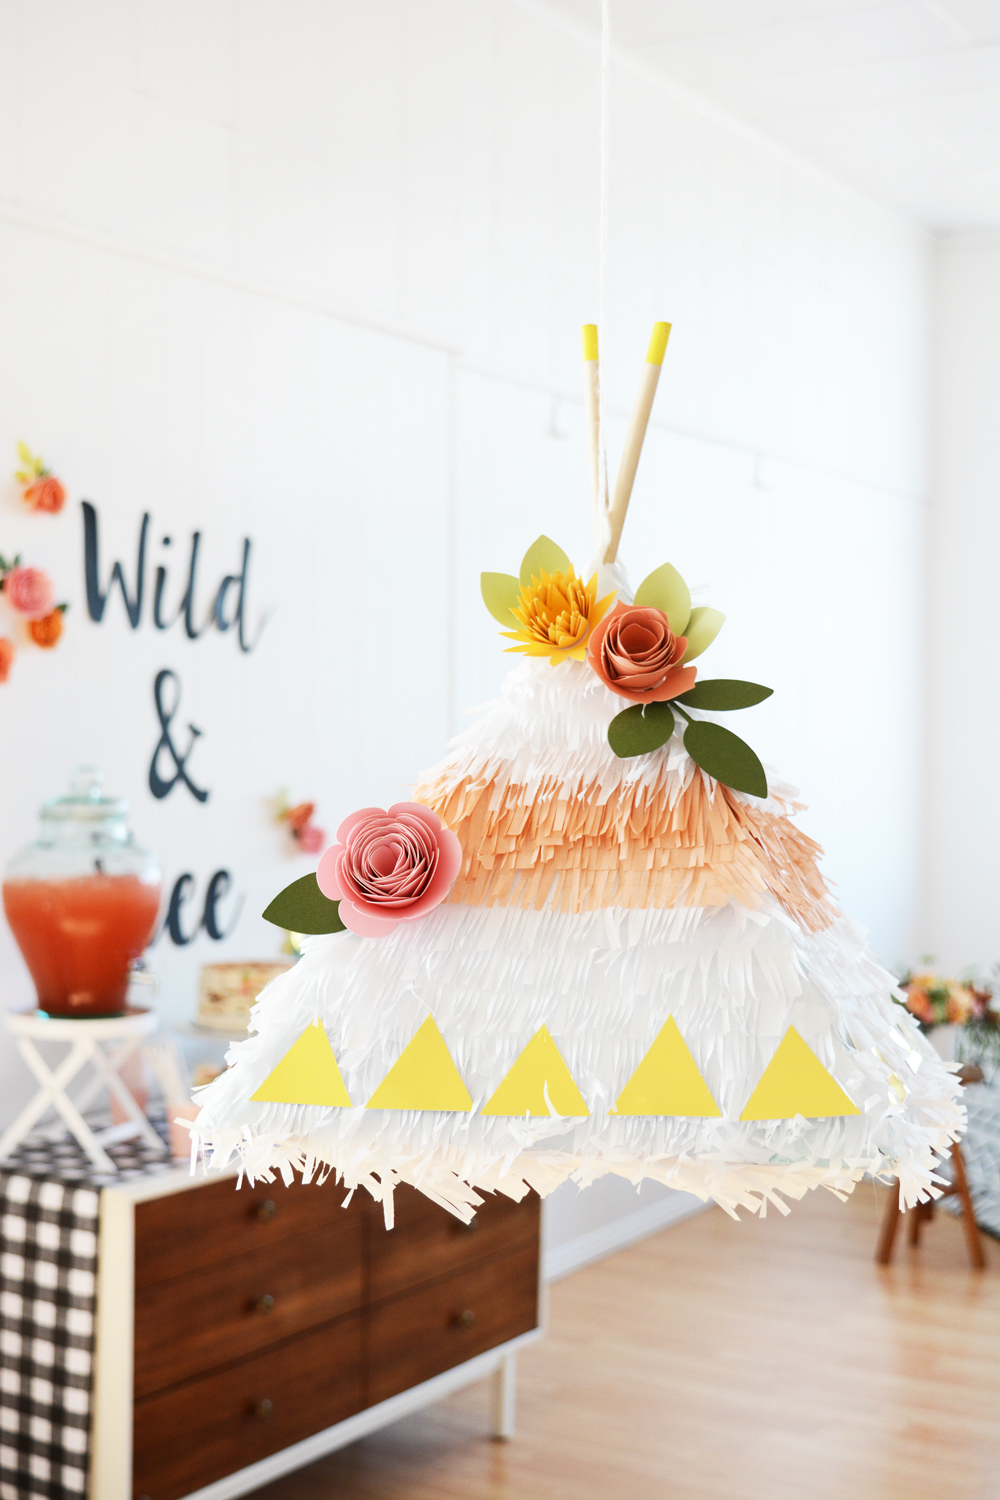
This might be the cutest pinata I’ve ever made. And I’ve made a lot (between my 3 kids, I’ve thrown almost 30 themed birthday parties). I took a square box and cut down the sides to triangles and then taped them together. Then I fringed the whole thing and added simple gold triangles and a few paper flowers.

Teepee PinataWild and Free Birthday Party Olivia is 5

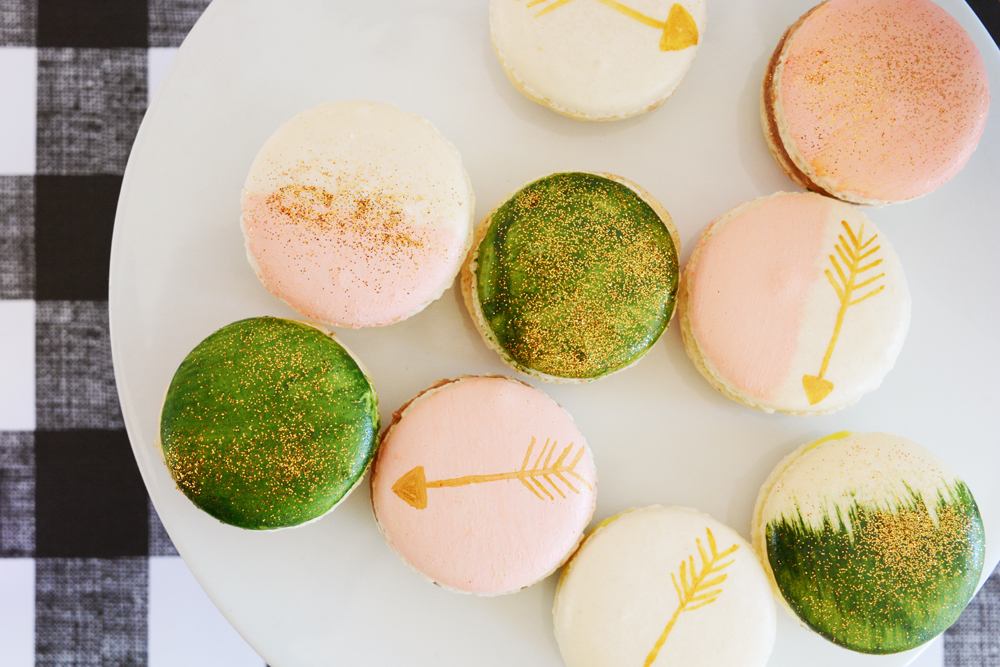
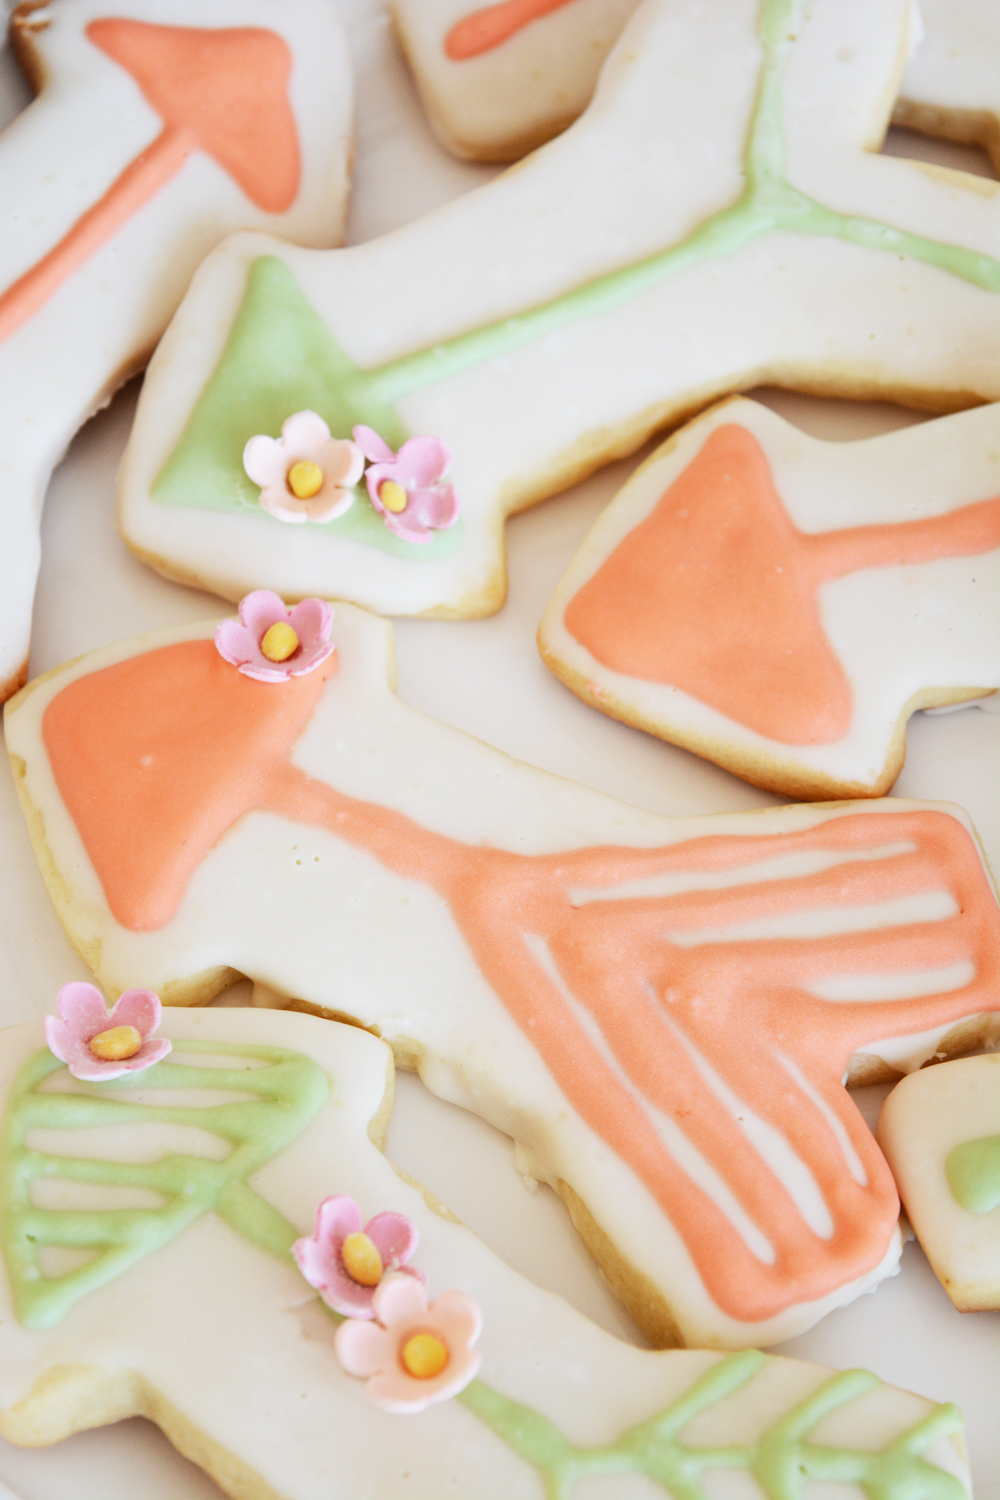
I kept the food pretty simple. On the dessert table we had cake, arrow sugar cookies, fruit skewers with arrowheads and the sweetest little macarons from De Coeur Bakeshop (they are Olivia’s all time favorite treat). And then I also made 3 different savory hand pies and a big veggies and dip tray. I made Buffalo Chicken and Blue Cheese, Creamy Chicken Taco, and Ham and Cheese (for the picky eaters) hand pies.
Painted Macarons

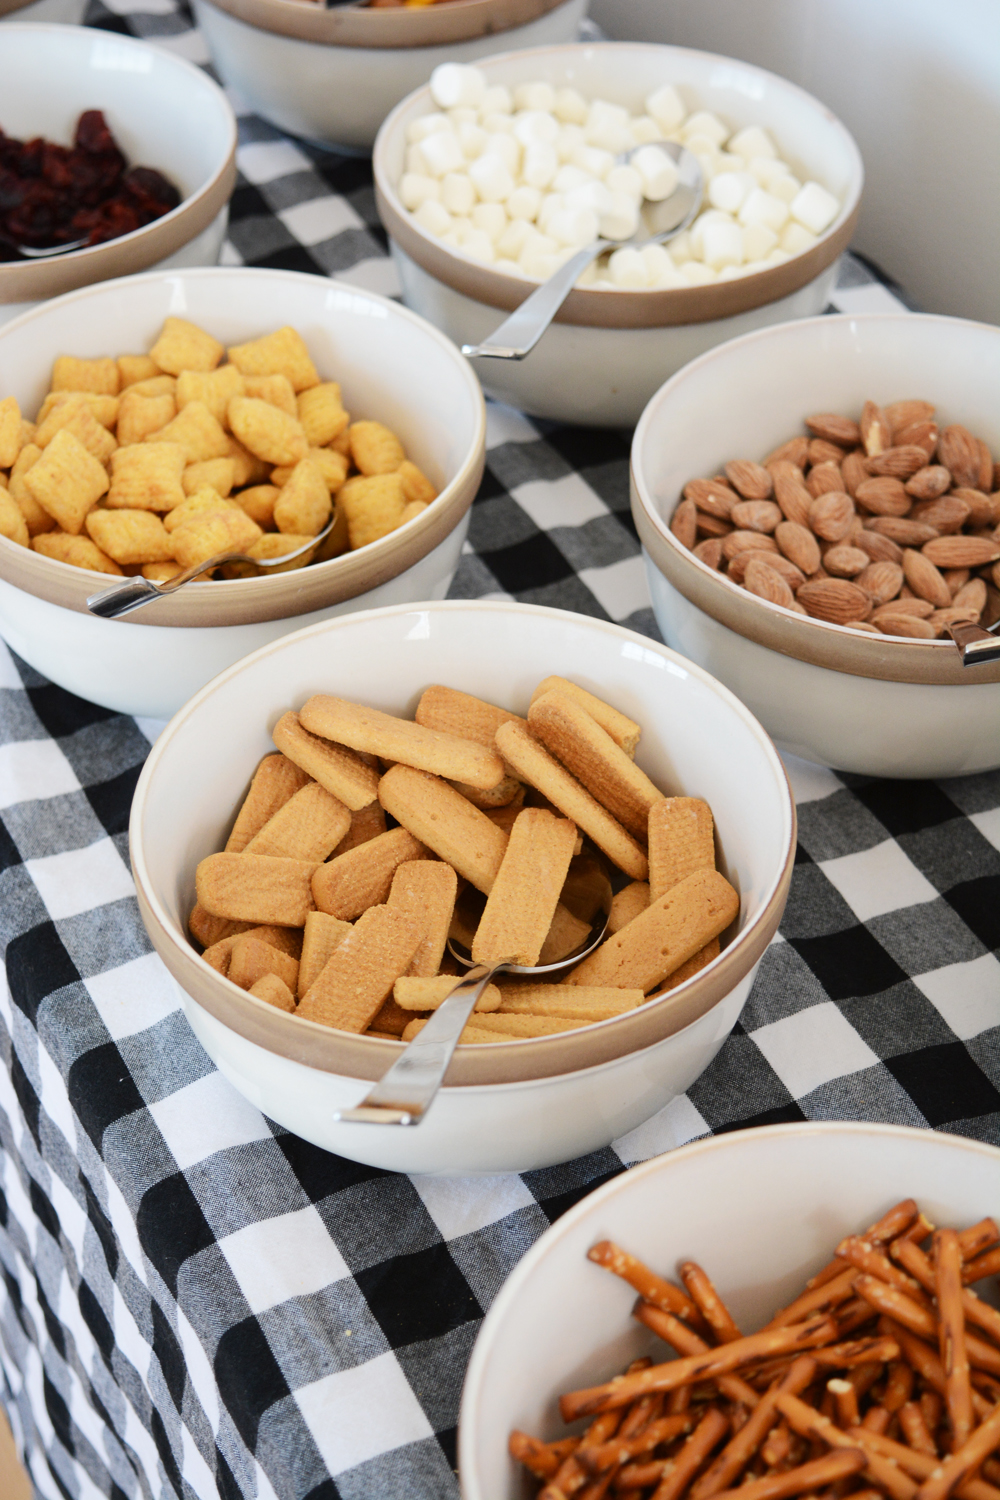
As part of their take-home treat, I set up a trail mix station. Guests could fill little baggies with all their favorite ingredients.

We also played “pass the parcel” and every decorated their own arrows and birch branch walking stick with feathers, yarn, and paint pens.

It was a really fun party. Often, by the time the party arrives, I’m just too tired to enjoy it. But, everyone was very relaxed and 5 year old really can entertain themselves quite well. So, I got to sit back and enjoy the festivities.

Trail mix station.


DIY / Style

Gifts Wrapped in Gifts

October 4, 2016

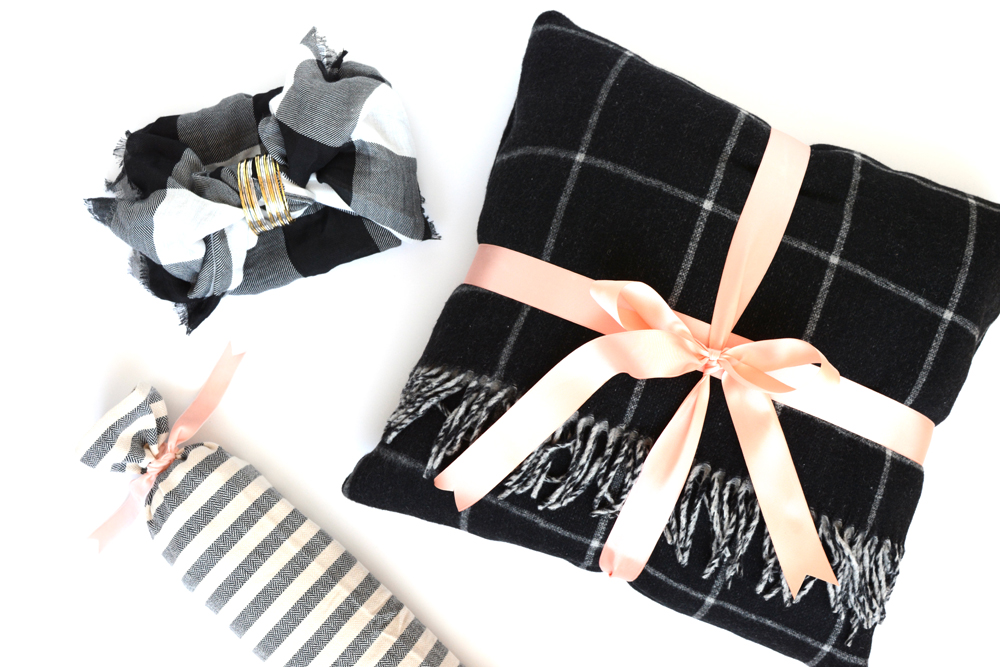
Before we know it, the gift giving season will be here. This year I’m on the hunt for gifts and gifts that I can wrap those gifts in.  Instead of wrapping paper, this year I want to wrap gifts in something that the recipient can actually use.


Gifts Wrapped in GiftsI’ve got 3 creative gift ideas, where the wrapping is part of the gift. Be sure to head over to Ehow today to see the the full how-tos.
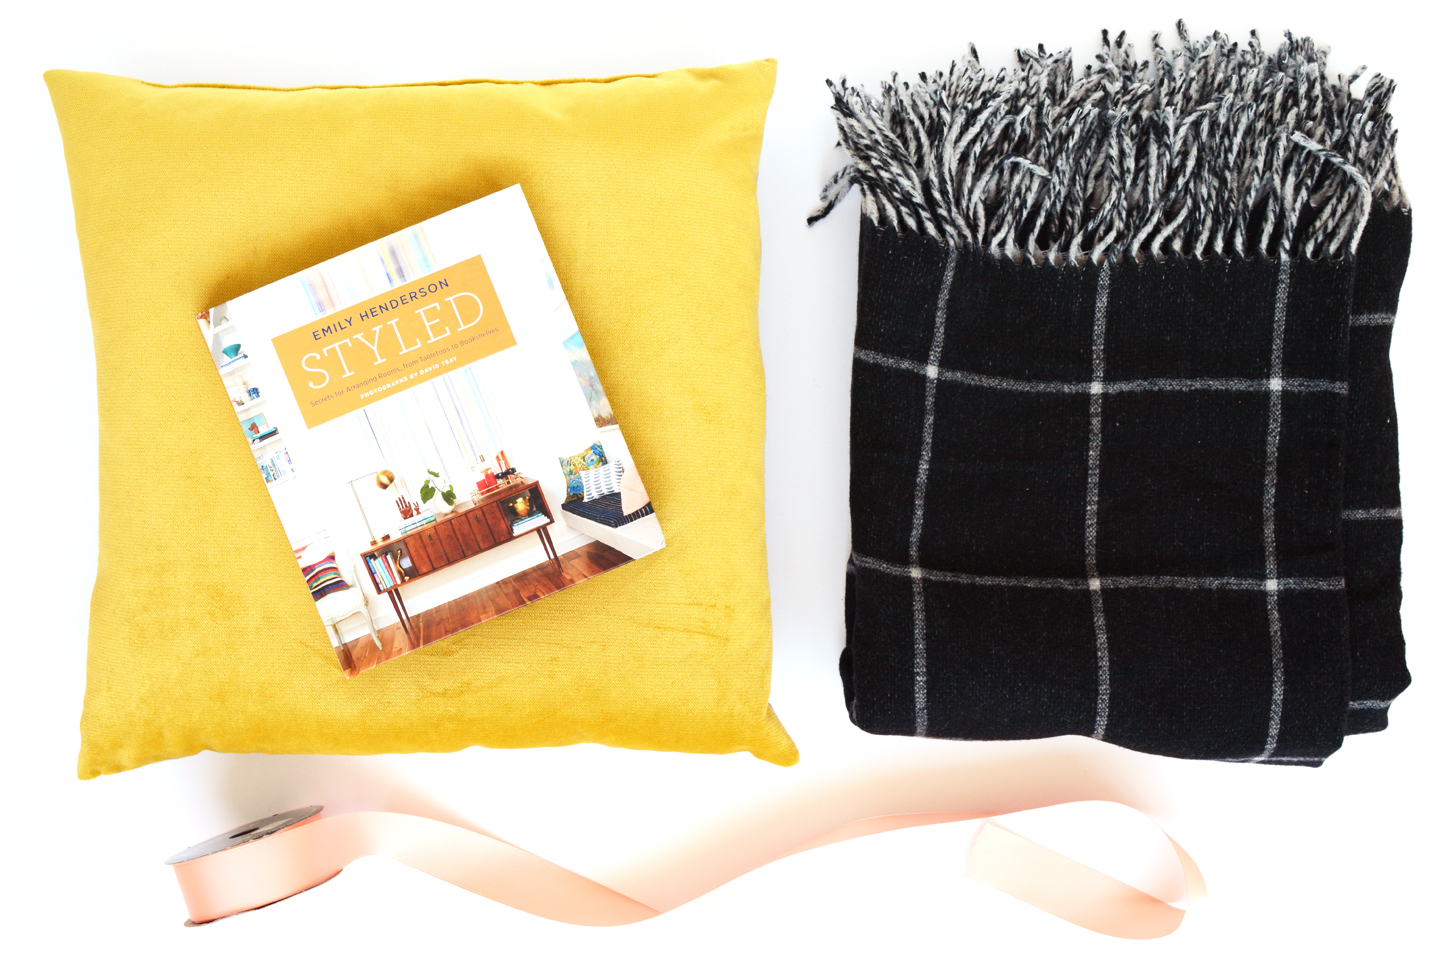
For the home decorator – a throw pillow, a blanket and a design book.

Gift for the home decorator.

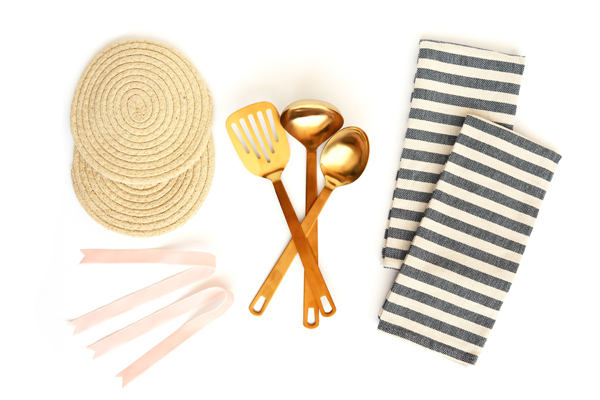
For the cook – hot pads, utensils and dish towels.

Gift for the cook.

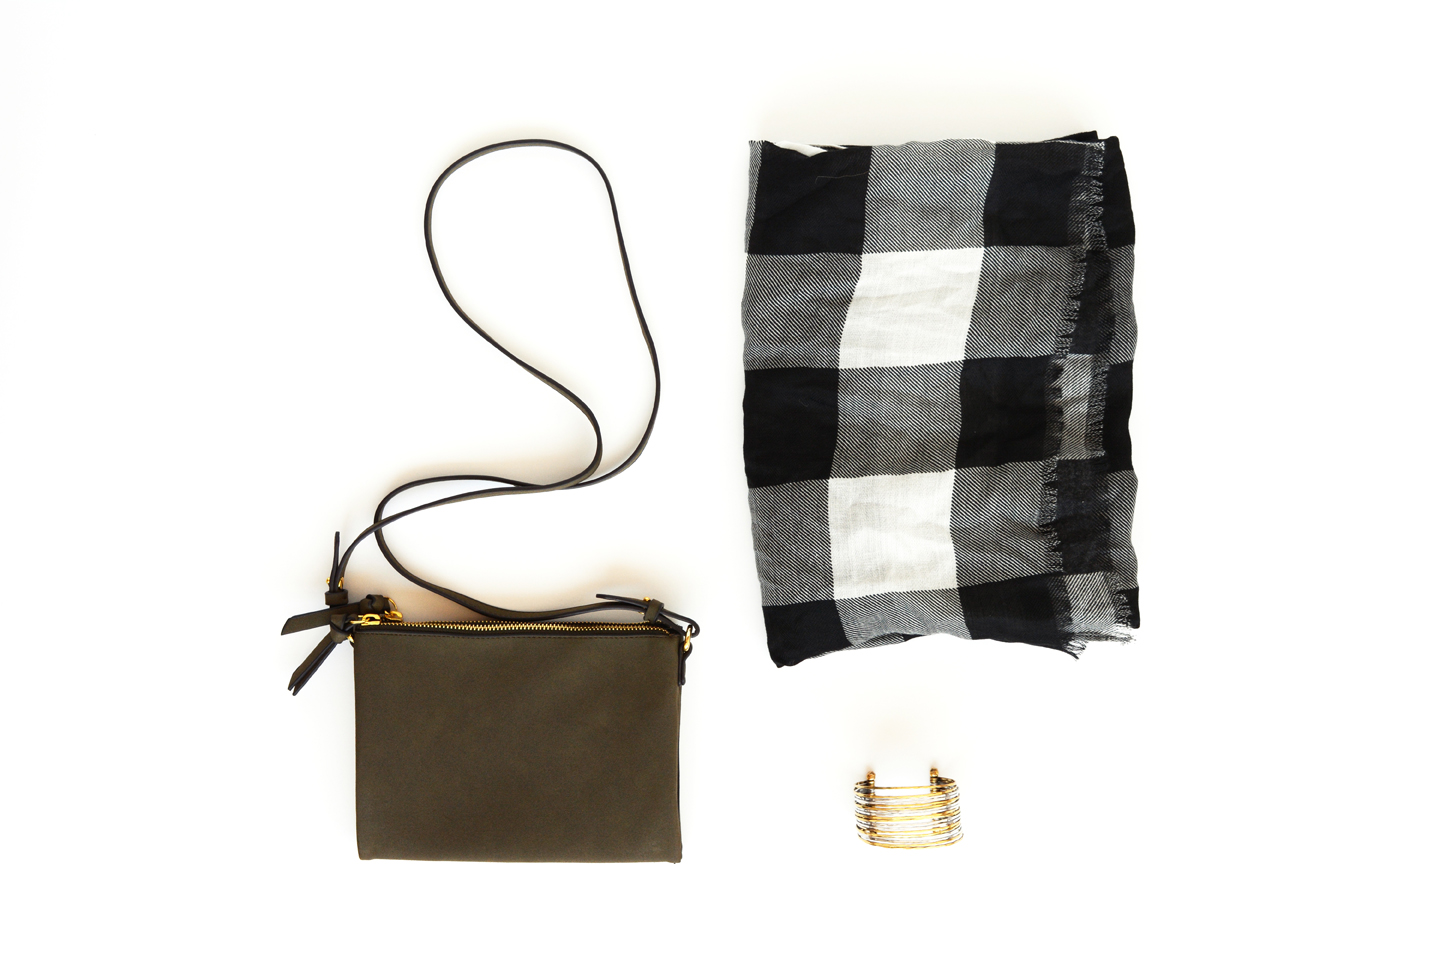
And for the fashionista – a purse, a scarf and and bracelet.

Gift for the fashionista.

So, have you started thinking about Christmas gifts yet? I have, these are 3 gifts ready for 3 ladies in my life.

Food & Drink

Sparkling Apple Ginger Mocktail

September 22, 2016

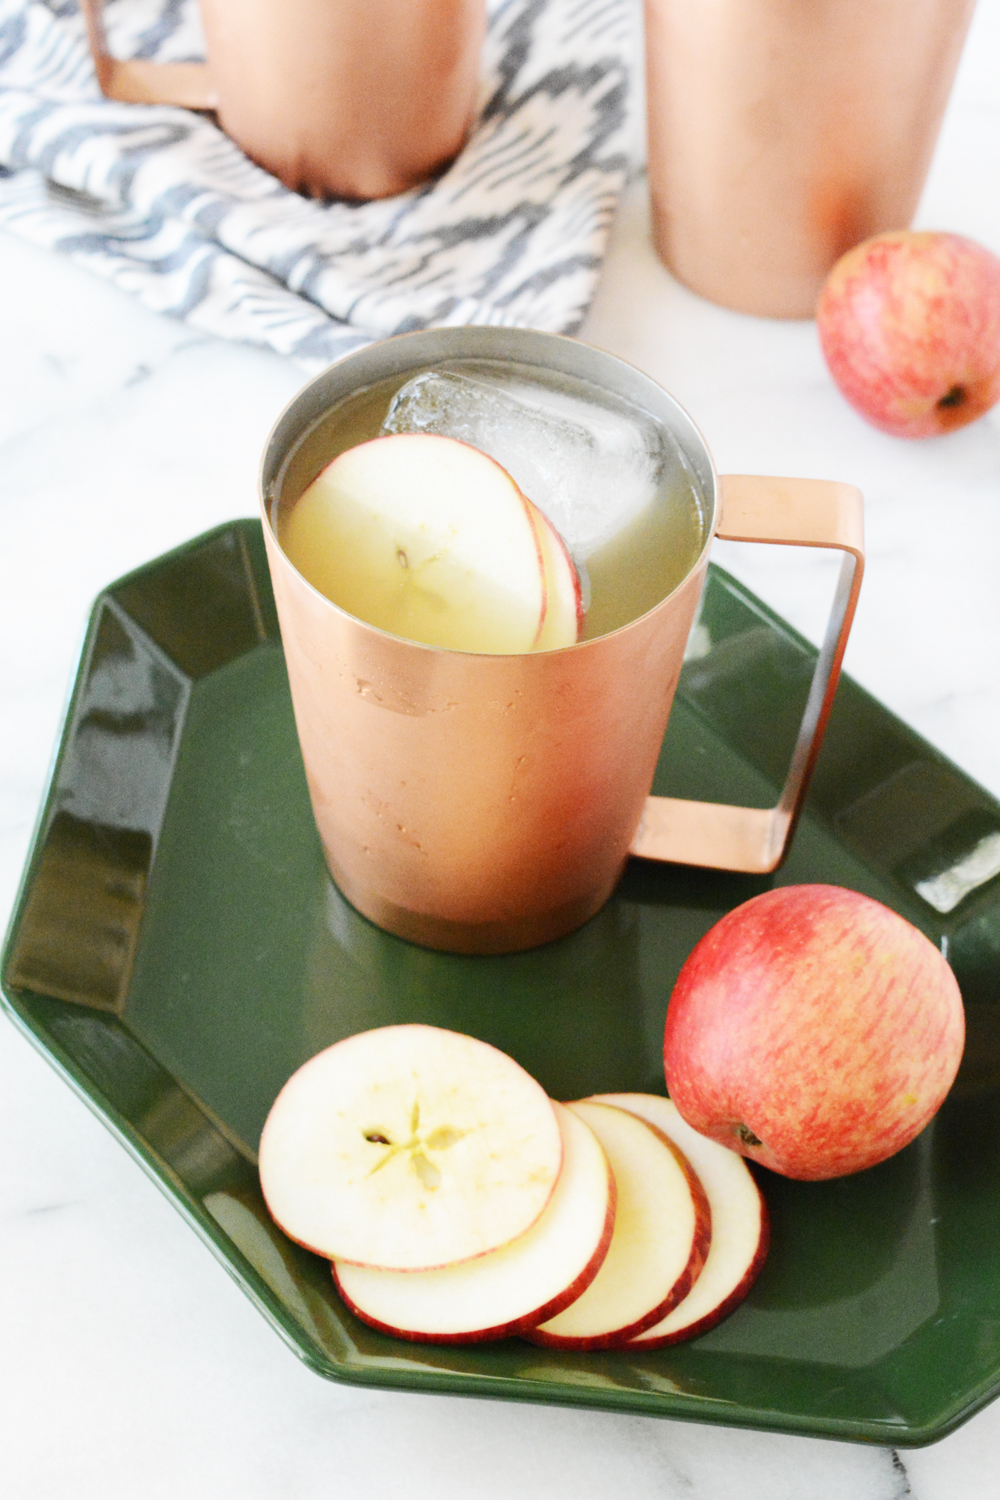
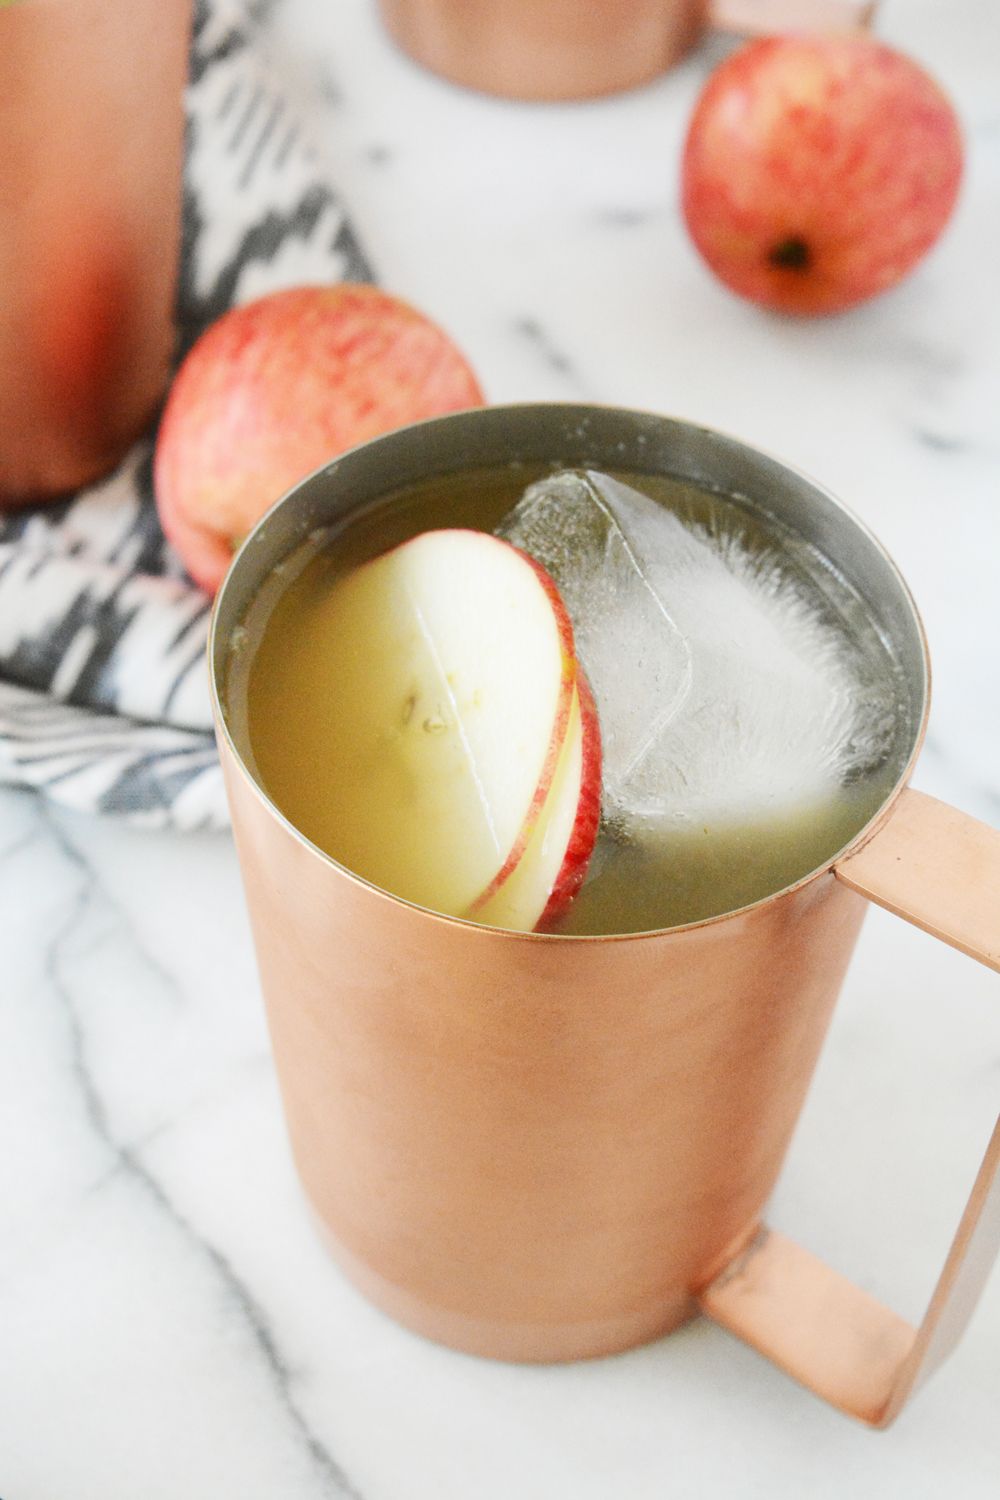
Sparkling Apple Ginger Mocktail

Welcome FALL!!!! We are so glad you are here. And to celebrate the first day of Fall, I have the perfect mocktail. Our days are still really warm, so I’m not ready for warm drinks yet. This crisp, refreshing Sparkling Apple Ginger Mocktail is just the right about of Fall, but still cool and refreshing.

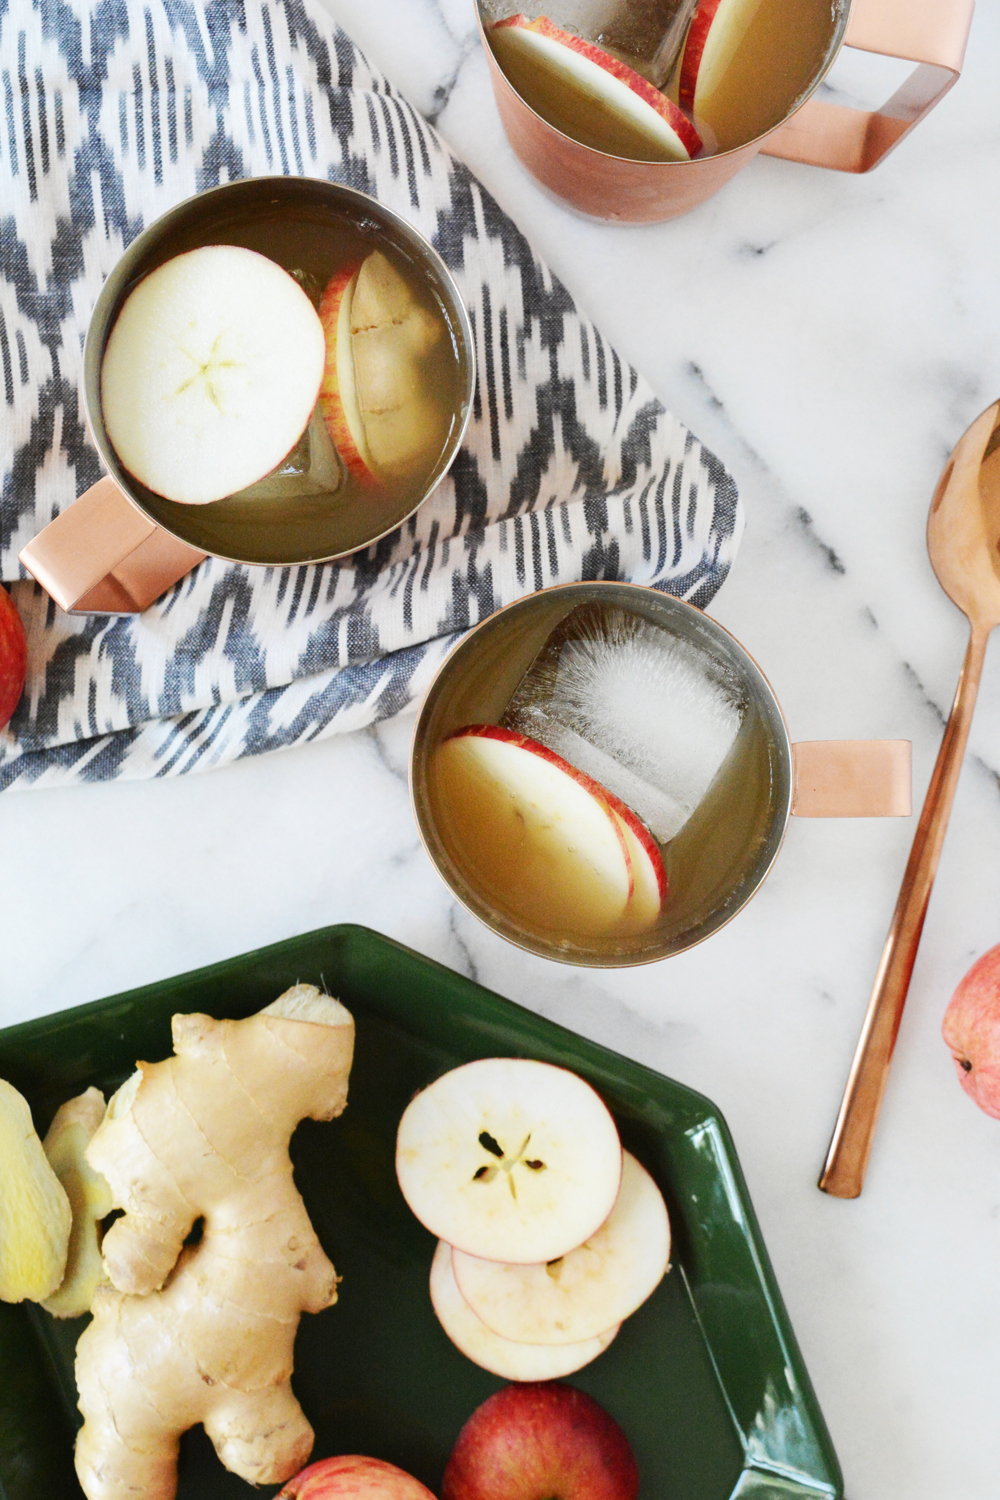
I picked these cute mini apples at my parent’s tree. They are the perfect size for topping a drink. I sliced these apples and ginger super thin with a madoline.

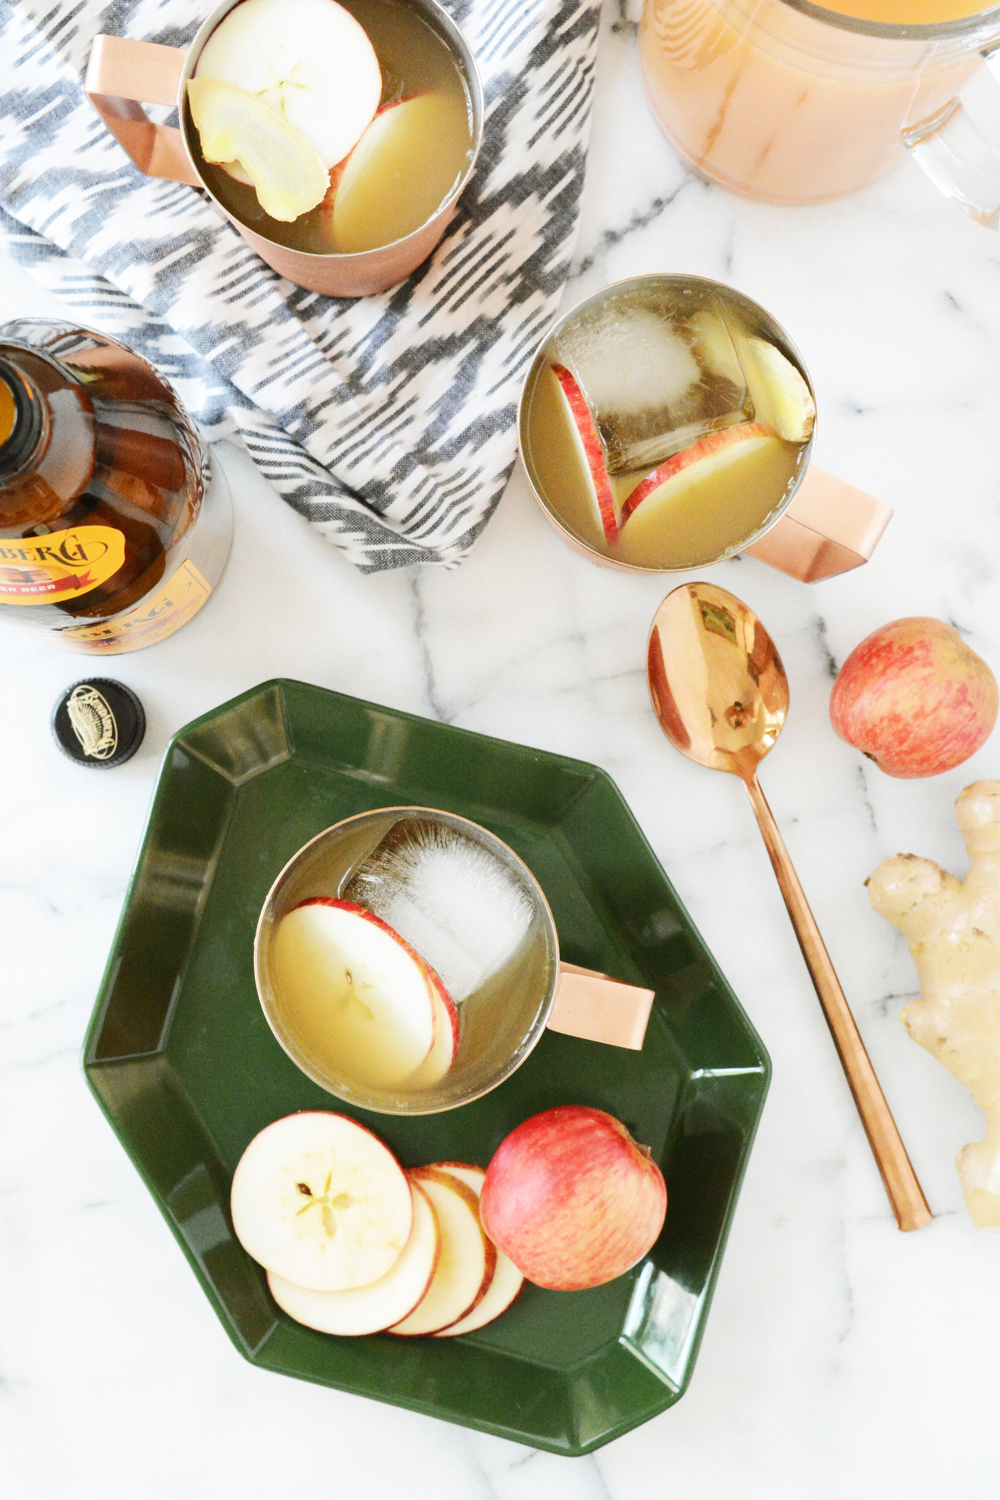
Sparkling Apple Ginger Mocktail

Sparkling Apple Ginger Mocktail

  • Ginger Beer
  • Unfiltered Apple Juice
  • Apples and Fresh Ginger

Fill a glass with ice, add equal parts ginger beer and apple juice, stir. Garnish with thinly sliced fresh ginger and apples.

This drink would be perfect spiked with Jack Daniel’s Apple Whiskey. 

Sparkling Apple Ginger MocktailSparkling Apple Ginger MocktailSparkling Apple Ginger Mocktail


DIY

Fall Napkin Folding with Fresh Flowers

September 21, 2016

Napkin Folding for Fall

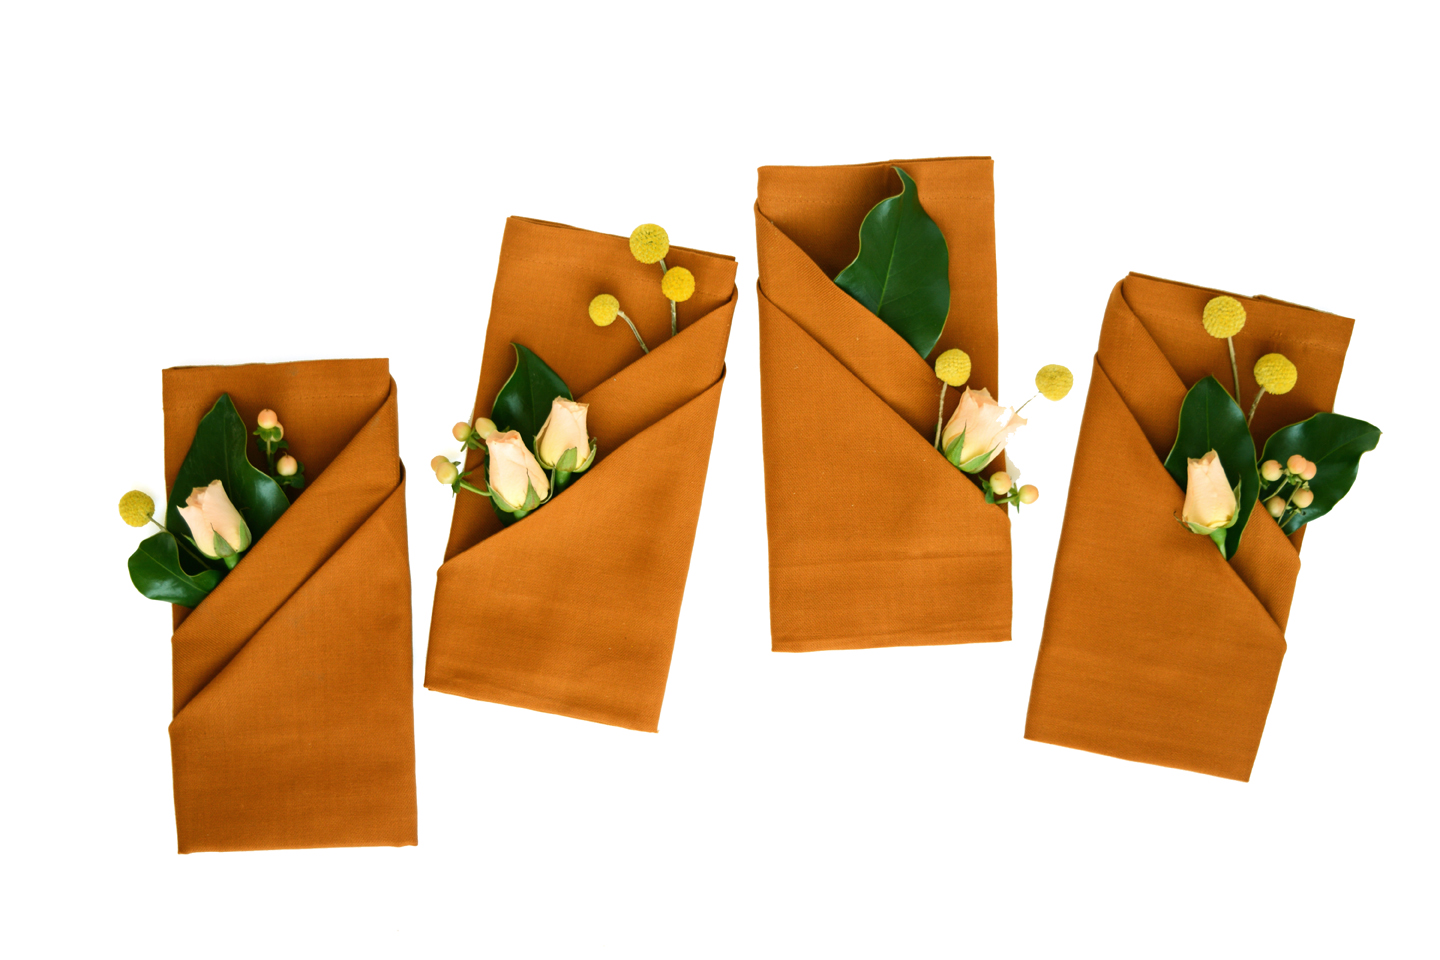
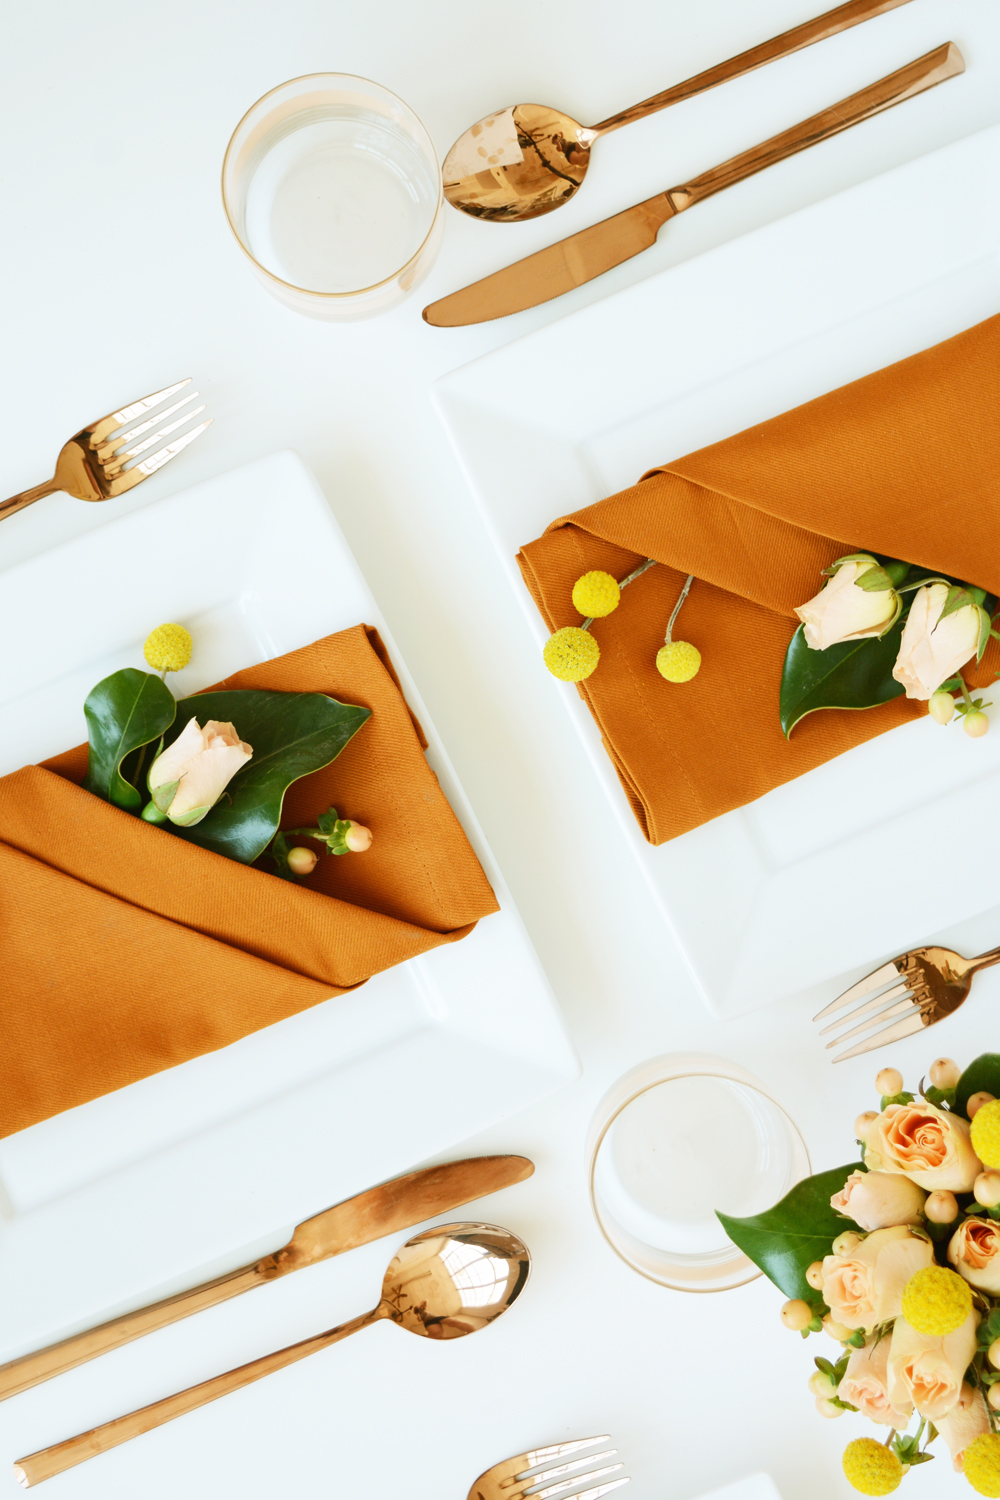
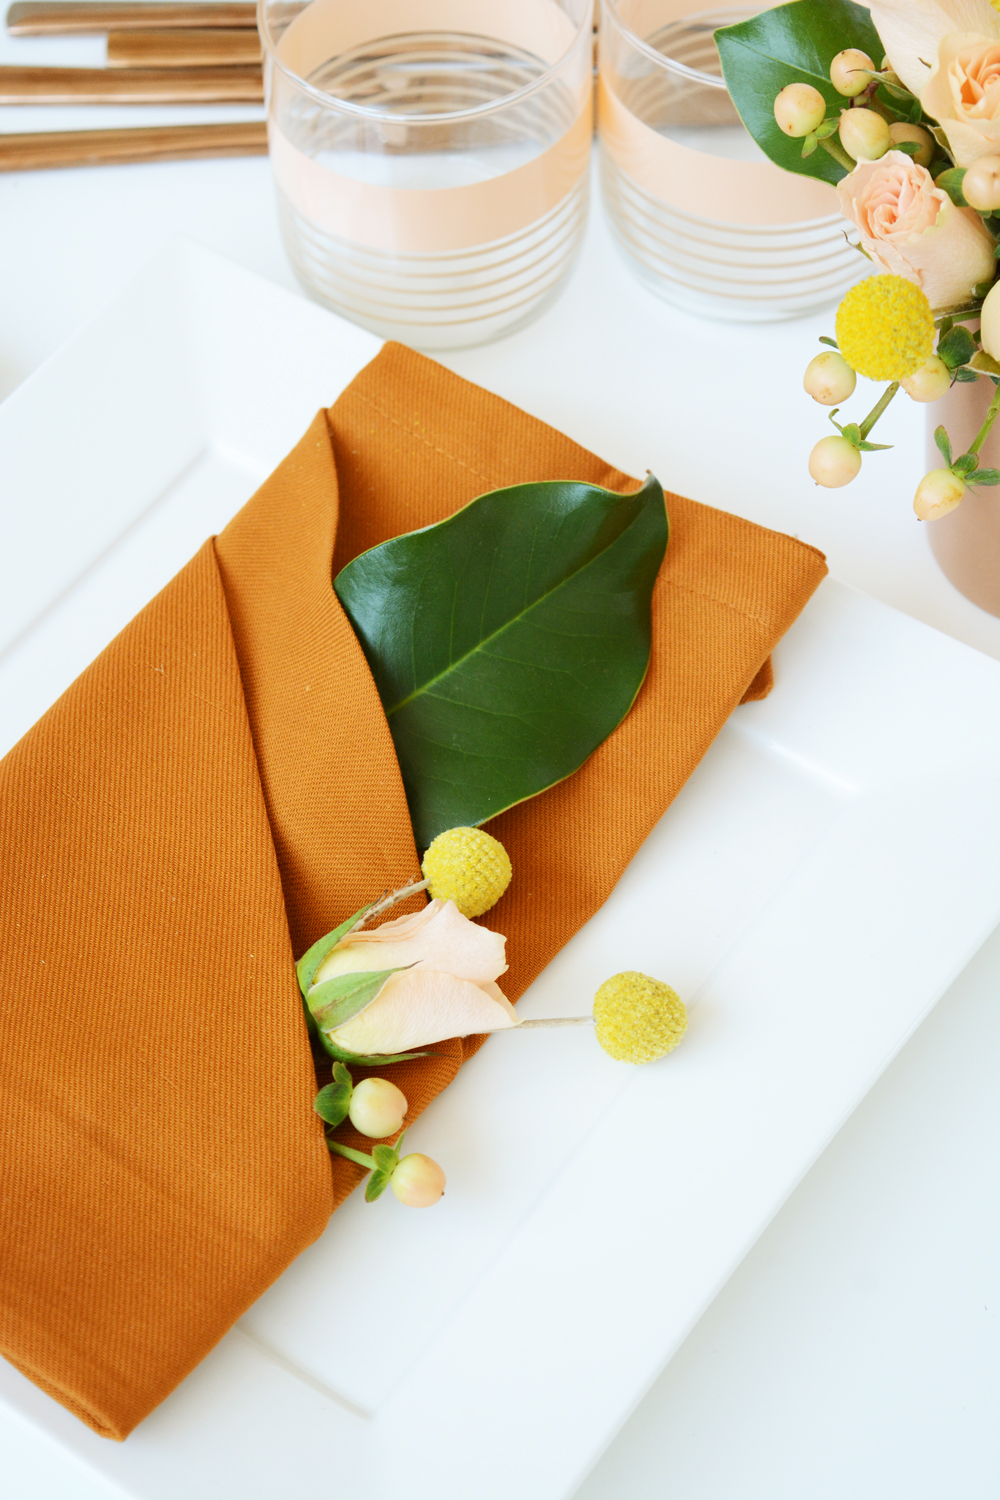
Now that Fall is here, all the outdoor dining and BBQs have to be brought inside. And I’m ok with that. I love setting a pretty table. Fancy folded cloth napkins instantly make a place setting feel special for your guests, especially when you add pretty fresh flowers.

I’m having fun playing with this pretty blush and camel combo. I want to try a new palette for Fall, browns and oranges seem overdone, I’m ready to try something new.

Now head over and check out the full how-to tutorial over on eHow today!

Pretty Napkin Folding with Fresh Flowers for FallFancy Napkin Folding for Fall

Design

Master Bathroom Accessories

September 13, 2016

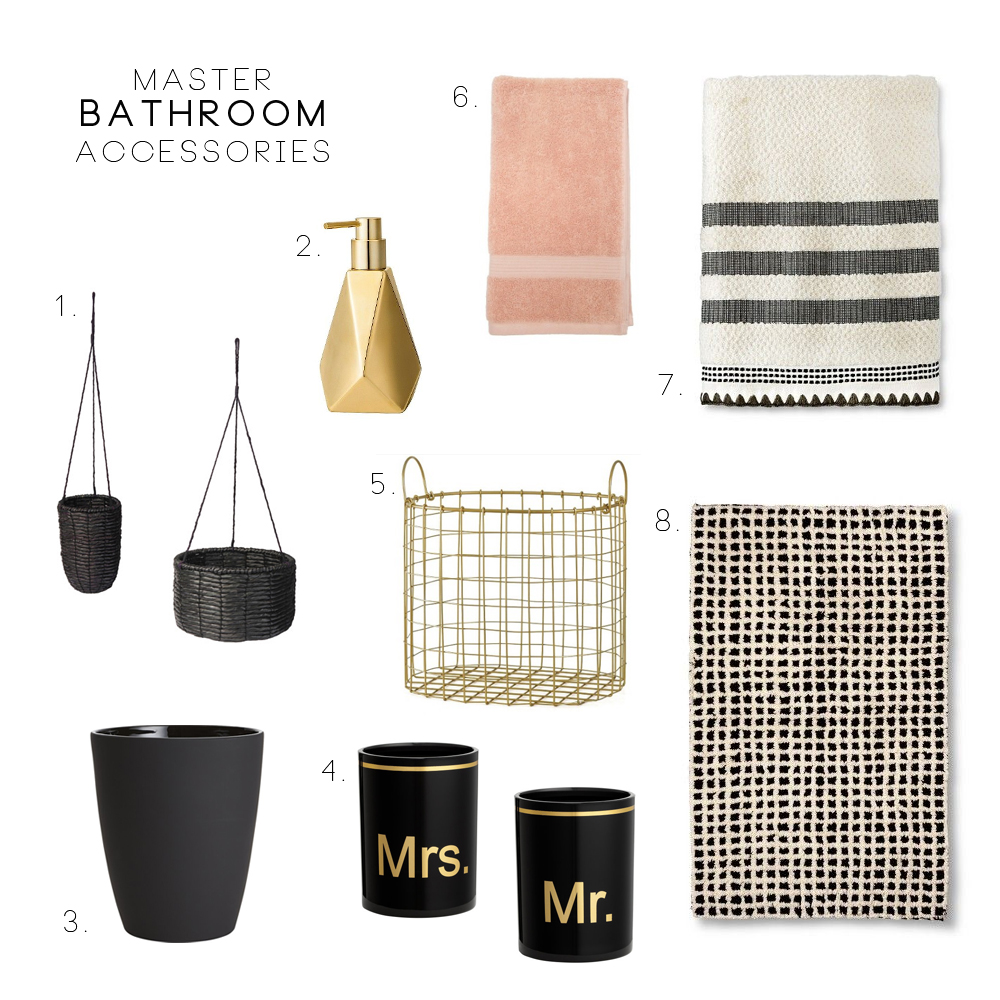
Be sure to head over to Emily Henderson Design today and check out the post I put together with 8 Bathroom Accessory Combos to Rescue Your Drab Bathroom. And while I was on the hunt for fun bathroom accessories, I decided I pick out a few things for our master bathroom.

Someday, way in the future, I’d love to do a little remodeling on our master bathroom. But, for now, it’s a very functional space, just aesthetically very dated. The number 1 issue is the many, many mirrors. The bathtub is surrounded with three walls of mirrors! Really, it’s the worst thing possible, having to see yourself at every angle possible as you sit into a bath. These are the things nightmares are made of. The ceramic tile on the floor is also really very unattractive. It’s kind of a marble looking peach and rust, very shiny tile. The counter tops are a natural stone, but it’s a tough color, kind of a rusty red-brown. So, in order to make this bathroom work for the next couple of years, I’m spending a little money on some accessories to make the space feel more like me.

Master Bathroom Accessories

  1. Hanging Plant Baskets
  2. Gold Soap Pump
  3. Black Waste Basket
  4. Mr. and Mrs. Toothbrush Cups
  5. Gold Wire Basket
  6. Peach Hand Towel
  7. Striped Bath Towel
  8. Grid Bath Mat

So you can fully appreciate the all the 80s and 90s glam of my bathroom, here’s a sneak peek at the floor and counter top situation I’m dealing with (more pictures to come very soon). I decided adding a touch of peach might be nice with the rusty counter tops.  But, for the most part, picking accessories that don’t have a lot of color seemed the best route to take. Can you handle it?  Wouldn’t you agree, the floor tile is pretty bad?

So, did you check out the 8 combos? Do you have a favorite? Mine is the Manly Metallics! It’s really not manly, just not super girly and feminine (which is nice when you are sharing a bathroom with a man).