Food & Drink

Peach Thyme Hand Pies

July 14, 2016

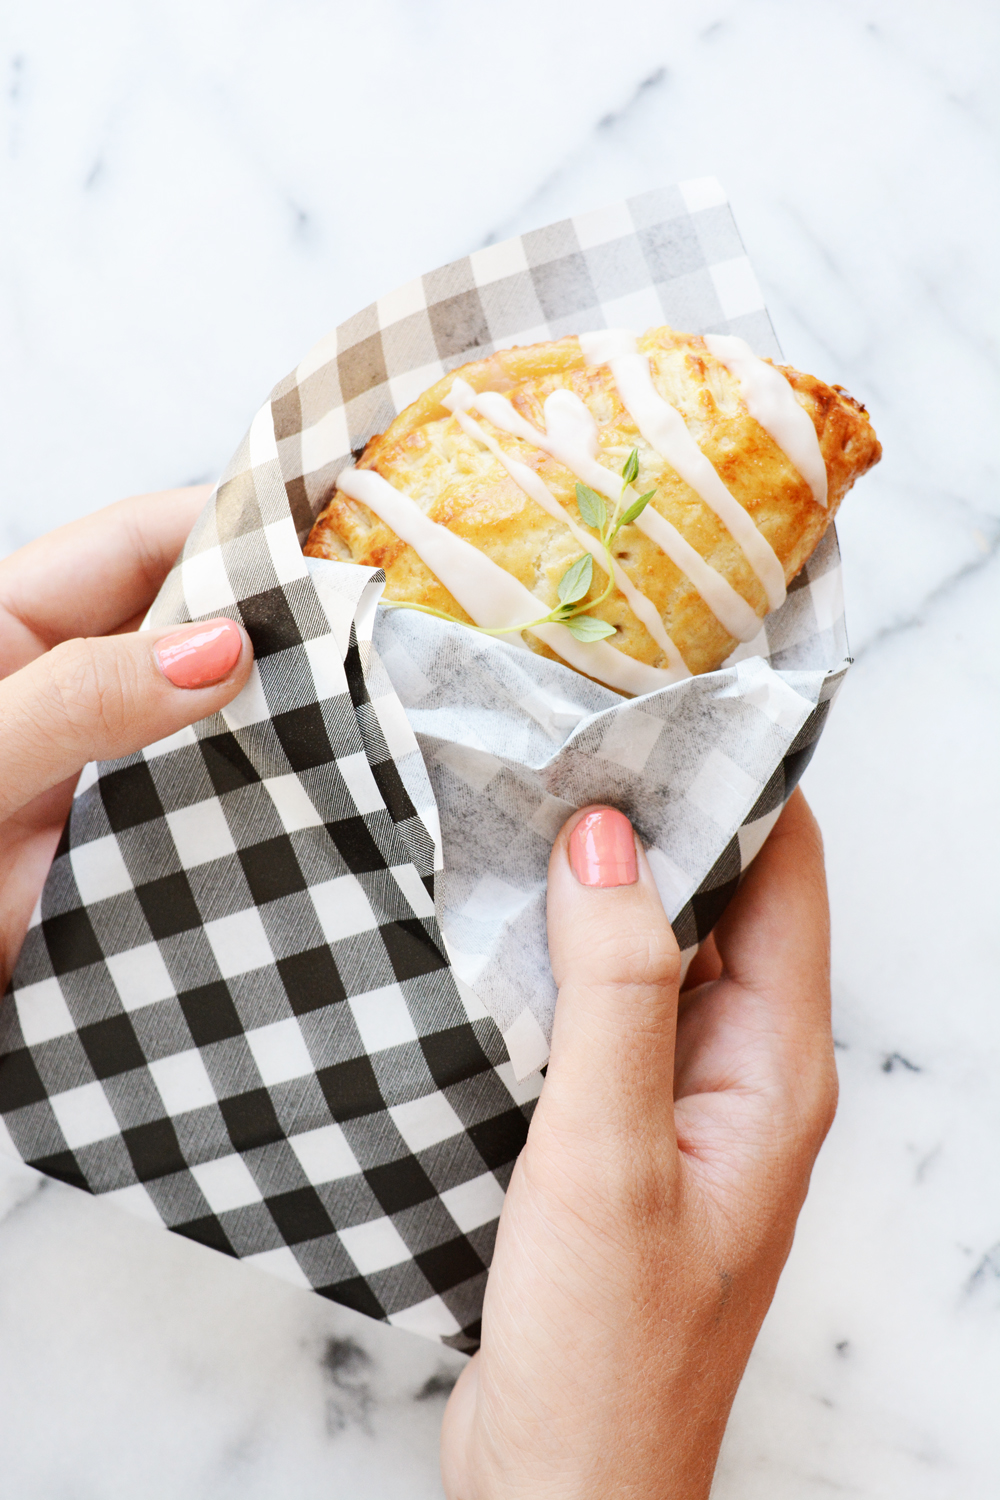
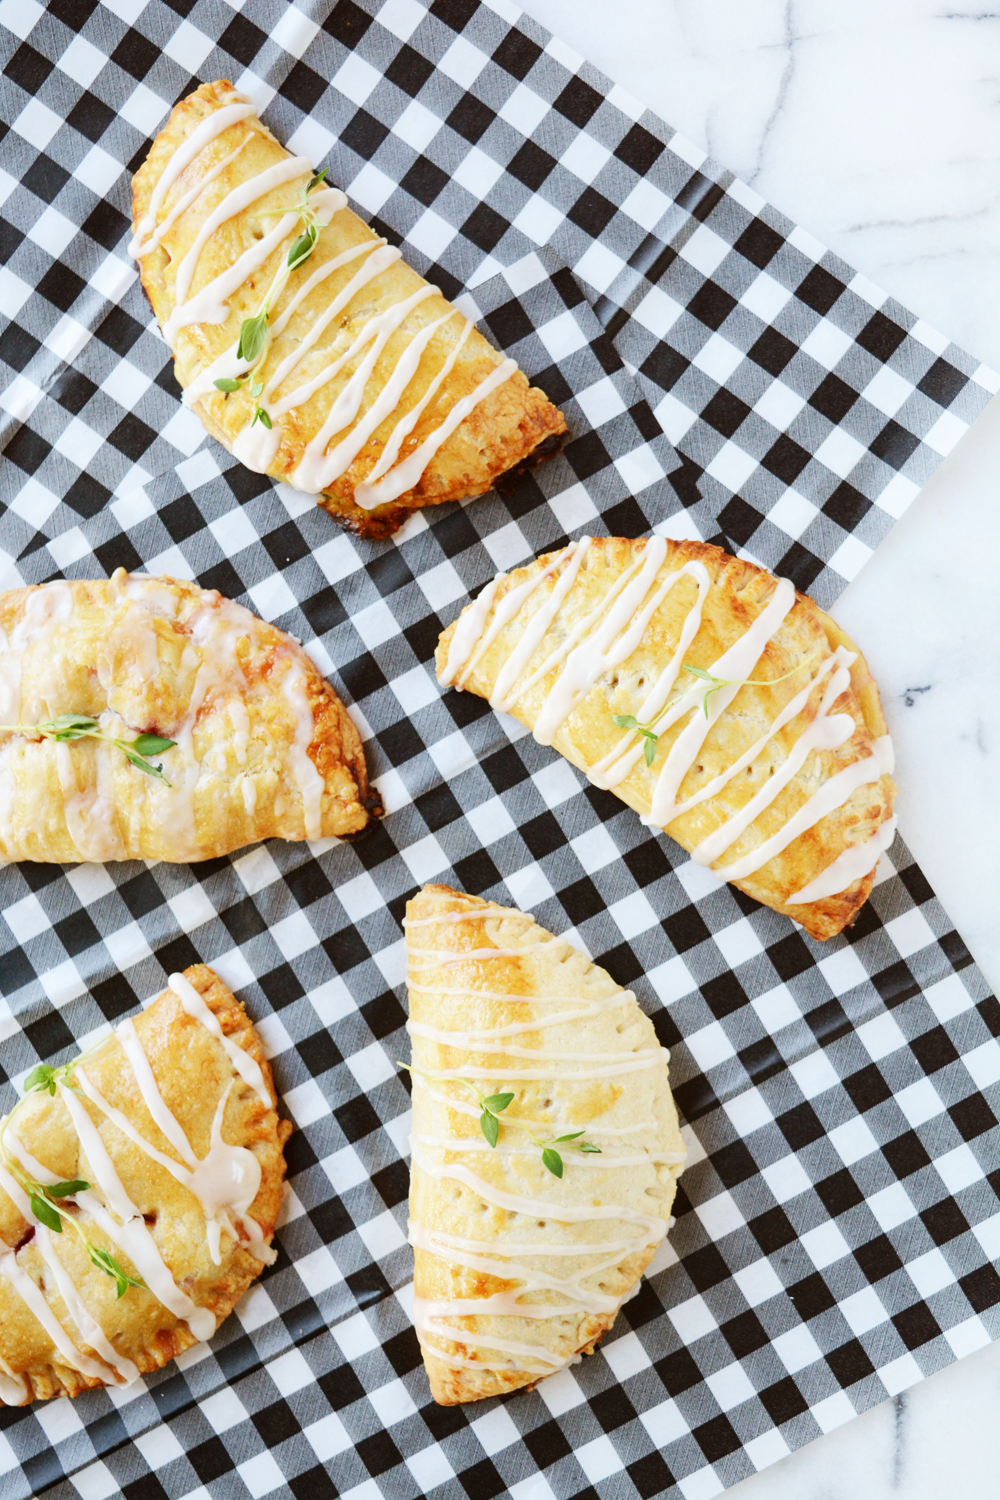
I love a portable treat! And hand pies are pretty much the cutest snack out their right now. Move over cupcakes and macarons, I think hand pies are the next hot item. I love that they are so versatile and can be either a sweet dessert or a savory, hand-held meal (like these Buffalo Chicken and Blue Cheese Hand Pies).

Peach thyme hand pies. The perfect handheld Summer dessert.

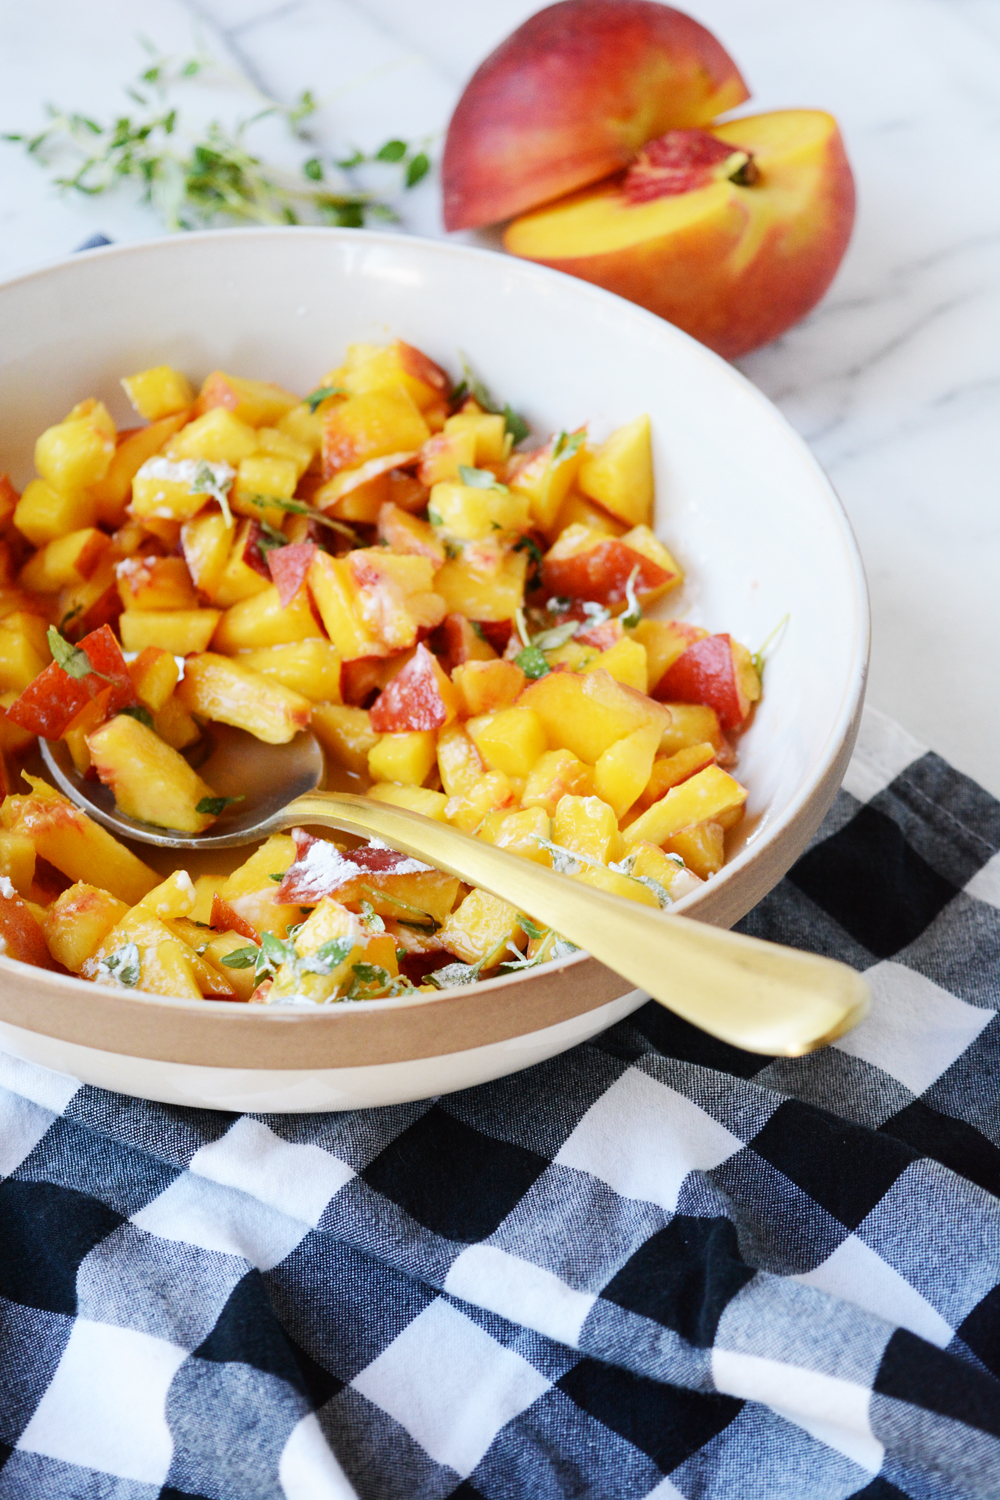
Peaches are ripe and in-season and do you get anymore quintessential Summer dessert then a peach pie? I love playing with fruits and herbs together. Woodsy thyme and sweet, juicy peaches are a perfect pairing in these yummy Peach Thyme Hand Pies.

Head over to ehow for this easy-to-follow recipe.

peach thyme hand piespeach thyme hand pies.

Design

Mustard Yellow Accents

July 12, 2016

As I start to think about moving into a new house, I wonder how much a different space will change my style. I know I am still very much drawn to specific colors – green, grey, black and white and pale pinks. But, I’m thinking about other colors that could potentially make their way into my palette.

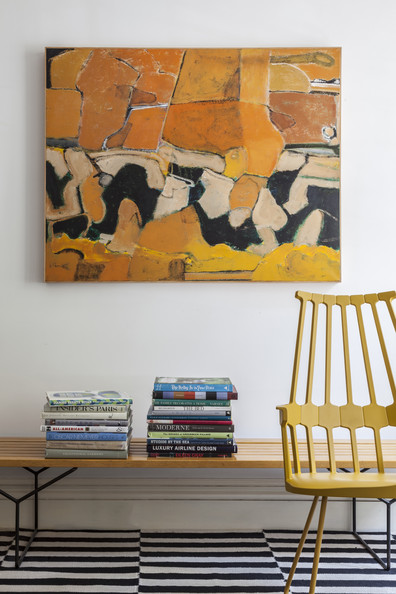
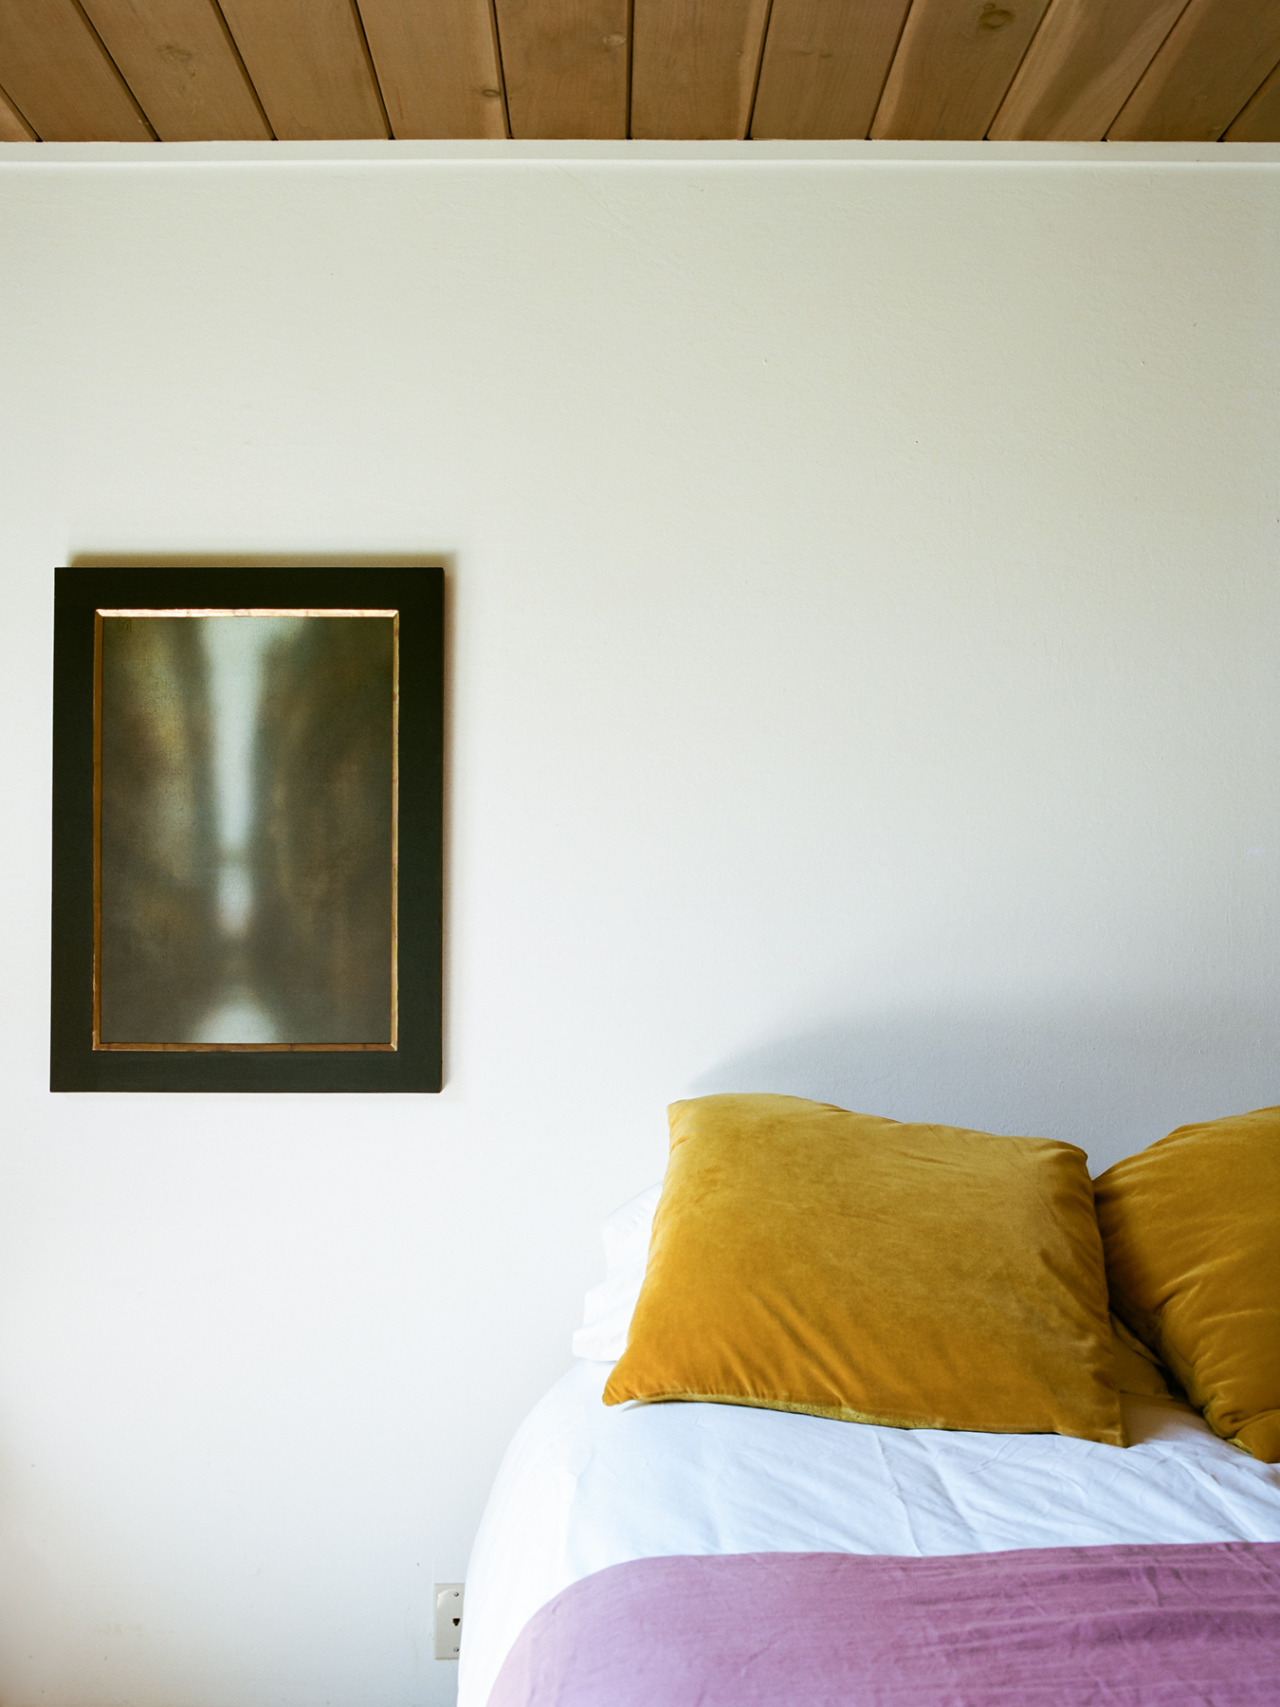
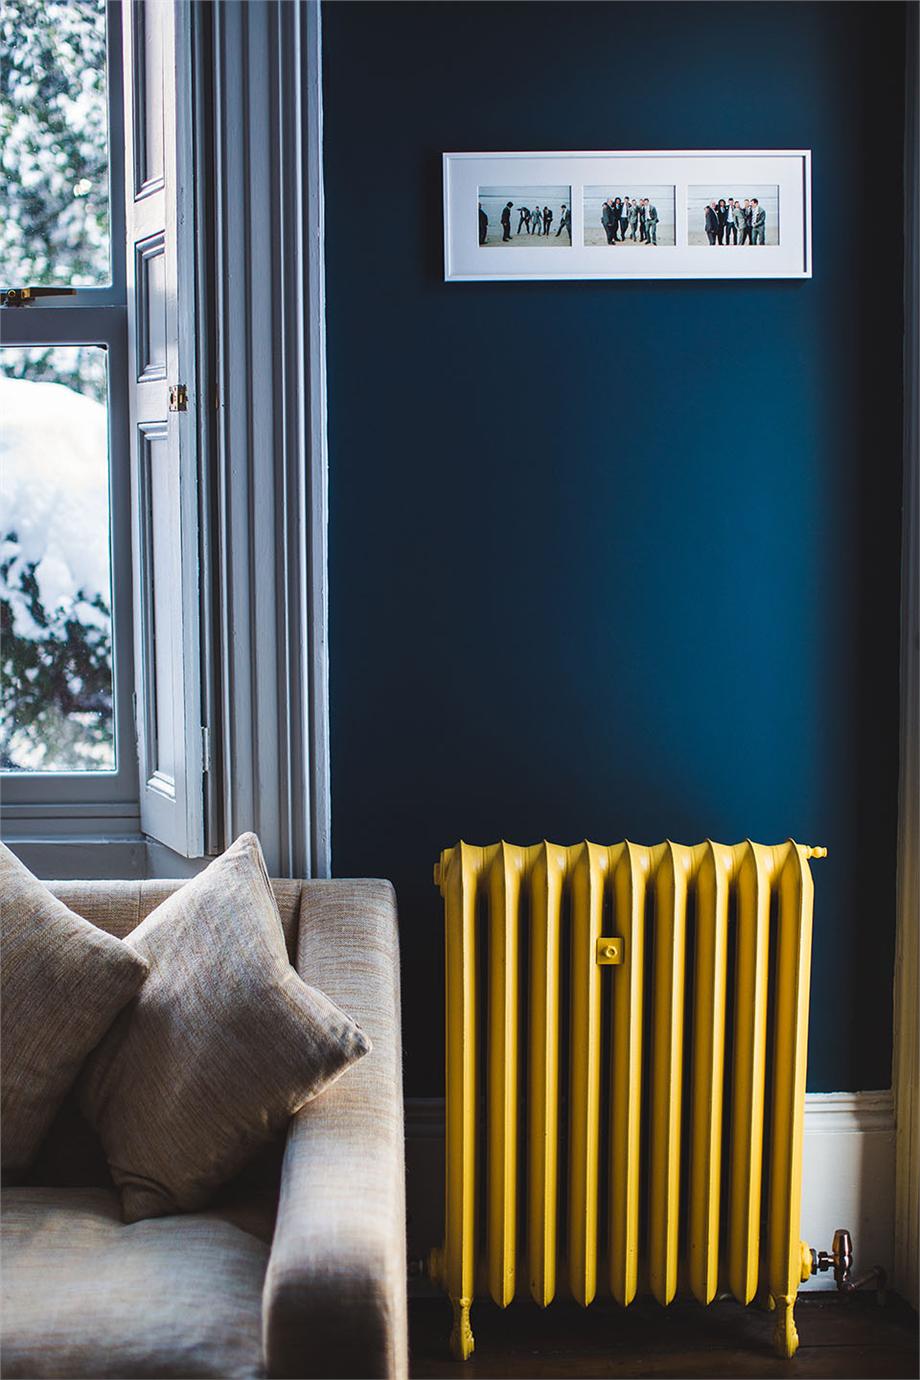
Golden and even mustard yellows are colors I’ve played with in the past. At one time, even my kitchen was painted a warm gold-yellow. I’m not ready for a bright cheerful lemon or sunshiney yellow yet, I want a shade that’s a little more moody. I definitely love all things brass (like my new brass tray), and really aren’t these golden, mustardy yellows a very similar color. With all the greys, greens, and black and whites in my home, I feel like a little touch of gold or even yellow warms up my very cool palette. This shade of yellow also has a very 70s, retro vibe to it, which is probably why I love it so much.

I know we are far from the early 2000’s, and you know I want nothing to do with any sort of style that resembles “Tuscan” or “French County”. But, I think I found some fun, modern ways to add a splash of yellow, without feeling too cutesy or country.

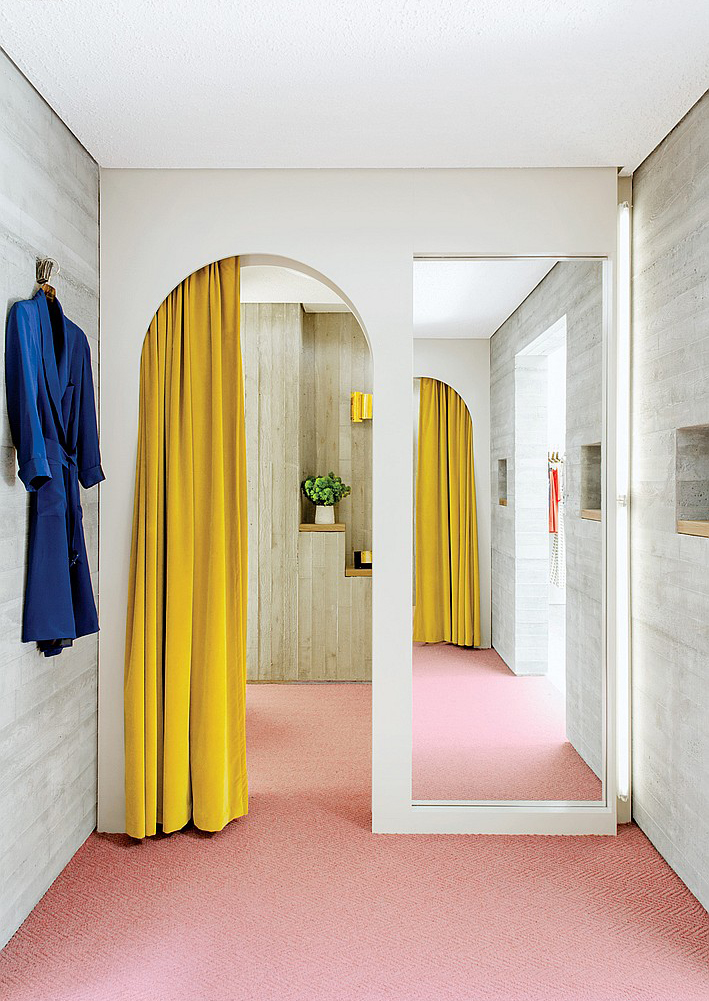
Gold/Yellow Drapes and Pink Flooringsource

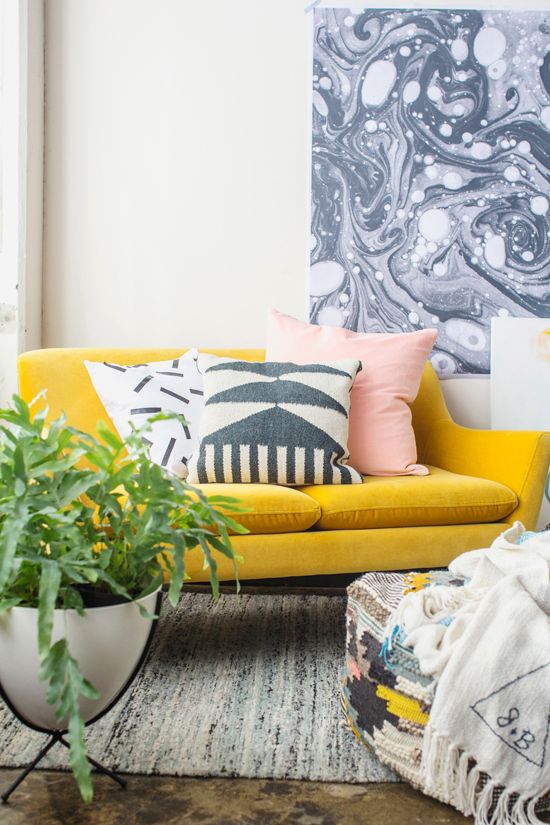
How great is this golden yellow paired with pink? It’s a pretty happy combination as far as I’m concerned. Paper and Stitch Yellow Sofasource

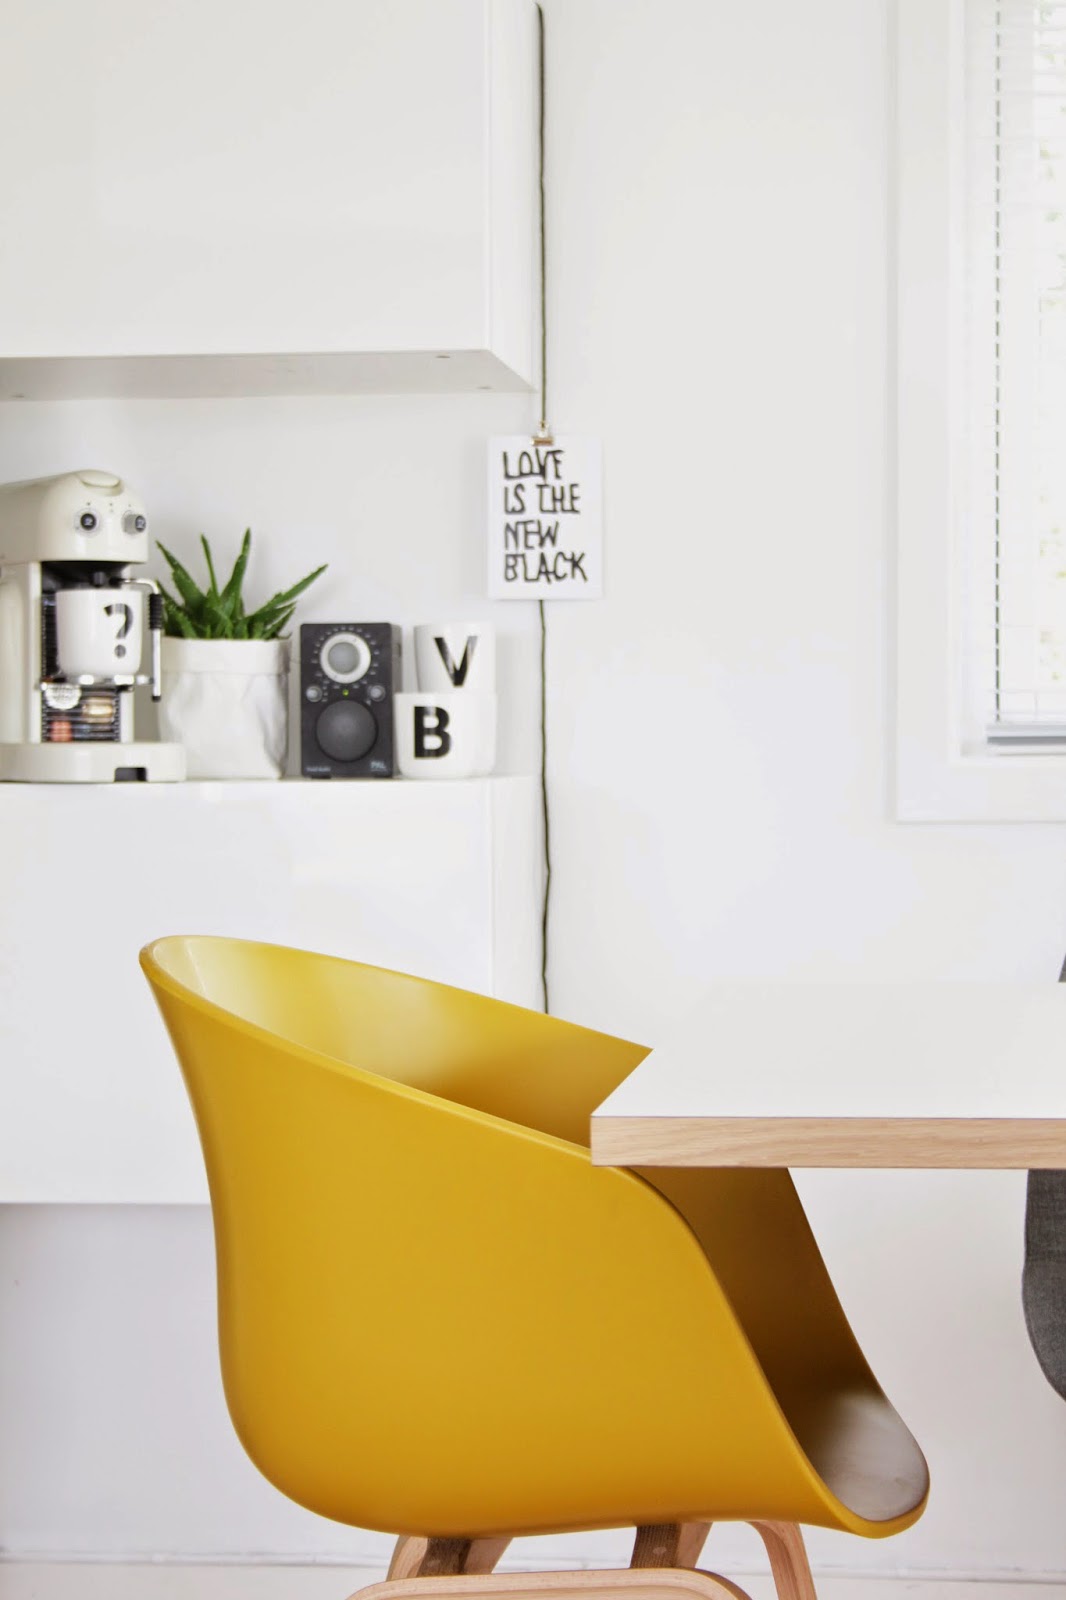
Emily-Henderson_Fig-House-8sourceCortney-Bishop-Design_The-Flats-at-Mixson_4.jpg.rend.hgtvcom.616.411sourceYellow detailssourceGold ChairsourceGold Yellow BathtubsourceMustard Yellow PillowssourceGold RadiatorsourceYellow Gold Dining Chairs

source

Your turn? What do you think about mustard or gold yellow? Is there another color are you wanting to add splashes of to your home?

etc.

Moving Essentials – Inexpensive Online Sources

July 11, 2016

Well, we are definitely in up to our eyeballs in packing up our house right now. It’s not an easy job, but I have kind of enjoyed the process. I love going through closets and drawers and organizing things. Packing and sorting has allowed me to purge and get rid a lot of things. Somehow I’ve ended up collecting so much stuff, even though we live in a small house. I’m sure when we move in, I’ll get rid of even more.

As we pack, I’ve been making note of the supplies we’ve been using. I decided I’d make a list of online sources for the essentials for moving and packing. Instead of running all over town for what’s need to pack and move, I’ve hunted down Amazon Prime sources to save myself (and maybe you) time and money.
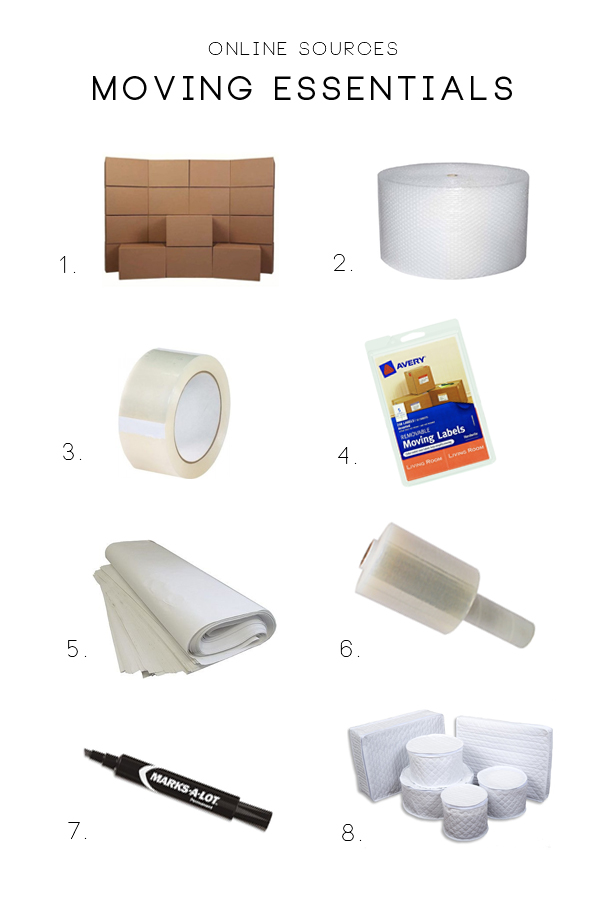
Inexpensive online sources for moving and packing supplies.

  1. Medium Moving Boxes
  2. Bubble Wrap
  3. Packing Tape
  4. Moving Labels
  5. Packing Paper
  6. Plastic Packing Wrap
  7. Permanent Marker
  8. Padded China/Dish Storage

I’m all for free boxes. Definitely hit your grocery store and even liquor store for wine boxes. We were lucky and were given a bunch from some friends that just moved. But, for some of our more valuable stuff, a good sturdy, clean box seemed like a good idea. I also suggest checking Craig’s List for moving boxes. Often folks will post them there for free.

I’m also a huge fan of the Padded China/Dinnerware Storage Containers. I’ve had a set for many years now and they make packing and storing my dishes so much easier. These inexpensive packages are really a great investment.

Labels are important! Who knows how long it will be till you can get every box unpacked. I recommend making as detailed a list as possible on the outside of the box. And be sure to label which room the boxes are for. These color coded labels make it that mush easier to quickly see which room the box is intended for. Even if you are doing the moving yourself, it will make the job so much faster.

And finally, I LOVE the Plastic Packing Wrap. When I package up art and frames to move, I wrapped them in bubble wrap and then hold it all together with the plastic wrap.  It works so much better then packing tape and it’s much easier to remove.  It also works really great to hold moving blankets and padding onto furniture.

Anyways, whether you wanted it or not, there’s my 2 cents worth on packing up a house. And for a little update, we have been in escrow for 45 days now.  Ya, that’s a long time, or at least it feels like a really long time to be waiting and wondering if everything is going to come together and work out. To make a very long boring story short, we are hoping to finally hear something today. We have been waiting all this time for an appraisal.  Sure hoping to close this week, especially since my parents and brother are coming to town to help us.
Food & Drink

2 Ingredient Pina Colada Sorbet

July 8, 2016

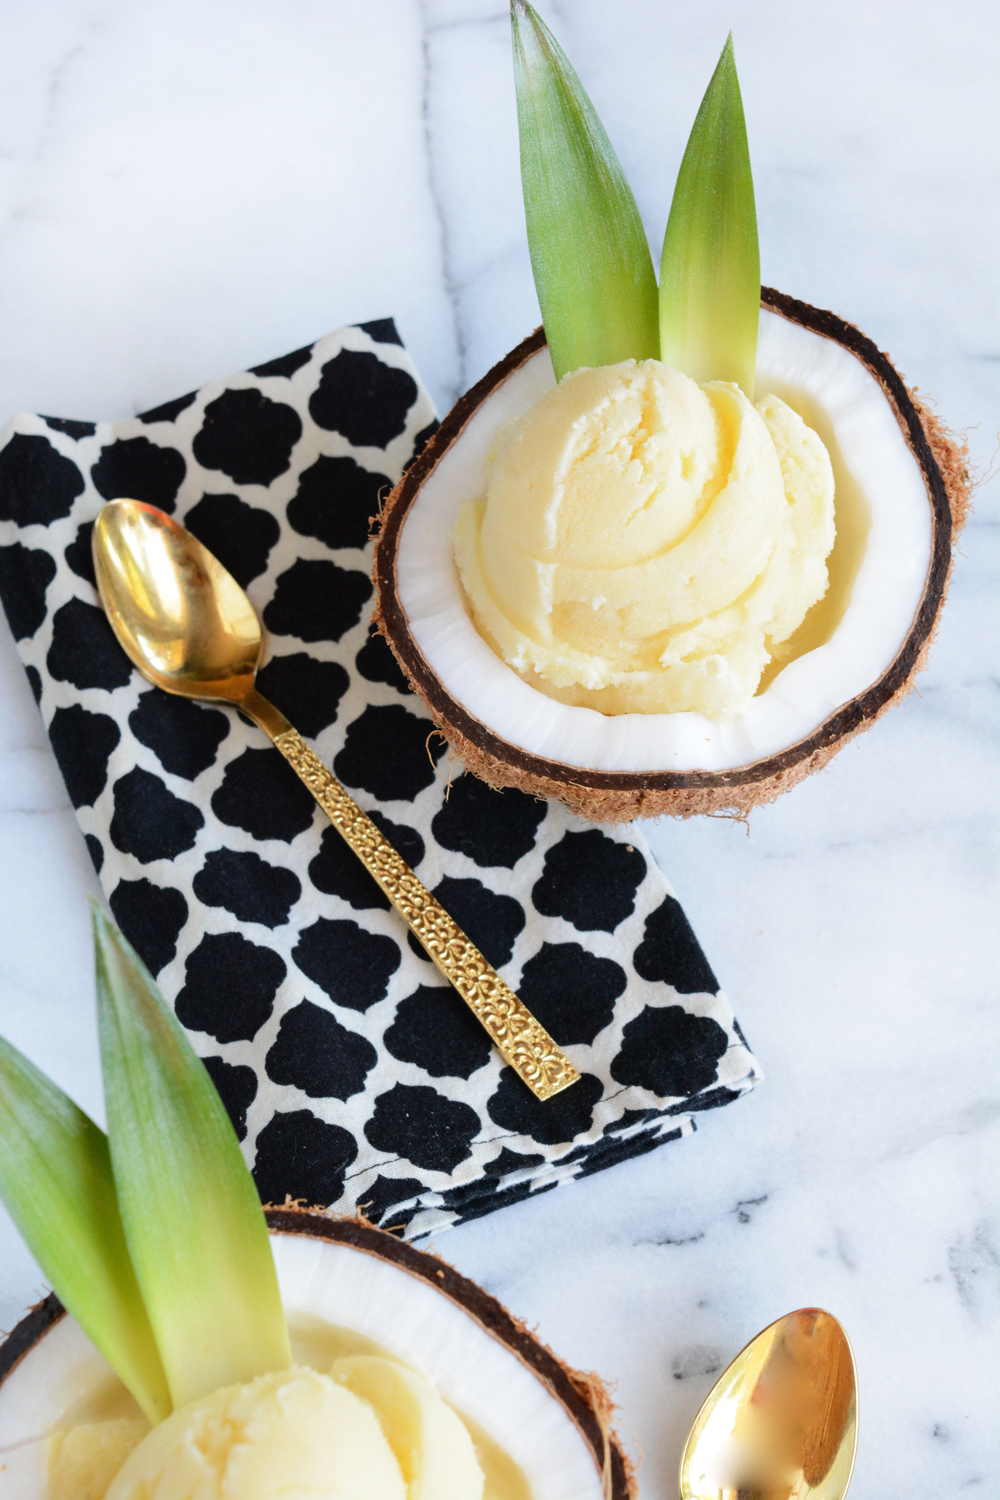
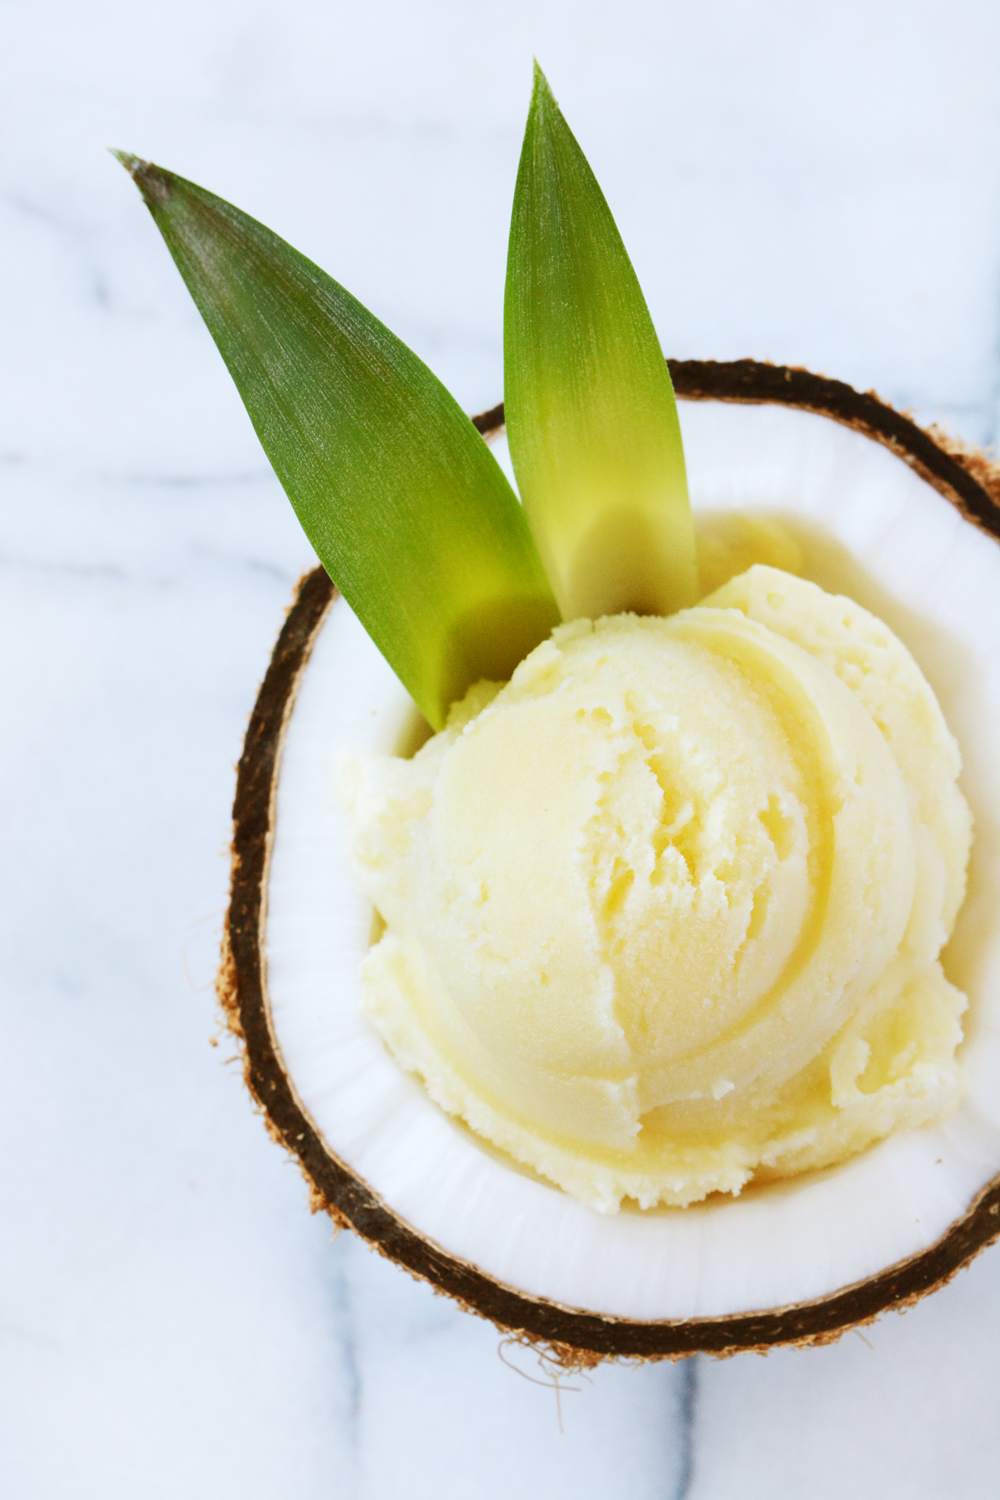
2 ingredient pina colada sorbetYep, you read that right, just two ingredients to make the sweet and creamy sorbet. While I don’t have any tropical vacations planned (boo), I can enjoy the taste of the tropics with this yummy Pina Colada Sorbet. And if you serve it in a coconut, it’s sure to taste like an island getaway.

Sunday is National Pina Colada Day, so we will be whipping up another batch of this right away. 2 ingredient pina colada sorbet Pina Colada Sorbet

  • 3 cups pineapple juice
  • 1 1/2 cups cream of coconut

In a bowl, combine the pineapple juice and cream of coconut. Whisk together well. Chill for a couple hours. Pour the mixture into an ice cream maker and freeze according to the directions on your machine. This took about 20 mins to freeze. Note: It does not freeze as solid as ice cream.  Remove from ice cream maker and freeze in an air tight container over night.

Serve scoops in coconut shells and garnish with a couple leaves from the top of a pineapple.

This is an easy 2:1 ratio recipe.  2 parts pineapple juice to 1 part cream of coconut. So, you can make as much or as little as you like. The recipe serves 4-6 people. pina colada sorbet served in half a coconut 2 ingredient, Easy Pina Colada Sorbet

If you are a fan of sorbet, you might like these recipes as well:

(I guess I have a thing for mint in sorbet.)Pina Colada SorbetP.S. I’m sorry for the lack of posts this week. This whole house move is time and energy consuming. Thanks for sticking with me.  I’ve got lots of fun stuff headed your way very soon.
Food & Drink

Coconut Curry Grilled Corn on the Cob

July 1, 2016

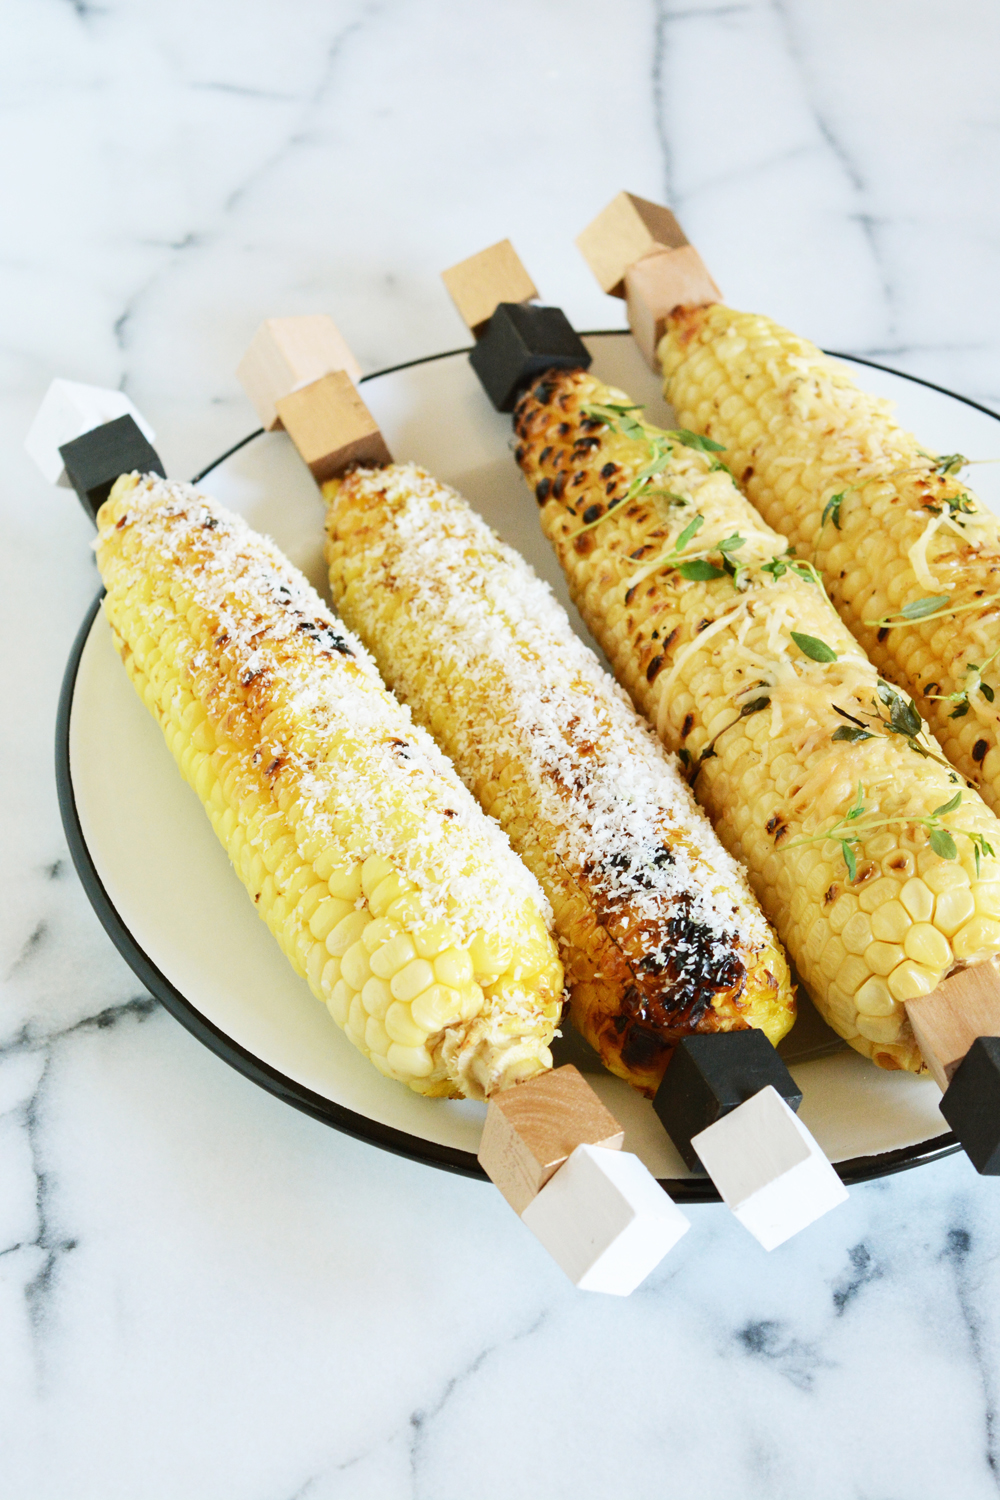
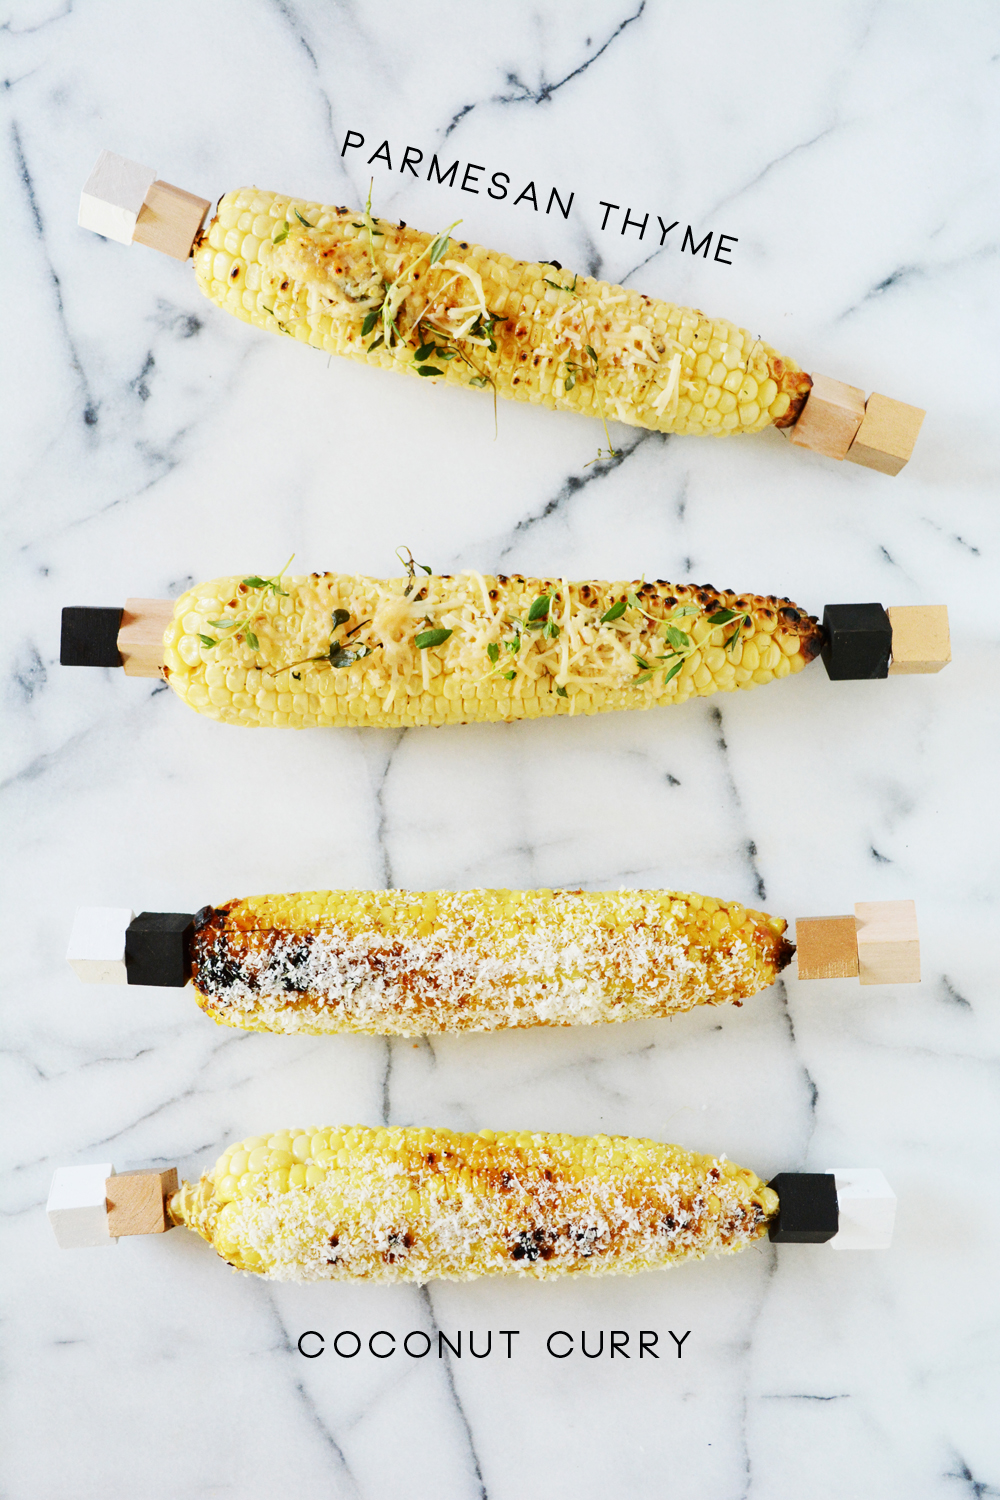
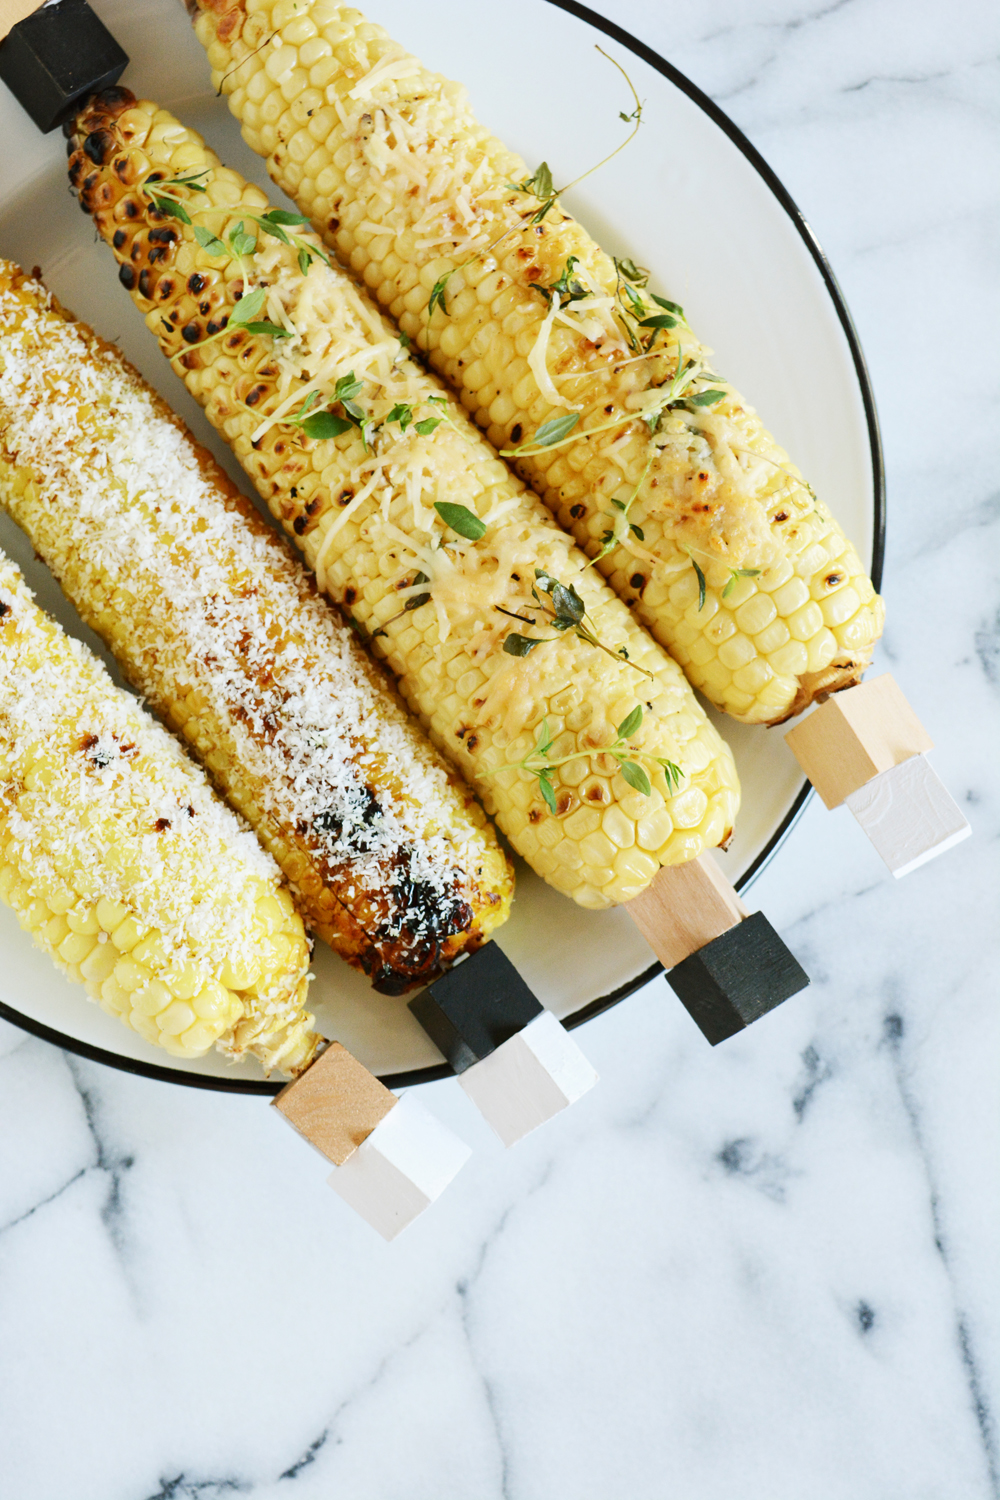
As promised, here are a couple yummy grilled corn on the cob recipes you’ll definitely want to try. I teamed up with West Elm to put together this post, so you can find the Parmesan Thyme recipe on their blog today. And here’s my new favorite way to eat corn, Coconut Curry Grill Corn. Gilled Corn on the Cob Recipes - Coconut Curry and Parmesan Thyme Parmesan Thyme and Coconut Curry Corn CobCoconut Curry Grilled Corn on the Cob

  • 6 ears of corn, husked
  • 3/4 cup of olive oil mayo
  • 2 tbsp. curry powder
  • 1/2 cup finely shredded coconut

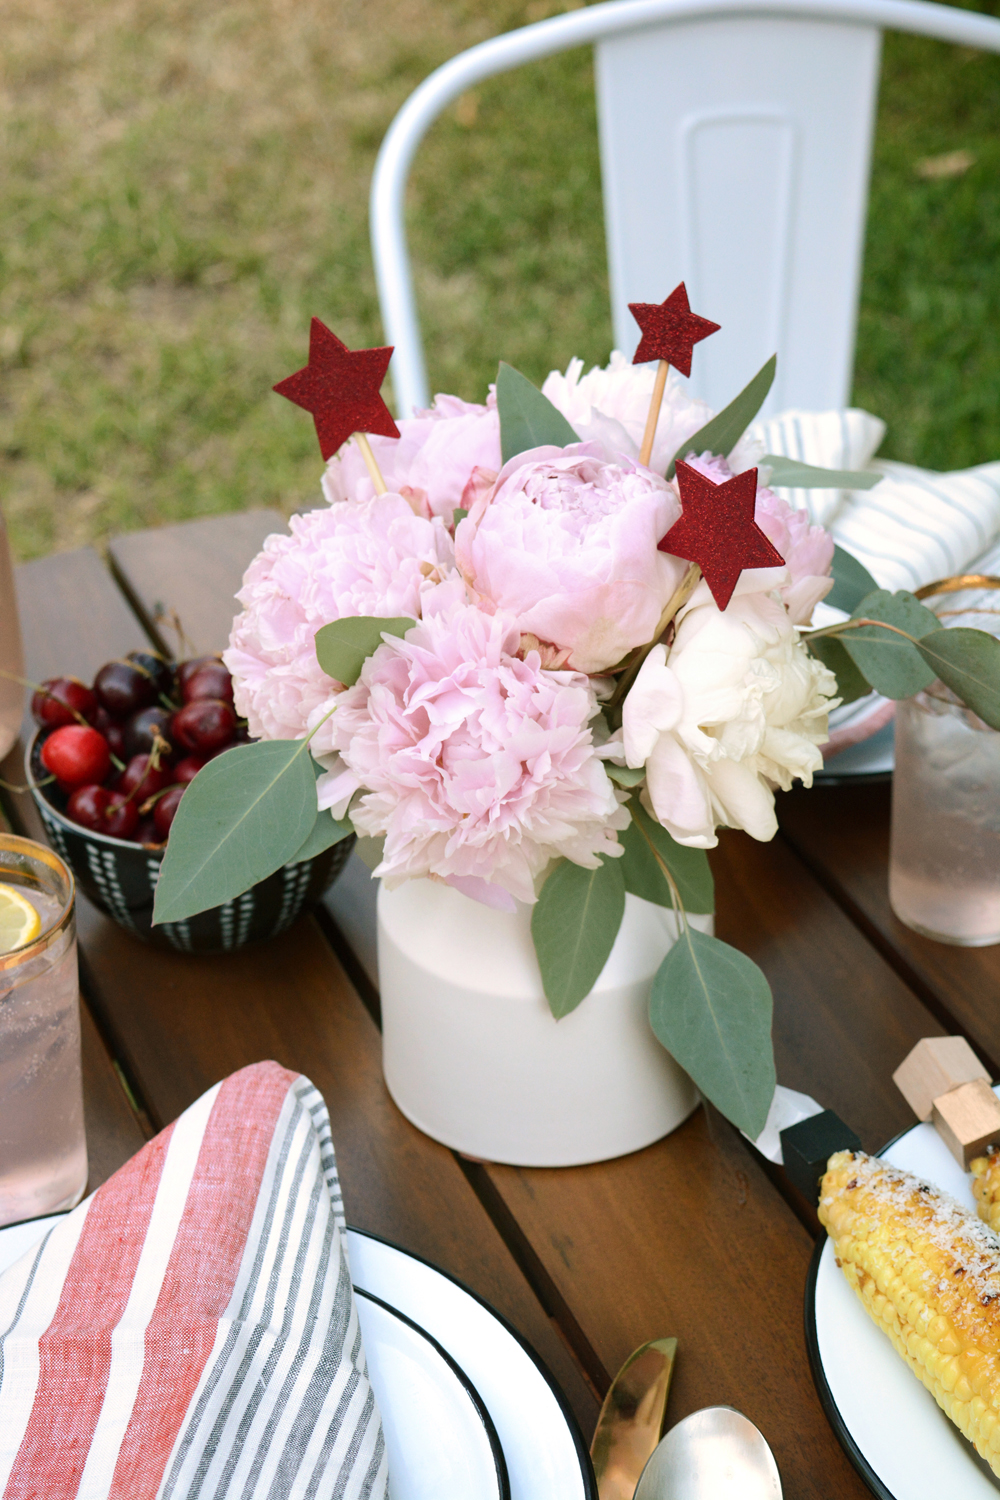
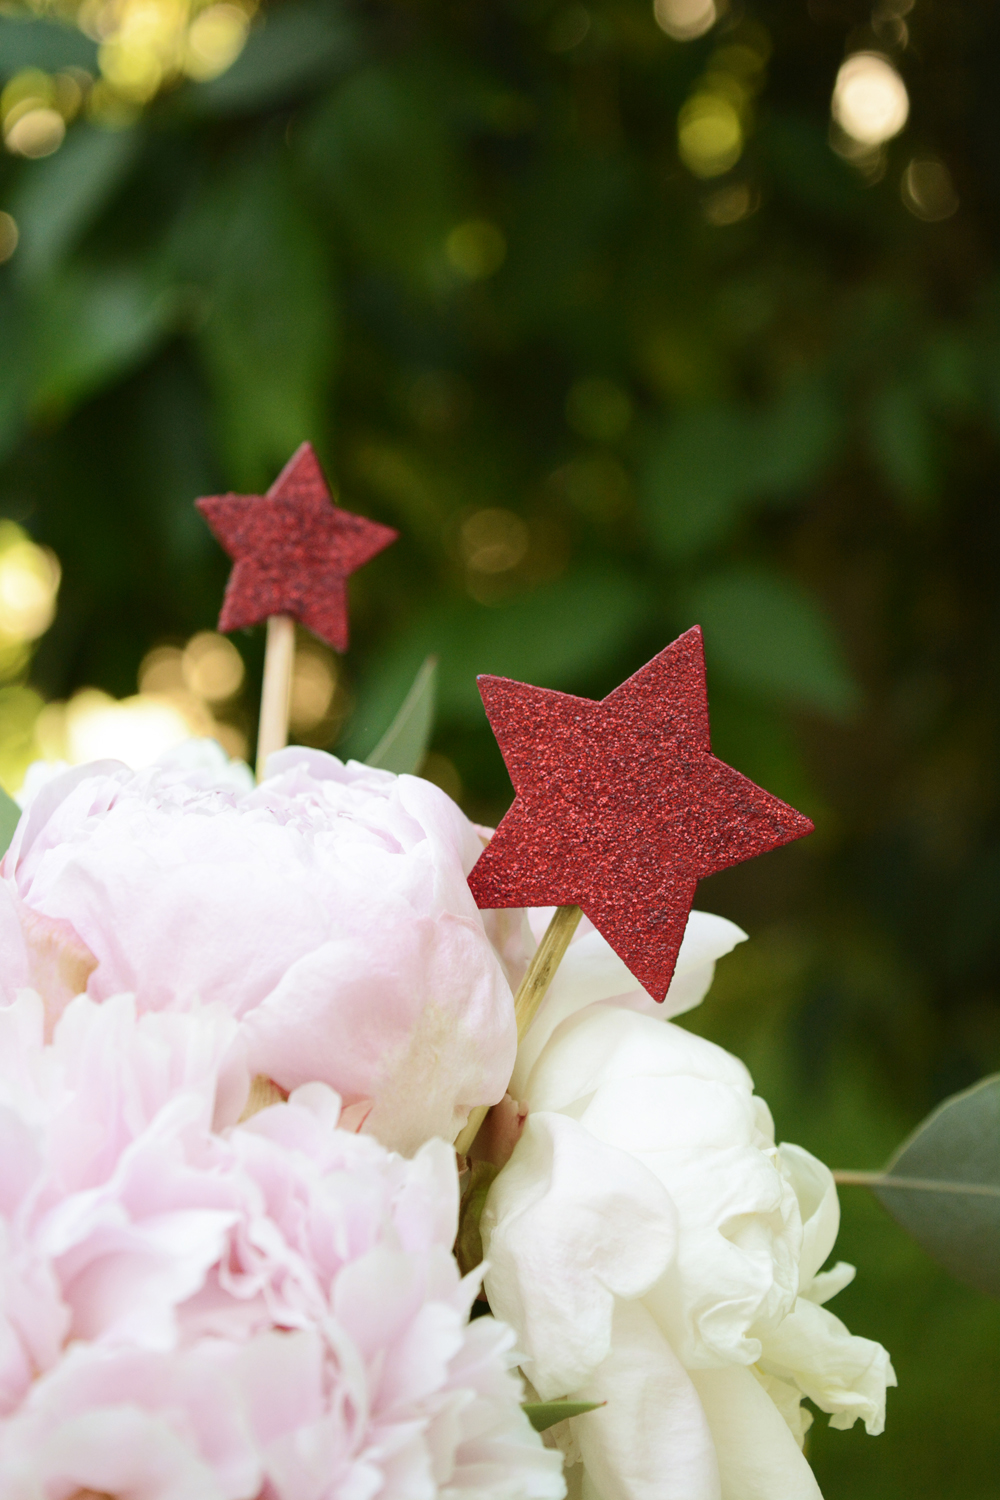
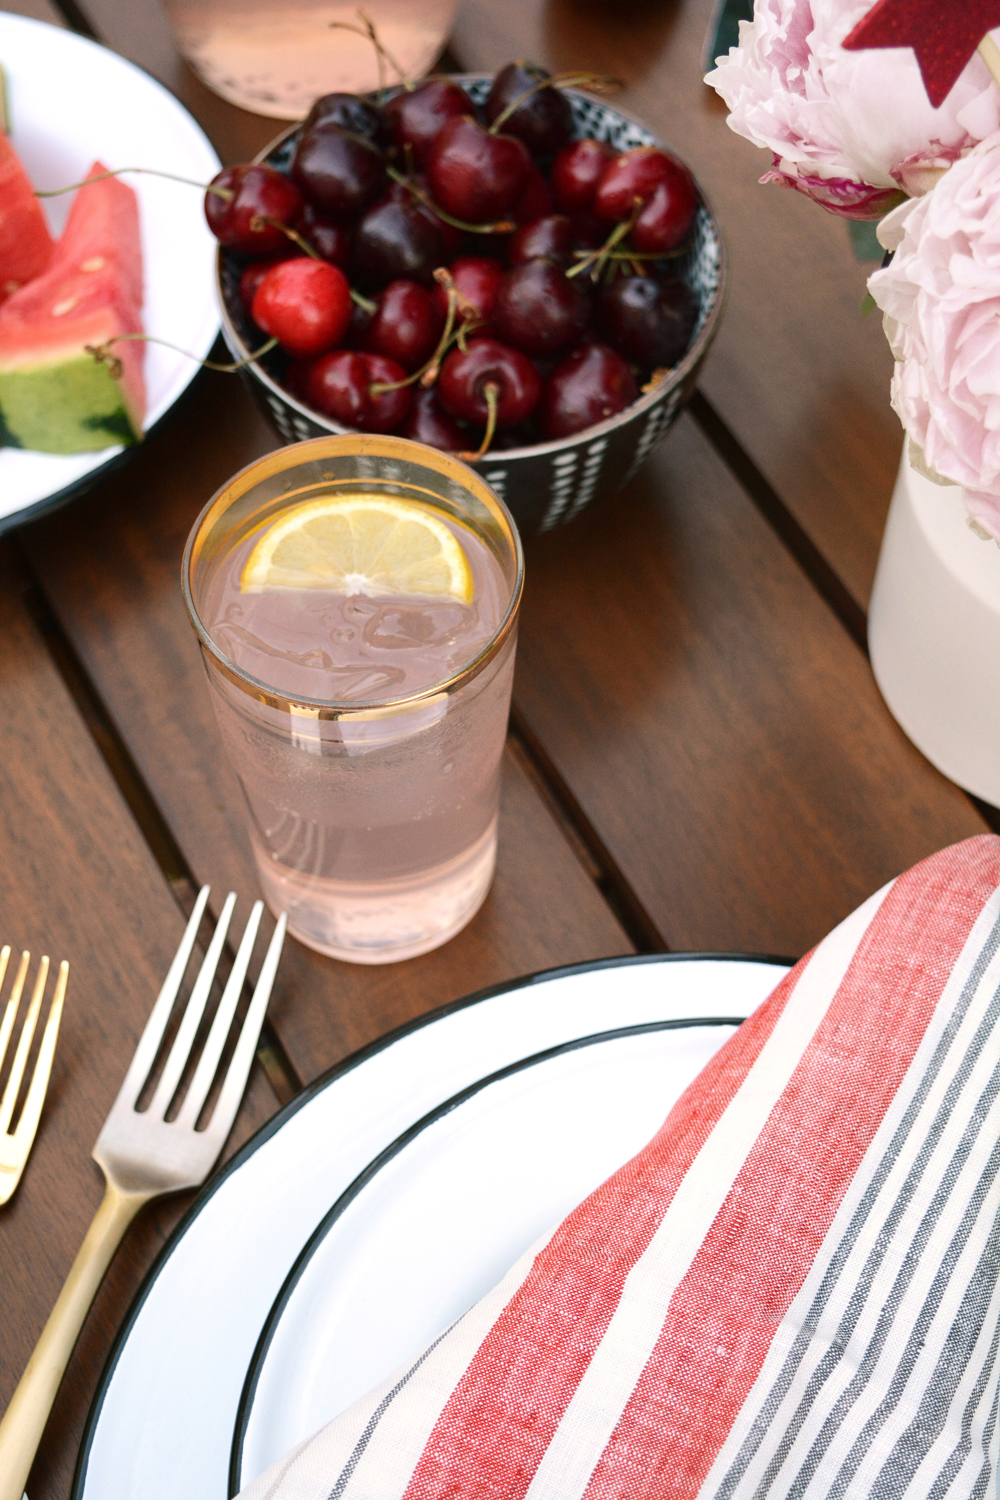
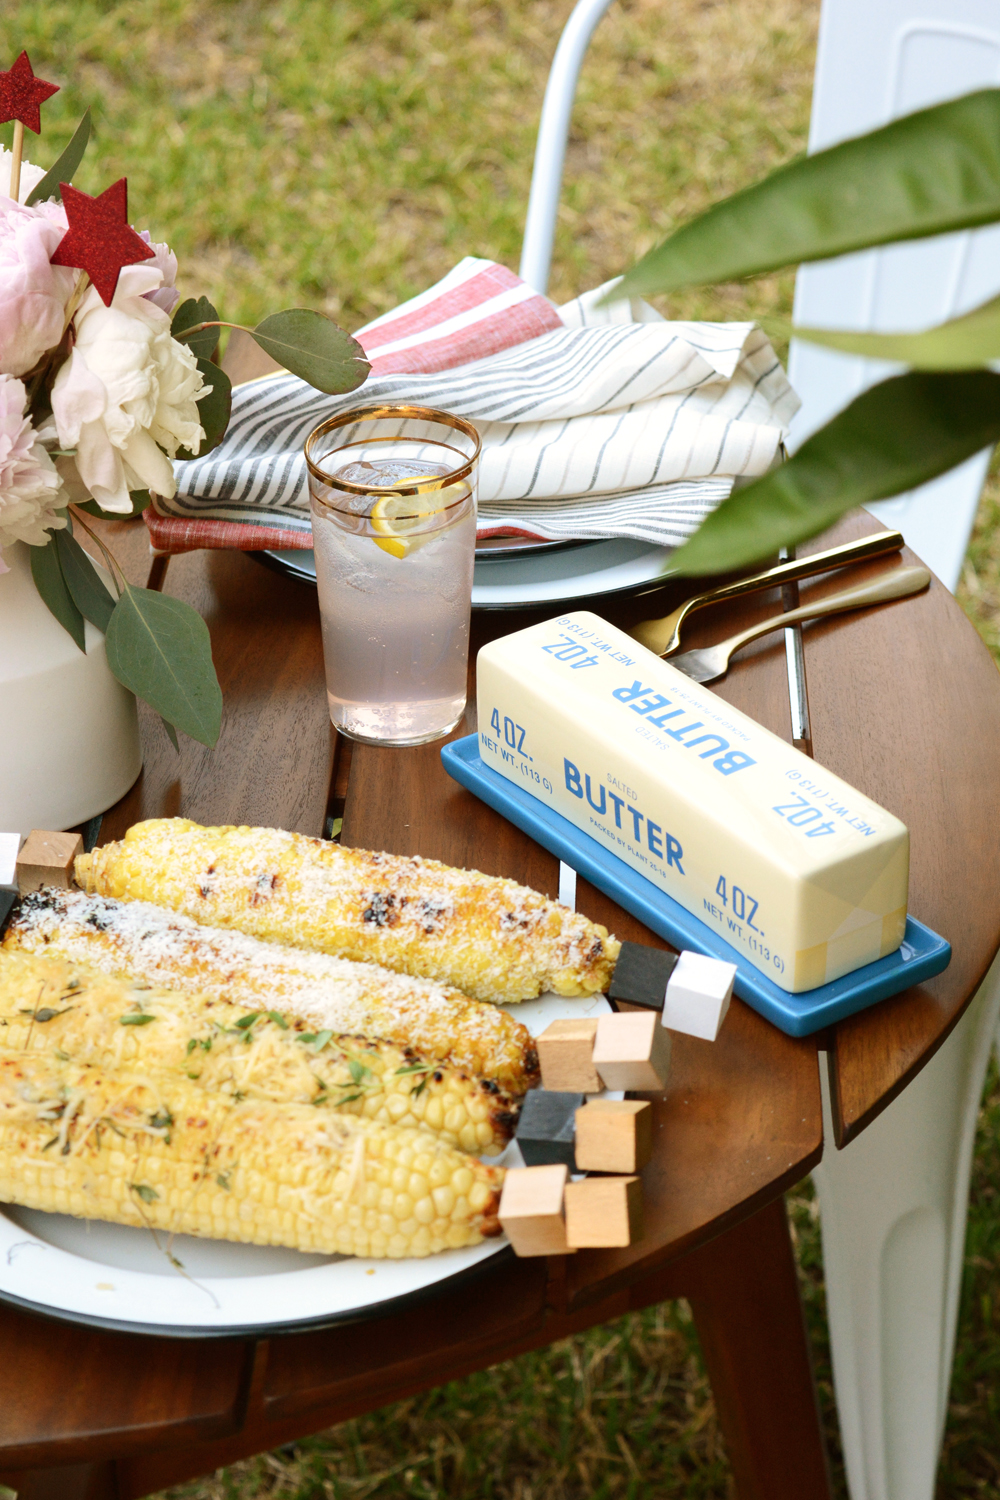
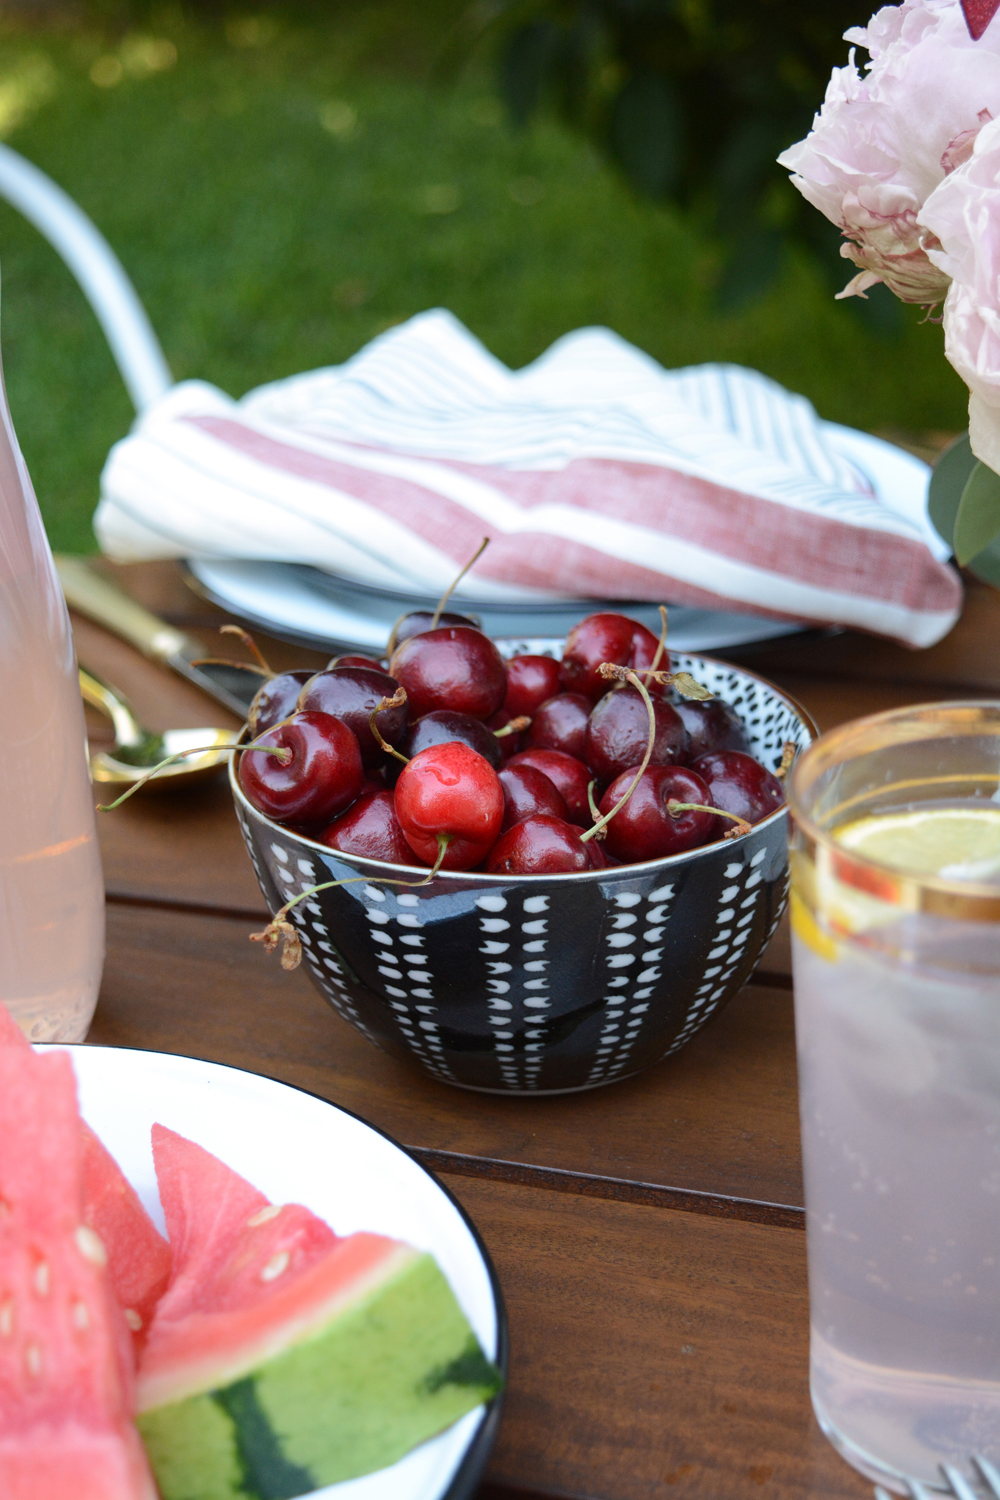
In a bowl, mix the curry powder and mayo. Coat each ear of corn with a generous amount of the mayo mixture.  Wrap the corn in foil and place on a high heat grill.  Grill for about 10 minutes total, rotating the corn every couple of minutes.  Remove from the grill when the corn is golden and just a little charred in places.  Roll each cob in the coconut.Grilled Corn on the Cob for the 4th of JulyInstead of the traditional red, white and blue, I chose to set the table with subtle pink and a touch of red. 4th of July Table SettingNapkins // Table // Plates // Butter Dish // Bowl 4th of July Table Setting4th of July Table Setting
Have a fun and safe Independence Day weekend friends!

DIY

DIY Corn on the Cob Holders

June 30, 2016

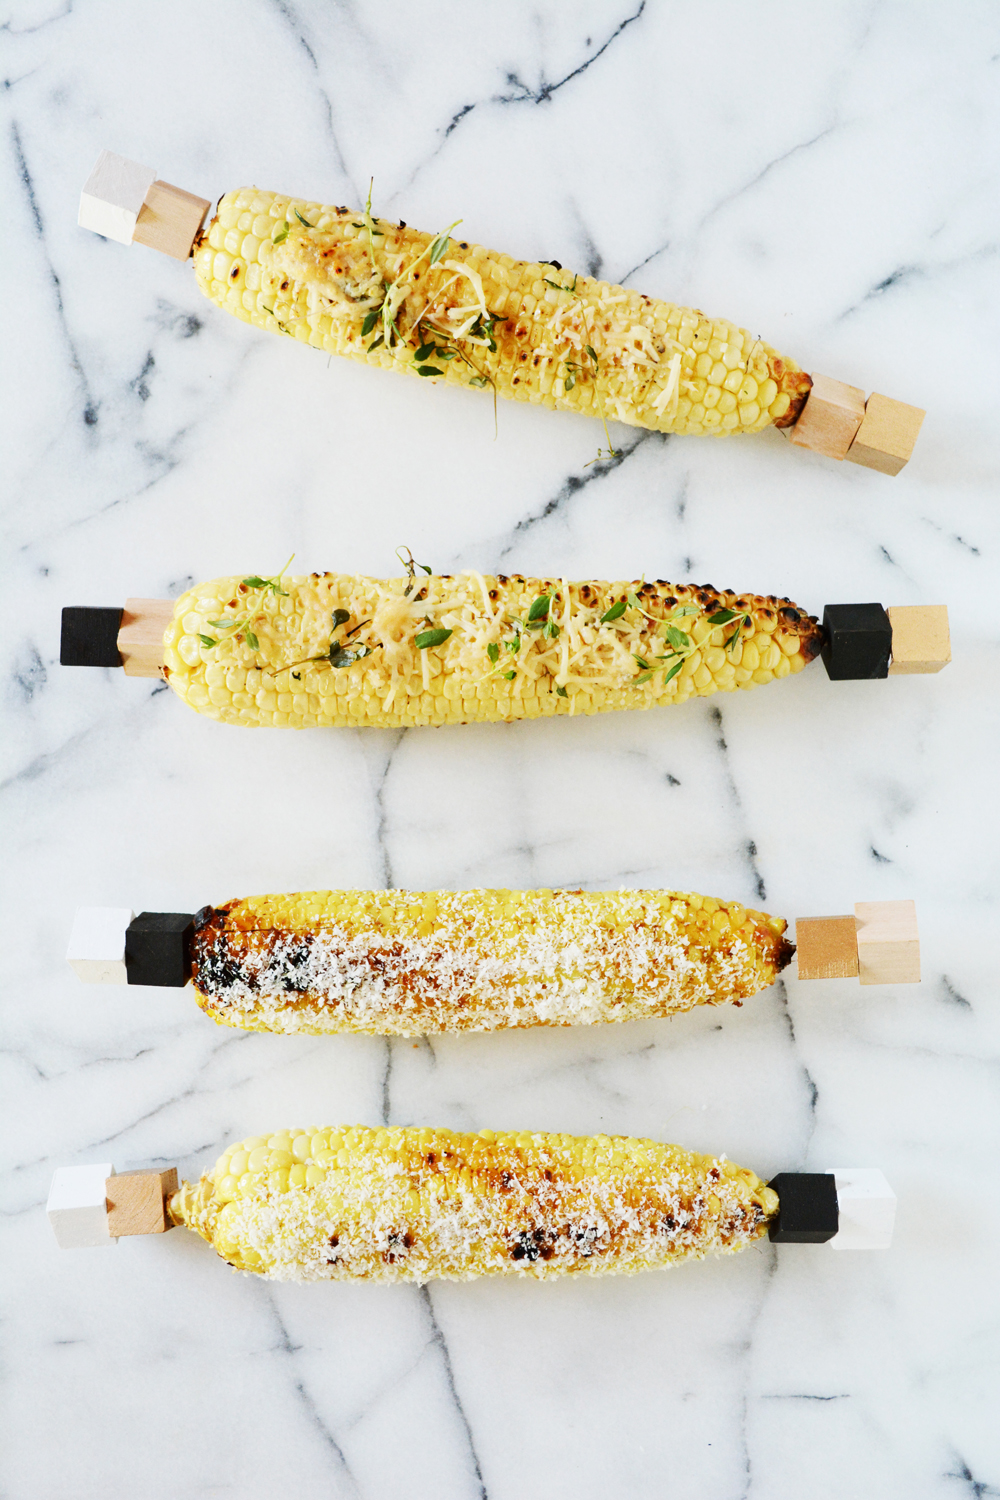
DIY Corn on the Cob Holders‘Tis the definitely the season for eating outdoors and cooking on the grill.  And corn on the cob is on the menu often at our house. Corn is one of those versatile foods that goes well with everything.  I love corn with hot sauce and Mexican cheese and also with fresh herbs and pestos, so I came up with a couple new favorites for this Summer – Parmesan Thyme and Coconut Curry (come back tomorrow for the recipes). And if you are going to drench corn in yummy, messy flavor, corn on the cute cob holders are a must.
_corn holders 10

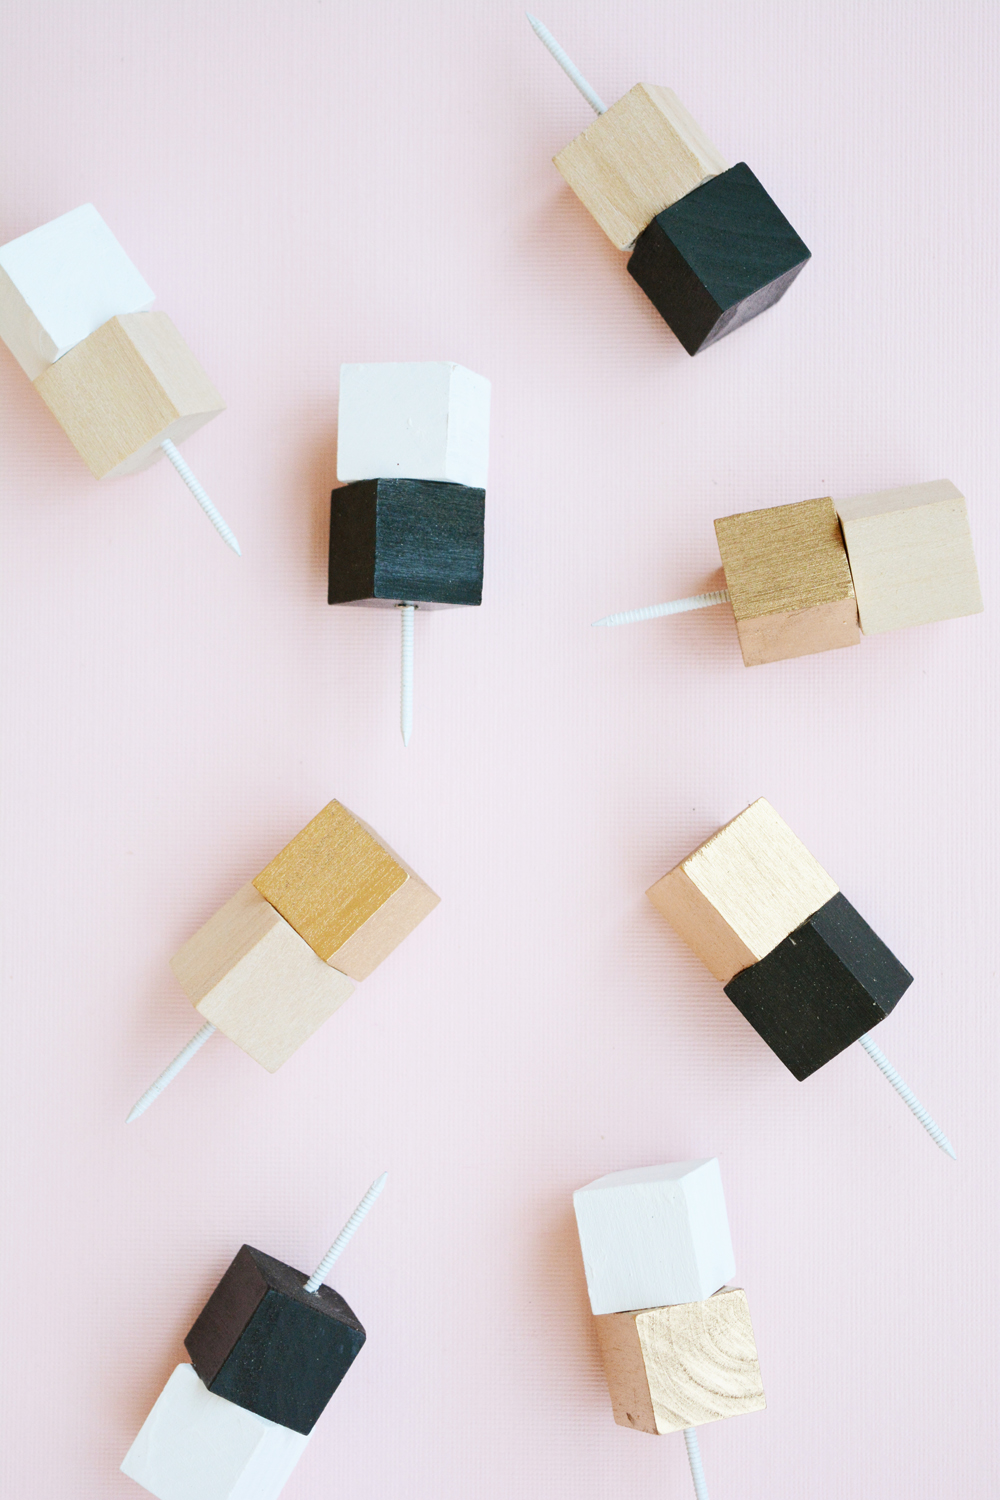
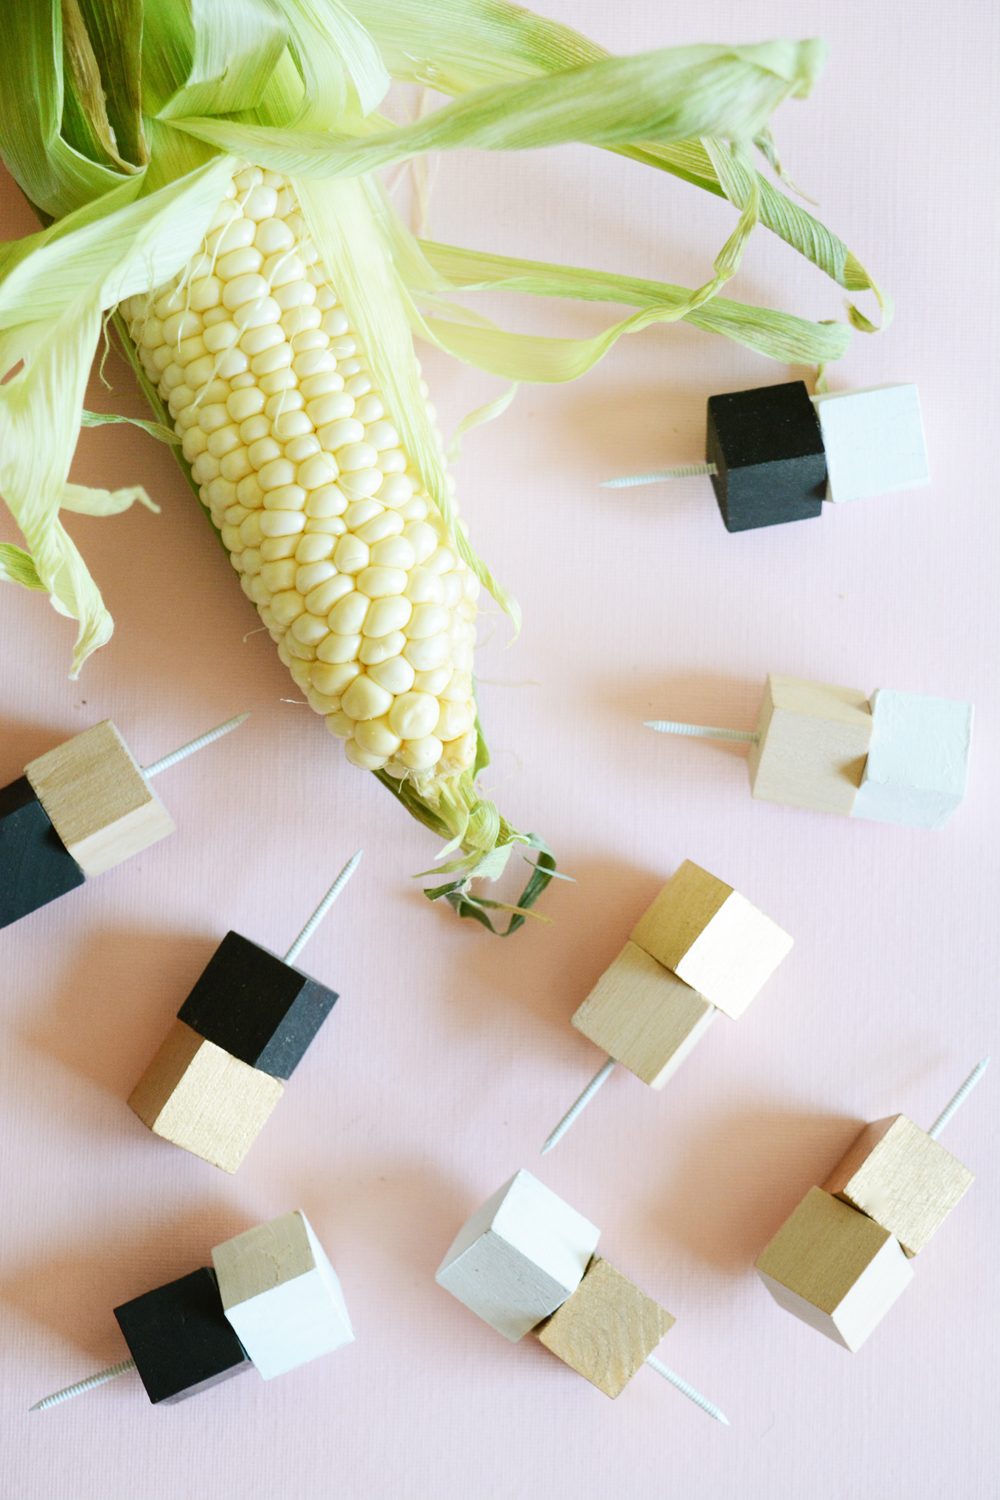
If you are classy, you eat corn on the cob with cute little holders. So, I made some simple geometric holders to take our dining experience up a notch. I should note that I used non-food grade paint and glue on these holder, but technically the part of the corn you eat never touches the holders.  But, if you would rather be not use paint, I think these would look great just left in the natural wood coloring as well.

_west elm corn 16Here’s what you’ll need:

  • 1 inch wooden blocks (found at the craft store)
  • spray paint on craft pain in a couple of colors
  • 1 5/8″ painted steel nails
  • drill and 2 sizes of bits
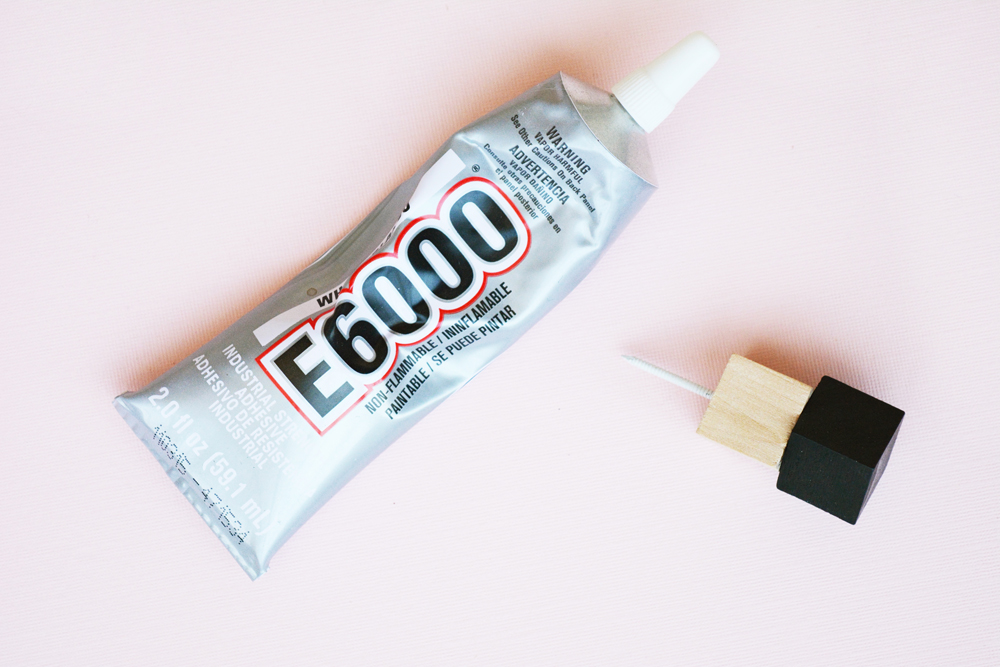
  • E6000 glue

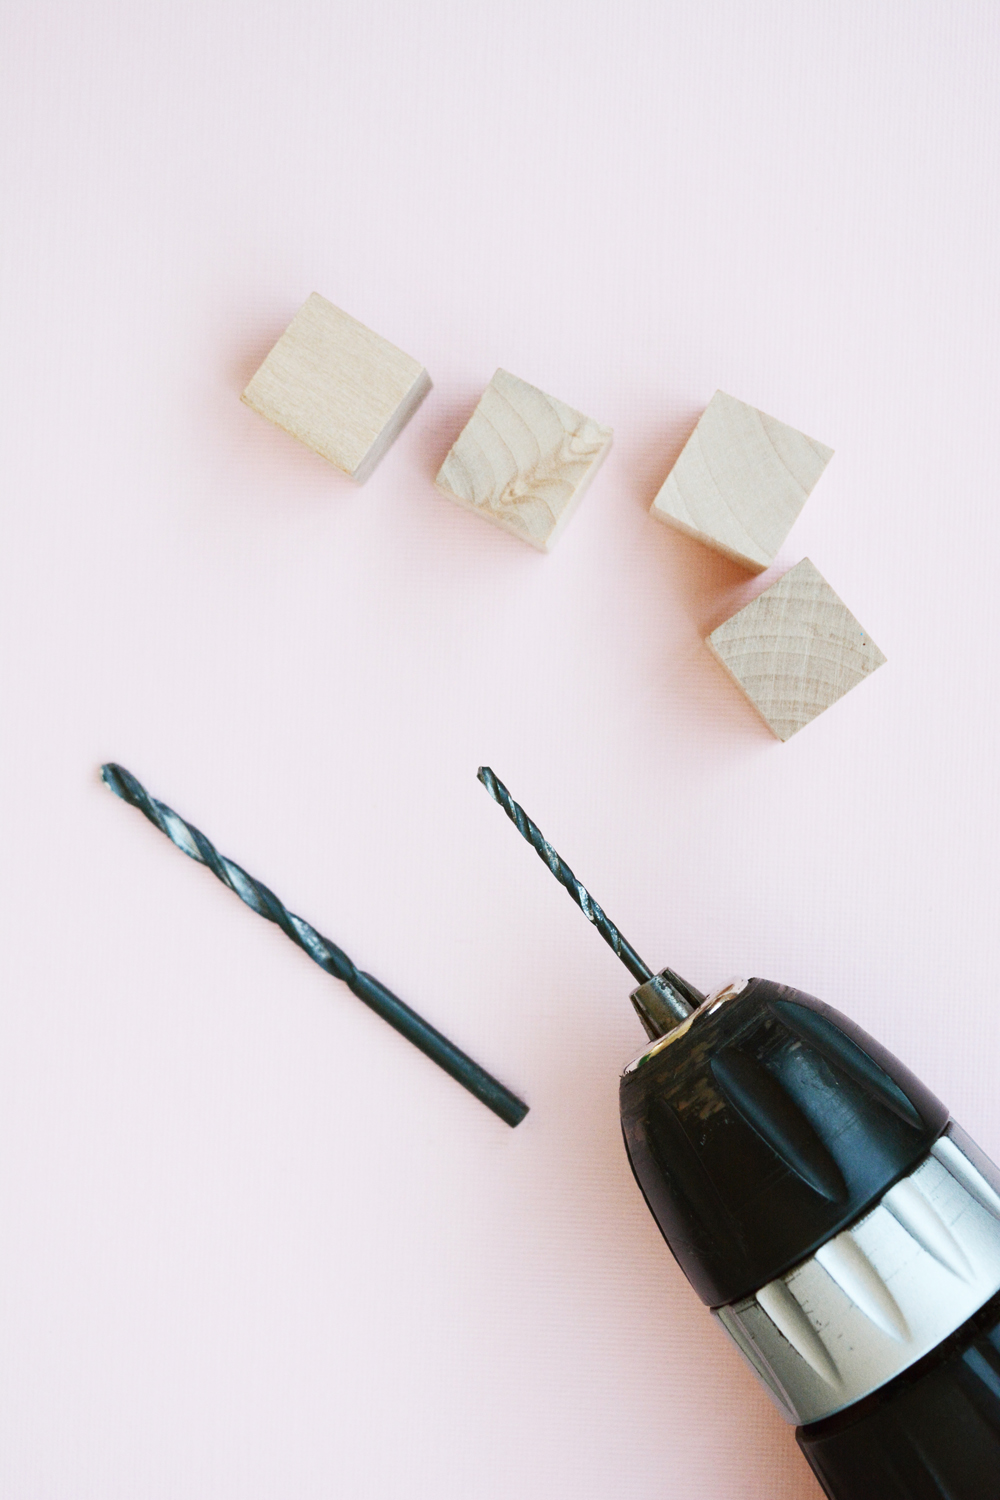
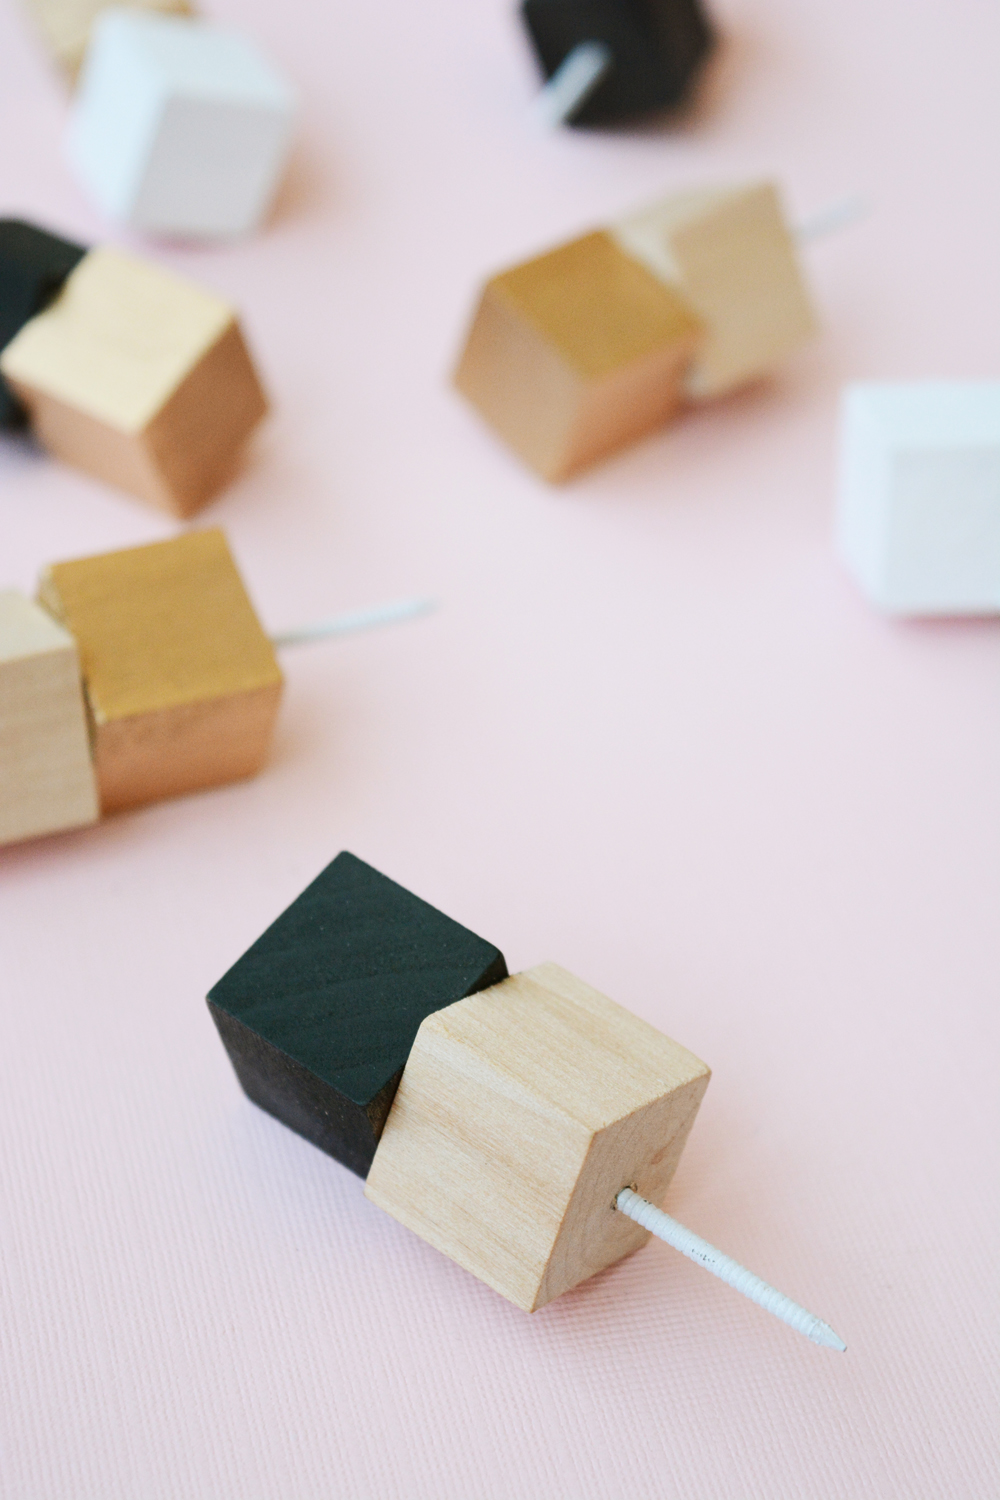
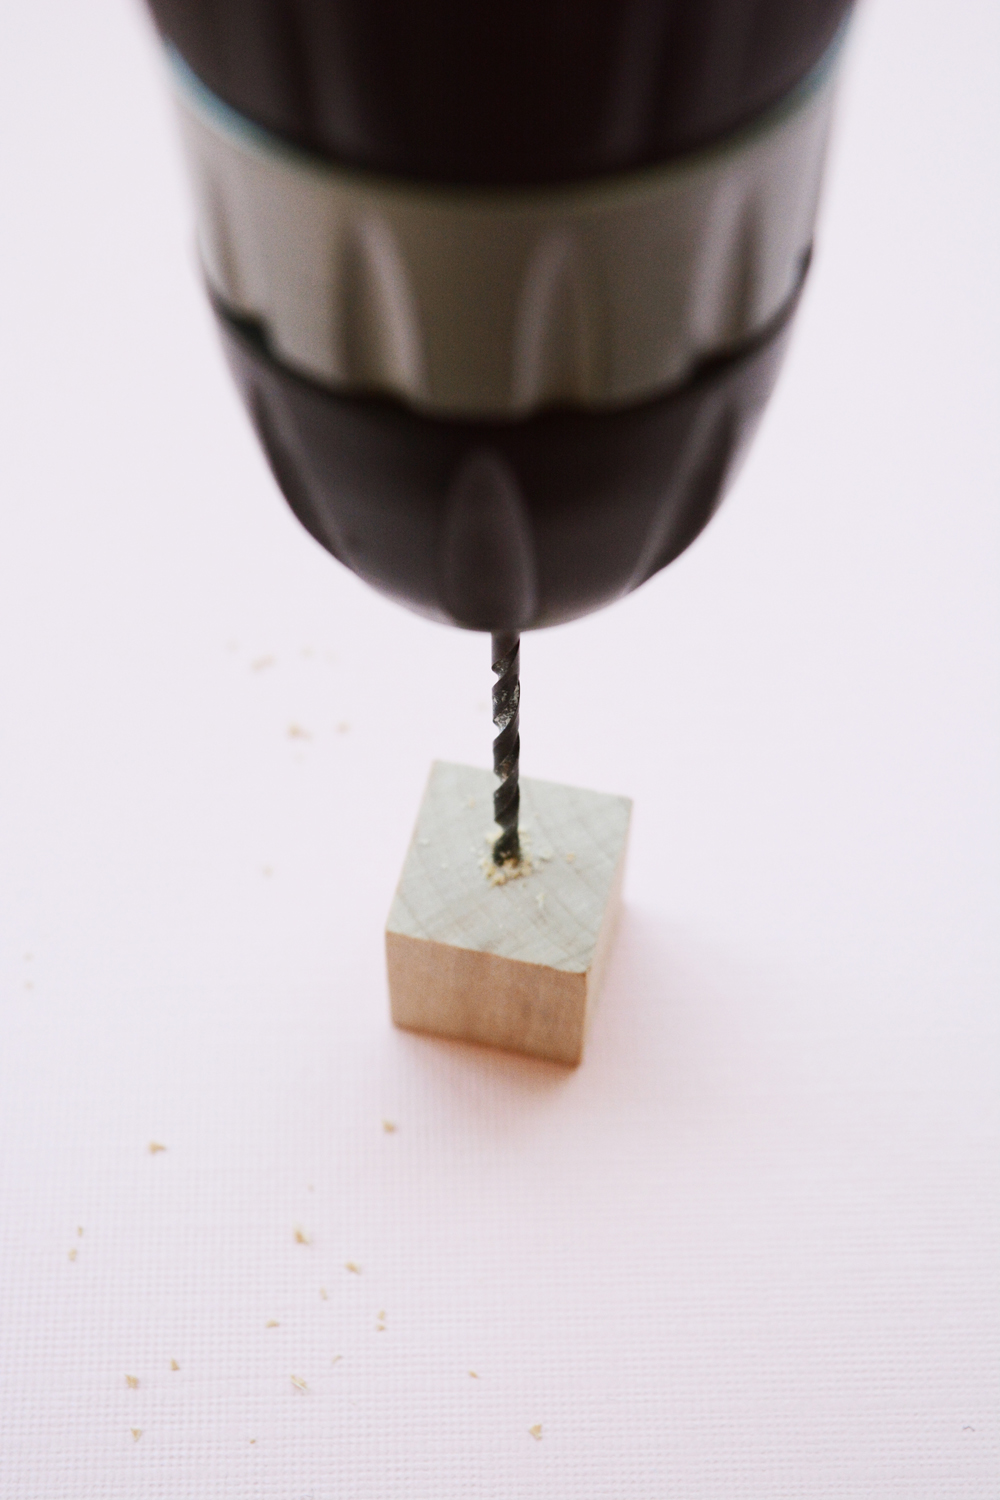
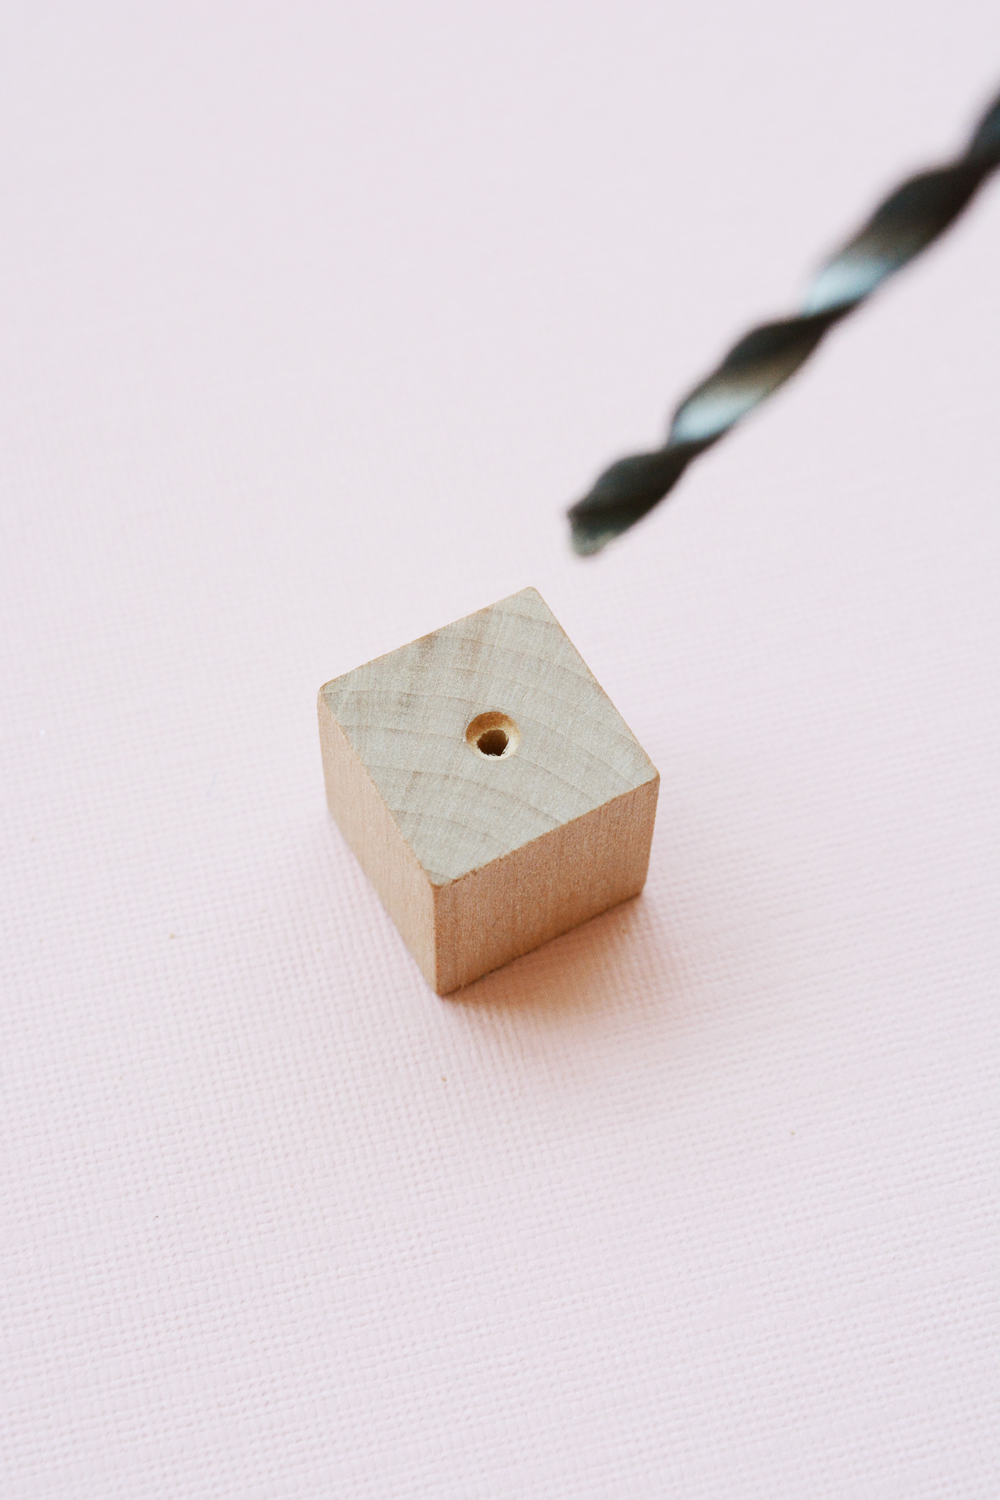
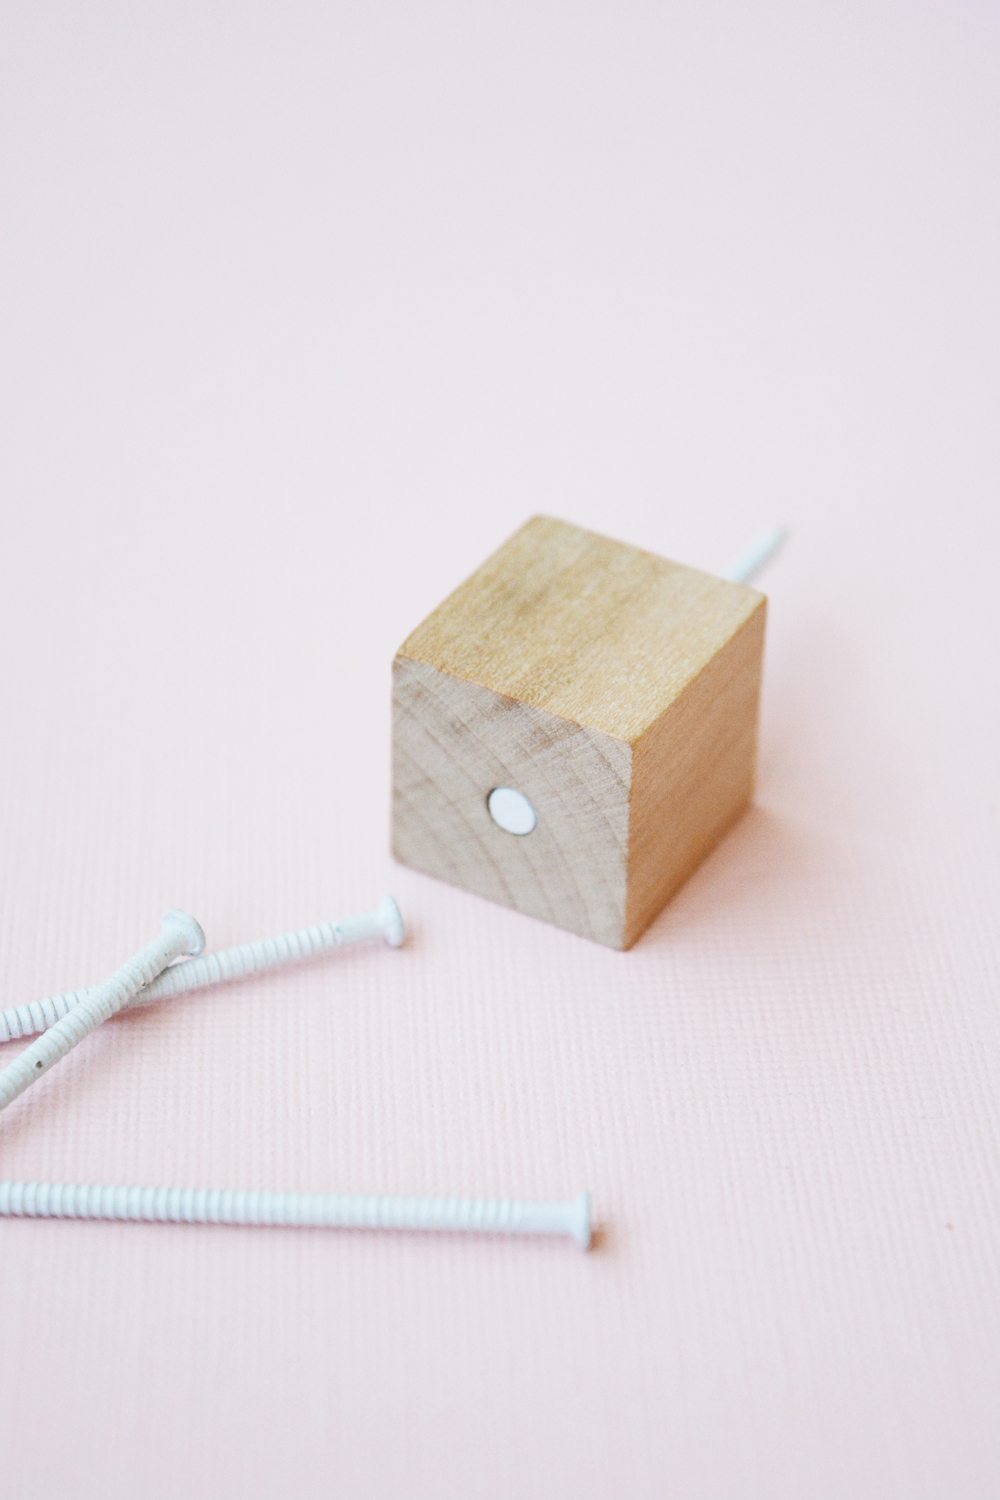
To start, you’ll want to paint the blocks.  I chose black, gold, white and left some natural wood._corn holders 9_corn holders 1Start by drilling, with the smaller drill bit, a hole in the center of half of the wooden blocks._corn holder 2Then attach the larger drill bit and drill just a short distance into the wooden block.  This is to create a space for the nail head to sit, so that is is flush with the surface of the block._corn holders 3Place a nail into the hole and make sure that the nail head sits flat. _corn holders 5Add a small amount of E6000 glue to the top of the block, where the nail head is and then adhere another wooden cube at a 45 degree angle.  Allow them to dry overnight._corn holders 6_corn holders 8
DIY Corn on the Cob HoldersBe sure to come back tomorrow for two yummy grilled corn on the cob recipes – Coconut Curry and Parmesan Thyme. DIY Corn on the Cob Holders
 

Food & Drink

Blueberry Bourbon Vanilla Lemonade

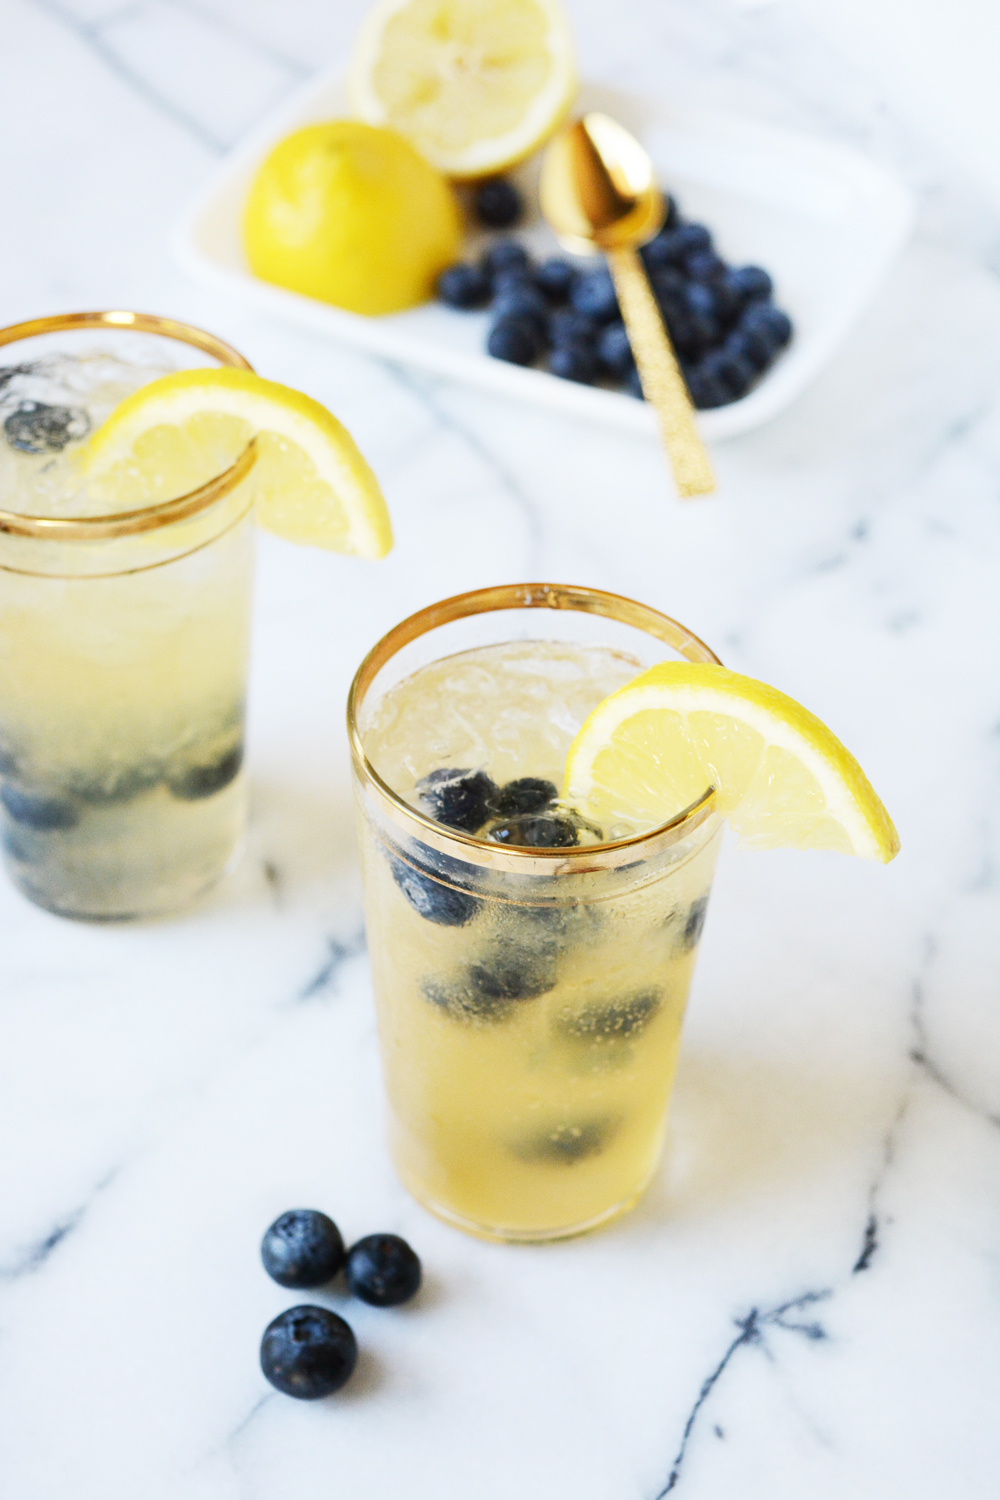
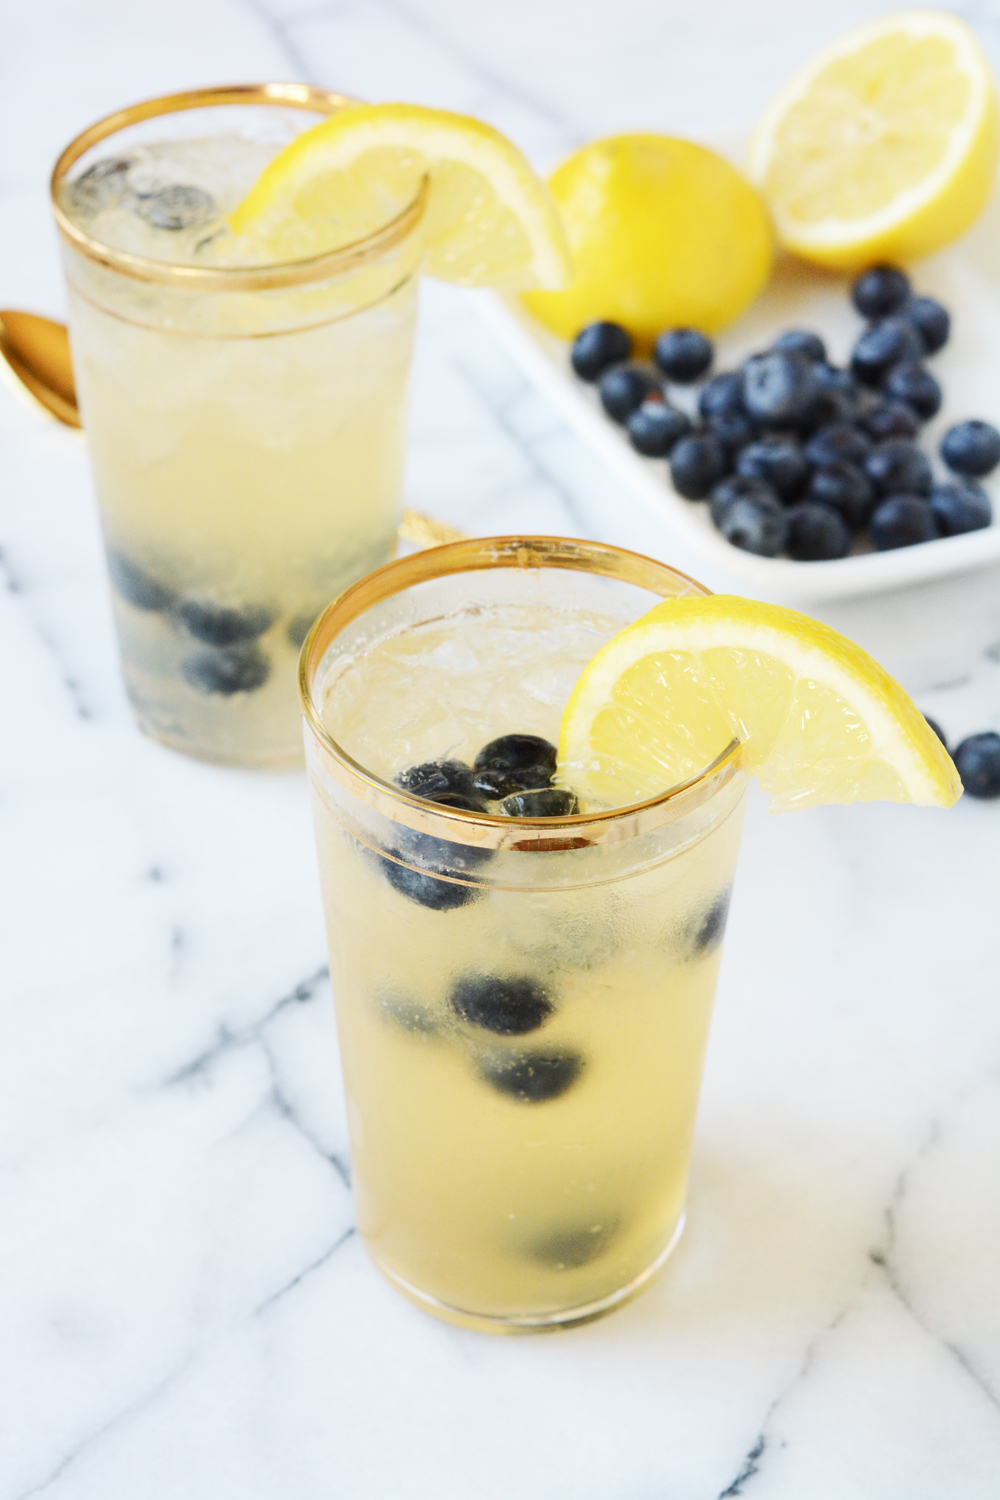
Yep, it’s about time we had another mocktail recipe, and just in time for the 4th of July weekend. This smooth, mellow lemonade does sport a little blue of the red, white and blue. So, let’s just call it festive.

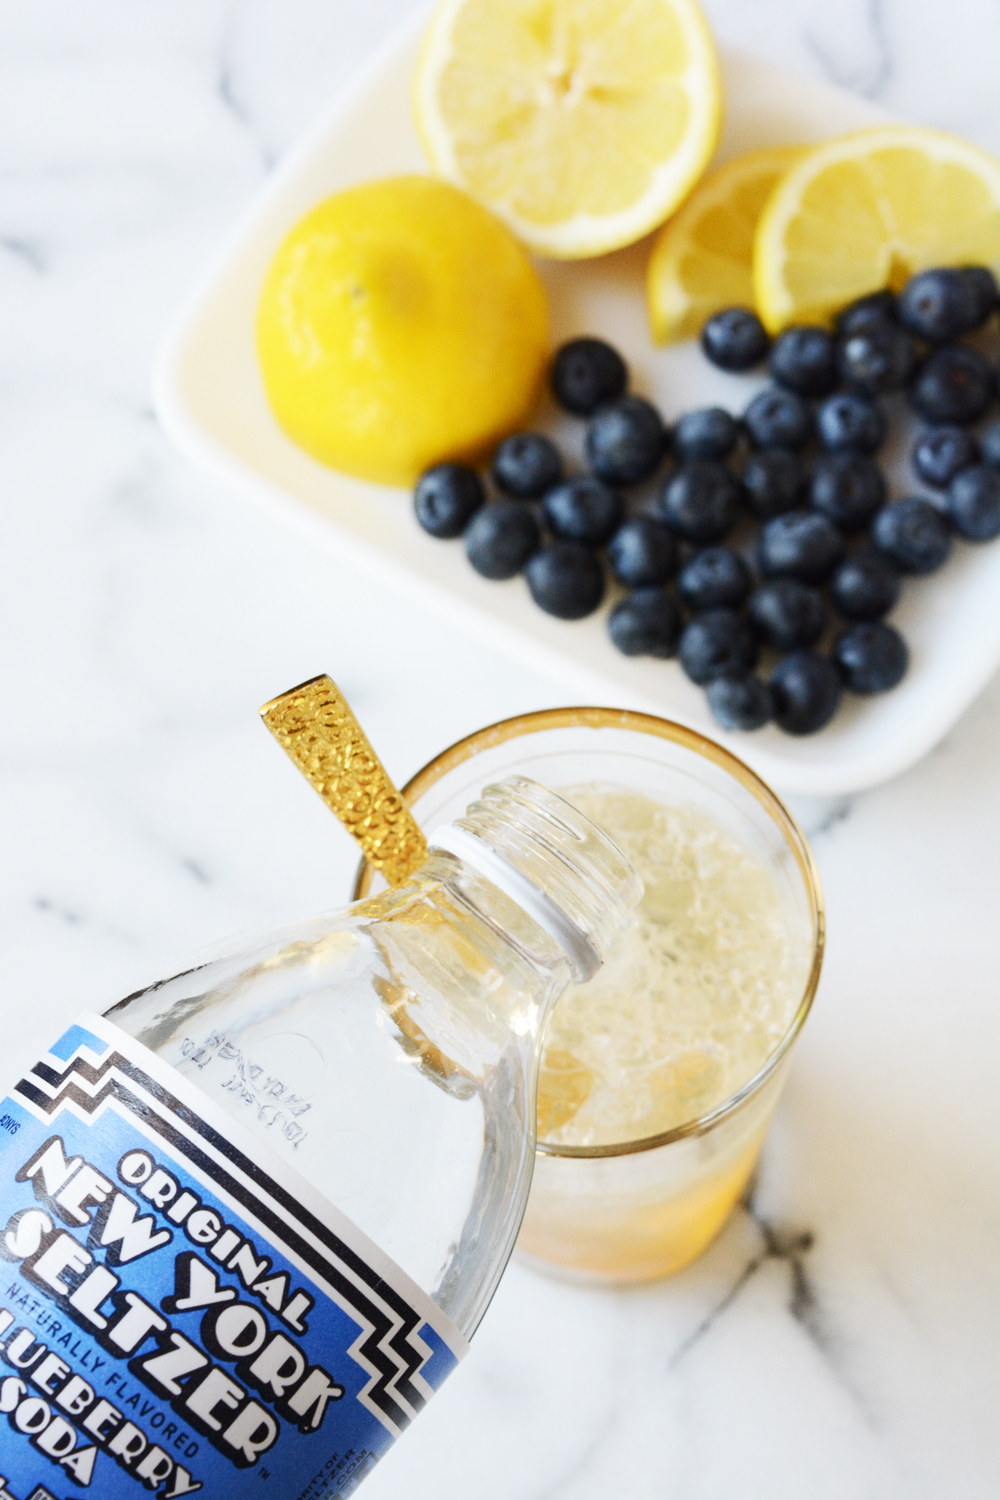
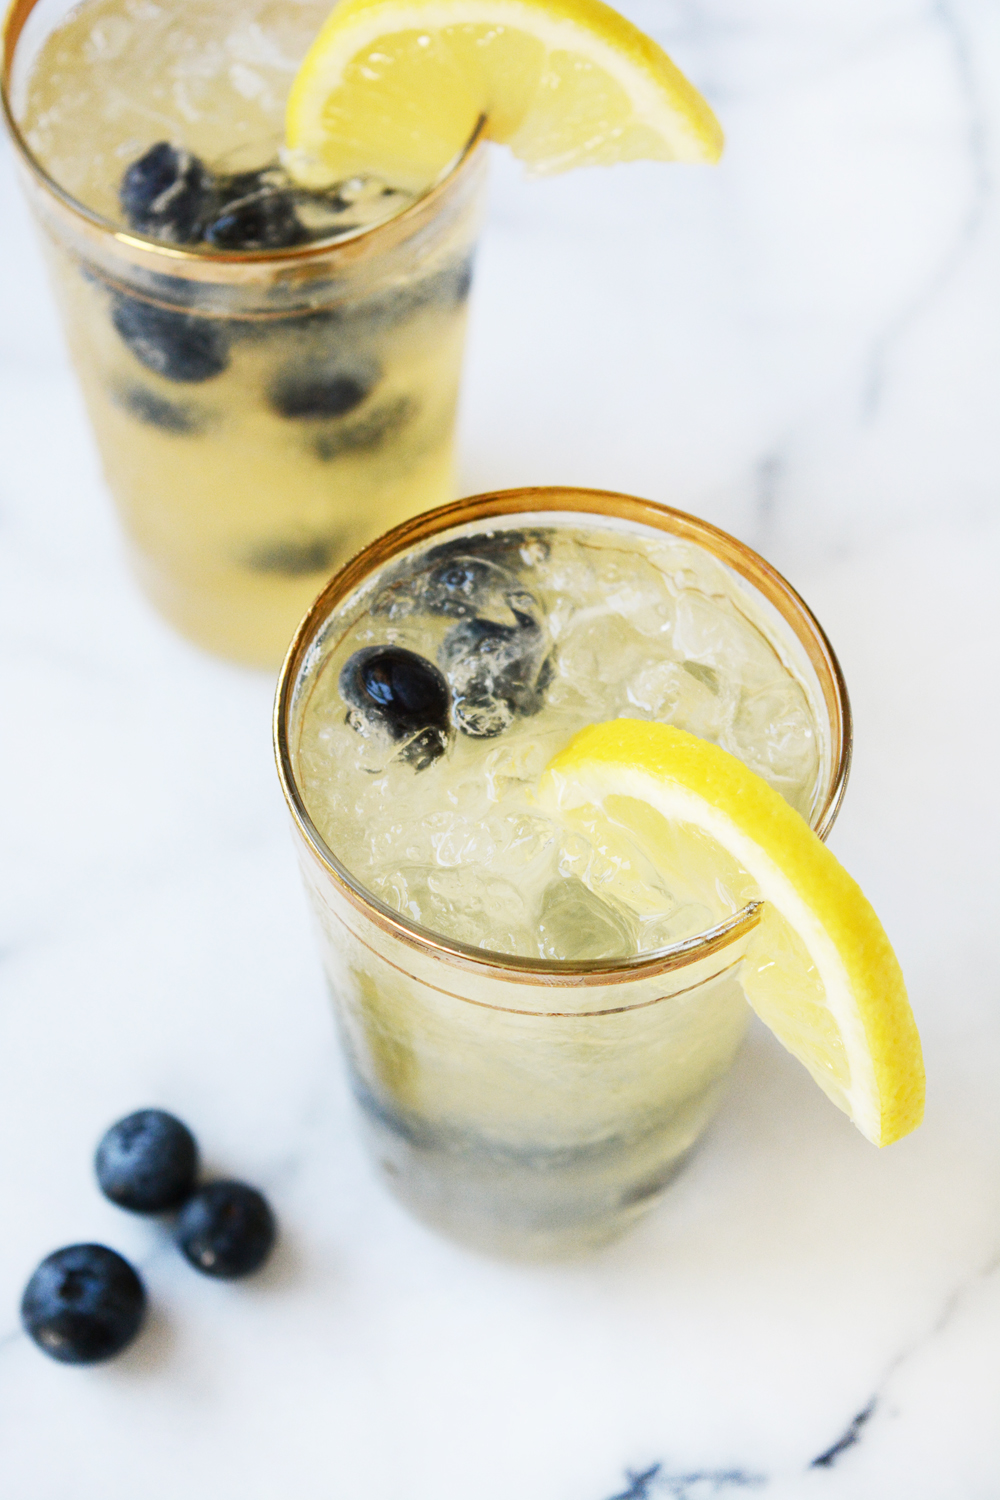
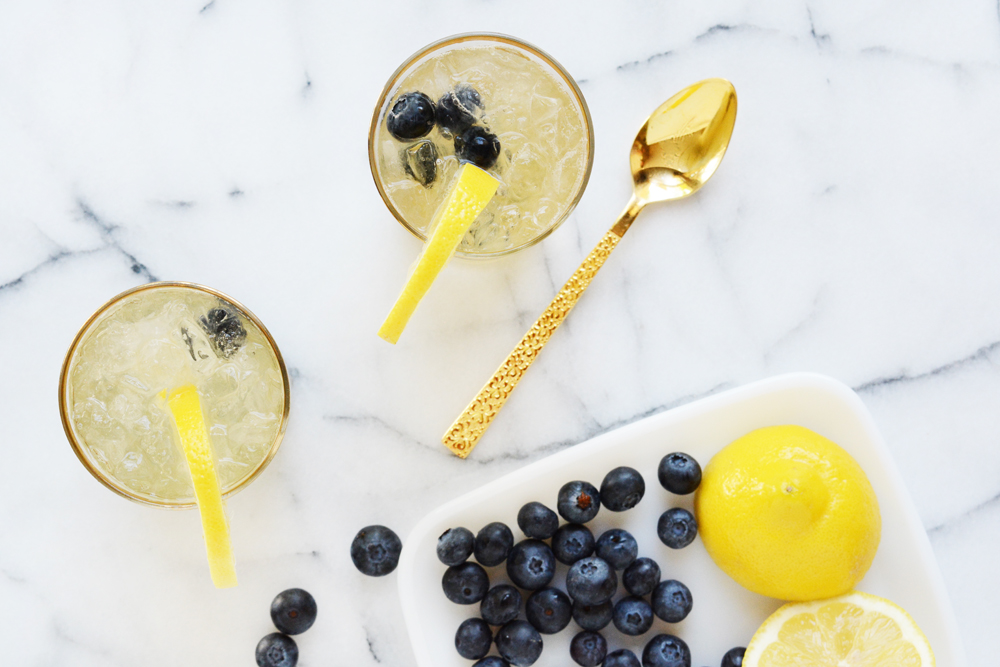
Local friends, if you are a fan of a fun mocktail or cocktail, join me this Saturday, June 2nd from 2-4pm at World Market here in Bakersfield.  I’ll be there demonstrating some fun patriotic mocktails just in time for the holiday weekend.  It’s a free event, and I’d love to meet you.  Let’s hang out and I’d happily help you shop! If you don’t live in Bakersfield, be sure to contact your local store, there might be a blogger hosting an event like this at yours as well!Blueberry bourbon vanilla lemonade mocktail recipe! Fun non-alcoholic drink the whole family can enjoy. While we were in Canada, I had the yummiest bourbon vanilla lemonade at a fun sandwich shop in Edmonton. I knew it was a flavor I needed to replicate. The blueberries and vanilla add a smooth layer to a normally tart, bright flavor of lemons. The combination is a winner! This one is adult and kid tested and everyone in my house definitely approves.blueberry bourbon vanilla lemonade mocktail recipe Blueberry Bourbon Vanilla Lemonade
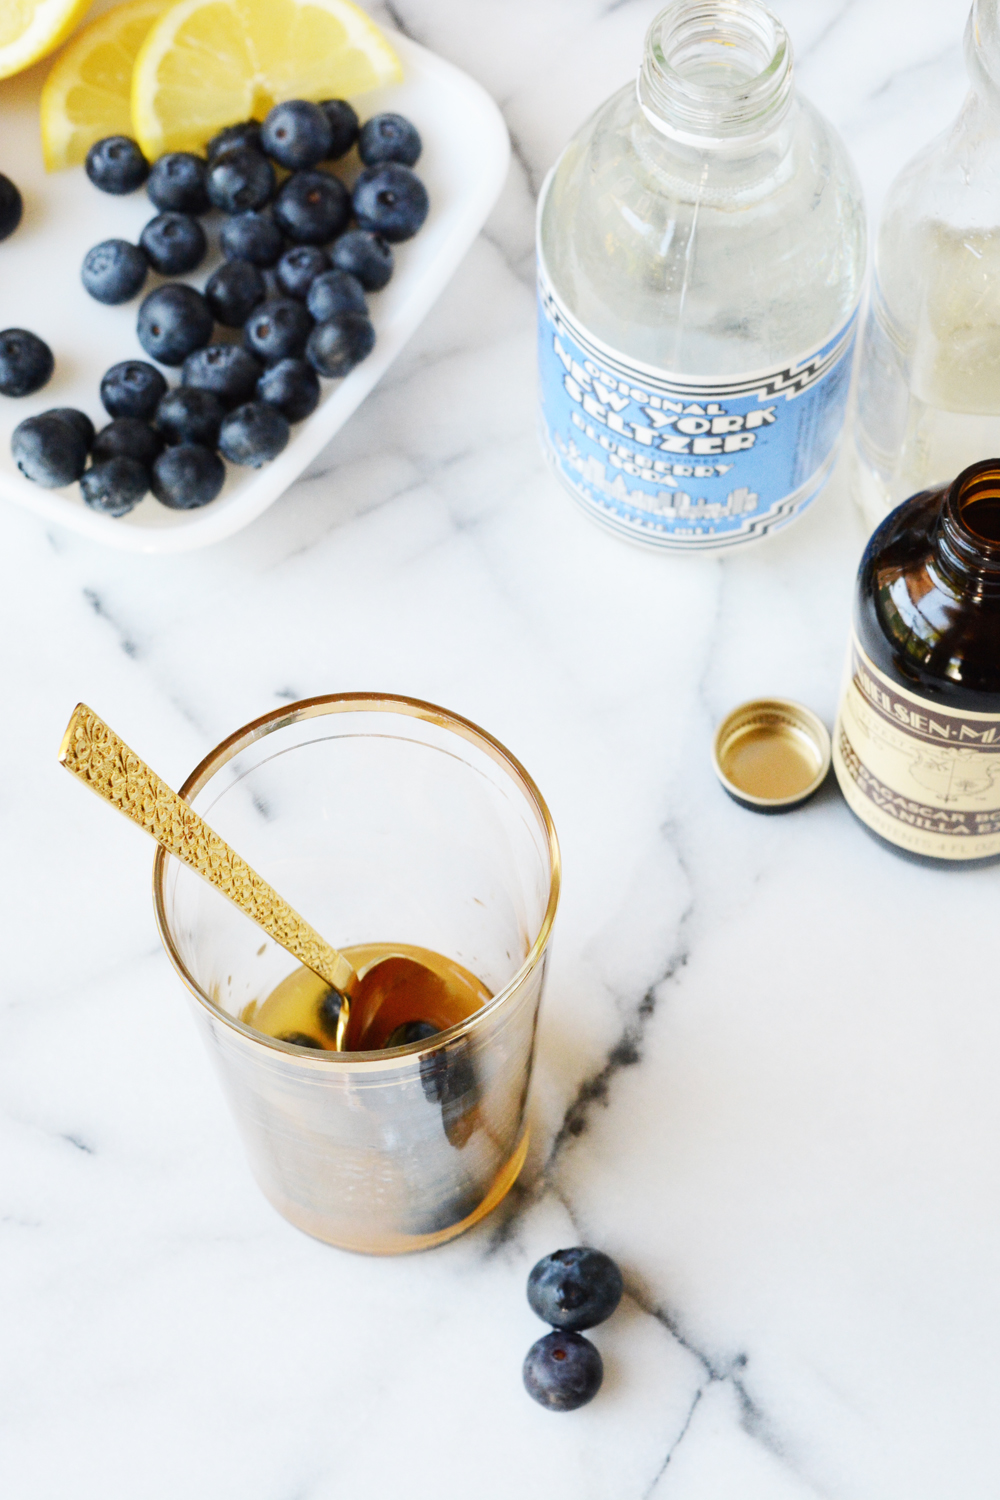
In the bottom on the glass, add the lemon juice, vanilla, simple syrup, a few blueberries and stir. Add a generous amount of crushed ice. Then top with blueberry seltzer and stir once more. Garnish with a slice of lemon. Sparkling Blueberry Bourbon Vanilla Lemonadeblueberry bourbon lemonadeblueberry bourbon lemonade

If you are local, I hope I see you this Saturday at World Market.

blueberry bourbon vanilla lemonade - mocktail recipe

Design

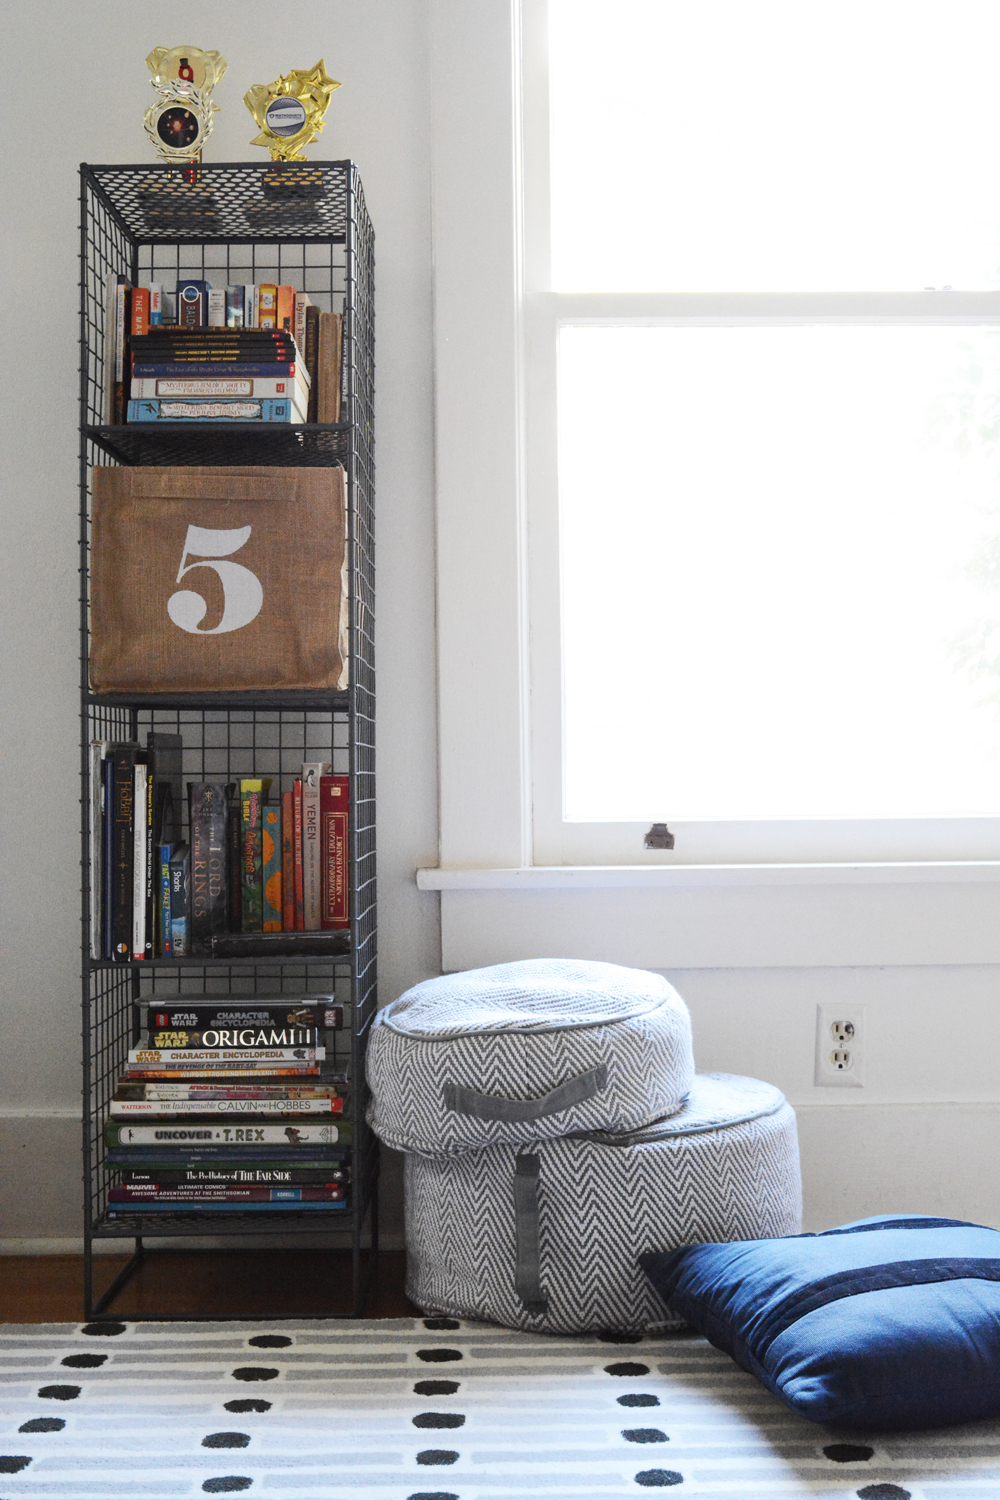
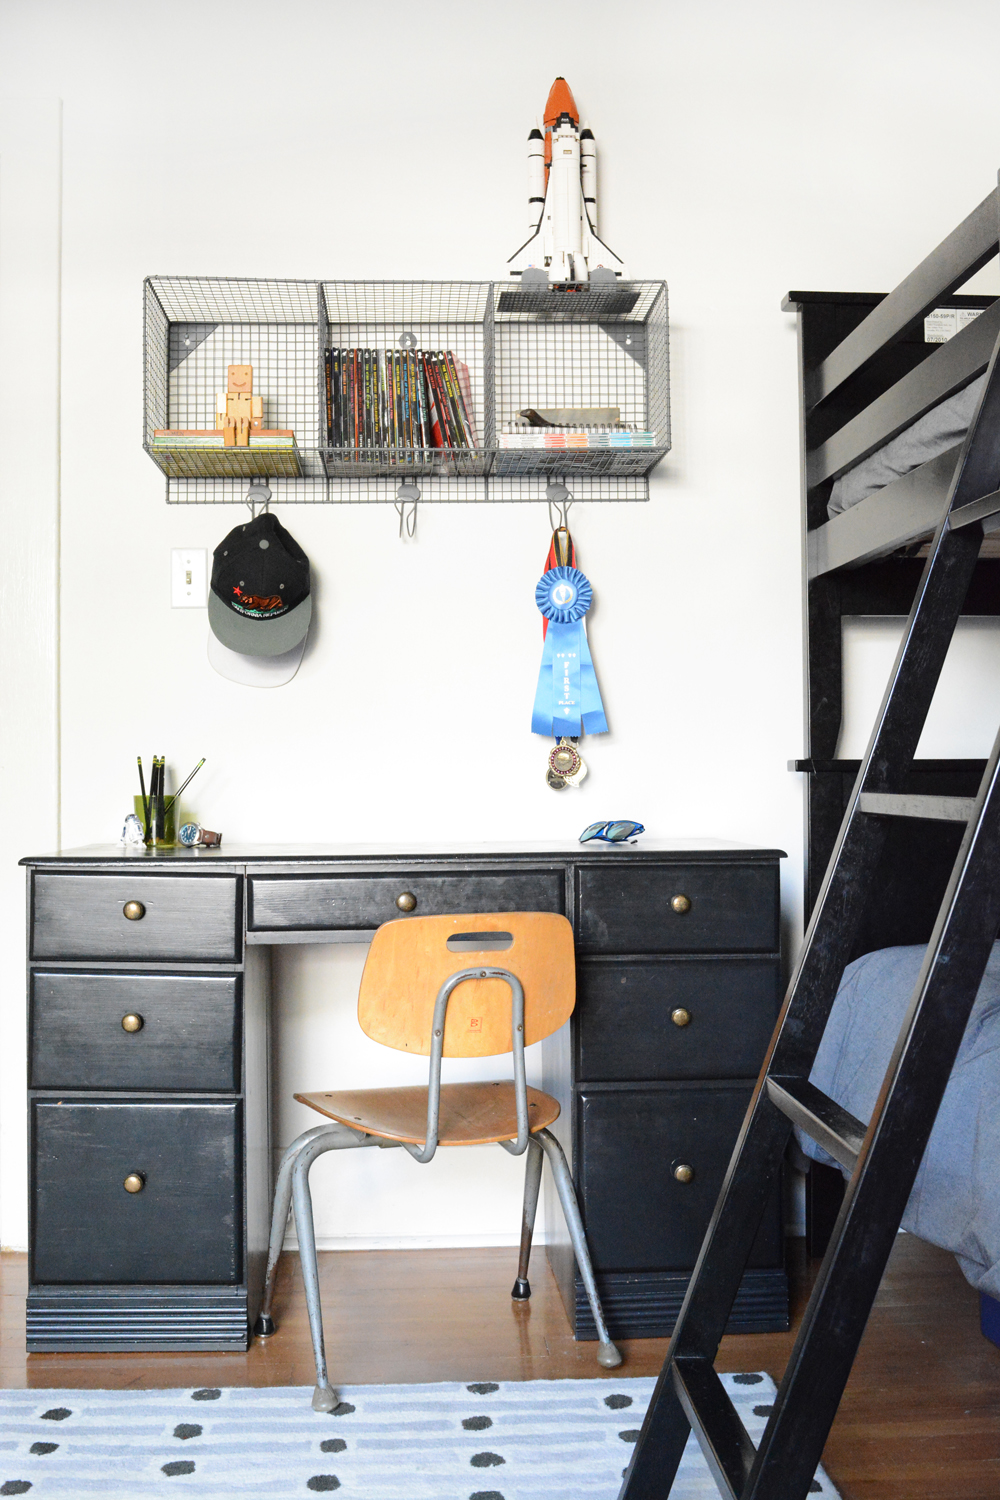
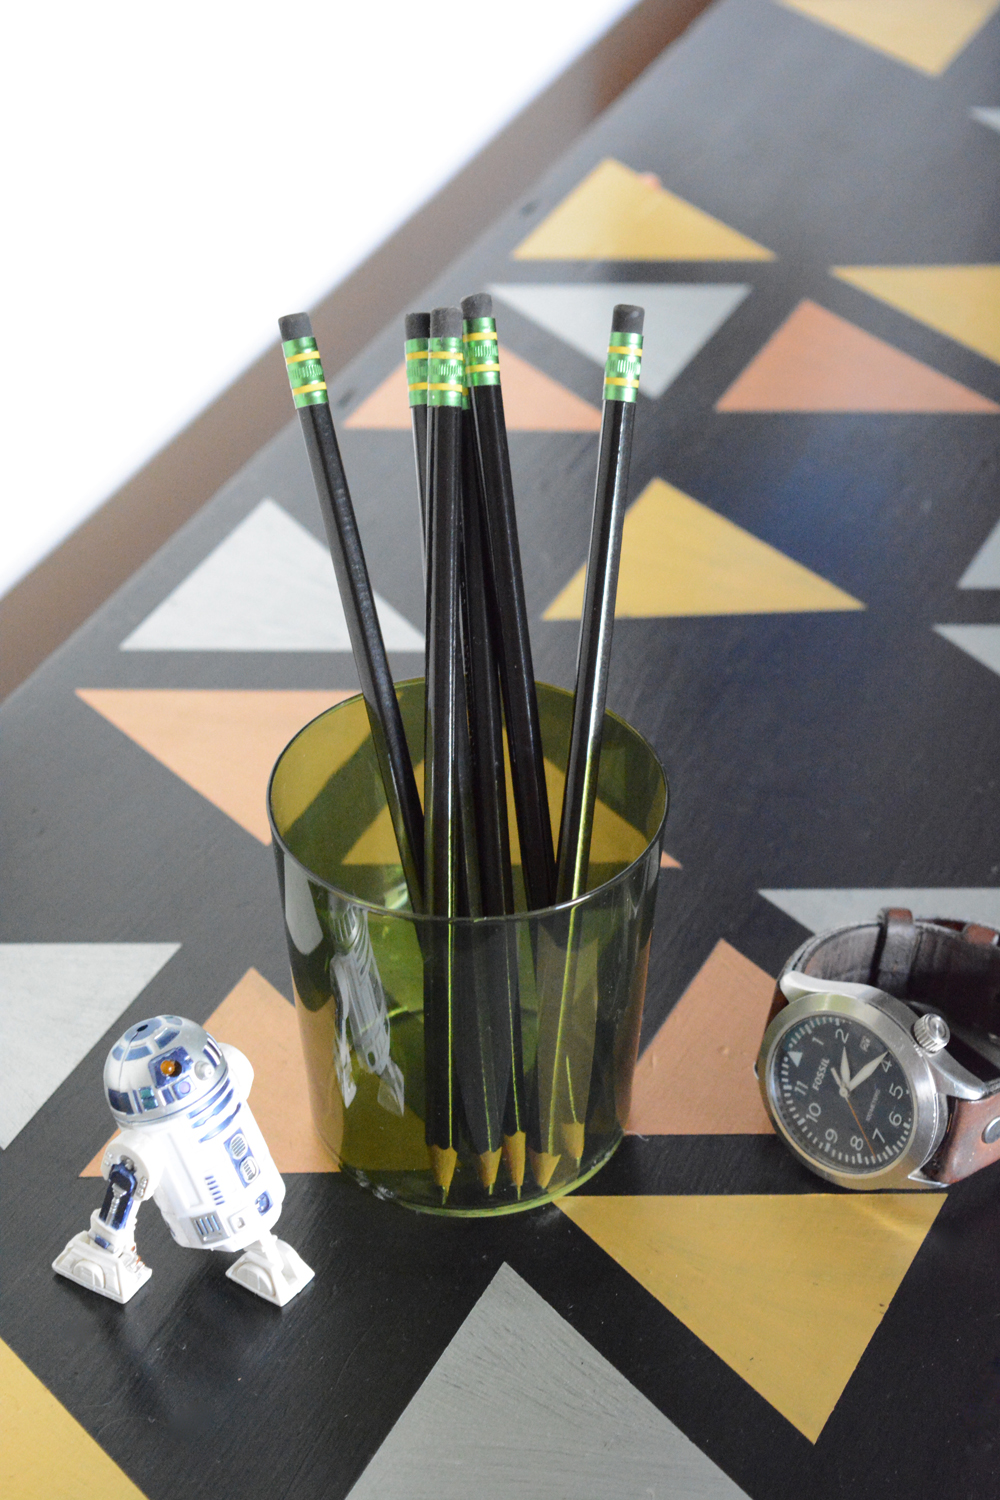
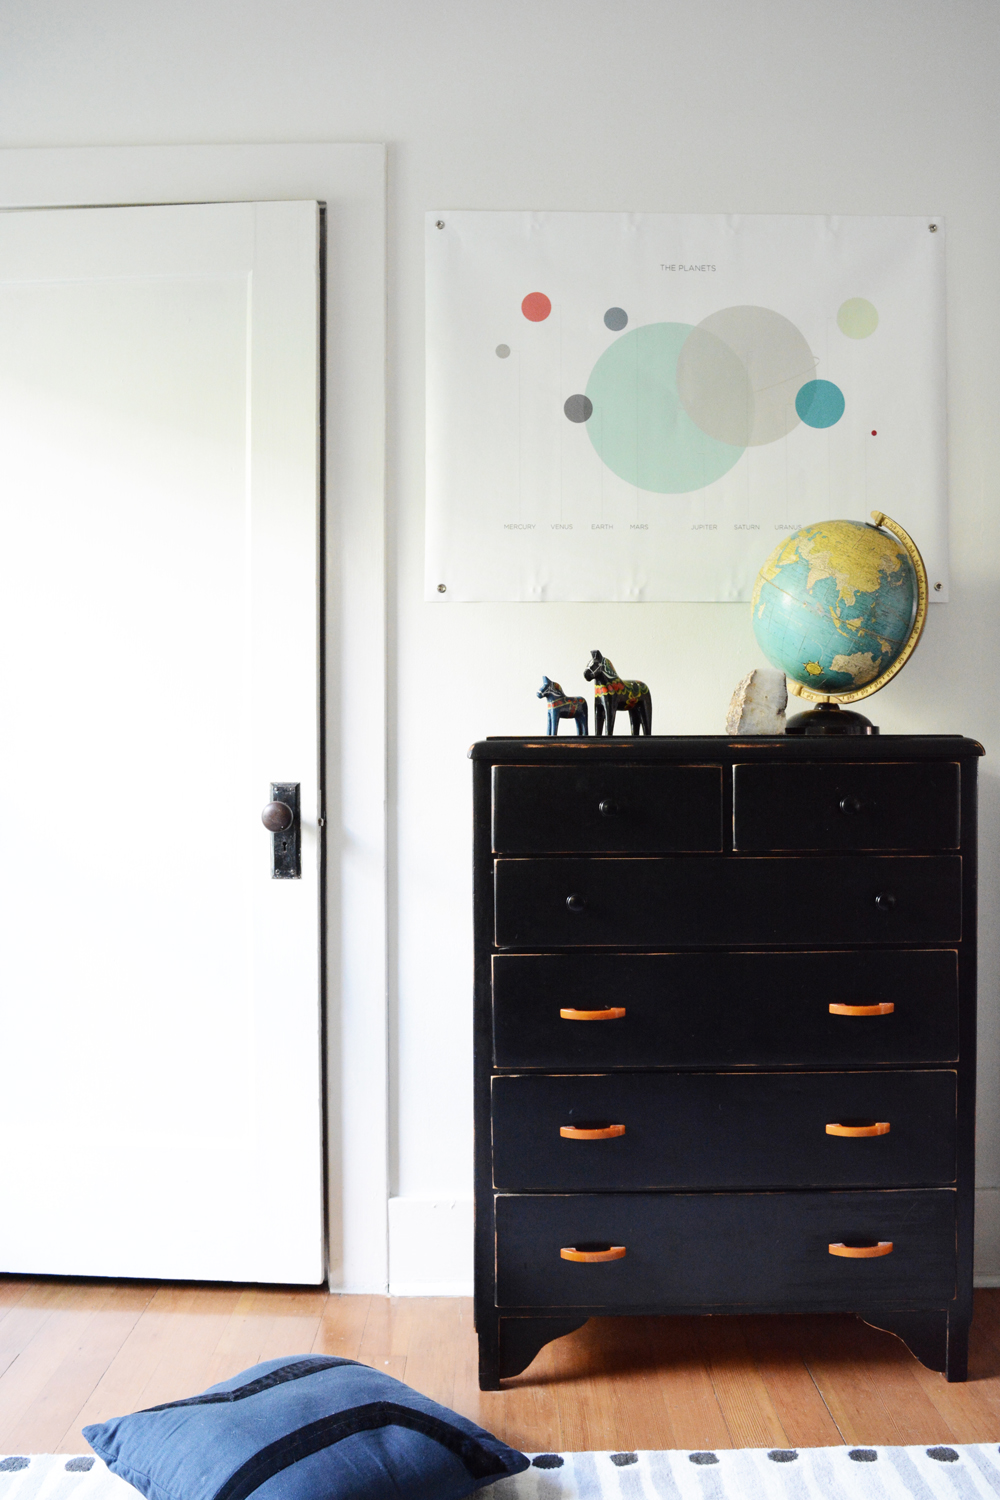
Dylan’s Tween Bedroom

June 28, 2016

As I’m packing up all the rooms, I’m really thankful that I have pictures of every room in our house. It’s a fun benefit of blogging. My kids will always be able to look back at their childhood bedrooms.

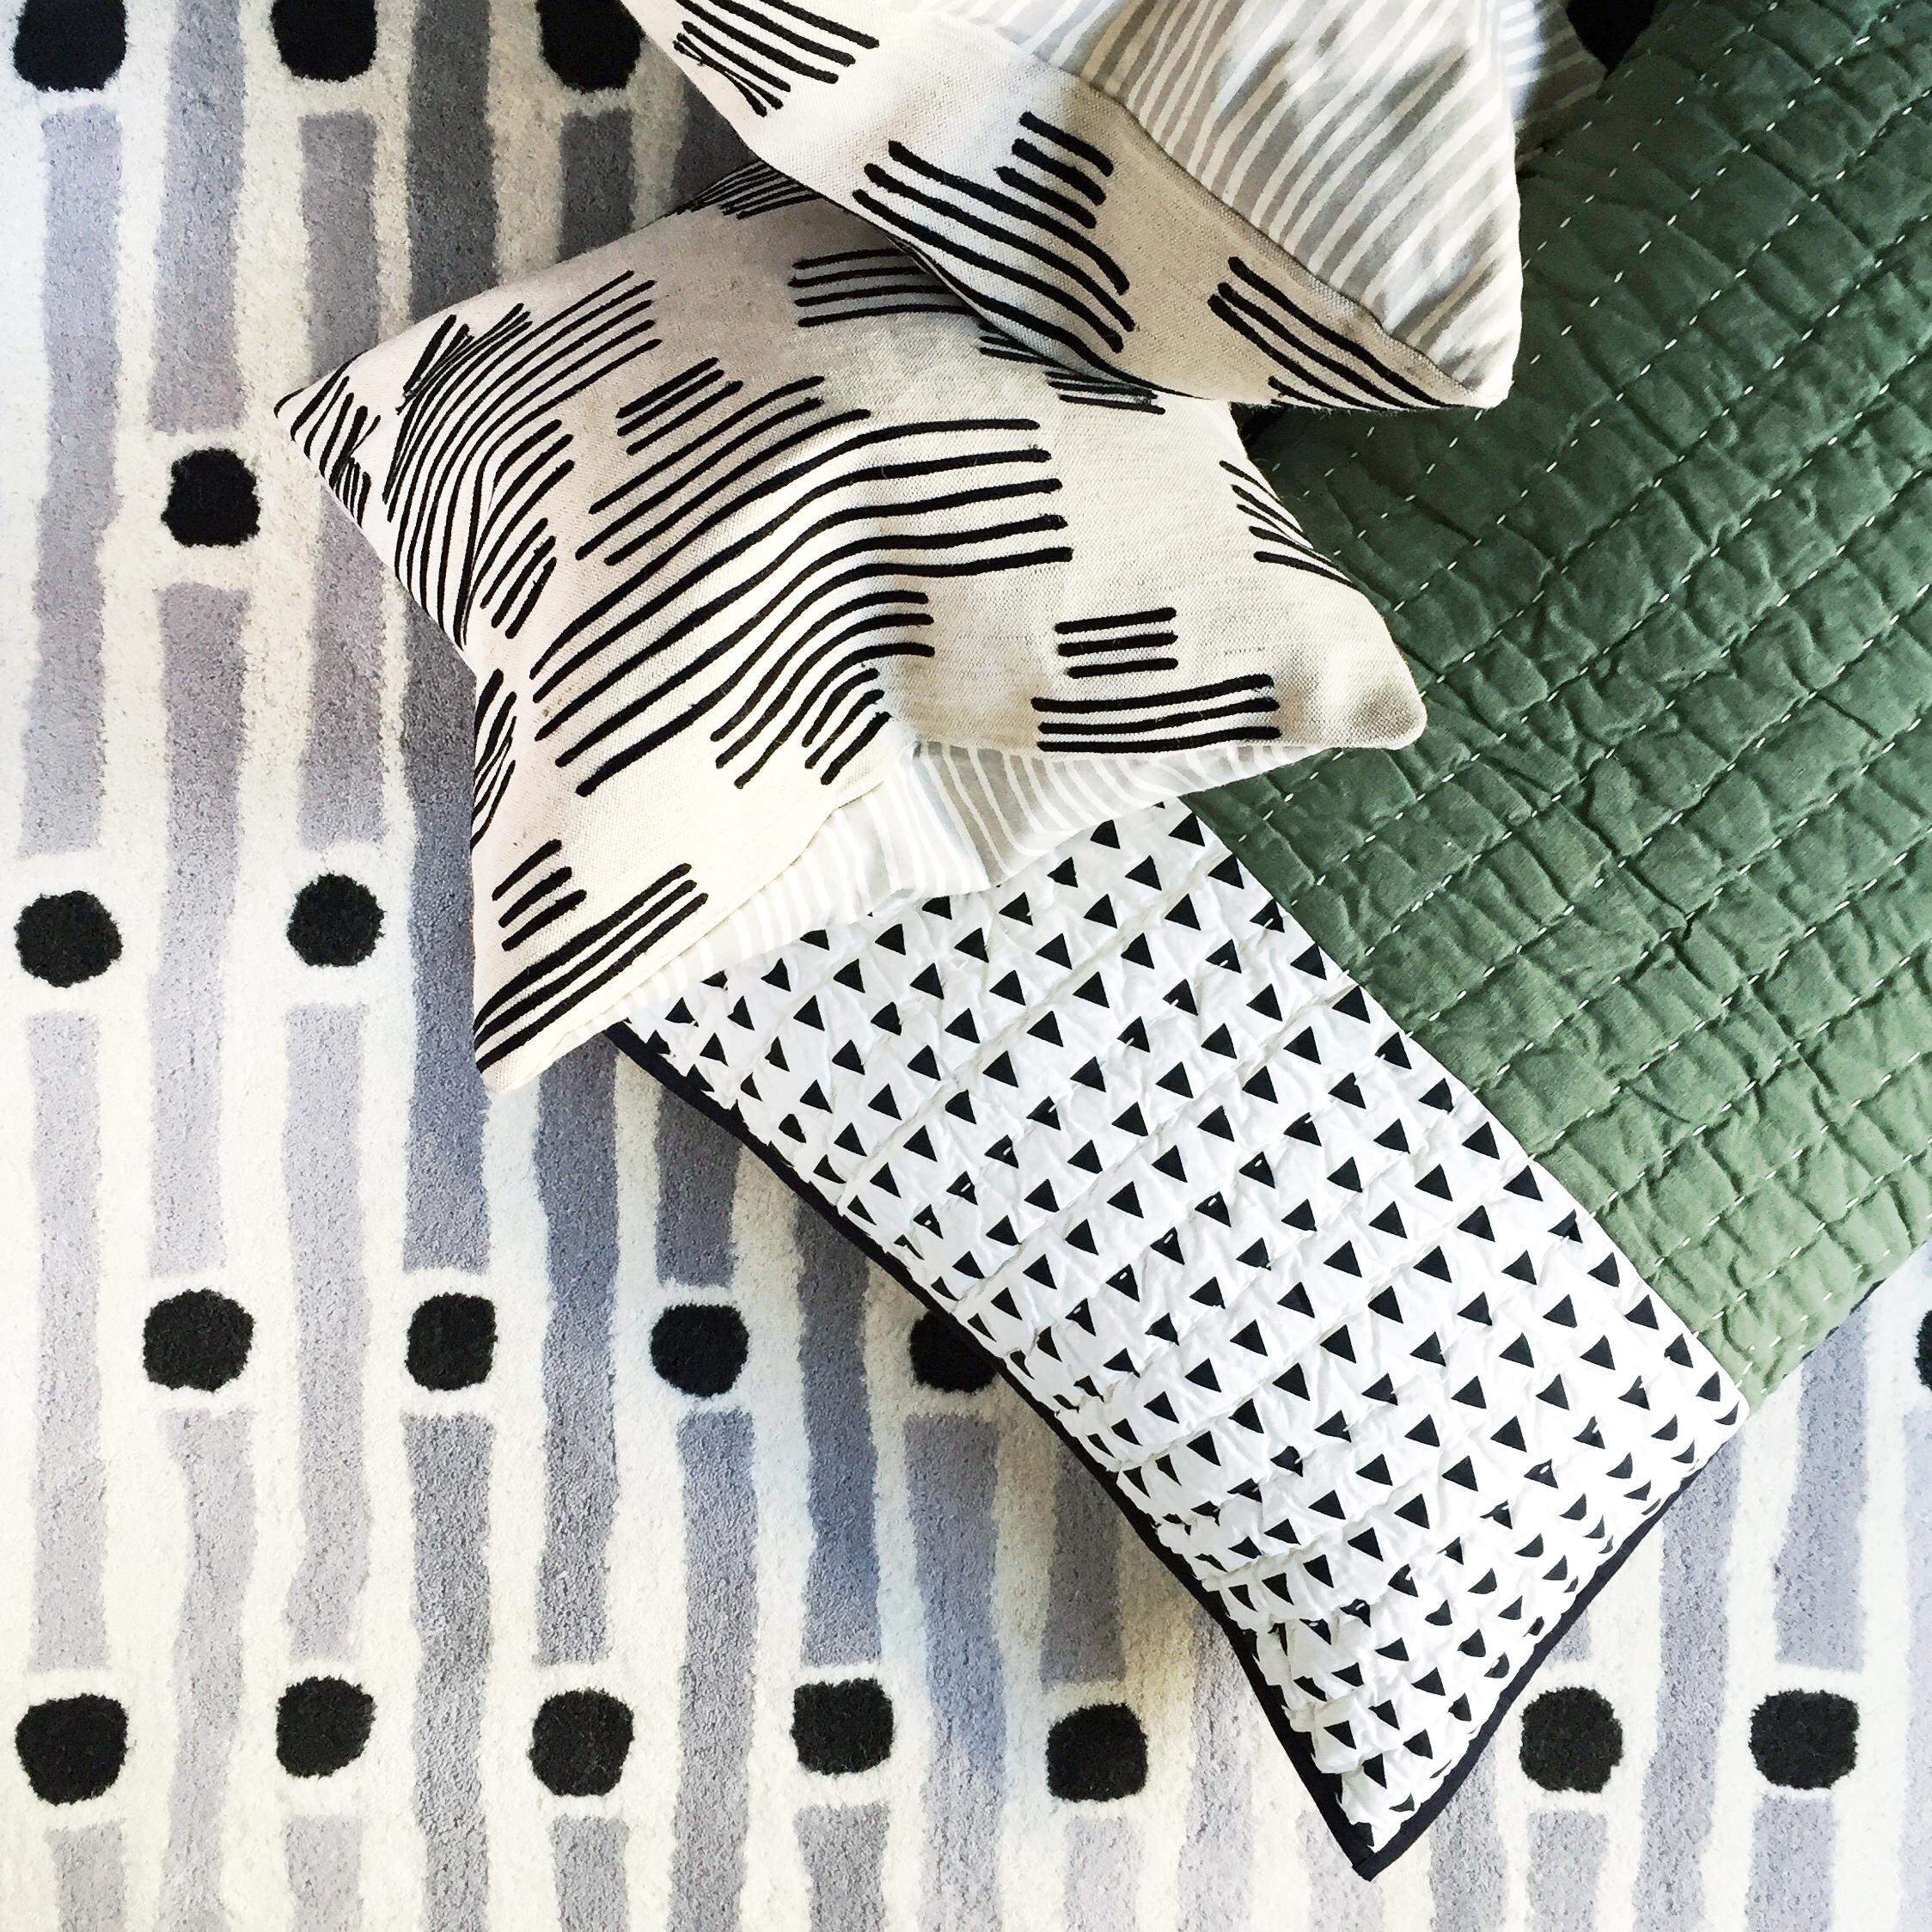
rug and pillows

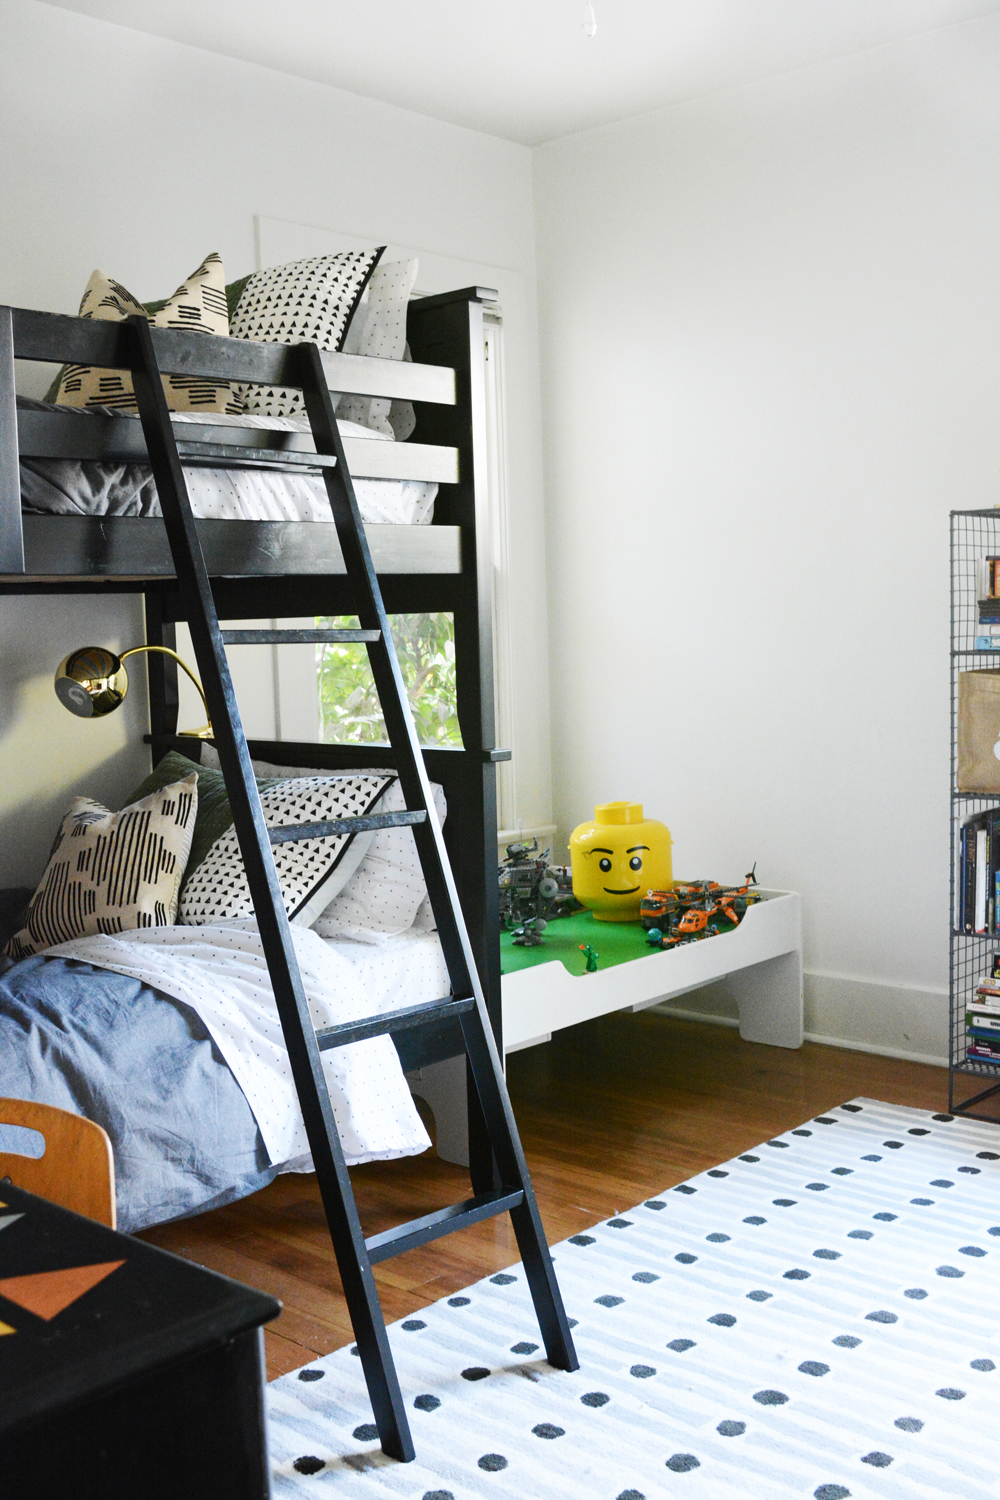
Dylan, my middle child, has been the most sentimental about leaving this house.  We moved into this house when I was pregnant with him. He a very smart, independent kid, who can spend hours and hours happily playing lego or drawing by himself. He loves his bedroom. Months and months ago I shared the plan to update his room to make it a little less little boyish and transition to a more teenager-like space.

tween boy room

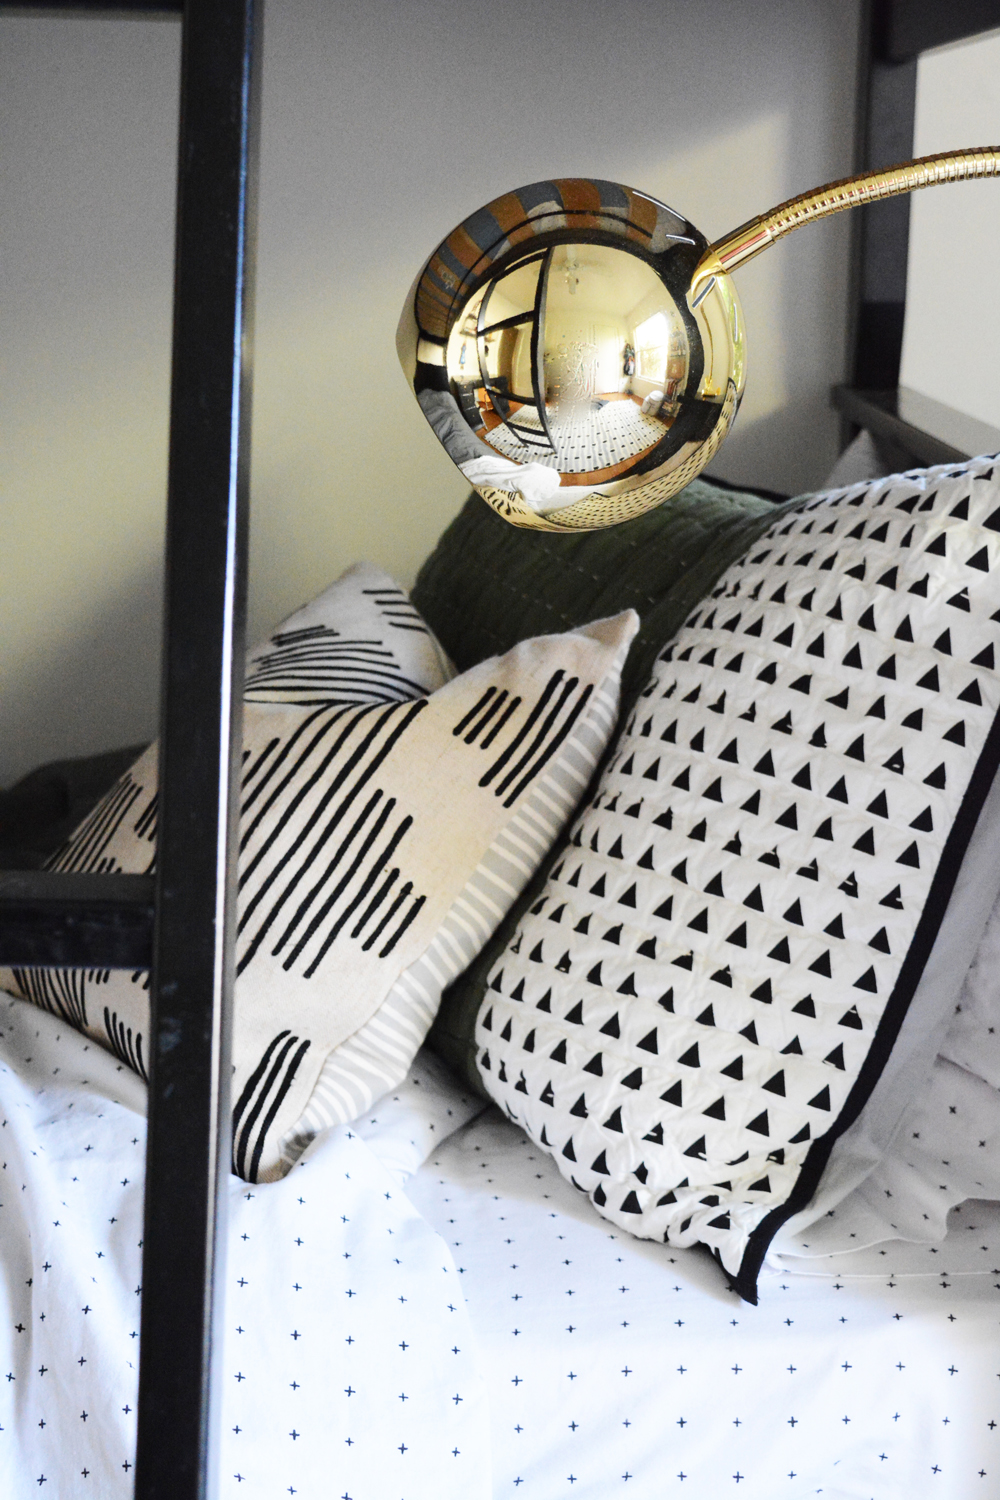
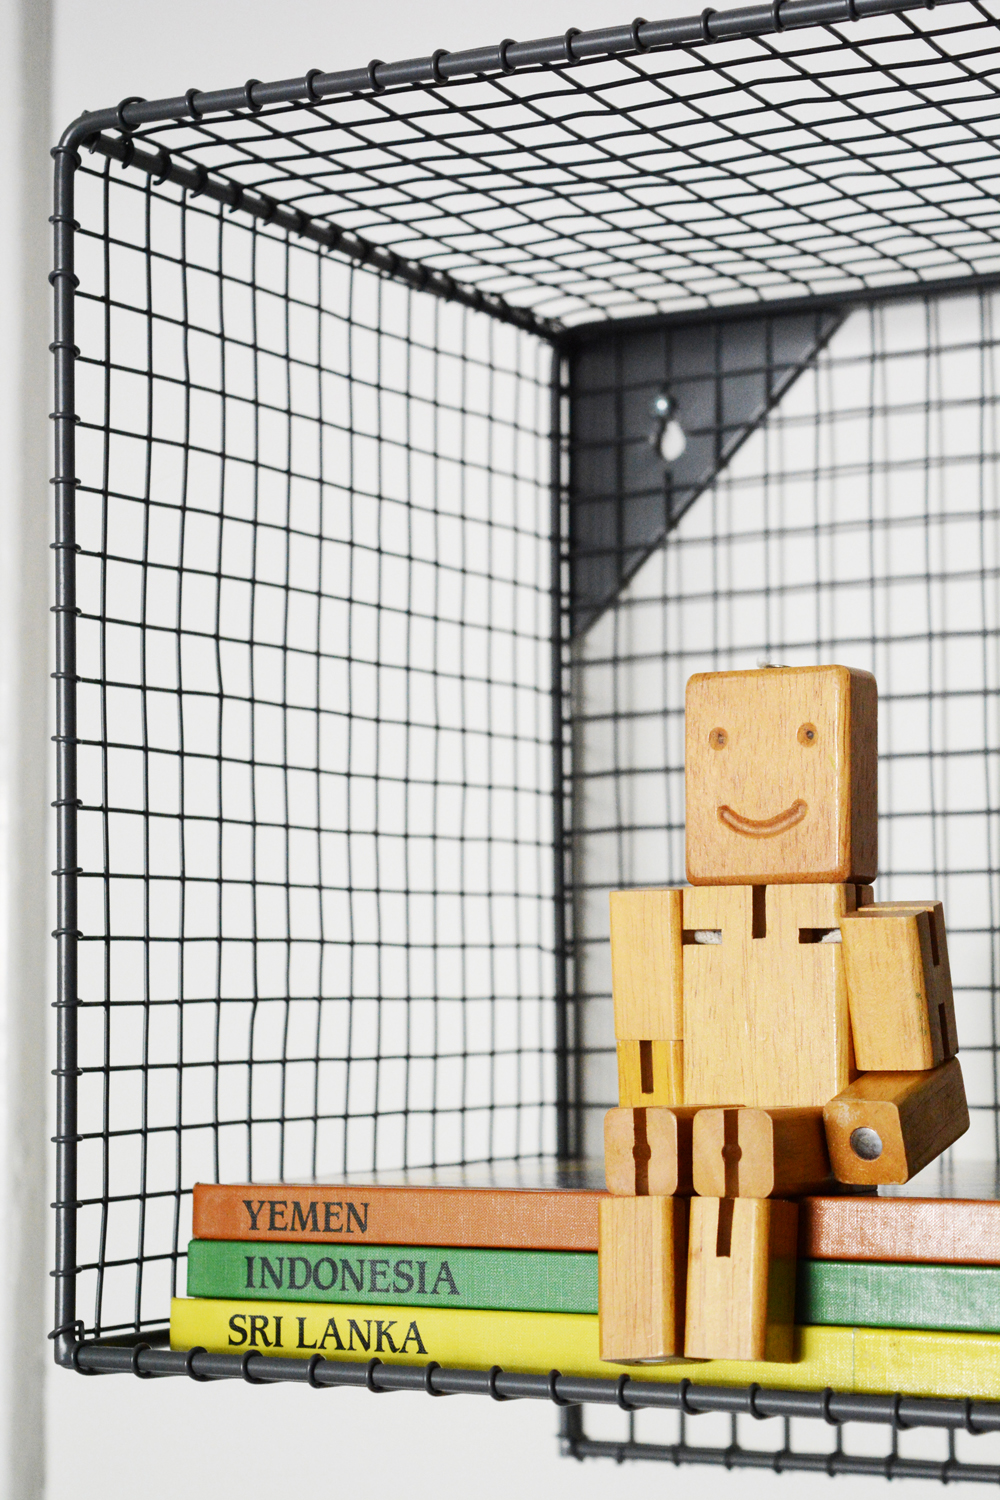
I teamed up with my favorite kid company, The Land of Nod, to give his room a modern, clean, more grown up look. I chose bedding, a rug and a few storage pieces in neutral tones. While the room doesn’t have a whole bunch of color, there is not shortage of fun patterns to create interest and texture.

We started by giving the room a fresh coat of white paint. I’m still a fan of white paint. It the easiest way to make a space for bigger and brighter.

The furniture was rearranged a bit to change up the space. While I would have loved to get rid of the Lego table (formerly a train table), but he still loves to keep all his creations on it. So, we tucked it in a corner. I had plans to add a couple wall planters to the wall over the lego table, but when we found out that we might be moving, I decided to wait. But, the room could use a nice does of green with some plants.

tween boy roomtween boy room Shelf // Duvet // Pillow Sham // Throw Pillow // Planet Banner //Bookshelf

Storage Bin // Lamp //Rugtweeen boy room tween boy room tween boy roomtween boy room tween boy room

Thank you to The Land of Nod for providing products for this space. 

DIY

DIY Ironing Board Cover Pattern

June 22, 2016

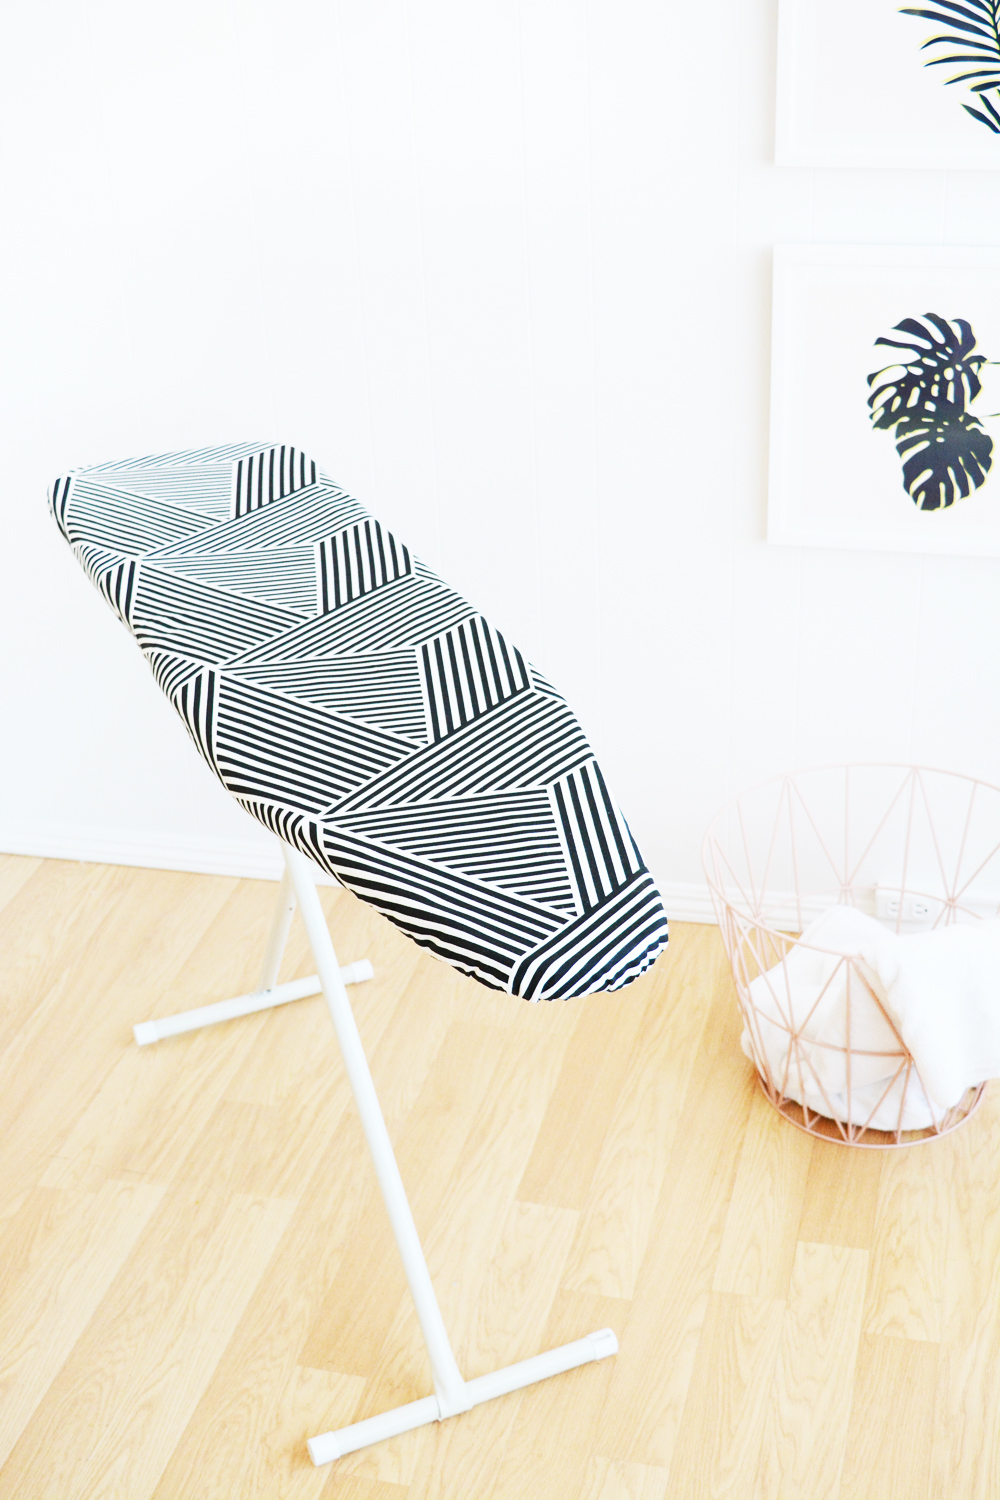
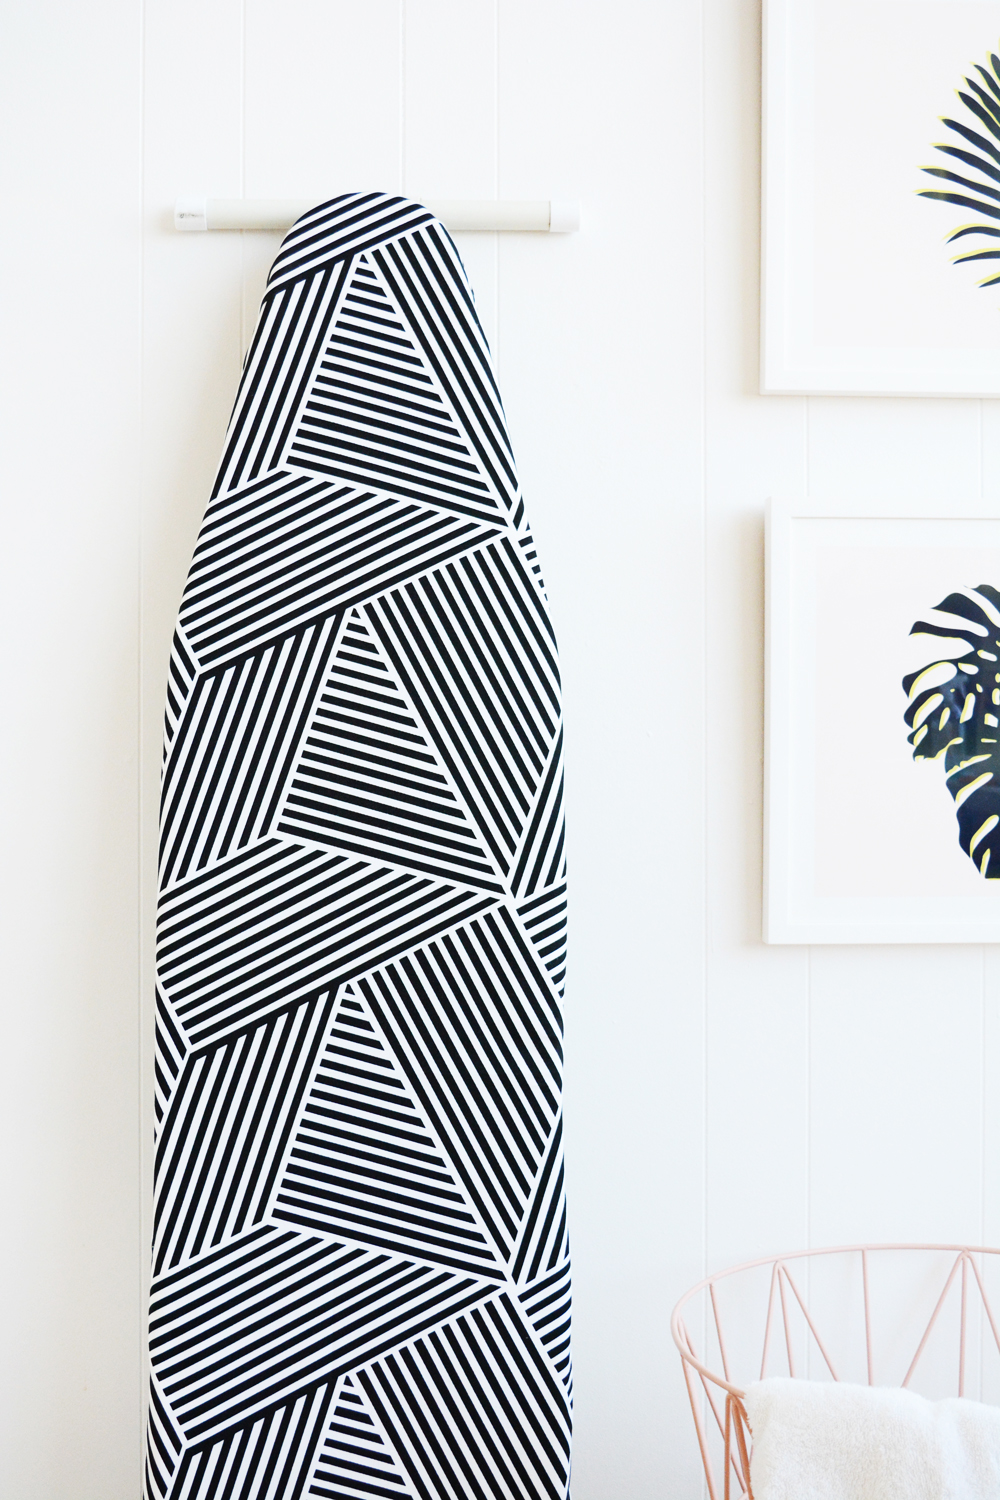
When I started planning our Laundry Room renovation, I planned on getting new ironing board cover to go with the updated space. But, it turns out, cute ironing board covers are hard to come by. If you are ok with florals and generic, neutral colors choices then you can definitely buy one. But, I wanted something modern and fresh, so I decided I had to make one.

Sewing is probably my first crafting love, and I just don’t get out my sewing machine often enough. This is a really easy sewing project, and even if you haven’t used a sewing machine much at all before, this is a project you definitely can tackle.  In about an hour, you’ll have a fun new cover sewn for your ironing board.

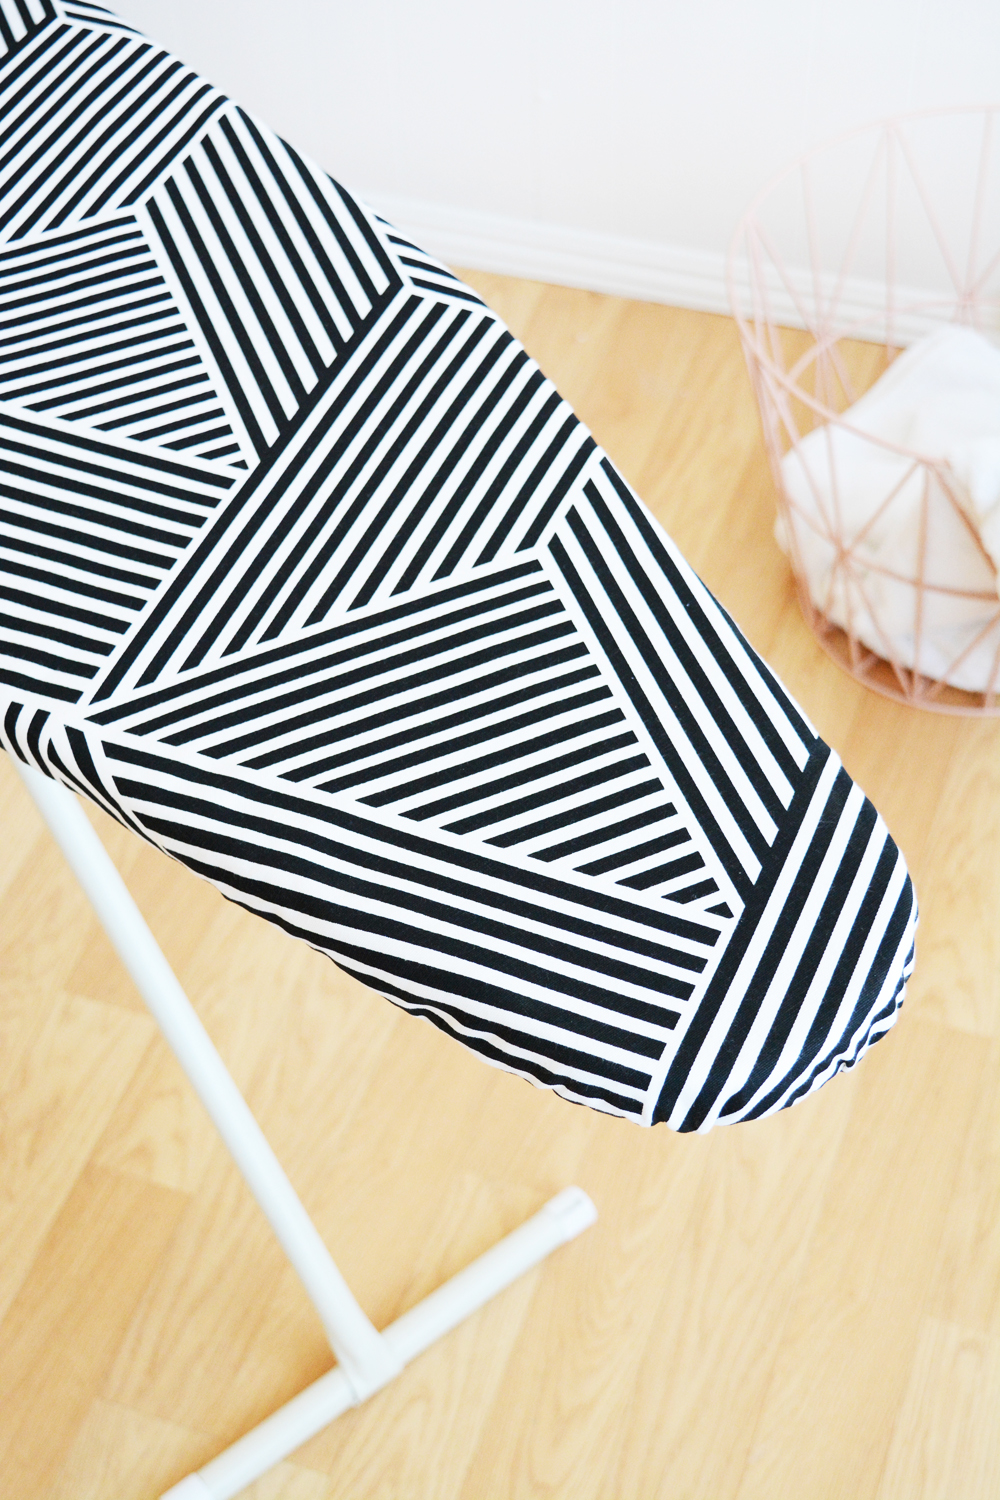
Make this DIY ironing board cover in about an hour. Pattern and full how-to instructions provided for any size/shape ironing board.

You can find the full how-to here, on ehow.

Custom Ironing Board CoverFree ironing board cover pattern with easy to follow step-by-step instructions.

Style

Leather Backpack Purses

June 21, 2016

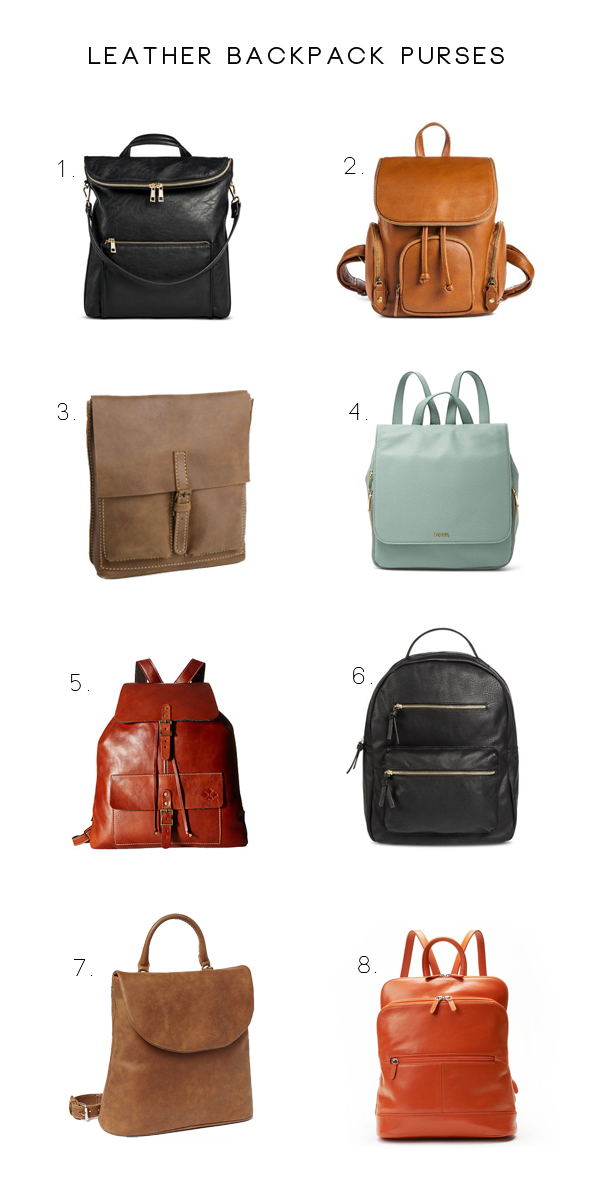
I’ve always been a fan of a cross body purse. I love having my hands free, maybe it’s a mom thing. I feel like I’m always have to hold a kid hand and carry lots of things. But, recently I’ve been eyeing backpack purses for even more hands-free freedom. Here’s a few great options in a lot of price points (from $30 to $200).

leather backpack purse

1 // 2 // 3 // 4 // 5 // 6 // 7 // 8

And while I was in Canada last week, it was a birthday! My mom surprised me with a beautiful leather backpack purse from Roots (she didn’t even know I’d been looking at them). Plus, I’ve always wanted a Roots purse. I’m pretty sure every good Canadian should own something from Roots. This fun bag, can worn three ways – as a backpack, a cross body purse, or just as a regular should purse.

What do you think? Does practicality win over style for you too? Do these feel too 90s to you?  I do have to admit that I rocked a backpack purse in my youth.