Design

No More Boring Bath Linen Combinations

April 27, 2016

I think for some folks, it’s still a temptation to just buy the matching set of bath towels, hand towels and bath mat. But, interesting, intentional design is all about the details, and matchy-matchy just has to be avoided. Bath linens are a great place to play with pattern, texture and color. Unlike paint or wallpaper, towels are an inexpensive, non-permanent addition to the room. Really, towels only last a year or two with kids, so you can trade them out in no time at all.

I did a little online shopping and found some fun bath linen combinations that are far from boring. Yes, there are lots of neutrals (you know I love grey!), but with fun patterns and fringe details boring is not an option. No More Boring Bath Linen Combinations

  1. Bath Towel // Hand Towel // Bath Mat
  2. Bath Towel // Hand Towel // Bath Mat
  3. Bath Towel // Hand Towel // Bath Mat
  4. Bath Towel // Hand Towel // Bath Mat
  5. Bath Towel // Hand Towel // Bath Mat
  6. Bath Towel // Hand Towel // Bath Mat
  7. Bath Towel // Hand Towel // Bath Mat

Is there a combination you like best? I think I want #7 in my bathroom, I already have that hand towel. And #2 could be fun for the main bathroom, that my grubby kiddos use.

Food & Drink

A Retro Style Bike and Homemade Chocolate Coconut Granola Bars

April 25, 2016

This post is part of a social shopper marketing insight campaign with Pollinate Media Group® and Columbia Bicycles, but all my opinions are my own. #pmedia #RideColumbia http://my-disclosur.es/OBsstV_red bike 5One of my favorite things to do is ride a bike, there’s nothing like the wind in your hair. Plus biking is one of those activities that doesn’t feel like exercise when you are doing it.
We love to take our bikes when we are on vacation. Sometimes the best way to see a new place is on a bike. This slower pace allows for you to not miss fun details along the way. Really you can cover a lot of ground on a bike. and parking is never an issue.

A couple weeks ago I spent a couple days in Palm Springs with some of my blog friends. Sarah of Sarah Hearts, her husband, Kevin, and I decided the best way to take in Palm Springs’ mid century architecture and desert landscapes._red bike 9The next chapter for Columbia has been written. Back in 1877, Columbia started selling bicycles before any other company in the USA. This company knows bikes, Columbia invented the tandem bicycle, a bicycle built for two, expertly capitalizing on their engineering superiority. And now they are rolling out a brand new fleet of beautiful bikes available at Walmart, Target, Toys R Us, Amazon and Dicks. _red bike 8
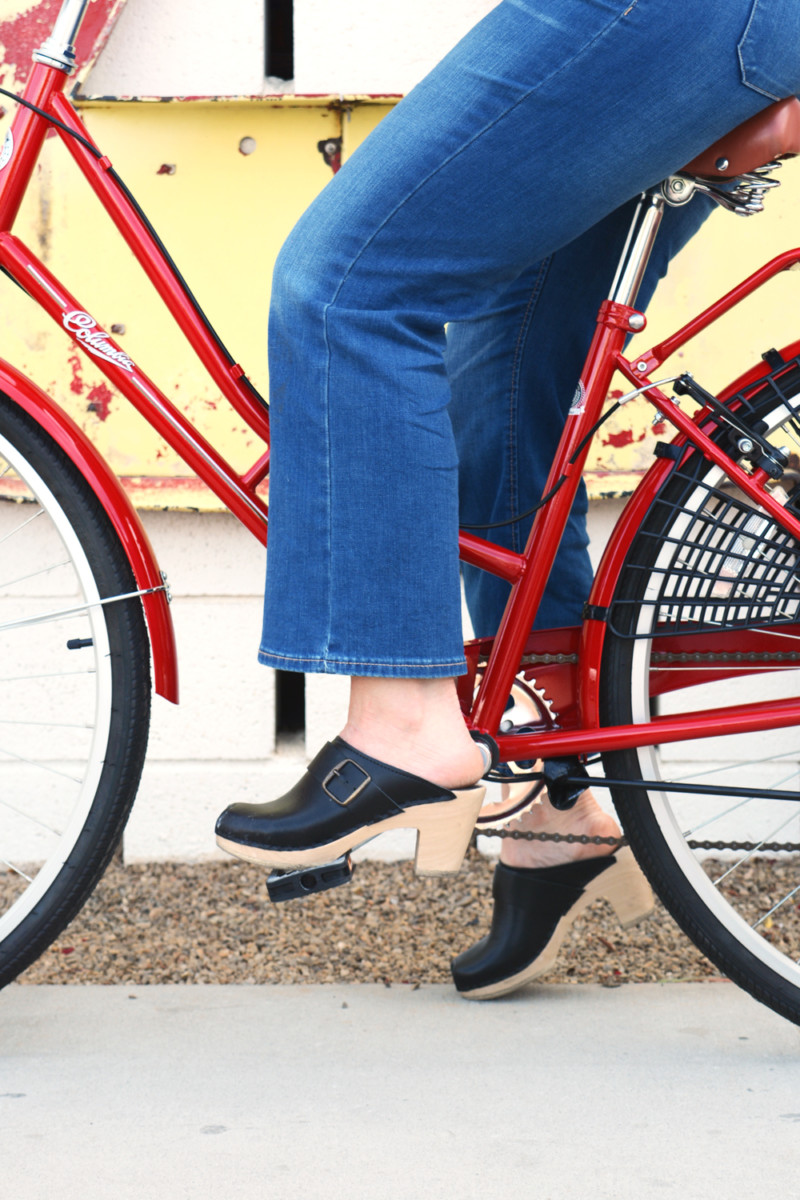
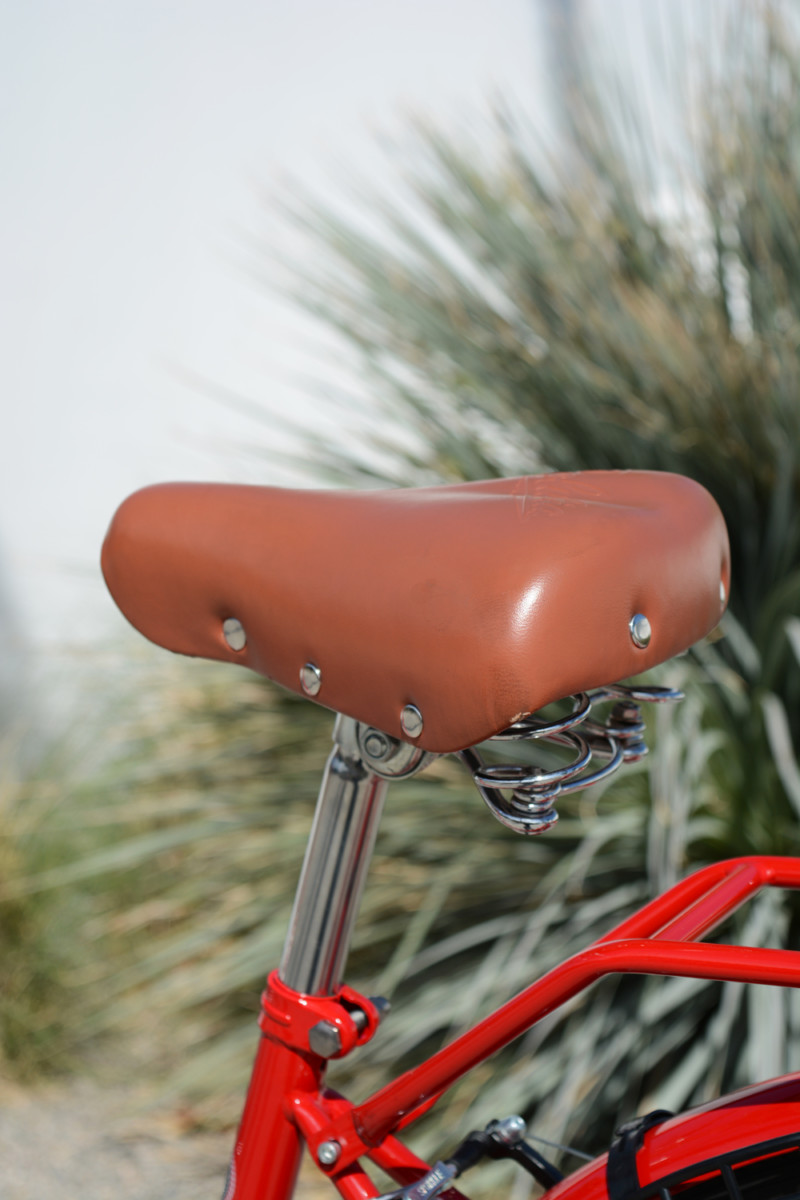
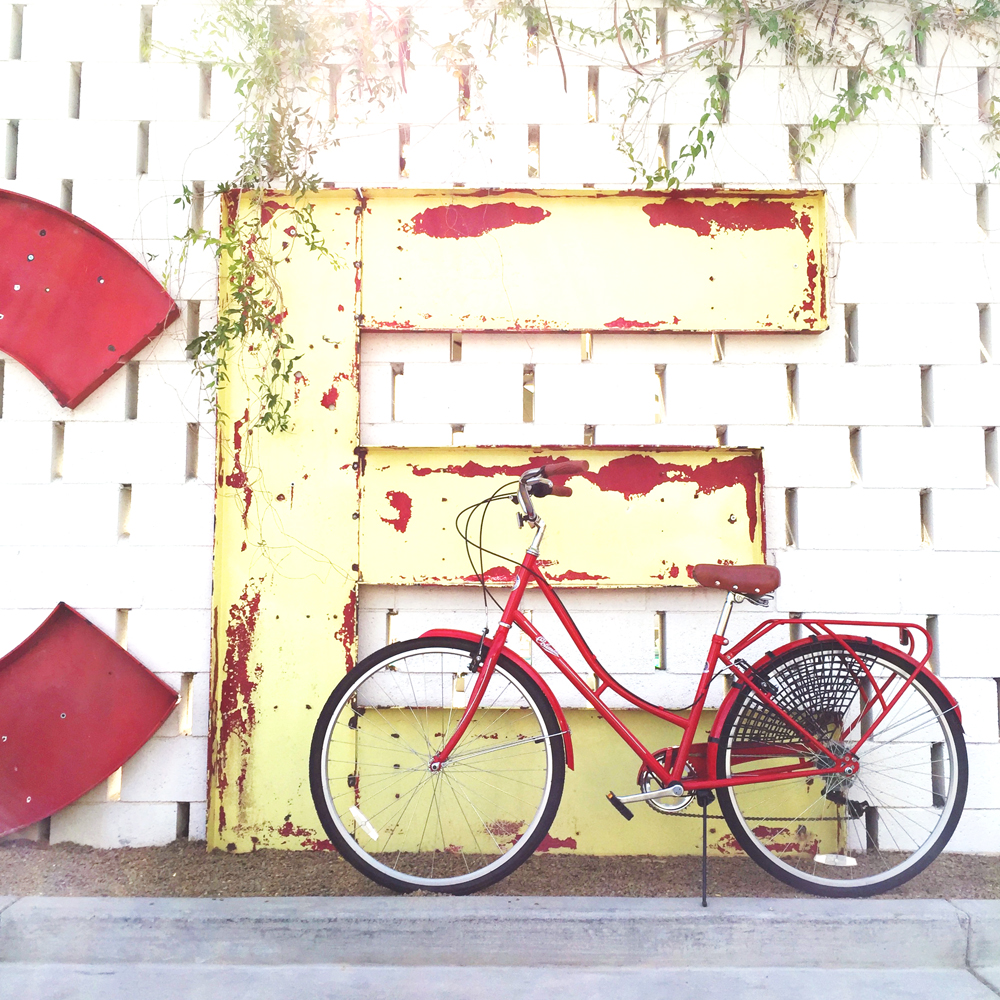
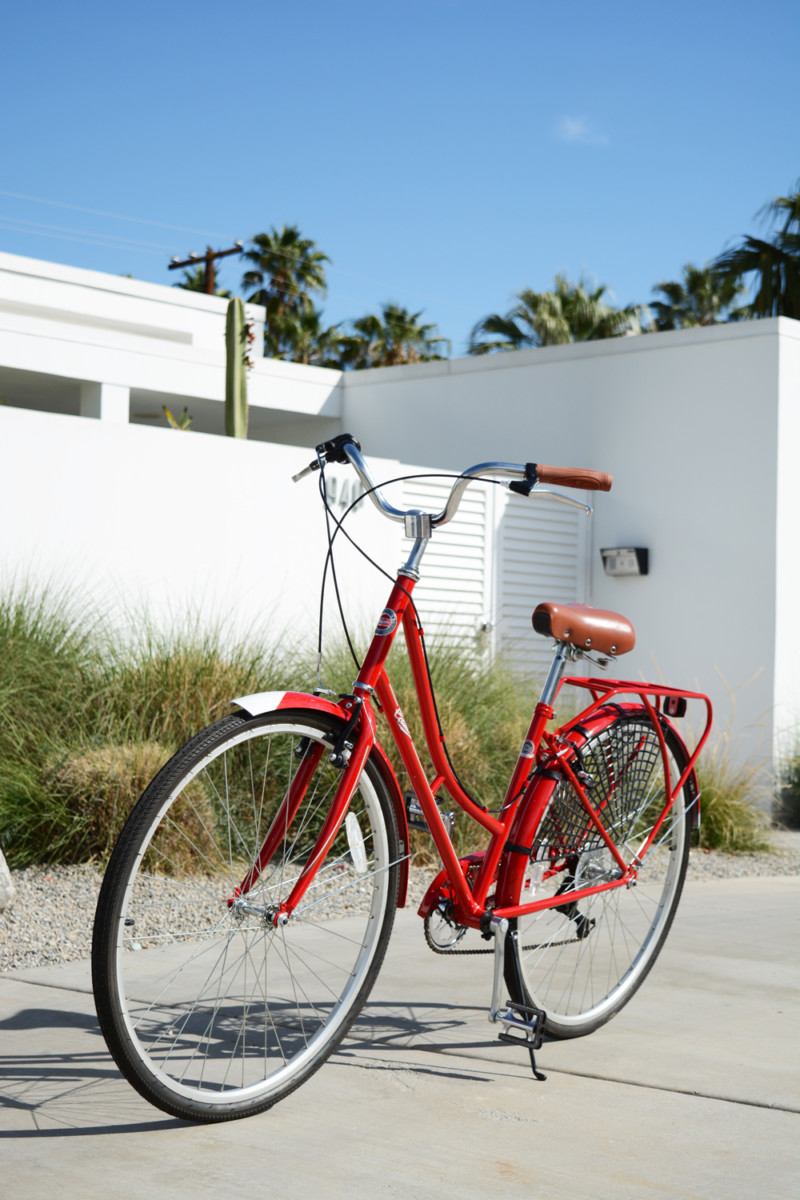
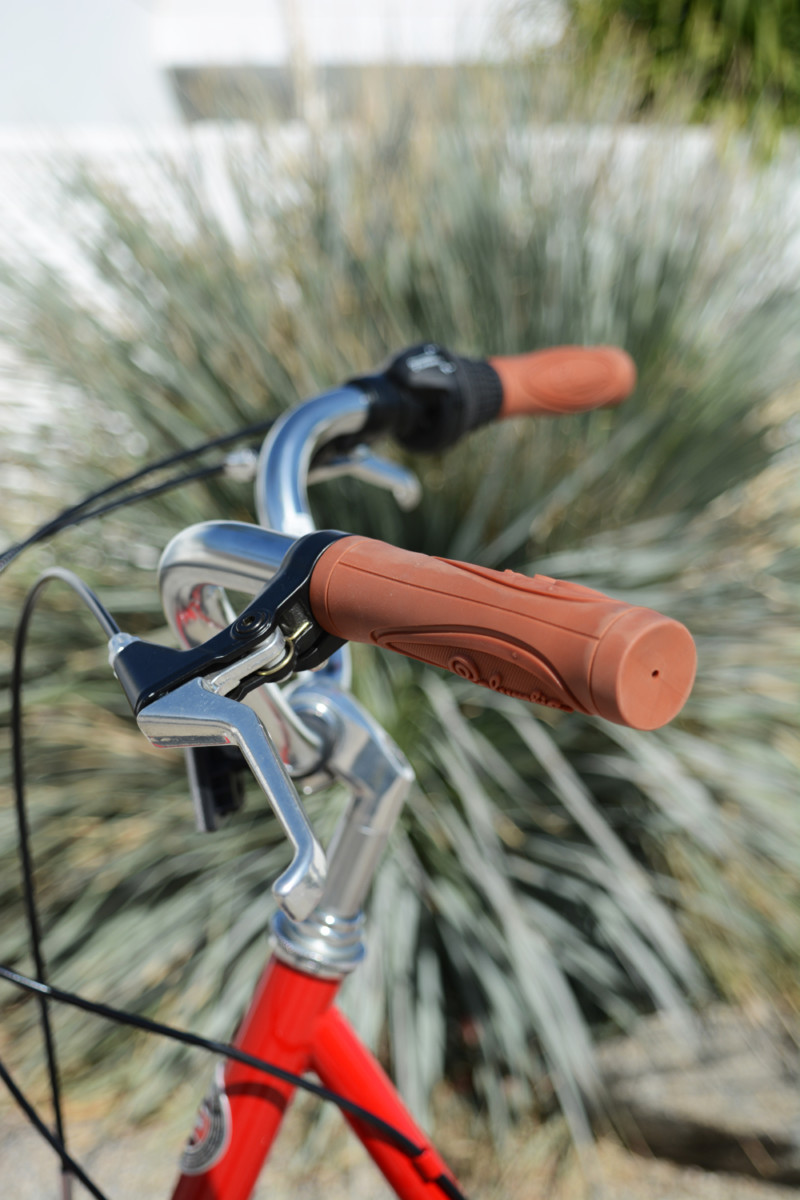
This cute red bike is Columbia’s 1920’s inspired Archbar 700c Vintage City Bike, available at Target. It has a steel frame, 7-speeds, steel fenders and a retro inspired seat the hand grips. It’s a really smooth, comfortable bike to ride.
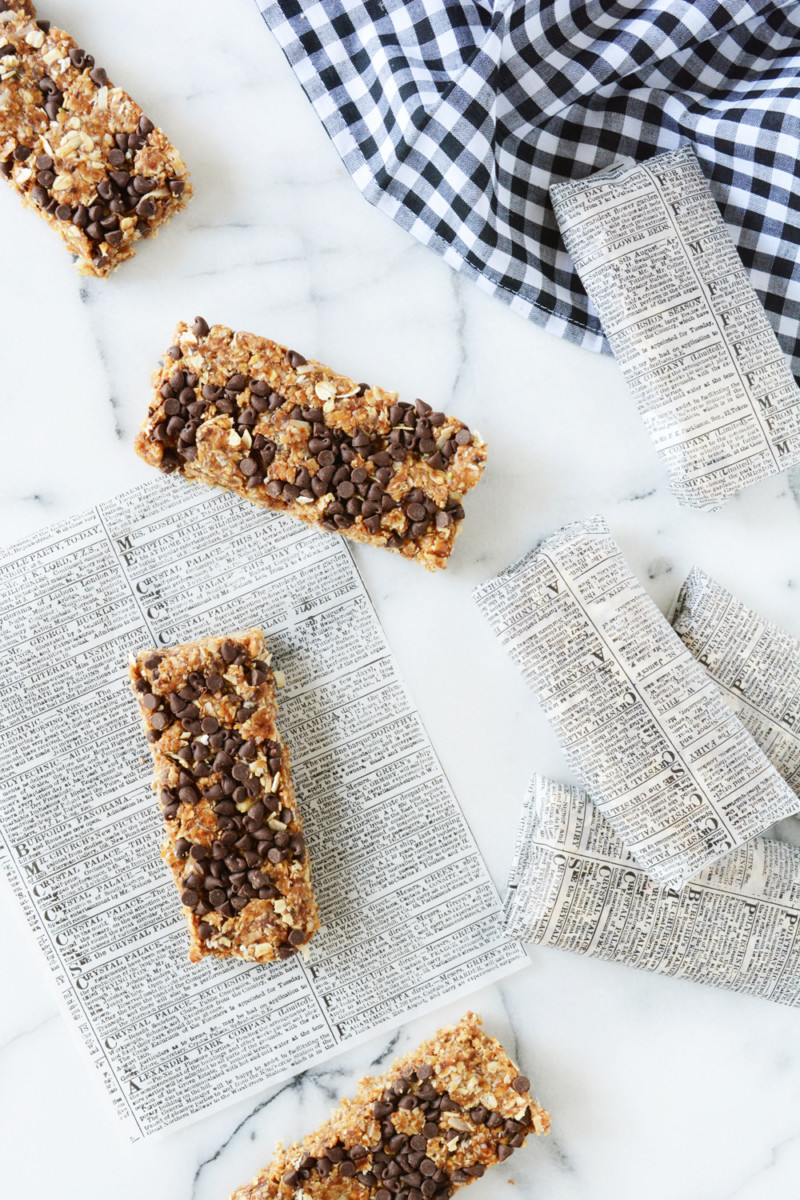
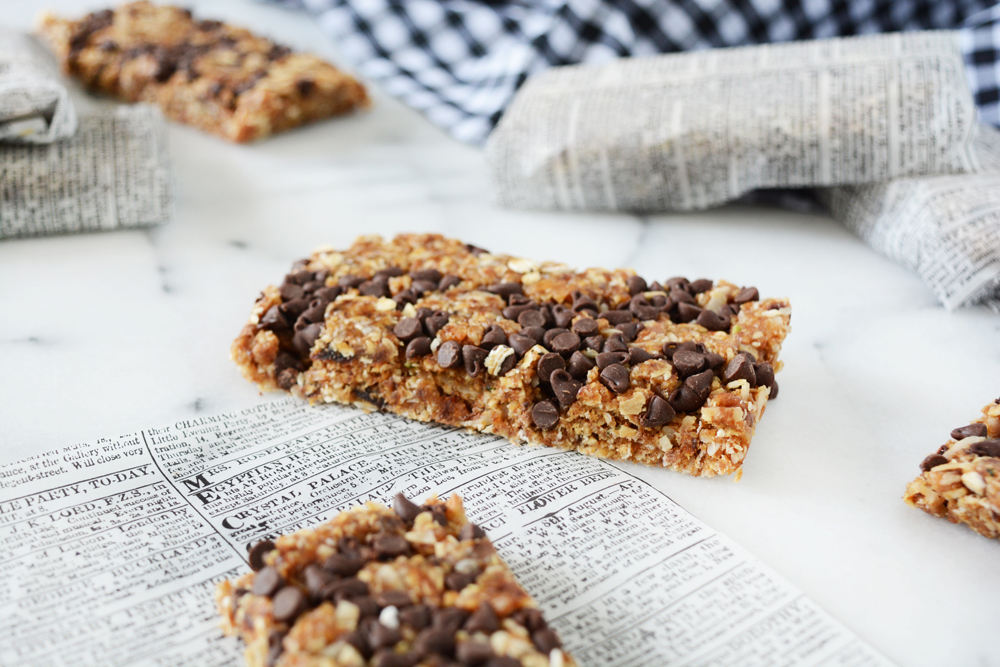
_red bike 6And if you are going to ride your bike, you are definitely going to need a snack along the way. You gotta fuel your body. These Homemade Chocolate Coconut Granola bars are jam packed with all the good stuff. They are gluten free and sweetened with just honey and dates (oh and a few semi-sweet chocolate chips). It’s kind of nice to know what you’re putting in your body. I’m not sure if I’ll even be able to eat a store bought bar again. I might have become a granola bar snob. Plus these require no baking, so they are quick and easy to make. _chocolate coconut granola bars 1Homemade Chocolate Coconut Granola Bars
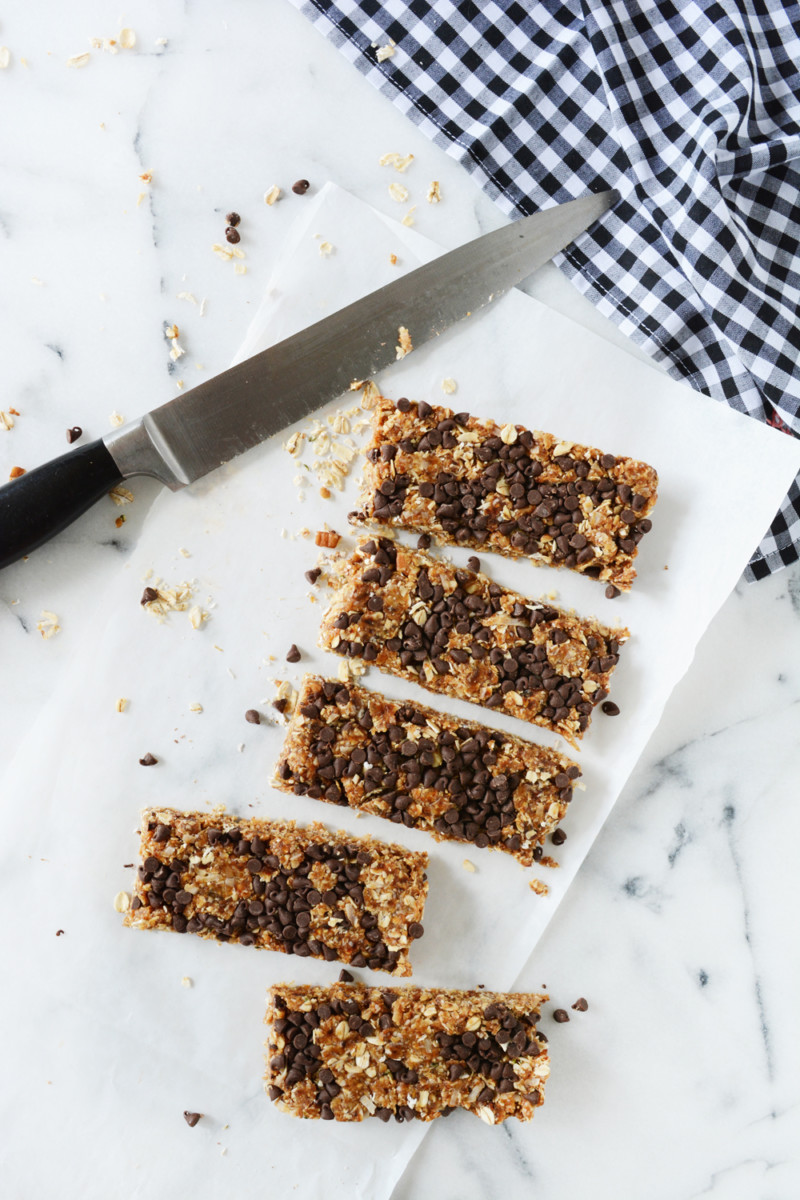
  • 1 1/2 cup rolled oats
  • 1/2 cup dates, pitted
  • 1/4 cup pecans, chopped
  • 2 tbsp raw shelled hemp seeds (optional)
  • 2 tbsp flax seed (optional)
  • 1/2 cup shredded coconut
  • 1/2 cup mini chocolate chips
  • 1/4  cup honey
  • 1/4 cup peanut butter
  • pink of salt

In the bowl of an electric mixer place the rolled oats, pecans, hemp seeds, flax seed, coconut, and salt. Place the pitted dates in a food processor and blend until the dates come are one big ball. Place the peanut butter and honey in a microwave safe bowl and heat for 30 seconds or until it is a liquid.  Add the dates and honey and peanut butter mixture to the oat mixture and mix with the electric mixer until the ingredients are well combined.

Line an 8×8 inch pan with parchment paper.  Firmly pack the oat mixture into the pan.  Sprinkle with the mini chocolate chips and press firmly into the bars. Cover with plastic wrap and place in the fridge for at least 2-3 hours. Remove from the pan and cut into 10 equal sized bars.

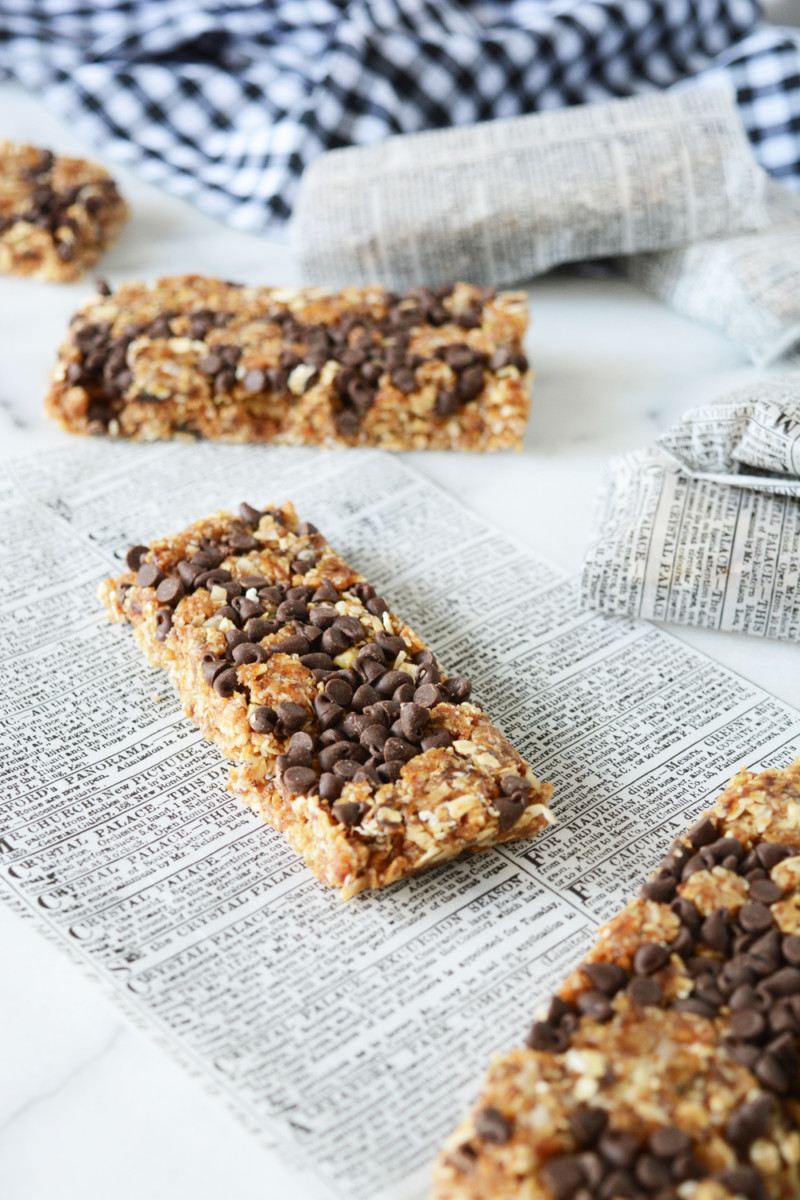
Wrap the bars in parchment paper and store in an airtight container for a week (if they last that long)._chocolate coconut granola bars 3 _chocolate coconut granola bars 2_red bike 4 _red bike 1_chocolate coconut granola bars 4_red bike 2For more about these fun new bikes check Columbia out on FacebookTwitter, and Instagram.
etc.

The Week’s End

April 22, 2016

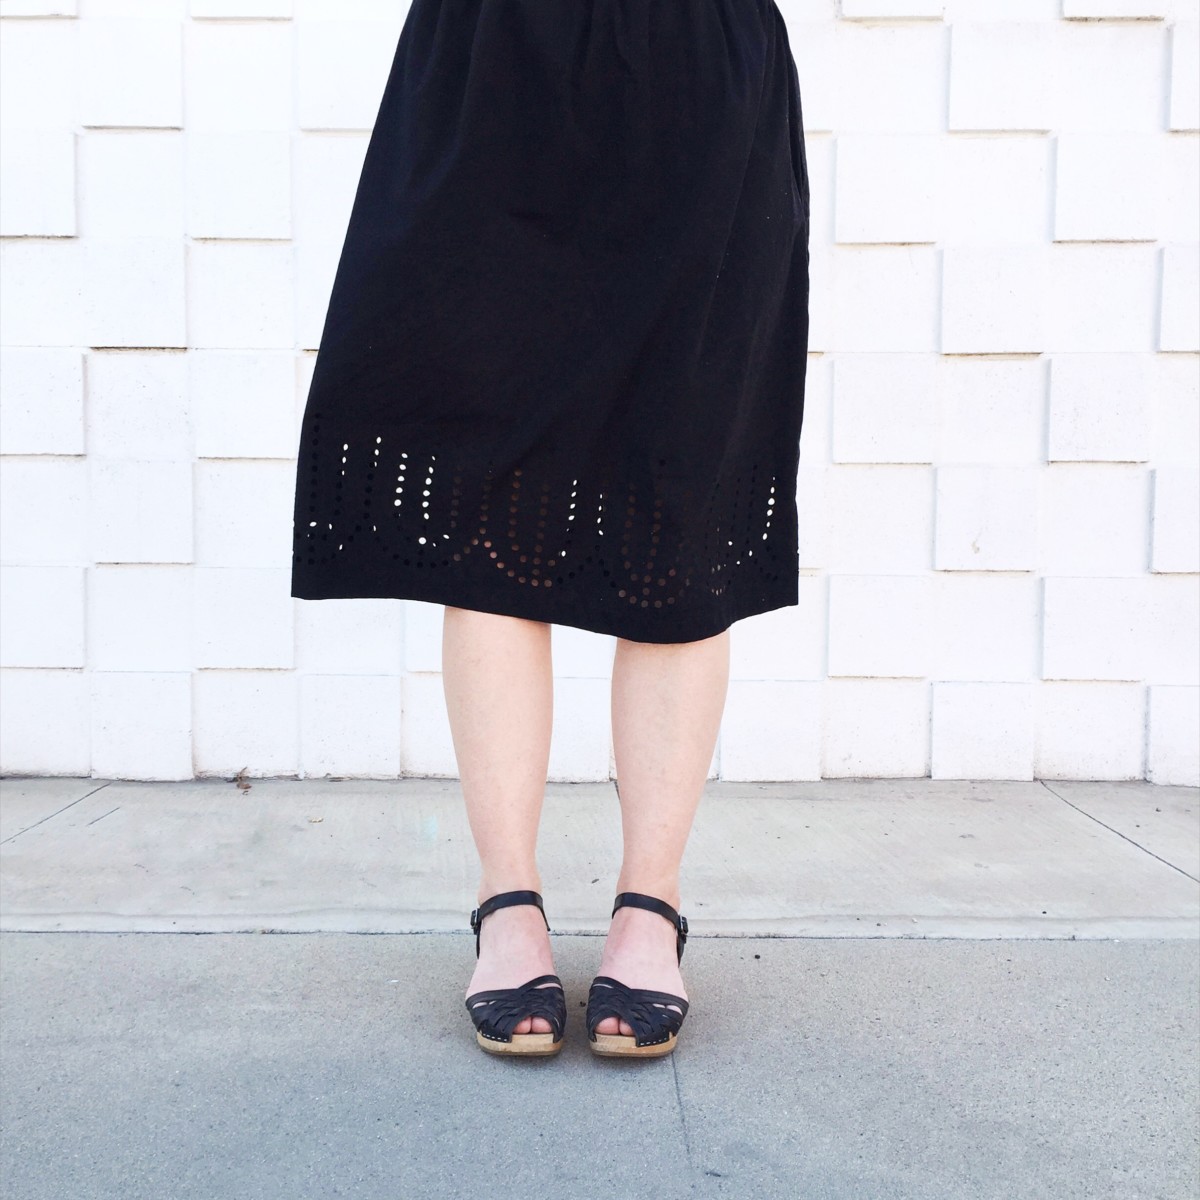
skirt

Well, it’s been a busy week. The studio is far from finished. I still need to finish painting a couple more walls and then I can start getting things organized. I’m an all-in girl and halfway or half-hearted just doesn’t work for me. So, I’ll be burning the midnight oil tonight to get the space put together. This has been a week of ups and downs. Some great highs and so kind of super lows. Being self-employed is no joke.

Here’s some fun posts to check out this weekend:

We are going camping Saturday night! I hope you have some fun weekend plans ahead of you.


Design

Oleander + Palm is Moving!

April 21, 2016

Yep, I’m moving. Well, my studio is moving, and not very far at all. I’m actually just moving to a much better space down the hall from where I’ve been.  But, I’m moving from less then 200 square feet to 650 square feet – YIPEEE!

If you follow me on snapchat (oleanderandpalm), this is all old news to you. Or if you subscribe to my newsletter, I have already blabbed on and on about this move. I got the keys on Tuesday and started painting yesterday. Today will be lots more painting.

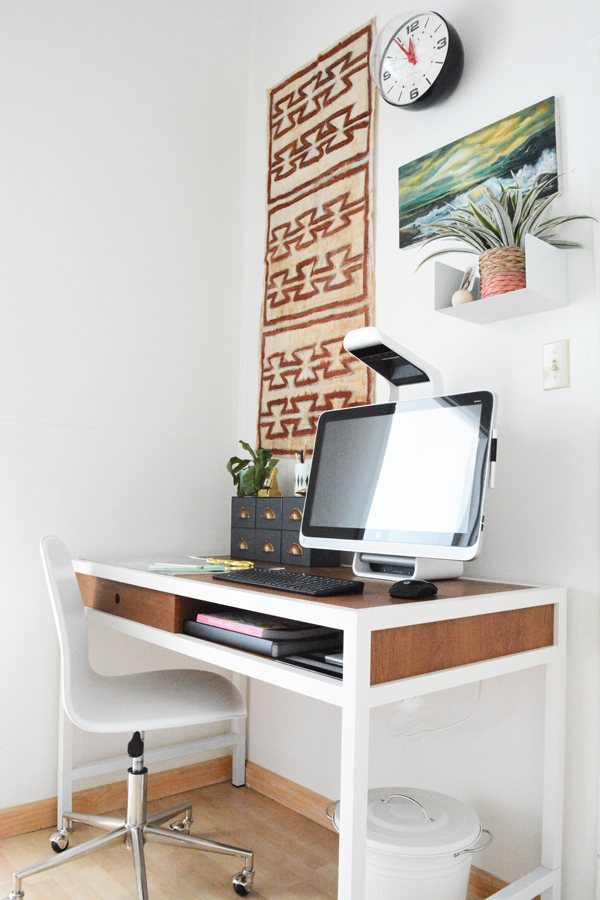
Oleander + Palm studio office

This is my old studio.

I’m really excited for this new, bigger, better space! I’ve been in my old studio for a whole year now, and boy does time fly by when you are working hard. It was kind of a risk last year when I signed a year lease. But, it really turned out to be a smart move to make for my business. We live in a small house and I was tired of working from my dining room table and then having to clean it all up in order to eat dinner. Having a dedicated space also helped me work more efficiently. At home I had the distractions of laundry and dishes. But at the studio, I could just work on blog “stuff”. The studio, which I painted all bright white, also changed my photography for the better. The windows did have a tinting film on them though, so I was always having to correct the white balance on images.

But, then just 3 weeks ago, I decided not to re-sign my lease. I have been actively looking for a bigger space for months now, but just couldn’t find anything. So I told my landlord and decided that I’d just move everything into the garage until I could find something that was a better fit. And then less then a week later, my landlord called telling me that a bigger space with huge windows had just become available. I jumped on it!!! 650 square feet of light-filled space.  

The rent is higher then I thought I could afford, so I invited a couple of friends to share the space with me. They will be using it for photography and as headquarters for an Etsy store. Blogging can be quite lonely, so I’m really excited to be have a space where I can work alongside other creatives.

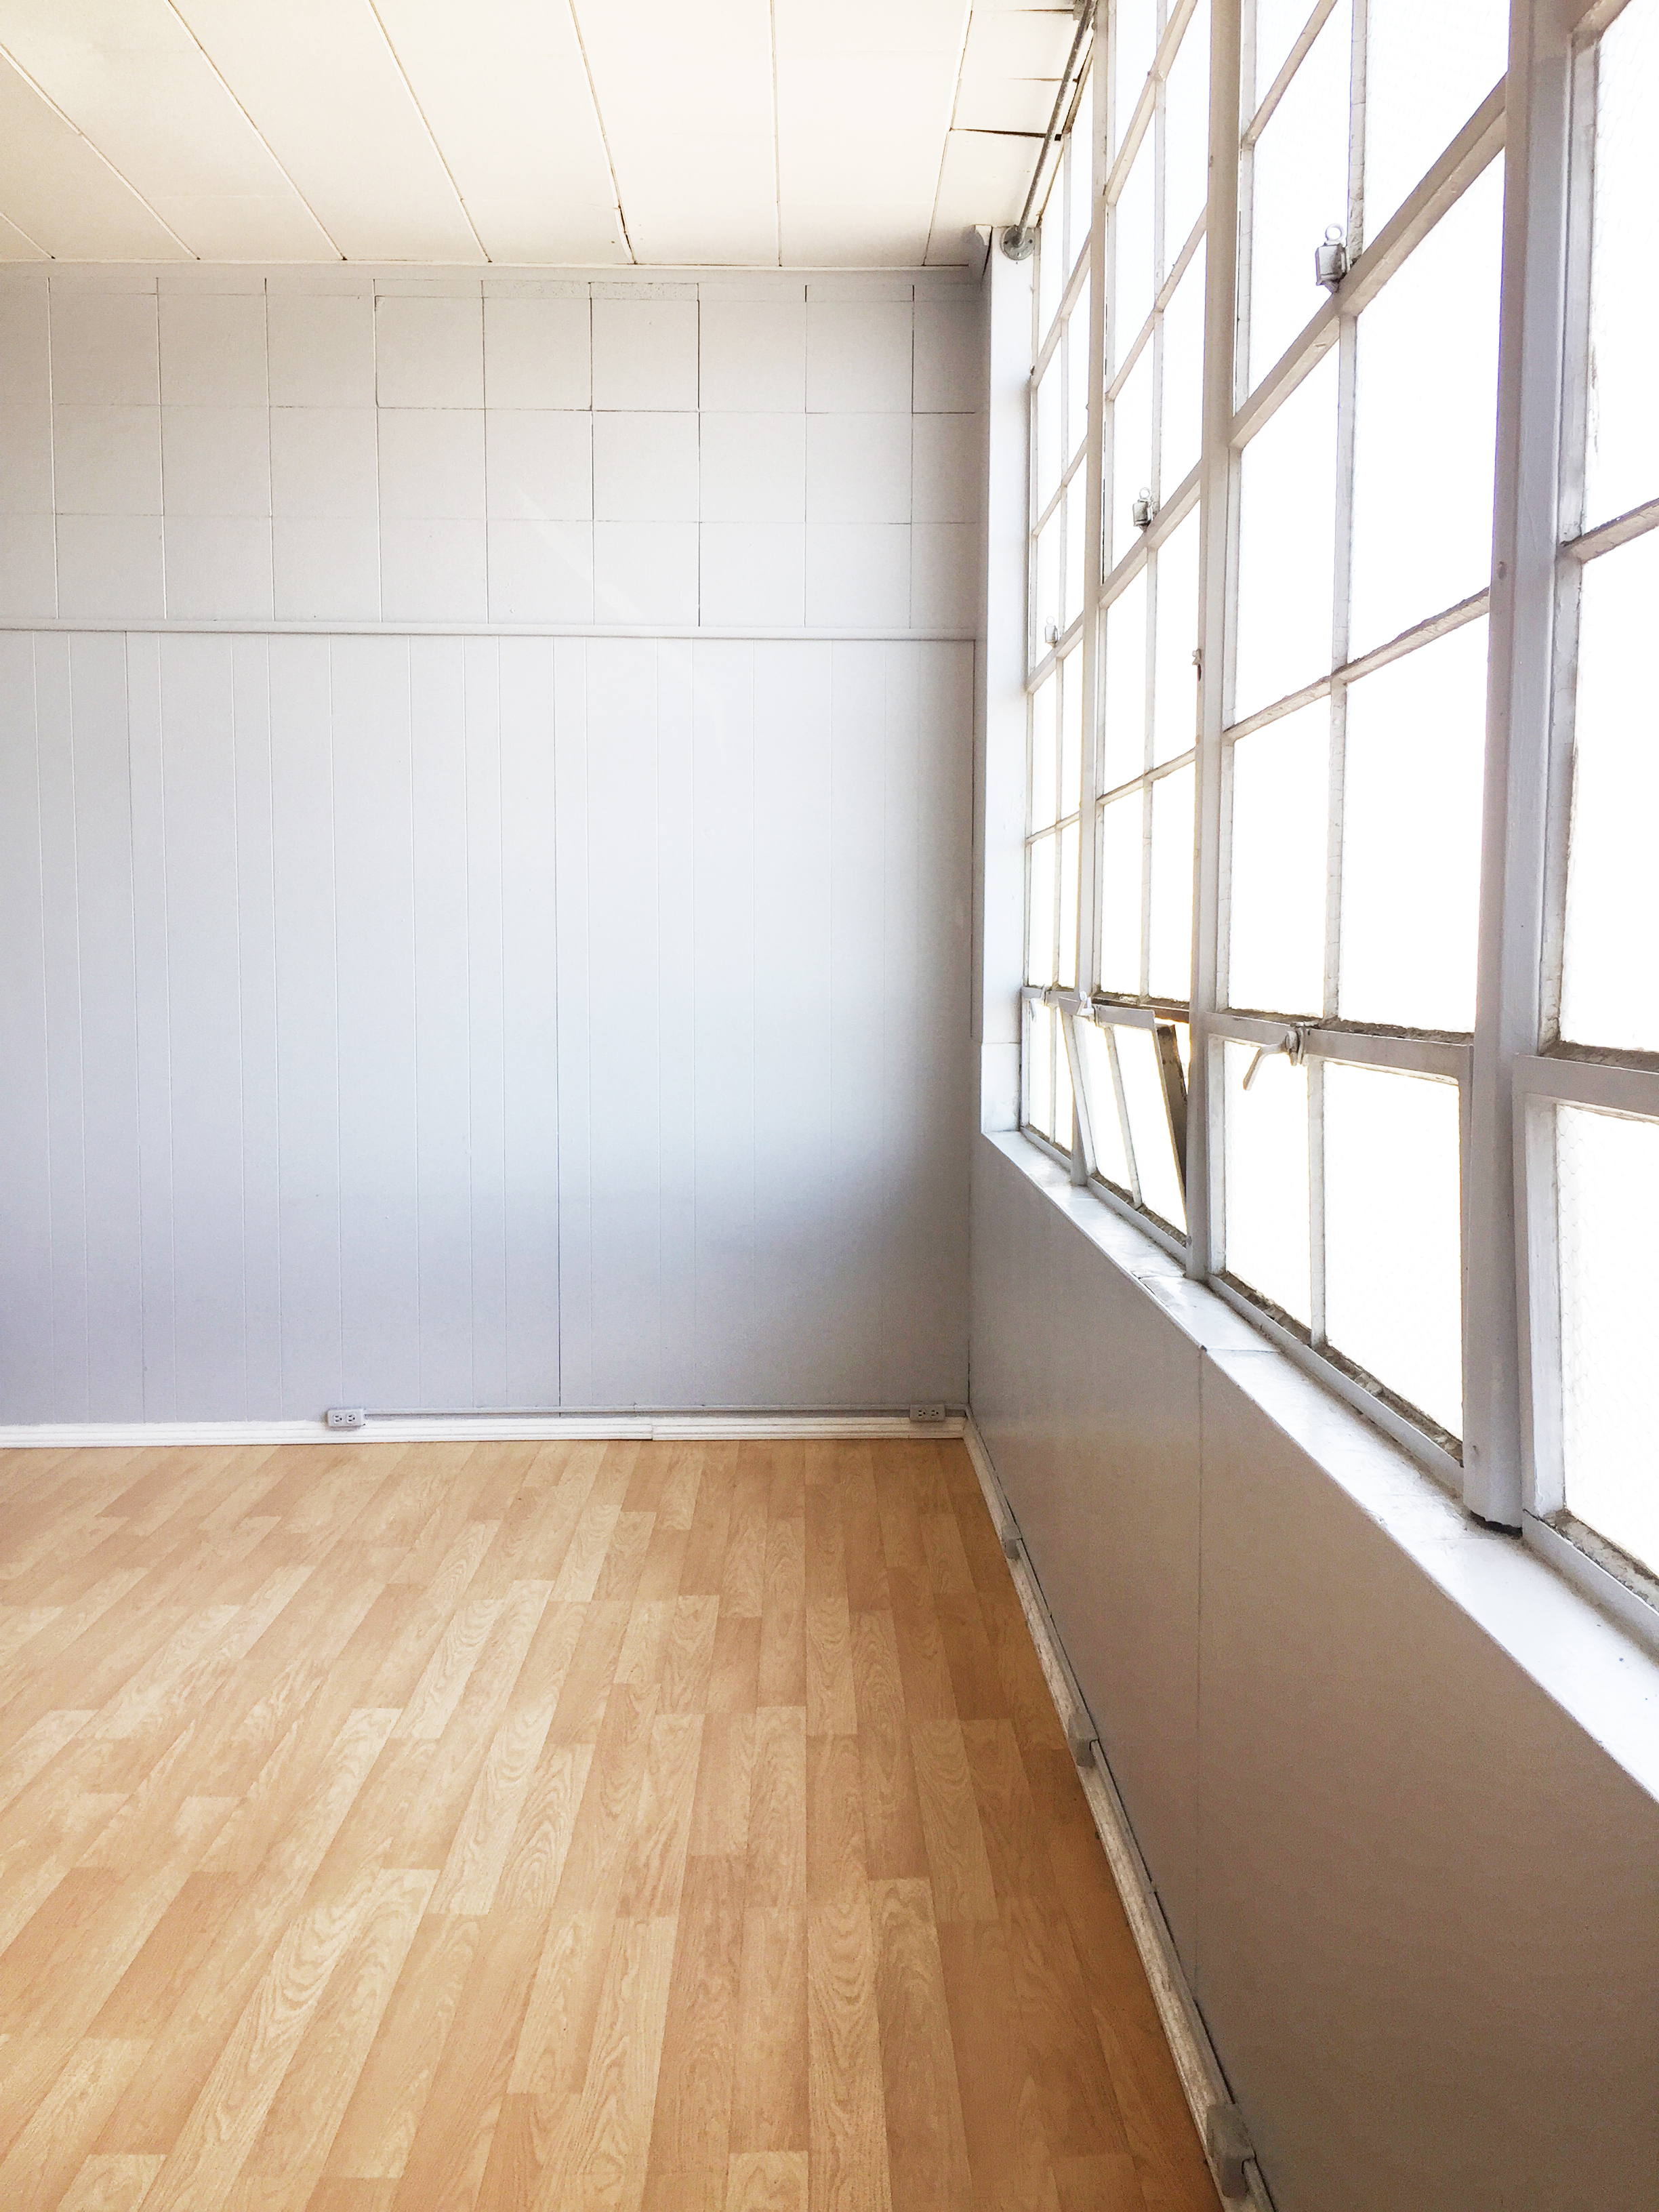
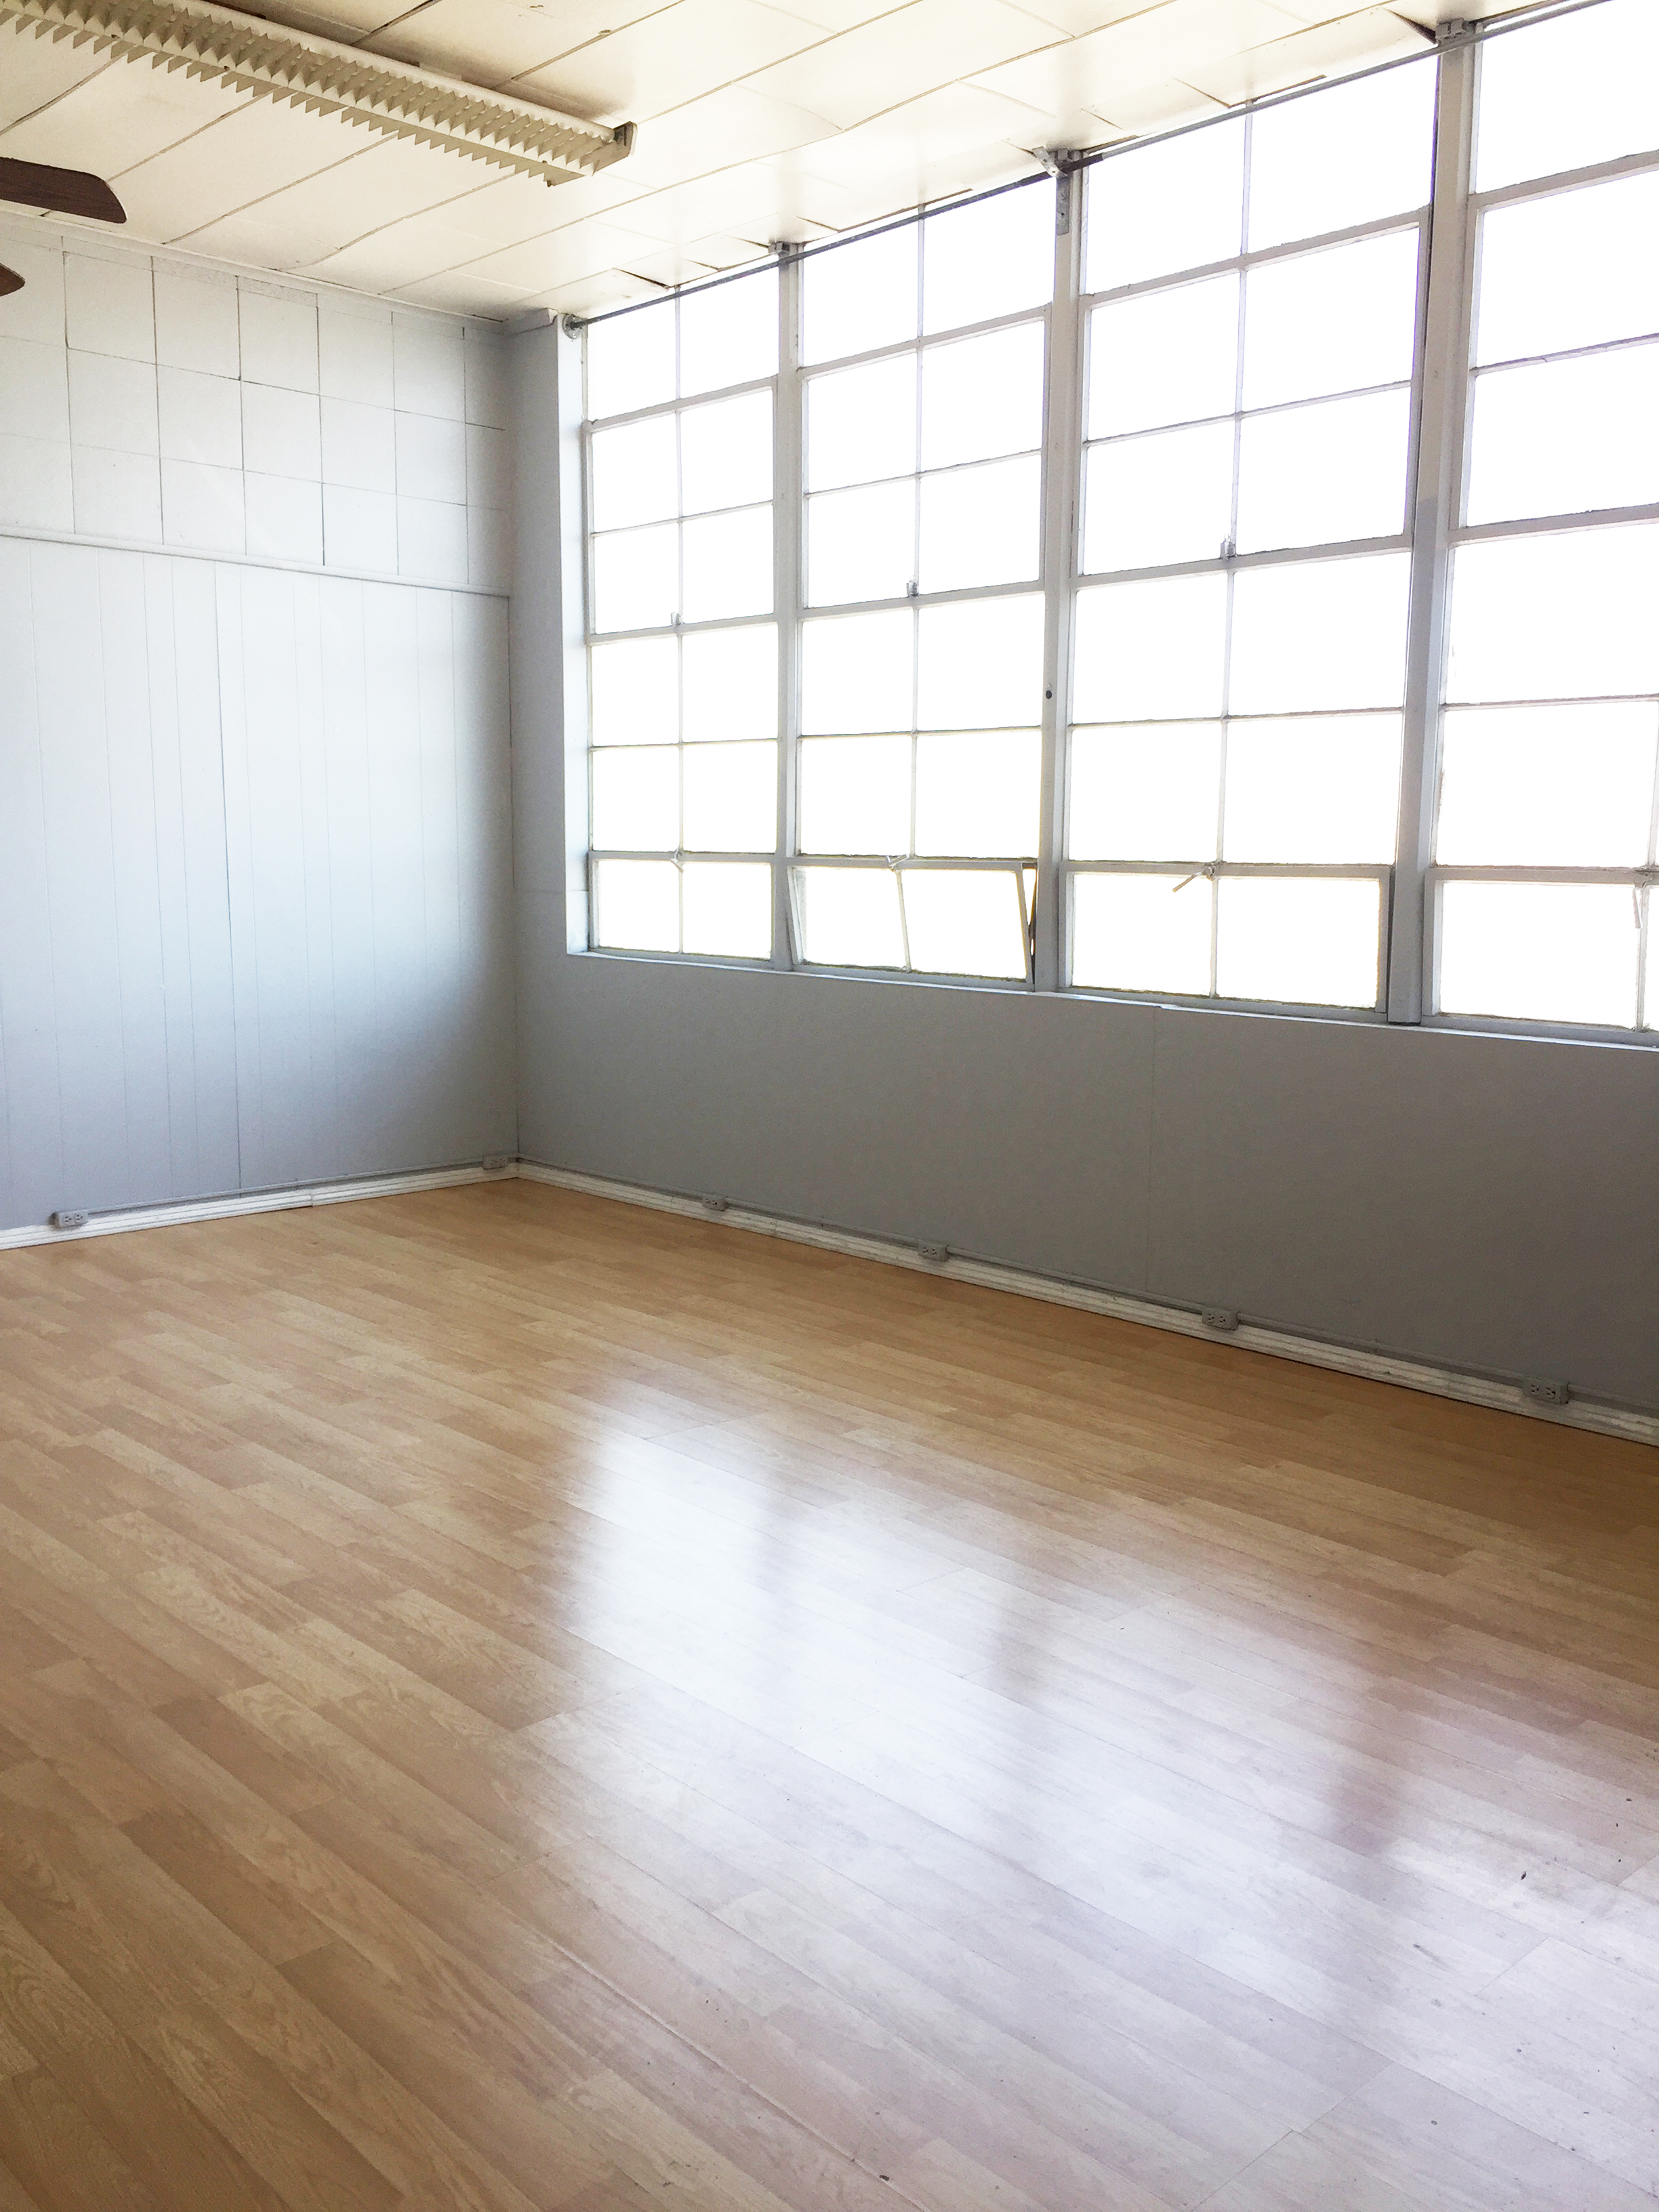
studio 1 Theses are kind of terrible iphone images.  But, here’s a sneak peak at the new space. The walls are a light grey, which isn’t terrible at all, but they will all be white very soon. There’s nothing like taking pictures in an all white room! It makes all the difference. The ceilings are high, which makes the room feel even bigger.studio 2 studio 3
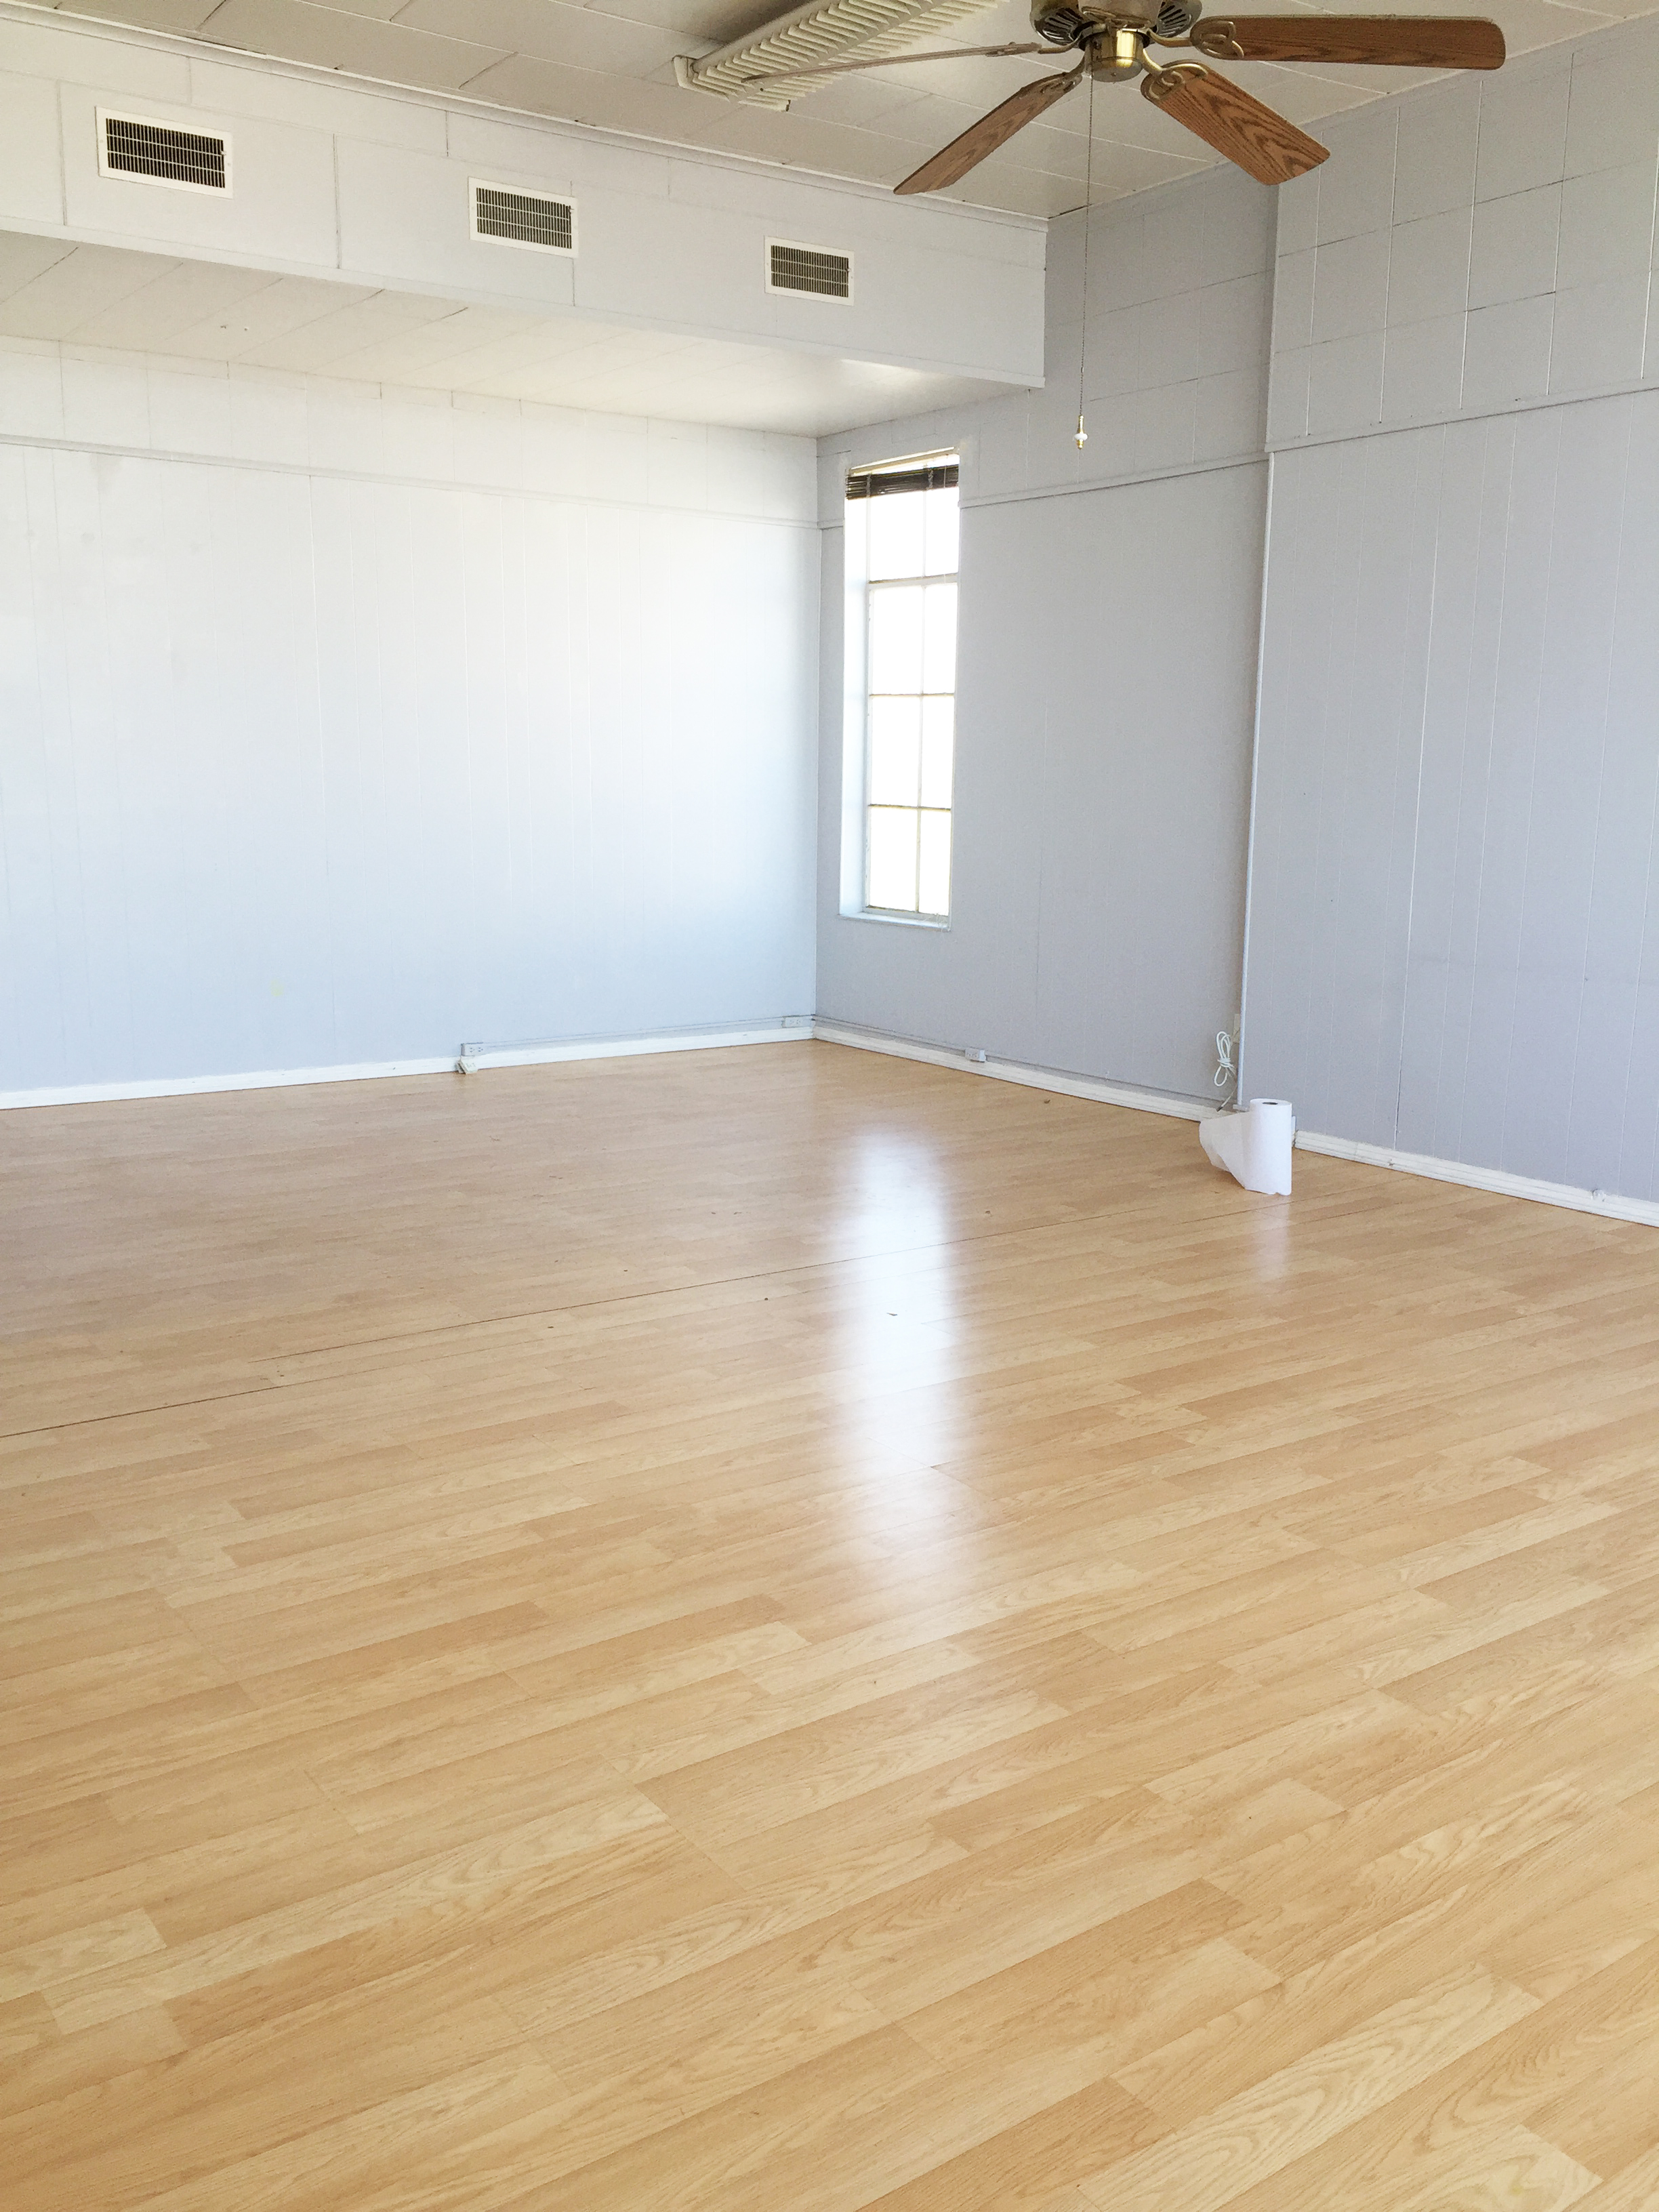
If you are local, keep your ear out for upcoming events and craft workshops. This is going to be a fun place to gather people.

Food & Drink

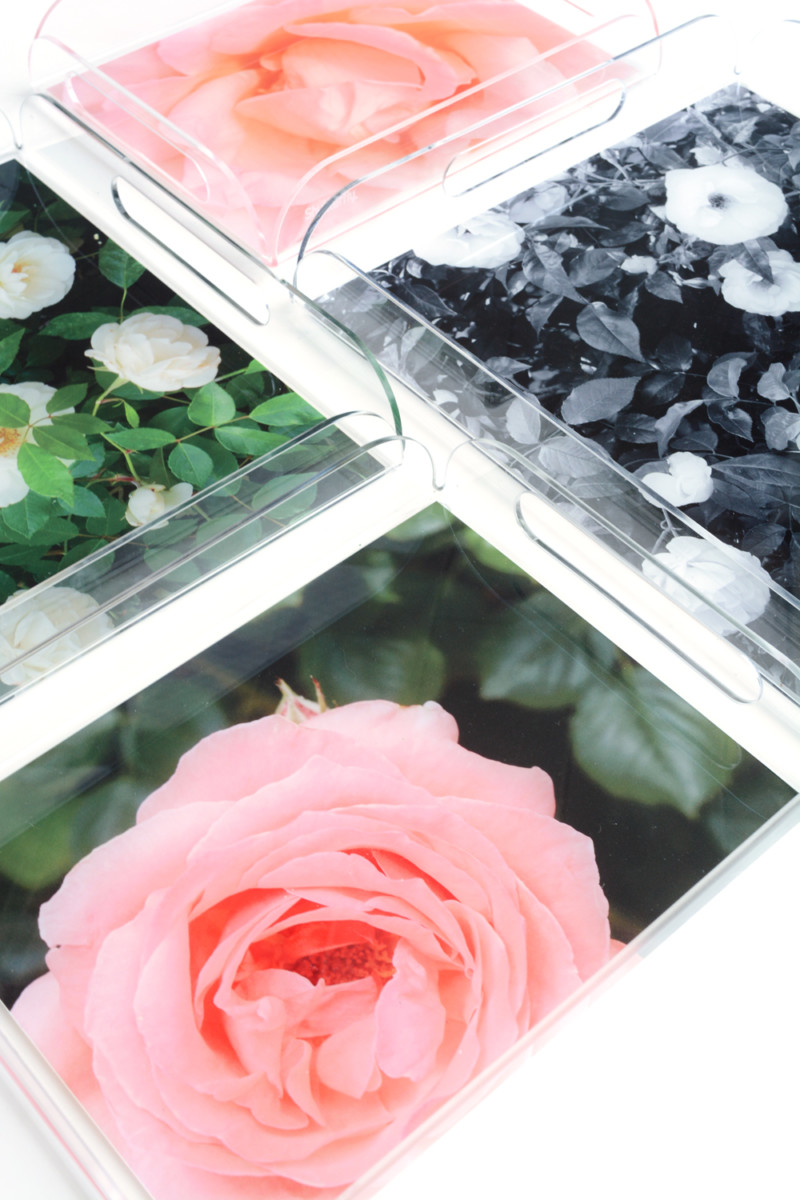
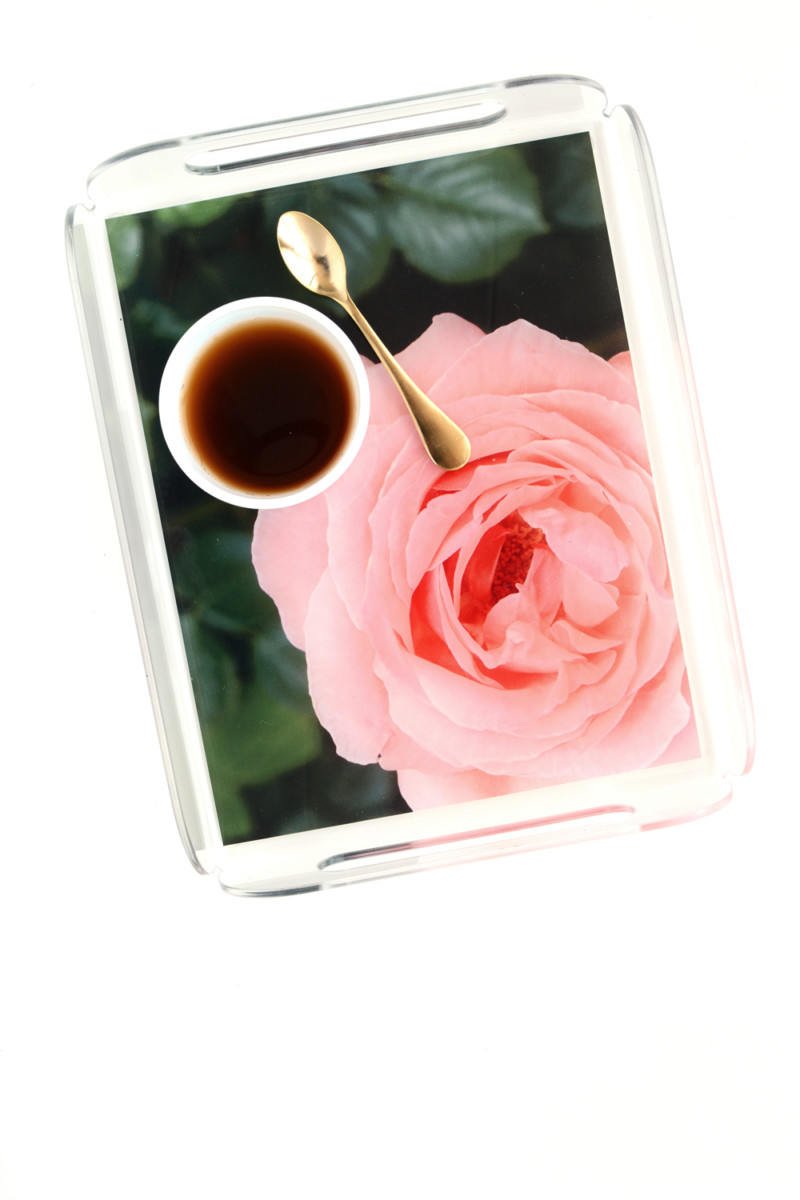
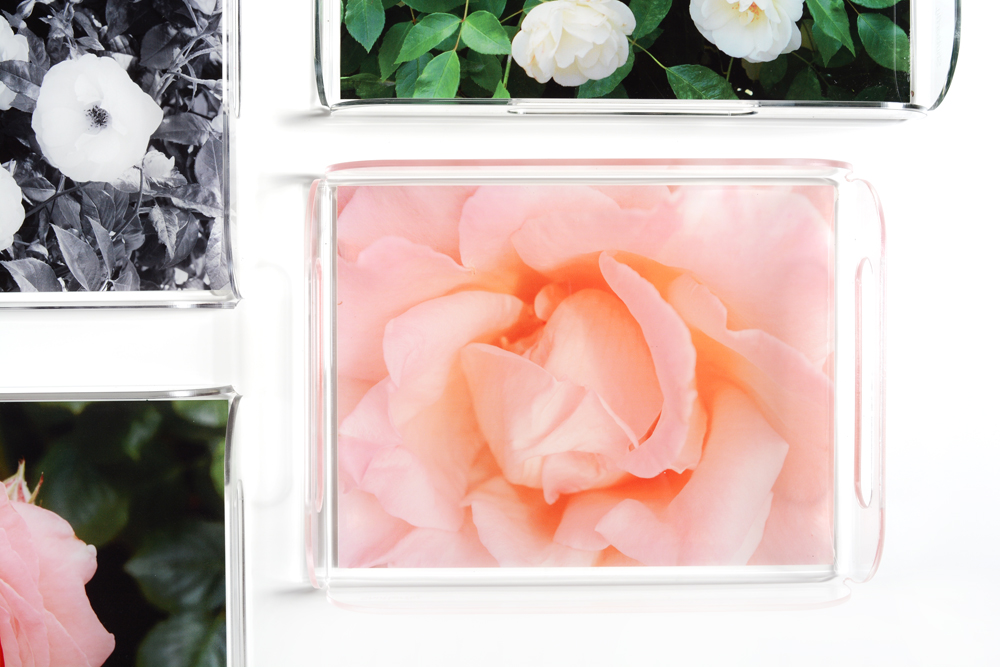
Lemon Thyme Shortbread and Garden Rose Trays

April 20, 2016

Lemon Thyme Shortbread Recipe

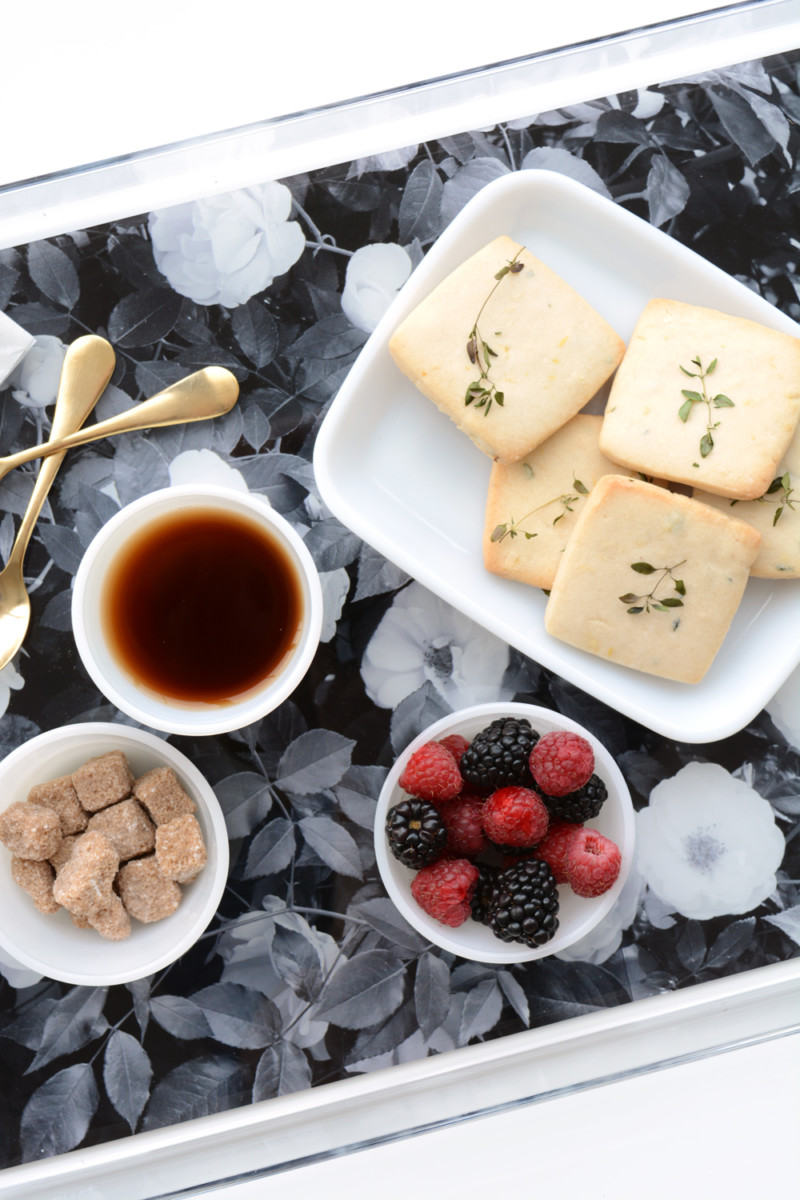
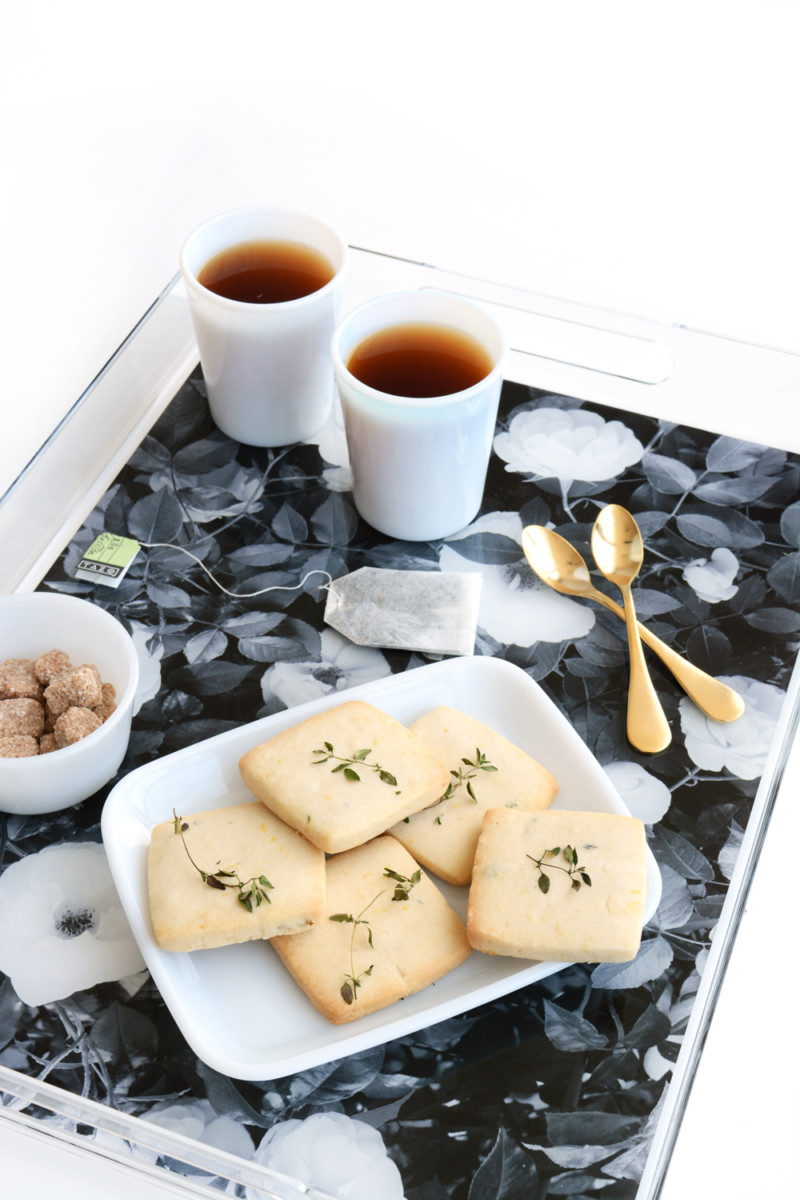
I’m back with another fun idea for Mother’s Day. On Monday I shared the garden rose blankets and FREE Printable gift tags I made for my mom. Now, I’ve got to have a fun gift for the other mother in my life, my mother in law. Mom’s need a little pampering, that’s for sure. So serving them a little afternoon tea with pretty Lemon Thyme Shortbead Cookies on a floral tray seems like a great idea.

garden rose trays and lemon thyme shortbread recipe

When we were in Washington DC for Spring Break, one morning we went the Rose’s Luxury’s (probably the best food I’ve ever had) new coffee shop – Pineapple and Pearls. Oh my, if you can be smitten by a coffee shop, I was. They have the yummiest sticky buns in unusual flavors like Mexican Chocolate, Pineapple and Brisket and Horseradish. I also had an adorable latte with a panda on it.  My mother in law order a Lemon Thyme Shortbread, and it was soooo yummy. So, I decided I needed recreate this cookie for a little Mother’s Day treat.

Lemon Thyme Shortbread
1 cup butter
2/3 cup powdered sugar
1 3/4 cup flour
2 tsp. freshly thyme chopped
zest of one lemon
1 tsp. vanilla
small sprigs of thyme for the tops of each cookie

Cream the butter and sugar with an electric mixer. Add the vanilla, lemon zest and thyme.  Add the flour and mix until the dough comes together.  Wrap the dough in plastic wrap and chill for at least 30 mins.

Pre-heat the oven to 350F.  Roll out the dough to a little less then 1/4″ on a well floured surface. This is a very soft dough, that’s what makes them so tender when they are done.  Keep the dough cold and work with flour on your hands and on the surface.  Cut out desired shapes and top with a sprig of thyme.  Place on parchment lined baking sheets.  Chill the cut cookies for at least 20 mins. before baking (this helps the cookies keep their shape and not spread on the cookie sheet).  Bake the cookies for about 12 mins. or until the edges are just barely brown. Cool on wire racks.

These cookies freeze well in an air tight container.

garden rose trays garden rose acrylic trays garden rose trays and lemon thyme shortbread recipe

Trays are one of those home decor accessories that you just can’t have too many of. Not only are they perfect for serving food on, but they are great on dressers and bedside tables for keeping all your little things organized. I have trays on my coffee table, dining table, and beside my kitchen sink.

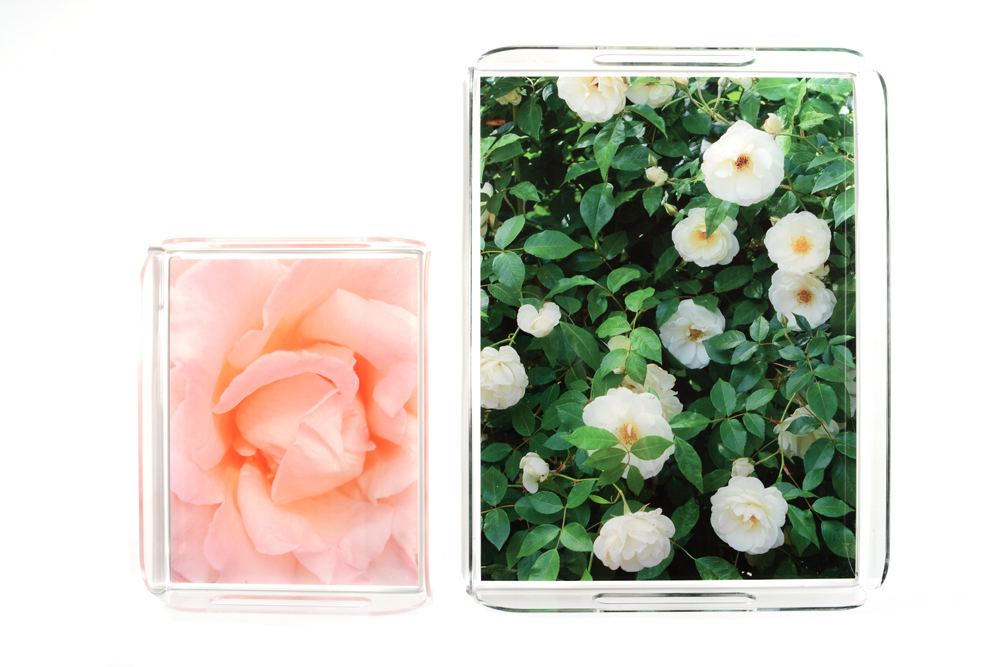
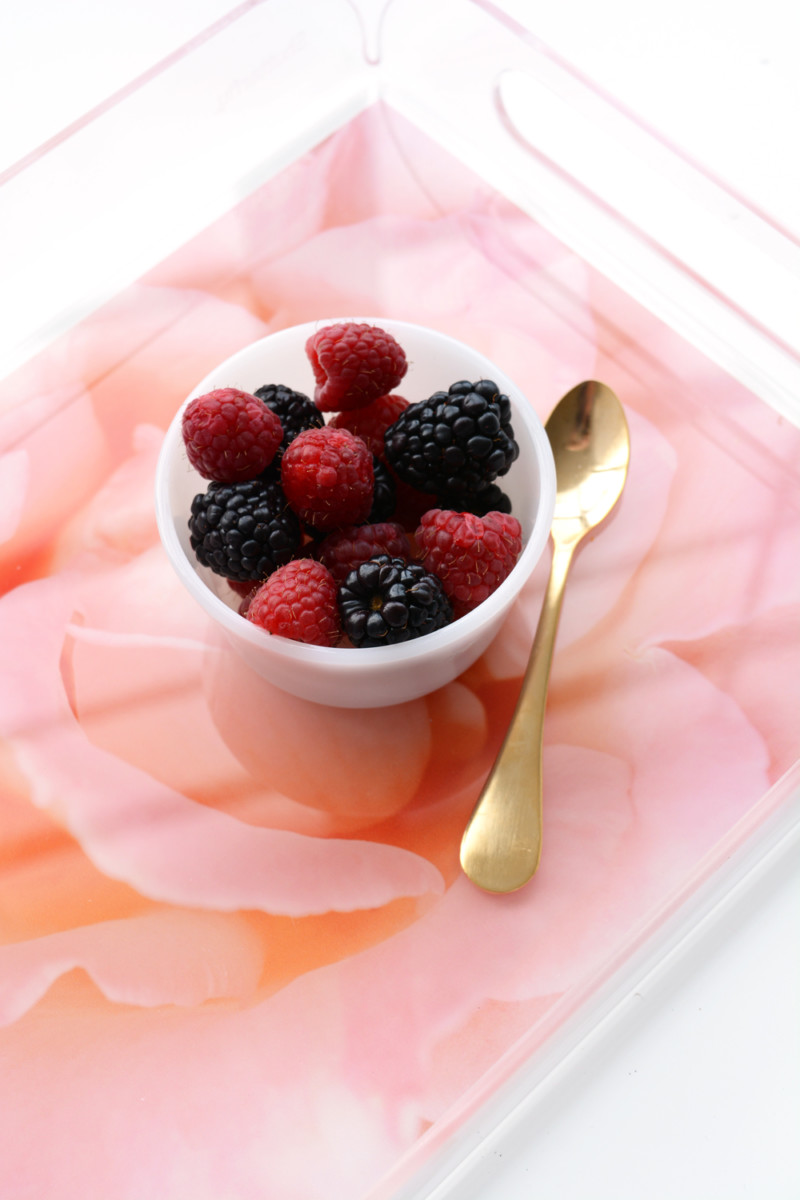
I took a few more of my garden rose images and had them put on sleek lucite trays with Shutterfly. Shutterfly has beautiful, waterproof, durable lucite trays that you can customize. It’s really kind of hard for my to pick a favorite. They all turned out really pretty.

And once again, I’m sharing these images with you if you’d like to make a tray for yourself or for your mom. Here’s the links to download the images:

garden rose acrylic tray garden rose tray

garden rose acrylic trays

This post is sponsored by Shutterfly, thank you for supporting the companies that help make this blog possible. 

Design

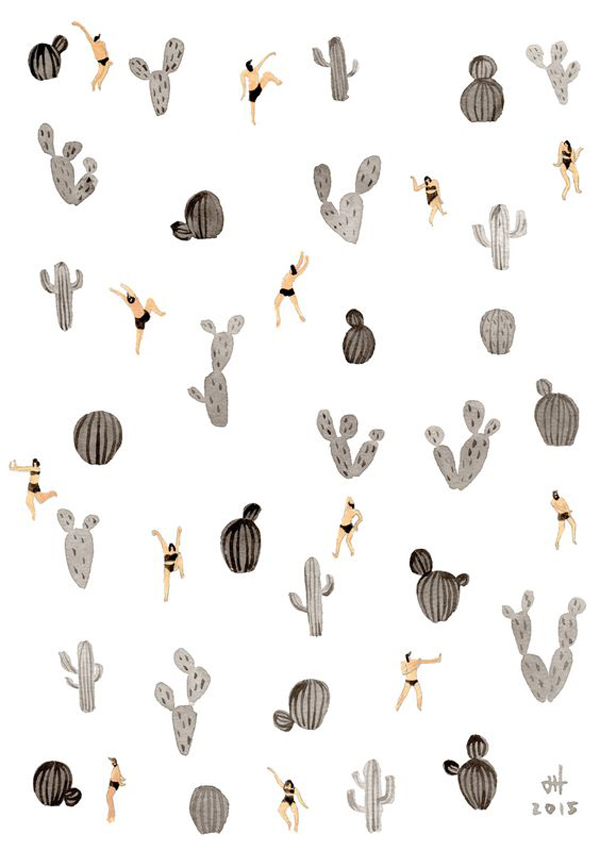
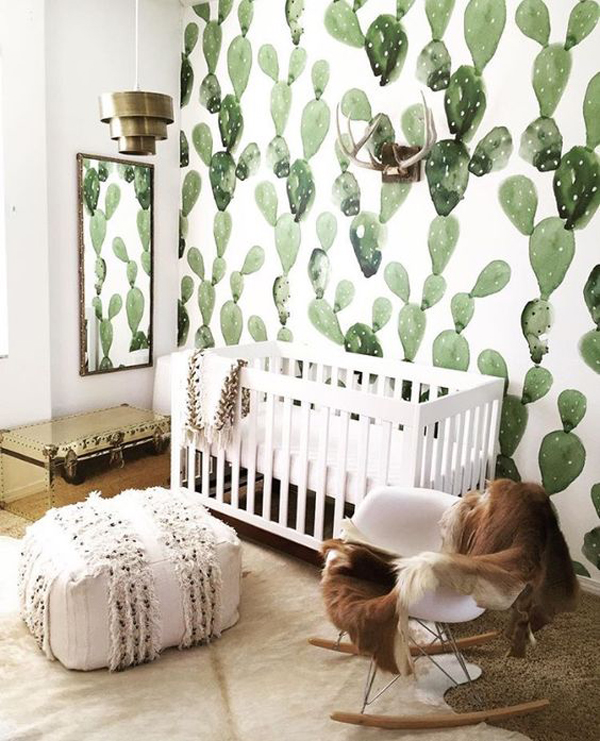
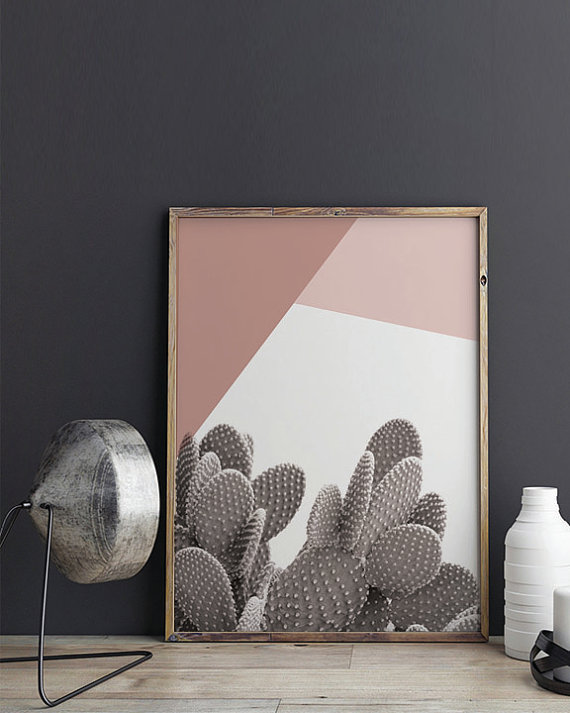
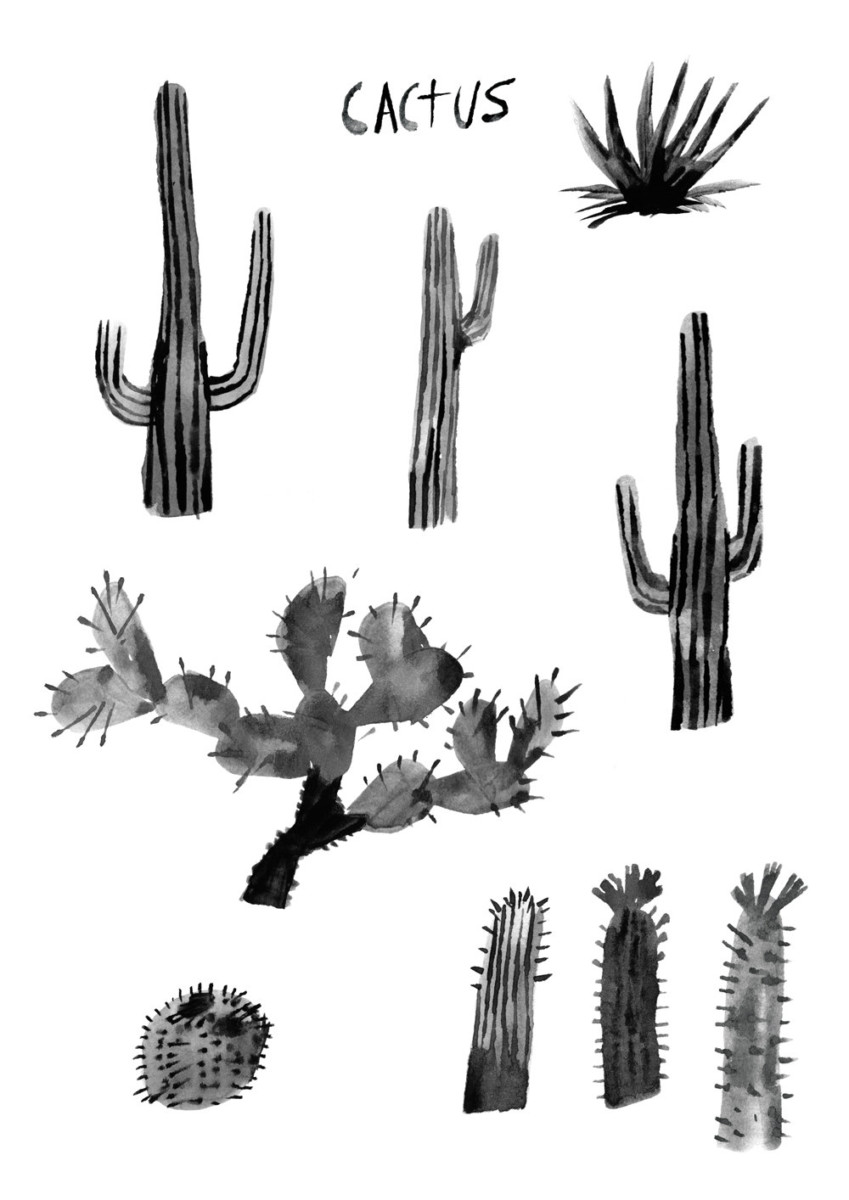
Add a Little Cactus to Your Decor

April 19, 2016

In the last couple of months I feel like I’ve kinda officially become a plant lady. I haven’t kill a plant in a really long time and even my fiddle leaf figs are super happy. After being in the desert a couple weeks ago, I really feel like a need to try to bring more cactus into my life. They worry me though, I can be an over-waterer. I might not be ready for these very low maintenance plants.

They have such distinct, sculpture-like shapes that I’d love to bring to my decor. So, as a baby step towards owning a cactus, I’ve found some really great cactus illustrations that I’d happily live with. I think you are really going to love these as well.

cactus 1sourcecactus 2sourcecactus 4sourcecactus and pinksourceblack cactus illustrationsource

DIY

Free Printable Mother’s Day Gift Tags and Rose Blanket

April 18, 2016

Mother’s Day is just around the corner and I’m pretty sure it might be one of the most important holidays there is. We owe our mom’s so much, at least I know I owe mine. Mom’s are suckers for sentimental, thoughtful, handmade gifts. This year I’m excited to give my mom a pretty garden rose fleecy throw blanket that I created for her with Shutterfly.

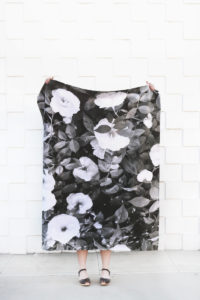
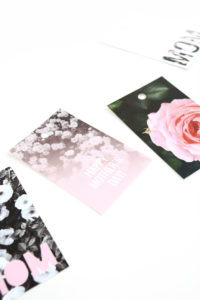
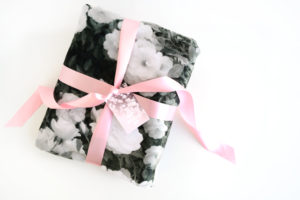
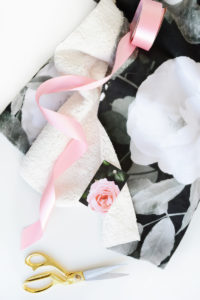
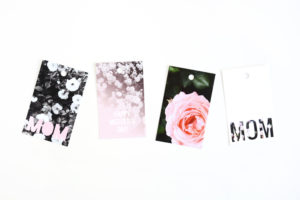
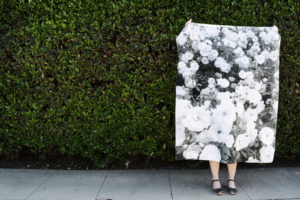
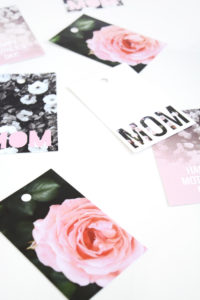
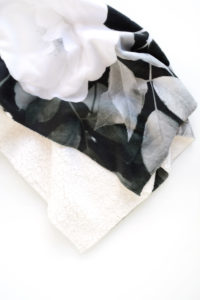
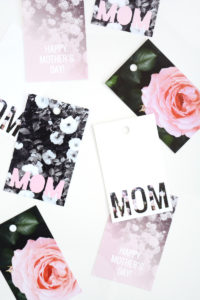
I’ve also got some fun free printable Mother’s Day gift tags for you (so keep reading). Whether you make your mom a blanket or something else, I’ve got the perfect little tags to attach to your mom’s gift.garden rose blanketI took black and white pictures of garden roses in my neighborhood, and had them printed on Shutterfly’s new super soft sherpa blankets. I love how they turned out. They’re feminine and graphic all at the same time.  I printed one with just a few, bigger blooms and another with hundreds of white blossoms all over  the blanket. I can’t decide which is my favorite. I have both images for you to download.
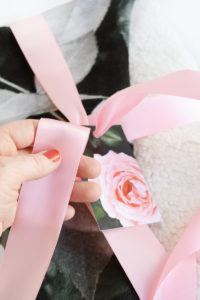
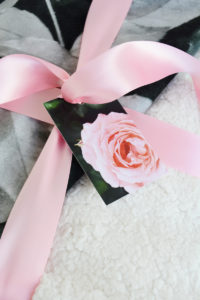
DIY garden rose blanket for Mother's DayAnd what’s a gift without wrapping is up pretty and adding a card? Mom’s love a good card. You can print out the 4 gift tags I’ve designed and add a personal message. (Links to the free printable below.)printable mother's day gift tags printable mother's day gift tagsgarden rose blanket for Mother's Daygarden rose blanketgarden rose blanket for Mother's Dayprintable mother's day gift tagsprintable mother's day gift taggarden rose blanketprintable mother's day gift tagsYou can download this set of Mother’s Day gift tags HERE!
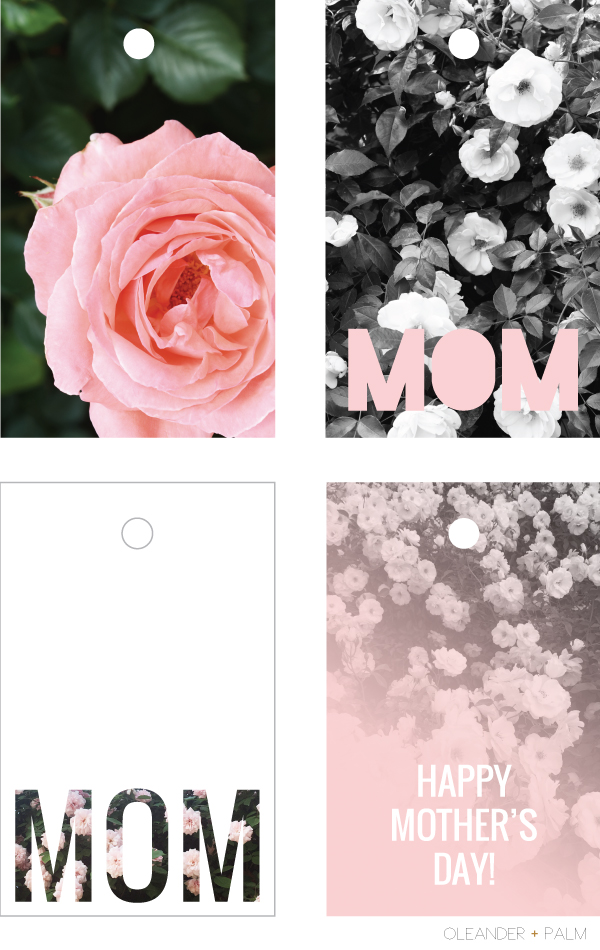
And if you’d like to make a blanket here’s Version 1 and Version 2.printable mother's day gift tagsgarden rose blanket for Mother's Day 1printable mother's day gift tags

This post is sponsored by Shutterfly, thank you for supporting the companies that help make this blog possible. 

etc.

The Week’s End

April 15, 2016

Well, this has been a busy and successful week for me. I launched my brand new newsletter. If you haven’t signed up – please do! And I have some big news, I’m moving to a bigger better studio space.  I’ll share pics very soon, it’s got KILLER windows and loads of natural light! It’s actually almost 5 times bigger then the space I have now.  I’m really excited. It’s a bit of a risk, but I feel like you have to take some leaps of faith to have success.

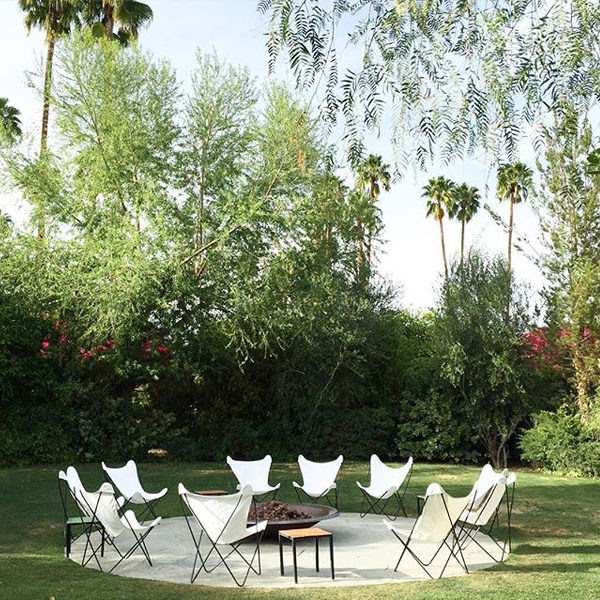
The Parker Hotel, Palm Springs

source

I’m pretty sure I’ll be working all weekend, again. But, sometimes having work is a really good thing. I think I like being busy, actually I know I like being busy. So if you aren’t busy this weekend, here’s some fun projects you should check out this weekend:

Happy Friday Friends!

DIY

DIY Geometric Necklaces

April 14, 2016

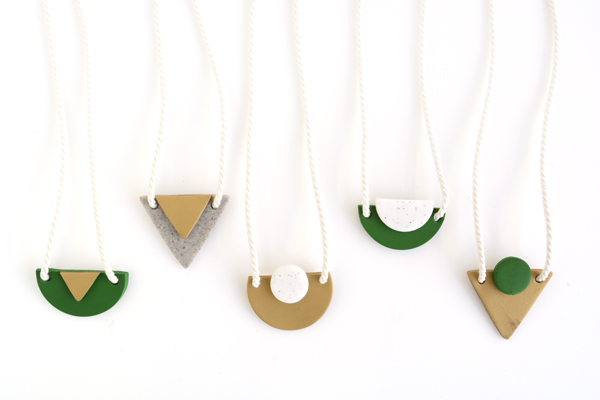
geometric necklace pendants

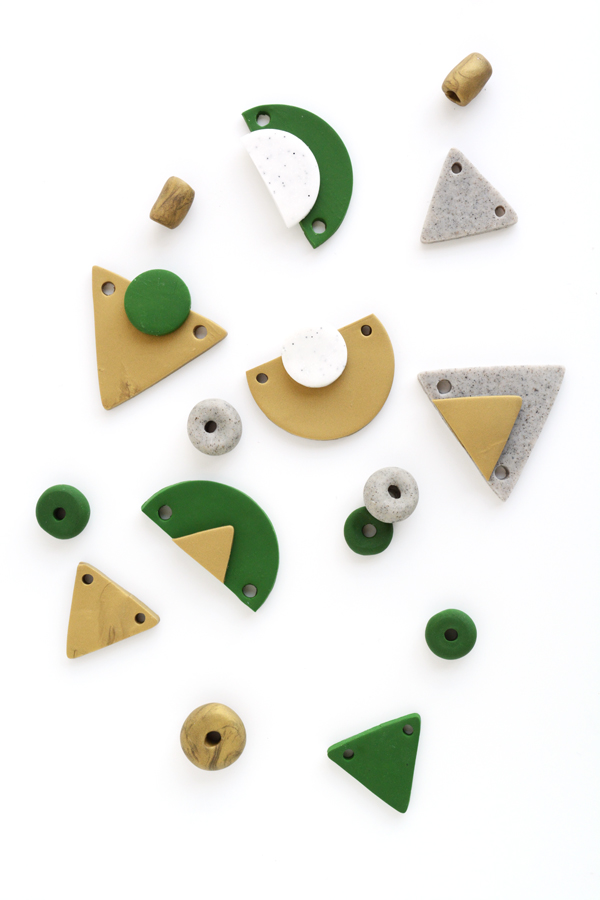
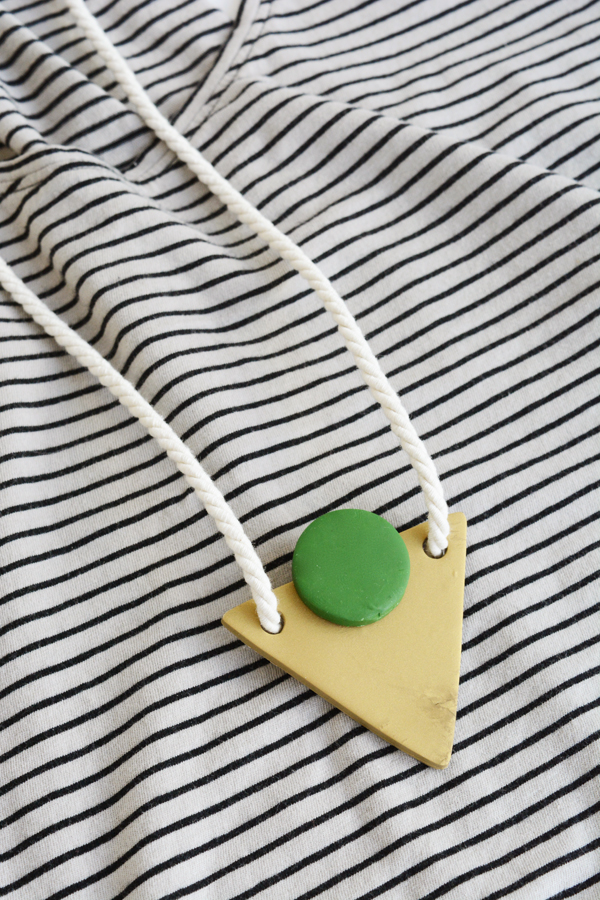
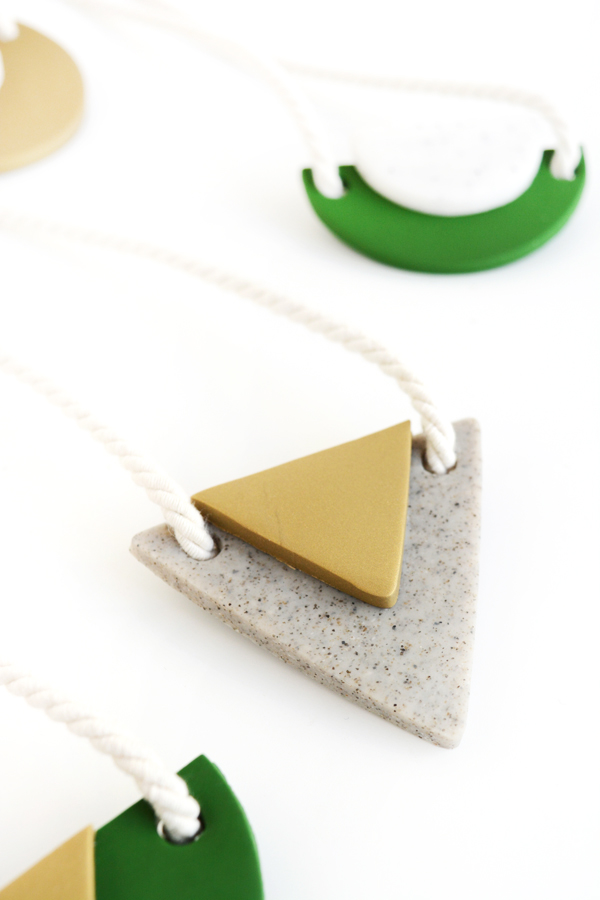
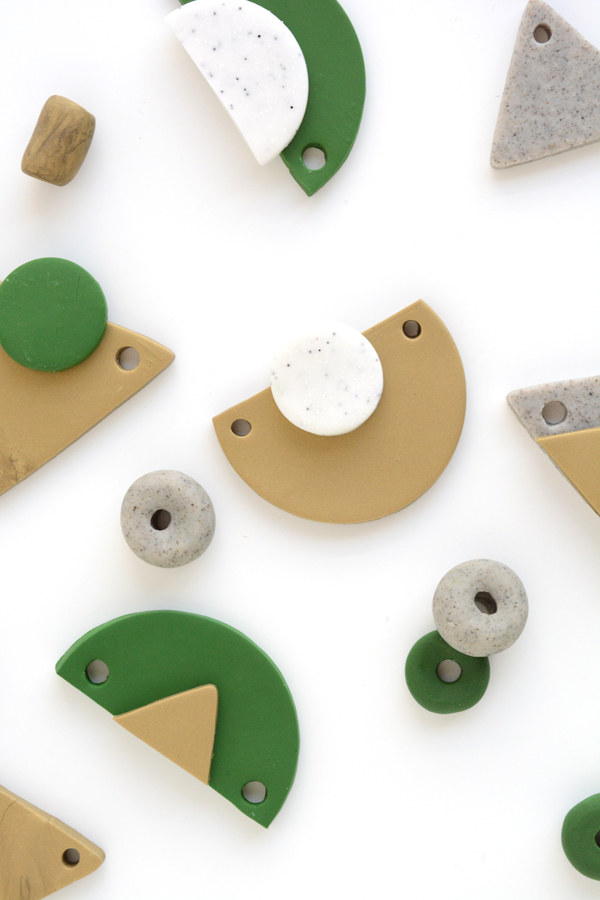
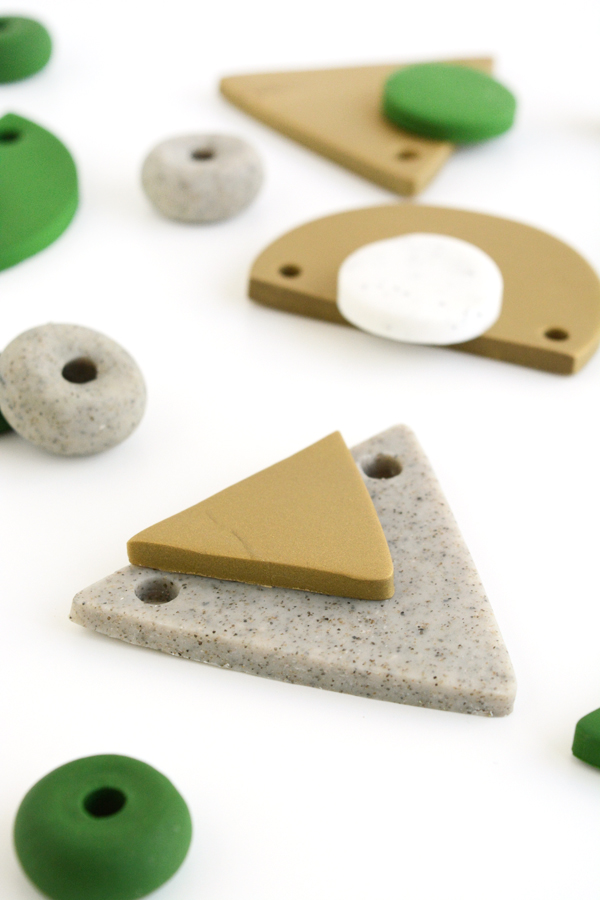
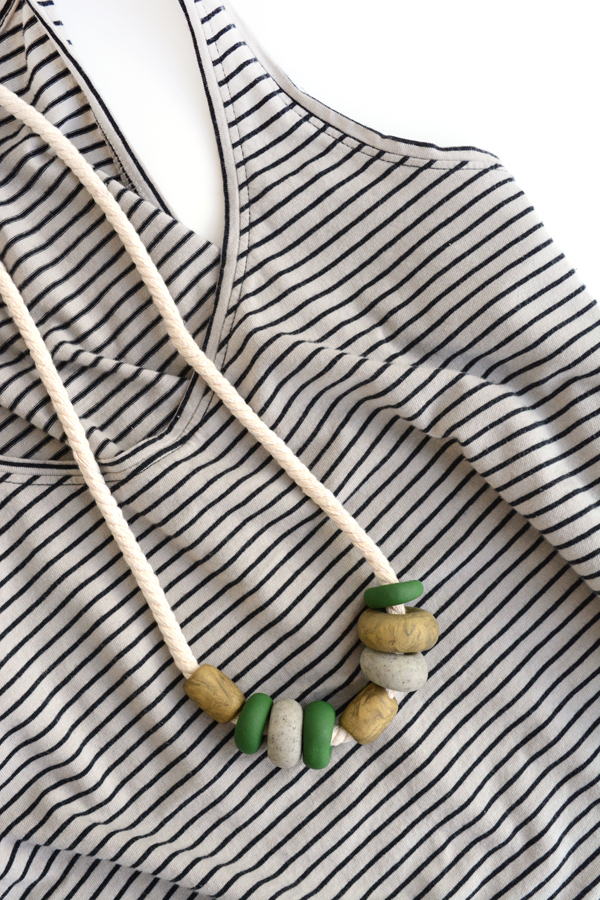
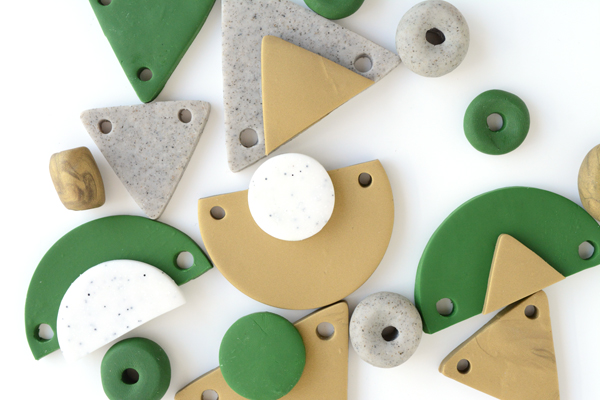
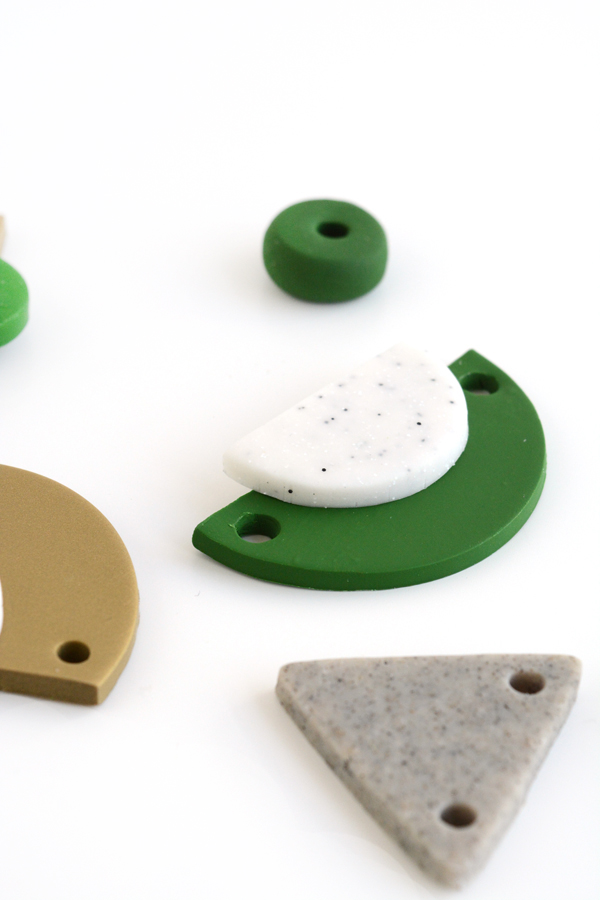
After I made one of these necklaces, I couldn’t stop. And before I knew it, I’d make 7 geometric shaped necklaces. I’m a huge fan of fun, big, chunky jewelry. And my 12 year old self, still loves to play with oven baked clay. These simple necklaces pendants are really just a couple geometric shapes layered on top of each other to create a modern, unique jewelry pieces. The possibilities and combinations are endless. I stuck with my go-to color combo – green, gold and grey and played with different combinations of these colors.

DIY geometric necklaces made with oven-bake clay

DIY geometric necklaces

_gemetric necklaces 10

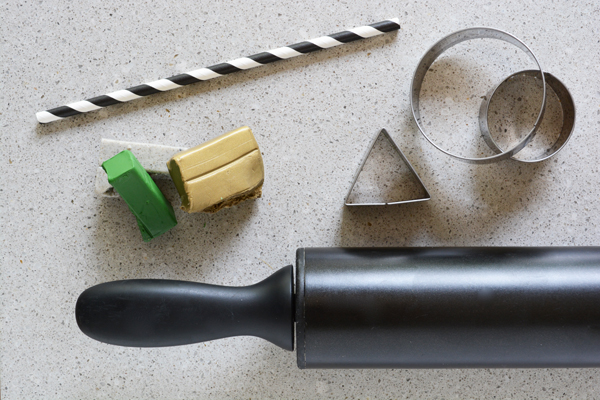
Here’s what you’ll need:

diy geometric necklaces

Start by rolling out the dough to about a 1/4″ thickness. You want it to be quite thick so that the piece has so weight to it. If possible, roll out on a stone surface, even a cutting board will do. The clay is less likely to stick to this surface.

_geometric necklace 2

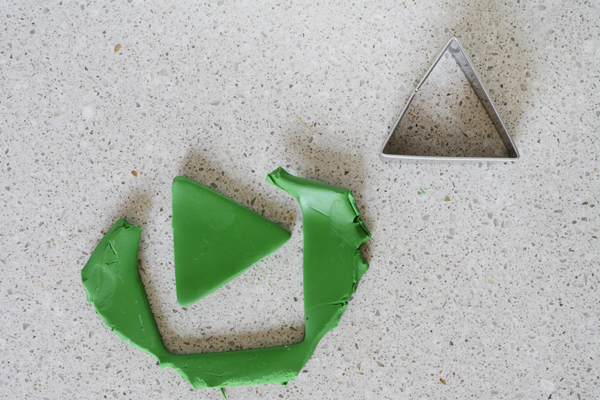
Using the cookie cutters, cut out your desired shapes. This was the fun part. I cut lots of sizes, shapes and colors and had fun pairing them up to get a look I wanted.

geometric necklace

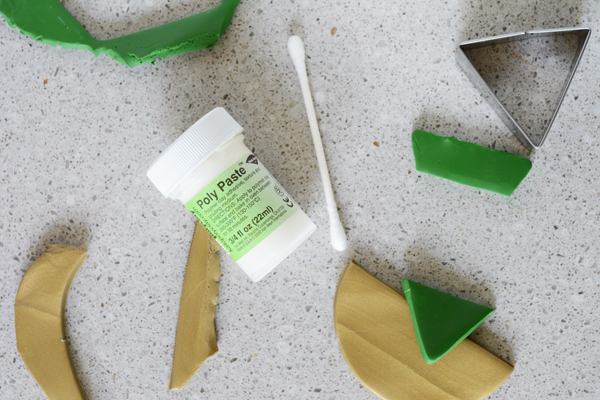
When you have decided which pieces will go together, place a small amount of the clay adhesive on the clay pieces and adhere them together.

_geometric necklaces 4

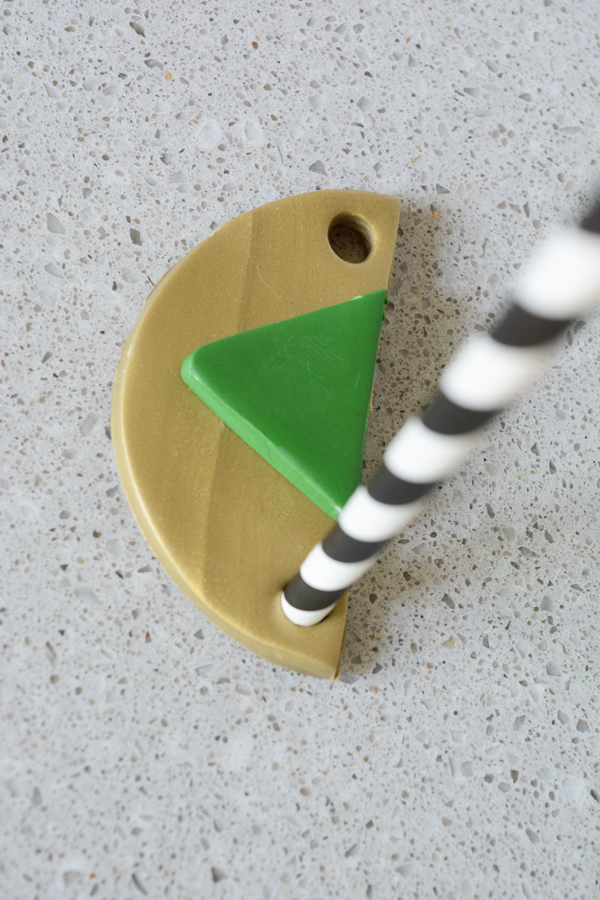
Using the paper straw, cut out wholes for the rope to hang from.  Place the finished pieces on a parchment lined baking sheet and bake in the oven at 200 F for about 15-20 mins. I had a DIY fail the first time I made these. I followed the directions for baking on the package and all the white pieces turned out totally yellow and discolored. So I reduced the temperature and baking time, and all the clay cured and stayed it’s true color. Just watch them carefully. Take them out and allow them to cool completely. If they don’t feel totally hard, bake them for another couple of minutes. It’s not an exact science, but you can get great results if you are patient with the baking process.

geometric necklaces DIY geometric necklace pendantsoven bake clay necklaces geometric jewelry

You are going to want to go buy some clay.  I made all of these pieces with about 4 packages of oven-bake clay.  And Olivia was quite entertained for about 2 hours as we made bead after bead together.DIY geometric necklaces


Food & Drink

Tomato Goat Cheese Tart

April 13, 2016

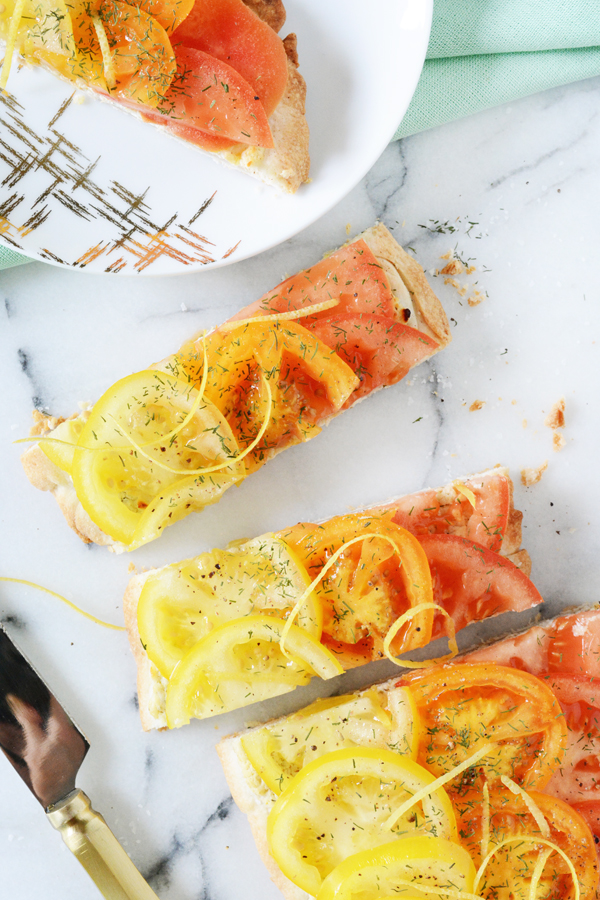
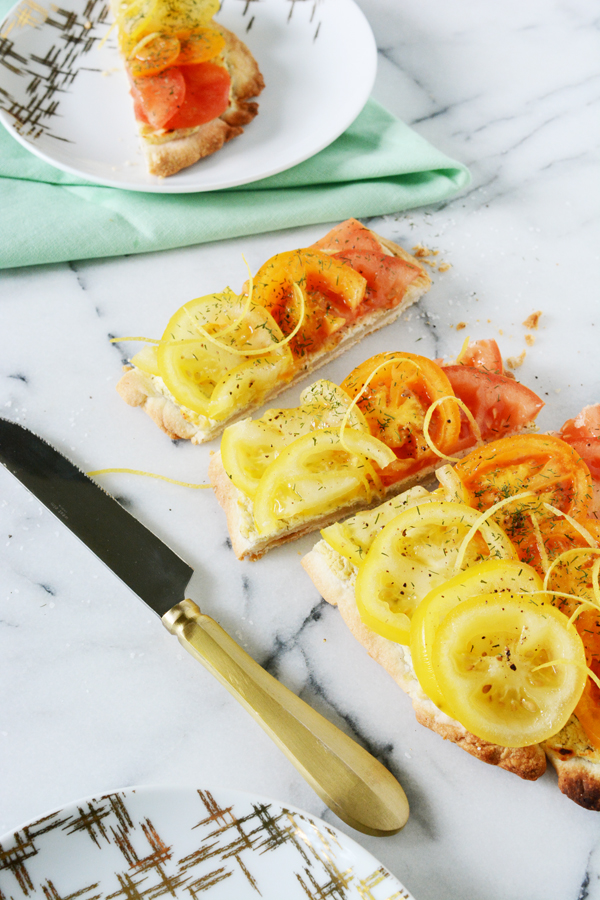
easy tomato goat cheese savory tart

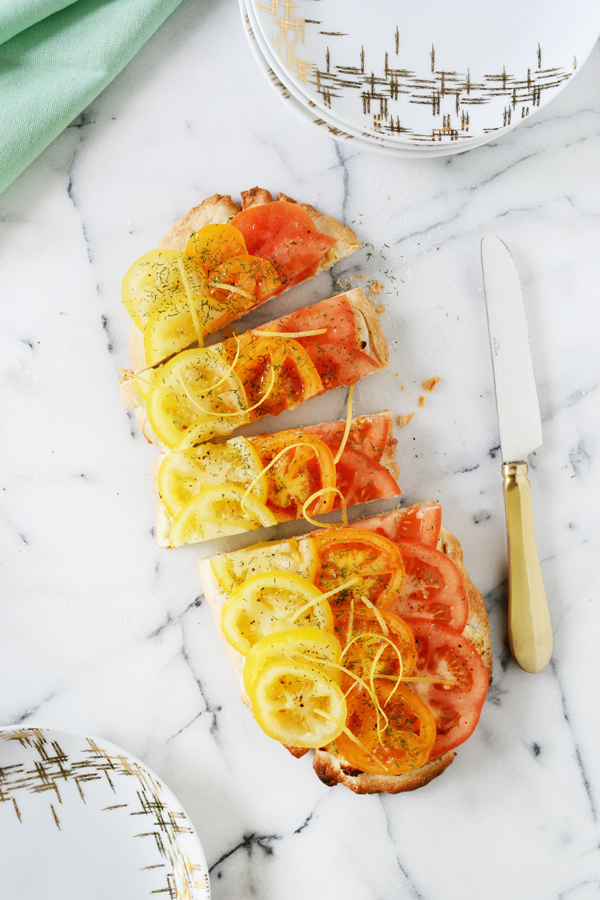
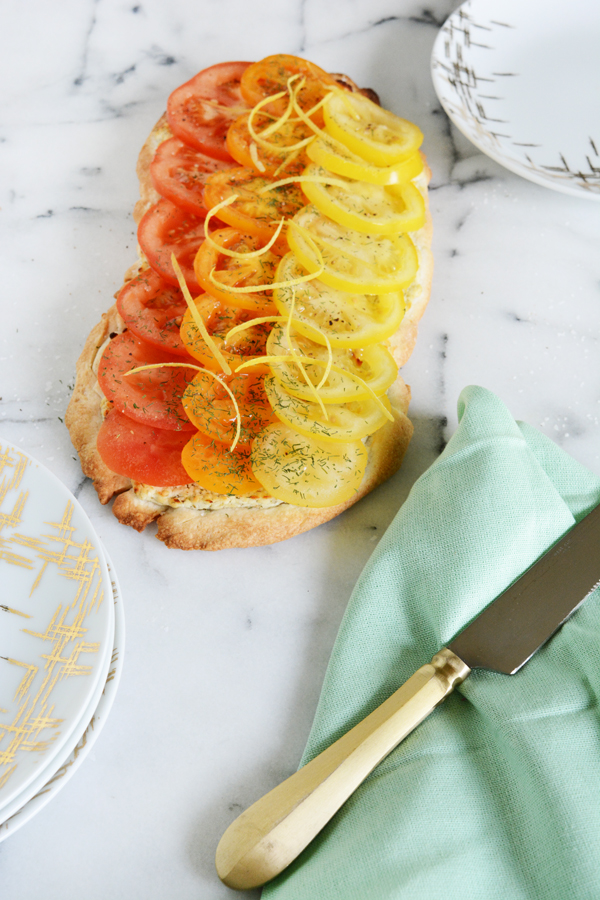
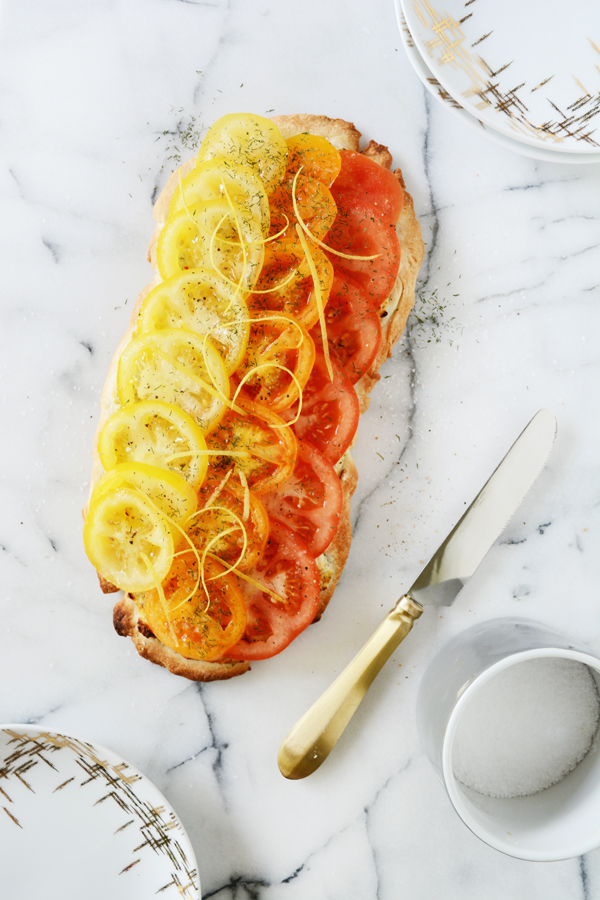
Before we know it, Summer will be here. I’m ready for dinners outside and having friends over for bbqs. And while the food is on the grill, I’ll be serving my guests this yummy and also very pretty savory tart. Creamy, tangy goat cheese, a little dill and sweet tomatoes make this fresh appetizer a crowd favorite.

tomato goat cheese tarttomato goat cheese tart

Tomato Goat Cheese Tart

  • Pie Dough (store bought or homemade – I like Martha’s Pate Brisee)
  • 4 oz. Goat Cheese
  • 1/2 tsp. dried and fresh dill
  • zest and juice of one lemon
  • 3 tomatoes (pretty heirloom tomatoes in a few colors)
  • salt and pepper

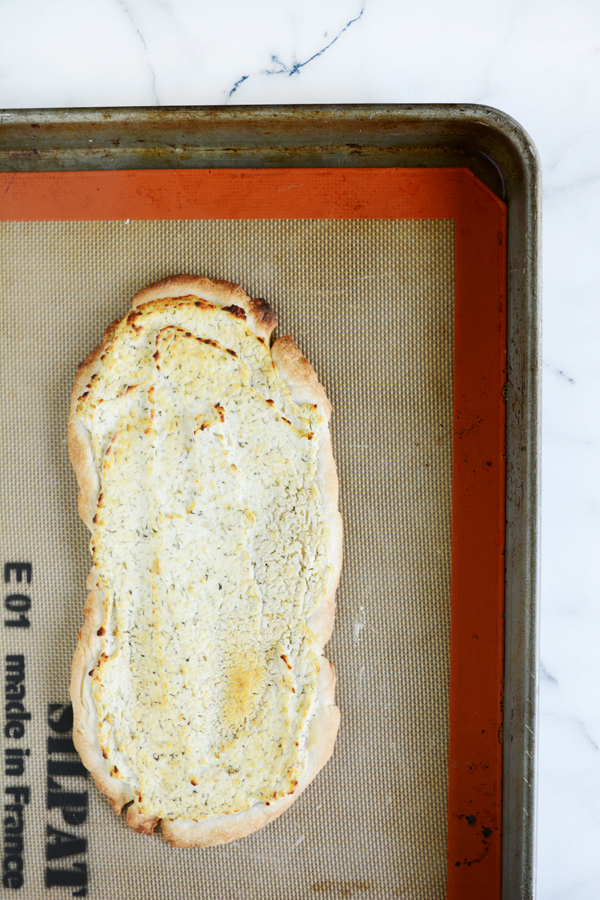
Roll out the pie crust to a long oval shape.  With an electric mixer, beat the goat cheese, lemon zest, a tablespoon of lemon juice, and salt and pepper until smooth.  Spread the goat cheese even over the pie crust.  Bake for 12-15 minutes at 450 F until the crust in golden. Allow to cool completely.

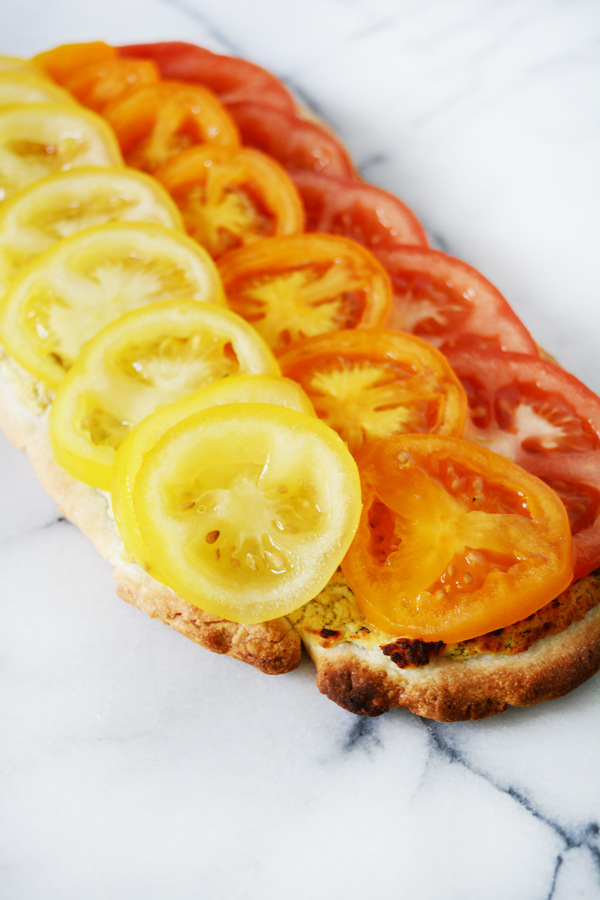
Thinly slice the tomatoes.  Layer the tomatoes in rows and top with a bit more lemon zest, dill, salt, and pepper.

Cut into 2 inch pieces. Serves 6.

tomato goat cheese tartEasy tomato goat cheese savory tart. tomato goat cheese savory tarttomato goat cheese tart

Happy Hump Day!  Oh and did you sign up for my newsletter?  I sent out my very first one yesterday.  Sign up with the form in the righthand bar of the blog.