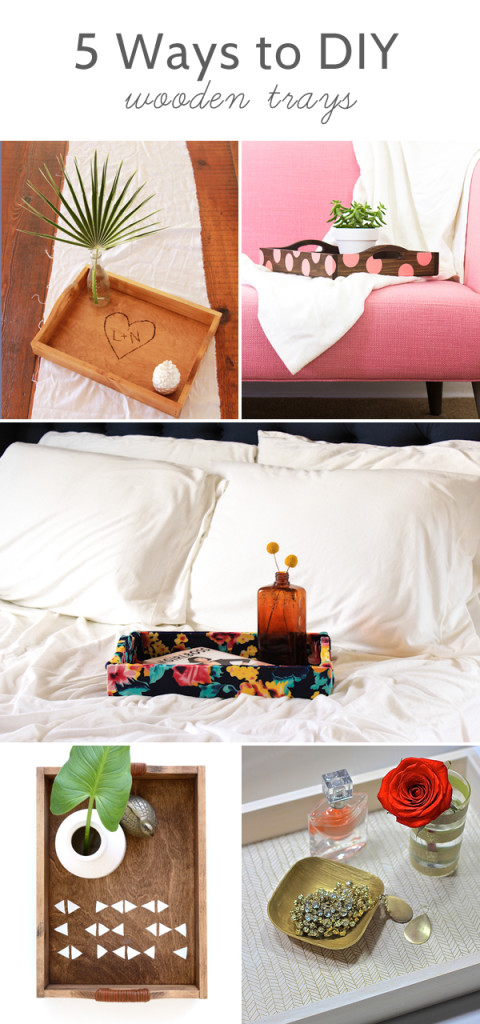
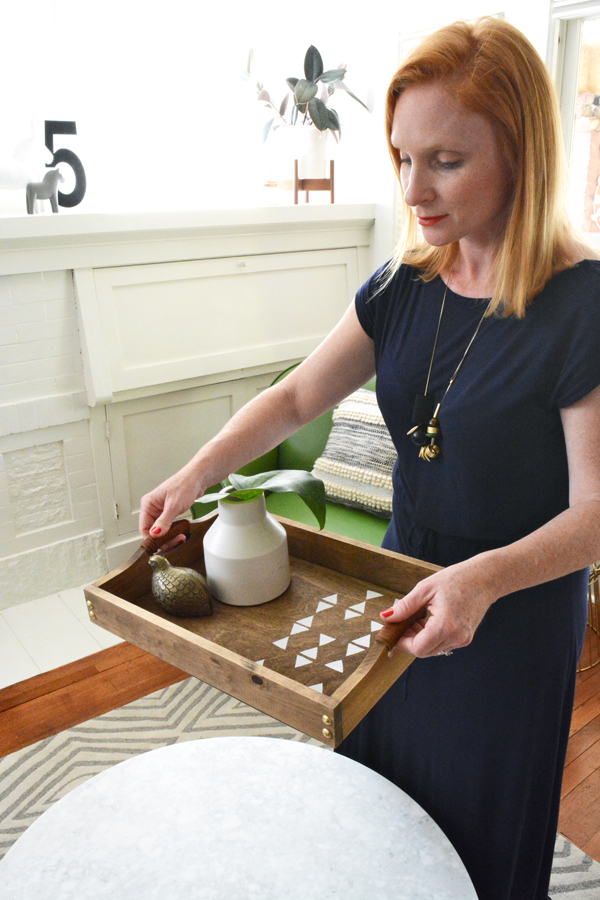
I love when you can customize a generic item specifically for your style and taste. So, that’s just what I did with a $10 wooden tray. I gave it an O + P look. I’ve teamed up with 4 of my favorite bloggers to show you
5 Ways to DIY a wooden tray. It’s really fun to see everyones unique personal style come out in this projects. So, head over and see how
Sarah Hearts,
The Crafted Life,
Pars Caeli and
A Bubbly Life all DIYed the same wooden tray. And to make this even more fun, we’ve got a giveaway for you (check that out at the end of the post).
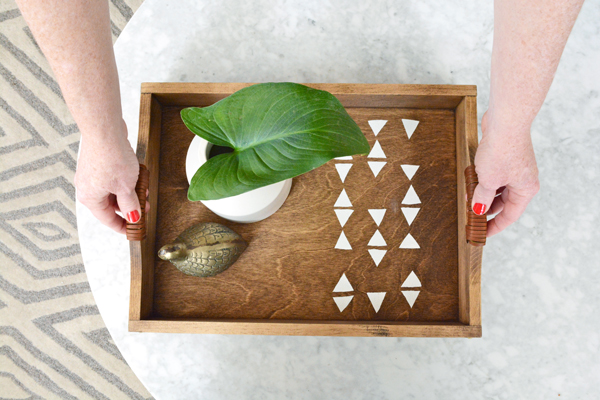
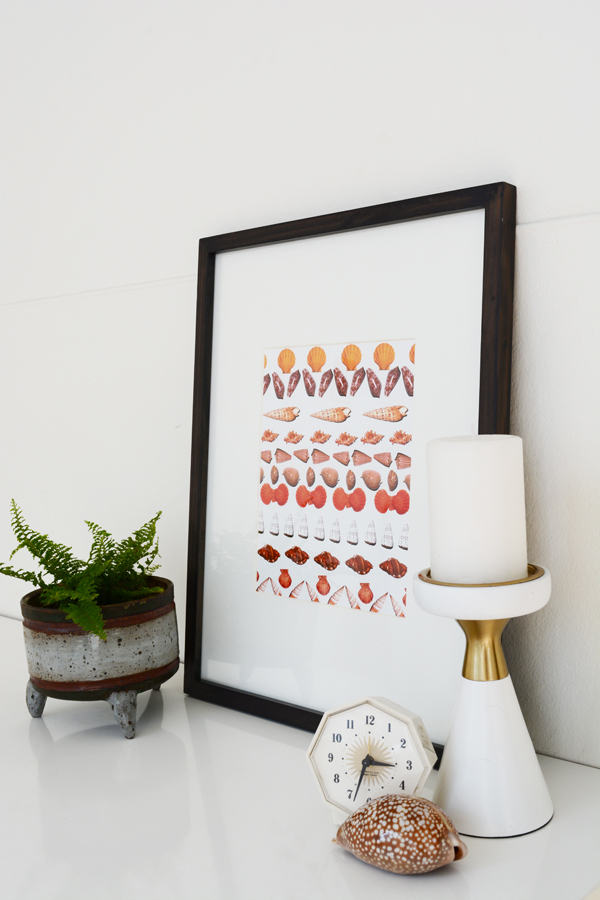
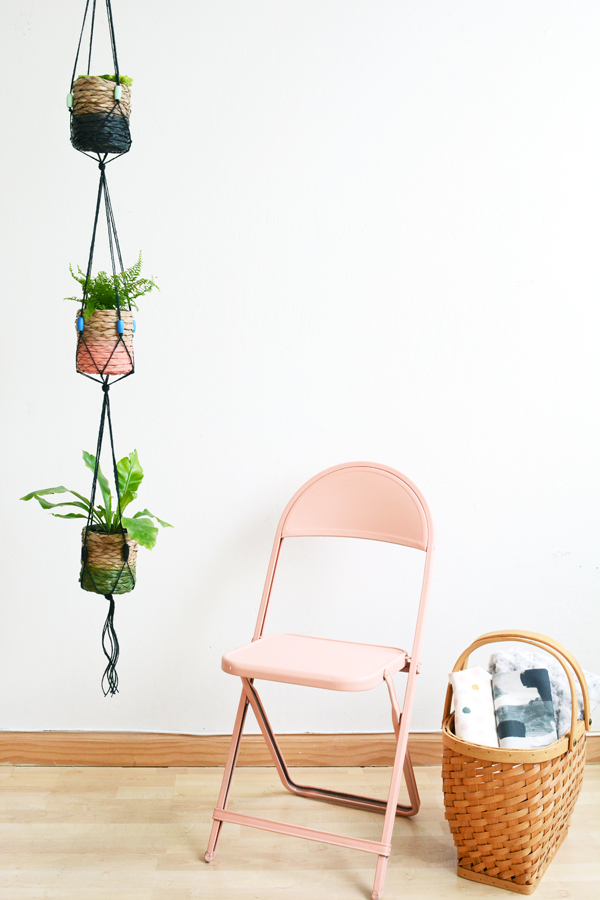
Our coffee table is marble topped, so I like to give places for folks to place their drinks and snacks. The tray protects the surface and adds some texture and pattern.
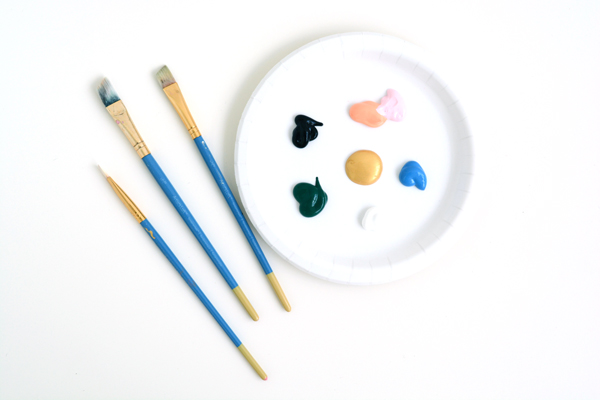
Here’s what you’ll need:
wooden tray
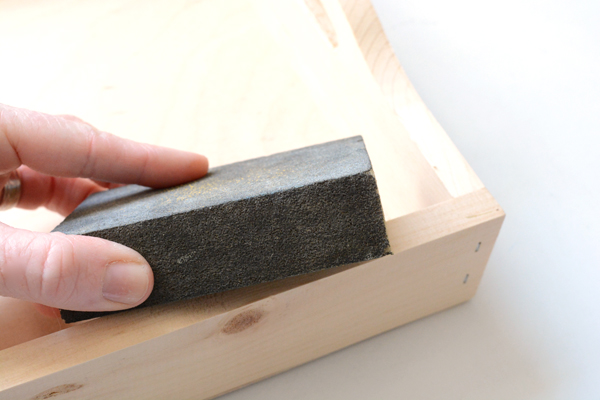
sand paper or sanding block
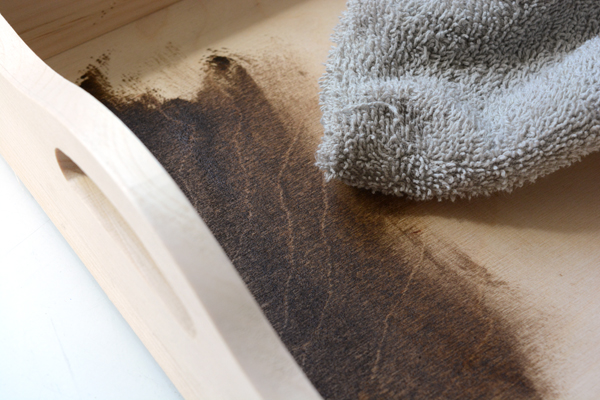
dark wood stain (I used a walnut color)
a rag
blue painters tape
x-acto knife
marker
white craft paint
stencil blush
leather cord
8 upholstery nails
Start by giving the tray a light sanding to take away any imperfections and rough patches. Then apply the stain to the tray, following the instructions on the product you choose to use. I like to rub on the stain with a rag, allow it to soak into the wood for about 5 mins and then wipe off the excess.
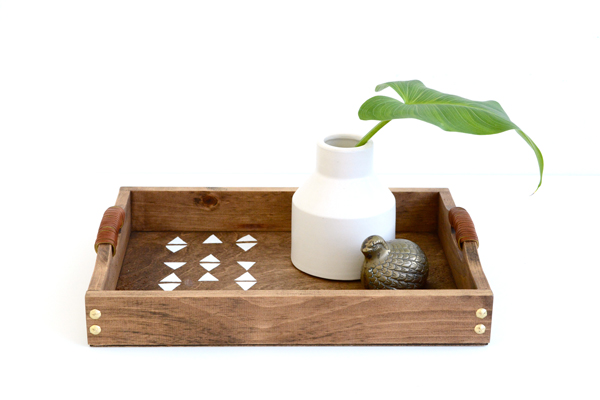
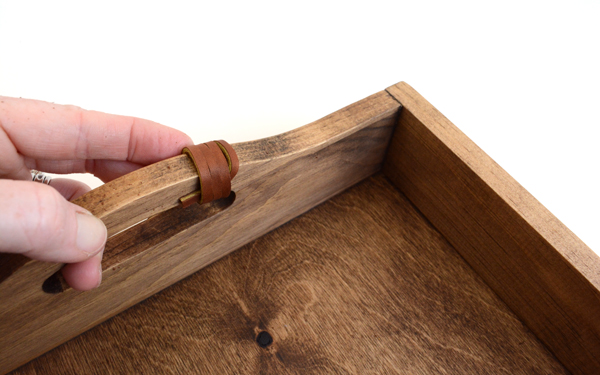
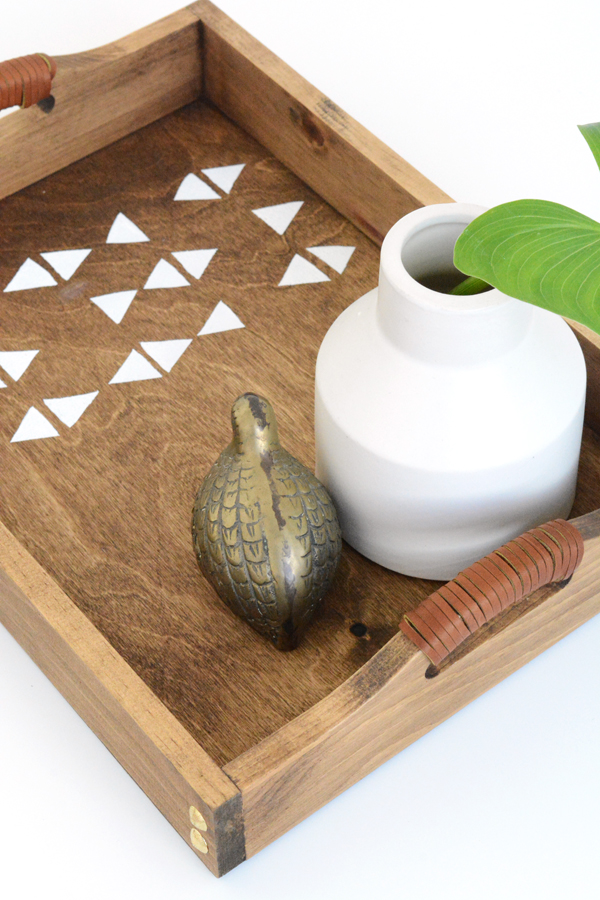
Next, I added a little leather detail to the handles. I simply wrapped the leather cord tightly around the handle, tucking in the end of the cord. When I got to the end, I just tied a tight knot on the underside of the handle and then trimmed the excess.
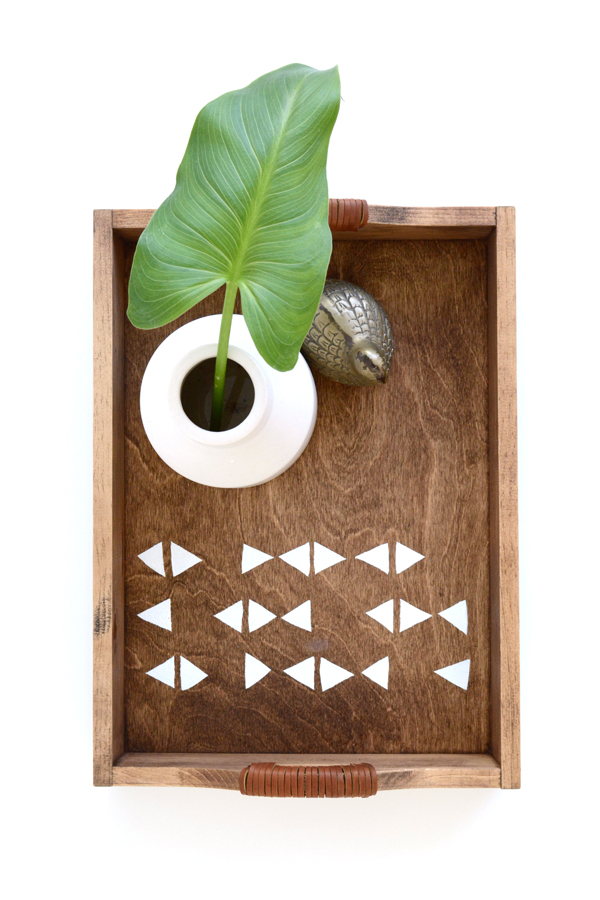
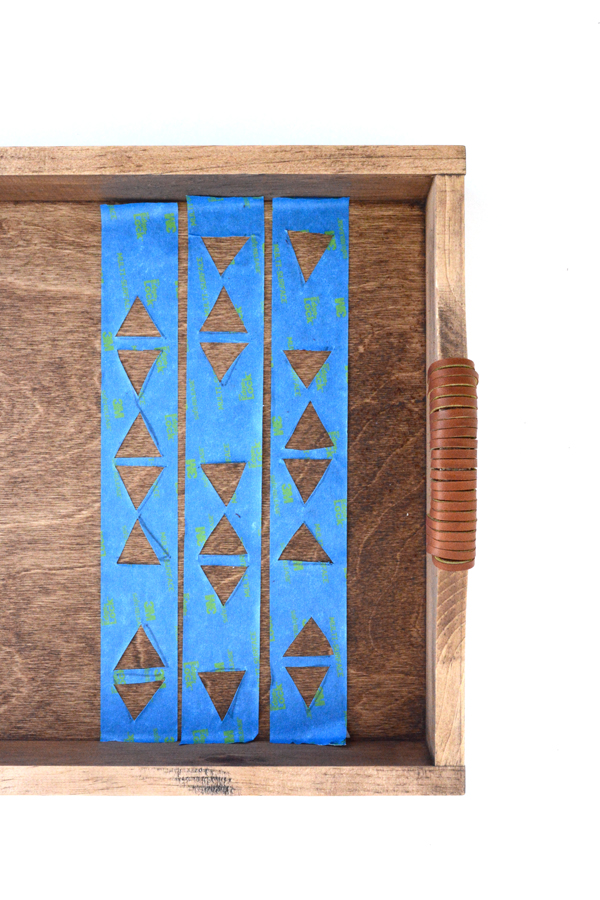
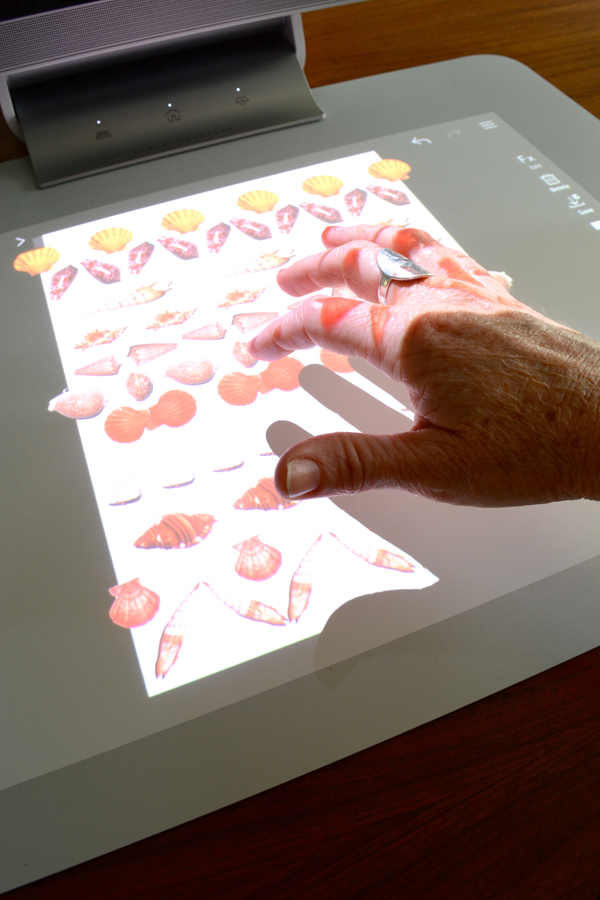
For the triangle detail, I used blue painter’s tape as my stencil. I cut three lengths of tape the width of the tray and stuck the tape to a piece of freezer paper. Then I drew triangle on the tape with a marker in a random pattern. Then with an x-acto knife, I cut out the triangles. Then I placed the tape in the tray and pressed down all the edges so that the tape sealed well.
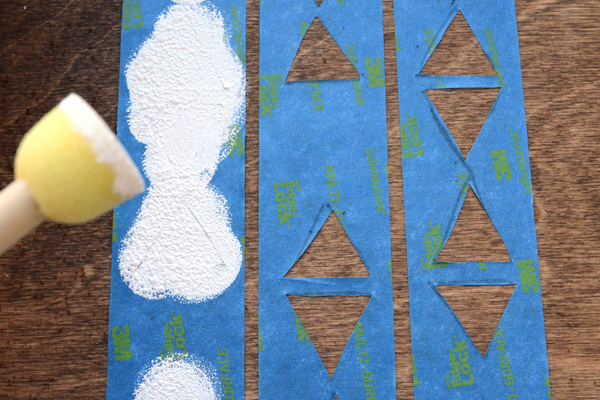
Then with some white craft paint, I dabbed on the paint using a stencil foam brush. I removed the tape carefully while the paint was still wet.
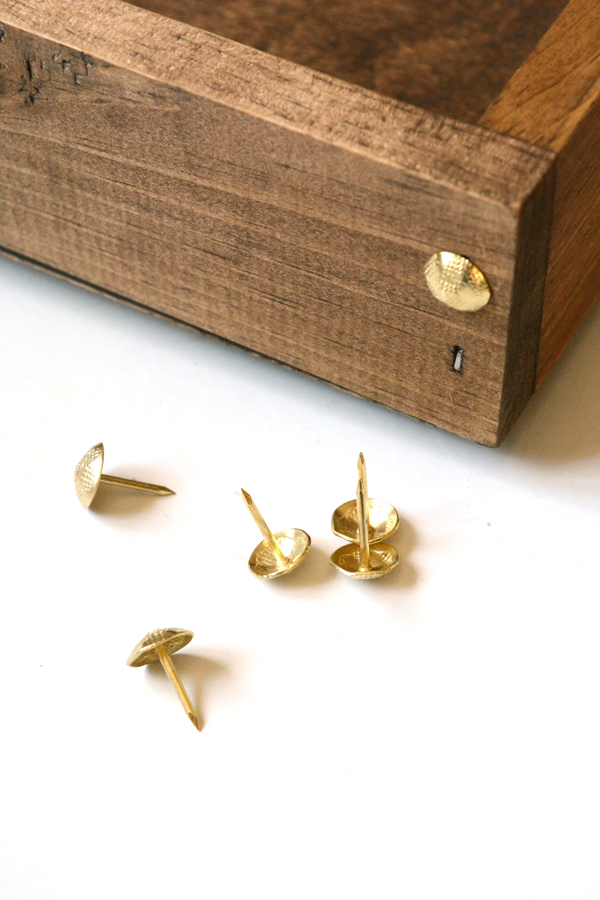
Finally, I added some gold upholstery nails to the sides of the tray. I wanted to cover the staples on the sides that held the tray together. It added a nice finished look to the piece.
How would DIY this tray? We’ve given you 5 Ways to DIY this wooden tray. Enter below for a chance to win a $50 giftcard to Amazon, so you can make your own tray.
One winner will be chosen at random. The giveaway ends 3/27/15 at 12am PST.
a Rafflecopter giveaway
widget-prime.rafflecopter.com/launch.js“>
widget-prime.rafflecopter.com/launch.js“>