etc.

Thrifting Thursday – Dishes and Decor

March 5, 2015

It was a good week for thrifting here in Bakersfield.  Actually it took me all of 12 minutes to score these treasure at my local Salvation Army on Monday afternoon.

I got all of the items seen here for less then $12.

Lonnie calls these black hexagonal dishes ash trays, but they totally aren’t.  The bottoms of them say France and they aren’t ceramic, they are black milk glass ( I found these on etsy that are just like them). 

I love this set of 6 milk glass ramekins, they will go nicely with my milk glass juice cups (seen here). It’s time to make creme brulee!!!! 

These vases were a fun non-vintage find.  These two vases are from West Elm and they still had the $16 price tags on the bottom of them.  I paid $3.84 for the pair.

And the finally find for the day, was this pretty pearlescent and gold plate.  For just a $1.84, I’m sure you’ll see this plate in a photo shoot or instagram image soon.  I love styling images and rooms with inexpensive thrifted treasures.

What have you found lately?  If you share a pic of your finds on instagram, be sure to tag them #thriftingthursday, I’d love to see what you buy.

DIY / etc.

DIY Gold Grid Wall

March 4, 2015

This is probably my favorite feature in this Global Eclectic Bedroom, the hand drawn Gold Grid Wall.  I knew from the beginning that this room needed some white paint to brighten up the small space that is was.  But, I also wanted to added some sort of graphic element that wasn’t super heavy.
This simple gold grid was just what the room needed.

I’ve always love Mandi’s (of Vintage Revivals) gold sharpie wall in her living room. So, I decided to attempt my own version. Using just 2 waterbased gold sharpie paint pens I was able to cover the whole wall.  I didn’t want super straight lines, I wanted the grid to look hand drawn (but not like a 5 year old did it). So, I measured and taped off every line, but ran the sharpie pen just above the tape line so that the line would not be perfectly straight.  I spaced my grid 6″ apart. Using a level and tape measure, I taped one line at a time, drew my sharpie line and then moved the tape ( I used the same piece of tape for almost the entire wall). I’m not going to say that this was quick job, but it was easy. I think I completed the whole wall in about 5 or 6 hours. Not bad for a $7 wall.

It’s subtle and a little shimmery.  I love how object look hanging on it.  It’s a fun layer to this space.
I’m tempted to draw a gold grid wall on my bedroom wall.  I think the gold would look really great on my grey walls. 

Design / DIY

Global Eclectic Bedroom Reveal

March 3, 2015

I’m really excited for you to see my latest room makeover.  I’m calling it the Global Eclectic Bedroom.  This is one of those dream projects you guys.  I was asked to create a “lived in”, traveled, collected feeling, somewhat weird space for a creative fun college kid.  And then, the rest was up to me.  I was really given total creative freedom.  The only thing that stayed from the original space was the mattress and one eggplant colored wall.  I would say that about 90% of this space is thrifted finds and DIYs, which made for a unique look on a budget (my favorite kind of room).
Over the next couple of days, I’ll share more in detail about the sources and DIYs in this space.  But, for today, I’m just going to mostly let the pictures do the talking (because there are plenty of them).  
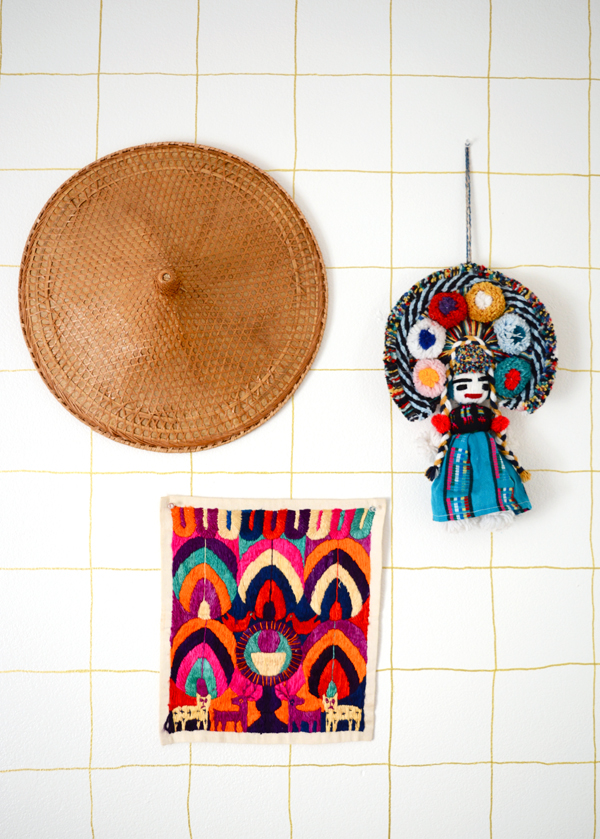
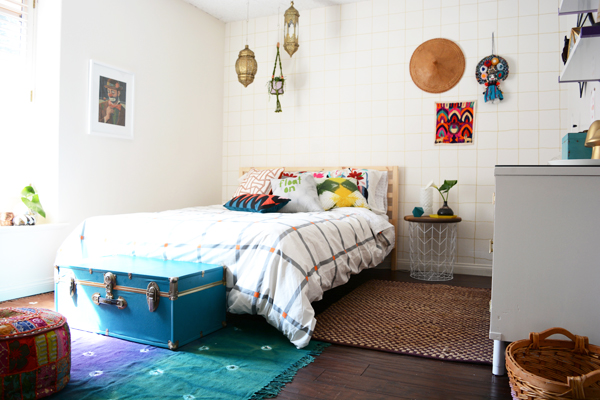
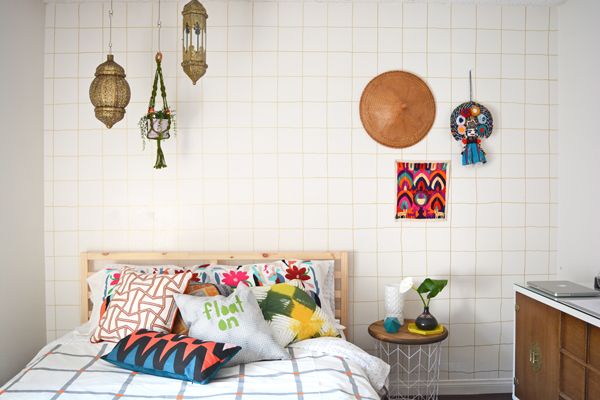
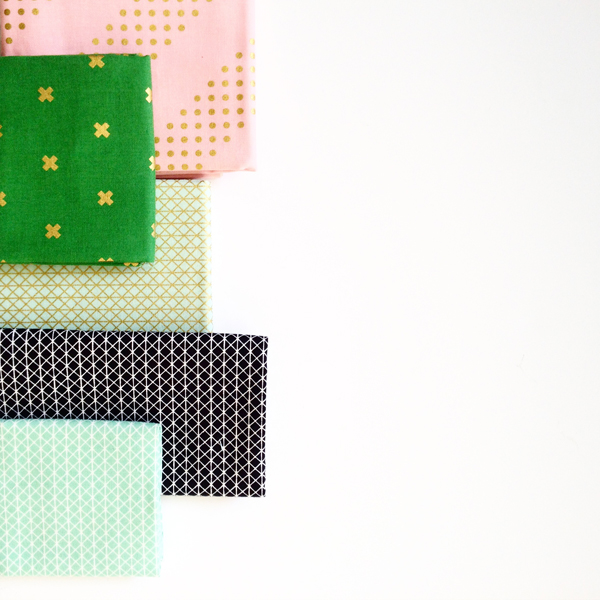
I loved being able to play with so much color in this room.  With the walls being white, the splashes of color have nothing to compete with.  I didn’t have a color palette for this space.  I just knew that my client loved lavender.  So, I played with saturated colors and repeated shades of purple throughout the space.  I kind of made it my mission not to match colors.  And pattern, I mixed and hardly every matched, and somehow I think it all works.  
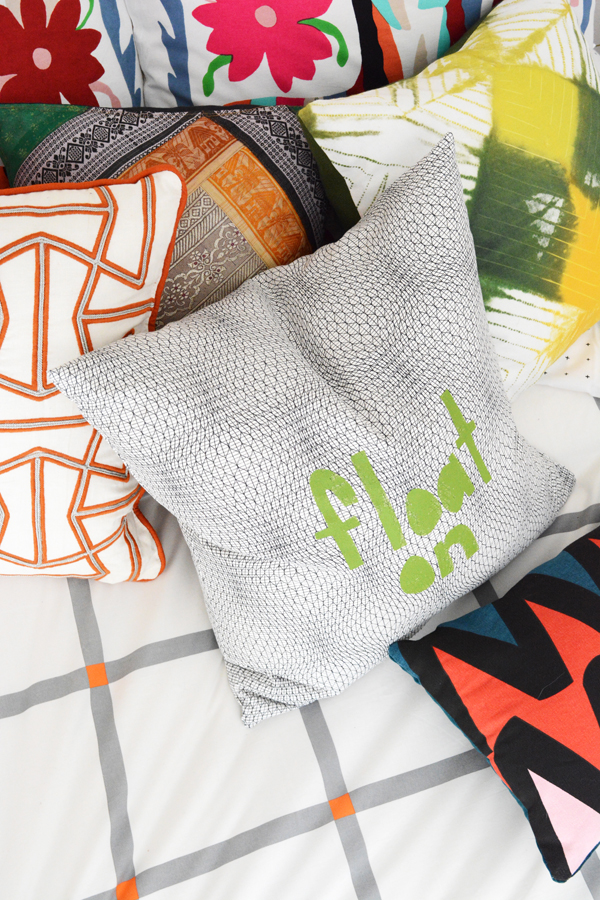
I started with a fun graphic duvet cover from 
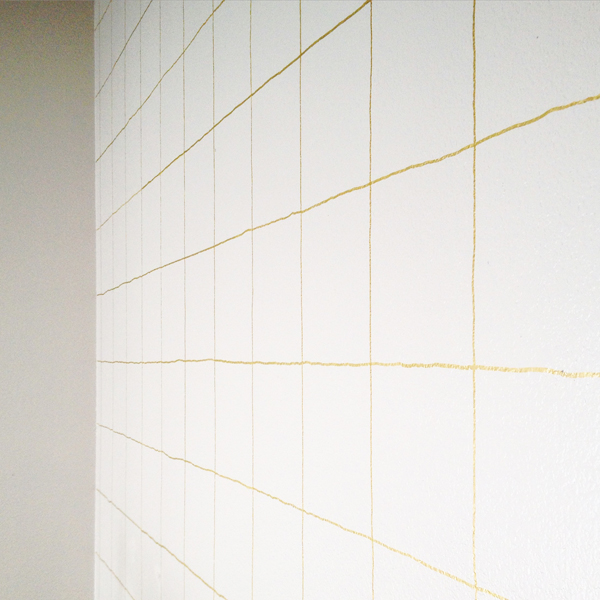
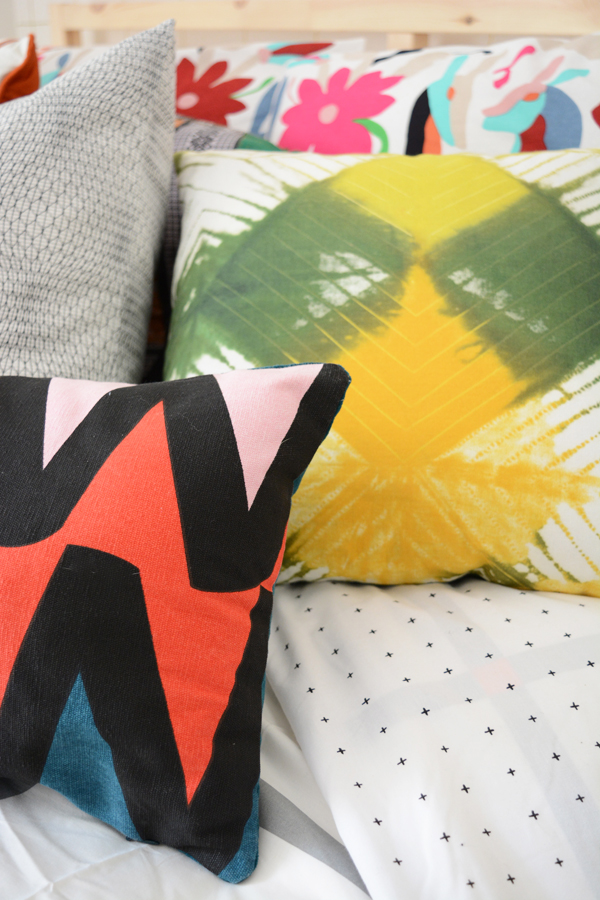
West Elm.  I knew the pillows would be very colorful and ornate, so I wanted something angular to compliment them.  I had already created the hand drawn gold grid wall, so when I found this grey grid duvet, I loved the idea of repeating the pattern.  And then pillows, pillows and more pillows.  I few of the pillows are actually ones I bought while living in Yemen, and the others are fun Crate and Barrel Outlet, Urban Outfitters, and Target.  Oh and the cute plus sign sheets are also from Target. 
The bed is the simplest pine bed frame from 
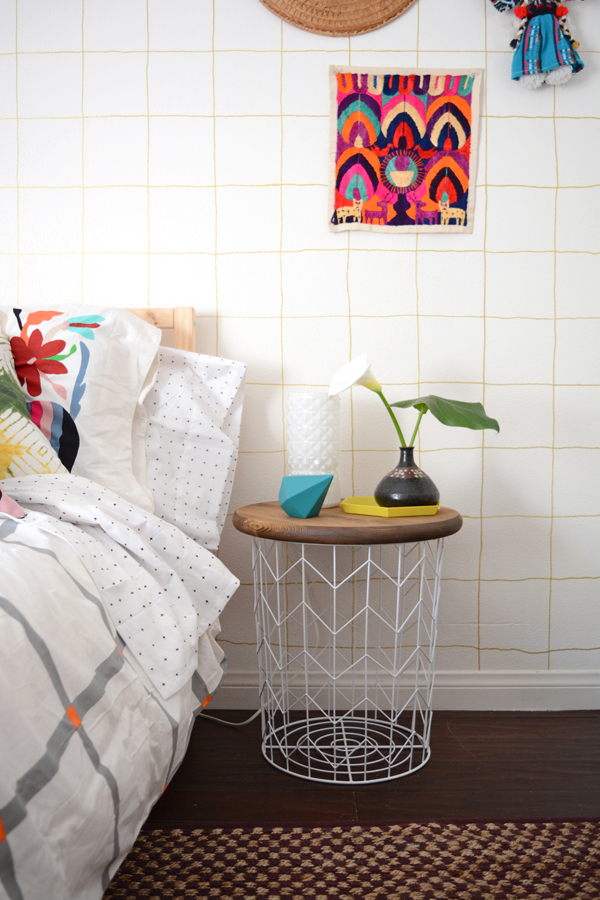
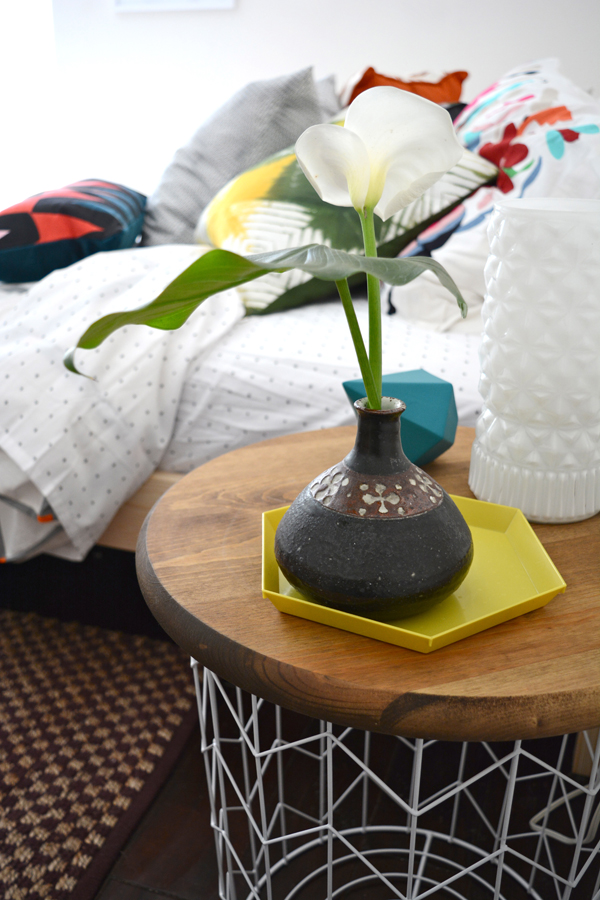
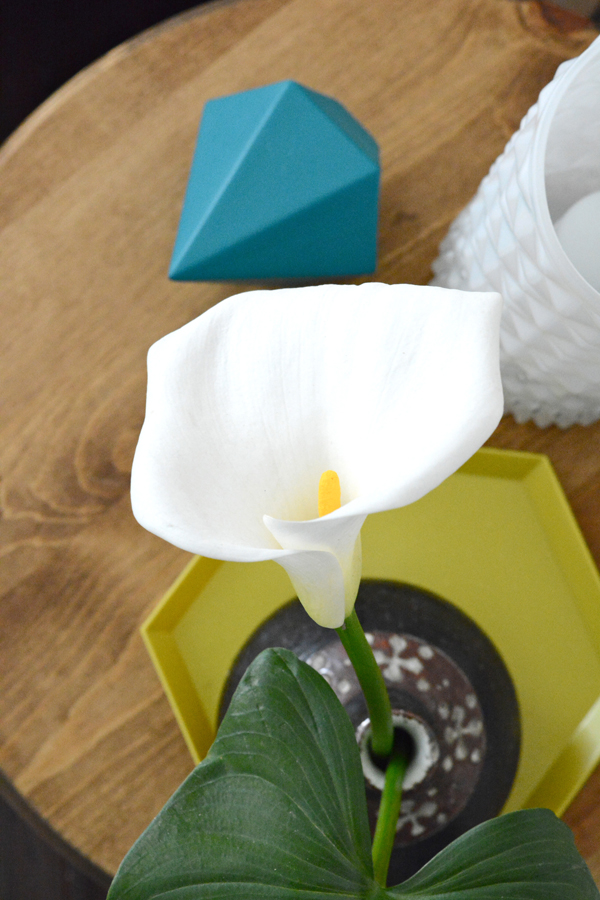
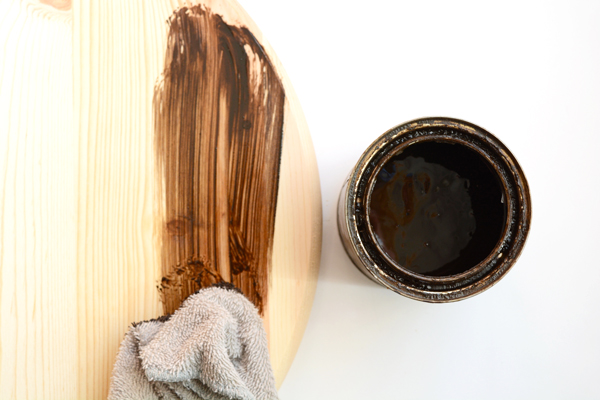
Ikea.  I didn’t want it to be a focal point, I wanted the gold grid wall to be the highlight.  And the table, I’ve already shared, is an easy DIY.
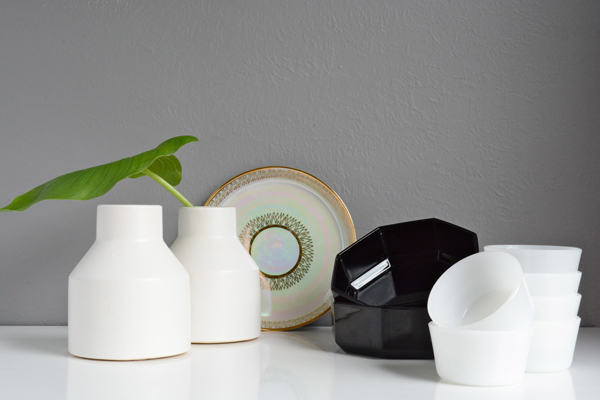
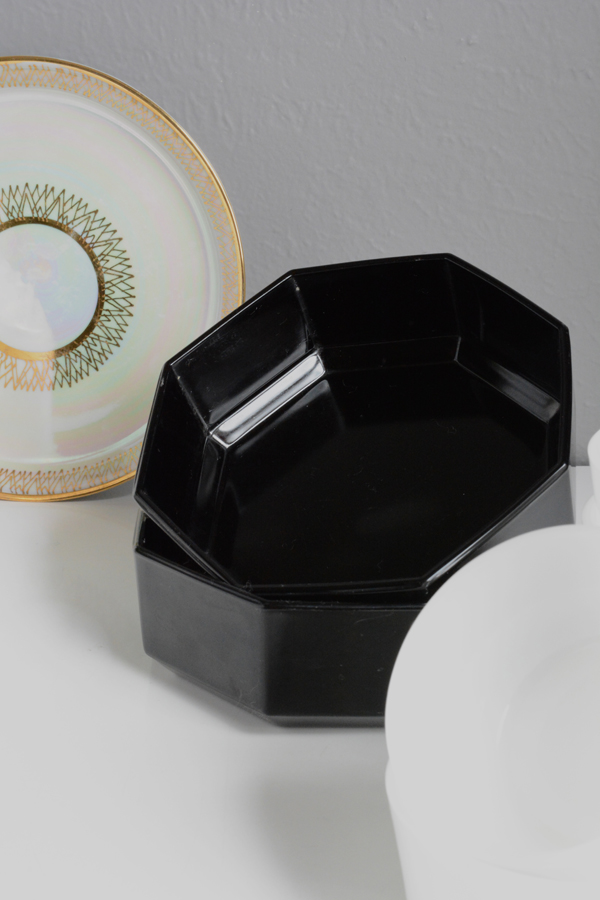
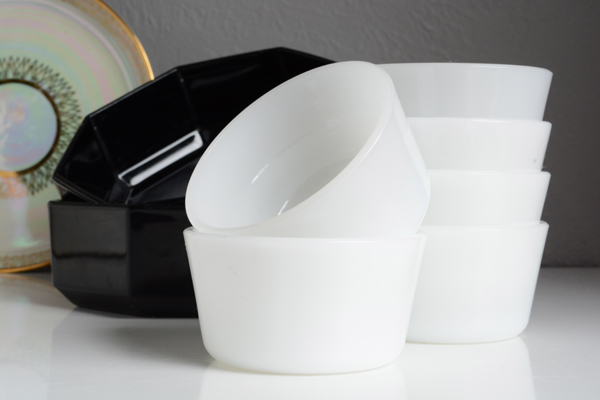
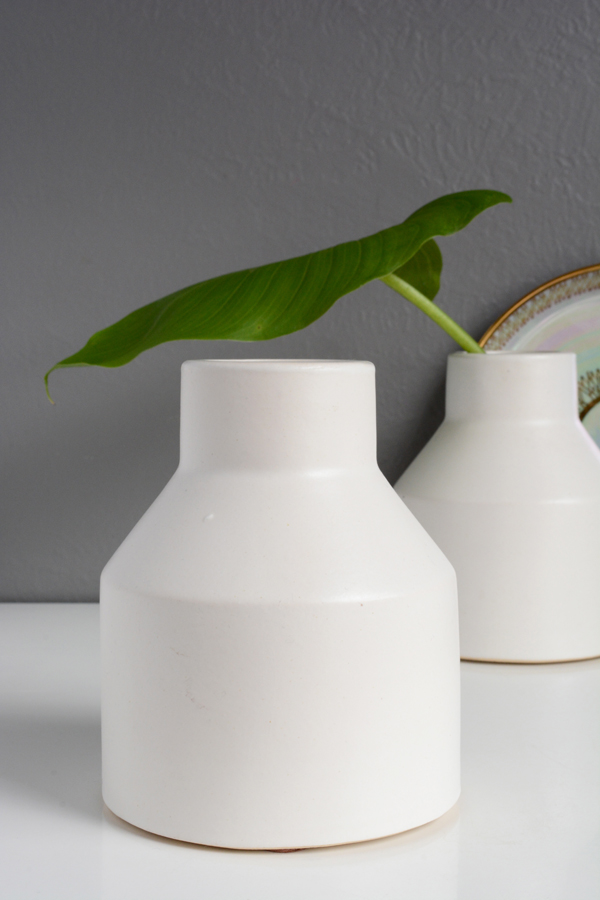
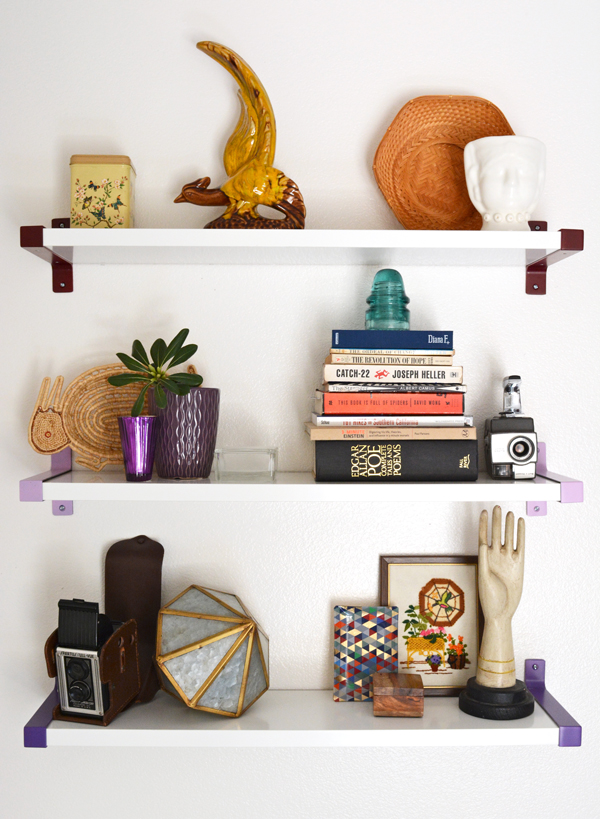
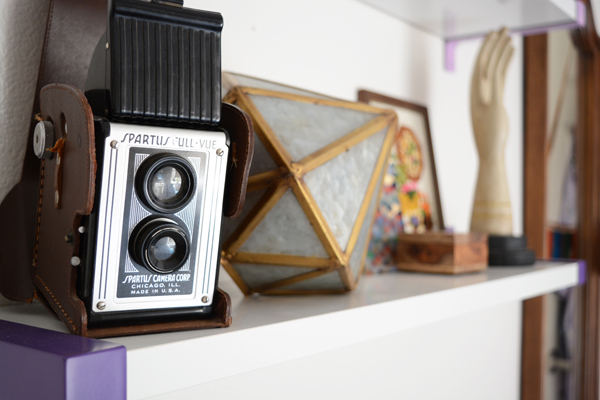
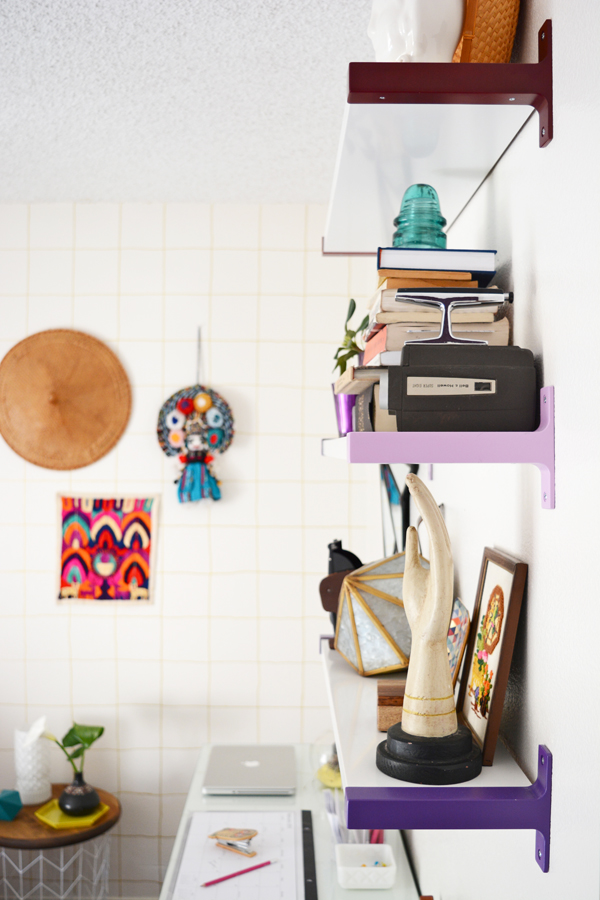
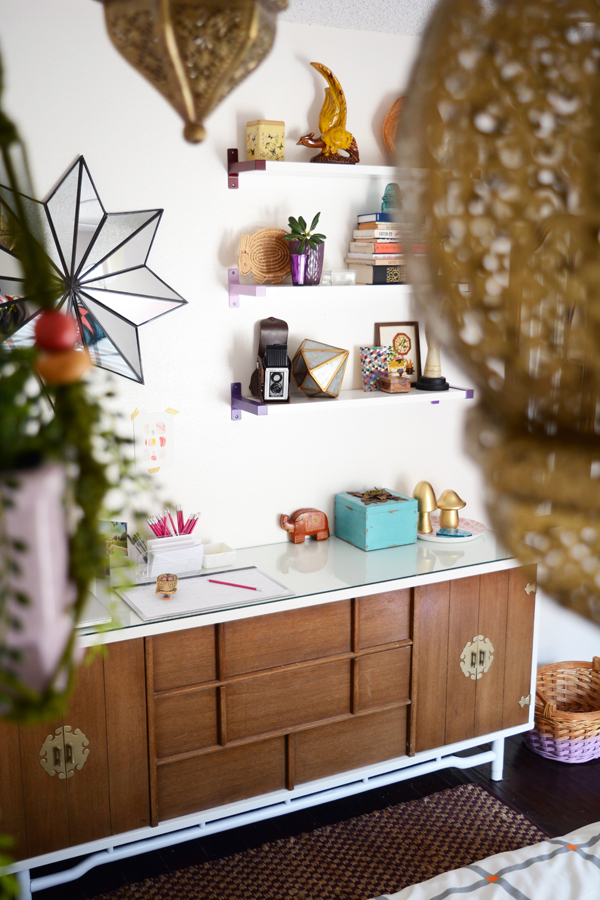
I’ll share more about the shelves soon, but almost every item on the shelves and dresser are thrifted treasures I’ve been collecting over the last couple of months.  When I find something interesting, I stick in in a box and save for a future project.  
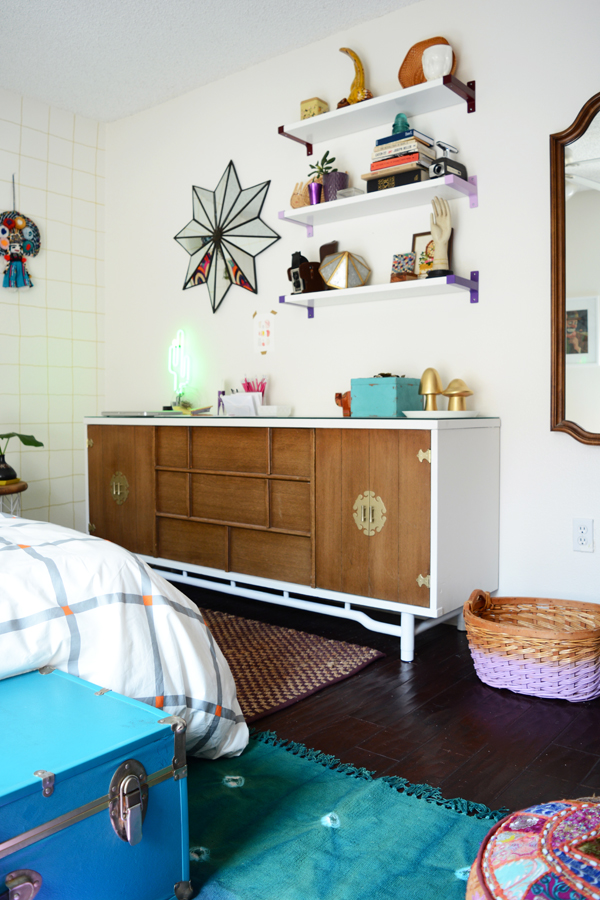
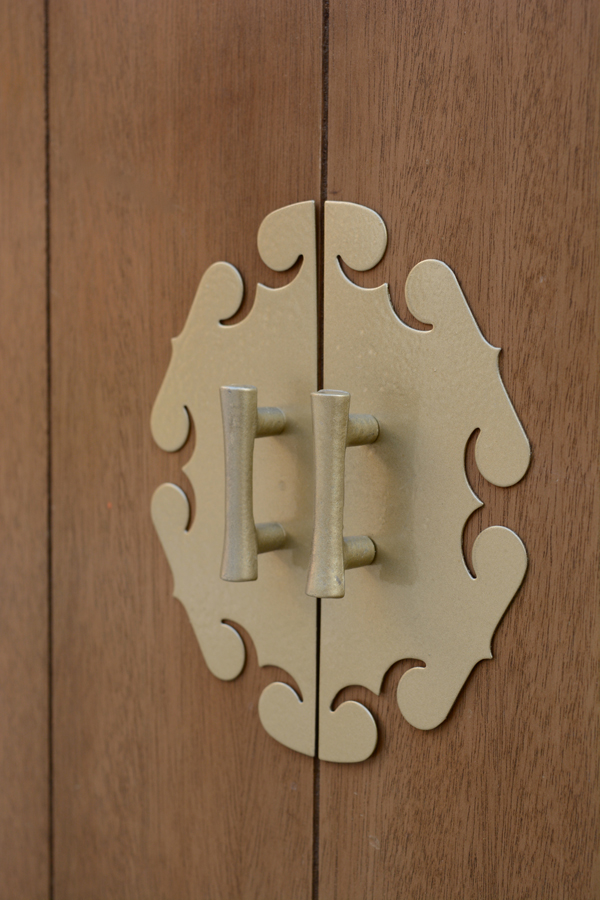
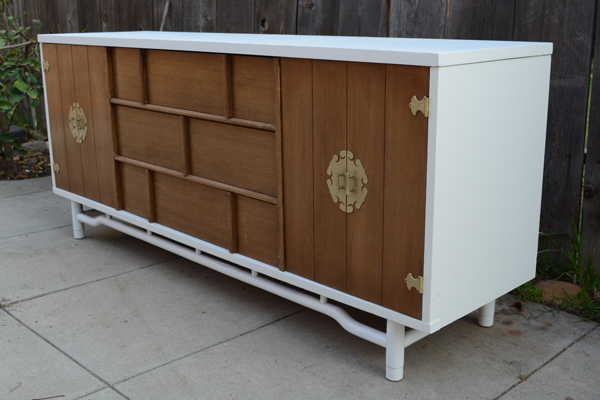
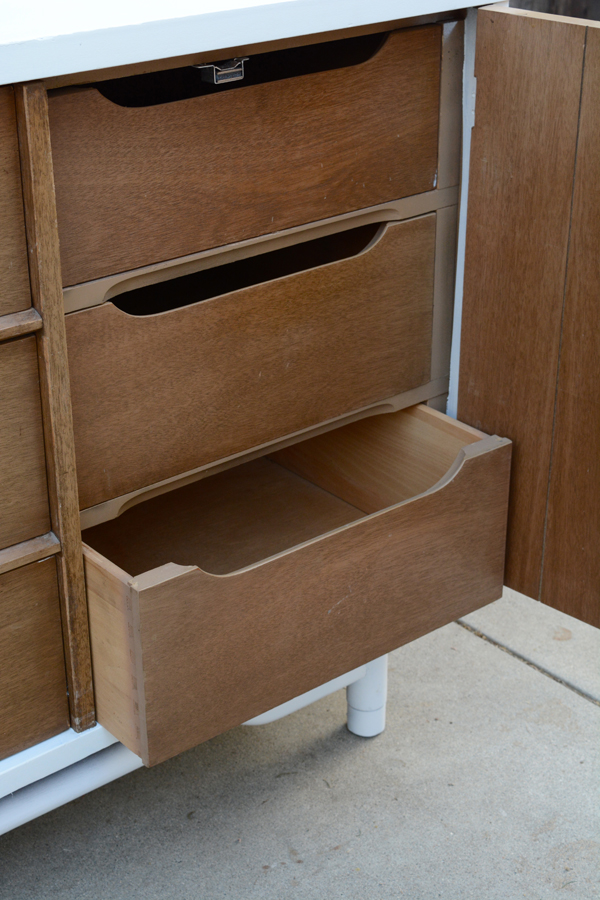
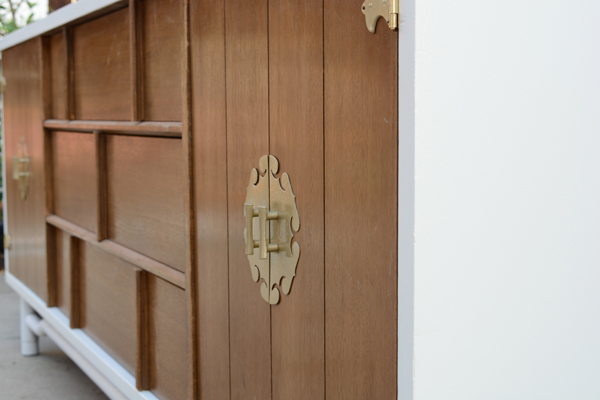
And 
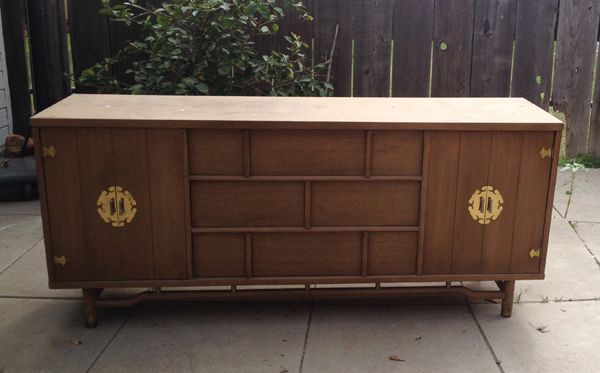
the gorgeous credenza, you may recognize.  It’s a craigslist find I gave a little makeover to.  I have a piece of glass cut for the top so that it would be protected from drinks and make-up that could be spilled on it.  At one end of the dresser, I created a little “desk” area.  It’s simply a place to keep her laptop, a calendar and some desk essentials.  And yes, that is a neon cactus light, weird was a must for this young space. 
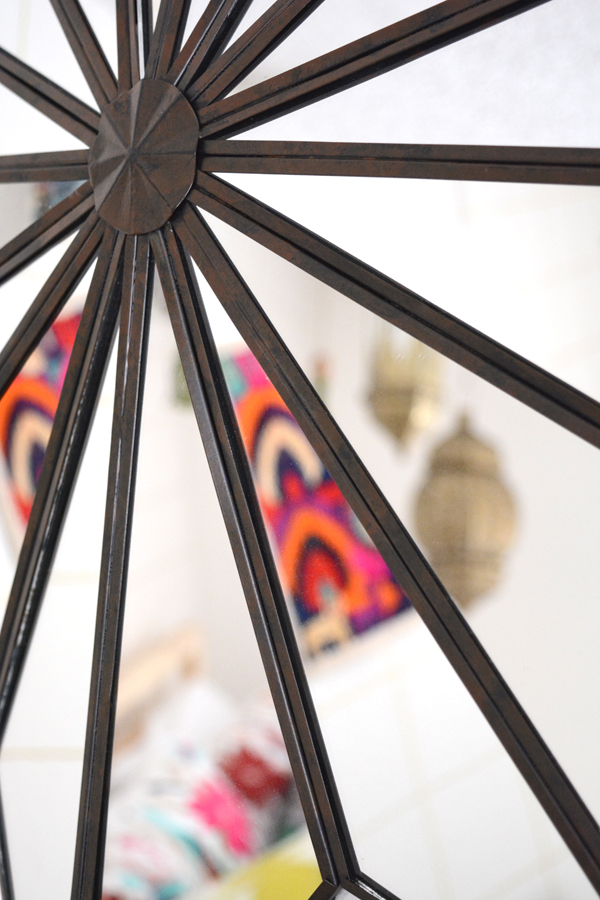
I love how this starburst mirror picks up all the colorful splashes throughout the room.
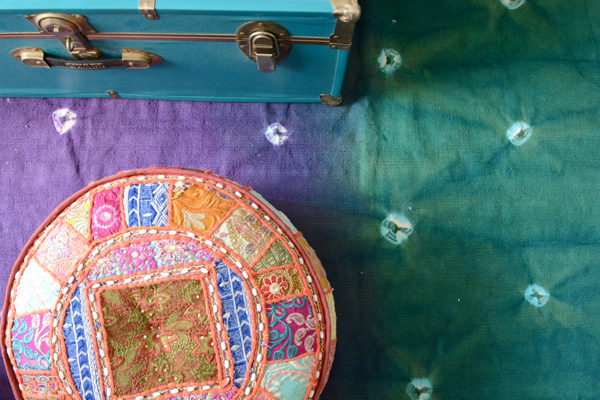
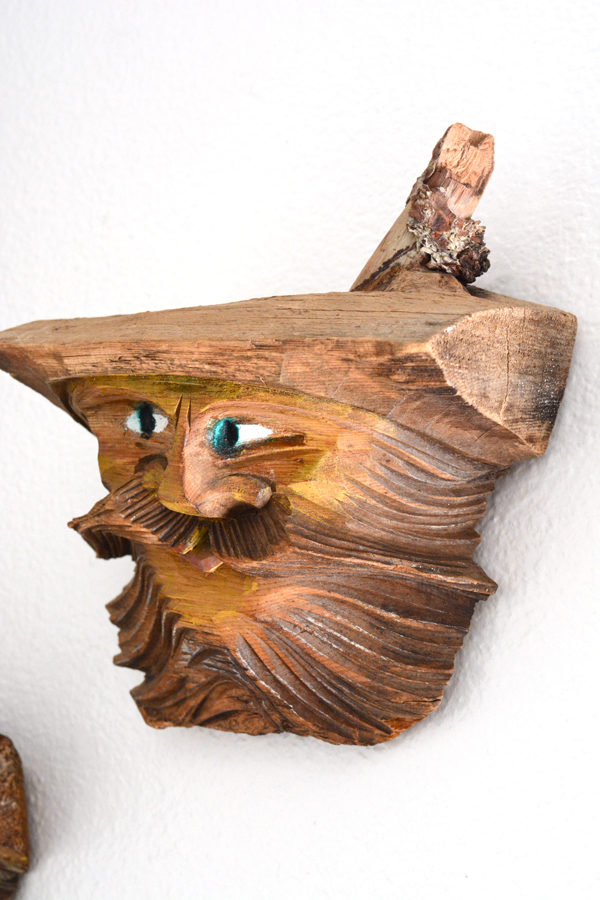
At the end of the bed, I added a little sitting area with a fun craigslist chair and a pouf from World Market. Above the chair I hung two tree people carvings that I found at an estate sale.  
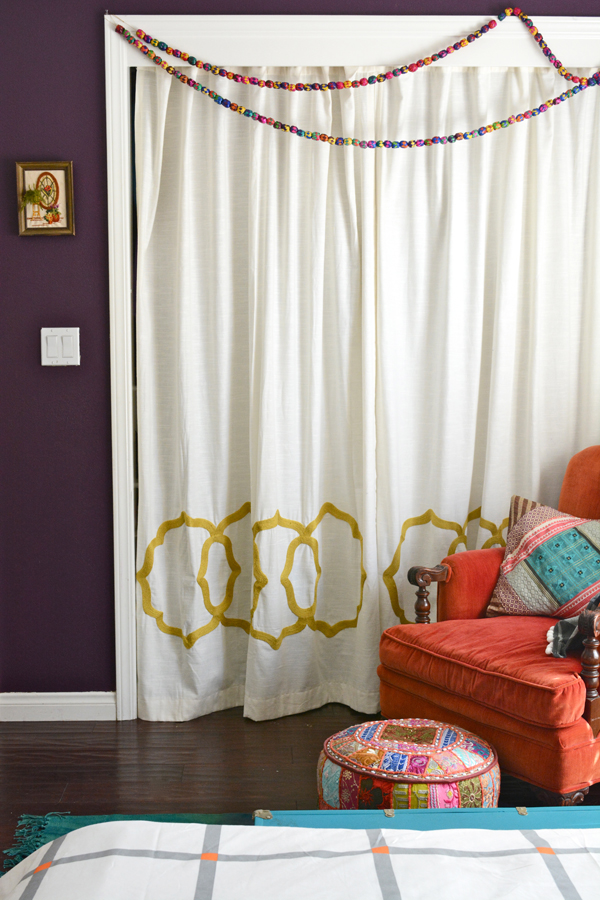
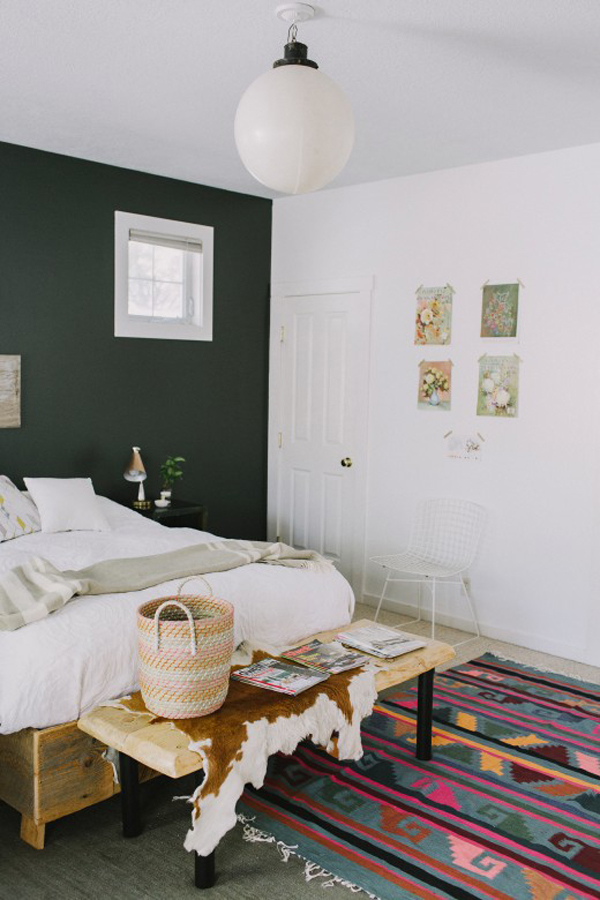
The room before was painted dark red and this eggplant purple color.  The space felt small and dark.  I convinced my client to paint the walls white, but she really wanted to keep one purple. We left the back wall the dark color and I think it totally works.  The closet didn’t have doors, so I hid the mess and clutter of the closet with simple curtain panels and a tension shower rod.
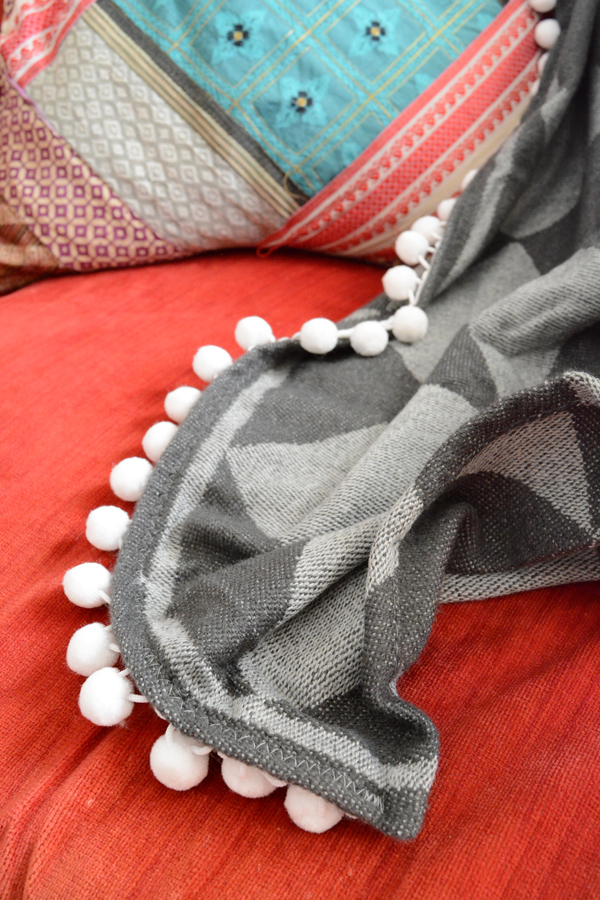
And with pillows, you must have throws.  This inexpensive grey throw got a little makeover with some pom pom trim.  That’s a post that is coming soon.
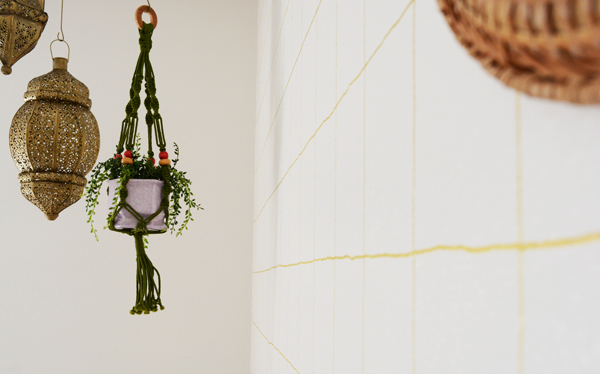
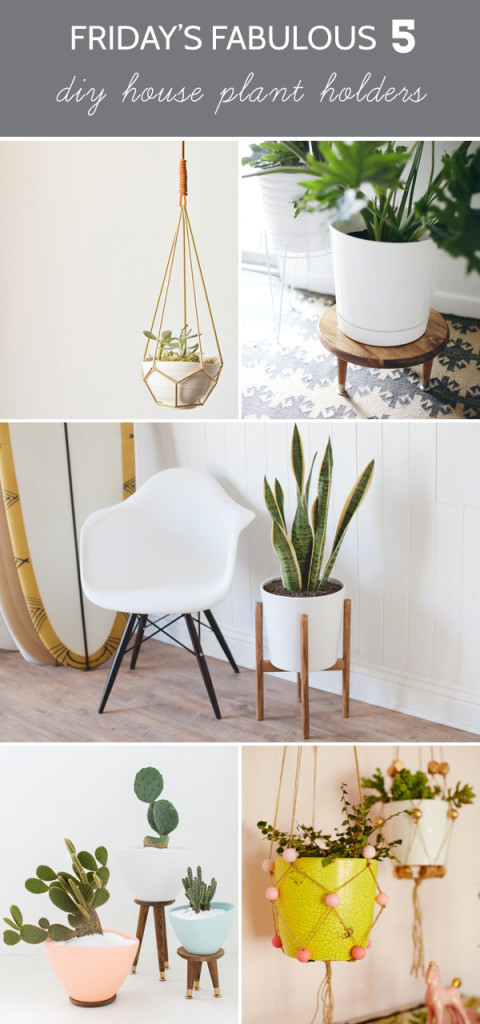
And athough the ceiling are not high in this room, I wanted to bring your eye and not neglect this space.  I found the macrame plant hanger and pot at thrift stores and the gorgeous brass hanging lights at World Market. 
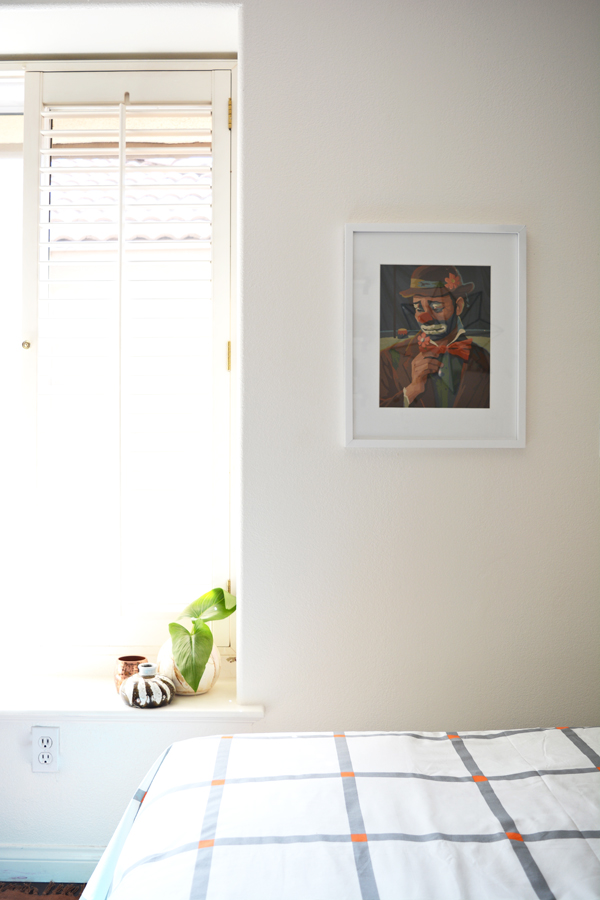
And because my client insisted on having some weird elements in the space, the sad clown paint-by-number was a must.

Phew, that was a lot of pictures for one post.  I’d love to know what you think?  And if you have any questions about the details from this space, please ask.

DIY

DIY Wooden Sphere Picture Holders

March 2, 2015

This post is part of a social shopper marketing insight campaign with Pollinate Media Group® and timeshel, but all my opinions are my own. #pmedia #timeshelprints http://my-disclosur.es/OBsstV
I’m all about getting pics off my phone and in my home for saved for safe keeping and enjoyment.  If you follow me on instagram, you’ll know that Olivia has bunny in tough all the time. This little 3 year old has so much energy and is always on the move.  One of the best times for me to capture her at this age, is when she is napping.  The light is perfect streaming through her window and it’s the only time of day this wiggle worm is still.  I’ve been taking pictures of her and bunny sleeping together since she was a tiny baby.
timeshel is a great new app that helps you preserve all those precious images.  timeshel is a subscription service that makes printing photos easy. Starting at $5.95 per month, you can receive a shel of your favorite images from the month.  Simply add images to the timeshel app throughout the month and when it is full, your high quality prints will be will automatically be mailed to you. 
There are two levels of subscription.  You can opt to have 10 prints a month received in a nifty envelope for $5.95/month or 30 prints a month received in the shel (see below) for $14.95/month. 

Now that I have all these sweet prints, I want to display them.  These little wooden sphere picture holders are a simple, attractive way to share your favorite images in your home.  I made these little picture holders with a couple simple supplies and about 30 mins of my time.

I found a package of 4 wooden knobs at Hobby Lobby for less then $3.  They are flat on the bottom, so they sit nicely on a table top. Using a hack saw, very carefully saw a 1/2″ deep slit just off to the side of the center on a slight angle.

Tape off sections of the wooden knobs.  I taped mine all in different directions and angles.  Then using 3 fun colors of craft paint, paint each of them.

When they are dry, remove the tape and insert your pictures.

timeshel is only available for iOs in the Apple Store. For more about timeshel, be sure to check them out on Pinterest, Facebook, Instagram, and Twitter


etc.

West Elm LA Event Sponsors

I know a lot of you follow me on Instagram, but for those who don’t, I thought you might like to know more about the sponsors from my recent craft event at West Elm LA. The attendees went home with a bag full of fun treats from the fabulous sponsors as well as the cute Valentine’s Day Felt Pendants they made. 
And of course West Elm Los Angeles, for hosting our event.
I know many of you live miles and miles away, and a few of you mentioned you wished you could have attended.  So, I’d love to send a goody bag to one of my faithful readers. Just leave me a comment below telling me which sponsored item you like the best and I’ll pick one lucky winner to receive a goody bag.  

etc.

Monthly Memory Verse – March

March 1, 2015

Ok, for my long time readers, you know that in the past I’ve shared printable Monthly Memory Verses.  Last year life got so overwhelming, and really this should have been the last thing I dropped off my to-do list.  I didn’t have my priorities right.  But, I’m excited to tell you that THEY’RE BACK!!!!  And they are even better, I’ve teamed up with one of my favorite bloggers MJ of Pars Caeli.  She is a super talented designer and one of the sweetest, funniest people you will meet. She is one of the most uplifting and encouraging online folks out there.  And if you need a good laugh, be sure to check out her instagram feed for all her clever Lunch Box Notes.

MJ has created this beautiful print of Psalm 139:13-14.  I can’t wait to print it and get it up on my wall. Such a great word for my kiddos and even myself when I’m having one of those ‘feel crappy about yourself’ days. We aren’t accidents.

You can get this gorgeous 8×10 printable HERE

DIY

DIY Wire Basket Side Table

February 27, 2015

I’ve been working on a fun makeover for a college kid this last week.  It’s a really playful, quirky space – my favorite kind.  The reveal is coming soon, but I’m giving you a little sneak peek today and sharing one of my favorite DIY’s from the room – this little DIY Wire Basket Side Table. It adds pattern to the space without being heavy and weighing it down.

I used this same wire basket in Dylan’s closet makeover.  I love the shape and design of this Target basket, I like to think it’s an inexpensive version of this Ferm Living basket that I’ve been eyeing for over a year now.  So, for about $30, I DIYed this little side table, and it took me just a few minutes to put together.

Here’s what you’ll need:

Wire Basket
Solid Pine 18″ Round
Wood Stain (I used Old Master’s Wiping stain in Walnut)
8 3/4″ wood screws
8 1/4″ nylon cable clamp (1/4″ not available online, but this is what they look like)
Power drill or just a screw driver

Start by staining the 18″ pine piece.  I love a wiping stain, it’s totally fool proof.  Simply wipe on the stain with a rag and then wipe off the excess and let it dry.  A little dark walnut stain can make even the palest pine look rich.  Stain is your friend, I find myself using it more and more these days.

The next step is even easier.  Simply flip the basket over and center it in the middle of the wood top. Using a power drill or screw driver, attach the clamps spacing them evenly around the table top. Now how easy was that?  DONE!  You have a unique table, that is modern and clean. Now accessorize that bad boy.

Stay tuned to see more of the DIYs and thrifted treasures from this room makeover.

Design

Dark Green Inspiration

February 24, 2015

After a few years of the same old same old, I’m ready to change things up a bit.  I’ve been sharing a lot of pink and blush inspiration for the home, but I’m looking for colors that will compliment it as well.  Green is already my favorite color, so I’d like to play with this gorgeous dark shade of forest/emerald green a bit.  My Green Pinterest board is probably my favorite board of all time.  Here’s some striking dark green interiors that have me wanting to experiment with it in my home as well. 

Bathtub and Tile (Via)

Do any of these dramatic greens appeal to you?  What color would you pair with pink/blush and all the grey that is already in my home?  

etc.

Friday’s Fabulous Five – DIY House Plant Holders

February 20, 2015

Another week down and another very busy weekend traveling ahead for me.  I’ve found some fun house plant DIYs for you to try this weekend. I’ve been loving house plants more and more this last couple of years.  And I’m finding which ones I’m good at keeping alive.  And the best part of a house plant, is the container you get to put it it.  Head over to these fine blogs and check out the full posts.  

DIY

Thrifting Thursday – Credenza Makeover

AFTER
I’m working on a fun bedroom makeover for a college kid.  And this beautiful credenza is going to be one of the gems in the space.  I found this piece on Craigslist months ago, but finally spent sometime this week giving it a little TLC.  I kept it simple and went with my go-to look – wood and white (like this and this).  The top of this dresser had some really bad water damage, so I decided painting it was the only way to go.  Plus I like painting the outside of a wood piece white, it really frames the piece nicely and gives it a clean, crisp look.
BEFORE

This piece had some fun hardware, but it was a bit to brassy and cheap looking. So, I decided to take it all off and give it a quick coat of metallic gold spray paint.  I also replaced all the hinges, they had seen better days and were all bent out of shape.

This is such a great piece for holding so much stuff.  It has 9 drawers to keep everything organized.

Have you found any great finds while thrifting lately?  Does your city’s craigslist have great stuff?  Should I be heading your way?