Design

Spring One Room Challenge Week 3

April 21, 2019

Well, we are halfway there with the One Room Challenge! Yikes…… there is sooooo much more to do. But, I feel like we are on a good path and we were very productive this week.

Ok, if you are new here, I should give a little update. We are on week 3 (of 6 weeks) to making over our kitchen. If you want to know more of the details, check out the blog posts for week 1 and week 2.

First thing this week, I headed to Bedrosians and picked out the marble slabs that we are using for our counter tops. EEEEKKK!!! They are so gorgeous you guys. I can’t wait for you to see them cut and installed.

We were actually planning on having the tile and countertops installed early this week, but we decided to put off that installation till later next week so that we could get most of the painting done. We felt that it would be the easiest way to tackle this. I don’t know why we thought it would be fun to cover up brand new tile and counter tops in order to paint the cabinets.
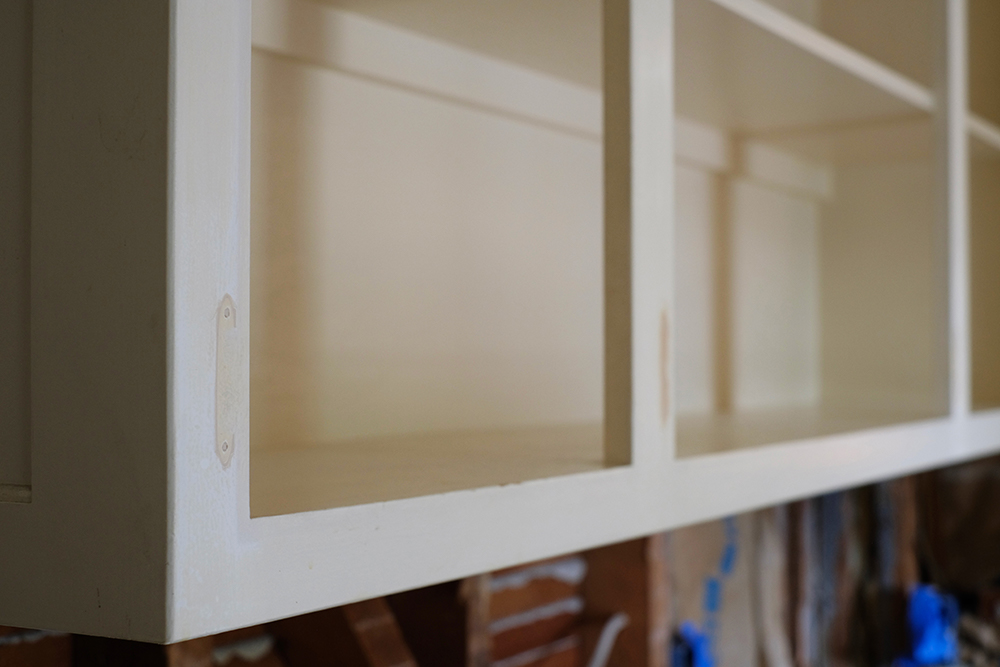
Old hinge holes filled with wood fill and then sanded.

This last week we demoed the kitchen (and by we, I mean my brother Ash)! It took two days to rip out all the granite tile countertops and the floor. It was a bit of a beast to remove, the glue and grout used was very tough. Once everything was out of the space, we started sanding and prepping everything for paint. It was a good 2 days to get everything ready. We filled all the old hinge holes with wood fill, caulked all the cracks and holes, sanded and then sanded so more and then wiped everything down with TSP. And then we taped and masked off the room, which takes longer than you think.
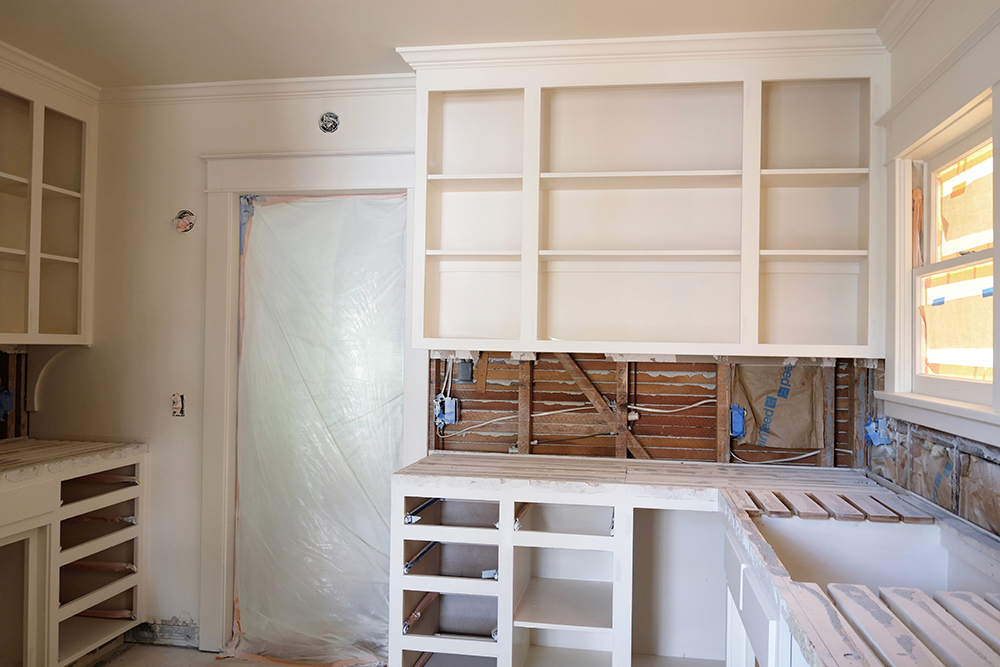
We used a new primer, called UMA.

We are new to the sprayer game, but I think I’m a believer. We bought this Graco machine before Lonnie painted our guesthouse. For painting the interiors, we bought a the new blue housing and a FF LP 312 tip. And I’ll be honest, it was much easier to use then I thought. I primed the whole kitchen yesterday in just over an hour. I definitely have lots to learn, because there are a few drips that I need to sand.
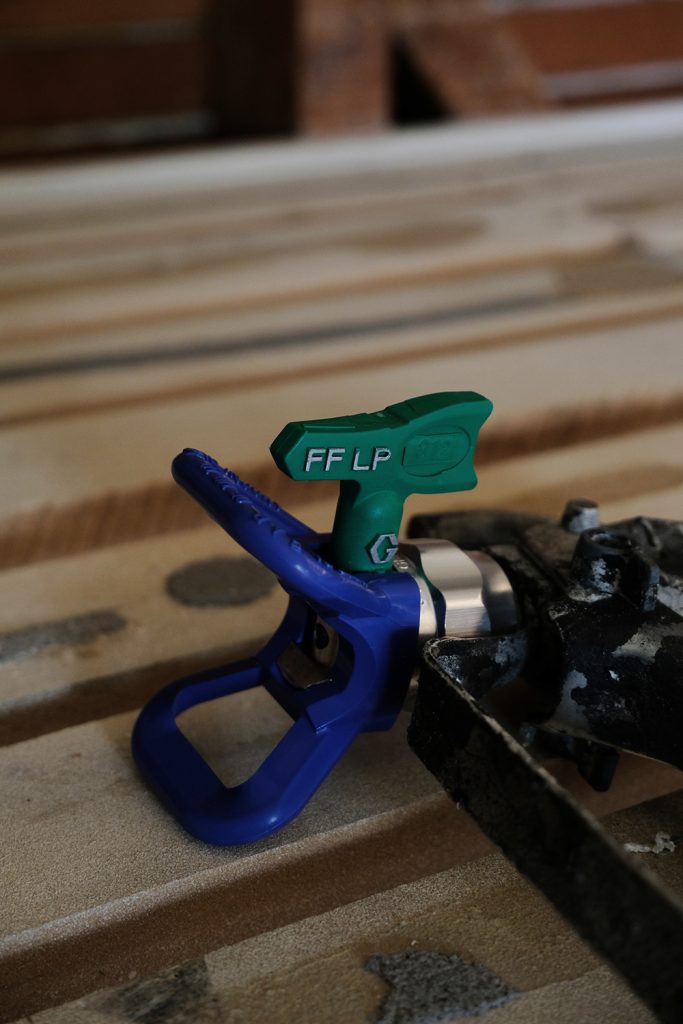
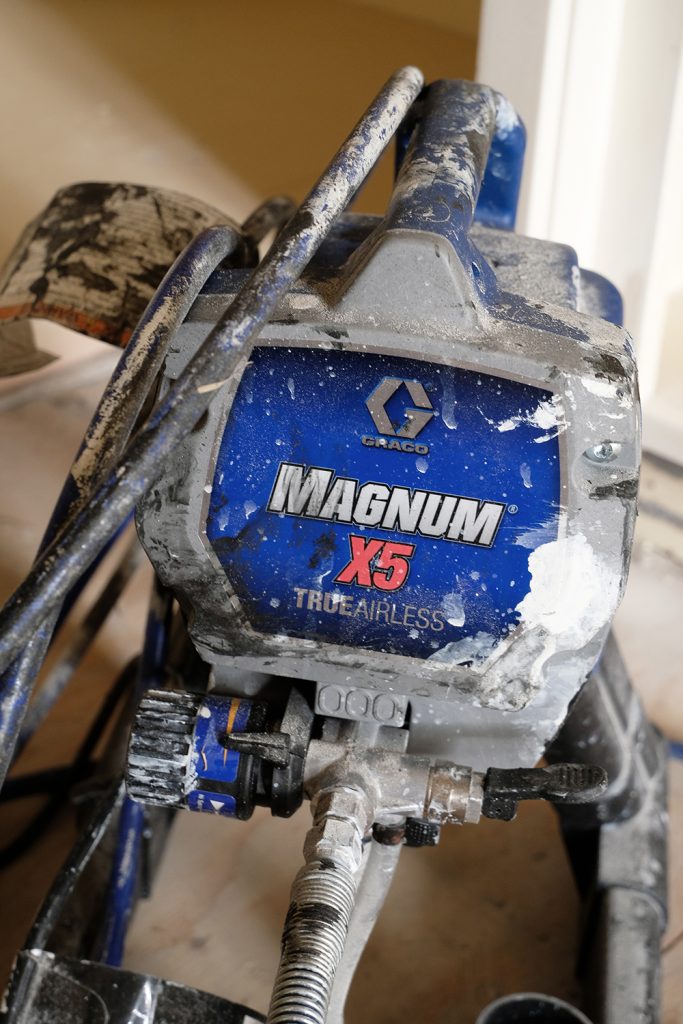
And here’s the to-do list from the first week with a little check in of what we have accomplishment so far.

To-Do List:

  • demo countertops + backsplash
  • demo tile floors
  • replace countertops (ordered and being fabricated this week)
  • replace backsplash (tile ordered)
  • install tile floor (tile ordered)
  • replace cabinet hardware (selected, but need to order)
  • replace cabinet hinges (still trying to figure out what will work for our cabinet doors)
  • repaint back door
  • replace 2 wall sconces (selected, but not ordered yet)
  • replace ceiling fan and light fixture (selected, but not ordered yet)
  • paint ceiling (primed)
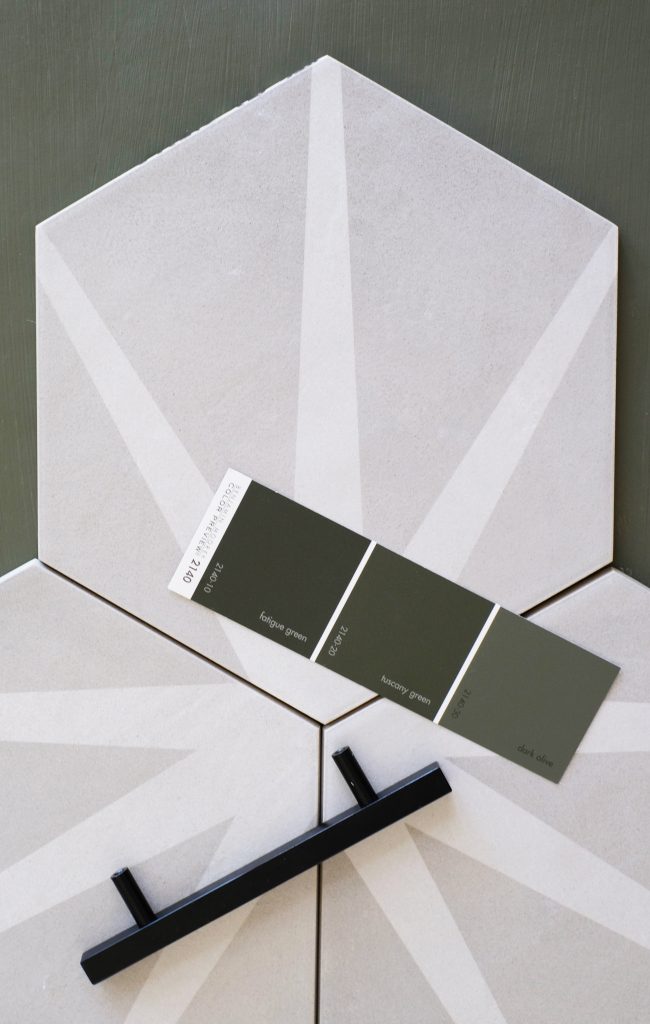
  • paint lower cabinets black or dark green (Benjamin Moore Dark Olive)
  • paint upper cabinets white
  • paint walls white (primed)
  • select and order sink and prep sink
  • select and order faucets
  • cut large butcher block for work surface
  • source and hang art
  • source rug for under sink and back door
  • replace switch plates and outlets

Tomorrow we are going to start painting everything that will be white, white. Wish us luck!

Be sure to follow along on Instagram for lots of BTS.

Design

Spring One Room Challenge Week 2

April 14, 2019

Well, we are one week into the ORC and it kind of appears like we haven’t done a single thing yet to this room. But, it’s been a week of decision making, ordering, and scheduling – all very important things to a renovation or makeover. And sometimes making those final selections is the hardest part of the process. Once you start making the decisions on color, pattern, finishes, then all the others seem to come a little easier.
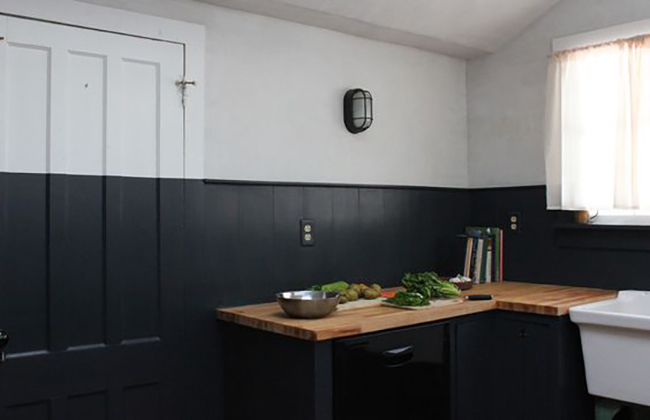
I’ve put together a little mood board of our selections so that you can see the direction we are headed with the design. Up until yesterday, I was pretty positive I wanted the lower cabinets to be black. But, then I decided in the wee hours of the morning, that I didn’t want to play it safe and I wanted to have a little fun with color. Green is and always has been my favorite color, but I also think that the earthy tone of a dark army green is really a great color for a California Craftsman house. We have a lot of warm wood tones in our house so adding a little green to cool down the space feels refreshing.

// 1. // 2. // 3. // 4. // 5. // 6. // 7. // 8. // 9. // 10. // 11. // 12. // 13. // 14. //

I’ve linked all the sources for the fixtures and finishings we are using (some do have affiliate links). I am literally geeking out over the kitchen sinks that arrived yesterday. As someone who cooks pretty much everyday of the week, any gadgets and features that make my kitchen more efficient and practical make me super happy. Our kitchen is not huge and there isn’t an abundance of countertop space, so if I can have a little more surface with a cutting board and dish drying rack built into my sink, I’m WINNING! And while these sinks look SUPER expensive, they totally are not! You aren’t going to believe how reasonably priced they are.

My marble counter top dreams are all coming true! GUYS, I’m getting honed marble countertops EVERYWHERE!!!! I’m so excited to be working with Bedrosians Tile and Stone on this One Room Challenge. Their slab selection is insane, but for as long as I can remember, I’ve always wanted marble countertops. The honed finish is just icing on the cake. Honed marble is not polished or shiny, the finish on the stone is smooth and matte with very little reflection. The photographer side of me is giddy about this. Shooting food and recipes will be a breeze, currently I have to set up in my sunroom to avoid the hideous dark granite tiles in my kitchen now.

This week I am making my final selection on the marble slabs we are using for our kitchen, I’ll take you along on IG stories to help me make the selections. I’m not going to lie, it was soooo hard to pick tile for the floors and backsplash. Bedrosians has soooo many amazing options. But, I’ve made up my mind and the tile has been ordered, so no turning back now.

Ok, so we have a big week ahead of us. Demo starts early next week, I’m dreading the mess and having to pack up the kitchen. But, it’s totally going to be worth it!

Design

Spring One Room Challenge Week One

April 4, 2019

Well, I decided to make my come back to the blog with a BIG project. As you might know, I have had a lot of health issues the last couple of months and I’ve mostly been in bed or on the sofa due to two surgeries less than two weeks apart. The second surgery was a hysterectomy just two weeks ago. But, my body is starting to heal and I’m VERY ready to get back to work. So, I decided to go big and join the One Room Challenge this Spring as a guest and makeover our kitchen. Because I am not physically 100% and have another month or so of recovery, I will be hiring some trades to demo, install countertops and lay tile. My DIYing body and strength is not quite there yet, so I need some help. But there is soooo much painting and I’ll be tackling that.

I have been a fan girl of the ORC for a long time, but timing was always off to join in. But, I’m not making any excuses this time, so I’ve registered to be a guest participant. And I’m really looking forward to following along and watching all the amazing designers take on their rooms. Some of my all time favorite bloggers are in this Spring’s line up. I’m so excited to start on our kitchen. This Summer will be our 3rd year in this house, and I spend so much time in that kitchen

This is not a total gut job by any means, it’s really just some cosmetic updates. So, I feel like 6 weeks is doable. The cabinets are in really great condition, they just need a fresh coat of paint and some new hardware and hinges. The countertops and backsplash definitely need to go though. I know it looks like I have granite countertops, but in fact, they are just 12×12 granite tiles and with tile comes GROAT. And groat lines on countertops are the WORST! The groat lines are literally magnets for crumbs, dirt and grime. I feel like I’m ALWAYS cleaning them. And rolling out cookies or pastry dough is terrible. I really can’t wait to have one solid, seamless work surface.

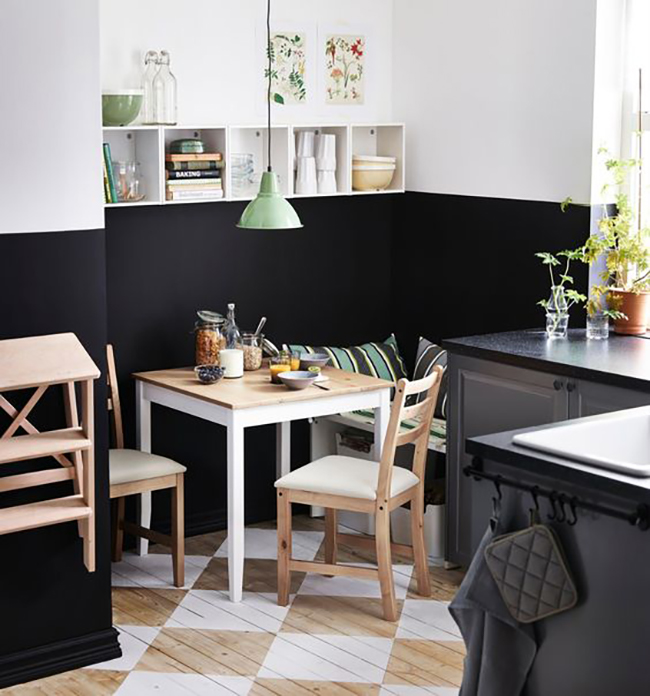
Ok, let’s talk design. I have a look that I’m definitely after. I have always love painted cabinets and feel like they work with my 1918 Craftsman. But, I already had an all-white cabinets before (in our first house), so I’m ready to try something new. I want the kitchen to feel classic and timeless, but I want to play with a trend as well. I still like the look of darker lower cabinets and white uppers. For the last couple of years I’ve thought that I would probably paint the lowers black or charcoal, but I’ve also considered a dark green or olive color as well (this is a topic I’ll go even more into detail about).

I tore this image out of a Rejuvenation catalogue a couple years ago because it really had all the elements of color, texture, pattern that I was looking for. And I still LOVE it, so I’m using it as my inspiration for this kitchen makeover.

source

The to-do list is pretty long, but I think we can move through it in the next 6 weeks. Right now I’m trying to lock down a counter top fabricator and installer and also someone to install the tile. I’ve gotten a few quotes and from my previous experience, I’m not going with the most inexpensive quote, I’m trusting my gut and going with quote of the contractor that seemed to be the most knowledgable. While I love to save money and really do believe you get what you pay for when hiring trades.

To-Do List:

  • demo countertops + backsplash
  • demo tile floors
  • replace countertops
  • replace backsplash
  • install tile floor
  • replace cabinet hardware
  • replace cabinet hinges
  • repaint back door
  • replace 2 wall sconces
  • replace ceiling fan and light fixture
  • paint ceiling
  • paint lower cabinets black or dark green
  • paint upper cabinets white
  • paint walls white
  • select and order sink and prep sink
  • select and order faucets
  • cut large butcher block for work surface
  • source and hang art
  • source rug for under sink and back door
  • replace switch plates and outlets

Here’s a few beautiful black lower and white upper kitchen for inspiration. It’s sharp, right?

first row – 1 // 2 // 3 second row – 1 // 2 // 3 third row – 1 // 2 // 3

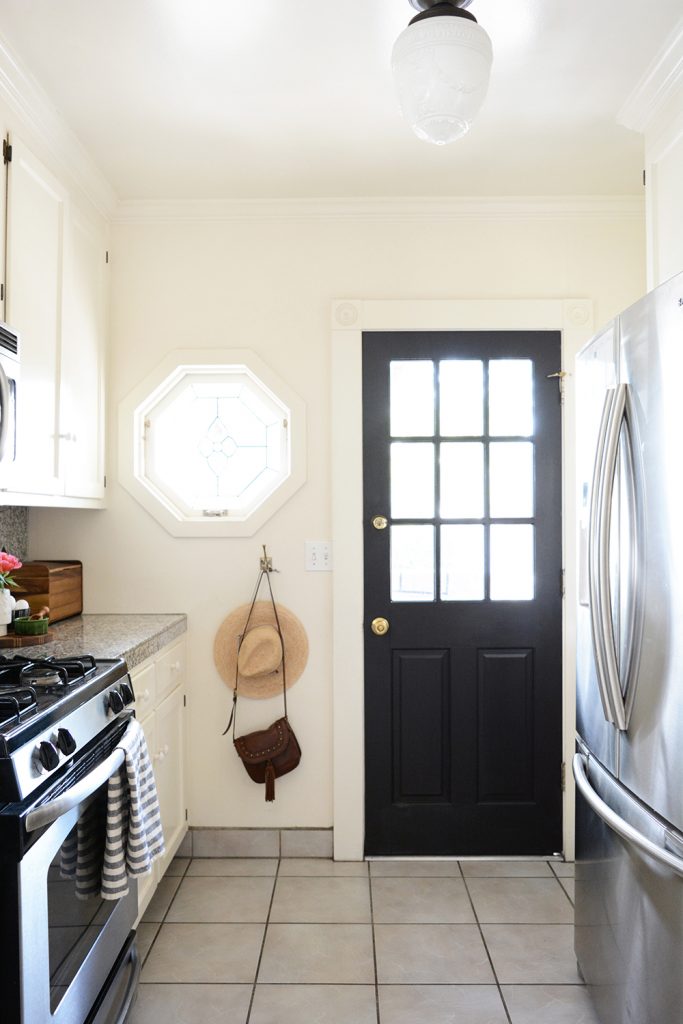
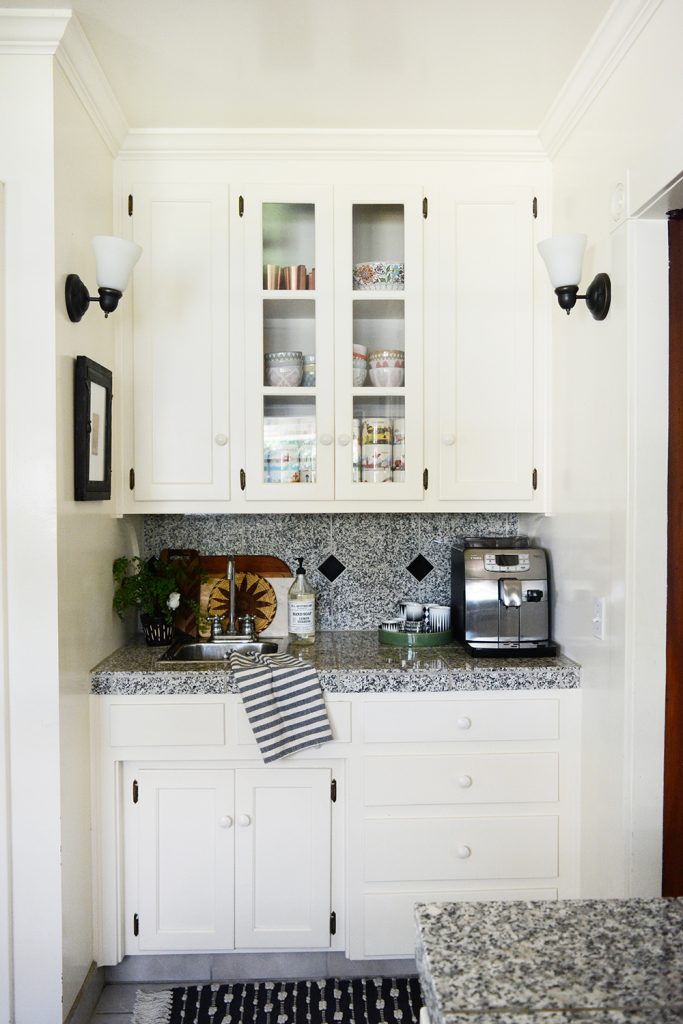
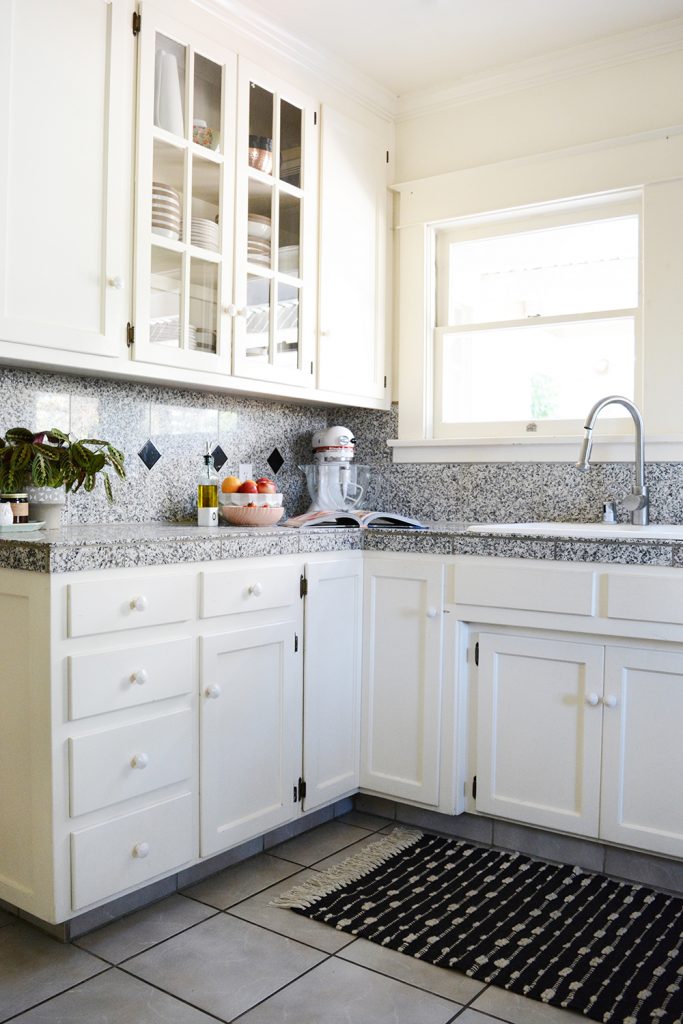
Ok, here’s some BEFORE pictures so that you can see what we are working with.

I’m sure I’ll be sharing a lot of behind the scenes over on Instagram stories. I think this is going to be a fun adventure.

Design

Arch Shaped Mirrors

February 27, 2019

Remember when triangles were EVERYWHERE. Gosh, I had so many triangle DIY’s on my blog. Well, I think I found my new triangle. I can’t get enough of arc and arch shapes. When we did a test run of the cutting boards before Christmas, I knew this was the shape I HAD to have.

I’ve been on the hunt for the perfect arch or curved-at-the-top shaped mirror for a while now. A couple months ago I had a local glass shop cut me one for my mantel, but it of course came without any sort of frame or trim. I do love the simplicity of it. But, it’s not so practical for hanging in a bathroom or mounting to a wall. This is a leaning-only situation.

So, since I was on the hunt, I figured you would probably also be interested in some good sources. I’ve found 9 great options in a variety of sizes. Some are perfect for over a vanity others are the perfect full length sizes for a hallway on bedroom.

1 // 2 //3 // 4 // 5 // 6 // 7 // 8 // 9

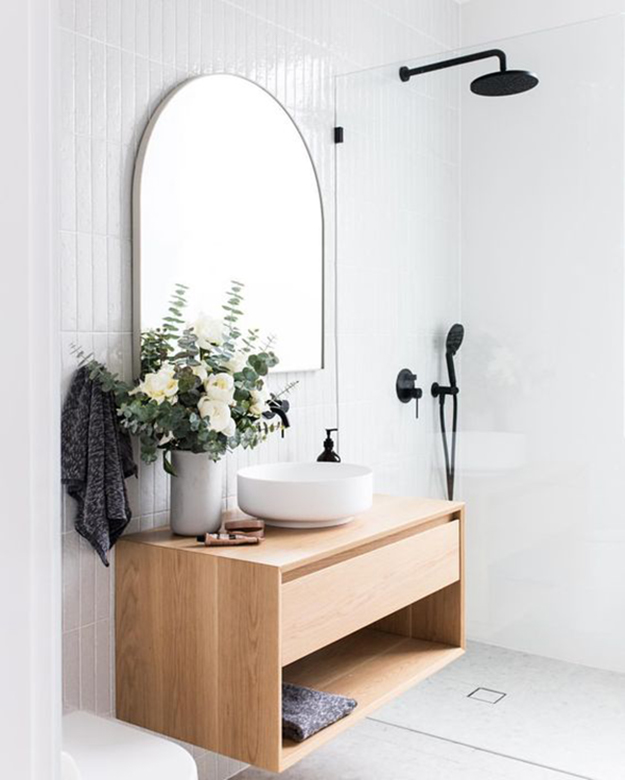
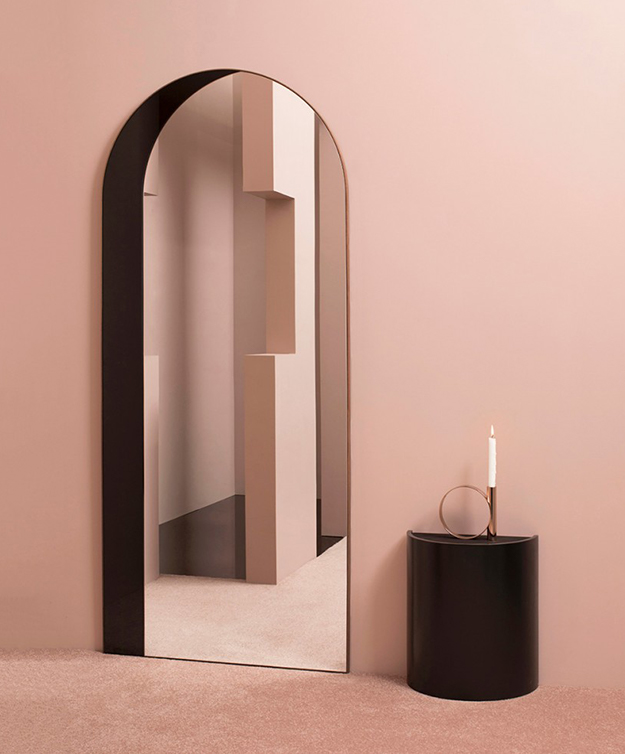
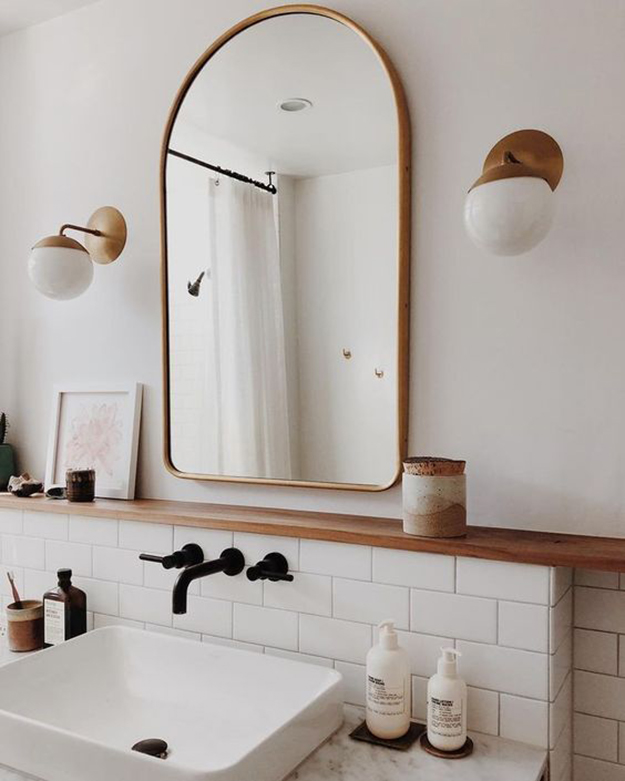
Ok, let’s take a second and admire how great this shape is. I found some really pretty spaces with lovely arch shaped mirrors.

source
source
source
source

I’m pretty sure you can see why I’m a fan. Could you get behind this shape?

DIY

Printable Floral Chocolate Bar Wraps

February 12, 2019

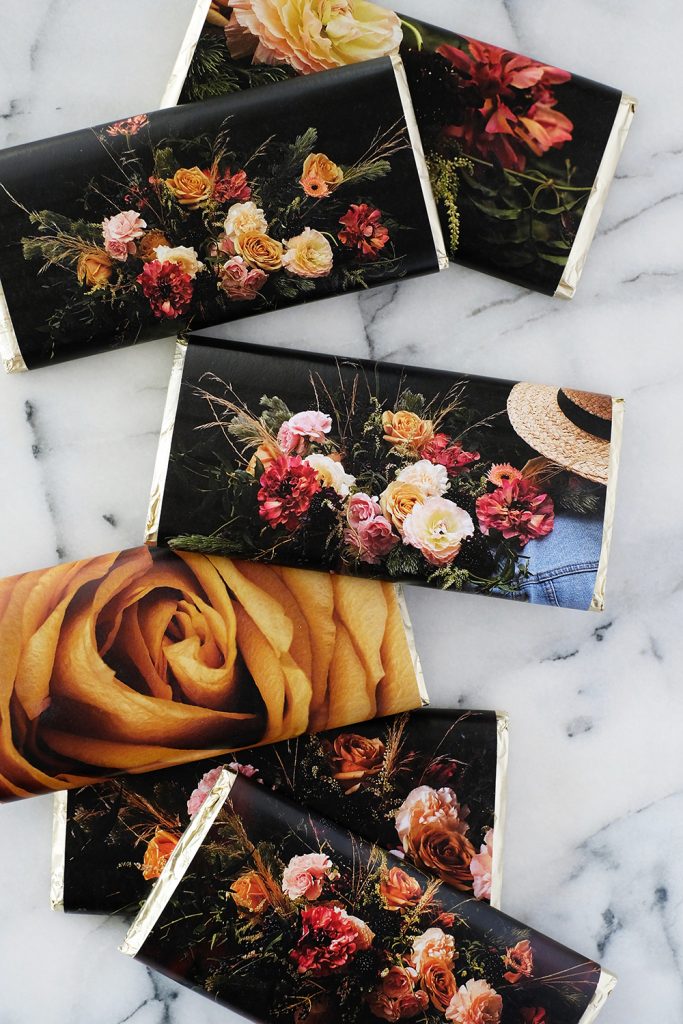
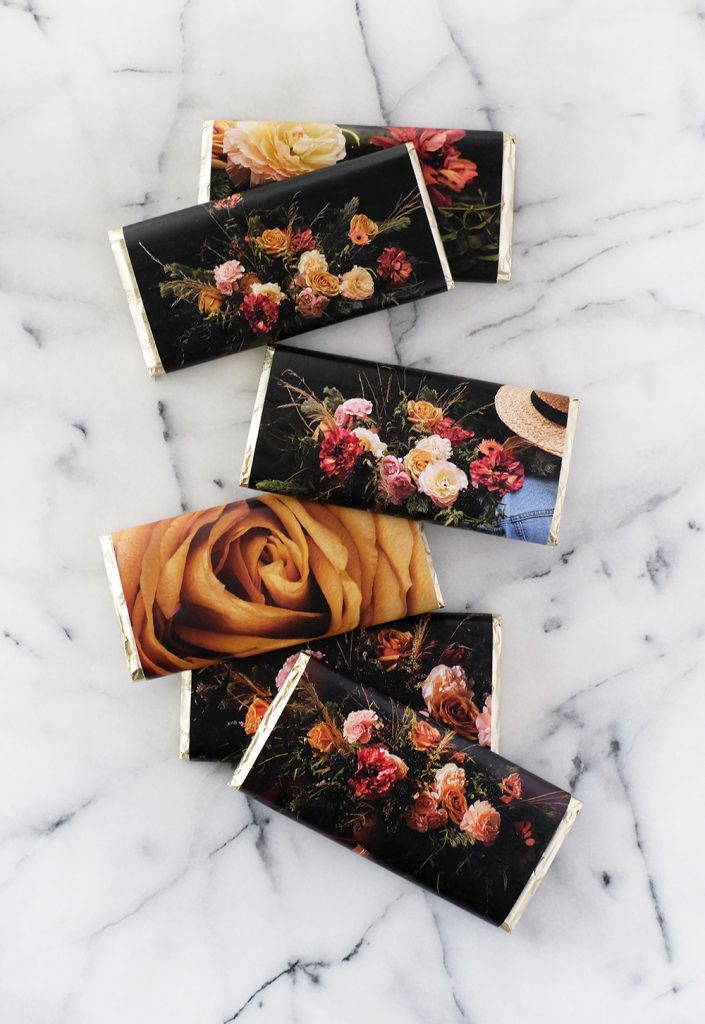
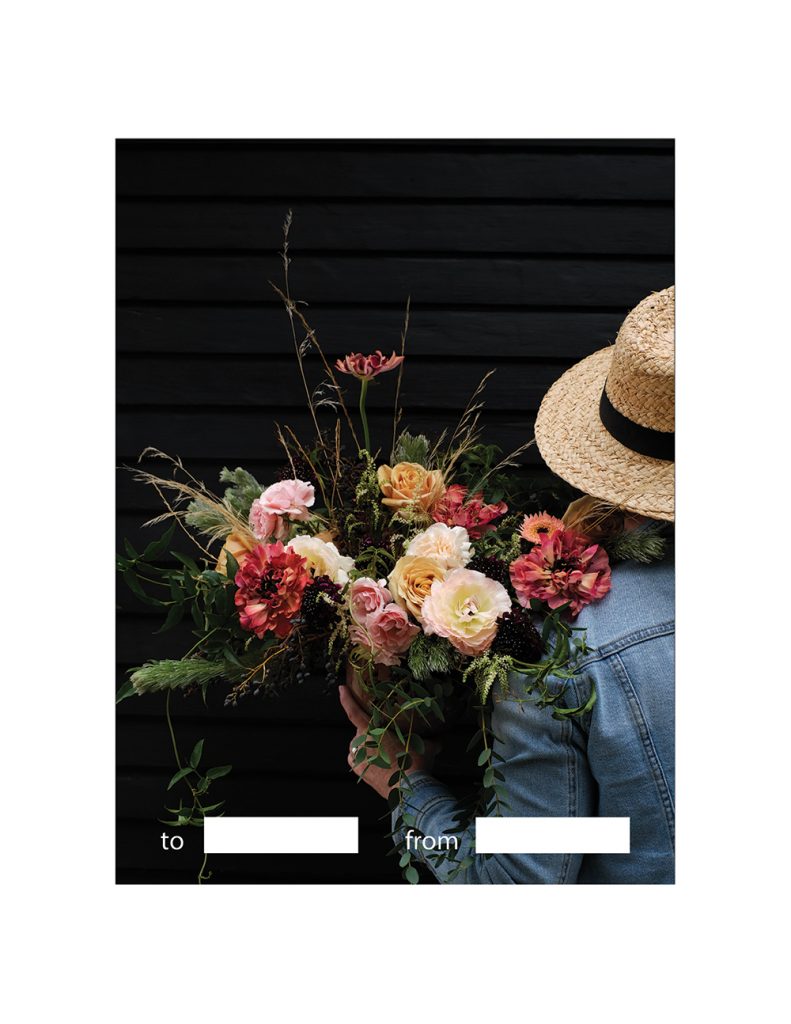
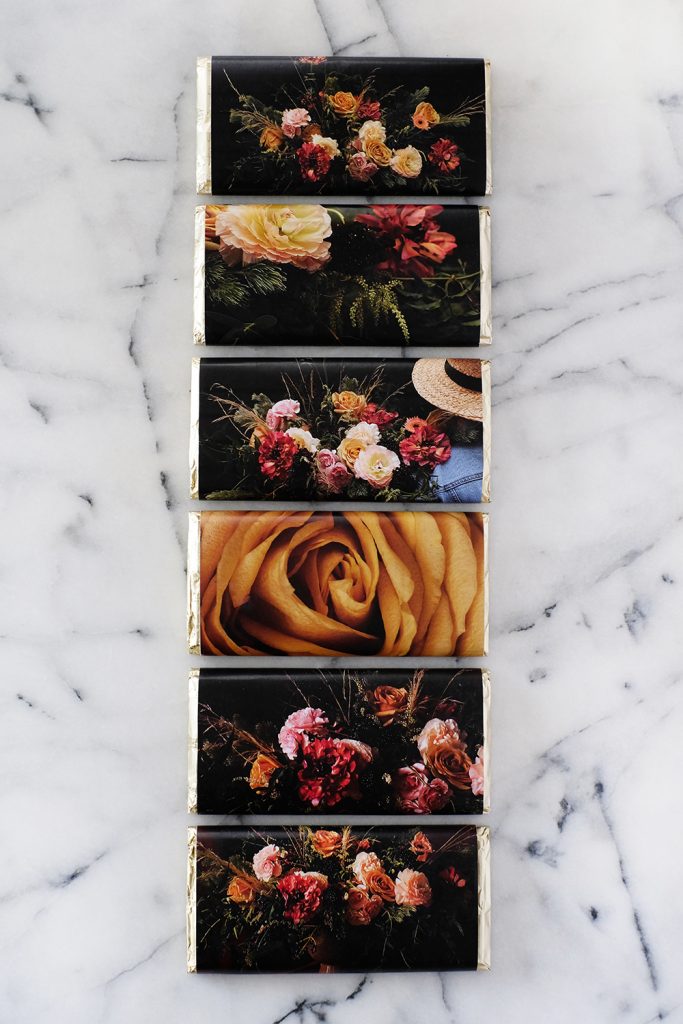
I’m squeezing this post in just before Valentine’s Day. Because I literally realized this morning that I didn’t have anything fun to send to my kid’s teachers for v-day. A couple years ago I made a set of these chocolate bar wrappers and they were a hit. All you have to do is print, cut and tape and you have a fun little personalized Valentine’s Day gift.

And because I had so much fun with the Moody Florals, I decided these would be really pretty wrapped around a chocolate bar as well. If you’ve been around for a while, you know that if I get one idea, I run with it for a while.

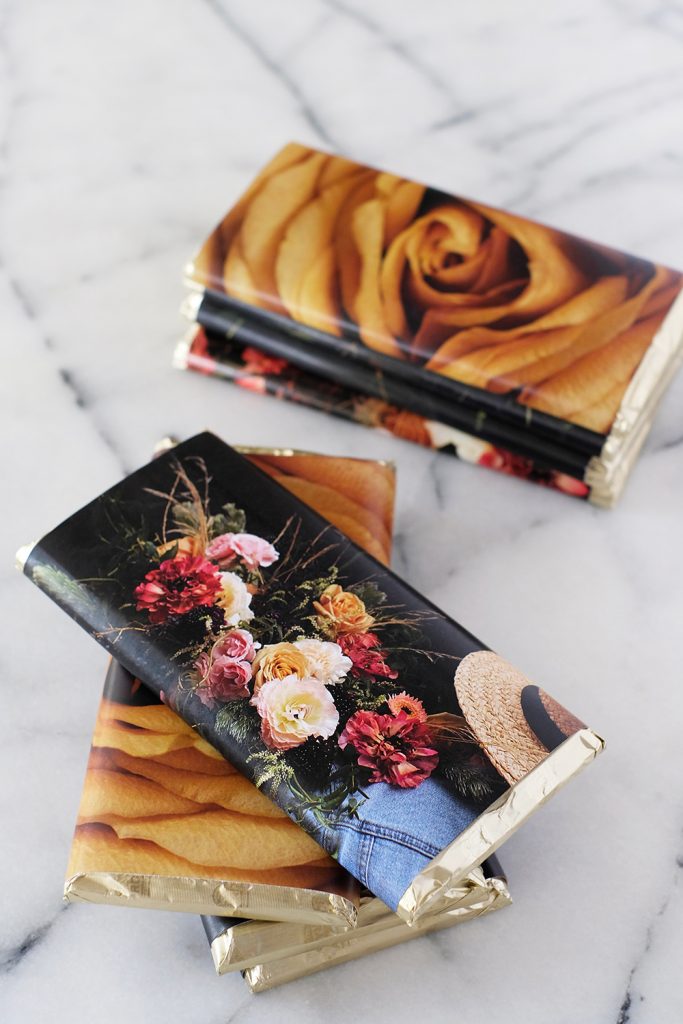
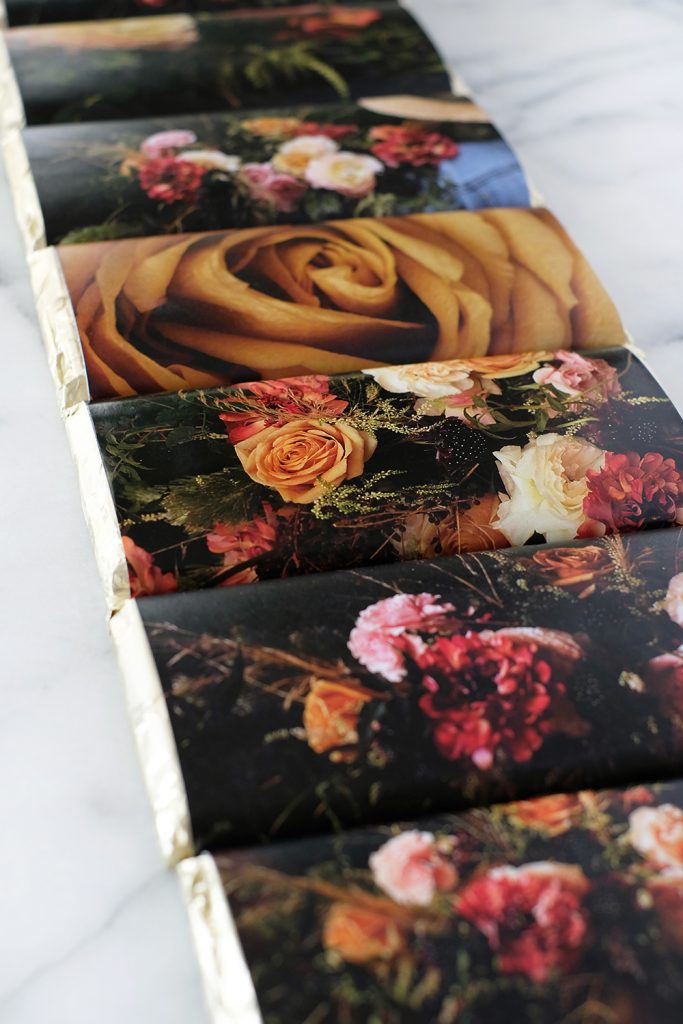
I simply printed these out of regular white printer paper, cut them out and used double-sided tape to attach them to the chocolate bars.

I recommend removing the original wrapper on the chocolate bar (but make sure there is a foil wrapping underneath). You can wrap these around any candy bar, but I highly suggest Ghirardelli’s Milk Chocolate Caramel Bar or their Dark Chocolate Sea Salt Caramel Bar. They are the perfect size and shape and they might be one of the yummiest treats out there.

Download the wraps HERE! I’ve even left a spot for you to add to + from.

Happy Valentine’s Day friends!

etc.

Dream Louder

As many of your know, I’ve had a rough start to 2019. Just a lot of crap on my plate – all at once. It kind of feels like the hits just keep coming, and the latest is my health (or lack of). Anyways, I consider January a wash and February is the new New Year, as far as I’m concerned.

So, I was chatting with MJ of There’s Good in Store recently (actually we text daily), and she mentioned wanting to dream a little louder. I think a big part of being a human is having hopes and dreams. But, too often, we don’t see those dreams through, they just get stuck at the “idea” stage. And the hardest step can be saying those dreams out loud, so that the world hears what we want and what we are working towards. When you Dream Louder, there’s the risk of folks seeing you fail in the pursuit of that dream. But, on the flip side, there is also so much potential for folks to join you on a journey to success, to find courage in your vulnerability, or even help/assist you in making that dream a reality for you.

Instead of bottling up our dreams and holding onto them for a rainy day, we have chosen to Dream Louder and yesterday we got on IG Live and shared our 3 biggest dreams. (If you missed it, don’t worry, I’m going to share my dreams here as well.)

Yikes! I’m not going to lie, it was scary to say them out loud. MJ said she had a “vulnerability hangover” after sharing. And I have to agree, it feels like I said too much and a part of me wondered if there were folks out there listening and thinking I was CRAZY. Maybe they think I’m totally not skilled, equipped, or gifted to pull off these dreams. But, the other part of me was EXCITED and MOTIVATED! I actually got to work right away and spent a couple hours tweeking my book outline and testing a recipe (keep reading to hear more about this dream). The accountability aspect of sharing a dream out loud is so so so good.

Ok, so if you missed the IG Live, here’s my top 3 dreams (in no specific order):

  1. Oleander + Palm Product Line – I want make and sell a product line. It will be a home goods line and I will start with an online shop. I think it will have seasonal launches with a limited run of the items. All the items for a launch will have a central theme tying them together. Some of the goods would be handmade by me or a collaboration with another maker and some items might be more of a curation of items I love and use.
  2. Write a Camping Cookbook – I love to camp and I love cooking while I’m camping. I know there are other books out there, but I think I can bring something unique to the table. I have an outline already written and I’ve starting compiling some of my favorite recipes. I want this book to be a handbook of sorts for every level of camper – from the experienced backcountry camper to the first time car camper with a giant air mattress. I’d like to shoot all the images for the book as well. This is a huge undertaking, but I think it could be a really great challenge for me.
  3. Go on a Fully Sponsored Trip – This is a very blog related dream. But, I LOVE to travel and I think I’m pretty good at it. I see other bloggers taking trips and creating content in exchange for that trip and I think, “I could do that really well!”. So, I will be actively seeking out and pitching airlines, hotels, cruises, and travel bureaus around the world this year. And before I do that, I’m going to make sure to update the TRAVEL section of my blog to serve as a portfolio. First up, our trip to ICELAND! I have so many amazing images and even video content – I just haven’t found the time to put it all together into a blog post of 2.

Well, there it is…. and time is ticking. 2019 – I’ve got big DREAMS for you!

I’d love to hear you Dream Louder, if you’d like to share on Instagram please use our hashtag, #dreamlouder3 so we can see your dreams and share them as well.

Design

Moody Floral Printables

February 10, 2019

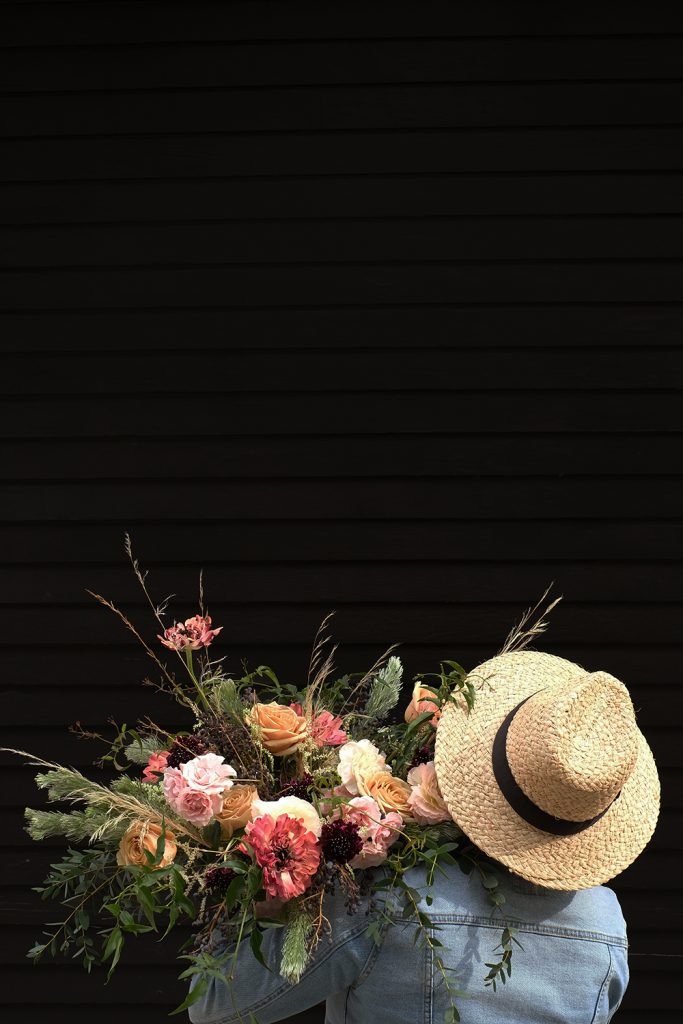
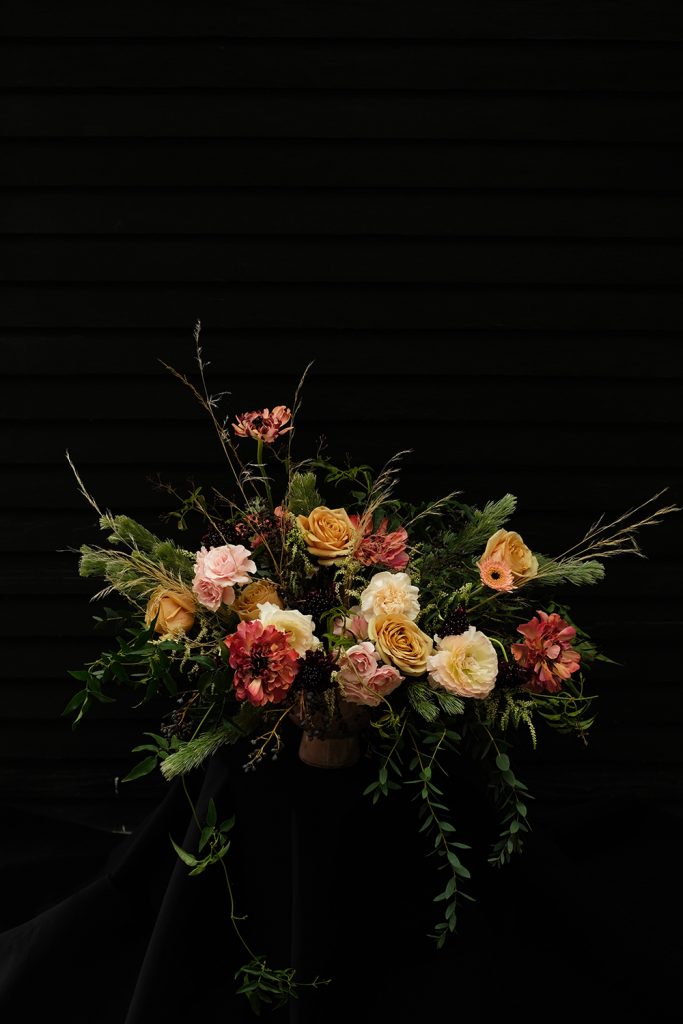
Lately I’ve been having so much fun with dark moody photography. I teamed up my favorite local florists, House of Flowers, to help me create some “Dutch Masters” inspired florals that I could play with.

I think bright and white is still going to be around for awhile, but it feels good to play with something a little more dramatic. And I definitely had a lot of fun with my camera.

I shared 6 versions over on Hunker, but I actually saved a couple just for O+P readers (cuz I love you guys best). I thought you might enjoy some of these versions with the straw hat. You can download these versions HERE.

If you are looking to change up your decor a little, this is a really easy, inexpensive way to do it. So download – print – and then frame! I love printing at Parabo Press and Artifacts Uprising. They both have great quality paper and I love their printing quality.

DIY

Medicine Cabinet Makeover

February 1, 2019

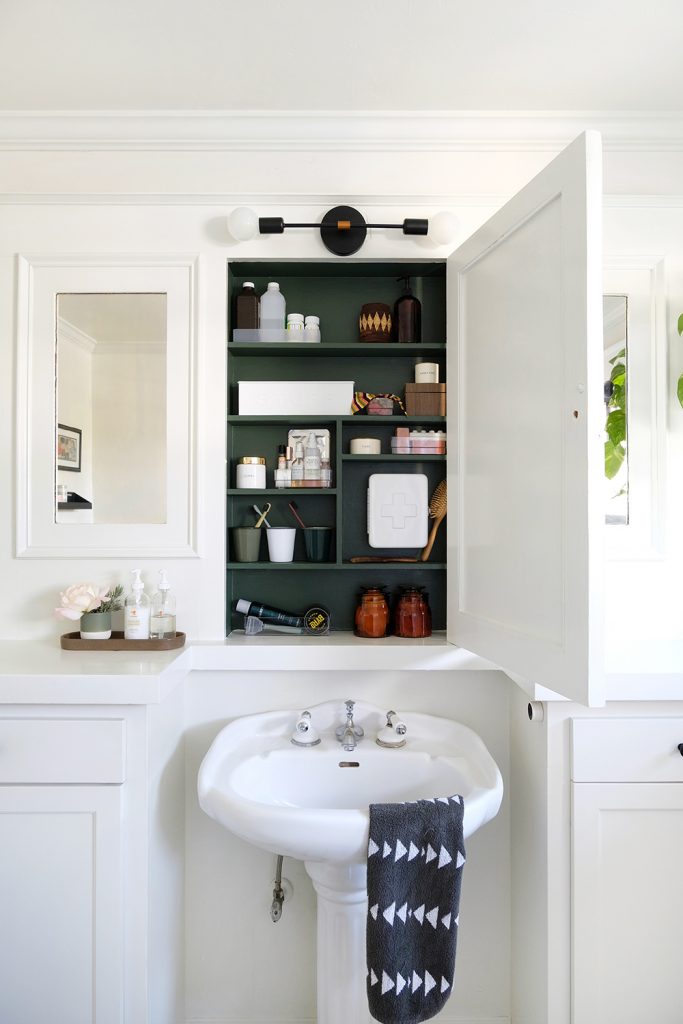
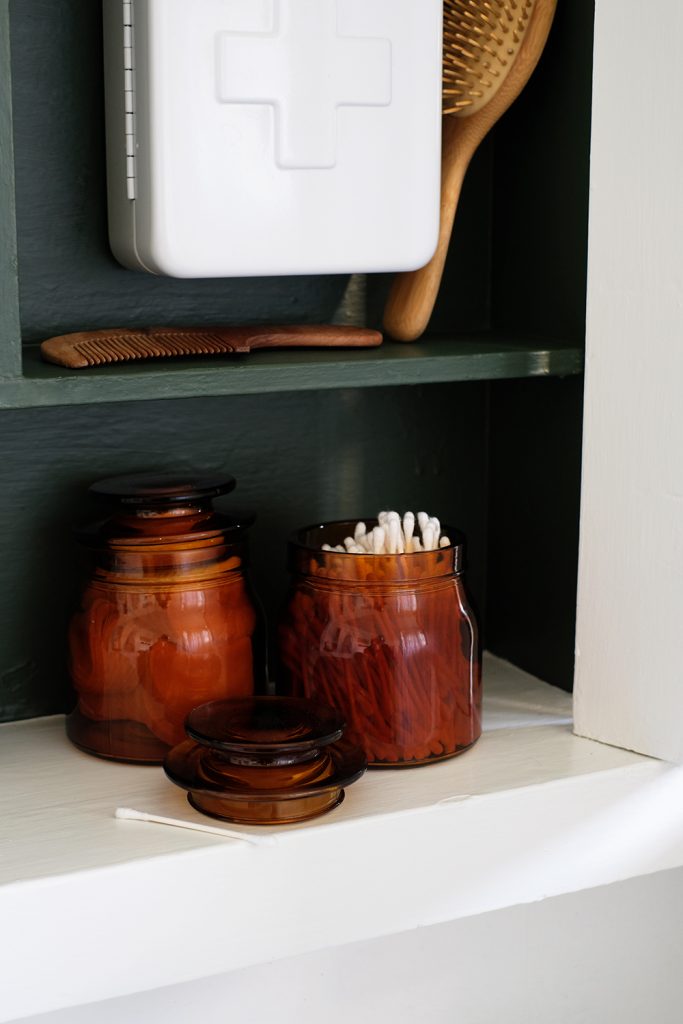
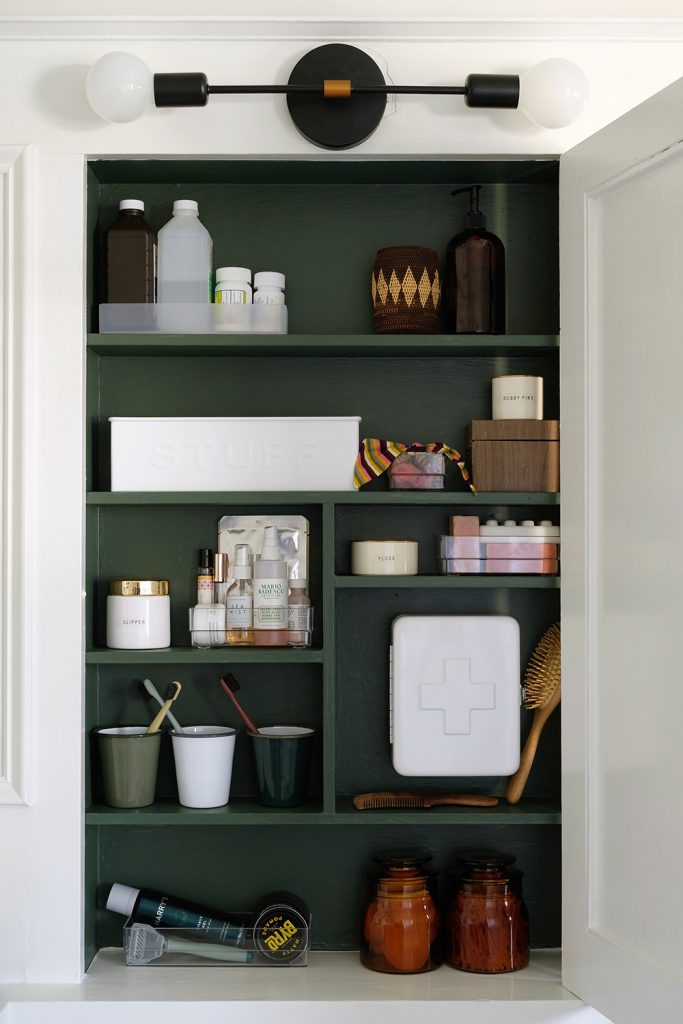
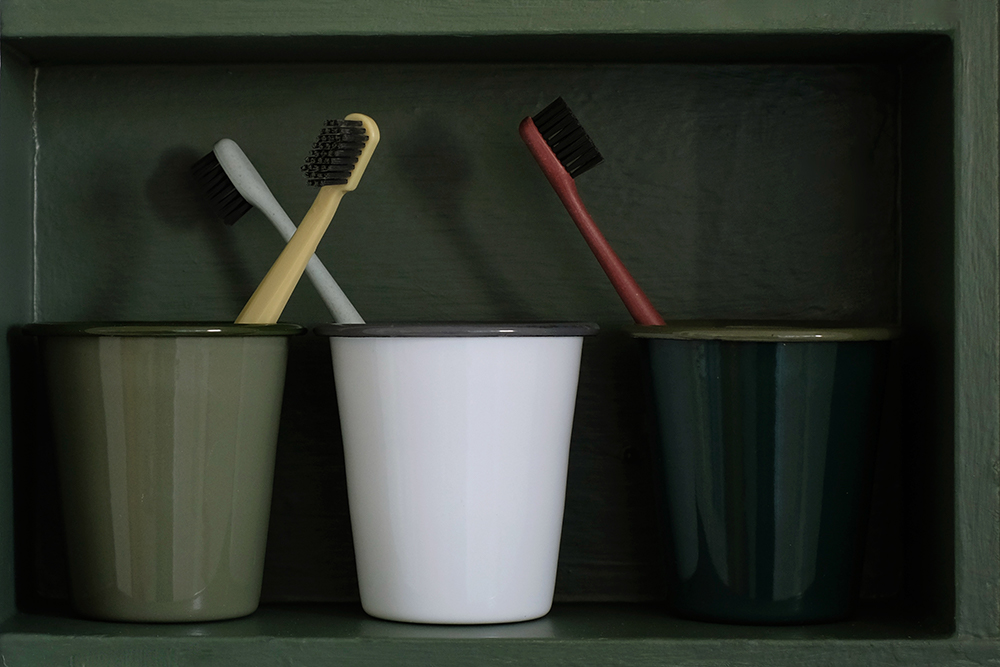
If you’ve been following along, we just wrapped up a MONTH OF MINIMIING! And I feel soooo good about all the organizing and decluttering I’ve done. Today’s post is one of the tasks I tackled last week. The kid’s bathroom is one of my favorite rooms in our house. When we first moved in, I stripped all the wallpaper and painted EVERYTHING. It was a big job. But, I never touched the inside on the medicine cabinet. I just ran out of steam and figured it’s a spot no one would notice. But, it turns out, KIDS ARE THE WORST and the left the cabinet open all the time and all it’s hideousness was exposed. Now, I’m so excited about this little space and I’m happy to show it off.

You can find the full DIY over on Hunker today. I’m sharing befores and afters, all the sources and how I to organize a shallow space like this.

Design

Half Black (and Green) Walls

January 20, 2019

Half Black Wall

source

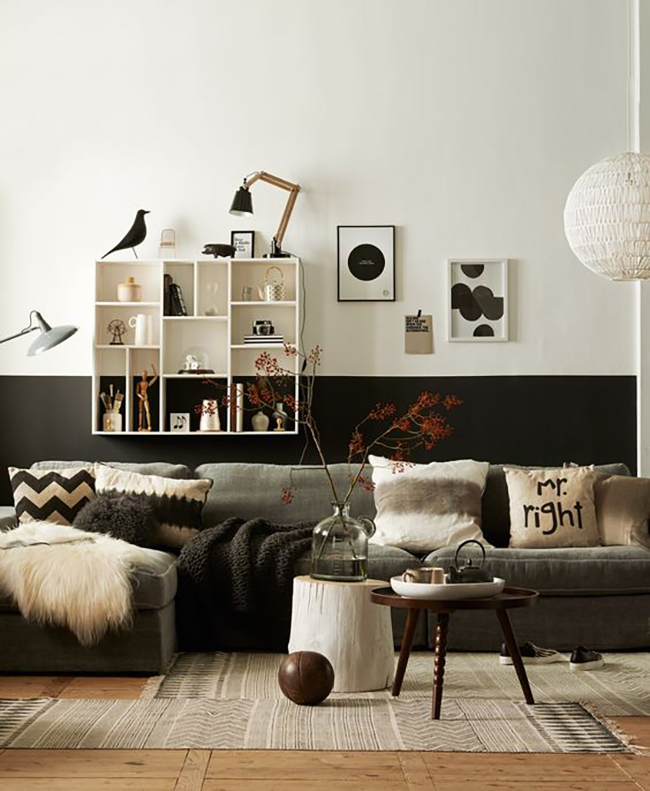
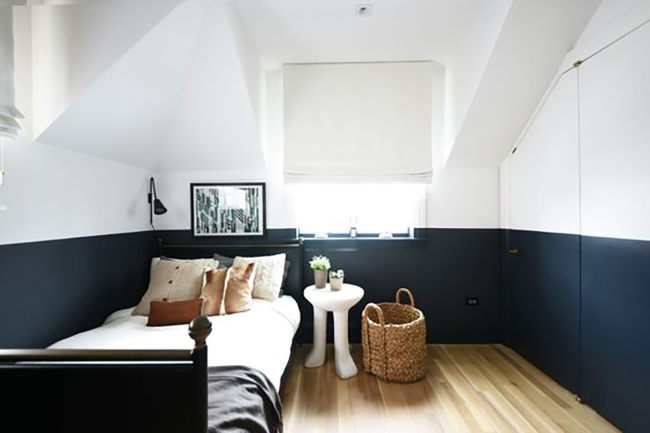
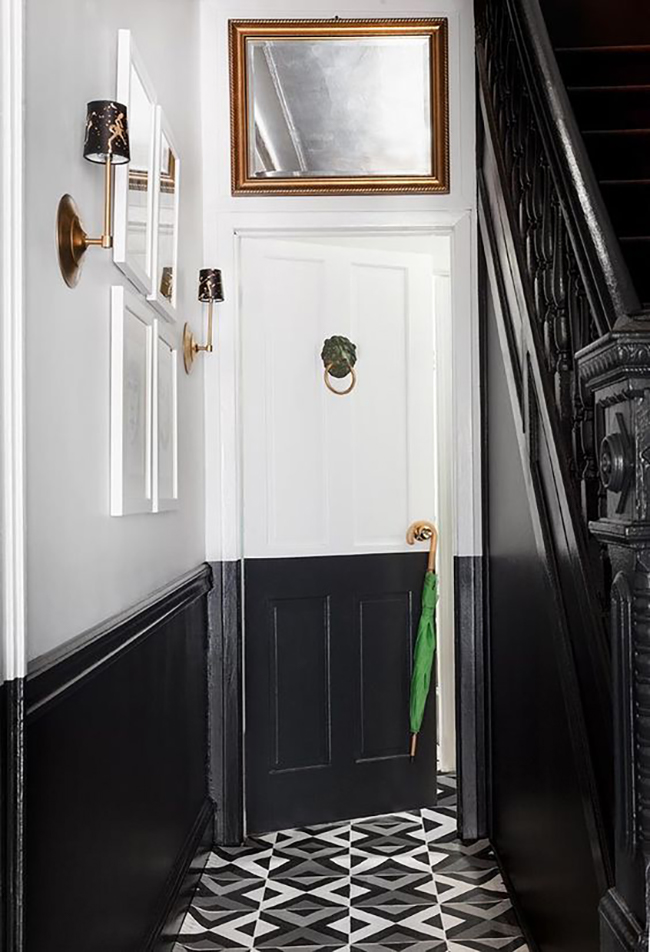
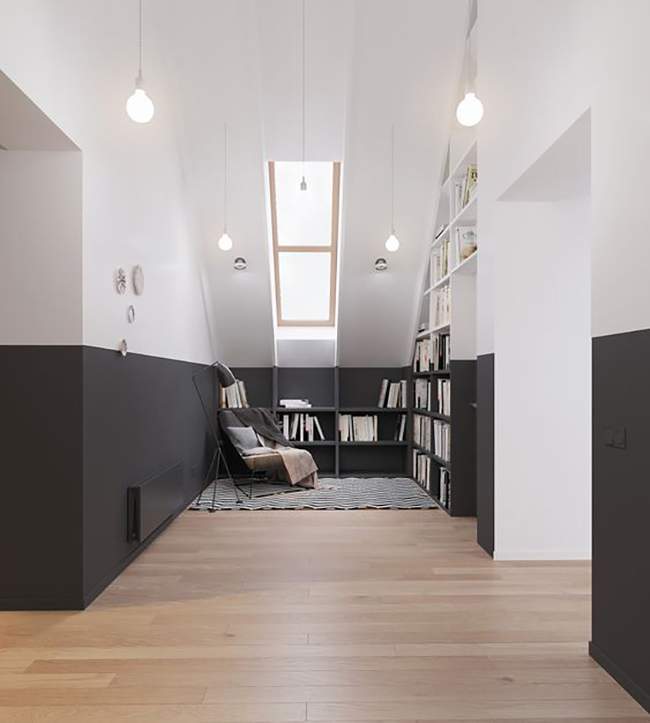
I think it’s time to tackle another room in our house. The problem is, I don’t have a very big budget, so trying to get creative. I’m looking for big bang and little bucks (aren’t we all though). I’ve been digging half walls, especially black ones for quite a while now. I love the idea of it being trimmed out with a chair rail, bead board, board and batting or even shiplap – but, that’s an expensive I don’t want to take on right now. So, I’m going to play with paint and create a high contrast, two toned effect with just some blue painters tape.

I REALLY want to do something with our little powder room, so I think this might be a great room to experiment with. My gut says I should go black, because it’s as high contrast as you can go. But, if you keep scrolling, there’s a couple of really great green options as well.

Half Black Wall

source

Half Black Wall

source

Half Black Wall

source

Half Black Wall

source

Half Black Wall

source

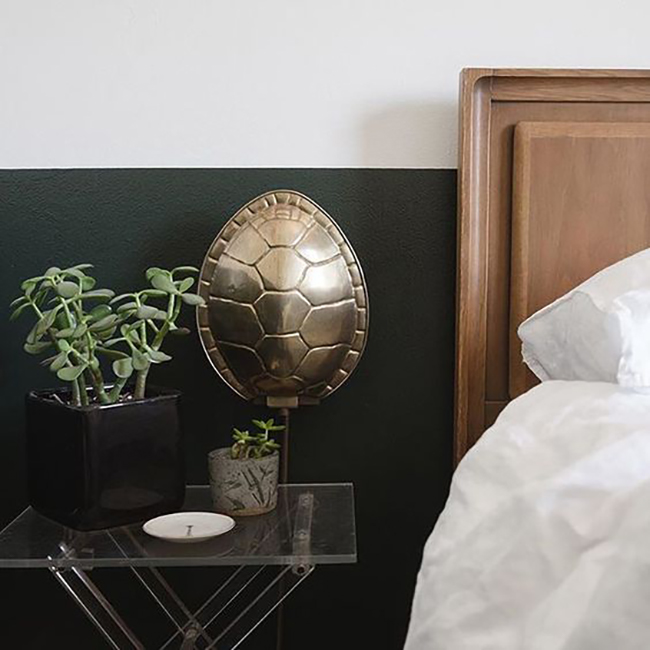
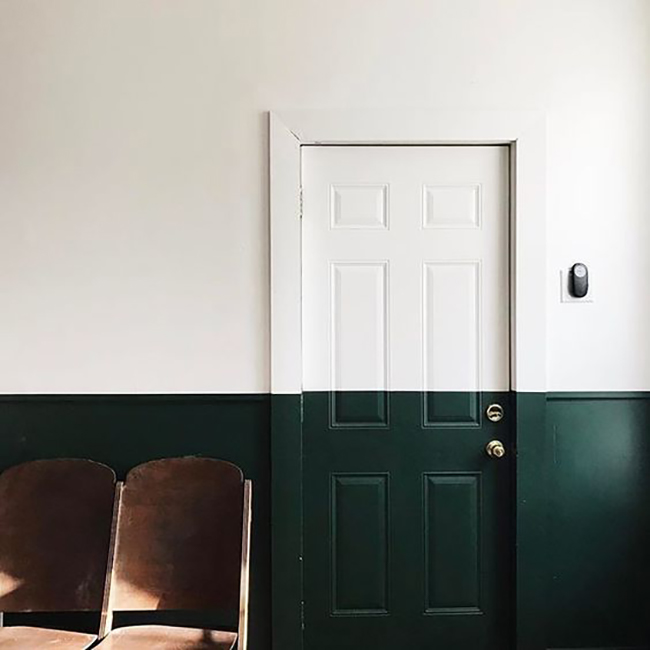
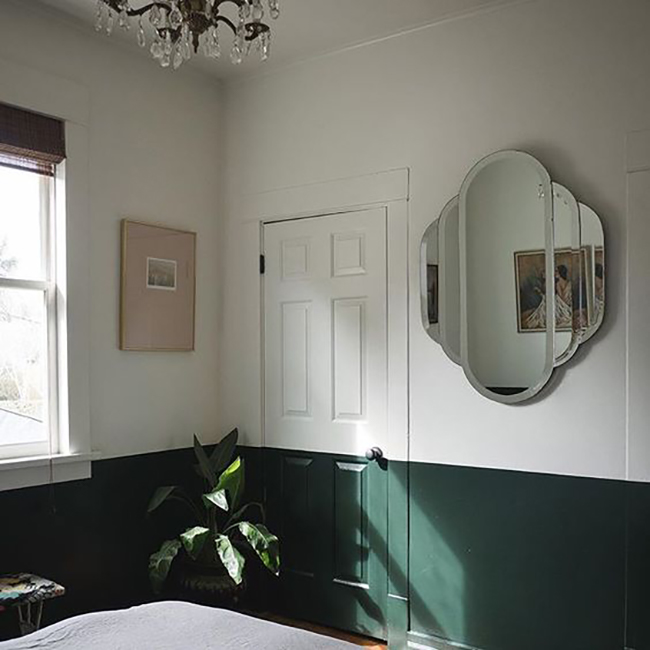
And because green always has my heart, let’s admire these foresty, emerald hues as well. I think if I choose the darkest green out there, it will give me that dramatic effect of the black, but just with a hint of my favorite color.

Half Dark Green Wall

source

Half Dark Green Wall

source

Half Green Wall

sourceh

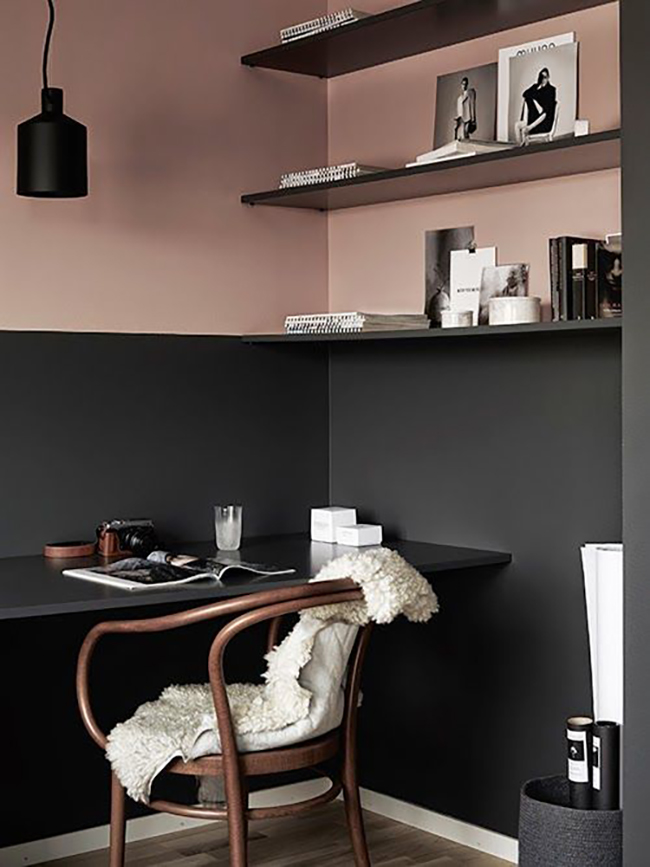
Just for fun, how about a blush and charcoal combo as well. Isn’t this a sophisticated way to play with pink?

Half Blush  + Charcoal Wall

source

Ok, what do you think? Do you have any theories on whether a high contrast half wall will make the walls and ceiling appear higher or lower? I feel like keeping the lower half dark and the upper half white won’t weigh the room down too much. I’d love to hear what you think.

Food & Drink

Cardamom Latte

January 14, 2019

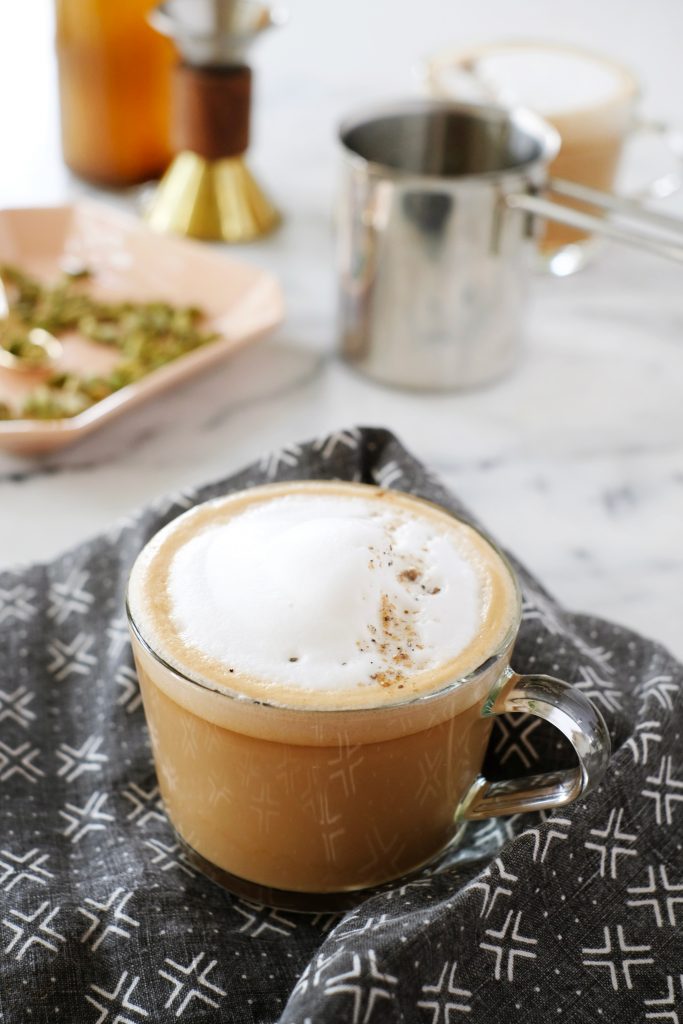
Cardamom Latte Recipe

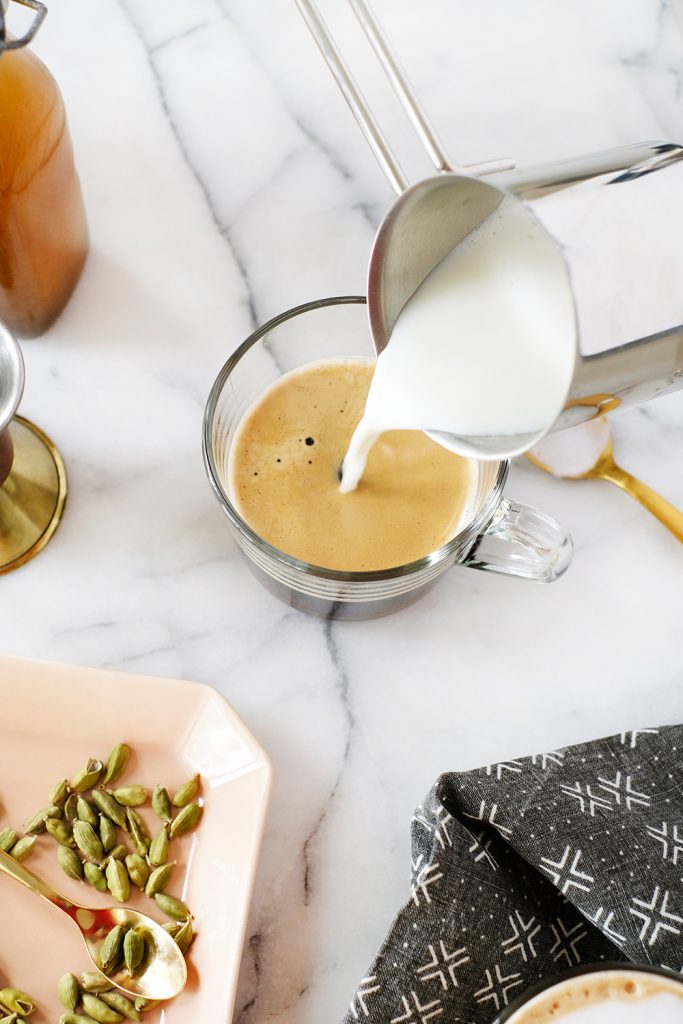
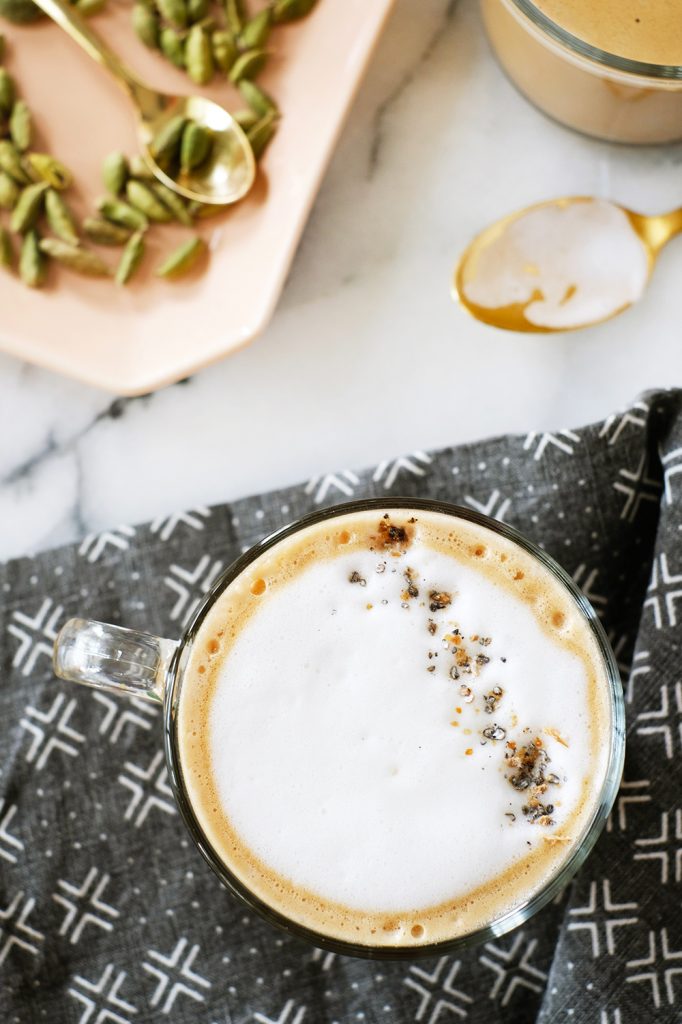
If there is one spice that I had to chose as my all time favorite, it would be CARDAMOM. It’s such a great spice for both sweet and savory recipes. I know you are tired of hearing about it, but gosh I love cardamom. I almost always have a little cardamom in my coffee every morning. Sometimes it’s just a splash of Cardamom Bitters, a sprinkle of fresh ground cardamom, or if I’m in the mood for a real treat, I make a latte and add homemade Cardamom Simple Syrup.

Today I’m sharing an easy recipe for Cardamom Simple Syrup and even if you aren’t a coffee drinker, this syrup is perfect for sweetening your black tea, iced tea, steamers, and even cocktails and mocktails.

Cardamom Latte Recipe

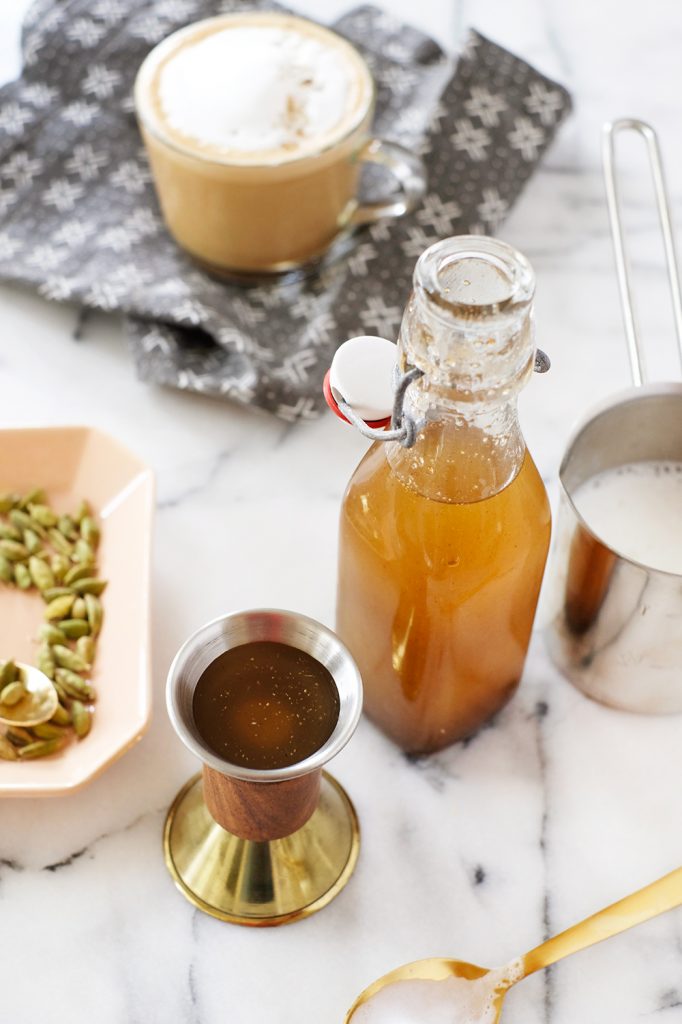
Cardamom Simple Syrup

  • 1 cup water
  • 1 cup raw sugar
  • 1 tbsp. fresh group cardamom

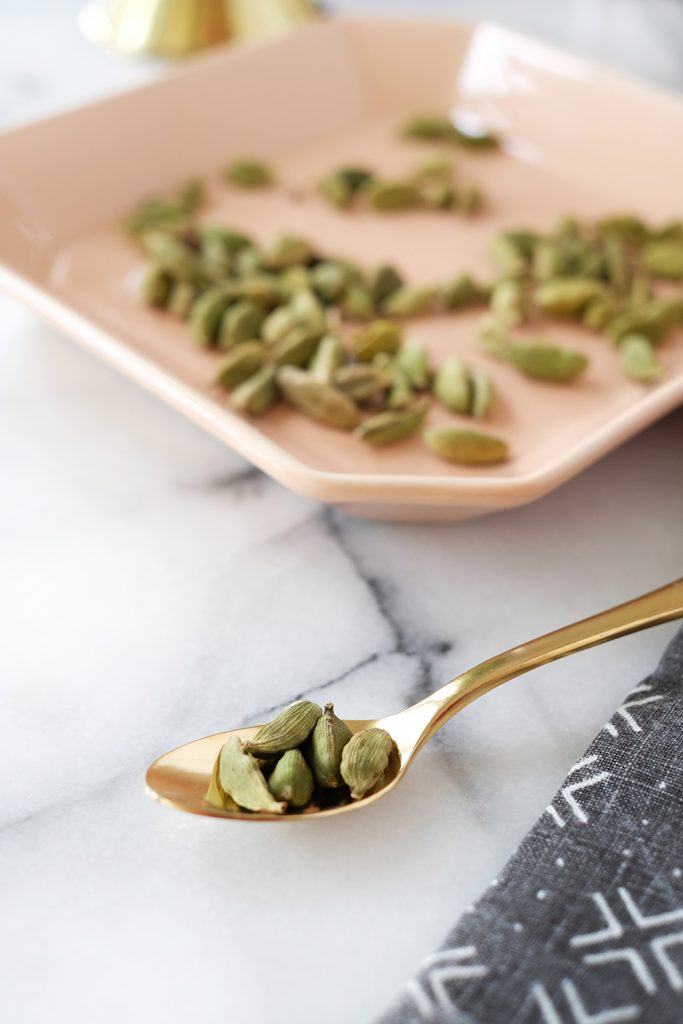
The first step is a little tedious, but I really do think it’s worth the extra effort. Start with whole cardamom pods. You will need to remove the green outer skin to expose the seeds inside. Using the back of a tea spoon, you can press the pod against a hard surface, and it will kind of pop open. Remove the seeds and grind in a small coffee mill or just with a mortar and pestle.

Place a 3 ingredients in a small pot. Bring to a boil and allow the syrup to boil for 3 mins. Remove from the heat and allow to cool completely. Strain through a metal sieve to remove any of the larger pieces of the seeds. Place in an airtight glass container in the fridge for up to 2 weeks.

For the latte, I like mine strong and creamy. So, I make mine a double shot with steamed whole milk and a shot of Cardamom Syrup, of course.

Cardamom Latte Recipe

Is there a spice you find you use over and over? What the warm winter drink that you have enjoyed on repeat this winter?

Cardamom Latte Recipe