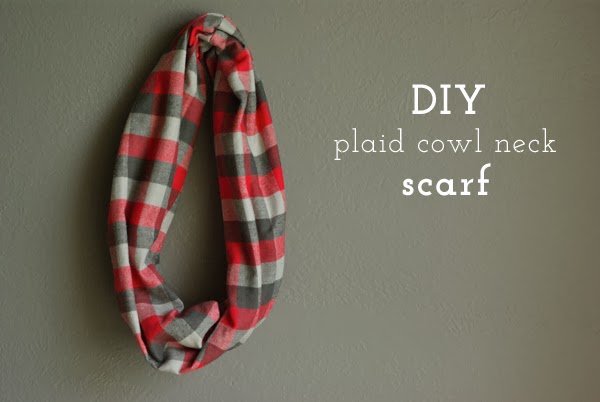
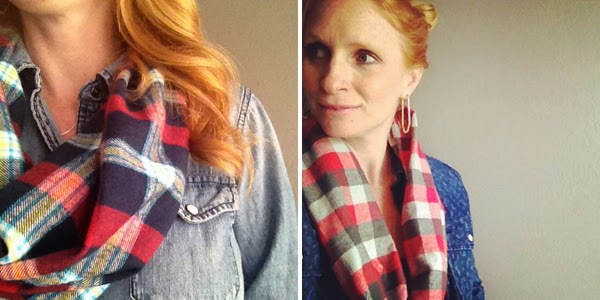
Need a last minute gift idea? I’ve been a little factory the last couple of days, making plaid cowl neck scarves like crazy. All the special ladies in my life are getting these beauties for Christmas this year. Friends,
sister-in-laws, nieces and teachers are all getting one. In the last few days, I’ve made 32 of these bad boys, they’re that easy and quick to make.
I’m really excited to share this little DIY with you. It’s one of those craft/sewing projects that I’ve had on my to-do list for quite awhile now.
There’s a lot of really cute flannel plaids out there, and it’s really an inexpensive, yet totally comfy fabric. I’ve figured out some simple measurements for 3 different sized scarves for you. And, I took a tone of step-by-step pictures to make this as easy to follow as possible.
Here’s how much fabric you’ll need to each scarf:
Adult – 36″ by 21″
Child – 26″ by 21″
Baby/Toddler – 24″ by 16″
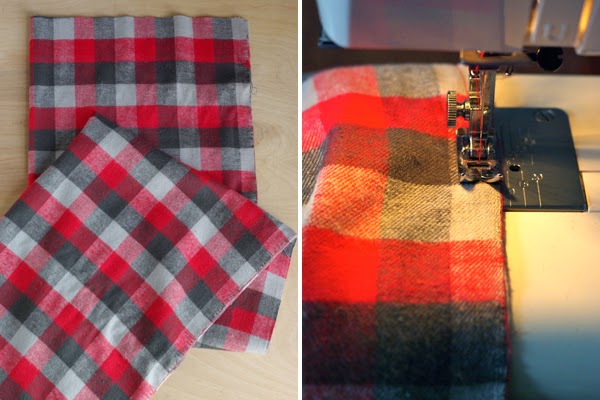
I based this pattern on just a yard of fabric. You can make 2 adult sized scarves with just one yard of 42″ wide flannel plaid cut in half.
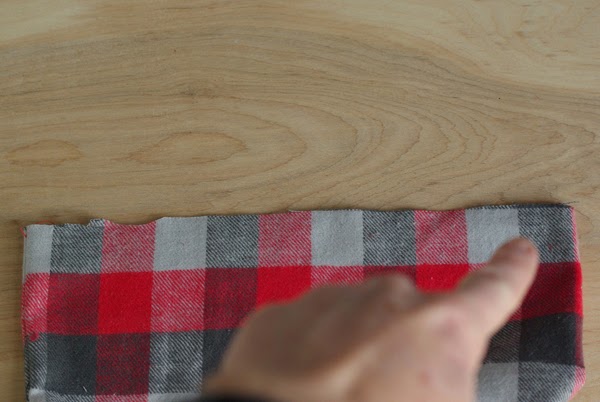
Start by folding right sides together the length of the fabric. Sew the length of the scarf with a 1/4″ seam allowance.
Turn the scarf right side out.
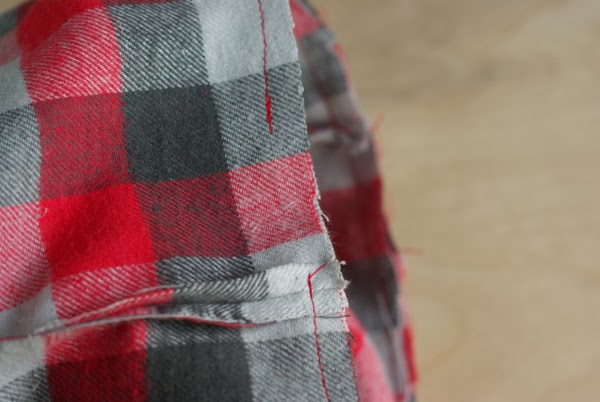
Lay the scarf flat and find the middle of the scarf directly opposite the seam on one end of the scarf.
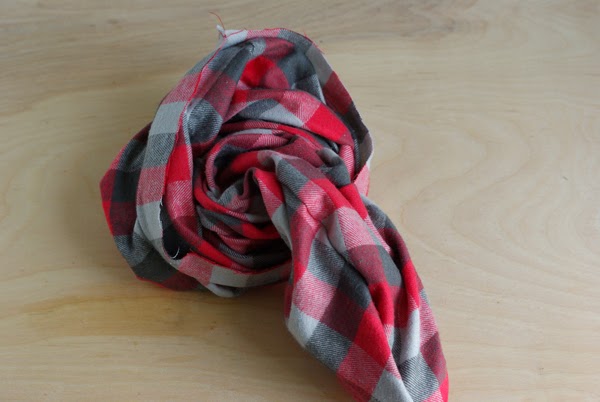
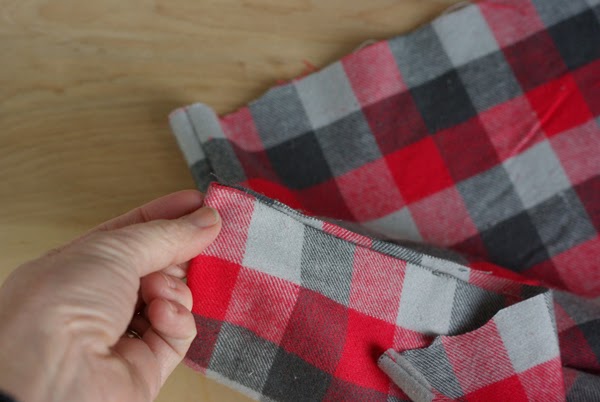
Match the middle point that you found on the one end of the scarf with the seam on the other end of the scarf. You are going to sew a tube, but by not just matching the seams to each other, the scarf will have a natural twist in it.
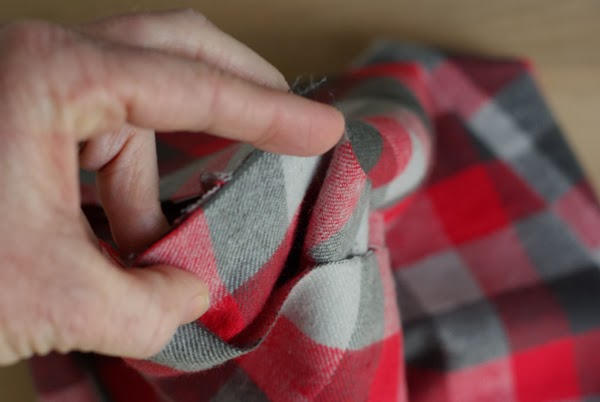
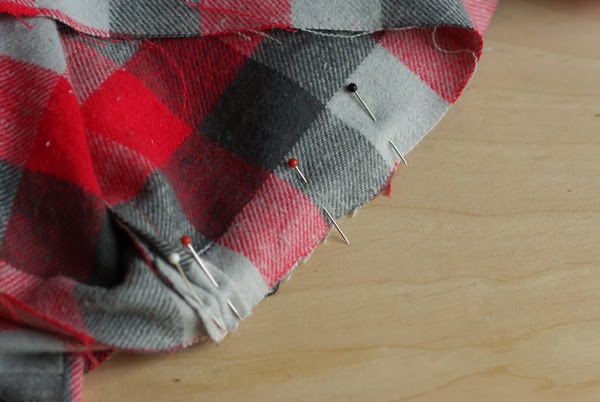
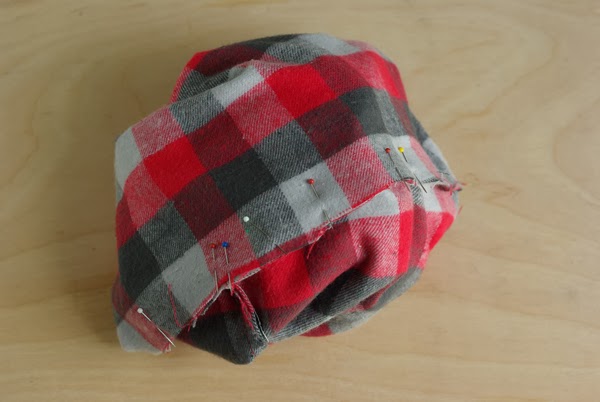
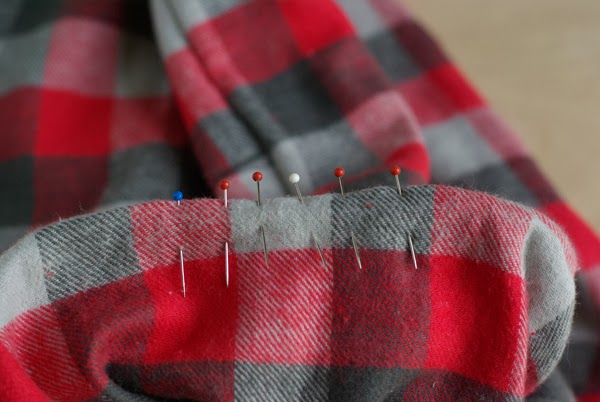
Pin the good sides together all the way around the scarf.
As you pin, you will tuck the scarf into self.
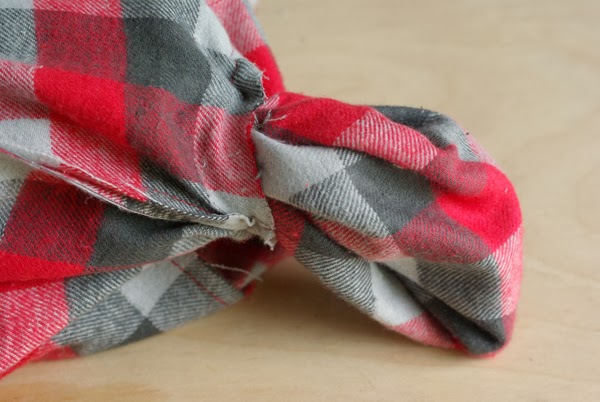
Sew all the way around leaving a 2″ opening.
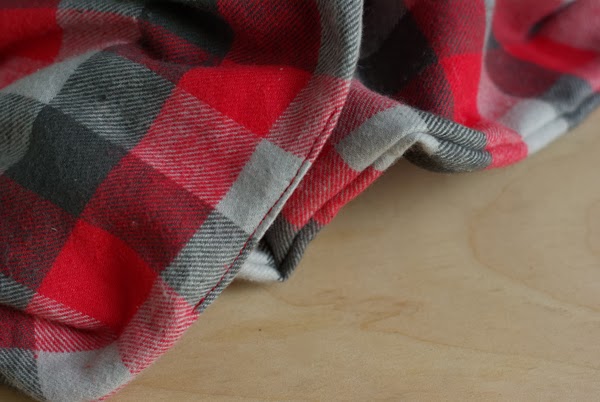
Turn the scarf right side out.
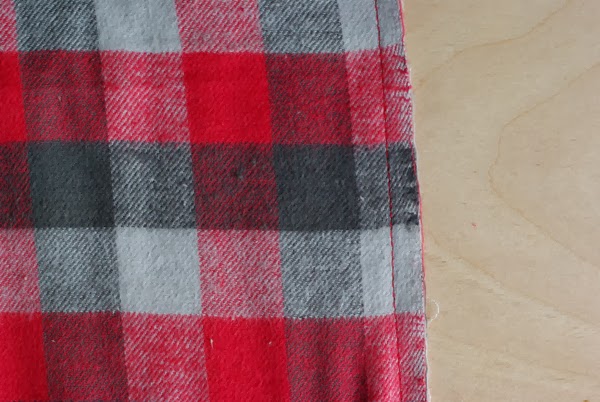
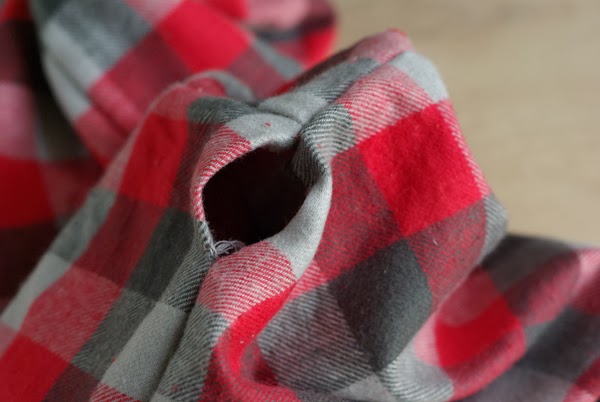
Pin the opening closed.
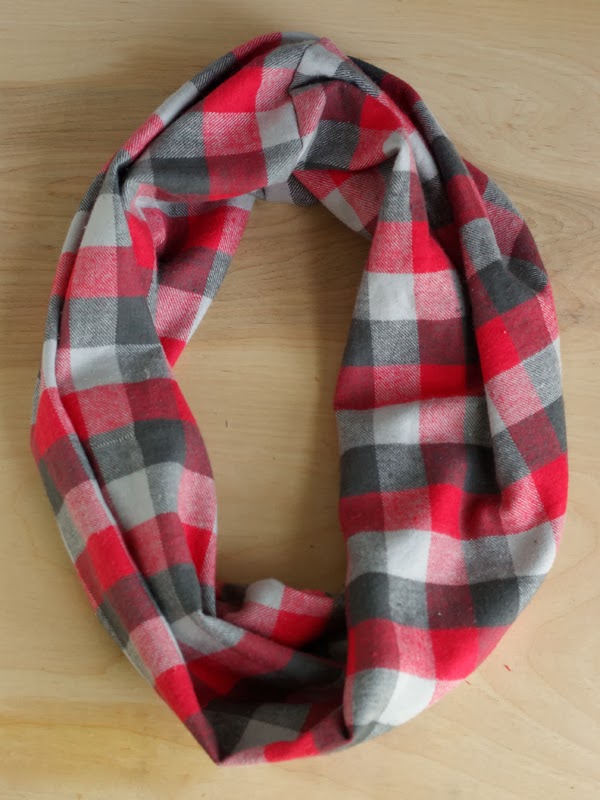
And then simply top stitch the opening closed. With all the folds and twists in the scarf, this small seam will be hardly noticeable. But, if you are fancy like that, go ahead and hand stitch it closed.
How simple is that? I think it would be fun to make one twice as long for an infinitely scarf that could be wrapped around your neck a couple times. That will be my next sewing adventure!