Design / etc.

Dark Green Kitchen Cabinets

October 4, 2018

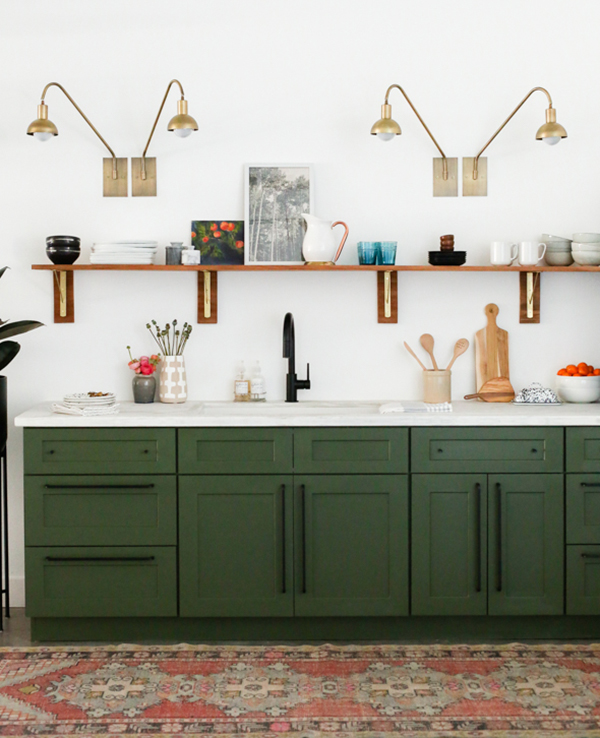
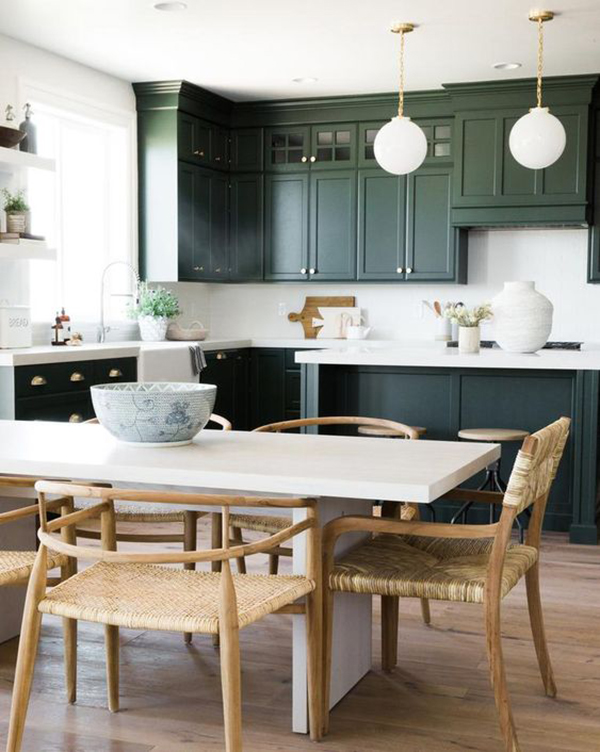
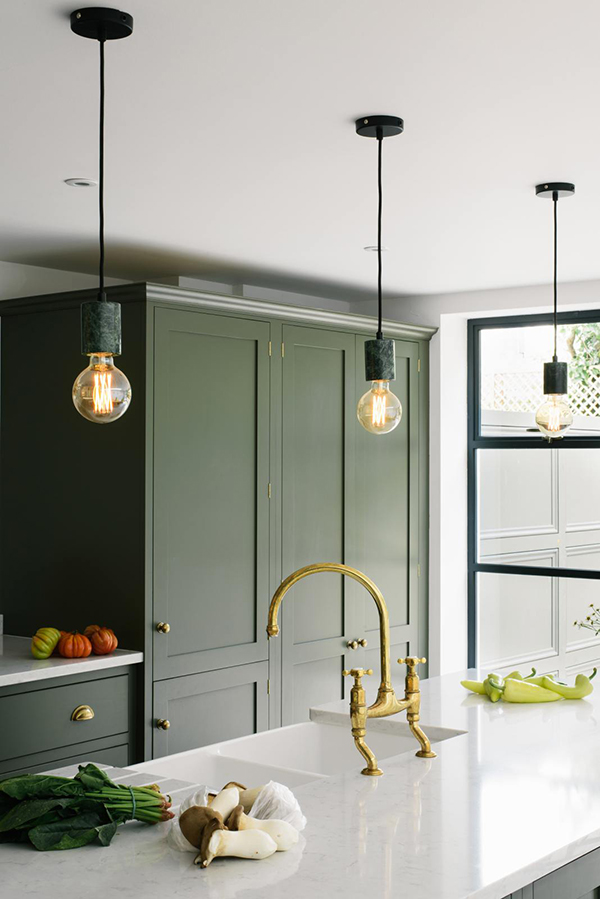
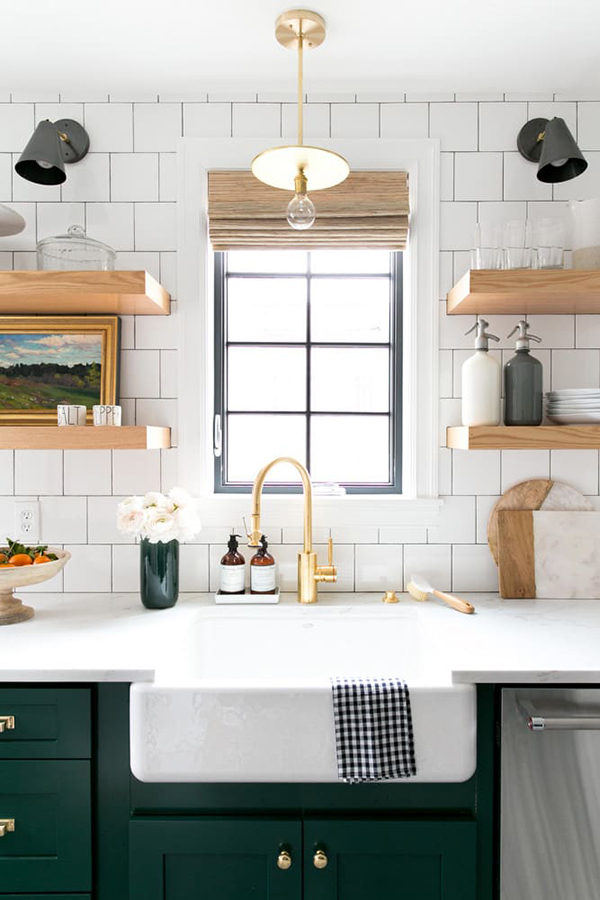
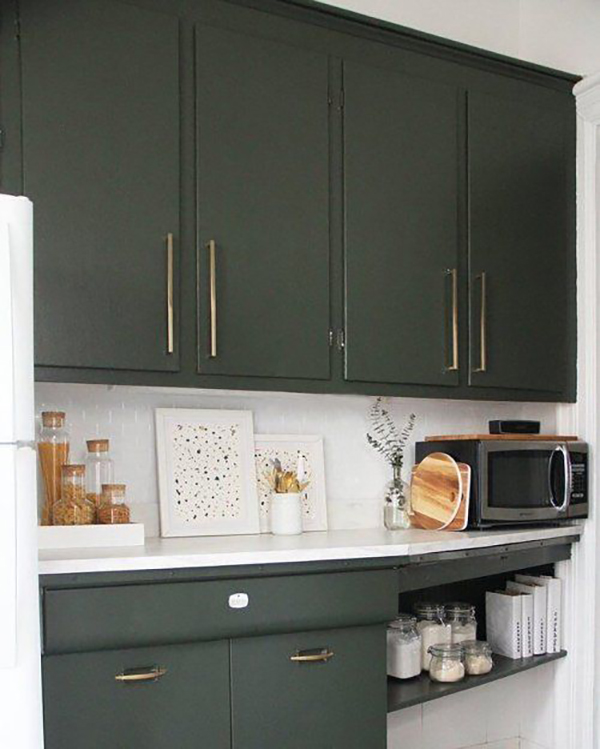
I’ve been itching to do some updating to our kitchen. The cabinets are really in great shape, they could just use a fresh coat of paint. For being a small kitchen, it really doesn’t have terrible storage and there really are a lot of cabinets. I’m thinking a dark green color, on at least the lower cabinets, is the route I’m going to go.

The counter tops – now they definitely need to go ASAP. It’s not just that it’s an awful dark granite, but it’s actually granite tiles with grout lines and food gets stuck in ALL THE TIME. It’s really gross, and after 2 years of working with this kitchen, I’m ready for a solid surface for baking and cooking on. I’m thinking quartz probably.

But, before we get ahead of ourselves, lets just take a look at some great examples of green kitchens. Oh, and I did paint The Moore Apartments kitchen cabinets green, so I’m feeling pretty comfortable and confident with this color choice. In my book, green is a neutral color. I’m not talking about lime green or even olive – just a good classic forest green or dark sage. What do you think?

source

source

source

source

source

Anyone else ready for a change from all the white cabinets our there? Don’t get me wrong, I still LOVE painted cabinets, I just think a darker color might be fun to play with.

DIY

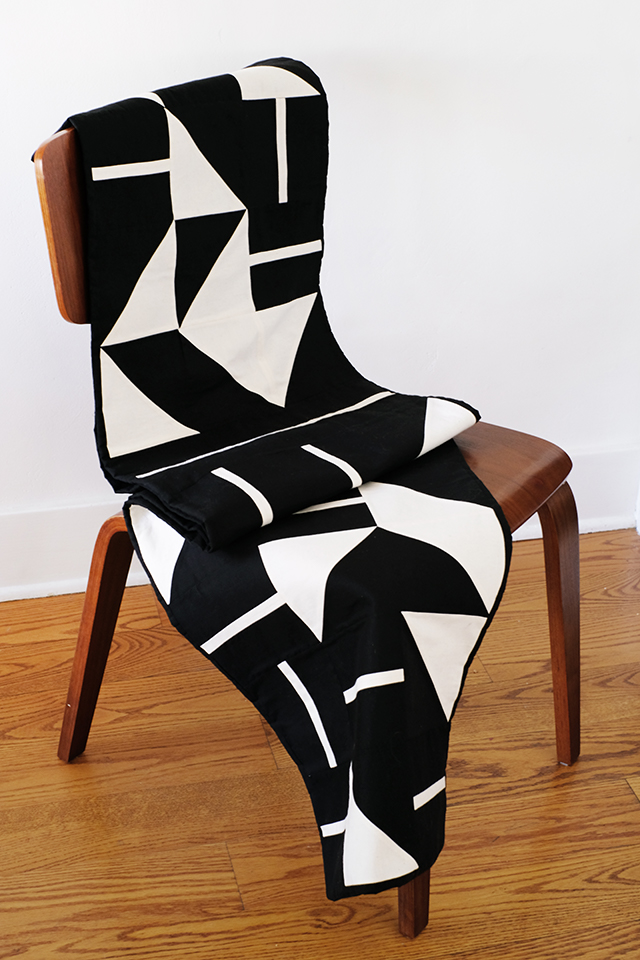
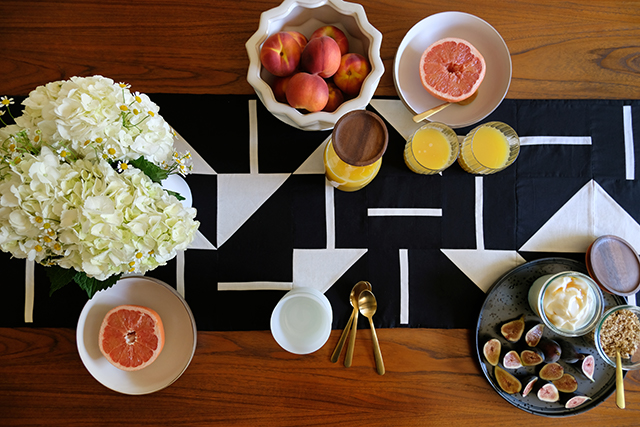
DIY Quilted Geometric Table Runner

August 27, 2018

DIY Quilted Geometric Table Runner

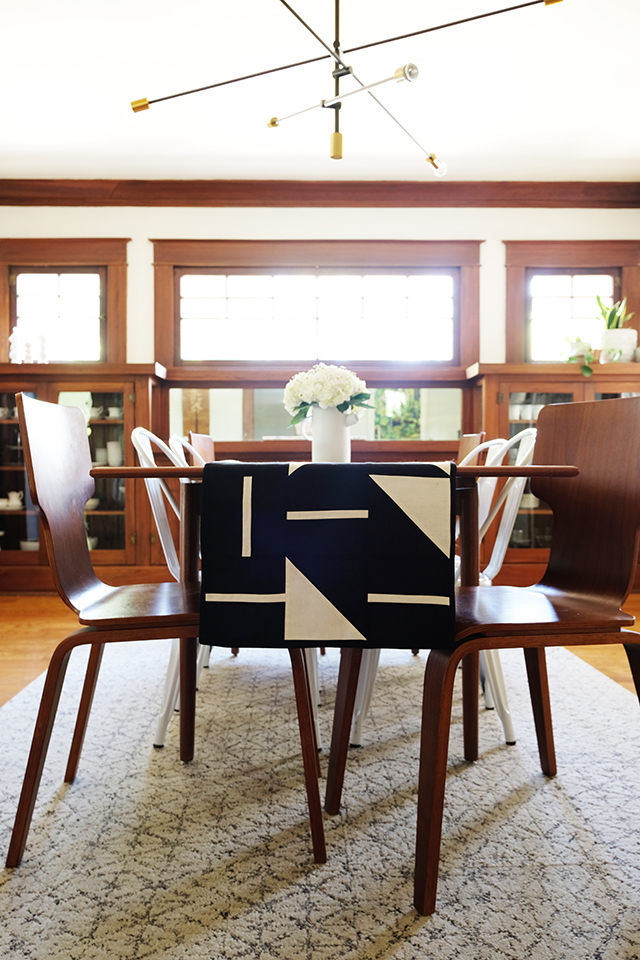
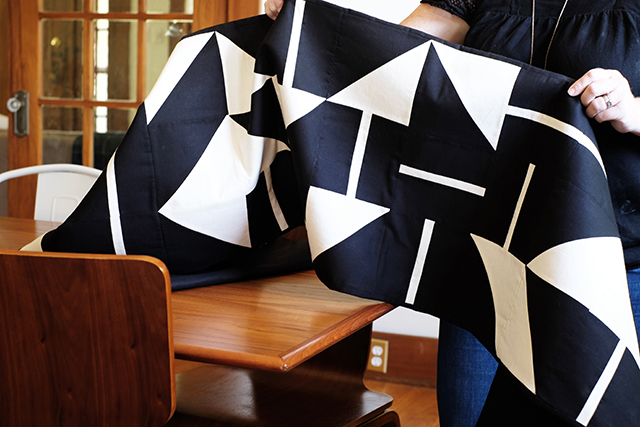
Hey, remember when I used to make DIYs all the time? Well, I’m finally back with a new one. And I’m actually super proud of this project. It’s definitely a keeper and I’m excited to have this brand new table runner on my dining room table. My dining room is a lot of wood on wood on wood, so adding a bold pattern definitely helps break up all that brown.

If you’ve been around here for a while, you probably know that I’ve have a thing for triangles for quite a spell now. And I guess I’m not ready to quit them yet.

DIY Quilted Geometric Table Runner

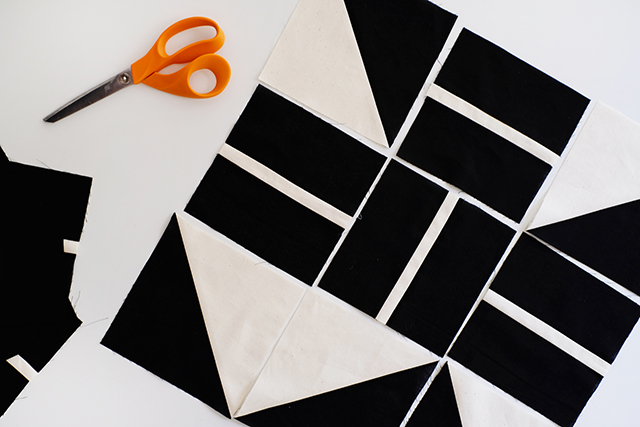
I’ve said this before, but I’m not a quilter, but I do LOVE putting together quilt tops. This runner is just a combination of two VERY simple quilt blocks. Geometric shapes can be a little rigid and stuffy, but a random placement gives this piece a little more of an organic, free-spirited vibe.

DIY Quilted Geometric Table Runner

You can find all the detailed step by step instructions over on Hunker.com

DIY Quilted Geometric Table Runner


Design

The Moore Apartments

August 26, 2018

Ok, and I’m back with more of what I’ve been up to lately. This next project I’m going to share about has been in full swing for the last 5 weeks and it’s really consumed A LOT of my time and energy. But gosh, this is literally the best job for me. It checks off so many boxes for me. So, let me tell you about The Moore Apartments. (Oh, and I’ve been sharing a lot of BTS of this project on my Instagram and even have an account for The Moore Apartments as well).

Oleander + Palm - The Moore Apartments - Bakersfield, CA

I have been hired to design and do some project management for the renovation of The Moore Apartments. These are not going to be the run of the mill rentals. They are going to be high-end living with all the modern luxuries like brand new appliances, a new HVAC system, a laundry room and lots of custom details and touches.

The Moore Apartments are less then a mile from my home. Built in 1919, the building has 2 apartments on the top level and 2 on the bottom. The apartments are packed with cool original character, details and charm. And you know how much a love old houses! They are also in my hood and just a block away from the High School Lonnie teaches. They need a lot of love, so I’m excited to be apart of improving to my neighborhood.

I’ve brought on my brother, Ash, and also my dad (who just retired a couple months ago, so I thought he had a little time on his hands) to do most of the work. This project would not be possible without them. We are renovating, but also trying to preserve and restore these apartments as much as possible. It is very hard to find tradesmen that understand the value of keeping something that is 100 years old. And as soon as we mention that these are going to be rentals, folks want to tell us to lay down some beige tile and call it good. But, that’s just not the O + P way. We are being super picky about the quality of work and the finishes we choose.

Oleander + Palm - The Moore Apartments

source // source // source

source // source // source

source // source // source

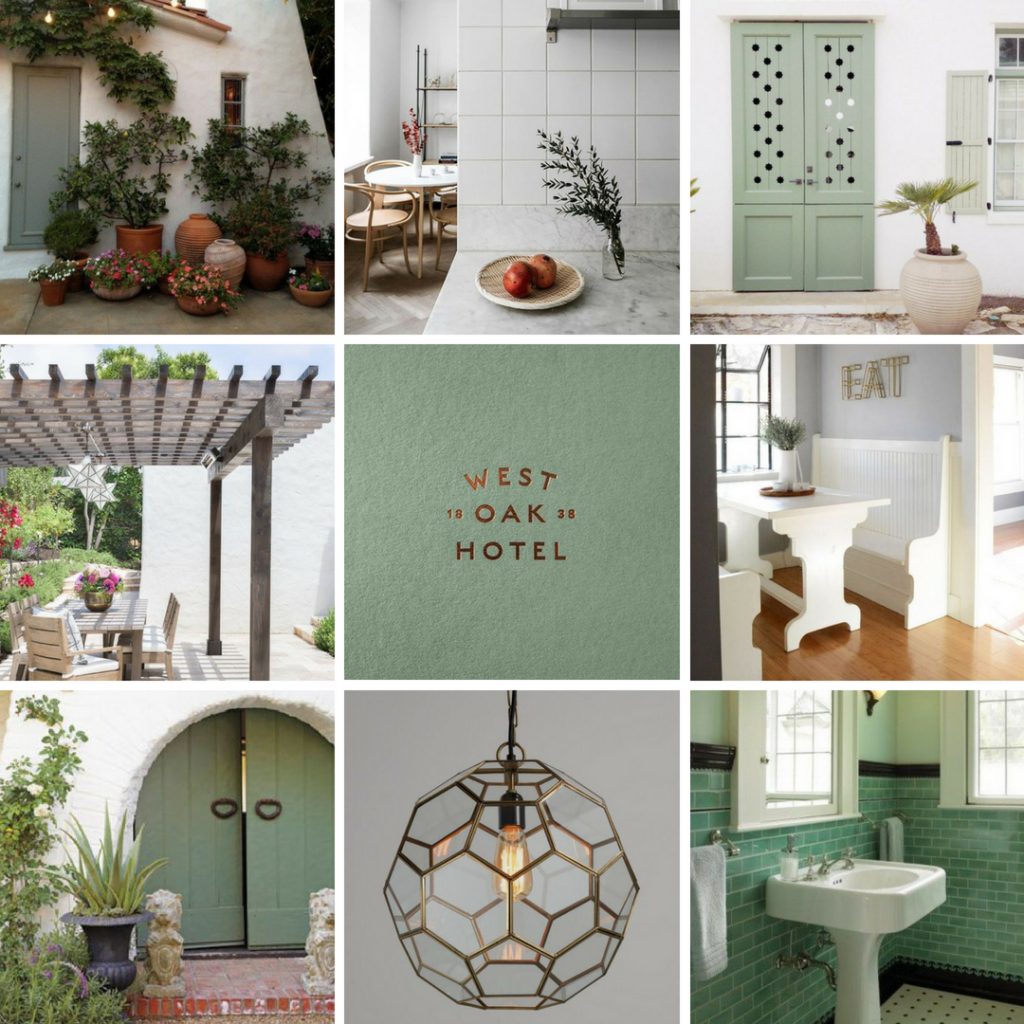
We are just a couple weeks away from having the first unit up and ready to go. We have moved fast and furious and I am so excited to see all of the details come together. So, before we are ready to show befores and afters, I wanted to share a little of the inspiration behind this project. The building’s exterior has a simple, clean, Spanish look. There are lots of fun 20s touches like a banquet in the kitchen, built in ironing boards and mint green tile. We are going to with some sage green on the exterior and nod to that green on the interior as well.

I put together a mood board for the design direction for The Moore Apartments and I also created a logo for them as well. You know I couldn’t help myself, I had to do a little branding.

So, would you like to see more or Moore? I have some before footage I’ll share soon.

Food & Drink

Dark + Moody Food Styling + Photography

August 19, 2018

Oleander + Palm Food Stying and Photography

Well friends, long time no see. Unless you are following me on instagram, I’ve been very silent here. I’ve missed the blog, a lot. The last couple of months have been a crazy whorl wind. I have so many things I want to share with you, but by the time I get to the end of the day. For weeks now I have written blog posts in my calendar and then just haven’t had the time to follow through and get the posts live.

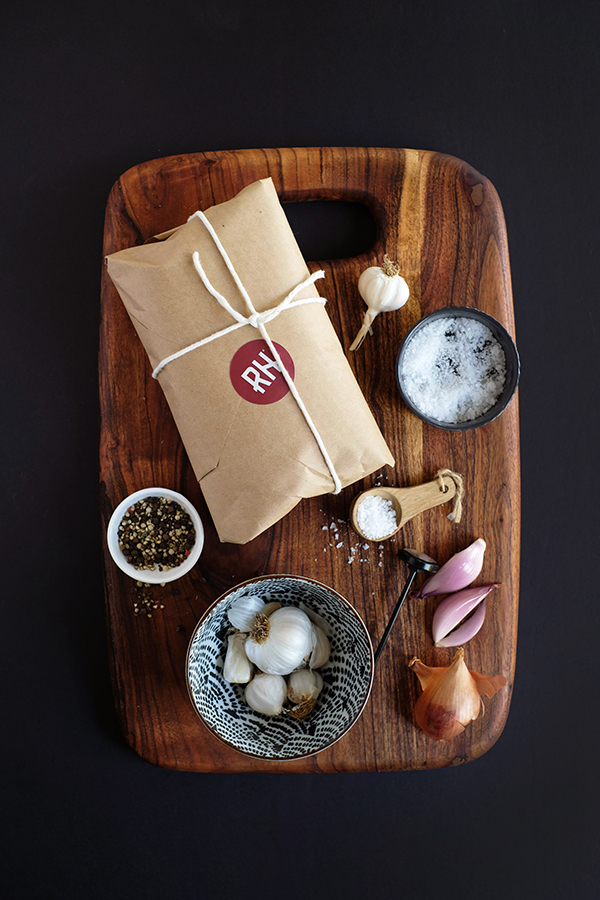
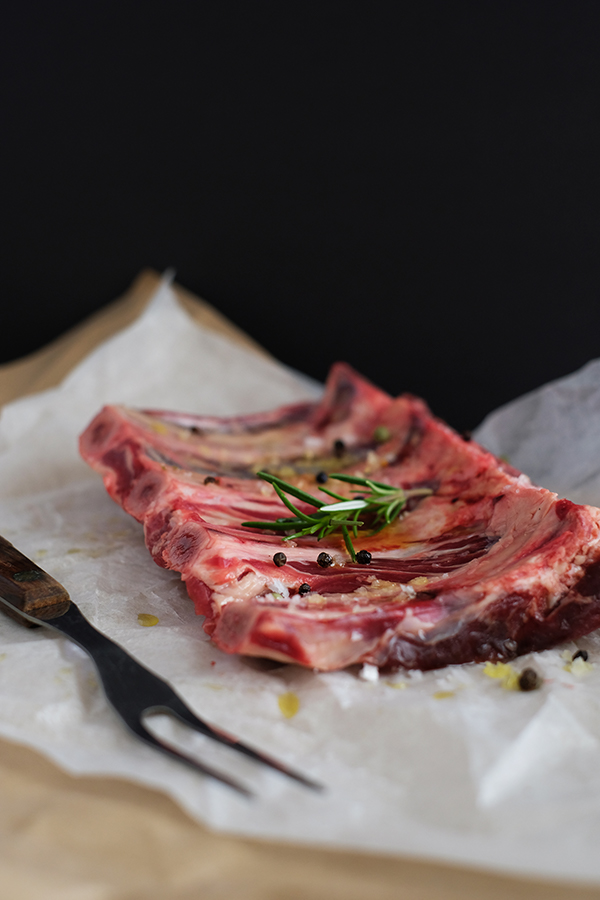
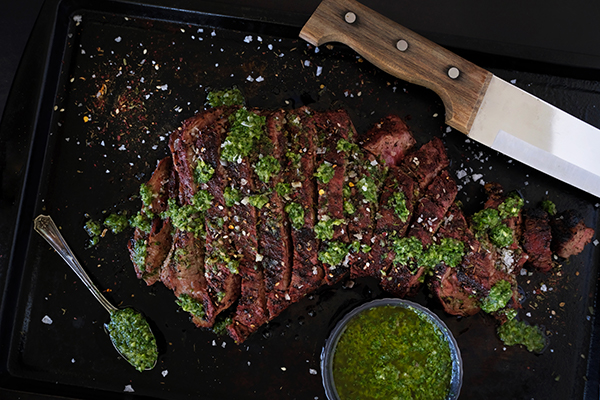
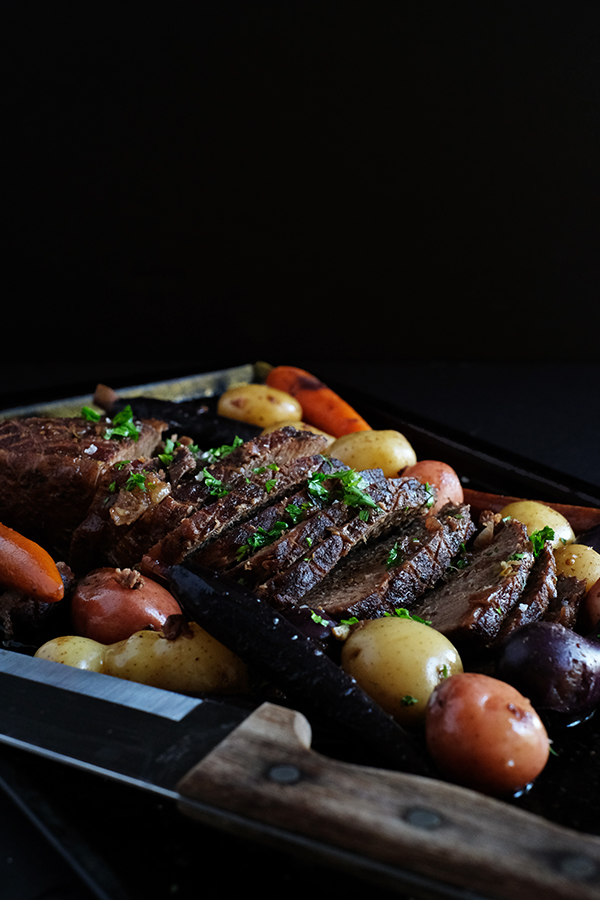
So, today I’m starting with baby steps and I’m sharing a little behind the scenes I’ve what I’ve been up to. I’m going to do my very very best to get a couple more posts out this week, but to start I thought I’d share some of the freelance work I’ve been doing lately. I love a lot of aspects of my weird, every changing job, but food styling and photography holds are very special spot in my heart. In the last couple of months I’ve worked with my friend Shannon, of Purveyor House, on some images for REDHOUSE Beef, to style and photograph some of their product.

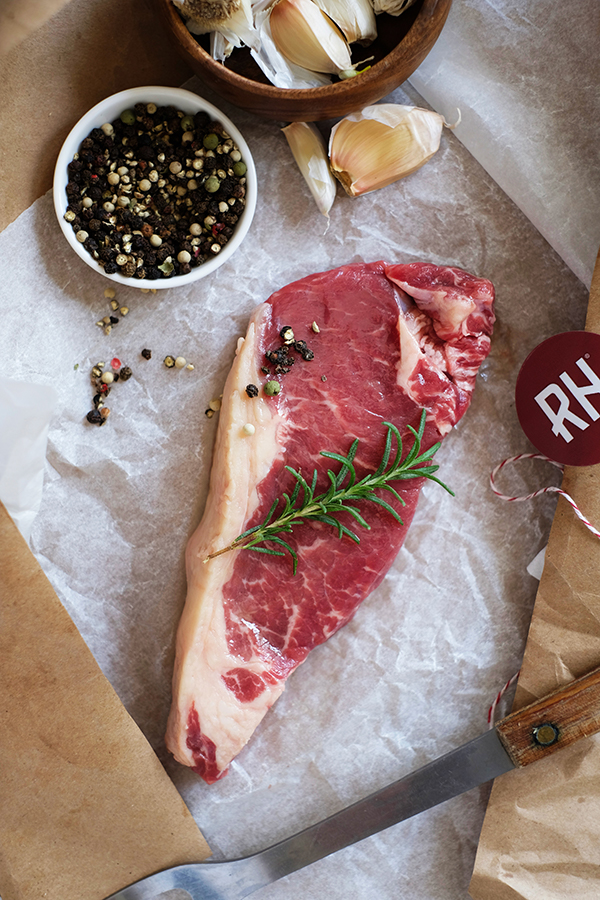
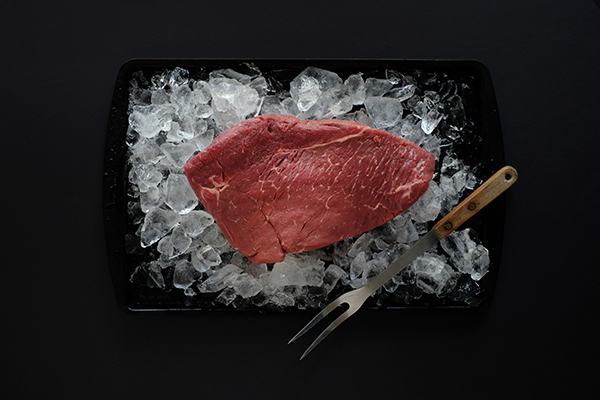
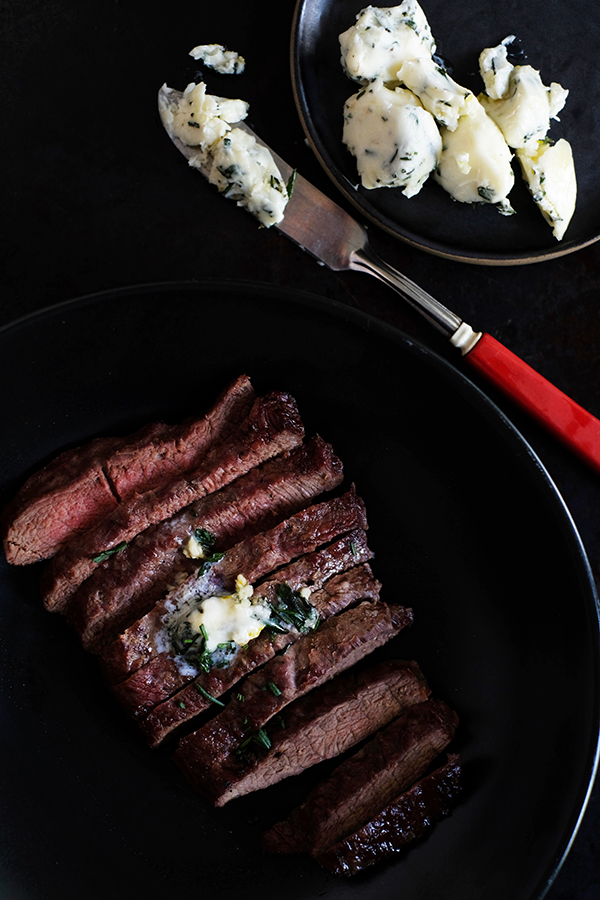
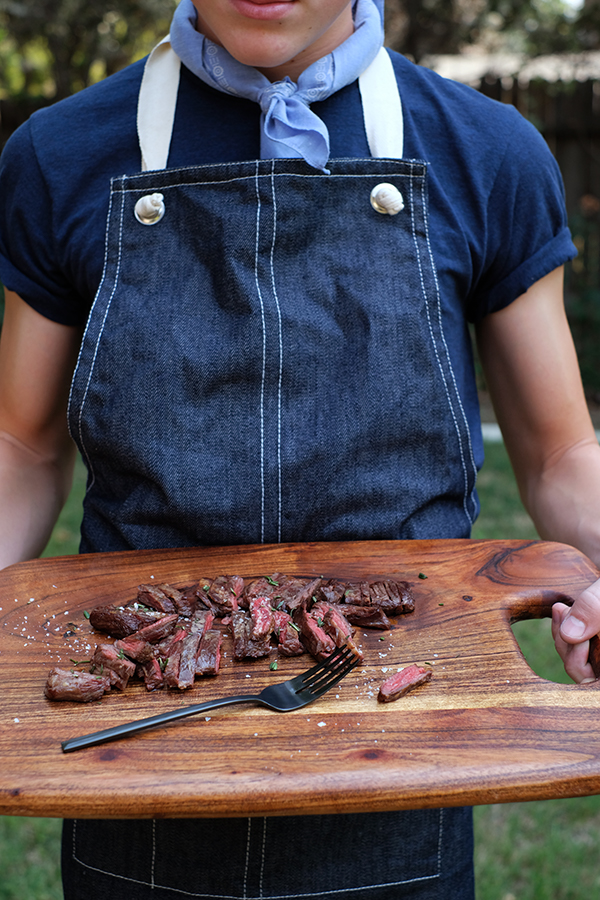
Shooting raw and even cooked meat was a great creative challenge for me. It’s a totally different ball game from shooting pretty cocktail. I really wanted to play with a dark moody vibe with these images and now I’m in LOVE. The black backdrop and dark props have stolen my heart. I’ve been a sucker for bright, white marble for quite a while now, so it was fun to experiment and push myself a little. Anyways, all this to say, I’m kind of proud of these images I styled, cooked and photographed – so, I wanted to show you.

Oleander + Palm Food Stying and PhotographyOleander + Palm Food Stying and Photography

This loaded burger was super yummy, and served on Baker’s Outpost bread – win, win!

Oleander + Palm Food Stying and PhotographyOleander + Palm Food Stying and Photography

This might be favorite image of all. I love the texture and depth of the ice. It’s kind of a creepy image if you look at it too long, but it also feels a cool still life more then just a step in a recipe shoot.

Oleander + Palm Food Stying and Photography

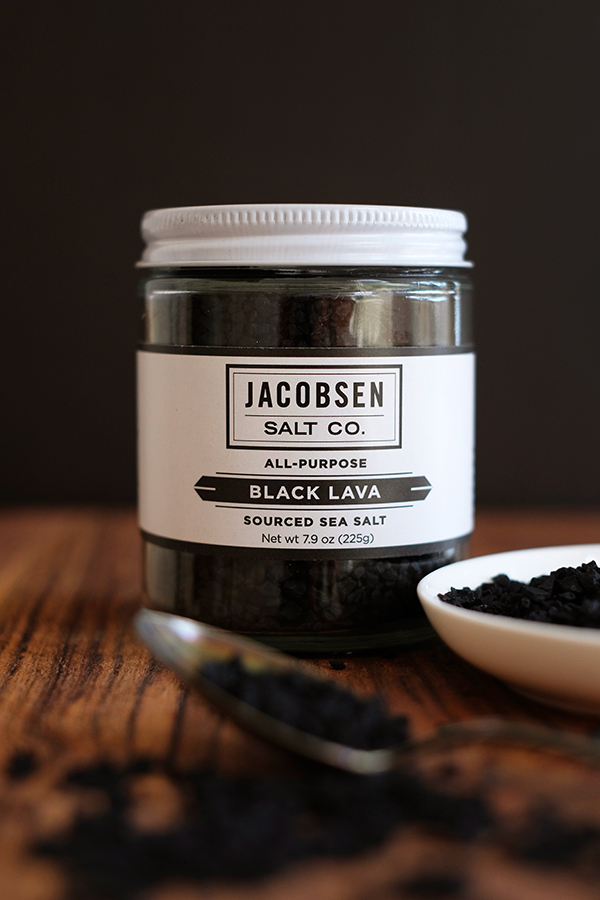
This black salt is the BOMB (is that even cool to say anymore?). Anyways, the color is killer and it was a perfect contrast to the red meat.

Oleander + Palm Food Stying and Photography

After 3 big shoots with REDHOUSE, I’ve collected a very extensive prop closet for Red House. I think it’s kind of what I do best (find cool old crap). Like this vintage red butter knife.

Oleander + Palm Food Stying and Photography

If you are local to Bakersfield, I highly recommend their products. You can order online and even pick up at the ranch.

Oleander + Palm Food Stying and Photography Oleander + Palm Food Stying and Photography

And should apologize if your are a vegan or vegetarian – there is A LOT of meat in this post. But you should know that REDHOUSE herds spend their days grazing on lush land, roaming the foothills and live in a stress-free environment. Their ranch’s grass fuels the animals, and is designed for what they need at this stage.

Oleander + Palm Food Stying and Photography


Food & Drink

3 Day Camping Menu

June 21, 2018

If you follow me on instagram, you know that our family likes to camp. Number 1. we love the outdoors, and number 2. camping is so affordable. We can’t always splurge on a hotel for a family of 5, but pitching a tent costs almost nothing. Camping allows our family quality time together and affordable travel.

When you are outdoors all day hiking and exploring, food is pretty important. My kids are always staring when we camp. And if you are missing some of the luxuries of sleeping indoors, like beds, showers and flush toilets, then having yummy meals feels like something special.

So, after lots of requests for some camping recipes and menus, I’m sharing a typical 3-day camping trip menu that we eat when sleeping under the stars. This is actually what we ate this last Spring Break when we were in Joshua Tree National Park. All this food fits in one cooler and we cook on a one burner camp stove or over the fire.
3 Day Camping Menu 3 Day Camping Menu

Day 1

We usually leave very early in the morning so a grab and go breakie is a must. I can’t think of the last time we went camping and I didn’t make a batch of Banana Chocolate Chip Muffins before we left.

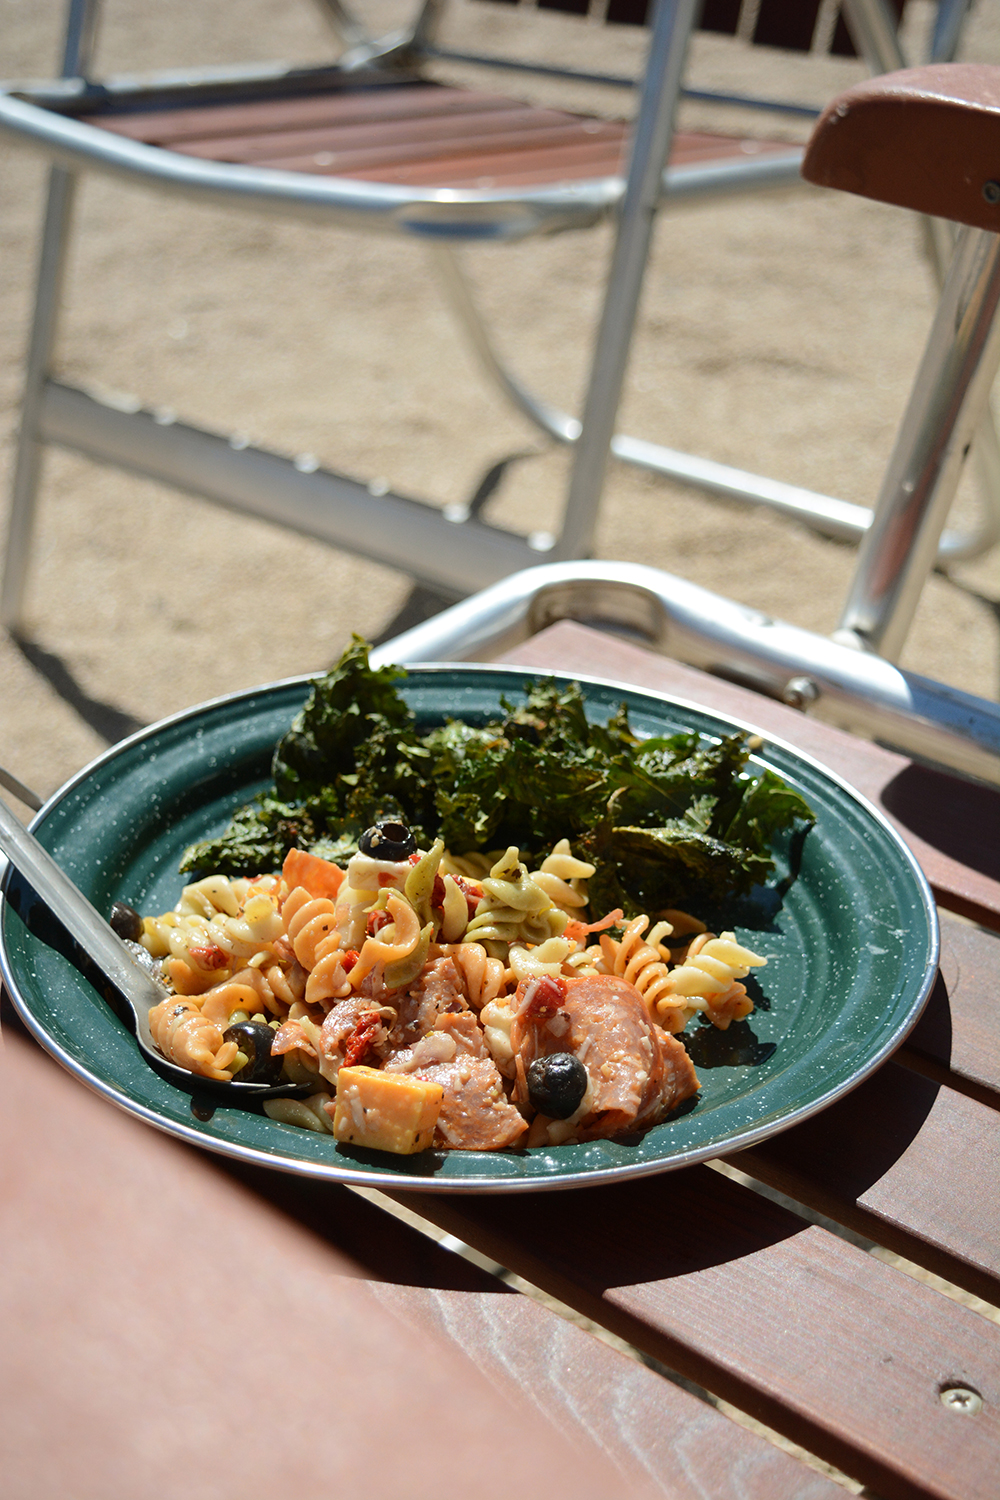
I like to make cooking at the campsite as easy as possible. Sometimes that means I don’t cook at all, I do all of it ahead of time in the comfort of my well stocked kitchen. Pasta Salad is a must when we car camp (When I say car camping, this is when you pitch your tent near your car and you aren’t backpacking in. So, you can have a cooler with food in it.) This is a recipe that Lonnie’s mom has made for years. And it’s really not a recipe at all. It’s a big package of spiral pasta cooked and then black olives, peppers, sun dried tomatoes, pepperoni, parmesan cheese, red onion, pepper jack + cheddar cheese cubes, and italian dressing are all added. I mix it up well and then store it in a couple large ziploc bags in the cooler. The kale chips are also made ahead and stored in a ziploc bag.

We love hobo meals (or foil package meals as some folks call them) – these are meals that are cooked wrapped in foil and placed in the coals of a fire. It’s no mess, no pots and pans and no dishes!
Camping Menu for 3 Days3 Day Camping Menu3 Day Camping Menu

Day 2

As I mentioned before, we camp with a tiny one-burner camp stove. So, these burritos are made in one very small IKEA frying pan.

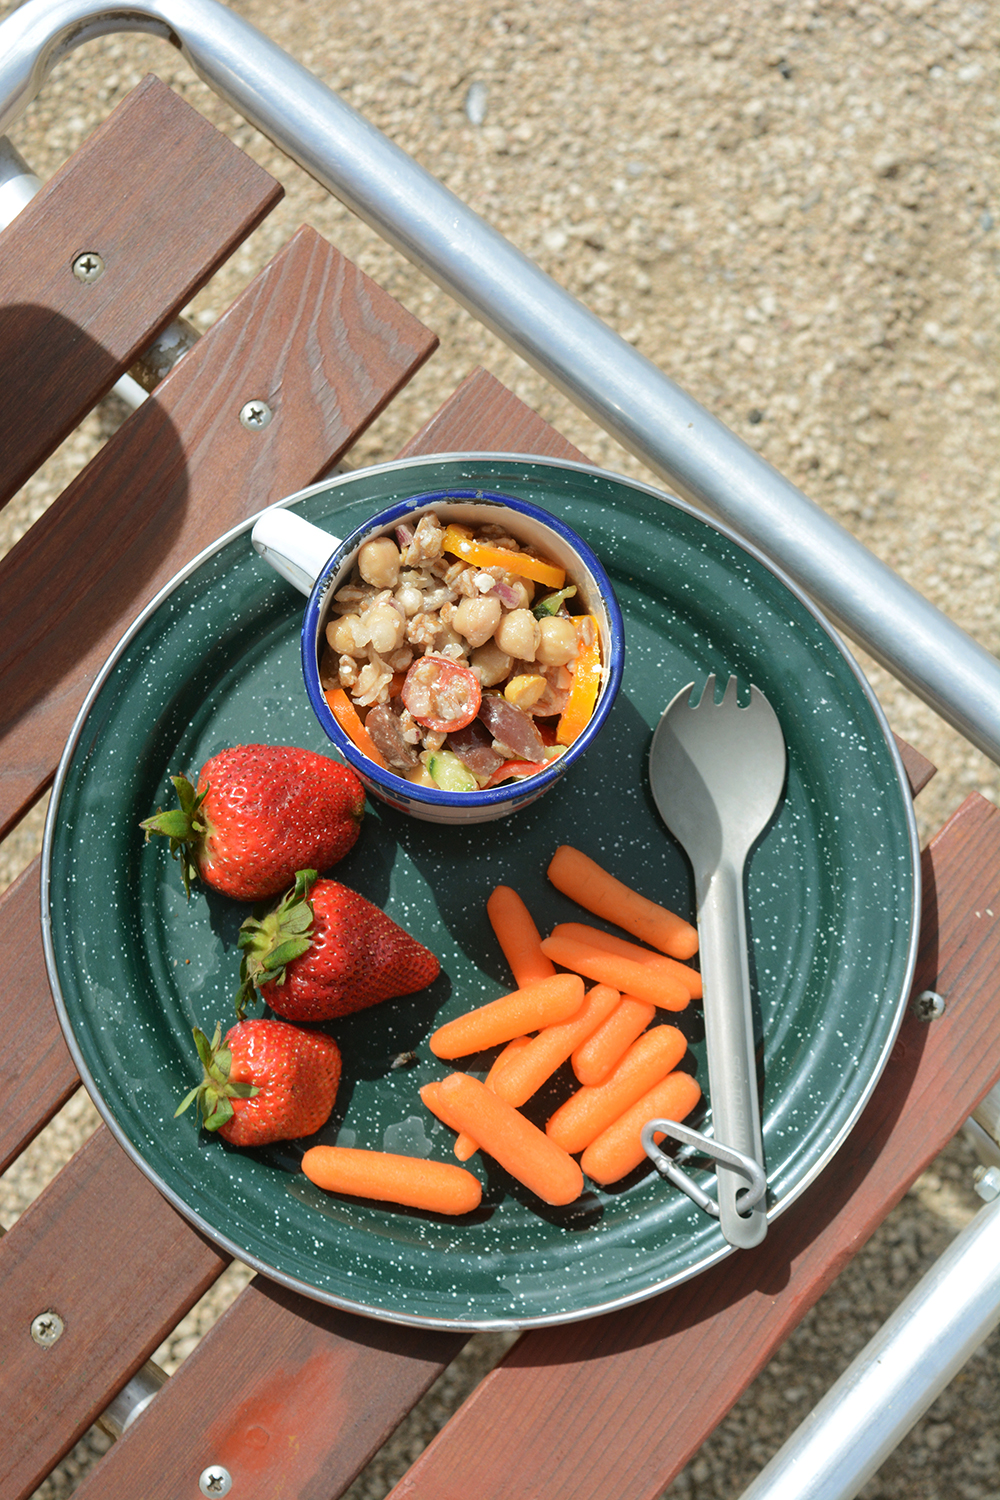
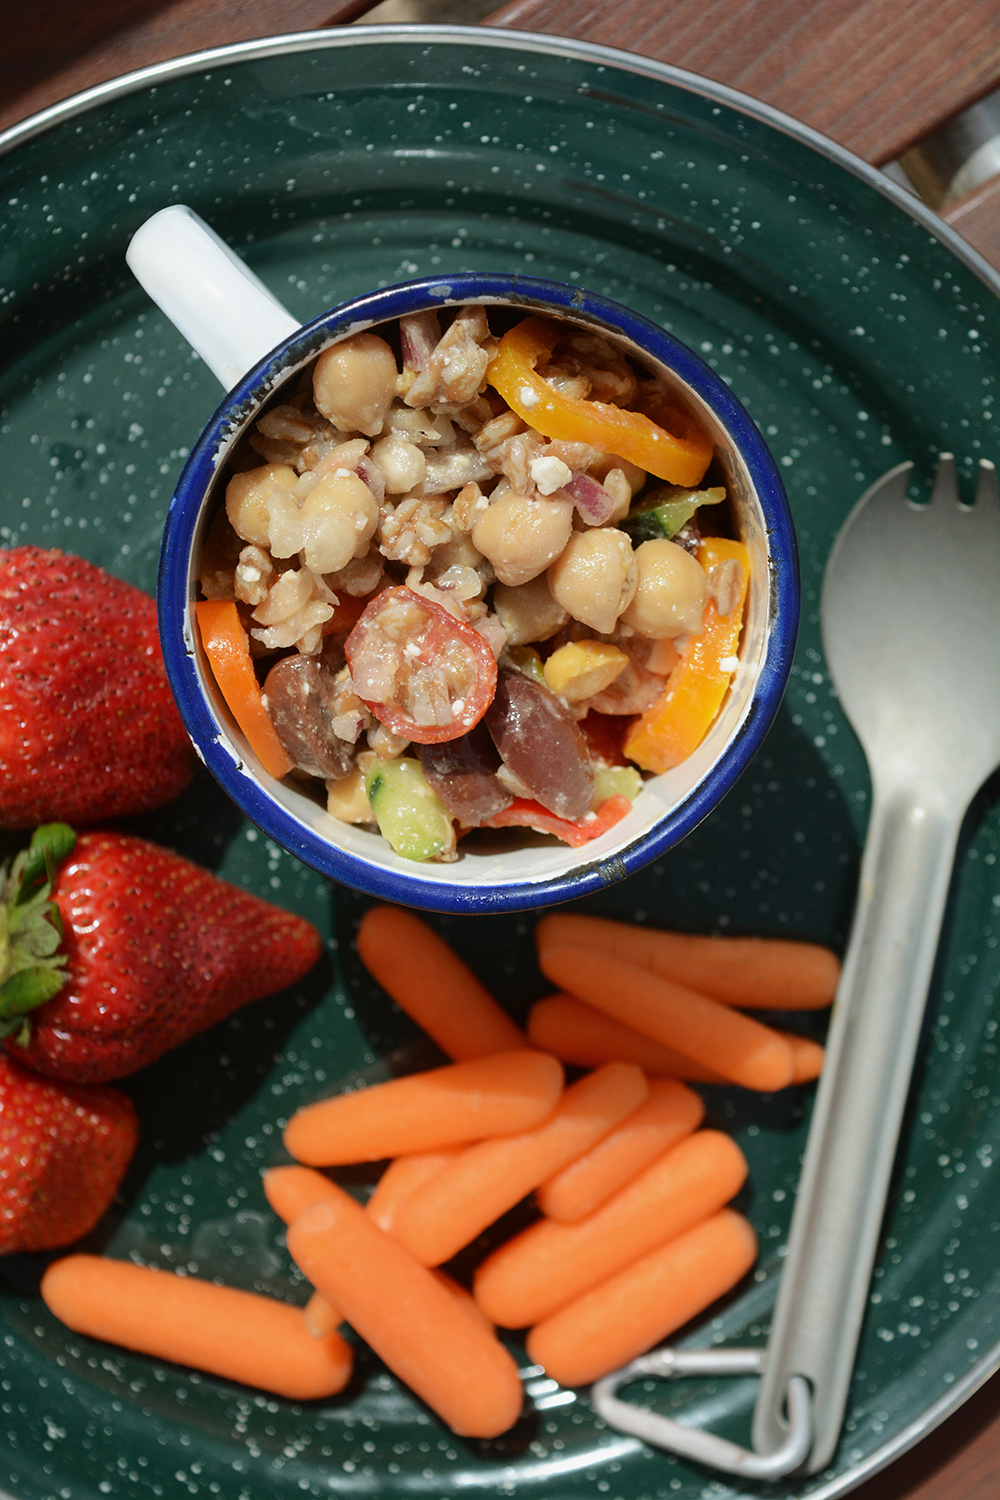
For lunch, again there is another made-ahead meal. This garbanzo bean salad is something we eat regularly at home as well. Garbanzo beans are great for making in advance, they don’t go mushy and they are a great source of protein. I store this salad in a couple large mason jars in the cooler.

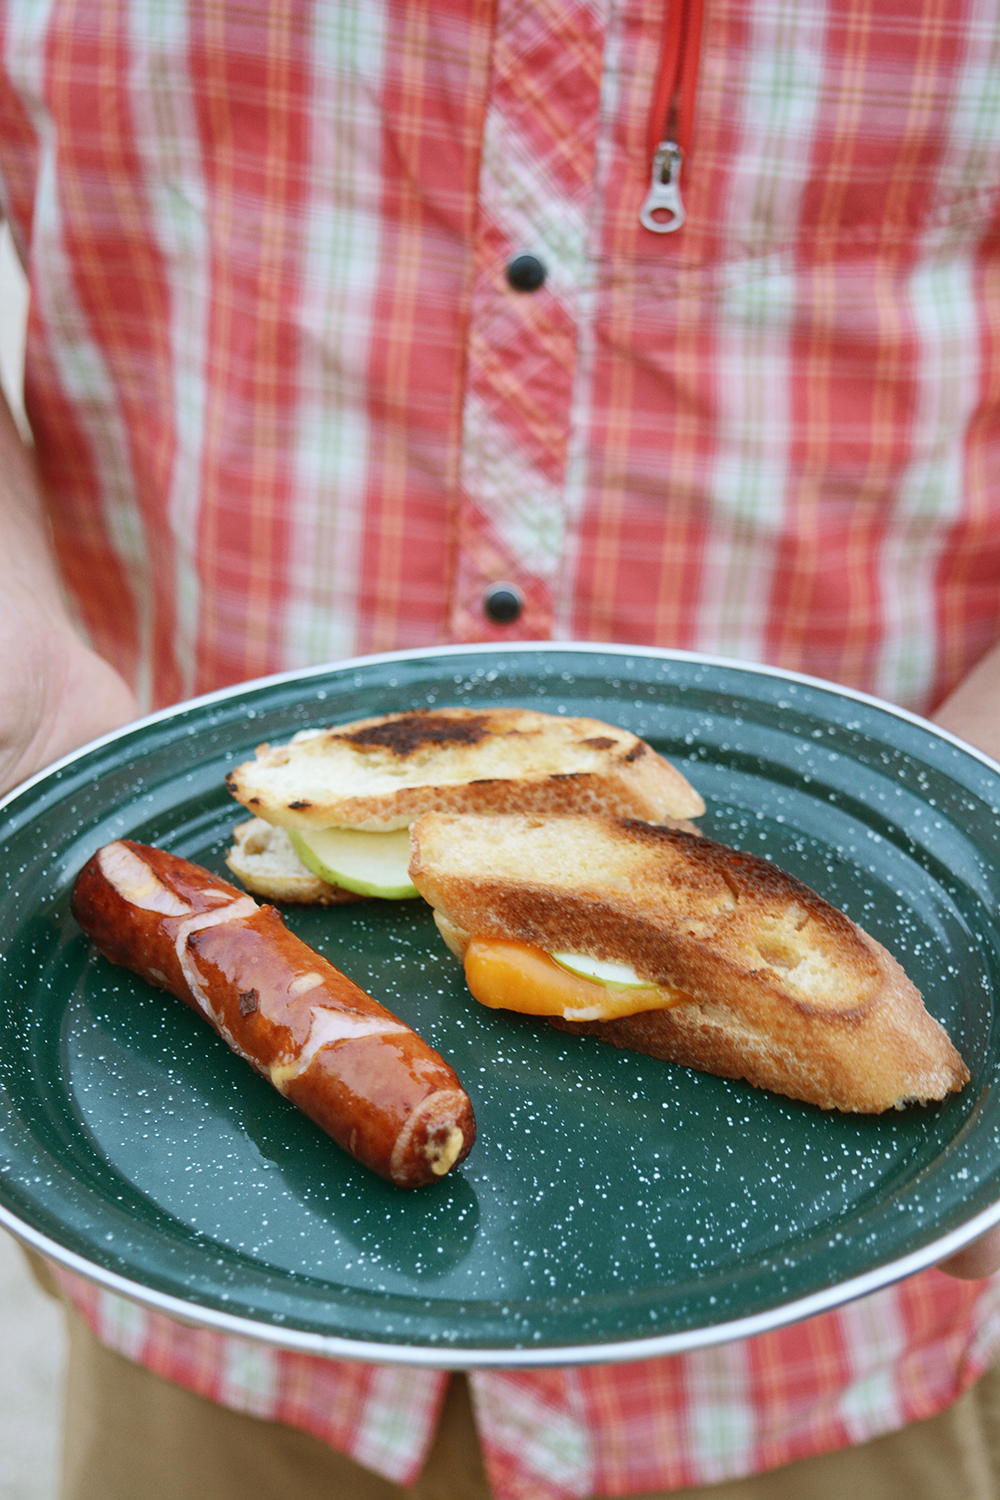
Who doesn’t love a grilled cheese sandwich? These are made on a baguette with thin slices of green apples and sharp cheddar or brie cheese. I always bring a stick of butter in a mason jar. And these have a generous smear of butter on both sides of the sandwich so that they get good and toasty in the fry pan. Baguettes are perfect for camping. They aren’t easily smashed and even when they are a few days old and stale, they toast up beautifully.
3 Day Camping Menu

Day 3

By day 3, the cooler is usually running out of ice and you might be getting weary of cooking. So, we keep things super simple. Start by cooking the bacon first, the bacon grease that is left can be used to cook the pancakes in. Everyone will be pretty tired on this last day of camping, but the smell of bacon cooking outside their tent is guaranteed to get the up and going.

You just wouldn’t be camping if a pb+j or honey wasn’t in the mix. We like to travel with honey because it doesn’t have to be kept in a cooler. And pringles are the only chip to camp with. They are in that nifty can that keeps them from getting smashed.

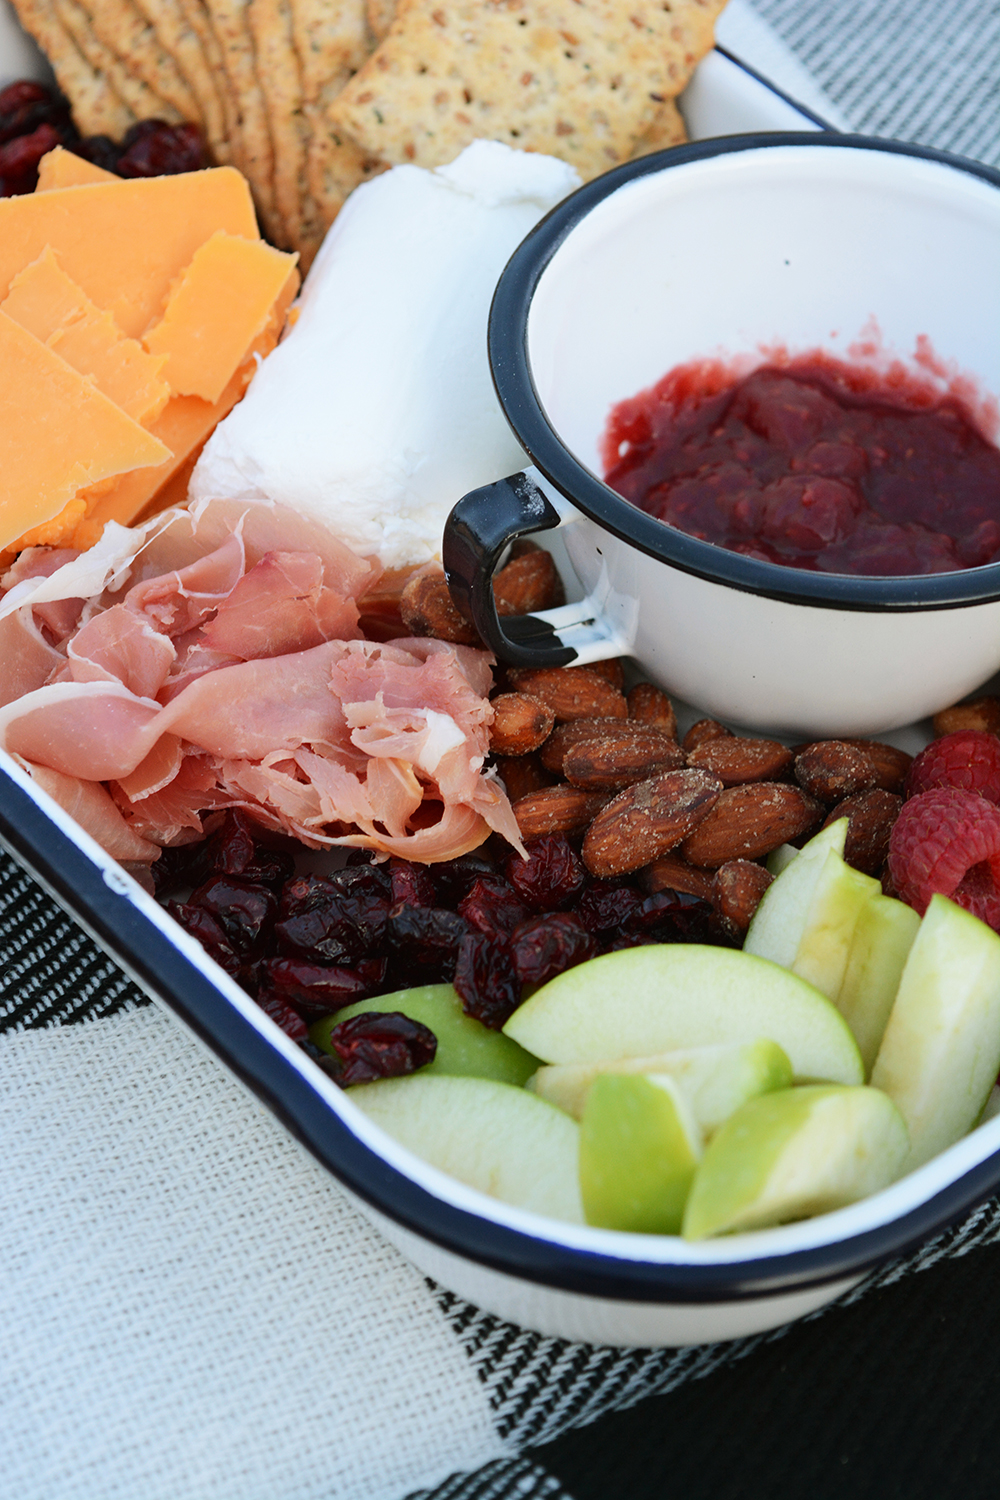
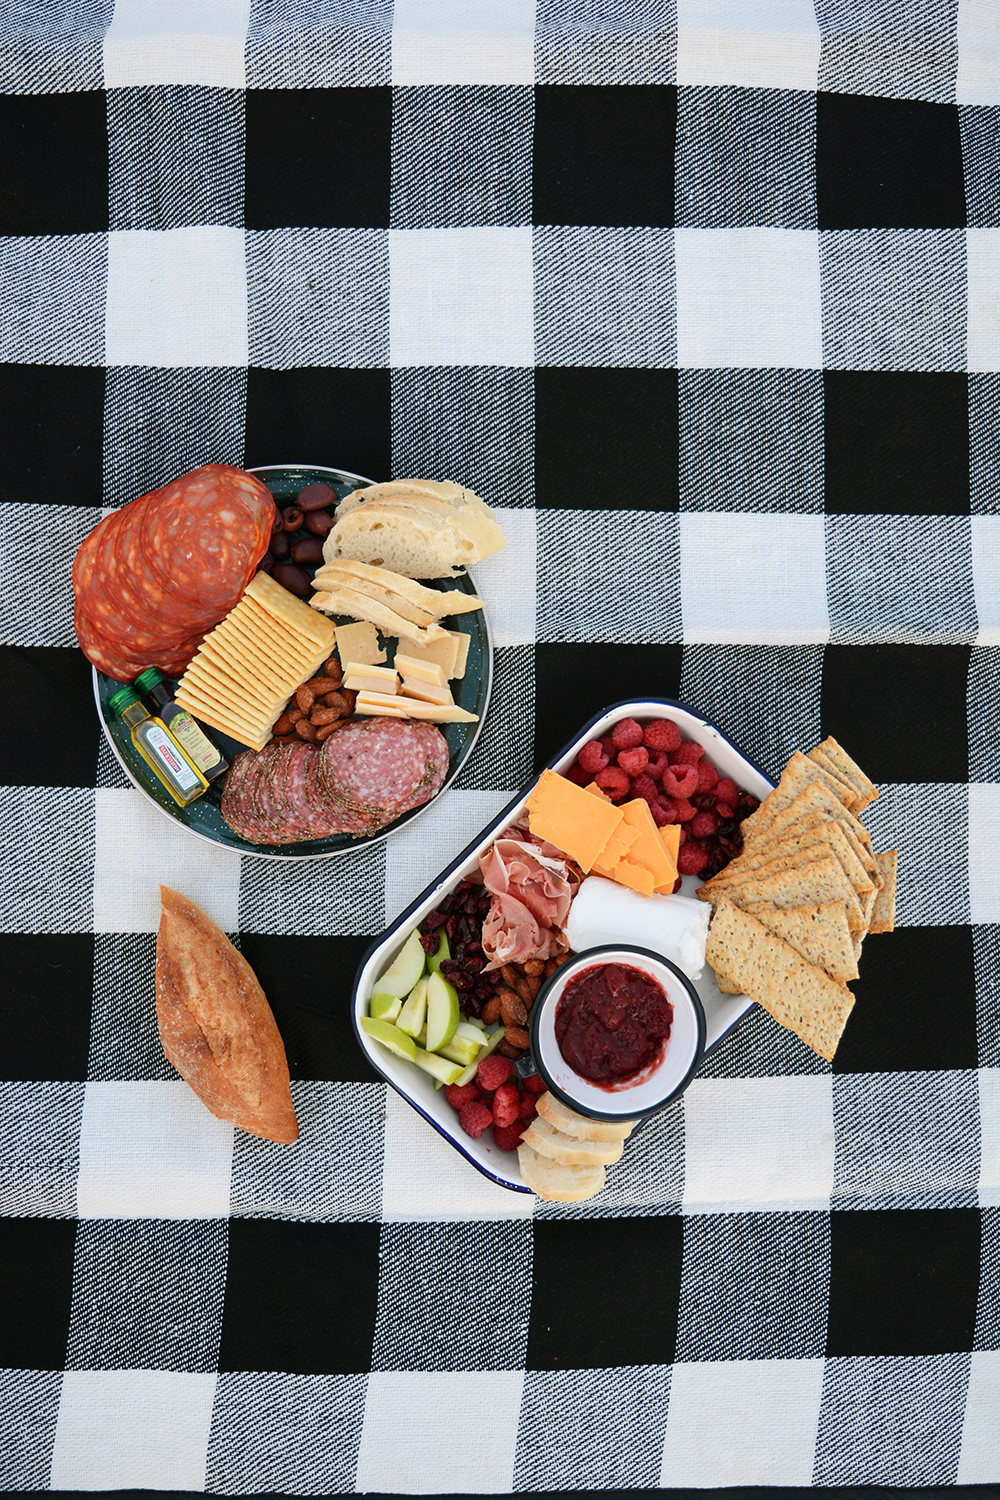
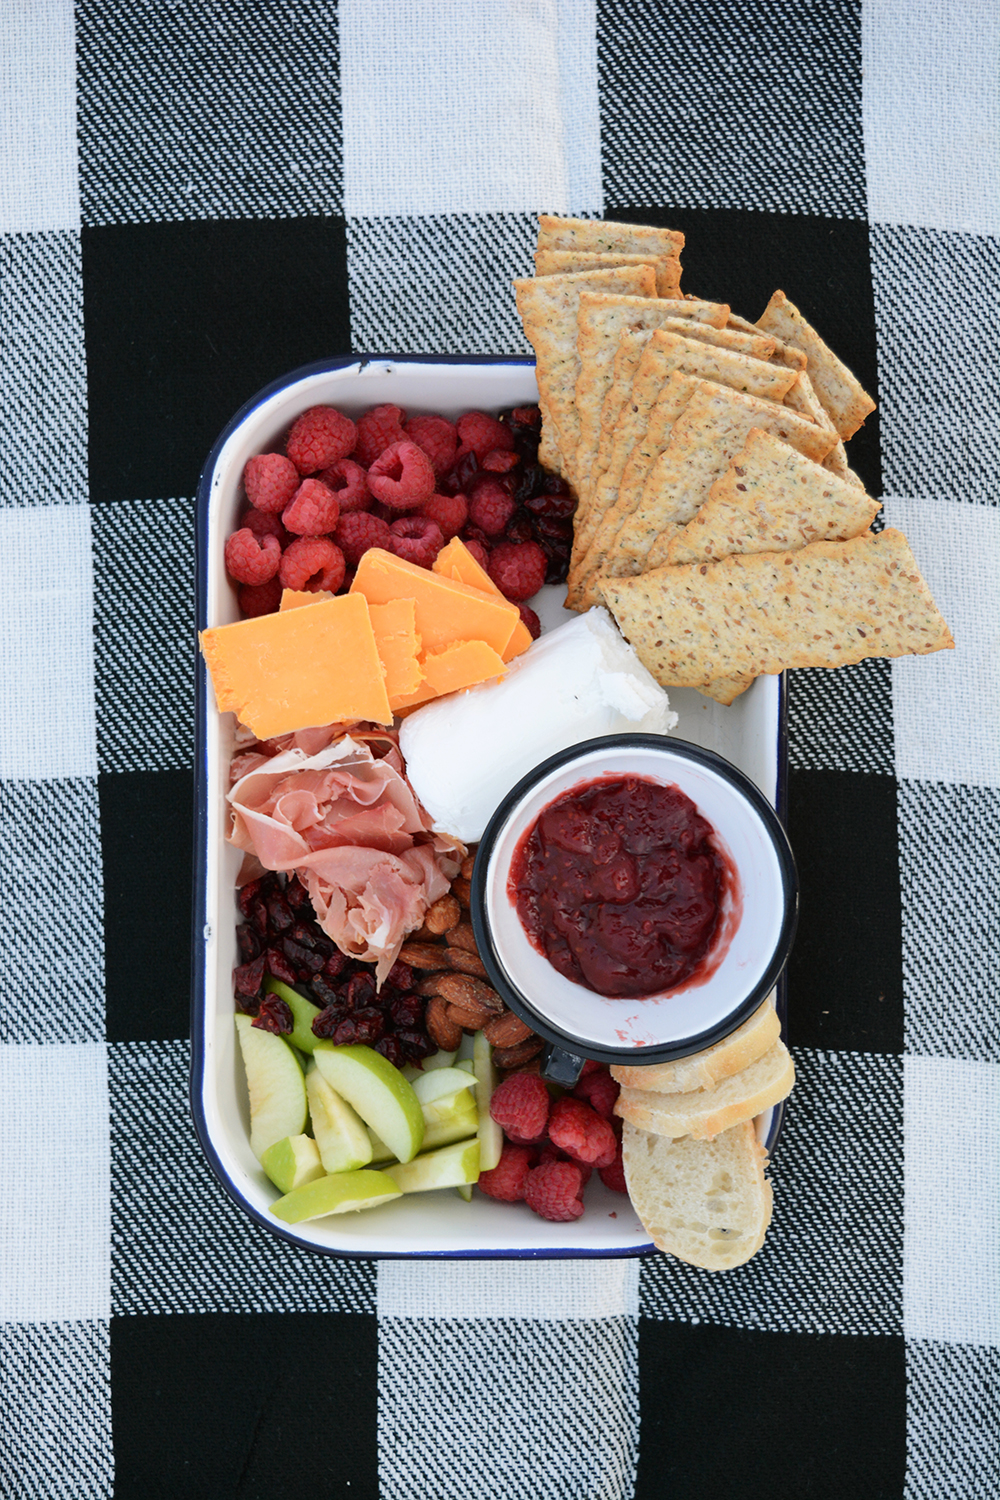
I’m always a fan of charcuterie or any form of a cheese, meat + bread spread whether I’m camping or not. This is another one of our favorite no-cook camping meals. The other half of the baguette from the grilled cheese is used with this meal. A good assortment of salamis, crackers, cheese, berries, apples, jam/honey, nuts and dried fruit are sure to make everyone happy. Cost Plus World Market is my favorite place for picking up packaged meats and cheeses that don’t have to be refrigerated. They also sell the adorable tiny oil + vinegar bottles, small bags of olives and lots of nuts and crackers.
3-day Camping Menu

Here’s a few other camping recipes that I’ve shared over the years. You’ll see that I lot of these images go back to the original days of Oleander + Palm and clicking through to them makes me realize how far my photography has come:
DIY

DIY Photo Display

June 6, 2018

DIY Photo Stand

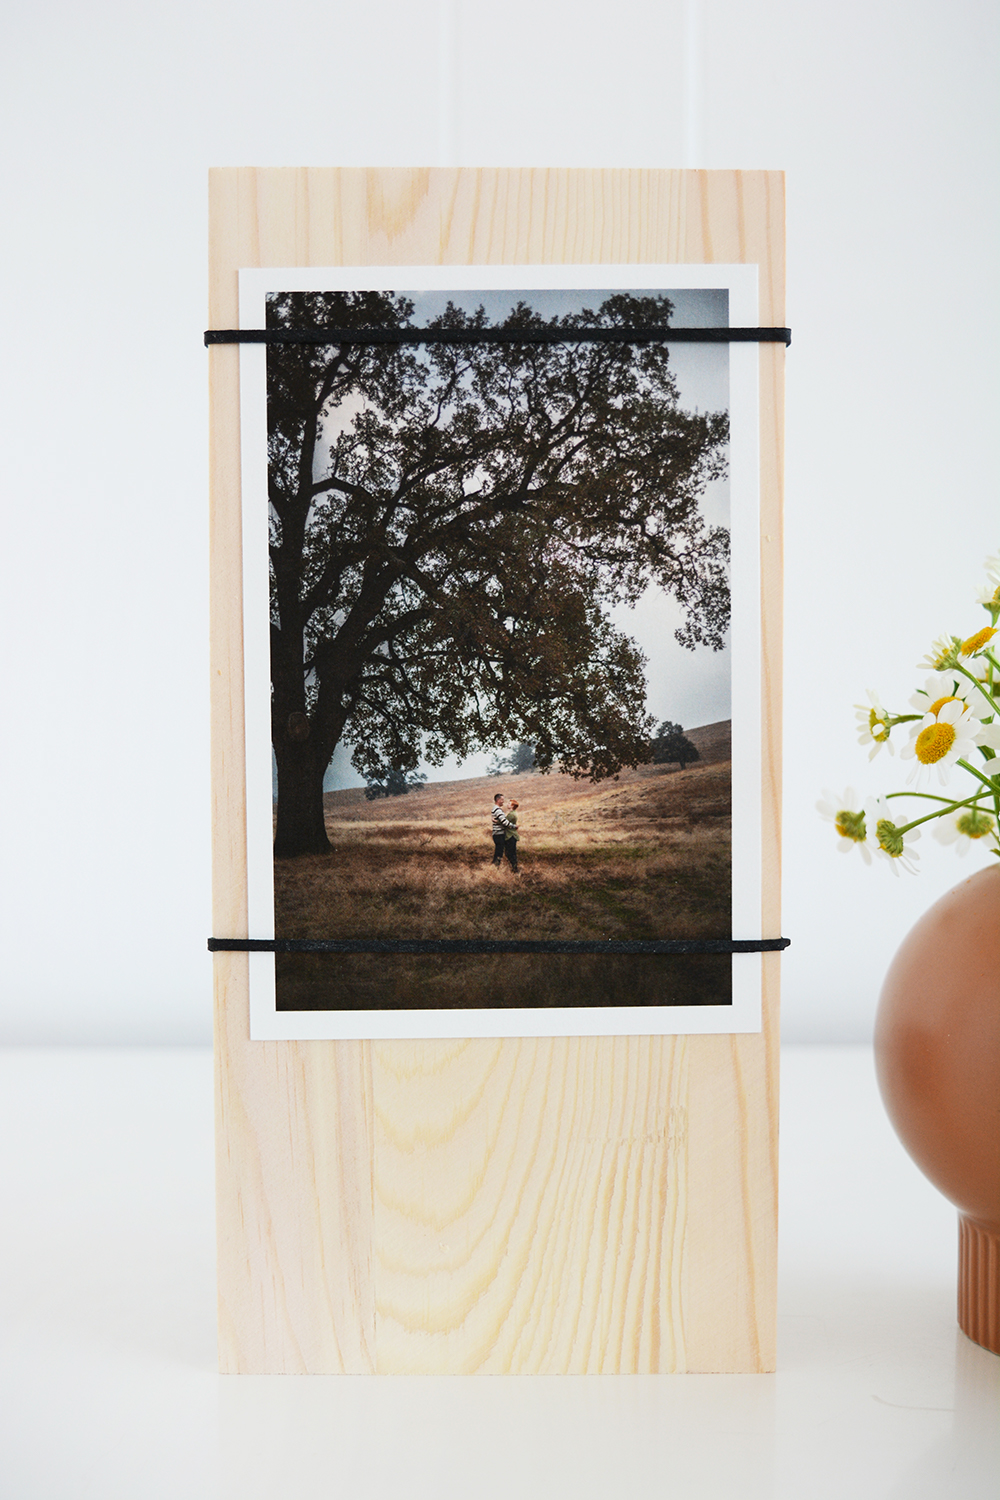
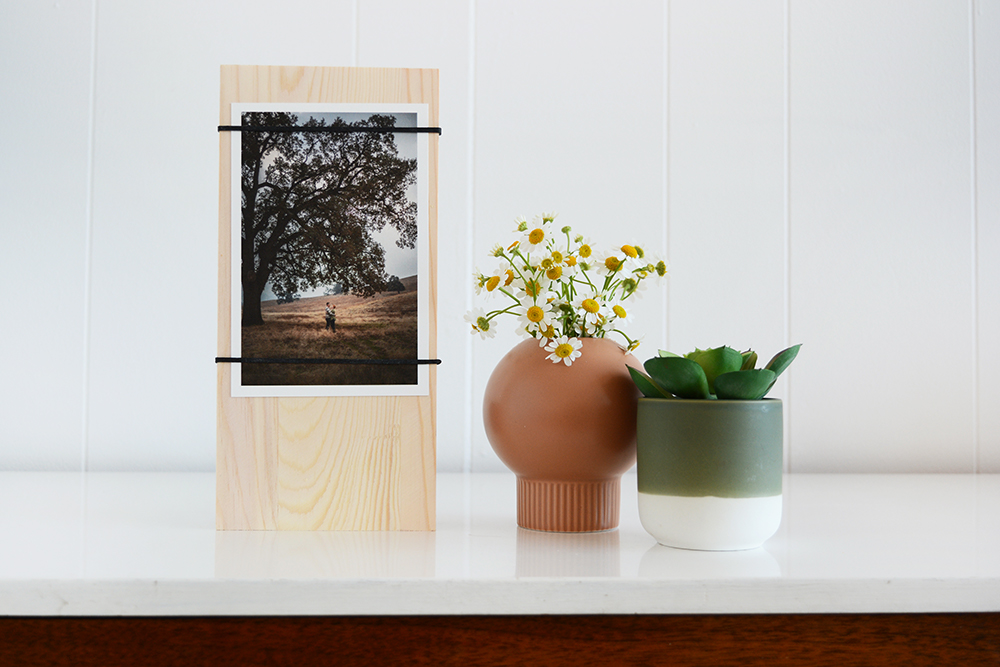
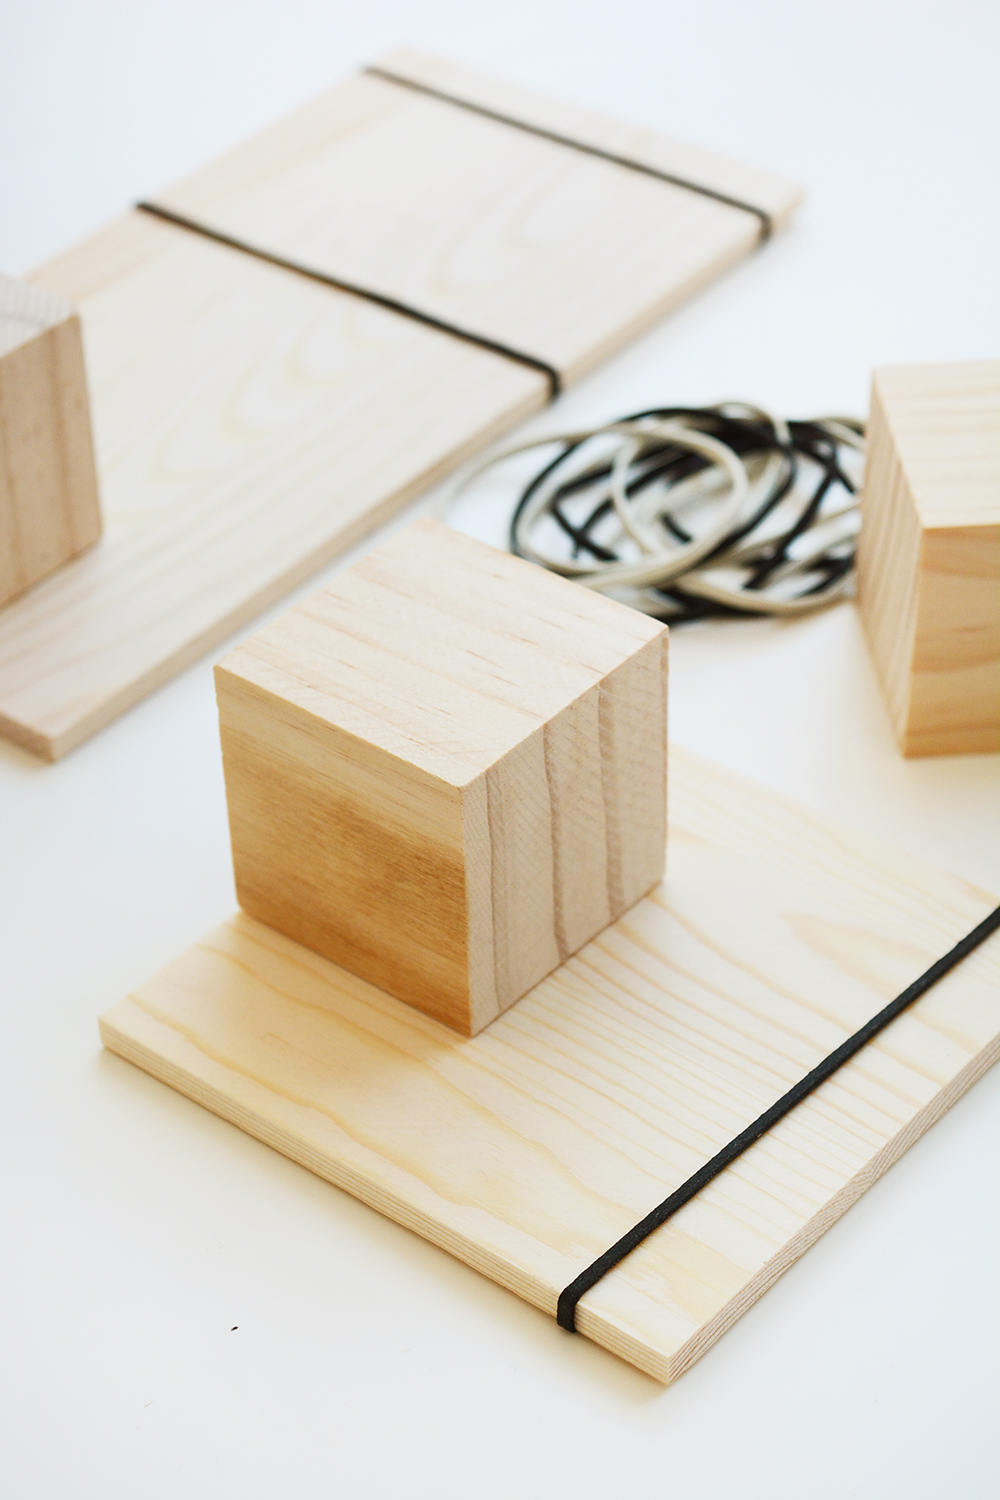
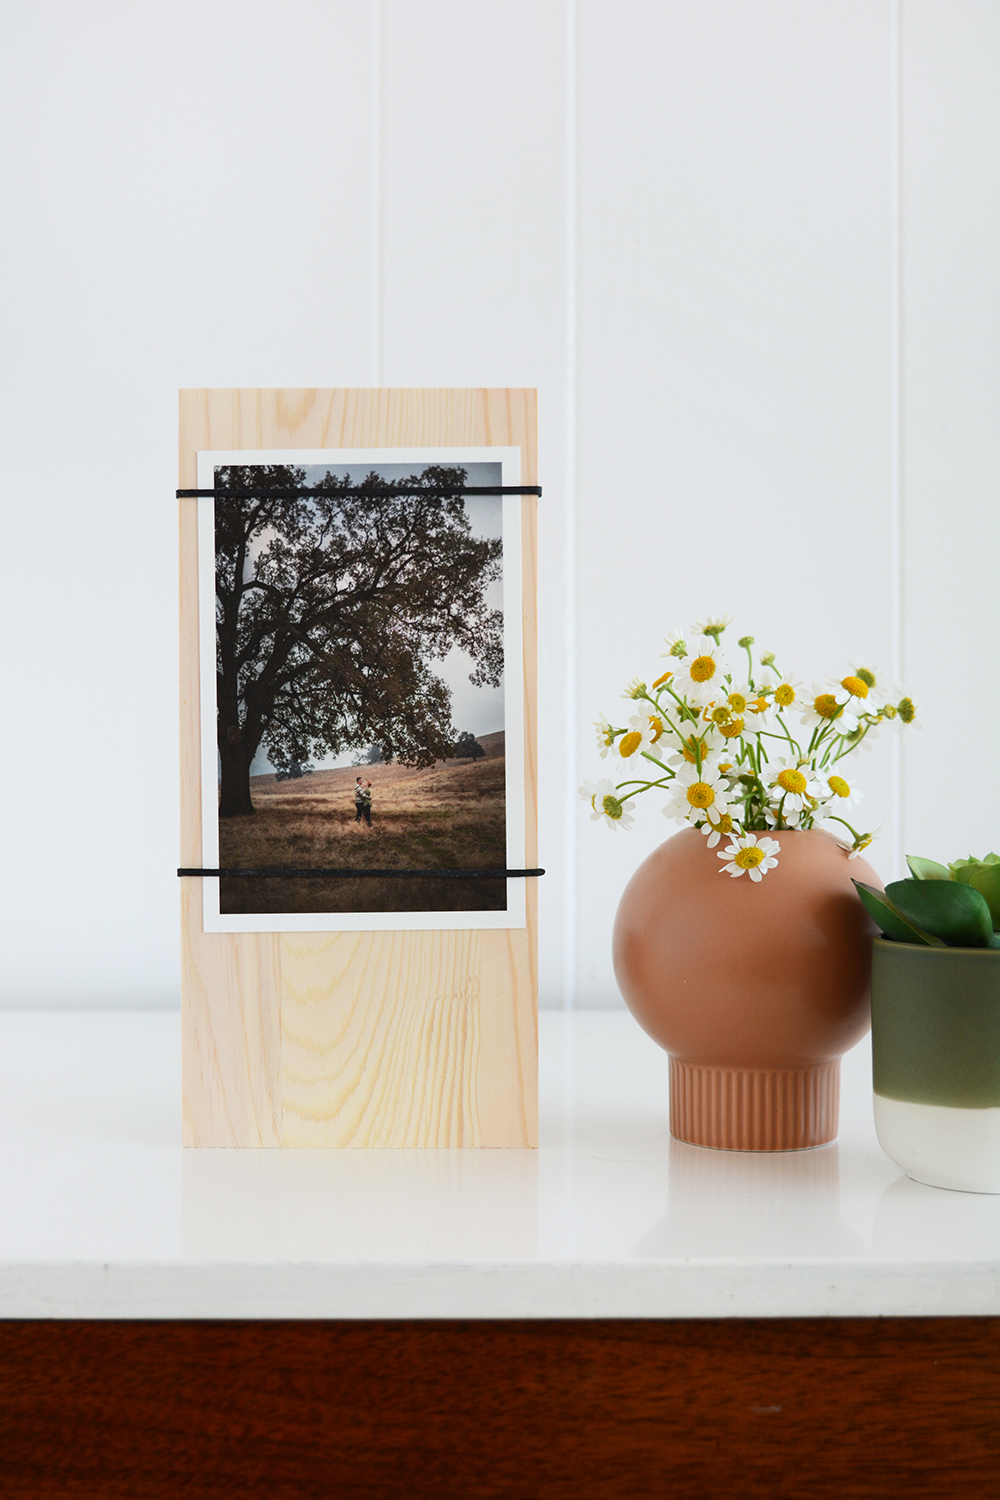
A house isn’t a home without family pictures. But, I don’t always want to have to box everything into traditional frames. These simple DIY frames use some pre-cut wood pieces form the craft store, some wood glue and a couple rubber bands to hold the image in place.

I shared a few DIY photo display ideas, including this one, over on Hunker. Head over there to see the full DIY and the instructions to the other ideas as well.

DIY Photo StandDIY Photo Stand DIY Photo Stand

Food & Drink

Donuts

June 1, 2018

Happy National Donut day! I do love a good donut, and we always seek out a gourmet donut shop when I travel. But, nothing beats a homemade donut. When you can eat them just minutes out of the fryer and they are still piping hot and the glaze is still gooey. I grew up overseas, where there were no donuts to purchase, so I was spoiled by only having access to my mom’s homemade donuts. She only made them once or twice a year, but they were darn good.

Last we when my parents were here, my mom and I made two batches of donuts Sunday morning – chocolate cake donuts and classic glazed yeast donuts.

I follow in my mom’s tradition and make donuts a couple times a year. It’s kind of a mess, and your kitchen smells like a fryer for a few hours, but gosh my family loves it.

If you are new around here, I thought I’d share some of my donut recipes that I make often.

Lemon Old Fashioned Donuts

Cake donuts are the easiest to make, you don’t have to kneed the dough or wait for it to rise. These Lemon Old Fashioned Donuts are some of my husband’s faves. He loves anything lemon.

Faux Gourmet Donuts Faux Gourmet Donuts

Last year I came up with these Faux Gourmet Donuts, so if you don’t want to touch a fryer at all, this is a great option for you. And no one needs to know that you just doctored up grocery store donuts.

Chocolate Chipotle Donuts

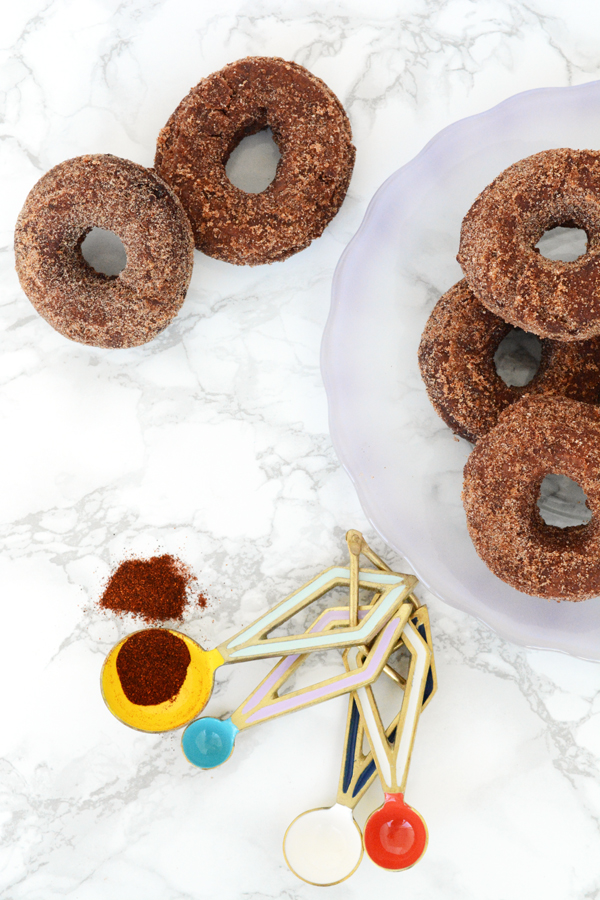
These are my favorite chocolate cake donuts. Here they are shown made as Chocolate Chipotle Donuts, but you can also omit the cinnamon and chipotle and just make the good old chocolate donuts and then topped with a chocolate glaze.

I also rounded up some other really great donut recipes if you are wanting to take the dive and make a mess of your kitchen

Today is our last day of school!!!! YAY, we made it. Now I better get a bag packed, because we head to the airport tomorrow for Iceland! Have a great weekend friends.


Food & Drink

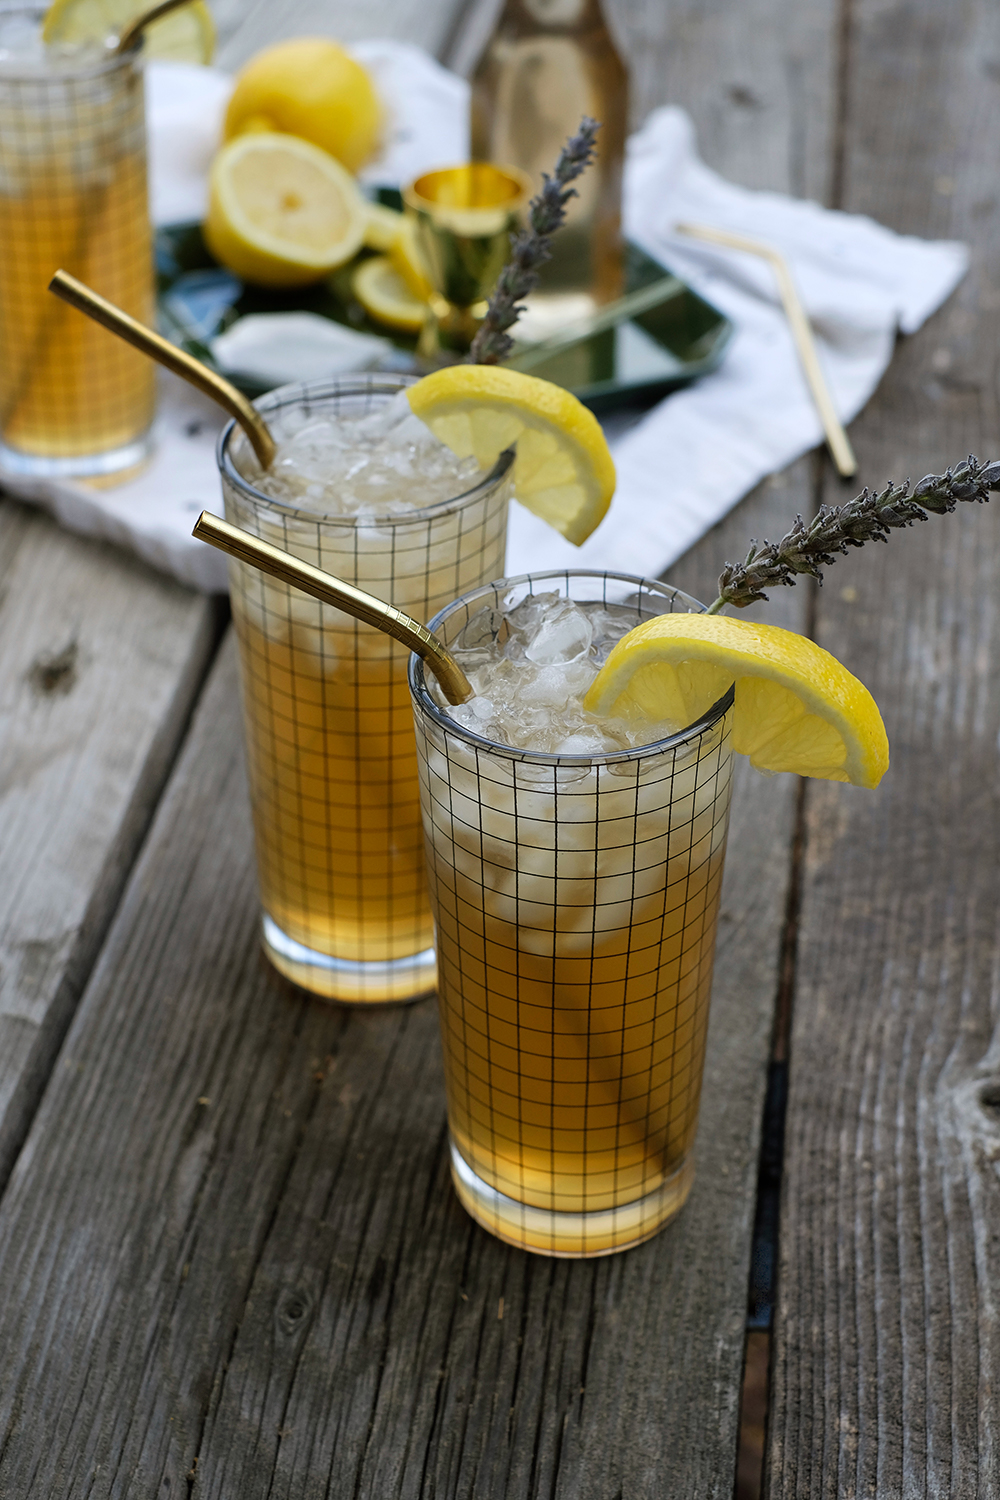
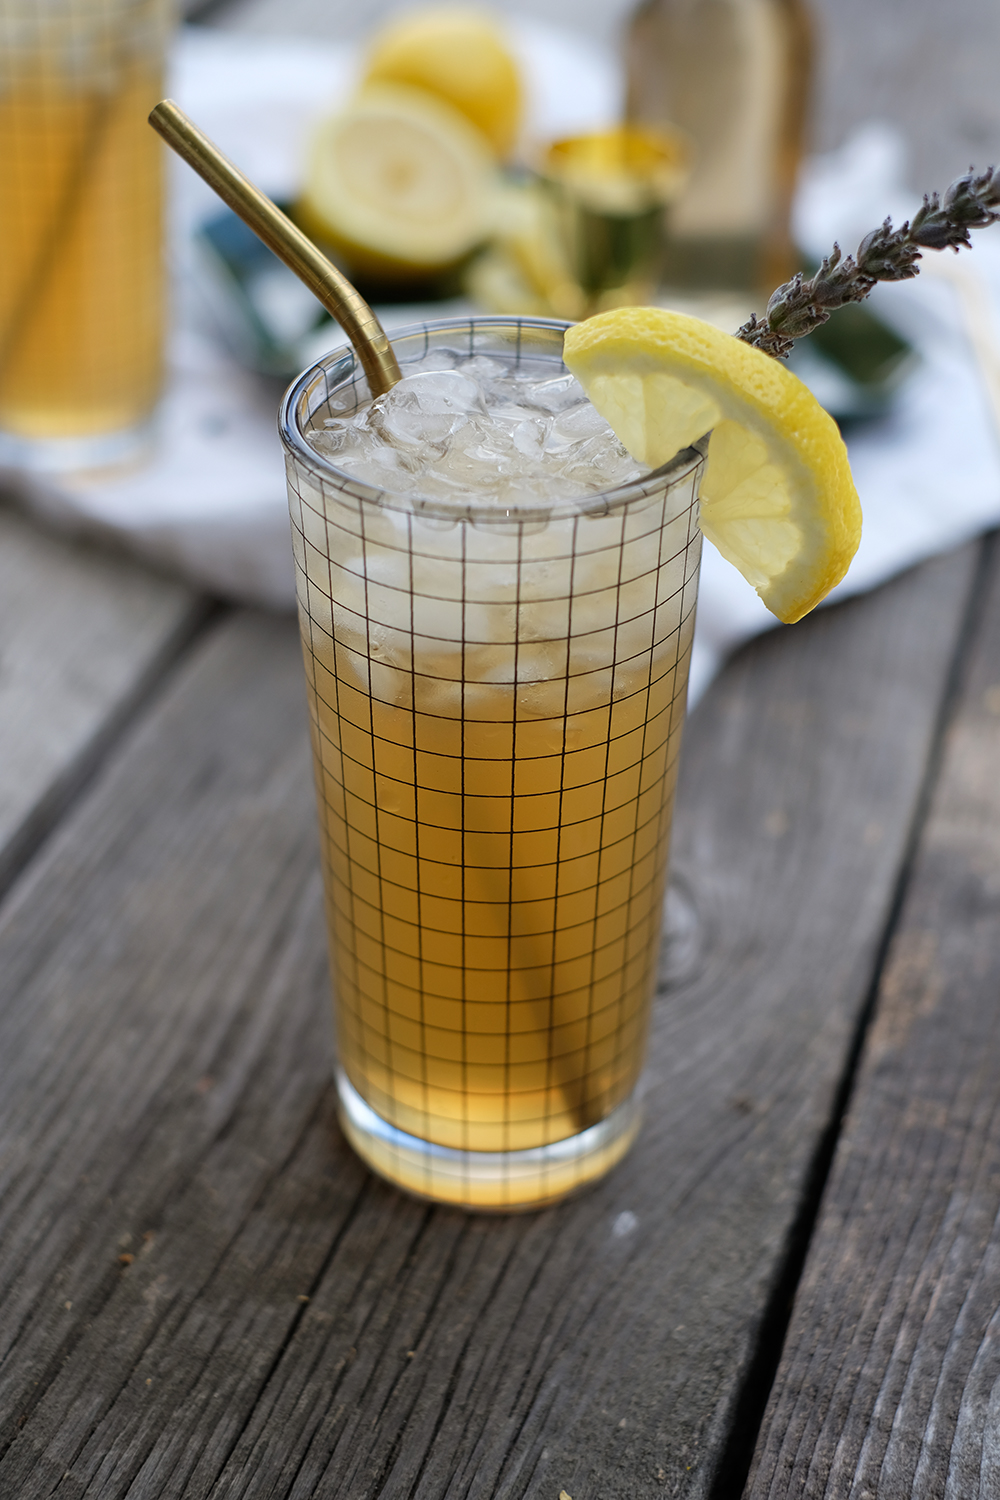
Earl Grey Lavender Lemonade

May 30, 2018

Summer is here and that means iced tea needs to be in the fridge at all times. When it comes to tea, Earl Grey is my all time favorite. Hot or iced, I just love it. When I have it hot, cream is a must, but when it’s iced, I want it paired with lavender and lemon. This Earl Grey Lavender Lemonade is so many of my favorite flavors all together in one glass. If you are a sweet tea fan, you are going to want to try this recipe.

I figured it was time for a new mocktail recipe here. I’ve served this recipe at a couple dinner parties now – and it’s a HIT!

Earl Grey Lavender LemonadeEarl Grey Lavender Lemonade

Earl Grey Lavender Lemonade

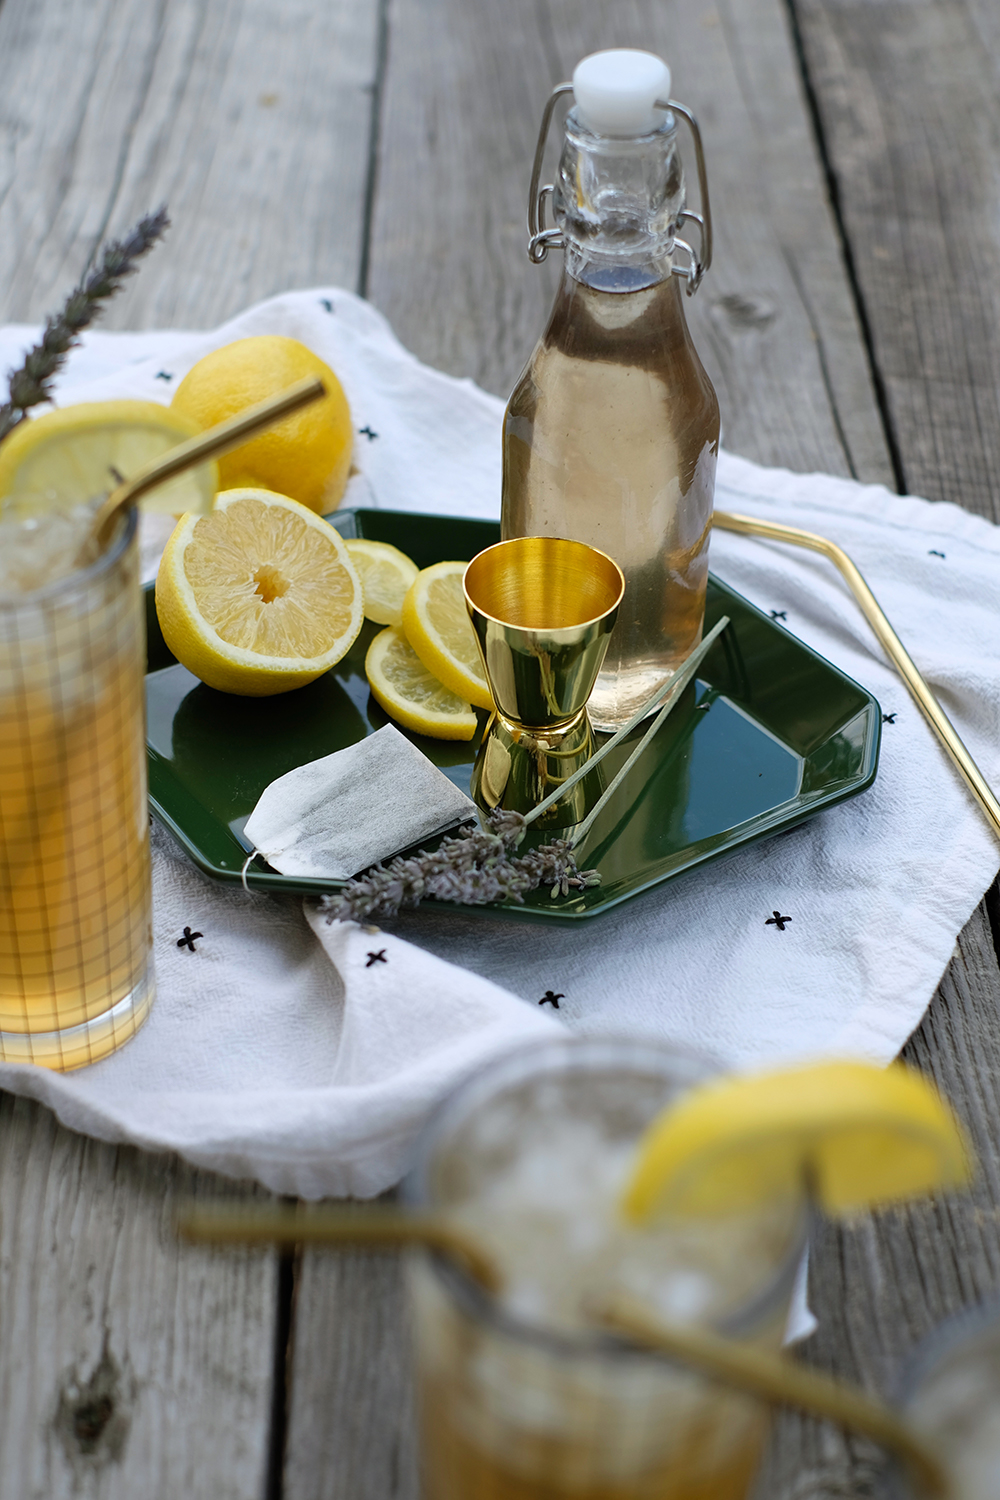
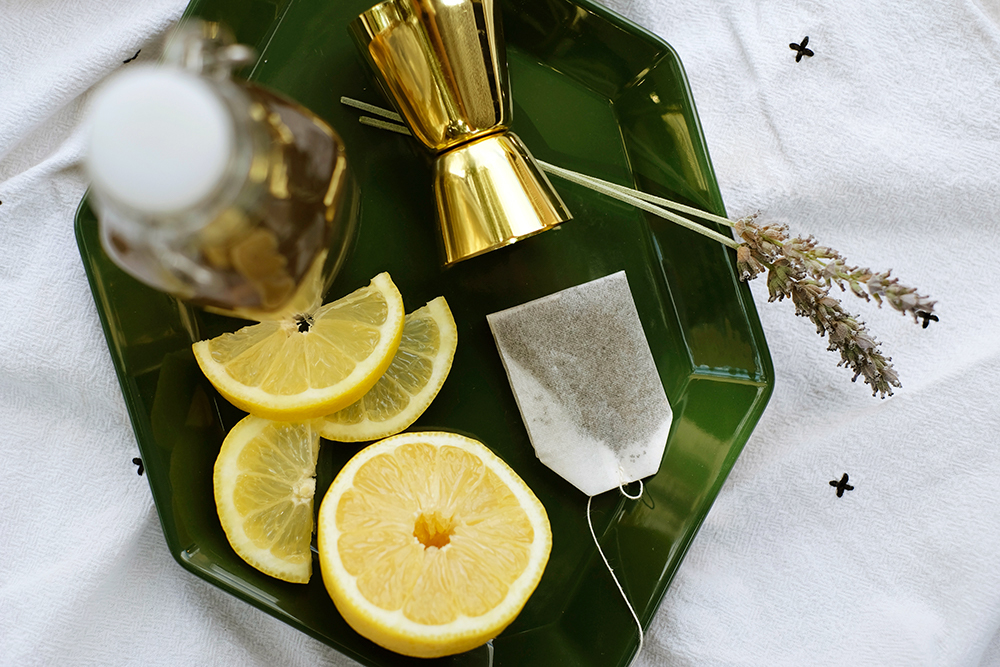
  • Lavender Simple Syrup (see recipe below)
  • 4 cups of lemonade
  • 4 cups of Earl Grey tea brewed and chilled

Start by steeping 3 Earl Grey tea bags in 4 cups of hot water for at least 10 mins. Remove the bags and chill the tea in the fridge.

You can make lemonade from scratch with 3 cups of water, 1 cup lemon juice and 1 cup sugar. Or if you don’t want the drink to be too sweet, omit the sugar and just rely on the Lavender Simple Syrup to sweeten the drink

In a large pitch combine the lemonade, tea and the Lavender Simple Syrup. Lavender can by a strong flavor for some, so you do not have to use the full recipe amount. Store the syrup in the fridge for up to 3 weeks and use to sweeten your morning coffee, tea or just make another batch of Earl Grey Lavender Lemonade.

Earl Grey Lavender Lemonade

Lavender Simple Syrup

  • 1 tbsp. dried lavender
  • 1 cup sugar
  • 1 cup water

Place all the ingredients in a pot. Bring to a boil and boil for 1 minute. Allow the syrup to cool. Strain through a fine mesh sieve.  Place the syrup in an airtight container and store in the fridge.

Earl Grey Lavender LemonadeEarl Grey Lavender LemonadeEarl Grey Lavender LemonadeEarl Grey Lavender Lemonade

Cheers to making it through half the week and Happy Hump Day!

Food & Drink

Fruit + Flowers Summer Salad with Lemon Poppy Seed Dresssing

May 28, 2018

Summer Fruit + Flowers Salad with Lemon Poppy Seed Dressing

Summer vacation is just about here and we can almost taste it. ONE MORE WEEK of school for the McConnel family. We’ve had a beautifully mild May, and it really hasn’t been very hot at all. But, tomorrow we are supposed hit 102 F. And when it’s that hot, I don’t want to eat another that isn’t cold. Salads, smoothies, and anything frozen is what’s for dinner here in the Summer.

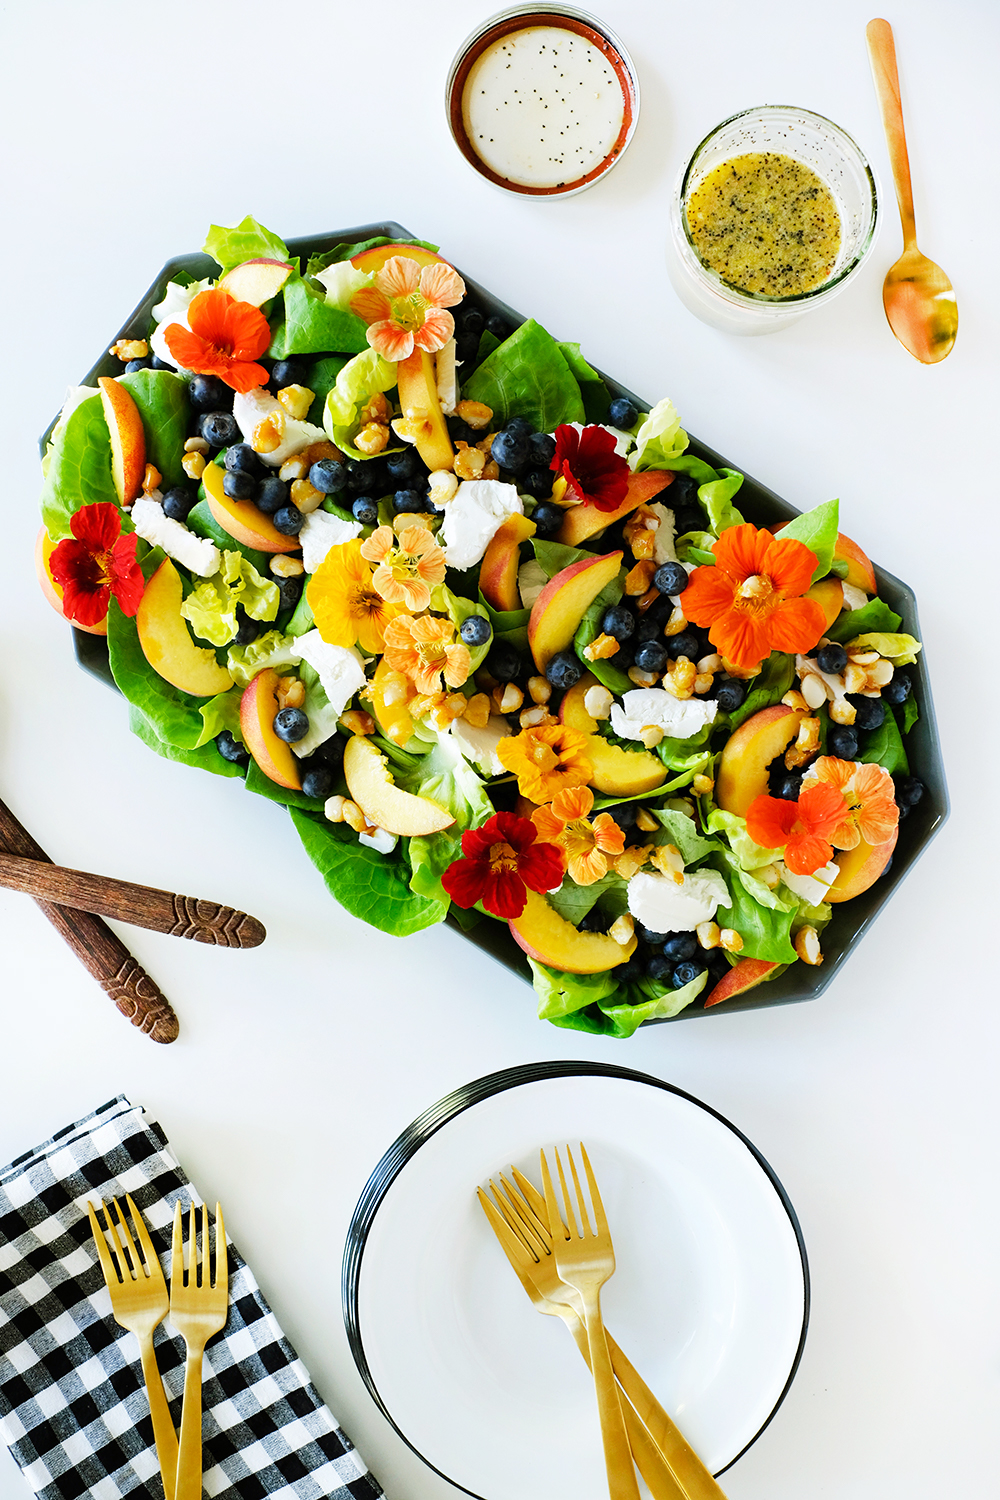
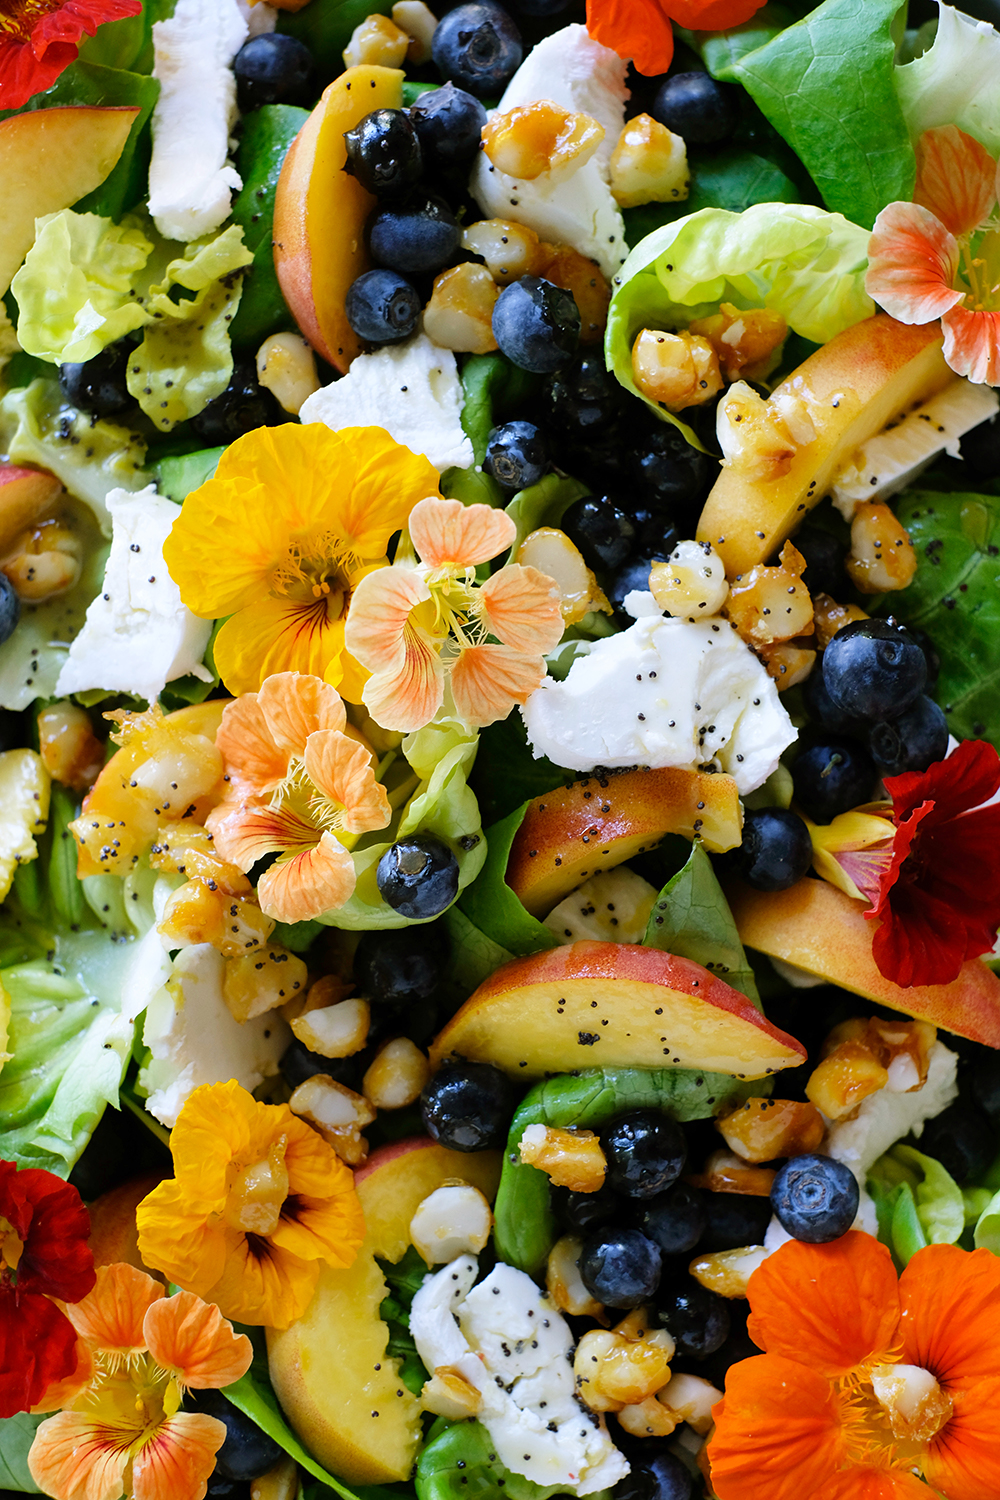
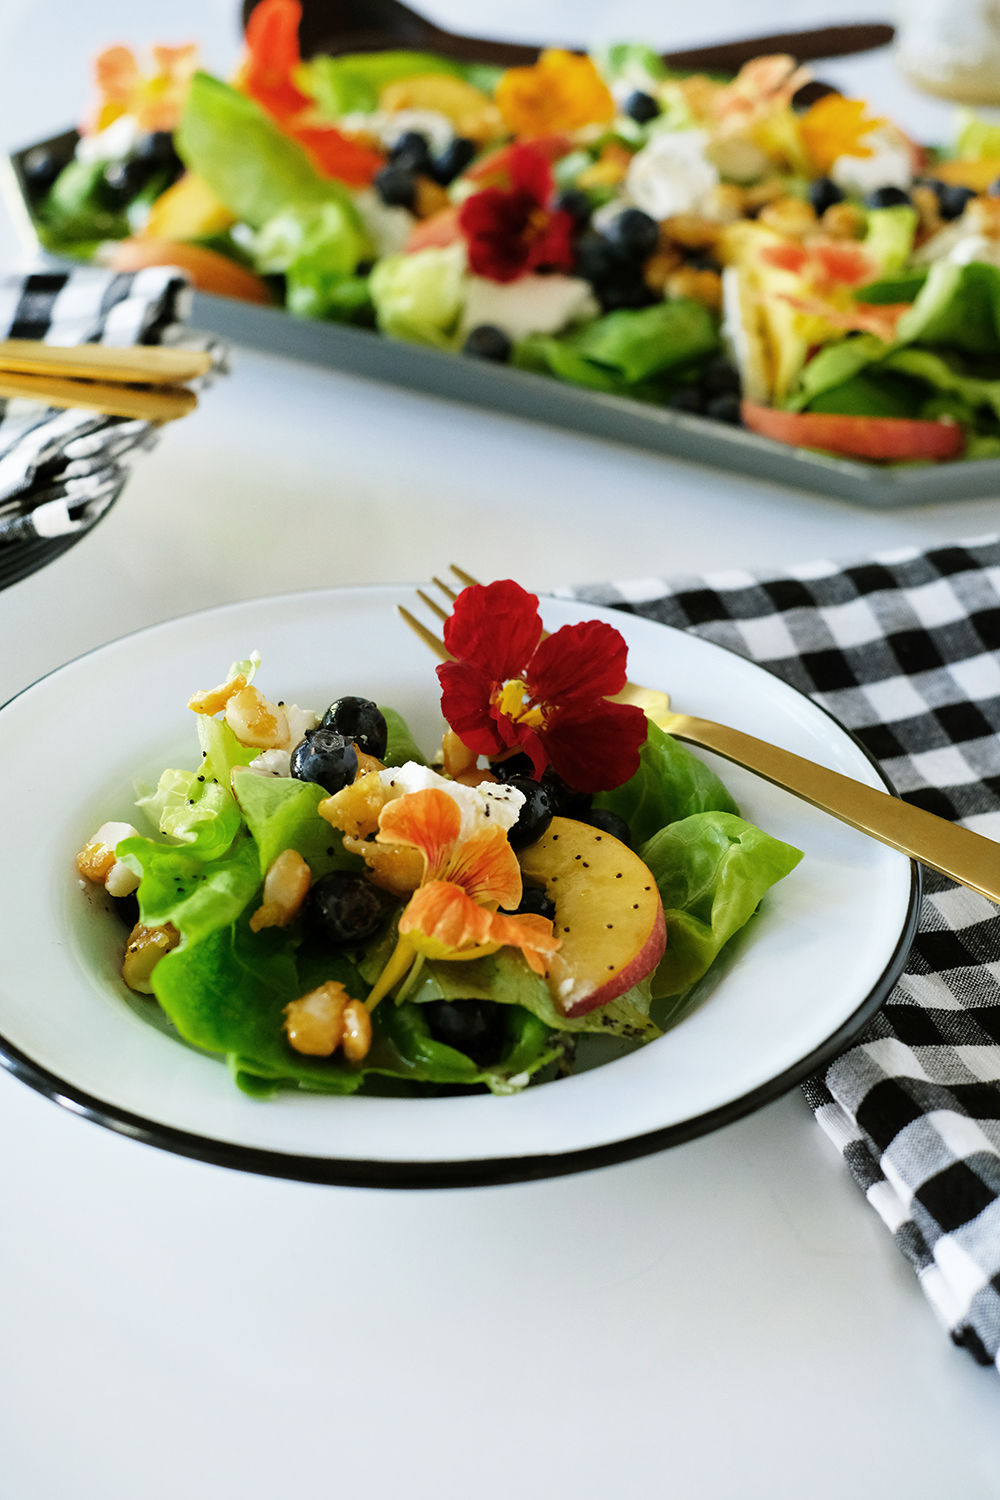
This gorgeous salad will be served on repeat. With fresh Summer fruit and nastursiums from our garden, this salad is like a bouquet for your plate.

Summer Fruit + Flowers Salad with Lemon Poppy Seed Dressing

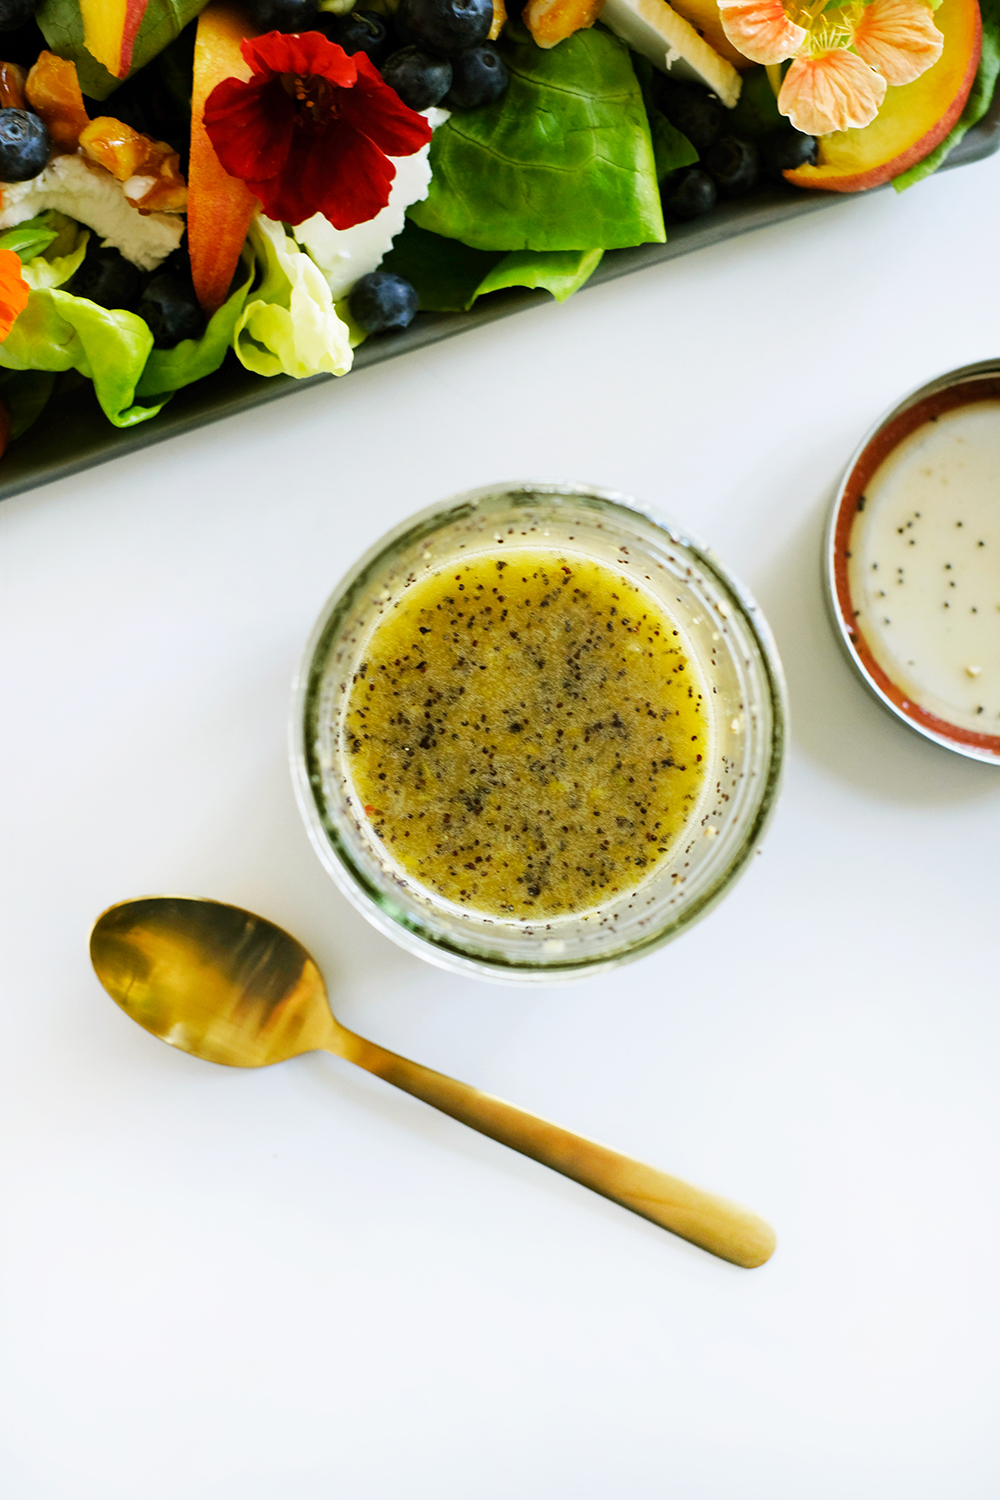
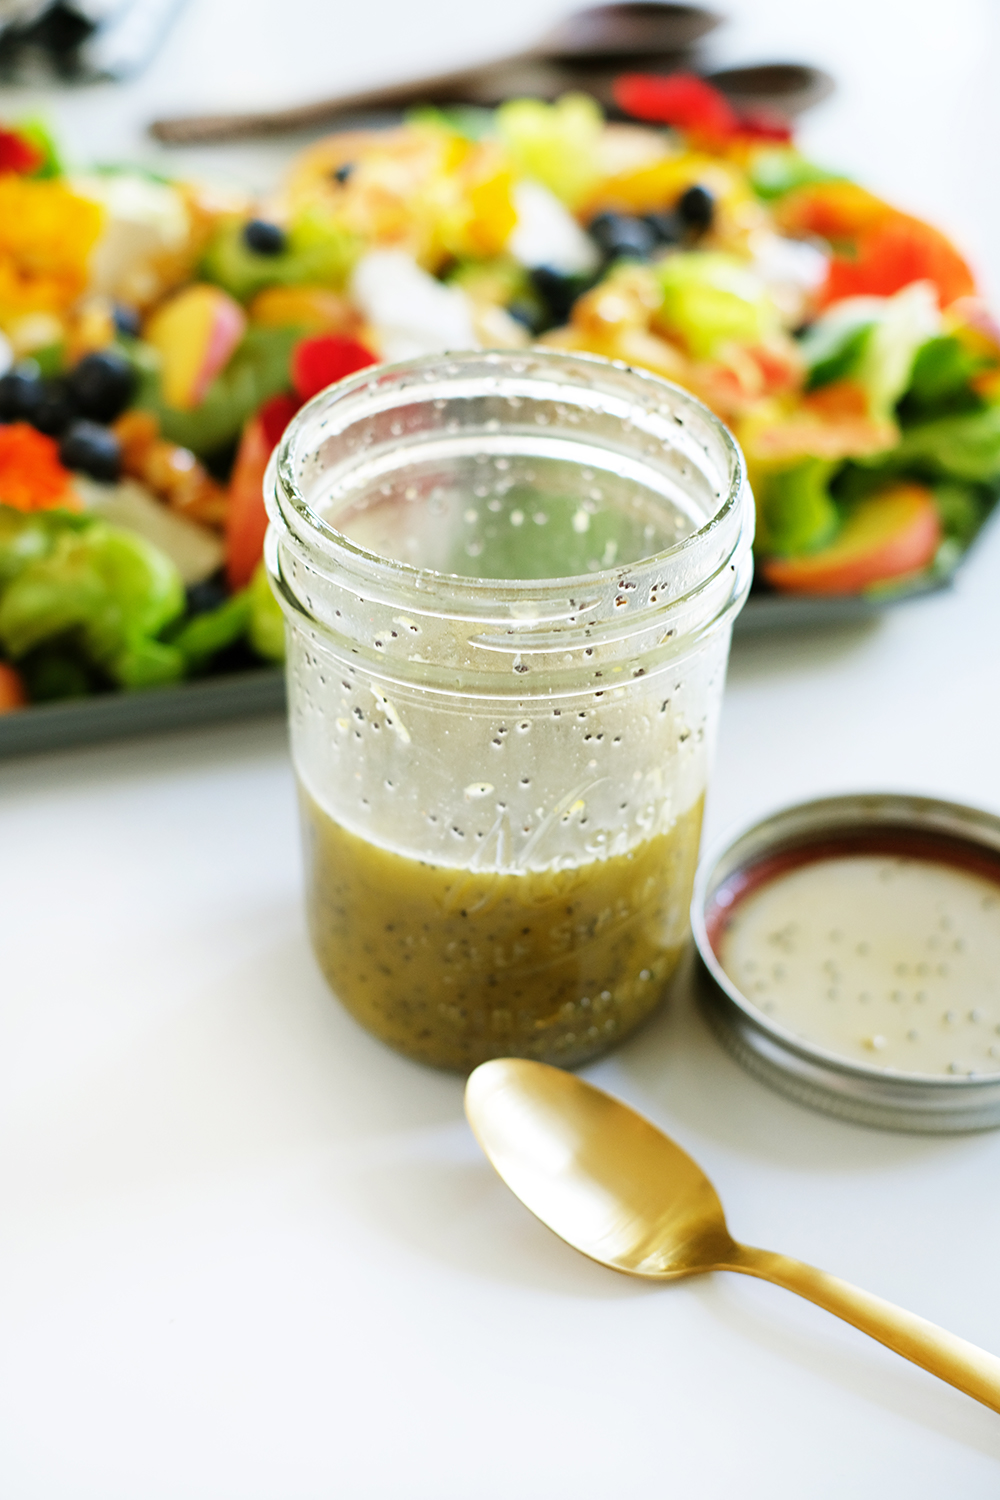
Give me a salad with fruit, cheese and nuts and I’m a happy girl. Peaches, blueberries, goat cheese and candied macadamia nuts top this loaded salad. And it’s drizzled with the yummiest lemon poppy seed dressing. I’ll be keeping a jar of this dressing in the fridge at all times.

Summer Fruit + Flowers Salad with Lemon Poppy Seed Dressing

Fruit + Flowers Summer Salad

  • 1 head of butter lettuce
  • 2 ripe peaches, sliced
  • 1 cup blueberries
  • nastursiums (edible flowers)
  • 4-6 oz. goat cheese
  • 1/4 cup macadamia nuts
  • 3 tbsp. sugar
  • Lemon Poppy Seed Dressing (see recipe below)

Start by candying the macadamia nuts. In a small fry pan heat the 3 tbsp. of sugar until it melts and starts to turn a golden color. Remove from the heat immediately and toss the macadamia nuts in the melted sugar. Working quickly, spread the nuts on a piece of parchment paper and allow to cool completely. When they are cool, you can break them apart.

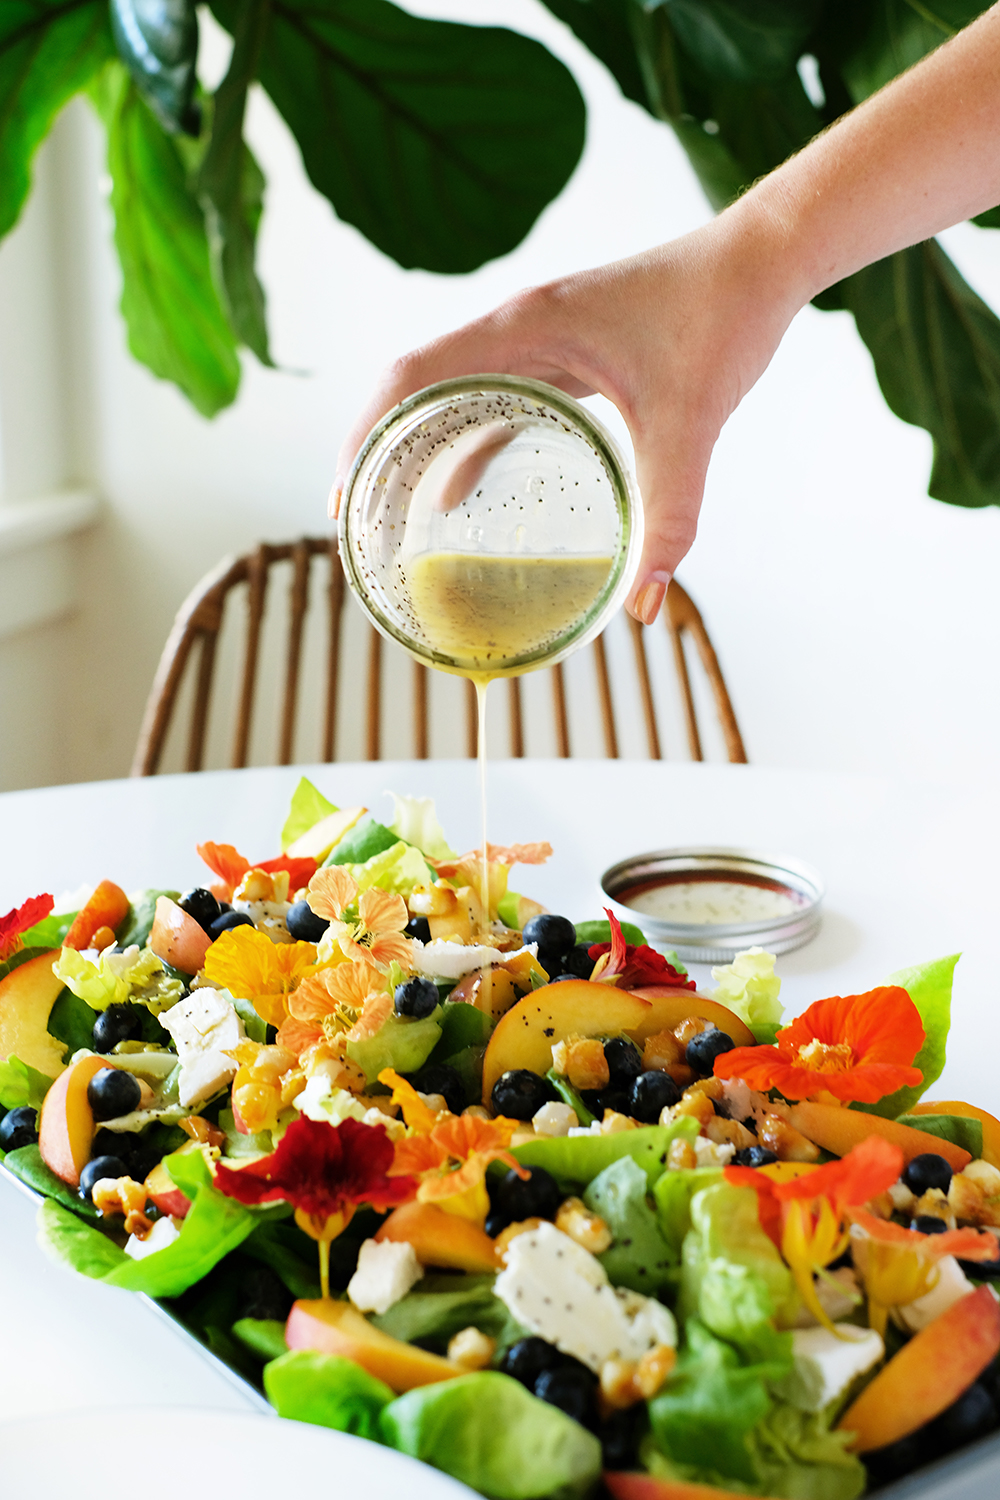
Wash and dry the butter lettuce leaves. On a large platter, lay out all the lettuce. Spread out the fruit evenly over the lettuce. Cut the goat cheese into small bite sized chunks and place evenly over lettuce. Sprinkle with the nuts and place nastursiums on top. Drizzle with the dressing.

Summer Fruit + Flowers Salad with Lemon Poppy Seed Dressing

Lemon Poppy Seed Salad Dressing

  • 1/4 cup olive oil
  • 1/4 cup white balsamic
  • juice and zest of one lemon
  • 1/4 tsp. fresh ground pepper
  • 1/2 tsp. salt
  • 1/4 tsp. ground mustard
  • 2 tbsp. honey
  • 1 tbsp. poppy seeds

Place all the ingredients in a jar, seal and shake vigorously for about 1 min. Store in the fridge until you are ready to dress and serve the salad.

Keeps well up to 3 weeks in an airtight container in the fridge.

Summer Fruit + Flowers Salad with Lemon Poppy Seed Dressing

Summer Fruit + Flowers Salad with Lemon Poppy Seed Dressing


Design

No Makeup Home Tour

May 23, 2018

Well, I’m so excited to share this No Make Up Home Tour with you. I’ve teamed up with so many amazing bloggers. We are all pulling back the curtain and sharing a more candid look at our homes. We are all in the business of creating and publishing beautiful spaces. We edit, accessorize, and style to our heart’s content before we shoot and share a room with you. But, to be completely honest, our homes don’t always have flesh flowers on the bedside tables, pillows fluffed, and surfaces free of clutter. So, today I’m sharing pictures of our home with “no makeup on”.

We’ve had this house for a year and a half now. We love this house, but there is really so much work to be done. To be totally transparent, I wish there were a lot more projects completed and more rooms had complete makeovers. But, we are so blessed to have this giant house. So, while this post will be pointing out the flaws of our house, please don’t take it as complaints. I just think it would be fun for your to see all the nooks and crannies of our house (even our master bathroom, which has never been photographed) and hear about the plans and dreams I have for this house.

I spent just a day taking these pictures, that is not a lot of time for a blogger. I would normally take an entire day just to style and shoot a single room. I wanted to keep this post a little raw and as untouched as possible.

Come on in. We have a huge front door, the original hardware still works (kind of). There is a huge brass lion door knocker that I obviously am trying to hide with a wreath. I would love to replace it, but you would be surprised at how expensive door knockers are.

We are a no shoe house. I’m Canadian and my husband is from Alaska, so we both grew up in no shoe homes. So, there is almost always a pile of shoes by both the front and back door. We don’t require guests to take off their shoes, but we do appreciate it. I think it helps us keep our house just a little cleaner.

To the left of the front door is our “formal” living room. The front door opens to a very big room, we have divided it into to spaces. And this is what we call the formal side. We have our tv on the other side of the room, so it feels a little less formal. We have no shortage of beautiful woodwork in this house. I also love the beautiful tile that surrounds the fireplace. Our coffee tables are always covered in stuff – mostly piles of books, magazines, and lots of candles. The sofa in this room is not my favorite. It was a very reasonable price, and I thought it was nice to have a sofa versus not having one at all when we first moved into this house. It’s really the color that is wrong. There are too many shades of brown. I think a lot of you might agree that a velvet forest green sofa might be nice for this room.

And here’s a little at the other side of the room.

See what I mean about the piles of books. The top of the pile, is a little hint to where we are headed in a couple weeks. I love styling my coffee table, but as the week carries on more and more things collect on it.

Our dining room is a fantastic room, that we have done absolutely nothing to it. Well, that’s kind of a lie, we did just recently replace the light fixture. the original one was way too small for this room. And I love the scale of this new fixture. I’ve always been a fan of mixing modern pieces with an old house. We aren’t as old as our house, so it’s important for our home to feel young and fresh. Most days I feel pretty young myself.

The kitchen is a room that I would love to give a little love to. My main complaint is the countertops. They are granite tile, so there is so much grout that has to be cleaned. I’d love a solid surface, it would make keeping my kitchen clean so much easier.

Most days this dish drainer is always full. I bought it thinking that when the dishes were done, I’d put it away and clear off the counter, but it turns out that it’s always filled with dishes and I never put it away (only if I’m taking pictures).

The sunroom is the most used room in our house. It’s also the smallest room, but we all spend a lot of time there. While I do have a little desk in the hallway, it’s very dark and doesn’t have any natural light. So, I often end up in this room with my laptop. This is also the room where I take most of my pictures.

The hallway might look like it needs work, but it used to a lot worse. We spent many nights stripping yellow striped wall paper from these walls. The walls are painted, but all the trim and the banisters still need to be painted. It’s going to be a big job, so we haven’t thought about starting it anytime soon.

Here’s more evidence that we have so many unfinished projects. just look at the half painted trip at the end of this hall. And I’m not going to show you my whole desk, because it’s really a disaster.

This is the doorway that leads to our living room. And the door to the left is a little powder room. It needs a lot of work. You can see it below. Most of the living areas in this house were this dark green/blue color.

I know I promised a home tour, but this is a big house, so I’m going to stick with just the first floor of this house. Don’t worry I’ll shared the kid’s room’s soon. But, this leaves us with one last room, the master bedroom and the master bath.

The truth is I really do make my bed most days. There are definitely somedays I don’t, but a room definitely feels clean when the bed is made.

There is almost always a pile of earrings and jewelry on my dresser. Somedays it’s messier then others.

My husband and I share a very tiny closet. It is always left open. Don’t ask ,me why, I don’t want to see this mess. Why do we have bad habits like this? it would be very easy to shut the closet door, but we don’t.

And I’ve saved the best for last, the master bathroom is incredibly tacky. It’s definitely a room where I don’t know where to start. The tub is mirrored on 3 sides, the floor tile and countertops are something awful that only the 90s could provide. But, it does have a lot of storage, and the counter does have a very unique shape.

Now head over and check out all these other fabulous blogger’s homes.