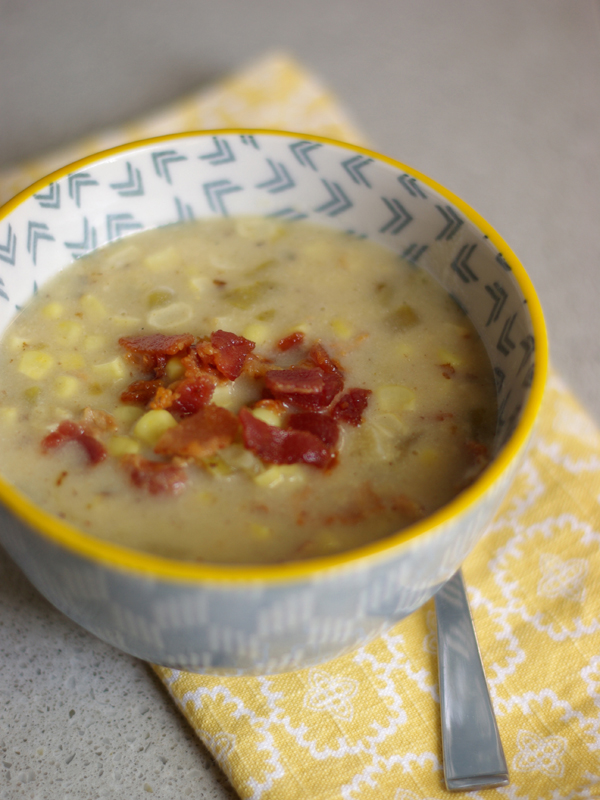
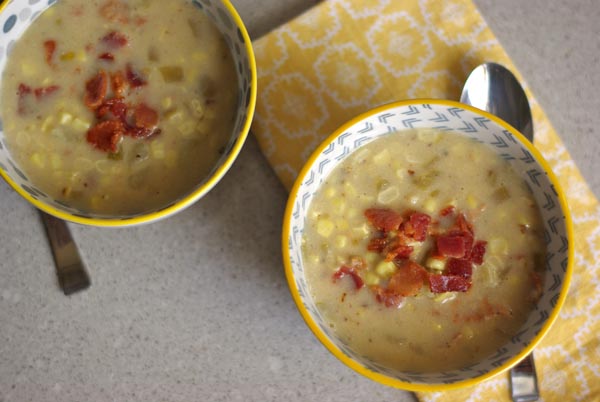
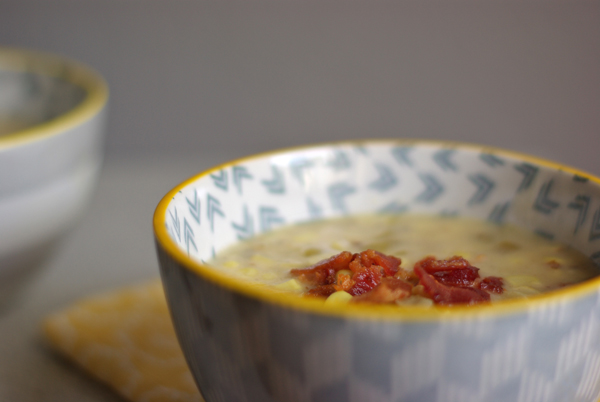
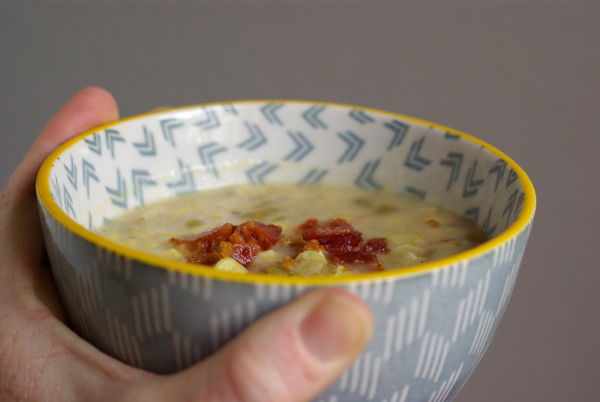
Green Chili Bacon Corn Chowder
1 lb bacon
3 medium sized potatoes
5 cobs of corn
3 cloves of garlic
1 can of chopped green chilies
4 cups chicken stock
2 cups milk (or heavy cream)
1/4 cup Masa Harina (instant corn Masa flour)
salt and pepper to taste
Cut bacon into 1/2″ pieces and place in a heavy saucepan or dutch oven. Cook the bacon until it is crispy. While the bacon is cooking, throw the corn on the cob on the grill. Grill on all sides till it is just browned. Remove the bacon from the pan and drain on paper towel. Remove all but 2 tbsp. of the bacon drippings. Place the chopped garlic in the pan and cook until just golden brown.
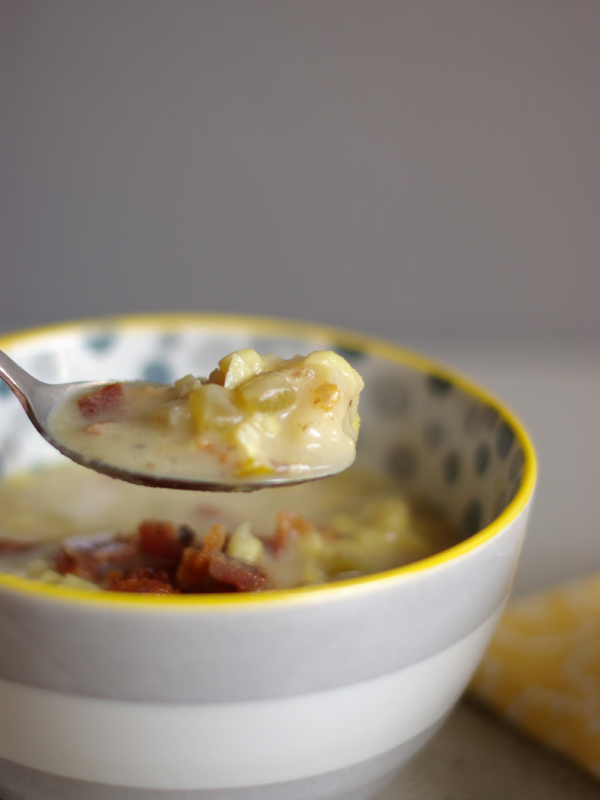
Cut the corn off the cob and peel and dice the potatoes into 1/2″ pieces. Place the corn, potatoes, green chilies and chicken stock in the pan. Bring to a boil and cook until the potatoes are tender and begin to break apart. Reduce the heat to low and add the milk or cream (depending on how rich you want it).
Then in a small bowl mix the Masa Harina with about 1/2 cup of water, then add this to the soup and mix well. This is a trick I learned from the Pioneer Women. I love her chili and she uses Masa to thicken her chili at the end. And in this corn chowder, it just adds to the flavor. Cook the Masa for about another 5 mins. or until the soup thickens. Stir in half of the crispy bacon and save the other half to sprinkle of the tops of served bowls of soup.
Farmland products can be found at many grocery stores, but specifically here in Cali, they can be purchased at Grocery Outlet.