This week… well it was a doozy. The weekend was fabulous with lots of celebrations. We celebrated my baby brother’s 25th birthday (who also finished painting my garage), Lonnie’s birthday, Mother’s day and a I hosted fun baby shower. Then came Monday morning – I got rear ended at a red light! Boo, Mondays do stink. But, I’ve pushed through this week and actually ended it on a pretty productive note. I’m refinishing a small dresser for Lonnie’s bedside table and I’m also repainting Olivia little play kitchen. I hope you all have a great weekend. I’m looking forward to getting a lot accomplished.

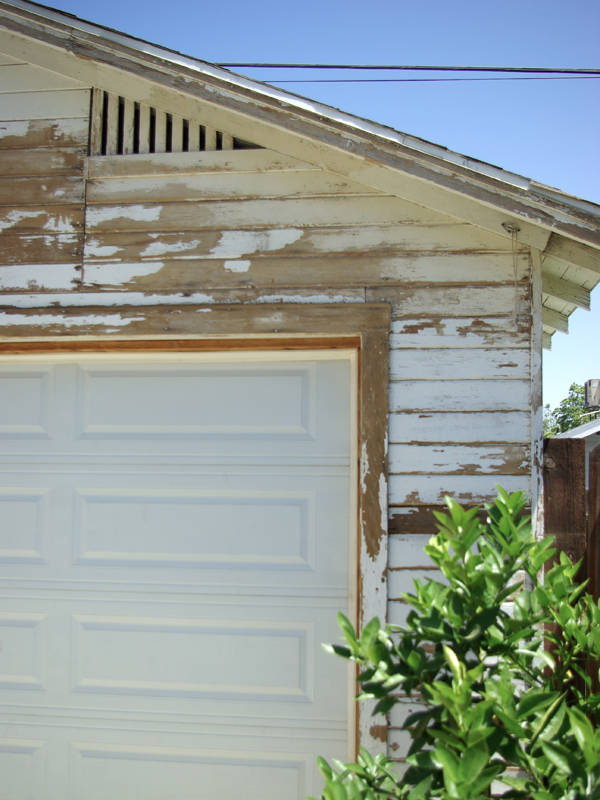
Olivia // My freshly painted garage
Honeyed Apricot Marshmallows // Lonnie with his birthday cinnamon rolls
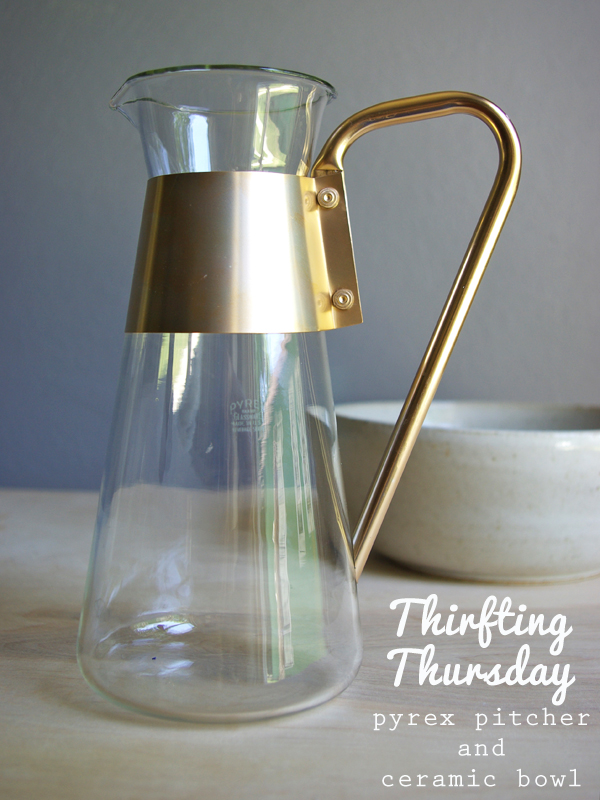
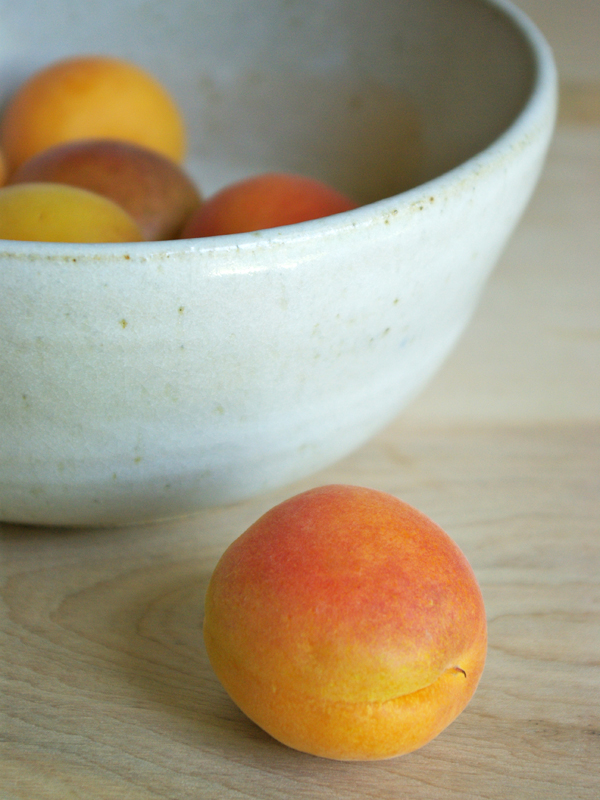
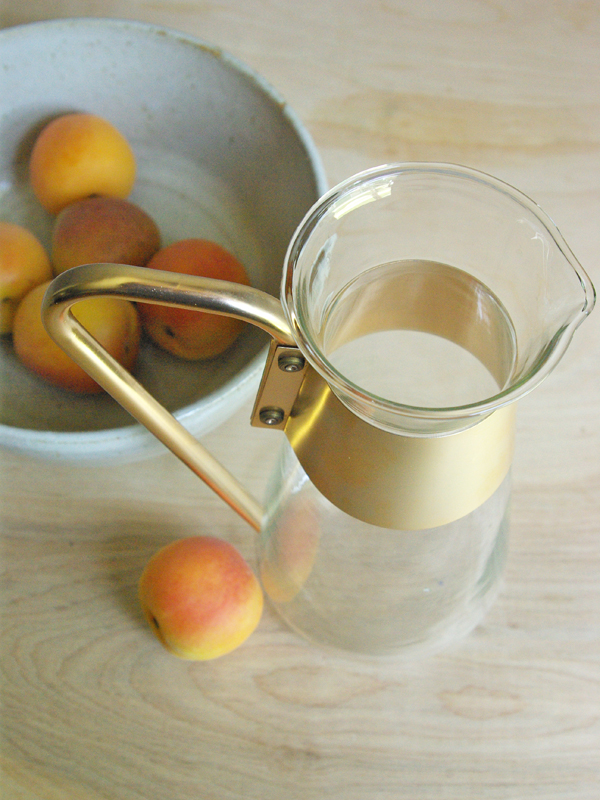
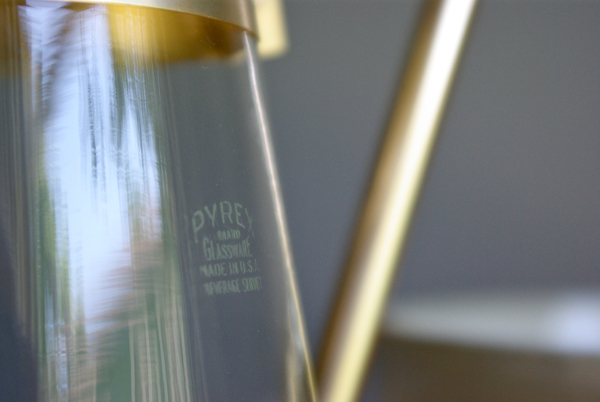
Thrifting Thursday Finds // A last minute baby shower gift
Me enjoying a post-baby shower iced coffee // A sneak peek at the thrift store dresser I’m refinishing
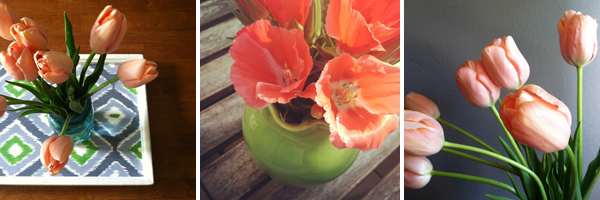
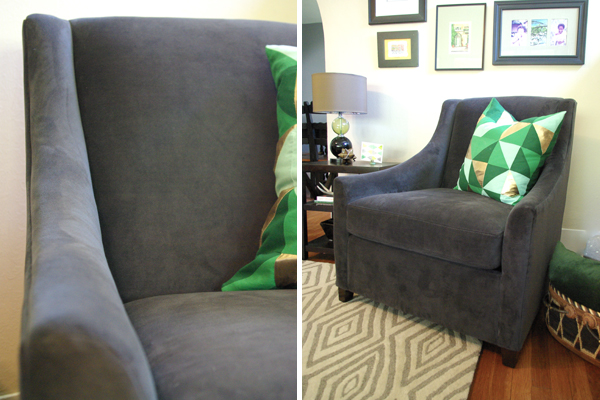
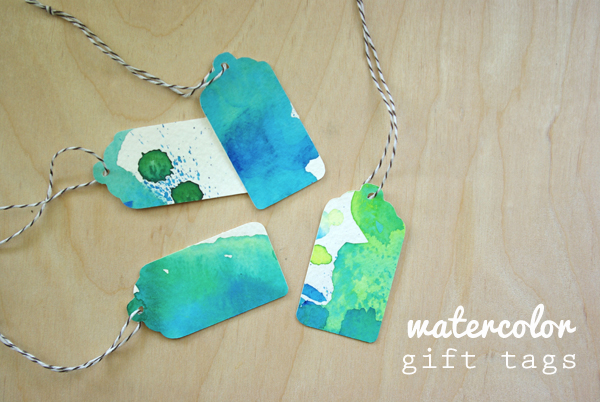
If you follow my instagram, these pictures may look familiar to you. But here’s a little instagram taste of my week.