Recently a friend is threw a BIG Circus Birthday party for all 3 of her kids at once. I love this idea, it’s one party to plan, prep for and clean up after. Pretty brilliant, right?
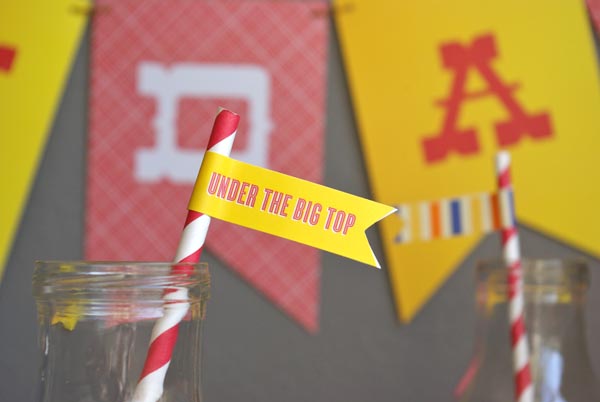
Yesterday I shared with you the fun DIY for Greatest Kid on Earth Badges that I made for each of them. And I also shared that we used Minted‘s Greatest Circus Party Decorations to help out. Minted has the BEST party decor guys. Party favors can be put together in no time at all with their glassine favor bags and Greatest Circus Scalloped Stickers. I simply filled the bags with homemade cracker jacks and sealed them with sticker.
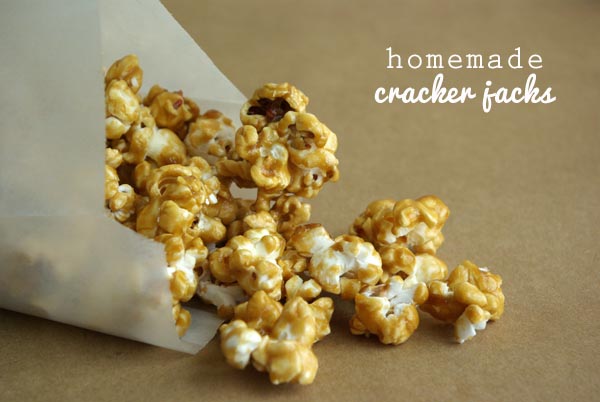
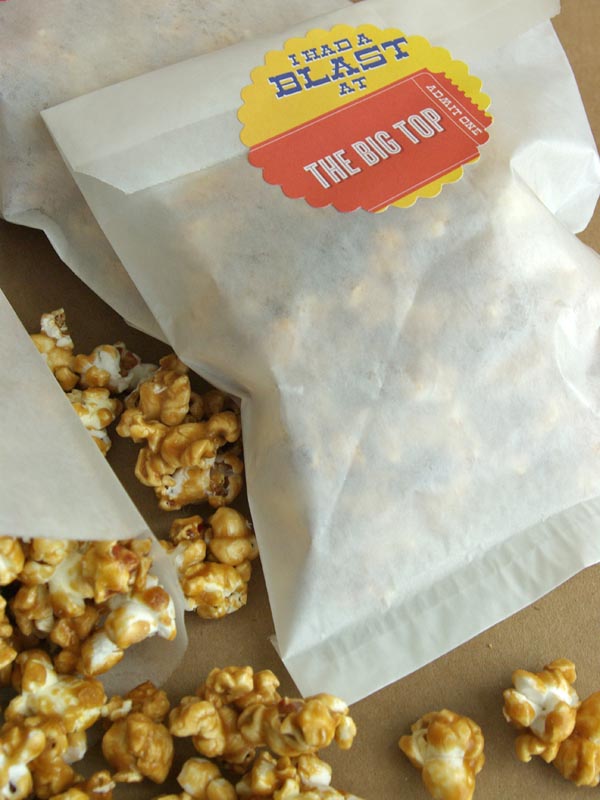
Homemade Cracker Jacks
6 quarts popped popcorn
1 cup butter
2 cups brown sugar
1/2 cup corn syrup
1 tsp. salt
1/2 tsp. baking soda
1 tsp. vanilla
Melt butter, stir in sugar, syrup and salt. Boil 5 minutes without stirring. Remove from heat. Stir in vanilla, then stir in baking soda. Pour over popcorn and mix well to all kernels are coated (you can add 1 cup dry roasted peanuts if you like). Spread onto two cookie sheets and bake 1 hour at 250 F. Stir every 15 minutes. Cool completely. Store in airtight containers.
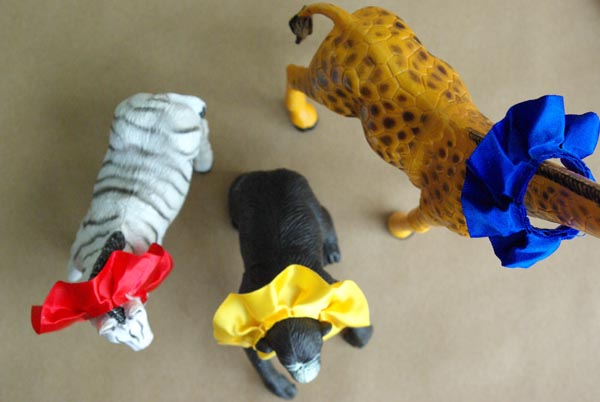
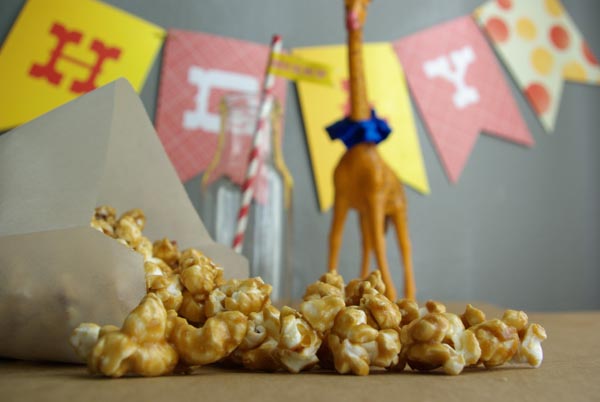
We also ordered the fun Flag Stickers, and the fantastic custom bunting.
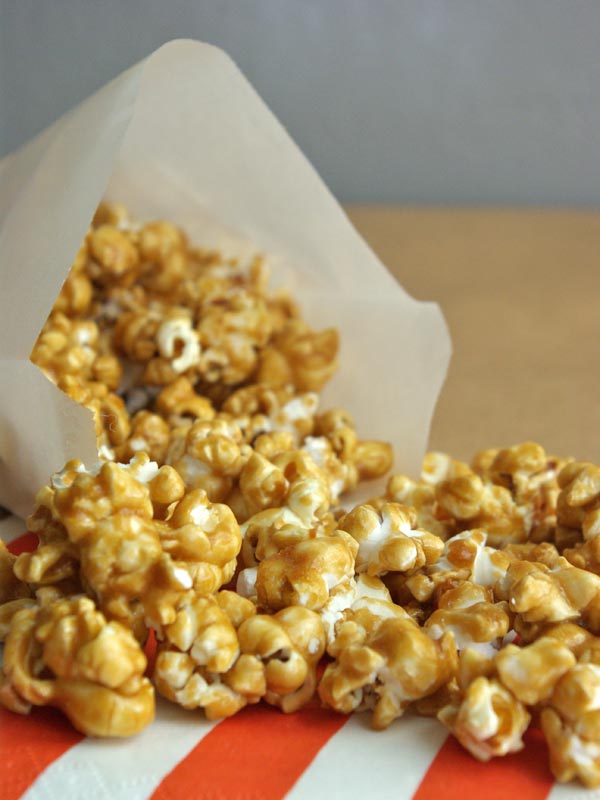
This is my mom’s recipe and it never fails me. Be warned though, it won’t last long. Once you start munching on this sweet treat, it’s hard to stop. It’s always a party and holiday favorite.