Style

Belt Bags – They’re Back!

March 5, 2018

Fanny Packs, Bum Bags, or Belt Bags, whatever you call them – THEY ARE BACK!

Personally I’m a fan. I almost always carry a crossbody bag because I love having my hands free. But, I have also been known to wear a belt bag. I got one about a year ago and I love it for a lot of different outings. Mostly, my dang yoga pants that I walk, run and ride my bike in have no place for keys, wallet or a phone. The one I carry is a very basic black polyester with a gold zip. But, I’ve been doing a little searching, and it might be time to take this convenient, hand’s-free purse to the next level. I’m thinking something a little less athletic looking and maybe something in leather.

My only concern is that am a very curvy girl with big hips. I don’t know if this brings more attention to my hips. But, I’m not going to worry about that right now. I’m just digging the idea of never losing my stuff, because it will be literally attached to my body.

I did a little hunting online and I think I’ve found some winners.

Belt Bags, Fanny Packs, and Bum Bags

1 // 2 // 3 // 4 // 5 // 6 // 7 // 8 // 9 // 10 // 11 // 12 // 13 // 14 // 15

This next week I am headed to Costa Rica with Olivia. We are meeting my parents there for a mission trip. We will be spending part of our time on a building project and part of our time doing some children’s ministry in local schools. It wasn’t a great time for the rest of the family to miss school, but since Olivia is only in Kindergarten, we figured this would be a great learning opportunity for her. Olivia is one of those kids that makes friends instantly, so she will be great over there.

Anyways, I share all that, because as dorky as they might seem, a belt bag is a great travel accessory. And I will be taking mine for trips into town. Who wants to lug around a big bag or even backpack when you can fit everything you need around your waste.

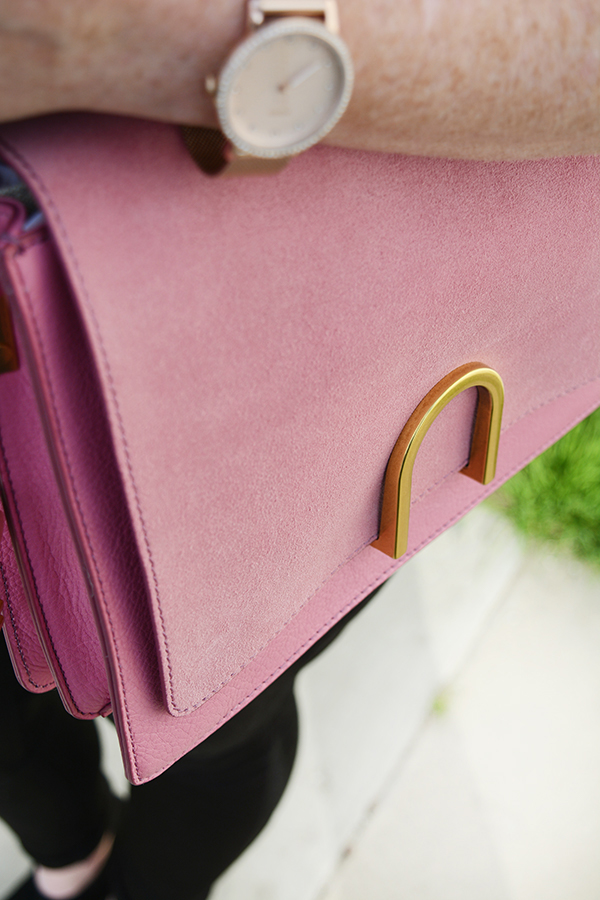
I really am feeling #7, it’s my favorite color of leather and it feels sleek and minimal. I don’t think I want to add any bulk to my waste and hips. And this one feels like it would sit flat. How do you feel about the come back? Would you wear one? Is there one you like more then the others?

DIY

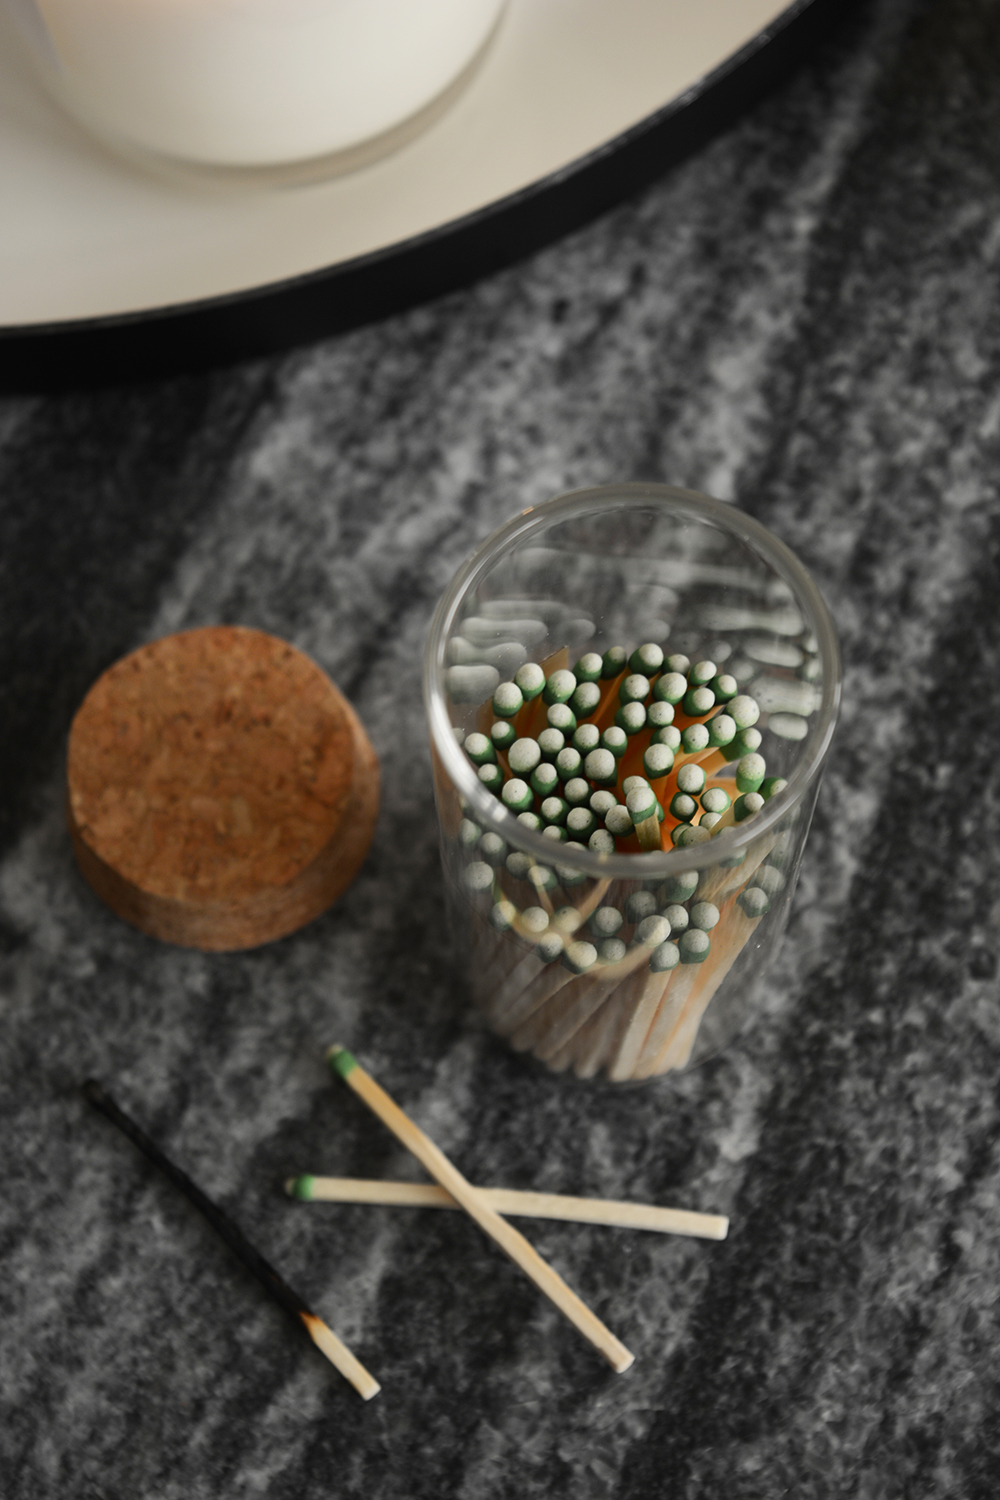
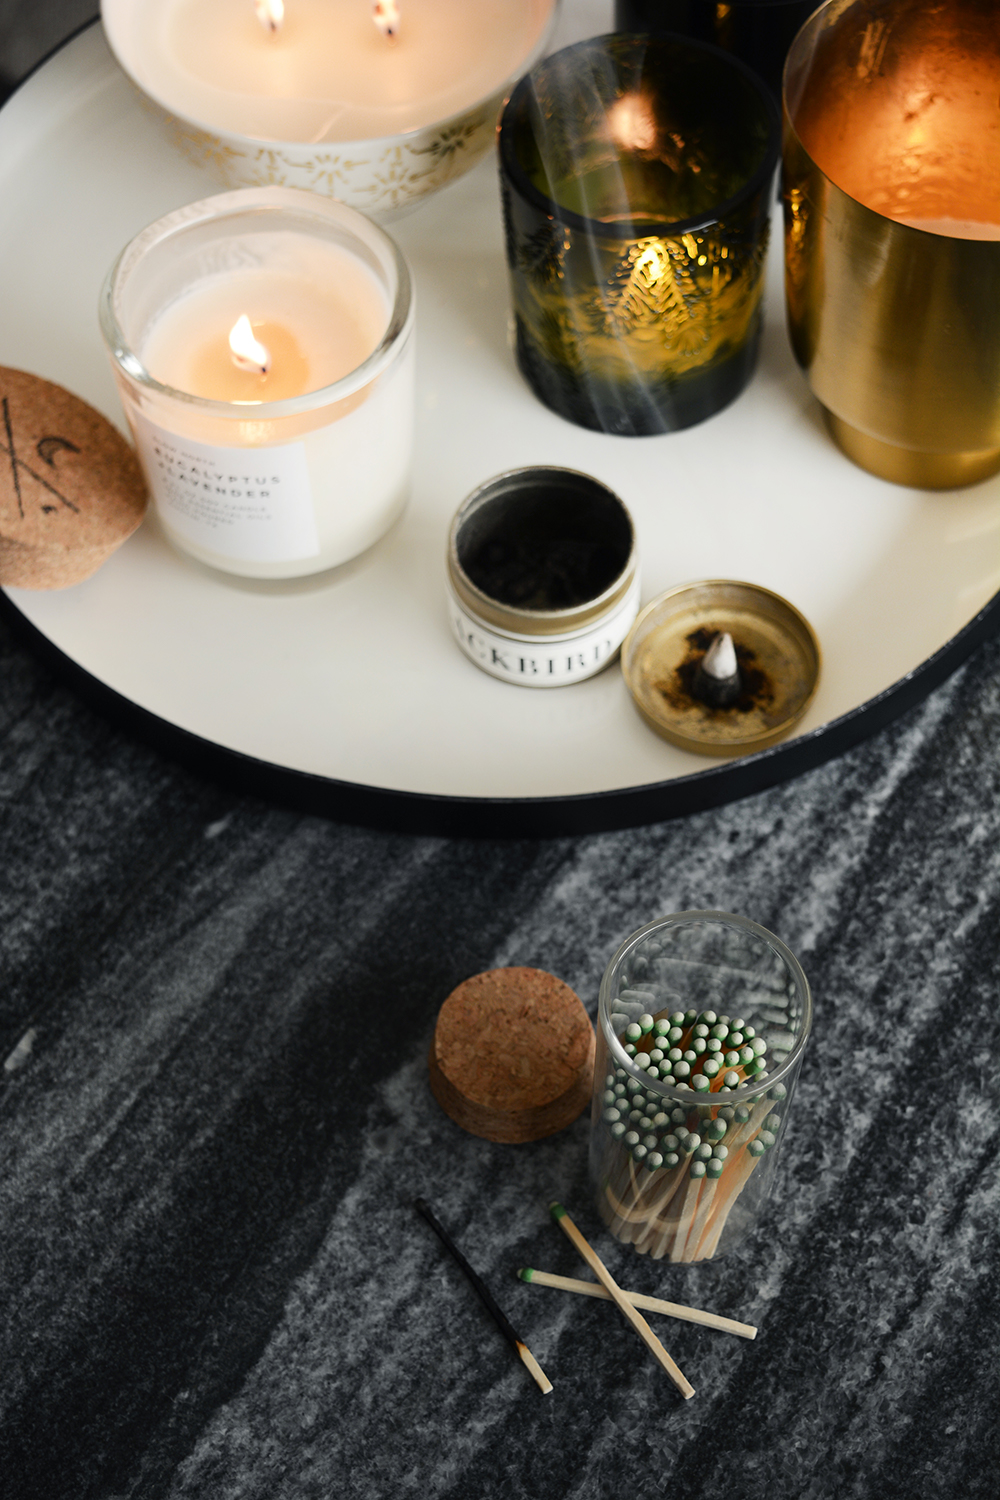
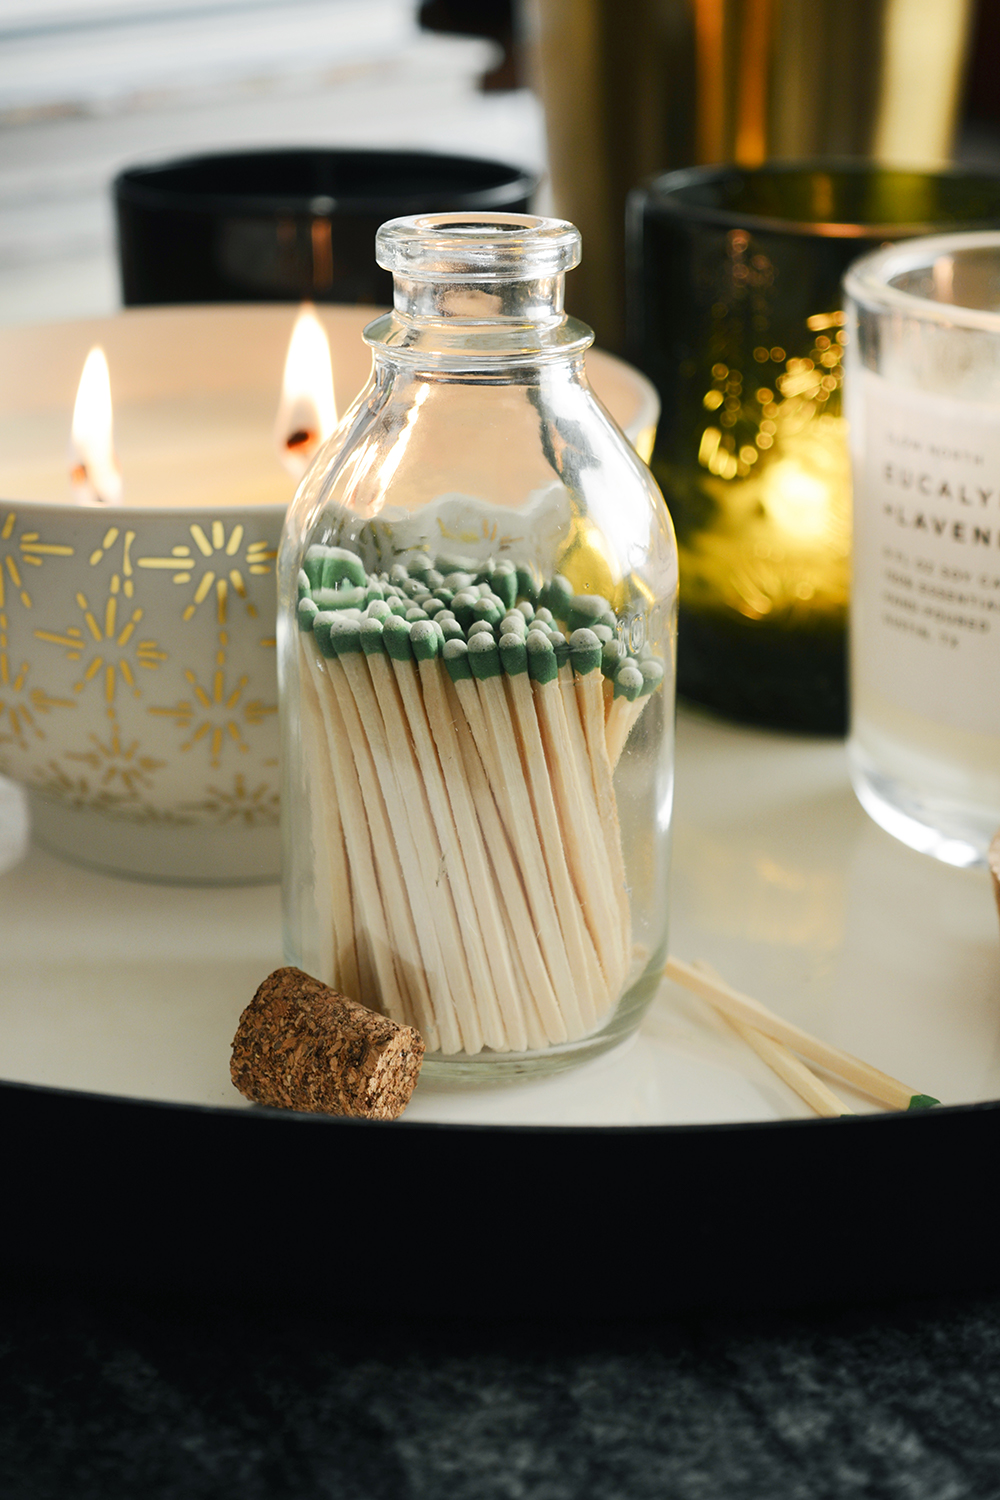
DIY Match Jars

March 1, 2018

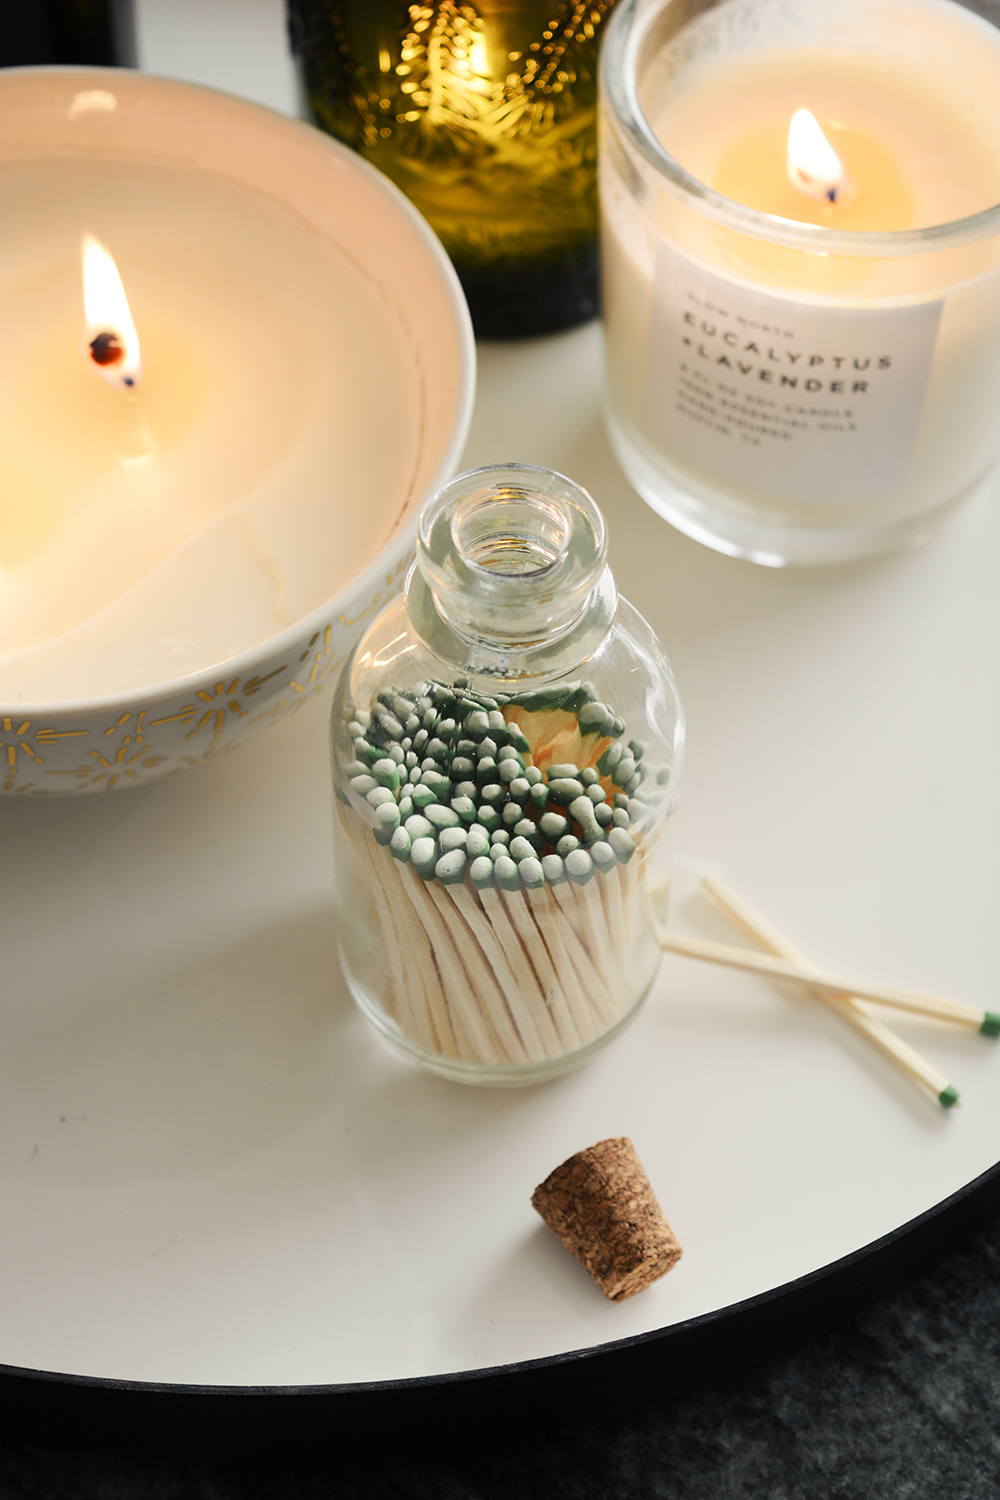
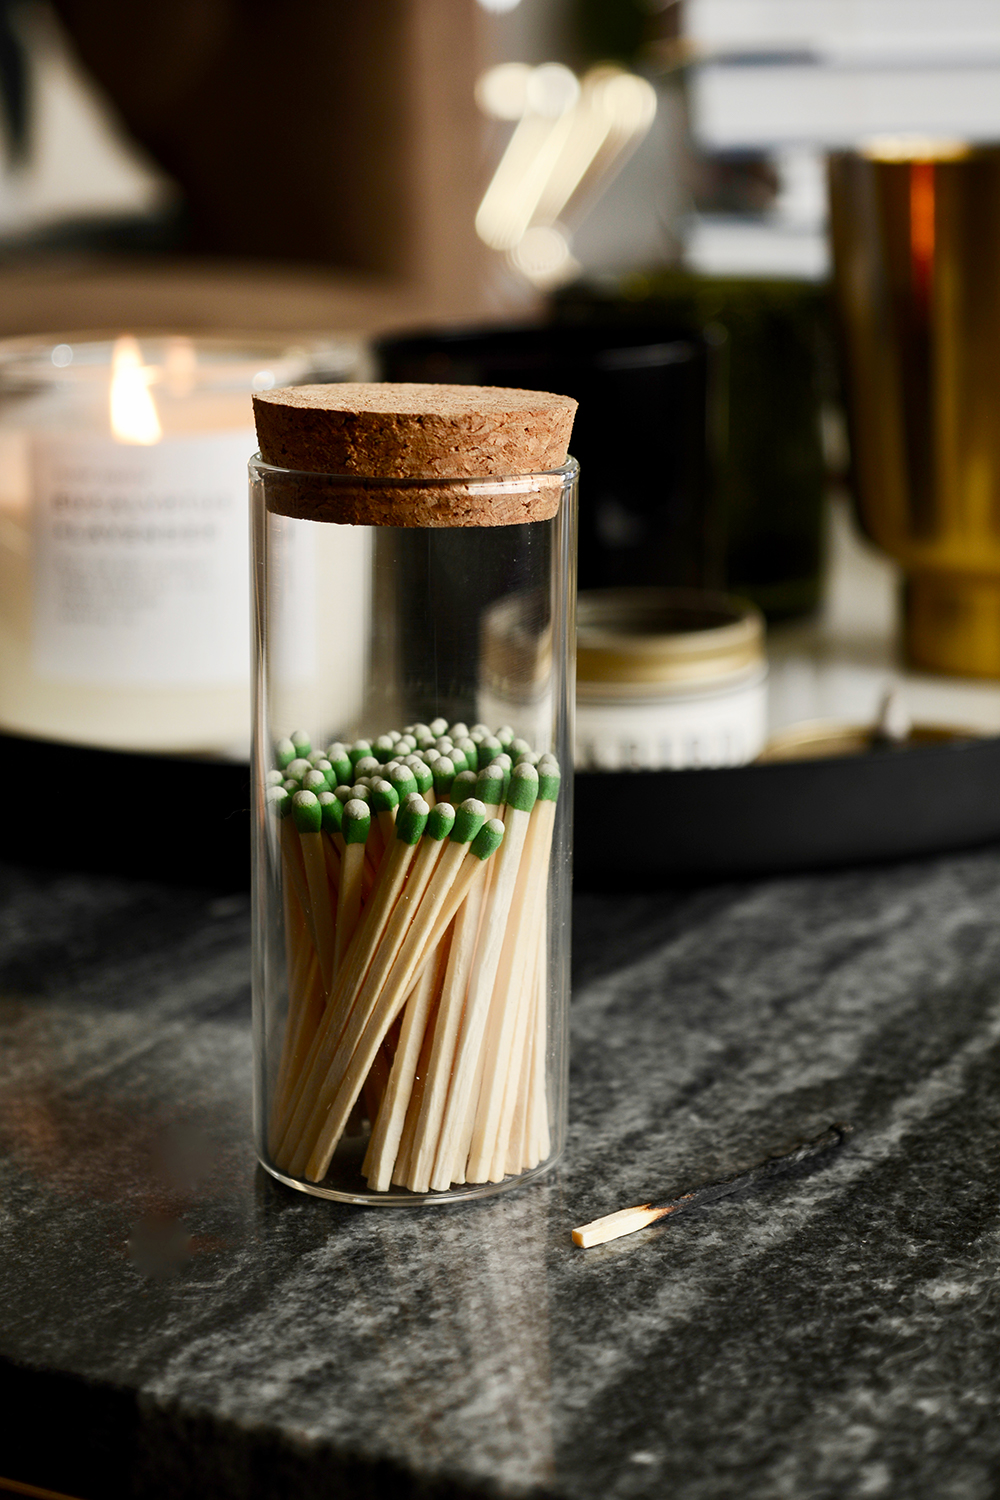
I’m not sure if you can really call this a DIY, because gosh this is sooooo easy. Most folks I know love a good candle now and then. I have them all over my house and it feels like a treat when I light them (which is a couple times per day). And if you are going to have a candle, you have to have a match to light it. But, who wants an ugly match box. I’ve bought pricey little jars of matches many times, but I decided I could definitely do this myself. Now when I gift a candle, a cute little jar of matches will always go with it.

Not only are these just useful to have with a candle, they act as a cute accessory all by themselves. I decided to keep the jars undecorated, but my wheels are already spinning of cute vinyl decals I could add to them at a later date.

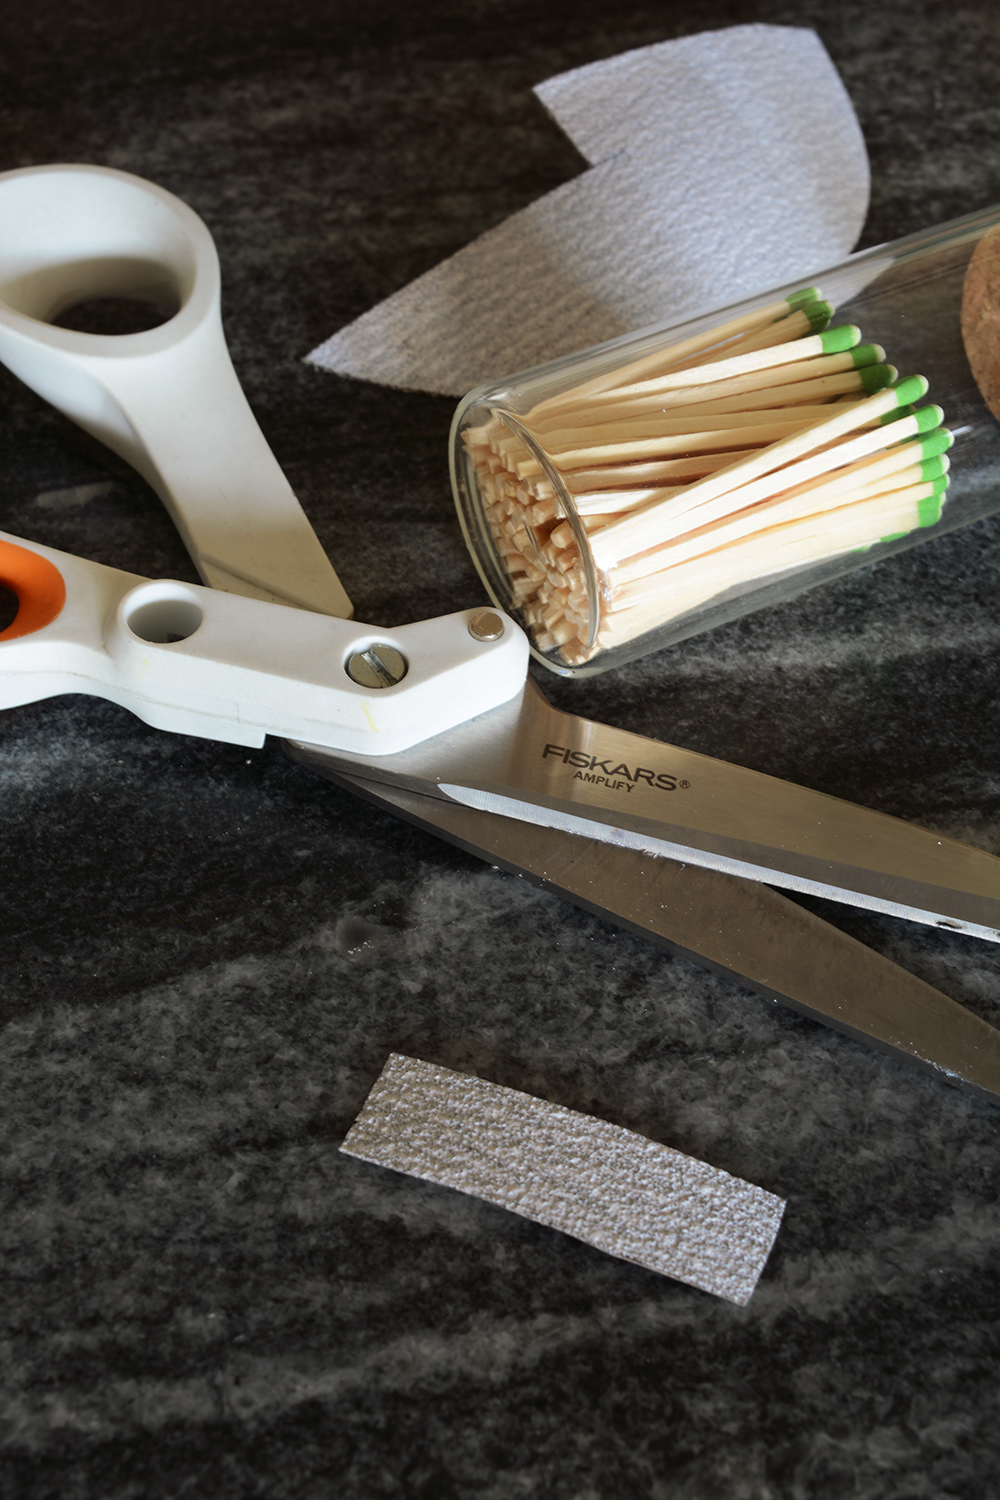
Here’s what you will need:

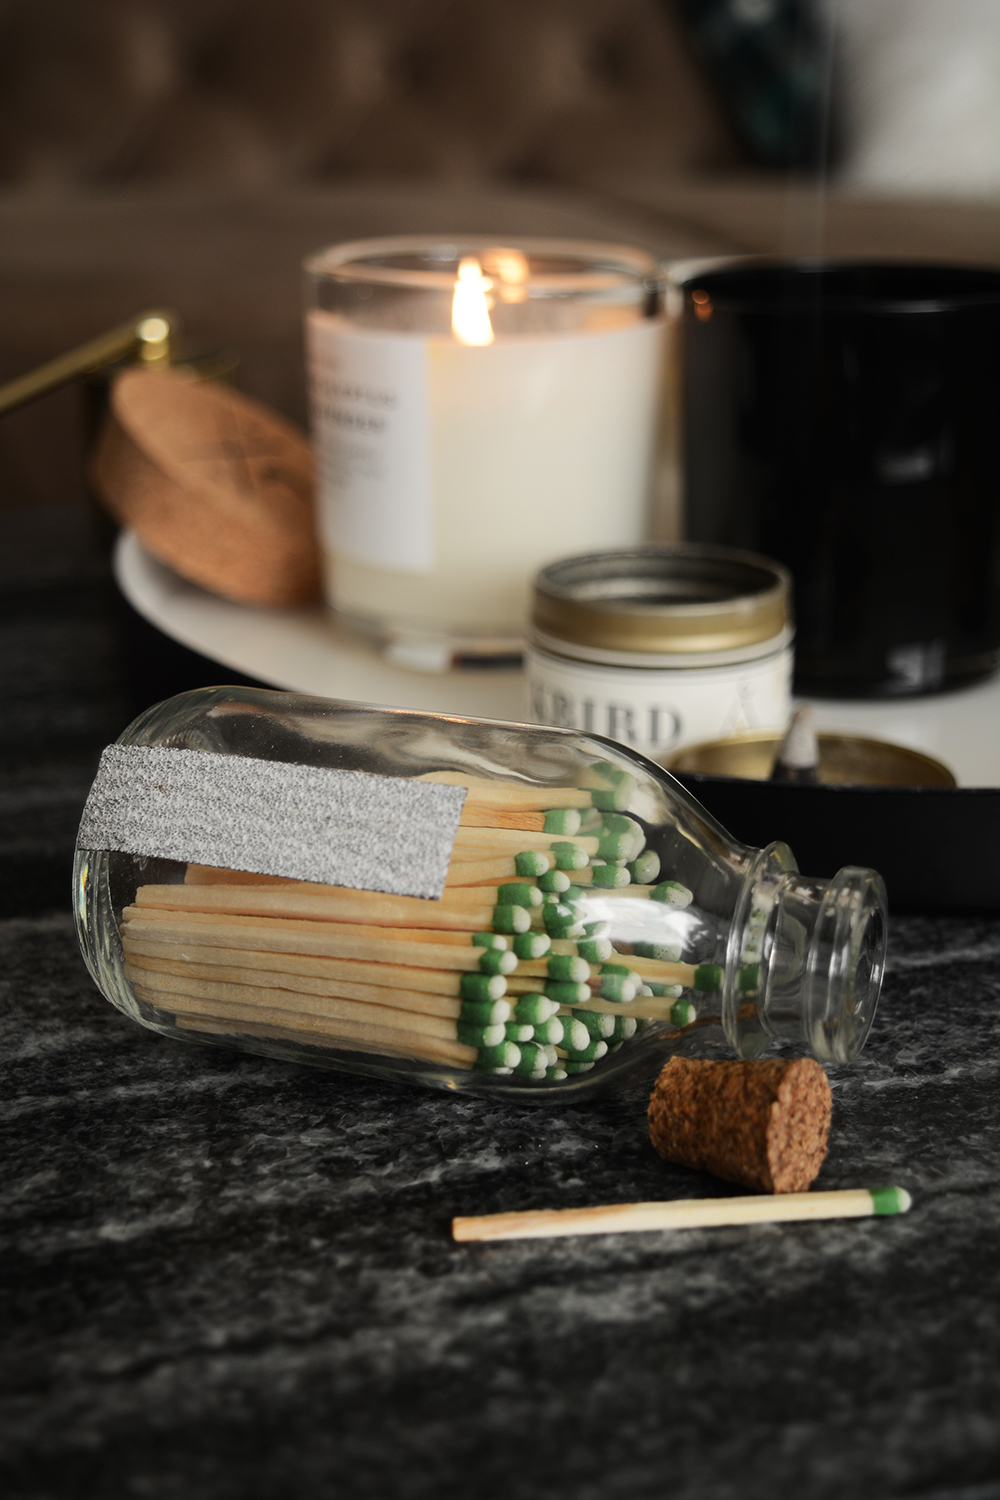
Simply cut a 2 x 1/2 inch strips of the sand paper, remove the backing the stick them on the bottle. Then fill the bottles with matches. I was able to fill 3 bottles with one box of matches.

What do you think? Do you need a couple of these in your home? Oh and if you are a candle person, what are your current faves?

Style

What I’ve Thrifted Lately

February 23, 2018

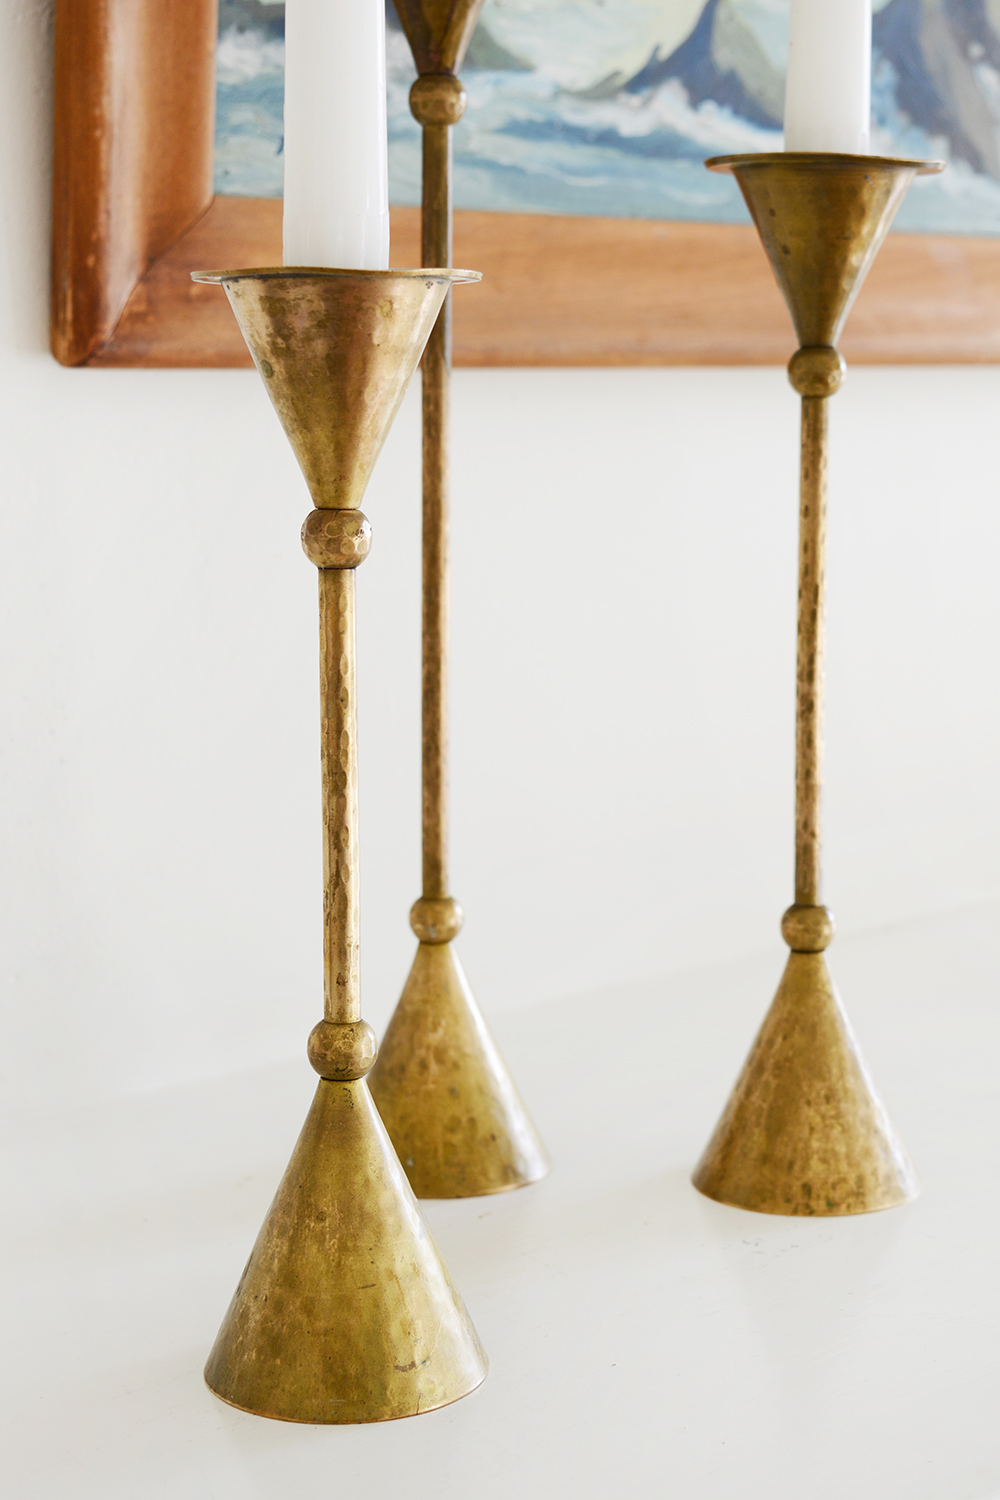
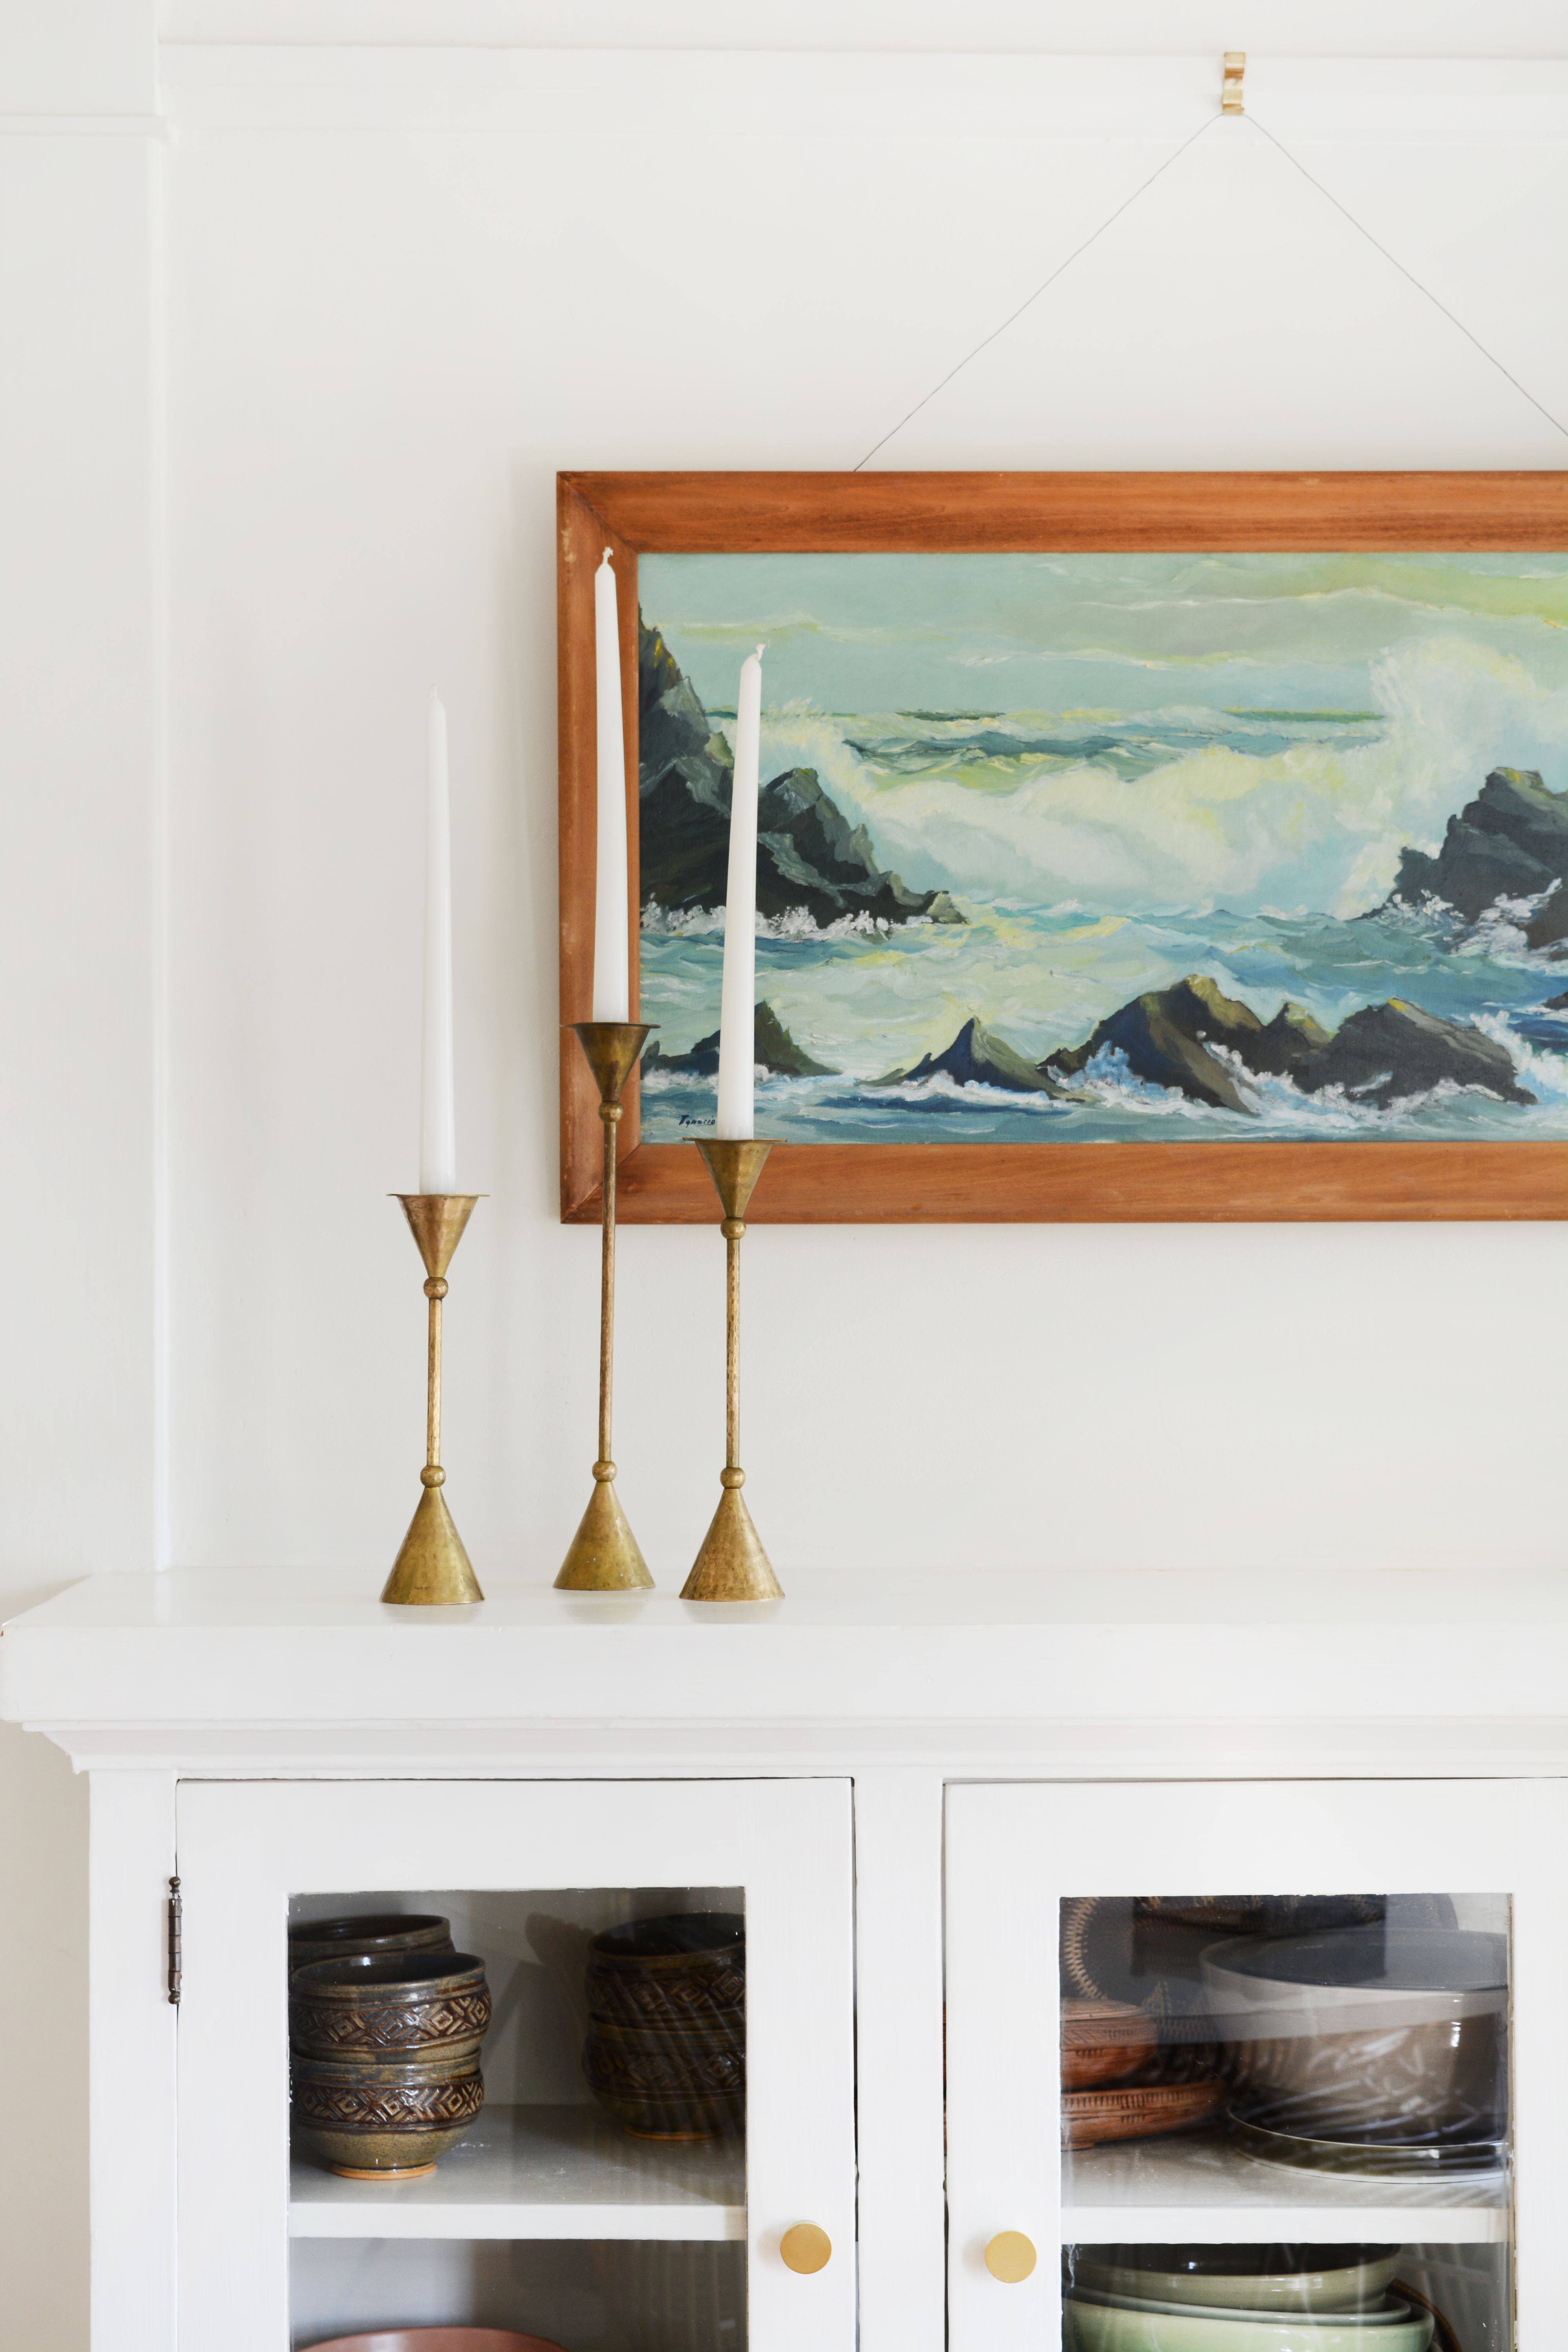
Brass Candle Sticks - thrifted for $3 each!

It’s been a while since I’ve shared any of my thrifting treasures here. I recently did a big purge of a lot of props here at home and at the studio. And now I feel like I have more room for fun vintage finds.

I’ve found that my readers LOVE seeing what I find and the great deals I walk away with. So, I’m going to have a little giveaway of a few of my favorite pieces over on Instagram. Tune in Sunday evening for all the giveaway details over on instagram. I’m going to give away a few little treasures, so you’ll want to chime in and let me know what items you want for your home.

Brass Candle Sticks - thrifted for $3 each!

Whenever I visit my parent’s in Northern California, I try to hit up some of my favorite spots around there. This last trip, I found this set of 3 brass candle sticks. I’m a sucker for brass, especially old brass. You’ll probably see a lot of brass in the giveaway mix.

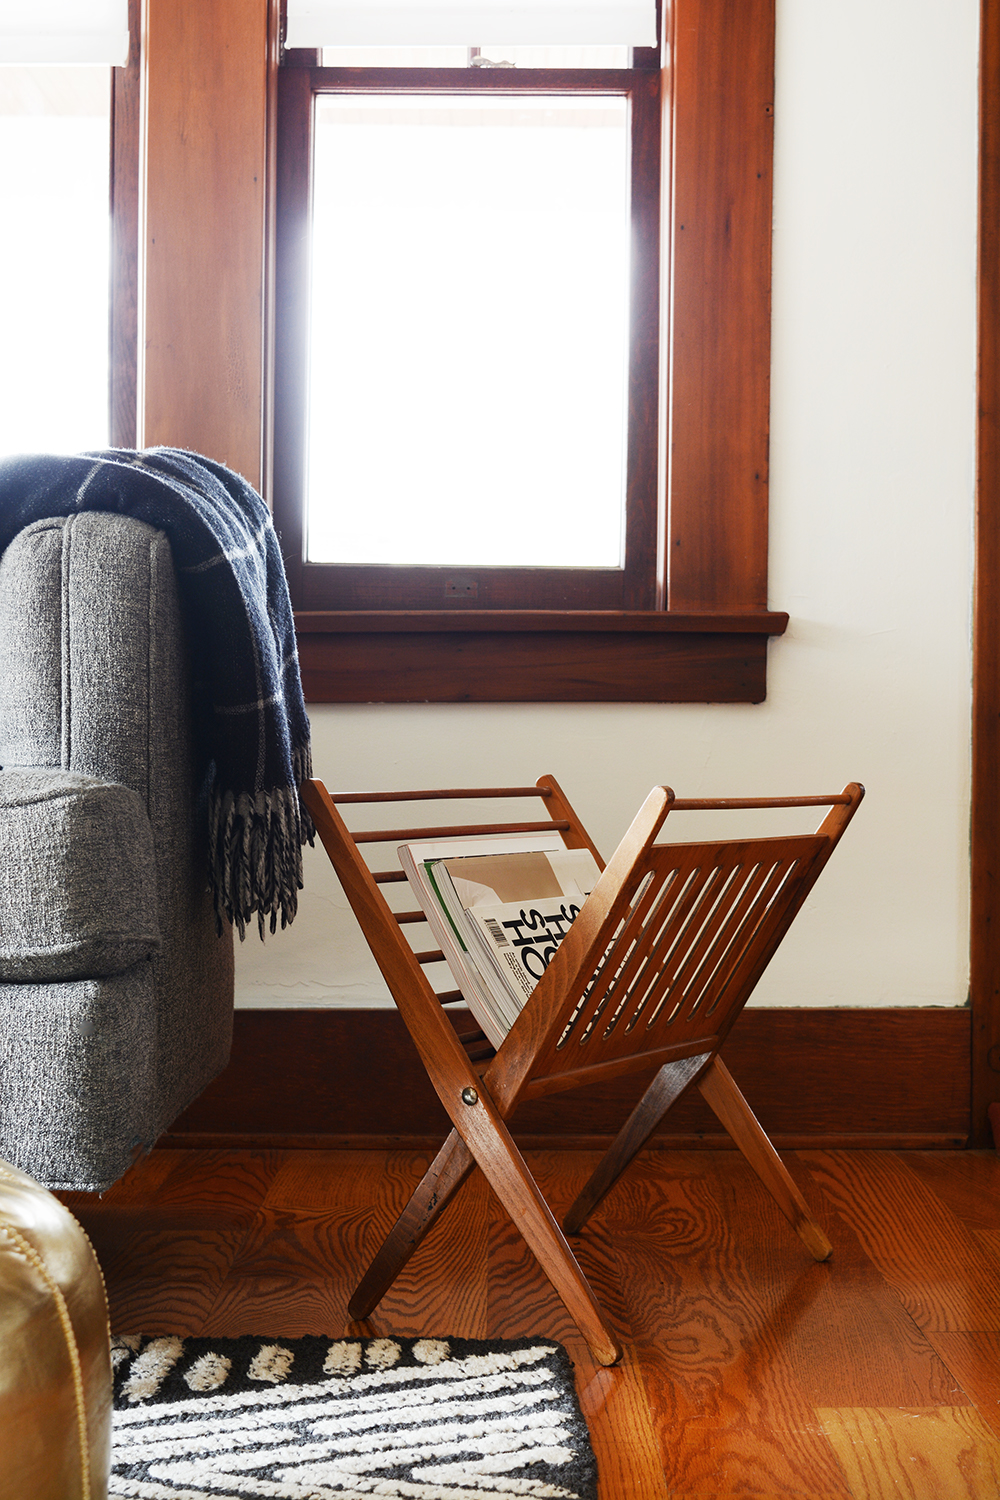
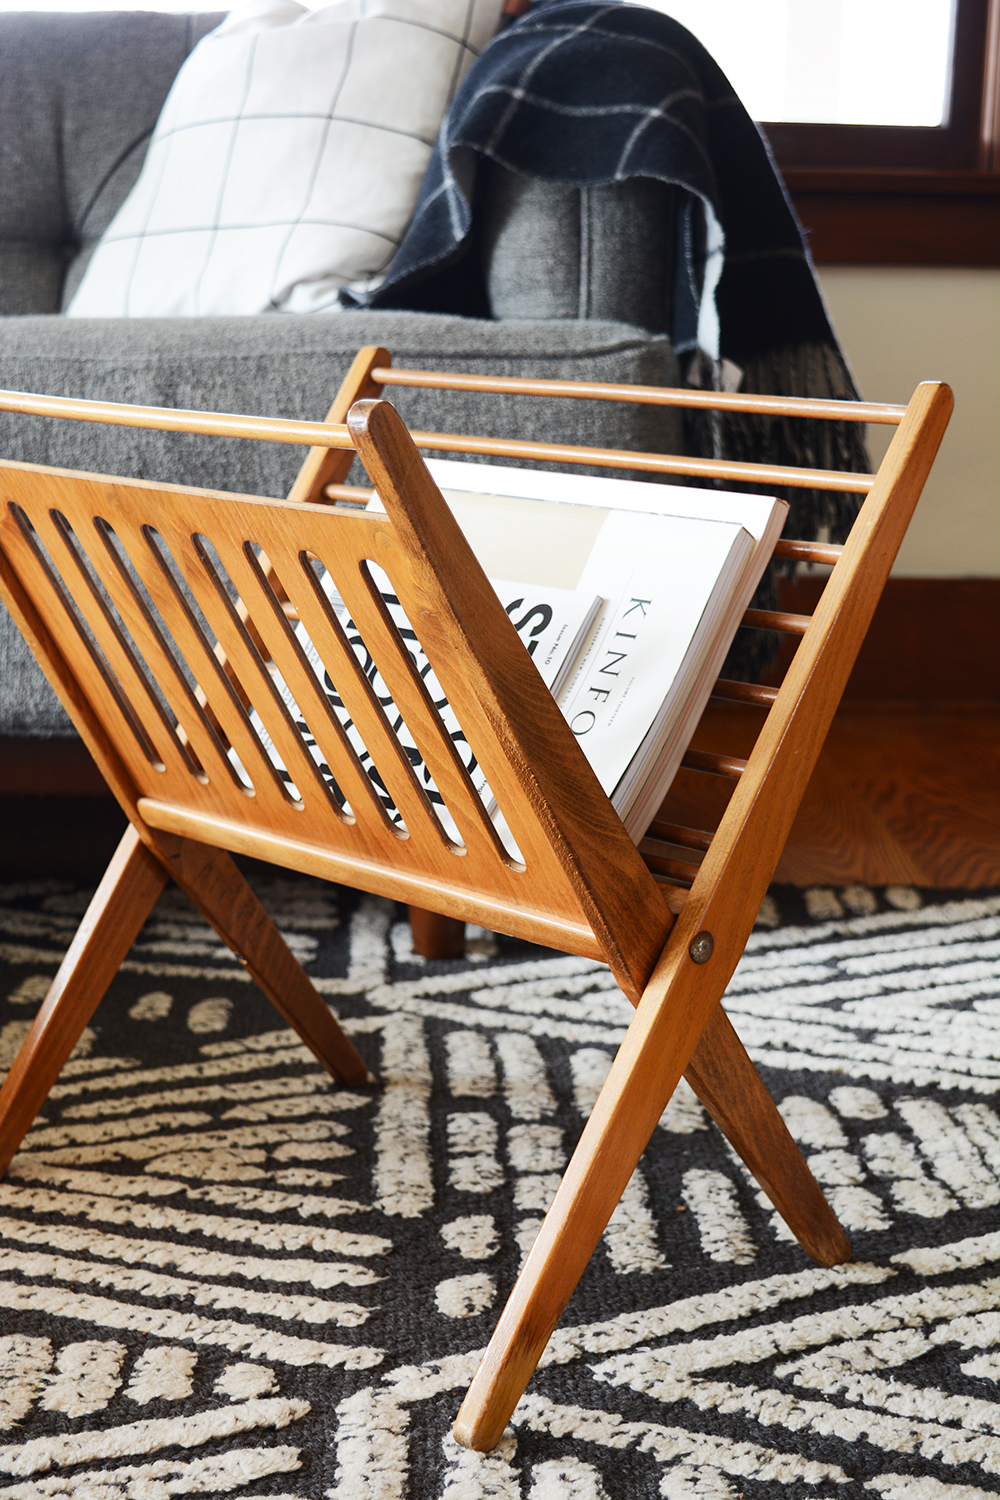
Midcentury magazine rack - thrifted for $2

This little midcentury beauty was unbelievably cheap. And the best part is I just saw an identical magazine rack in an antique mall this week for $55 (and that was the sale price).

Midcentury magazine rack - thrifted for $2Midcentury Wooden Bowl

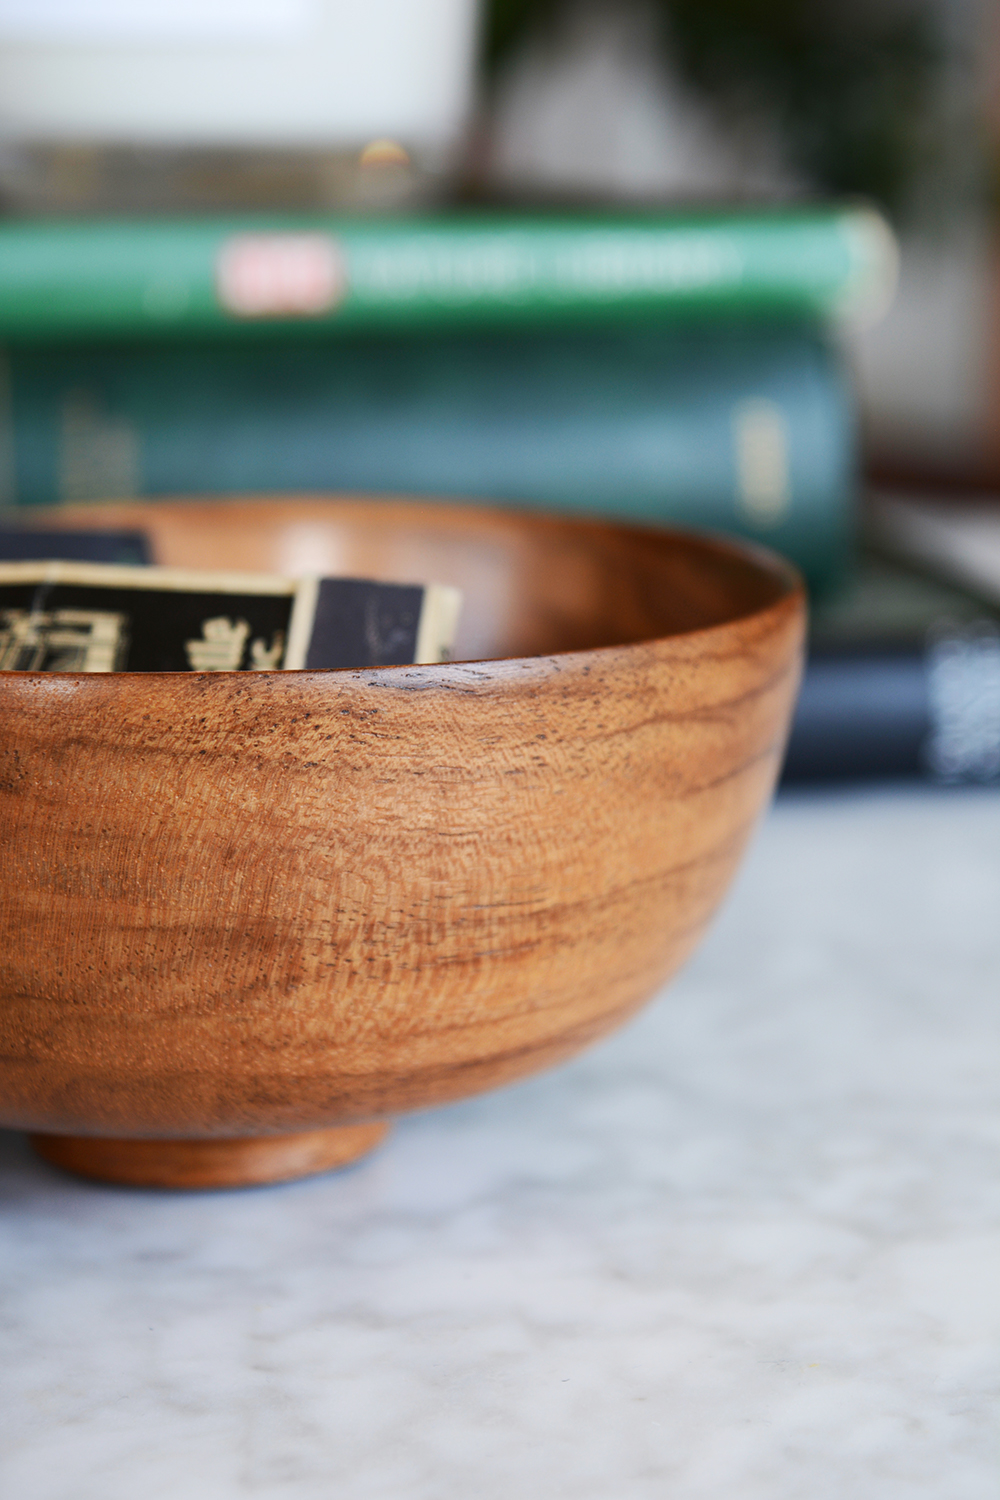
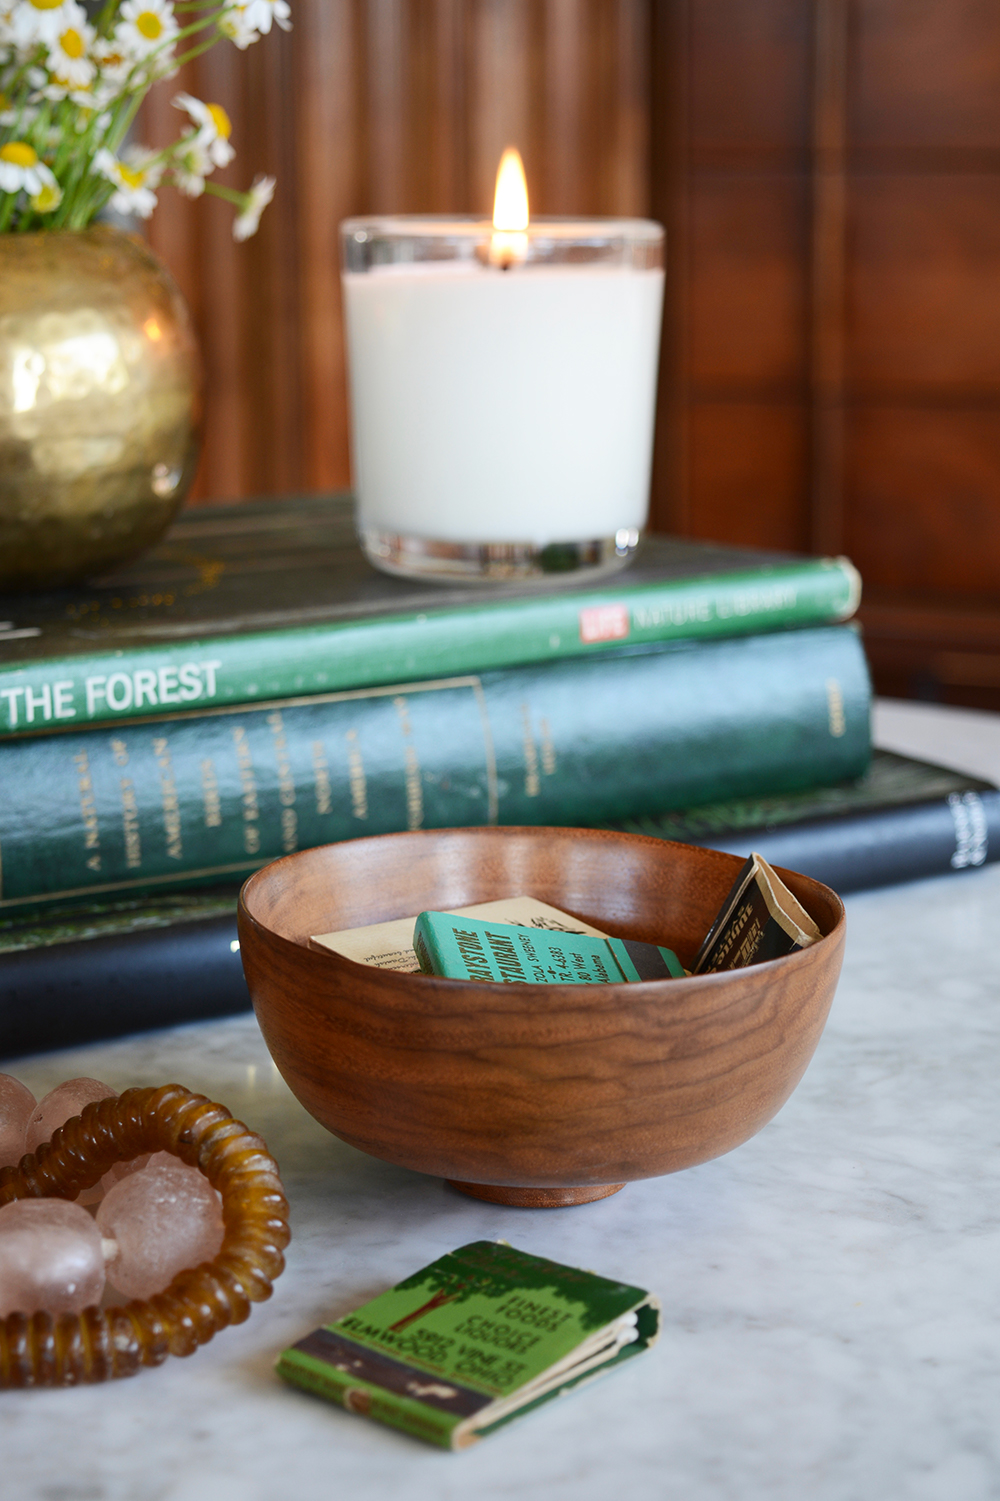
Often folks tend to overlook the small items. I’m usually on the hunt for big furniture, but sometimes the real gems are the itty bitty details like this gorgeous wooden bowl.

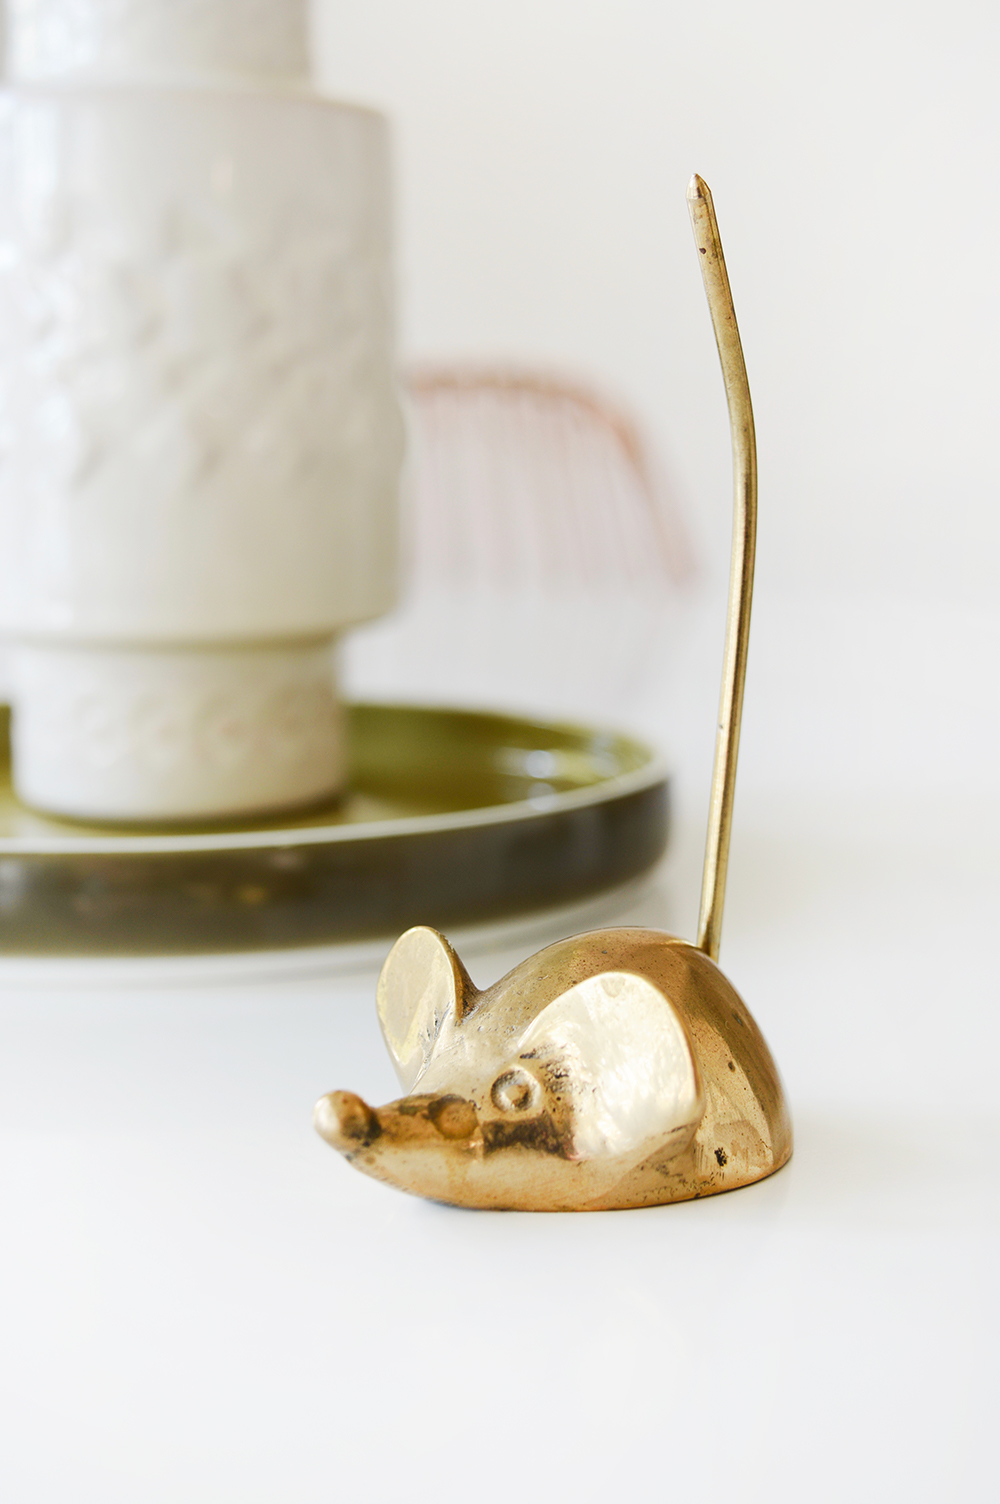
Midcentury Wooden BowlVintage Brass Mouse

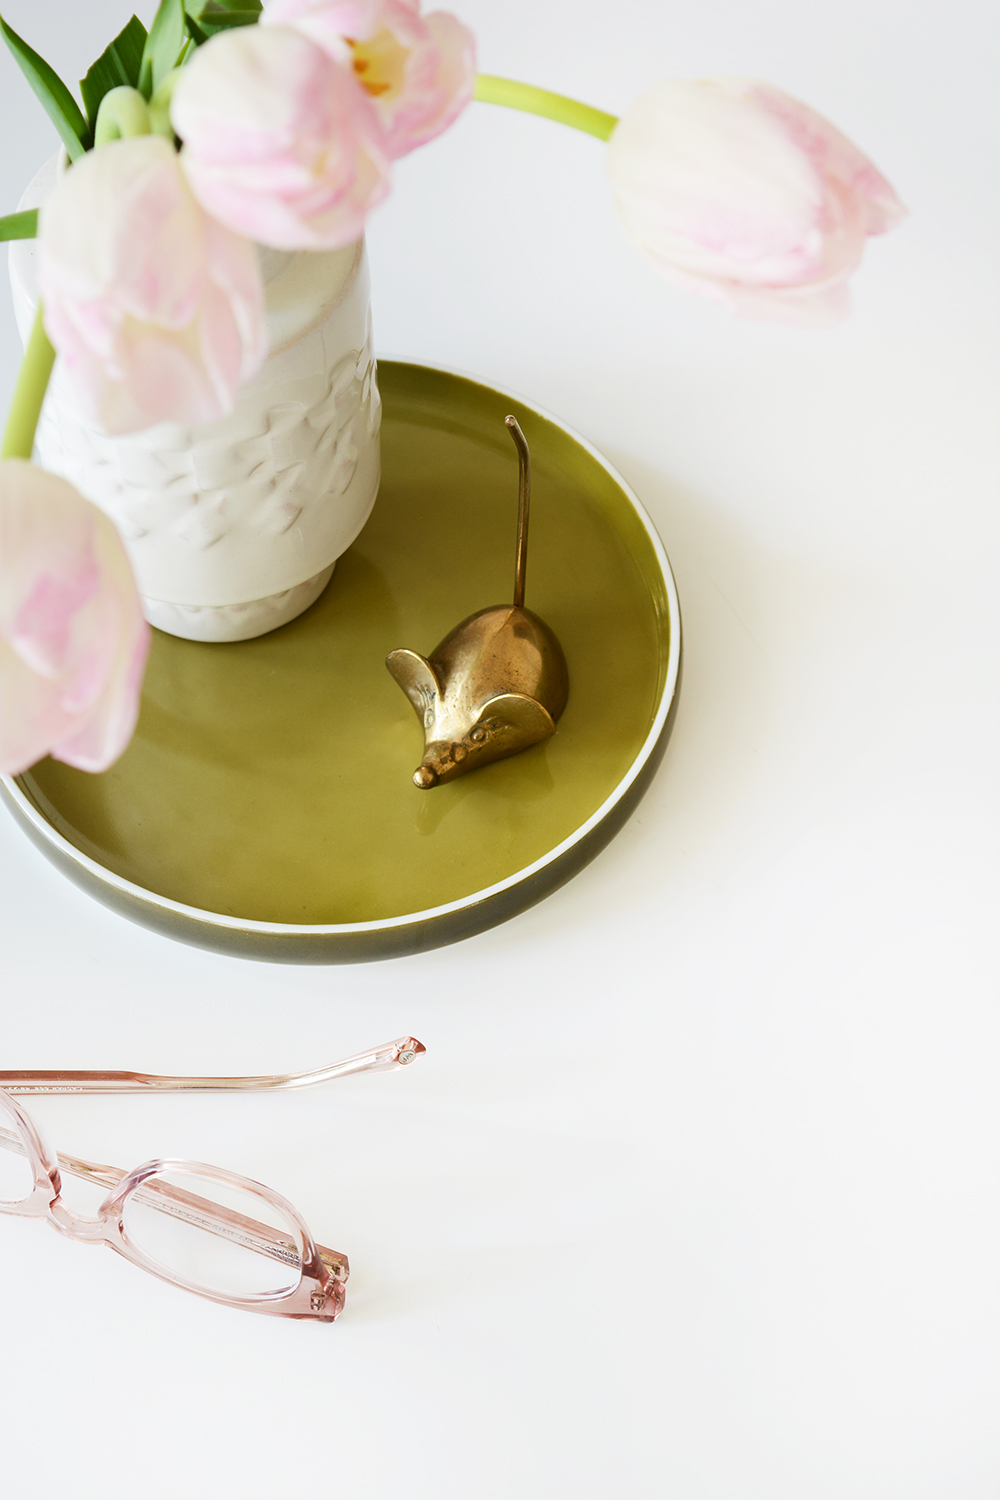
I found this adorable mouse over the Christmas break in Idaho. He was a little pricier then I wanted him to be. But, I have no regrets. I’m so glad I picked him up. I don’t know what he is real use or purpose is – maybe a ring holder, maybe a spike for receipts and bills? But, his only job in our house is to be cute.

Vintage Brass Mouse

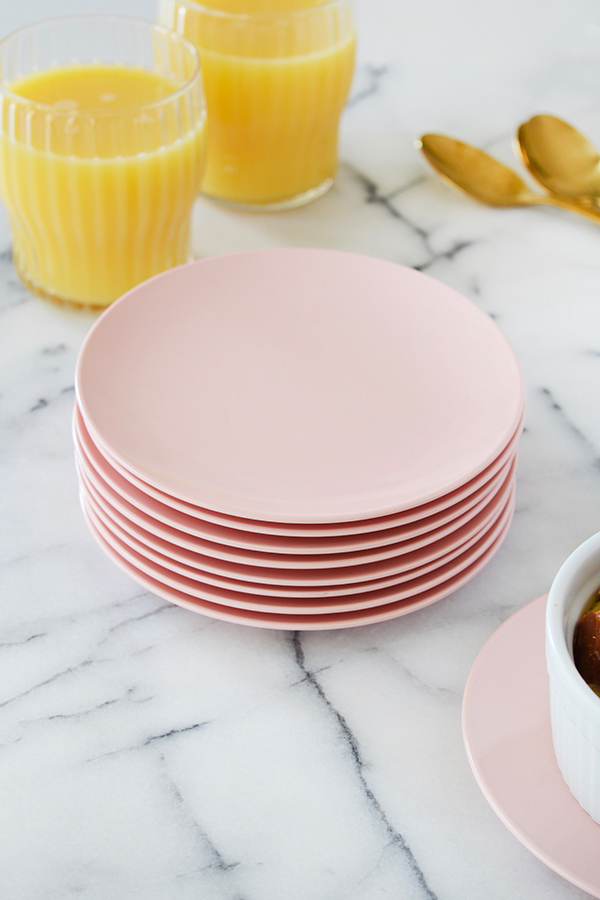
And last, but not least, are these pretty little pink melamine plates. I love it when you can find an entire set of something and 10 is a great number. These are perfect for little desserts or appetizers. Olivia definitely loves them.

Vintage Melamine Plates - set of 10 thrifted for $10

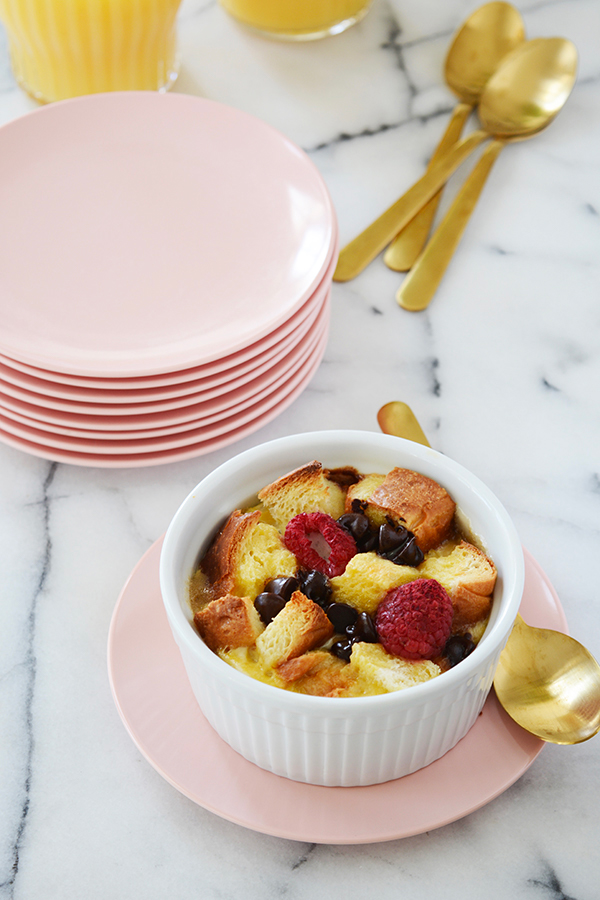
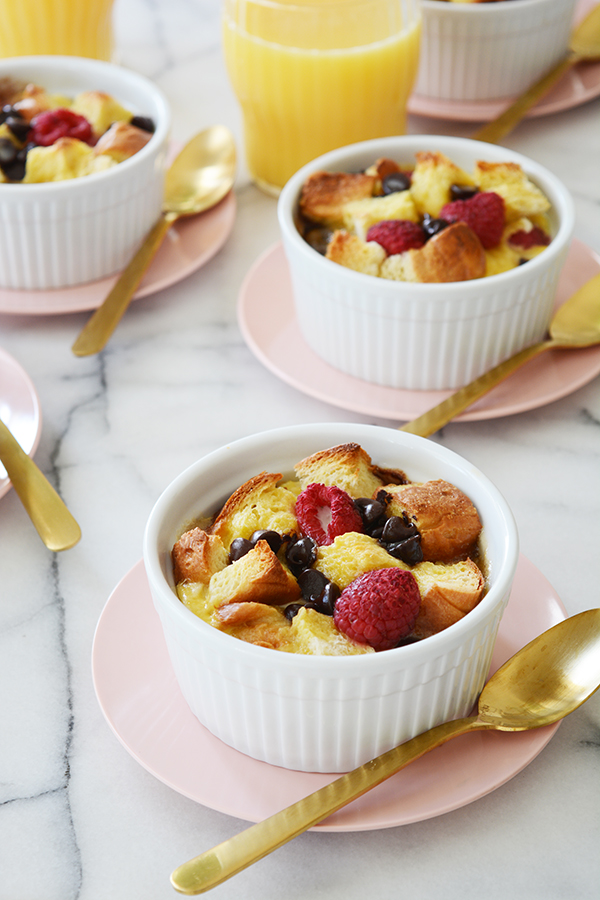
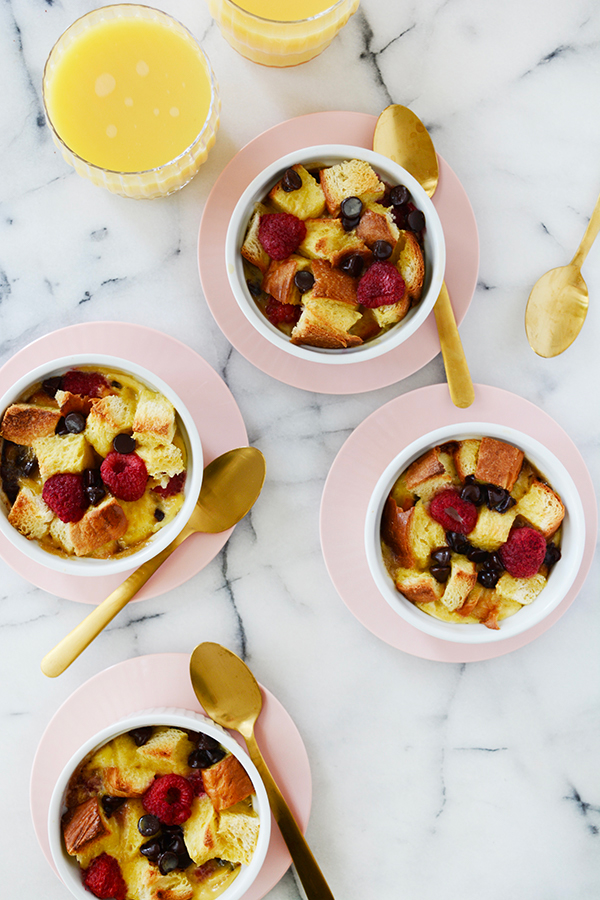
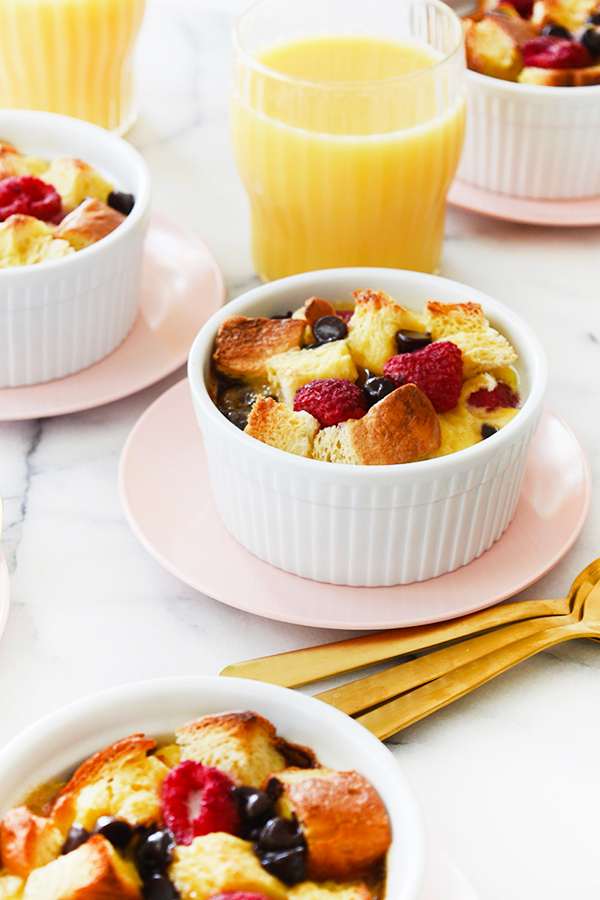
I used them as little mini chargers for my indiviual Chocolate Raspberry Baked French Toast.

Vintage Melamine Plates - set of 10 thrifted for $10

Now this is the best part…..the numbers! I know you are dying to see how much a spent.

So here’s what I spent:

  • $9 – 3 Brass Candle Sticks
  • $2 – Midcentury Magazine Rack
  • $12 – Vintage Brass Mouse
  • $7 – Midcentury Wooden Bowl
  • $10 – Pink Melamine Plates (set of 10)

Total – $40

What have you found lately at your favorite antique malls, thrift stores or at a garage sale? And don’t forget to check back on Sunday for the giveaway on instagram.

Food & Drink

Lemon Lavender Shrub

February 19, 2018

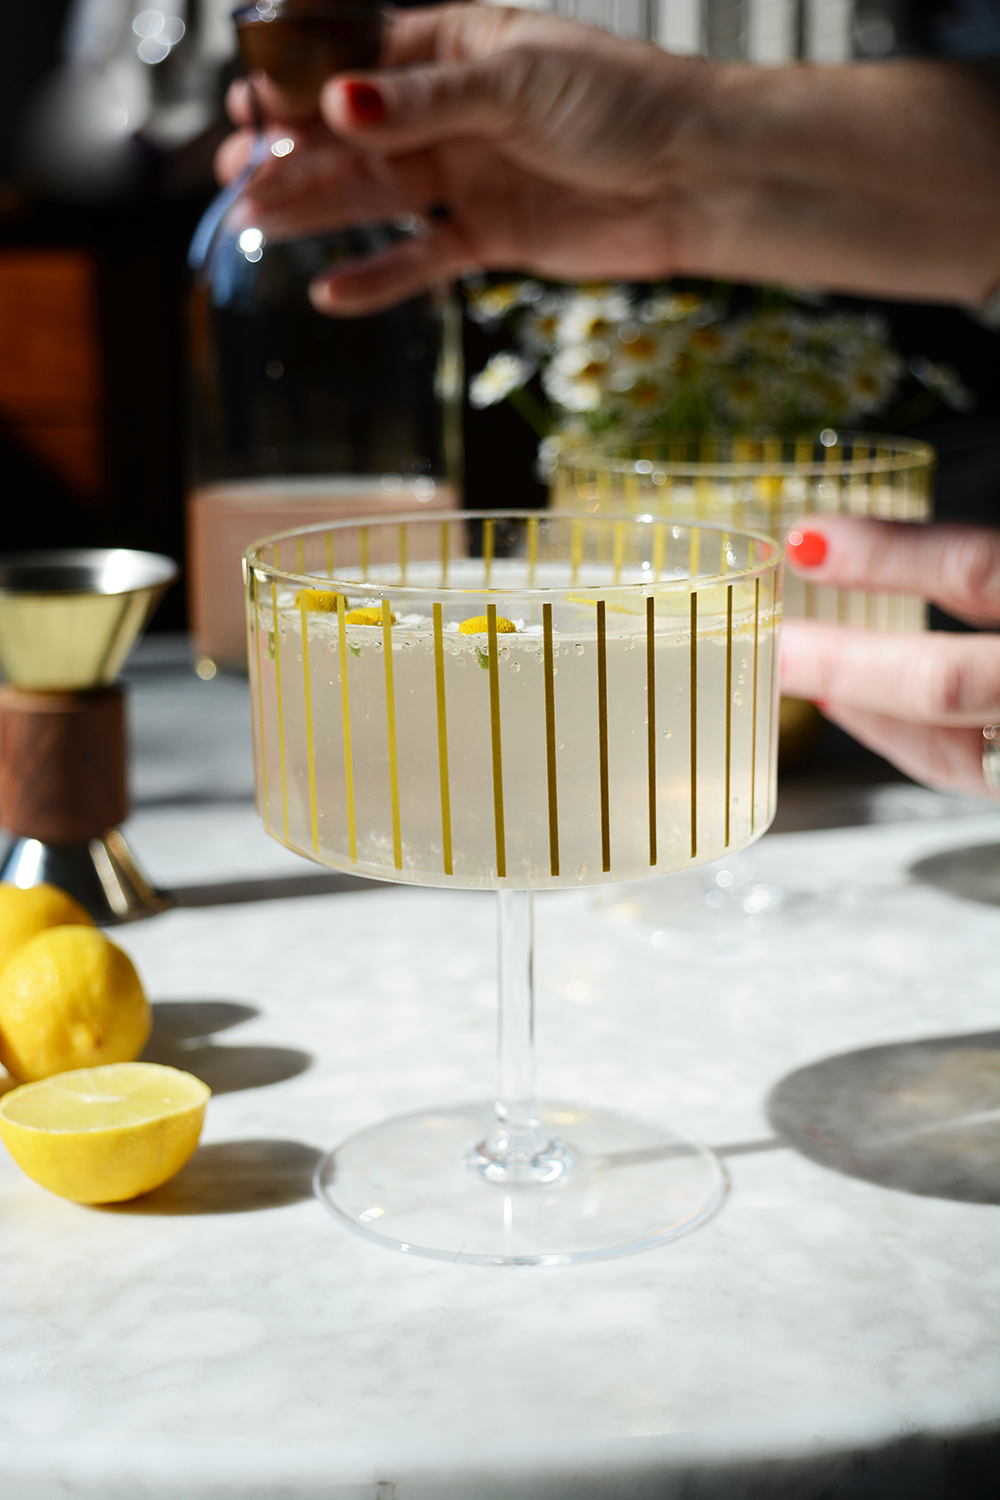
My latest obsession is shrubs or drinking vinegars. There is something super interesting and about this sweet and sour combination. If you’ve never had a shrub, they are fruit infused sweet vinegars. Shrubs are the perfect addition to a cocktail or just add a little sparkling water for a perfectly refreshing mocktail.

We are in the peak of citrus season. Our lemon tree is absolutely loaded. So, I’m looking for creative ways to use all this fruit. Yes, we are drinking a pitcher of lemonade everyday, but it’s fun to play with some new recipes and uses for all our fruit. This week I plan on making some marmalade and also drying some more lemon slices.

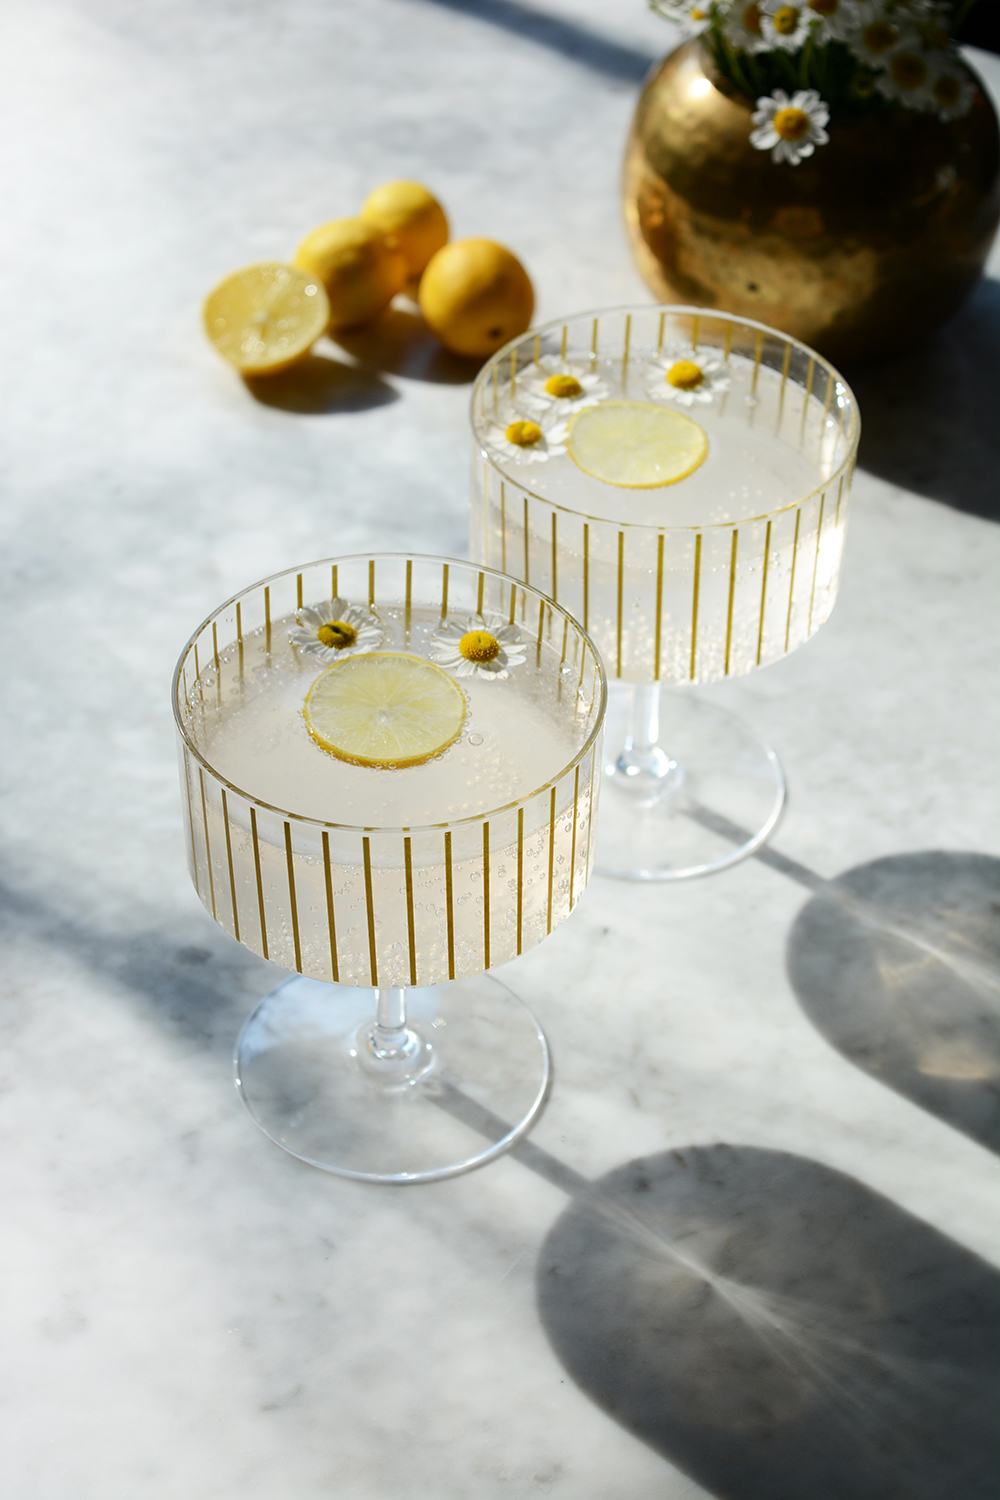
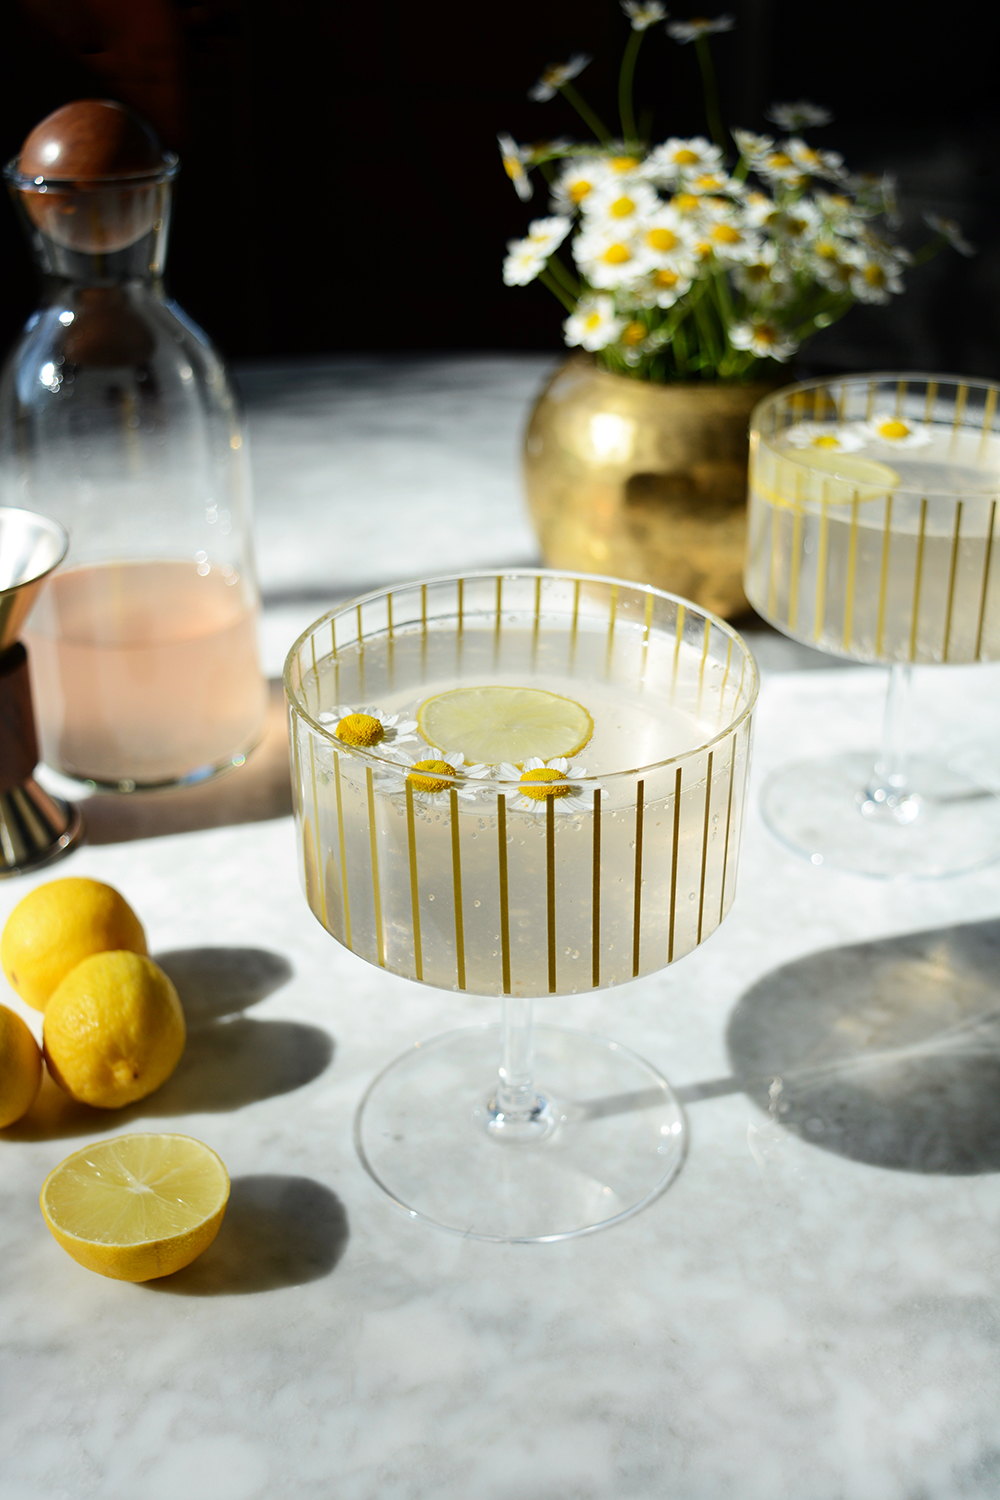
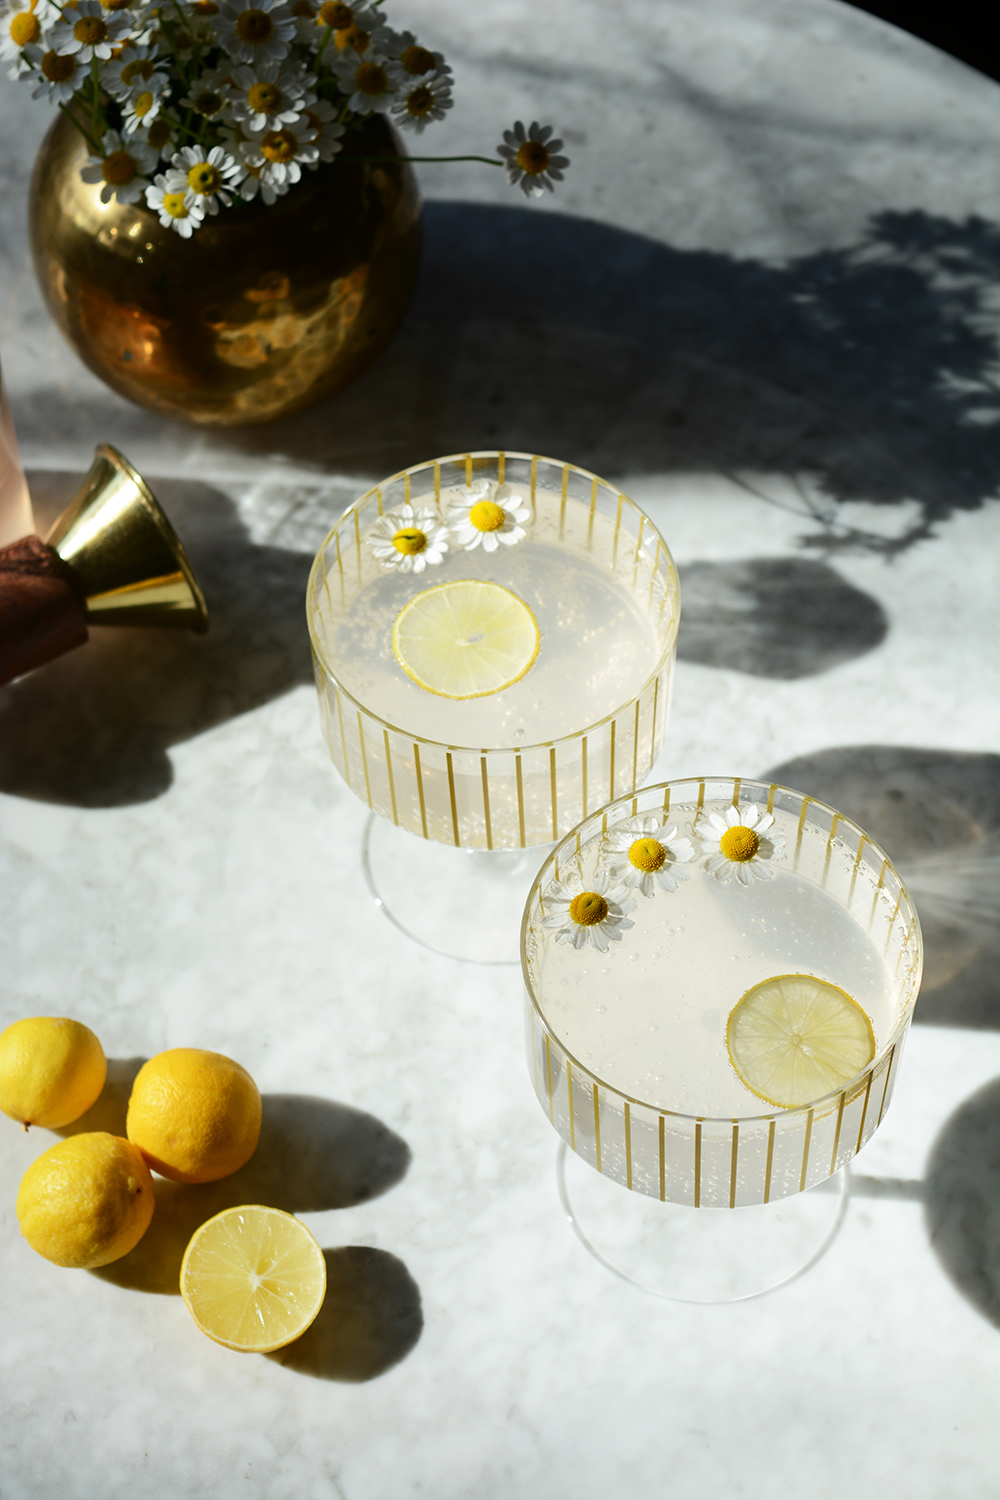
Lemon Lavender Shrub Mocktail

Lemon Lavender Shrub

  • 6-8 lemons, cut in 1/4’s
  • 2 tbsp. dried lavender
  • 2 cups sugar
  • 2 cups white vinegar
  • 1/2 tsp. salt

In a glass bowl, place the cut lemons, salt and lavender and cover with sugar. Cover with plastic wrap and leave on the counter for 1 day. Stir a couple of times throughout the day. After 1 day, add the vinegar, stir and cover again with plastic wrap. Allow it to sit another full day. Stir a couple of times throughout the day.  Pour the entire contents of the bowl into a sauce pan. Bring to a boil and boil for just one minute. Remove from the heat and pour through a fine metal sieve, press a wooden spoon against the lemons, to remove all of the liquid. You may need to pass the liquid through a sieve more than once.

Store the shrub in an airtight container in the fridge for up to one month.

Lemon Lavender Shrub Mocktail

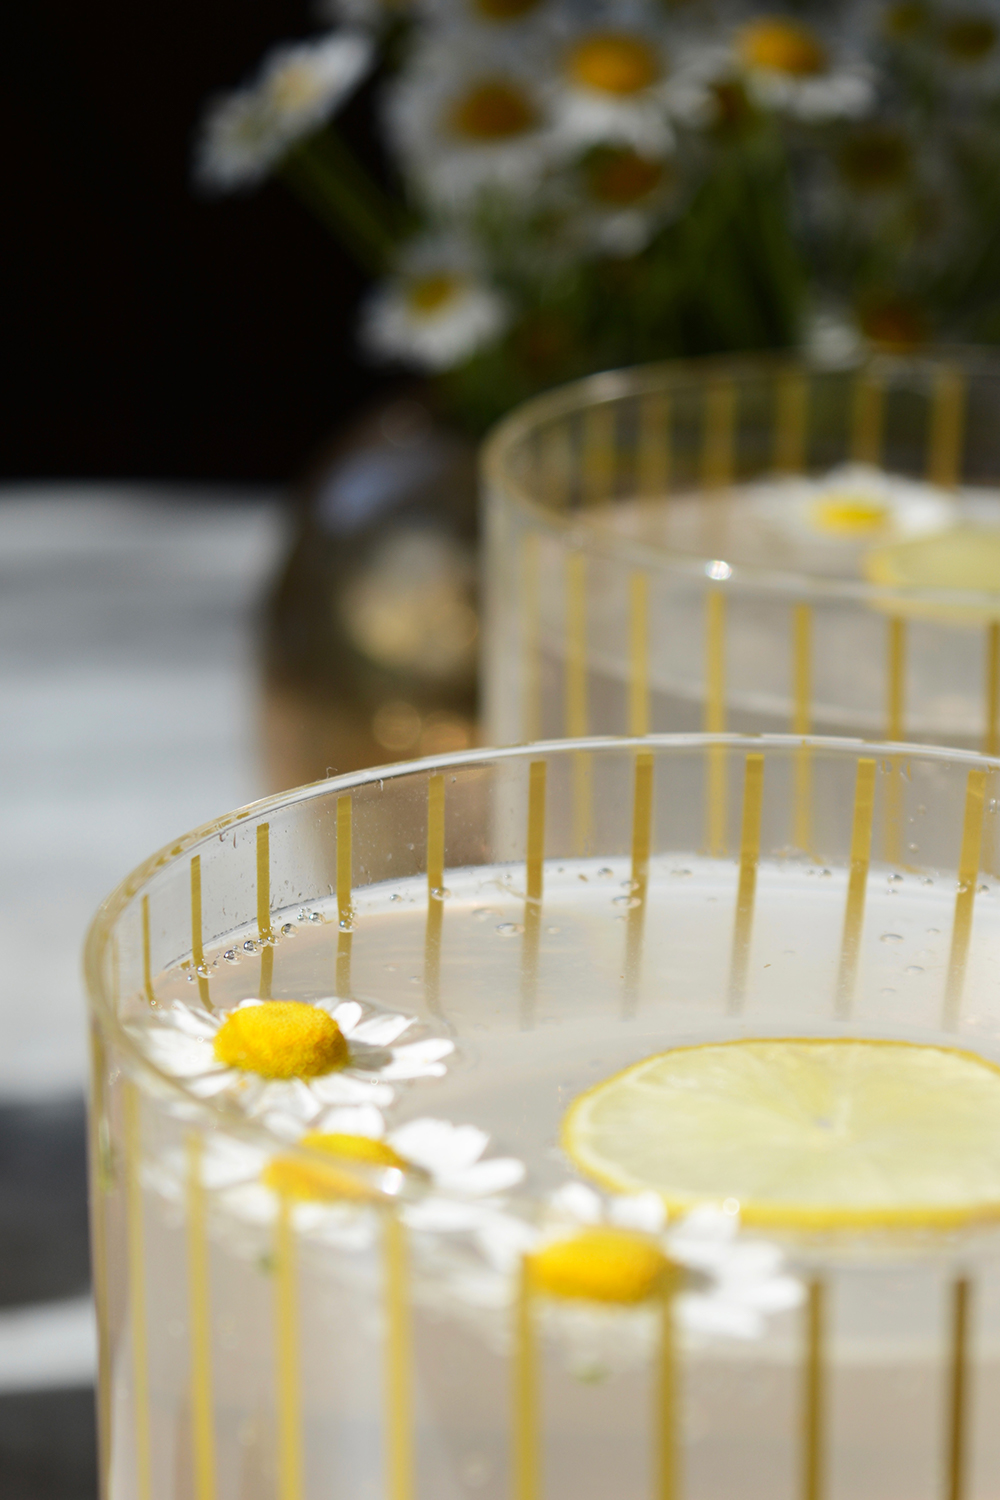
For this super simple mocktail, I simply added 2 oz. of the shrub to a glass and then topped off the glass with cold sparkling water. Then, I garnished each drink with a couple of camomile flowers and a slice of lemon.

Lemon Lavender Shrub Mocktail

Cheers! Hope you enjoyed a little down time this long weekend.

Lemon Lavender Shrub MocktailLemon Lavender Shrub Mocktail

Style

My Valentine’s Day Look

February 14, 2018

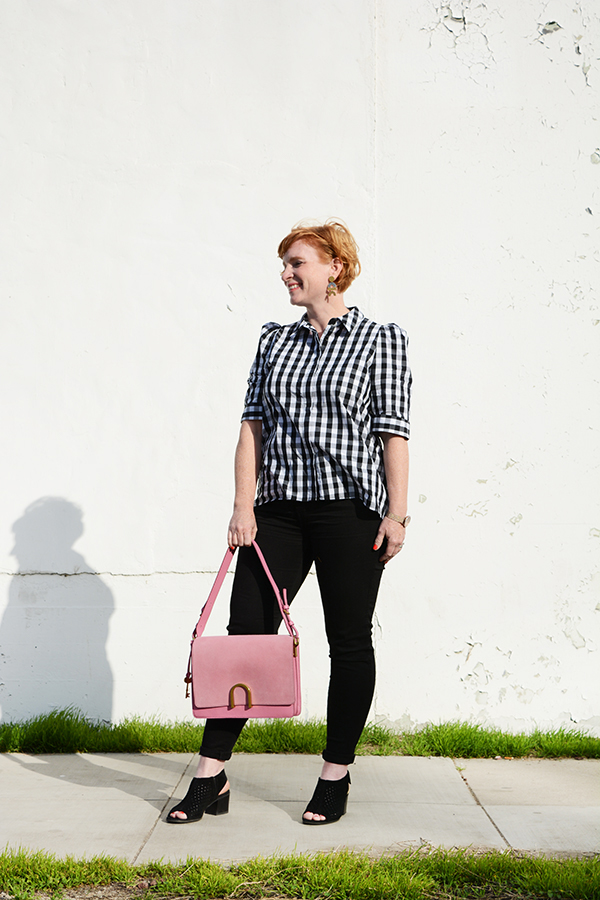
I didn’t set any New Year’s Resolutions, but I’m trying to stretch myself and try new things as often as I can. I’m comfortable behind the camera taking the picture, being in the pictures, not so much. I’m trying to hide less behind my work. I’m a real person, with real issues and real feelings.
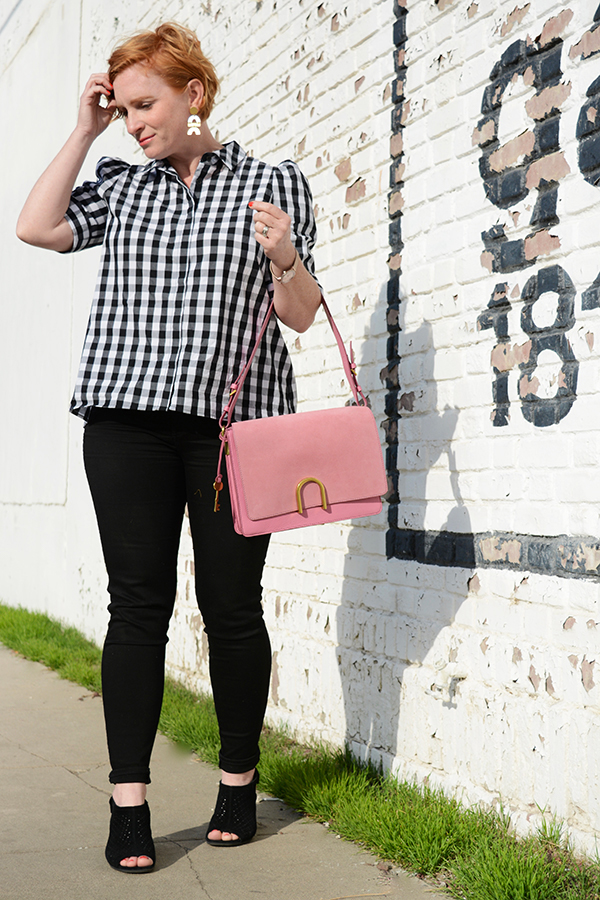
I never want Oleander + Palm to be a place folks visit on the internet and then leave feeling bad about their lives. I have always wanted it to be a tool for sharing and showing how to live a beautiful life without spending a tone of money. I know I crave good design and pretty spaces, it does my soul so much good. I think God has wired us this way. I am more at peace when my home is clean and clutter free. I am inspired and energized when I’m surrounded by beauty. And I feel confident when I’m wearing clothes and accessories that fit my personality and my body shape.

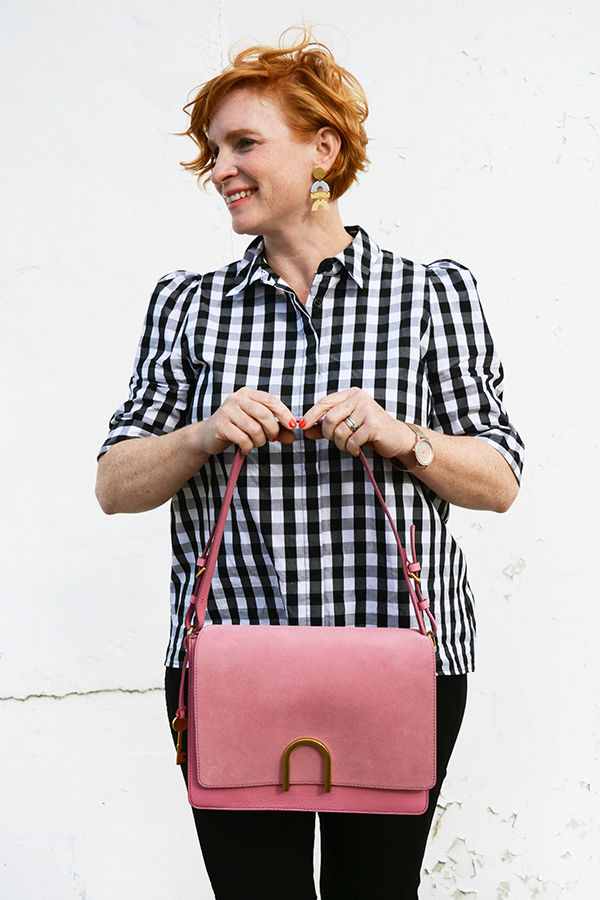
So, here I am, an awkward model trying not to squint, keep my hair out of my face and my shirt from blowing up because it was super windy and bright.

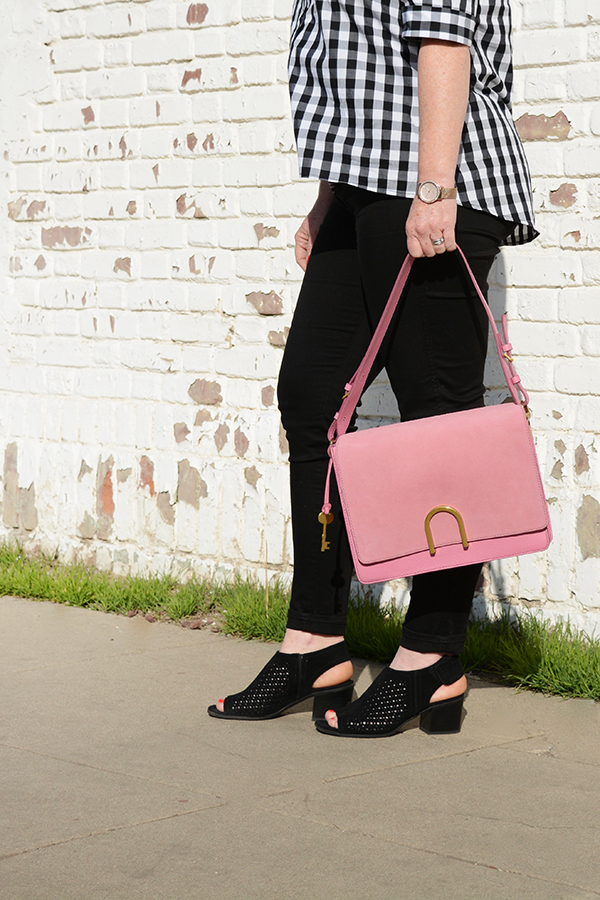
My sense of style is always comfort first. But, I don’t want to wear yoga pants all the time and I do love a good trend. I’m a mom and more often then not I’m standing on a chair or squatting in a corner trying to get a picture. So, my clothing needs to work for all of that.

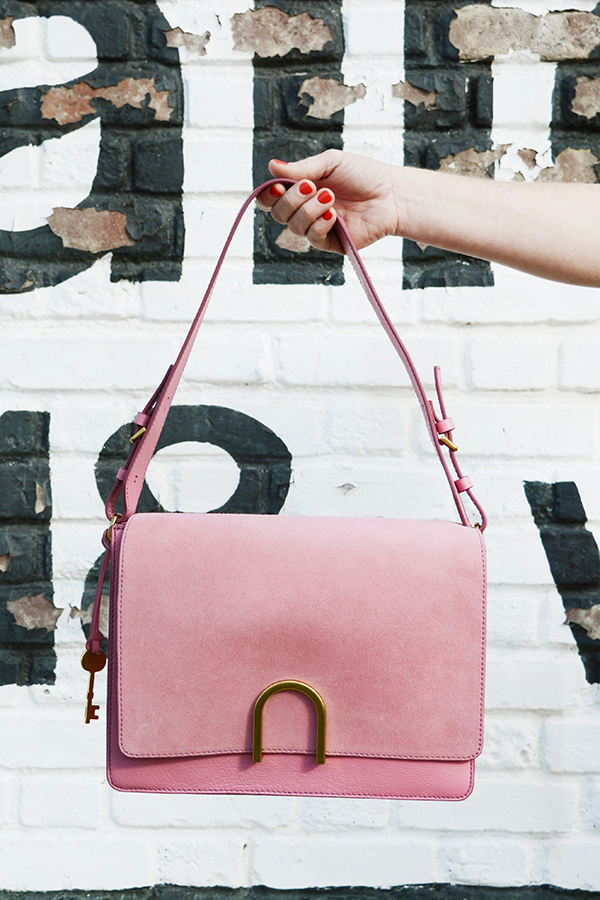
Here’s the deets on what I’m wearing:

Anyways, that’s me. Let me know if you’d like to see more of this.

Food & Drink

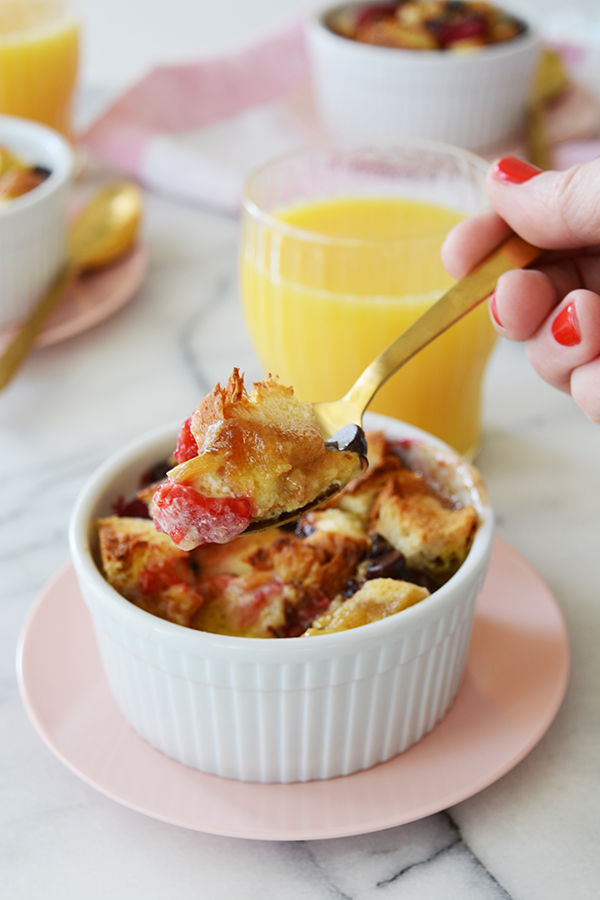
Chocolate Raspberry Baked French Toast

February 13, 2018

Chocolate Raspberry Baked French Toast

Ok, I know it’s kind of last minute, but you are definitely going to want to make this for your sweetheart or your whole family this Valentine’s Day. I’m serving this as a decadent breakfast, but this yummy Chocolate Raspberry Baked French Toast is really just a rich bread pudding. Calling it French Toast makes it feel a little more acceptable as a breakfast food. But, let’s be completely honest, this is DESSERT served for breakie. But, if there is any day of the year that you can serve something sweet, first thing in the morning, it’s Valentine’s Day!

Chocolate Raspberry Baked French Toast

Chocolate Raspberry Baked French Toast

  • 1 loaf of brioche bread
  • a pint of fresh raspberrys
  • 1/2 cup of dark or semi sweet chocolate chips
  • 6 eggs
  • 1 1/2 cups half and half
  • 1/4 tsp salf
  • 1 tsp vanilla
  • 1/2 cup butter
  • 1 cup brown sugar

Start by melting the 1/2 cup of butter in small sauce pan, add the brown sugar and stir to combine. Place 6 oven safe ramekins on a baking sheet. Divide the butter and brown sugar mixture evenly into the ramekins.

Cute the brioche into 1 inch cubes. Adding in layers, divide the bread, chocolate and raspberries into the 6 containers.

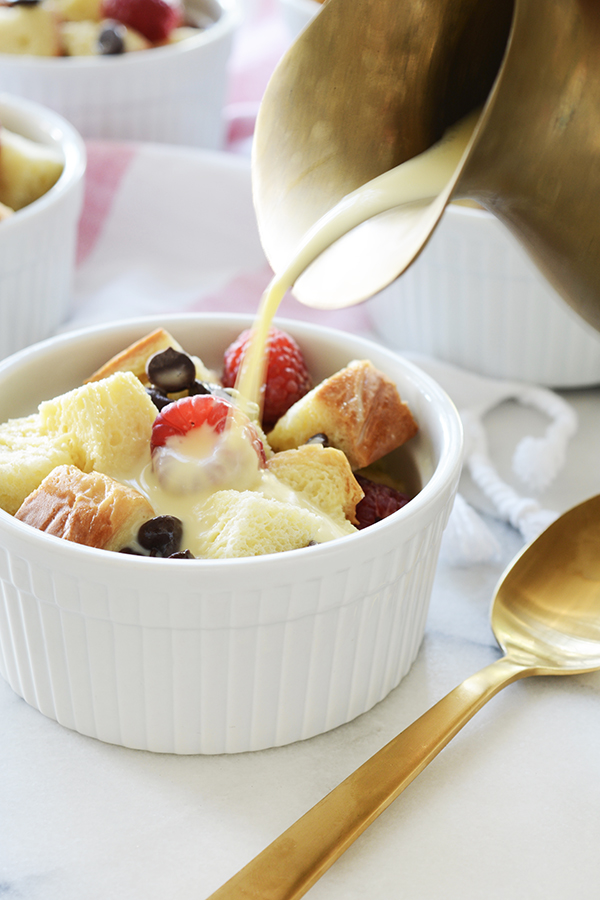
In a bowl, beat the eggs, add the salt, vanilla and half and half. Beat until smooth. Pour the egg mixture over the bread, dividing it evening.

Cover with plastic wrap and place in the fridge overnight. When you are ready to bake, allow the the french toast to come to room temperature. Then bake in a 350 F oven for about 25 mins.

Serve warm.

Chocolate Raspberry Baked French Toast

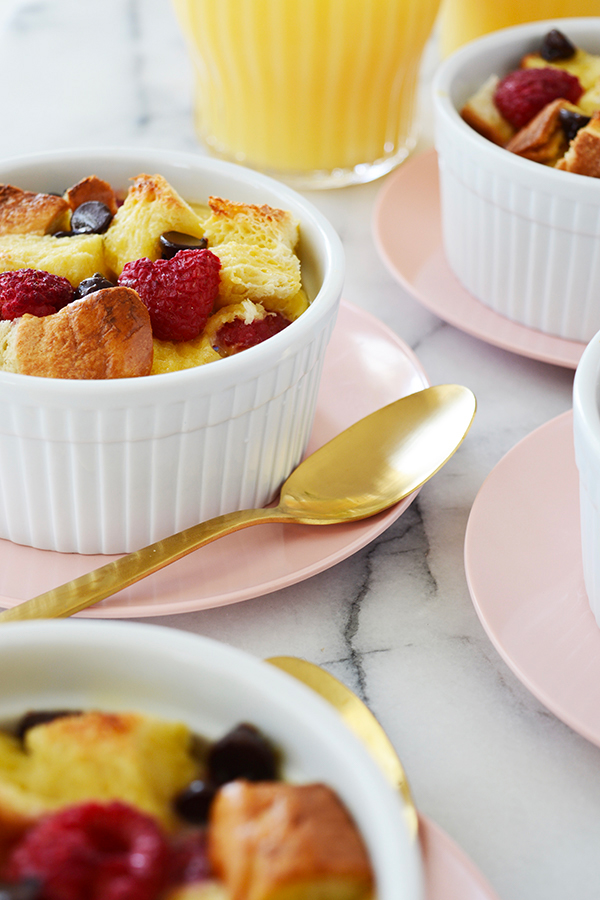
Chocolate Raspberry Baked French ToastChocolate Raspberry Baked French Toast

I hope you have a fantastic Valentine’s Day and feel love and appreciated for who you are.

Design

Bean Bag Chairs

February 8, 2018

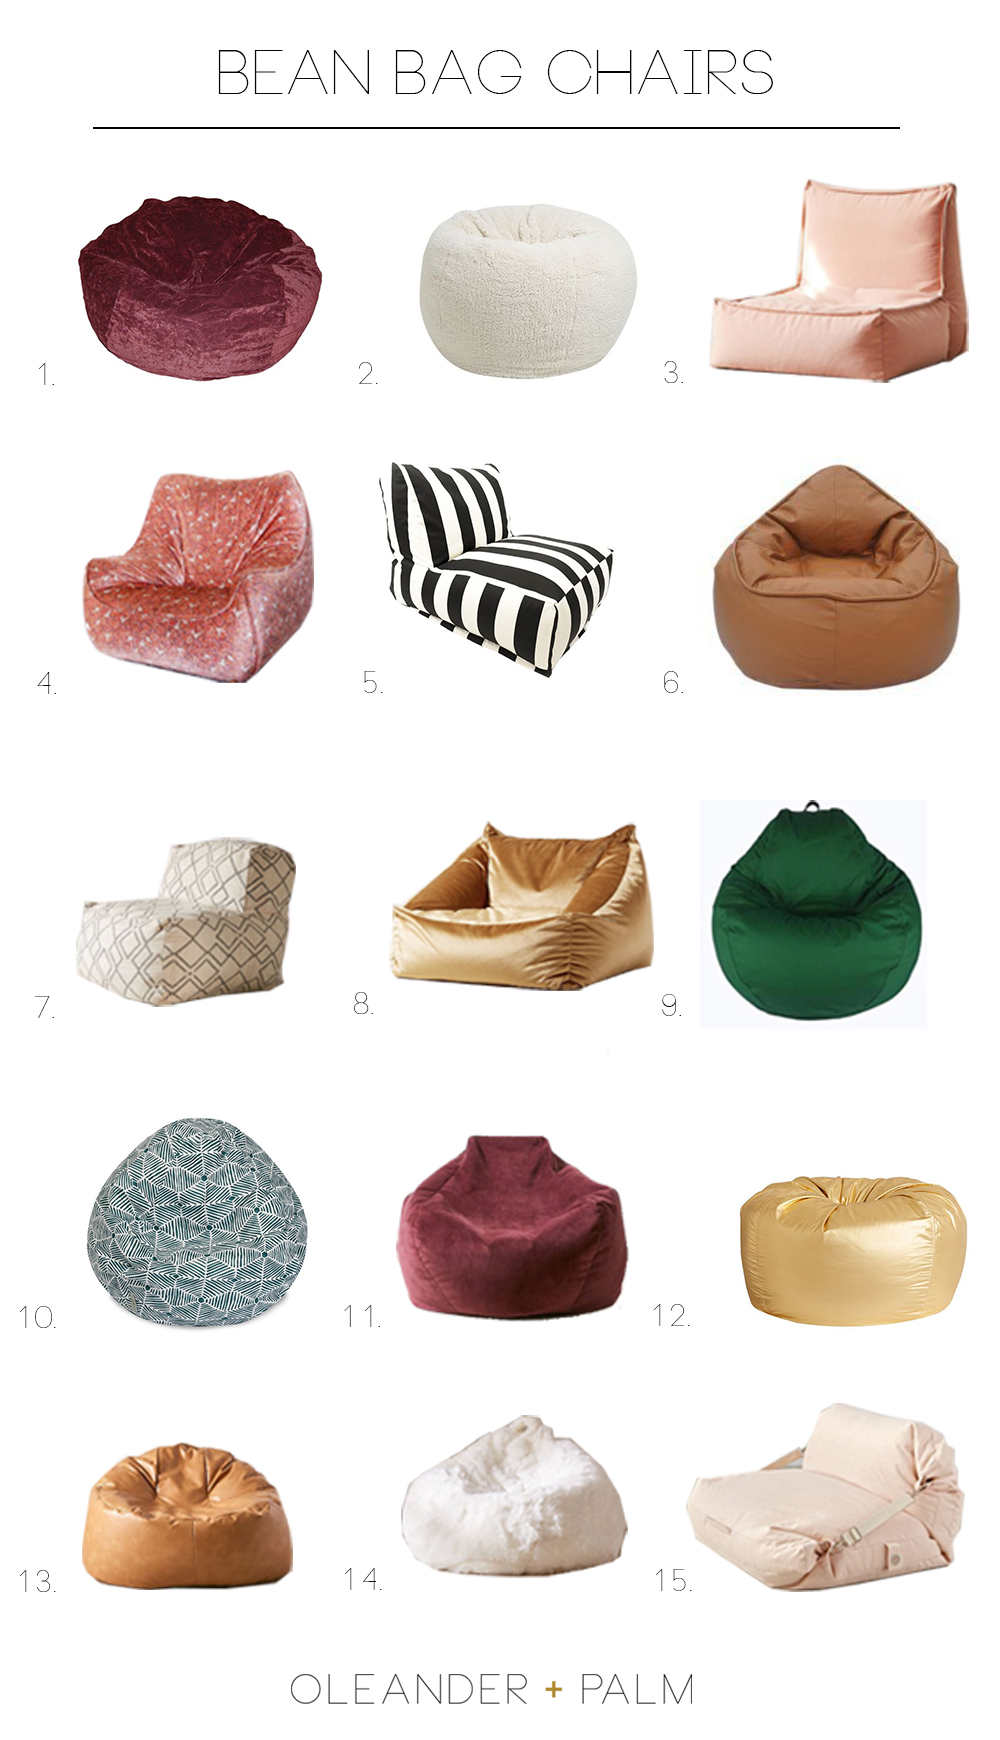
Ok, the girl’s room is PAINTED!!!! Now the fun begins, I get to style and accessorize this space. I really want to create a lounge-like space for the girls to hang out, read and watch movies. Now that we have our new fancy THE FRAME tv in our living room. We are going to move our old tv up to their room for weekend movie sessions. Denali is really loving vintage clothing and especially anything with a 70’s vibe. Bean bag chairs feel like they suite that style spot on. And there are some really cool ones out there now. I searched for options that are grown-up sized, not tiny kid ones. Who knew bean bag chairs could be so darn cute?

1 // 2 // 3

4 // 5 // 6

7 // 8 // 9

10 // 11 // 12

13 // 14 // 15

Is there one in particular that catches your eye? I’m leaning towards No. 8. It’s gold velvet and I love that it has arms for curling up in. No. 4 is to DIE FOR, it’s is vintage and carries a “one-of-a-kind” price tag. And I actually really love the pretty plum color of No. 11 + 1. It’s not a color I would normally gravitate to, but especially in velvet, it feels very lux.

Denali is making plans to take whatever chair we buy, with her to college. EEEK, that’s only a year and a half away.


Design

Getting Ready To Style Bookshelves

February 6, 2018

We have lived in this new house for a year and a half now. One of the first rooms I wanted to tackle was my girl’s shared bedroom. In our first house, the girl’s room was by far the cutest room in the house. If you recall, it was shot for a Land of Nod catalogue. Be sure to check out the full post on Honest to Nod, because little Denali and Olivia are pretty cute.

In this house, they still share a room, but it’s actually twice the size of their old room. BUT, the room needs help, the walls are blue, the trim is beige and the full wall of built-in cabinets are red, cream and beige (ya 3 colors). The built-in cabinets are at least 20 feet long with 12 cabinet doors and shelves to the ceiling. The other 3 walls are all windows. It’s a HUGE painting job, so for the last year I’ve been trying to find a painter (that I could afford) to tackle this room with a sprayer for me. All I want for this space is crisp clean white trim, white walls and white bookshelves. It’s actually a lot to ask. But, it’s finally happening. You guys, I’ve never hired a painter, we’ve always DIYed. But, I was really hoping to leave this big job to a professional.

I found a painter and he started yesterday. It didn’t start out too great. After the first day of priming, I noticed that they had left all the brackets for the shelves in the built-ins and the hinges had just been left on the cabinets (slightly taped). Ya, they had painted over those. The closet had drips of paint everywhere and there were a couple big gauges out of the hardwood floors. I wasn’t too excited about having to address these issues. My first instinct was to fire them and just take on the job myself. But, I decided to offer a little grace, show them exactly what I wanted done and have them fix their issues. Just letting them go seemed like the easiest solution, but I decided to stick it out and hope for the best. By the end of the day I was feeling confident that they could actually do a good job.

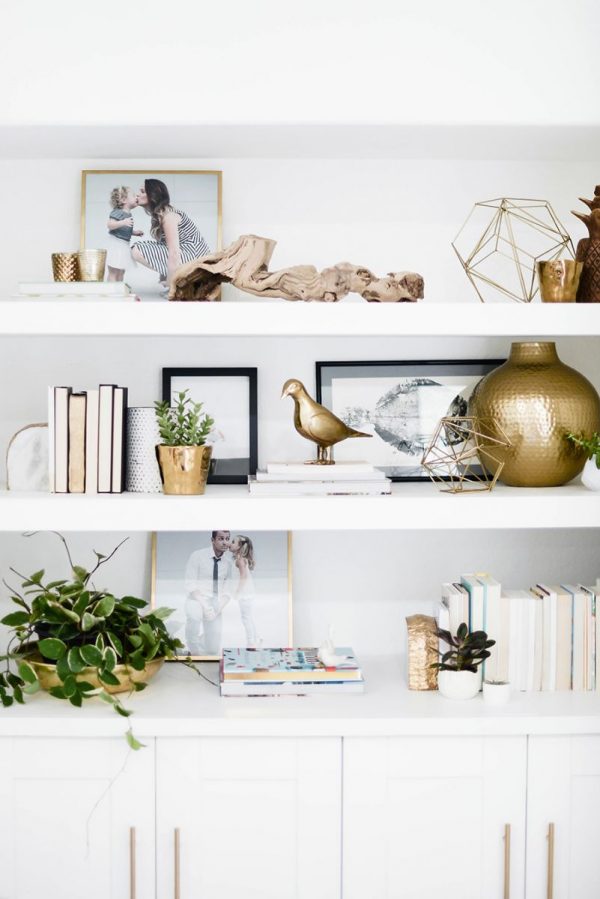
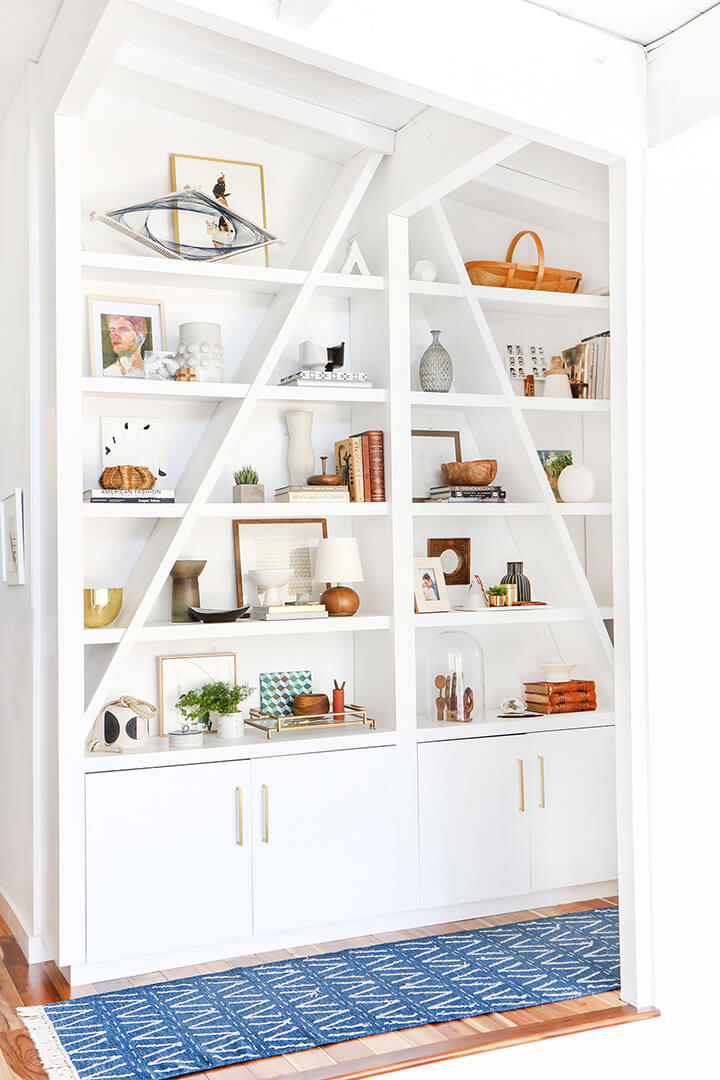
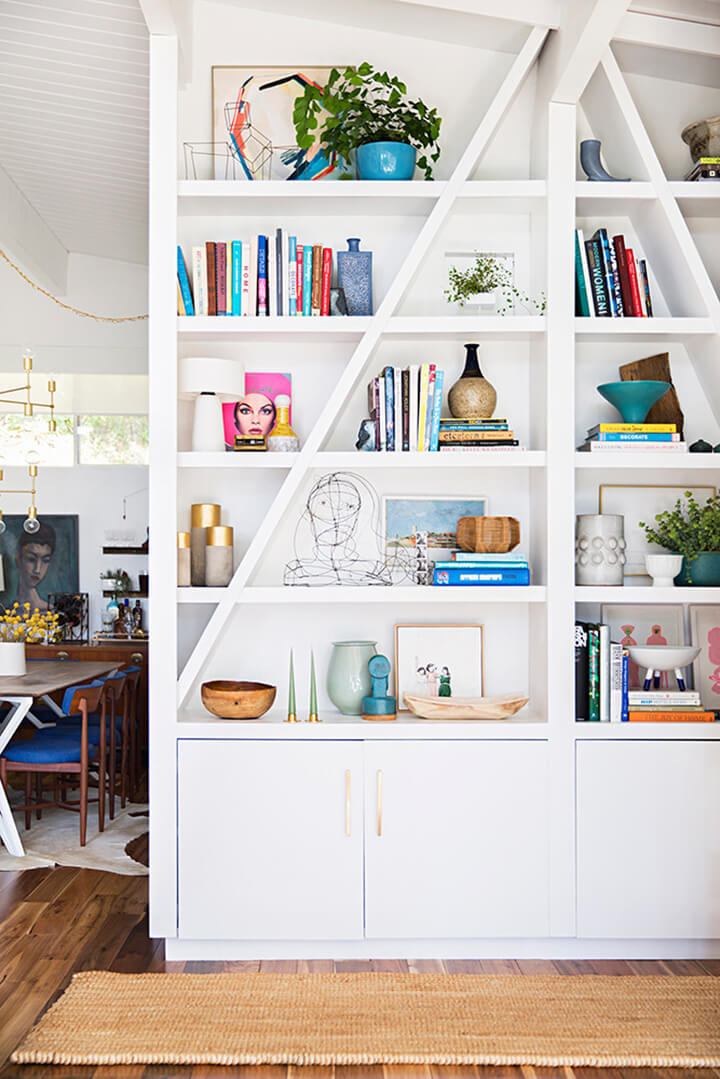
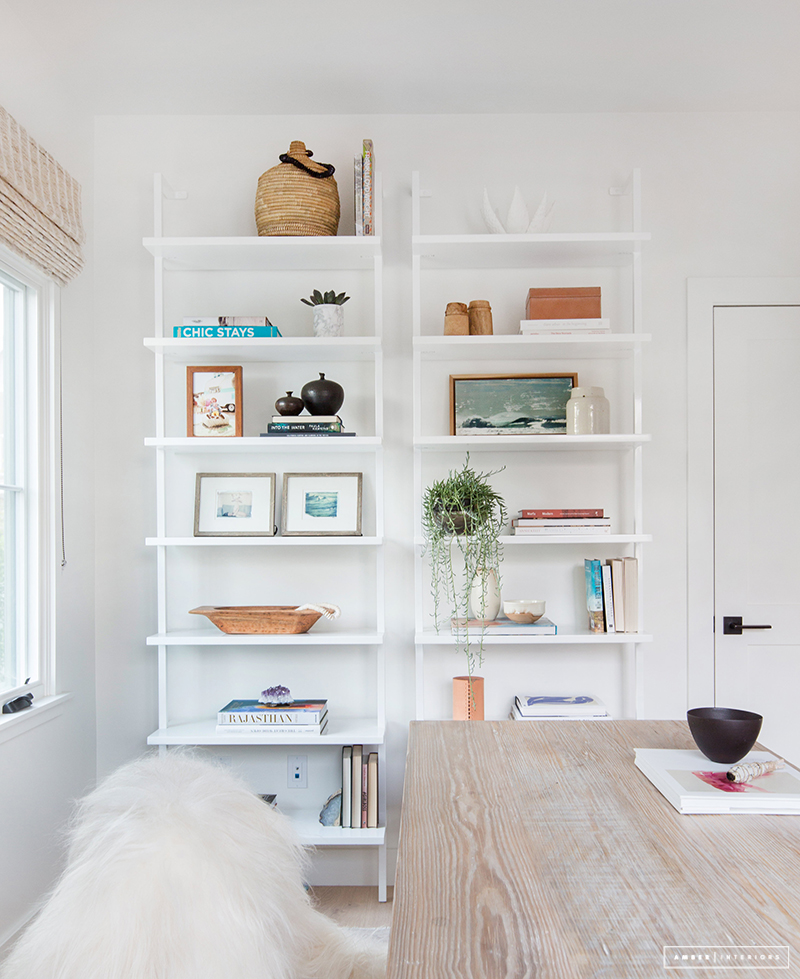
But, seeing this room turn white (Sherwin Williams – Alabaster White) has me giddy to style some bookshelves. Our plan is to go a little more boho and grown up. Denali is 16 and even though she shares a room with her 6 year old sis, I want the space to feel like hers.  So, to get me in the mood for some shelfie styling, I rounded up some of my favorite shelves out there. _spring living room 8

Remember this leaning shelf from our first house? 

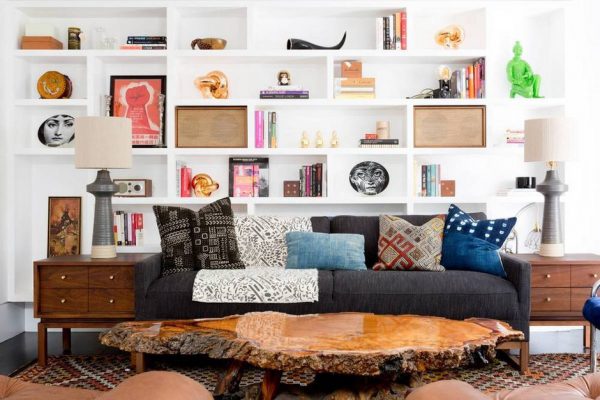
I love the boho vibe of the objects in these built-ins. The don’t feel stuffy and proper, but more playful and young.

source

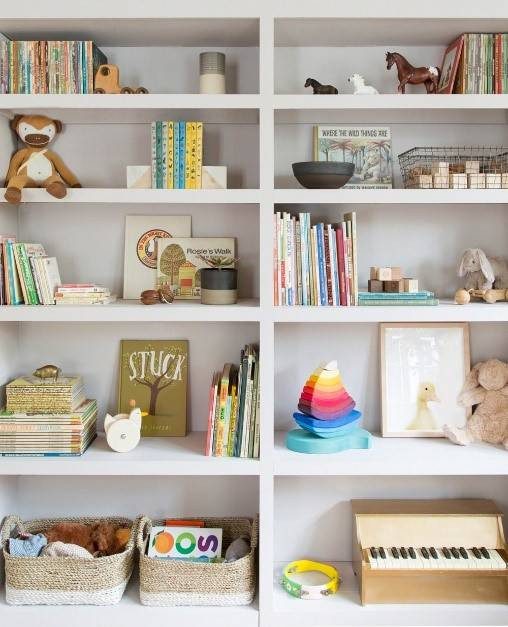
These shelves in a kid’s bedroom are to die for. It definitely has more of a nursery vibe, but I am taking notes for Olivia’s side of the shelves.

source

This minimal, modern aesthetic makes my heart happy. I’m always a fan of monochromatic.

source

From the master stylist herself, Emily Henderson, these shelves are filled with all the prettiest things possible. I think the second version, with the more saturated objects and pottery feels more like the direction we will take. Denali loves any shade of blue and Olivia love anything in the pink/orange/coral family.

source

These shelves have a light, airy, beachy vibe that I’m sure would speak to Denali.

source

And this last example is really just for my own reference. I can never get enough of black + white, wood tones and natural fibers.

source

Little and big girls, come with a lot of stuff. Here’s hoping we can make it all look cute together. I’m giving one side of the bookshelves for Olivia’s things and the other for Denali’s. It should be a fun challenge to find a way to get their things to work together for a cohesive look.

Food & Drink

Spiced Grapefruit Spritzer

February 1, 2018

Have you been wondering where I went? I know, Brandwell has taken up so much of my time this month. But, you guys, the workshop was SOOOOO GOOD! We will talk about it more I’m sure. Now, let’s return to our regularly scheduled program and have a mocktail or two.

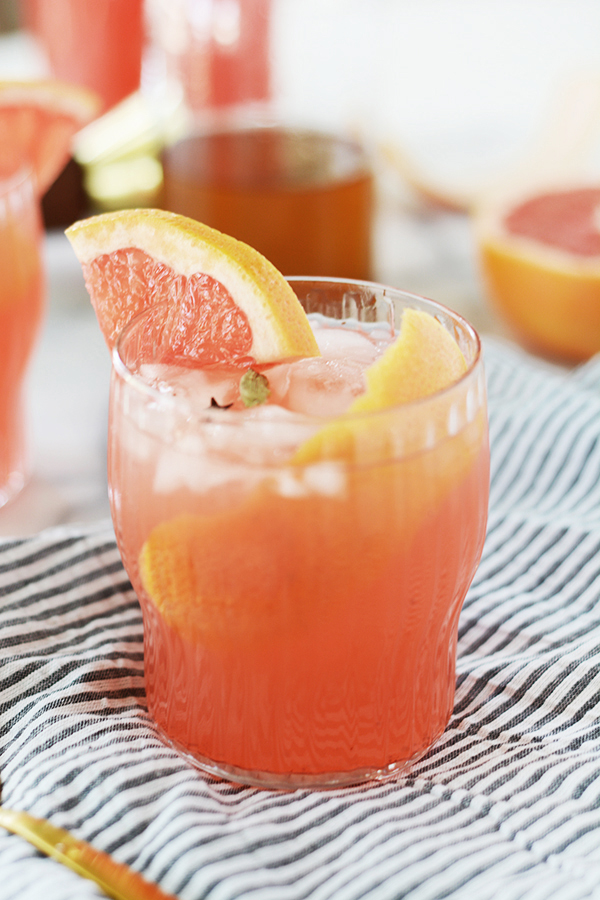
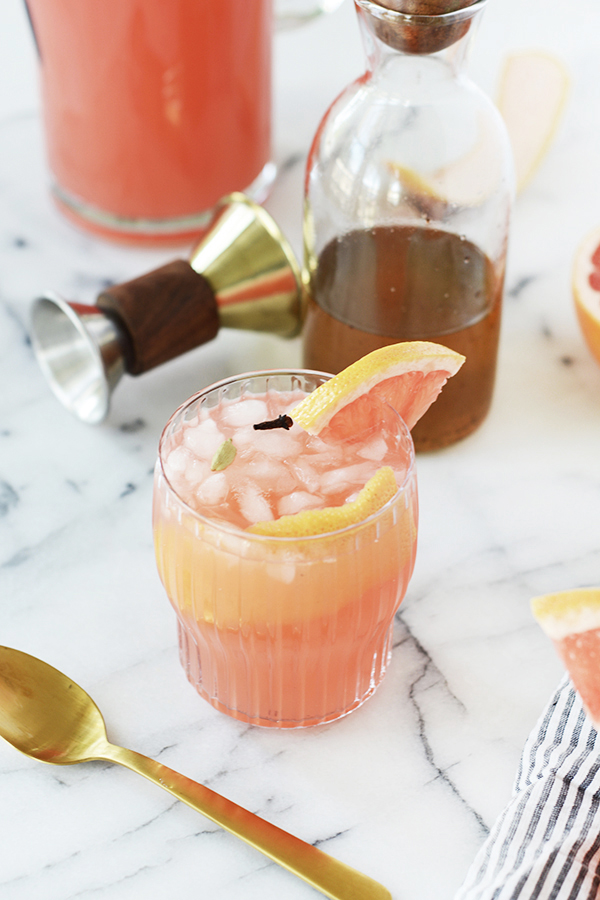
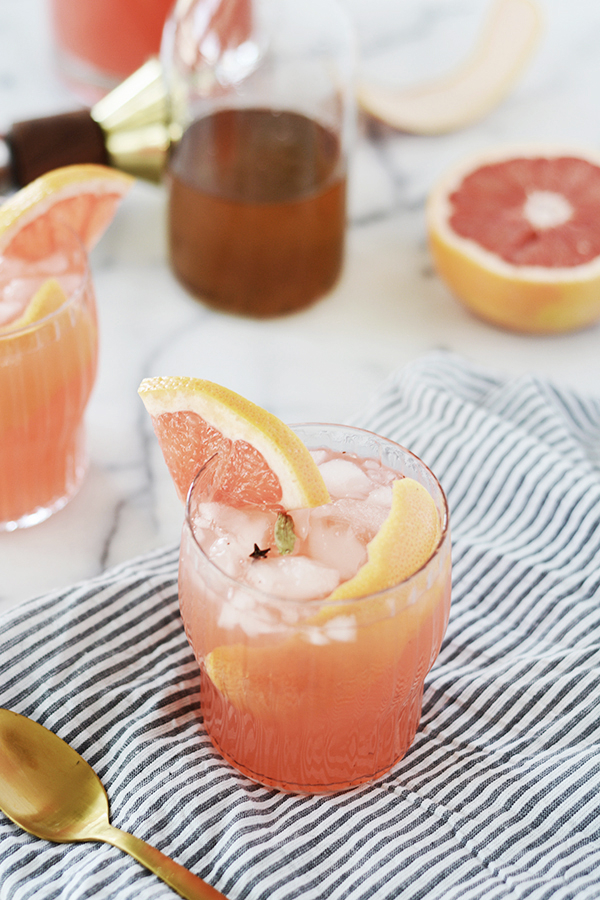
Grapefruit, oh it could possibly be the best of the citrus. Crisp, tart and always refreshing – grapefruit is the perfect base for a pretty mocktail or cocktail. This Spiced Grapefruit Spritzer is just the right balance of sweet, spicy and tart. Spiced with a bold simple syrup of cardamom, ginger and cloves, this spritzer feels right at home with the Winter weather we are still having.  Spiced Grapefruit Spritzer

Well gosh, pink grapefruit juice does make a very pretty drink. We have a neighbor with a grapefruit tree. I had to add that little detail. It’s a thing Californians like to do, especially in the winter months, to make everyone else around the country jealous.

Spiced Grapefruit Spritzer

Spice Grapefruit Spritzer

  • Fresh Pink Grapefruit Juice
  • Spiced Simple Syrup (see recipe below)
  • Sparkling Water or Seltzer
  • Ice
  • Grapefruit slices, cloves and cardamom pods for garnish

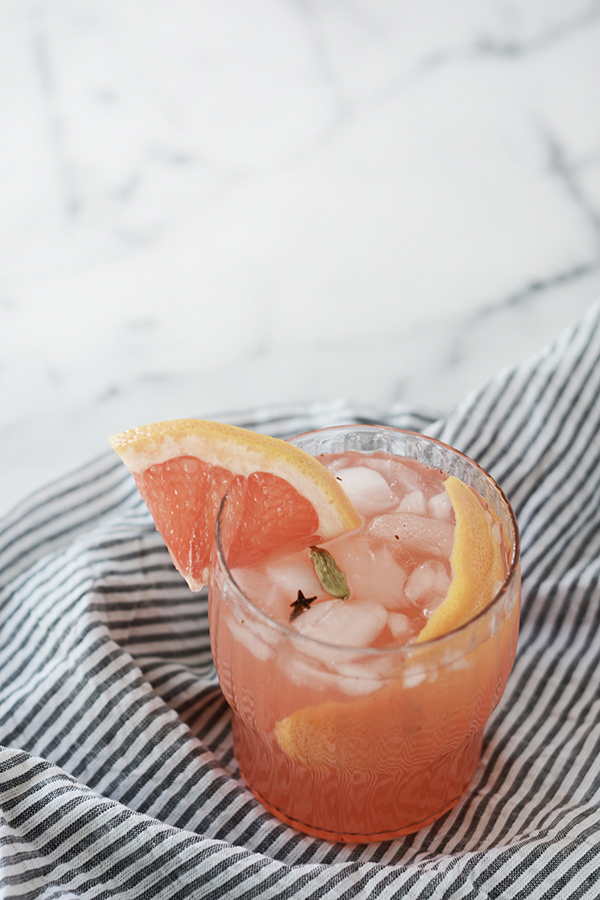
In a glass filled with ice, add 1-2 oz. of Spiced Simple Syrup. Fill the glass half way with freshly squeezed pink grapefruit juice. Stir and then top off the glass with sparkling water. Garnish with a slice of grapefruit and float a clove and a cardamom pod on top of the drink.

Spiced Grapefruit Spritzer

Spiced Simple Syrup

  • 1 cup sugar
  • 1 cup water
  • 1 tbsp. freshly ground cardamom
  • 1 tsp. whole cloves
  • 2 inch piece of fresh ginger thinly sliced

Place all the ingredients in a pot. Bring to a boil and boil for 1 minute. Allow the syrup to cool completely. Strain through a fine mesh sieve.  Place the syrup in an airtight container and store in the fridge.

Spiced Grapefruit Spritzer

Cheers friends! Here’s to a brand new month. Also, what the heck happened to January? That definitely flew by.

Design

Houses Painted All White

January 23, 2018

Ok, we bought our house a year and a half ago and we’ve known that it has needed to be painted since day one. It’s just a huge undertaking with a lot of scraping and sanding ahead of us. But, I think we are ready to start thinking about it. Here’s the deal – our house is a 1918 Craftsman. Craftsman are typically painted earthly tones and colors. My gut would be to go a shade of green or grey, but our neighbors on either side are green and grey. I feel like it might just end up looking blahhhh. I want it to stand out. Sooooo, I’m considering something a little controversial for a craftsman house, I’m thinking about painting our house all white! All White Houses are popping up all over in modern builds, and I LOVE the look. I’m hoping this will work with an old home as well. My mission has always been to show folks that you can live in an old house, preserve it’s character, and still have it feel fresh, young and current.

Here’s our house:

Here’s my main concern with painting the house all white – I’m worried that we will lose all the beautiful detail in trim and the different roof lines. It’s not a box of a house, it has a lot of unique shapes and angles.

My true heart’s desire is to paint a house, any house,  all black (I’ve shared this desire with you before). But, the husband will not approve that. He wants our house to be as energy efficient as possible. And I have to agree that a black house in the desert is probably not a good idea. So, the plan is now to swing the opposite directions and maybe paint our house all white and add so black details. I’m sure what details will be black yet, but the thought has me pretty excited. I’m really not a beige house kind of gal. Yet, both of our houses have been beige. I didn’t pick the colors, we’ve just never painted an entire house, we’ve only lived with someone else’s choice. Oh, and as much as I LOVE the color green, I think the fence needs to be either black or white as well. A change sounds good right now!

Someone in the neighborhood also told us that she remembers for the house being all white in the 60s or 70s, so maybe we would be taking it back to it’s roots.

All White House

source

I might be getting ahead of myself. But, I’ve been looking at white and black paint samples and I’ve come up with some great combos. Sherwin-Williams is my go-to paint store, we have had such good results with their products. If you haven’t shopped for a paint color in a while, there are A LOT of blacks and whites out there. I’ve narrowed done my selections, so the next step is to paint them on the house and take a look at the colors in sun, shade and all the times of day in between.

Black and White Paint Combinations from Sherwin Williams

Ok, to backup my all white plan, I did a little searching for some good examples of craftsman and craftsman-like houses painted all white. I’ll tell you, they are not easy to come by. I don’t know if that is a good thing or a bad thing.

Now, go take a peek at what I’ve found and let me know what you think. Do you think this could work for our house? Can a craftsman be white? One thing I know for sure, these examples I’m sharing with you today are total show stoppers. You can’t deny that a white house feel crisp, clean and has a modern edge.

White House, Black Details

source

White Craftsman with Black Trim

source

All White House

source

All White House

source

White Craftsman House with Black Trim

source

All White House

source

All White Craftsman House

source

All White House

source

I’d love to know what you think. It’s going to be a BIG job and one that we won’t want to tackle again in the near future. So, we want to make the RIGHT choice.