Category Archives: Design

Design / etc.

Grey Nightstand

December 7, 2012

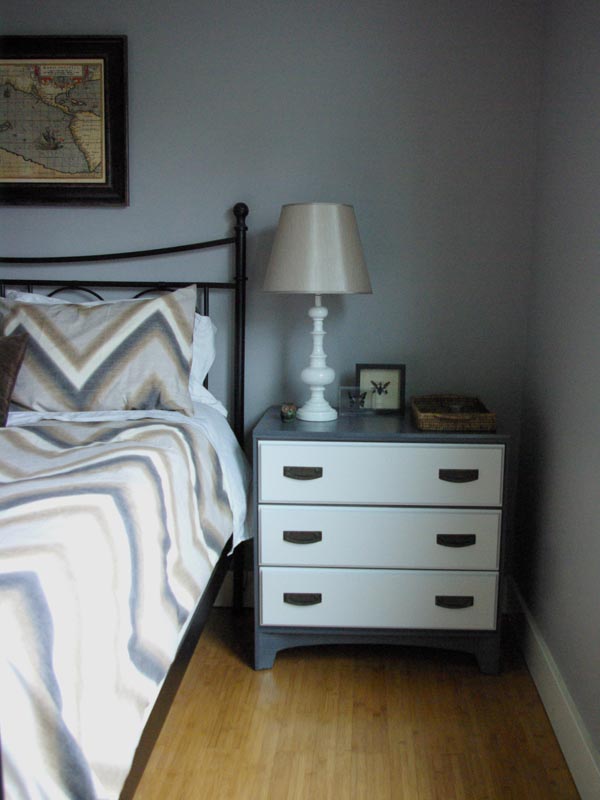
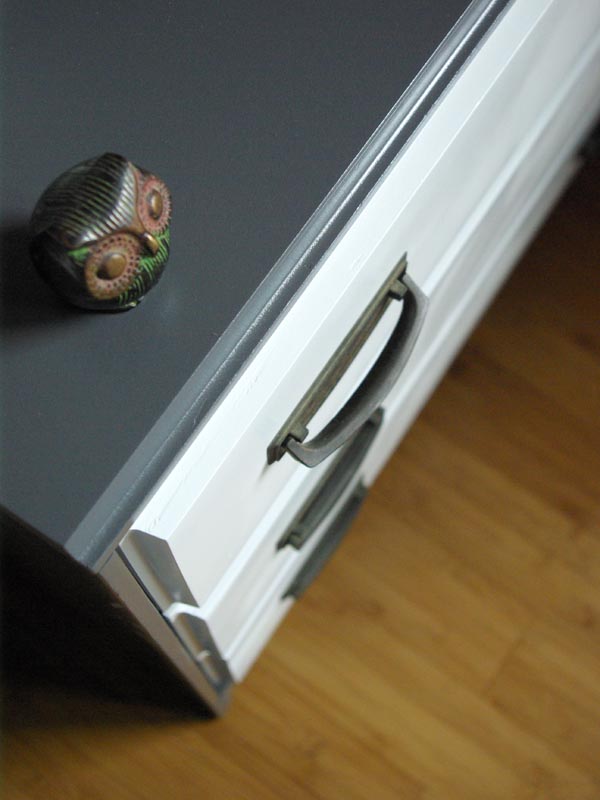
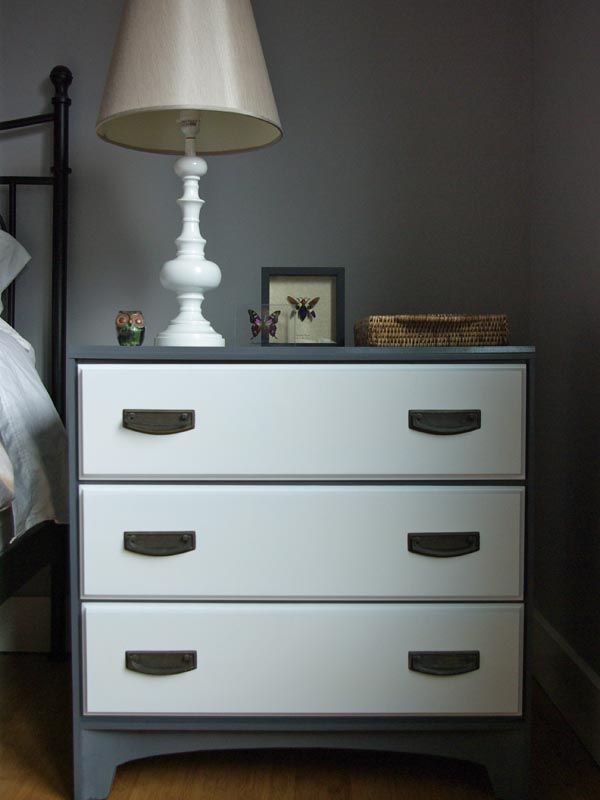
Remember the nightstand I bought at Salvation Army?  Well, I finally made sometime this week to work on it. With a little sanding and some fresh paint, this thrifty find is now one of my favorite pieces of furniture.
Because this little dresser had an icky laminate top, I used my How to Paint Laminate Furniture method, and it came out beautifully.  I will share more of my how-to and the products I used tomorrow. 
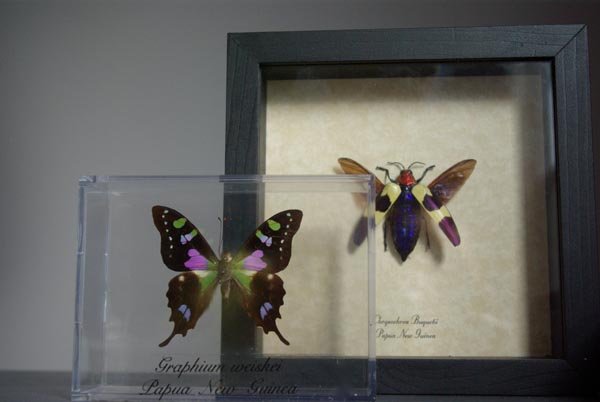
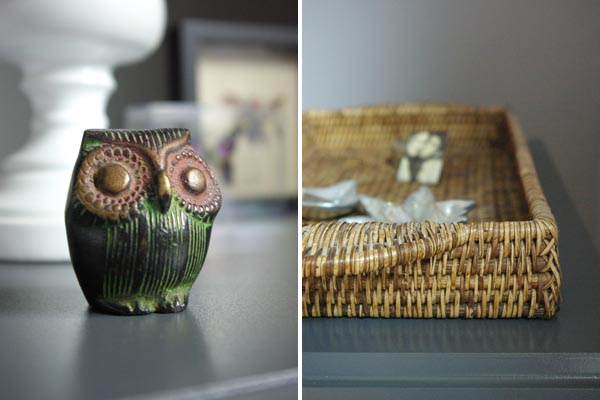
I moved it into my bedroom last night.  I had fun this morning putting out some of my favorite nick nacks.  The little bronze owl is from my youngest brother, Joash, he brought it back from India for me.  I haven’t seen him in a long time and I miss him, so I keep it close to me.  The butterfly and beetle are from Papua New Guinea, that’s where I grew up.  And the basket is from Sri Lanka, my parents moved their after the tsunami and did relief work.  

So, what do you really think?  Too much grey?  I know, I’m kind of addicted to the color.  I don’t think you’d ever know I paid $22 for this bad boy now.  I love that!  People pay $300+ for nice nightstands and I’m sure it’s nice to just buy new furniture, but I’m pretty proud of my bargain.  My house is full of hand-me-downs, fixer-uppers, and thrift store finds.  It’s one of a kind, no one else has one just like it, that’s for sure.

Design / DIY

Vintage Crib Refinished

August 20, 2011

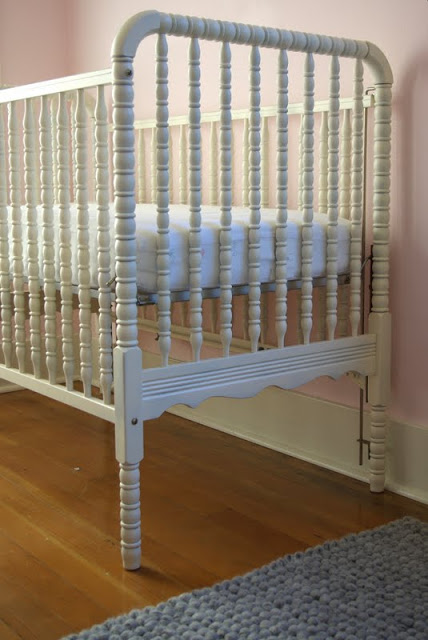
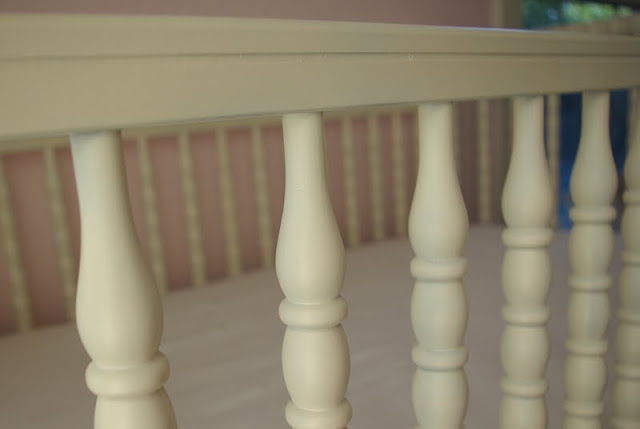
The Finish Product

I truly can call this a vintage crib, because it was my crib when I was a baby.  Not only did I use it but so did my brothers, and my first two kids.  This Jenny Lind crib is such a classic design, you can still buy this crib, and the design has not changed.

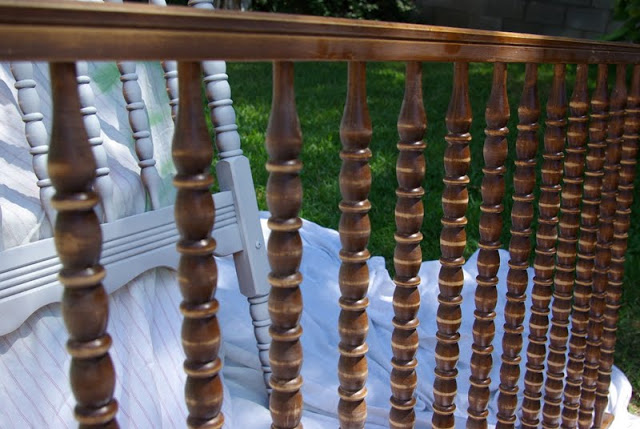
The before – a classic in need of some updating.

Because it’s been stored in our garage for years, I decided I might like it refinished and painted for this last baby.  We decided to match Denali’s bed and paint it an every so slight off-white.

My wonderful husband did all the work.  I am a bit of a control freak, so I was a struggle for me to step back and let him do all the work.  I needed to stay out of the dust and paint fumes, so he took on the project.  I don’t know why I was worried.  He did a fantastic job (I couldn’t have done better) and it looks like a brand new crib.

Supplies needed:

sand paper
steel wool
tack cloth
Sherwin Williams ProBlock Primer
Rust-Oleum 2x Painter’s Touch Satin Spray Paint in Antique White

If you would like to refinish a piece of furniture that has a lot of details, here’s what worked well for us. Lonnie spent a good part of a day sanding all the curves and spindles on the crib.  Then he made sure to remove all the dust with a tack cloth.  He applied the primer and when that was dry he used the steel wool to smooth out any imperfections.  Then before applying 2 coats of the Rust-Oleum paint he prepped that crib with the tack cloth.  I was really surprised at how well spray paint worked.

Design / etc.

Making Room for Baby

July 25, 2011

I am now 30 weeks pregnant, but as of my last visit to the doctor this week, I am actually measuring 2 weeks ahead of schedule.  I’m not to sad about that.  My due date is Oct. 1st, but I had hoped I would have this baby sometime in September.  Denali and Dylan were both 9lb babies and Dylan was even 10 days early.  So, I am kind of counting on a big baby again.  With that in mind, my nesting is kind of in “full-speed-ahead” mode.  In no time at all our sweet baby girl will be here.
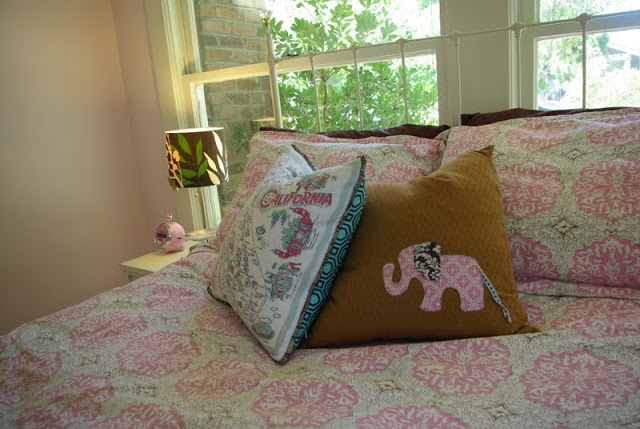
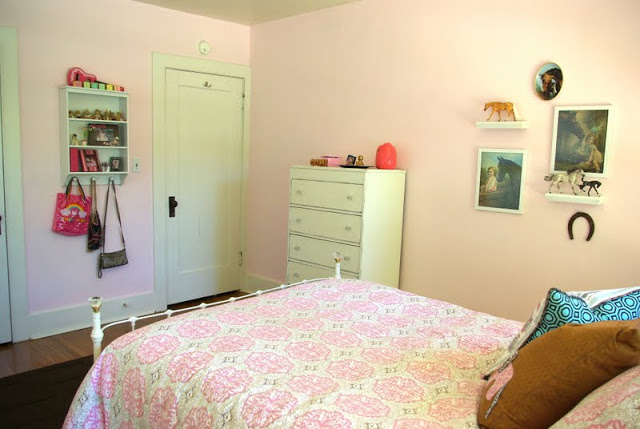
Our little 1920 Arts and Crafts Bungalow has only 3 bedrooms.  We knew the baby would be either sharing a room with Dylan if it was a boy or Denali if it was a girl.  Ideally, Dylan recently got bunk beds, but then of course she is a girl.  And we are thrilled to be having another girl!  So, Denali’s room needed some rearranging and shifting to make room for the crib.

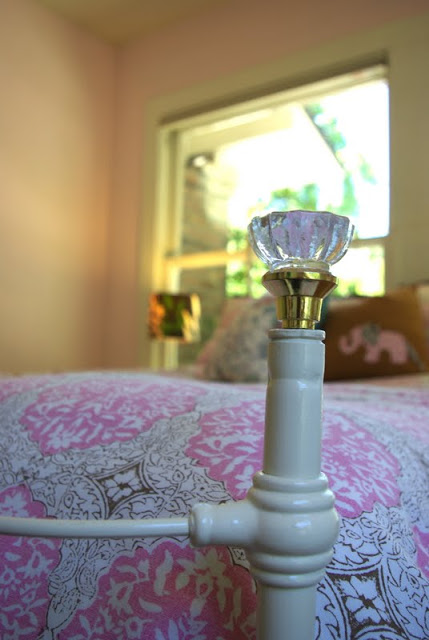
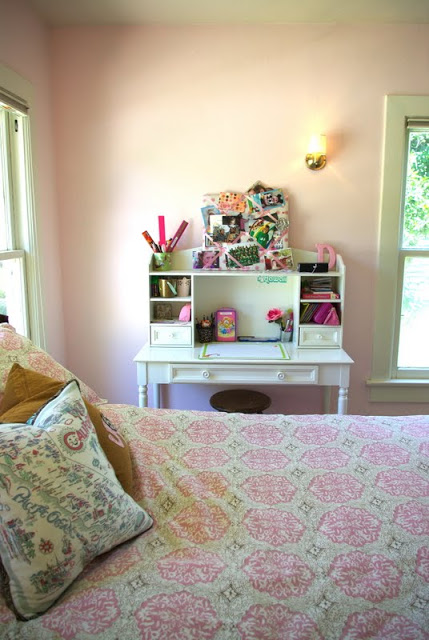
Denali has a beautiful antique full sized metal bed from Lonnie’s grandparent’s farm.  Lonnie’s parents had it refinished for us we she was baby.  Besides being Denali’s big beautiful girly bed, it has served as our guest bed all these years.  I wasn’t sure I was ready to move it out, so I am attempting to fit the bed, the crib, Denali’s desk and dresser, a night stand, and a new dresser for the baby all in the same small bedroom.
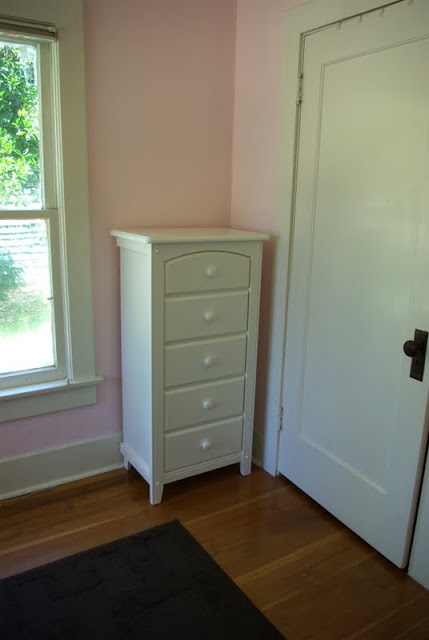
I measured and drew up a few plans, and in all of the scenarios, I needed to find a narrow (24 inch wide dresser/chest) for the baby.  There was really only one wall/corner that it could be placed.  The room has 3 really large windows, which are great for natural light, but hard for furniture placement.  I had hopes of finding a used, old, or antique dresser that I cold refinish.  But, no such luck.  Then I found this dresser at for a great price and free shipping, I went for it.  It looks great in it’s little corner and we have already filled it with adorable baby clothes.
As you can see, Denali has plenty of pink in her room.  That is why I went with the Pink and Grey for the nursery colors.  The brown rug is making it’s way out of the room and I will probably be changing at least the bed skirt on Denali’s bed as well.  Her PBteen bedding is still really cute and is mostly pink with just the tiniest amount of brown, so I can’t justify buying new bedding (even though I am IN LOVE with this bedding in the gray dottie).

The crib is in the process of being refinished.  As soon as it’s done, I will share pictures of it and the rooms new arrangement.

Design / DIY

Perfectly Straight Paint Lines!

January 6, 2011

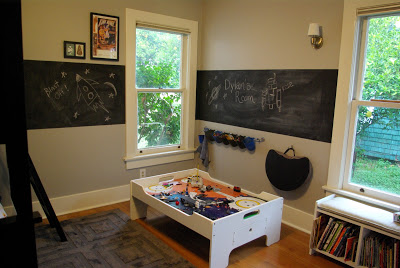
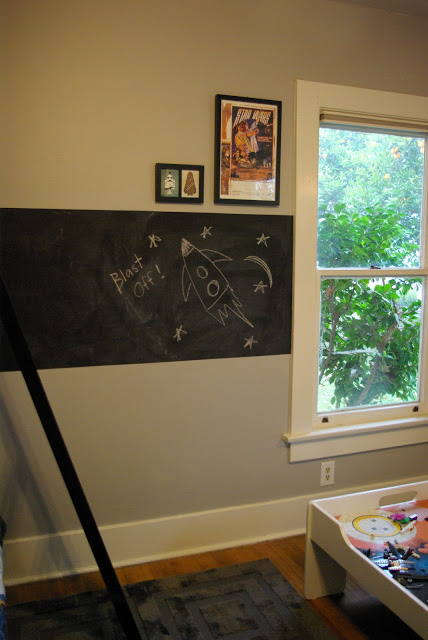
I promised to share my secret to achieving flawlessly straight lines. When I recently painted a chalk board band around my sons room, I used this technique.

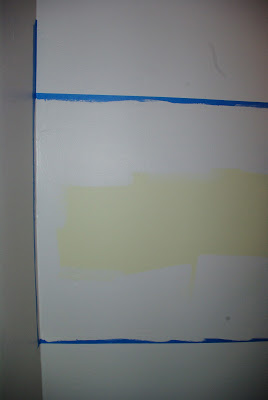
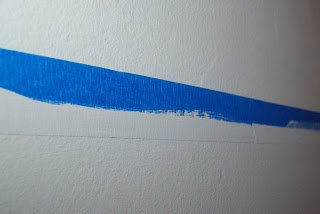
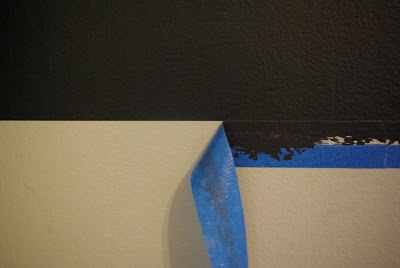
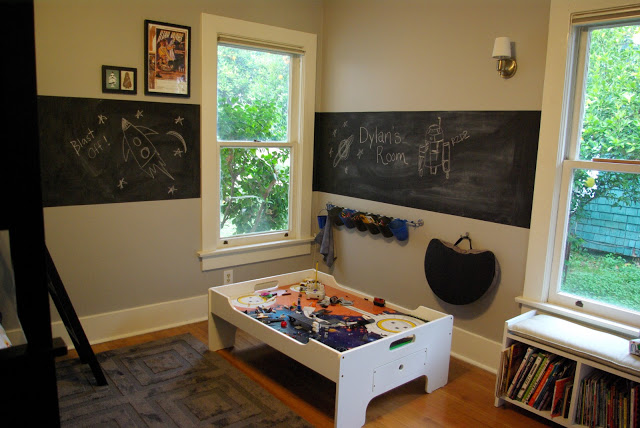
So, the first thing you are going to do is paint the color the will be on the majority of the wall.  Let that dry and then tape off where you want the chalk board paint or accent color.  I use a level to tape, it’s fast and leaves no pencil marks on the wall.  Then you are going to paint the wall color over the side of the tape where you are going to paint the chalk board.  What happens is, the tape is not a perfect seal, so by painting the color that is already on the wall, you won’t see the seeping through paint.

Once that is dry, you now have a perfect seal.  Paint the chalk board or accent color onto the taped off section.  Let the the chalk board paint dry to touch at least.

Then, just peal back the tape to reveal perfect lines.  It’s my never fail method.  Do you have another method that works well?  Please share.

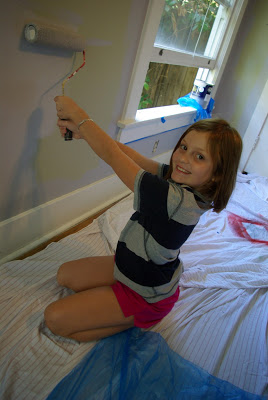
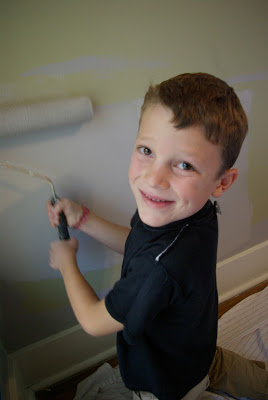
These are my cute little helpers.  I did the cutting in and they did most of the rolling.

Design

Stars Wars Bedroom

January 5, 2011

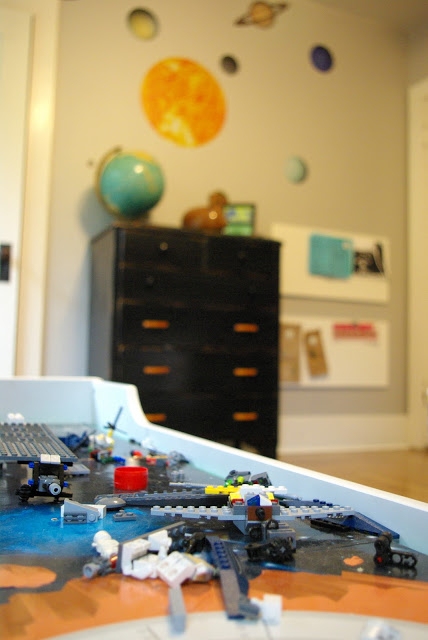
My son Dylan loves two things – Star Wars and Lego.  I wanted to give him a room the show cases his favorite things.

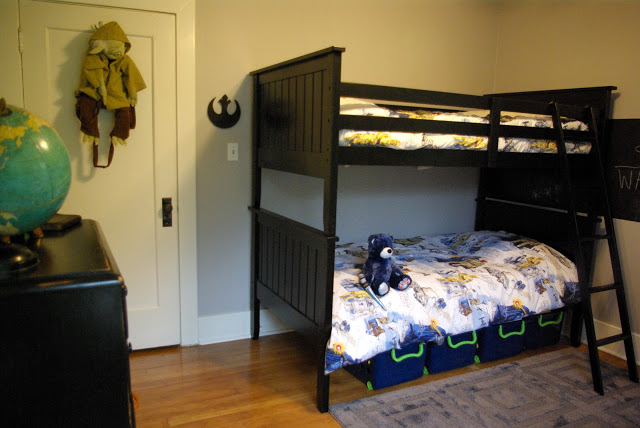
So, I posted quite a while ago that I was re-doing my son’s, Dylan’s, room.  He recently got a new bunk bed from his grandparents, and we decided the force was calling.  I really wanted a black bunk bed, that took a while for me to find.  But, this one is fantastic.

I purchased one duvet from Potterybarn and split it apart and made it into two duvets by backing them both in a solid grey fabric.  I have yet to make pillow shams yet, I’m still trying to decide on a fabric.

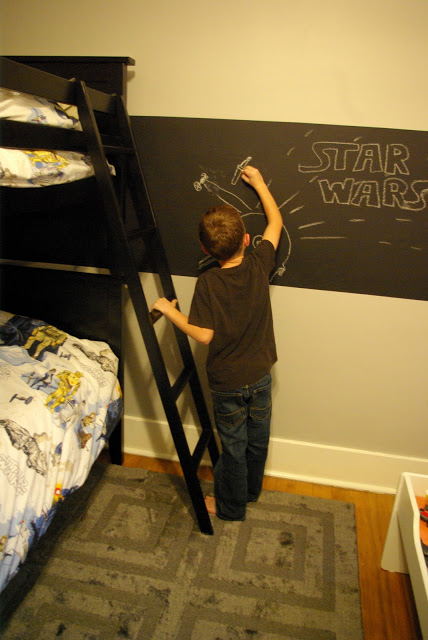
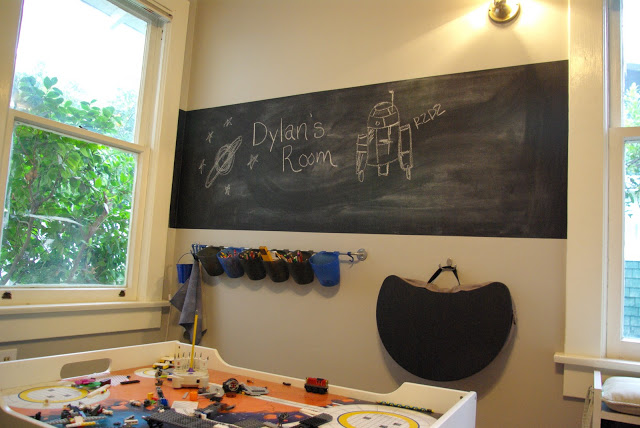
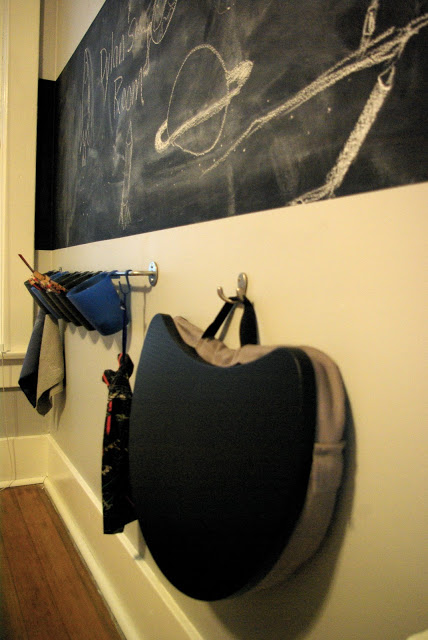
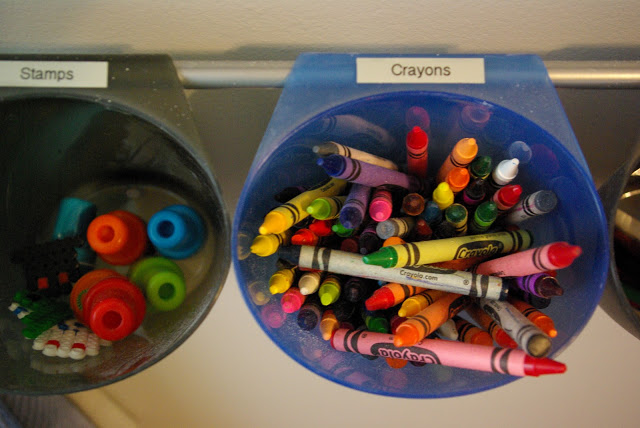
We painted the walls a light grey, Benjamin Moore (Smoke Embers AC-28).  My kids are both very creative, so I wanted to give Dylan a lot of room to express himself.  I painted two of the walls with a large chalkboard band running through them.  I have a great technique for razor shape lines when paint, I’ll share that later.   He has really enjoyed the chalk wall, and it sure saves a lot of paper.  I attached a rail and containers to the wall for easy access to the art supplies he loves.  We call this wall “command central”.  Because our little 1920’s bungalow is on the small side, we felt there was no room for a desk.  So, hanging on “command central” is a little lap desk.  At 7 years old, he is happy to do his homework and art on his lap on the floor or on his bed.

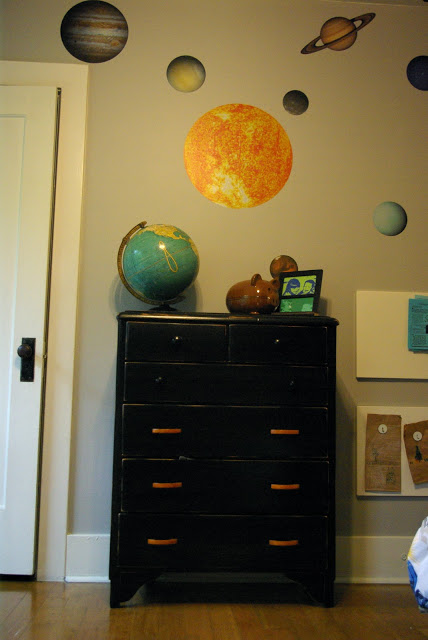
The dresser is a great piece from my grandparents’ house.  Years ago I refinished it for my mom by painting it black and distressing it.  We kept the original hardware on it.  She recently gave it to me for Dylan.  I found the fantastic Solar System wall decals at target.  I also attached 2 white magnetic boards beside the dresser at kid level.  Special pieces and important notices now have their own spot.

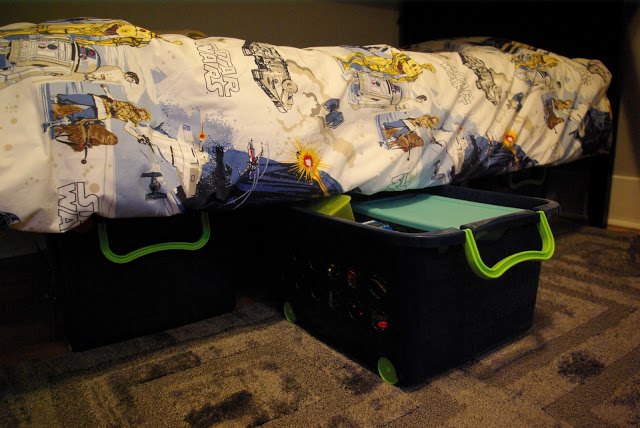
Under the bed I added storage.  These rolling plastic bins stylishly hold games and toys and make clean up fast and easy.

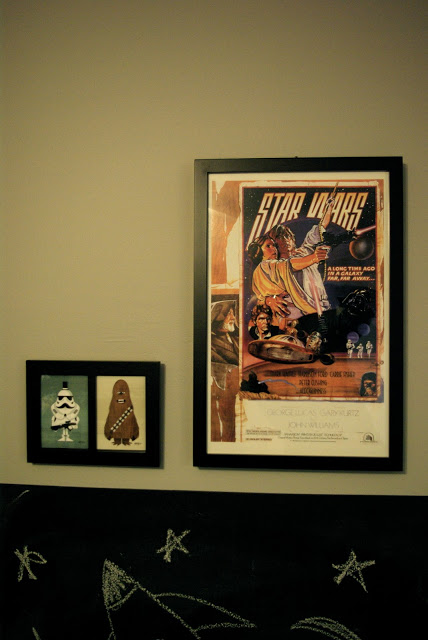
The vintage movie poster was a gift from Dylan’s uncle this Christmas.  I had it framed along with the two prints we picked up at the Renegade Craft Fair this summer.