Category Archives: DIY

DIY

DIY Modern Stitched Pillow

June 22, 2015

We’re back with another addition of 5 Ways to DIY!  A couple of months ago I teamed up with some of my favorite bloggers to bring you 5 Ways to DIY Wooden Trays, you might remember my DIY Triangle Patterned Tray.  This time we are each taking a solid colored pillow and giving it a little DIY makeover to add personality to match each of our styles.

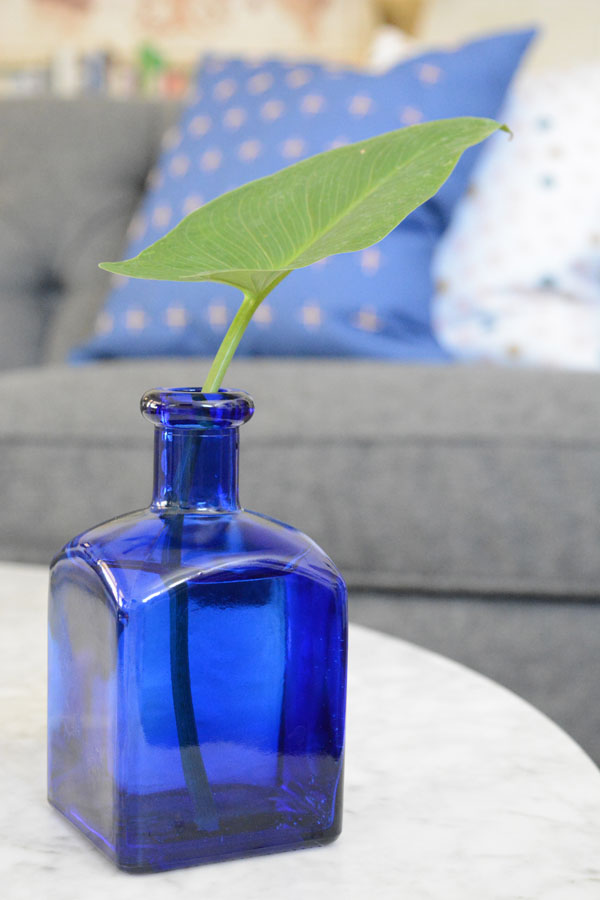
I teamed up the Delineate Your Dwelling, Sarah Hearts, Pars Caeli, and A Bubbly Life.  We all started with a solid colored pillow from AllModern, that has a hidden zipper and removable cover. These pillows come in every color imaginable. If you have a specific color you are looking for, I bet you they have it.

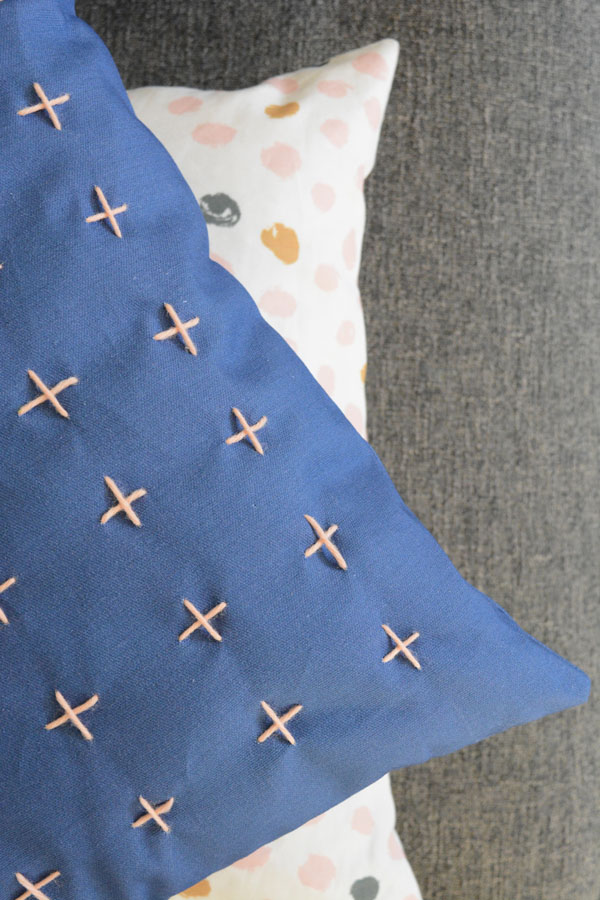
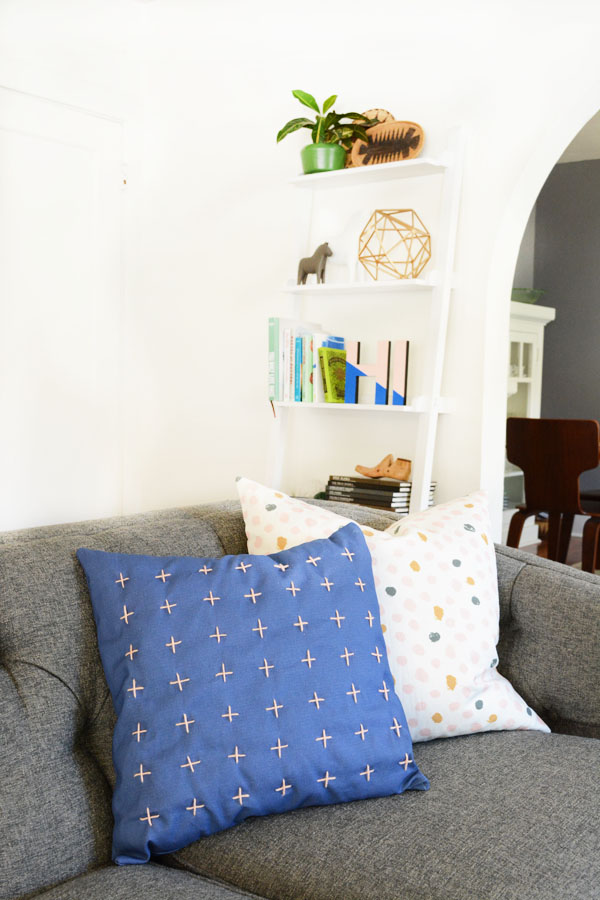
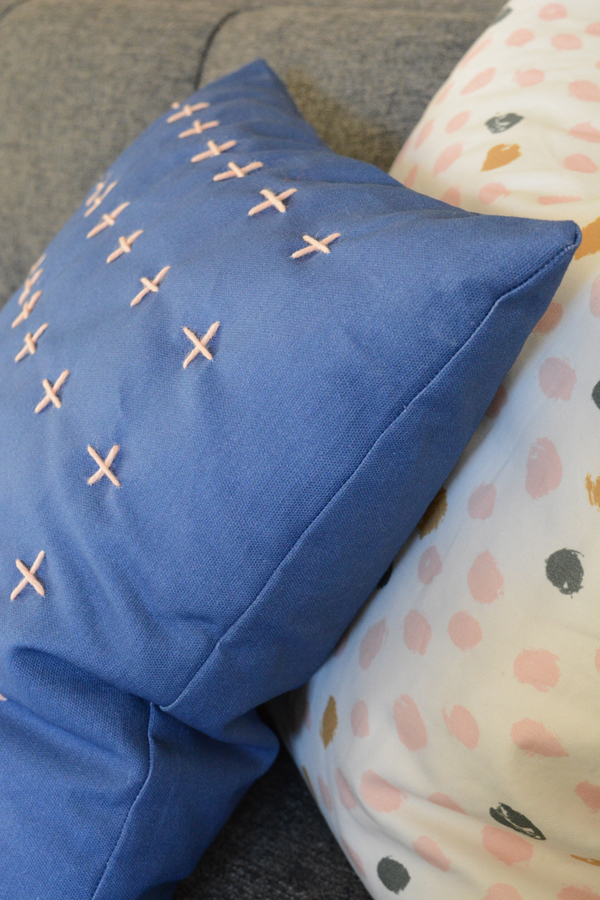
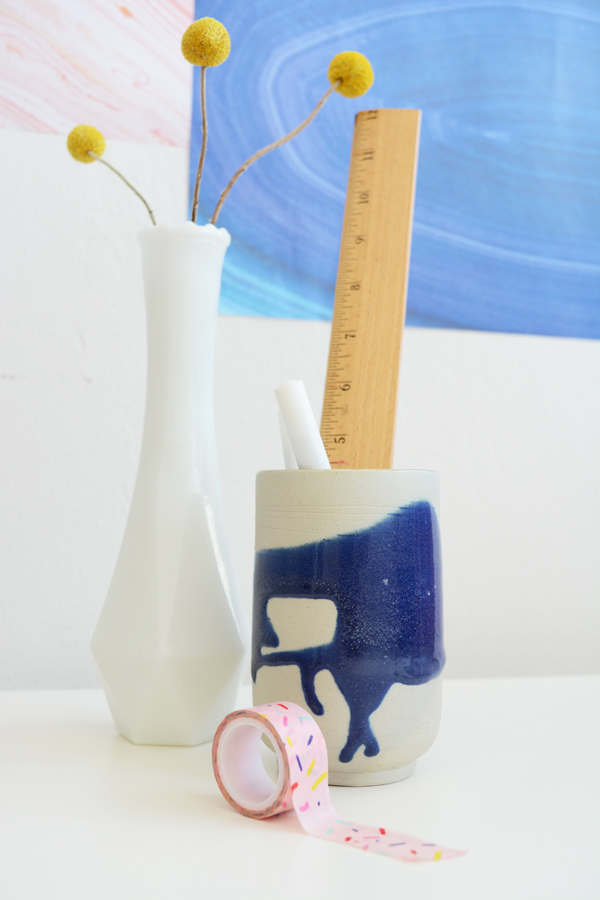
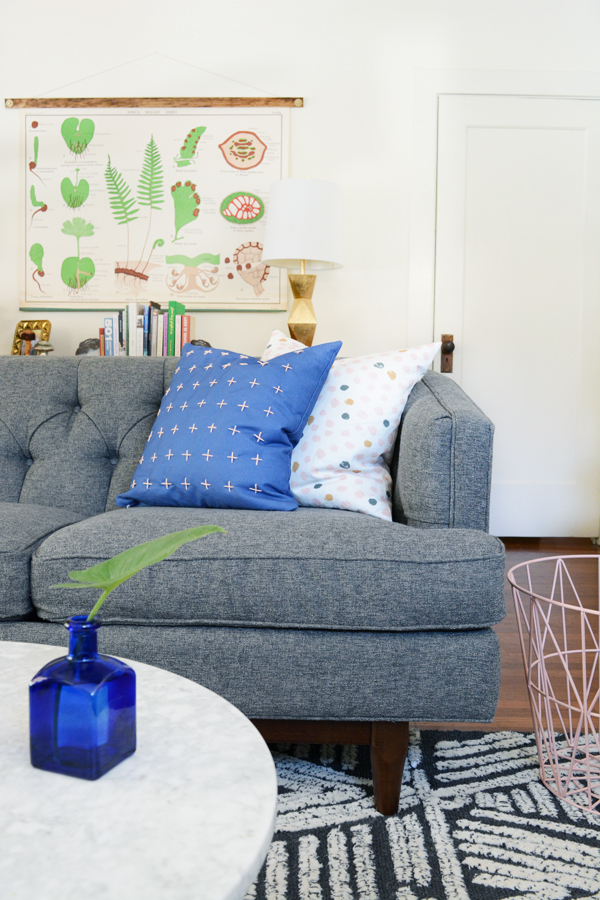
I’m still playing with the color cobalt blue and I love it with pale pink, so I decided to do some simple cross stitching in a all over pattern.  I think it has a sweet homemade look, but still feels modern and clean.

Here’s what you’ll need:

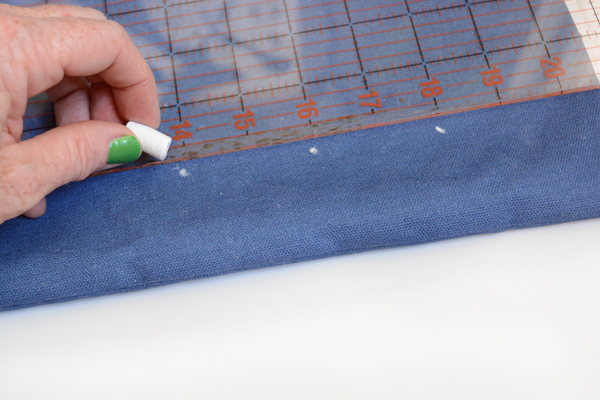
Start by removing the pillow insert and then mark out a grid, spacing the dots 2 inches apart.  I used a piece of chalk so that it could be brushed off once the pillow was finished.

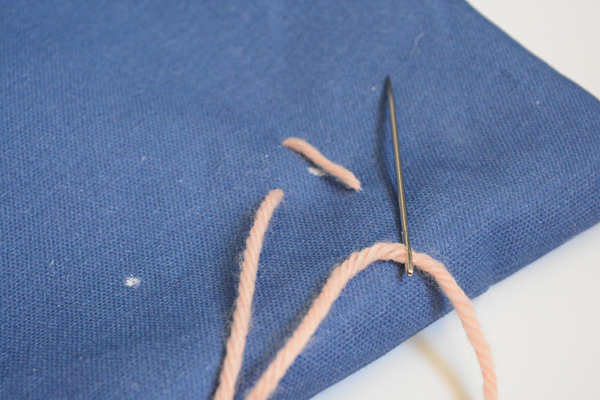
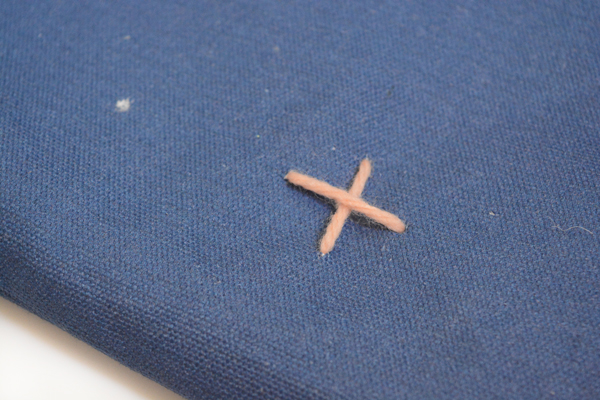
Then using a large darning needle and some yarn, begin stitching the crosses on the pillow.  I simple used the chalk dot as a guide for the center of each cross.  They are not all exactly the same size, but I wanted it to look handmade and have some variation.  Each cross is about 1 inch by 1 inch.

Now how simple was that?  Be sure to check out all 5 Ways to DIY.  Do you have a favorite?  Oh, and don’t forget to enter to win the $250 gift card to AllModern!!!!  Then you can buy enough pillows to try all 5 of the DIYs!  Enter in the rafflecopter below.

This post is sponsored by AllModern.  Thank you for supporting the companies that help make this blog possible.

a Rafflecopter giveaway

DIY

Reversible ‘Hi” Sign

June 5, 2015

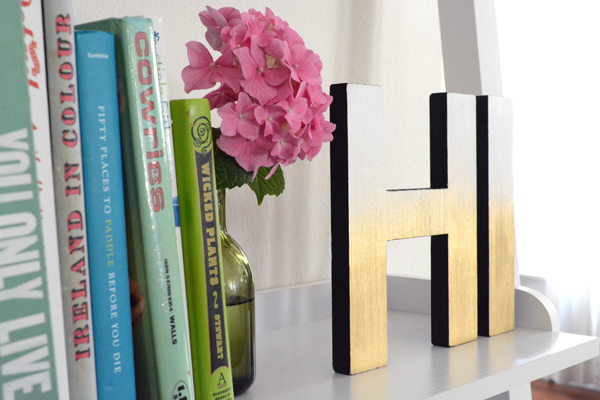
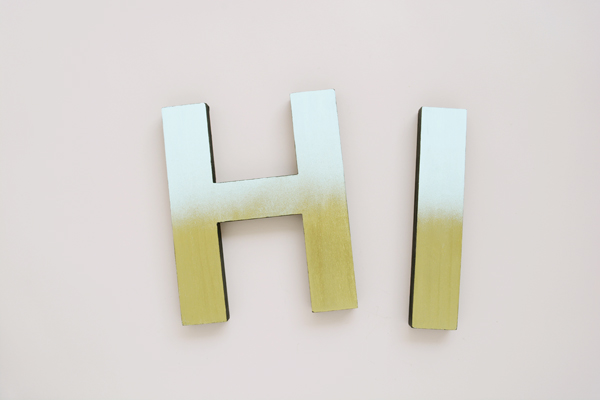
If you are anything like me, you like to change up your decor and often. Sometimes it’s just a matter of shopping my closets and other rooms in my house.  But, today I have a fun DIY, that will allow you to change up your decor when ever you’re in the mood.  I’ve made a reversible ‘HI’ sign that gives you the option of either a classy, subtle gold and white side or if your want a splash a color and some bold shapes, the pink and blue side is sure to add some funk.

For Summer I think I’ll be displaying the colorful side.  And then, come Fall when I’m ready to make my home feel cozy and warm, I’ll switch they over to the ombre gold and white side.

Be sure to head of to Curbly for the full how-to today.  I’d love to know which side is your favorite?

DIY

Rude Botanical Prints

June 2, 2015

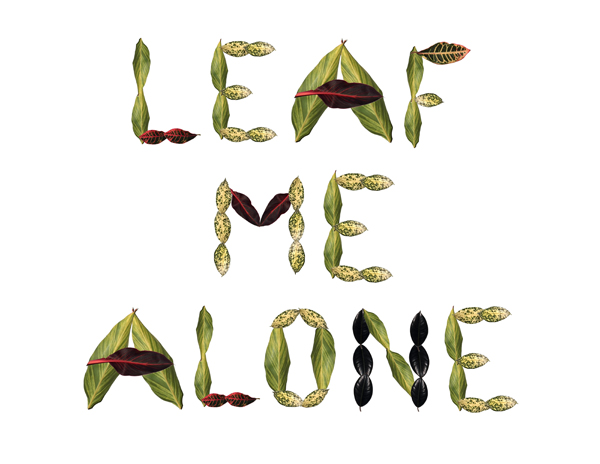
I had so much fun creating my Tropical Foliage Alphabet Chart, that I thought it would be fun to create a few printable saying using the font I created.  And instead of going with something inspirational and motivational, I went with these rude botanical prints.  These are pretty enough to frame on your wall, but when folks read what they have to say, they will be a little surprised.  
Click HERE to get the free 8×10″ printable PDFs.

So, are these just too rude and mean for your liking, or are you weird like me and think it’s kind of fun to display something salty and slightly irreverent?

Also, I’m still working on finding a printing source for the ABC chart.  I’ve tried a few and maybe I’m super picky, but I haven’t loved the quality yet.  I’ll let you know when I finally get some printed.

DIY

DIY ‘Hi’ Garden Stakes

May 27, 2015

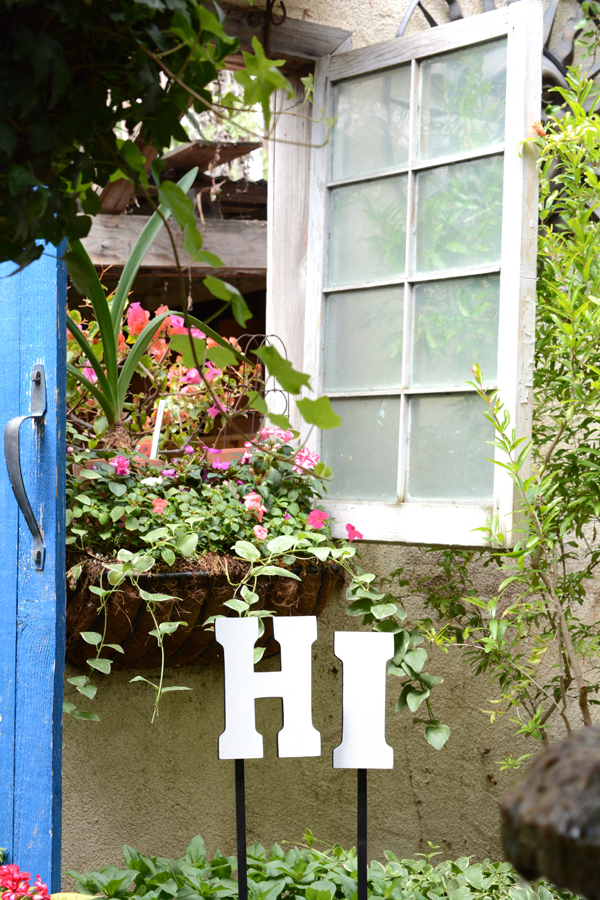
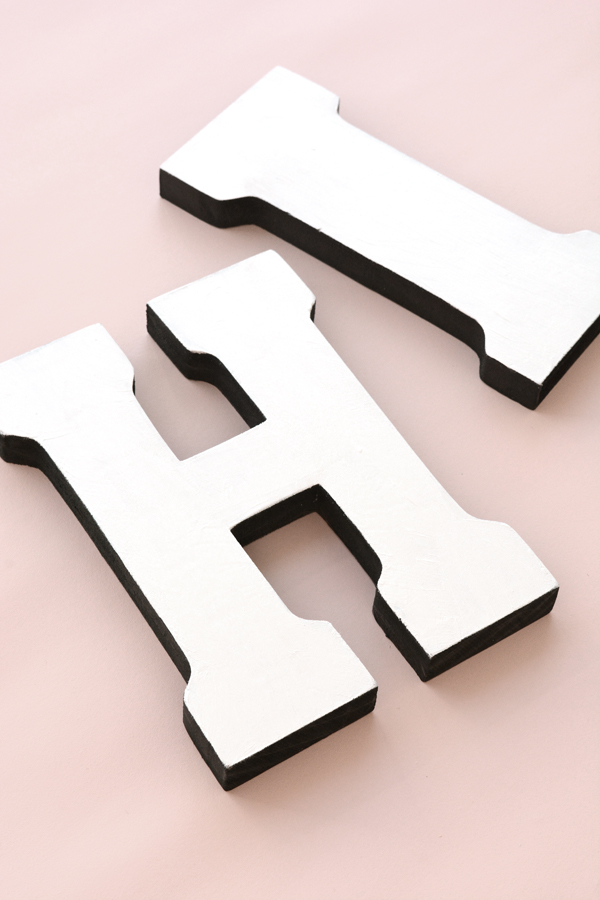
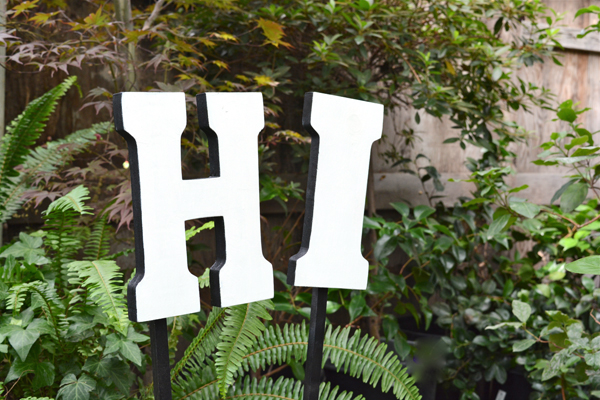
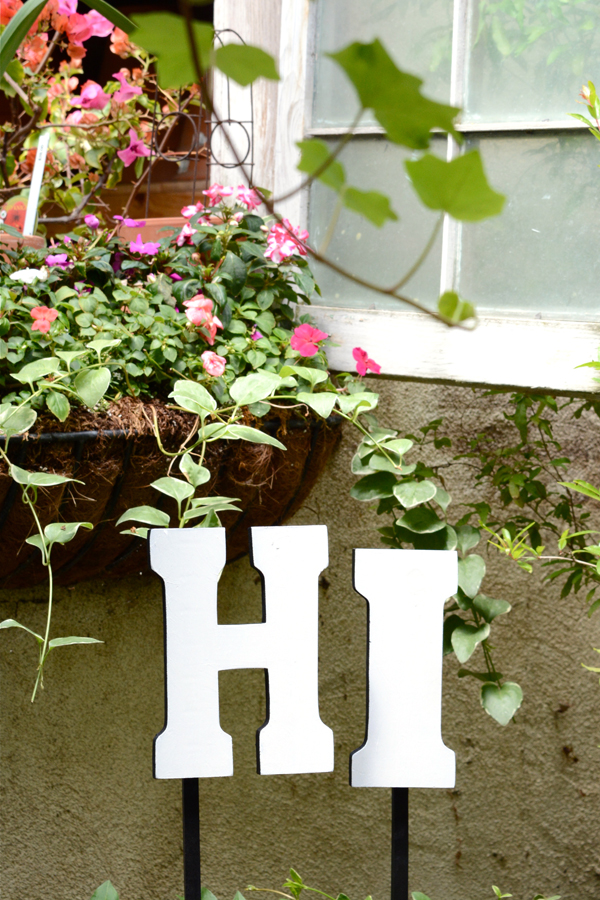
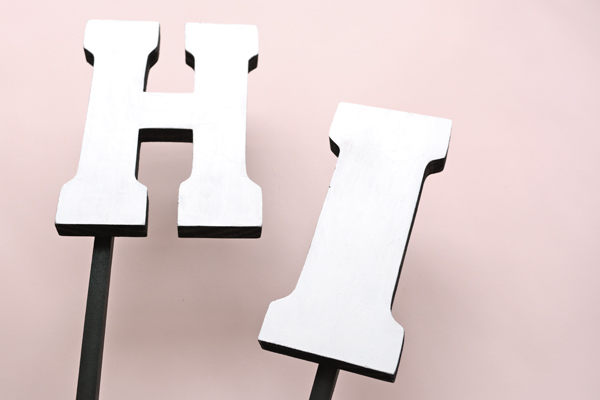
What better way to welcome your guests to your garden then with some friendly “HI” garden stakes. These were so much fun to make and require just a few simple supplies from the craft store.  Really these could be painted any color under the rainbow, I just chose to keep them simple with black and white and let the plants and flowers be the color.  

Here’s what you’ll need:

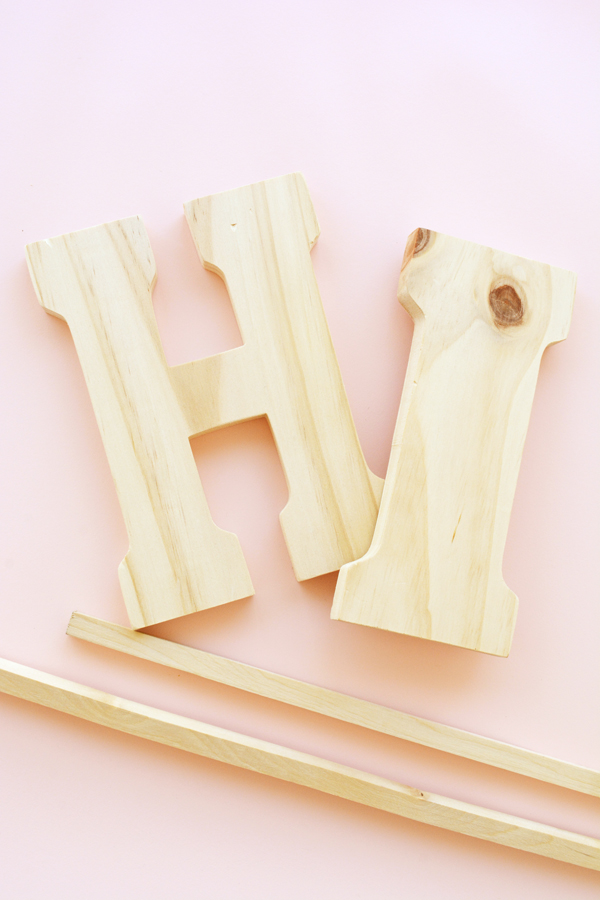
  • letters H and I wooded 6″ letter for your local craft store (I found these are Hobby Lobby, but these would also work)
  • 2 3ft square dowels
  • 4 1″ wood screws
  • power drill and a small bit
  • craft paint
  • small paint brush

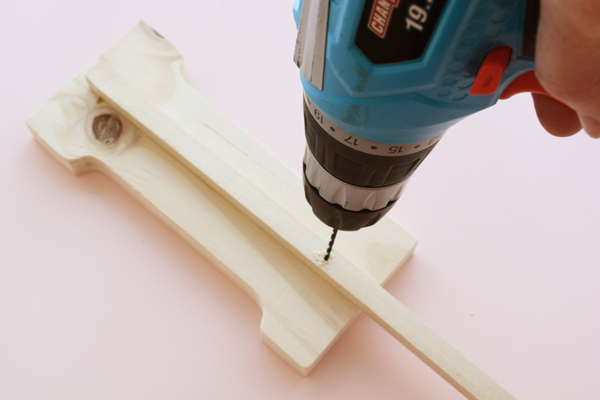
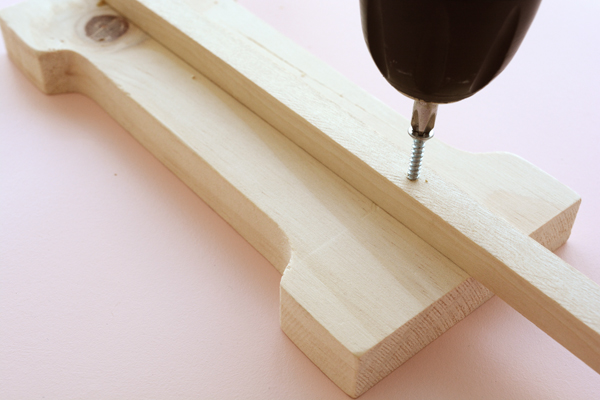
Start by drilling through both the dowel and the back of the letter.  This will prevent the wood from splitting when you screw the two pieces together.

Secure the wood dowel to the back of the letters with two screws.  One screw near the bottom of the letter and one near the top.

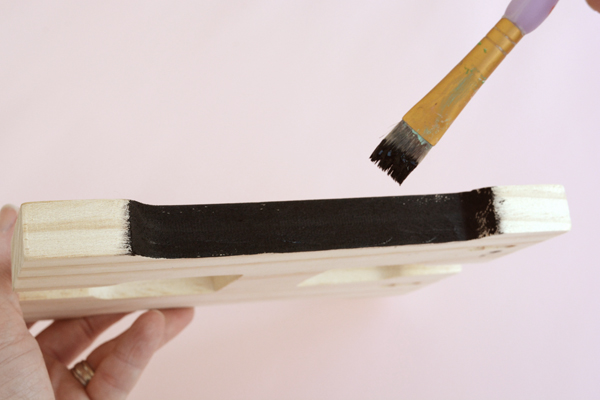
With a small paint brush, paint and sides of the letters with black paint.  Also paint the wooden dowel black.  You may also want to seal the dowel with a clear coat since it will be in the soil and exposed to moisture and water.

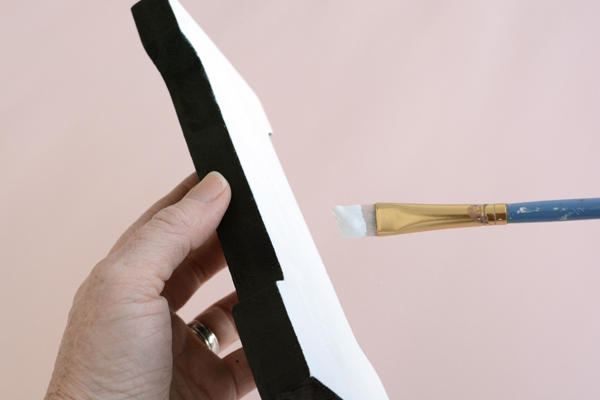
Then paint the top of the letters white.  Brush towards the sides of the letters, so that the paint does not get on the sides of the letter where you have painted them black.

Now, how easy was that?  Place them in a large potted plant on your porch or in a flower bed.

Thank you to the gorgeous Cricklewood Secret Garden here in my neighborhood for allowing me to photograph my stakes in their shop.  If you a local, this place is magical!  It’s a little hidden gem in Bakersfield. Follow them on Facebook for store hours and for what’s new.  

DIY

DIY Customized Enamel Dishes

May 25, 2015

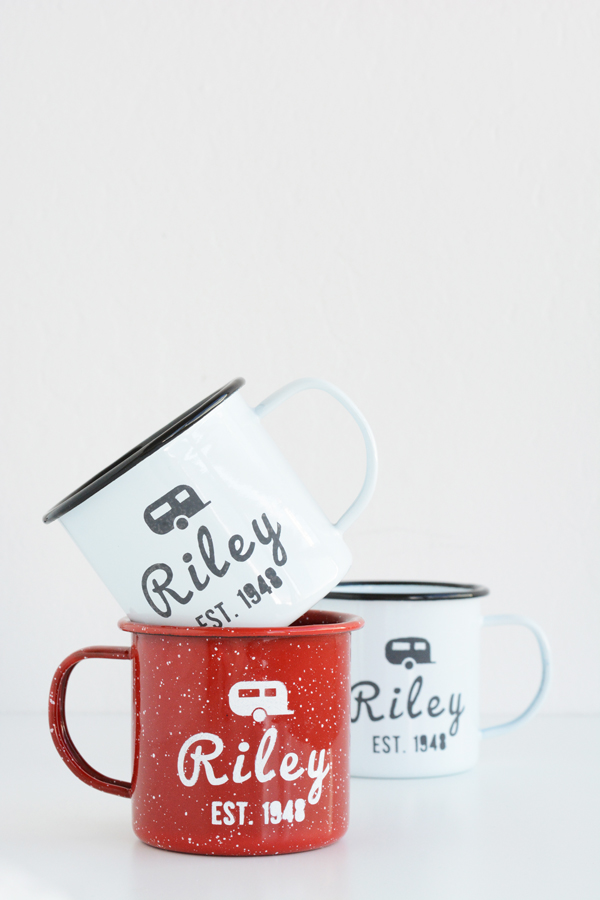
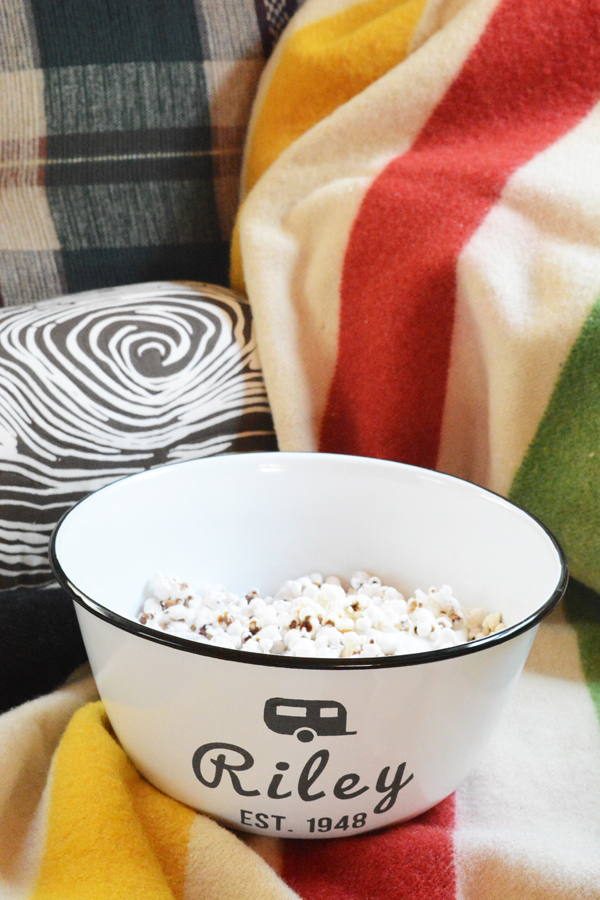
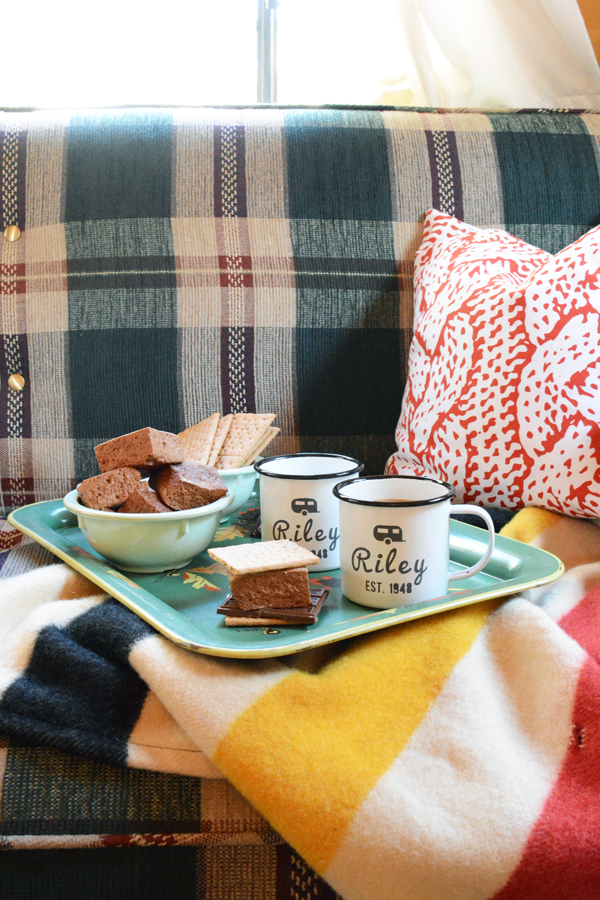
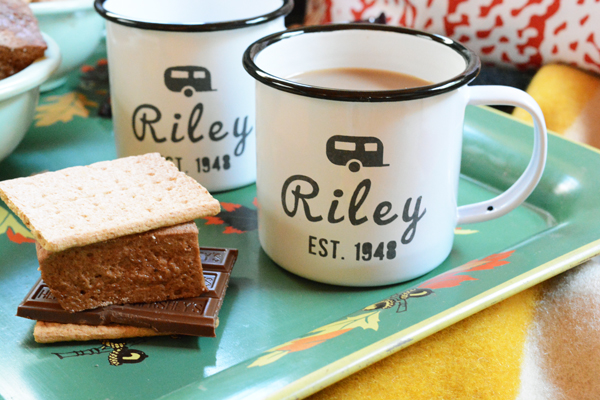
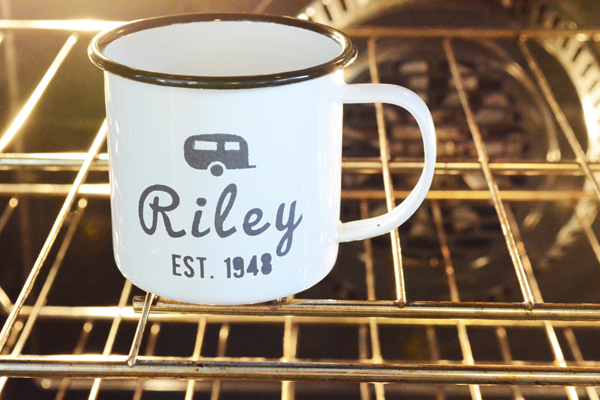
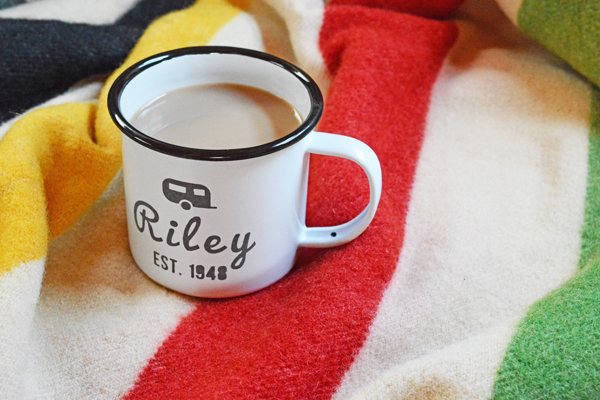
I love the chance to get to experiment with a new product.  Making custom things for a our little vintage trailer, Riley, is one of my favorite things. So, this week I made some custom dishes for Riley with DecoArt‘s really cool Chalky Finish Paint for Glass.  It has a completely matte finish and gives a fun well worn, vintage vibe.

This was a really simple DIY that gave a really custom look to some very plain enamel dishes.

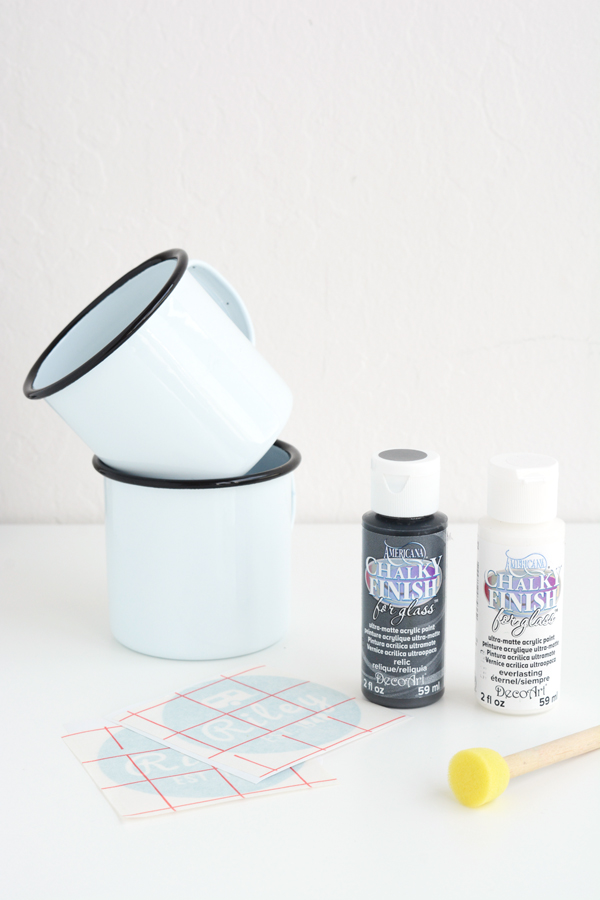
To start you’ll need stencils for your mugs or dishes that you want to customize.  Craft stores offer a huge variety of pre-made stencils.  Or you can create your own custom stencil with a Cricut or Silhouette machine and some vinyl like I did.  I used the DecoArt Chalky Finish For Glass paint in the colors Relic and Everlasting

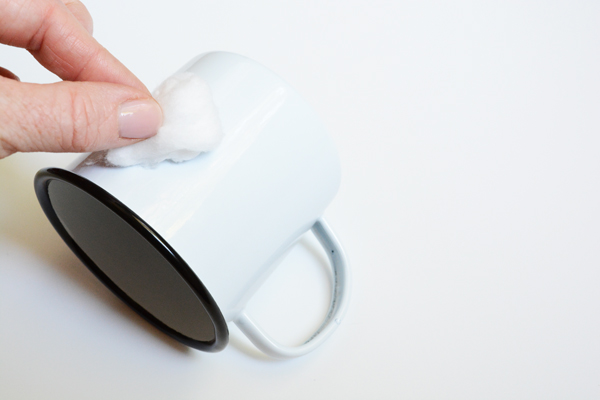
With a cotton ball and some rubbing alcohol, wipe down the side of the mug to remove any dirt or oil from the surface.

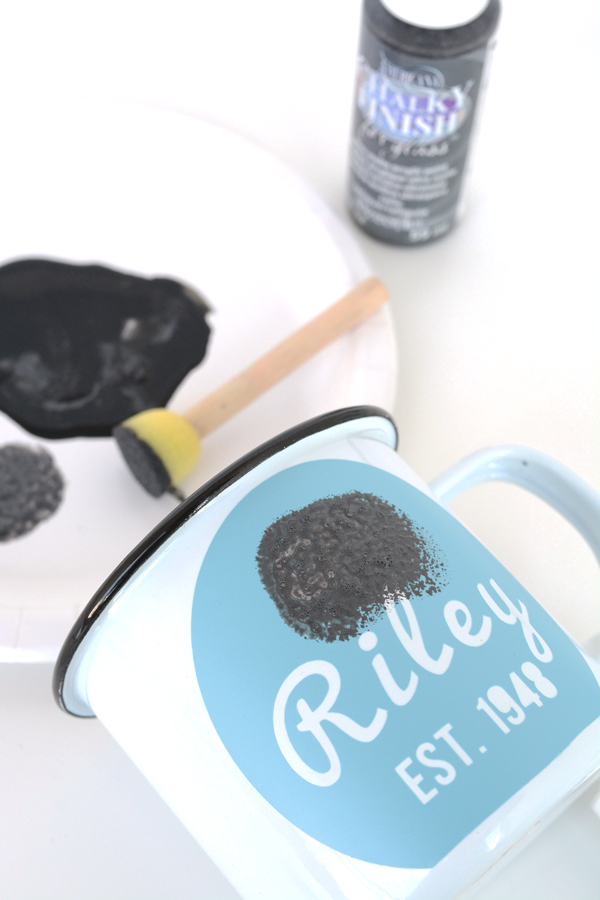
Adhere the stencil to the mug and using a foam stencil brush, dab on the paint in a thin even layer. When the paint is dry, remove the stencil carefully. To cure the paint and ensure that it sticks through wear and tear and even the dishwasher, you will want to follow this baking method. Place the dishes in a cold over and turn the oven on and bring to up to 325F.  Bake for 30 mins and then turn off the oven and leave the dishes in the oven until they are dry.

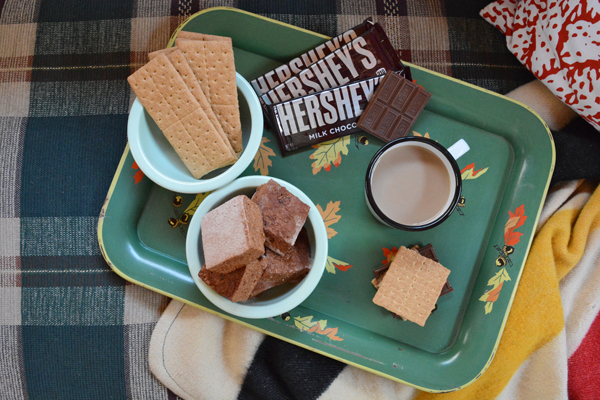
I love DIY’s like this that take just a couple simple supplies to make cool, one-of-a-kind pieces.  Oh and stayed tuned the recipe for these Homemade Chocolate Chipotle Marshmallows is coming soon.


This post is sponsored by DecoArt.  All my opinions and ideas are my own.  Thank you for supporting the companies that help make this blog possible.
Chalky Finish for Glass

  • Can be baked at 325F for 30 mins. for a dishwasher-safe finish
  • Covers in one coat on most surfaces.
  • Easily distressed for a vintage look.
  • Mixable colors for a custom design.

Design / DIY / etc.

Pale Pink Chair

May 21, 2015

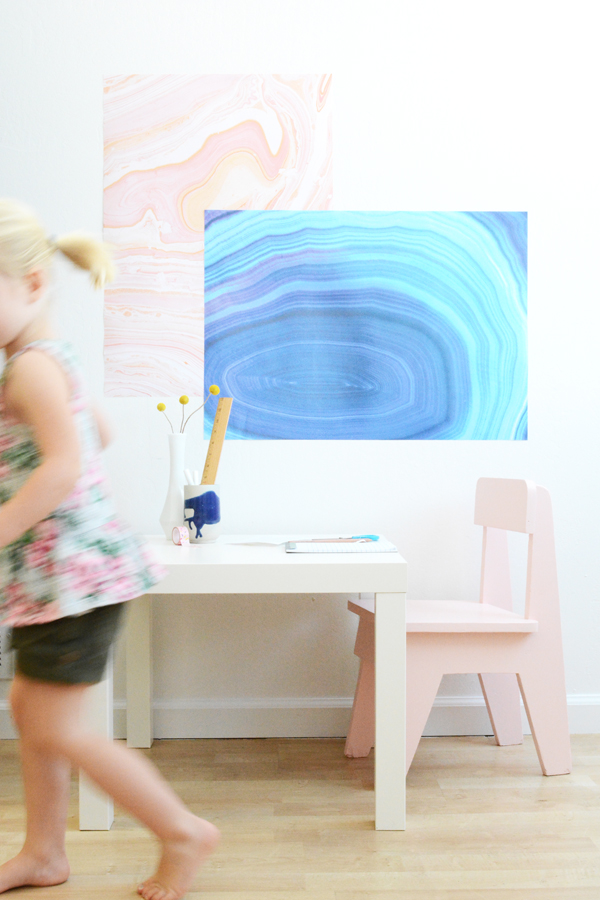
There were quite a few things I learned from my reader survey that surprised me.  One things you wanted more of was a look behind-the-scenes and more of the studio.  So, here’s a little look at Olivia’s space in the studio.

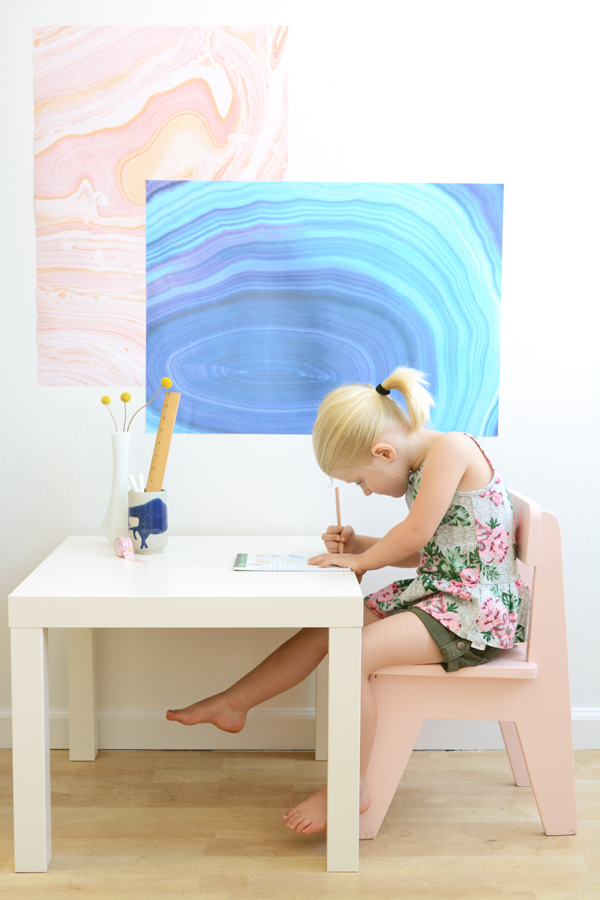
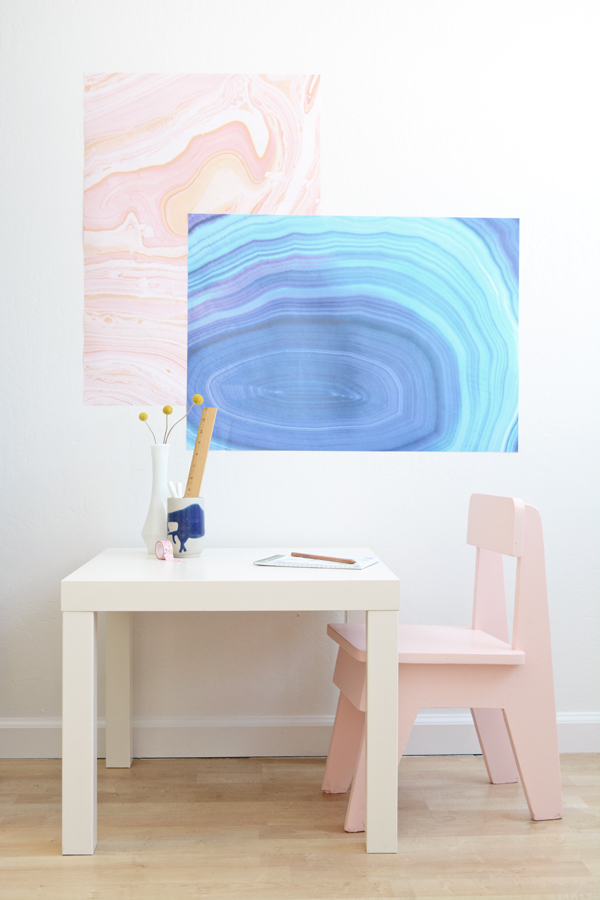
This year, Olivia goes to pre-school 1 to 2 days a week. She’s a really social kid and loves being with friends so I’m glad she can go now and then. But, when she’s not at school, she’s my side kick. She loves going to the studio. I have a little table and chair for her and she has a whole drawer full of paper, markers, scissors, glue, paint, and tape. She can spend hours making stuff. Don’t get me wrong, she also makes a lot of messes in the process. But, I’m thankful she’s happy to be “working” with me. Yesterday she even lined up her crafts on the floor and asked for the phone so that she could take some pictures. Maybe she needs her on IG account, it could be entertaining.

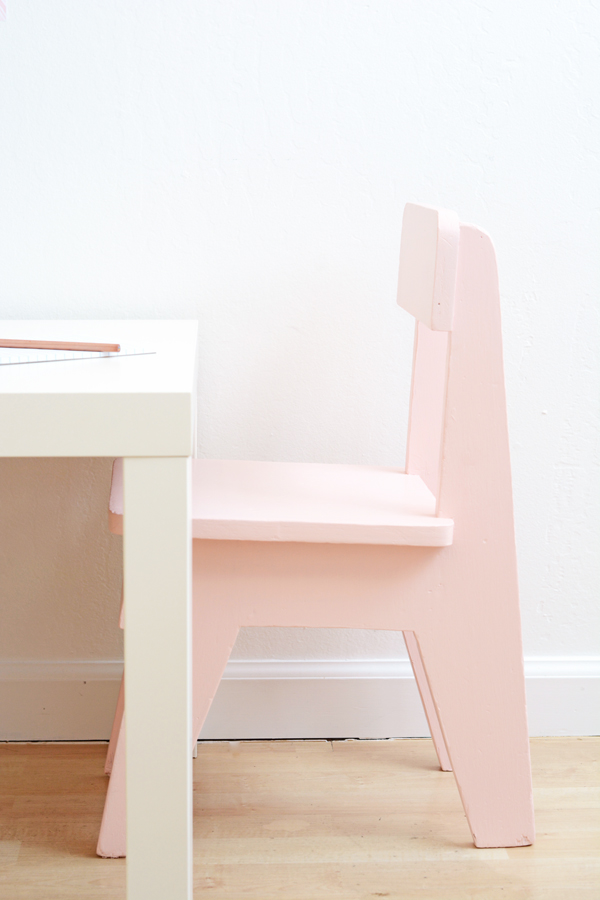
I have two of these little chairs, I bought them at a thrift store when Denali was a baby.  They were sage green with little red seat cushions the first time I gave them a makeover.  Then when Denali was about 4 or 5, I painted them bright pink (seen here).  And now they are the perfect pale shade of pink. And the best part is that the name of this Sherwin Williams color is OLEANDER!!! Seriously, it was meant to be. 
When Olivia isn’t in the studio with me, or a have a big shoot, I can easily move her little station to a corner.  I added a little temporary color to the wall above the table with a couple sheets of Minted‘s gorgeous wrapping paper in blue and pink. I love this color combo. Blue is not usually a color I play with, but it’s a new color I’m trying to add to my mix (remember my Colbalt Blue mood board).  

Oh, and because I know you’ll ask, the wall color is from Sherwin Williams as well and the color is Snowbound. It’s are really pretty bright white and I used the Emerald line of paint, it covered really well with one coat.  

DIY

DIY Tropical Leaf Pillow

May 20, 2015

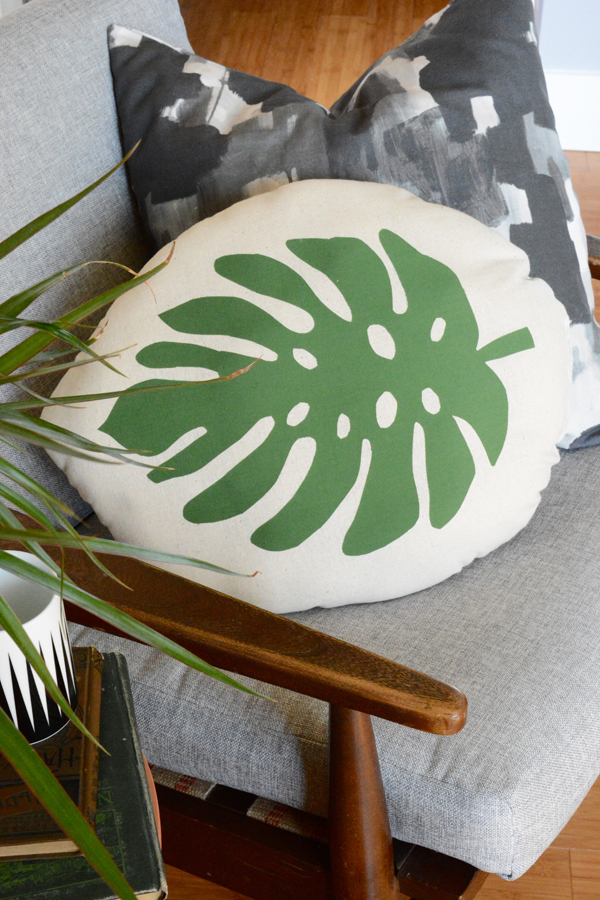
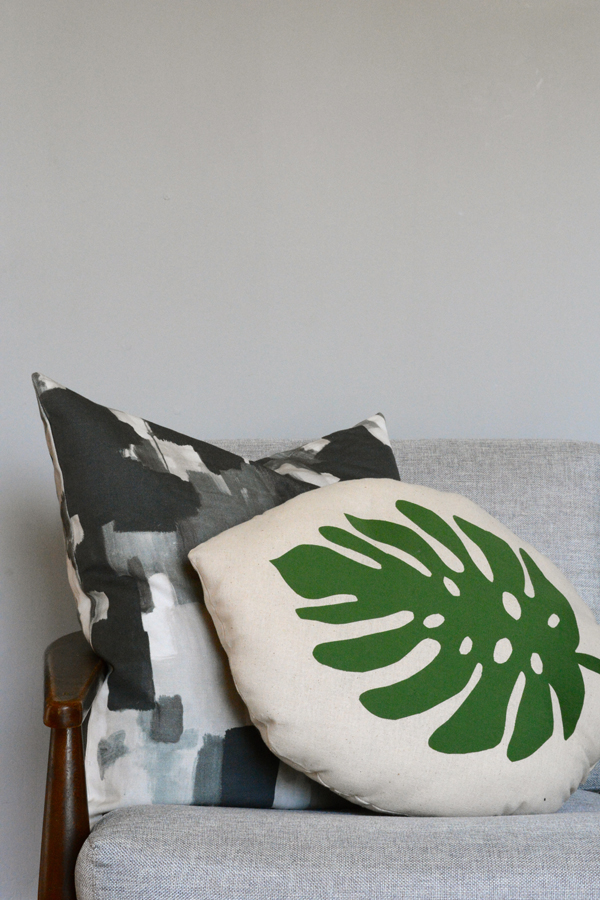
If you are going to change up your decor at all, pillows are the first place to start.  They are an inexpensive way to play with color, pattern and trends.  Because I like to sew, I enjoy making pillows so that I can save money and also have a unique look.

I’m loving this tropical foliagetrend. I’ve made a tablecloth and an alphabet chart with big leafy botanicals, so why not a pillow? This is another house plant that I don’t have to worry about watering.

To see the full how-to for making this easy applique pillow, head over to Curbly today.

DIY

Metal Cabinet Makeover

May 6, 2015

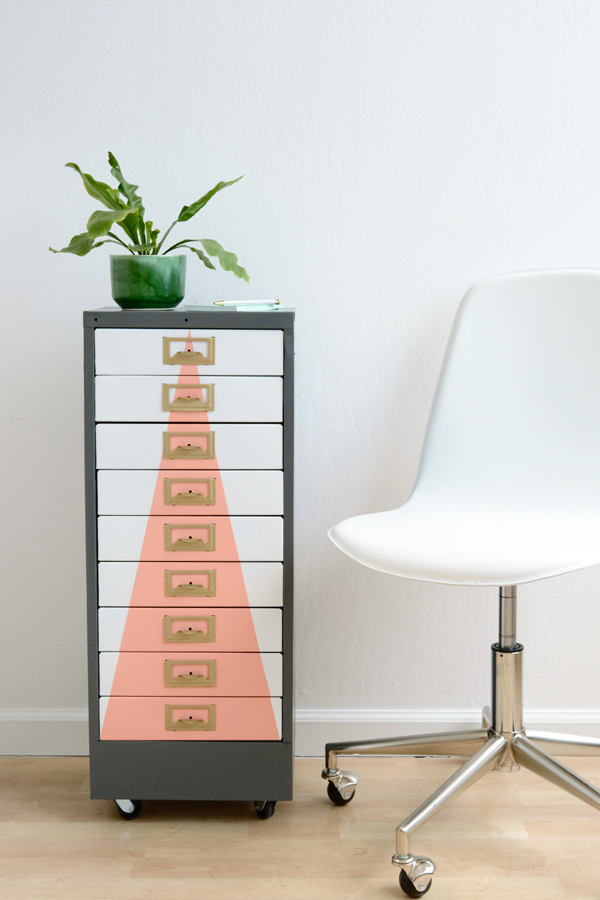
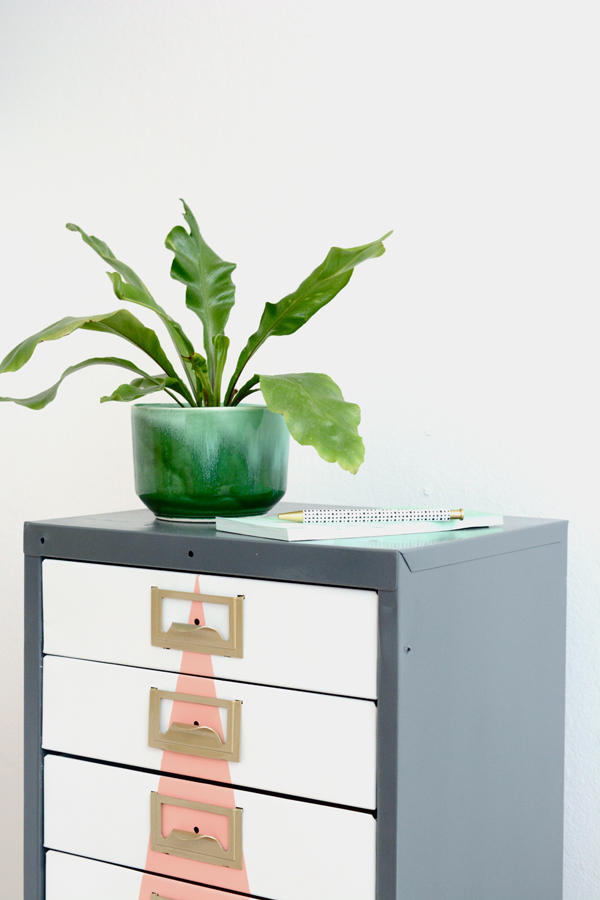
I’ve been storing this little metal cabinet in my garage for a couple years now.  I finally gave it a well over-due makeover.  I love how it turned out.  Now I’ll proudly store all my crafting supplies in it at the studio.

As far as I’m concerned, you can’t go wrong with pastel colors, geometric shares and metallic gold accents.  This piece has it all!  Check out the BEFORE pics and the full how-to on Curbly today.

Do you have some junk sitting around collecting dust?  Maybe this will inspire you to customize something for your home.

DIY

Butterfly Brunch How-to’s

April 30, 2015

I hope you saw yesterday’s post, the Butterfly Brunch.  The fun take-anywhere party is simple and totally doable.  No fancy DIYs here my friends.  I’ve got three easy how-to’s that your’ll be able to put together with a few simple supplies and no time at all.
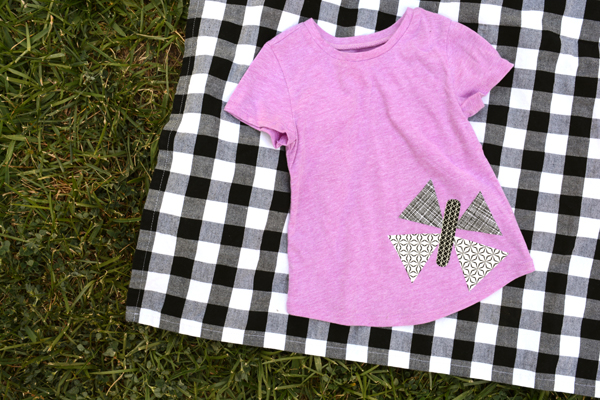
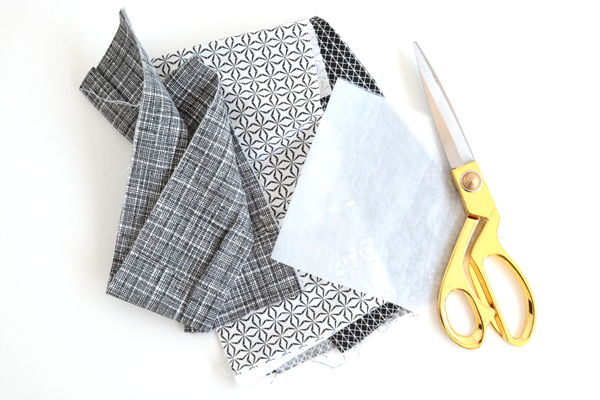
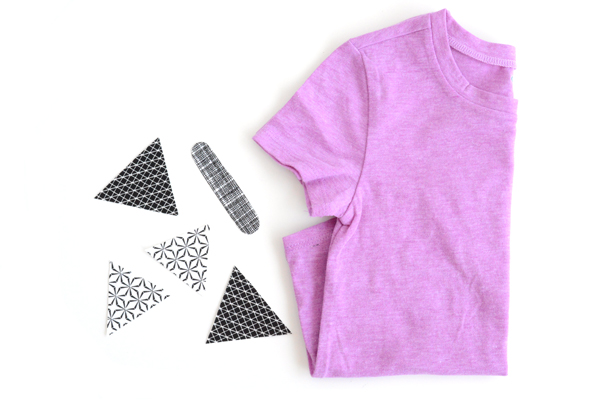
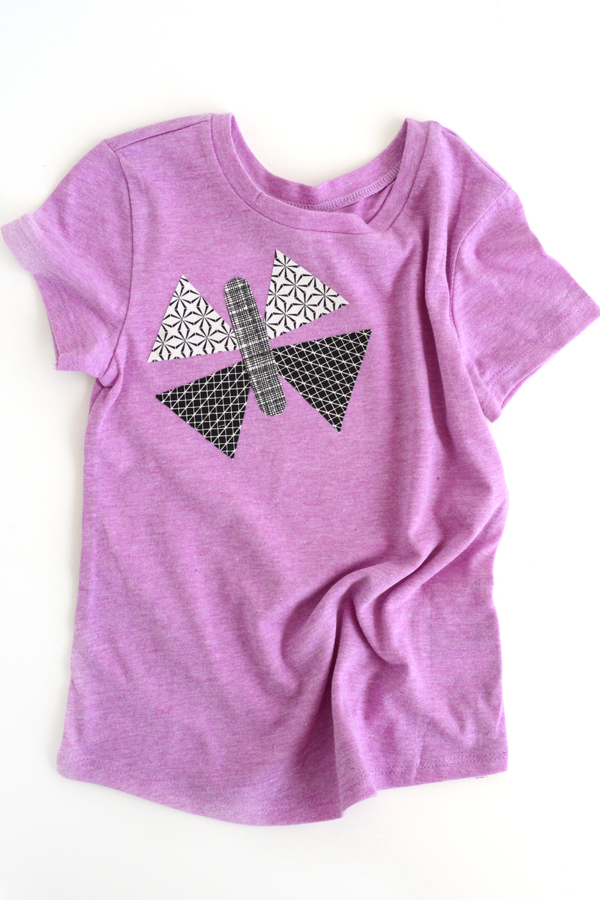
The first DIY is these cute geometric butterfly t-shirts that I made for the guests.  I started with solid colored t-shirts and some scraps of black and white patterned fabric.  The only other material you’ll need is some iron-on Pellon (available at your local fabric store.  
Start by ironing on the fabric scraps to a small piece of Pellon.  
Remove the paper backing and cut out 4 triangle and one long oblong piece for the body of the butterfly.  I didn’t even sketch these out.  I just eye-balled the size and then cut.  I like that all the triangles are not perfectly the same size. 
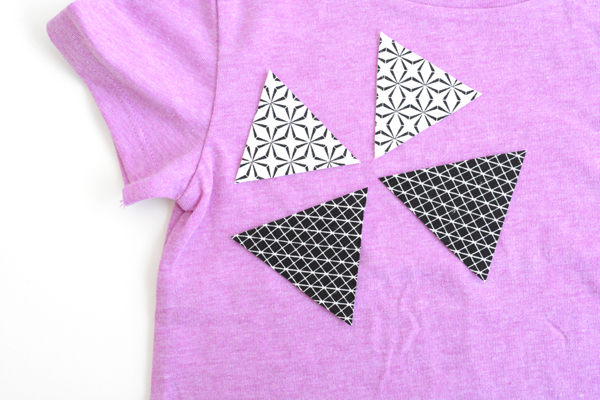
Place the triangles and body piece on the shirt were you’d like them.  I decided not to center my butterfly on the shirt, but instead adhered them off centered on the tops of some of the shirt and near the bottoms on others.
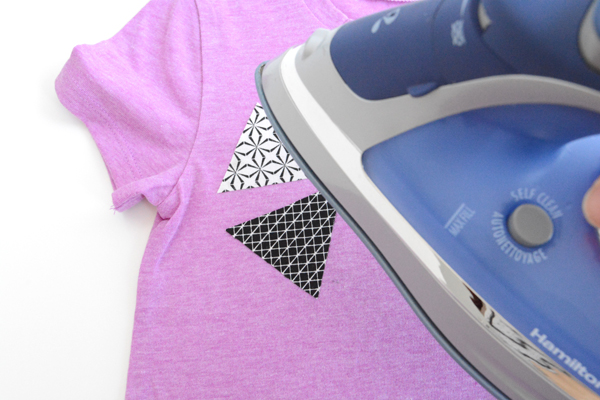
With a hot iron, steam turned off,  iron the pieces to the shirt till they are completely adhered.  

If you wanted to add another step, you could top stitch these pieces down as well.  

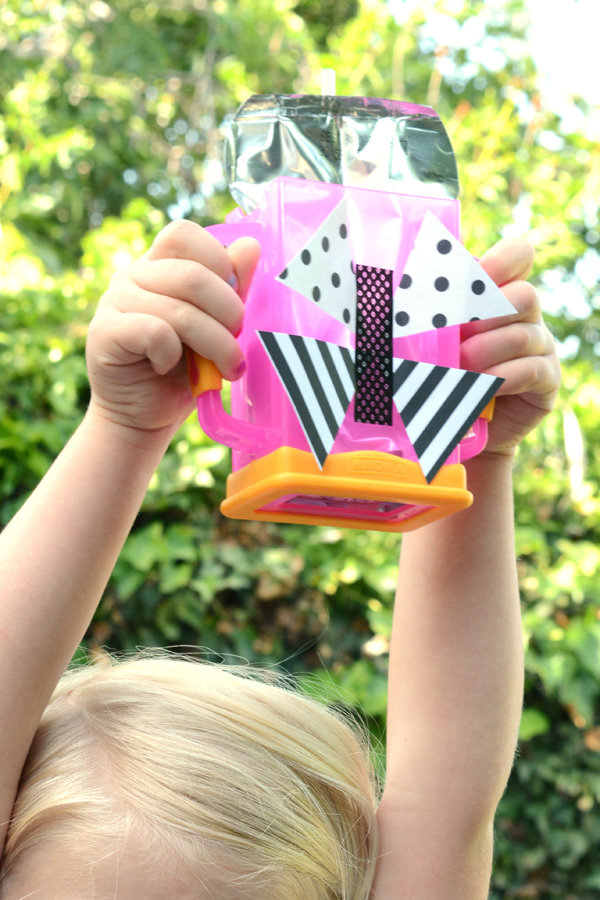
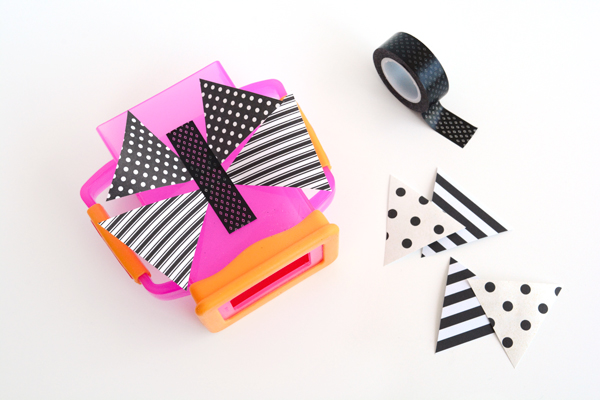
The second simple DIY I made for this little party, was adding a little butterfly details to the Drink Box Carriers.

Using simple triangles cut out of patterned scrapbook paper, I attached them to the drink box carriers with a piece of washi tape.

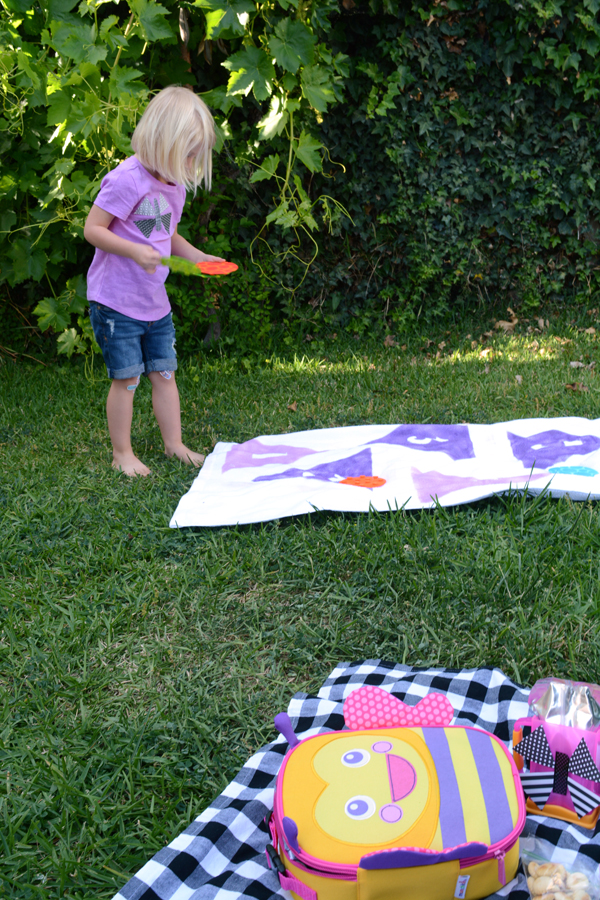
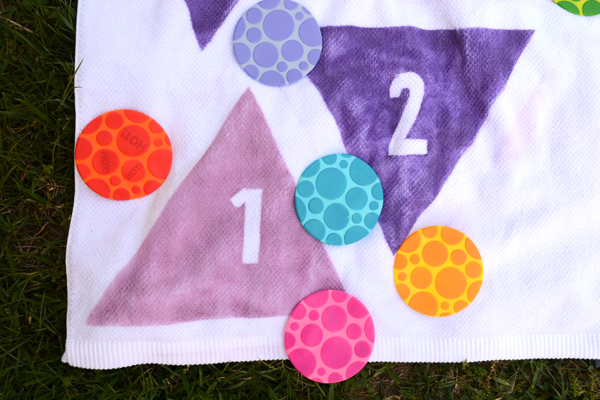
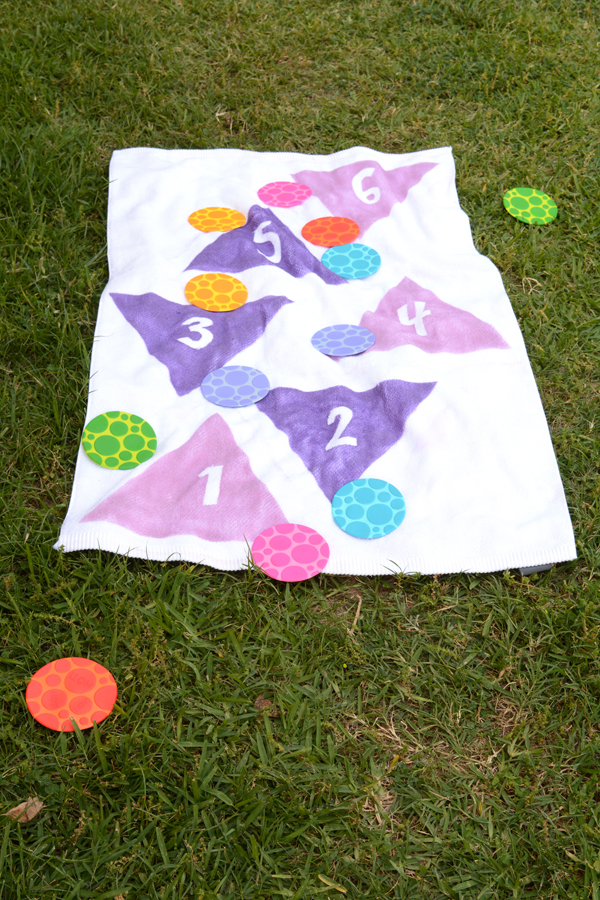
And the third DIY is Olivia’s favorite, she’s been playing with this simple tossing game for hours and hours.  She keeps inventing new rules and ways to play.  With a white towel, some spray paint, masking tape and the colorful grippy dots you can make a fun take-anywhere game.
I simply masked off 6 triangles and cut out the numbers 1-6.  I placed the number in the middle of the triangles and then spray painted the triangles.  Super easy, right?  I originally thought it would be a fun, points based tossing game, but if you let kids make their own rules, you can get a much more intense and involved game. 

I love a detailed and even elaborate party, but lately I feel like there isn’t a enough hours in the day.
This simple party didn’t add stress to my life and Olivia and her friends had a blast.

This post is sponsored by Munchkin. All opinions are my own. Thank you for supporting the brands that make this blog possible. 

DIY

DIY Chart and Poster Frame

April 20, 2015

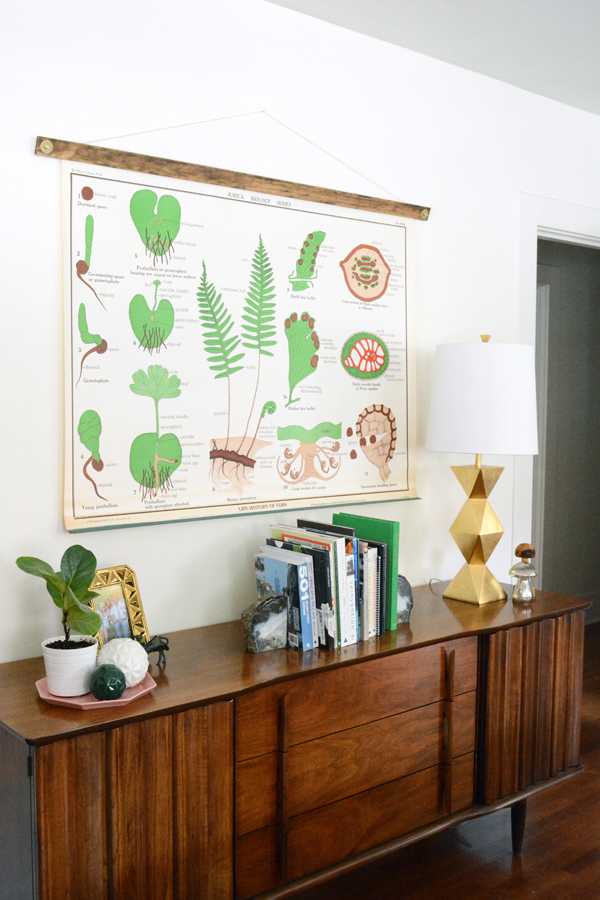
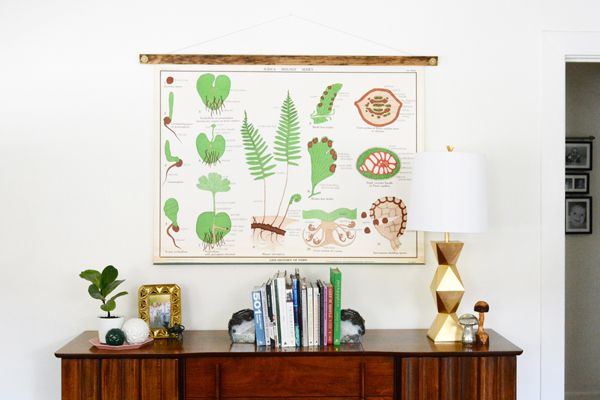
I’m changing things up bit in the living room.  The triangle wall is gone.  I needed a change, and for the first 5 minutes I felt a little regret for taking it down and then I decided all that night white space was just what I needed.  I also decided to hang one large piece instead of the three photos that were there before.
The biology nerd hubby is really pleased with the nature art that is now on our wall.  This vintage school chart I scored is in pristine condition.  I just needed a way to hang it.  So, I decided I’d make a frame for this just like the DIY Tropical Foliage Alphabet chart.   It was so easy to make, I thought I’d share the how-to with you.  It’s a great way to hang large scale pieces without putting them behind glass and not just sticking them with thumb tacks (like you did in your college dorm room).  This chart had a weighted bottom, so I decided that I just needed a frame along the top.

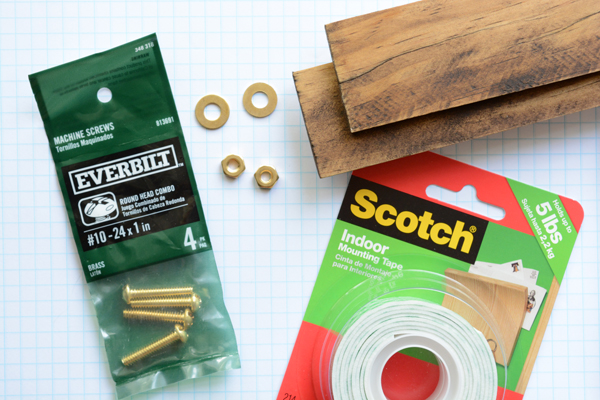
Here’s what you’ll need:
  • Scotch Mounting Tape
  • 2″ lattice (about 99c per foot at the hardware store)
  • Brass washers, bolts and #10 machine screws
  • Stain (optional)
  • Drill
  • Screw driver
  • Measuring tape
  • Pencil
  • String or twine
  • 2 small screws

Start by cutting 2 lengths of the lattice.  Cut them about 2″ wider on either side of the art piece.  If you would like the wood to be a darker color, like this one, apply a coat of stain and allow the wood to dry.  
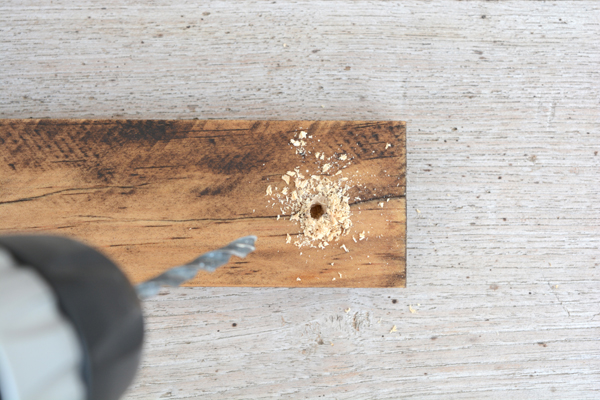
Then mark 1″ in from the ends of each board and drill the two boards together at once to ensure the holes will line up.
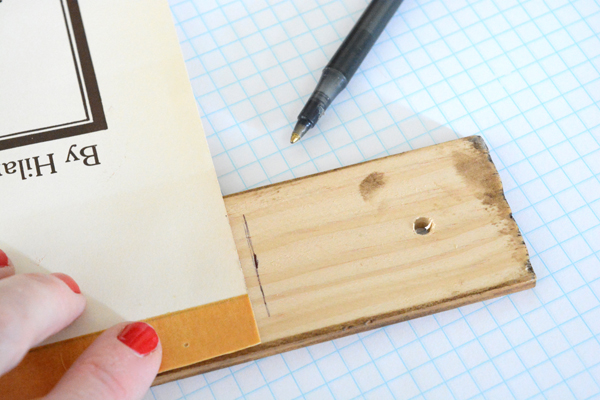
Mark where the chart will sit on the bottom board, making sure the chart is centered on the board.

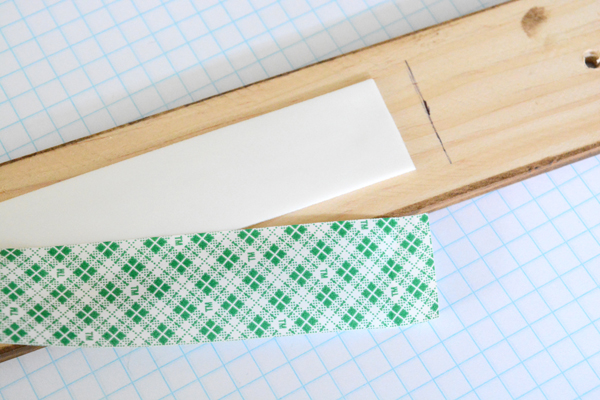
Apply the mounting tape the length of the board, just inside the lines where you marked where the chart would be.
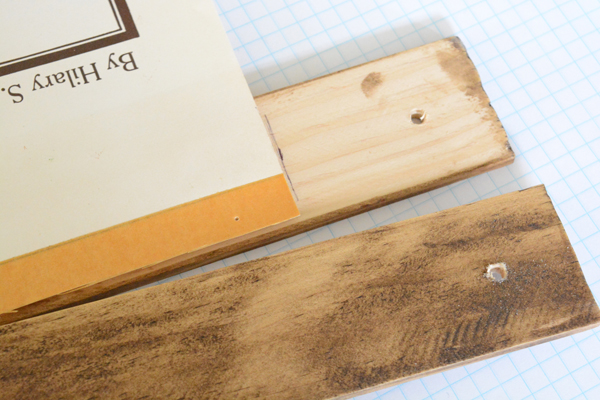
Adhere the chart to the mounting tape.

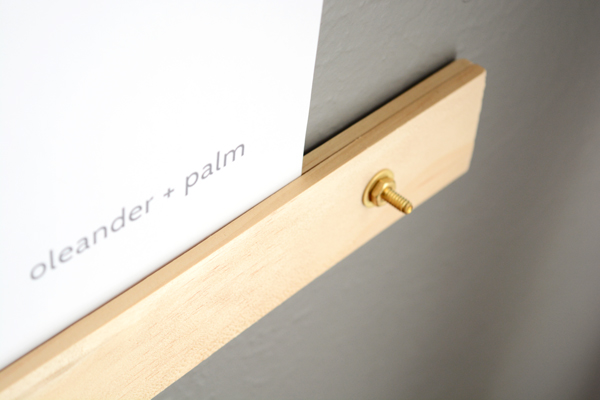
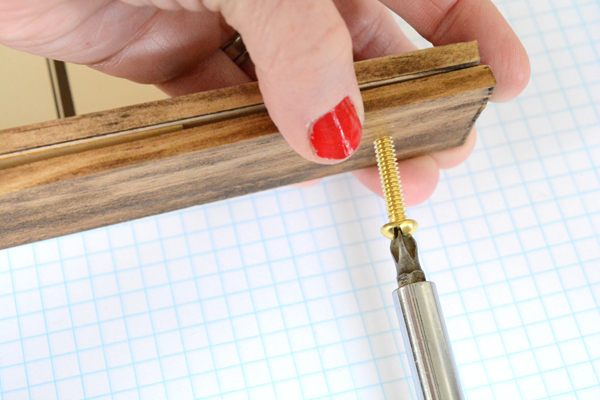
From the back of the piece, screw in the screw through both boards.

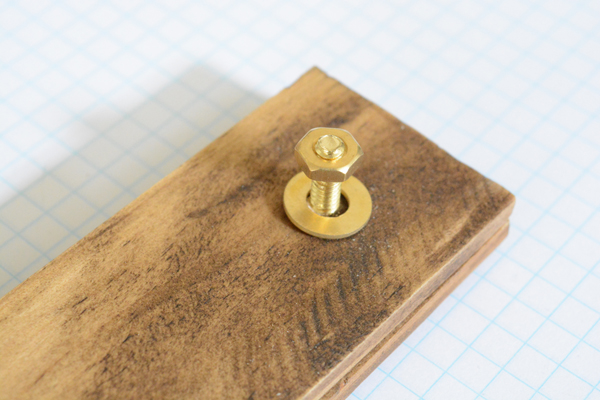
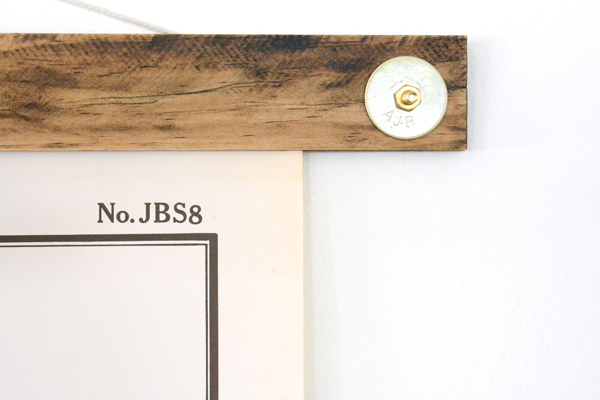
Add the washer and bolt and tighten down.  For this piece I actually used a 1″ washer.  I couldn’t find it in brass, so I simply spray painted it gold.  I wanted the brass hardware to stand out, so I decided bigger was better in this case.

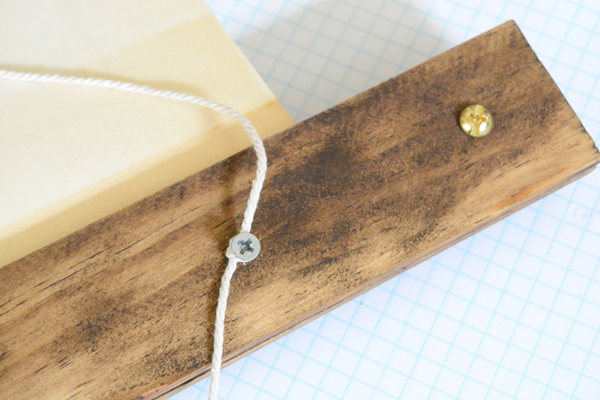
Add a couple small screws to the back of the boards to attach the hanging string to. And that’s it!