Category Archives: DIY

DIY

Minted Fabric Pillows

April 17, 2015

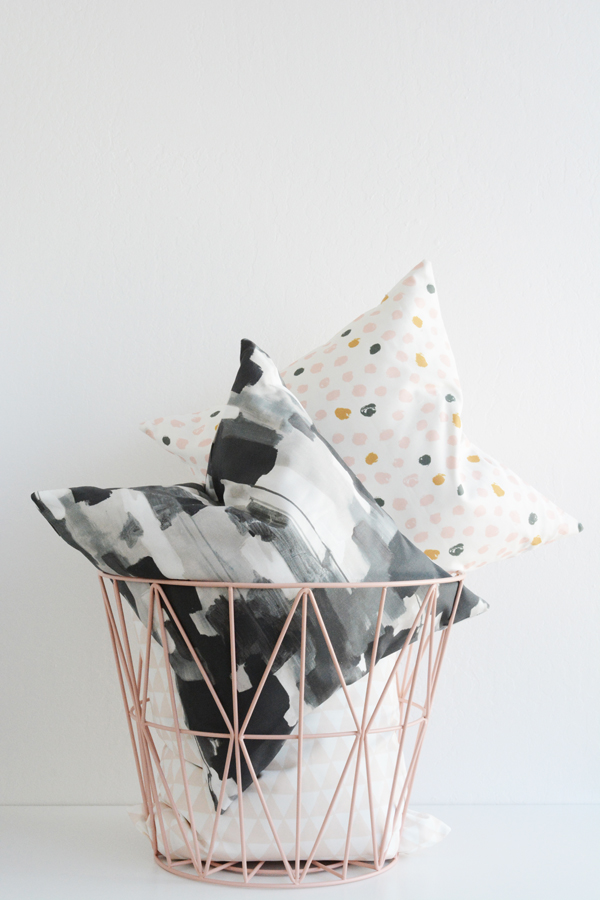
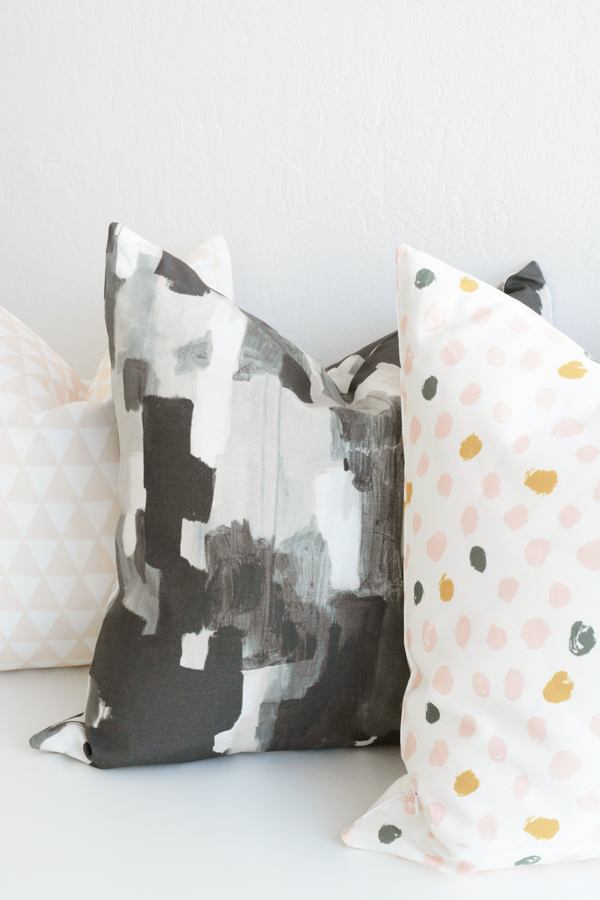
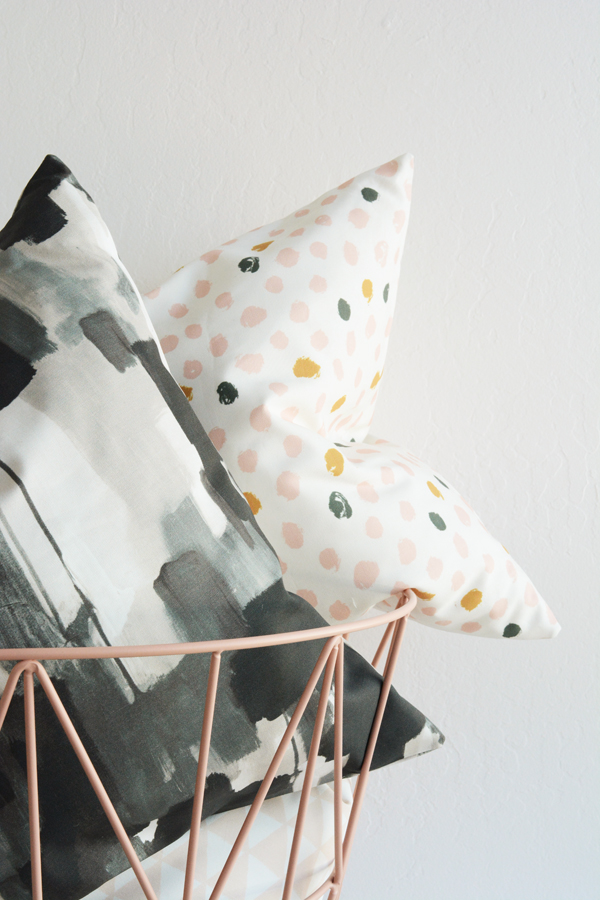
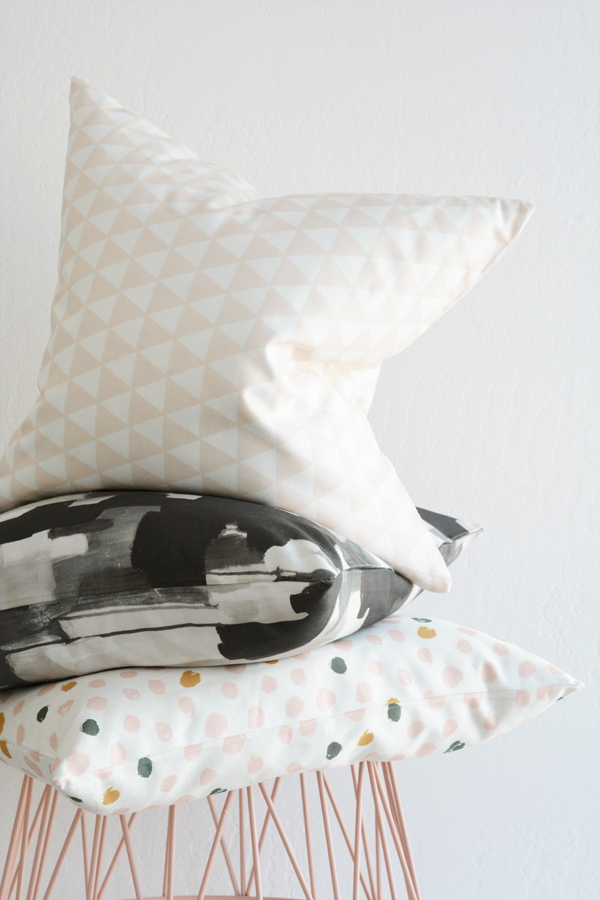
So, you know Minted has amazing stationary and prints, but did you know they now sell fabric by the yard?  Yes, and it’s in all kinds of trendy, gorgeous prints.  A while back I shared my love of blush and pink and how I wanted to bring more of this feminine color into our home.  I’m starting by adding some gorgeous new pillows to our living room.

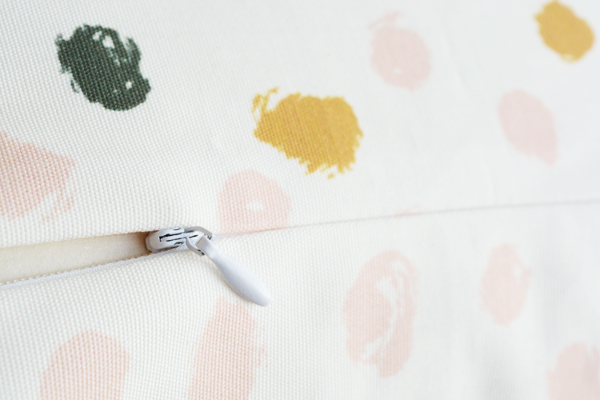
I love sewing pillow covers, it allows me to change my pillows often and also gives me unique pillows that not everywhere has in their home.  I like to put invisible zippers in.  They are the easiest kind to sew and then I can wash my cases from time to time.

Here’s the fabrics I used: Triangles,  Painted Dots, and Abstract Art

The gorgeous basket is FermLiving from All Modern.

DIY

DIY Triangle Patterned Door

April 14, 2015

Well, everyday I feel more and more like an official blogger. The studio is really changing the game for me.  I’m LOVING it.  Not only is it a great place to work and shoot my pics, but my home feels soooo much bigger. Getting all of my craft “crap” out of all of our closets and corners of our house was so freeing.  I love being able to shut the door of the studio and not have to look at my half-finished projects all evening long.  I still edit pics and write posts at home, but the messy part of the blog is houses at the studio.

Olivia still thinks it’s fun to go to the studio and today she spend a couple hours cutting and gluing works of art. A friend of ours asked her last night what she was thinking when she was making these pieces, and she replied without a pause, “I wasn’t thinking I was just making.”  A girl after my own heart.  Makers Gotta Make!


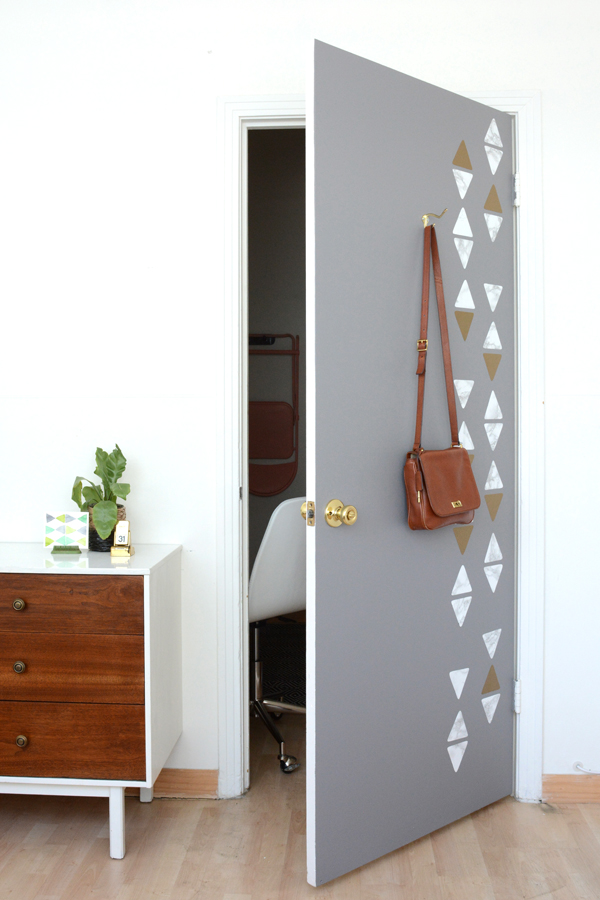
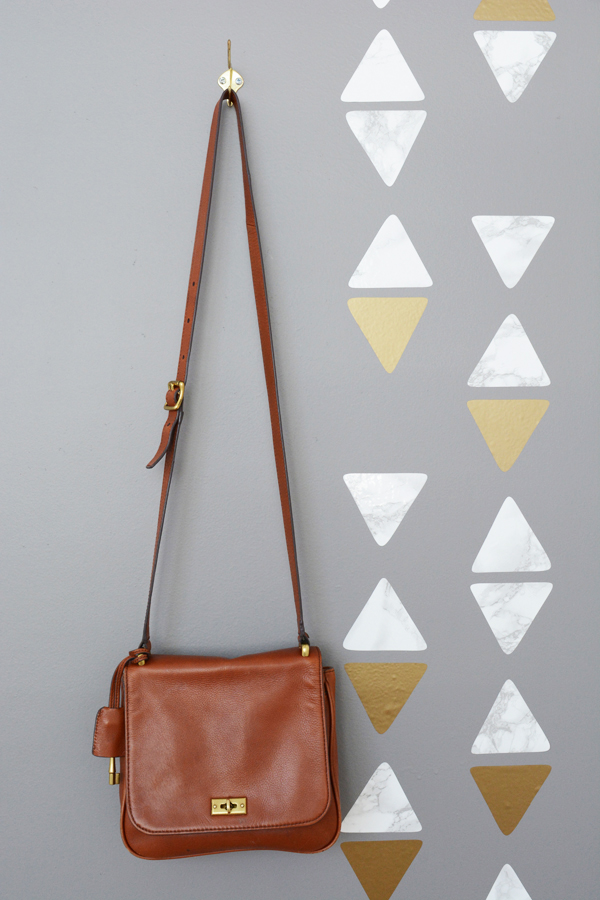
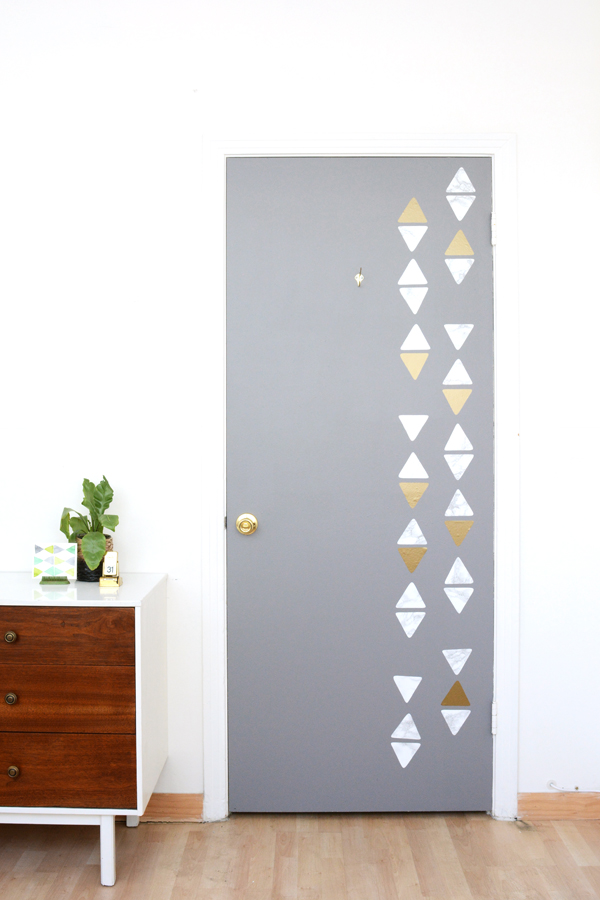
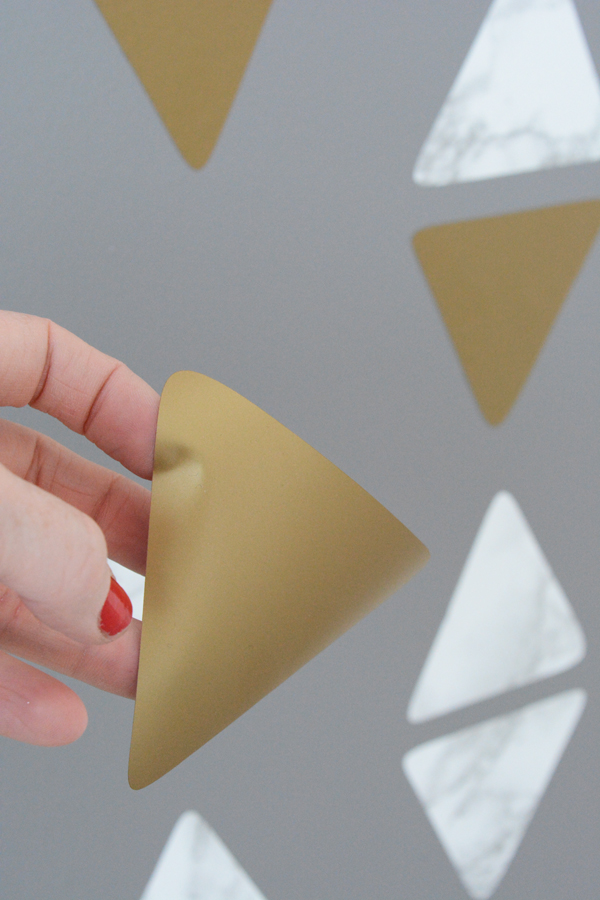
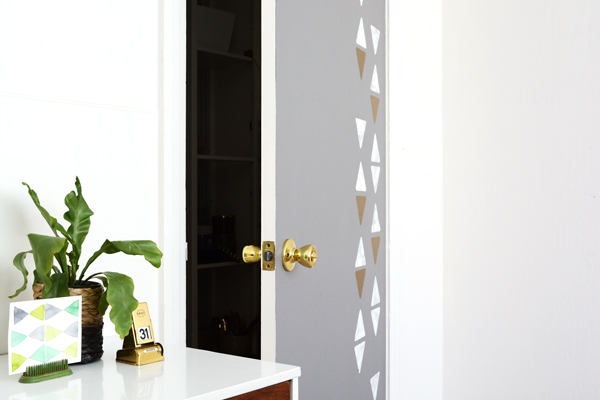
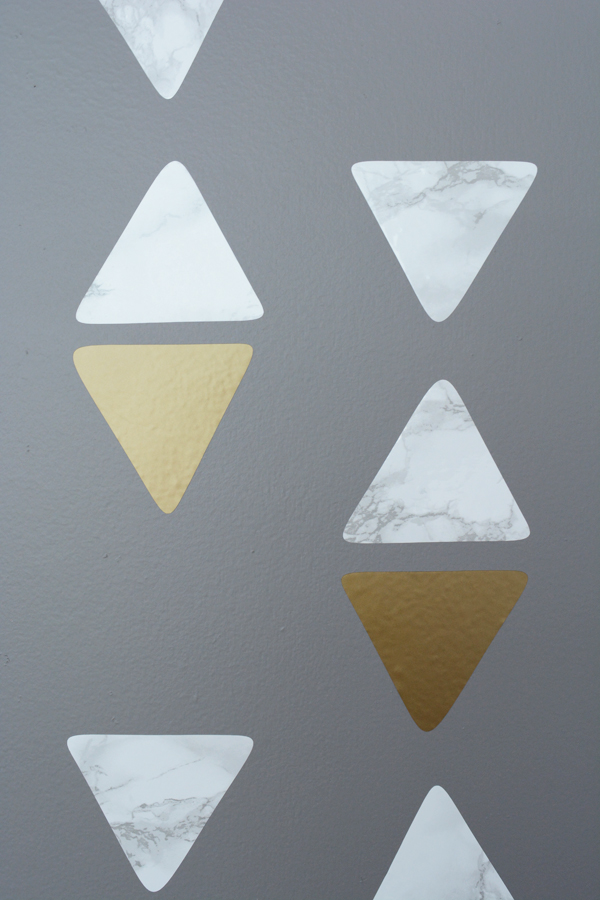
This weekend Lon helped me give the studio a fresh coat of white paint.  I also decided the door from the office room to the larger work room need some Oleander + Palm personalizing.  All the cool kids and “real” bloggers have fun and creative doors.  I wanted something that was really O+P. So, I chose to paint the door a pretty grey and add triangles to it.  I used gold vinyl and the faux marble contact paper that I also used on the DIY Marble Shamrock Print I created.

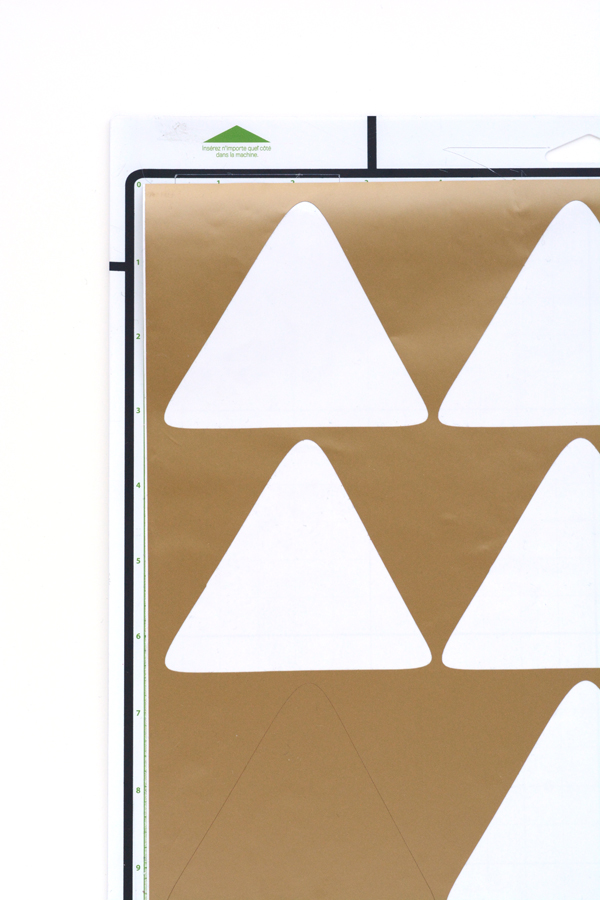
I used my trusty Cricut Explore machine to cut out these faux marble and gold triangles in no time at all. Vinyl is magic. It’s so much easier then painting and I decided my landlord might appreciate the triangles being just vinyl and 100% removable. I placed them on the door in two rows.  I chose to arrange these in a random order, kind of like the wooden tray I recently made.  The studio has all white walls, so I think this makes the space a lot more interesting and hopefully it’s very O+Pish.  
The Cricut Explore has gotten even better with the new Cricut Explore Air. This new machine features built-in Bluetooth® for wireless cutting, a dual
carriage to cut and write in just one step, and free cloud-based
design software for computer and iPad. To celebrate the launch of this new machine Cricut has some amazing giveaways called #CricutEverywhere.  #CricutEverywhere
is happening now through June 19, 2015 check out the details on Cricut’s Facebook Page and on their website
You are going to want to check out this giveaway.  The prizes include: $500 in Cricut supplies, A 1-Year Subscription to Cricut Design Space or Craft Room, Cricut Explore Air Machine, Apple iPad Mini 2, and a $10,000 dream vacation anywhere!  

DIY

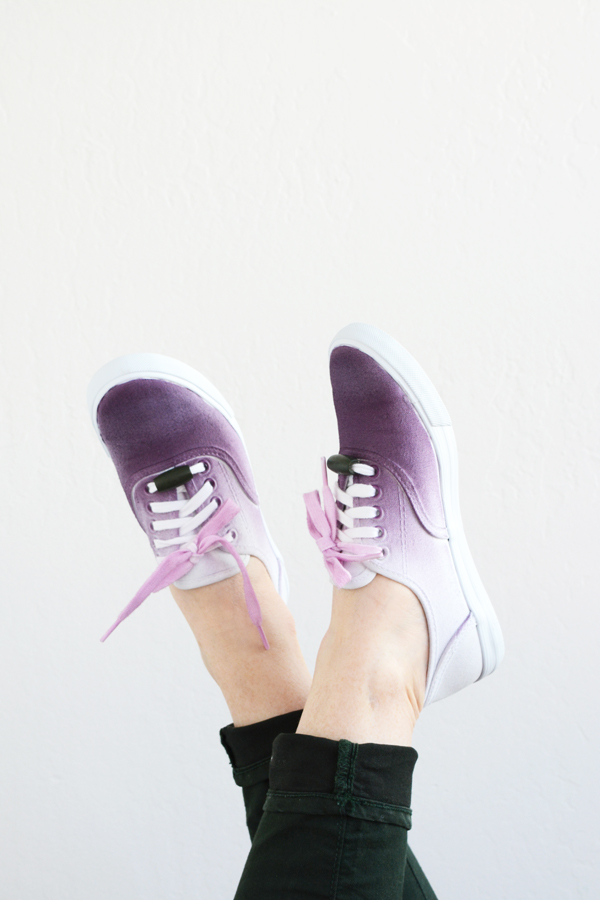
DIY Ombre Shoes and Laces

April 13, 2015

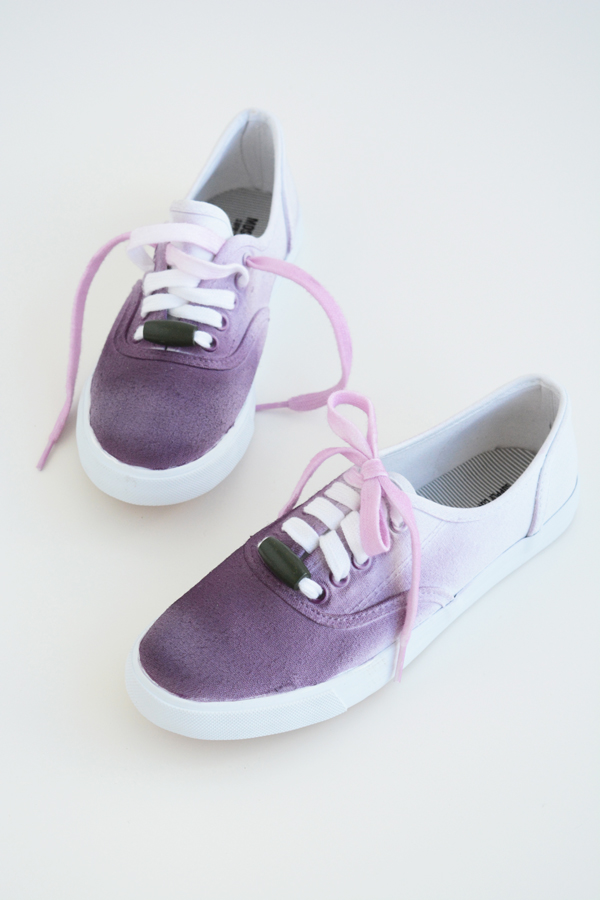
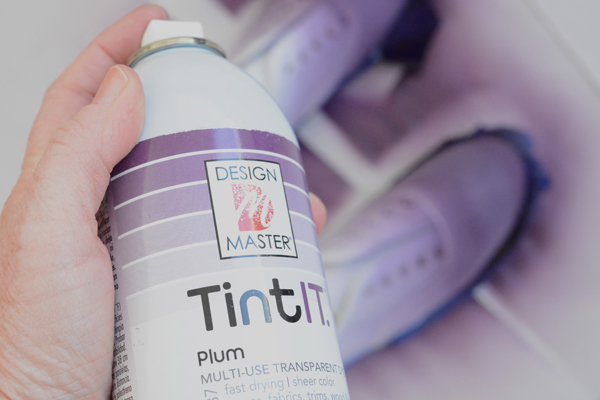
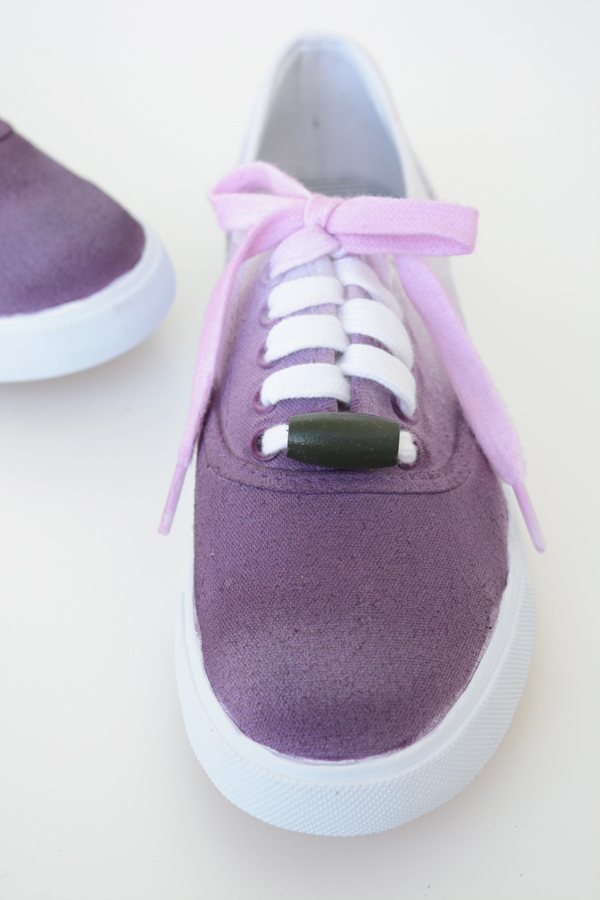
Today I’m having fun DIYing my favorite item of clothes to buy – shoes!!! They always look good on, no matter how I’m feeling about the rest of my body.  I’m a for a colorful, unique shoe to express your personality.  So, I gave a simple pair of white sneakers this easy ombre effect with my favorite spray paint from Design Master, and a few simple supplies.

Here’s what you’ll need:
a pair of all white sneakers
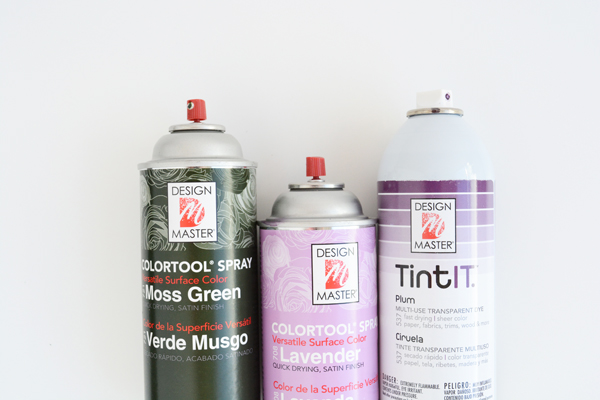
Design Master Tint IT (in Plum) and Design Master Color Tool Spray Paints (in Lavender and Moss Green)
a couple wooden beads
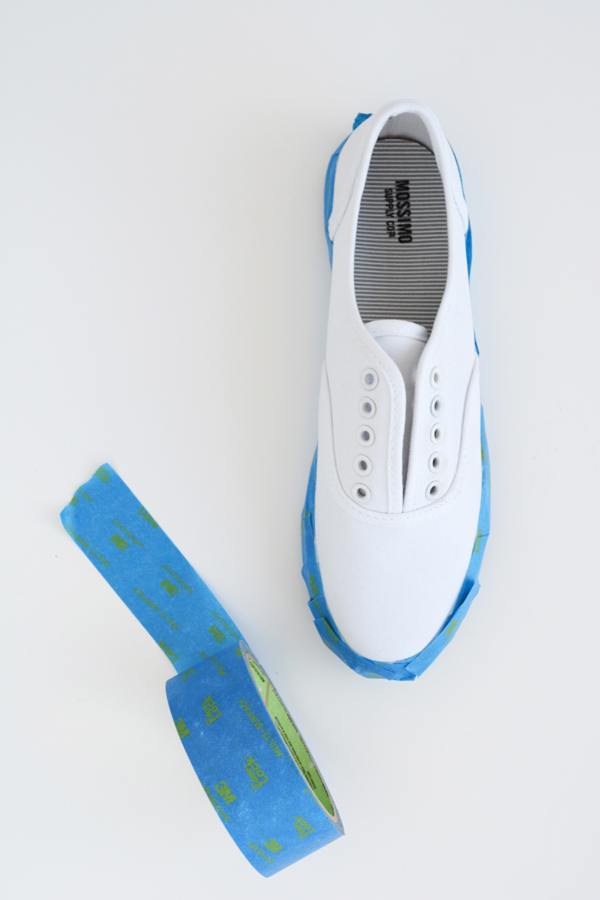
blue painters tape
Start my removing the shoe laces and tape off the rubber sole around the bottom of the shoe, just leaving the fabric showing.  

Starting at the toe of the shoe, begin to spray light, even coats of the Tint IT on the shoe.  Add more layers of paint to the tip of the toe to give the ombre effect.  Allow the shoe to dry completely.  You will be surprised at how fast this product dries.

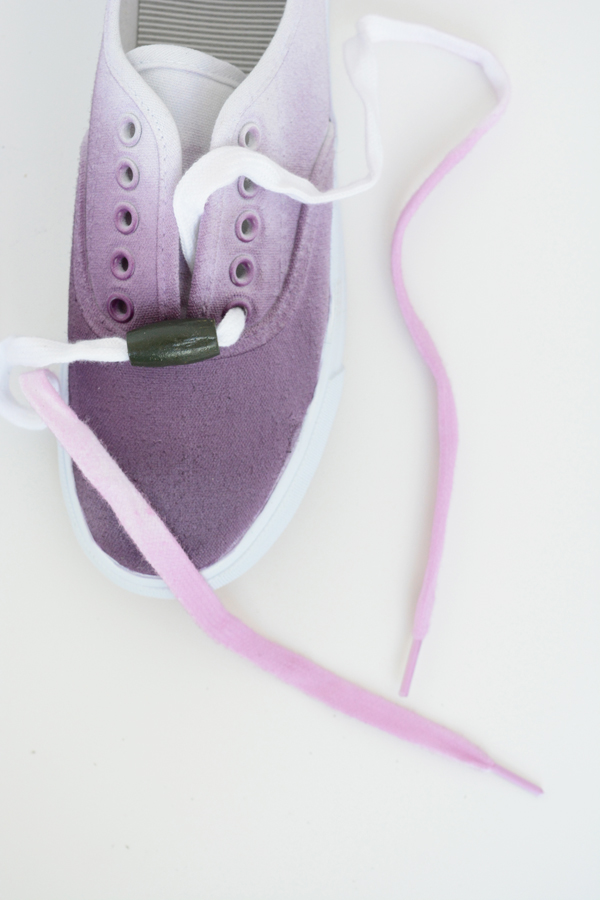
Paint the ends of the laces with Tint IT or I used Lavender Colortool Spray Paint to add another shade of purple.  Also paint the wooden beads.  To get this nice dark green color, I painted this bead with 3 coats of paint.  Each layer dries in no time at all, so there isn’t much waiting time.

When the laces and beads are dry, lace them onto the shoe and you are done.  I know my daughter is going to want a pair as well.  

I love the versatility of Design Master paints, they adhere to practically any surface, even sneakers.  The Tint IT product is actually a sheer fast drying dye.  It goes on in extra light coats and looks amazing on glass and even mercury glass.  If you have ever tried dip dying fabric before, you’ll know how much easier and less messy this is.  

 Be sure to check out the some of the other fun DIYs I’ve created using Design Master Spray Paint – 3 Tiered Hanging PlanterDIY Modern Decorative PlatesDIY Faux Copper VaseDIY Ombre Give Thanks BannerMetallic Dipped Taper CandlesDala Horse Salt Dough Ornaments and the Gold Dipped Yarn Hanging

I buy my Design Master paints and my local Michaels. Design Master paints can paint the most delicate of surfaces, such as silk and fresh flowers, fabric, ribbon, tulle, lace, paper, foam board and Stryrofoam TO the sturdy hard surfaces such as wood, metal, masonry, terra cotta, ceramics and plaster. Design Master is a great resource for products and ideas.  Be sure to check out all the craft and project ideas on their blog.  

This post is sponsored by Design Master. All opinions are my own. Thank you for supporting the brands that make this blog possible. 

DIY

DIY Tropical Foliage

April 10, 2015

Every Friday I think I say the same thing.  Yippee for Friday, TGIF and 3 Cheers!  But, the truth is, I can’t believe I made it to the weekend.  I feel like our lives are soooo busy.  Yesterday I caught myself sitting for over 5 minutes and I immediately felt guilty.  There is just always something that needs to be done.  And even though I will use the weekend to catch up on my long to-do list, I do feel less guilty taking some time to do NOTHING!  So, yep, YAY for the weekend and a chance to catch our breath. 
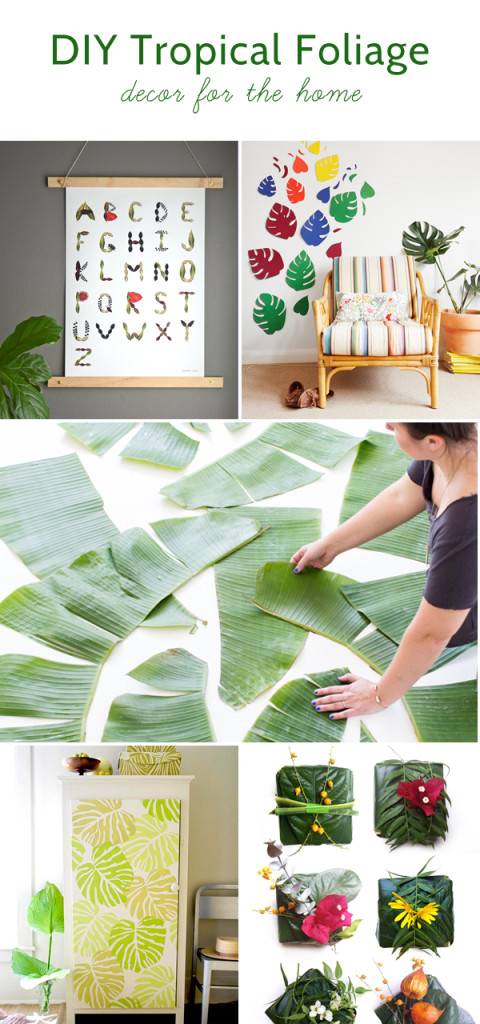
And now for some Tropical Foliage inspiration.  If you follow Justina Blakeney, you know she is the master of all things tropical and botanical.  I love her instagram feed.  Be sure to check out these fun DIYs to add a little trendy jungle feel to your home.

Be sure to check out this gorgeous Paper Flower Wall , and if you don’t want to DIY, both this and this botanical print will be sure to add a tropical vibe to any space.

Oh, and for a less tropical and oh so cut desert look, you have to check out these paper cacti.  They are to die for.

DIY

Abstract Art Typography

April 9, 2015

I’m so excited for my newest gig. You guys, I’ll be sharing some of my DIYness over on Curbly.  I think my cool factor just went way up!!!! I’ve been a long time fan of Curbly.  It’s packed with all the stuff I love – DIYs, Room Makeovers, Inspiration, and Before/Afters.  It’s a DIY design community for people who love where they live. Hey, that’s me!!! I LOVE where I live.

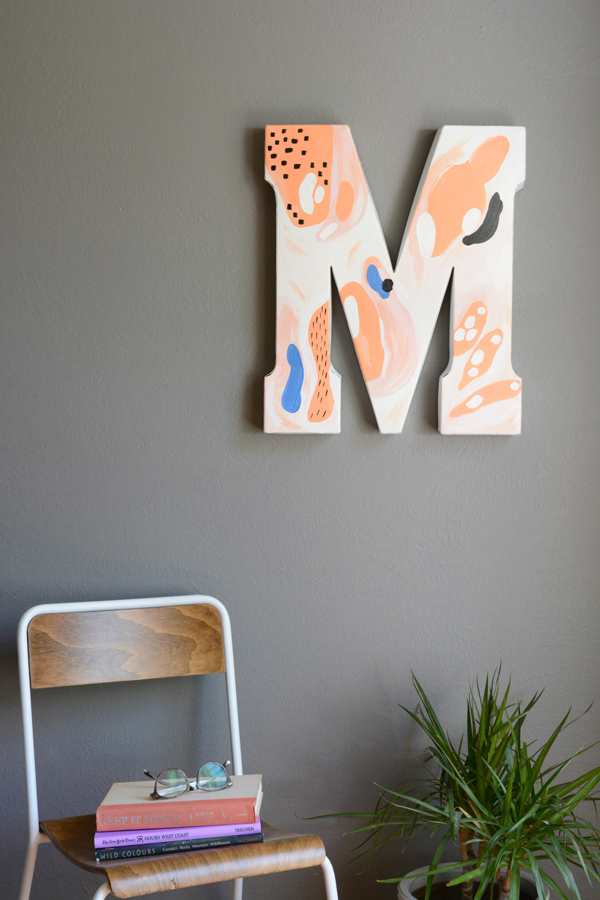
I can’t wait for you to see my first post over there.  I made a fun Abstract Art Typography piece using a large marque letter.  This DIY combines two trends – marque letters and colorful abstract art. It was a lot of fun to make.  So, head over and check out the full post.

Design / DIY

DIY Colored Shelf Brackets

April 8, 2015

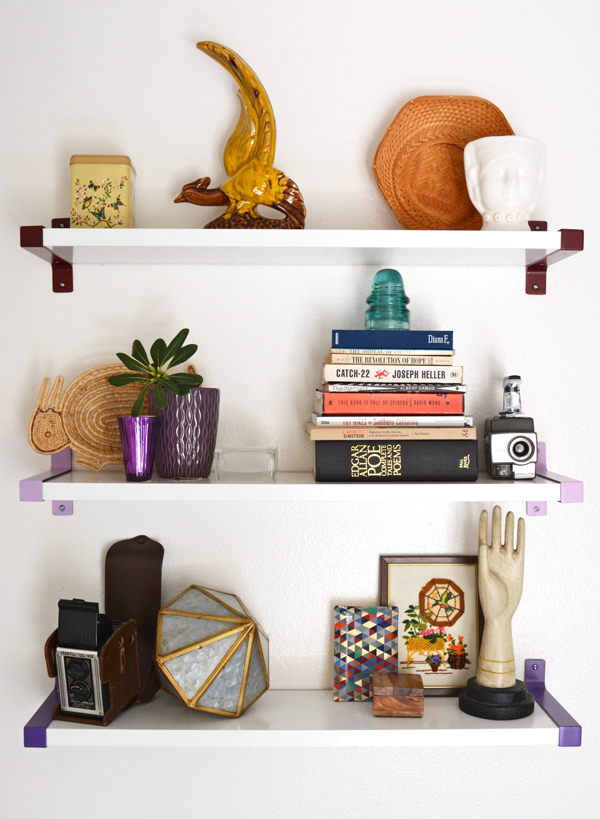
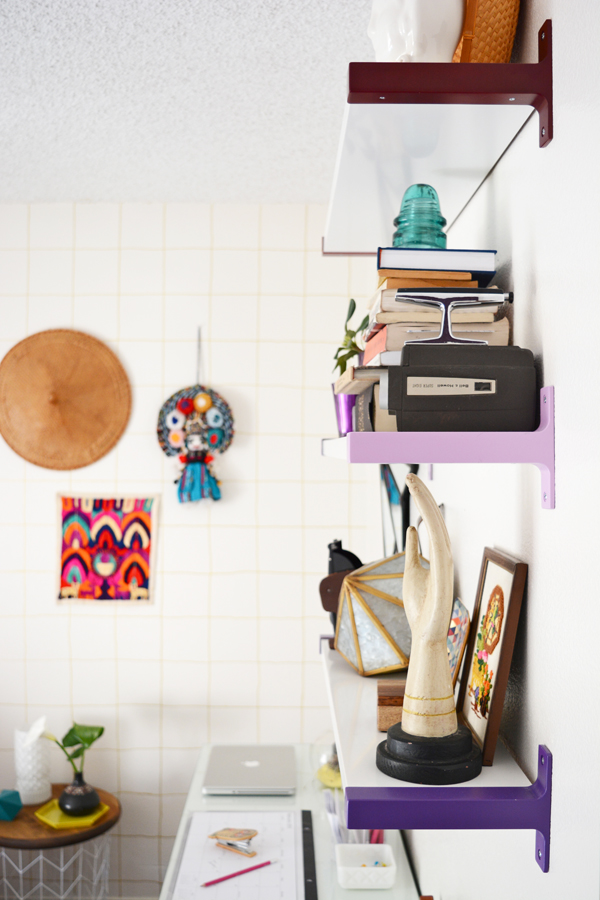
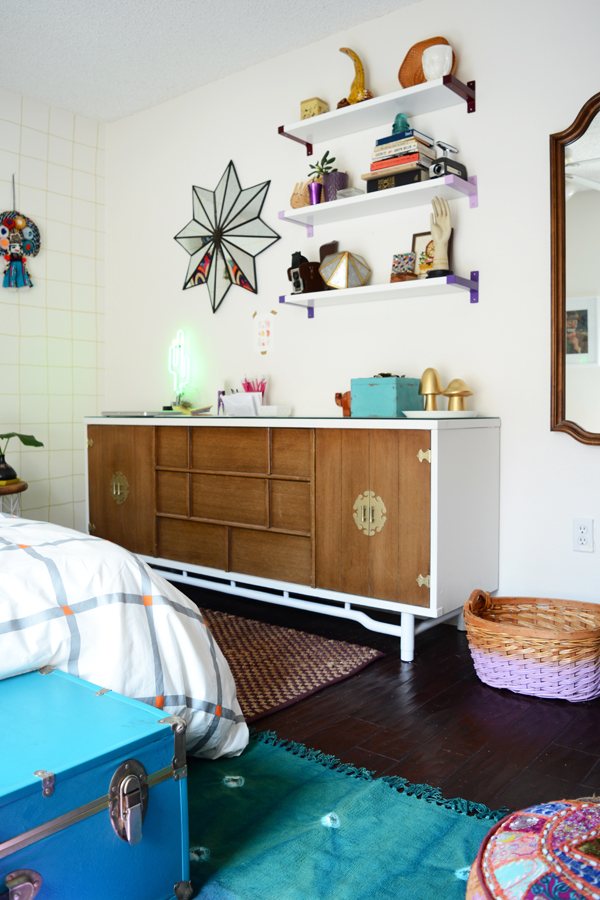
Do you remember the Global Eclectic Bedroom? Well, I promised I’d share how I customized the shelves in this space. Here’s how I added a little splash of the client’s favorite color, purple.
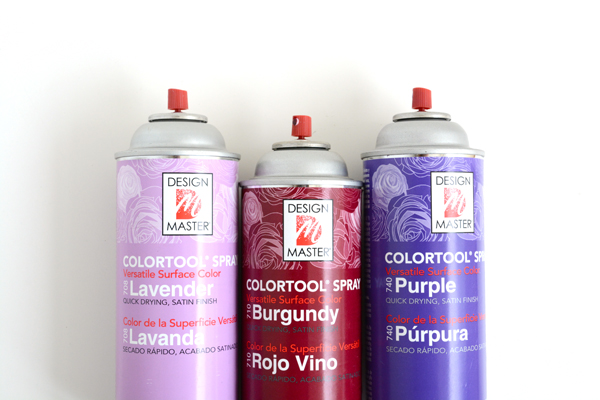
I gave simple IKEA brackets a quick coat paint in 3 shades of purple.  I think this really makes these shelves look a lot more pricey then they are.  I love giving inexpensive, easily sourced items a little custom look. Instantly you don’t have the IKEA shelves that everyone else has, you’ve got super cute 3 toned purple shelves. So, much better, right?

DIY

Tropical Foliage Alphabet

April 4, 2015

This post was sponsored by HP Sprout.  Thank you for supporting the companies that help make this blog possible.

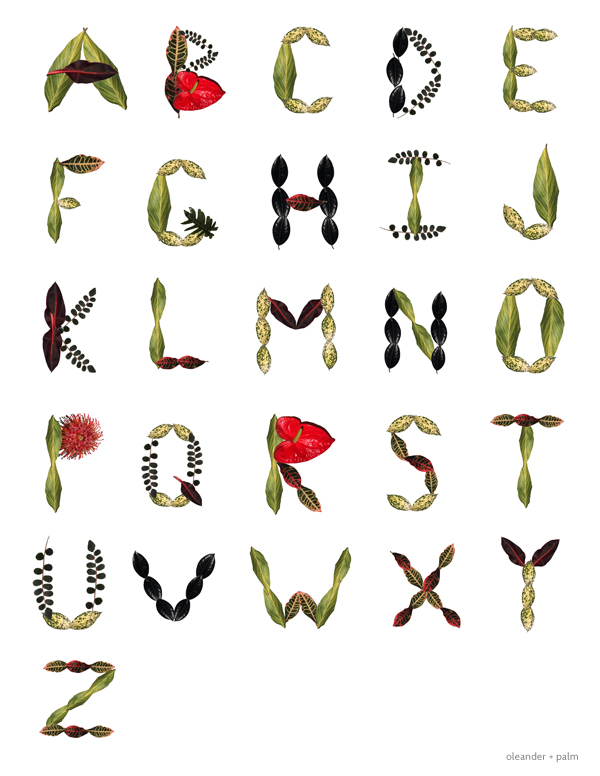
I’ve spent some more time playing on my new HP Sprout computer. This is a fun computer you guys. Did you see the DIY Shell Pattern Print I made by scanning shells from our collection? The nerd, my husband the biology teacher, must be rubbing off on me, because I decided that I wanted to play with more natural elements.  This time I decided to play with tropical foliage. I’ve become more and more fond of house plants and I’m learning how to actually keep them alive (there’s lot’s of great plants on this pinterest board). I love having living things in my home, they are the best accessory you can add to a space.  
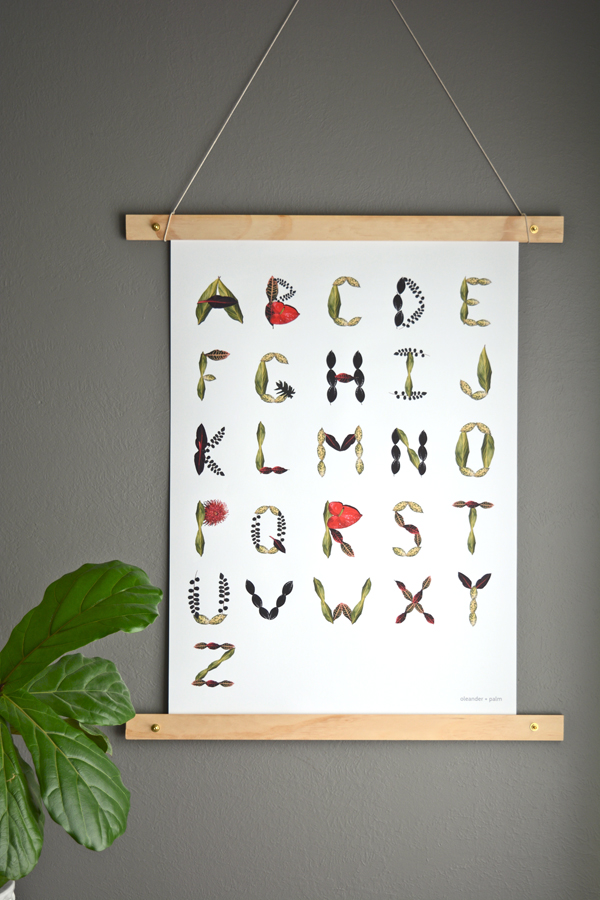
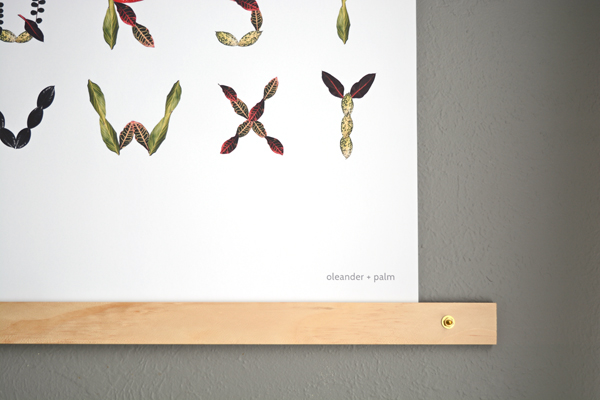
I was recently on the phone with my youngest brother Joash, and we were brainstorming ways to use the Sprout.  I can always trust him to think of a creative idea that is unique and not over used. He suggested creating a font. So, I decided to take my love of green and I created a living alphabet print. It’s the perfect way to add plants to your home that will never die. I’m lucky to have such an out-of-the-box family who push and encourage me in my creative pursuits.  
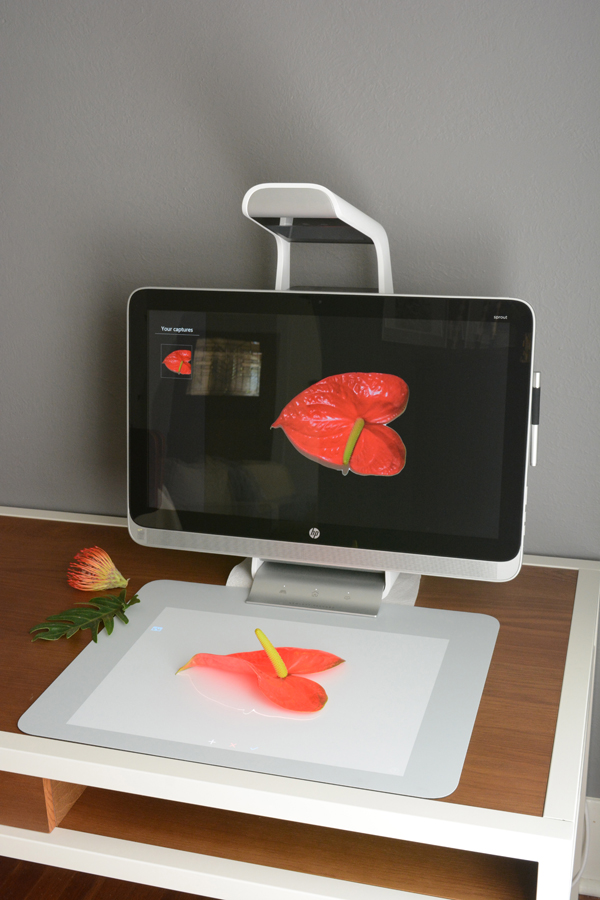
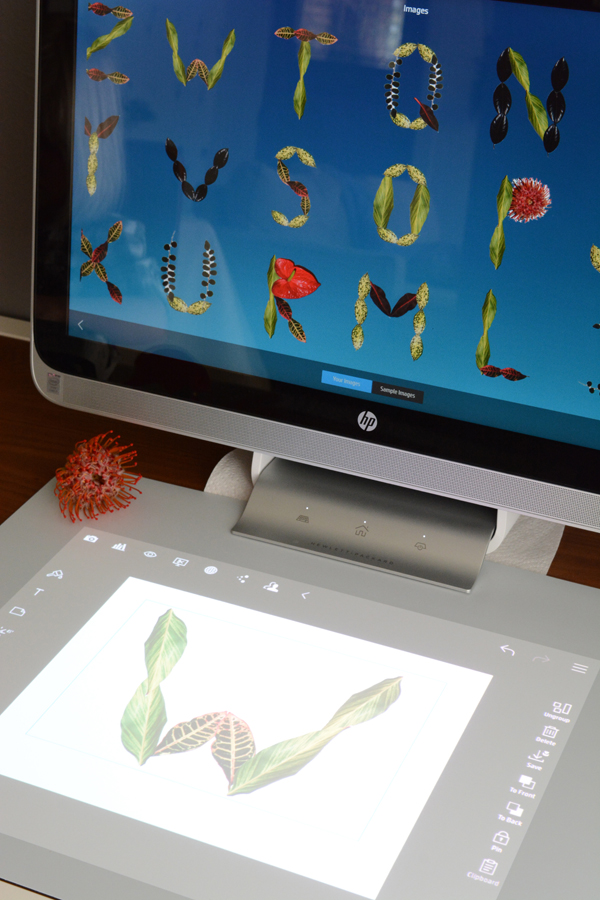
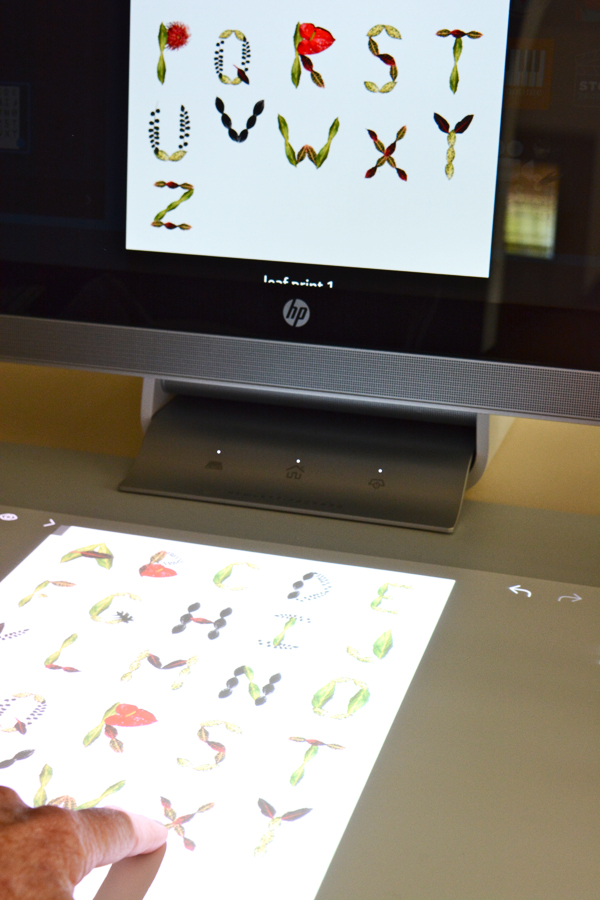
I collected tropical foliage from our yard and a couple local florist for this project.  Then, using the “capture” mode on the Sprout, I scanned all the leaves and flowers.  The Sprout automatically separates the individual objects and creates images for each one.  It takes away the background, so you are left with just the leaf or flower image.
Once I had a good variety of leaves in different shapes, sizes and colors.  I began to make each of the letters of the alphabet.
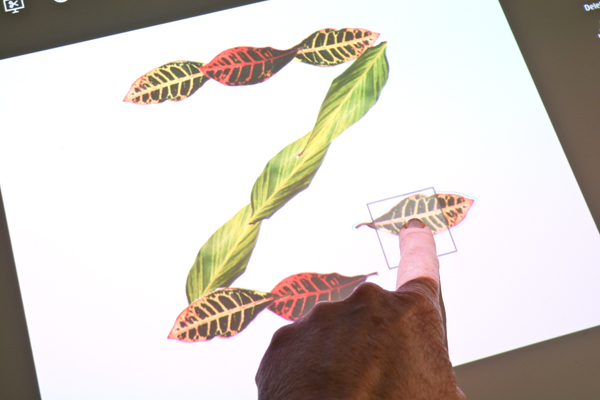
I dragged and resized the foliage to create the shapes I wanted. Once I had created the letter shape, I highlighted all the parts of the letter and hit the “group” button.  This connects the leaves and flowers together in that specific letter.  Then I “saved” that letter as an image.
To create the whole alphabet print, I started with a new canvas then dragged the individual letter images onto the touch mat and positioned and sized them the way I wanted.  
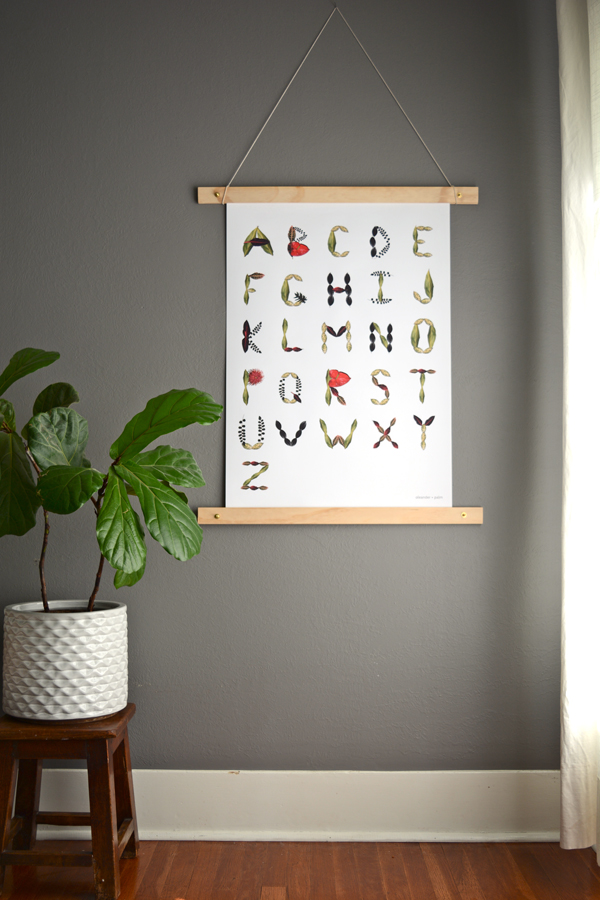
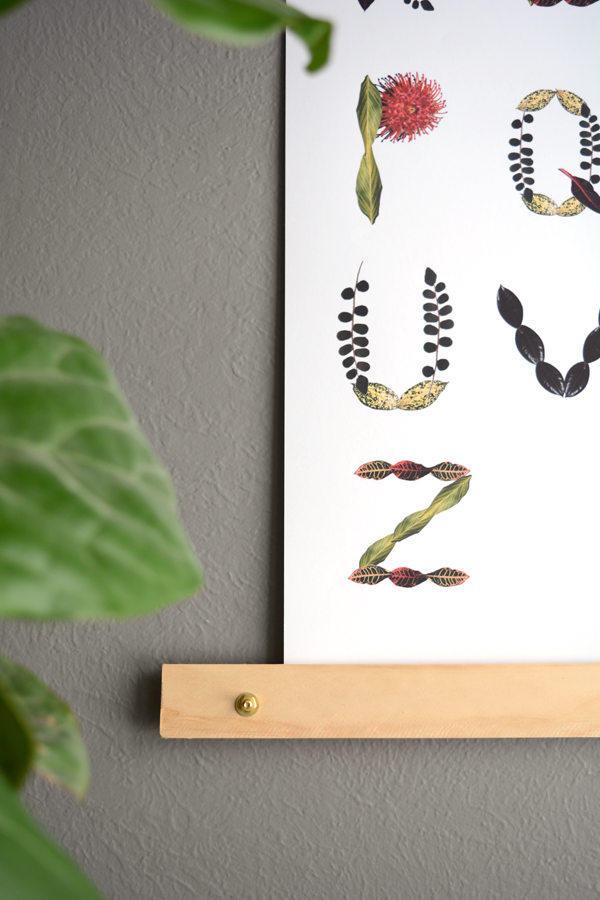
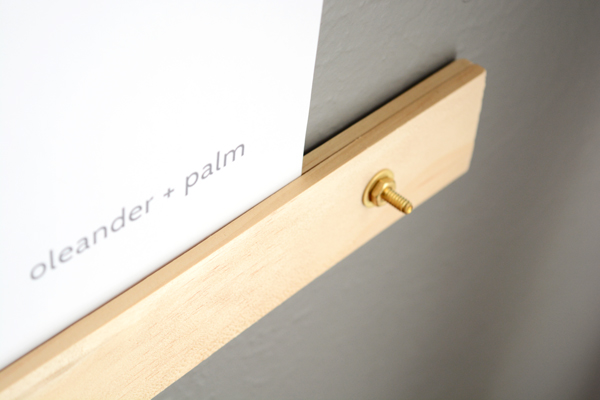
Finally, I saved the piece as a jpeg.  And just like the shell print, I let the professionals at my local print shop take care of the printing.  For this print I decided to make it chart sized.  This 24 x 36″ print is crisp and bright.  I’m really impressed with the quality of the foliage images.  I DIYed the chart with some simple materials from the hardware store, I’ll share that how-to very soon.  
So, what do you think?  Do you love the revival of house plants and tropical foliage as much as I do?I’d love to take this a step further and make this into a real usable font. I’ve got a few little prints using this font coming soon. 

DIY

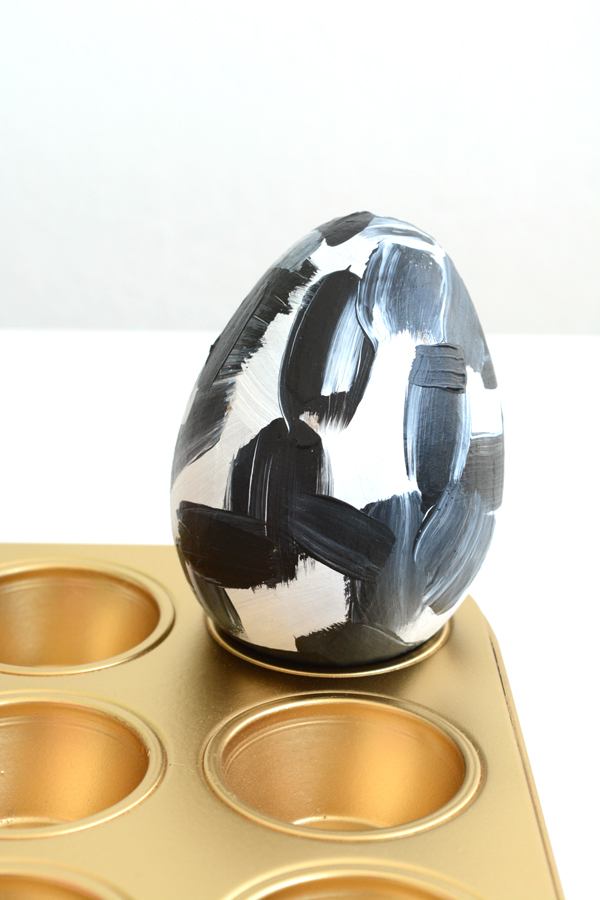
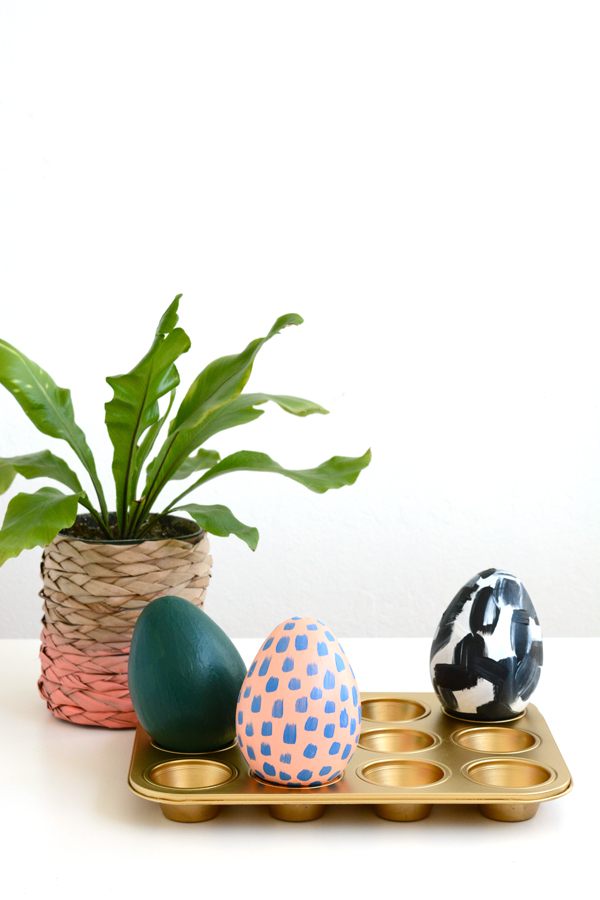
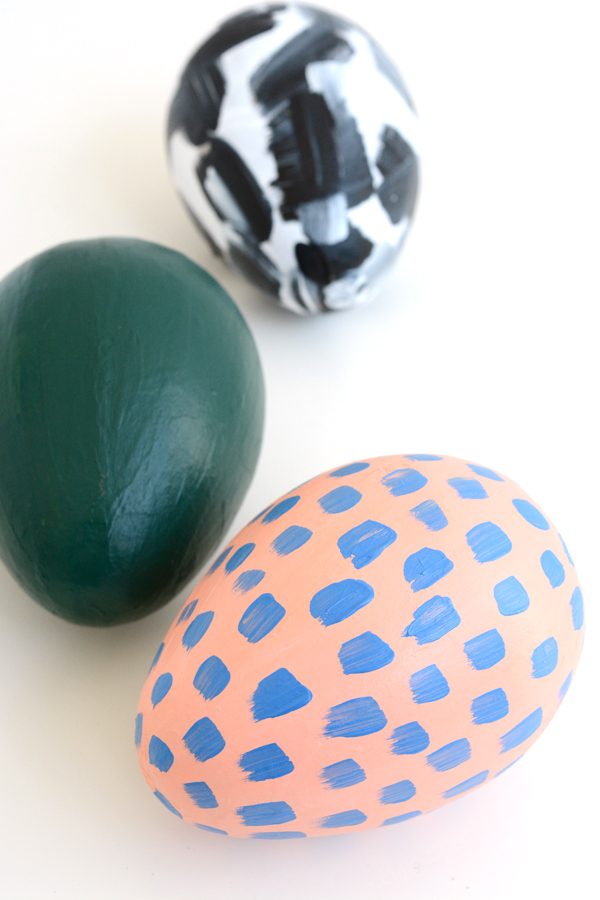
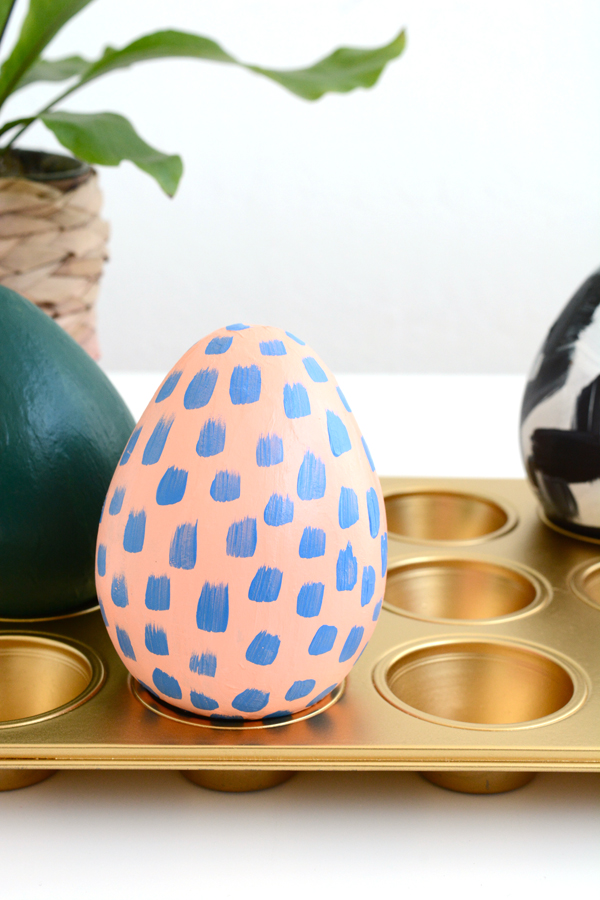
Abstract Art Eggs

March 25, 2015

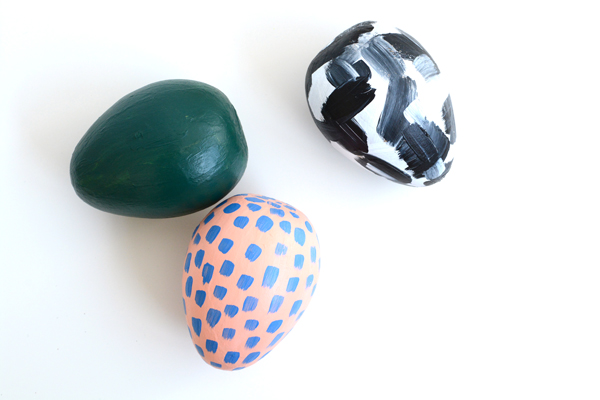
I’ve been pushing myself to paint more.  I am not an artist at all, but I’m enjoying playing with colors and technique.  Last week I painted a little canvas and this week I decided to make paper mache eggs my canvas.  
This post is less of a DIY and more of a learning process log for me.  I painted these eggs a couple times each till I got a combination of color and pattern I liked together.  I love experimenting. Sometimes you don’t know what you like or why you like it till you play around  a bit.  I think that applies to home decor and even fashion.  Lately I’ve been trying to define my personal style and even the style and aesthetic of my blog.  I’m of course drawn to trends, but what is it about certain trends that I like?  These are silly questions I ask myself.  As I work on designing more spaces for other folks, I’m wanting to learn more about why we like what we do.  
Well, now I’m just rambling on.  But, I’m trying to buy and consume less of what is just trendy and stick with the things I really love.  So, now to figure out what it is a really love.  

DIY

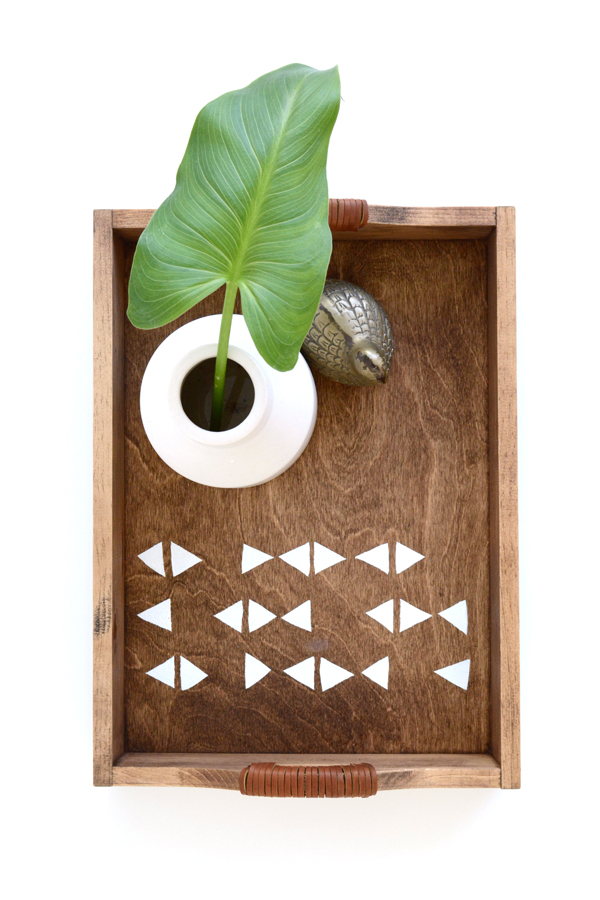
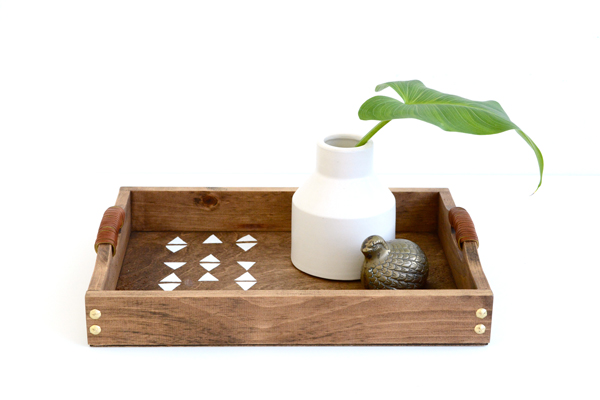
DIY Triangle Patterned Tray

March 23, 2015

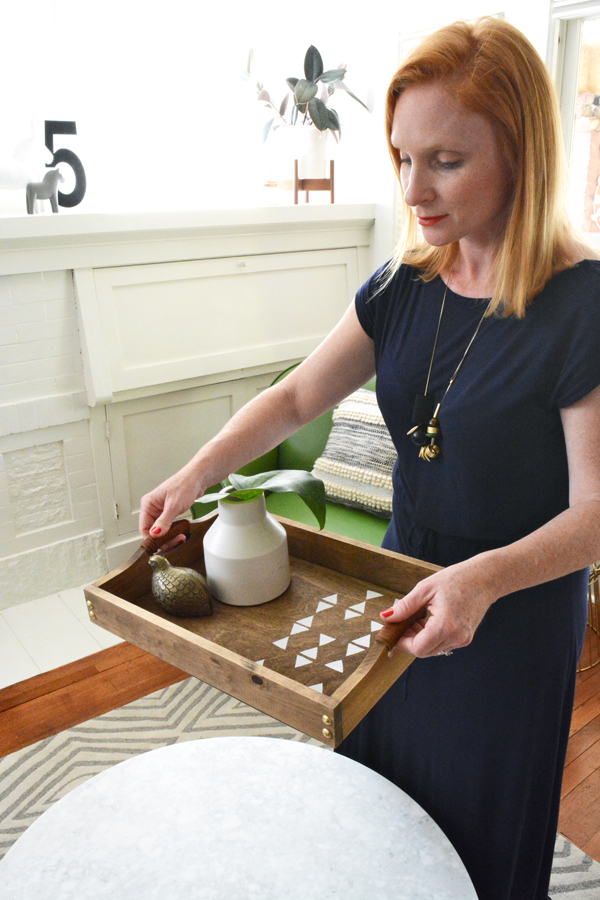
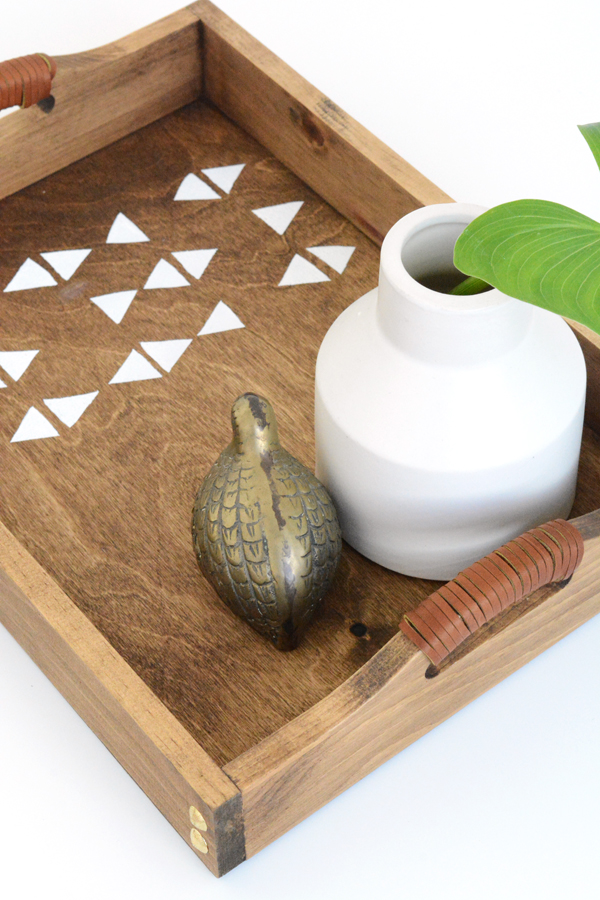
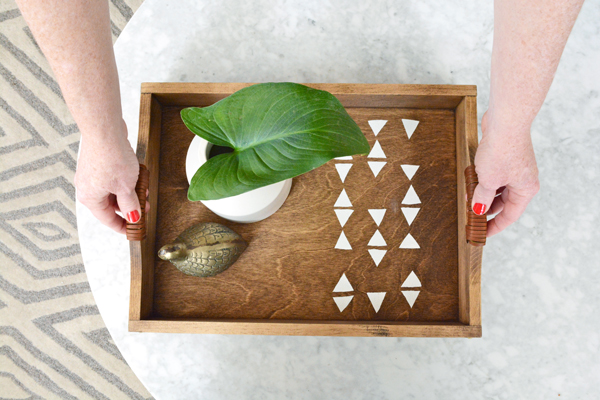
I love when you can customize a generic item specifically for your style and taste.  So, that’s just what I did with a $10 wooden tray.  I gave it an O + P look.  I’ve teamed up with 4 of my favorite bloggers to show you 5 Ways to DIY a wooden tray.  It’s really fun to see everyones unique personal style come out in this projects.  So, head over and see how Sarah Hearts, The Crafted Life, Pars Caeli and A Bubbly Life all DIYed the same wooden tray.  And to make this even more fun, we’ve got a giveaway for you (check that out at the end of the post). 
Our coffee table is marble topped, so I like to give places for folks to place their drinks and snacks. The tray protects the surface and adds some texture and pattern.  
Here’s what you’ll need:

wooden tray
sand paper or sanding block
dark wood stain (I used a walnut color)
a rag
blue painters tape
x-acto knife
marker
white craft paint
stencil blush
leather cord
8 upholstery nails

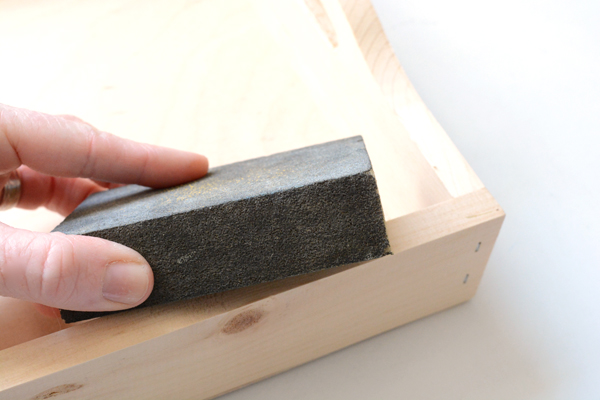
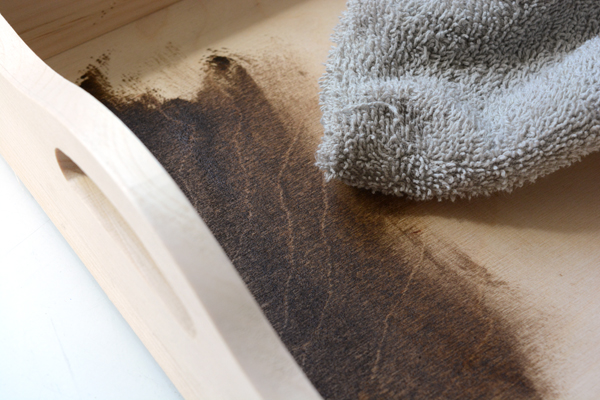
Start by giving the tray a light sanding to take away any imperfections and rough patches.  Then apply the stain to the tray, following the instructions on the product you choose to use.  I like to rub on the stain with a rag, allow it to soak into the wood for about 5 mins and then wipe off the excess.
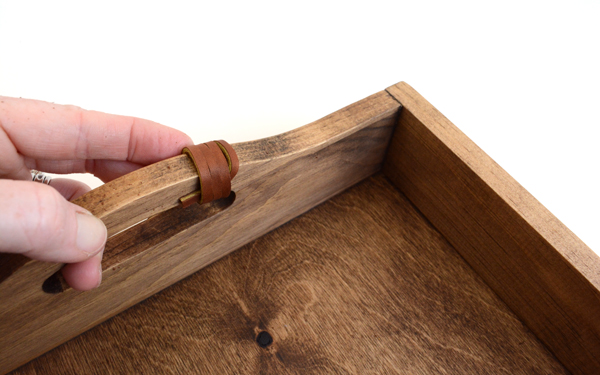
Next, I added a little leather detail to the handles.  I simply wrapped the leather cord tightly around the handle, tucking in the end of the cord.  When I got to the end, I just tied a tight knot on the underside of the handle and then trimmed the excess.

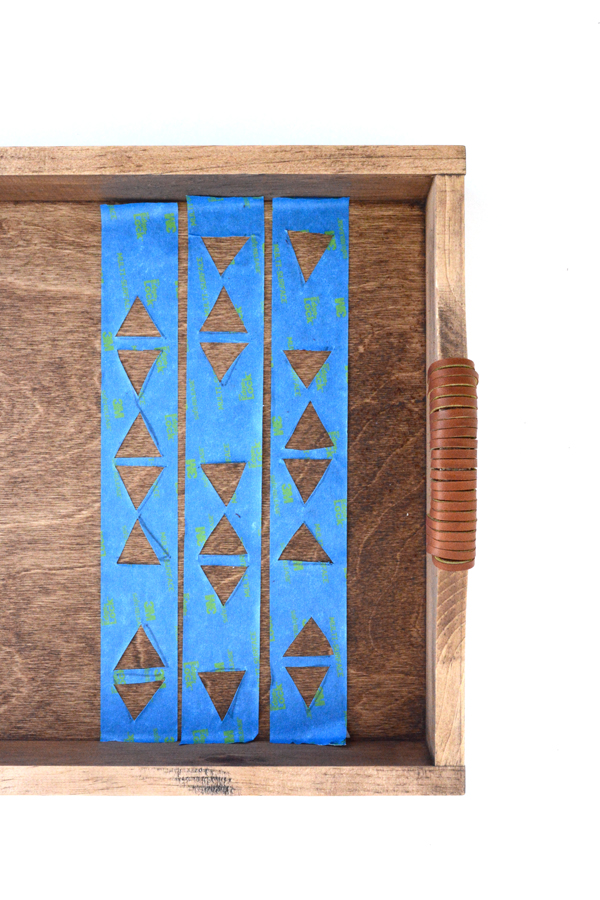
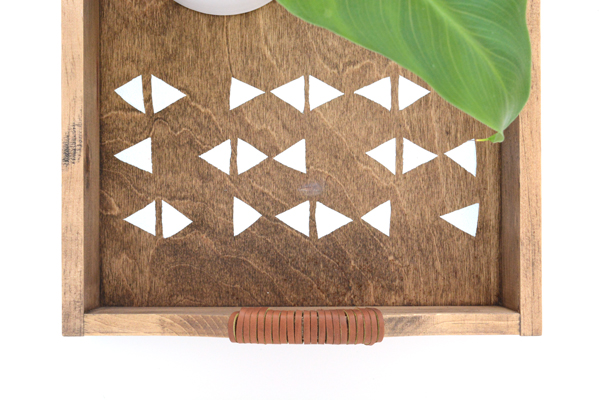
For the triangle detail, I used blue painter’s tape as my stencil.  I cut three lengths of tape the width of the tray and stuck the tape to a piece of freezer paper.  Then I drew triangle on the tape with a marker in a random pattern.  Then with an x-acto knife, I cut out the triangles.  Then I placed the tape in the tray and pressed down all the edges so that the tape sealed well.
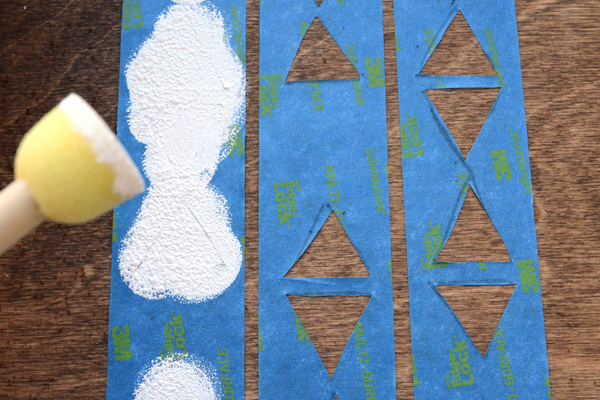
Then with some white craft paint, I dabbed on the paint using a stencil foam brush.  I removed the tape carefully while the paint was still wet.

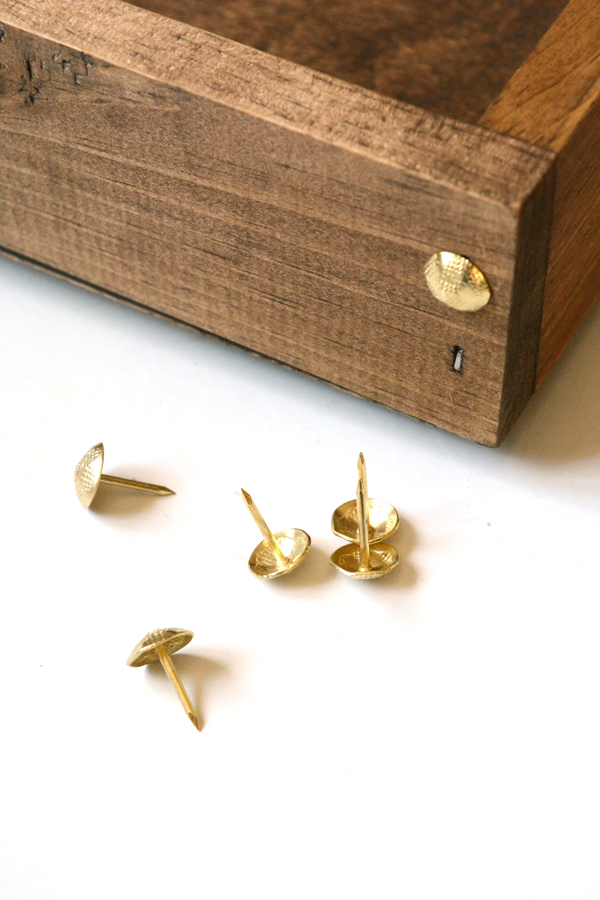
Finally, I added some gold upholstery nails to the sides of the tray.  I wanted to cover the staples on the sides that held the tray together.  It added a nice finished look to the piece. 
How would DIY this tray?  We’ve given you 5 Ways to DIY this wooden tray.  Enter below for a chance to win a $50 giftcard to Amazon, so you can make your own tray.  
One winner will be chosen at random. The giveaway ends 3/27/15 at 12am PST. 

a Rafflecopter giveaway

widget-prime.rafflecopter.com/launch.js“>

DIY

3 Tiered Hanging Plant

March 18, 2015

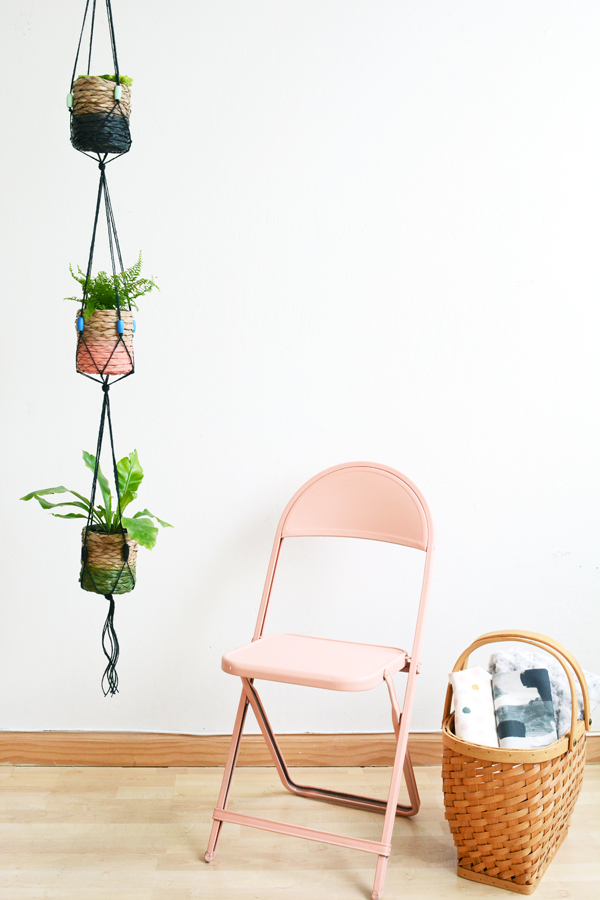
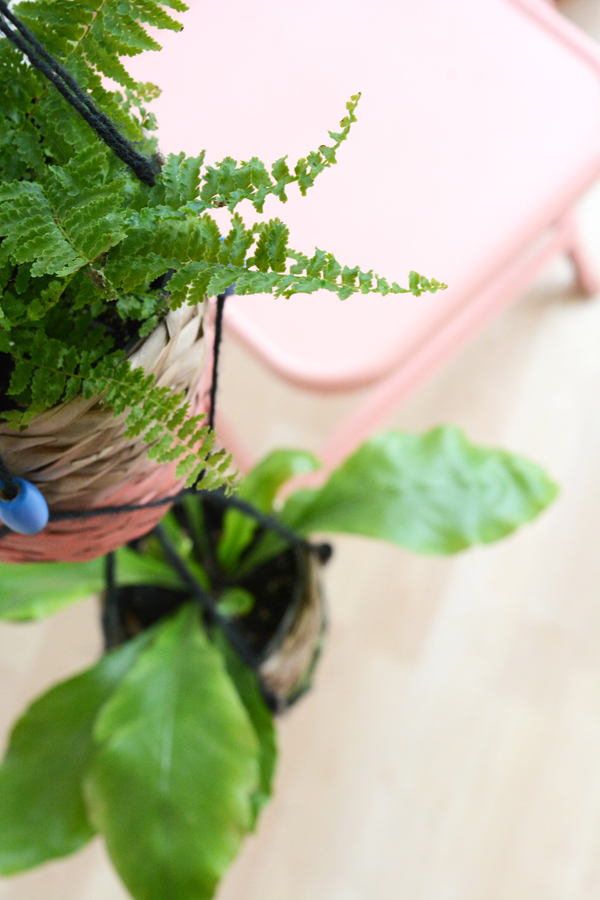
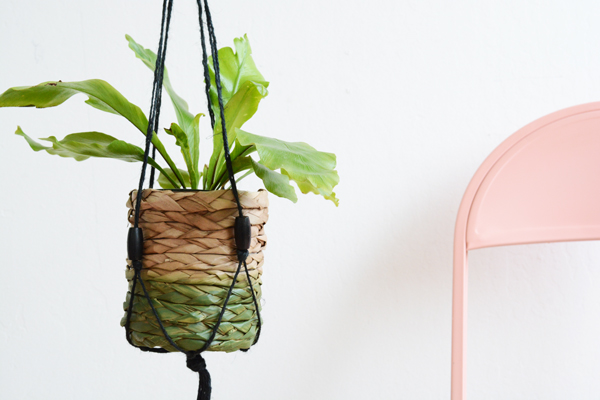
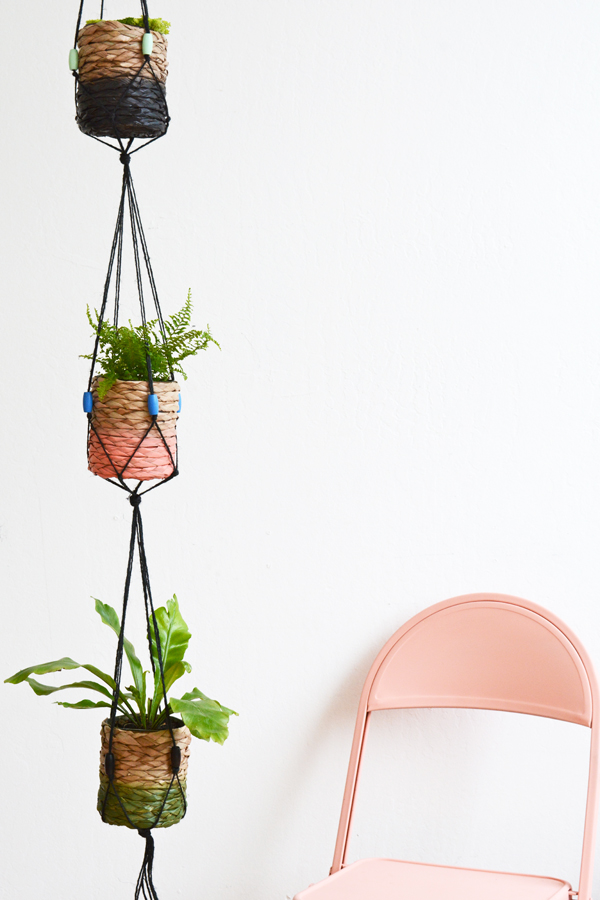
Ok you guys, this is my first DIY made and photographed in my new studio.  I’m soooooo excited to have this space.  It’s a nice bright white space, so I needed to add a little green.  So a made this 3 Tiered Hanging Planter for a corner of the studio.

Here’s what you’ll need:
3 small baskets (I got mine from the Targett Dollar Spot)
Natural Twine (I used black)
12 wooden beads
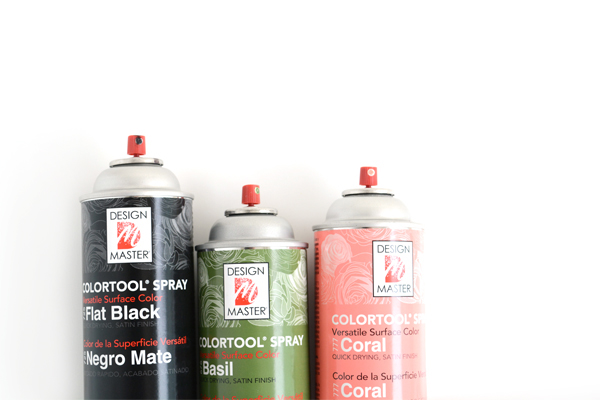
Design Master Spray Paint (in a few fun colors, I used Coral, Basil and Flat Black)
3 cute plants
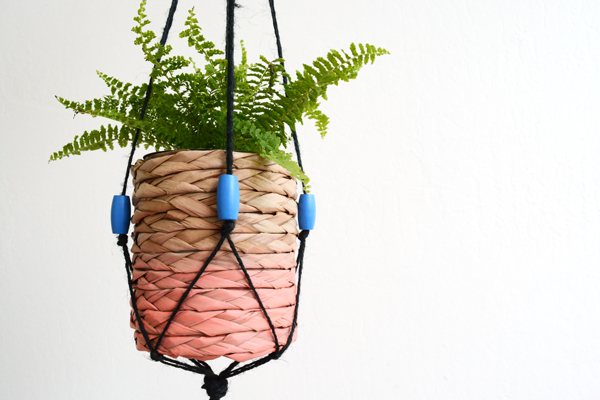
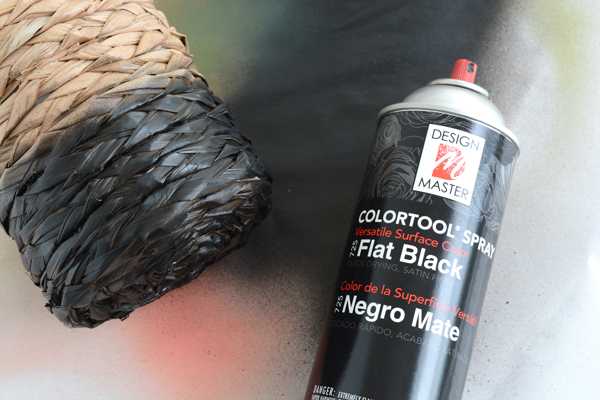
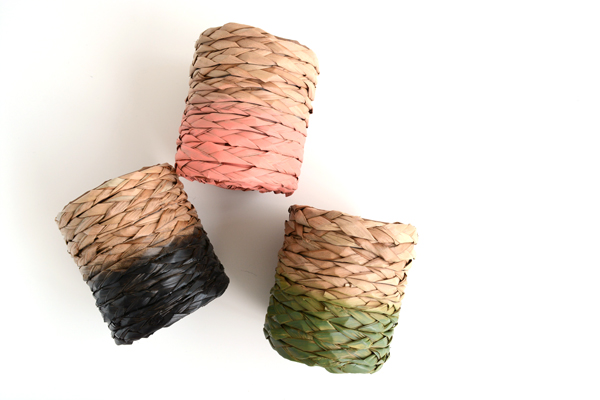
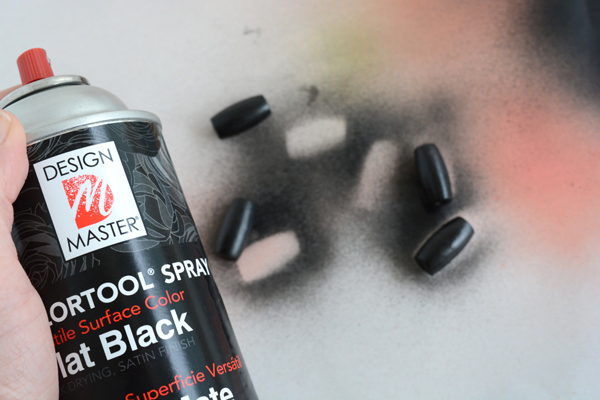
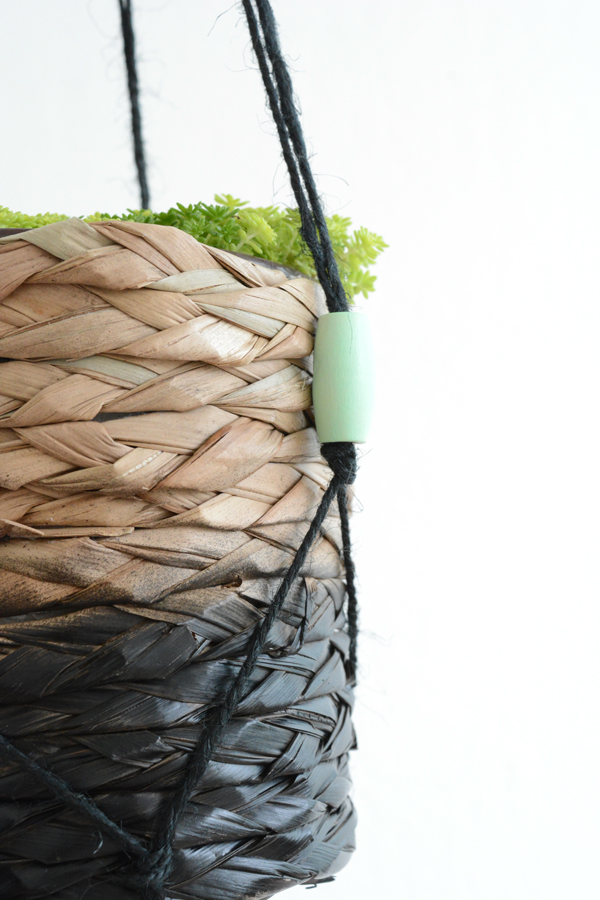
Start by spraying the bottom half of the baskets with the spray paint.  Design Master Colortool paint works really well for this, because it give an even coat that can be layered to create a more intense shade of the color.  By layering the color more towards the bottom of the basket, this is how you can achieve this nice faded effect.  And for an even more transparent look to colors, I suggest Design Master’s Tint it spray dyes.

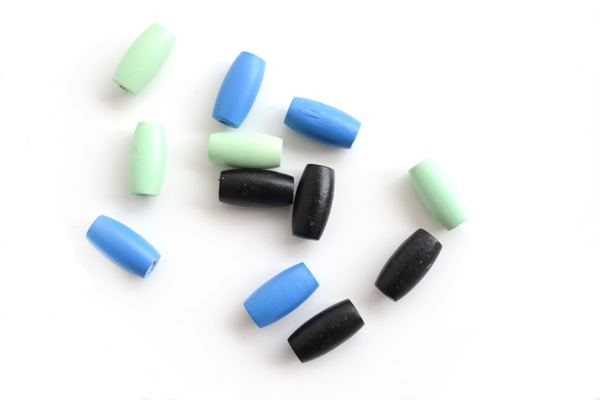
 Then pick some complimentary colors for the beads and spray paint them.

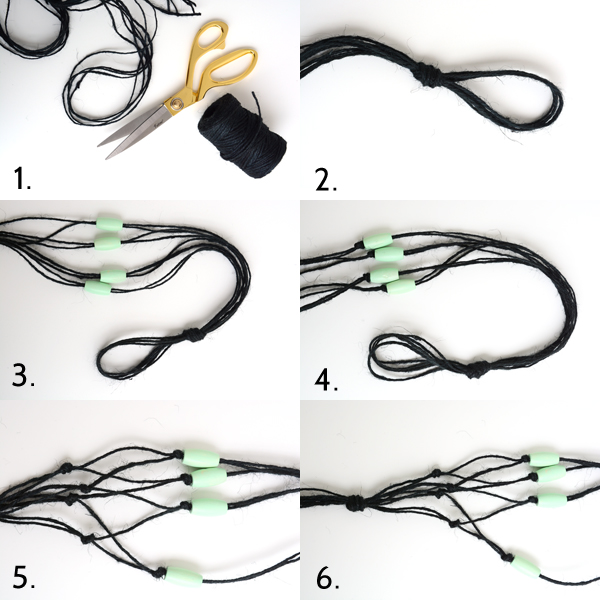
 Now there’s just a little cutting and lots of measuring and knot tying.

1. Begin by cutting 4 pieces of twine that are each 6 yards long.

2.  Fold the pieces of twin in half and tie the folded half in one knot together.

3.  Divide the twine into 4 pairs of strings.  Thread one bead onto each pair.

4. Measure 12″ from the top knot and knot the pairs of string together.  Pull the bead down to the knot.

5. Now take one string from a pair and tie it to one string from the pair right beside it.  Do this, working in a circle, till all the strings are tied to another string beside them.  These knots should be 3 inches from the last knot.

6. Finally, knot all the strings together, 3 inches from the last set of knots.

Repeat Steps 2-6 for the next two plants.  When all three spots have been made for the plant baskets, trim the string/twine at the bottom.

Place one basket in each beaded nesting spot and fill with plants.  This would work with clay or plastic pots as well.  I just liked the look of these little baskets for a little more texture.

I buy my Design Master paints and my local Michaels. Design Master paints can paint the most delicate of surfaces, such as silk and fresh flowers, fabric, ribbon, tulle, lace, paper, foam board and Stryrofoam TO the sturdy hard surfaces such as wood, metal, masonry, terra cotta, ceramics and plaster. Design Master is a great resource for products and ideas.  Be sure to check out all the craft and project ideas on their blog.  

This post is sponsored by Design Master. All opinions are my own. Thank you for supporting the brands that make this blog possible.