This post is part of a social shopper marketing insight campaign with Pollinate Media Group® and Newell Rubbermaid, but all my opinions are my own. #pmedia #HomeFreeLowes http://my-disclosur.es/OBsstV
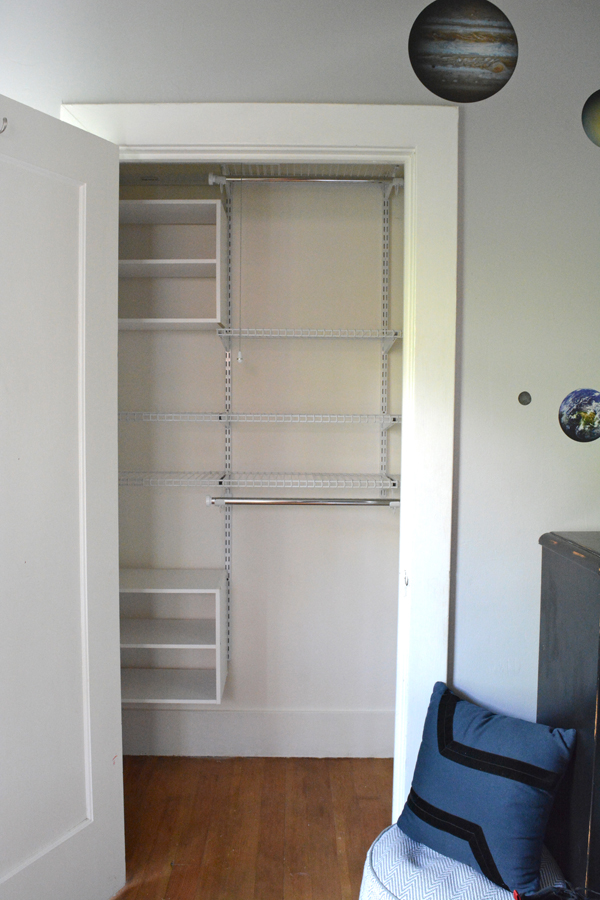
Now that’s how you start the new year, A SUPER ORGANIZED closet!!! Living in a small 1920’s bungalow, maximizing your storage spaces is a MUST. The tiny closet in
Dylan’s room is home to a whole bunch of Lego, Dylan’s clothes and my sewing machine and sewing stuff. I was so tired of temporary plastic storage drawers and having to dig my sewing machine out of a corner on the floor of the closet. I’ve had those custom closet companies come out and give me an estimate on how much it would be to add shelving to this closet. The last quote I got was over $900 – ouch. But, can you believe that
I (all by myself, me!) installed this amazing
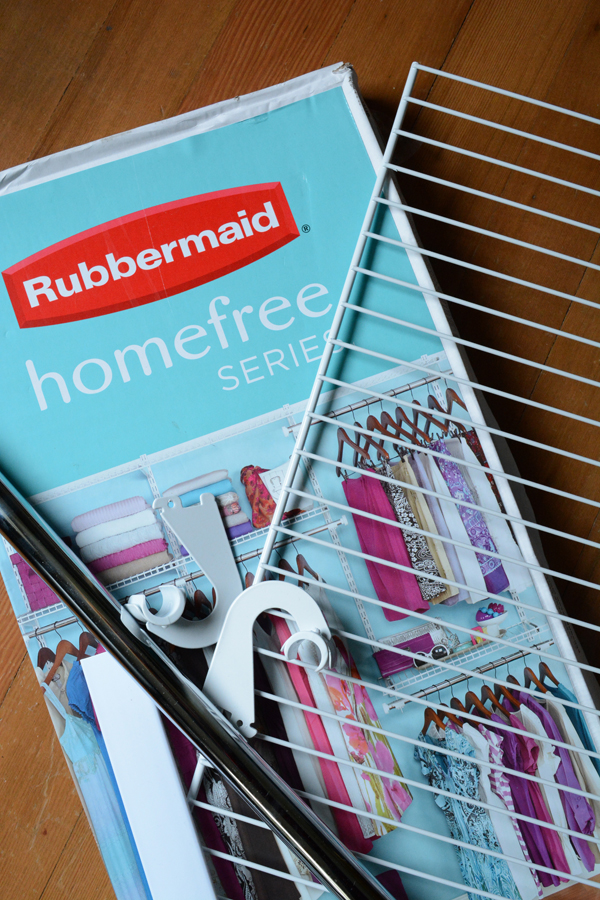
Rubbermaid HomeFree Closet System in just a few hours and for about $200?
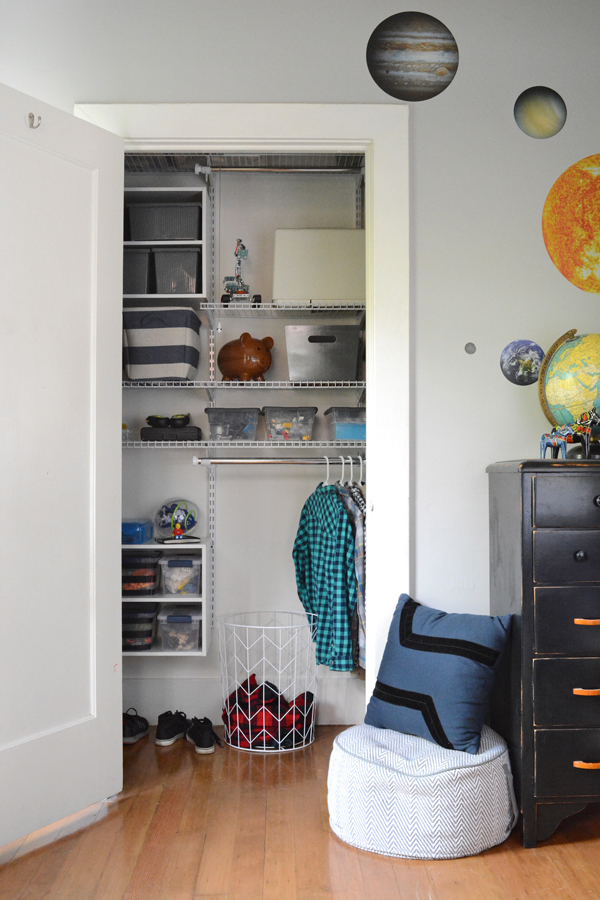
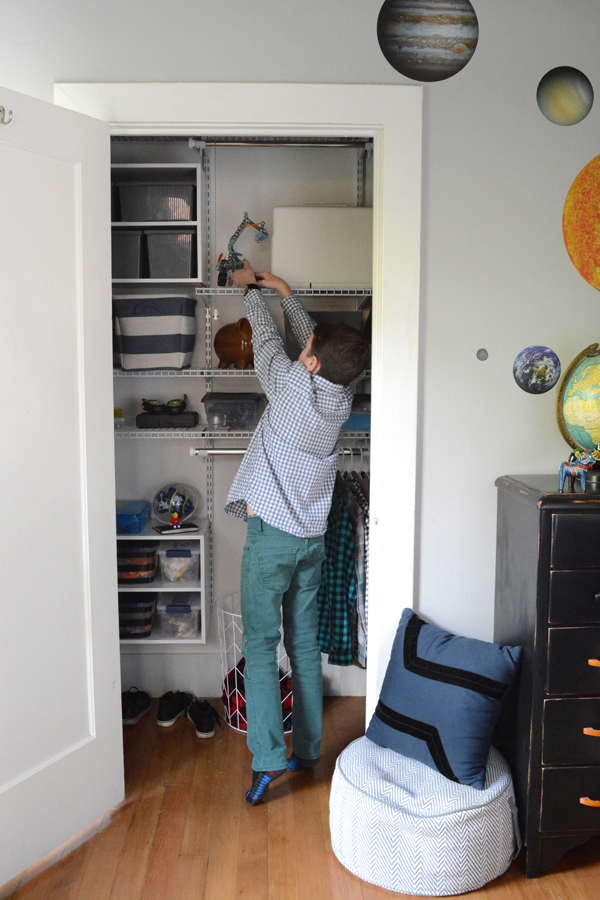
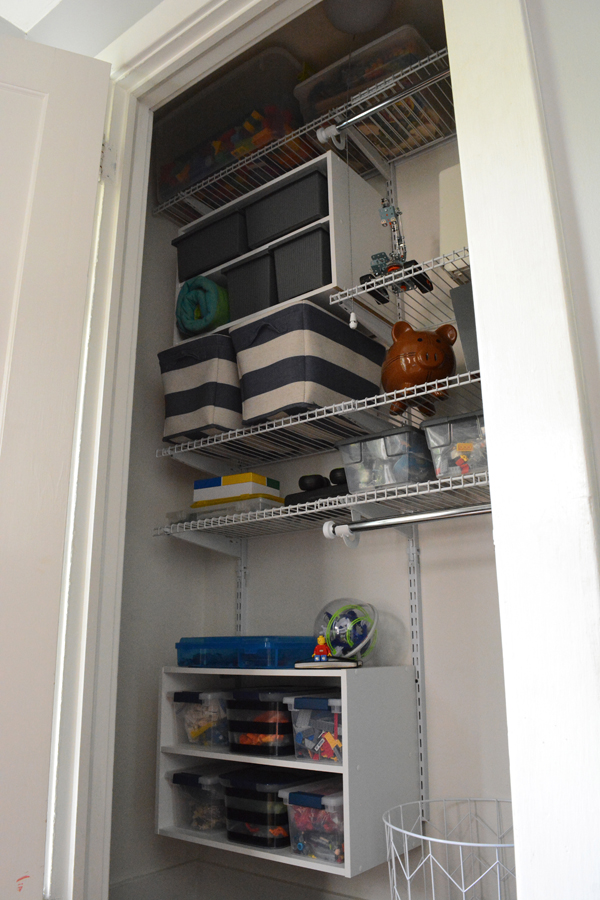
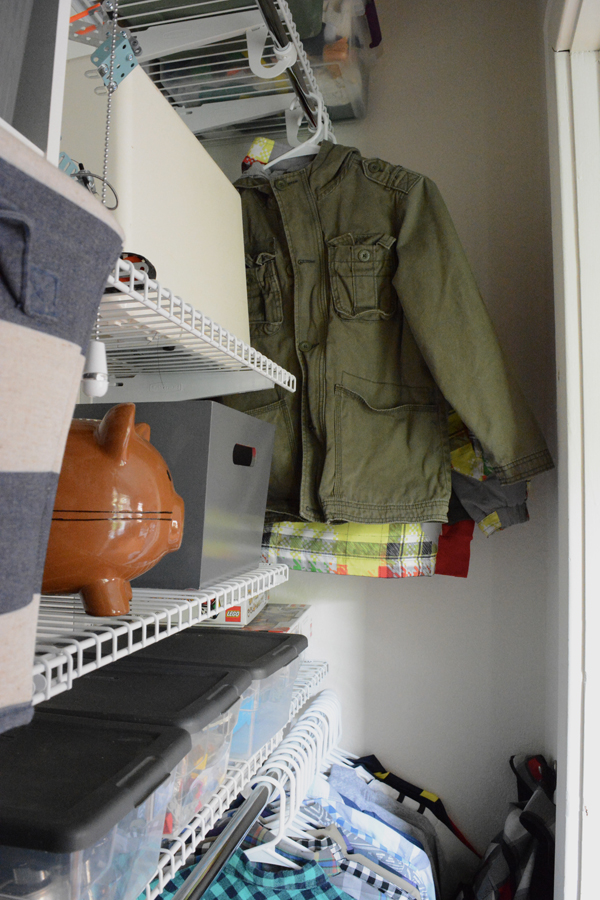
I fit everything back in this closet and more. And now we can actually get to all the stuff. This closet might just be my new favorite room in the house.
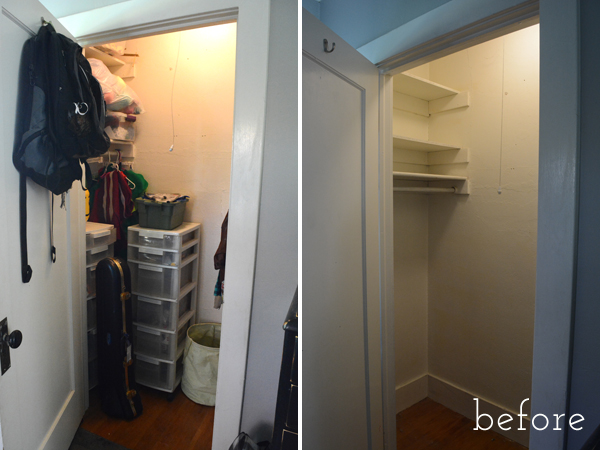
This is so embarrassing. I can’t believe I’m showing you my mess. But, this is an really what my son’s closet looked like just a couple days ago. Yikes! Our house has small closets with regular doors on them, so a lot of the usable space is tucked into the two sides of the closet. The original shelves and hanging rails were just not providing enough storage. I had purchased many plastic drawer thingys trying to help the issue, but you just couldn’t easily access everything in that tiny closet.
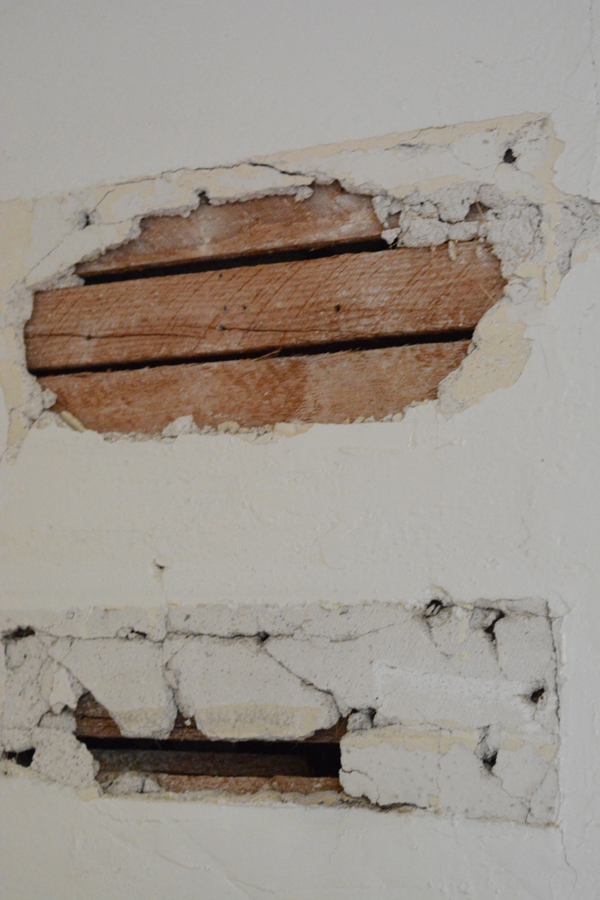
Before I could install the Rubbermaid HomeFree Closet System, I needed to remove the existing shelves and patch a few holes. I bought a little jar of spackle thinking I would just need to cover a few screw and nail holes. Nope, I had to go back to Lowes for 3/8″ dry wall, mud and tape. After a day of patching, mudding sanding, repeating, and then finally painting the closet at 11pm, I was finally ready to install the new Rubbermaid HomeFree series.
Now, if you know anything about the lath and plaster walls that come with an almost 100 year old house, then you know that they are a huge pain in the rear. These houses don’t have the usual studs that are found in newer homes, so attaching the rail system to old house’s walls can be a bit tricky. You are going to need different anchors then the ones provided with the kit. Other then that, everything you need is in the kit.
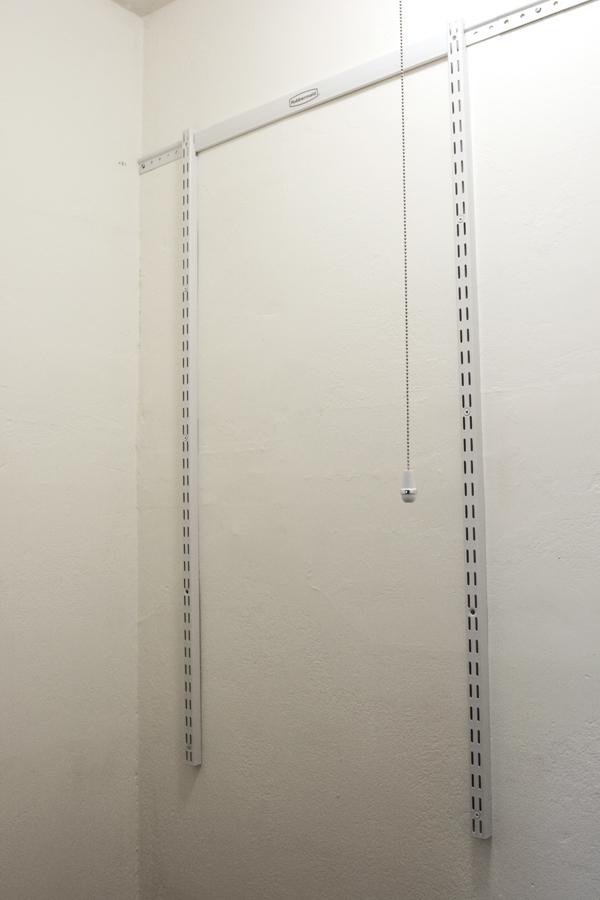
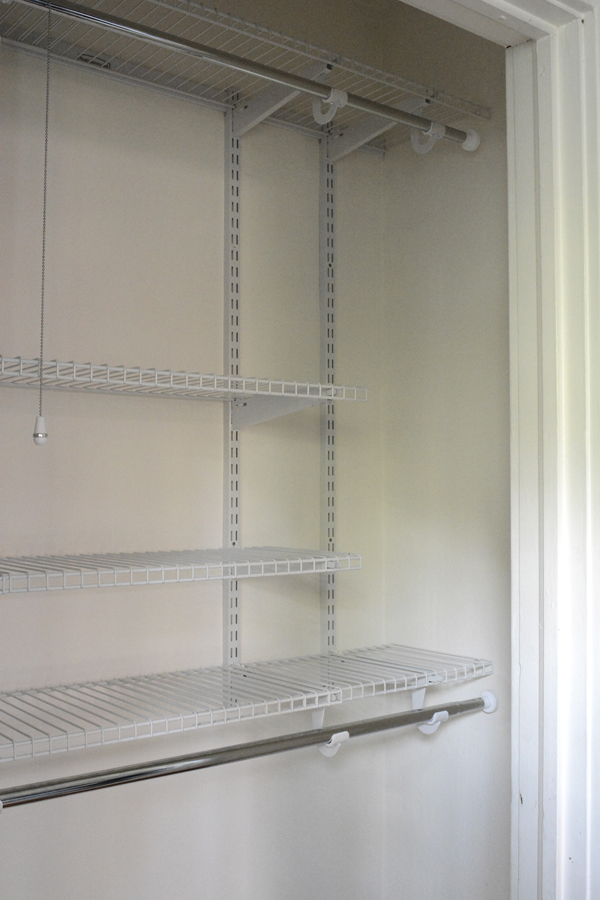
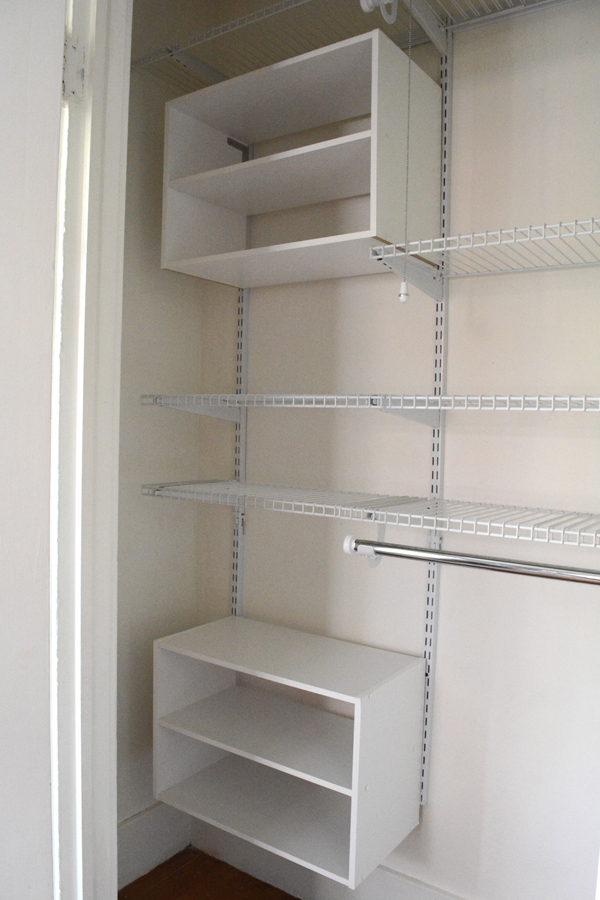
This HomeFree system is so easy to install, once you attach the top rail to the wall, you simply hang the vertical rails from the top rail and then secure them to the wall.
There is NO cutting of any of the rails, shelves, or rods. You can fit this closet system in any odd shaped closet, like mine, with ease. All the pieces overlap to give you a perfect, 100% customizable fit.
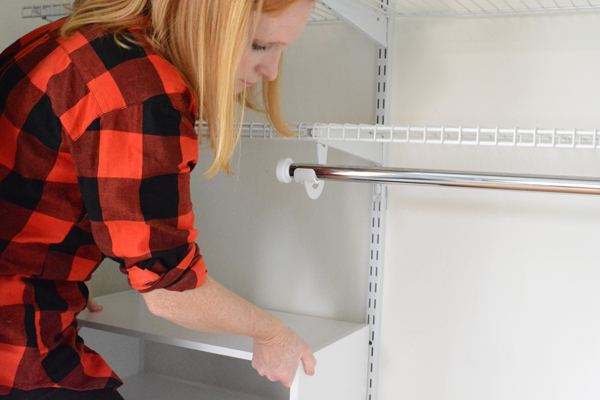
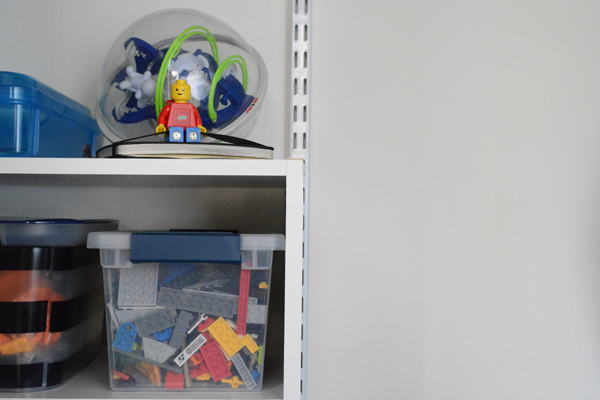
Once the rails are in place, you simply clip in all the brackets and shelves. I added some extra pieces to the 6 Foot Adjustable Mount Wire Shelving Kit, like these White Wood 3 Shelf Units, Upright Extensions, and a couple extra shelves. I wanted to use every inch of this tiny closet.
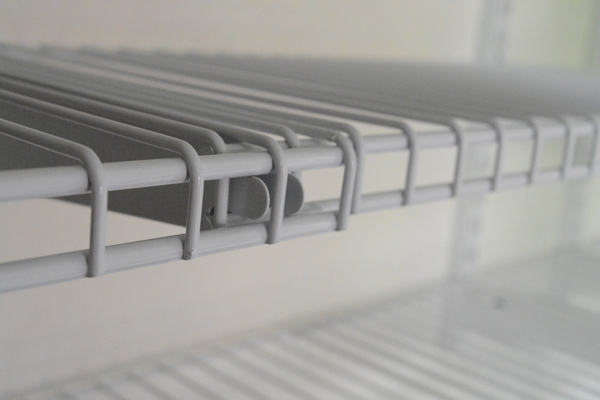
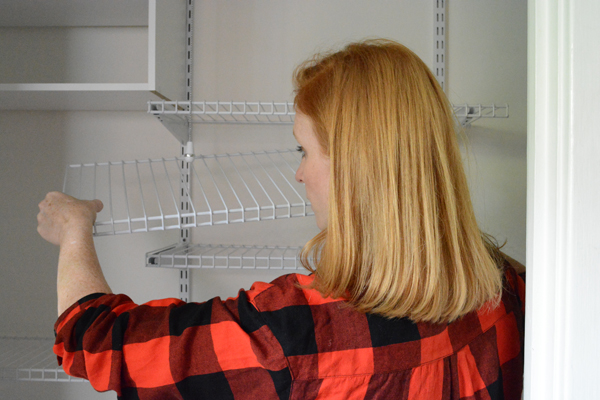
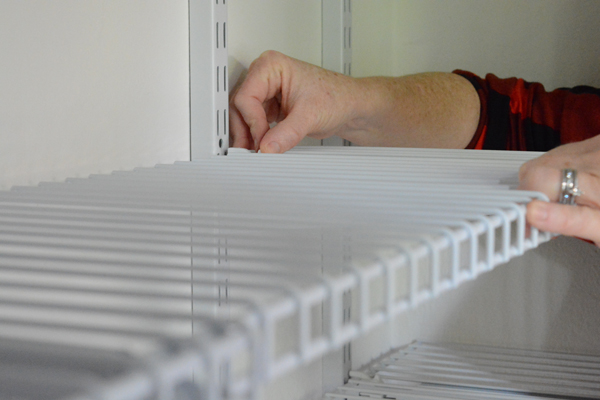
The shelves all lock into place with a simple flip of a button.
And now to fill the closet!
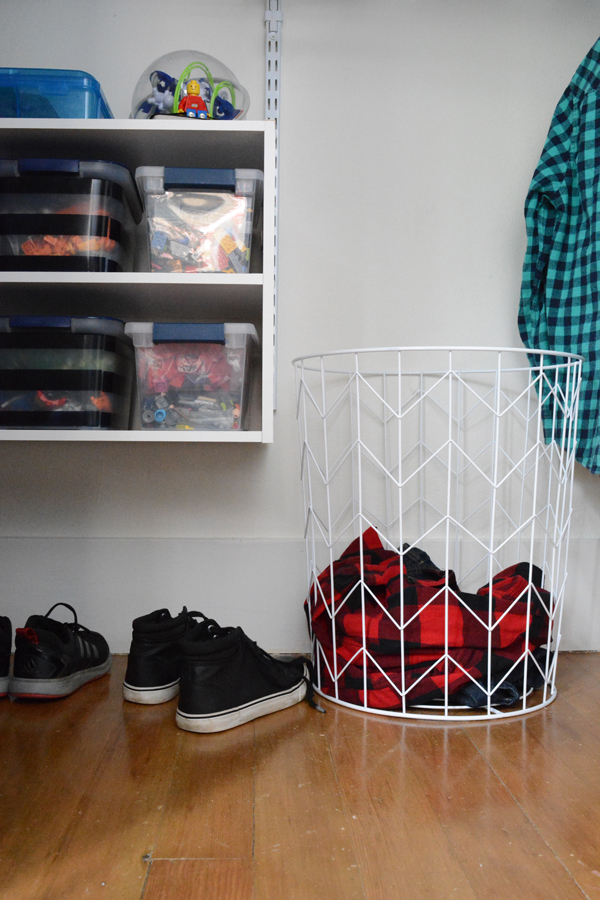
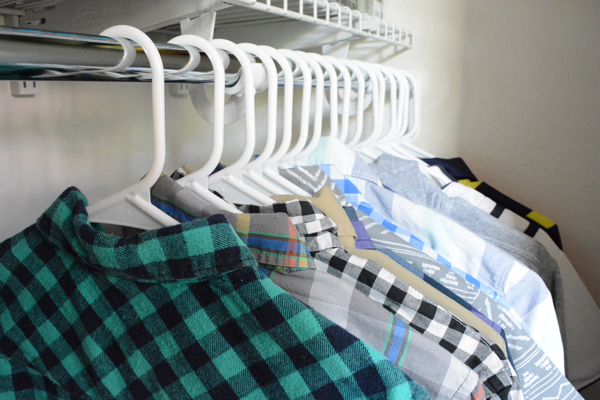
Everything has a home and a specific place. I even added hooks for hats and school backpacks to get things up off the floor.
I shopped at Lowes for everyday low pricing on Rubbermaid and home solutions including the HomeFree Closet System. For more information about these products be sure to check them out on
Facebook.
Do you have a problem area in your home that needs tackling? Maybe a closet or laundry room that needs to organizational help. If this closet system can work in our tiny, old closets, I guarantee they’ll work in yours.

