Category Archives: DIY

DIY / etc.

Easy DIY Halloween Treat Bags

October 31, 2014

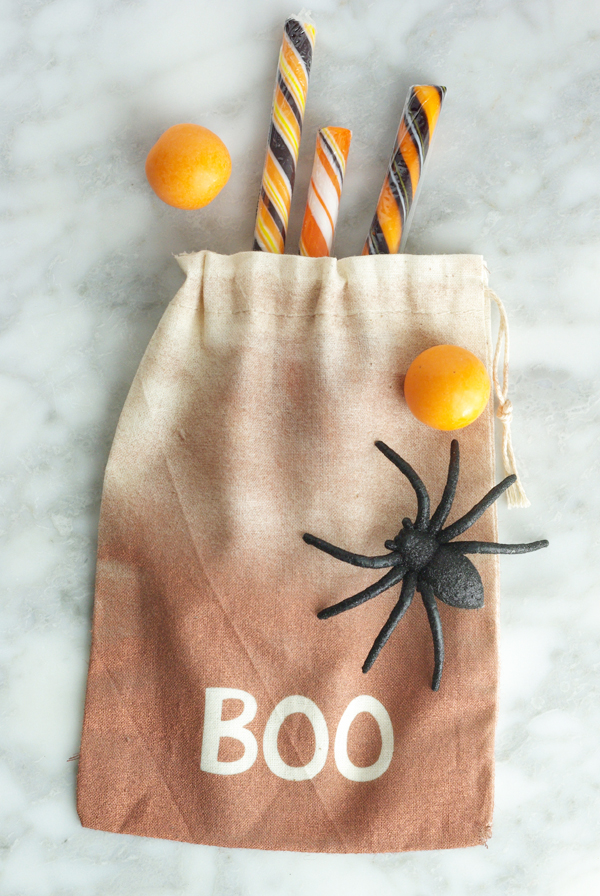
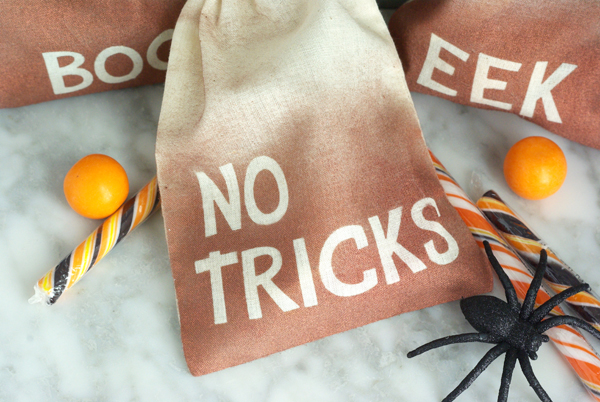
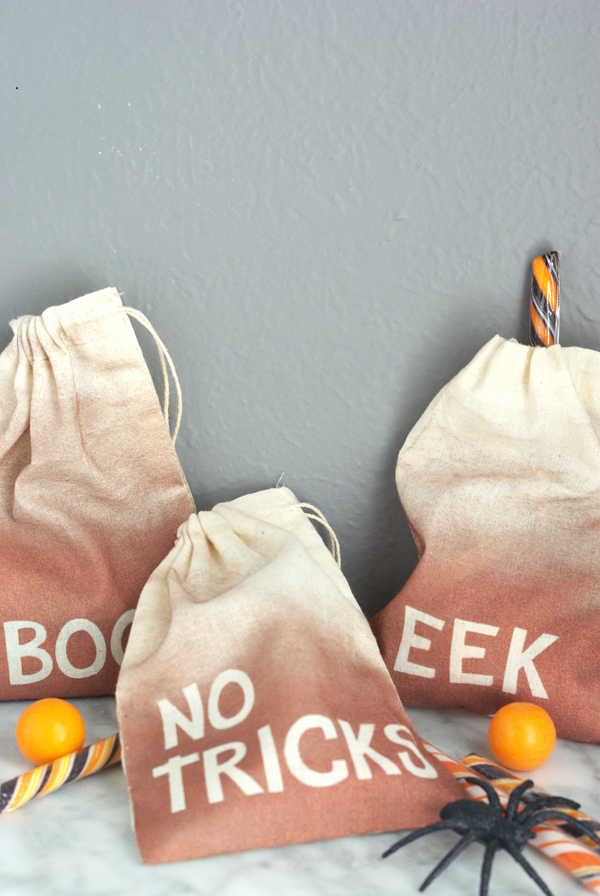
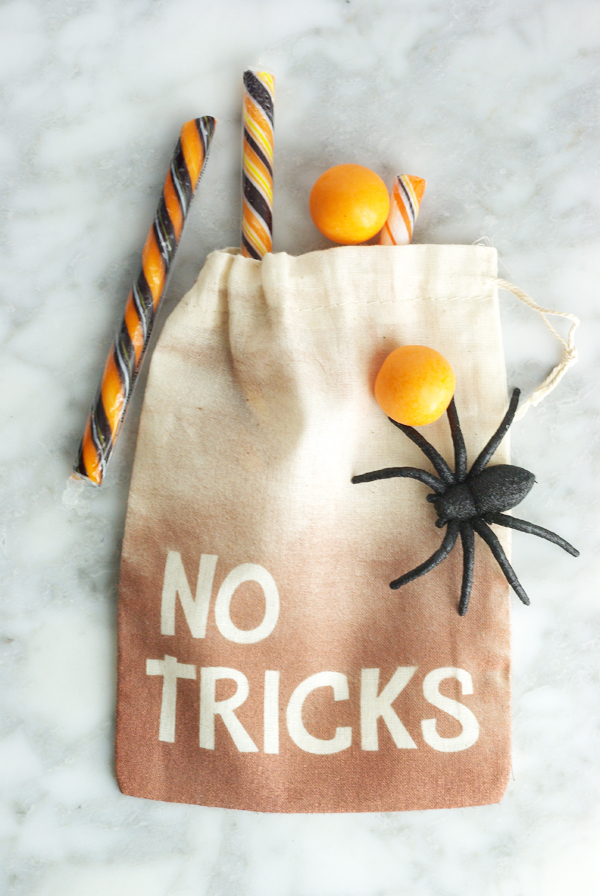
This might be the easiest little treat bag I’ve ever made.  The perfect little package for Halloween sweets.
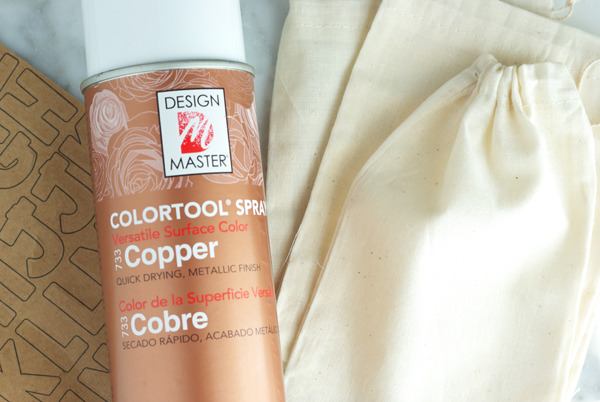
You just need 3 simple supplies to put together this little DIY.
  • Design Master Copper Spray Paint (or any other color)
  • Letter Stickers (one sheet for $1.99 at Hobby Lobby)
  • Muslin Bag

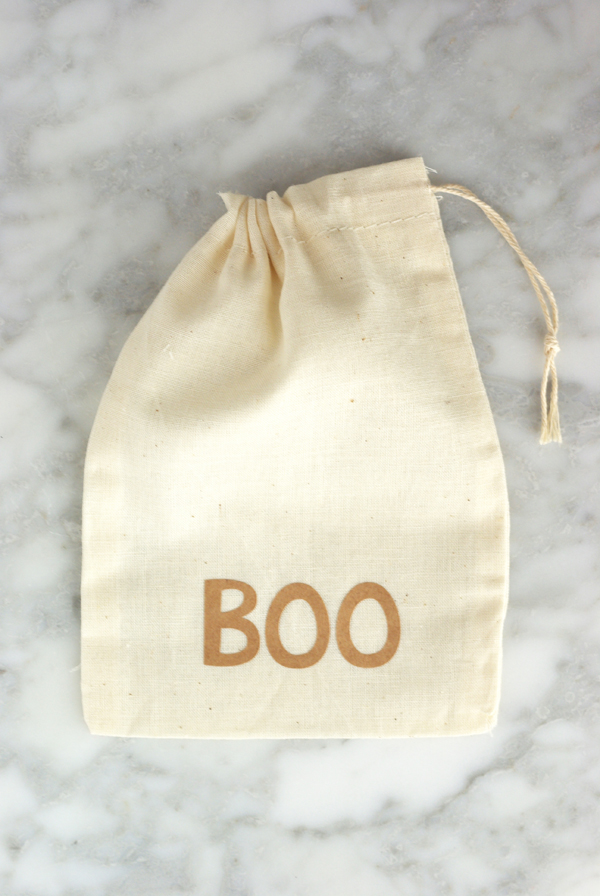
Stick the letter stickers where you’d like them. 

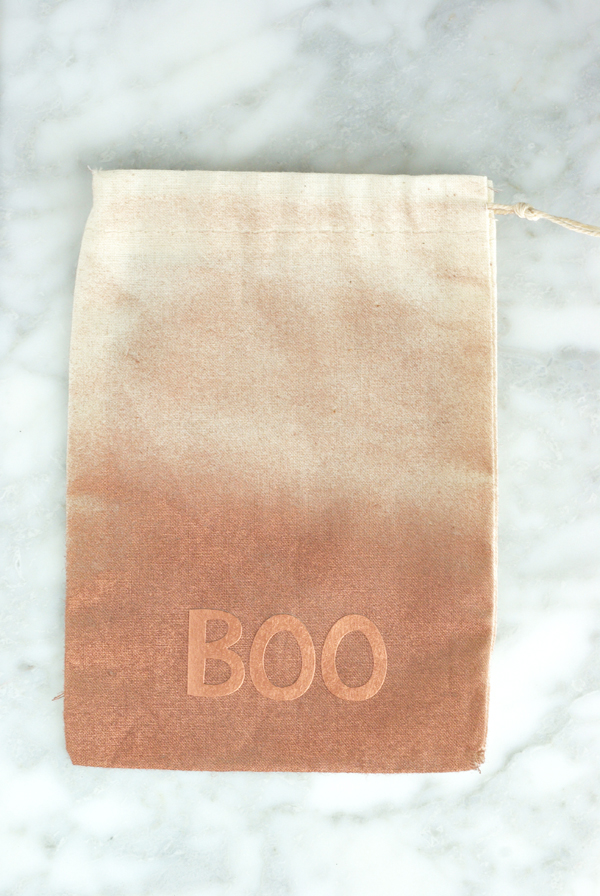
Starting at the bottom of the bag and begin layering the spray paint a little at a time.  Finally, peel off the letters and you are done!!!

DIY

DIY Faux Copper Pipe Vase

October 22, 2014

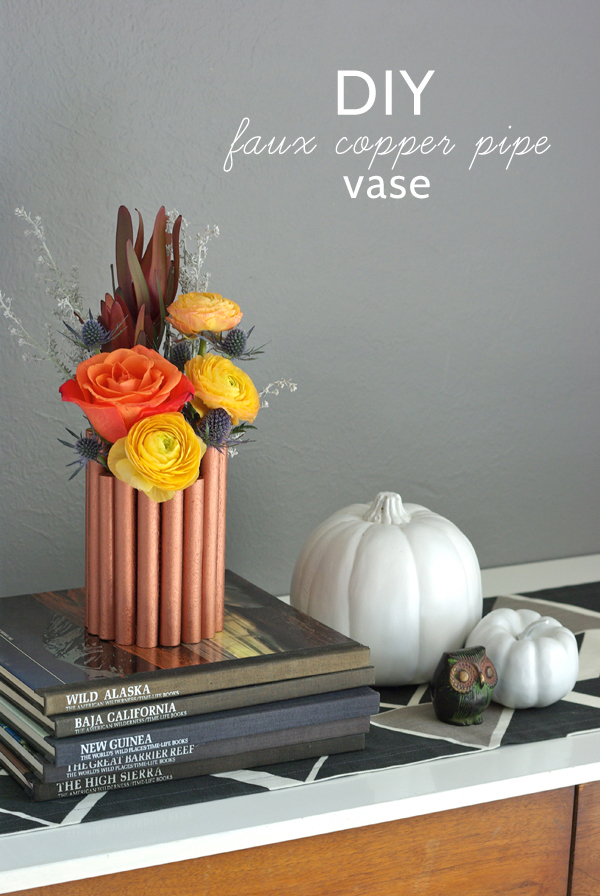
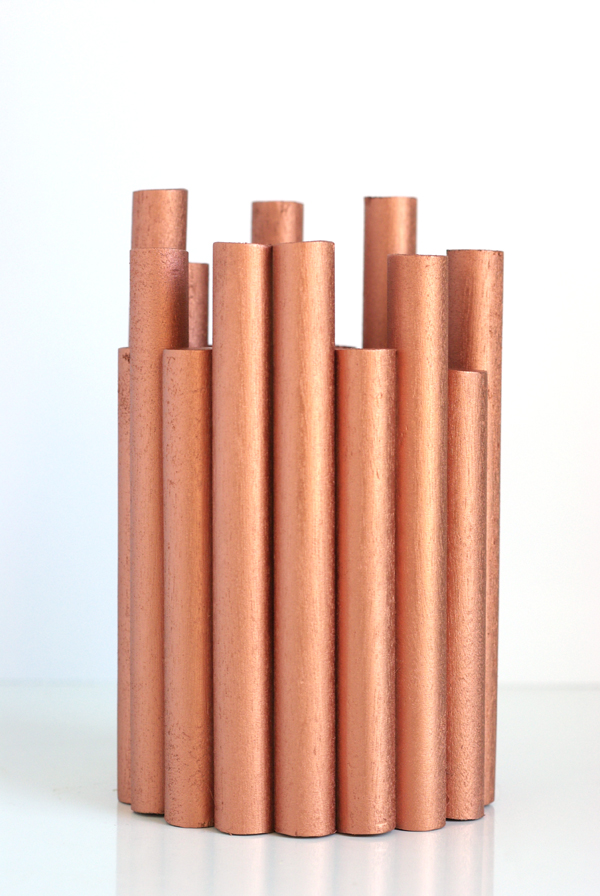
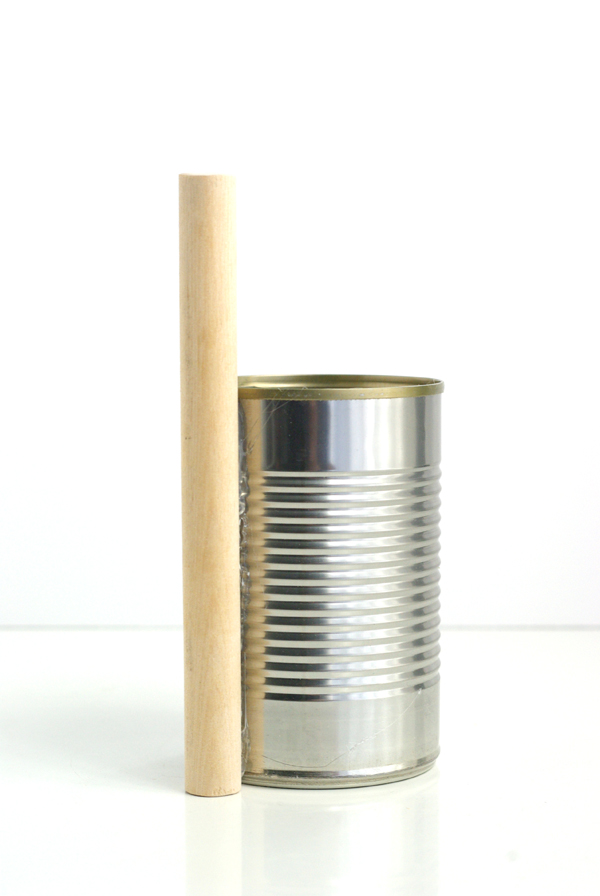
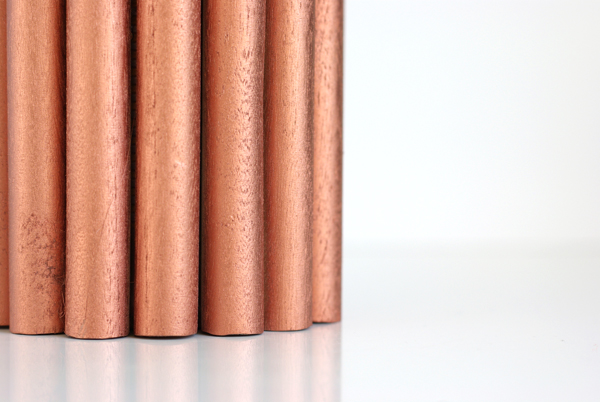
Metallic Gold make room for the new hot metal – Copper! Are you loving this trend, but not sure if you want to be shopping the plumbing section of the hardware store?  Plus cutting metal pipe can require specific tools and a lot more elbow grease.  Well, I’ve got a much simpler way to achieve this trendy look. I made this DIY Faux Copper Pipe Vase with simple wooden dowels and my favorite brand of spray paint (Design Master). 

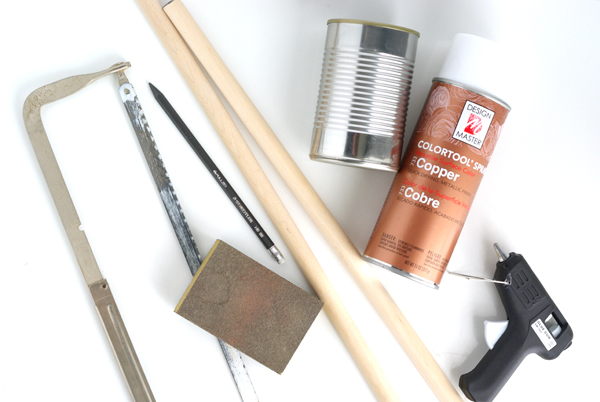
Let’s get started, here’s what you’ll need:

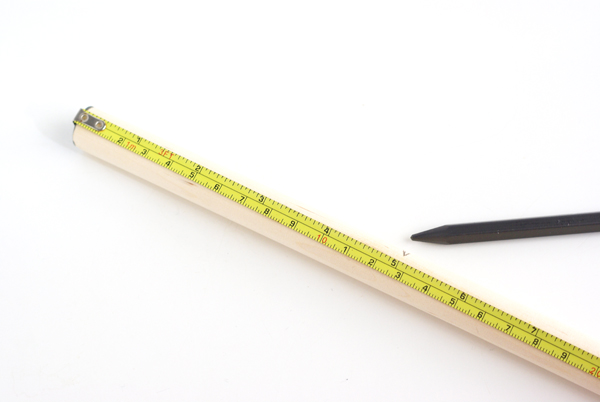
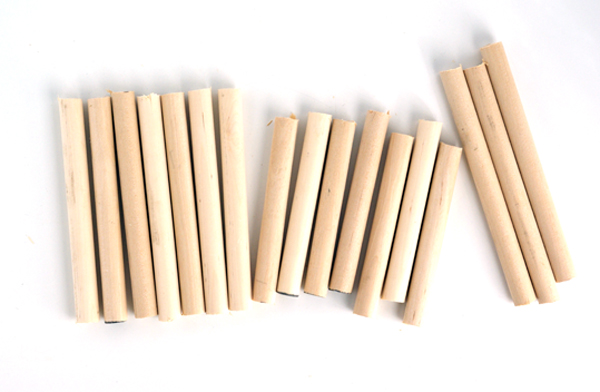
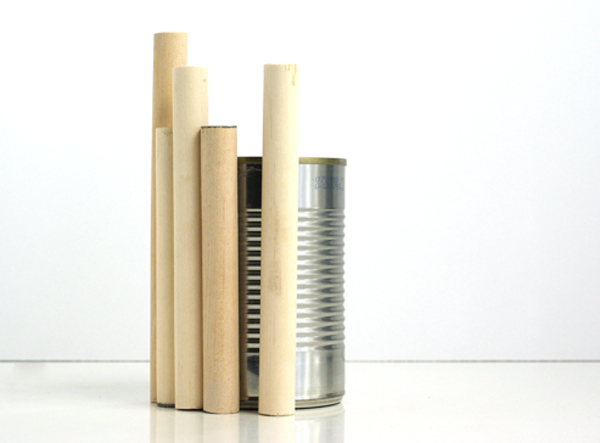
Begin by measuring lengths on the dowels.  For mine I cut 7 that were 5″ and 6″ each and then 3 that were 7″. 
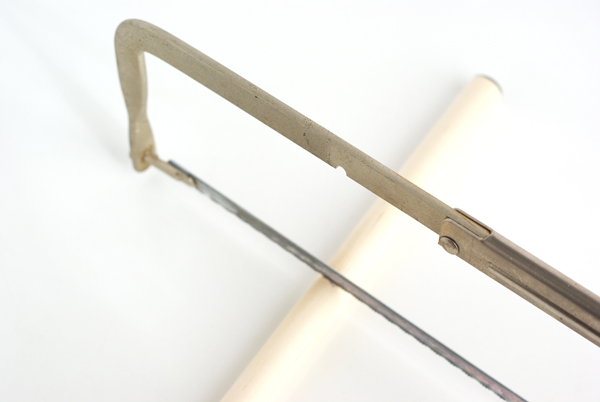
If you have a drop saw, knock yourself out.  But, I just used a hack saw and had all of them cut in about 10 minutes.  Plus, I got a little exercise while doing it. 🙂
The ends will be a little rough and splintery.  Using a sanding block, I smooth out the ends and made sure they were flat.
With the can on it’s bottom, begin glueing on the dowel pieces.  Make sure the dowel in flush with the bottom of the can, so that the finished product will sit flat on a surface. I wanted mine to look random and no order, but I pattern could be nice as well.  Continue glueing the remaining dowels.  17 dowels will fit almost exactly around a can.  Because it’s not an exact fit, when you glue each dowel leave just a hair of breathing space between them and by the time you get all the way around, they should be evenly spaces.  I think this looks better then just having a 1/4″ gap in one spot.

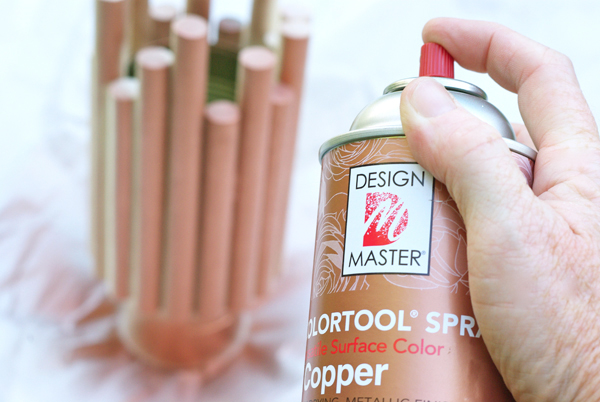
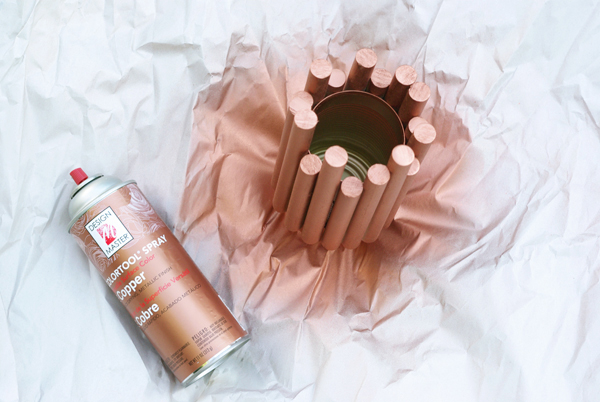
Now’s the fun part, take your vase outside to paint it.  Place the vase on top of a small object so that it is up off the ground (I often use the spray paint cap for this).  
Design Master paint goes on evenly and is perfect for layering.  So, for this project I wanted a nice even, solid coat, so I applied 2 coats.  The cool thing is that you only need 5 minutes drying time between coats, that’s fast!
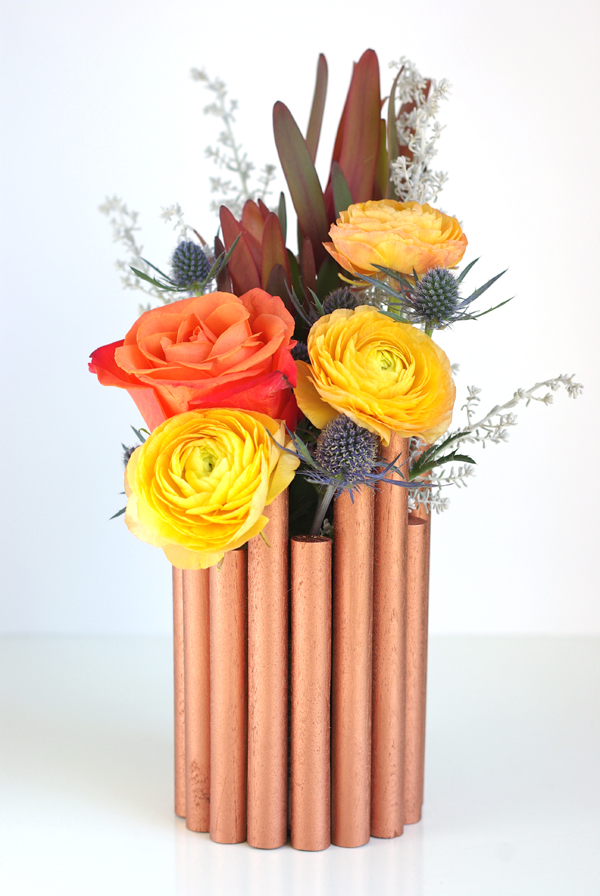
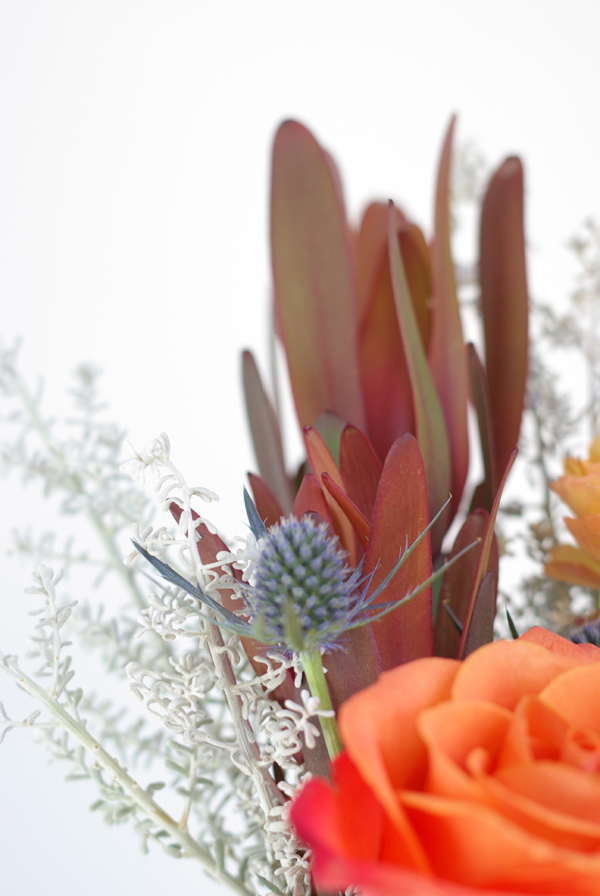
And then, the fun part – fill it with flowers or plant your favorite fern or succulent in it. I enjoyed putting together a simple Fall arrangement.  I got all of these flowers from my local florist, I just picked lots of textures and variety, and it came together really well. You know, if you take the time to go into a flower shop and just buy individual stems, it can be a lot less expensive then even buying a pre-made bouquet at the grocery store. And this way, you get what you really want (not a whole bunch of babies breath). This vase is perfect for arrangements, with the varied heights of dowels, there are little nooks and spaces for flowers to sit in and peek through.  
I buy my Design Master paints and my local Michaels and Joann Fabrics. Design Master paints can paint the most delicate of surfaces, such as silk and fresh flowers, fabric, ribbon, tulle, lace, paper, foam board and Stryrofoam TO the sturdy hard surfaces such as wood, metal, masonry, terra cotta, ceramics and plaster. Design Master is a great resource for products and ideas.  Be sure to check out all the craft and project ideas on their blog.  

This post is sponsored by Design Master. All opinions are my own. Thank you for supporting the brands that make this blog possible. 
______________________________________________________________________________

And the winner of the Sven Clog giveaway is……..
Maggie Terryn (@mterryn) for reposting on Instagram.  Yay!!!!  Thank you everyone for participating in this fun giveaway.  Hopefully we can do it again SOON.  

DIY / Food & Drink

Spooky Edible Halloween Centerpiece

October 21, 2014

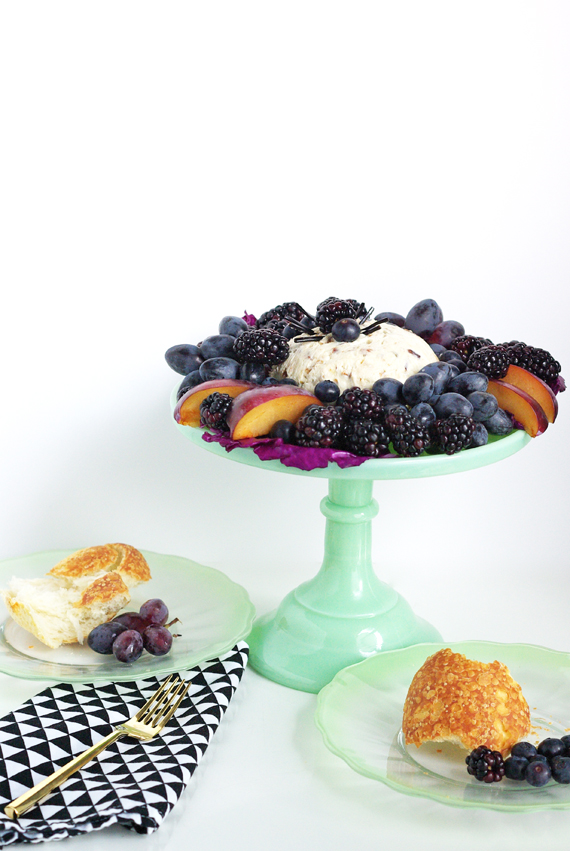
I love entertaining and finding ways to work with a theme, but then give it a new twist.  This halloween I’m all about black and white, so I thought I’d throw in a hint of mint green.  It’s totally not a halloween color, but it’s just so dang pretty with all this black. 
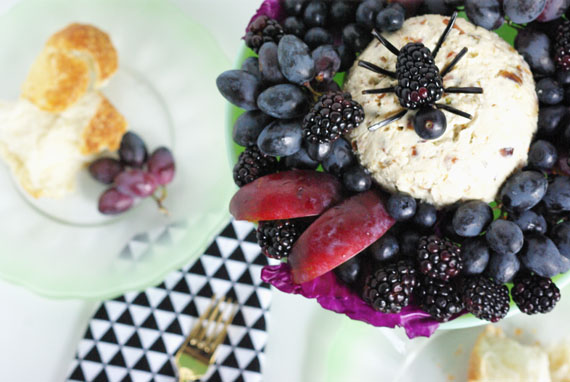
This Spooky Edible Halloween Centerpiece is a sophisticated way to add a little creepy crawliness to your table. Black fruit is served with the yummiest Blue Cheese, Date and Pistachio Cheese Ball.  For the full how-to and the recipe, head over to Julep today.

Halloween is just around the corner.  EEEEEEK, I better get my kiddo’s costumes done ASAP!!!!!

DIY / etc.

Best Homemade Play Dough Ever!

October 15, 2014

If you’ve been an O+P reader for a while, you may have seen that I’ve made some improvements along the way. But, if you’re new, here’s a look at some of my older posts (back in the day, beginning blogger stuff).  My mom’s recipe for The Best Play Dough Ever is going crazy on Pinterest right now.  And I’m kind of embarrassed of the pictures. While the pictures I take now are far from perfect, I’m definitely proud of what I’ve learned and how far I’ve come on this blogging journey.   
So, I thought I should re-post this recipe and show it packaged all cute like and photographed a lot better. Understand that I’m still using the same camera as I did when I started blogging, I’ve just learned so much more about how and where to use it.  

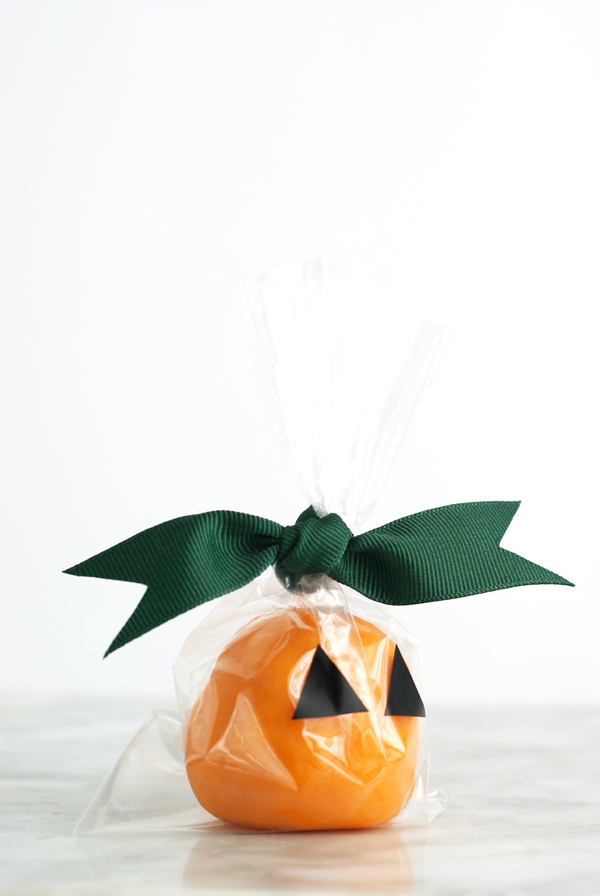
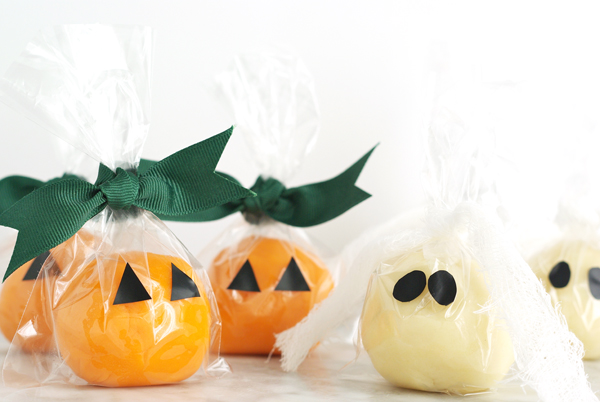
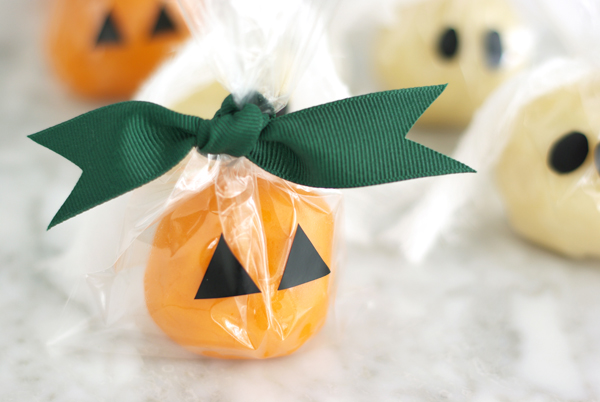
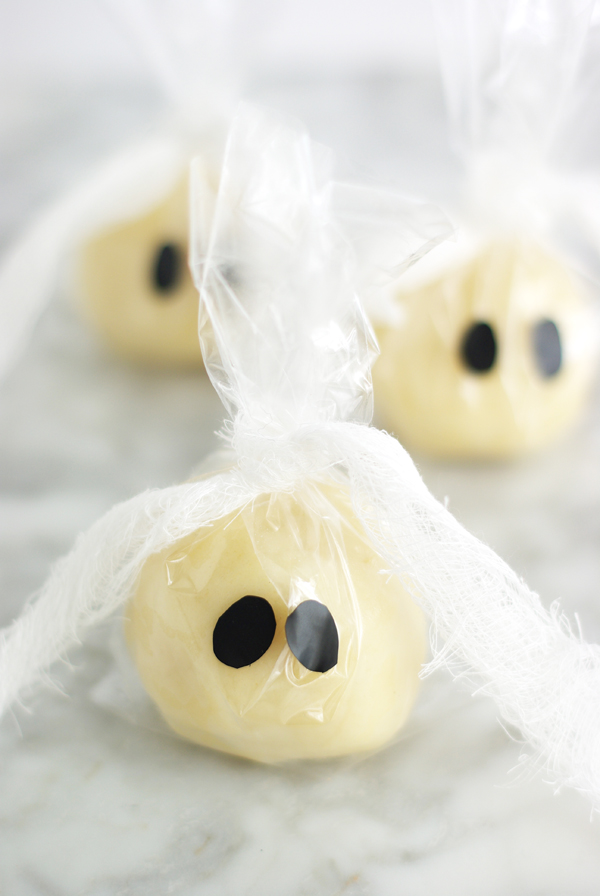
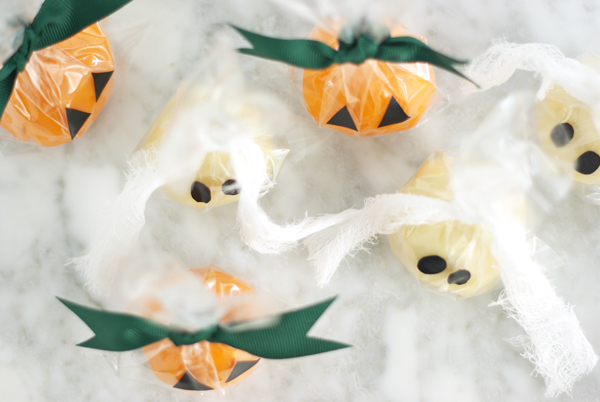
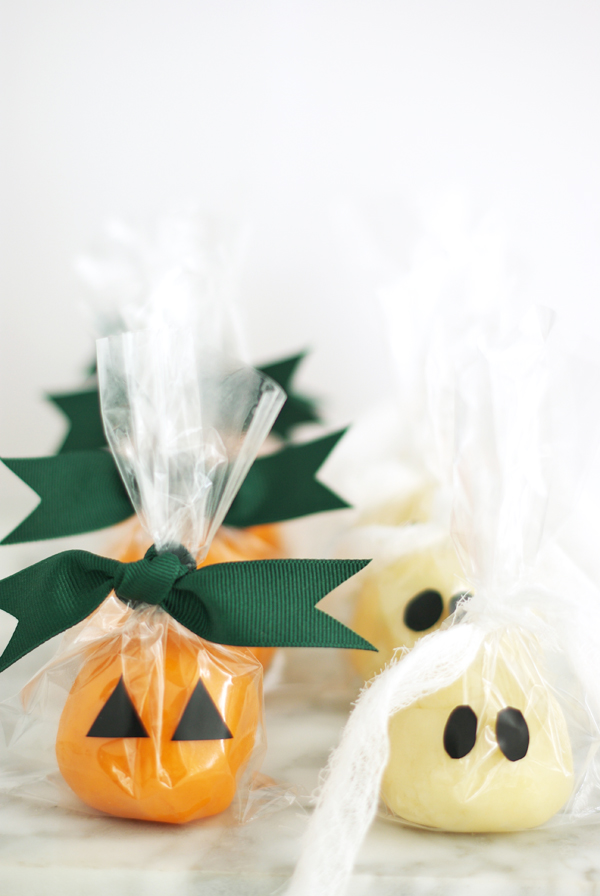
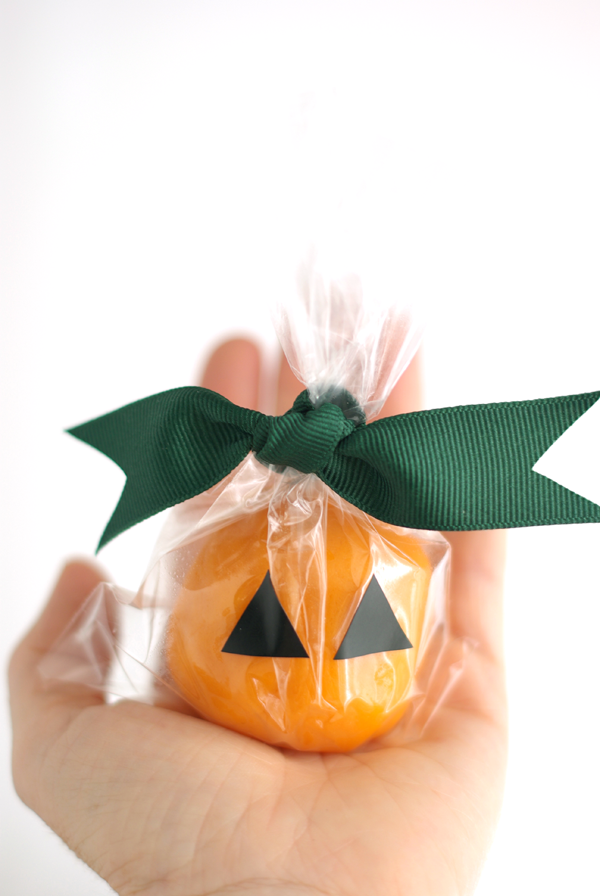
This year, Olivia is going to give her friends cute little packages of homemade play dough wrapped  as pumpkins and ghosts.  I simply rolled the dough into a ball, placed it in a clear bag, and tied green ribbon around the orange balls of play dough and a little piece of torn gauze around the white ones.  Then I added little triangle and oval eyes that I cut out of black electrical tape.

Play Dough
1 cup flour
1/2 cup salt
2 tsp. cream of tartar

1 cup warm water
food coloring
2 tbsp. veg. oil

Combine the dry ingredients in a pot.  Combine the wet ingredients in the bowl.

Pour the wet ingredients into the pot with the dry ingredients and stir with a whisk.  Try to get out as many of the lumps as possible.  Put the pot on the stove on Med-high heat and continue stirring.
Stir with whisk until the dough begins to thicken, then change to a spoon.  The dough will become very thick. Cook and stir until the dough forms a ball and pulls away from the sides of the pan.
Remove from the pan and it is done!  Allow the dough to cool for a few minutes. (PS the pan looks like you’ll never get it clean, but just let it sit in some water for a minute or so and it comes clean immediately). 
This dough is soft and pliable and it lasts a really long time.  My kids prefer it over the store bought kind.  Oh, and because it has so much salt, it tastes really bad and kids don’t want to eat it (and if they do, there is nothing in it that will hurt them).  I’m going to try to make it with rice flour this week for a gluten/grain free option for friends with allergies.  
You can refer to the original post for pictures of the cooking process.
This is a great non-candy Halloween treat. And it’s really inexpensive to make, each batch made 6 cute portions to be wrapped and gifted.  

DIY

Cricut Window Cling for Halloween

October 11, 2014

You guys know I’m a huge Cricut fan.  I’ve been cricut cutting for years. But, this is a pretty fun new product that Cricut has just come out with – Window Cling.

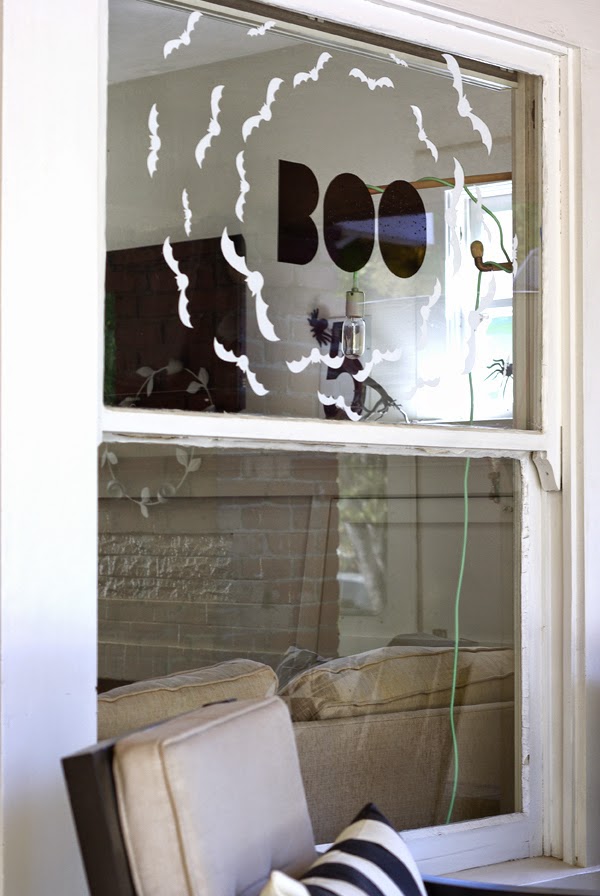
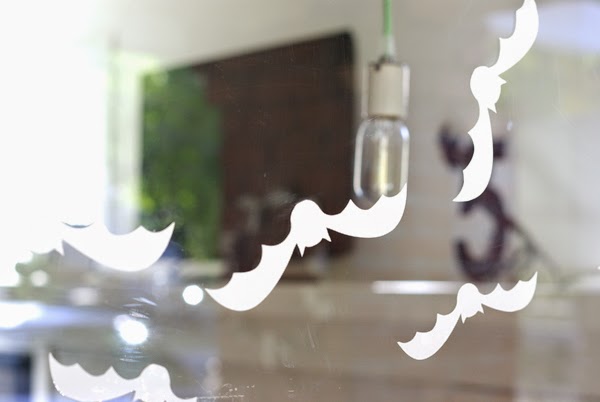
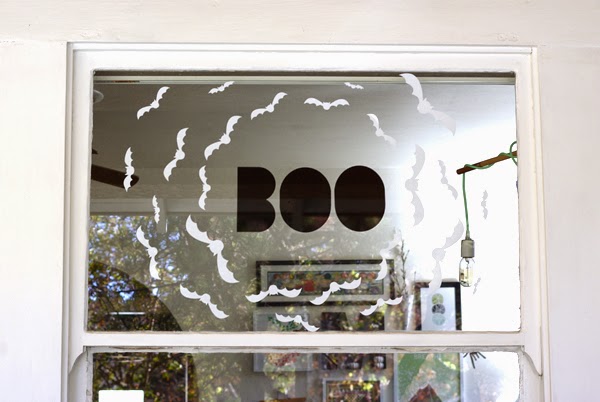
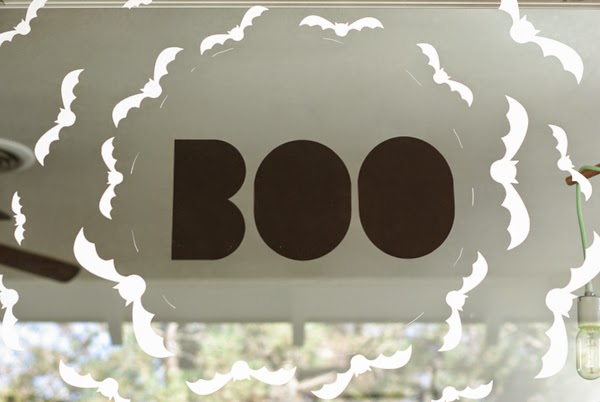
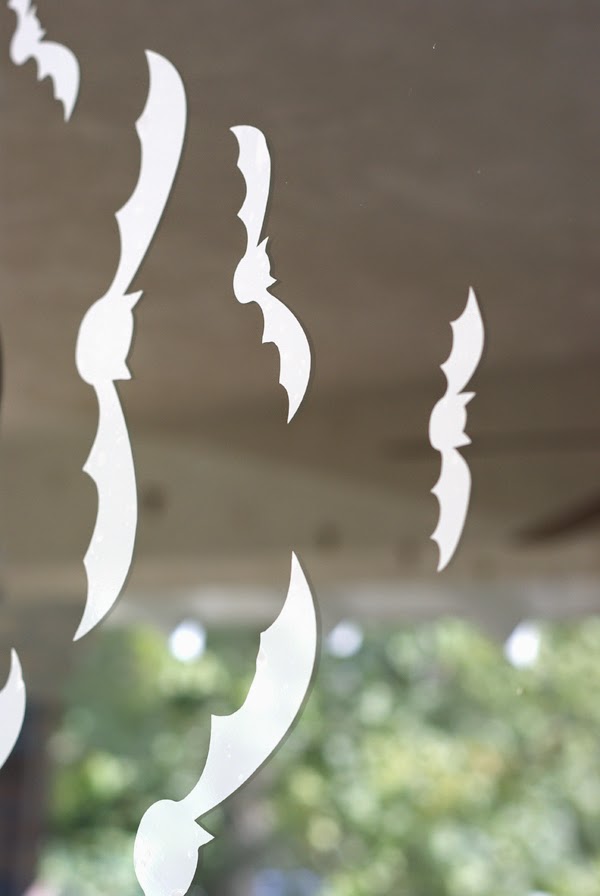
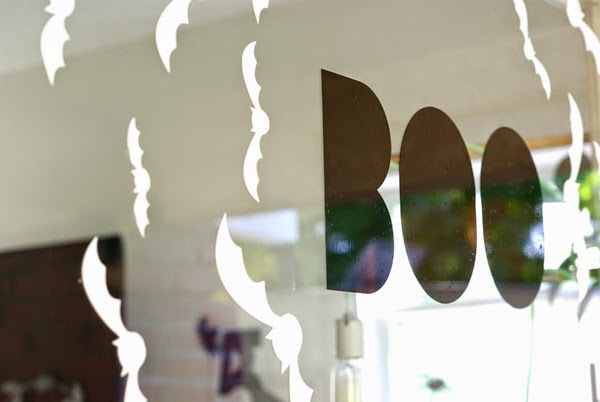
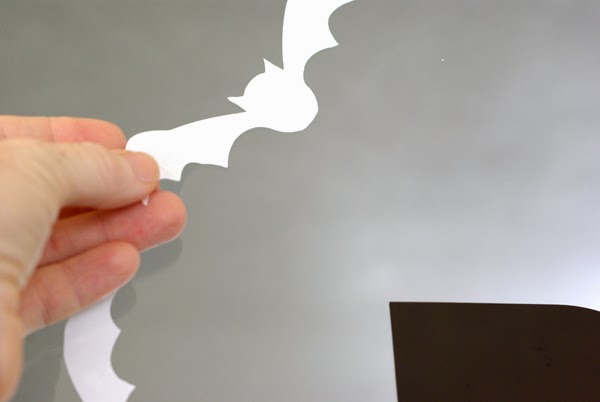
You can create easy-on, easy-off static cling decals with this product. Use your Cricut machine to cut shapes or phrases for holiday decorations, parties, school decor, business window dressings, kid’s activities and more. It’s durable and reusable. I love to decorate my front porch window for the holidays. So, I quickly cut out a bunch of white bats (like my wall of bats) and a big, blocky BOO in black. With the design space, you can use all of your own fonts, so I used one of my faves – Blackout.

You cut this Window Cling product just like you would vinyl, with a “Kiss Cut”. On the Cricut Explore, it’s just a turn of the dial and then hit GO.

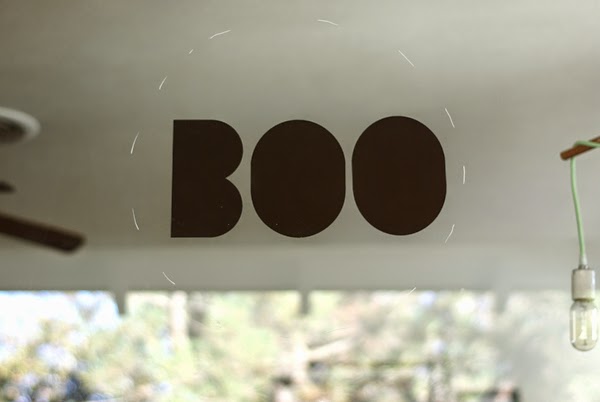
I placed the BOO in the center of the window to start with. No stress, with this material, it can be repositioned and moved to exactly the right place. Then I traced a rough circle around the BOO with a chalk marker. I used this as my guide to place the bats circling the BOO. And when Halloween is over, I can place these back on the backing sheet and save them for next year.

If you are a cricut user, I totally recommend this product. I hope you all are having a great weekend. Ours is crazy busy, but very productive so far.  

DIY / etc.

Thrifting Thursday – white and wood mid century dresser makeover

September 26, 2014

Happy Thursday, you know what’s the best thing about Thursdays besides Thrifting Thursday, it’s almost FRIDAY!!!!
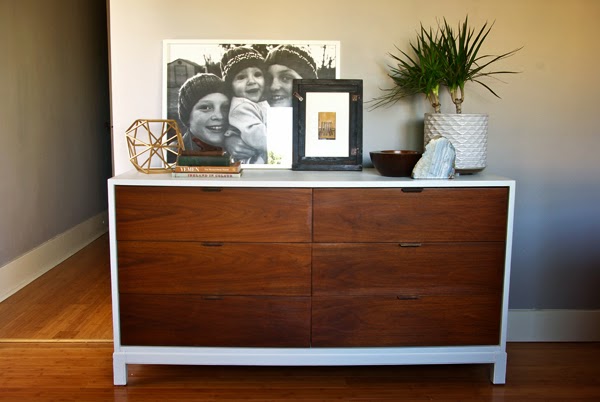
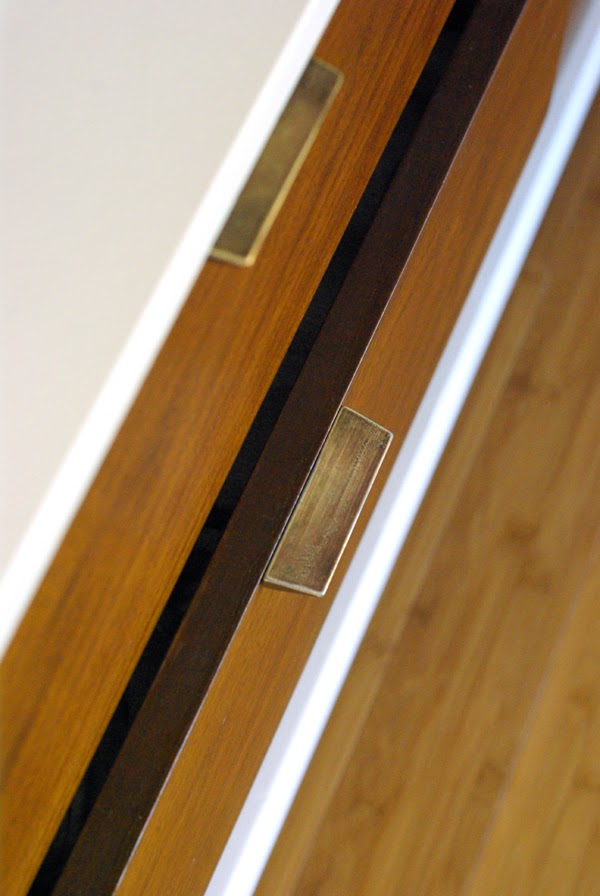
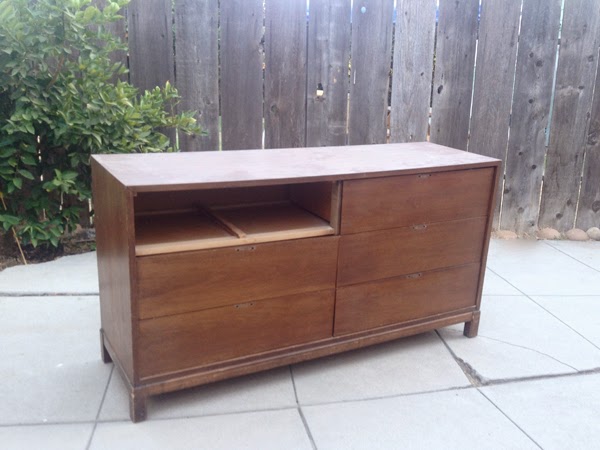
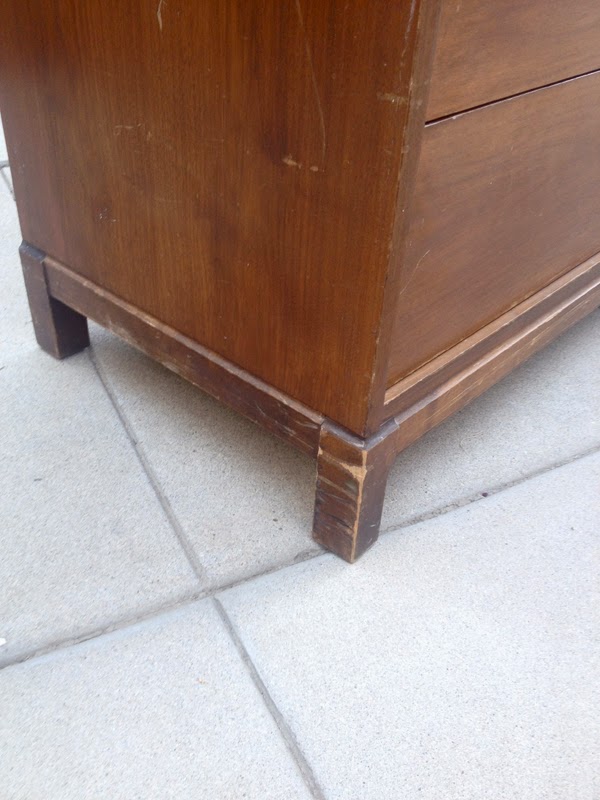
I’ve been wanting to share this thrifted dresser makeover with you for a while now.  You are going to be shocked and maybe disappointed at how much I spent on this dresser.  It’s not my usual steal, but I think it’s still a bargain.  I paid $90 for this bad boy.  It was such a solid piece, with great wood grain on the draws and perfectly simple hardware, I couldn’t pass it up.
I liked it so much, I put it in my bedroom and moved the old dresser out.  

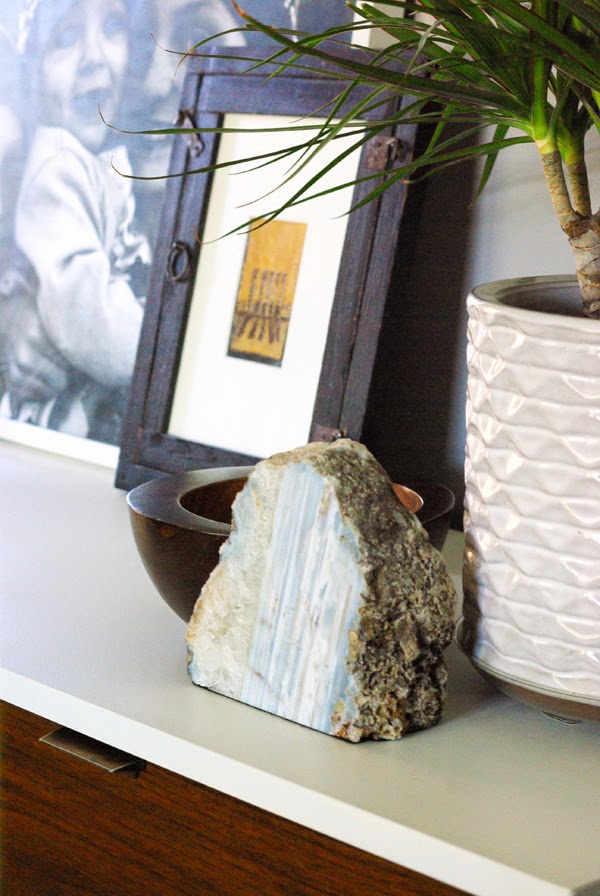
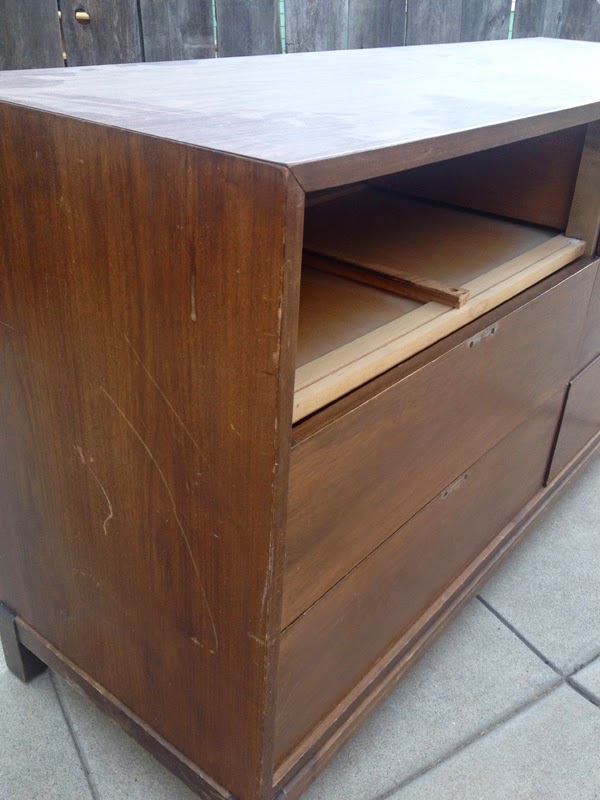
Here’s a look at the before.  It obviously needed some tlc.  The top is faux wood laminate and the sides and drawers had a lot of dings and scratches.  So, I decided to paint the top and sides white (like I’ve done many times before) and then sand, stain and clear coat the drawers.  I painted the top and sides with Sherwin William’s ProClassic paint.  It goes on flawlessly with a small mohair roller and lays flat.  This paints dries quickly and isn’t tacky to the touch, like some paints are. 
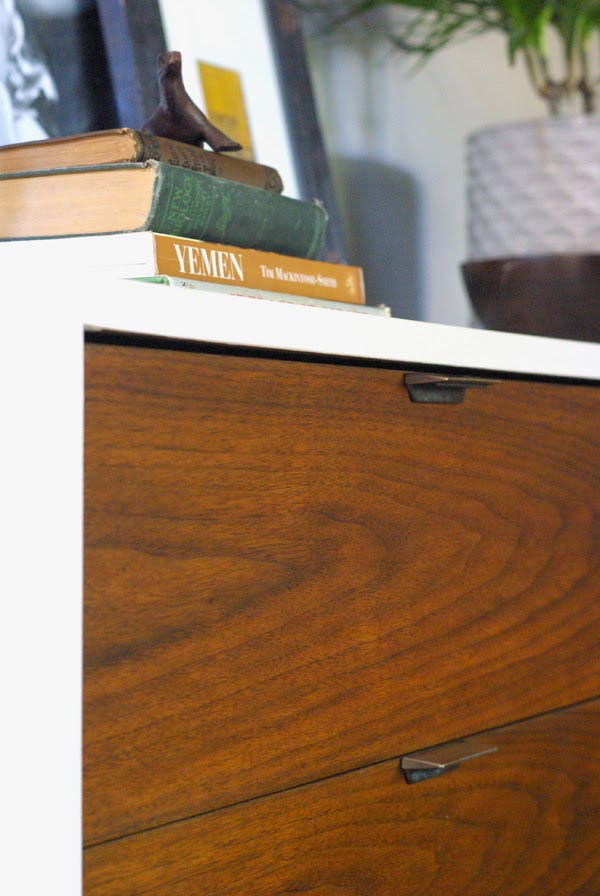
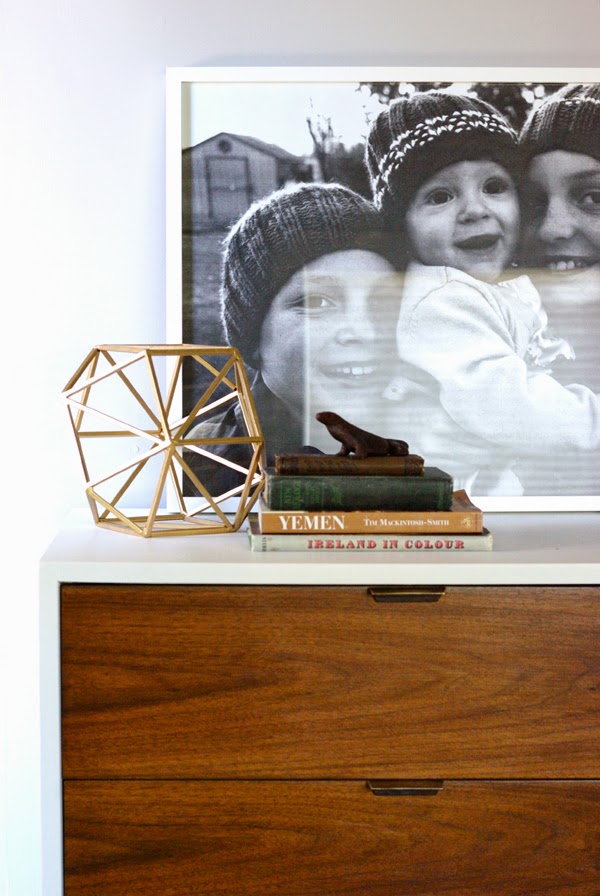
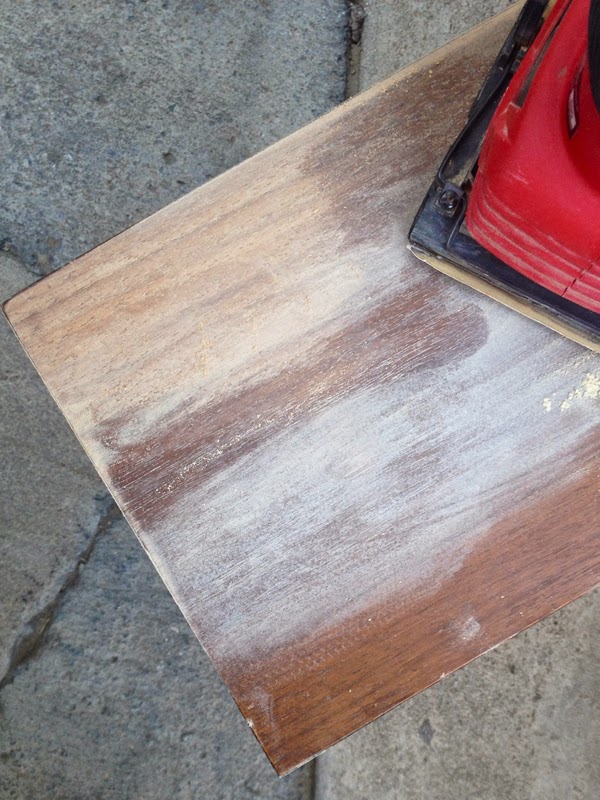
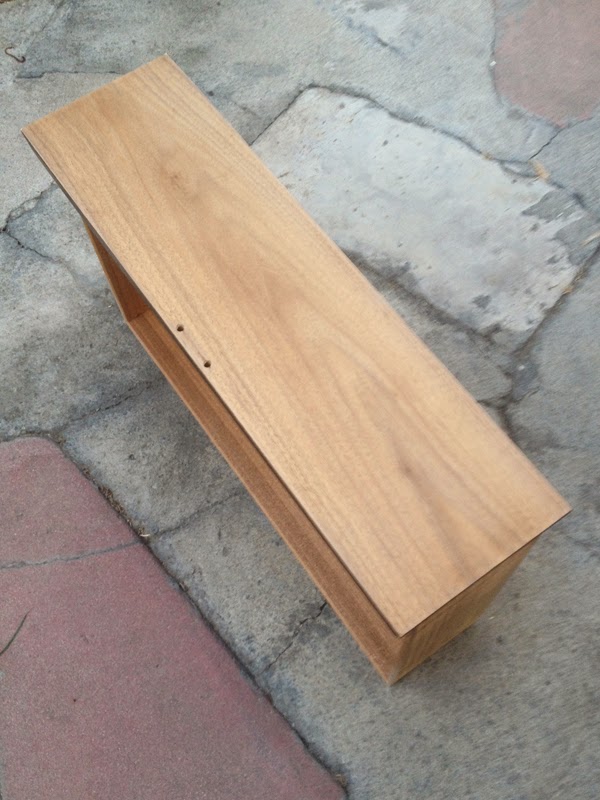
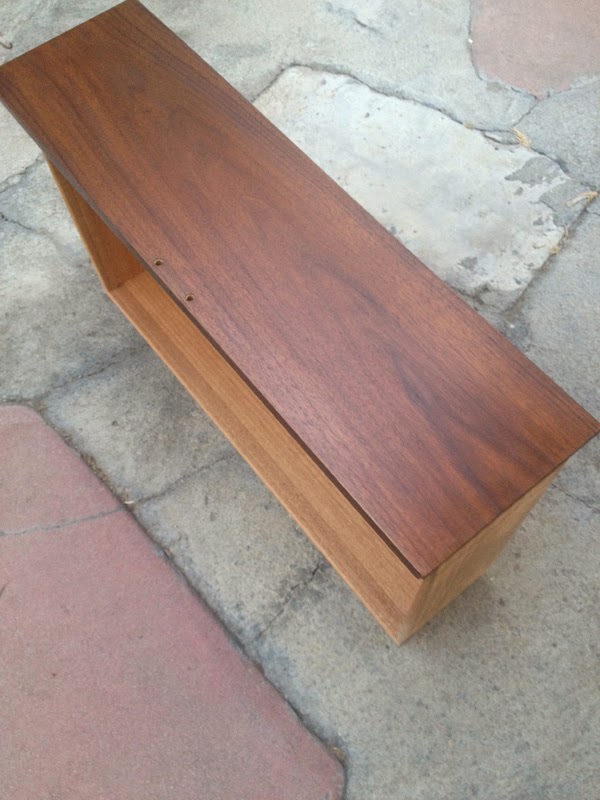
Painting I’m confident with, but staining wood is not something I’ve played around with much.  But, I highly recommend trying some walnut color stain on something, soon.  I sanded the drawer fronts down to the bare wood, made sure they were clean of any dust and then rubbed on some walnut stain with a rag.  I let is sit for about 5 mins and then wiped off the excess.  Seriously so easy and the coverage was so even and flawless.  (My inside pictures don’t do it justice, it really is a gorgeous warm color and the grain really pops with the new finish).  

Gorgeous, right? If you’d like to know more about the products I used, I’d be happy to add them to this post.

So, I actually haven’t been to a thrift store in over 3 weeks (I lie, I just dropped some stuff off yesterday, but I didn’t even go inside).  What treasures have you scored lately.  If you share pics of your thrifted finds on Instagram, be sure to tag them #thriftingthursday, I’d love to see what you’ve got.

DIY / etc.

Make Custom Temporary Tattoos with Makr

September 24, 2014

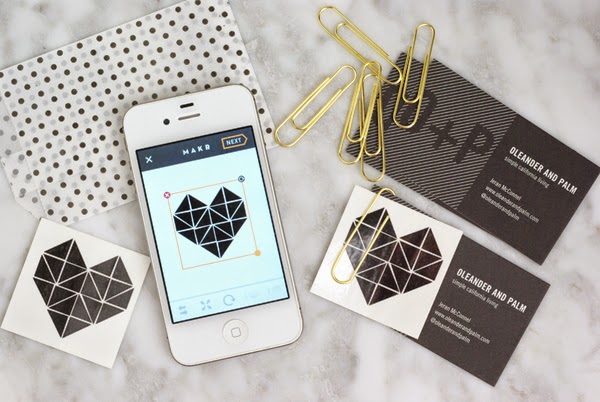
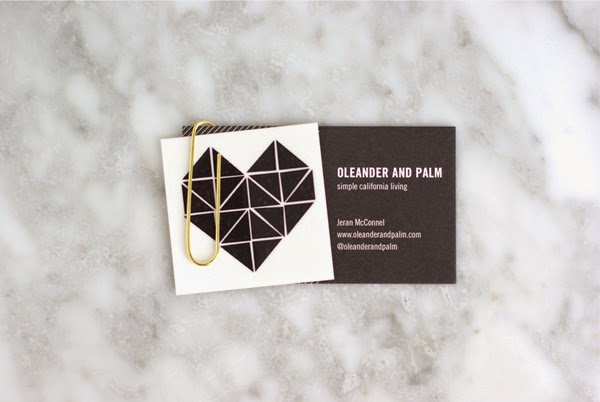
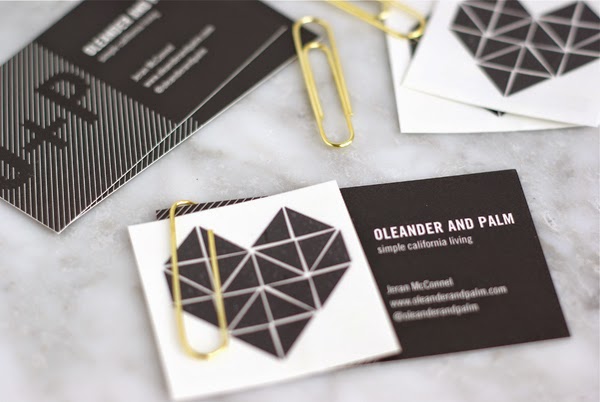
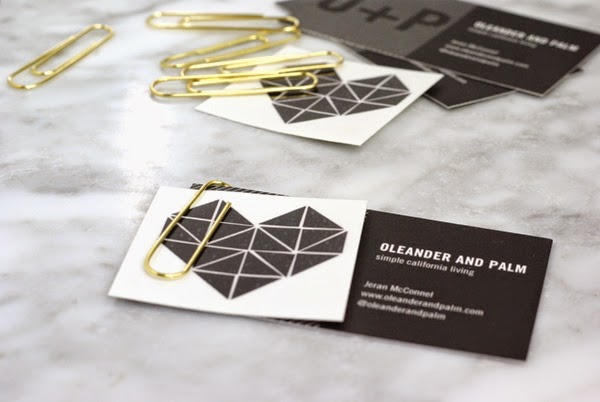
I’m not a good business women, I wish I was. But, I do think a GOOD, unforgettable business card is important, especially if you are trying to sell yourself as a creative person. It’s all about first impressions and something that folks won’t forget. Over the last couple of years, I’ve tried to come up with some unique ways to introduce myself through my business cards.  This Summer I gave out Geometric Heart Cutout Business Cards, and last year I made Lavender Sachet Business Cards and Baker’s Twine Business Cards. But, my latest business card, might be the most fun.

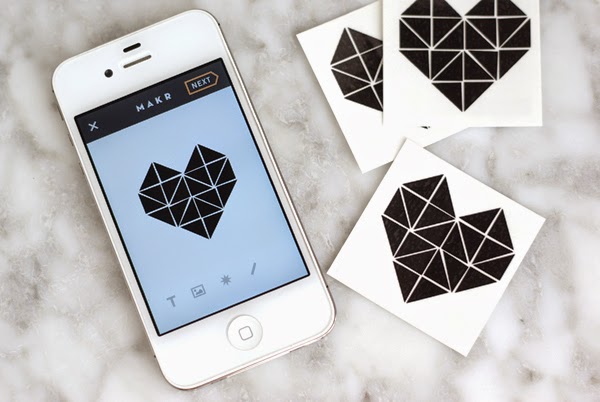
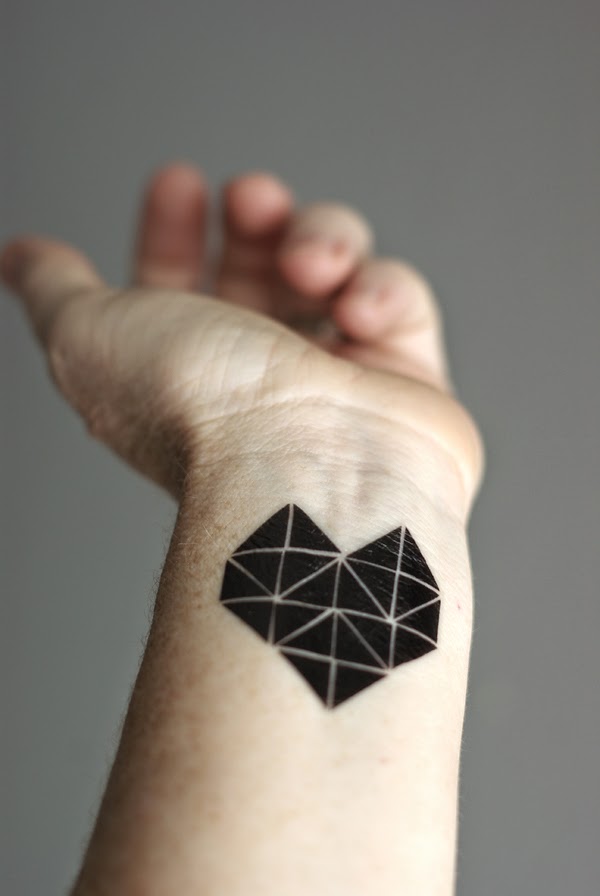
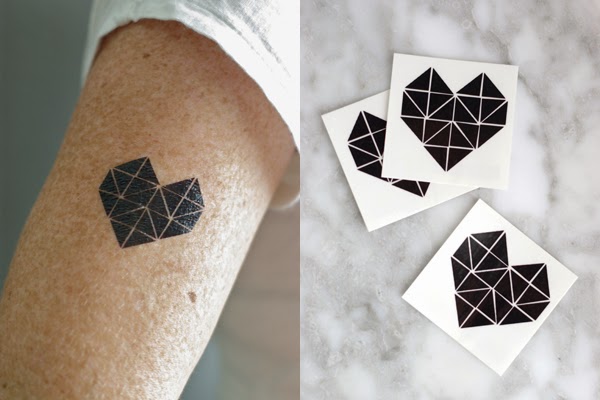
With the new Makr App for the iphone, you can create custom temporary tattoos. How cool, right? I’ve had fun with the Makr App for the ipad, making custom book plates and art labels. But, now you can design and order totes, tattoos, and t-shirts right from your iphone (these are exclusive to the iphone version).

And if you are a creative person and want more folks to have access to your designs, the Makr Marketplace might be a perfect fit.

The possibilities are endless with all the great fonts, images and details already available on the app. You can start with an already made design and tweak it so it’s just perfectly yours, you can start from scratch and create your own design or logo using the Makr tools, or you can simple upload your own image (that’s what I did).

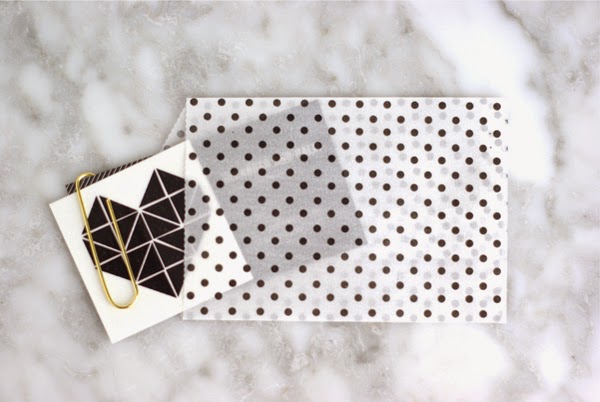
I simply uploaded a jpeg. of my geometric heart image (which has kind of become my logo or branding symbol) and then just adjusted the size and hit order! So easy. The arrived at my door in just a few days. I attached the tattoo to my business card with a shiny gold paper clip and slipped them into tiny vellum bags.

You’re going to want this app on your phone. It’s such a great tool for business owners or just creative folks who want to make really cool custom stuff for their parties and events.  

DIY / etc.

DIY Painted Pineapple Tote Bag

August 22, 2014

I’m not done with pineapples yet.  I loved them last Summer, I still love them this Summer and I hope they stick around for next year.

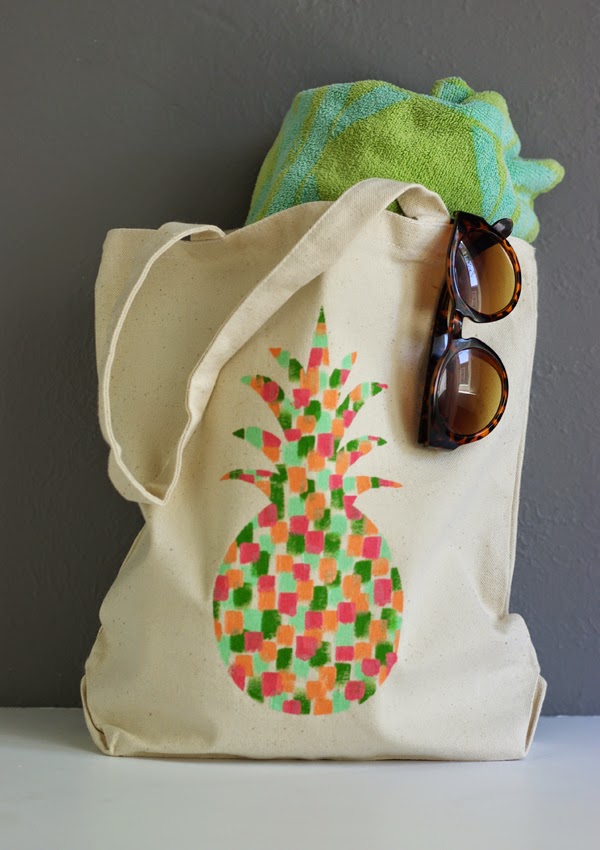
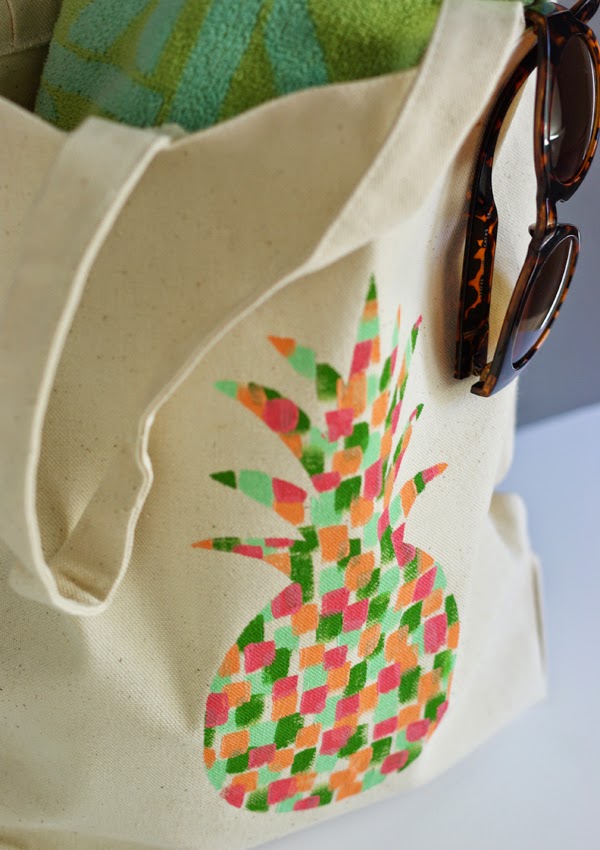
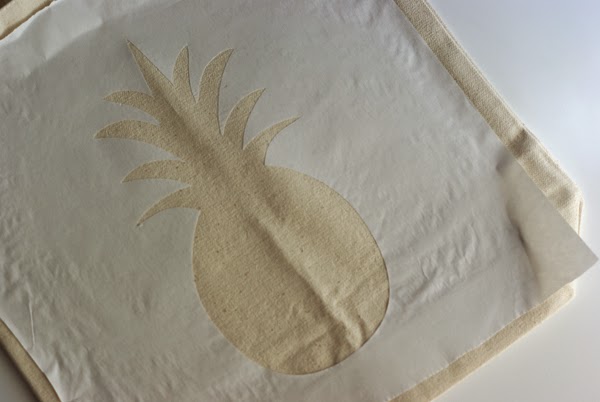
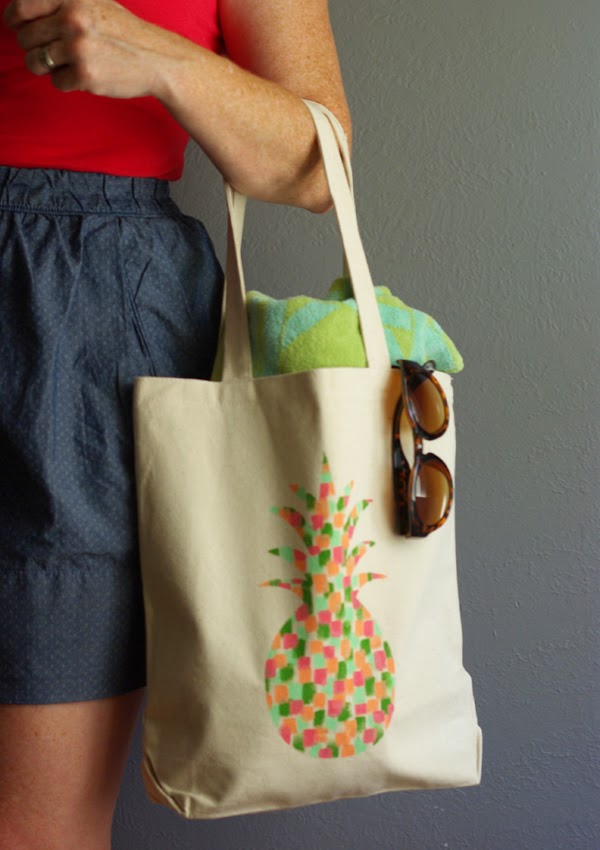
I’ve taken my simple DIY Painted Pineapple Print and turned it into a little tote bag.  My Cricut Explore Airâ„¢ machine made it super easy to cut a freezer paper stencil of a pineapple out.

I participating in the Cricut Design Space Star challenge. This month’s them is Fashion and Gear. So, if for some super lucky chance I make it to the top 10, you guys gotta help me out by voting for my bag.

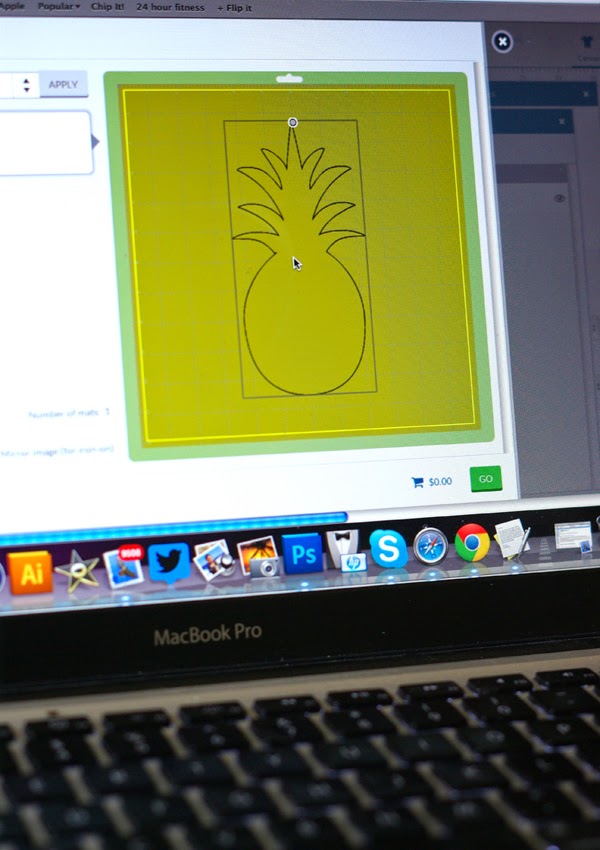
So, here’s how I did it.  First I logged into my Cricut Design Space account and started a new project with a simple 12×12 mat.  I inserted my favorite pineapple image, it’s from the cartridge called Serenade.  The great thing about Design Space is that you don’t have to buy the whole cartridge anymore, you can just buy one image.  Ok, so once I have the image big enough on the mat I simply hit cut.  You will be see a preview of the cutting mat and the pineapple will be in the top left hand corner of the mat.  Click and drag the image over to the center of the mat.

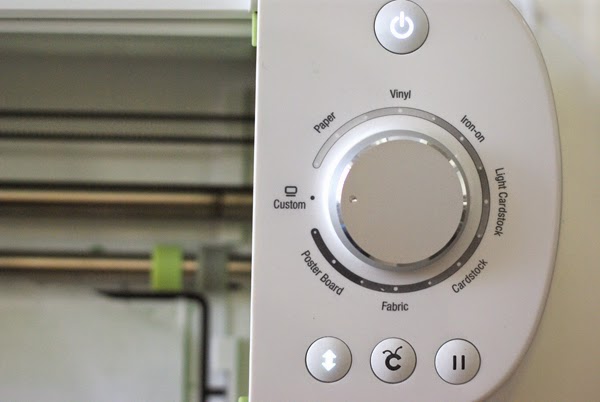
Place a 12×12″ piece of freezer paper on the cutting mat, shiny side down.  Load the mat, turn the dial to custom and then on the custom pull down menu select vellum (that’s the closest material to freezer paper and it works perfectly).  And then hit GO!  In a matter of seconds, you’ll have a beautifully cut stencil.

With your iron set to no steam, iron on the stencil, shiny side down in the center of your bag.  I bought this simple canvas bag at Hobby Lobby for just $2.99.  
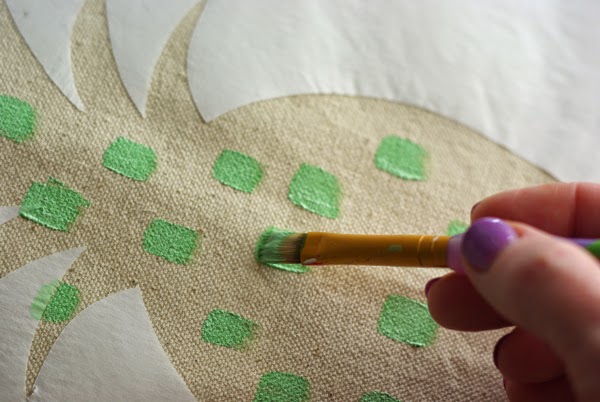
Now the fun begins, select a few bright colored craft paints, I used for for my bag.  I use Martha Stewarts paints, if they are heat set with an iron, you can wash them.  
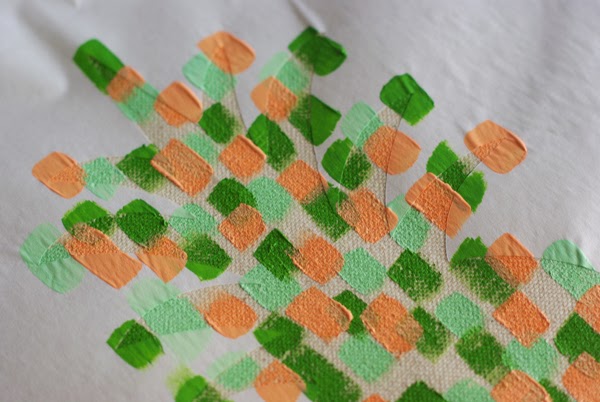
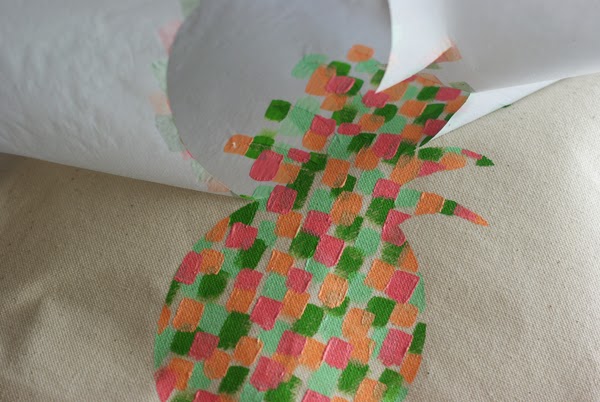
Applying one color at a time, make small brush strokes in one direction over the entire pineapple shape.
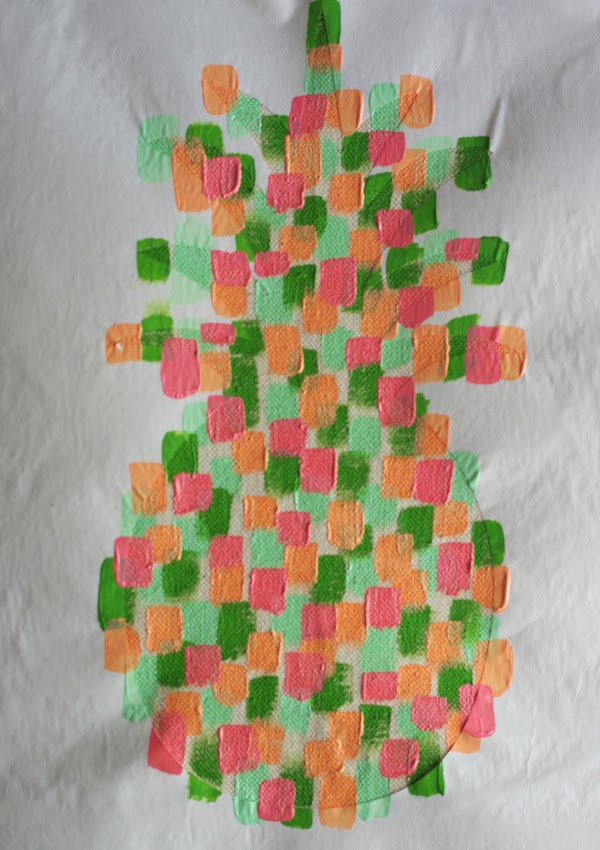
Try to evenly space each color, overlapping them some.
Allow the paint to dry completely and then gently remove the stencil.
So great, right?  A nice clean line.  The freezer paper really makes a great seal for your stencil.  Put a small sheet of parchment paper over the painted pineapple shape and iron to set the color (about 1 min.)  Now your bag is ready to head to the beach or pool and if it gets dirty, no worries, just throw it in the wash!

I am a member of the Cricut Blogger Network. I may receive prizes in exchange for my winning projects. Even though I am not being directly compensated for these posts, I am under consideration for a prize with Cricut Design Space Star. All opinions are 100% my own.

DIY / etc.

Table Runner Made with Nate Berkus Fabric

August 21, 2014

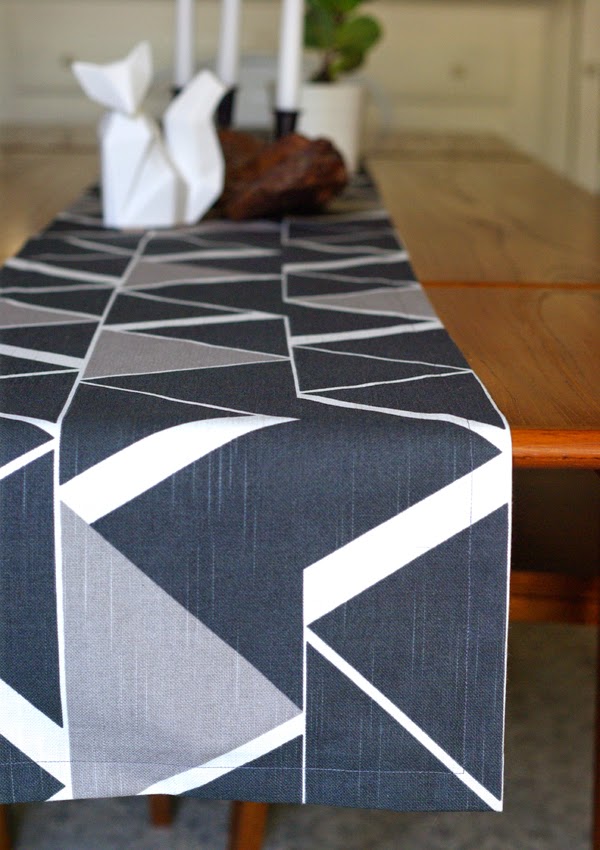
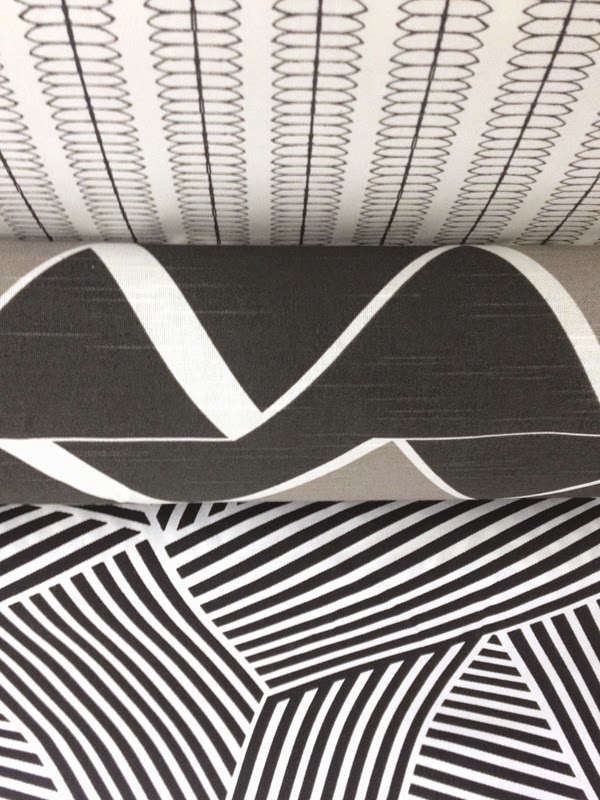
As soon as I heard that Nate Berkus had a new fabric line at Jo-Ann Fabrics, I was in my car heading to the store.  You guys, Nate knows what he’s doing.  I know this would be fabric I couldn’t resist.  Yep, Nate gets me, grey triangles, yes please!!!!
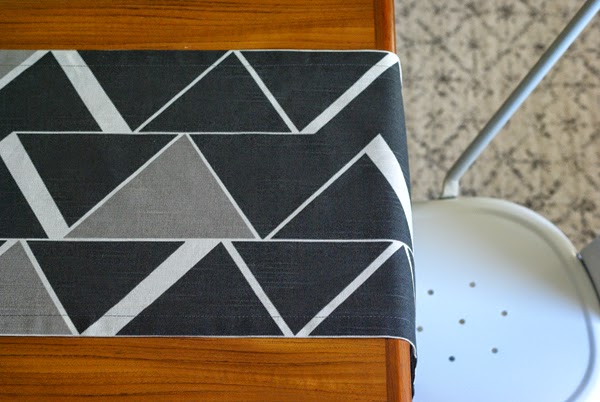
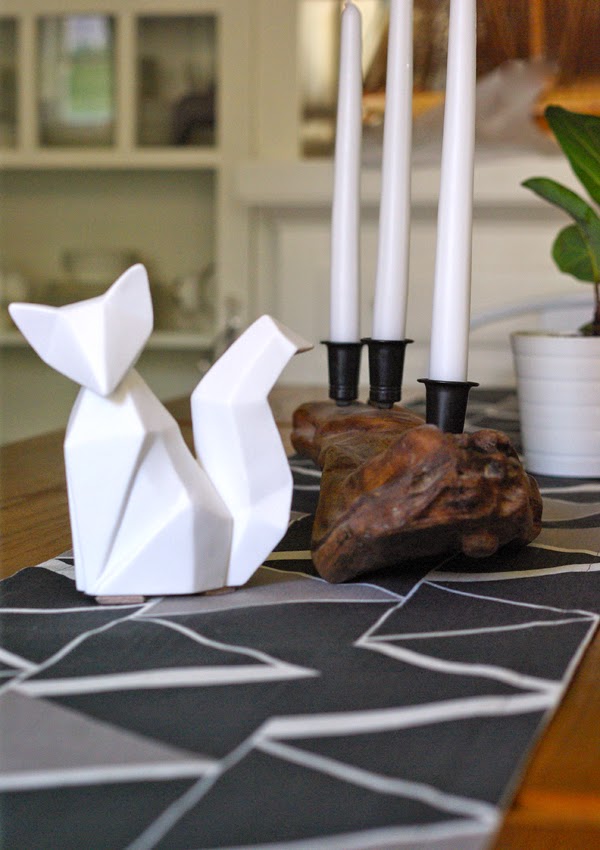
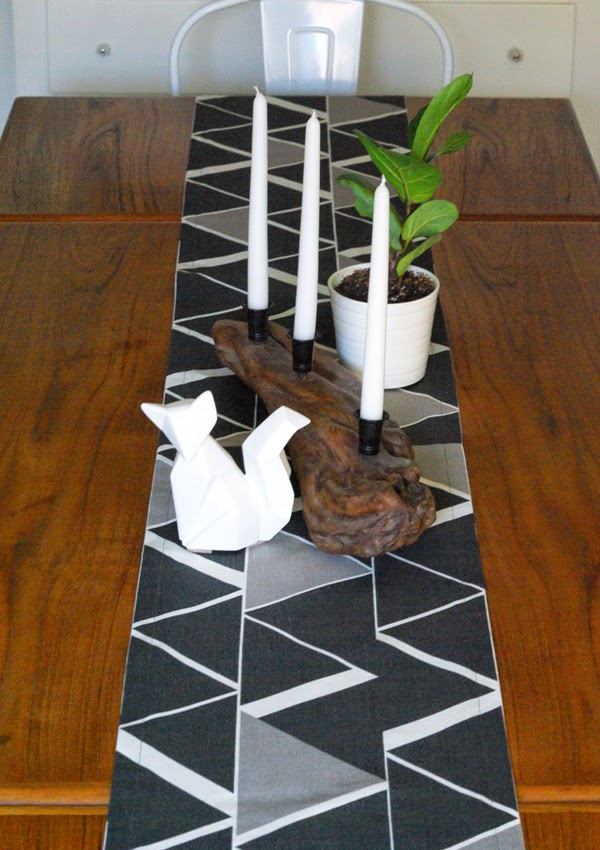
I bought 1 yard and made a long table runner for my new dining room table in about 30 mins.  I cut the yard in half and joined the fabric in the center of the runner (if I made it without the join, I would have had to have bought over 2 yards).  It’s a busy enough pattern that I don’t think you even notice the seam in the middle.  Because this fabric has a very linear pattern, I followed the lines and cut an extra 2 inches on all sides, this left my room for a nice wide hem.  I turned the fabric under twice to give a clean finish.  This is just what my table needed.  I love the bold, geometric pattern.  Thank you Nate!
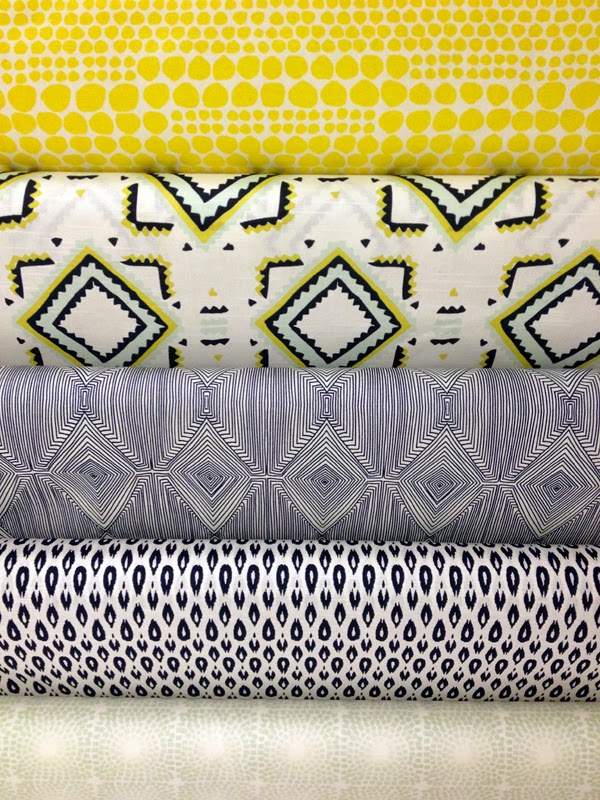
Here’s a look at some of the other great patterns and colors in Nate’s line.
Maybe I need more yellow in my life!
And I’d be more then happy to have all three of these black and white combos in my home.  
P.S. This is not an ad or a sponsored post.  I just really love Nate and everything he designs.

DIY / etc.

White and Wood Chair

August 19, 2014

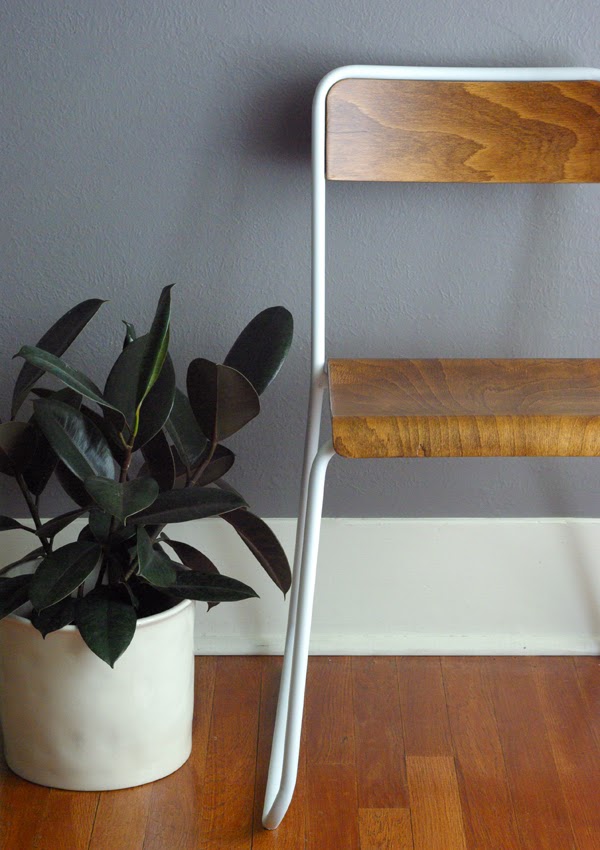
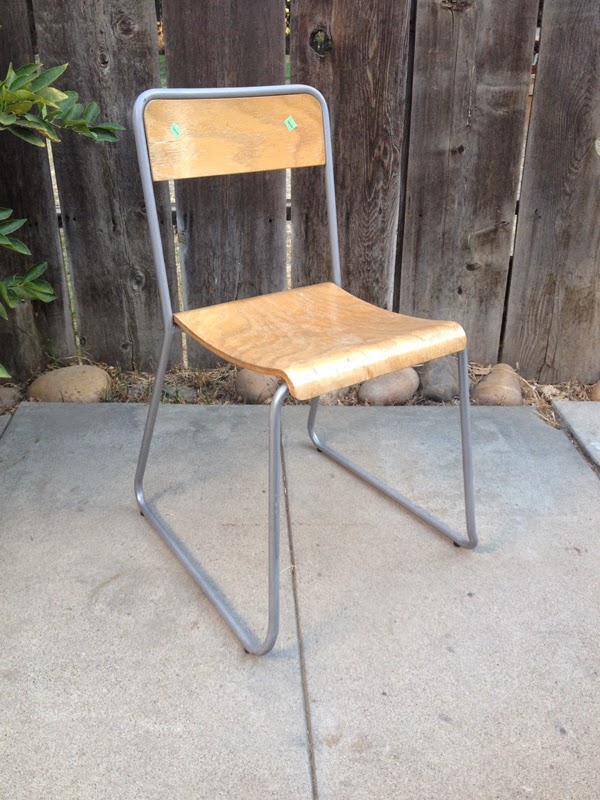
I spent the weekend getting ready for the first day of school (which was today) and refinishing a couple pieces of furniture. This little chair was a fun, quick fix. I bought this chair for $4.99 at my local Goodwill. The yellowy light birchy wood look is so very 90s to me.  Light wood paired with the silver colored metal seems dated as well.  
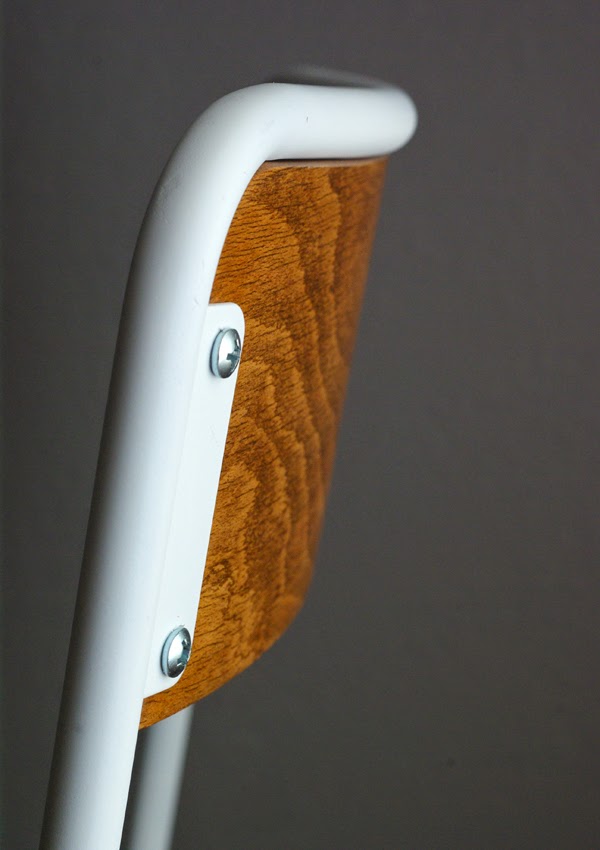
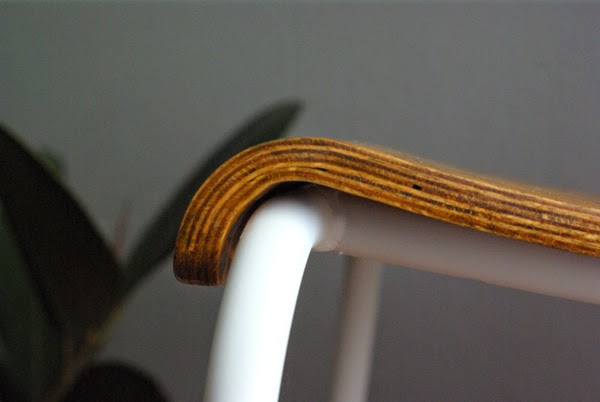
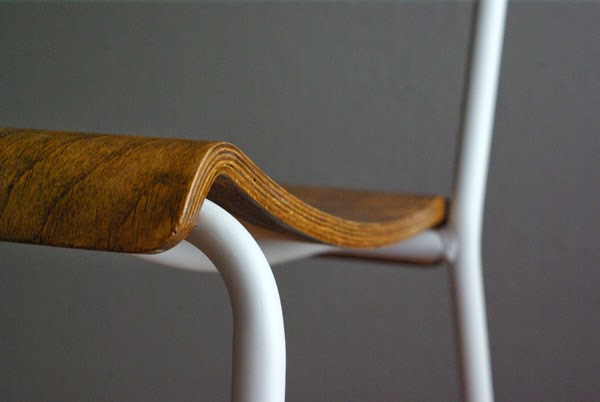
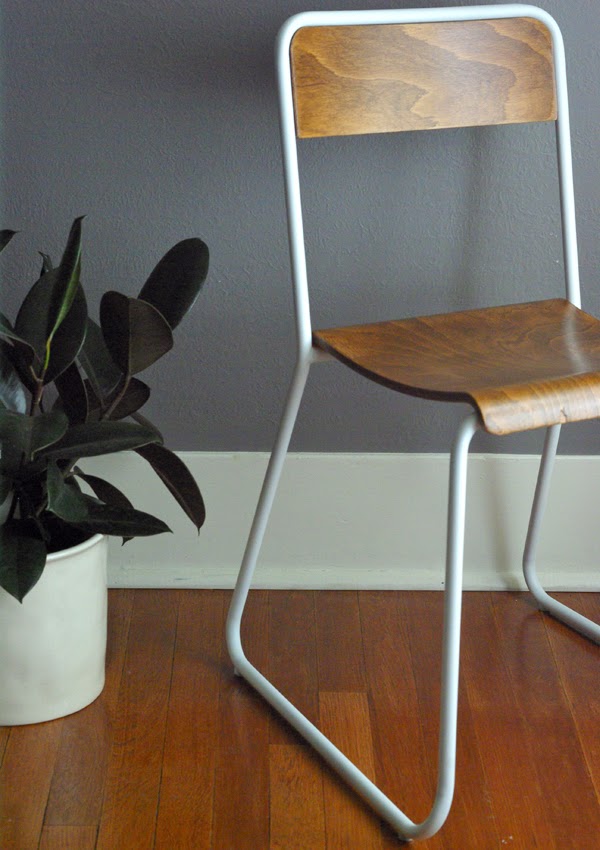
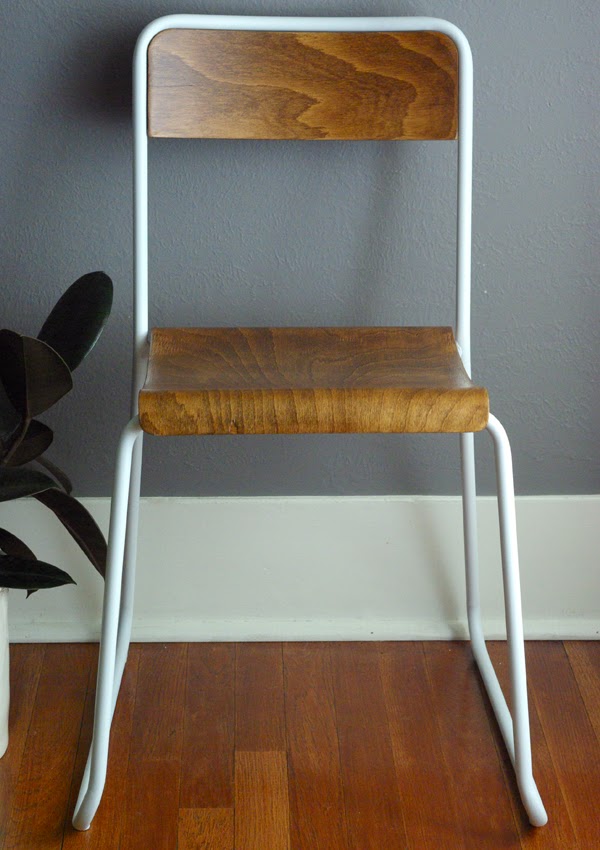
I bought this chair for the bent plywood and the airy shape of the metal frame.  At first I thought I might just paint the whole thing a bright color.  But, then I decided that with a little stain, the grain in the seat and back might look really sharp.  So, I sanded the seat and back down to the bare wood and then used a dark walnut colored stain.  I sealed the wood with a almost matte finished water based varnish.  The frame got a good sanding and a fresh coat of flat white spray paint. 
I replaced all the screws, most of them had been pulled out. When I replaced the stripped screws, I used a couple broken off toothpicks in the holes to hold the screws in place. It’s a great trick when screws get pulled out of hingers or cabinet doors. 

See what I mean about the shape? It’s modern and clean. And now with the white and darker wood, I love the higher contrast.

Before
After