Category Archives: DIY

Design / DIY

Heart Cross Stitch for the Wall

January 13, 2014

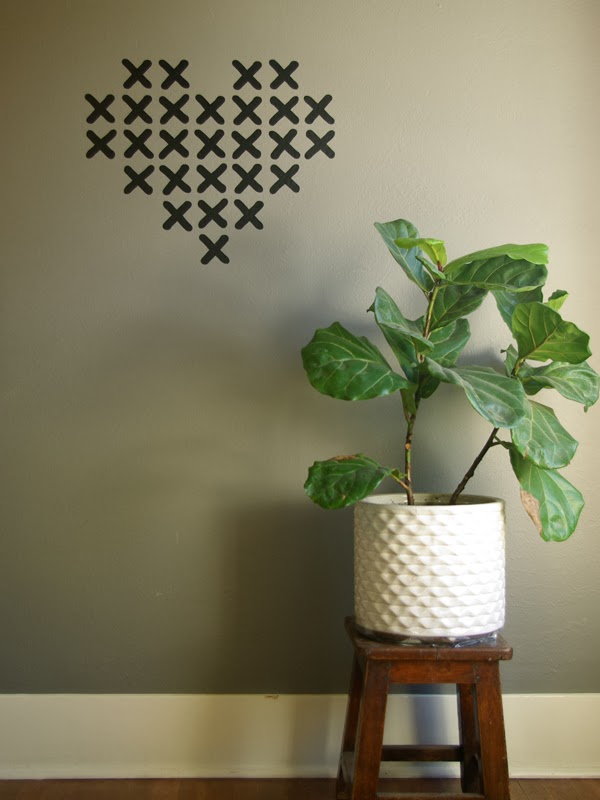
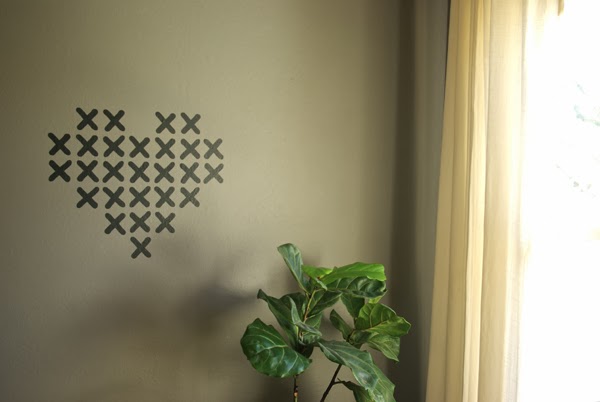
Well, it’s almost that time of year.  Valentine’s day will be here before we know it.  I decided to make a large cross stitch heart for my wall this year.  I loved last year’s Giant Geometric Wall Heart, but it’s time for a new take on the symbol of love.

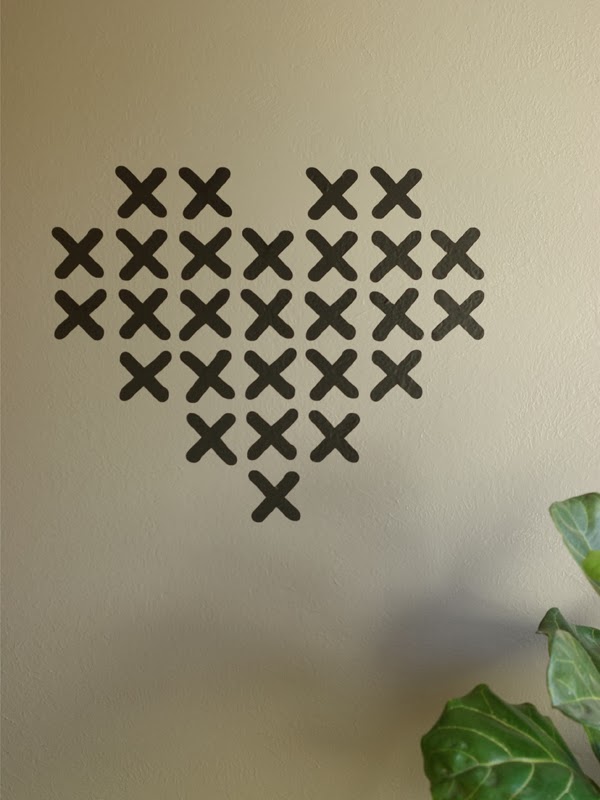
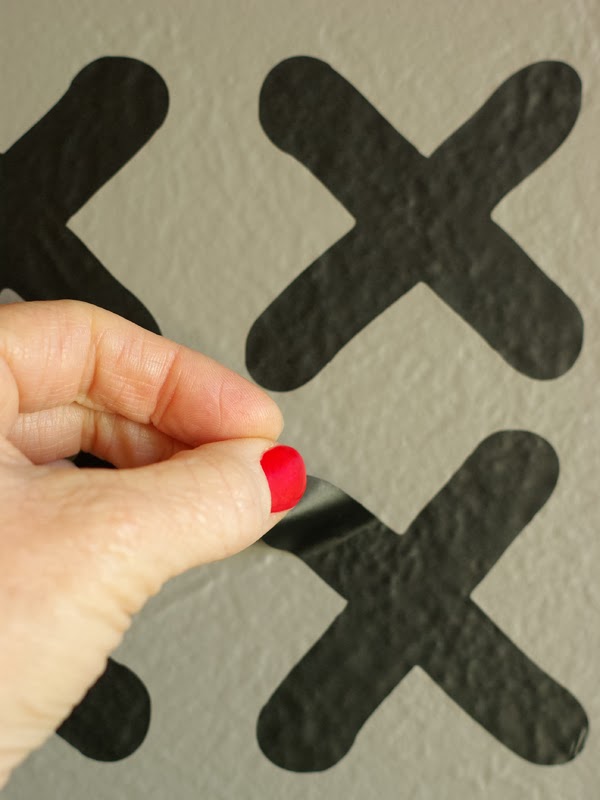
A while ago I can across this gorgeous painted cross stitch flower.  I’ve been wanting to replicate this in some way in my home, so I took a simple shape, a heart,  and made mine a temporary installment.  I made my crosses with Cricut vinyl (like my triangle wall).  Using two 12×12″ sheets of black vinyl, I cut out 27 crosses to make this heart (I fit 16 on each sheet).  It looks totally permanent, but as soon as I tire of it, I can take it down in seconds.

This would be really cute in pink or red as well.  But, I’m sticking with my black and white theme that I had for Christmas.  What do you think?  Is it cute, without being too cutesy and girly?  You know I like a theme, so you’ll be seeing more of this cross stitch pattern for Valentine’s day 2014!

Design / DIY / Find

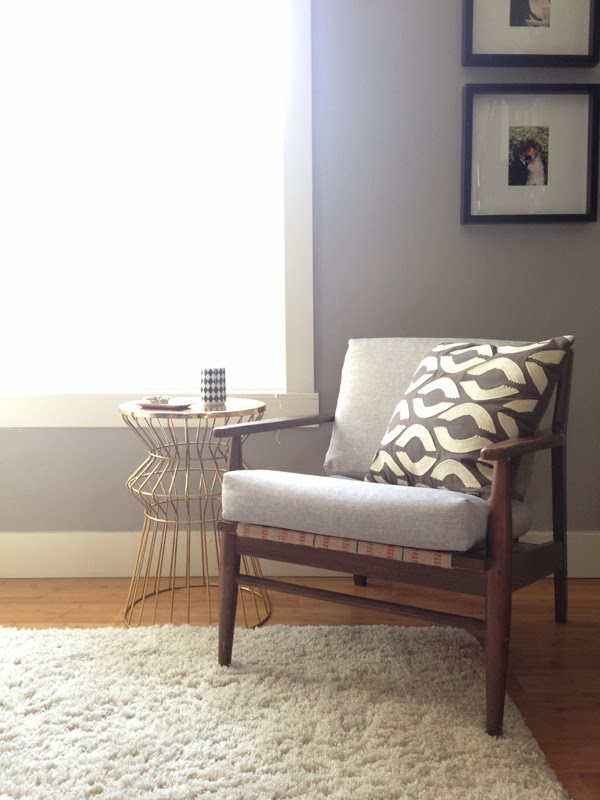
Mid Century Chair Recovered

January 9, 2014

Remember my orange chair in need of some love?  Well, I finally look some time this week to recover the cushions.  
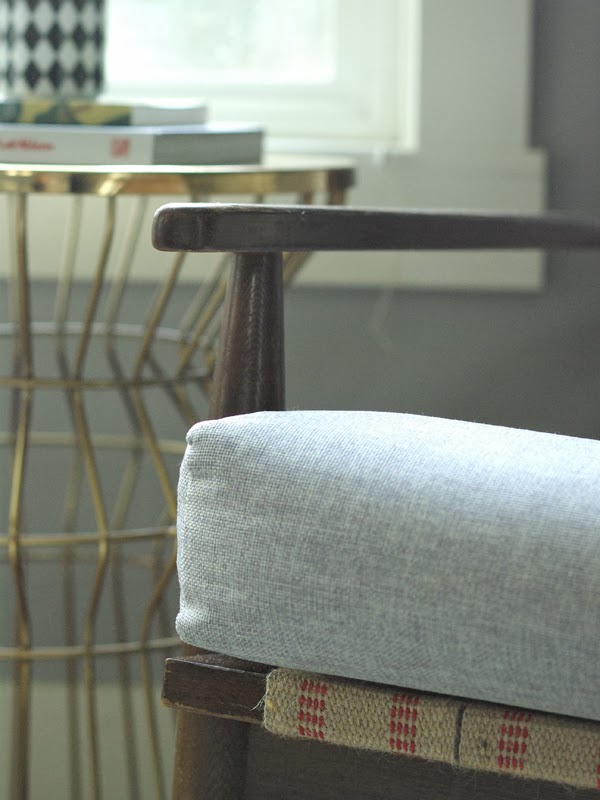
I had wanted to find some fabric with a little funk (like metallic gold polka dots), but no such luck.  So, I decided to go neutral and classic with grey linen.  
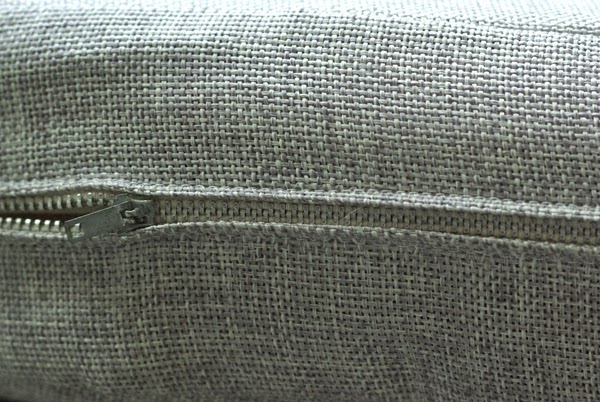
And it was a very inexpensive job.  I bought this fabric for $5 a yard at a wholesale fabric place.  I decided to reuse the old zippers and even the foam inserts.  I simply took apart the old cushion covers and then cut my pattern from them.  I did wrap the foam in some new batting to soften the edges.  So, in total, this little makeover cost me $10.  I’m feeling pretty good about that.  I can add funk (pattern and color) with pillows and maybe a throw.  

I’m liking this little corner in my bedroom even more now.  

DIY / etc.

DIY Colorful Cube

August 26, 2013

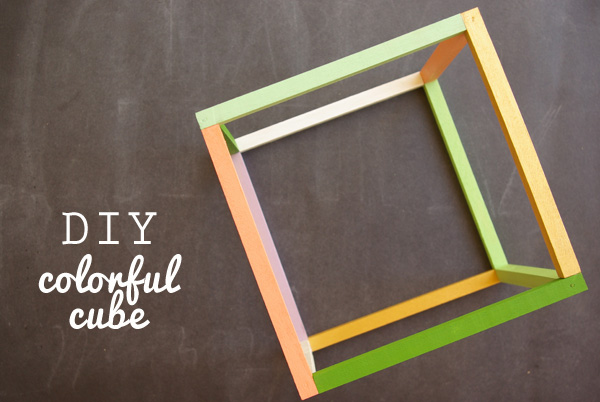
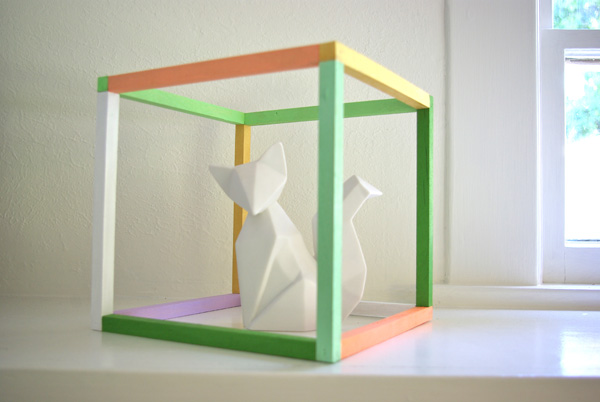
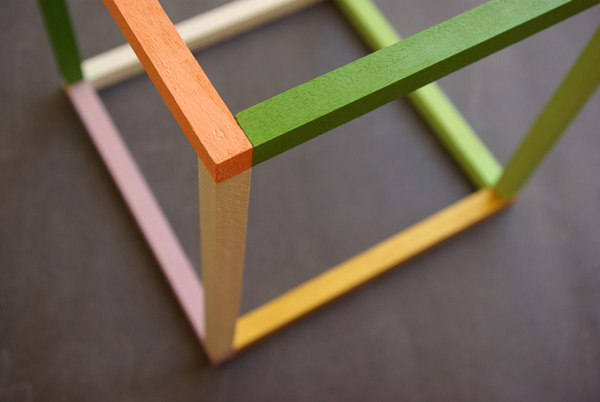
Geometric shapes and designs are everywhere right now. And I can’t get enough of them. They bring a modern, angular edge to any space.  You might have noticed this colorful cube in my new living room (which I shared on The Land of Nod’s blog, Honest to Nod). The cube adds a subtle splash of color and interest to my mantel without feeling heavy or bulky. I took colors from my Framed Textile from Yemen and used them randomly on my cube. 
This is a simple little DIY that requires very few materials and just about an hour of your time.  So head over to Honest to Nod for all the details and instructions.  
Are you loving geometric shapes like I am? 

Design / DIY

Gold Polka Dots

August 21, 2013

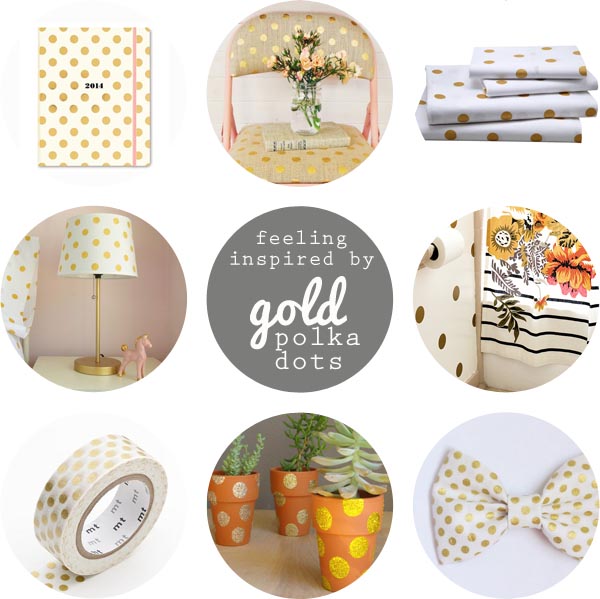
I’m lovin gold polka dots these days. I’ve put together a little round up of some shiny spotted treasures.  A couple are my on DIY’s and the others are just too fabulous not to share. This week I picked up some gorgeous gold dotted burlap at the fabric store. I don’t have a project in mind for it yet, but how cute is the folding chair recovered in it? You know, I might have a fabric hoarding problem, I often buy fabric with absolutely no idea what I’m going to use it for. Sometimes you just come across something soooo fabulous, you just can’t pass it up. That’s how I felt about the gold burlap, what if I go back and there’s none left? Better safe then sorry. 
Are you with me? Aren’t gold polka dots great? They are fancy and playful all at the same time.  

Design / DIY

The Girl’s Room

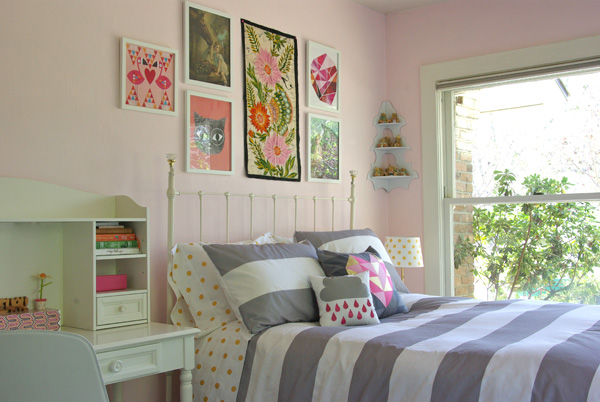
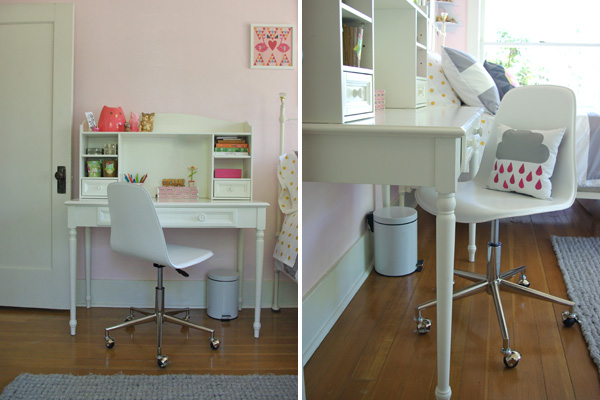
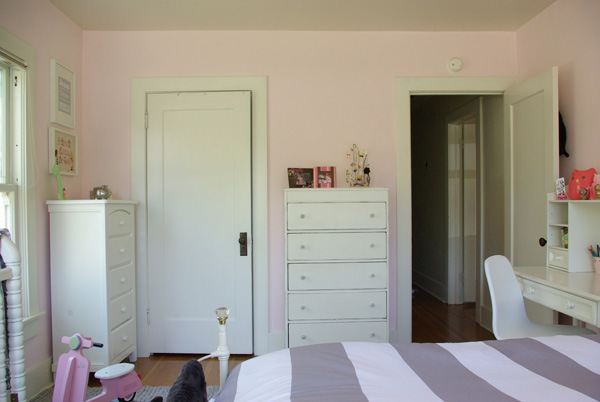
I was going through my Home Tour page here on Oleander and Palm and realized that I didn’t have a good link to the girl’s bedroom. I shared the reveal to the room on Land of Nod’s blog Honest to Nod a while ago, but I thought it would be nice to have access to the pictures here as well.  Some of you may have missed that post, and I LOVE this room.  So, here it is!
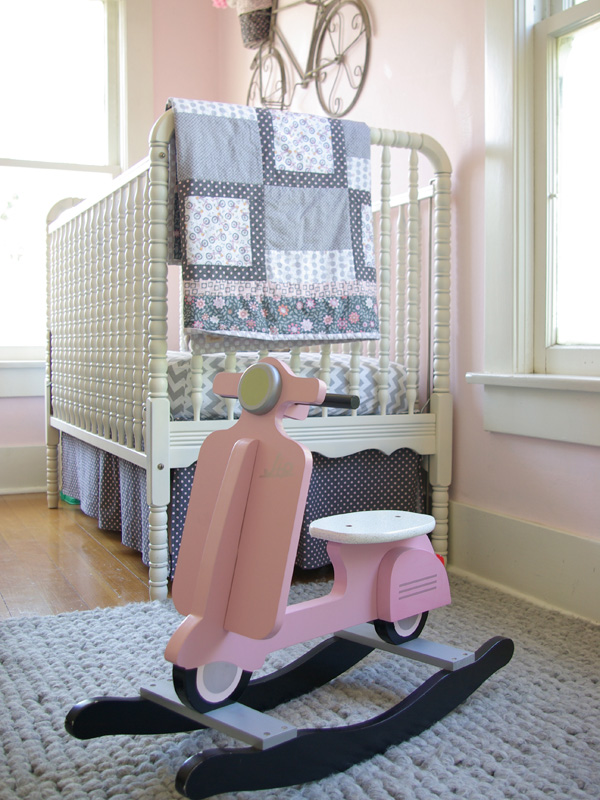
My girl’s both have vintage beds. Denali’s is a full sized metal frame from Lonnie’s grandparent’s farm and Olivia’s crib was my Jenny Lind crib from when I was a baby. Obviously our house is also old, but I think the space needed a splash of modern and playful.  
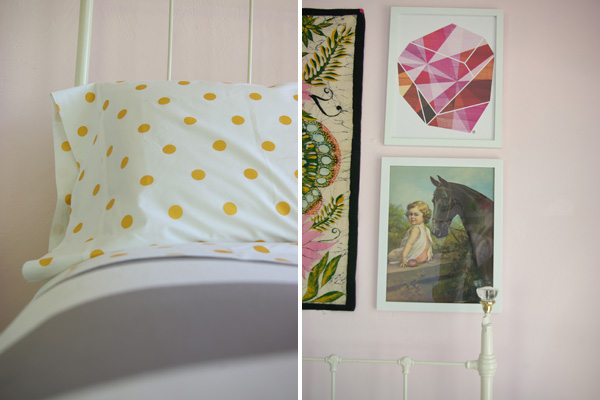
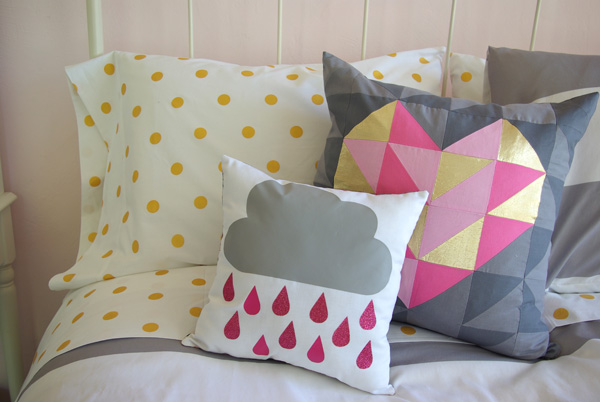
I ended up getting all the pieces on my inspiration board except the storage bench and the new duvet cover.  I decided there really wasn’t room in the space for another piece of furniture. And after getting the adorable gold dot sheets, I was totally fine with keeping her old duvet cover.  The sheets added spunk and a fresh vibe to the bed.  
Taking what we already had and mixing in the new fun things from The Land of Nod, made all the difference.  Even though it has a lot of familiar old pieces, it feels like a whole new space.
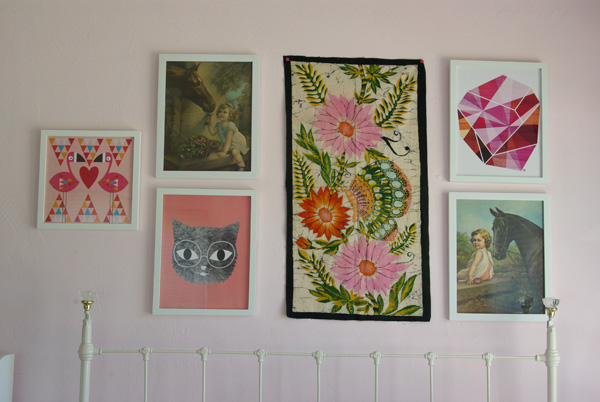
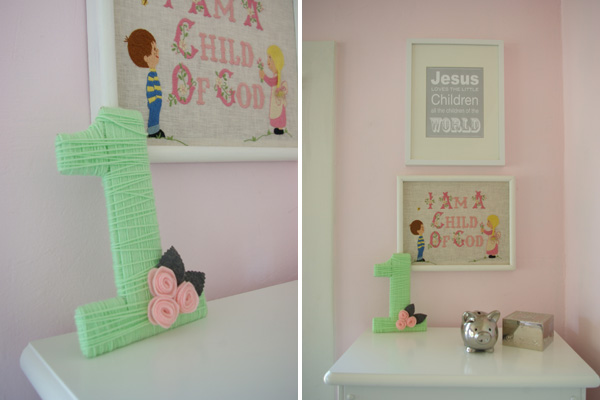
I love the juxtaposition created by pairing my Grandma’s vintage horse prints with the modern art pieces like The Amethyst.  I played around with the arrangement of art pieces for quite a while before I decided on this arrangement.  I think the colors and shapes play so nicely together.  
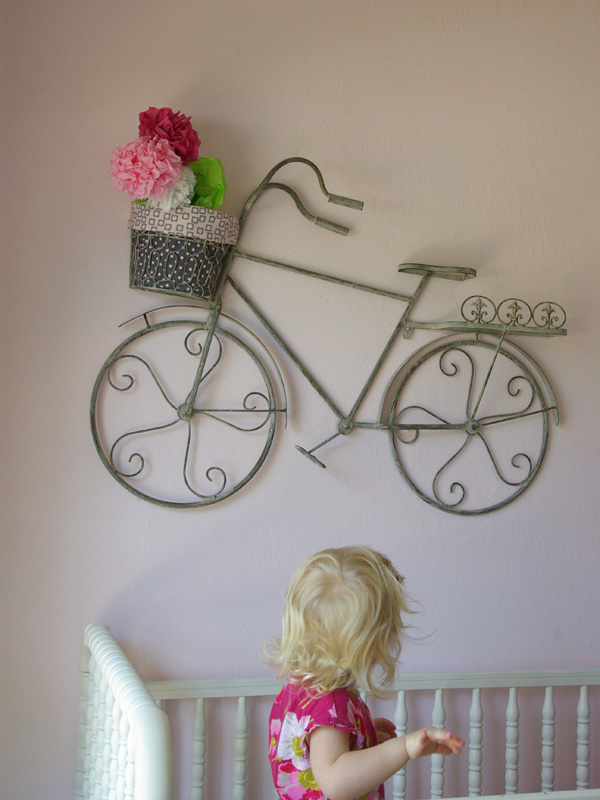
The metal bicycle that hangs over the crib was a baby shower gift from a dear friend.  I made a little basket liner and some tissue paper flowers for it.  The bicycle goes well with the quilt my mother in law made for my baby.
I made a couple new pillows for the bed.  The geometric heart is my personal favorite. I made a giant version of this pattern for Valentine’s day, it’s fun to have a miniature version that I can keep in my home all year long.  
The new leather chair is fabulous.  I really hope when my daughter moves away for college, that this stays with me.  It really added to the modern look I was hoping to infuse into the space.   An extra bonus is that it’s very comfortable.
My oldest daughter has a collection of porcelain birthday bears that her Grandma has given her.  I had them on a couple little shelves above her dresser, but I found them a new home in the corner of the room on a shelf from my Grandma’s house that I refinished.  Now I’m looking at the space over the dresser thinking that a mirror would look pretty fantastic (this one in particular).
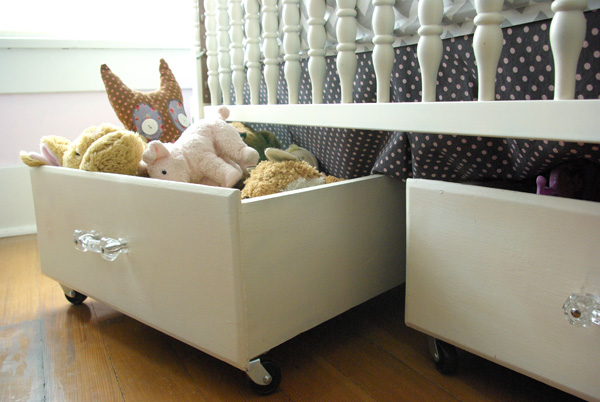
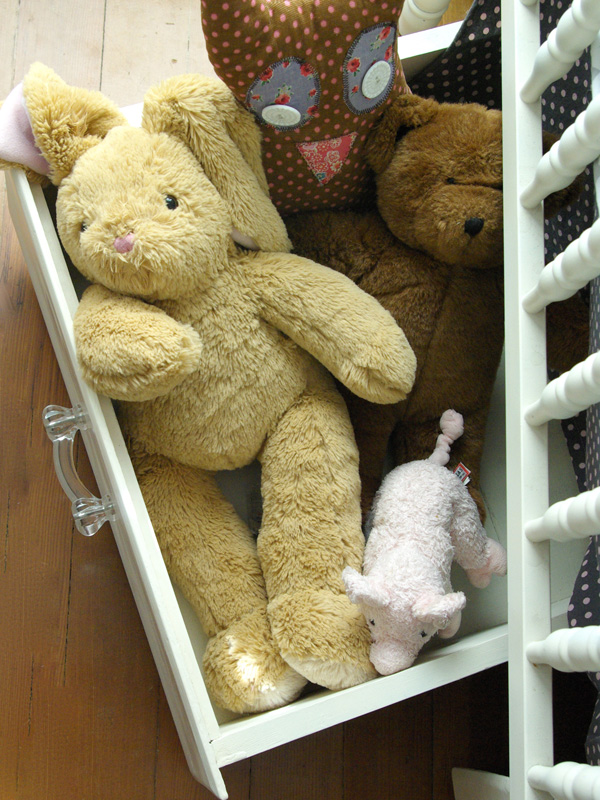
To help with storage issues I made these under crib storage bins.  I found these two wooden drawers are a garage sale, I believe I paid $4 for each of them.  I gave them a coat of fresh white paint, added casters to the bottom, and put a fun glass pull on the front.  Now they slide easily under the crib and help keep the clutter at bay.
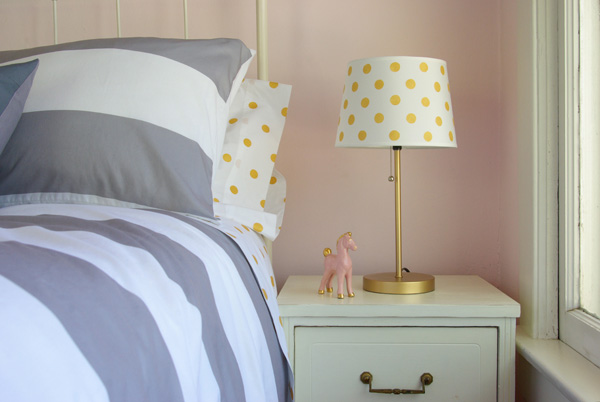
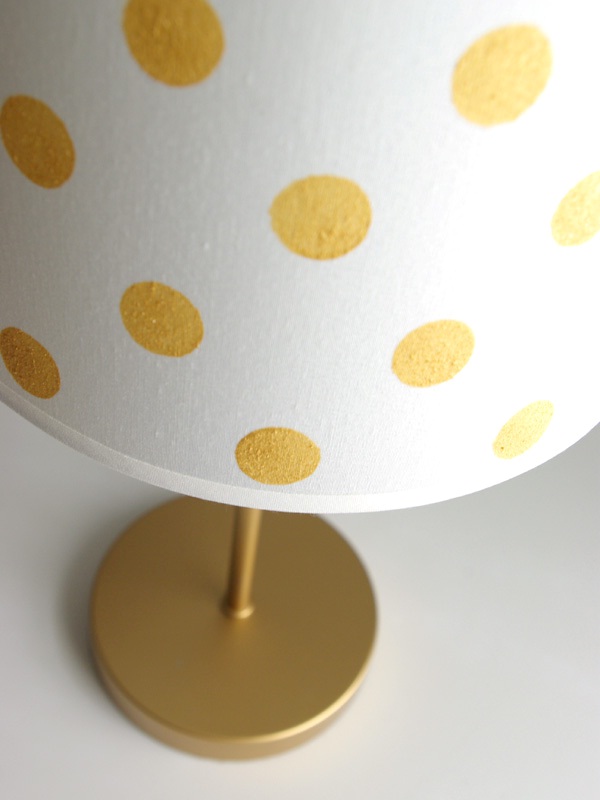
I gave their old lamp a facelift with a coat of metallic gold paint and a new shade to match the sheets.  This lamp shade is an easy DIY.  I took an inexpensive white lamp shade, did a little measuring and taping and then I painted on polka dots with metallic gold paint. 
So far the room is working out pretty great.  There are challenges with a toddler and a tween in the same space.  But this is what we have to work with, so we’re making the most of every square inch of this space.   

DIY / etc.

Pineapple Tote Bag

August 10, 2013

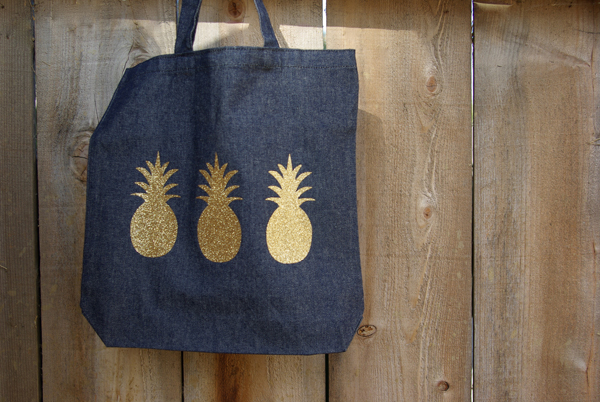
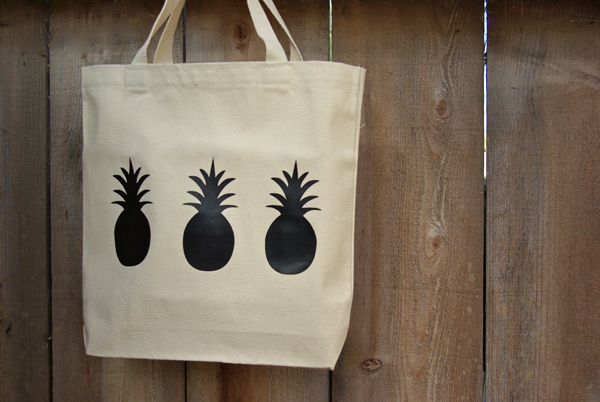
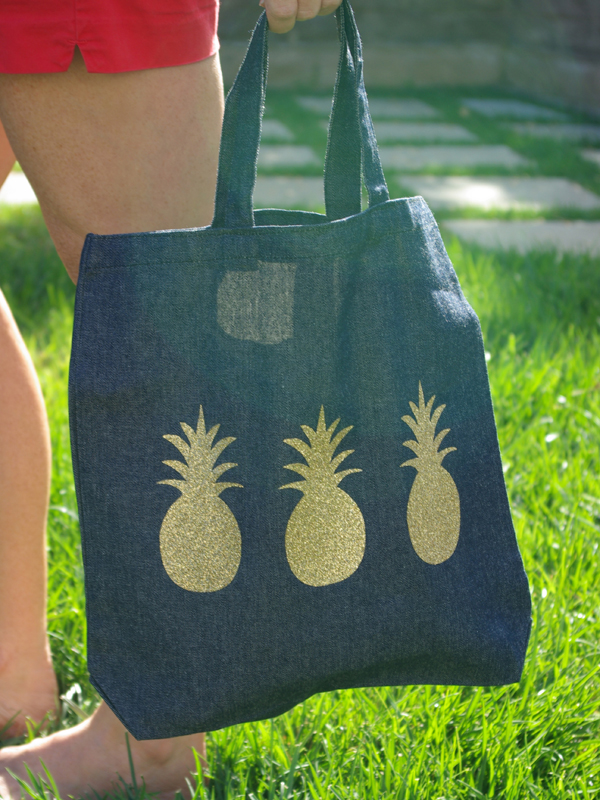
In keeping with my pineapple theme this week, I’ve made a couple pineapple tote bags. Pineapples are such classic motif and they add a touch of summer to these simple pre-made bags.

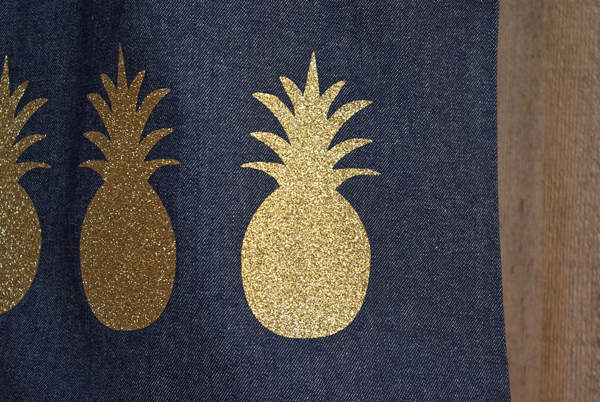
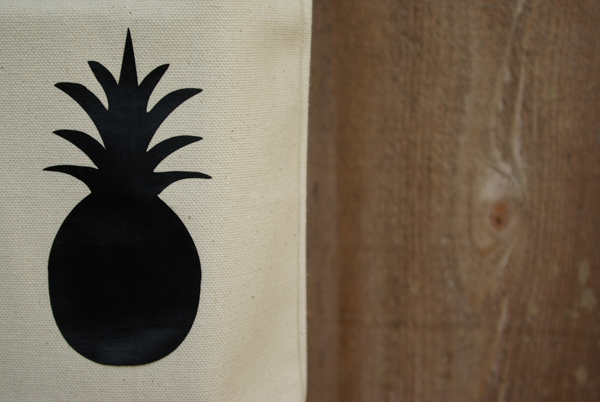
This is an easy craft for my all my Cricut friends. I purchased a couple canvas bags in cream and denim and my local craft store.  Then I used the pineapple shape from the Cricut cartridge, Serenade, and cut out 3 of each shape on Cricut Iron-on Vinyl. And finally, just as simply as it sounds, I ironed on the vinyl pineapples. The glittery gold on the denim is my fave, but the black on cream is pretty sharp as well.

For more pineapple fun, check out my Pineapple Chicken Rice Salad and the Window Shopping I did for Pineapple Pretties.

DIY

Framed Textile

August 6, 2013

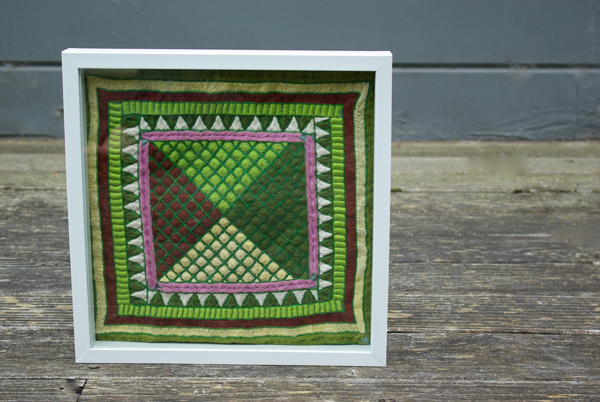
I’m working on gathering things I want to hang in my new, more modern living room. I’m ready to change a few things up. Sometimes you just tire of things that you once really loved.  But, I don’t want anything generic, I want it to have some meaning or history on my walls.

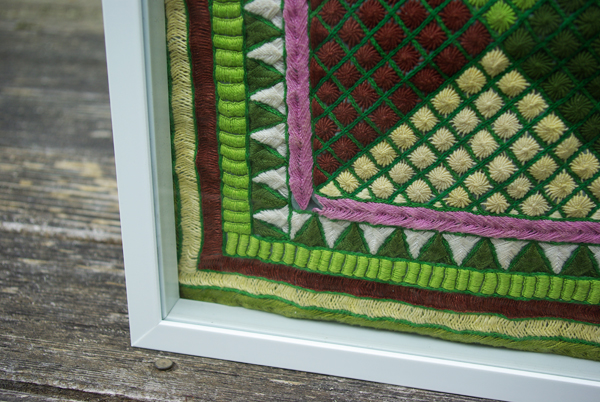
I’ve had this beautiful handmade textile for years now and I’ve done nothing with it.  It’s sadly sat in my closet for way too long. I bought it when I lived in Yemen a few years ago, when I was living there. It is entirely hand made by local woman. Actually all the proceeds went to the woman that made these specific pieces.
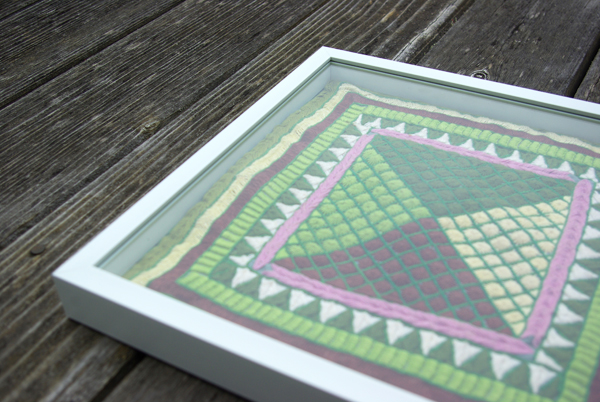
I’ve loved the colors and patterns in this piece, but just wasn’t sure how I should display it. It’s not quite square and I really didn’t have the money to invest in getting it stretched and professional frames. So, I DIYed it and I’m really ok with my $10 shadow box frame from Target.  I know it’s not perfectly smooth and flat in the frame, but I like that it’s finally going to be a part of my home. The frame cleans up the shape and will allow this textile to fit nicely in a group of other frames filled with art and photographs.
DIY / etc.

Keep Kids Creative with Cricut

July 18, 2013

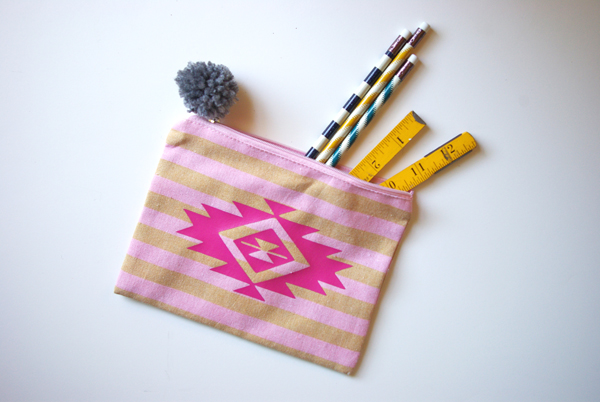
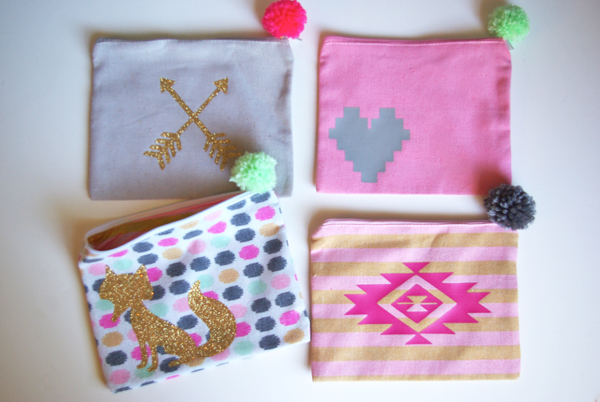
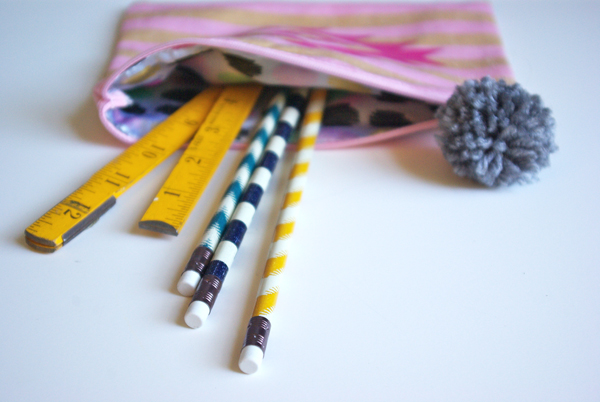
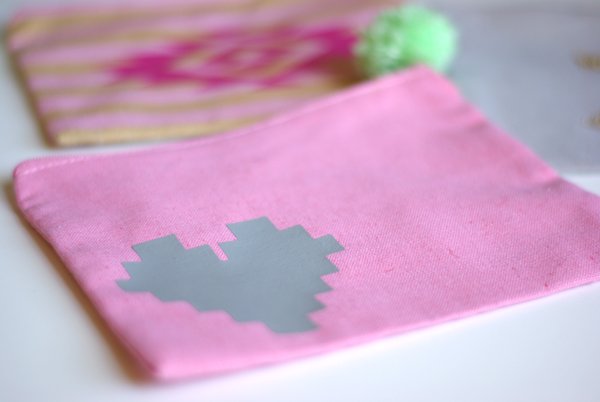
I hate to say it, but before we know it, it will be BACK TO SCHOOL. I’m keeping my middle schooler busy with a little crafting this summer. We’ve made some super cute customized pencil cases.  
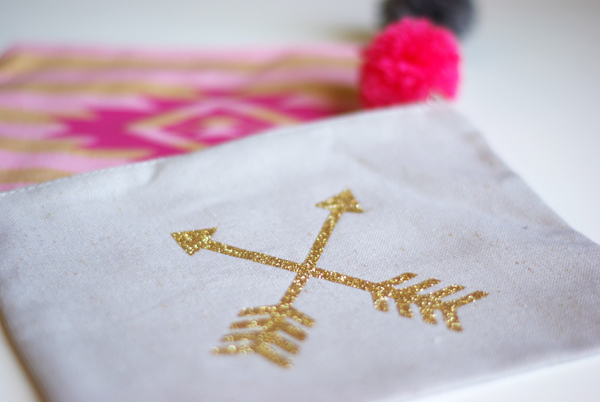
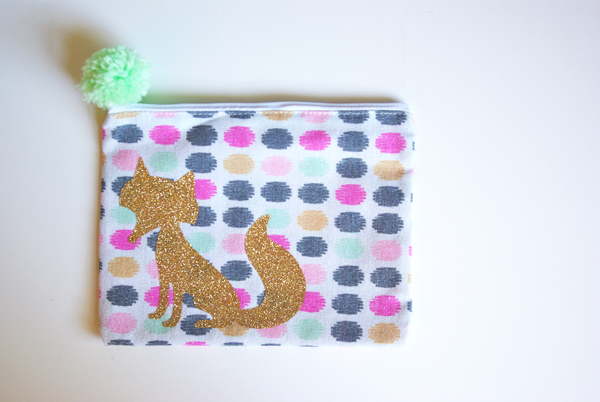
These are soooo much easier to make then they look. I started with these awesome little zippered bags for the dollar section at Target. They come in these 4 cute colors and are lined with fun satin prints. I used my trusty, handy, ever-ready Cricut Machine to cut out the fun decals in not time at all. Cricut has an amazing iron-on product  that I love (and used before to make my Storm Cloud Surprise Pillow). I picked out some trendy, young feeling (my 11 year old approved) designs for these cases. And as a matter of fact, I’m far from young, but love all of these.  You’ve seen the fox before and I’m a huge fan of all things Southwest after our road trip last Summer. I used the iron-on film in pink, glitter gold and grey.
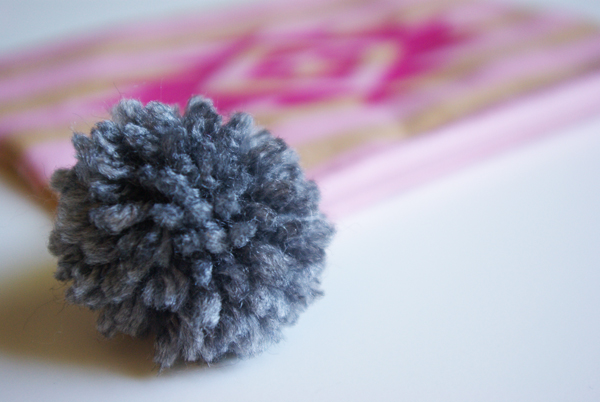
And for a little extra spunk, I added pom poms to the zipper pulls. If you want to keep your kids busy this Summer for hours on end, give them some yarn and a pom pom maker. Denali is going to be proud to pull this out of her backpack when school starts again.
How are you keeping your kids busy this Summer and away from the TV? Crafts are our go-to when we’re suck inside to keep out of the heat.  
If you’d like to know what cartridges I used for these designs, just leave me a comment below. I’d be more then happy to help. 

DIY / etc.

DIY Instagram Hexagon Frame

July 16, 2013

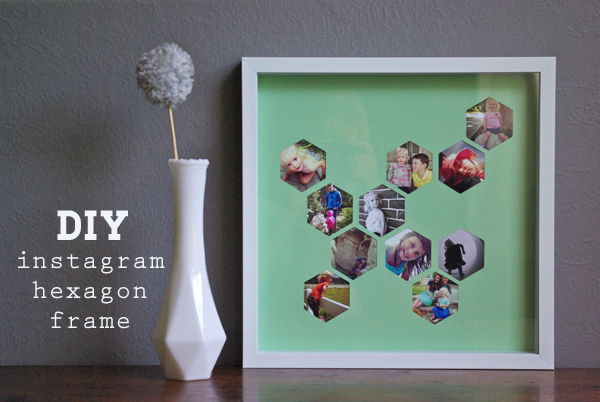
I know I talk a lot about instagram. But because I’m such a huge fan, I’ve got a lot of instagrams that need to be shared. Sometimes I just get frustrated that all my favorite images are just floating in cyber space. I just don’t print images as much as a should anymore. So, I’ve come up with a fun way to display some of my favorites in my home.

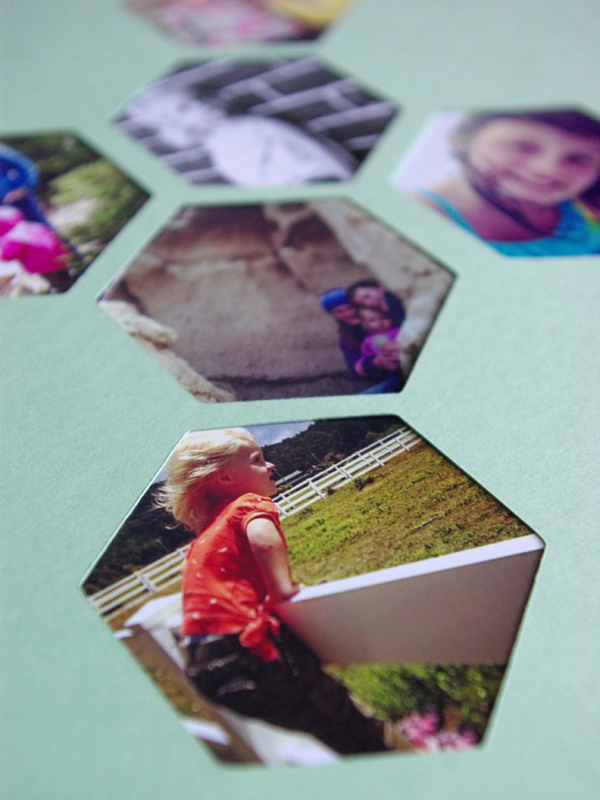
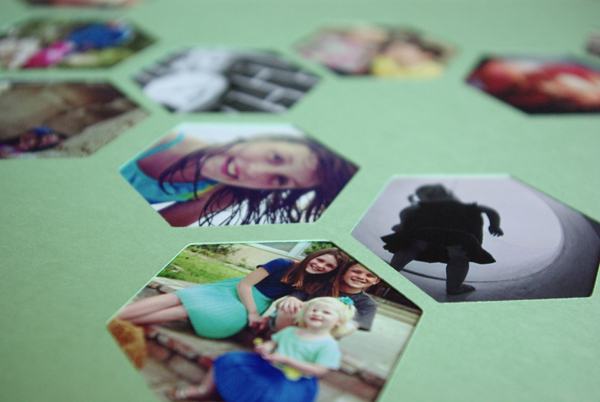
I still have a lot of affection for triangles, but hexagons seem to be the next new hip geometric shape. And really triangles are not a great shape for instagrams, hexagons are a lot more in proportion. Using a 12×12″ piece of scrapbooking card stock and made this custom mat board to frame 11 of my faves.

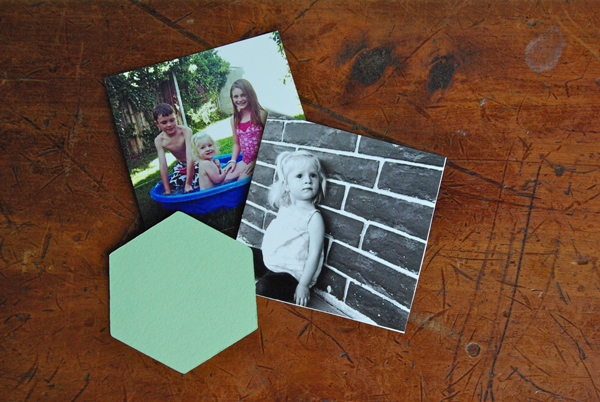
To start, I picked out some instagrams that I loved and resized them to 2 1/2″ squares and then printed them at Walgreens. Or if you prefer to print at home, follow these instructions to size and print your instagrams. 
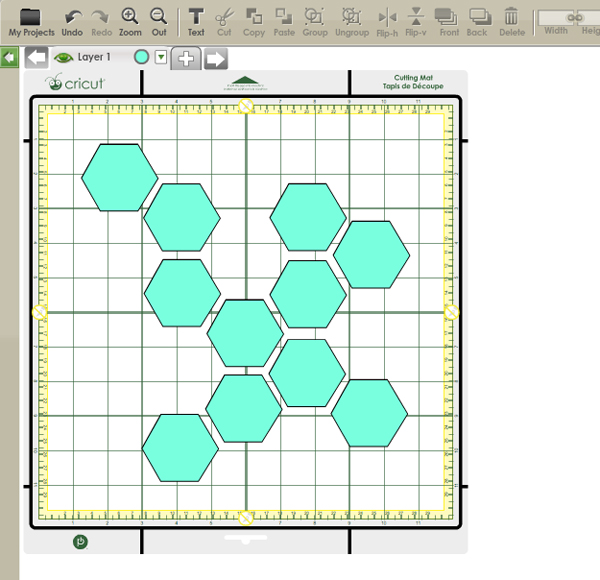
Then I cut my hexagon mat board using my Cricut machine. In Cricut Craft Room, I created my template using simple hexagons that were just over 2 inches wide. You can play around with the placement of your shapes, I just wanted a random arrangement of hexagons.  Then I simply cut my 12″ piece of card stock. If you aren’t lucky enough to own a Cricut, then this could be easily done with an x-acto knife and a hexagon template.  But, my Cricut sure made this easy and and the results are very professional looking. 

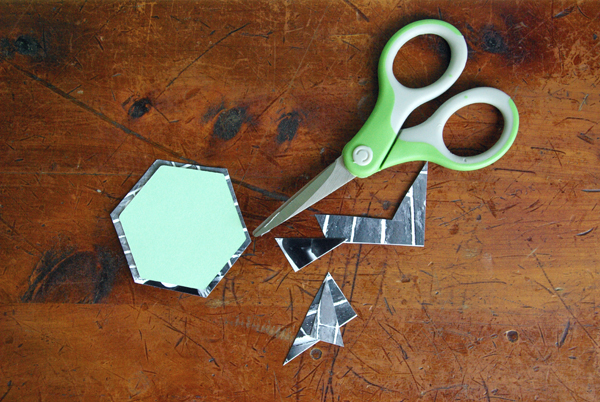
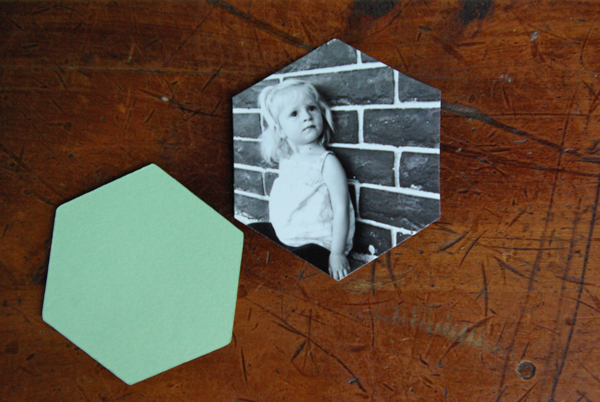
Next, I took one of the cut out hexagons and used it to cut out my images. I simply held it over the part of the image I wanted to show and then cut around the shape, leaving a 1/4″ edge around. This will give you space to attach the image to the back of the mat. I just used a little tape to adhere the pictures to the mat, so that they would stay in place. 
Then I framed it in a 12″ shadow box frame that I got at Target for $9.99 (this one is very similar). I think I’ll have fun changing out these pictures in a year or so. Or maybe I’ll just make another one. 
Do you print your instagrams? Or are they forever stuck on your smart phone? Mine are slowly coming off my phone and into my home so that we can all enjoy them. Happy instagraming friends!
I’ve also submitted this design to Minted.  If you like it, please take a second to vote for it.