Category Archives: DIY

DIY / etc.

Watercolor Gift Tags

May 1, 2013

On Monday I shared that I’ve been playing with my watercolor paints a bit.  And last week I packaged up some Vanilla Bean Lavender Salt Scrub with watercolor tags and lids.  And I’m obviously having fun with this medium, so I decided to make a bunch of watercolor gift tags to just have on hand for gifts and treats I’ll wrap in the future.  My Mother’s Day gifts will probably be sporting one of these fun tags.

To make these tags, I simply took a large piece of good quality watercolor paper and just painted and swirled and dripped some of my favorite colors onto the page.  And then, when it was dry, I used my secret weapon – my Cricut machine, to cut out all these great tag shapes.  But, if you don’t have a Cricut, you could easily just cut these by hand by making a cardboard template.  Then I tied a little black and white baker’s twine to each of them. Because baker’s twine makes everything cuter, right?

If you like these, be the first one to leave a comment, and I’ll happily send them your way.  

DIY

Playing with Watercolor Paints

April 29, 2013

I’ve mentioned before that I was an elementary teacher, and someday I probably will be again. When I went to college I got my BA in elementary education, but you got to pick a subject of interest.  So, I chose Art.  I believe it’s a very important part of a child’s education.  And these days with standardized testing, students don’t have the time or opportunity to explore their artist skills. Art can bring confidence and achievement to students that struggle in other academic areas. But that’s a mini soap box I have. So, in college, I got to take a watercolor painting course for my degree, lucky right? Better I’ve never really painted anymore, even though I’ve wanted to. So just last week, I got the urge to take out my paints (over 13 years later) and just played a bit.

I ended up painting for about 3 hours one evening, and it was just so therapeutic.  I mixed colors and played with movement of the paint and water on the paper. Watercolors are such a fantastic medium to work with. I felt relaxed and in a better place when I was done.  I’m definitely one of those people that NEEDS to be doing something with my hands in order to relax and rejuvenate myself. God must have known the week I was walking into, because those 3 hours had some pretty perfect timing.

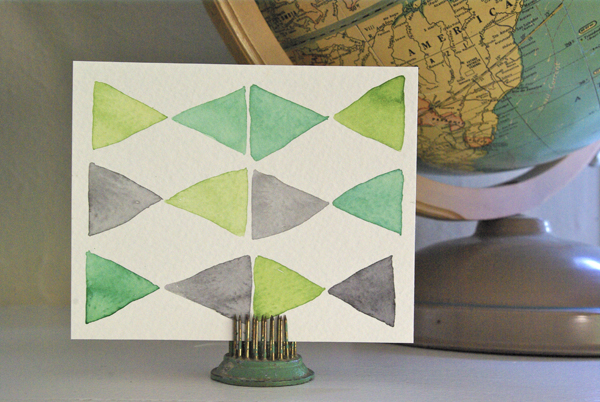
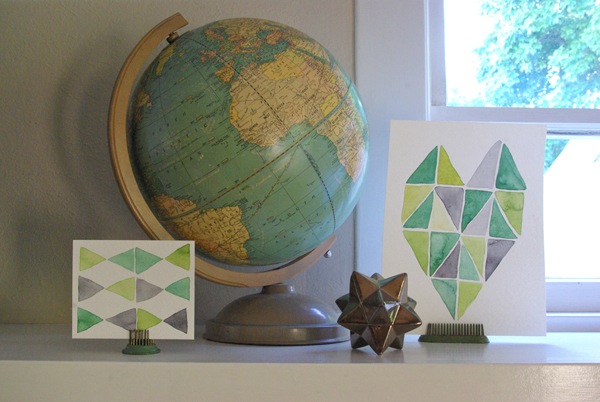
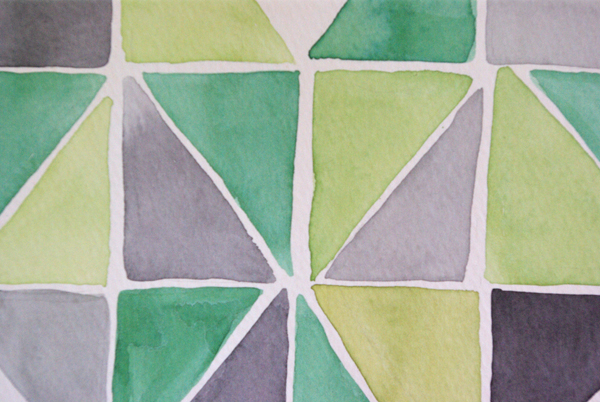
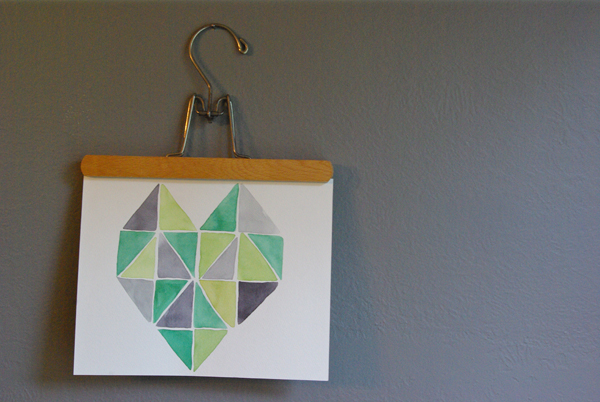
It’s funny how we are drawn to the same shapes, patterns and colors. About 2 hours into my playing with the paints, I started painting triangles and them my geometric heart pattern starting repeating itself on the paper. I’m obviously not really that great at painting with watercolors, but I just had so much fun experimenting with them, that I wanted to share with you. I hope I can inspire you to try something new, or pick an old skill that you just haven’t made time to for. Creating and making is such a satisfying experience, even if the finished product is not what you were expecting. It’s the process that’s good for your soul.

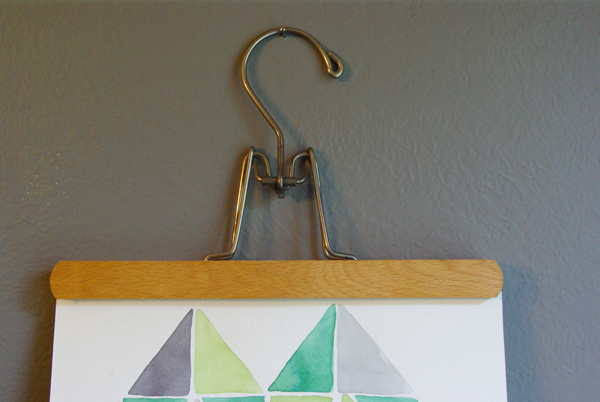
I displayed my little pieces on my mantel with a couple vintage metal floral frogs that I picked up at the Santa Fe Flea Market.  And I hung another on a vintage hanger that I got from a friend’s lovely etsy shop, Life on Churchill St. 

I’ll be making time to paint more very soon. Is there a skill or technique that you wish you’d make time to learn or practice? What do you do do to relax? Are you a doer or maker, can you relate to where I’m coming from.  

DIY / etc.

Vanilla Bean Lavender Salt Scrub

April 23, 2013

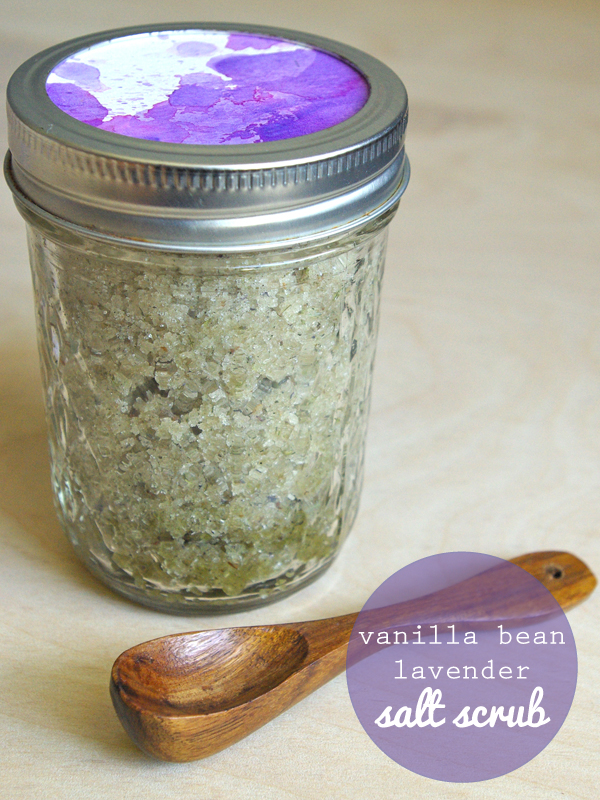
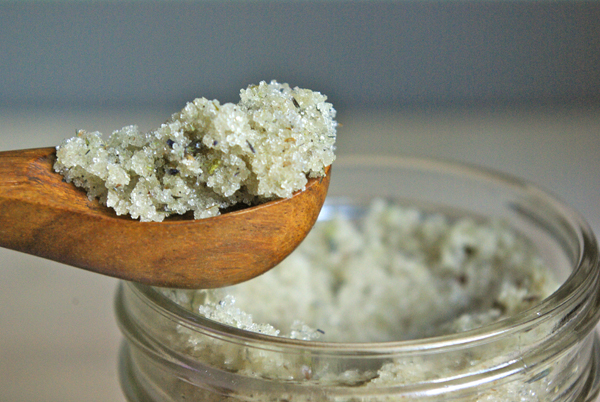
I’ve got a really simple and inexpensive DIY salt scrub.  And it’s 100% natural.  Use this salt scrub on your hands and feet to both exfoliate and moisturize at the same time.  You’ll be left with the relaxing and sweet scent of vanilla and lavender.  Treat yourself to a mini spa before bed and you’ll sleep like a baby.  
Wouldn’t this be great to make for mother’s day?  I’m sharing the recipe and instructions on how to make the watercolor lids, head over at Whimseybox. If you’re a regular reader of O + P, I’d appreciate you heading over there and leaving a little comment love. It would totally make my day. You guys are the best. I am so thankful for the folks that tune in to my little blog often. I am so blessed by your support.   
Also if your are more of a fresh citrus scent lover, I also have an Orange Rosemary Salt Scrub recipe. And for the cooler months, you might also like my Pumpkin Spice Sugar Scrub recipe. 

DIY / etc.

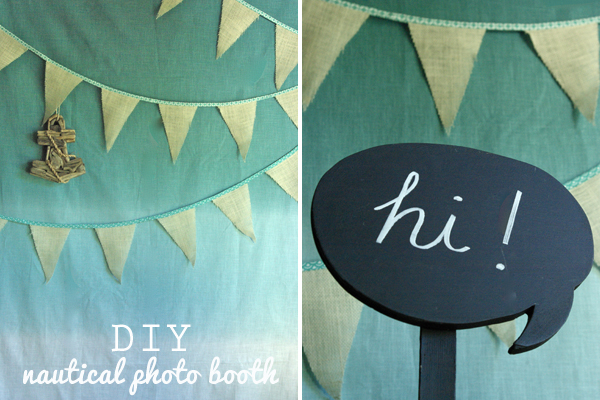
DIY Nautical Photo Booth

April 22, 2013

Last week I had all kinds of nautical themed party ideas for you. Today I have a super easy DIY Nautical Photo Booth.

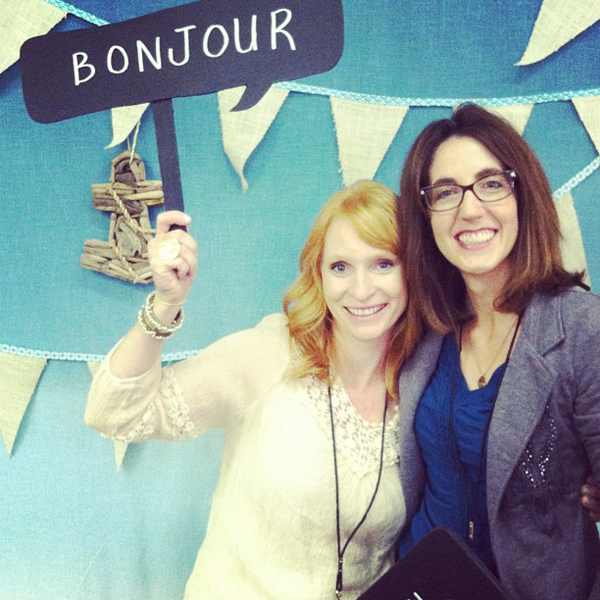
Here’s the photo booth in action.  This is my BFF and me posing, you may have seen this on my instagram

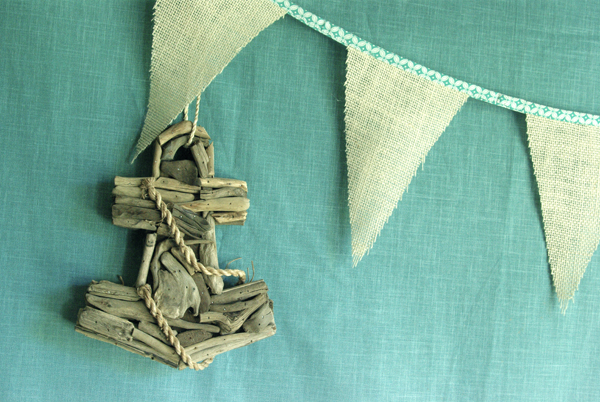
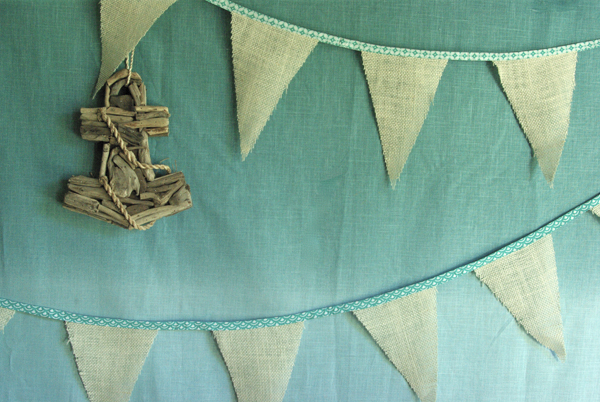
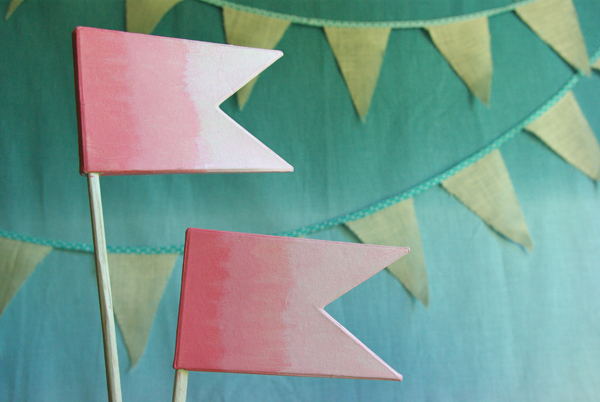
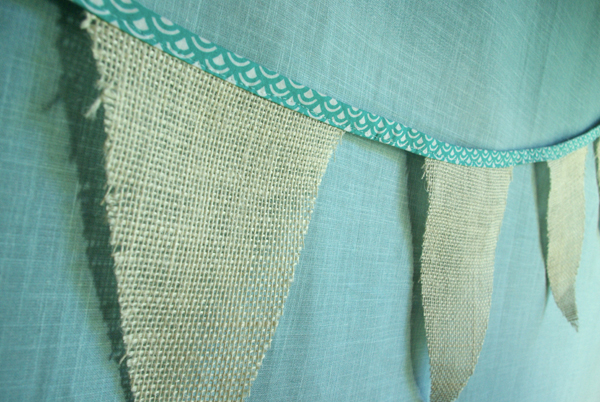
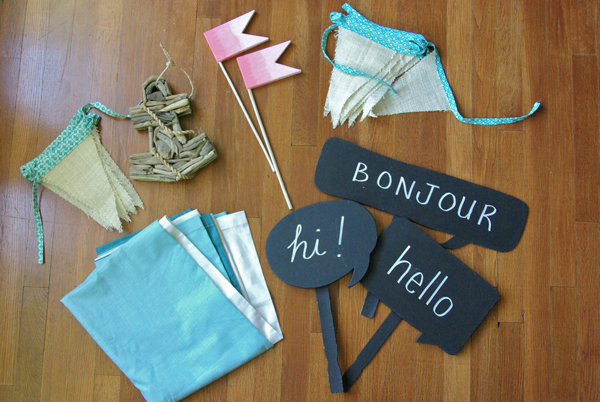
I found this amazing ombre curtain panel at Target to use as the backdrop.  I had actually considered dying fabric for an ombre effect, and then I stumbled upon this (it also comes in grey and coral).  Hooray for saving time!  My Dad cut out the speech bubbles for me and we attached them to paint stir sticks and painted them with black chalkboard paint.  The little coral ombre flags I found at Paper Source.  They were plain white and I added a little 3 toned coral paint job to them.  The burlap bunting is something I made. I made my own bias tape using cute teal and white fabrics.  I actually made them over a year ago and had planned to put them on my etsy shop, but just never got around to it.  And the cute drift wood anchor was a Homegoods find.  

I put this together for the Women’s Retreat I helped out with a couple weeks ago. This little backdrop to no time at all to assemble and the ladies had a great time taking pictures with their friends. There really is no one without a smart phone these days, so there is no need for a fancy camera set up. Just allow your party and event attendees to take their own pictures.  If you want to gather all the images at a later date, just come up with a hash tag for your event.  Then when they instagram or tweet their images, you can find them later.

Don’t you think it would be fun to put together a little themed photo booth for your next party?  I’m going to making one for all my events from now on.

DIY / Entertain

Lavender Sachet Favors

April 16, 2013

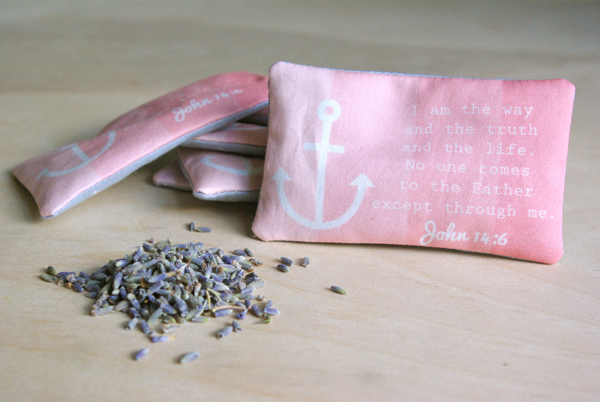
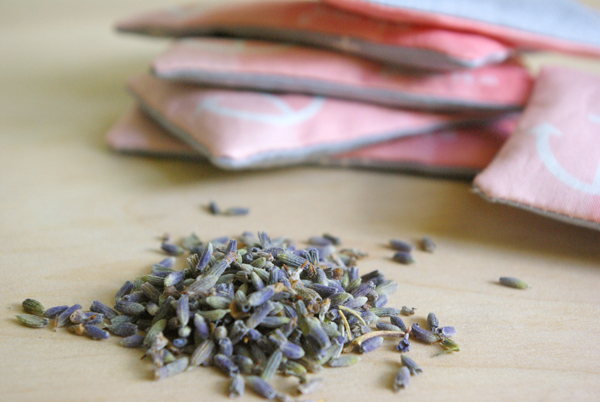
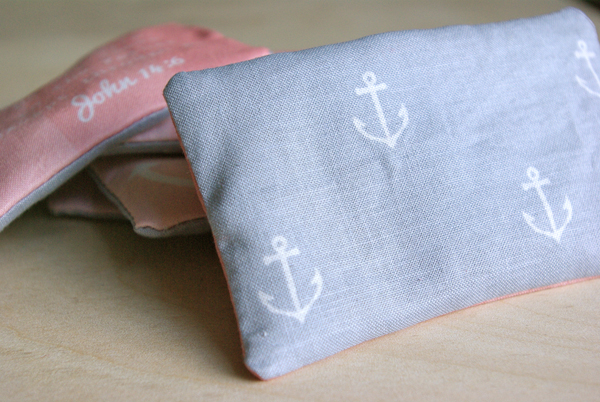
Yesterday I shared a couple prints that I put together for our Church’s Women’s Retreat. Today I wanted to show you one of the fantastic favors we made for the event. We hand made 120 lavender sachet’s for the attendees to put on their pillows their first night there.  These are made just like my Lavender Sachet Business Cards (so head to that post for the full how-to instructions). I think they make a pretty great party favor as well.

I designed a yard of fabric with one of the theme verses for the weekend and then had it printed at Spoonflower. And I found a really cute grey and white anchor fabric to back the sachets in. I’m carrying one in my purse to give my a relaxing burst of scent when I’m digging for my keys or sunglasses.  But, these would be great in your dresser drawers as well.

I’m a details person. I think parties and events are just that much better when all the tiny details have thought and meaning put into them. Wouldn’t you like to receive this little treat as a favor?

DIY / Entertain

Circus Birthday Party – Greatest Kid on Earth Badge

April 10, 2013

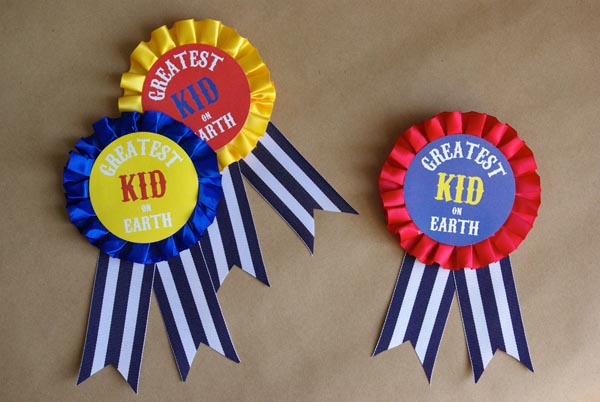
A Circus themed party is a classic right?  It’s great for boys or girls, there’s animals and it offers a fun bright color palette.  I made these “Greatest Kid on Earth” badges for 3 special birthday kiddos to wear to their circus themed party recently.   
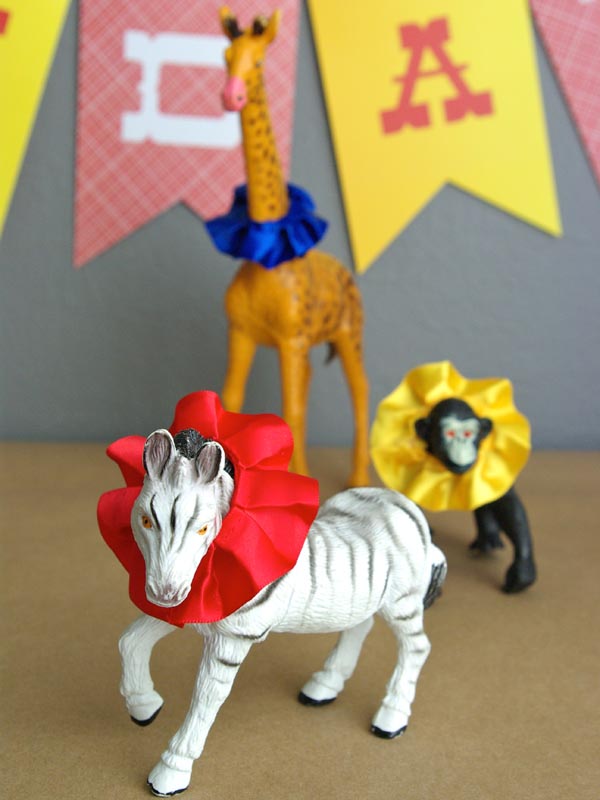
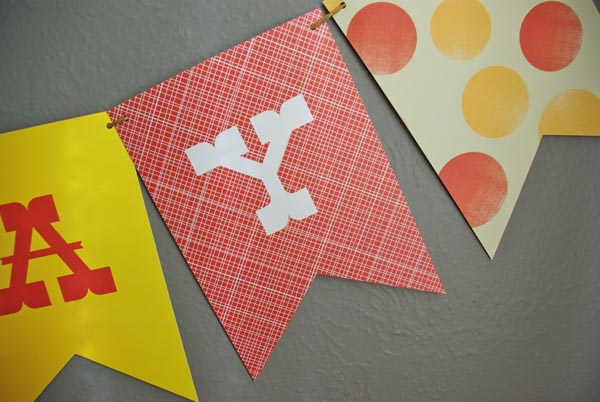
And don’t these Birthday Badges go great with Minted’s Greatest Circus Party Decor.  I also added a little of the extra pleated ribbon to our circus animals.  I think they look pretty festive and happy.
For the full tutorial on how to make these and a free download of the badge front, head over to Minted‘s blog, Julep. I’m sharing this birthday DIY there.  
Come back tomorrow for a DIY Circus Themed party favor.  How does Homemade Cracker Jacks sound? 

DIY

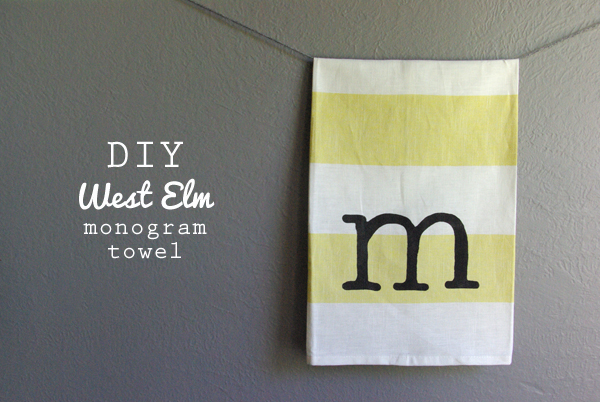
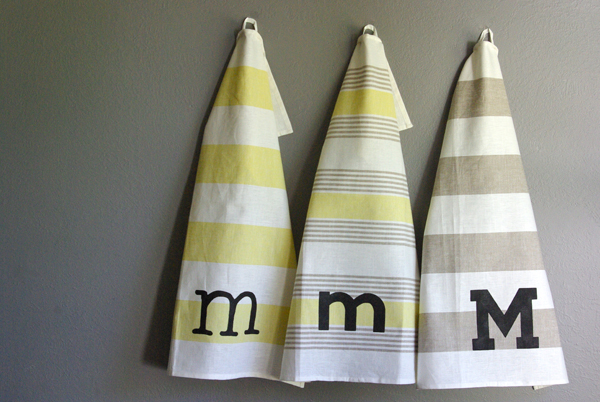
DIY West Elm Monogram Towels

April 9, 2013

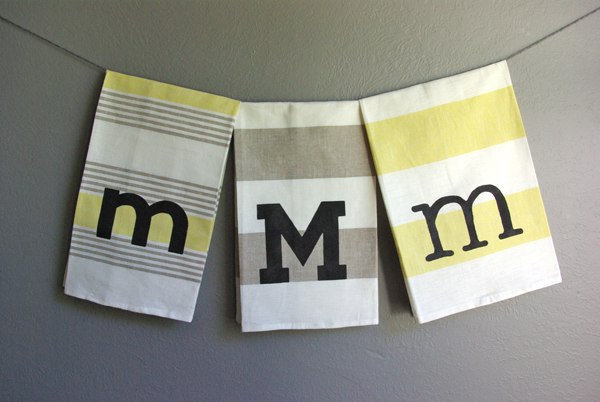
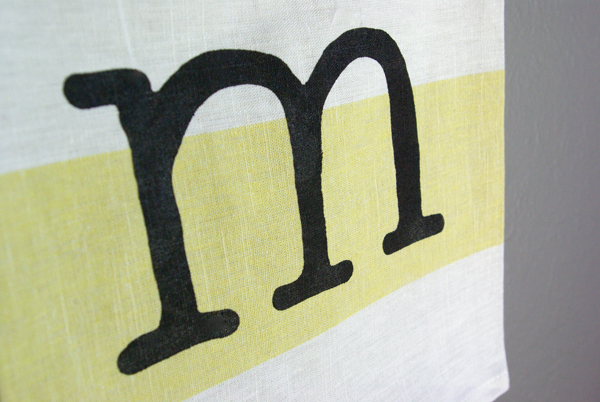
Last week I shared on instagram these fun West Elm style monogram towels I made. I love West Elm’s monograms, they are large and modern and not stuffy or preppyish. I thought it would be fun to make my own set of monogramed tea towels.

I used this set of 3 IKEA towels that are the perfect yellow and tan/grey. Stripes are just happy, almost as happy as polka dots. And at only $5.99 for all 3 towels, that’s a steal.

I simply made 3 freezer paper stencil’s using my Cricut machine, but you could easily trace and cut out your monogram with an x-acto knife. If you are lucky enough to own a Cricut, here’s how I cut freezer paper stencils. Cut of piece of freezer paper to fit your cutting mat. Place the freezer paper shiny side down on the mat. Set the pressure to 3,  blade depth to 4, and the speed can be on 5. Then cut just as you would with any other paper. The stencils come out beautifully every time.

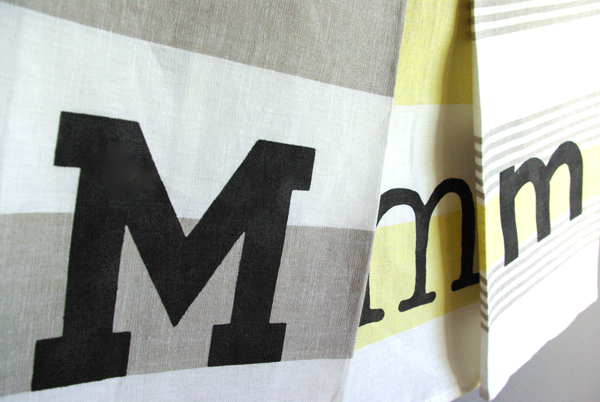
I chose 3 different fonts to make each towel unique. And then I just followed my freezer paper stenciling instructions (and if you like an ombre effect, these instructions might be helpful).

Wouldn’t these make a great bridal shower or wedding gift?  

I was away for the last 4 days to our Church’s Women’s Retreat.  My BBF was in charge of the event this year and I was on the planning committee.  It was a lot of work, but the whole weekend turned out amazing. I was in charge of the craft, so I taught the ladies how to make these towels.  There ended up being over 50 women for the craft session.  It was a little crazy with that big of a group, but they all came away with some really cute towels.

DIY / etc.

Ask a Crafty Person

April 4, 2013

I’ve got a fun new title over at Whimseybox, I’m a “Crafty Person”.  I’ll be writing a bi-weelky column for their fabulous blog.  Readers can write in with questions, and I’ll do my very best to answer their DIY dilemmas.  So, if you’ve got crafty tip, tool or technique questions – ask away.  

As a little introduction, I’m sharing the 4 must-have tools for cutting  there today.  Come on over and leave me a question.

DIY

Storm Cloud Surprise Pillow

April 2, 2013

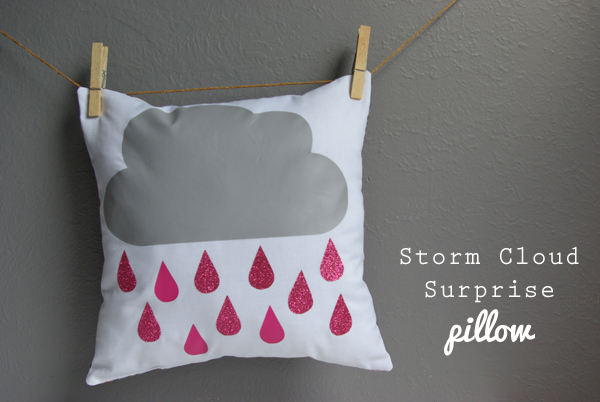
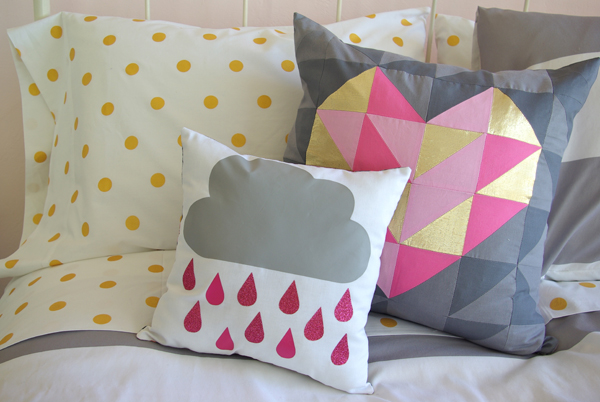
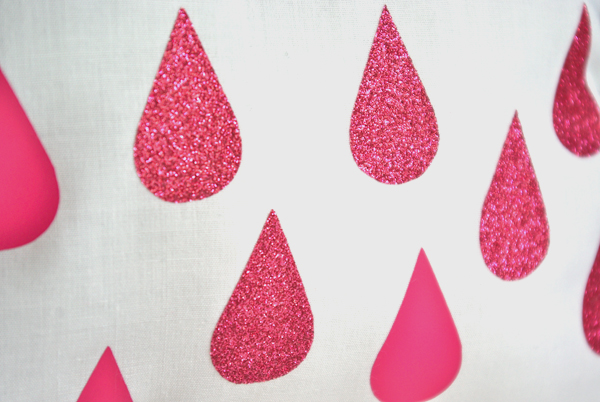
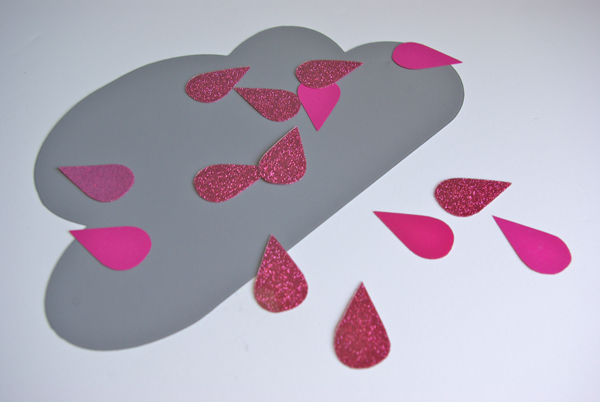
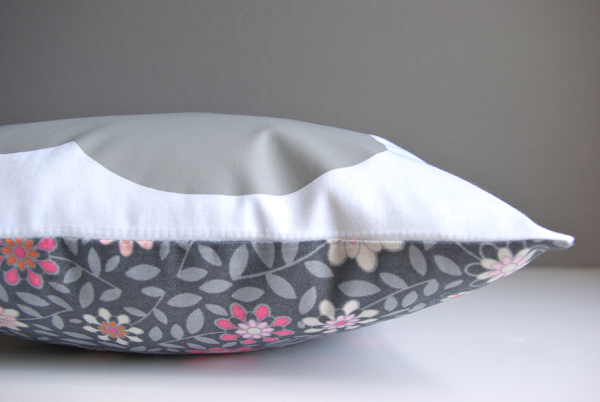
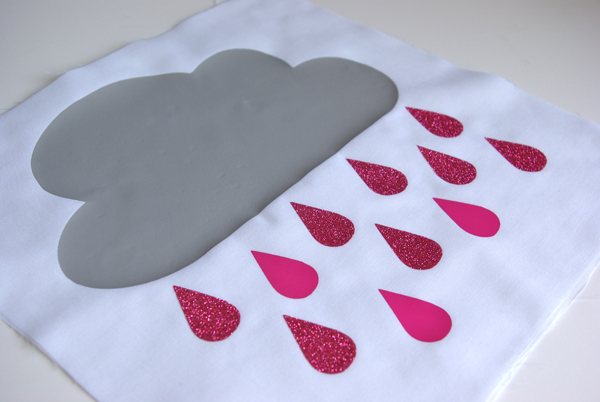
I’m really excited to share this DIY with you today.  I recently shared with you my girl’s mini room makeover.  And to add to the more funky, and playful style I was going for, I made this cute throw pillow. I like to name things, like my vintage trailer has a name, Riley.  So, I’m calling this pillow Storm Cloud Surprise because of the fun glittery pink rain drops that are falling from the fluffy cloud.

I’ve had a thing for clouds for the last year or so, I’ve been pinning lots of cloud ideas.  Now I have my own little cloudy accessory, but I’d love to throw a whole cloudy themed party.  I also made the geometric heart pillow seen below, you can see the full DIY instructions for that one here

I am so pleased to tell you about the new product I used to make this pillow.  Cricut has come out with a new Iron-on product!  Yes, you can cut out ANY shape out with your Cricut and then simply iron it onto fabric.  How fabulous, right?  Cricut’s Iron-on is a decorative heat transfer film you can use to quickly and easily personalize clothing, fashion accessories, home decor and so much more.  It comes in Cricut Iron-on Lite (I used the grey and pink) and Cricut Iron-on Glitter (I used the pink).

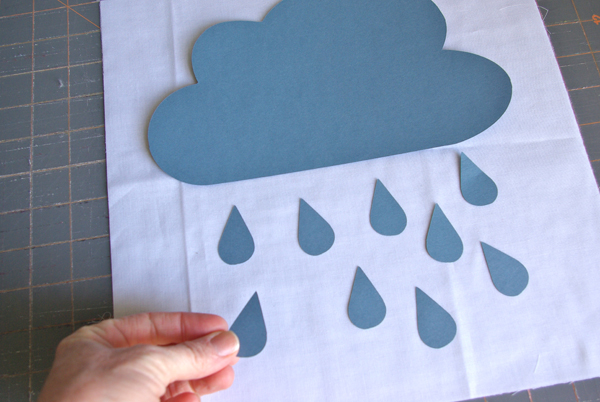
Here’s how I made my pillow.  I first played around in Cricut Craft Room to come up with pattern and shapes I wanted to cut out.  And then to just be safe, I cut out the cloud and rain drops on card stock first, so that I could play around with the design and layout.  I used the cloud from the cartridge Wild Card 2 and the rain drops are the petal shape from the Close to my Heart cartridge. When I was happy with it, I simple applied the Iron-on film to my cutting mat and cut out my shapes.

Then I simply followed the instructions and ironed on the shapes where I wanted them.  Really!  It’s as simple as that.  Then I just added a back to my pillow and stuffed it.  I can’t wait to play with this product some more.  The finished product looks absolutely so professional with Cricut’s precision cuts.

If you want to try this new product, it’s actually not available until April 11th, but I’m able to share a special Iron-on Bundle for you to try right away.  And if you don’t own a Cricut yet, you might also be interested in this Cricut Machine Bundle that has a the Iron-on products and the handy tool kit.

DIY

Easter Window Art

March 31, 2013

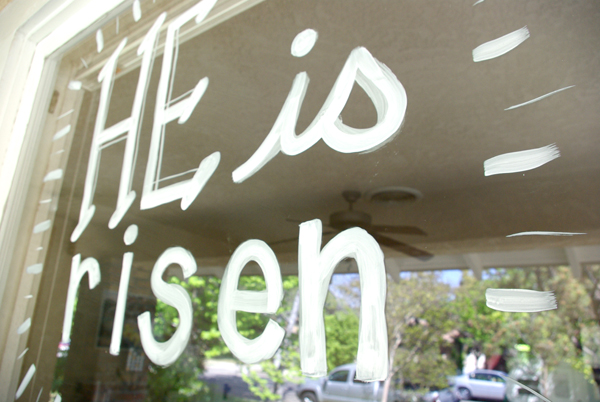
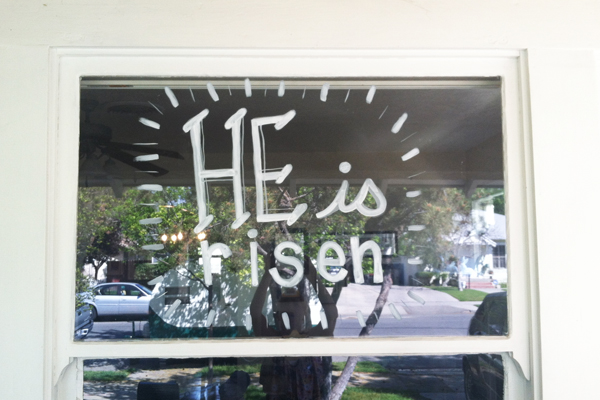
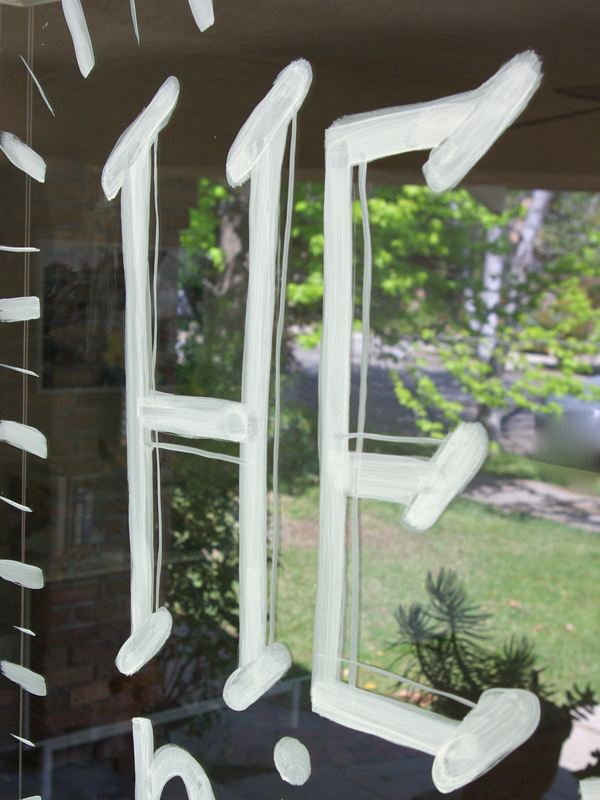
I want my whole neighborhood to know why I celebrate Easter.  It’s not for the chocolate bunnies or egg hunts, it’s because my savior LIVES.  He died for me, and paid the ultimate price.  I am so grateful and humbled by His love for me.  And He is not in the tomb, He has RISEN!

This is becoming a fun habit.  I’ve decorated my front window for Thanksgiving, Christmas, Valentine’s Day and now Easter.  It’s such an inexpensive, simple way to share what your celebrating.  I think I’ll do this for birthday’s as well.
I hope you have a lovely Easter with your friends and family.