Category Archives: DIY

DIY / etc.

Poinsettia Napkin Rings

December 14, 2012

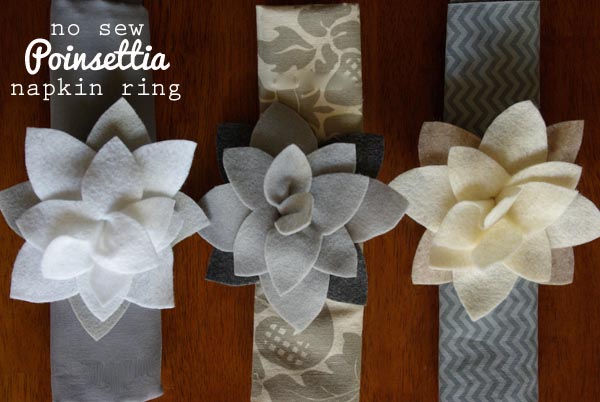
Poinsettias are a classic for Christmas.  When I was a kid, my mom had some felt poinsettia napkin rings that we always used for Christmas dinner.  They were made up of a few pieces of felt, but there was no sewing involved in putting them together.  When I was up at my parent’s place a couple weeks ago, I asked her if she still had them.  No, she had thrown them away a few years ago.  So, she sat down and tried to remember how they were made and what they looked like.  We searched the internet high and low and just couldn’t find a good pattern.  So, with my moms help, I’ve put together a pattern for you to follow. All you need is a good pair of scissors, a few pieces of felt and the printable pattern I’ve made.

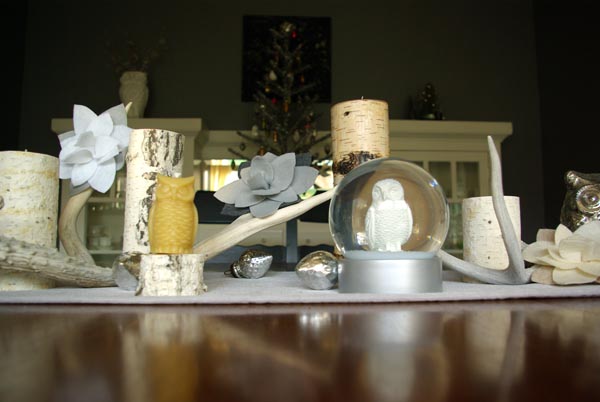
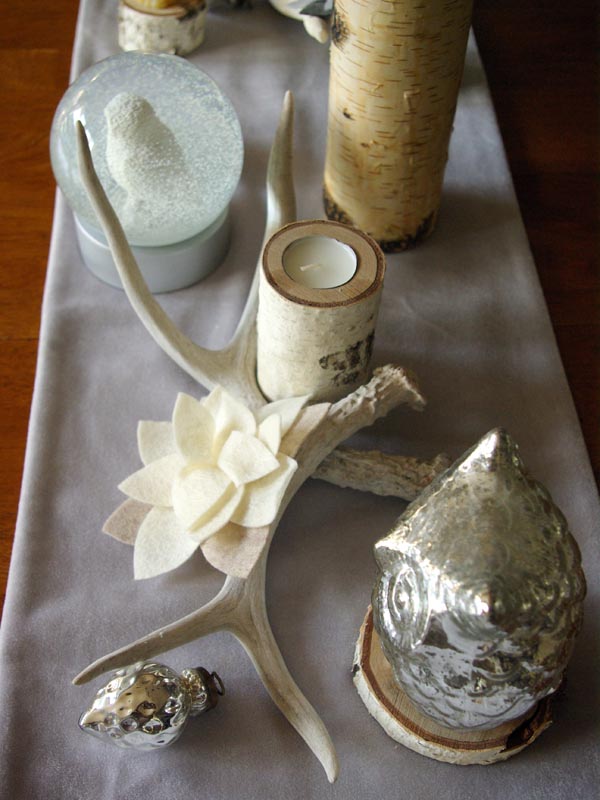
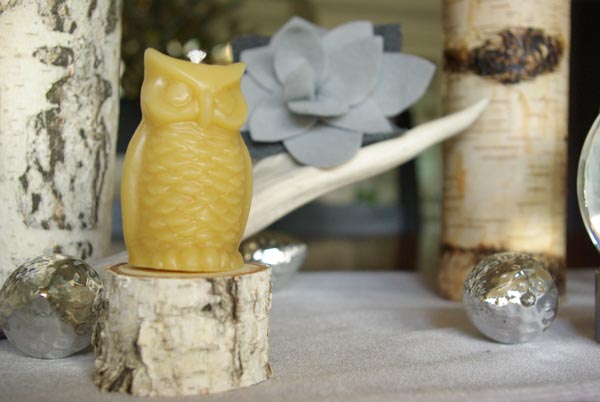
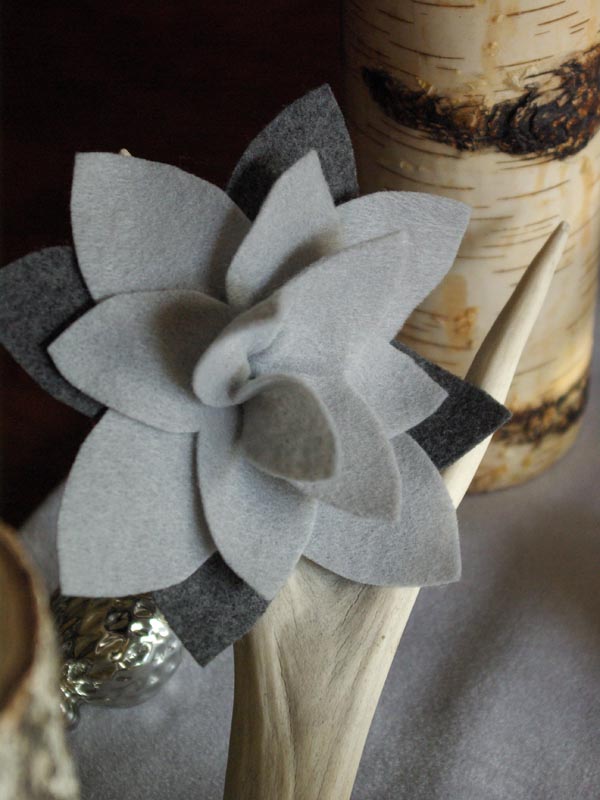
I decided to make mine in tonal greys and tans for a more modern look.  They look really quite great with my birch candle holders, owl collection and antlers.

Here’s how to make them:

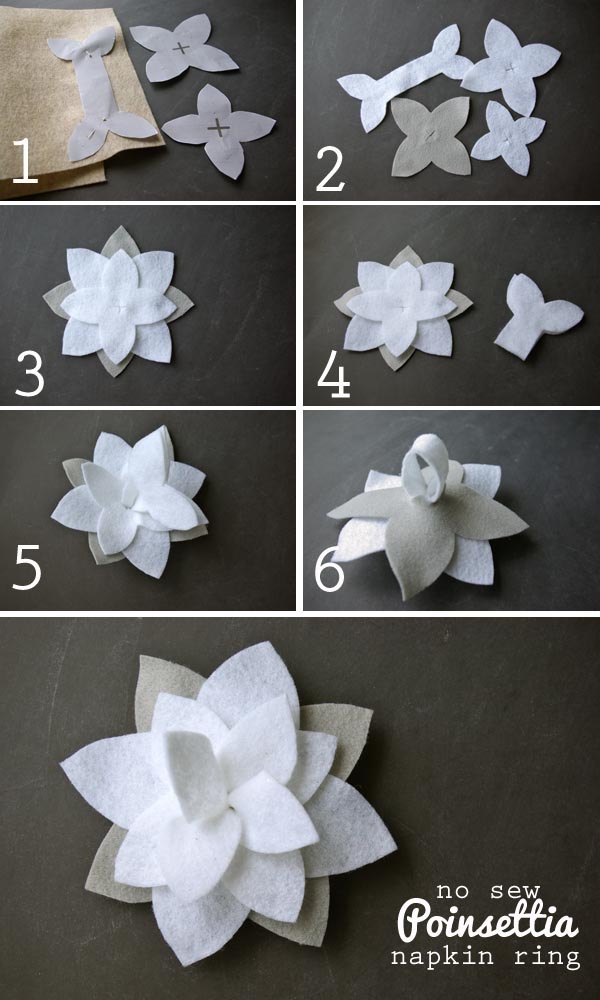
1. Print out the Pattern. Follow the pattern and cut out 4 pieces total.  3 in the flower color and 1 in the leaf color.
2. Cut an X in the center of all the petal and leaf pieces.
3. Place the leaf colored felt on the bottom on the petals.
4. Fold the center petals and ring piece of felt in half.
5. From the top down, push the folded end of the ring through the center of the petals.
6. Fluff and wiggle the poinsettia into the shape you could like it to be.

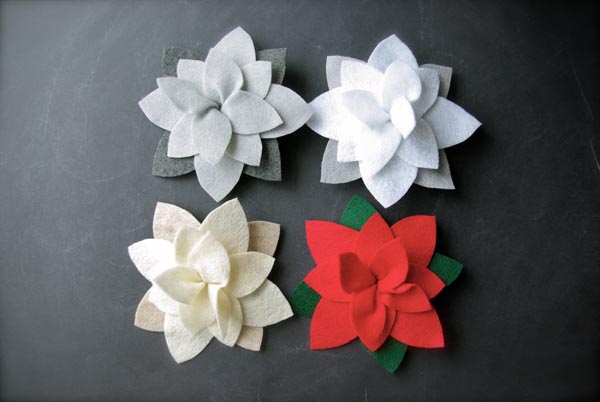
These poinsettias look pretty great in any color combo.  The red and green are definitely a classic.

I hope you find this helpful and fun low-stress craft.  

DIY / etc.
Milk Bottle Scarves

December 12, 2012

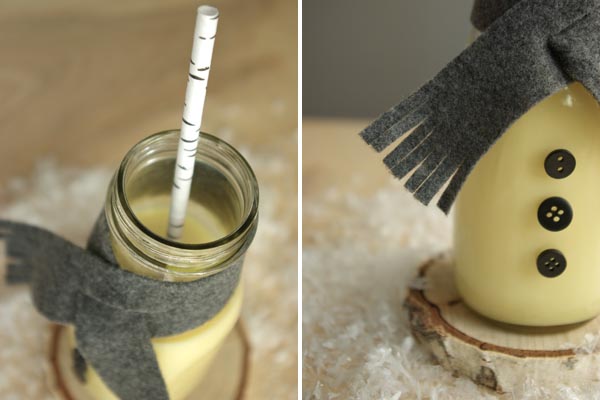
I love serving drinks in my milk bottles (aka old Starbucks frappacinno bottles) at parties.  I like to wrap twine and string around the necks and put custom stickers on them.  I think great parties are made in all the details.
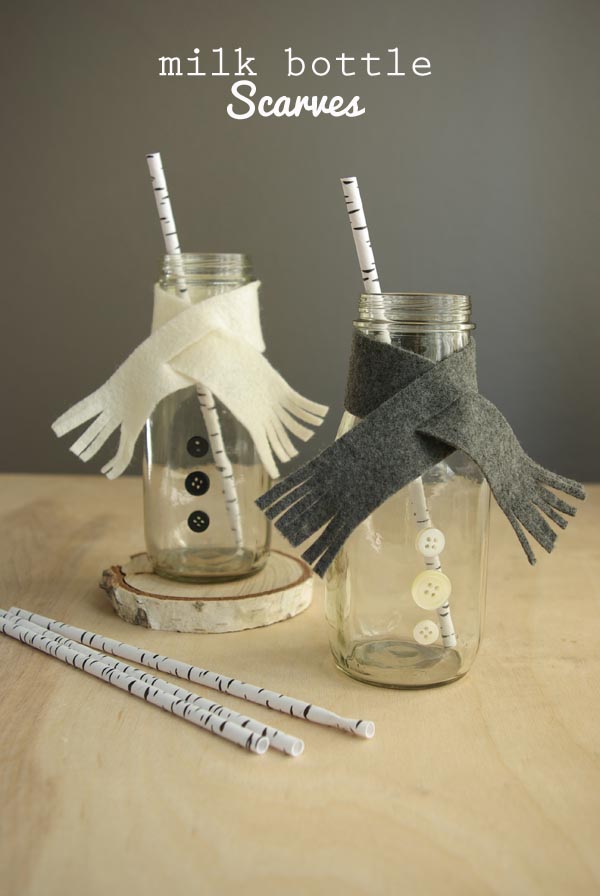
When I got the first Christmas Pottery Barn Kids catalogue of the season, I noticed red scarves on milk bottles as one of the props in the photograph.  I’ve been wanting to make my own version.  And how simple and cute did these turn out.
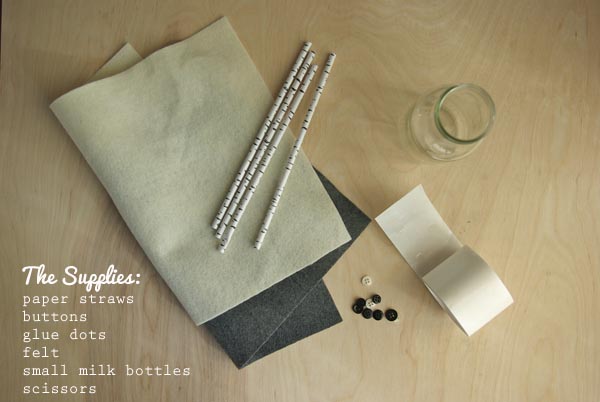
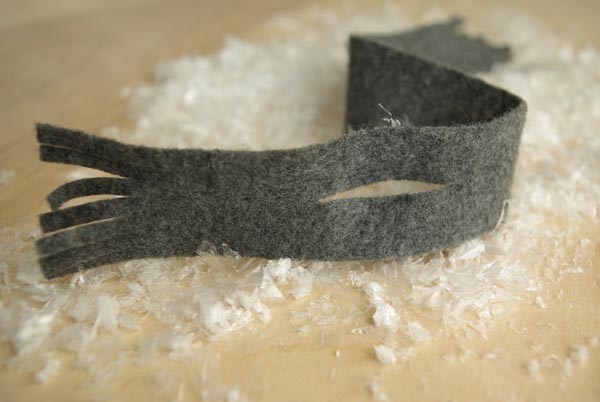
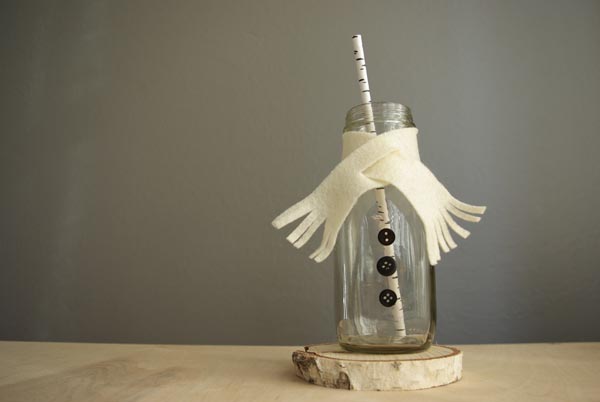
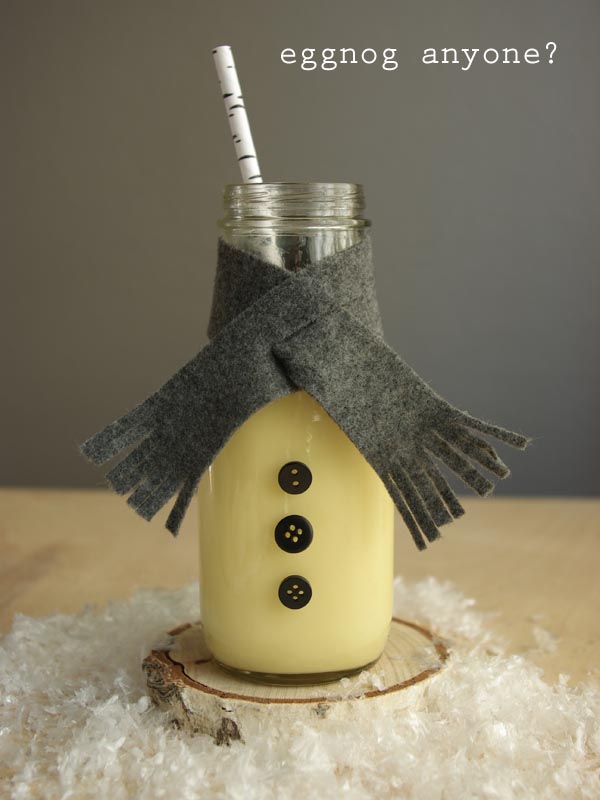
All you need to do is cut a 1″ width strip of felt down the long side of a felt square (they are 12″ long).  Cut fringe on either end of the scarf and the cut a 1 inch slit in the middle of the scarf about 2 1/2″ inches in.  Wrap the scarf around the bottle neck and put the other end of the scarf through the slit, pull snug.  Attach the buttons using glue dots (they wash of easily).  And you of course need cute paper straws.  I got these adorable Birch Bark Straws at Paper Source. 

I’m itching to have a party of some sort.  I’m considering a good old cookie exchange.  I really need an excuse to serve eggnog in these fun cozyfied bottles.

And don’t forget to enter to win the Winter Wreath.

DIY / etc.

Vintage Sign Letters Garland

December 11, 2012

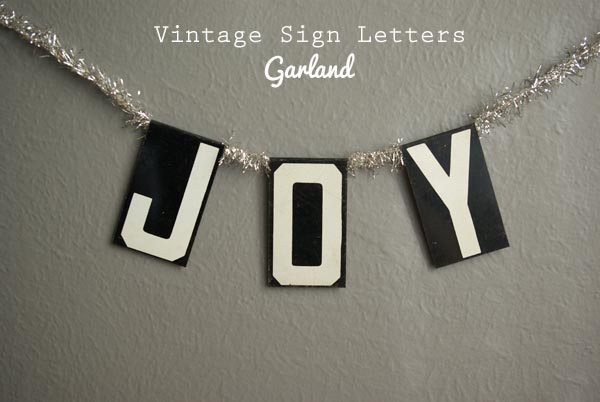
So, this weekend I lucked out and got to go to the Pasadena Flea Market.  Late Saturday afternoon, my friend and I made plans for an early rise the next morning.  We had an awesome day.  No kids, no husbands, no real agenda, just a fun day of wondering around.  But, it was one of those Flea Market days where I just couldn’t catch a break.  Everything I wanted was already sold or being purchased at the very moment I happened upon it.  But, they are just things and I did come away with a fixer-upper metal filing cabinet (that I’ll share soon) and these fun vintage metal sign letters.

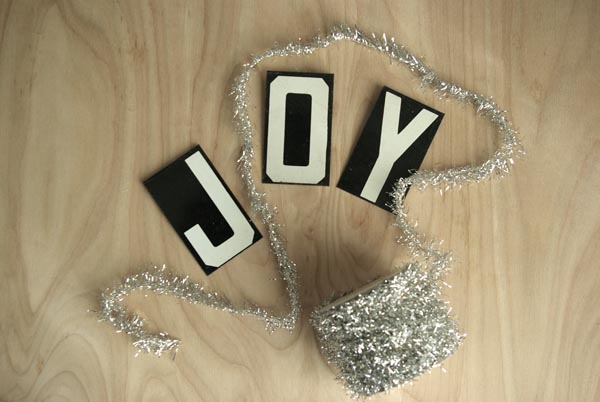
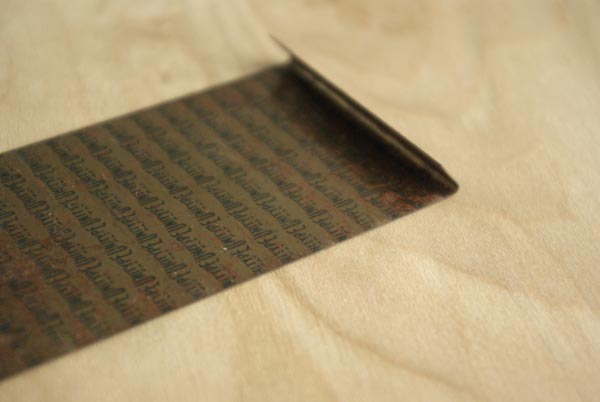
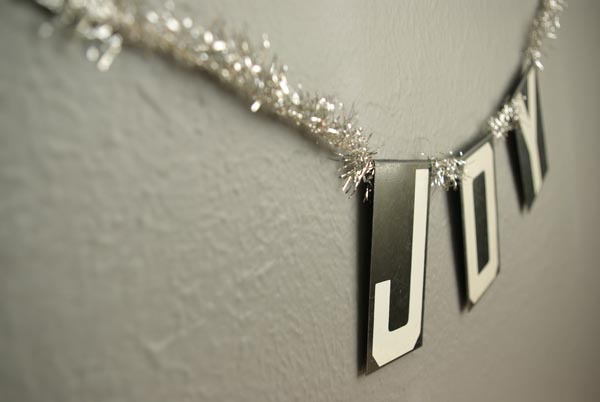
I bought JOY hoping to display them in some way for Christmas.  I decided to use this festive silver tinsel to hang it on.  The letters already are conveniently bent on the back for hanging on their signs.  So, I just bent them a little further and then just simply hung them on the tinsel.  It’s the easiest garland I’ve ever made.  I love the black and white with the sparkle, it’s graphic and glitzy all at the same time.  

Design / DIY

Vintage Crib Refinished

August 20, 2011

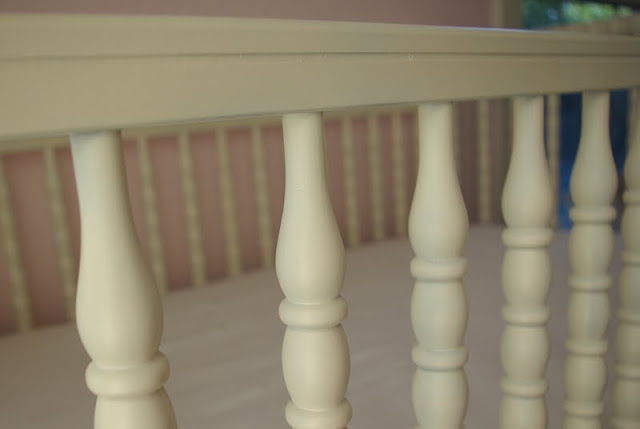
The Finish Product

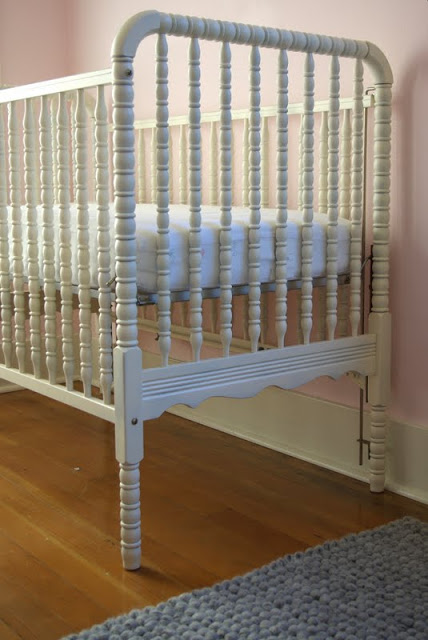
I truly can call this a vintage crib, because it was my crib when I was a baby.  Not only did I use it but so did my brothers, and my first two kids.  This Jenny Lind crib is such a classic design, you can still buy this crib, and the design has not changed.

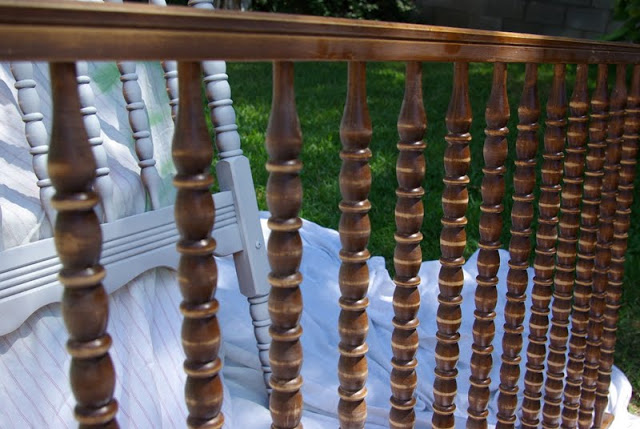
The before – a classic in need of some updating.

Because it’s been stored in our garage for years, I decided I might like it refinished and painted for this last baby.  We decided to match Denali’s bed and paint it an every so slight off-white.

My wonderful husband did all the work.  I am a bit of a control freak, so I was a struggle for me to step back and let him do all the work.  I needed to stay out of the dust and paint fumes, so he took on the project.  I don’t know why I was worried.  He did a fantastic job (I couldn’t have done better) and it looks like a brand new crib.

Supplies needed:

sand paper
steel wool
tack cloth
Sherwin Williams ProBlock Primer
Rust-Oleum 2x Painter’s Touch Satin Spray Paint in Antique White

If you would like to refinish a piece of furniture that has a lot of details, here’s what worked well for us. Lonnie spent a good part of a day sanding all the curves and spindles on the crib.  Then he made sure to remove all the dust with a tack cloth.  He applied the primer and when that was dry he used the steel wool to smooth out any imperfections.  Then before applying 2 coats of the Rust-Oleum paint he prepped that crib with the tack cloth.  I was really surprised at how well spray paint worked.

DIY / etc.

Robot Birthday Party – Part II (The Pinata)

June 9, 2011

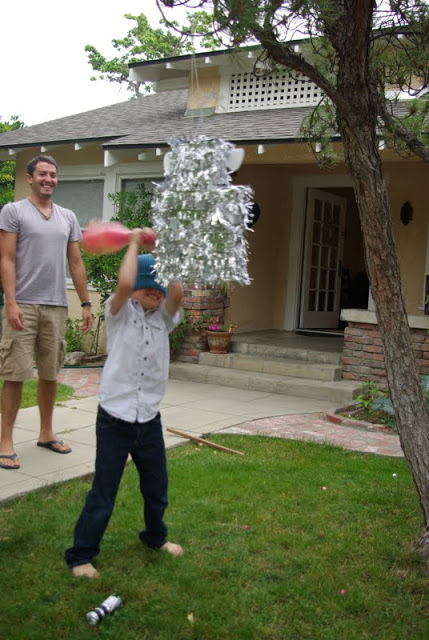
Pinatas are always a good time.  What’s not to love about hitting something and having candy fall out of it.

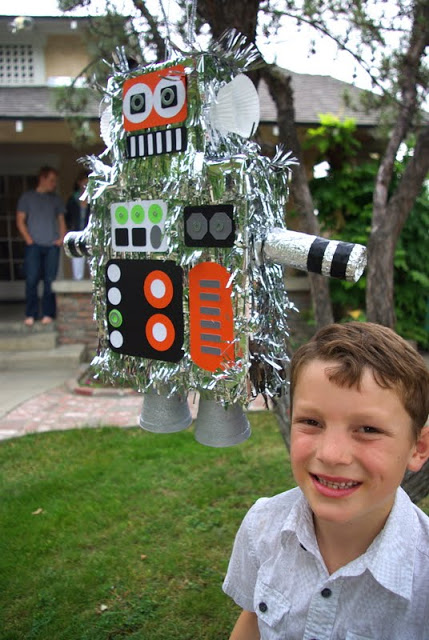
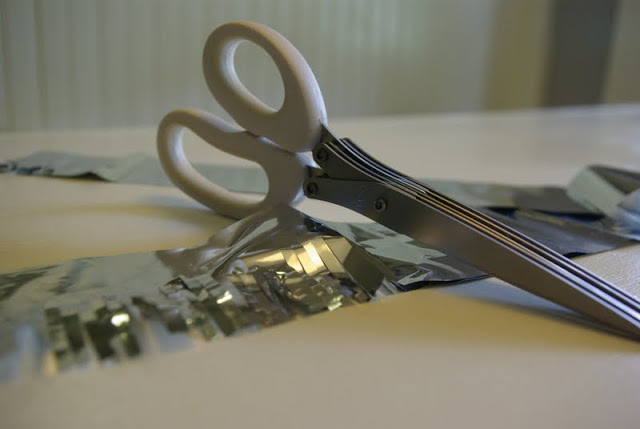
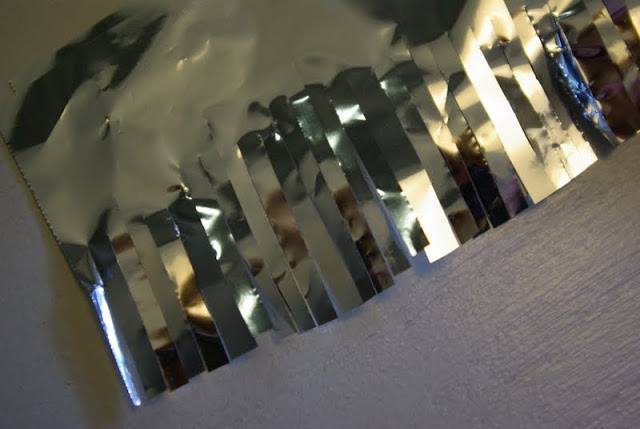
I covered this pinata with silver foil tissue paper.  To give it the fringed look I used Martha Stewart’s fringing scissors from Michael’s.  I cut 2 inch strips of the foil paper and then fringed one side of it.  Starting at the bottom on the pinata, I hot glued the strips on in layers.

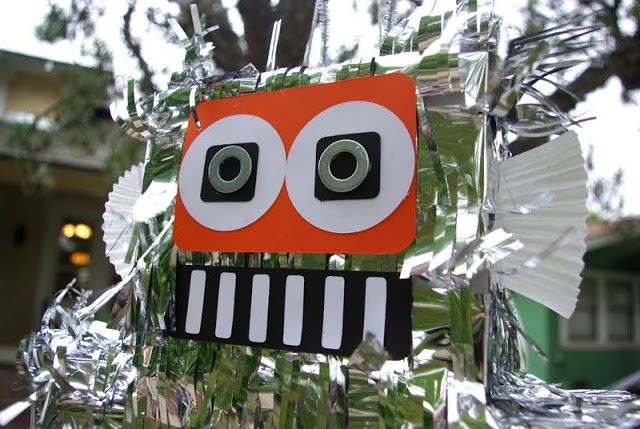
I used my cricut cutter to cut out a variety of shapes for eyes, buttons and nobs.  Dylan helped me decide where they should go.  We also glued on metal washers for additional buttons.  The arms were made of TP rolls wrapped in foil, the legs where paper cups, and the ears where made from cupcake papers.

He was one tuff pinata to crack.

DIY / Travel

Meet Riley

May 27, 2011

For years I have dreamed about owning a retro camping trailer.  We have always been tenters and backpackers, but I thought a little trailer would be fun for a different camping experience.

A week before Spring Break this year, we found this adorable 1948 Kit Companion Trailer on Craigslist.  Within hours of it being posted, we were in the car heading out to look at it.  By the time we got across town, the owner had 3 other people calling about it.  We fell in love with it and made an offer that evening and it was accepted.

I named my trailer “Riley”.  My dad has this saying when he sees my brothers being lazy or relaxing, “Oh, the life of Riley”.  I felt this was an appropriate name for a trailer that would bring relaxation and enjoyment for my family.  It is super cute inside and out.  The inside is wall to ceiling wood veneer and it has a cute black and white checkered floor.  It doesn’t have a bathroom, but I’m ok with that.  It sleeps 4 comfortably and has an oven, stove, sink and ice box.

For our first trip with Riley, we spent a week in Joshua Tree National Park and Anza Borrego State Park.  It needs a little bit a sprucing up on the inside, like new curtains, but I’m looking forward to getting to do that.

DIY / etc.

Grey Quilt

February 1, 2011

Well, I did it.  After putting it off for quite a few months, I signed up to substitute teach.  I decided that it wouldn’t hurt to make some money for my family.  And if I hope to ever get a job teaching again, I’ll need to be in schools where people can see me and get to know who I am.  Because, if there is one thing in life I have learned, it’s not what you know, it’s who you know.

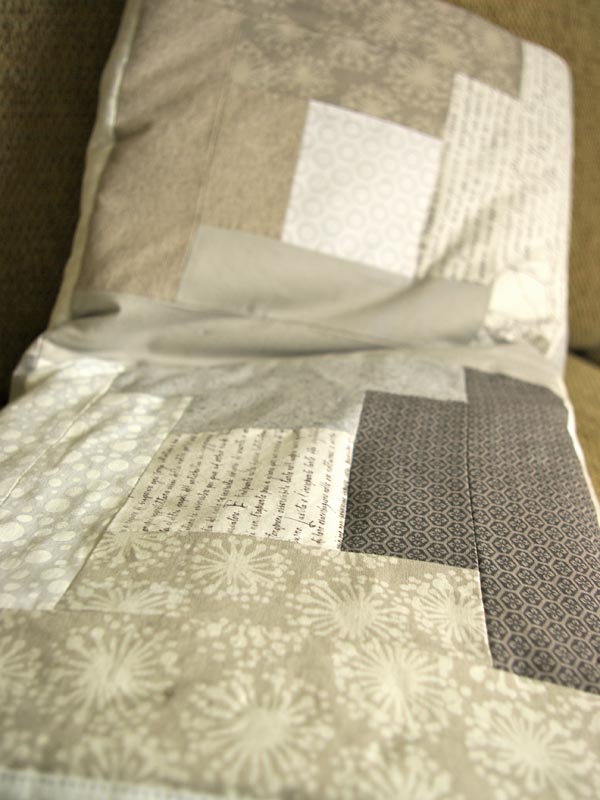
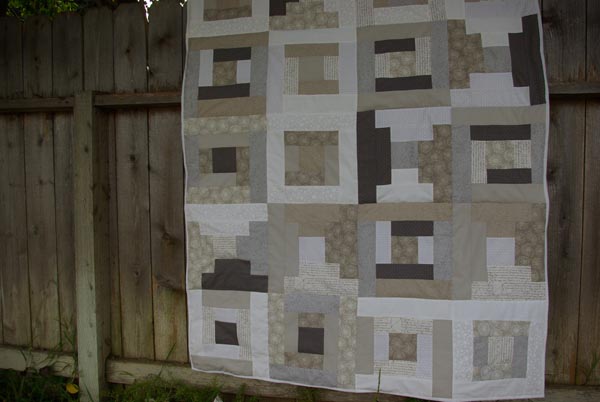
Needless to say, I am exhausted after 2 weeks of subbing and I haven’t had much time to blog.  I’ve spent the last 2 weeks subbing and trying to finish my brothers birthday quilt.  We spent the weekend in San Diego with him to celebrate.  But, instead of having a finished quilt to give him, I spent quite a few hours pinning and sewing.  I did get it done on Sunday though, just in time for his birthday.

I am pretty happy with the result.  The colors go great in their house as well.  It’s definitely very random and one of a kind.  I wanted a very un-patterned and un-planned look for the quilt – I think I achieved that.  Hopefully it is a successful look.

Design / DIY

Perfectly Straight Paint Lines!

January 6, 2011

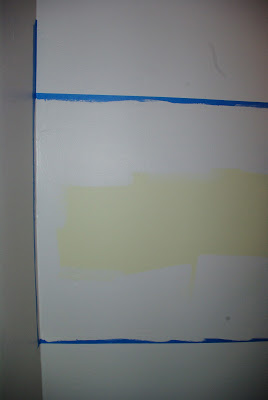
I promised to share my secret to achieving flawlessly straight lines. When I recently painted a chalk board band around my sons room, I used this technique.

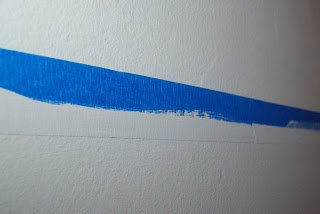
So, the first thing you are going to do is paint the color the will be on the majority of the wall.  Let that dry and then tape off where you want the chalk board paint or accent color.  I use a level to tape, it’s fast and leaves no pencil marks on the wall.  Then you are going to paint the wall color over the side of the tape where you are going to paint the chalk board.  What happens is, the tape is not a perfect seal, so by painting the color that is already on the wall, you won’t see the seeping through paint.

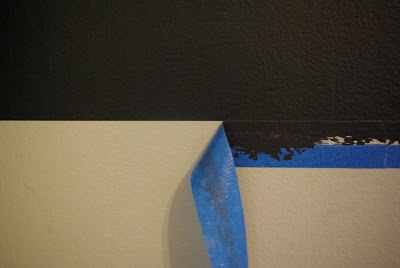
Once that is dry, you now have a perfect seal.  Paint the chalk board or accent color onto the taped off section.  Let the the chalk board paint dry to touch at least.

Then, just peal back the tape to reveal perfect lines.  It’s my never fail method.  Do you have another method that works well?  Please share.

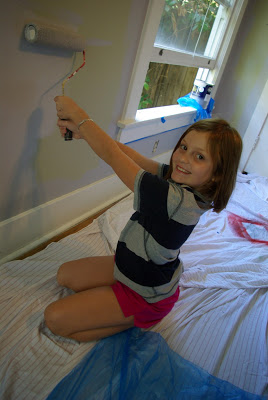
These are my cute little helpers.  I did the cutting in and they did most of the rolling.