Category Archives: DIY

DIY

Wicker Chair Makeover

June 15, 2016

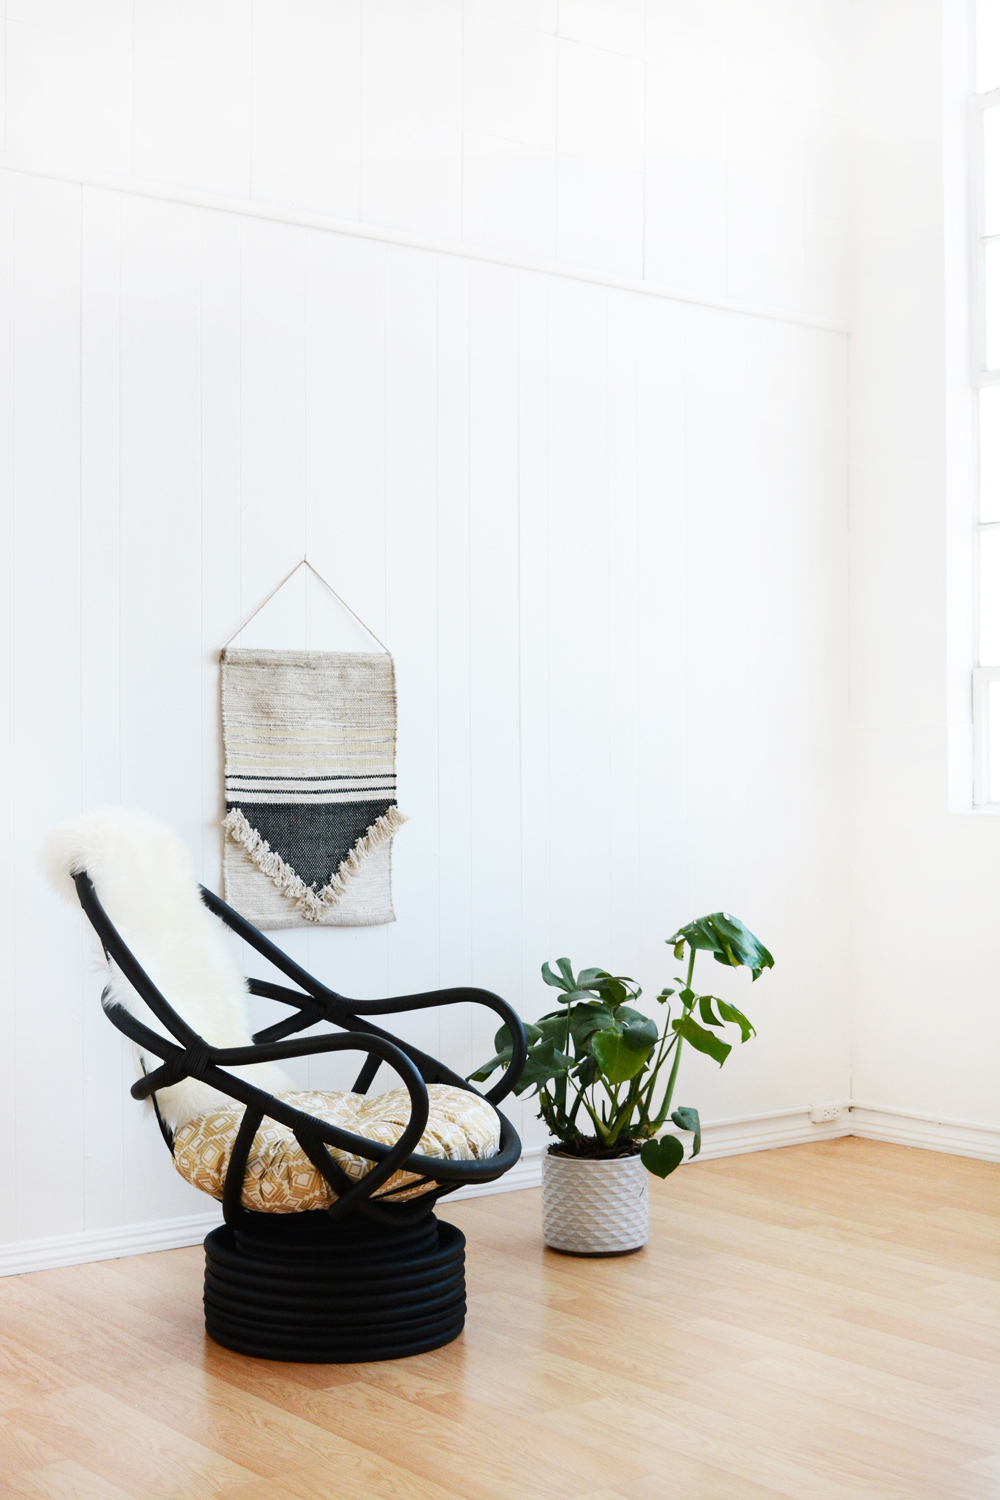
I love finding a good deal on furniture, that’s why I thrift and garage sale. But, this might be my best deal to date!  You guys, I found this chair on the side of the road.  Can’t get much better then FREE!

Black Wicker Chair Makeover

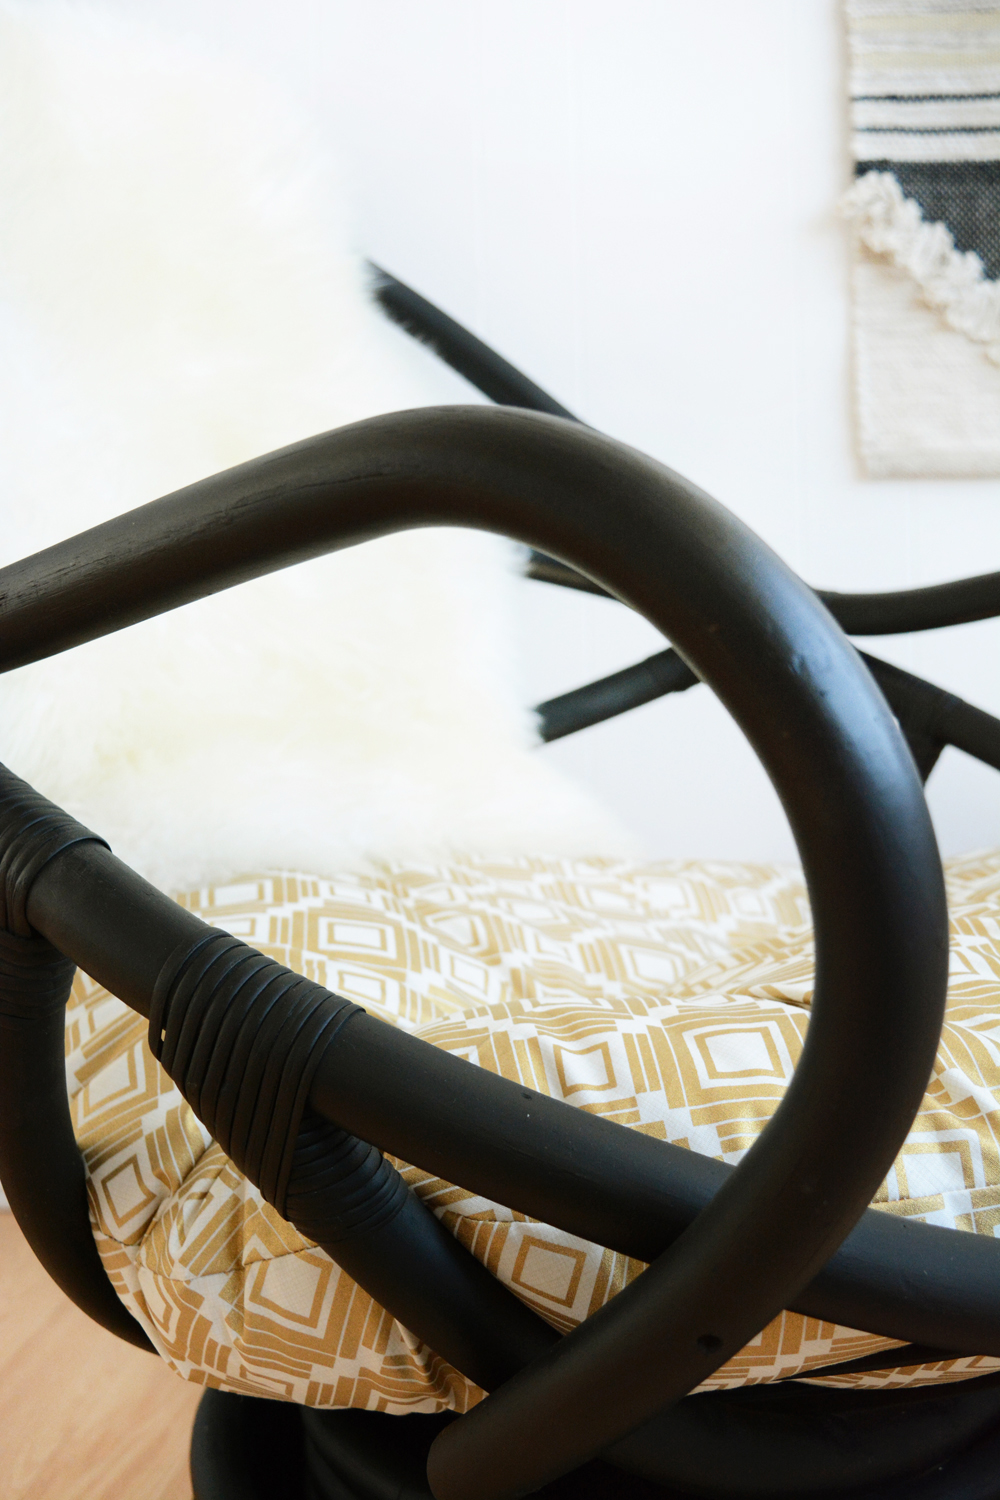
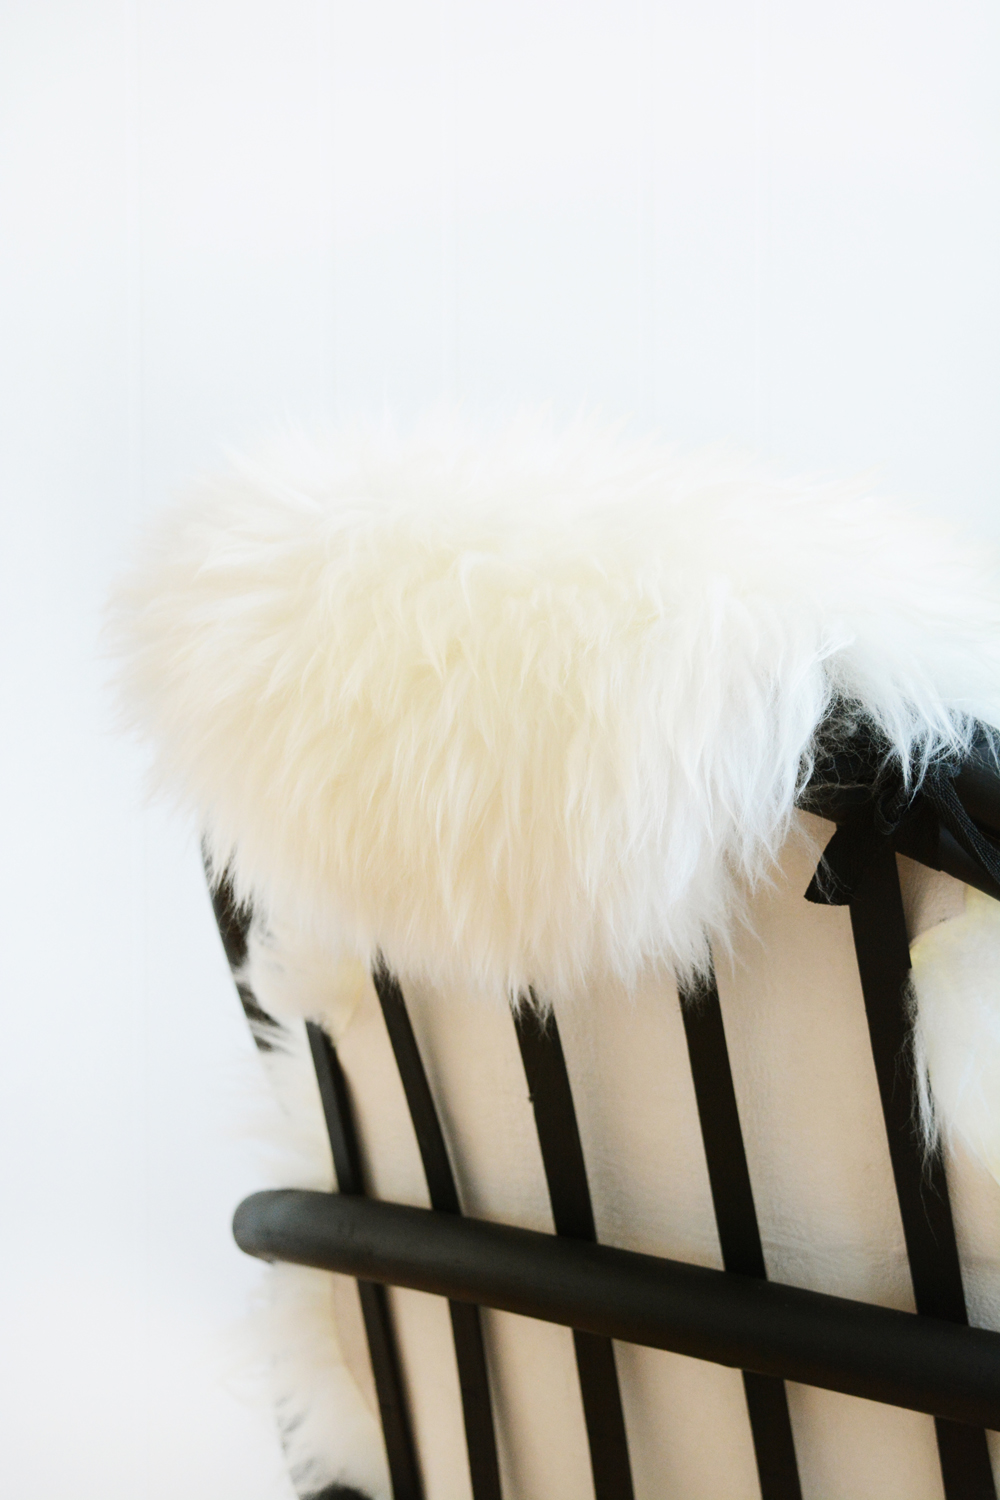
It definitely needed a little love, but with a fresh coat of paint and a new cushion and sheepskin back, it’s looks pretty great.  And it’s the comfiest chair – it rocks and swivels.  You can check out the full makeover and how-to over on ehow today.

Have you ever found furniture on the curb?  What’s the best thing you’ve ever picked up?

Wicker Chair Makeover Black Wicker Chair Makeover and Sheep Skin Back

DIY

Bold + Bright Summer Floral Arrangement

June 6, 2016

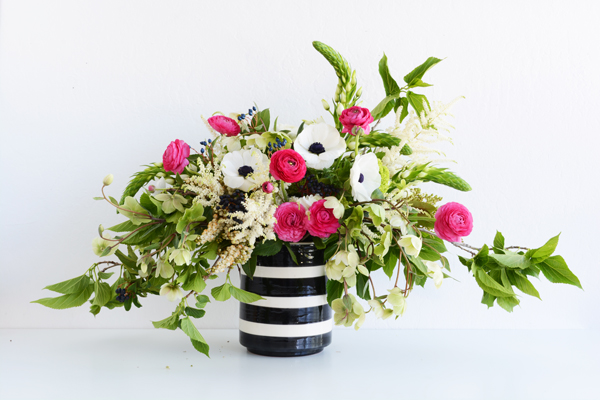
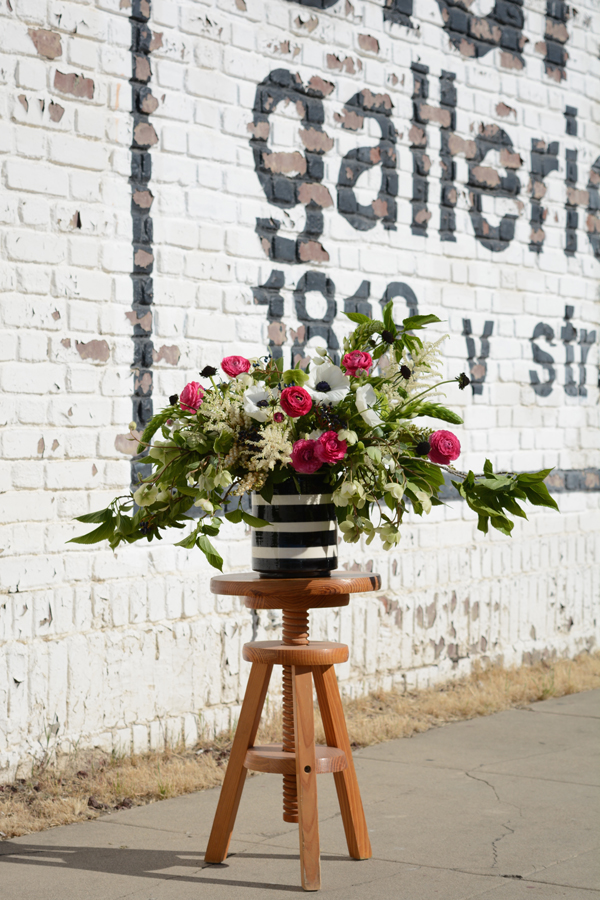
Summer and flowers are meant to go together. If you are hosting a party or just want to add a little color to your dining room table, you don’t have to pay big bucks to have a florist arrange flowers for you. You can do this!!!! With some great foliage and flowers and the right tools, you can create a gorgeous arrangement.
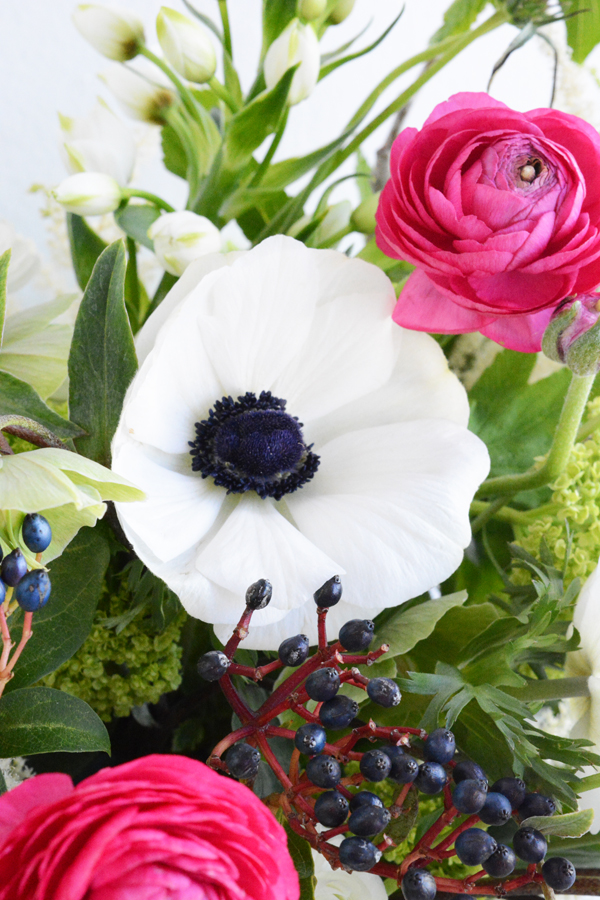
black and white vase arrangement_fiskars 6_fiskars 7

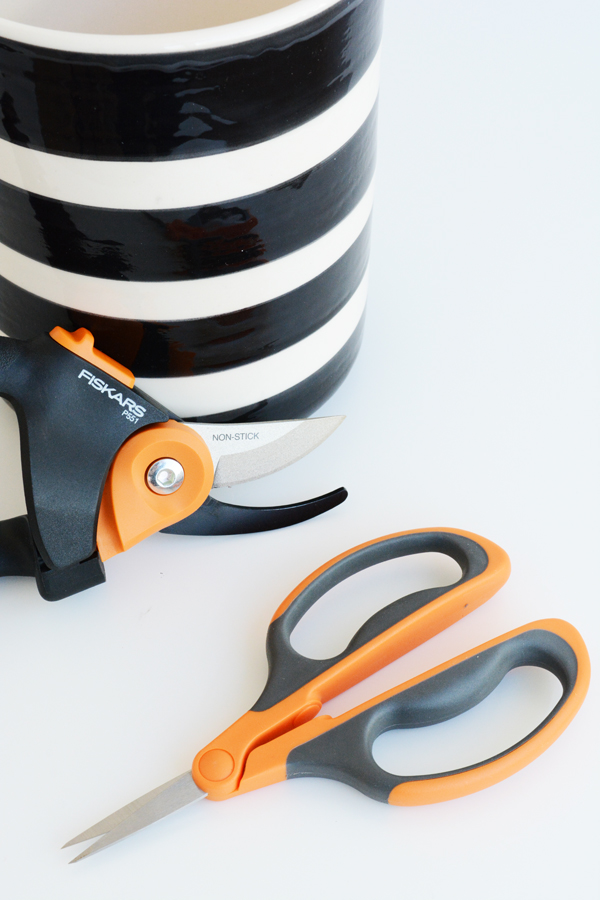
I teamed up with my favorite local florist, Amanda of House of Flowers, to teach me some tips and tricks for creating a beautiful summer arrangement.  We used Fiskars Micro Tip Floral Snip and Floral Pruner to make easy work of cutting through thick woody stems and flowers.  Amanda said these cut like butter!
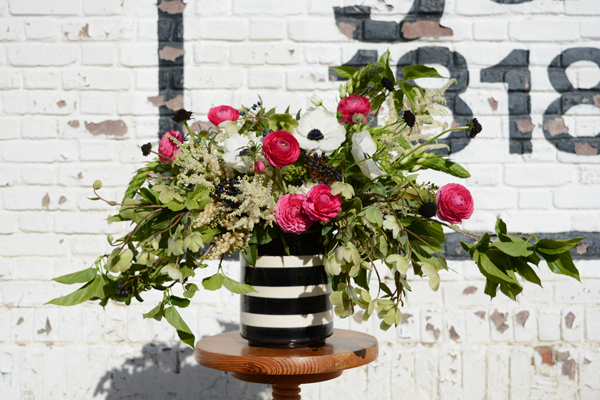
black and white vase floral arrangementI could watch this little GIF all day. There is something so satisfying to watch this all come together in just seconds. Summer Flower Arrangement
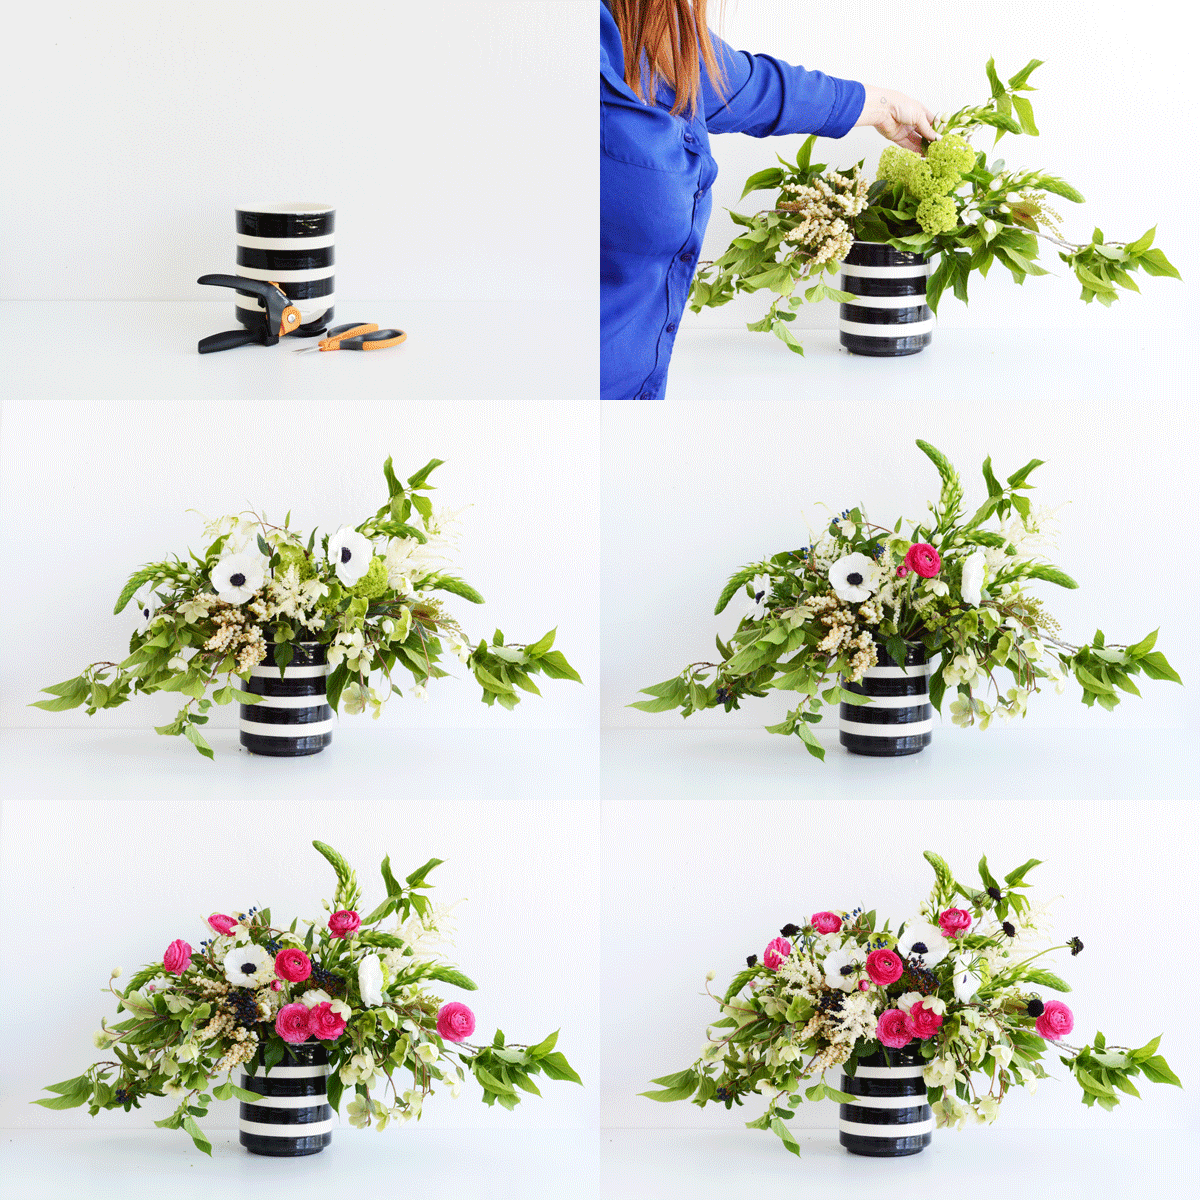
We started with a big, wide mouthed vase.  The graphic black and white (from West Elm), was a nice contrast to the wild, unruly arrangement.  Amanda started with a base of leafy stems from a mulberry bush that she foraged from her yard.  These thicker, woodier branches act as an anchor to hold all the other stems in place. Then there is no need to use a floral frog or oasis. These first branches also create the basic shape of the arrangement.
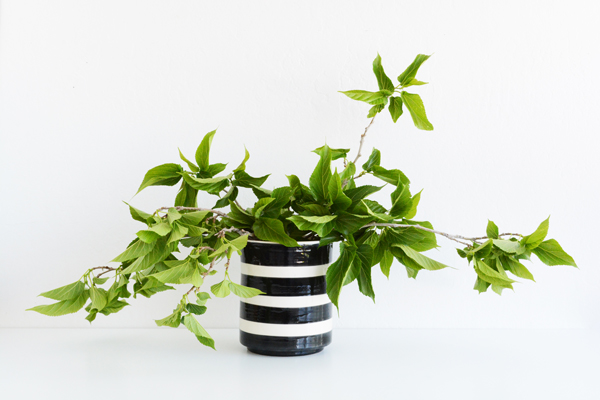
_flower 5

Next she added in lots of greens and whites in varying textures and sizes, many of which grow in folks yards here in California. Green viburnum, pieris japonica, white astilbe (my favorite thing about this arrangement), star of Bethlehem, and hellebores where all used. This filled in the arrangement.
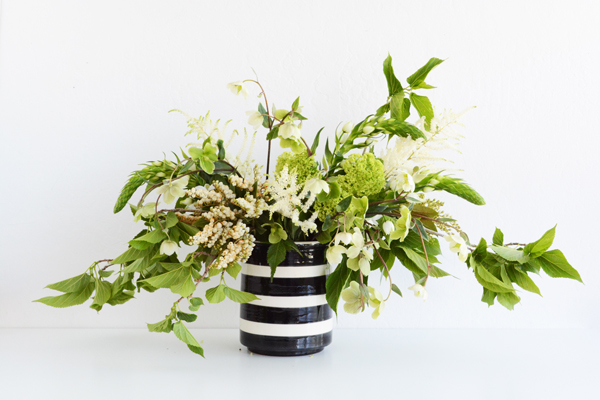
_flower 12

Then she added in the more expensive flowers like the anemones.
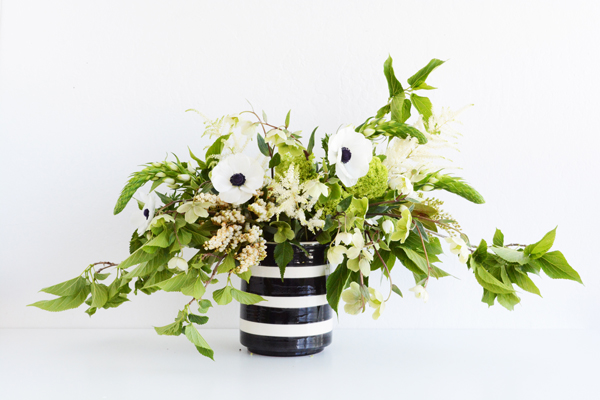
_flower 14

And finally, to give the arrangement that wow factor, pops of hot pink ranunculus and spots of black scabiosa were added as a finishing touch.
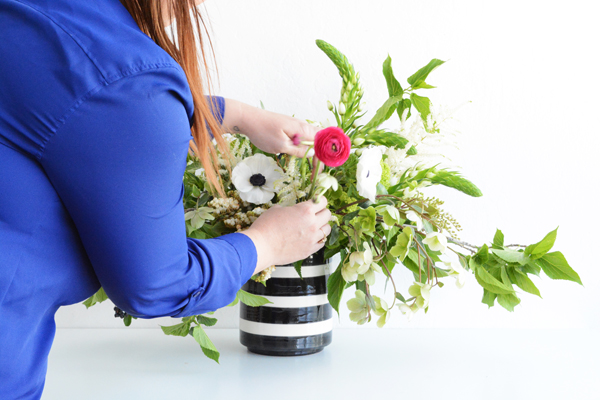
_flower 19

I can’t wait to play with flowers again soon.
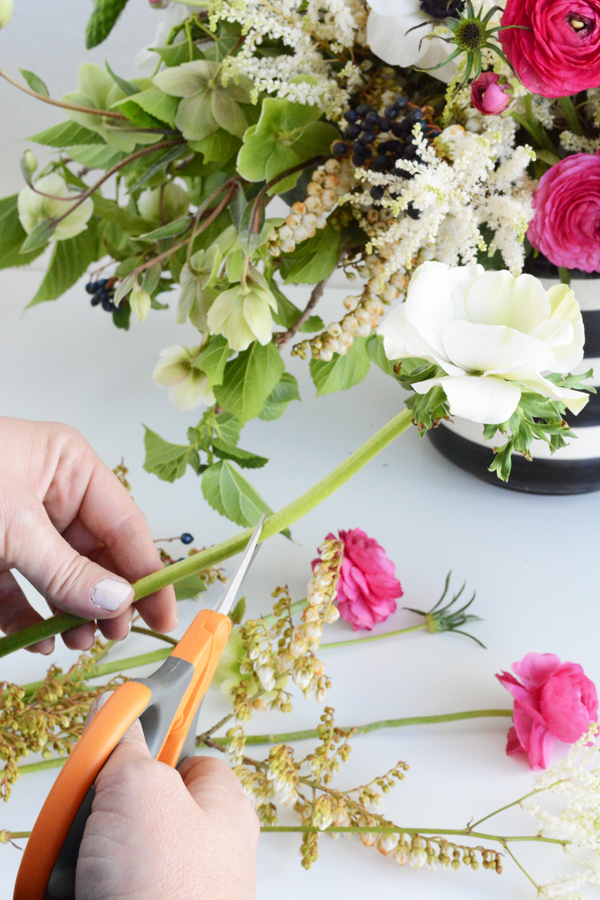
_fiskars 1_flower 28

This post is sponsored by Fiskars, thank you for supporting the companies that help make this blog possible. 
DIY

Mini Grad Bouquets

May 31, 2016

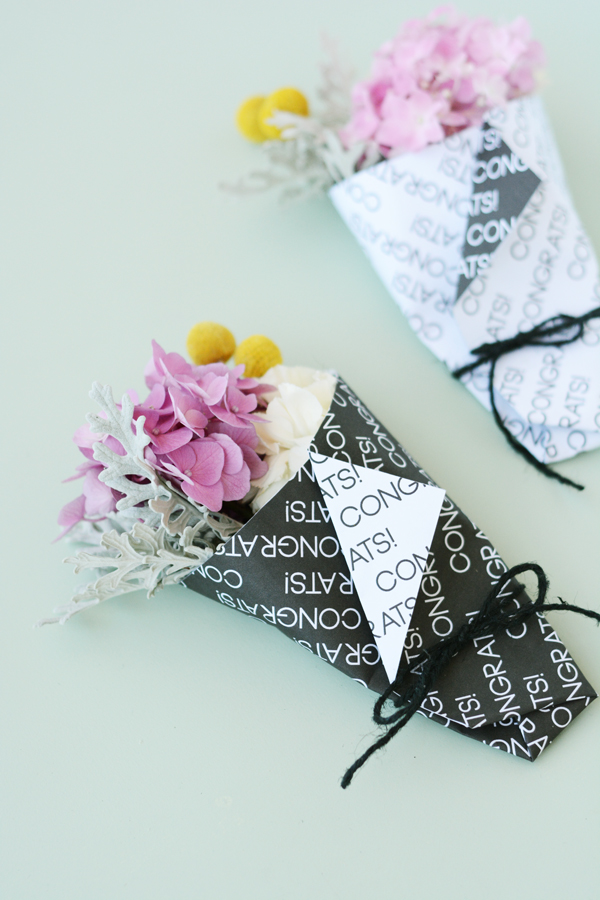
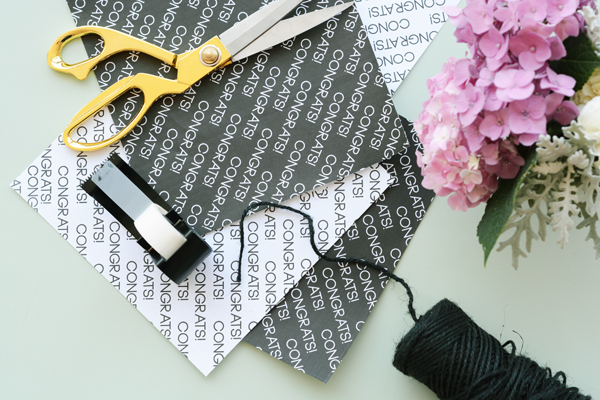
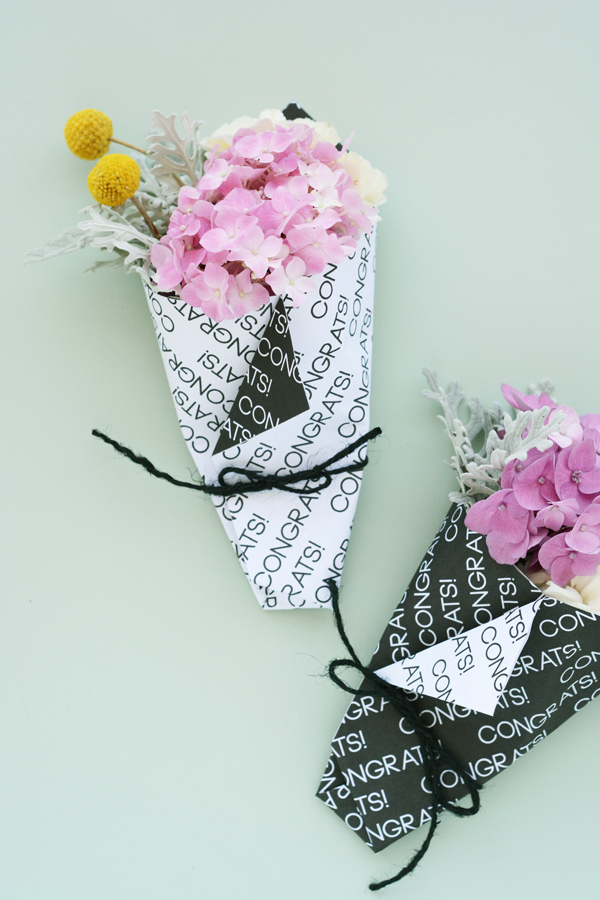
DIY mini grad bouquets with printable "congrats" paper wrap

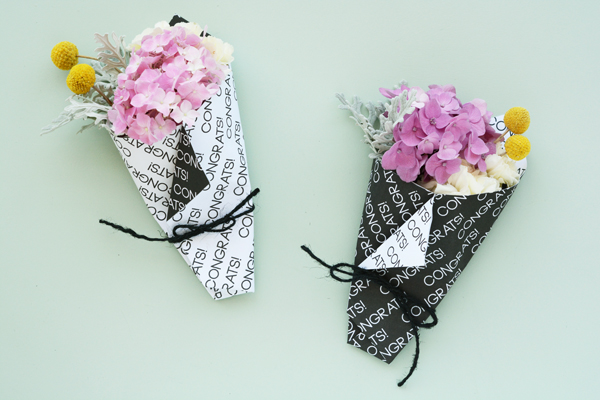
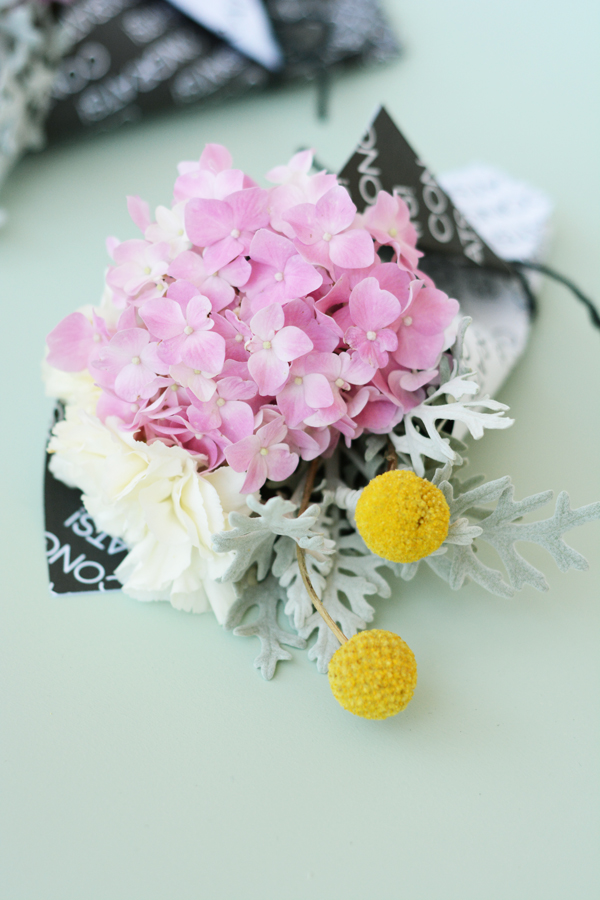
We are smack in the middle of Grad season. I love the idea of gifting fresh flowers to graduates, it feels special.  But, it can really get pricey.  So, I’ve made some adorable mini grad bouquets with printable “congrats” paper wraps.  I spent very little on these flowers and actually most of them were from my yard.  And I’m pretty sure any grad would be happy to receive these after receiving their diploma.

mini grad bouquet mini grad bouquets

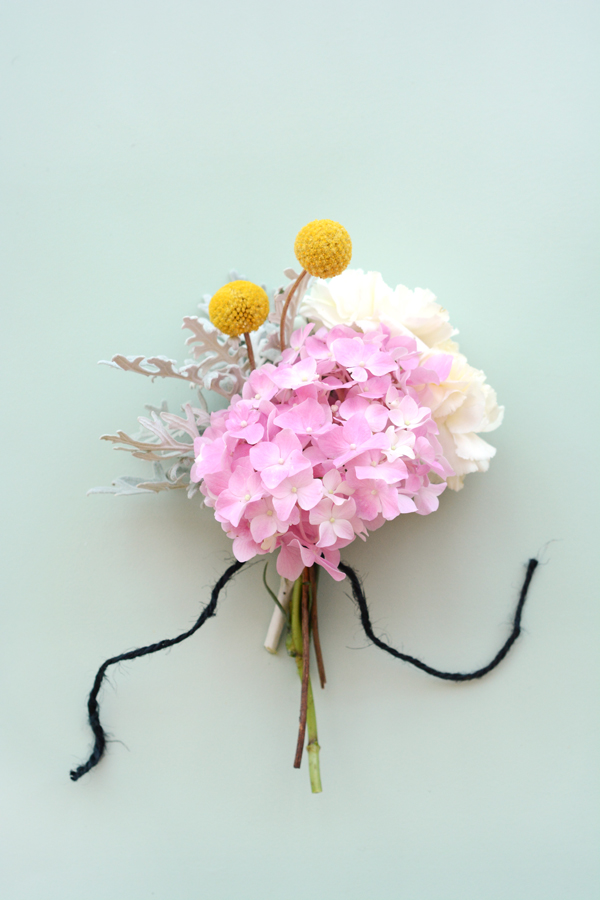
You can download the free printable paper wraps in black and white. Simply cut out the two squares of paper and glue or tape them back to back.  Then tie up a mini bouquet of a few flowers and wrap them in the “congrats” paper.

grad bouquets DIY mini grad bouquets with printable paper wrap _grad bouquet 6

I hope you had a great long weekend.  I spent mine making and working on a whole bunch of projects. I’m really excited to share a whole bunch of fun new DIYs for you. So stay tuned.

DIY

Free Printable Mother’s Day Gift Tags and Rose Blanket

April 18, 2016

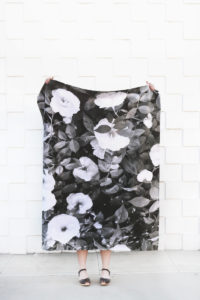
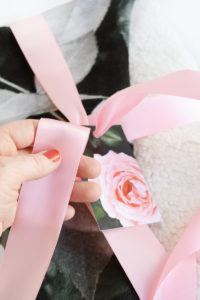
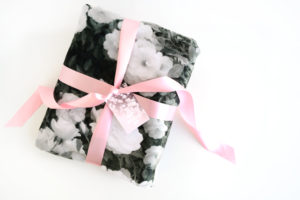
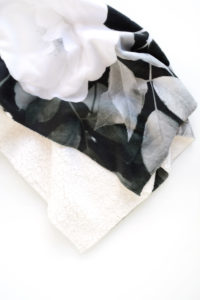
Mother’s Day is just around the corner and I’m pretty sure it might be one of the most important holidays there is. We owe our mom’s so much, at least I know I owe mine. Mom’s are suckers for sentimental, thoughtful, handmade gifts. This year I’m excited to give my mom a pretty garden rose fleecy throw blanket that I created for her with Shutterfly.

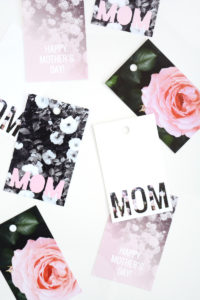
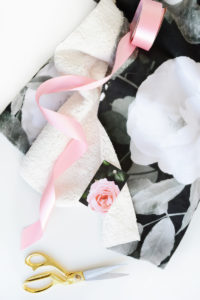
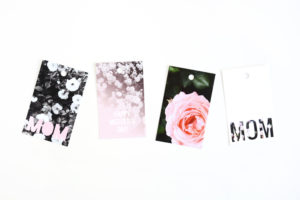
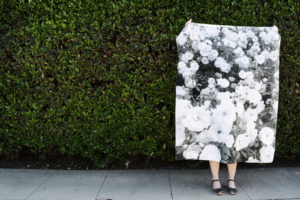
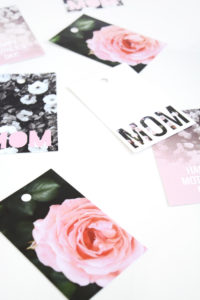
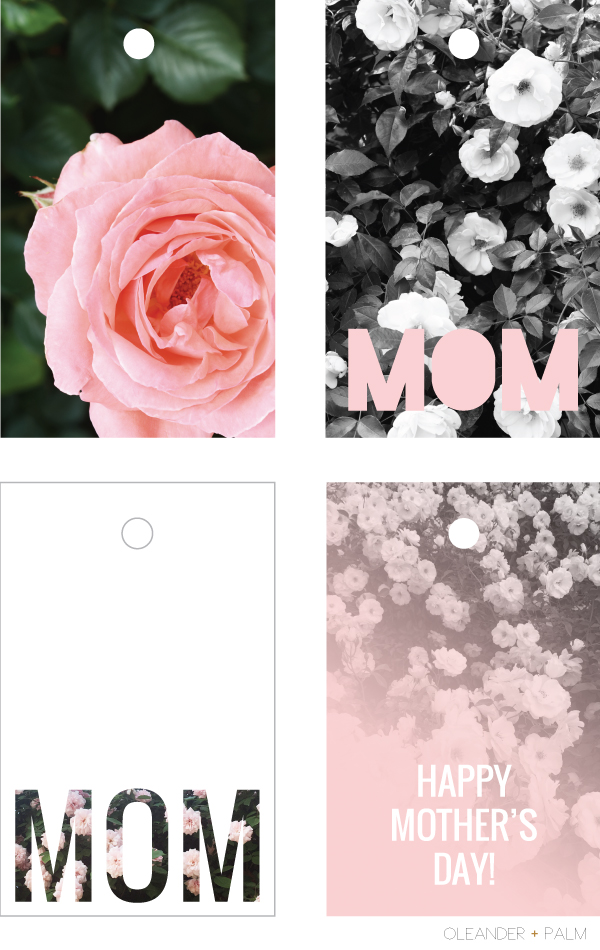
I’ve also got some fun free printable Mother’s Day gift tags for you (so keep reading). Whether you make your mom a blanket or something else, I’ve got the perfect little tags to attach to your mom’s gift.garden rose blanketI took black and white pictures of garden roses in my neighborhood, and had them printed on Shutterfly’s new super soft sherpa blankets. I love how they turned out. They’re feminine and graphic all at the same time.  I printed one with just a few, bigger blooms and another with hundreds of white blossoms all over  the blanket. I can’t decide which is my favorite. I have both images for you to download.
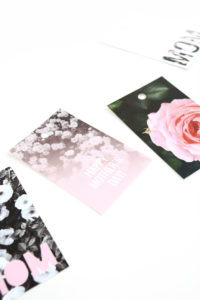
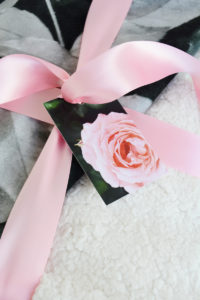
DIY garden rose blanket for Mother's DayAnd what’s a gift without wrapping is up pretty and adding a card? Mom’s love a good card. You can print out the 4 gift tags I’ve designed and add a personal message. (Links to the free printable below.)printable mother's day gift tags printable mother's day gift tagsgarden rose blanket for Mother's Daygarden rose blanketgarden rose blanket for Mother's Dayprintable mother's day gift tagsprintable mother's day gift taggarden rose blanketprintable mother's day gift tagsYou can download this set of Mother’s Day gift tags HERE!

And if you’d like to make a blanket here’s Version 1 and Version 2.printable mother's day gift tagsgarden rose blanket for Mother's Day 1printable mother's day gift tags

This post is sponsored by Shutterfly, thank you for supporting the companies that help make this blog possible. 
DIY

DIY Geometric Necklaces

April 14, 2016

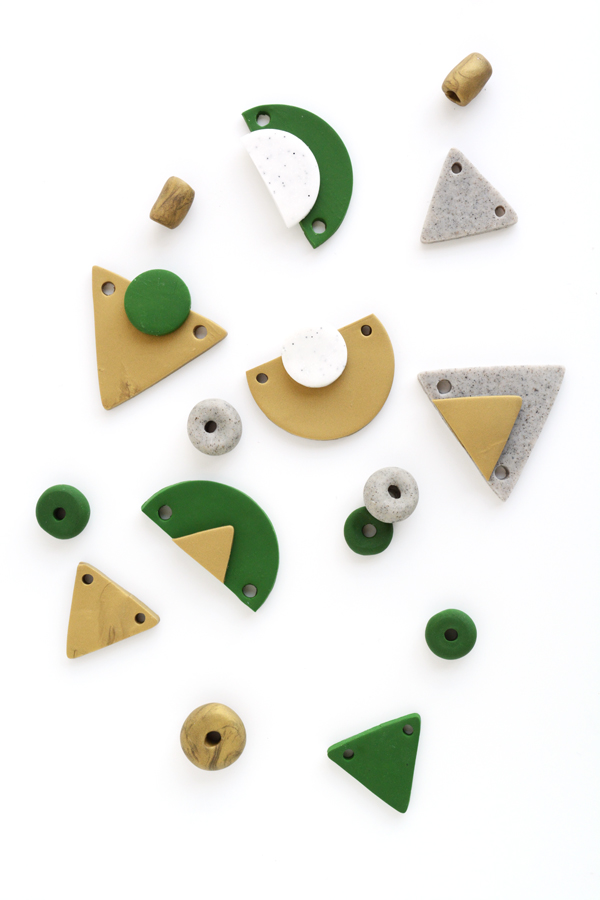
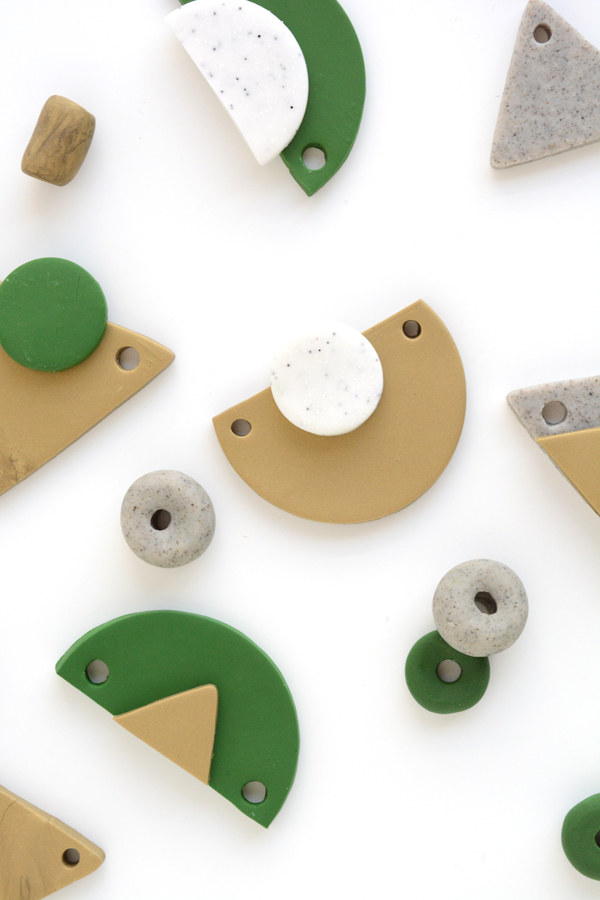
geometric necklace pendants

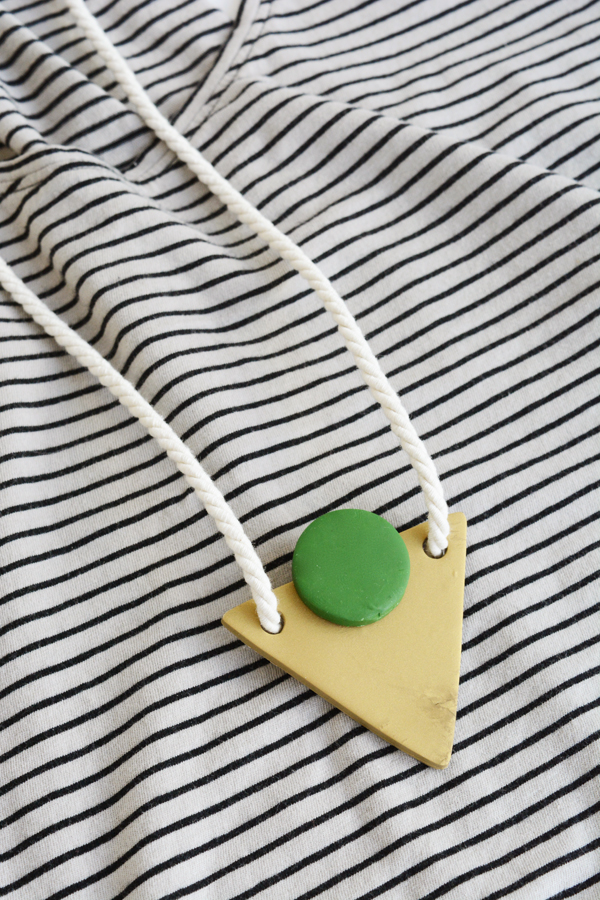
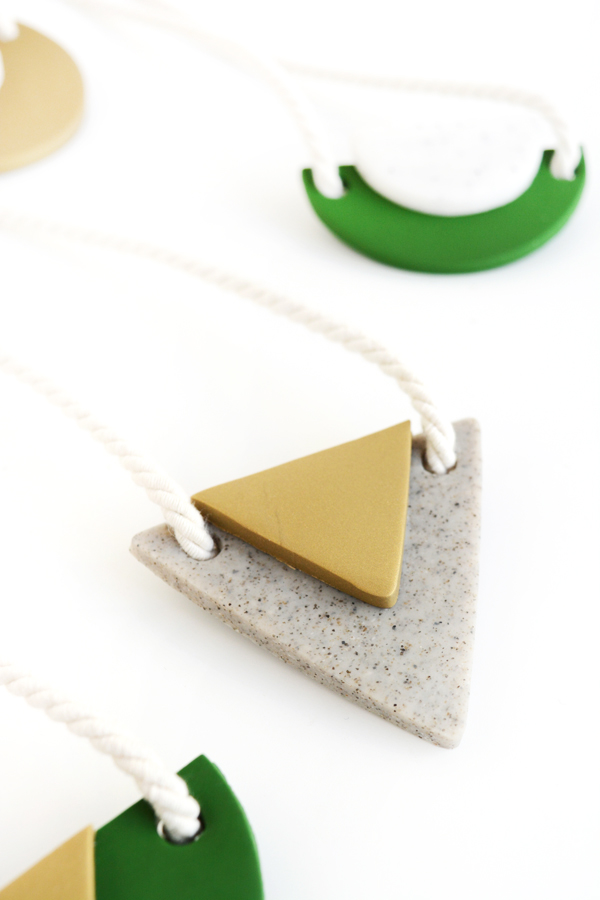
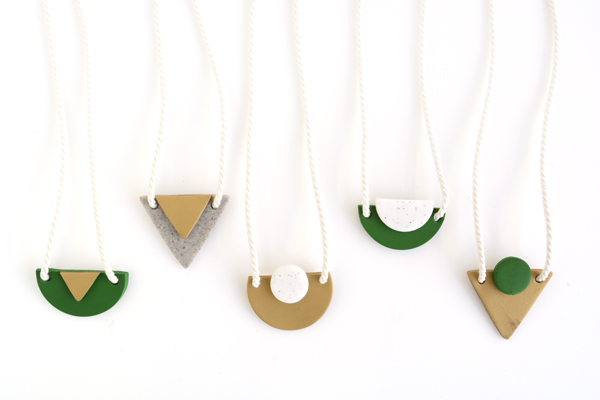
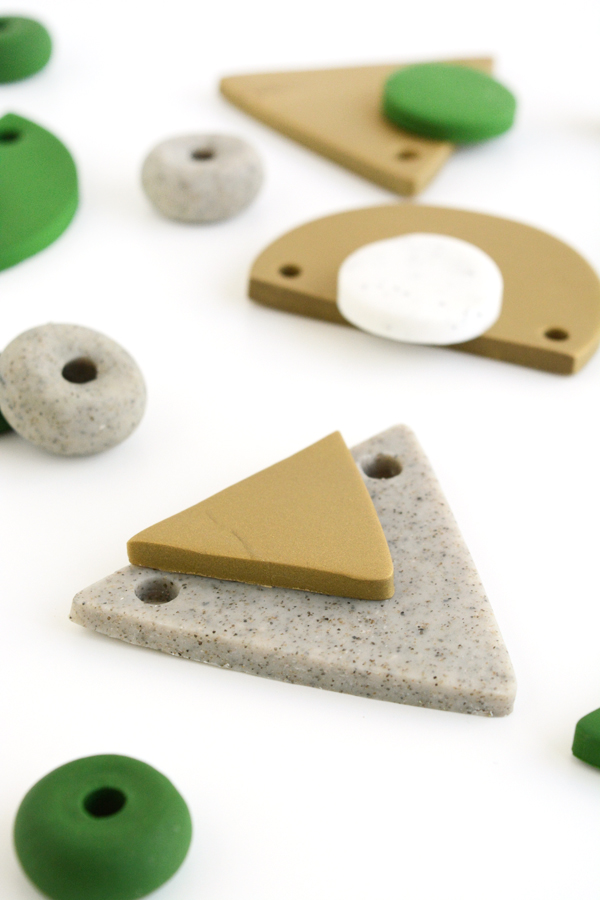
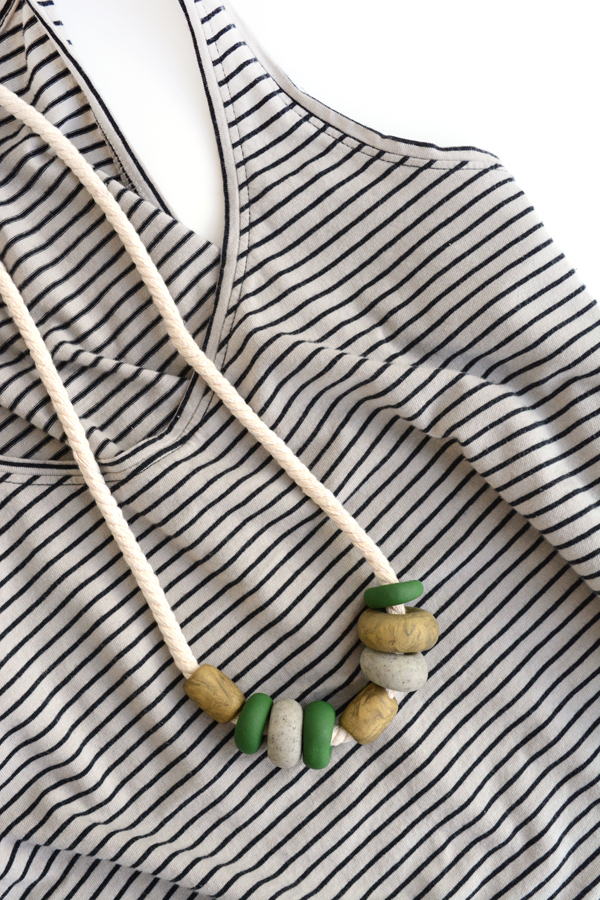
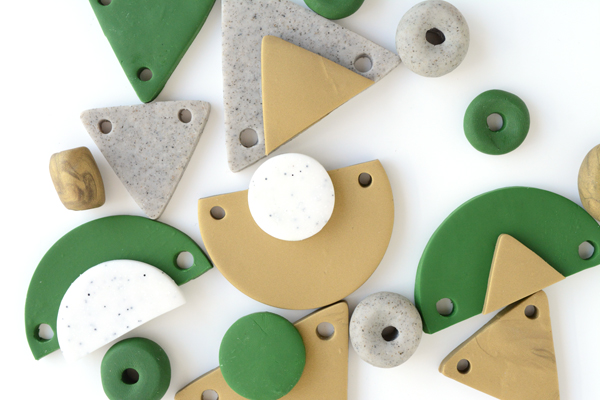
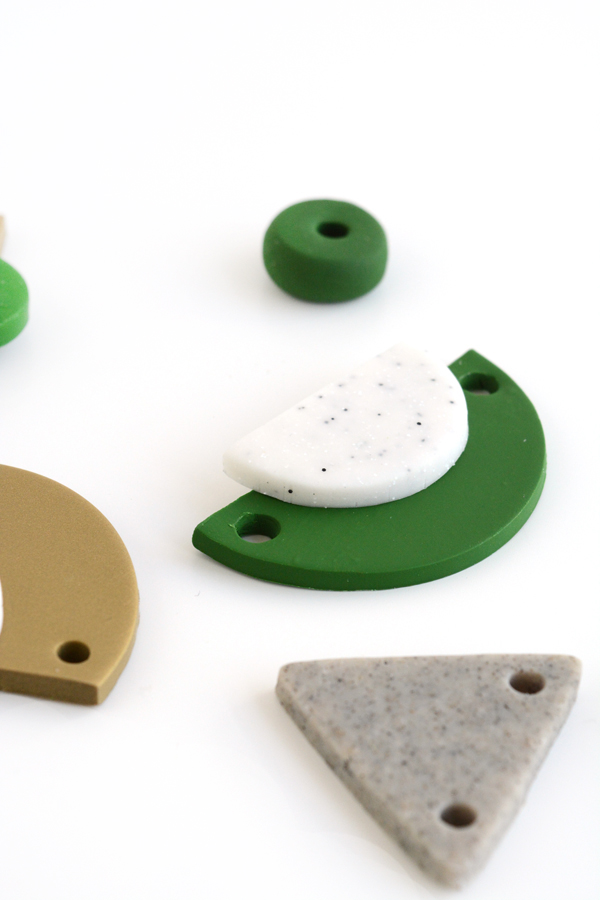
After I made one of these necklaces, I couldn’t stop. And before I knew it, I’d make 7 geometric shaped necklaces. I’m a huge fan of fun, big, chunky jewelry. And my 12 year old self, still loves to play with oven baked clay. These simple necklaces pendants are really just a couple geometric shapes layered on top of each other to create a modern, unique jewelry pieces. The possibilities and combinations are endless. I stuck with my go-to color combo – green, gold and grey and played with different combinations of these colors.

DIY geometric necklaces made with oven-bake clay

DIY geometric necklaces

_gemetric necklaces 10

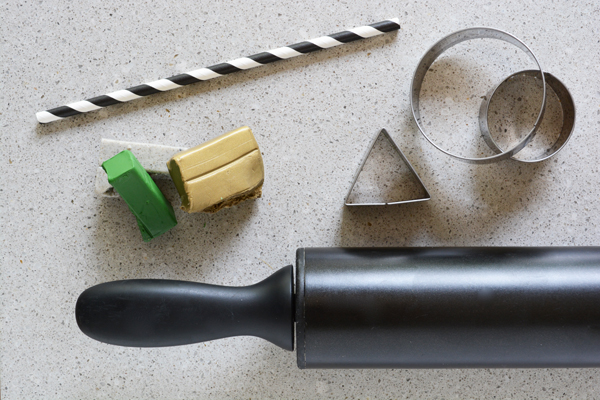
Here’s what you’ll need:

diy geometric necklaces

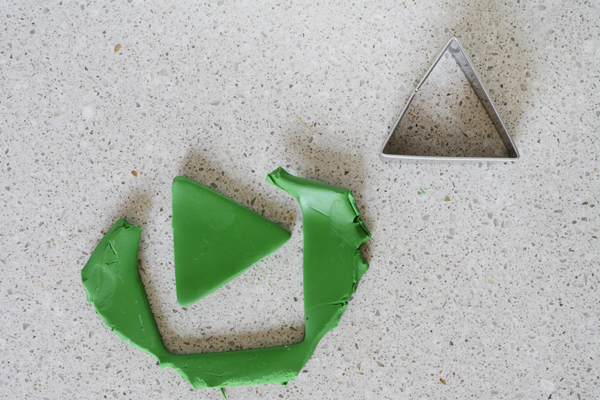
Start by rolling out the dough to about a 1/4″ thickness. You want it to be quite thick so that the piece has so weight to it. If possible, roll out on a stone surface, even a cutting board will do. The clay is less likely to stick to this surface.

_geometric necklace 2

Using the cookie cutters, cut out your desired shapes. This was the fun part. I cut lots of sizes, shapes and colors and had fun pairing them up to get a look I wanted.

geometric necklace

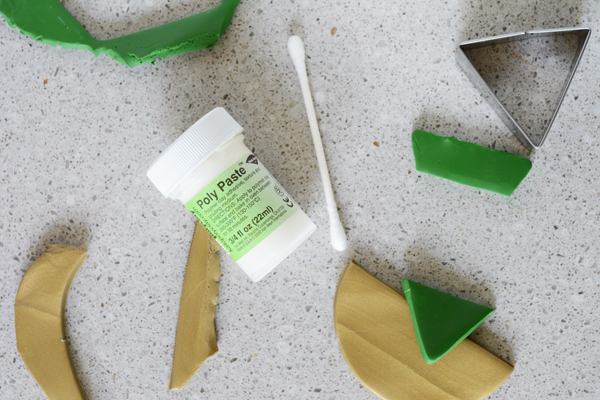
When you have decided which pieces will go together, place a small amount of the clay adhesive on the clay pieces and adhere them together.

_geometric necklaces 4

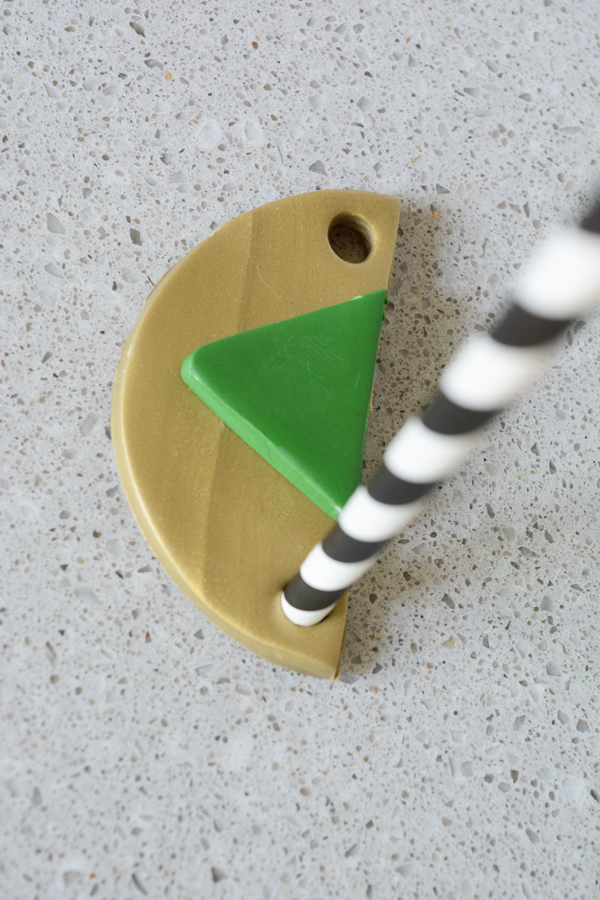
Using the paper straw, cut out wholes for the rope to hang from.  Place the finished pieces on a parchment lined baking sheet and bake in the oven at 200 F for about 15-20 mins. I had a DIY fail the first time I made these. I followed the directions for baking on the package and all the white pieces turned out totally yellow and discolored. So I reduced the temperature and baking time, and all the clay cured and stayed it’s true color. Just watch them carefully. Take them out and allow them to cool completely. If they don’t feel totally hard, bake them for another couple of minutes. It’s not an exact science, but you can get great results if you are patient with the baking process.

geometric necklaces DIY geometric necklace pendantsoven bake clay necklaces geometric jewelry

You are going to want to go buy some clay.  I made all of these pieces with about 4 packages of oven-bake clay.  And Olivia was quite entertained for about 2 hours as we made bead after bead together.DIY geometric necklaces


DIY

Tropical Foliage Napkins

April 8, 2016

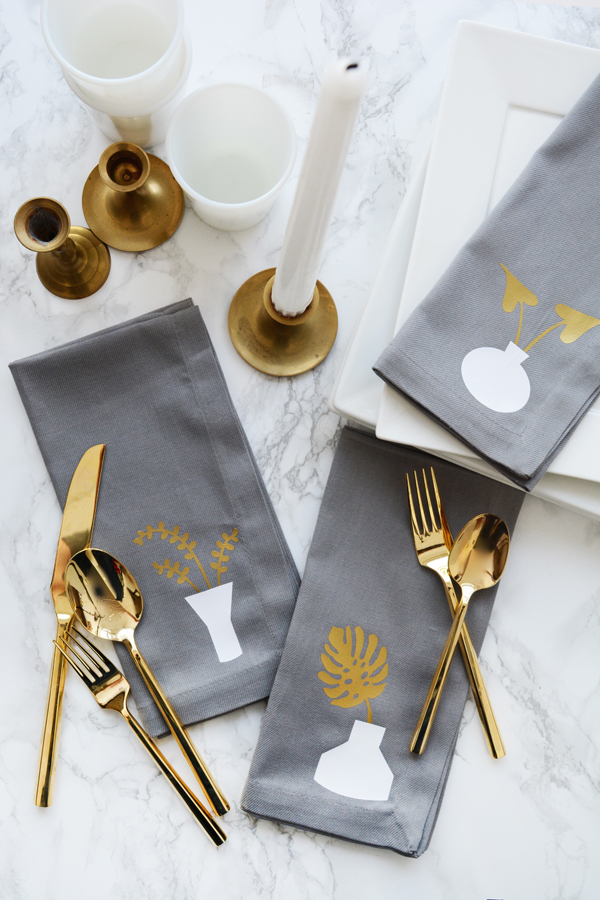
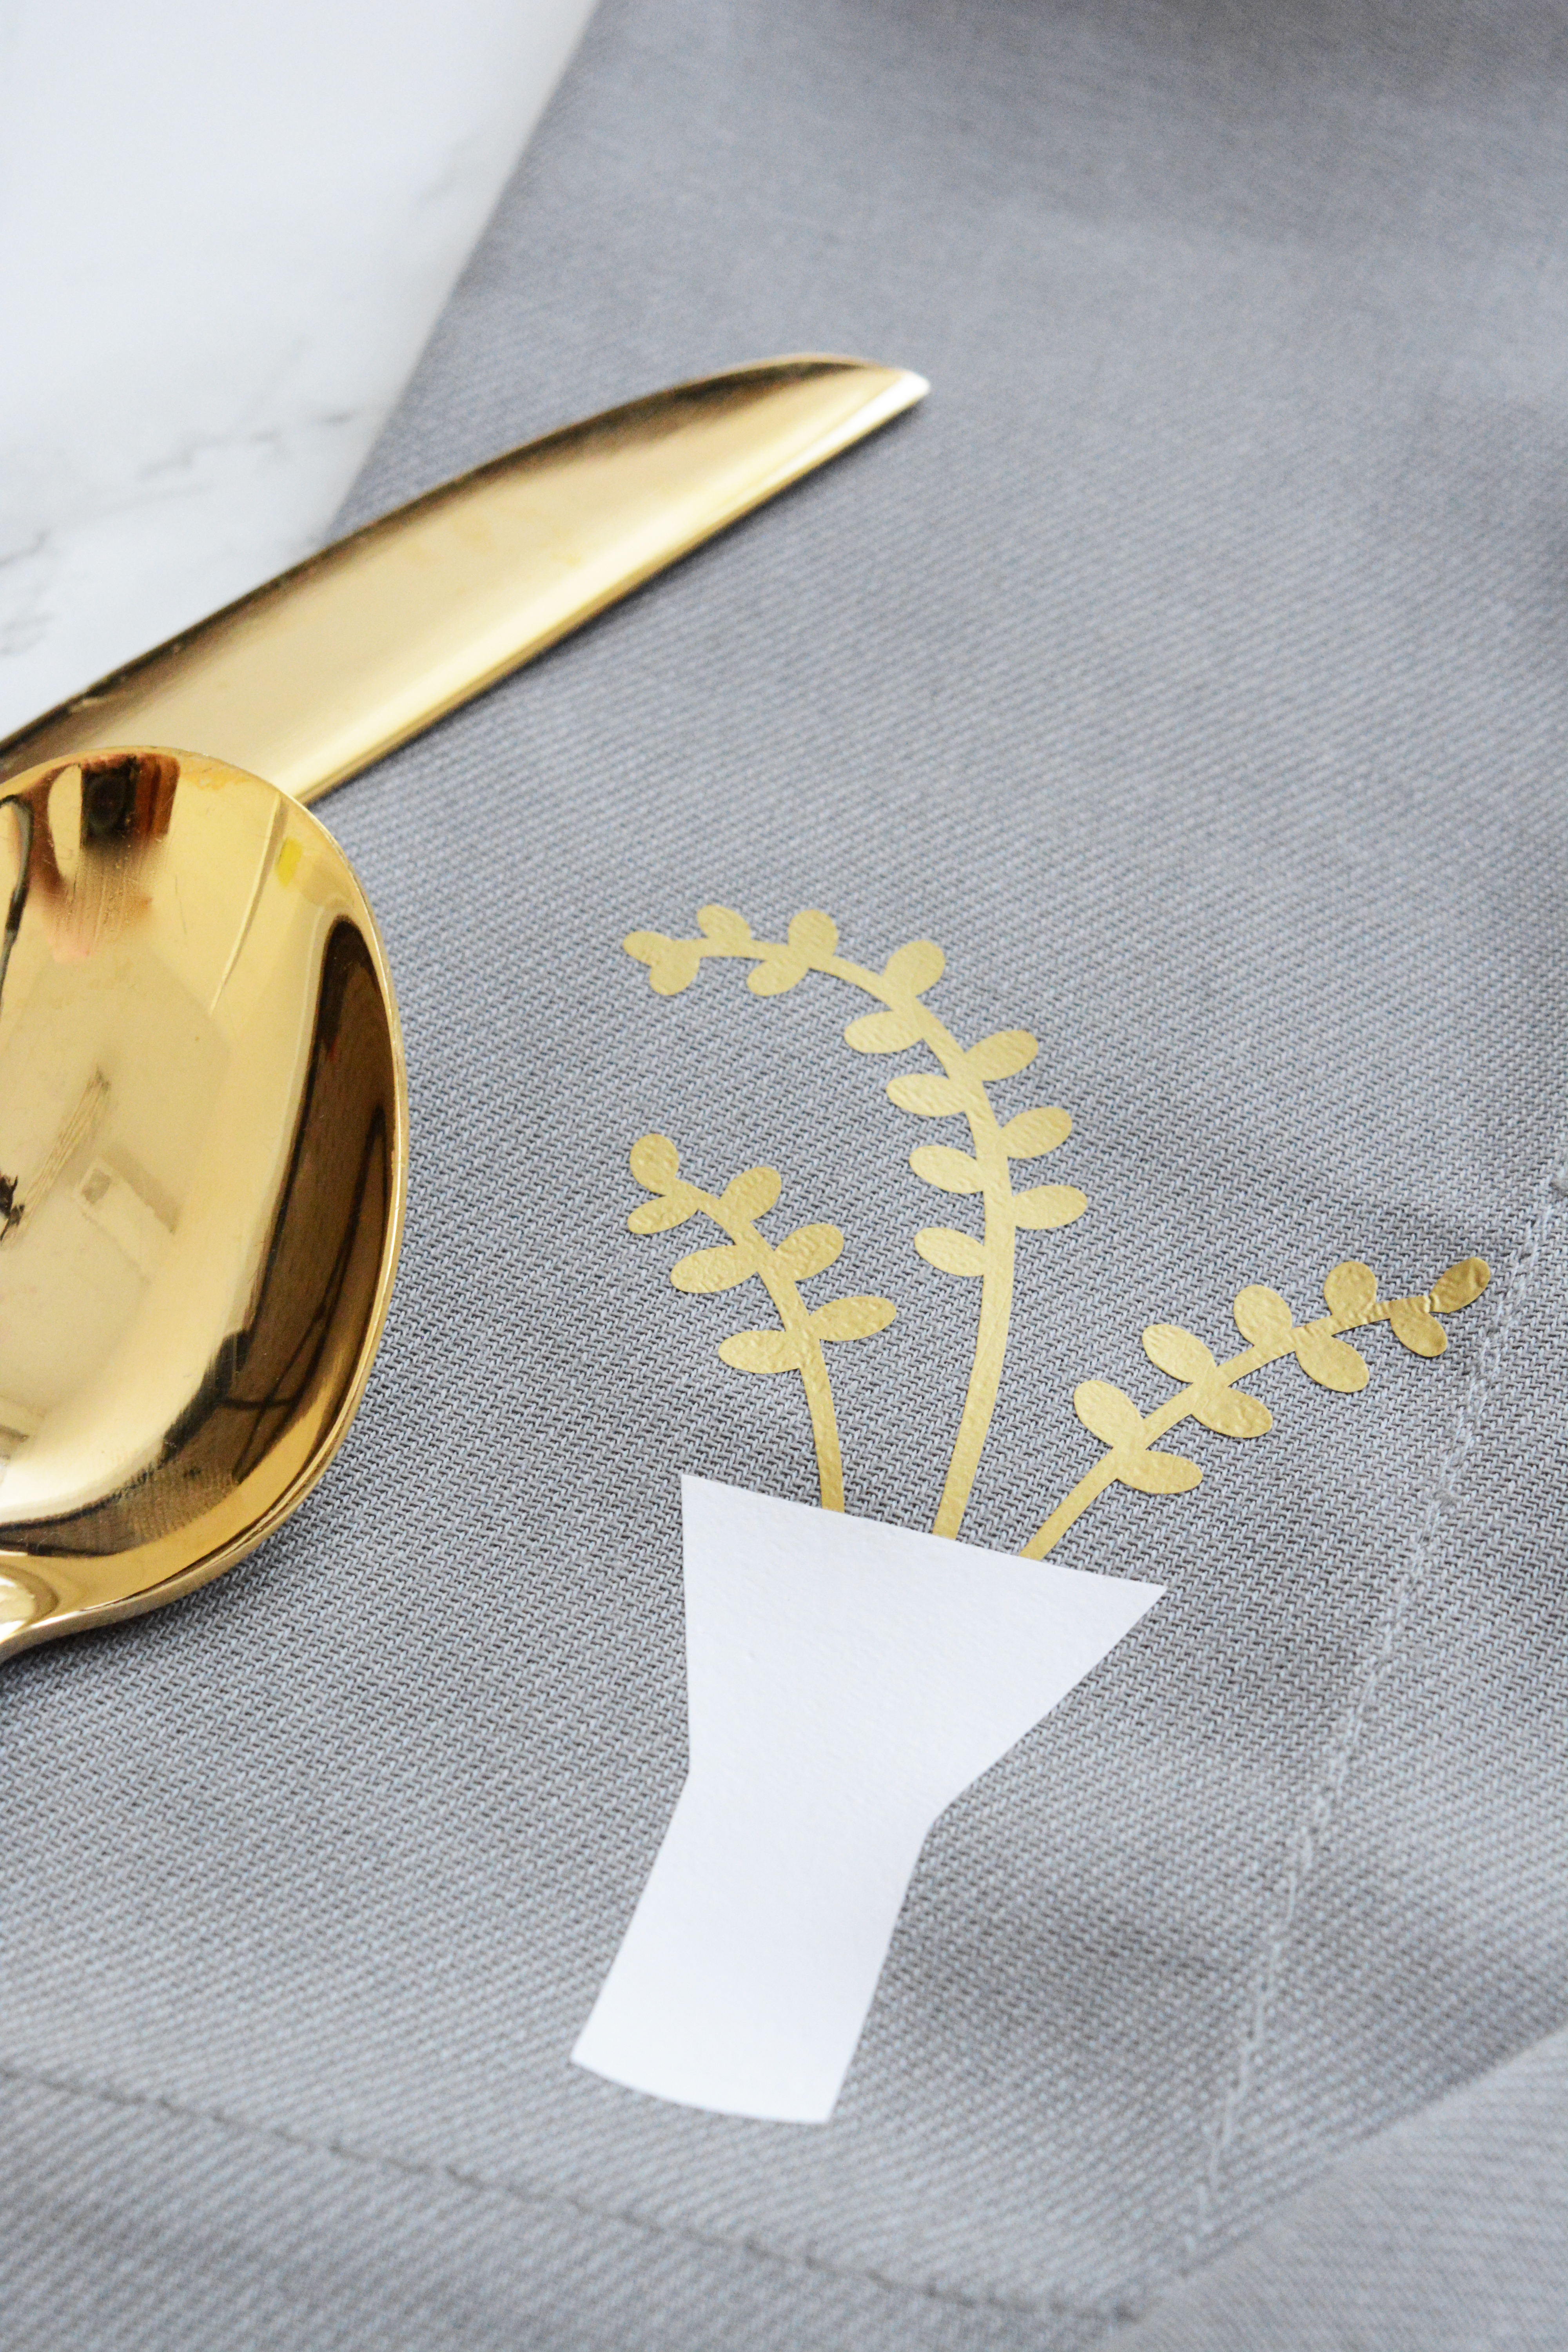
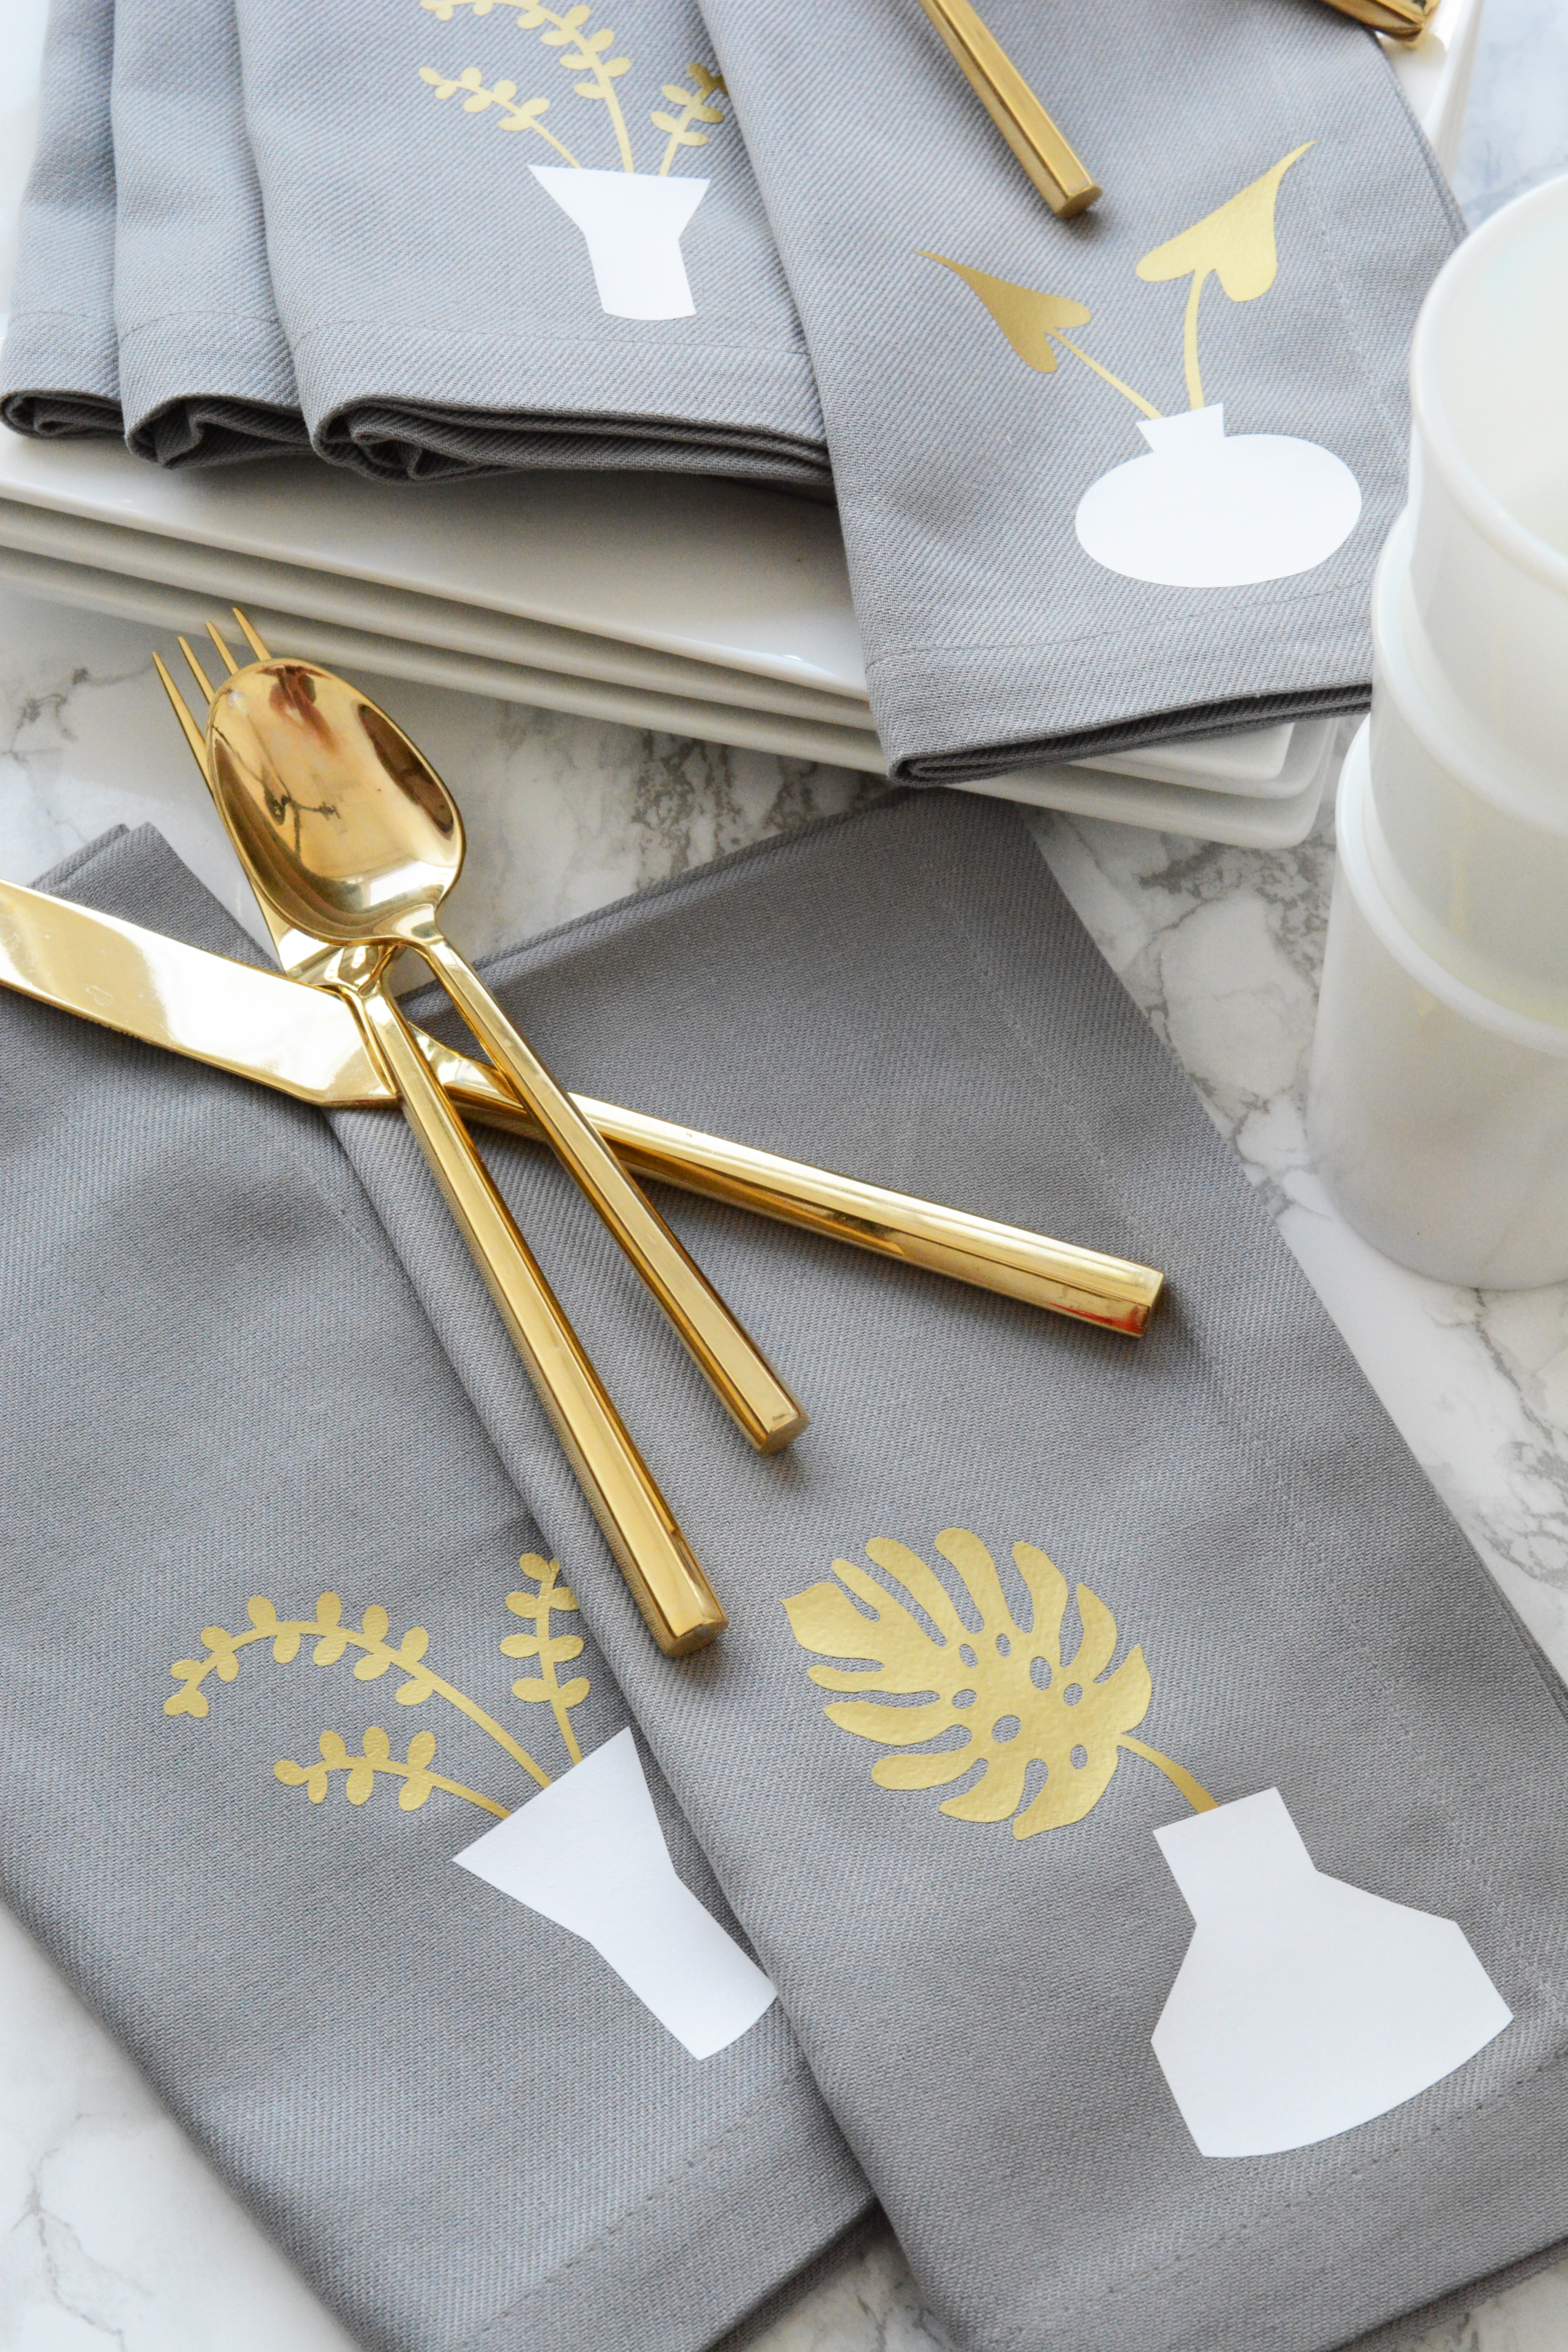
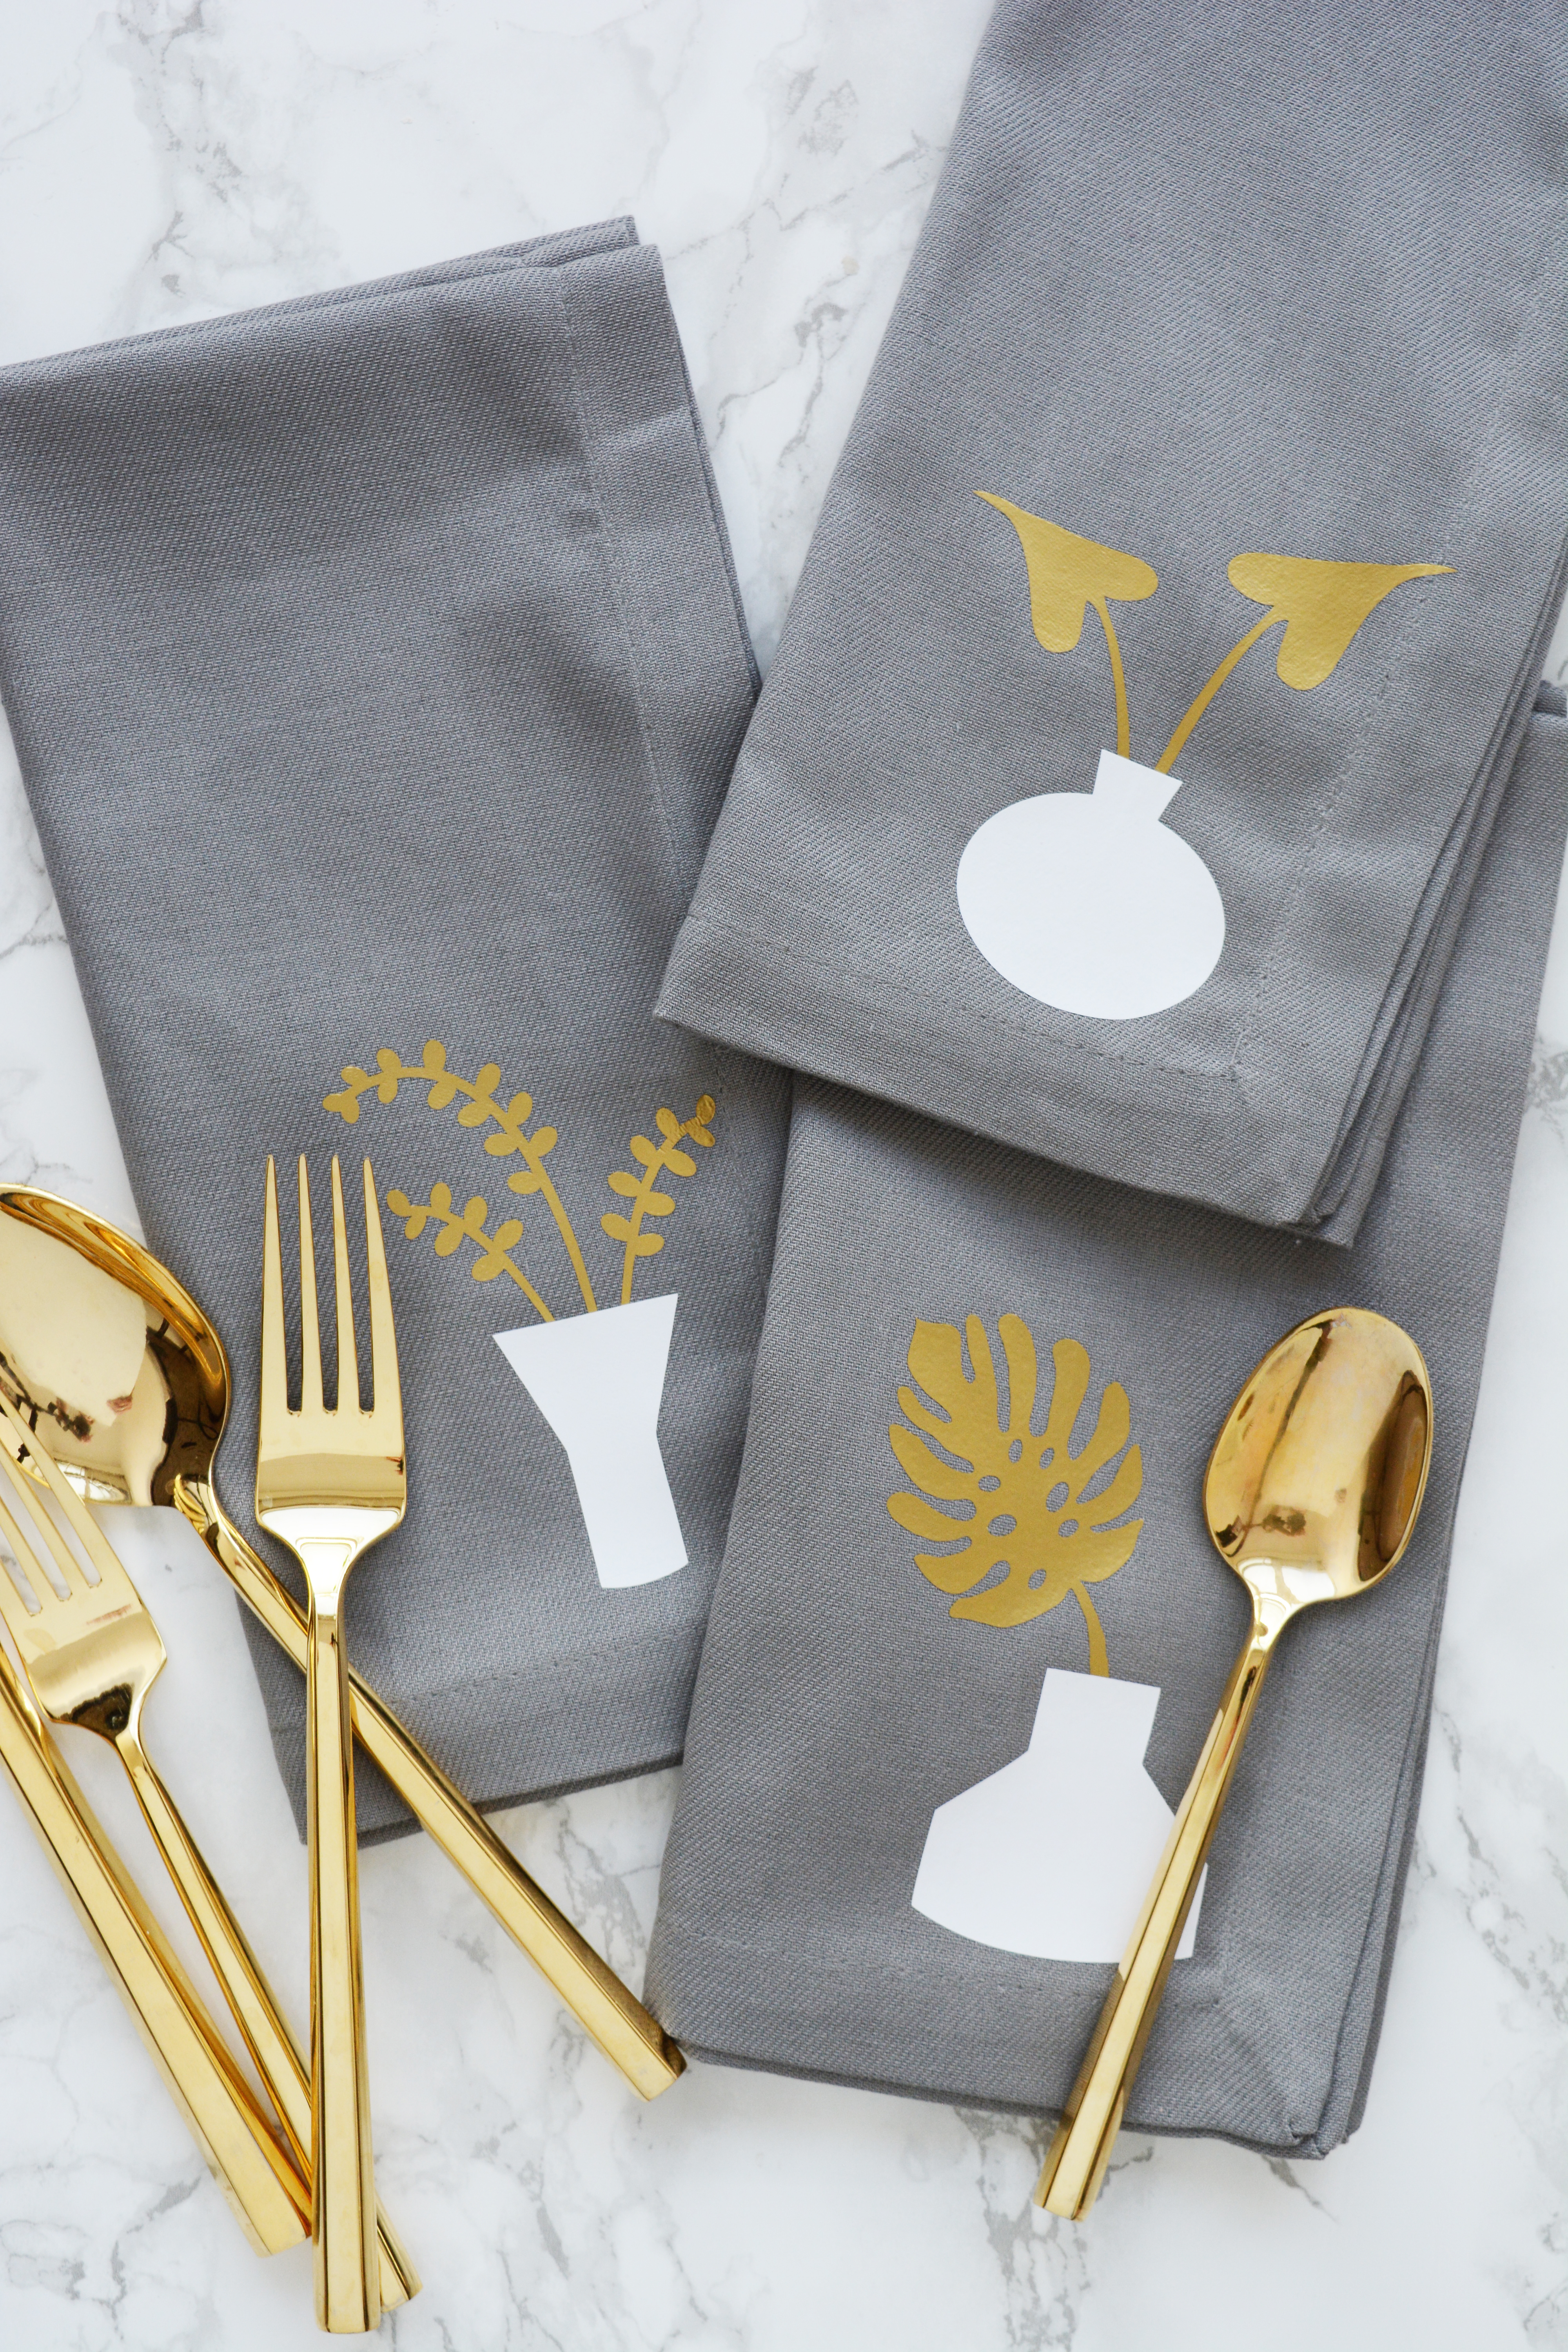
I’ve always loved setting the table for dinner. It was the job my mom always gave me when we had quests over. And the only way to do it right is with cloth napkins.

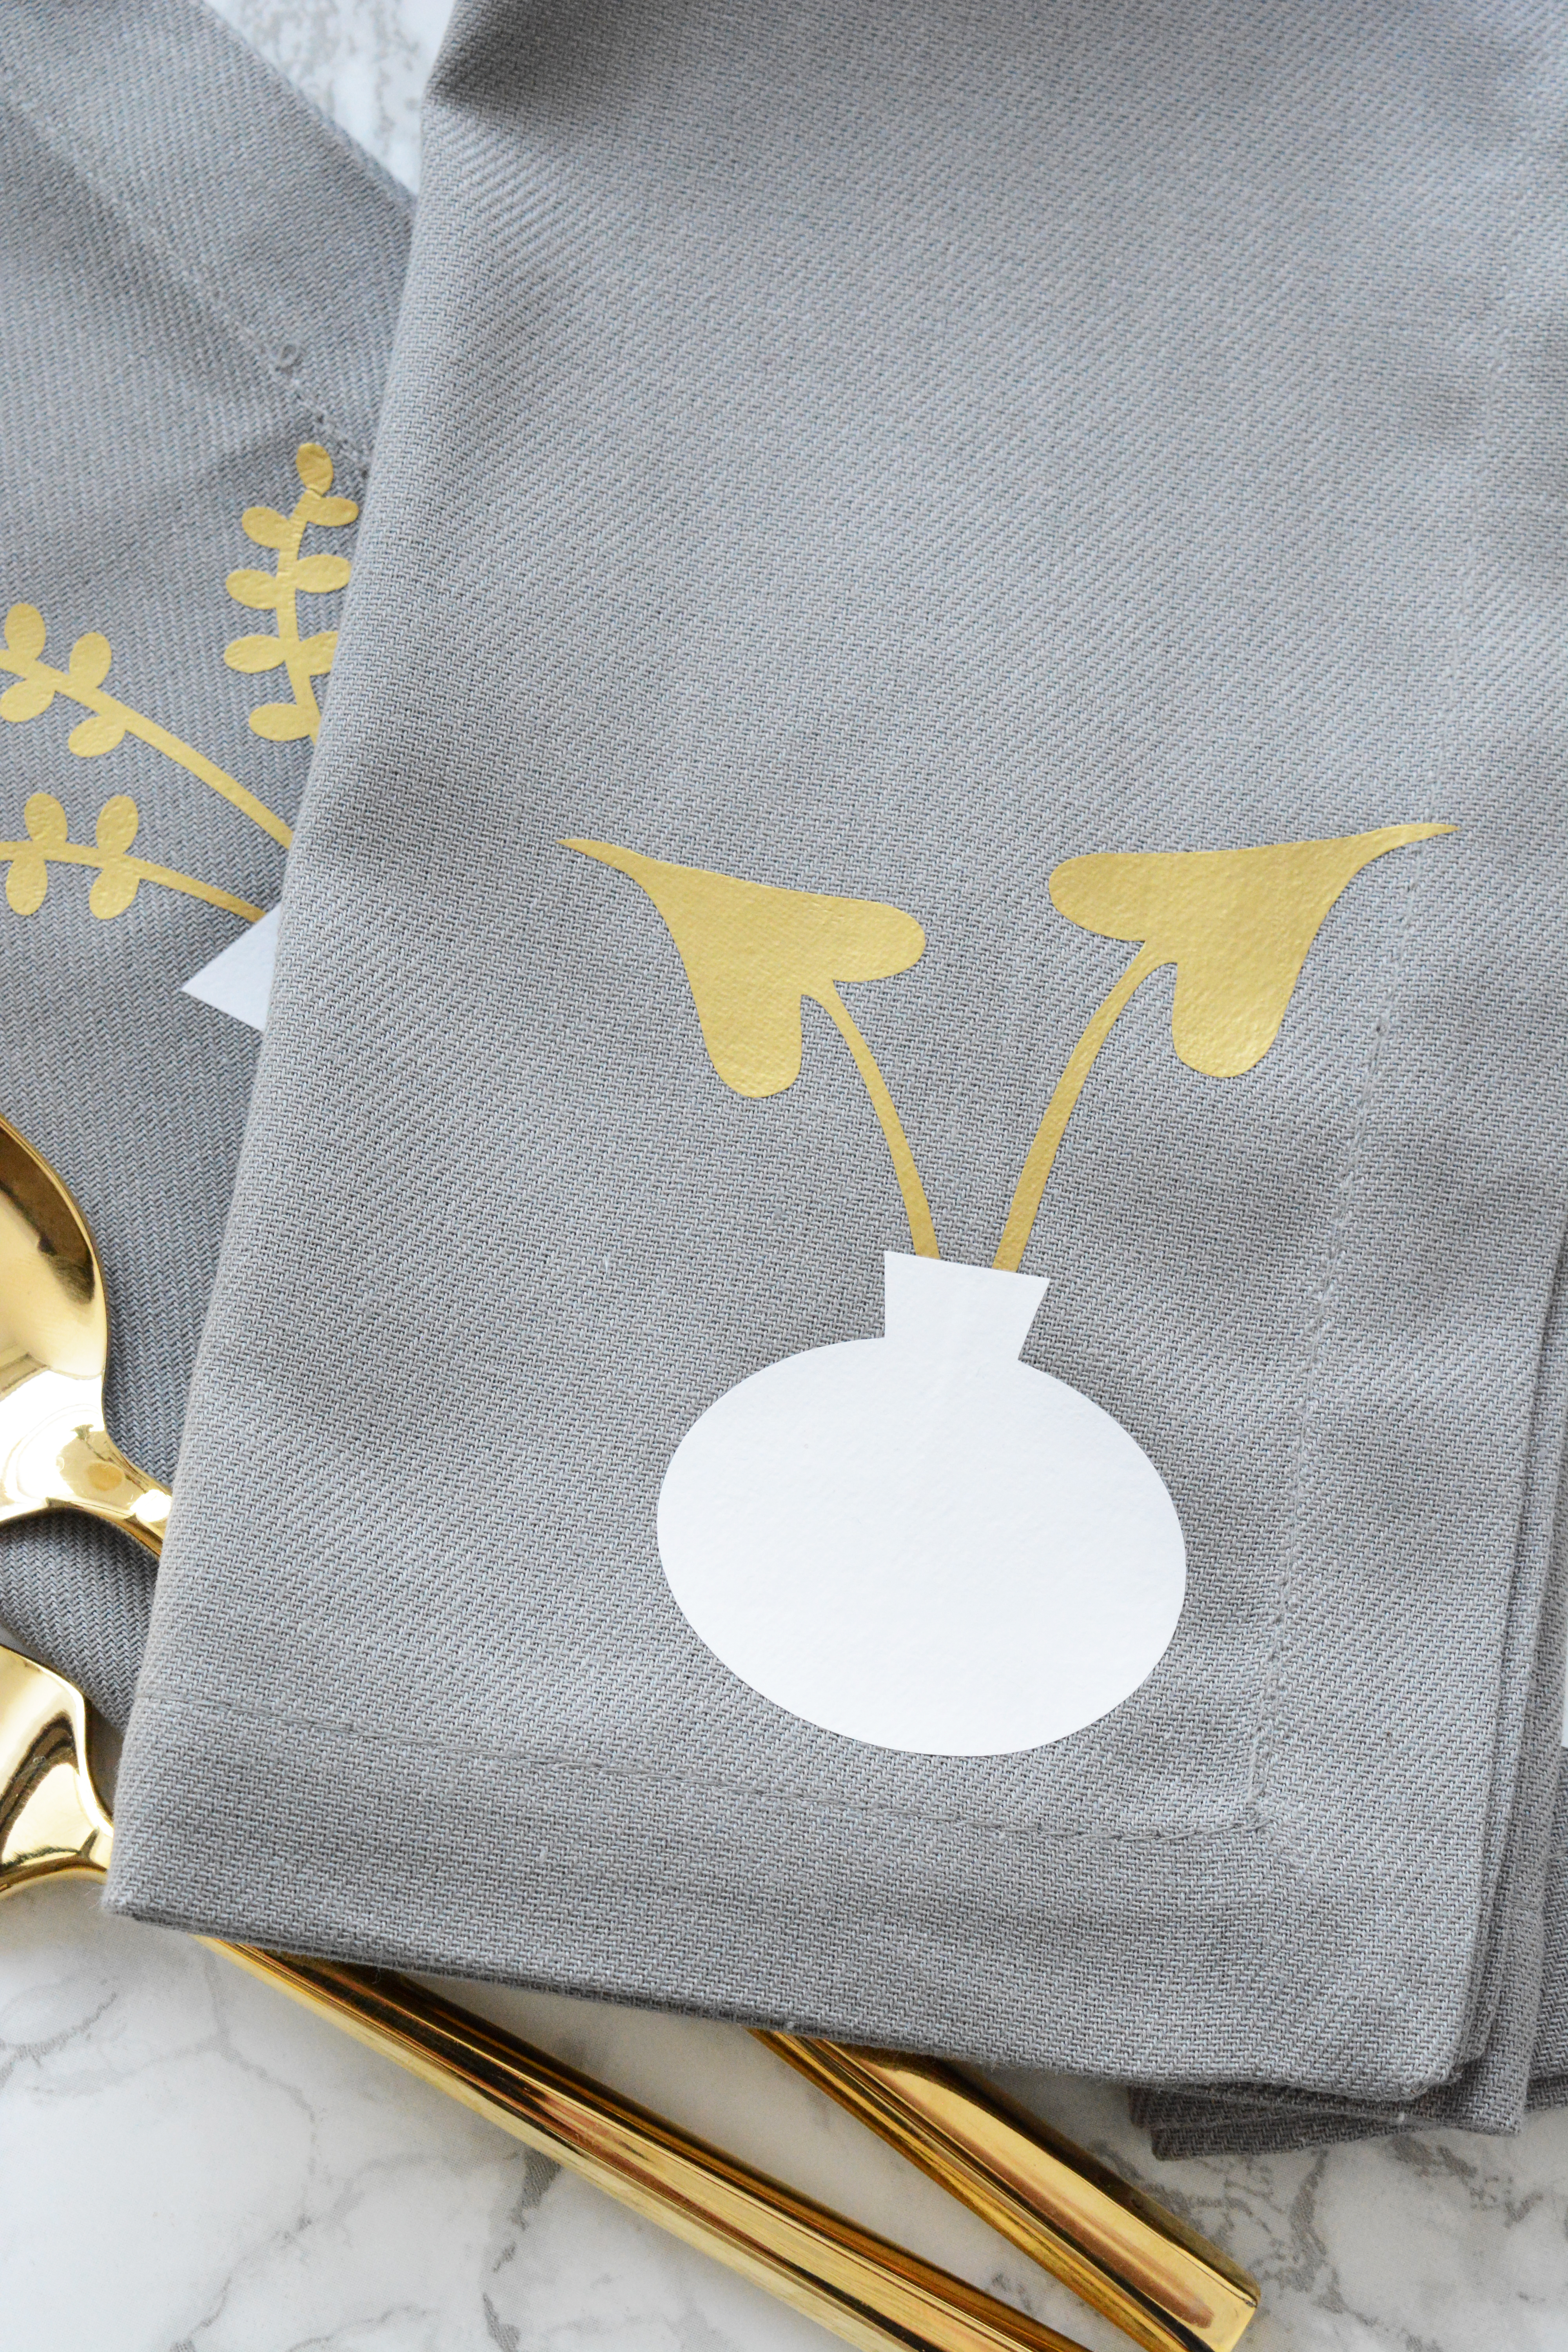
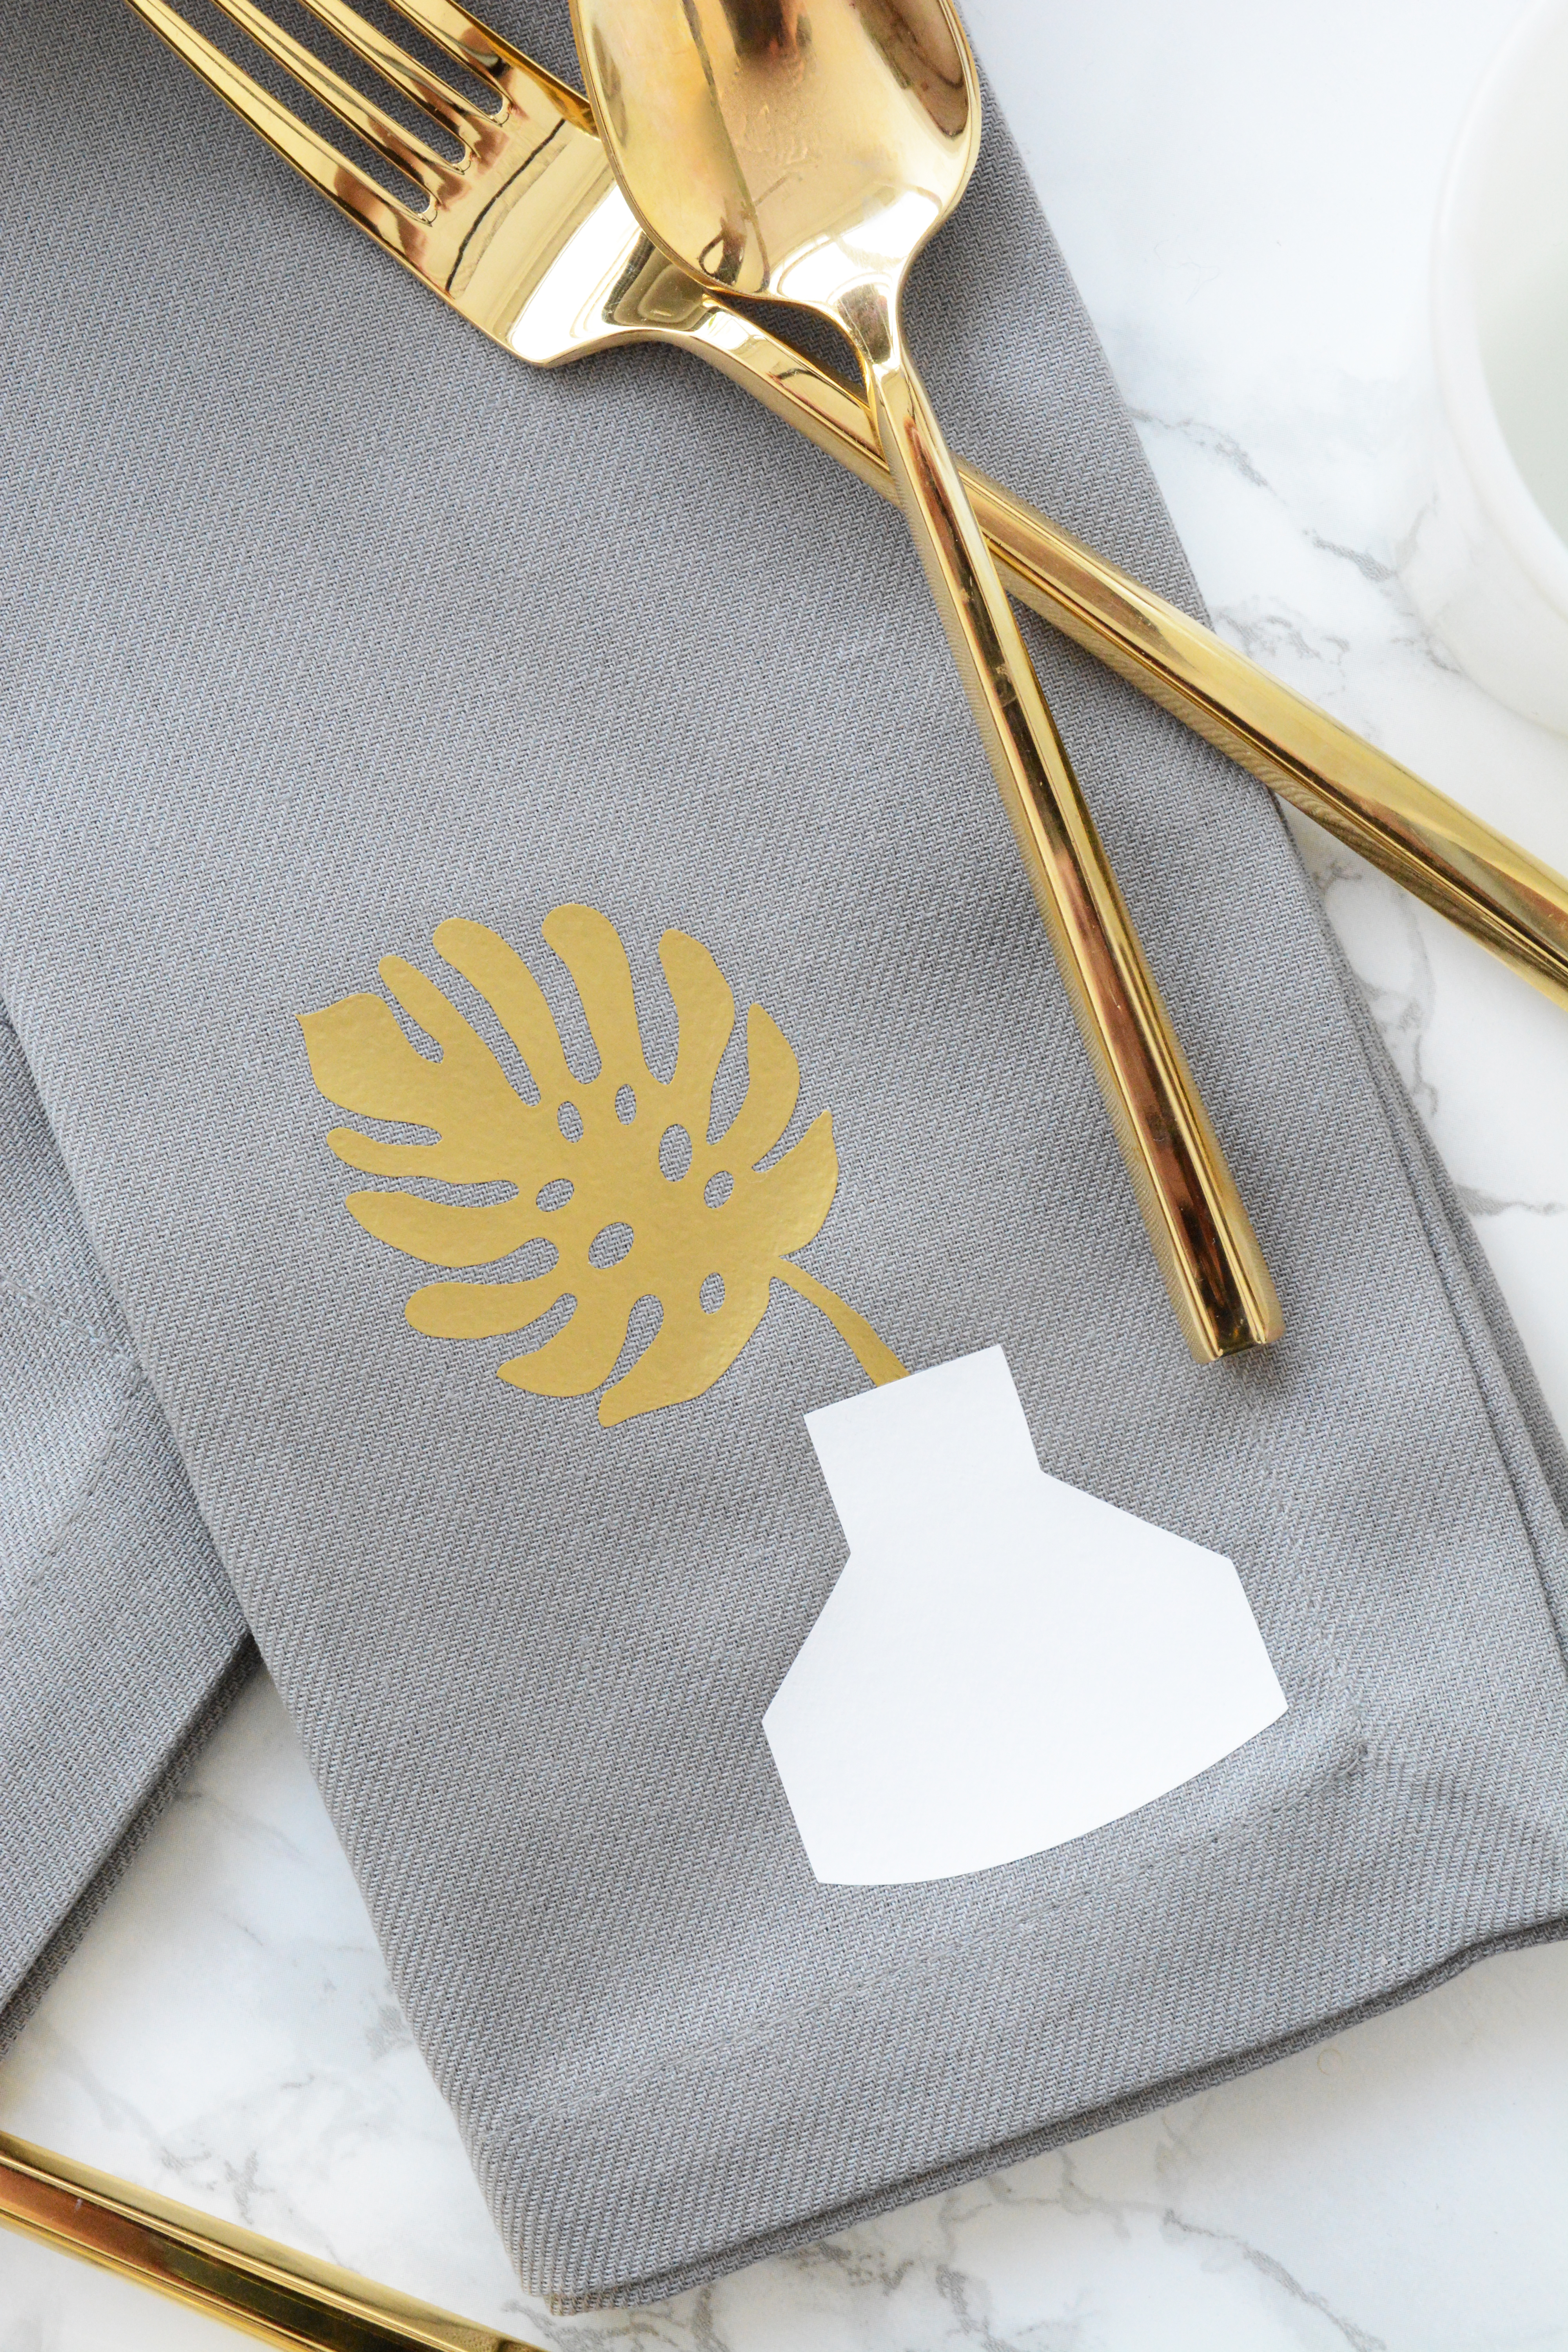
You know I’m a fan of tropical foliage (remember my Alphabet chart). So, I created these simple leaf and vase patterns to be part of my Cricut Gold Explore Machine for JoAnn Fabric Stores designs (check out the machine here, under Die Cut Machines, Supplies and More at Joann.com).

_tropical leaf napkins 2Grey, gold and white is still one of my favorite combos. I bought solid grey napkins and cut leaves and vases in gold and white iron-on vinyl, but stencils could also be cut and the leaves and vases could be painted on with fabric paint.
tropical leaf napkins 5

Be sure to check out my other Cricut Gold Designs like the Half Moon Wall Hanging, Throw Blanket with Geometric Patterned Edge, and a whole bunch of fun pillows.

tropical leaf napkins 4 tropical leaf napkins 3 tropical leaf napkins 6 tropical leaf napkins 1

DIY / etc.

Black Plants

April 1, 2016

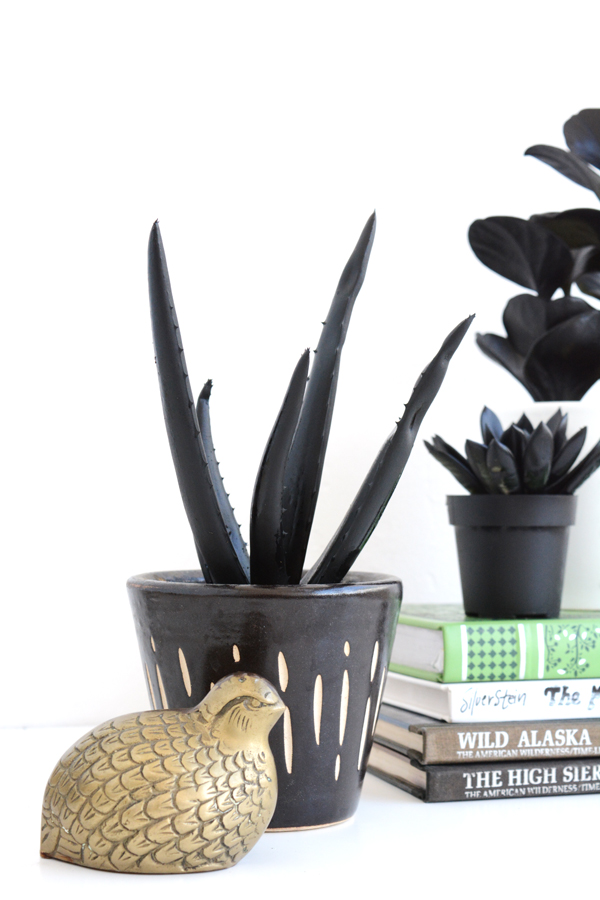
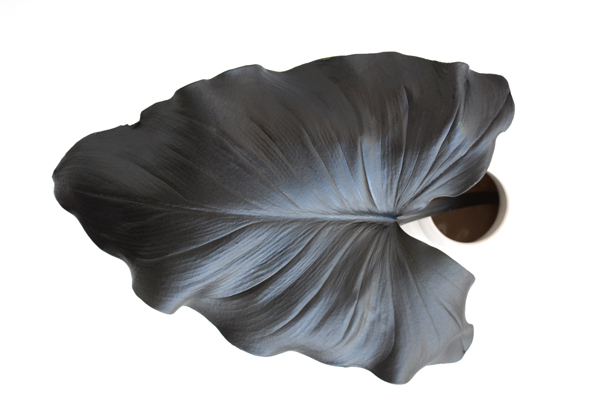
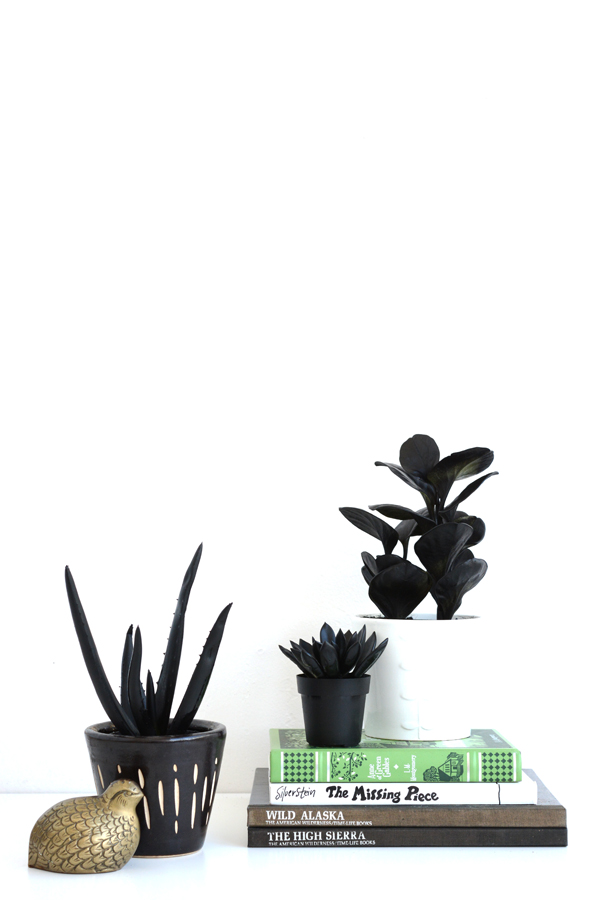
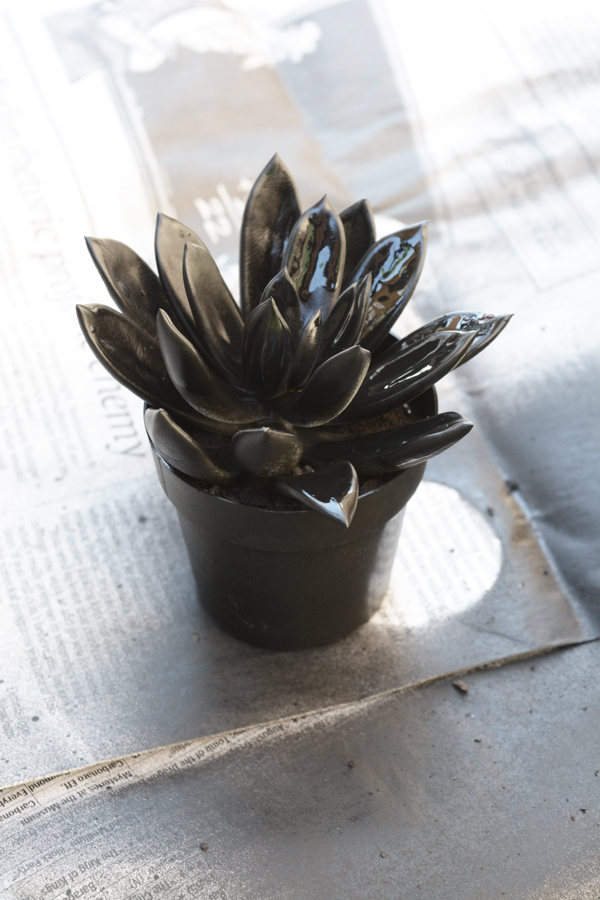
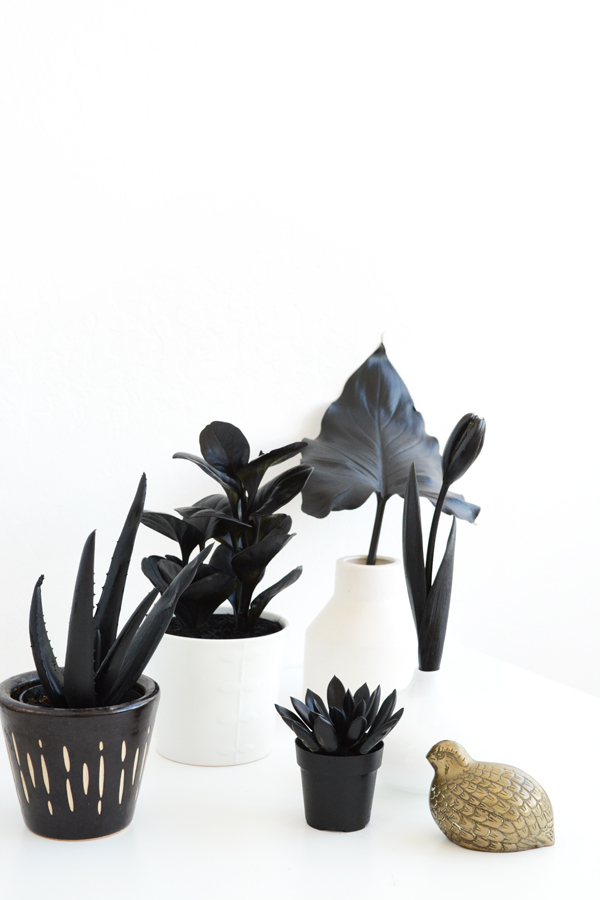
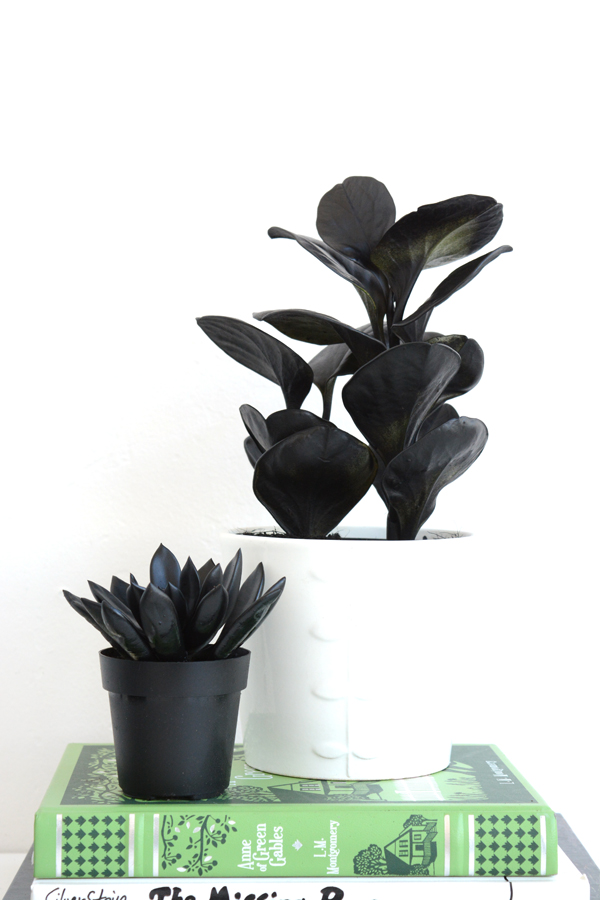
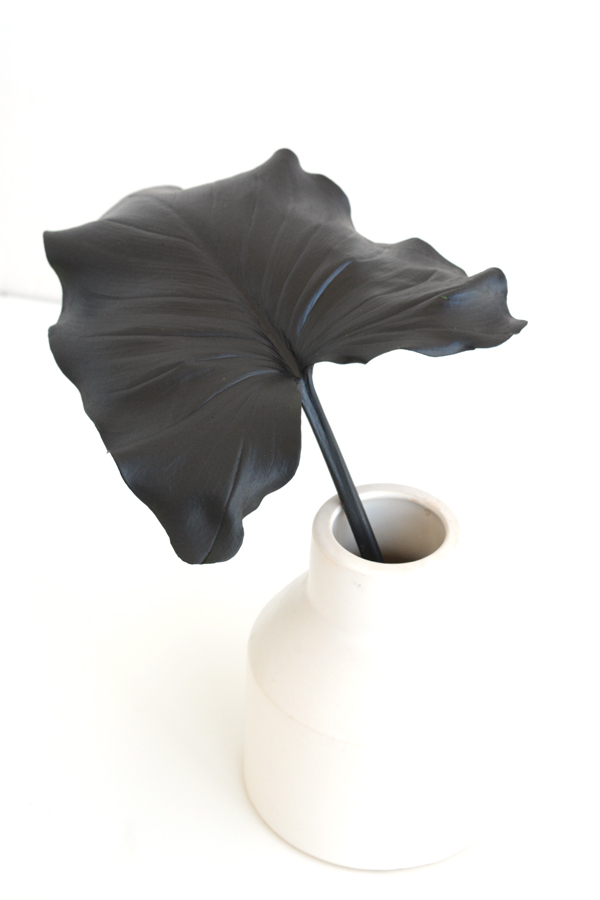
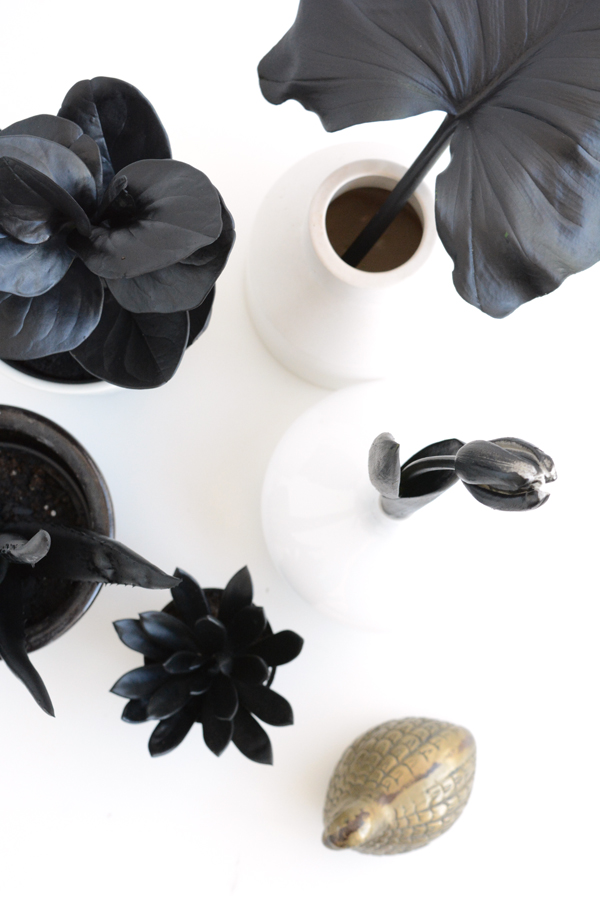
I’ve been loving all things black lately. I’ve shared black exteriors, black cabinetsblack fireplaces and black entryways. And if you are not ready to commit to painting a whole wall black yet, this easy DIY can be a great place to start. Chic, modern black plants make a beautiful addition to any space.

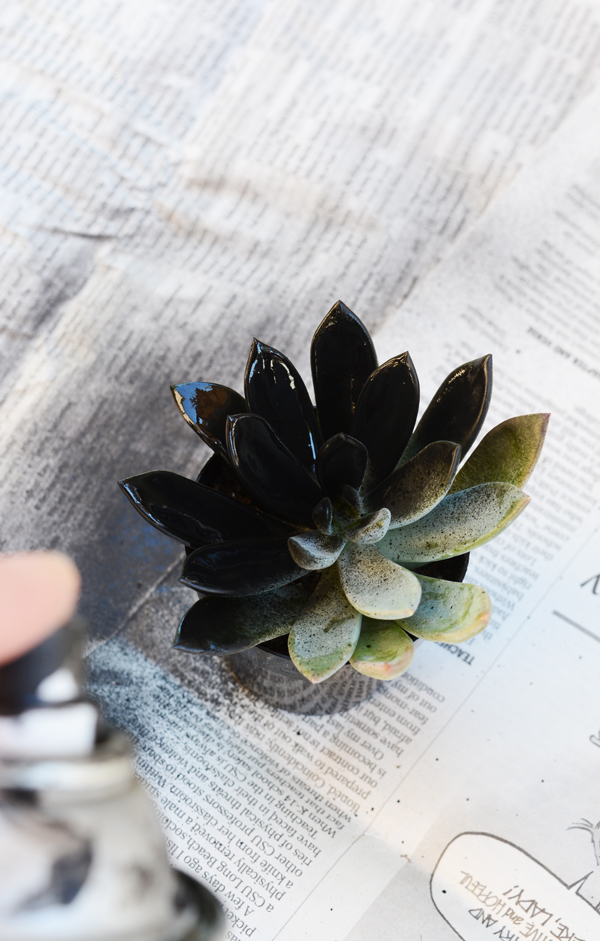
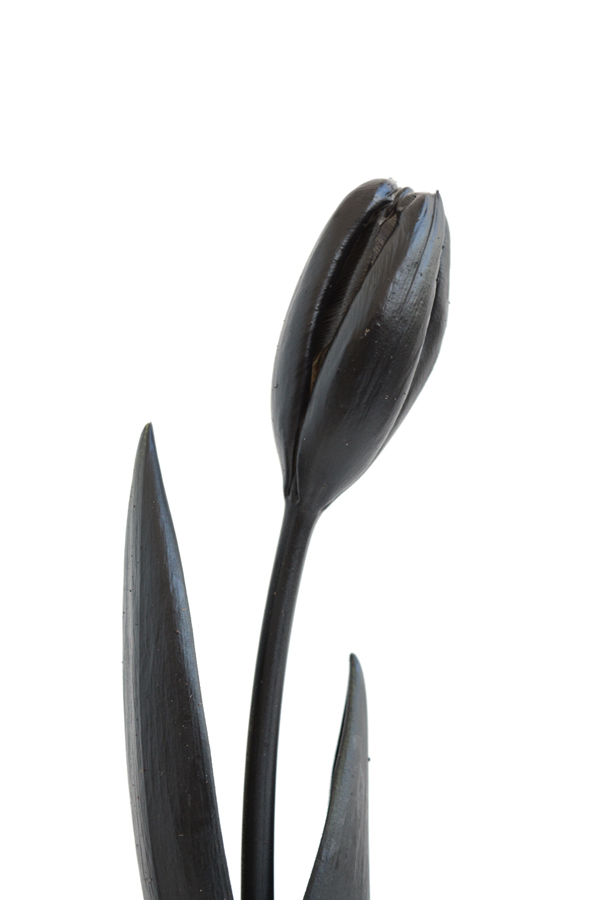
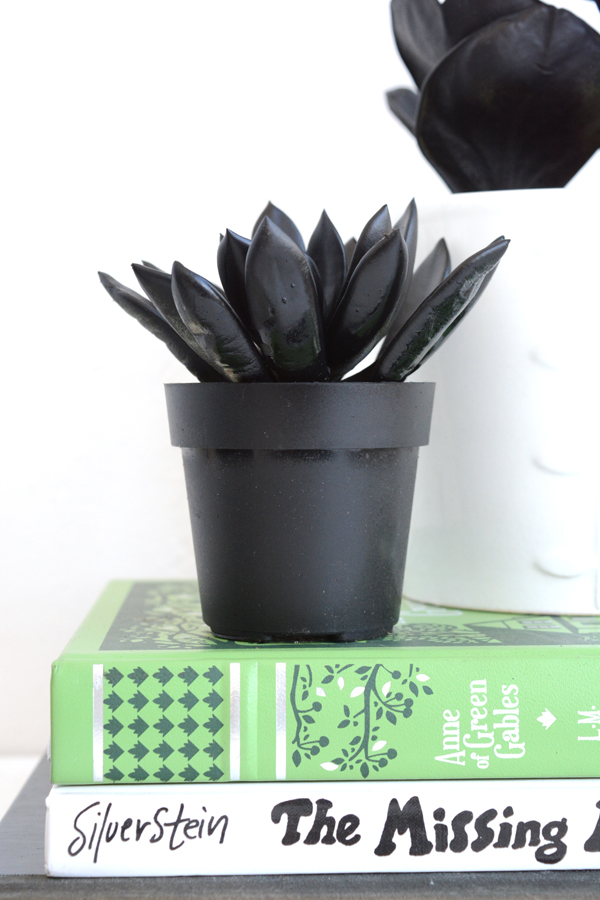
Unlike green, which comes in so many varieties and variations, flat black paint it guaranteed to go with any decor or color scheme. I’ll say it, “Black is the new green!” Plants, flowers, cactus, and even succulents get a quick, minimalistic makeover with an even coat of black spray paint.

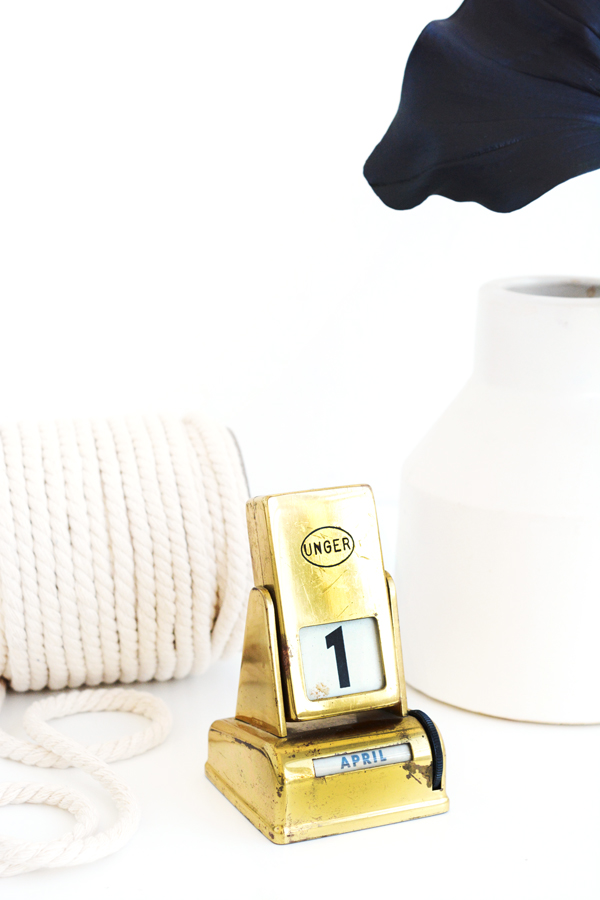
April Food Day Post - Black Plantsblack plantsHappy April Fools Day! -paint plants black

Here’s what you’ll need:

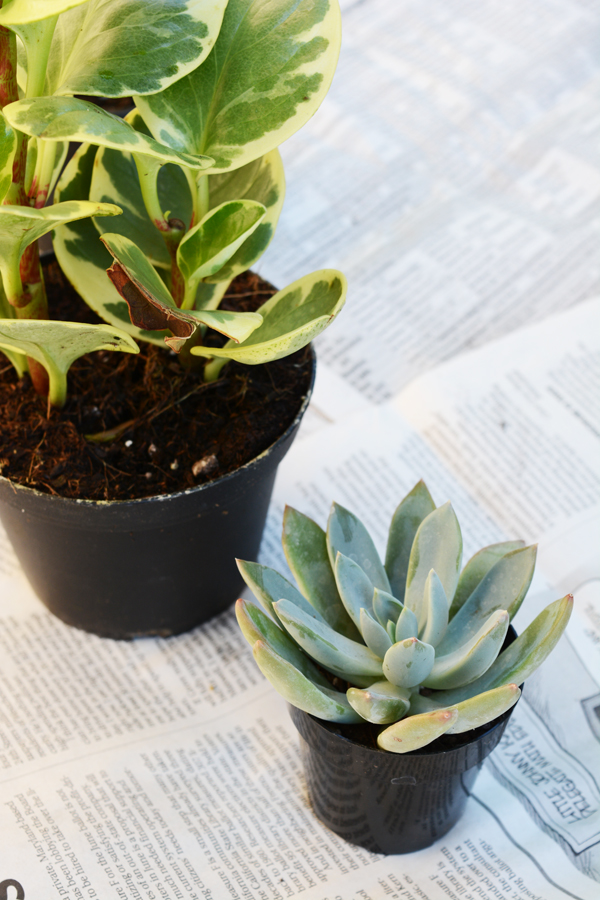
  • plants and flowers (any size or shape)
  • drop cloth or newspaper
  • a can of flat black spray paint

Make sure the plants are dry and not dusty. In a well ventilated area, give the plants an even coat of spray paint. Allow to dry completely and the apply a second coat if necessary.  Note: You don’t want any of the bright, lively green peeking through.

black plants black plantsblack plants black tulip Happy April Fools Day! black plantsblack plantsblack plants black plants

So, what do you think? What plants and flowers can you see yourself painting black? Doesn’t black feel so much cleaner and more current then green?

_black plants 16

HAPPY APRIL FOOLS DAY!

DIY

Modern Black and Gold Easter Egg Treats

March 23, 2016

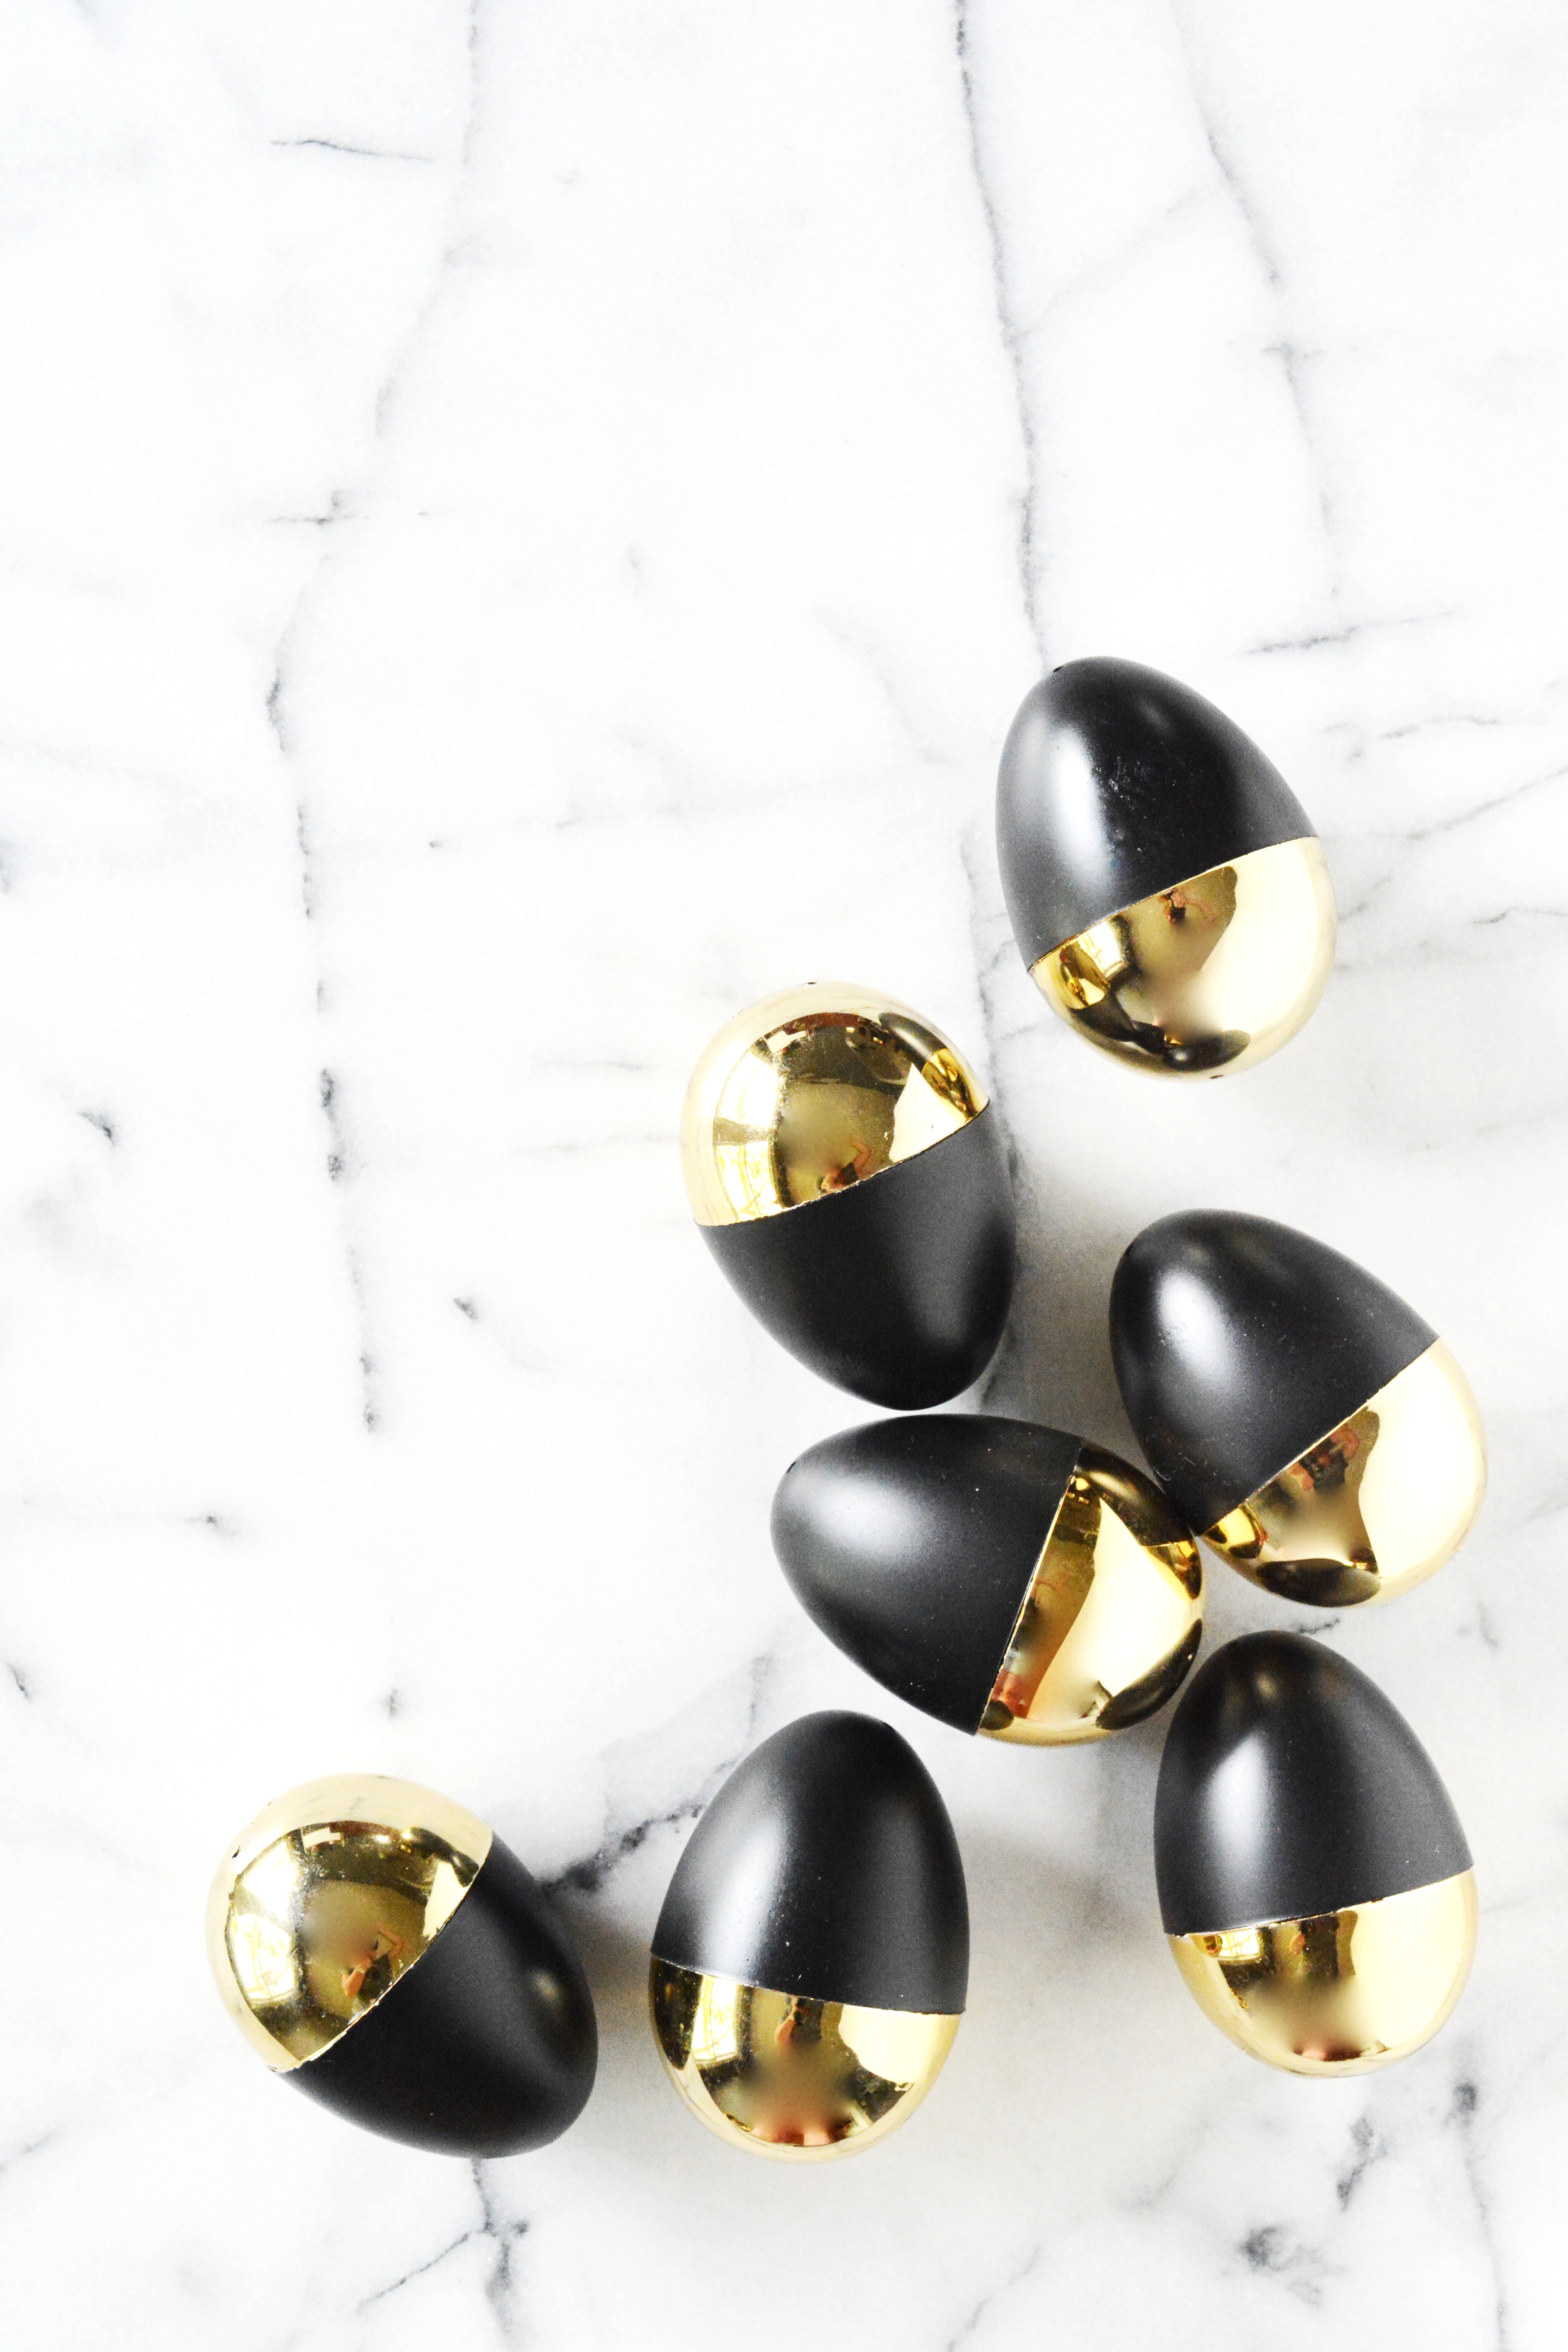
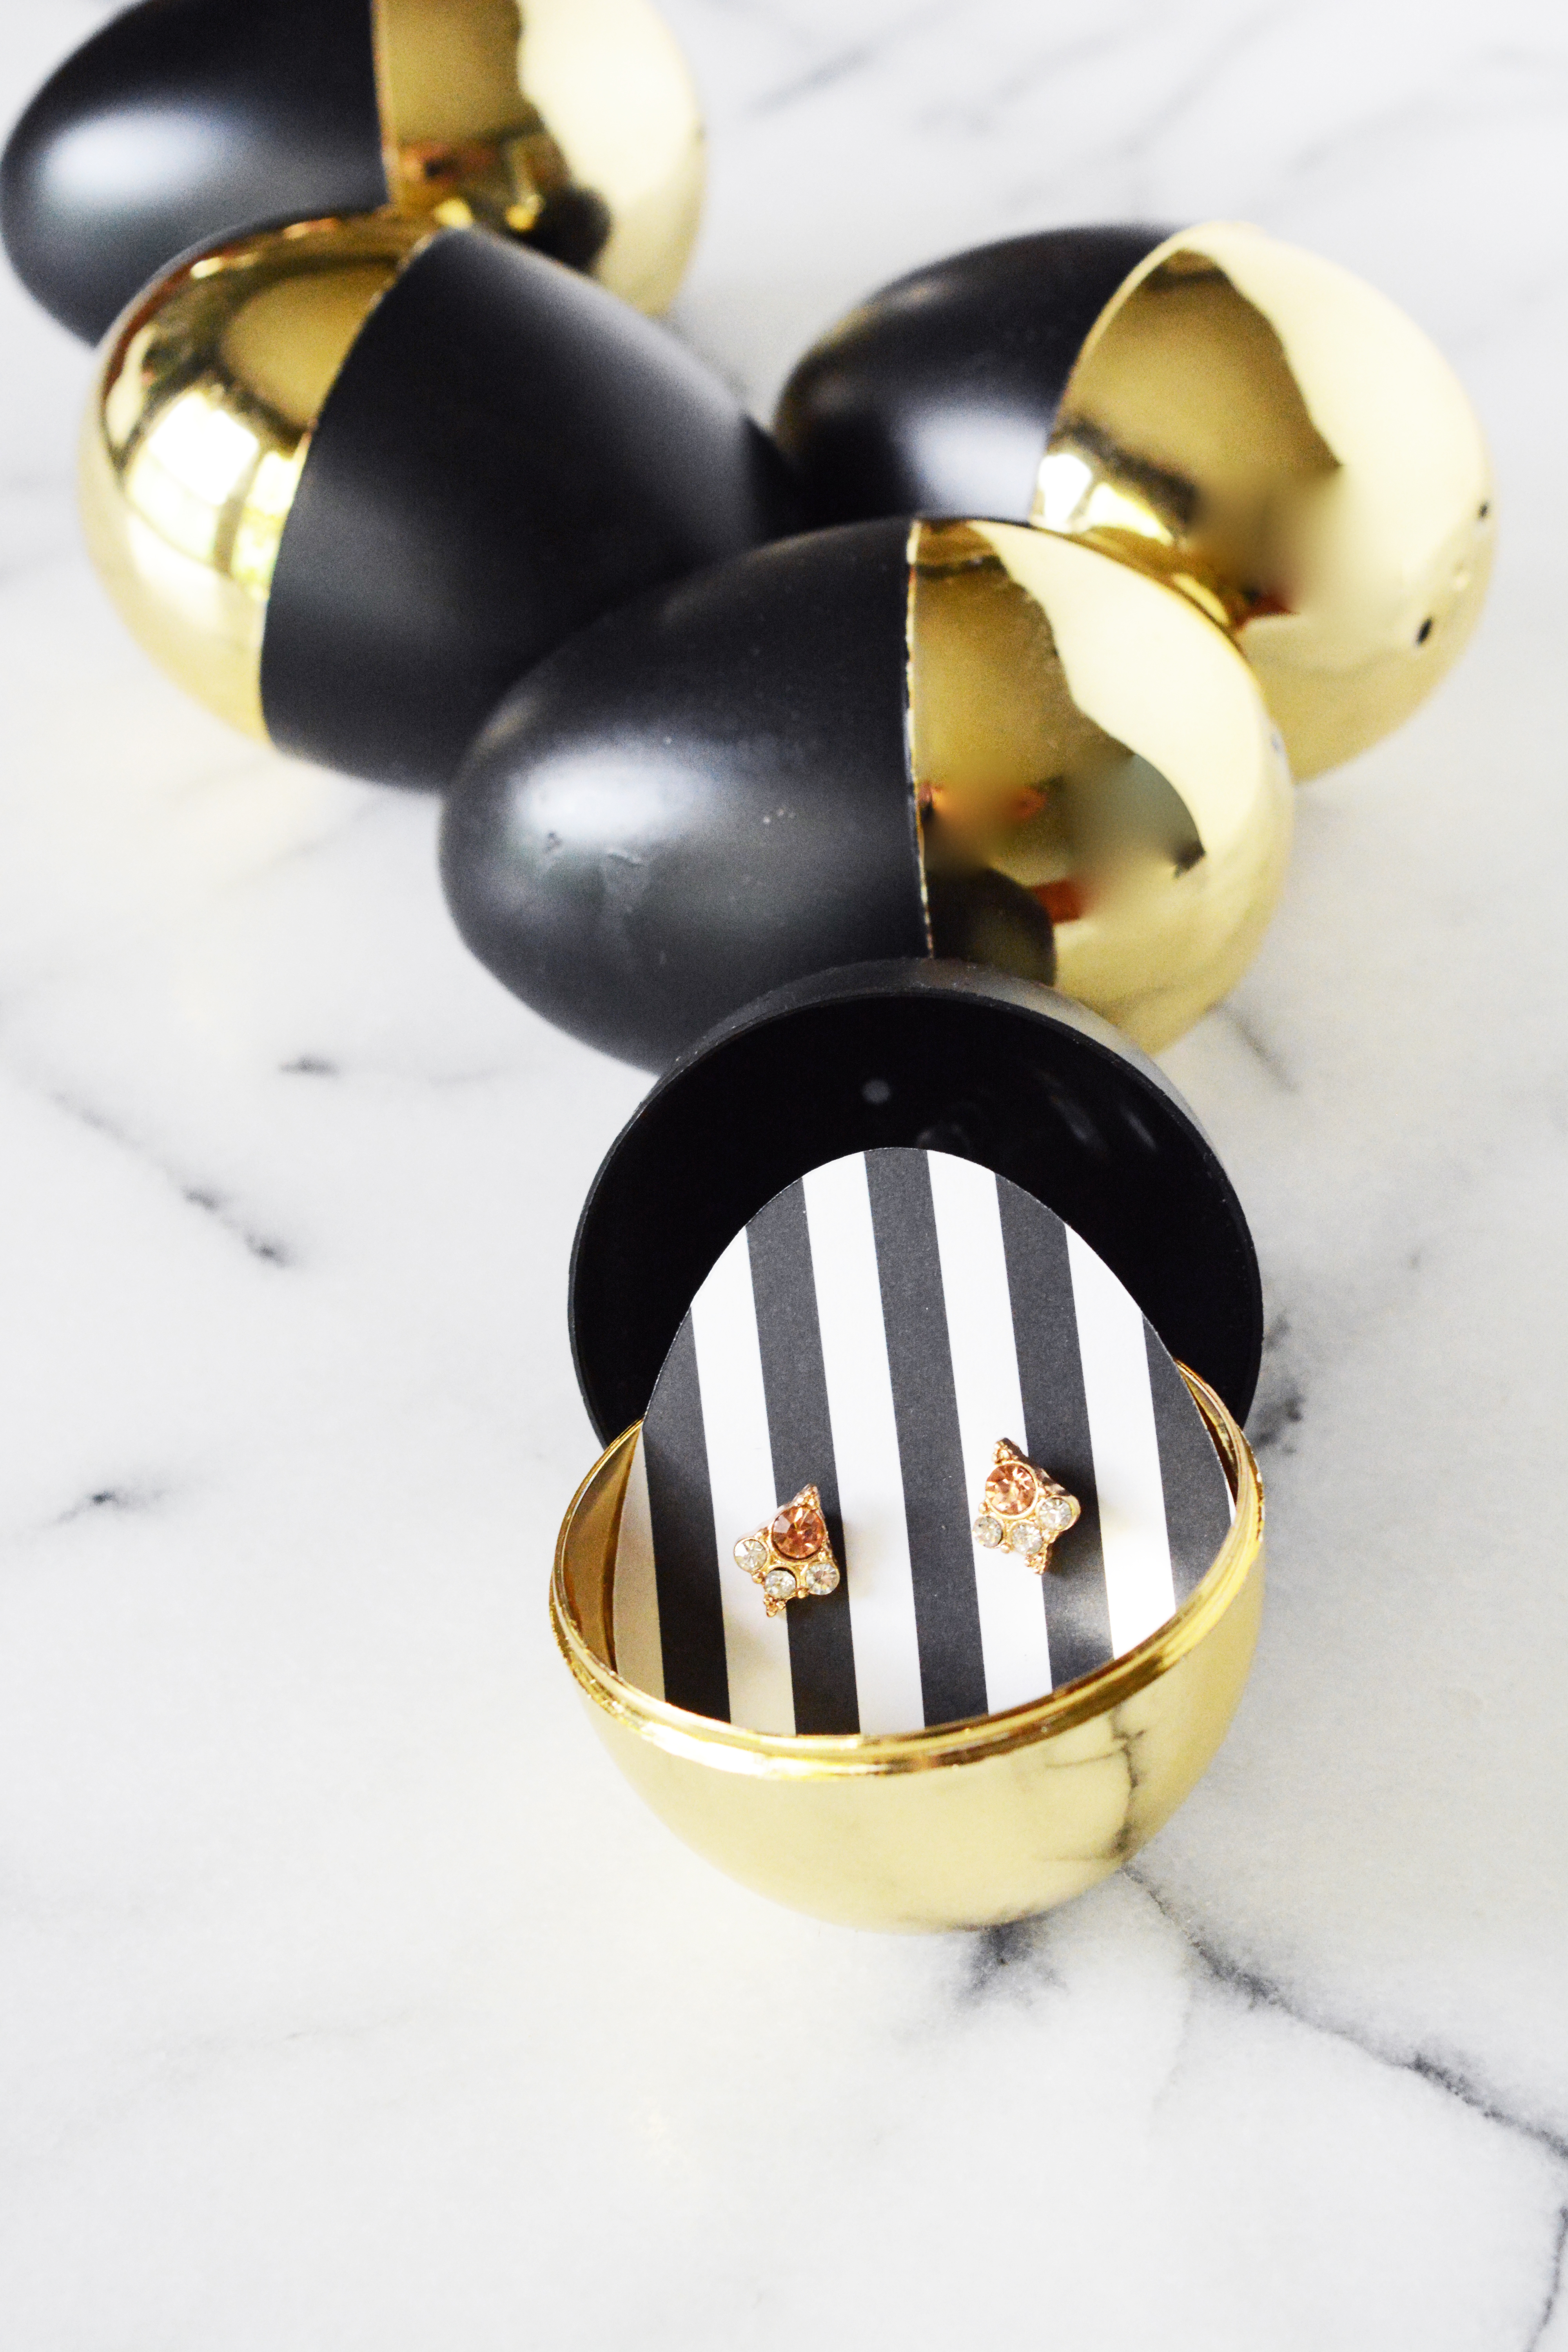
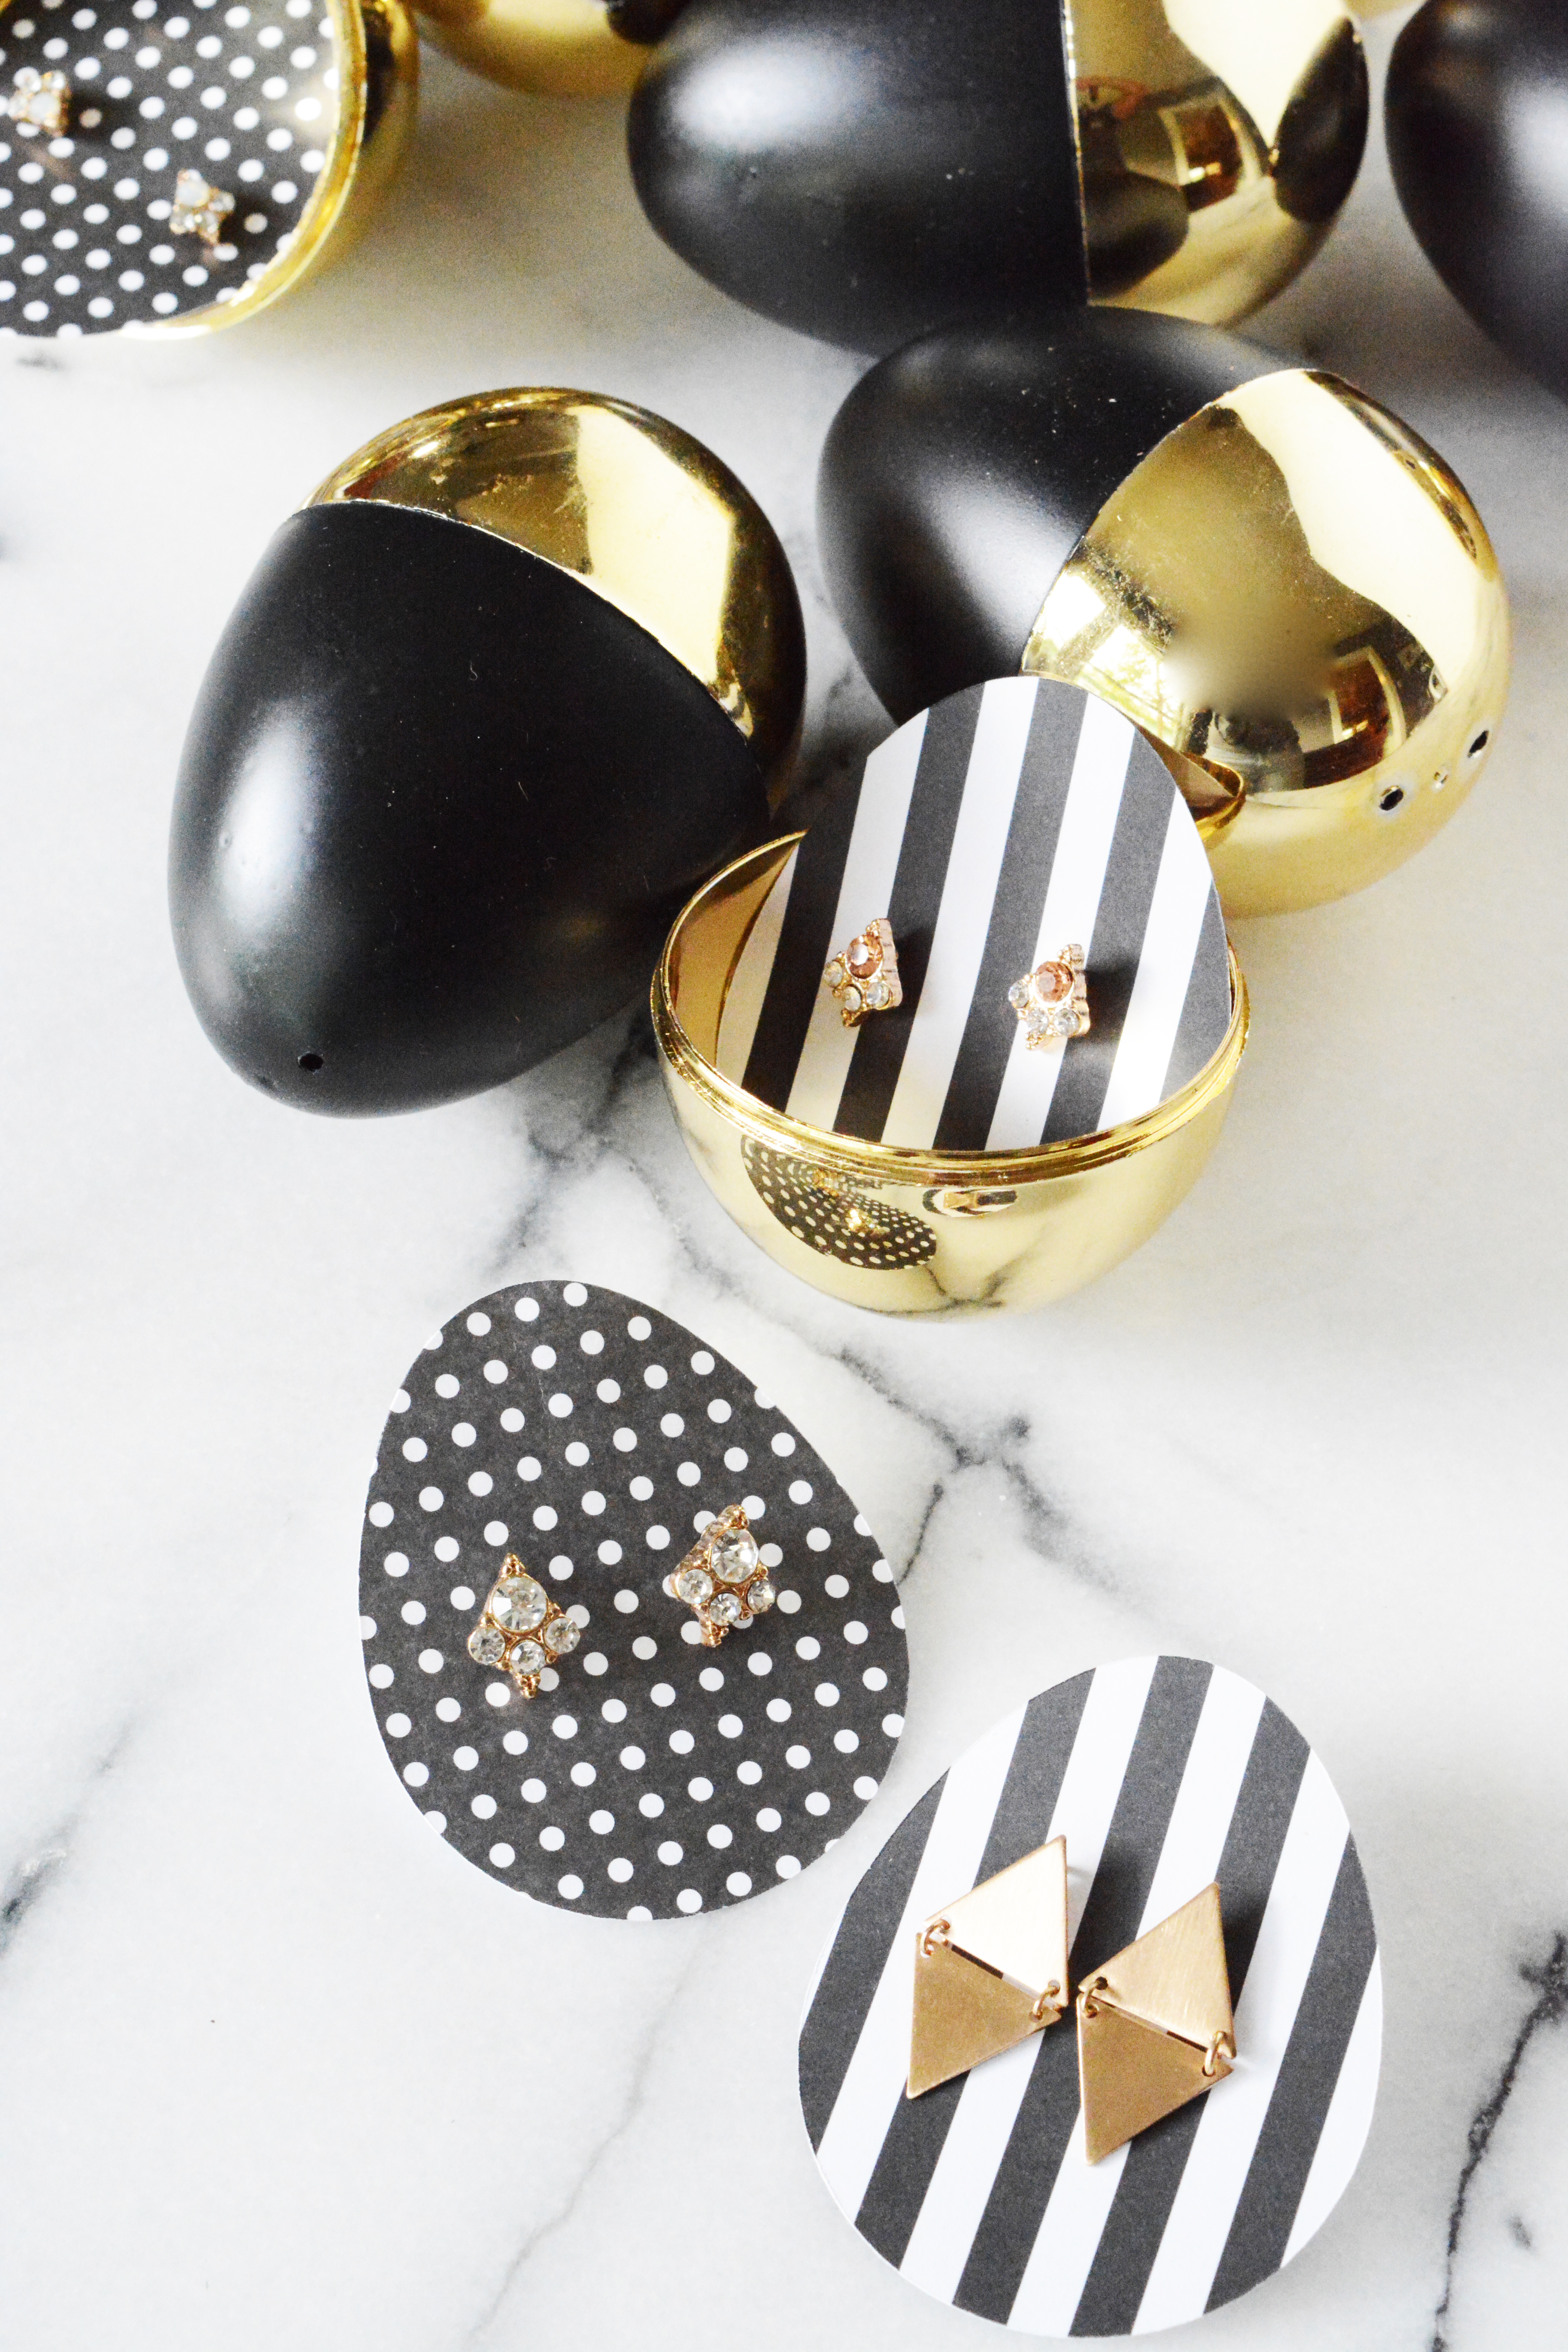
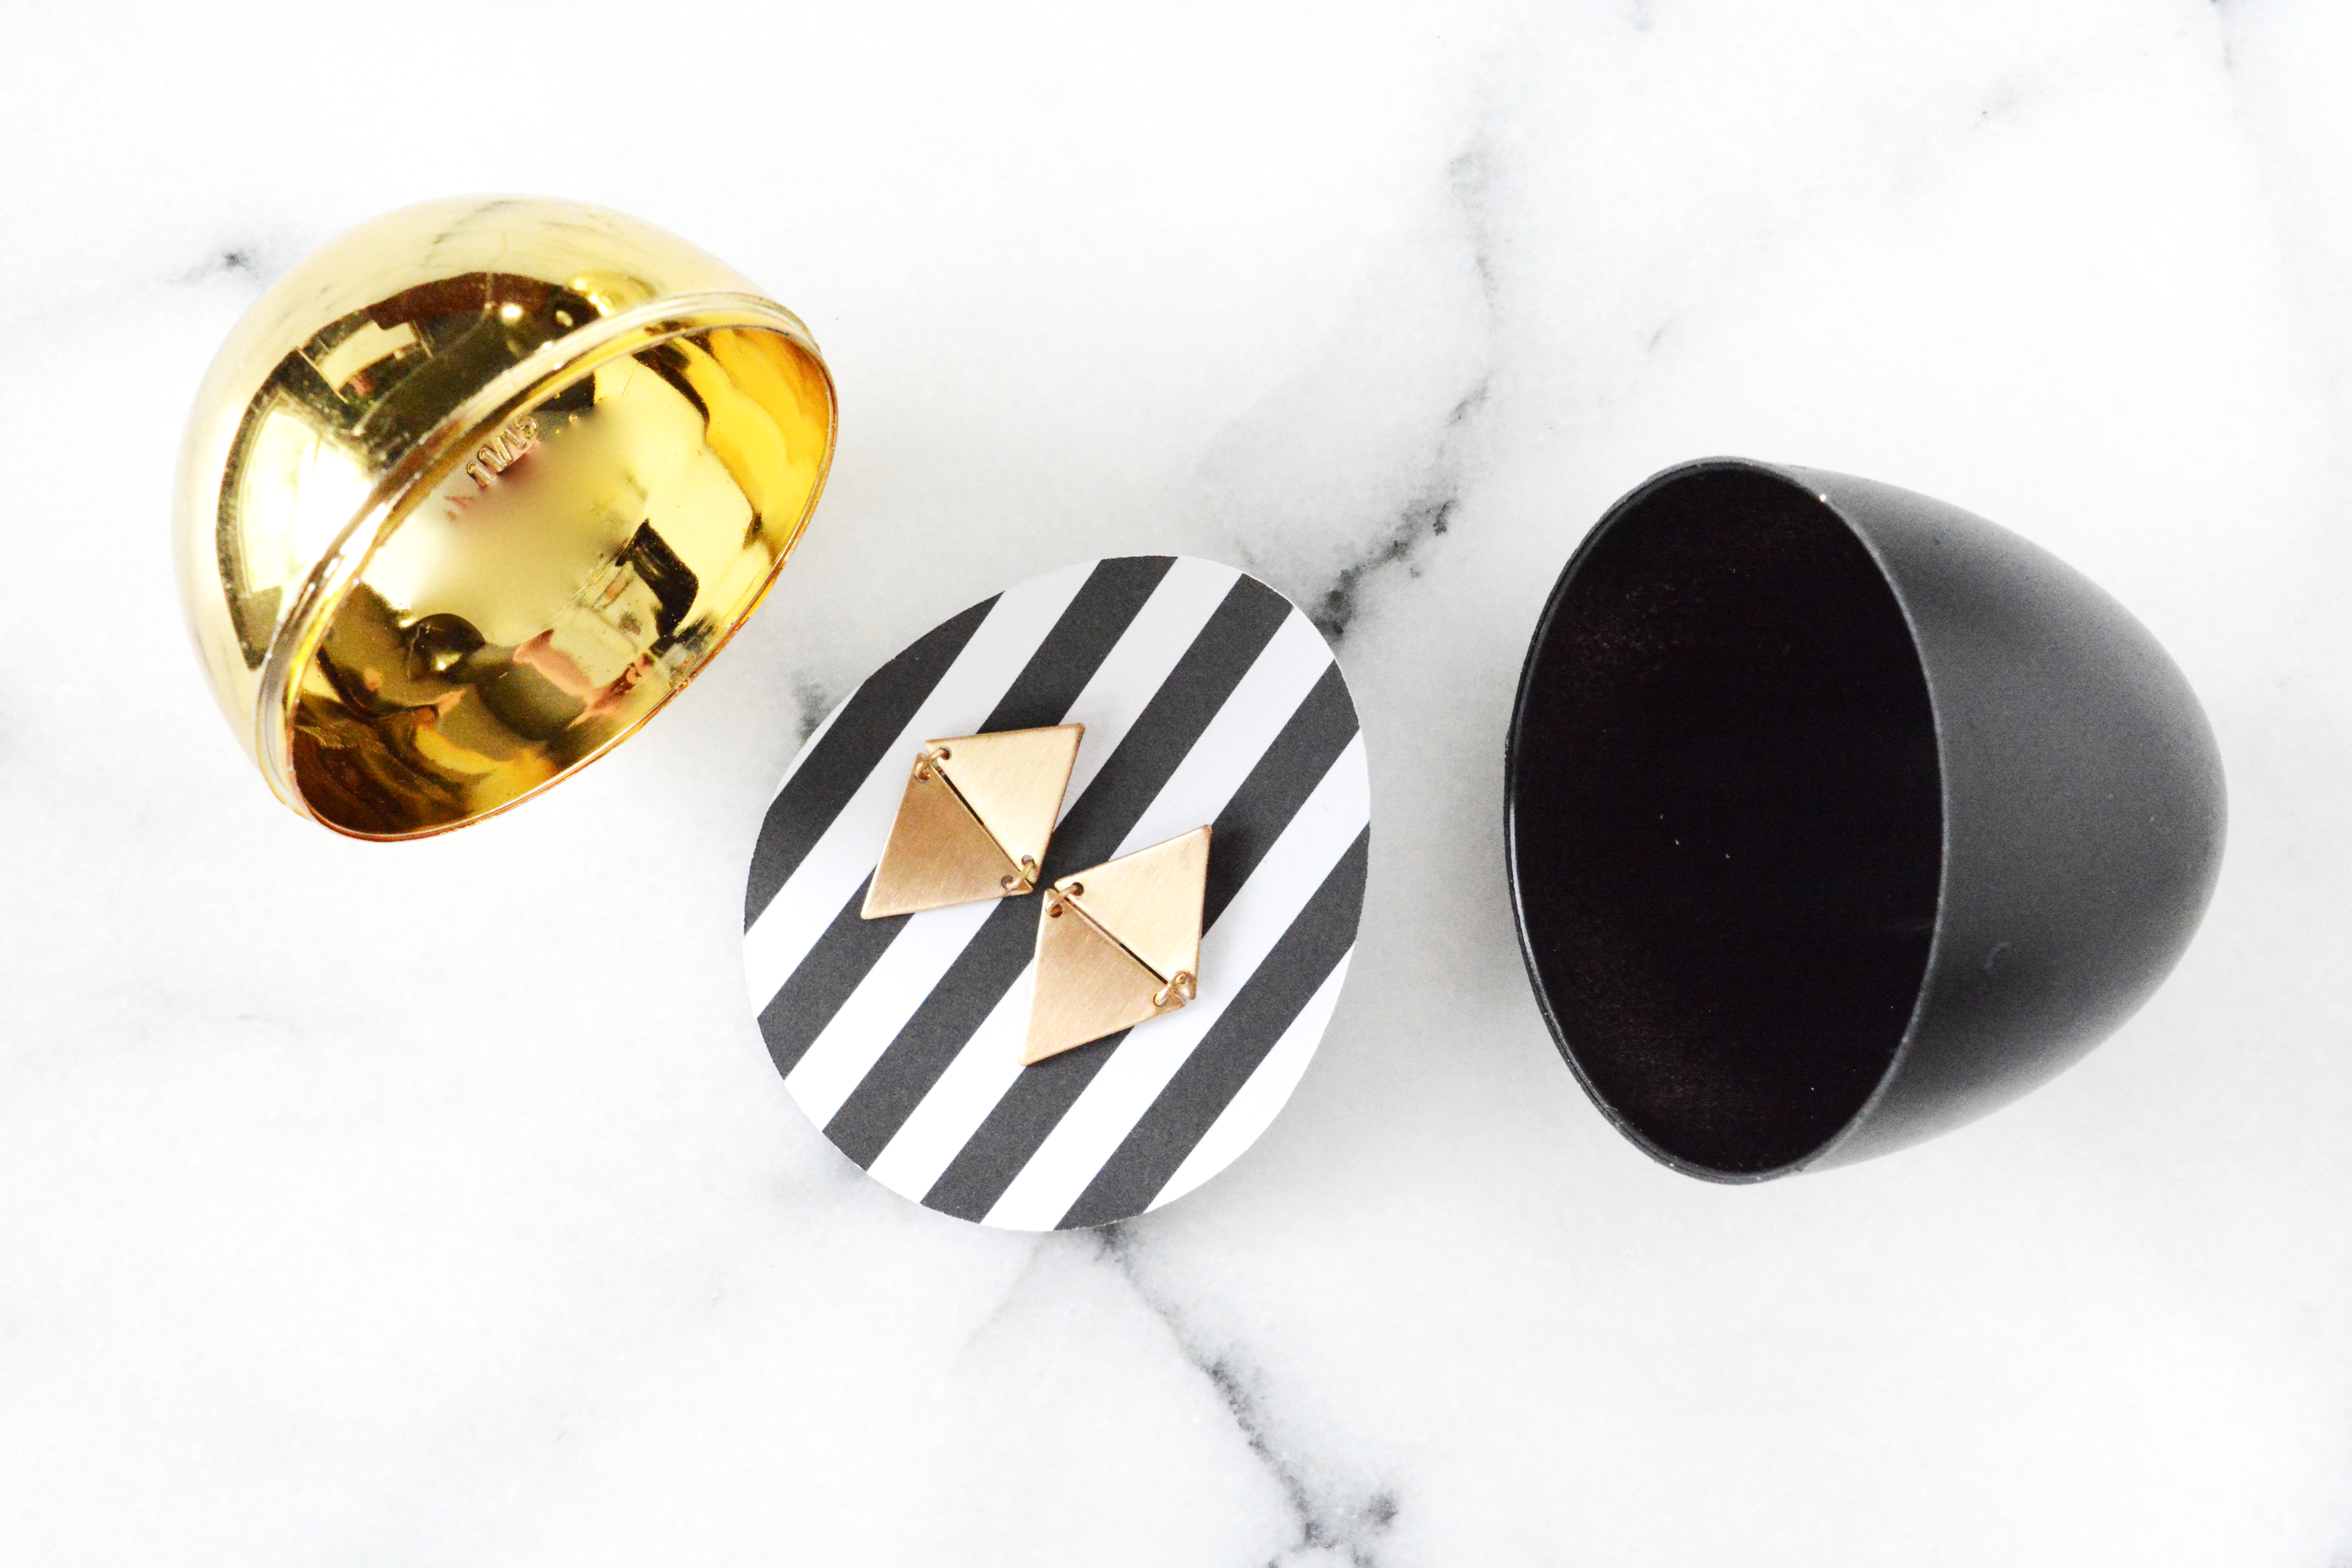
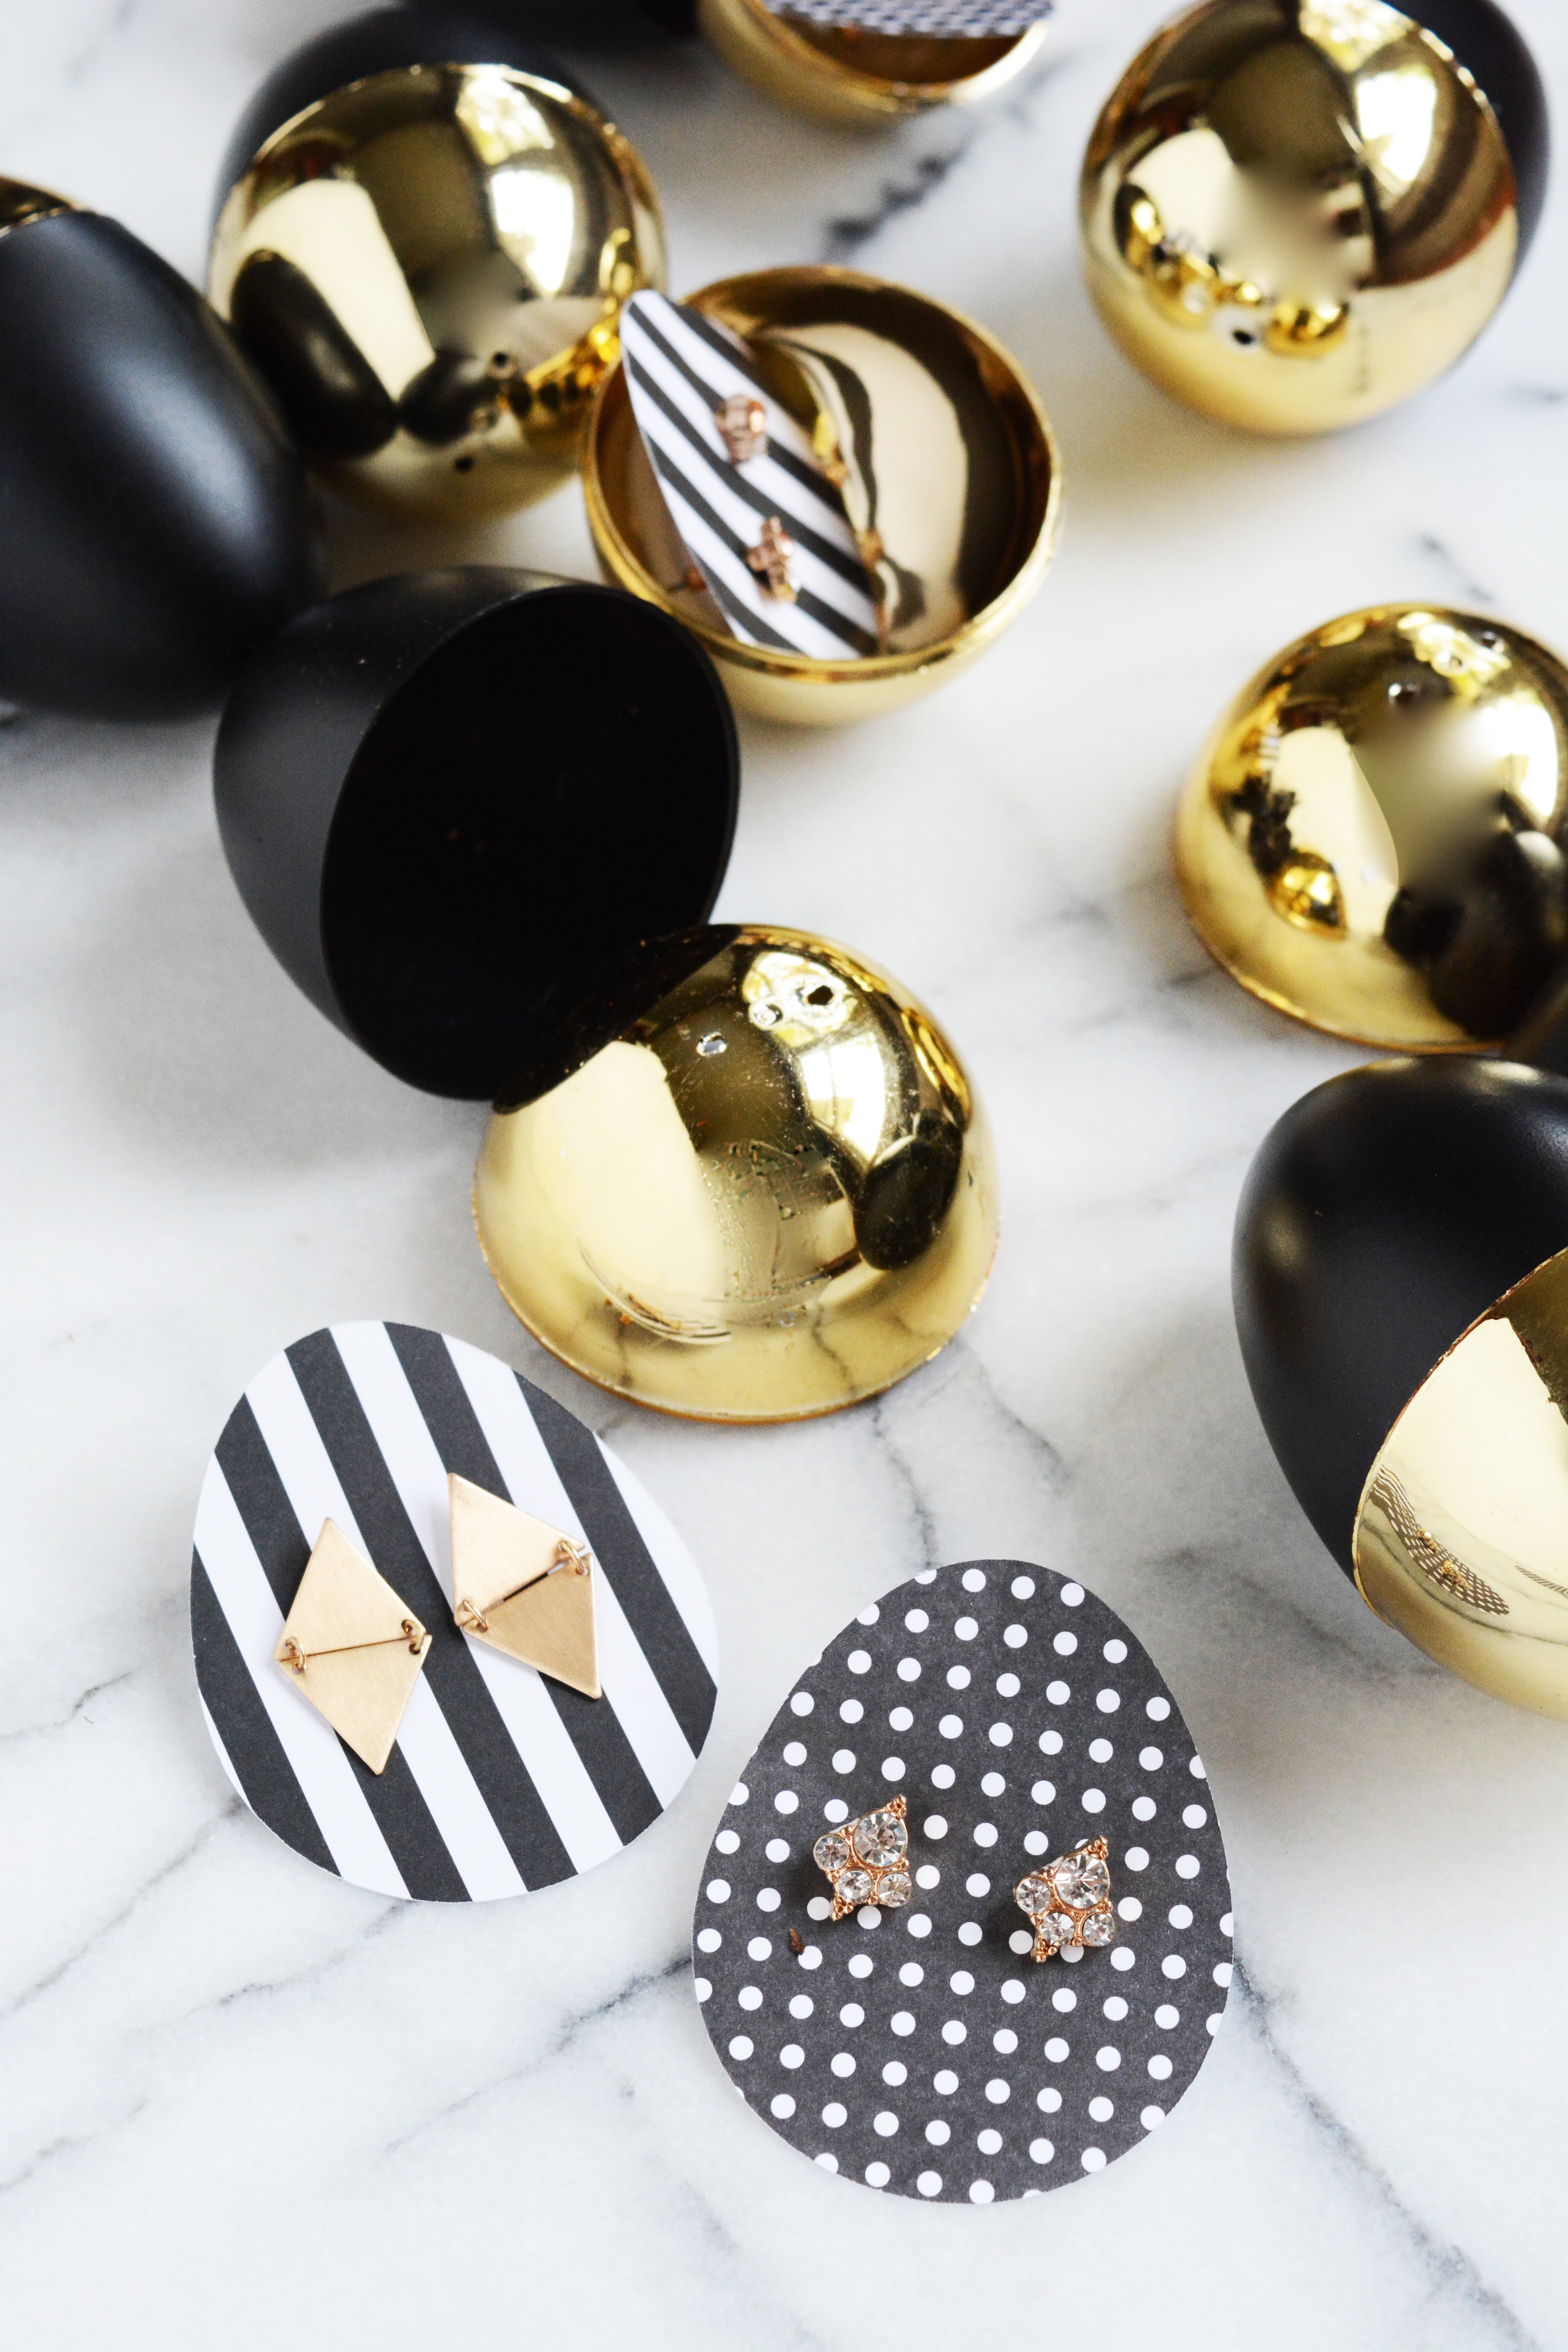
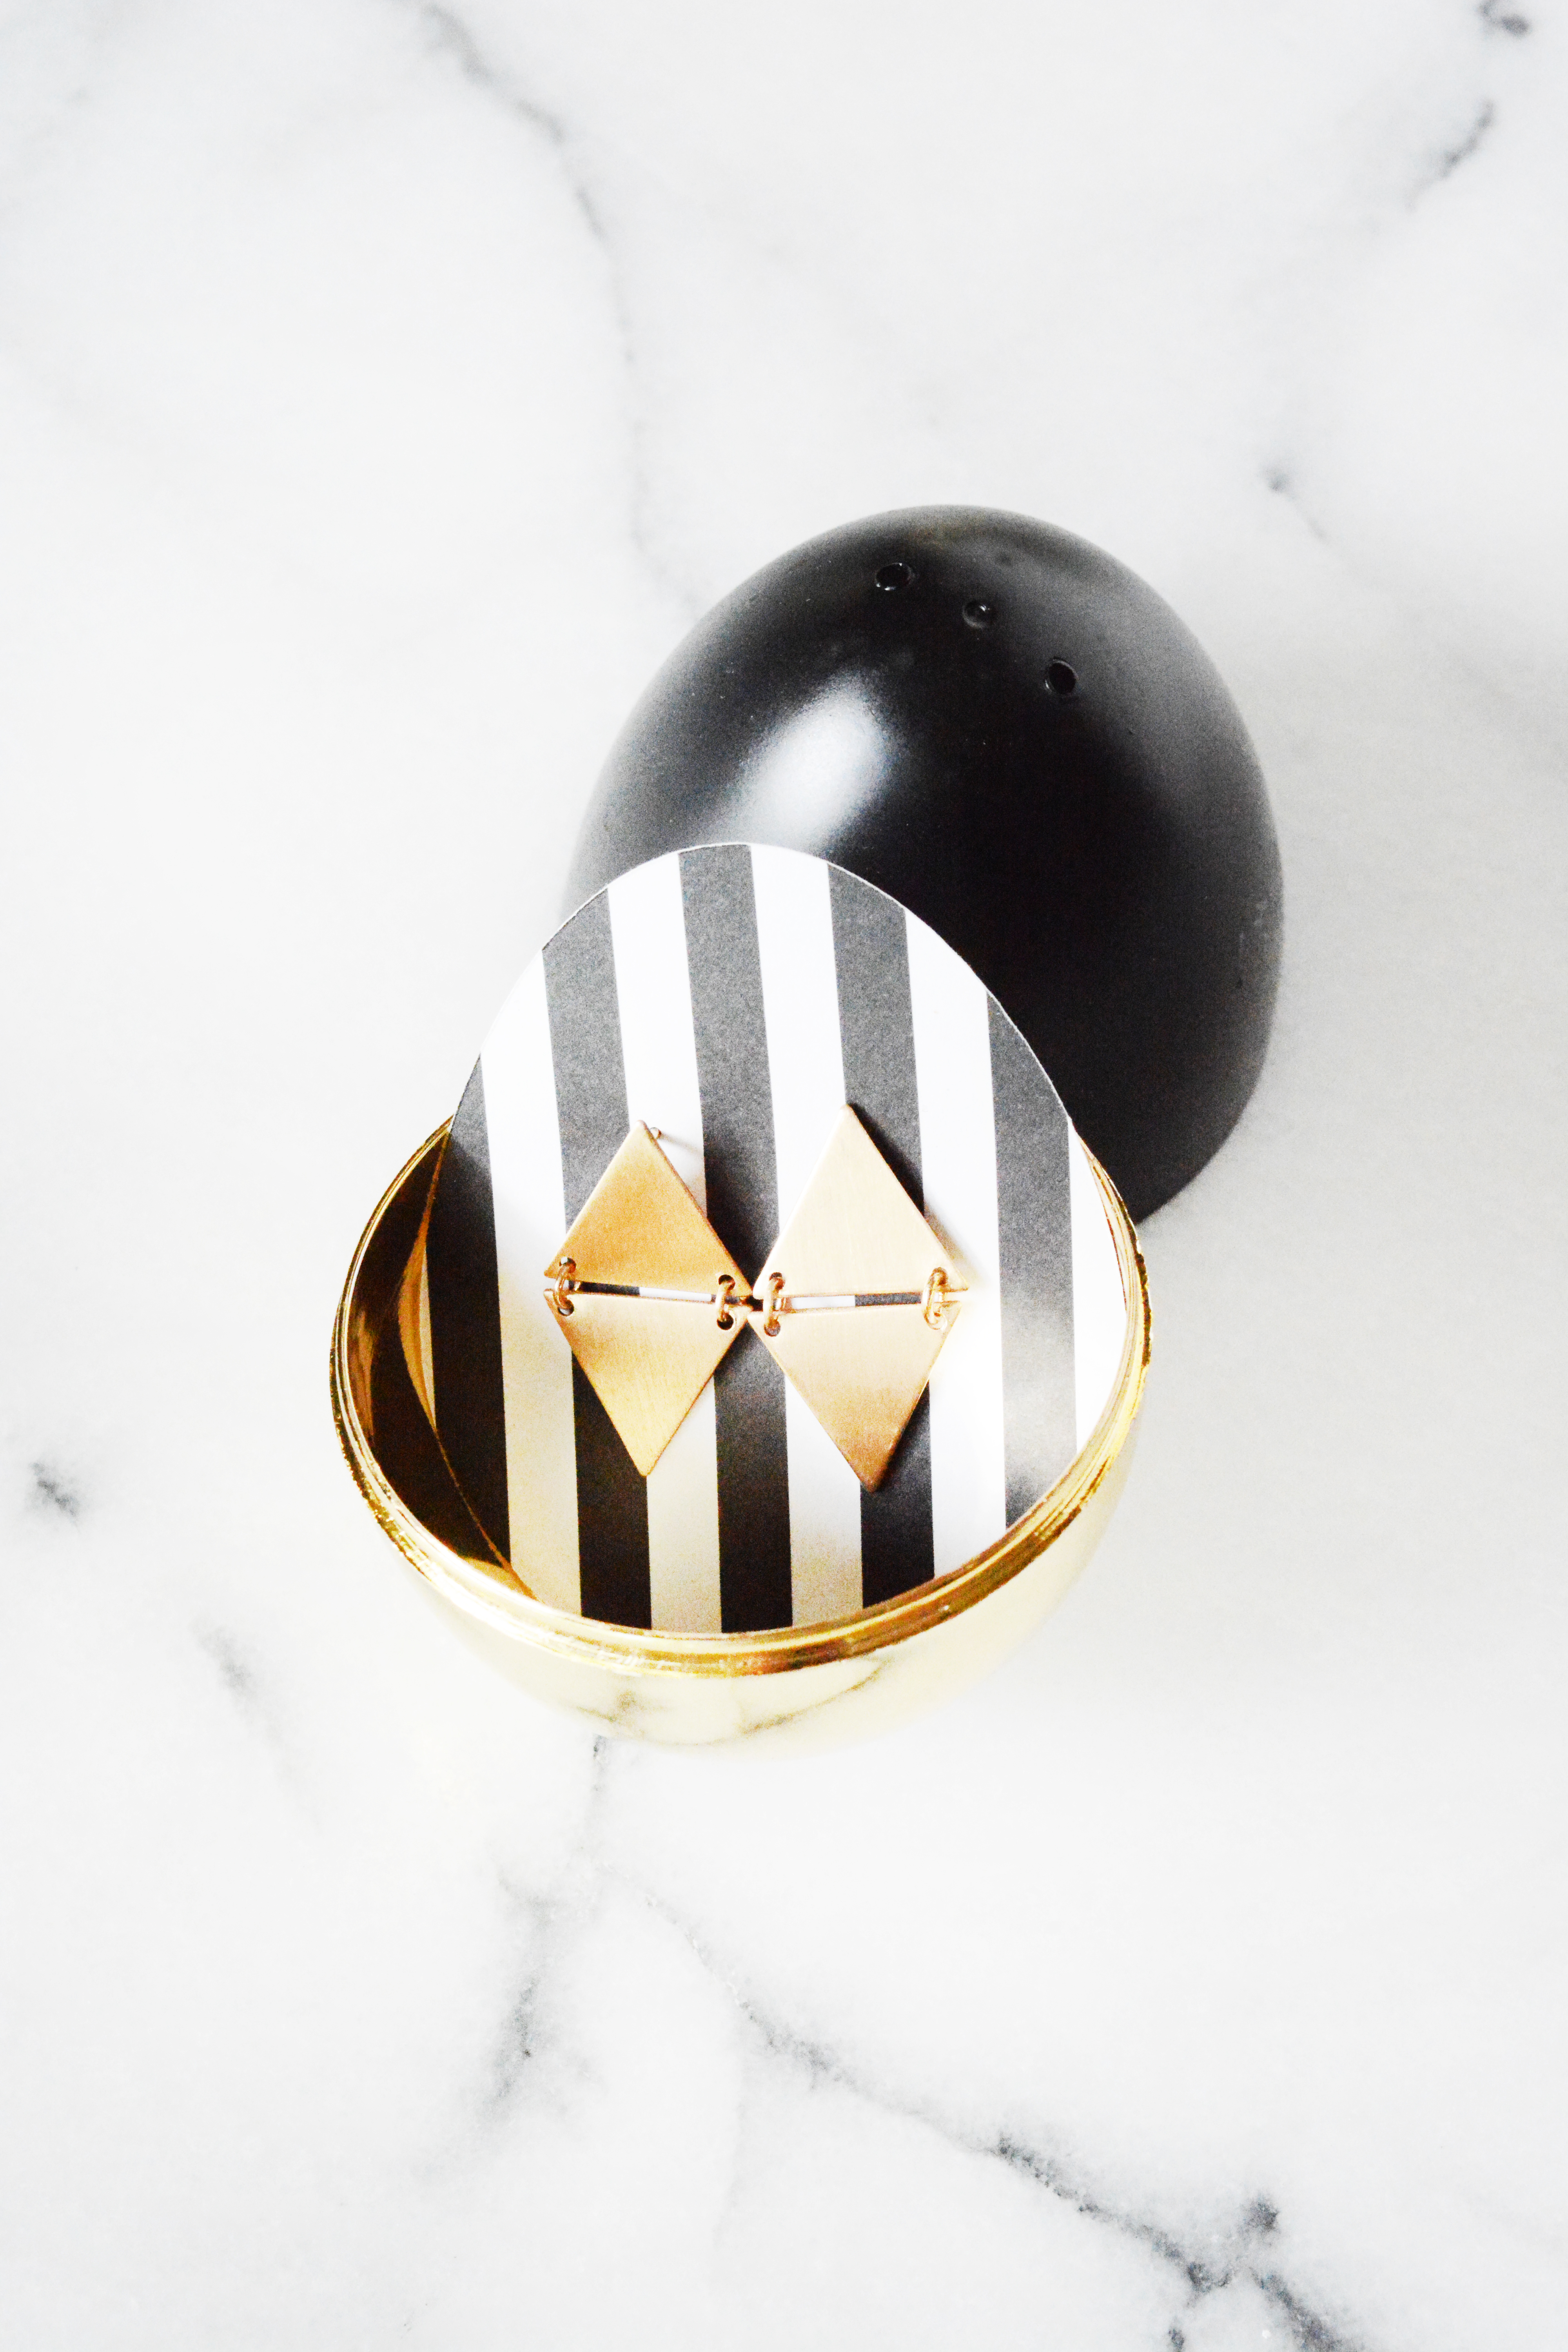
black and gold eggs 3 black and gold eggs 4Well, Easter is just about here and we are enjoying Spring Break vacation with a trip to Washington DC. We just arrived this afternoon and we are excited to see the sites and enjoy some quality time together as a family. The kids have never been, so they are excited to check out all the museums and monuments. We need to find a church to attend on Easter Sunday while we are here. It does feel a little weird to be missing our church family for Easter, so I whipped up some super easy Easter treats for all the ladies of my small group.  black and gold eggs 2black and gold eggs 1black and gold eggs 5I’ve had a lot of projects in the works, so this Spring I just haven’t had time for a lot of cute seasonal crafting. But, I had this idea in the back of my head for weeks and knew I wanted to quickly make these for my friends.

I bought a bag of pastel and gold plastic Easter eggs at Target and gave them a sophisticated, grown-up makeover.  I sprayed the pastel half of the eggs with flat black spray paint and then cut simple egg shapes pieces of card stock.  I attached cute, costume jewelry earrings to the card stock and filled each egg with a pair of earrings.  When you don’t want all the calories of chocolate, jewelry is the next best thing to receive as a gift.  black and gold eggs 6These would also look great displayed in a bowl on your dining room table.  If you are like me and tend to lean away from the bright and colorful and gravitate towards neutrals, these just might be the Easter decor you’ve been looking for.

DIY

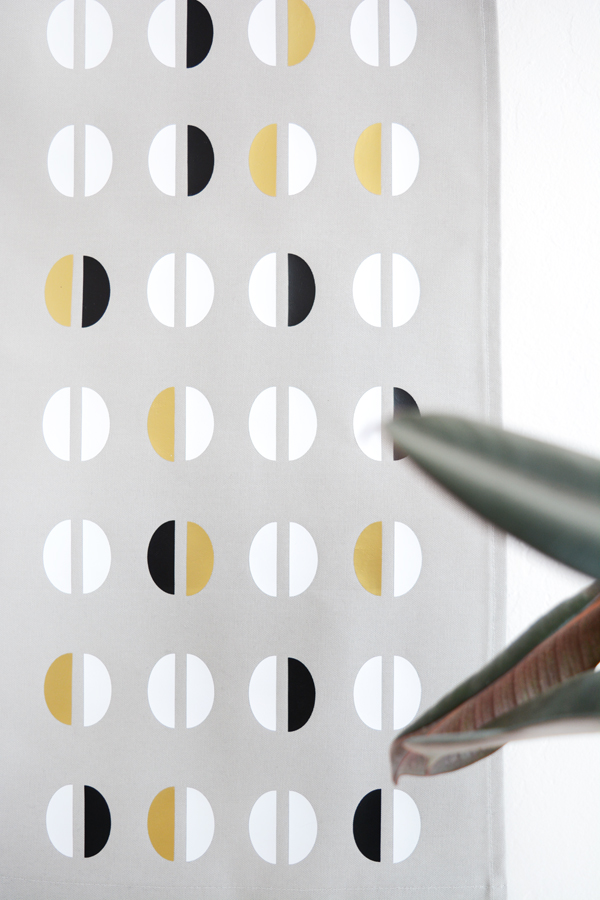
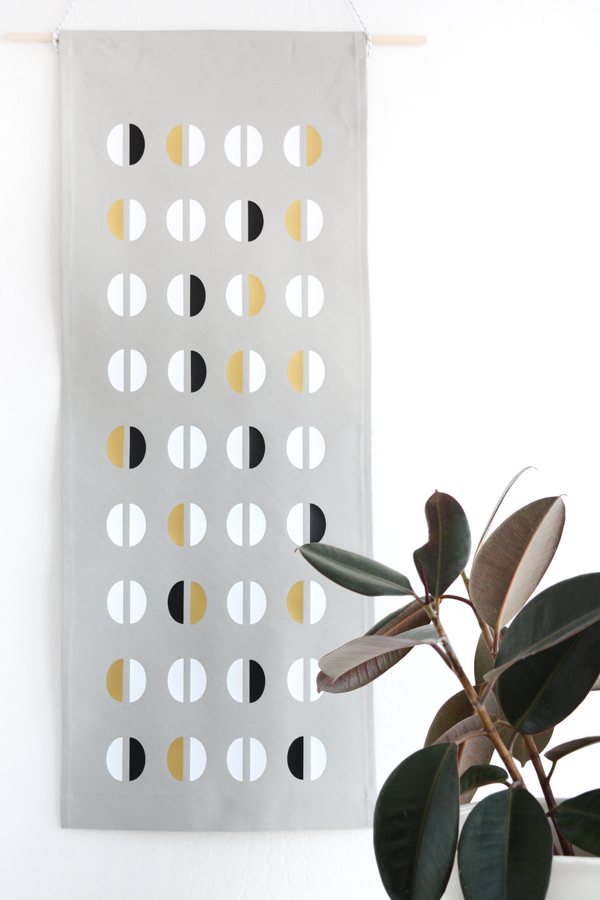
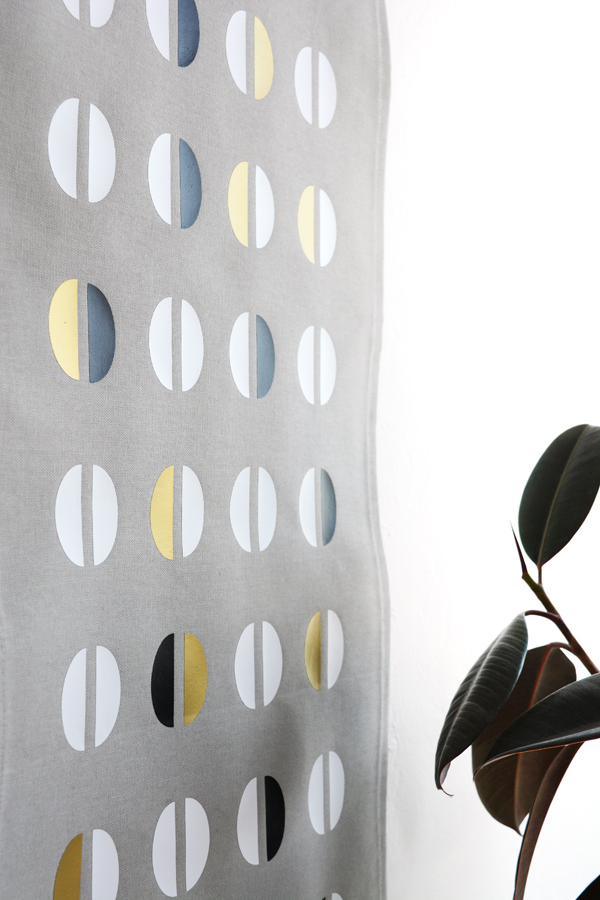
Cricut Gold – Half Moon Wall Hanging

March 14, 2016

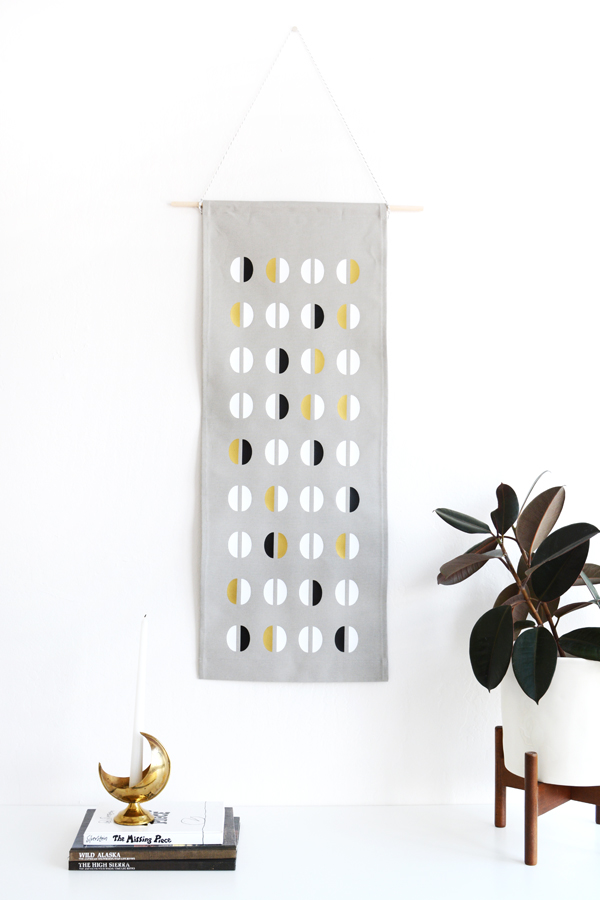
I’m a huge fan of a wall hanging. They are a casual, relaxed way to bring color and pattern to a space. They are also usually a more frugal options over framed art.
Well, I’m still having fun with my Cricut Gold Explore Machine. When I was asked to create some exclusive designs for Cricut’s Gold Explore Machine for JoAnn Fabric Store (check it out here, under Die Cut Machines, Supplies and More at Joann.com), I knew I wanted them to feel clean, modern and have midcentury modern vibe.
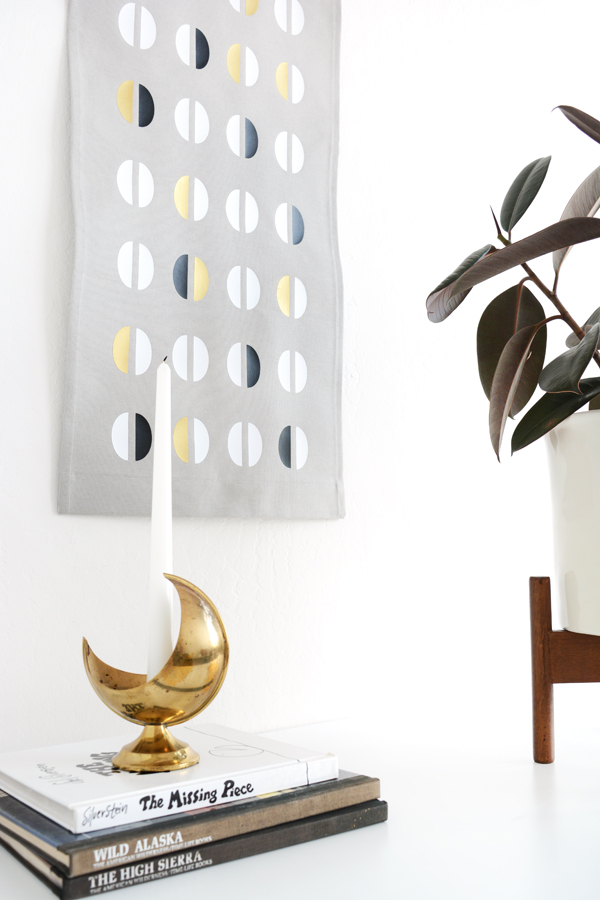
This half moon shape might be my new triangle. If you’ve followed O+P for a while now, you know that I’ve been known to use a triangle here and there. But, move over triangles, I might have a new favorite shape.
Using iron-on vinyl in white, black and gold, I placed these half moon shapes in a random pattern. Whether you have a Cricut Explore machine or not, this is an easy project to make.  By cutting ovals in half and placing the pairs together with a small gap, you can recreate this look. But, of course using the Cricut’s Make-It-Now feature is the easiest way to do this.
All the materials and instructions for this wall hanging are listed, there’s no guess work, just click and cut. HERE’s the how-to.
*This post contains affiliate links. If you do purchase something through those links, I get a percentage. Thank you for supporting the companies that help make this blog possible. 
Be sure to check out all my other designs and projects for Cricut’s Gold Machine, like this Geometric Patterned Edge Throw, these fabulous pillows, and these fun Tropical Leaf Napkins.
Cricut Gold Machine for Jo Ann Fabrics - Oleander + Palm Designs

DIY

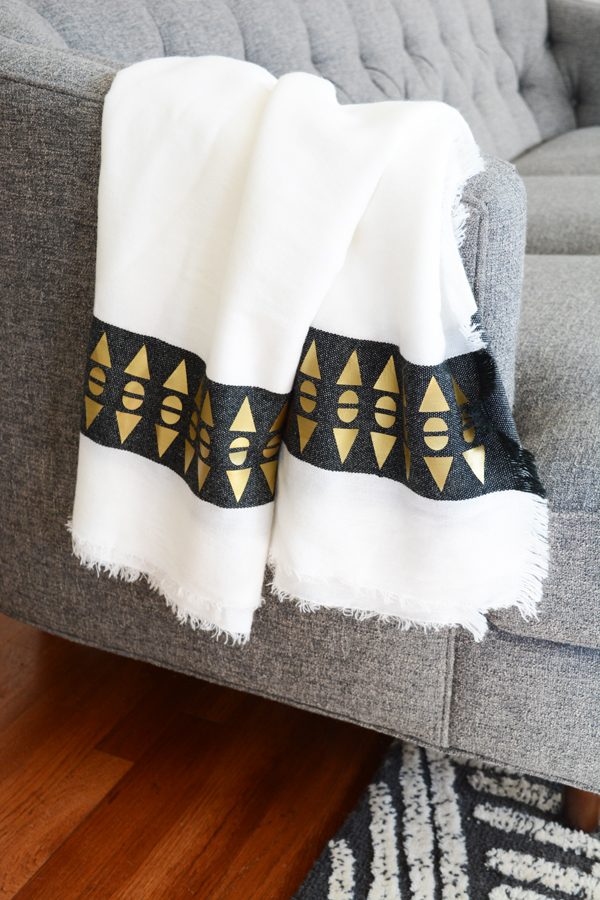
Cricut Gold – Throw Blanket with a Geometric Patterned Edge

March 12, 2016

On Thursday I shared a fun collaboration I worked on with Cricut and JoAnn Fabric Stores.  Today I’m sharing another one of the fun designs I put together for the exclusive Cricut Gold Explore for JoAnn Fabric Stores (check it out here, under Die Cut Machines, Supplies and More at Joann.com).
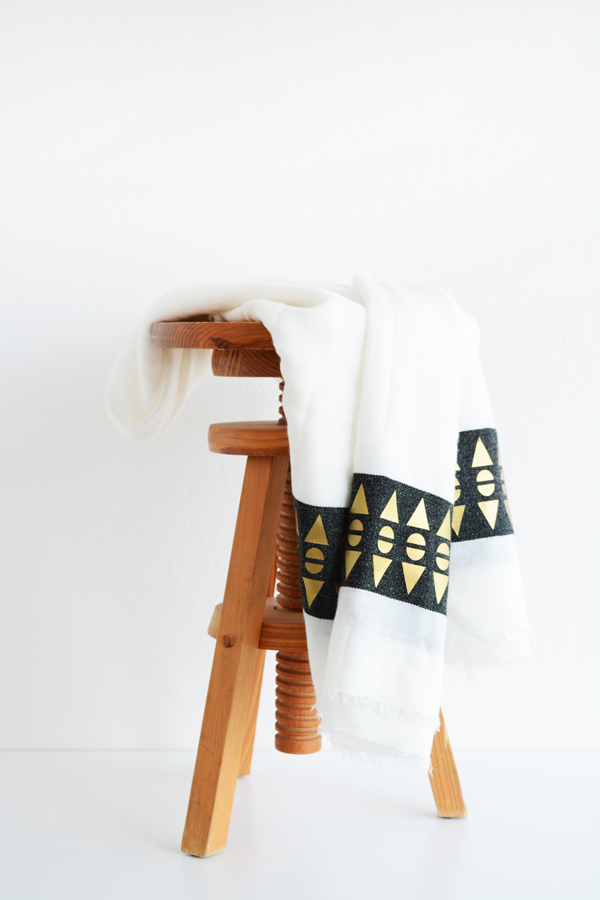
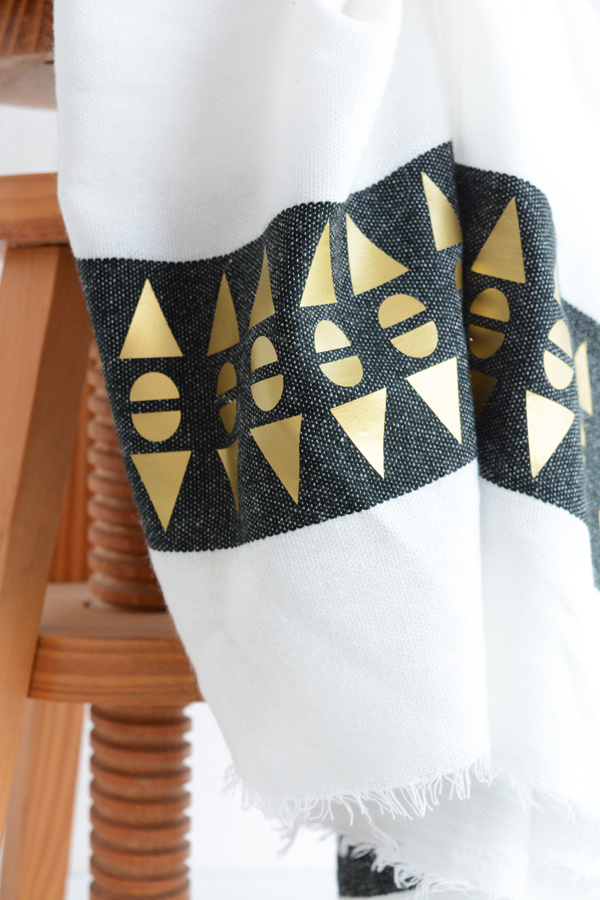
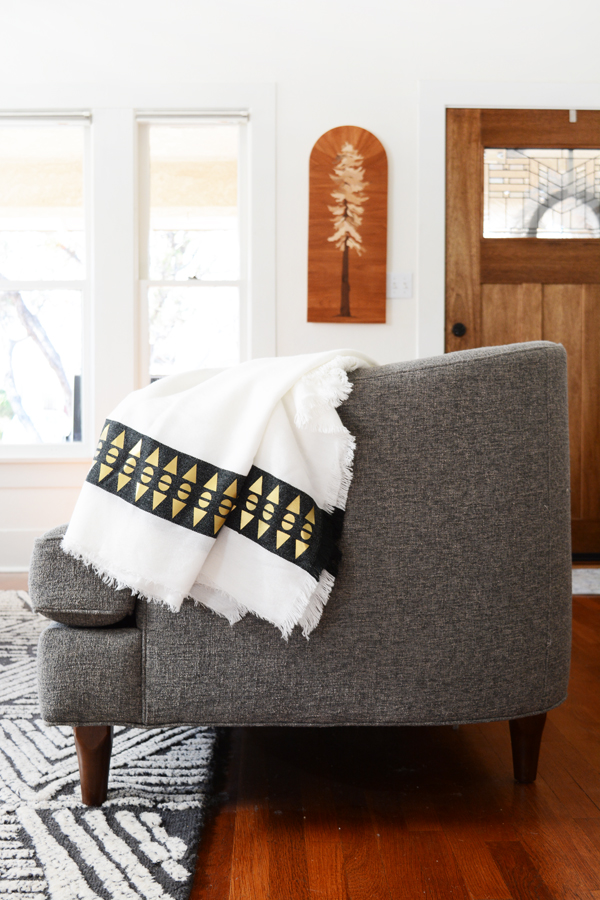
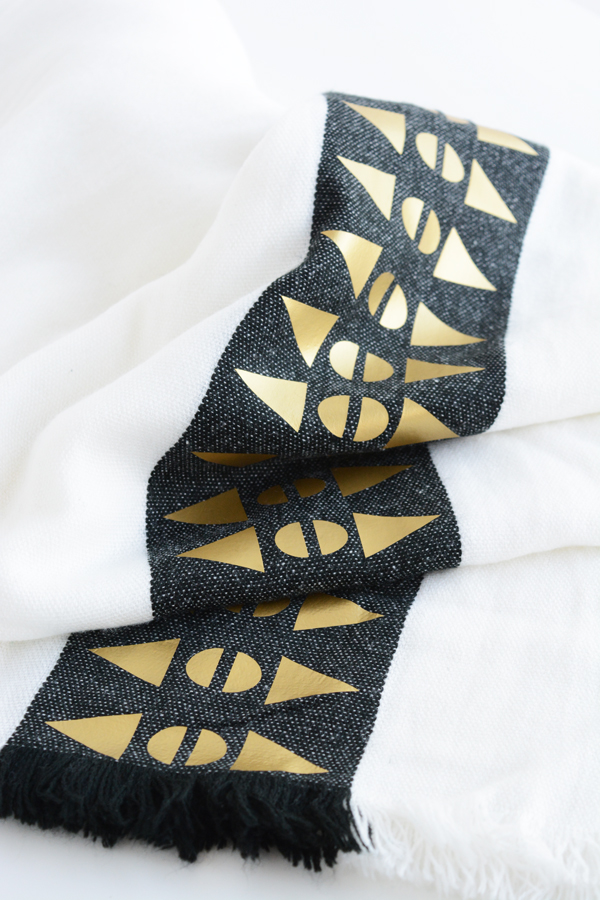
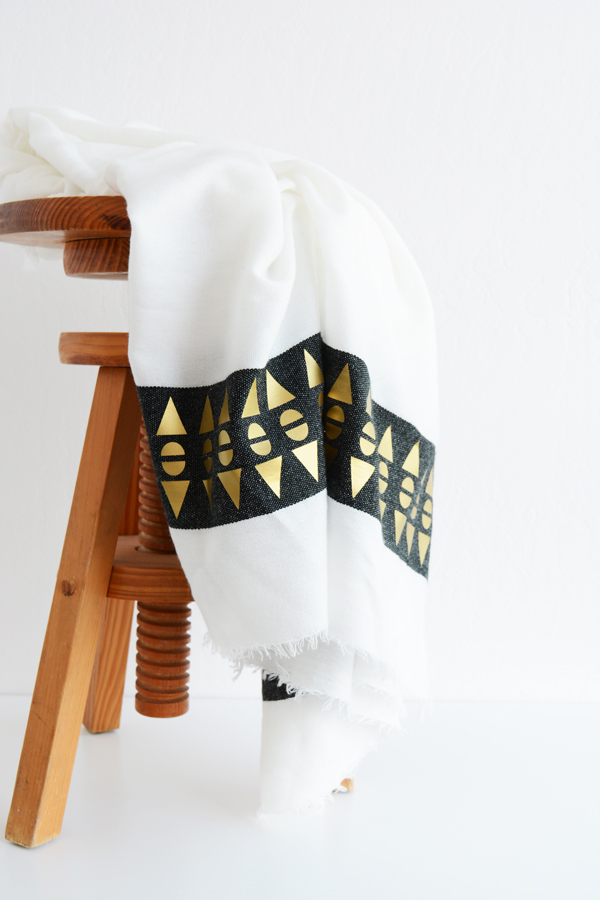
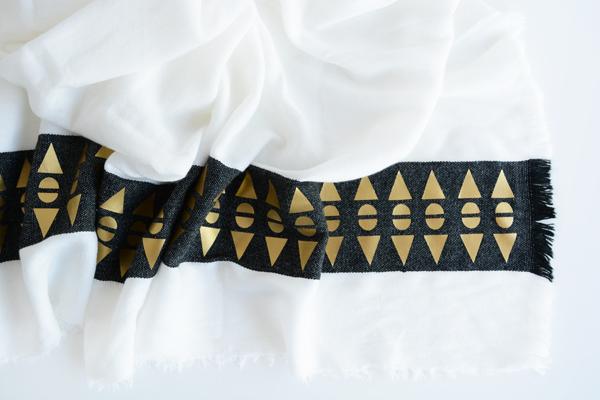
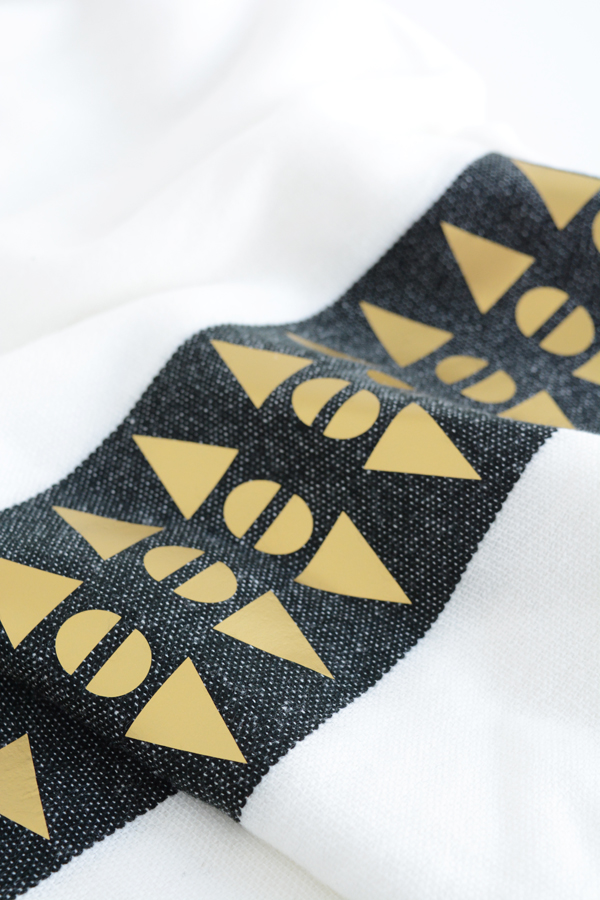
Give a plain throw blanket a custom look with this geometric edge.  With a roll of metallic gold iron-on vinyl, I made this white throw feel like something special.  The Make-It-Now feature in the Cricut Design Space™ app, makes creating so easy. All the materials and instructions for that project are all listed, there’s no guess work.  HERE’s the how-to.

Stay tuned, I’ve made lots of fun things for my home with this new Cricut Gold Explore Machine.


*This post contains affiliate links. If you do purchase something through those links, I get a percentage. Thank you for supporting the companies that help make this blog possible.