Category Archives: etc.

etc.

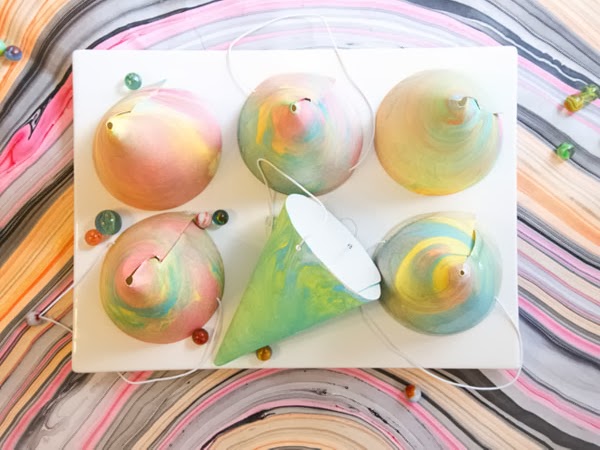
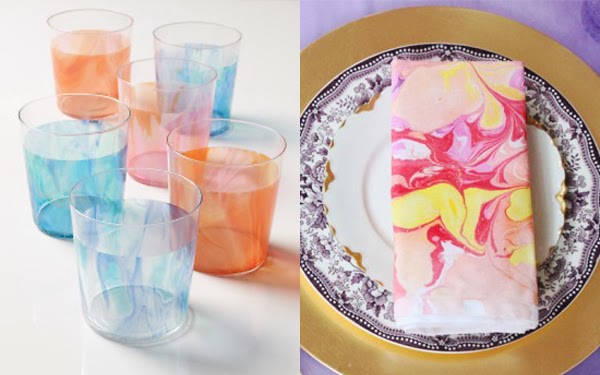
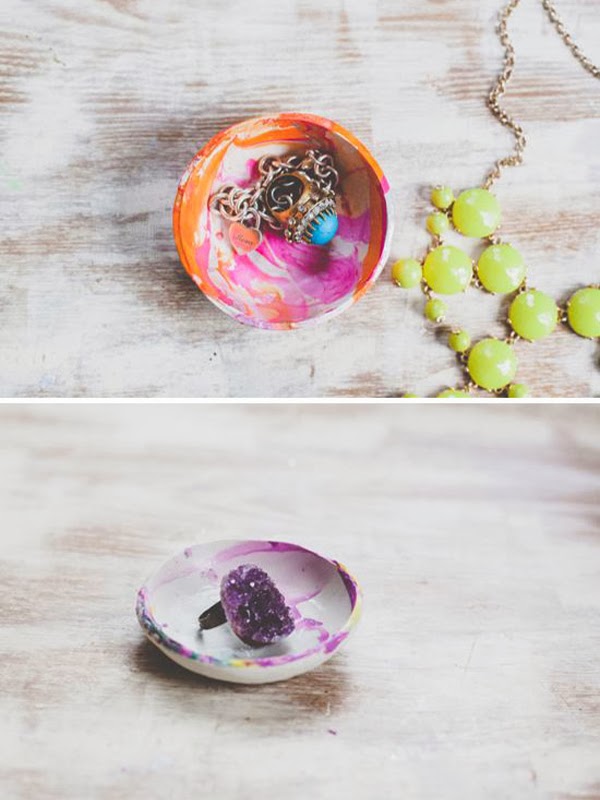
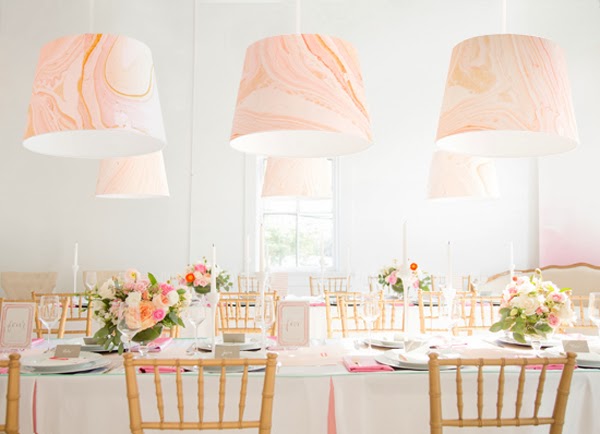
Friday’s Fabulous Five – Marbleized Crafts

February 21, 2014

I don’t know about you, but I get an idea in my head for a craft or project and then I just want to play and learn as much about it as possible.  This week, I’ve had Marbleized Crafts on my mind.  When I was a teacher, I used to do marbled paper around Memorial Day in red and blue, a little patriotic crafting.  Kids loved it and so did I.  It’s just the right about of messy and creative.  And every piece turns out unique and one of a kind.

And actually my wedding cake was marbled fondant in beautiful pastels.  I found the picture in a Martha Stewart Wedding magazine and my amazing mom made it for me.  I’ll have to find a picture of it and share with you sometime.  It was so gorgeous.

I’ve found some great marbled ideas for us.  I really want to try marbleizing some glasses or a bowl and the fabric projects really interest me.  I’d love to make my own marbled pillow in greens and black.  Sound pretty great, right?

Have a great weekend friends.

etc.

Master Bedroom Art

February 20, 2014

I think Master Bedrooms are neglected all the time. It’s easy to make our kid’s rooms cute and living areas are hard to ignore, but we put our bedrooms last on the list.  
Master Bedroom by Jeran, see more Minted

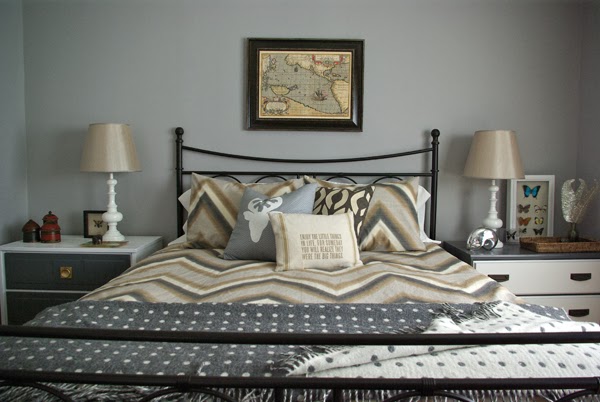
For the most part, I’m very happy with my bedroom.  I have a mix match array of furniture.  My night stands are pretty great and I love my bedding, but there are a couple things on my list that I would like to change.  
1.  I’d like a BIG dresser.  Currently, our tiny 3 draw, fixer-upper, from my husband’s grandparent’s farm, dresser does not even hold all of my clothes.  We have lovely plastic draws and bins in our closets for everything else.  
2.  If money was no object, I sure would love an upholstered headboard.  I’m kind of tired of the the IKEA metal bed we’ve had for over 10 years.  
3.  And finally, I love that this space is calm and cozy, but maybe it’s a little too bland and muted.  There’s a LOT of grey and beige, how boring?  I think there needs to be a little more color.  I’m thinking about adding touches of my favorite color, green.  I’m playing with adding some some fun art pieces to the map over my bed.  I think the map is a little small for that big wall, and a grouping would definitely be more interesting on that wall. 

I’m a big fan of Minted‘s gorgeous party decor, cards and invites.  But, have you seen their amazing art prints?  There is something for everyone.  And with Minted’s inspiration boards tool, you can play the decorator and try out the prints on a wall (seen above) or create a mood board for your space with a combination of your own images and minted prints (below).  It takes some of the guess work out of creating a gallery wall.  

So, what do you think? Am I on the right track?  Is there another color besides green that would work well in my bedroom. Do any of these prints appeal to you?  I like having your input.  So, please share.

Master Bedroom Inspiration by Jeran, see more Minted art prints

etc.

Ribbon Bracelets

February 19, 2014

Well, I’ve obviously taken a nice little break from blogging.  The long weekend came and I was exhausted.  We took Riley out and then just got a whole bunch of stuff done around our house.  And then I just kept putting off posting.  I’ve got a lot of my mind right now.  I’m taking some courses to keep my teaching credential, I’m working on a HUGE project with The Land of Nod (I’ll share more very soon), I’m trying to figure out how to move my blog from Blogger to WordPress or Square (any suggestions would be gladly excepted), and we’ve had some sick kiddos in this house.  Just life really, you can understand. Sometimes, things are just a little crazy (more often then not around here).  
Anyways, with all the said, thanks for still reading.  I’ve been giving this blog as much energy and attention as possible.  And the 14 Days of Love was really fun, but also a lot of work.  I hope I’m producing content that you like to read and find helpful or interesting.  I don’t get a lot of comments, so sometimes I feel like I’m guessing.  But if you’d like more or less of something, please let me know.  
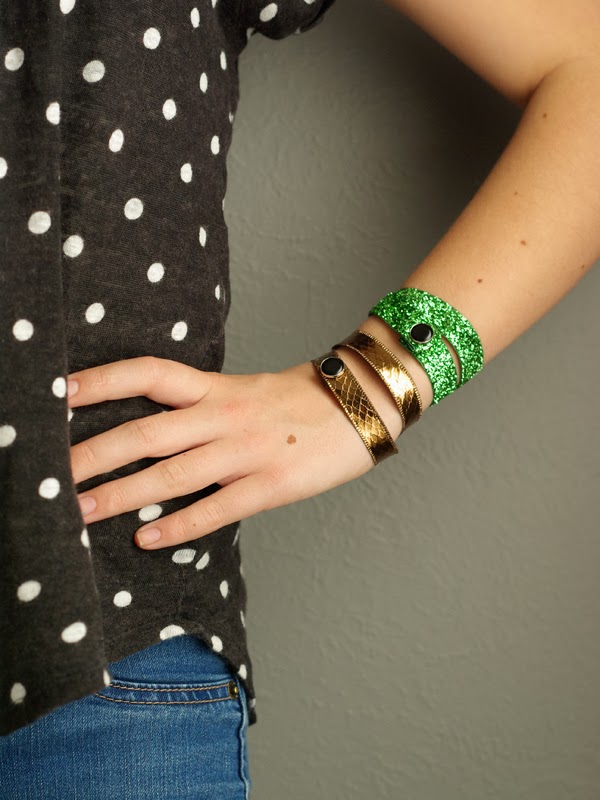
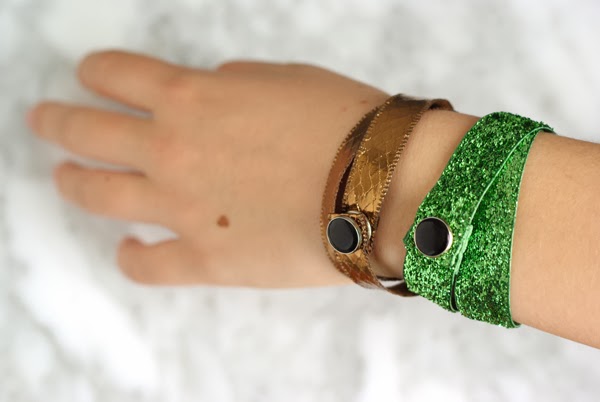
Now, onto the little DIY.  I made a bunch of these simple ribbon bracelets or cuffs for presents and just to add a little color and sparkle to an outfit.  Denali loves them.  They are fun to layer and stack.
They are really simple to make and require very few materials.  
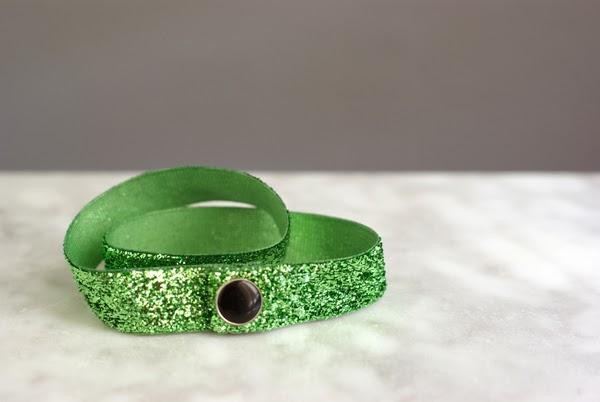
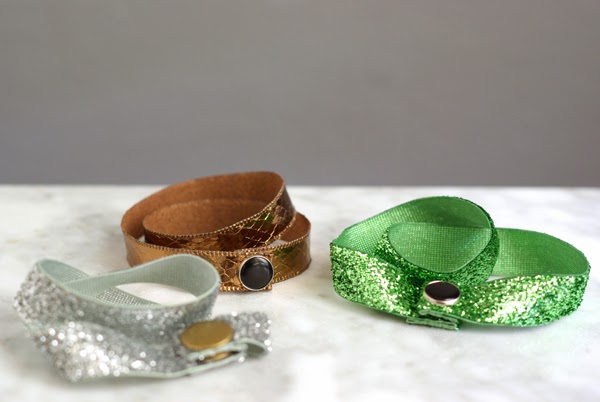
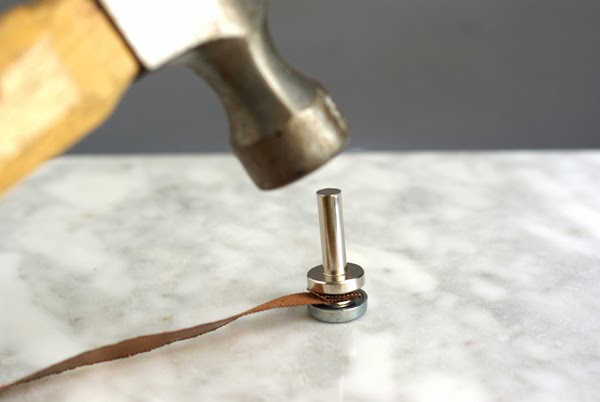
You’ll need small snaps, the little tool that comes with them, and some fun ribbon.  I used this glitter ribbon and some faux snake-ish copper ribbon.  

Simply cut the ribbon long enough to wrap around your wrist twice and add an extra 2 inches for the snap closure.  On the ends of the ribbon, fold over the ribbon twice to give it a clean, finish look.  Then, hammer the snap into place.  Now how easy is that?

Thanks for reading friends.  I really appreciate you taking the time to visit my little blog.  I’m not just saying that, what’s the point of a blog that no one reads.  Have a great Wednesday!!!

etc.

Black Cherry Soda Floats

February 14, 2014

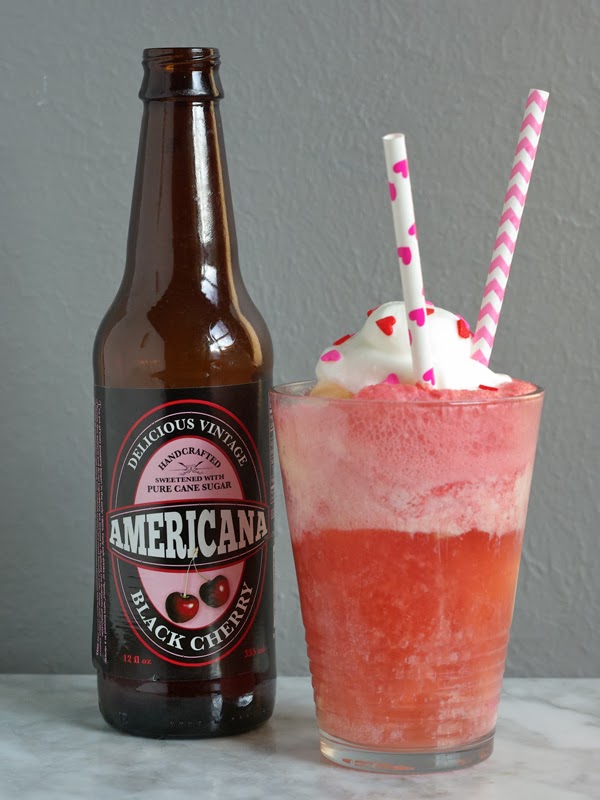
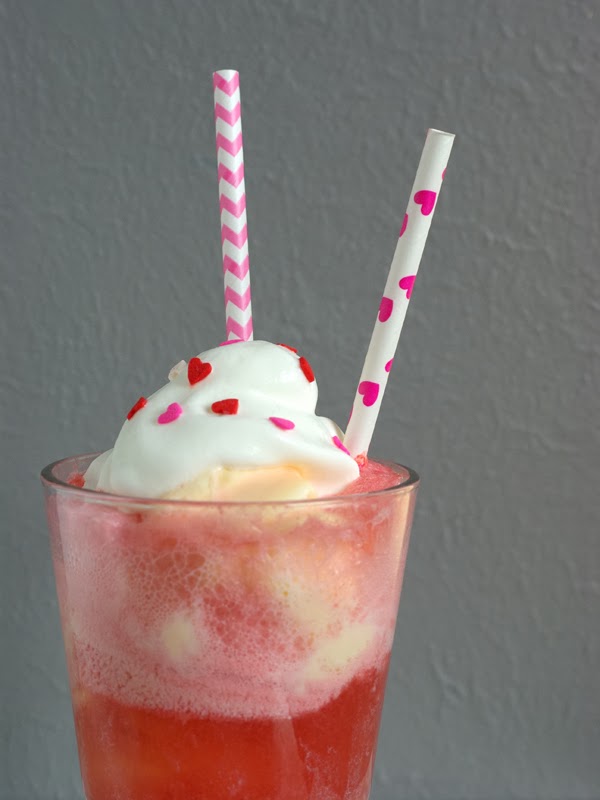
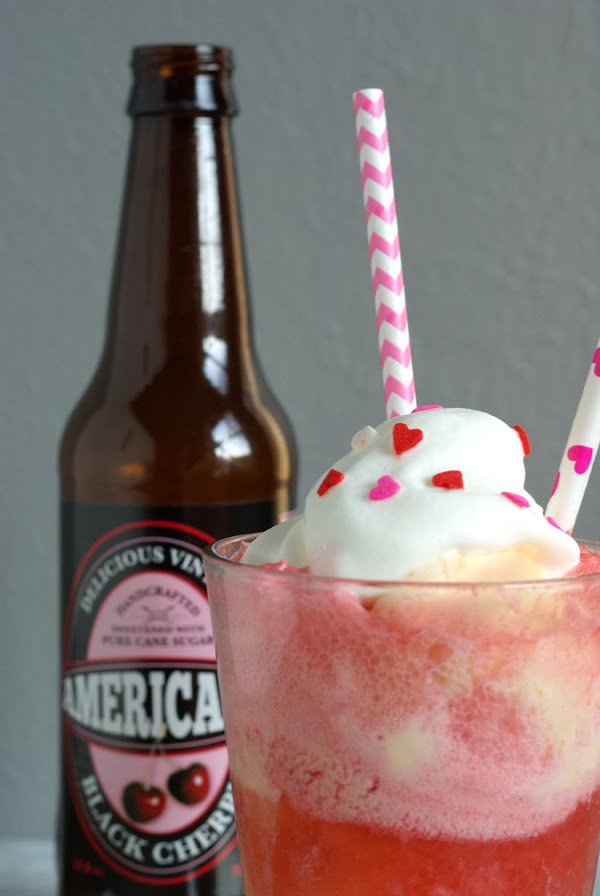
This was the perfect after-a-hard-day-of-school treat.  I’m sorry my Root Beer loving friends, but this is sooo much better.  Black Cherry Soda and scoops of creamy vanilla ice cream, it’s a match made in heaven.  

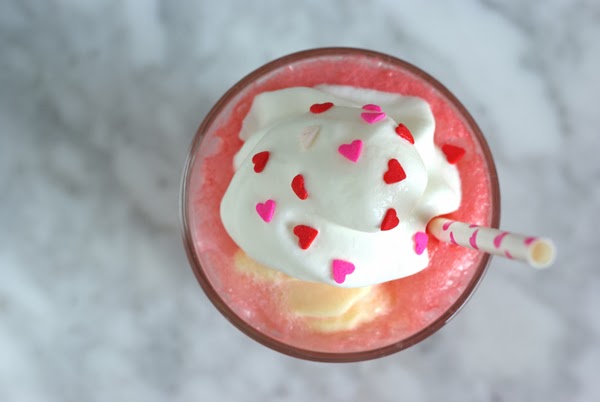
Need a quick, last minute treat or dessert to serve your Valentine this year. These perfectly pink floats are sure to be a hit. Topped with whipped cream and cute sprinkles, someone is definitely going to feel loved when you hand them one of these.  Or be super romantic and serve with two straws, so it has to be shared. 
Dylan gladly volunteered to be my assistant today.  I had to snap pictures fast, before he slurped down the whole thing. This might be a new Valentine’s tradition for us. We already have a Shamrock Float for St. Patrick’s Day, we definitely needed a pink version.
Black Cherry Soda can be hard to find, but I always buy it at World Market.  They have a lot of fun flavors of soda in glass bottles.

etc.

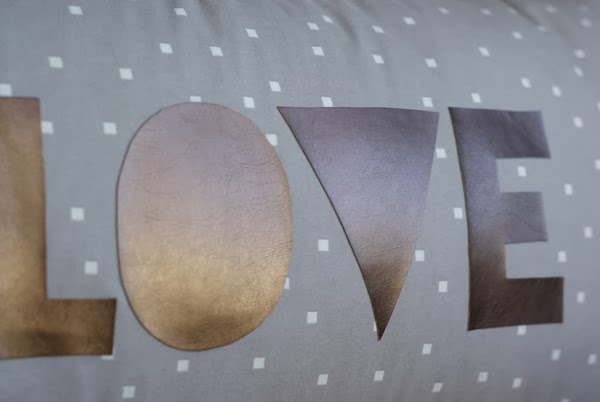
Pleather Appliqued LOVE Pillow

February 12, 2014

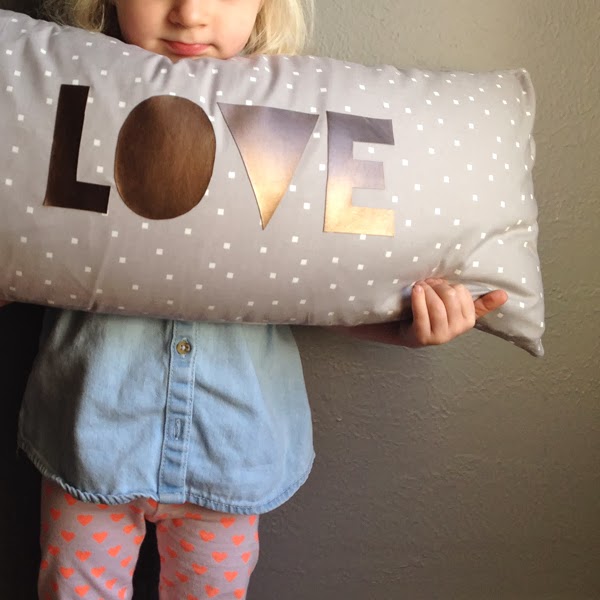
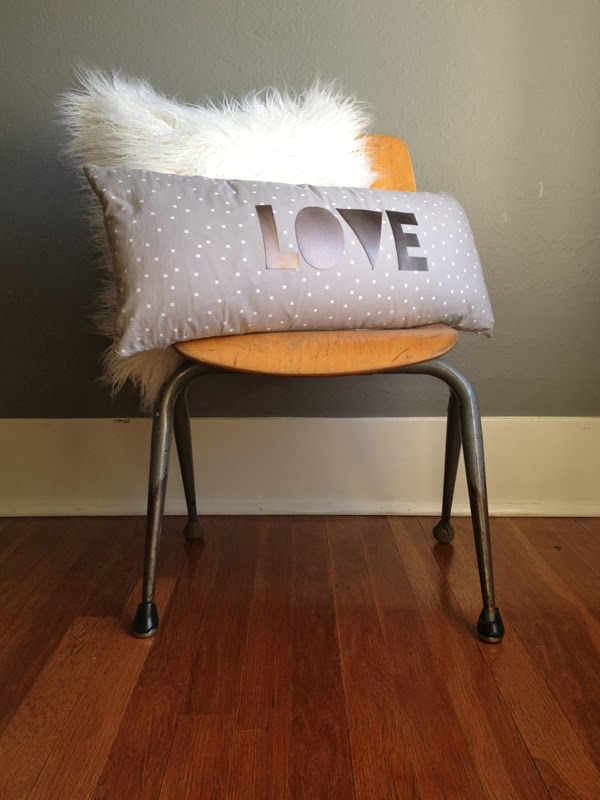
I just figured out that you can applique leather onto fabric. I’ve wanted to make this LOVE pillow with my triangle V for awhile.  I came across some bronze, metallic pleather at Joannes months ago and I’ve been saving it for something fabulous. I wasn’t sure about top stitching on the pleather, I thought it might look messy. I really wanted it to be seamless.  I considered using fabric glue as well, but that can be messy and lumpy.  So, I decided to see what would happen if I ironed on some Heat ‘n Bond to pleather.  And it worked!

So here’s how I did it:

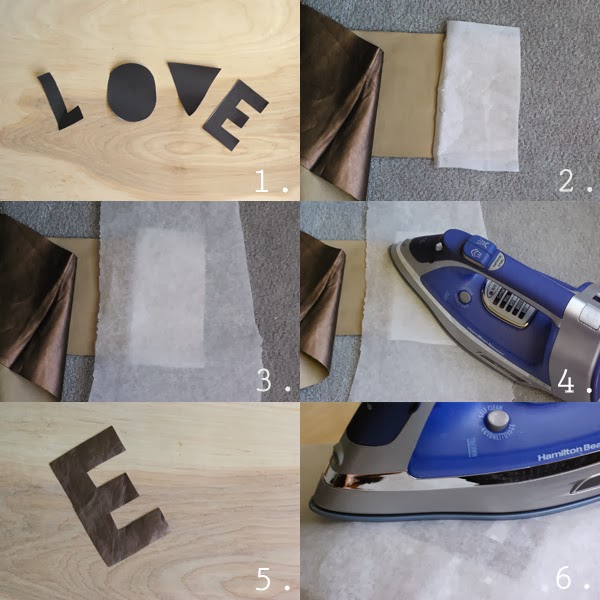
1.  First, I printed out the LOVE template that I made (you can download it HERE). Then, I cut out the letters.

2.  I then cut a small piece of the Heat ‘n Bond or Wonder Under and placed it on the back of the pleather.

3.  Then, I cover both with a piece of parchment paper.

4.  Next, I ironed directly onto the parchment.  I used a medium heat iron, so that I would melt the pleather.  I’m using my new Durathon Iron.  I love it for ironing clothes and crafting (my favorite feature is the retractable cord).

5.  Once the Heat ‘n Bond was adhered to the pleather, I peeled off the paper backing.  Then using my letter templates, I cut out the letter with good sharp scissors.  I did not pin the template to the pleather, because I didn’t want to leave any holes in the fabric. So, just holding the template in place with my fingers, I cut around the paper.

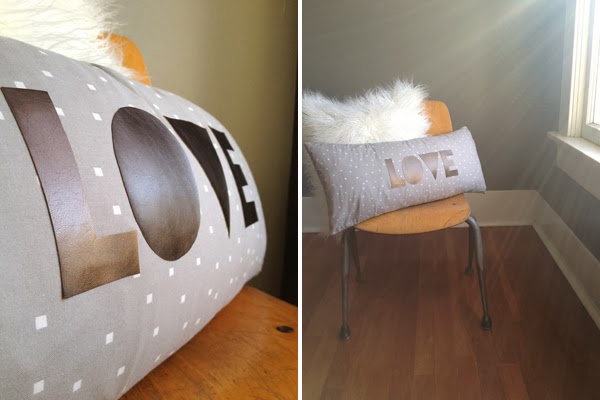
6.  Then I place the letters on the front of the pillow where I wanted them.  This is a pillow I made years ago, I always thought it was kind of plain and needed something on it.  Once I had the letters where I wanted them I place the parchment paper over the top of them again, and ironed them till they were well bonded (it doesn’t take long).

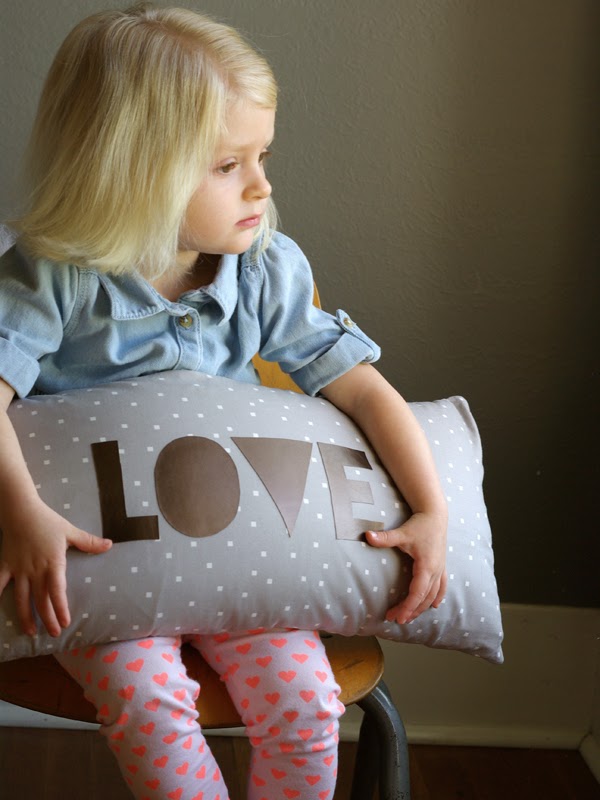
I’ve got a pretty cute assistant working with me these days. Olivia sat quite still for these shots and took her job pretty seriously.

Now how easy was that?  Think of the possibilities, pleather appliqued onto EVERYTHING!  But, to be honest, I haven’t tried washing this yet.  I’m thinking it will be a hand-wash only kind of pillow.  I’ll let you know what happens when I wash it a few months from now.

etc.

Smooth Royal Icing for Cookies

This last week, my mom was in town for just a couple days. She is a super talented cook and an amazing cake decorator. She has a way of getting me into big baking projects. But, really we enjoy doing these things together. It’s fun to be creative in the kitchen and try something new.

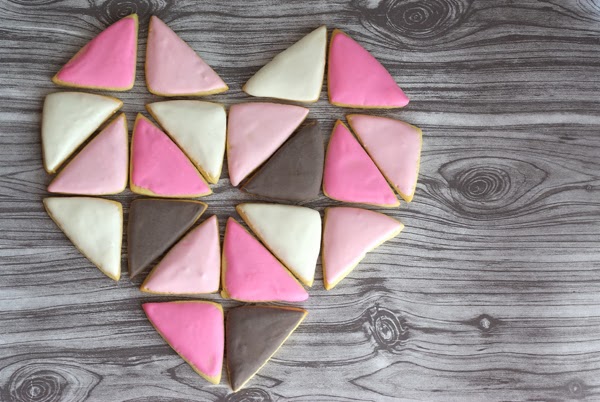
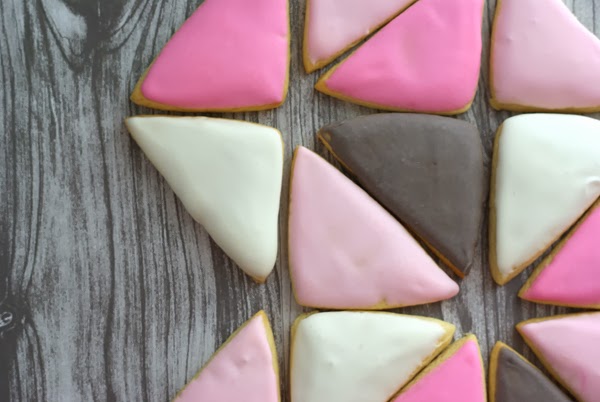
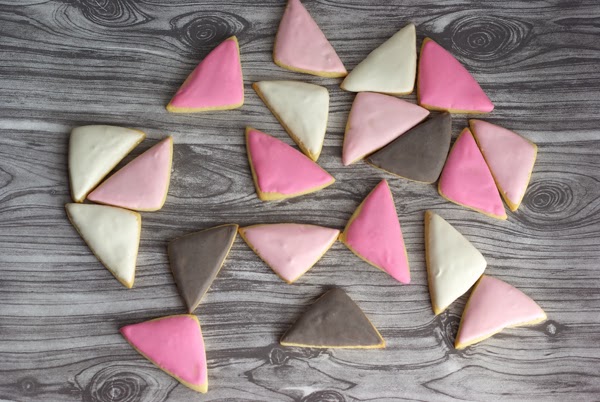
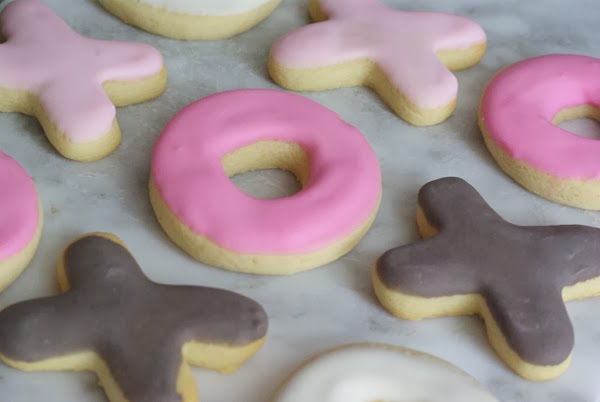
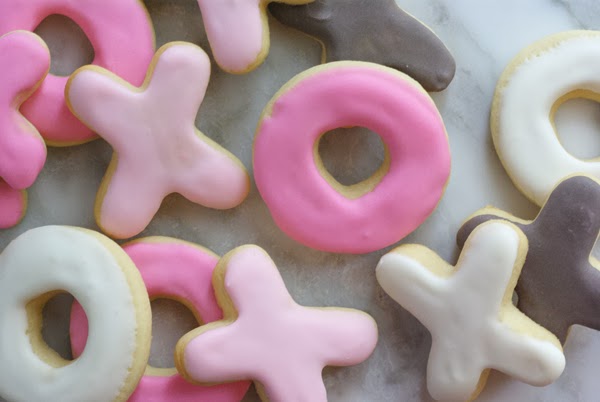
So, last minute, we decided to make a cake and some sugar cookies of my little nephews 1st birthday party.  I made a huge, triple batch of sugar cookies so I’d have lots for Valentine’s Day.  There’s still some in the freezer, but I’m not sure they’ll make it till Friday. I made a tone of right angle triangles so that I could make my Geometric Heart edible and some fun X and O’s.

For the last couple of parties that I’ve thrown, we’ve played with making a nice shiny, smooth royal icing for cookies. My mom has come up with a great recipe that hasn’t failed us yet.  Remember, she made the gorgeous Fox cookies for Olivia’s 2nd Birthday Party.

For these cookies, we kept the icing thick and I just dipped the tops of the cookies in the icing and then placed them on a cookie sheet to harden.  The icing flattens out so nicely and if you keep it thick enough, it doesn’t run over the edges. For simple single color cookies, this is the way to go. No piping or flooding necessary.

Smooth Royal Icing
1/2 bag (1lb) icing sugar
2 tbsp. milk
2 tbsp. corn syrup
1 tbsp. meringue powder
1/2 tsp. clear vanilla or almond
gel food coloring

Mix well. Then depending on the consistency add either a little milk or a little powdered sugar. You’ll have to just test it on a cookie. If it runs over the edge of the cookie, it’s too thin. If it doesn’t lay flat and smooth add 1/2 a tsp. of milk at a time.

Let the iced cookies dry for at least 5 hours.  Once they are completely dry they can be stacked and stored in air tight containers.

DIY / etc.

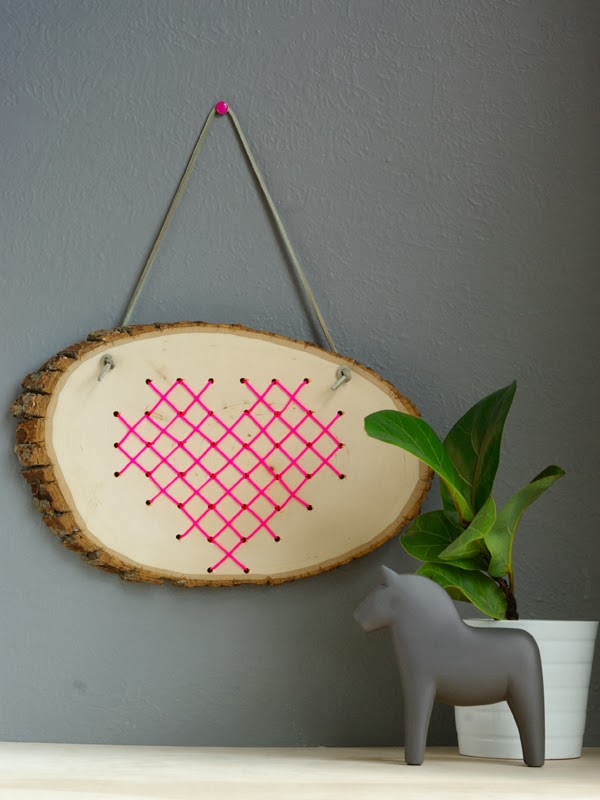
Cross Stitch Heart in Wood

February 10, 2014

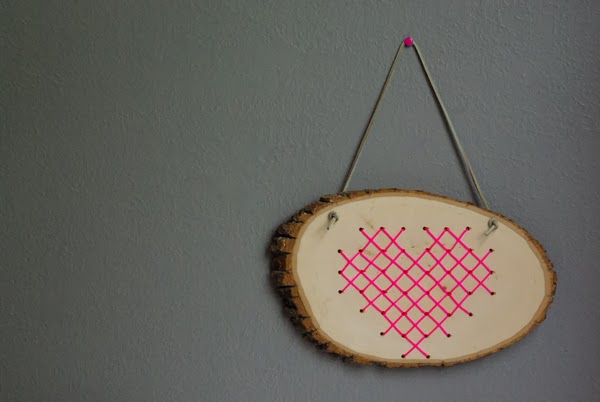
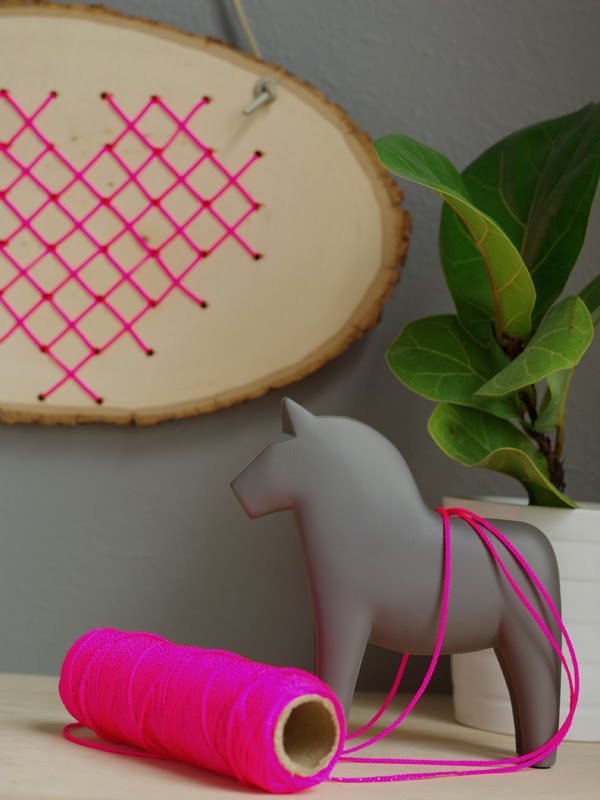
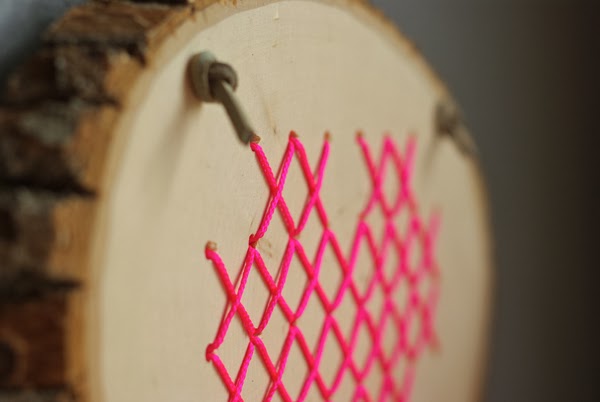
This was fun to make!  I got a little power tool action in and I got to use my neon cord again.  This little project is a continuation of my cross stitch heart theme (remember the framed piece and then vinyl wall version). I love this mix of wood and neon pink, it’s such a playful combination.
If you pre-drilled all the holes for this project, kids would sure have fun making this giant cross stitch.

Supplies:
a wood slab with bark attached (I got mine at Michaels)
neon cord (like this)
2 feet of leather cord
drill and bit (I used a 5/32″)
lighter
sand paper
heart cross stitch template (download it HERE)

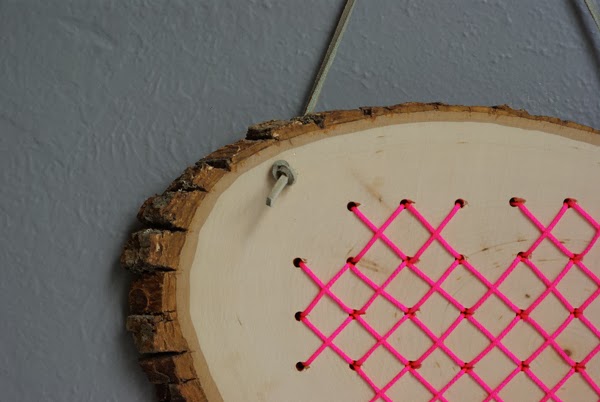
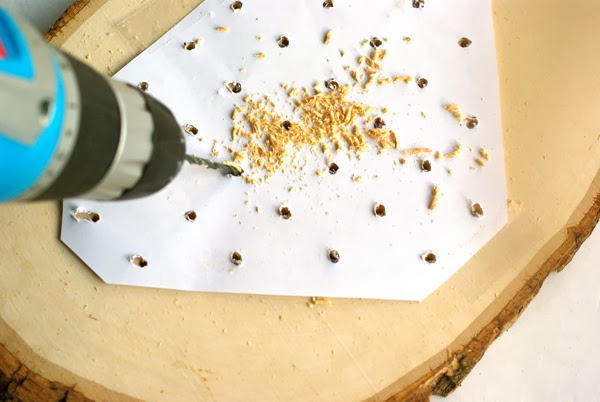
Print off the template and trim it to size.  Tape the template to the wood slab, where you’d like it to be.  Using a drill and the bit (you may need a different sized bit, depending on the thickness of your cord), drill out all the holes, right through the paper.  Sand the top and bottom of the slab to get rid of any rough edges from all drilling.

Cut off a long length of the neon cord (or any twine or yarn you’d like to use).  Using the lighter, burn the end of the cord to prevent it from fraying and to make it stiff for threading through the holes.

Starting at the top of the heart begin cross stitching the first row. Stitch diagonally the length of the row and the cross over that diagonal and come be the length again.  Then repeat each row until the entire heart it stitched.

Drill two holes at the top of the wood slab.  Thread the leather cord through to the front and tie it off. 

I really think you’ll enjoy making this. I know Valentine’s day is just around the corner, but I think this will hang in my girl’s room all year long.

etc.

Friday’s Fabulous Five

February 7, 2014

Valentine’s day will be here before you know it. I’ve got 5 amazing little DIYs for you to try this weekend. Be sure to visit these awesome blogs and leave them a little comment love (and tell them you came over from O+P).

Happy weekend friends!  Thanks so much for all your support and interest in The 14 Days of LOVE Giveaway. Be sure to enter everyday, there’s still a whole more week of giveaway love coming your way. 

etc.

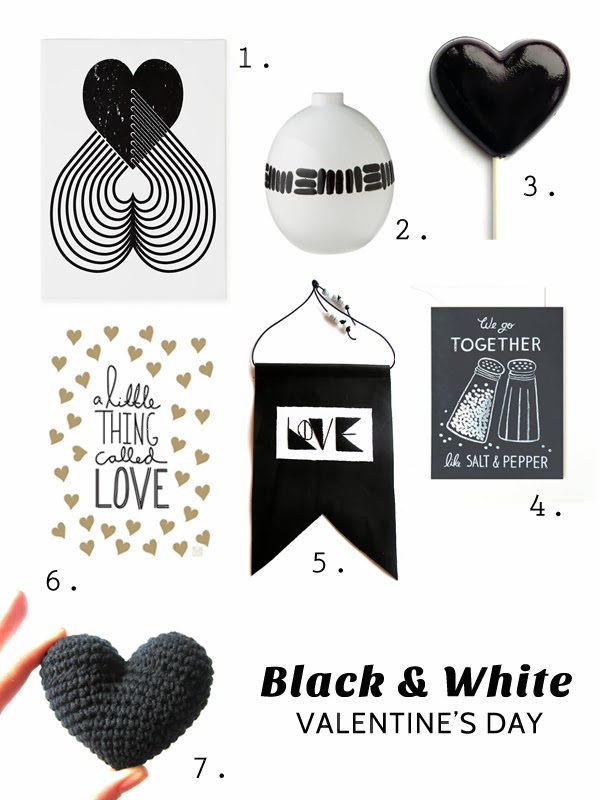
Black and White Valentine’s Day

February 5, 2014

I’ve been leaning towards a black and white color palette for quite a while now.  You’ve seen it in Denali’s Hunger Games party, black decor I’ve shared, my Halloween decor this year and even my Christmas decor
So, why not Valentine’s Day as well?  We can celebrate the day of love with out being over-the-top girly and pink.  And like my Wooden Bead Heart and Cross Stitch Wall Heart, I don’t think these items need to be Valentine’s Day specific.  You can enjoy them all you long.  
2. Vase
Have I taken my black and white kick too far?  Is this color combination just too dreary for Valentine’s Day? Or does it translate as modern and sophisticated. I’m not trying to be goth, if you’re worried. I’d love to know your thoughts.  

etc.

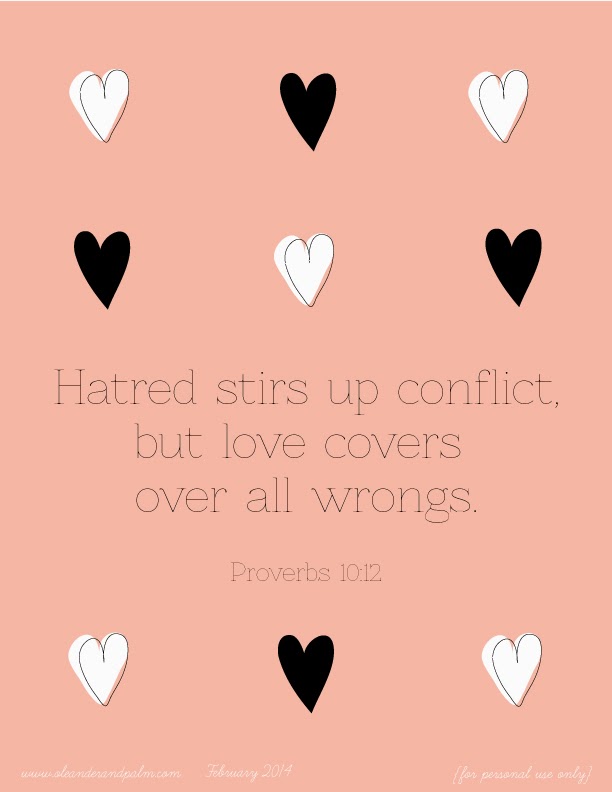
February Monthly Memory Verse

February 3, 2014

It’s February, and it’s time for a new memory verse printable. Last month, I shared that I’m making a whole new set this year.  You can still download 2012’s set. But I’m going for a cleaner, hopefully more modern look for 2014. 
Love really is what it’s all about. I never regret loving. Love never makes me feel bad about myself or others. Love really does make everything better. Jesus knew what he was talking about when he made LOVE the greatest commandment (Matthew 22:37-38).
Sometimes love doesn’t come easily, especially when you have been hurt. But, if you can truly love, you will find healing, forgiveness and peace. I speak from experience. Hatred is an ugly thing and it brings turmoil to your life. Love brings rest and peace.   

Download your copy HERE.
If you printed any of the Monthly Memory Verses or just think it’s a fun idea, please be a friend and “like” my facebook page, share this link with others, “Pin” it, or just leave me a comment.  

This is intended for personal use only.  

(Note: The text at the bottom of the image may print, but it is not within the 8 X10 measurement.  When you print, do not scale the image)