Category Archives: etc.

etc.

Honestly Good

October 8, 2013

This shop is part of a social shopper marketing insight campaign with Pollinate Media Group™ and Lean Cuisine but all my opinions are my own. #pmedia #honestlygood #ad http://cmp.ly/3/8vNxcO

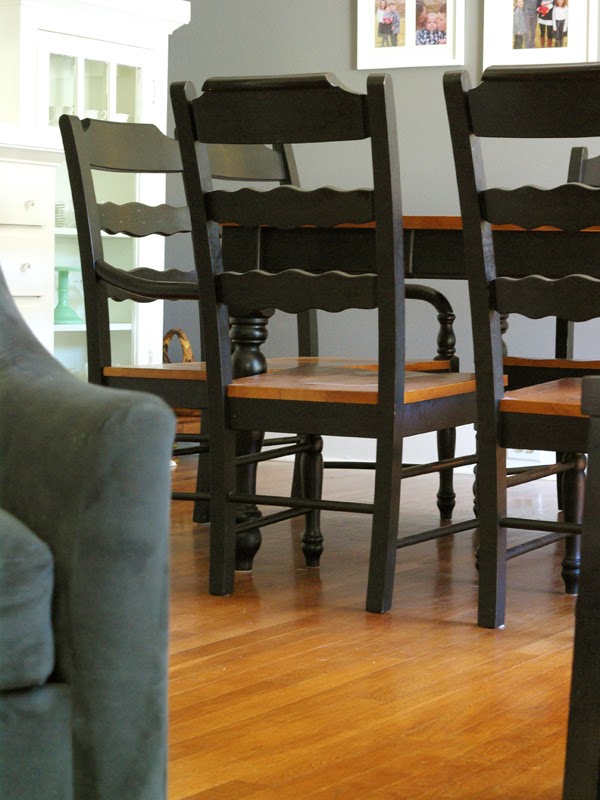
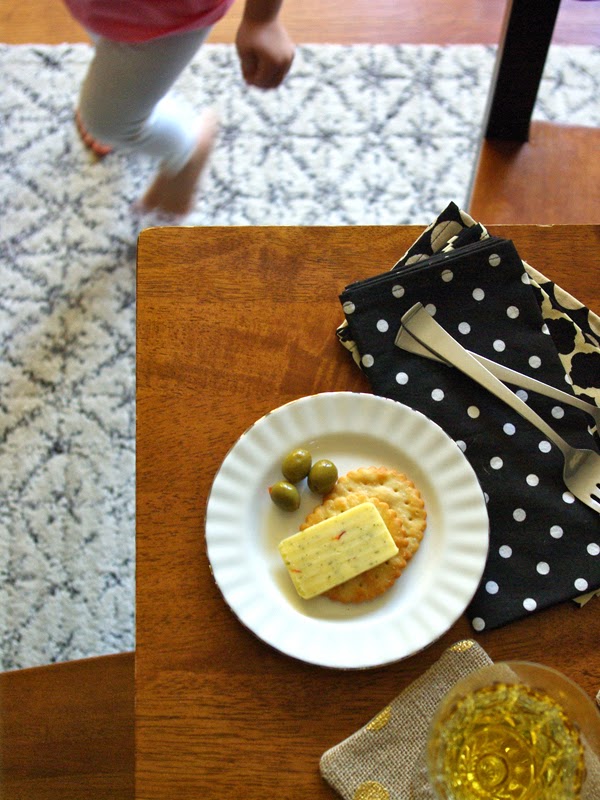
I don’t know about you guys, but by the time the weekend comes, I’m tired of cooking meals and I just need a break. We always eat dinner around the kitchen table together as a family. It is a very rare thing for us to miss this meal together. I really try to cook healthy, balanced meals for my kids. So, instead of ordering pizza or some other greasy take out option, we had an easy, healthy dinner in with Lean Cuisine’s new Honestly Good meals. So, I went to Target and bought a bunch of these.   

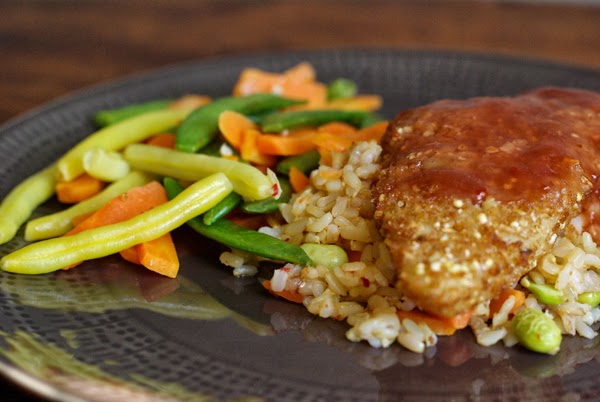
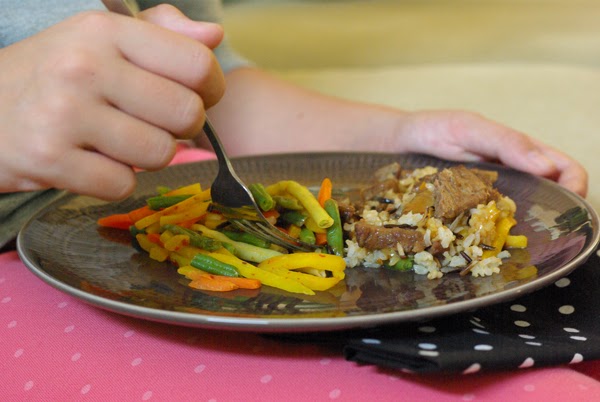
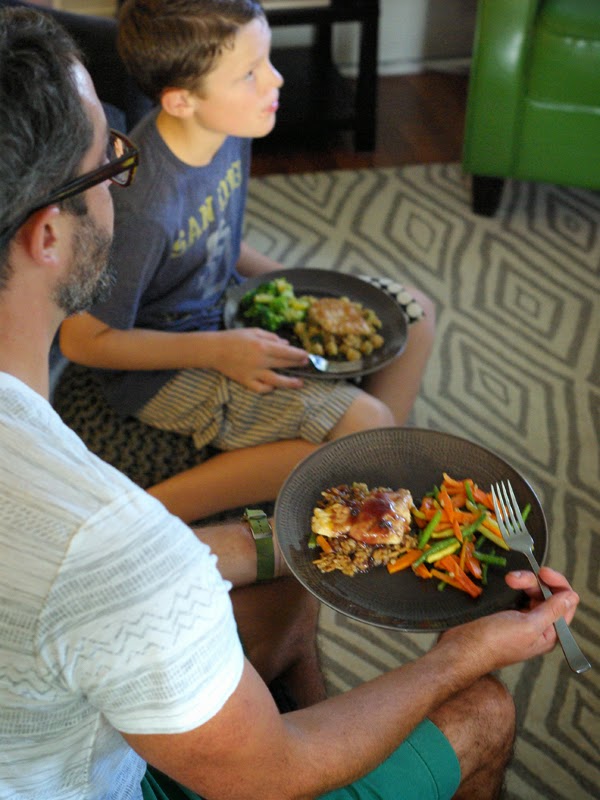
We broke the rules and ate dinner in the living room and watched a movie together. I was happy for the break from cooking and my kids were excited to choose their meal and eat in the living room. The new Lean Cuisine Honestly Good meals come in Honey Citrus Chicken, Lemongrass Salmon, Pineapple Black Pepper Beef, Plum Ginger Grain-Crusted Fish, Pomegranate Chicken, Roasted Red Pepper Chicken. We tried all of them except the Roasted Red Pepper Chicken and they were all really yummy and my kids cleaned their plates.

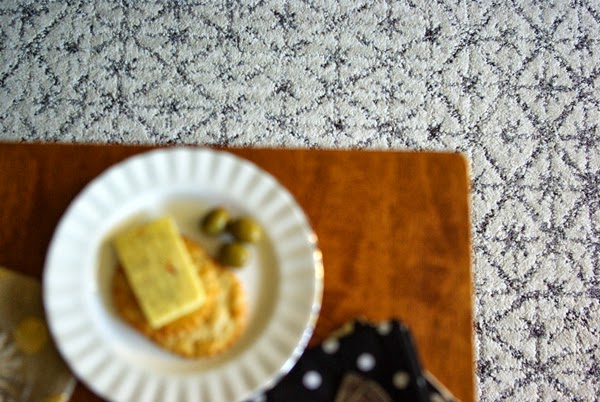
I’m not an usually an out-of-box kind of cook, but I can honestly say that I enjoyed my dinner. And you can really feel good about serving these to your family. They are made with 100% all natural, wholesome ingredients, each with a delicious sauce you can add yourself. And together with their farmers, Lean Cuisine is donating a portion of the vegetables grown for the Honestly Good meals to local communities.  That’s pretty great. 

Do yourself a favor, take the night off from cooking and serve these delicious healthy meals to your family tonight. 

etc.

Fox Foto Booth

October 4, 2013

Be sure to head over to The Land of Nod’s blog Honest to Nod today.  I’m sharing Olivia’s Fox Foto Booth there today.

Man, I sure do love this kiddo. She is definitely 2 though! We are working on potty training (which is exhausting).  And now, ever since her party, Olivia’s been scared to go to bed at night and has been crawling out of her crib (not safe). I’m not ready to be done with the crib and she really isn’t ready to be sharing a bed with Denali, so I’m kind of stumped with what to do with the girl’s room at this point. But, 2 is also such a fun age. She talks all the time, she’s funny and just so stinkin smart.  I know in no time at all, she’ll be all grown up.  Sometimes in the thick of it, it’s hard to enjoy these toddler years, but I’m really trying to make a conscious effort to really enjoy this time with Olivia. Somedays I wish a had a “real” job, but mostly I’m so grateful to be home with her.

etc.

Feeling Foxy

Oh my, I’m not done with foxes yet.  The party was just the beginning.  Bring on the Fall weather, because I’ve got fabulous fox wellies that need to be worn. They are so comfortable and I can see myself slipping into these on cool wet mornings from now until Spring.

Joules is so perfectly British and I’m in love with their fabulous florals, prints and vibrant colors.  And they have soooo many amazing rain boots in different styles and patterns (like these polka dots and these gorgeous florals). I’ve put together an outfit for Fall featuring the fun fox boots.
1. Caramel Necklace (also comes in dark blue)

Have you made a fun purchase for Fall? Or is there something on your wish list? Boots are my favorite cool weather clothing item, what are you excited to wear now that the weather is dropping?

etc.

DIY Fox Pinata

October 3, 2013

I love a good pinata, and this might be my favorite one to date. When I found these star face fox cookies, I knew that I had to make a fox pinata in a star shape. I considered making a star pinata form, but then to save a lot of time, I bought this star shaped pinata at Target.  
My Dad and I whipped this little fox together in about an hour.  To start we stripped all the tissue off the original star.
Then we cut 3 inch strips of orange tissue paper.
And then using Martha Stewart fringe scissor (yes they do exist), cut half way up each strip.  
We started with the sides of the star and layered the fringe every 1 inch.  Then we simply covered the front and back as well. 
Finally, using simple shapes cut out of white and black card stock, I added ears, eyes, whiskers and a nose.

etc.

DIY Fox Decorations

October 2, 2013

I wanted to share how I put my Cricut to work to make decorations for Olivia’s Fox Themed Party.  I love to use my milk bottles for parties.  Kids and adults both love to sip out of them. I always decorate them in someway, so for this fox themed party I cut foxes out of Cricut’s Vinyl
I also cut out a simple bunting using the this cartridge, the fox cut out and some ribbon to match.  
And the vinyl decals come off really easily and leave absolutely no residue.  Why didn’t I figure out how to do this a long time ago?  With Cricut, I’ll be able to make custom decals to go with the theme of  every party.

etc.

Olivia’s Fox Themed 2nd Birthday Party

September 30, 2013

One party down, lots more to go, this is birthday party season for our family.  With cousins and siblings and grandparents and auties, we have lots of birthdays to celebrate in the next couple of months.  I’m throwing lots of parties and figuring out gifts for everyone.  And to help keep the cost of everything down, I’m ordering cheap greeting cards, making lots of DIY party decorations, favors and treats. How do save money and keep the cost of birthday celebrations down? 
I’m really excited to share Olivia’s 2nd birthday party with you.  We celebrated this last week with an evening party with friends and party.  I’m so pleased with how my fox theme came together. I think my months of hunting down cute navy, peach and foxy details really paid off. 

Over the next week, I will be sharing how I put together the details of the party.  I made simple buntings with my Cricut cutter, hung peach tissue balls and made a super cute fox pinata (probably one of my favorite details of the party).

I love putting together a dessert table. The cake is of course the focus, but a birthday party is a great excuse to make all your favorite treats. I served triangle sugar cookies, peachy colored chocolate covered oreo truffles, fabulous fox cookies (made mostly by my amazing mom, I just assisted), pumpkin spice shortbread foxes (recipe coming soon), and Navy Blue Sixlets, York Peppermint Pieces, and Pumpkin Spices Kisses.
I filled fabric treat bags with fun foxy finds and stamped name tags to match the invites I made.  It was a busy night with lots of little kiddos and family and friends. Olivia had a great party and was definitely loved on. She LOVED all her foxy treats and was actually very sad that we broke the pinata and cut her fox cake.  
This actually turned out to be not be a very girlie party.  I really think this party and color palette would be great for a little boy or little girl.  What do you think? Are you a fox fan? 

etc.

DIY Fox Themed Party Invites

September 27, 2013

Well, today I’m taking it easy after a party packed day yesterday. We celebrated Olivia’s 2nd birthday yesterday with family and friends.  Our little house was jam packed with people that love Liv. I’ll share the whole party next week when I have a chance to go through the pictures. But, I wanted to share the little DIY invites I made for her party.  I love sending and receiving invites, I feel like they set the stage for the party and let the guests know what to expect.

With some simple supplies from Paper Source and my home printer I made these invites in less then an hour.

I like A2 envelopes and cards for party invites. I used envelopes in a navy blue color called night.  Then I printed a simple invite on peach card stock and used this adorable fox rubber stamp and a red ink pad to add the fox to the top of the invite. And then I used a white gel pen to add white to the foxes ears and tail.

etc.

Fox Themed Party in the Making

September 26, 2013

Get ready for a lot of foxy fun on my instagram feed.  I shared that I’m working on a Fox Themed Party for Olivia’s 2nd birthday. Well, I’m in full force party mode now.  I’ve been gathering up treats and decorations for months now and it’s all coming together.  My peach and navy blue color palette is making me pretty happy. These colors play so well together, they are totally BFF’s.

It’s a tradition for us, I have to sew little treat bags for all the guests.  I found this fun fox print fabric at Jo-ann’s a few months ago.  I followed my own little fabric goody bag tutorial to make these.
I found the adorable fox dishes in the dollar bins at Target.  And everyone is going to get to be a fox with the cute fox dress up set from The Land of Nod
The napkins are from Target and the peach straws are from etsy.  I found the blue gingham condiment and hot dog papers at Jo-ann’s this Summer.
And I made some fun buntings and decorations with my Cricut machine.  I will share A LOT more of the details very soon.  But, I wanted to just give you a taste of where I’m headed.  What do you think of this color combination?  Wouldn’t this make a great nursery? 
If you want to know more about something specific in these pictures, please ask?  

etc.

Our New Dining Room Rug

September 24, 2013

Well, it’s here!  My new dining room rug from Flor.  I went with the Vintage Vibe rug and I couldn’t be happier.  It’s so beautiful and really adds a lot to my space.  Thank you for your input and advice on picking a graphic rug. I really did listen to what you had to say.

Here’s our dining room before. We do have beautiful hardwood floors, but there’s just something so luxurious about a rug under the dining room table. It frames the room and feels fabulous underfoot.  As it finally gets cooler here, I think we are really going to enjoy the added warmth.

And although I don’t LOVE the style of my dining room table. I really feel like this rug helps to modernize my space.  I have in the back of my mind changing my chairs out with something more industrial or clean lined.

It was a snap to install this rug. I simply started in the middle of the room and then worked my way out.  I chose to lay my flor tiles in a parquet style, alternating the pattern. The back of each tile makes it super simple to lay the pattern you want with easy to follow arrows. Then you just attach special stickers to the corners to keep the rug tiles in place. The tiles fit together perfectly, you can’t even see where they join.

Really, I was kind of boring with the pattern I chose.  Flor offers so many possibilities for patterns and colors.  You can even cut the tiles in half to make a border or cut them diagonally to repeat a triangular pattern.  Their Flor Builder tool makes this so simple and takes the guess work out of it. 

I huge thanks to Flor for providing this fabulous rug for my space.  Please know that my opinions are really my own and I have loved Flor rugs for years and years.  I couldn’t be happier with this amazing rug.  

etc.

Adventure – A Day in NYC

September 23, 2013

Well, I’m back to share my adventure with you. Last week I shared with you about the Ford Fiesta Movement and how this month’s theme is ADVENTURE. While I was in NYC this last week, I took a day to be adventurous all by myself.
I LOVE to travel, but most of my adventures are with my husband. So, being alone in the city for the day and getting to choose where I went and what I did was a fun new experience.  Lonnie and I really like similar things, but making ALL the decisions is a totally different thing. Adventure’s a lot about taking risks and trying new things. I didn’t want to be predictable girl and spend the day shopping. So, I tried to pack in as many sites as possible by foot and by subway without spending very much money at all.  
here’s a few of my instagrams from the day
I walked for almost 9 hours straight, and I kind of wish I would have tracked the miles I covered. I started at the Flatiron district, moved on to Central Park and then walked over the Brooklyn Bridge for the sunset and saw the city lights from across the river.  Then when my feet were tired and I felt I couldn’t walk any more, I took the subway back to the Flatiron to pick up my bag and then headed to Queens for the night. I chose to take my inexpensive adventure one step further and spent the night in a Youth Hostel close to the airport. I’ve stayed in many hostels around the world, but most have been with my husband. I can’t say it was the best night’s sleep bunking in a room with 5 other strangers, but it was cheap. Really where else can you stay for $40 a night in NYC? I should also share that I walked around Queens for almost an hour trying to find the hostel. I am a red head and might be a little stubborn, I was very determined that I could find it without a cab ride.  
Throughout the day I took little bits and pieces of video on my iphone. Then I put them all together to share with you a taste of my day in NYC.  
I decided to put this little video to the the music of Matt & Kim, Let’s Go.  They are a Brooklyn based group and I felt this little jingle was a good fit for my day.
Be sure to check out more of the Ford Fiesta Movement videos.  I’ve enjoyed looking through them and here’s another one of my new fave’s.
This is a sponsored post and I was compensated for my participation. The opinions expressed are my own.