Category Archives: etc.

etc. / Food & Drink

Robot Birthday Party – Part III (The Food)

June 15, 2011

I love coming up with themed food for birthday parties.  Here’s what we served at Dylan’s Party.

I used Martha’s recipe for nuts and bolts.  It’s super yummy and used fresh garlic and rosemary.  I served the nuts and bolts at the table and also packaged them up for the kids to take home as well.

I filled this bucket with Chocolate Robot Pops.  I found the mold on amazon for less the $5.  They were surprisingly easy to make.

To drink, we served “Motor Oil” (Sparkling Peach Lemonade) in glass bottles with cute grey and white striped paper straws.

I always feel like I should serve my guests a real meal, not just cake and snacks.  Dylan loves to cook, so we each made our own Robot Shaped Pizza.  I made the pizza crusts ahead of time and then just had toppings cut and ready for the kids to top their Robot Pizzas.  I think they really enjoyed making their own lunch.

I also like to have a little candy bar for the kids.  It’s a fun way to add decoration to the table in the color theme and the kids LOVE scooping their own candy into bags.

Finally, in an attempt to offer something healthy at a party, I had orange slices and green grapes (plus they went with my color theme quite nicely).

DIY / etc.

Robot Birthday Party – Part II (The Pinata)

June 9, 2011

Pinatas are always a good time.  What’s not to love about hitting something and having candy fall out of it.

I covered this pinata with silver foil tissue paper.  To give it the fringed look I used Martha Stewart’s fringing scissors from Michael’s.  I cut 2 inch strips of the foil paper and then fringed one side of it.  Starting at the bottom on the pinata, I hot glued the strips on in layers.

I used my cricut cutter to cut out a variety of shapes for eyes, buttons and nobs.  Dylan helped me decide where they should go.  We also glued on metal washers for additional buttons.  The arms were made of TP rolls wrapped in foil, the legs where paper cups, and the ears where made from cupcake papers.

He was one tuff pinata to crack.

etc. / Food & Drink

Robot BIrthday Party – Part I (The Cake)

June 8, 2011

To celebrate my son Dylan’s 8th birthday, we had a robot themed party.  We chose grey and orange for the colors, I’ll share some of the party details over the next week.  The details are my favorite part of planning a party. To start, this is the cake, we named him Robo.

I struggled to mix grey buttercream.  In the past, I have tried to make grey icing and it usually ends up being a light purplish color.  You would think that adding black food coloring gel would make grey – wrong.  With a little google researching, I found that others had experimented with adding a little yellow to the black as well.  I tried this, and I worked!  I’m really happy with the grey I achieved.

I made three rectangular cakes for the base of this cake.  One for the head, one for the body and one for the arms, ears and legs.

etc.

My Big News

April 26, 2011

Well, I had said earlier that I would explain my absence from blogging.  So, here’s the deal – I’m having a baby!

We are so excited to have a 3rd child.   To answer some of your possible questions:

1.  Yes, this was planned.  All 4 of us couldn’t be happier.  This is a fun new adventure for our little family.  

2.  Yes, there is a huge gap in my kid’s ages.  Dylan will be 8 and Denali will be almost 10 when the baby is born.  But, think of the help they will be.

3.  I am 17 weeks along.  Yeah for the 2nd trimester!  And yes I have a huge stomach already – 3rd baby just popped out right at 12 weeks (yikes).

4.  We are going for our ultrasound today to hopefully find out the gender of the baby.

5.  My due date is October 1st.

So, my short break from blogging was due to me being quite sick and extremely tired the 1st trimester.  I have be substitute teaching almost full time.  Just working, being preggo, and trying to get dinner on the table was all I could handle.  I had no energy for creative things.  But, I’m back!  The last couple of weeks my energy has returned and food sounds good again.  I’m looking for projects all around the house as my “nesting” kicks into full gear.  So, there may be some baby related blogging heading your way.  Thanks to all my faithful readers that kept checking back, waiting for my return.  I appreciate your support.

DIY / etc.

Grey Quilt

February 1, 2011

Well, I did it.  After putting it off for quite a few months, I signed up to substitute teach.  I decided that it wouldn’t hurt to make some money for my family.  And if I hope to ever get a job teaching again, I’ll need to be in schools where people can see me and get to know who I am.  Because, if there is one thing in life I have learned, it’s not what you know, it’s who you know.

Needless to say, I am exhausted after 2 weeks of subbing and I haven’t had much time to blog.  I’ve spent the last 2 weeks subbing and trying to finish my brothers birthday quilt.  We spent the weekend in San Diego with him to celebrate.  But, instead of having a finished quilt to give him, I spent quite a few hours pinning and sewing.  I did get it done on Sunday though, just in time for his birthday.

I am pretty happy with the result.  The colors go great in their house as well.  It’s definitely very random and one of a kind.  I wanted a very un-patterned and un-planned look for the quilt – I think I achieved that.  Hopefully it is a successful look.

etc.

Birthday Tea Party

November 8, 2010

We celebrated Denali turning 9 with a fancy, girlie tea party.  My mom made the beautiful, over the top, cake.  The butlers (my dad and Lon) served traditional scones and finger sandwiches to the ladies.  The girls made personalized fairy wands for themselves.  There was a decadent dessert bar with teal colored candies, lemon French macaroons, and oreo cookie pops.  Denali is one very special girl.  I think she felt loved on her day.  Her most important friends and lots of family were there to celebrate with her.  And she of course got way too many gifts. 

The beautiful cake my mom made.

The Menu
English Tea
Teal Bubbly Berry Lemonade
Heart shaped scones, served with creme fresh, lemon curd, and apple butter
Mini bacon and cheese scones
Cucumber finger sandwiches
Curried chicken and pineapple finger sandwiches
Chipotle deviled eggs
Cheddar coins
Italian cream cake with lemon curd filling
Oreo truffle pops
Lemon French macaroons
Candy Bar
Cheddar coins, curry chicken finger sandwiches,
and mini bacon and cheddar scones.
Cucumber and carrot finger sandwiches.
Heart shaped scones
Chipotle deviled eggs
Our Charming Butler (my Dad)
Denali with her BFFs
Party Favors
Each girl took home a mini cake plate that I made from vintage china
They also took home a little box with tea.
Then there was sugar and lots of sugar!

Lemon French Macaroons

Oreo Truffle Pops

Everyone filled a bag with their favorite candy.

I usually like to plan a lot of themed games for my kids parties, but since this was a more “formal” party, we decided to do a craft and just enjoy our time together.  The girls made personalized wands.  I pre-painted all the wooden wands a nice teal and then provided the girls with glittery letter stickers, jewels, sparkly flowers and lots of ribbon to dangle down the wand.

Trying out their wands
And then there was the presents.  Denali is so blessed to have such generous friends and family in her life.  She does deserve this special day though, there isn’t and sweeter girl out their.  

etc.

Halloween 2010

October 25, 2010

I make my kids have costumes that go together every Halloween.  Last year they were Dorothy and the Scarecrow.  The year before Princess Lea and Luke Skywalker.  (I will share pictures sometime).  Denali and Dylan are a shark and a scuba diver this year for Halloween.  This is their father’s fault, he has forced them to watch too many nature films and Discovery Channel.  My husband is a High School teacher, and pretty much a science geek.  Denali’s Scuba Diver costume was relatively easy to make.  I made the tanks out of 2 liter soda bottles spray painted silver.  I also made her a weight belt with wide elastic and a couple snaps in the font.  Dylan’s shark was a different story.  I could not, for the life of my find, a pattern for a shark.  Potterybarn had a cute shark costume for around $60 (couldn’t afford that) and Old Navy had a toddler sized shark.  So, I used pictures from Potterybarn and borrowed my friend’s son’s Old Navy costume and came up with Dylan’s costume.  He was adamant about the shark being mean, I hope I achieved that.  They look super cute together.  I have to make my kids costumes, my mom always made us fantastic costumes (it’s a family tradition). 

etc.

Roman Shades 101

October 22, 2010

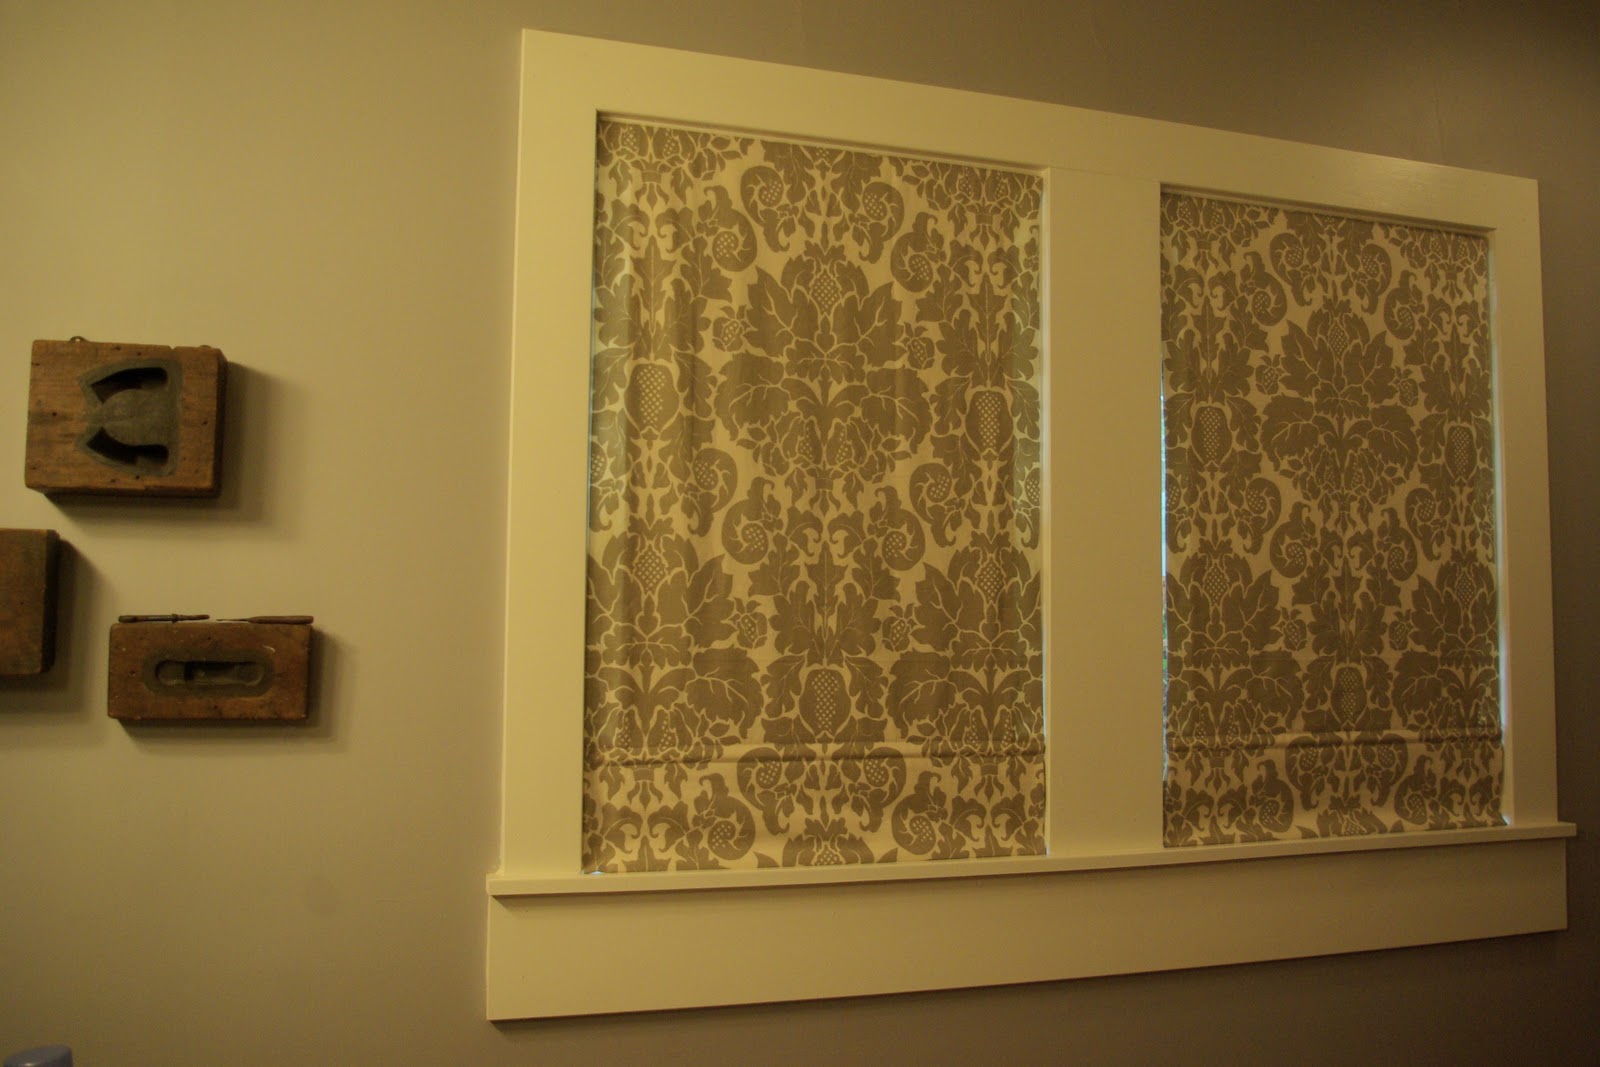
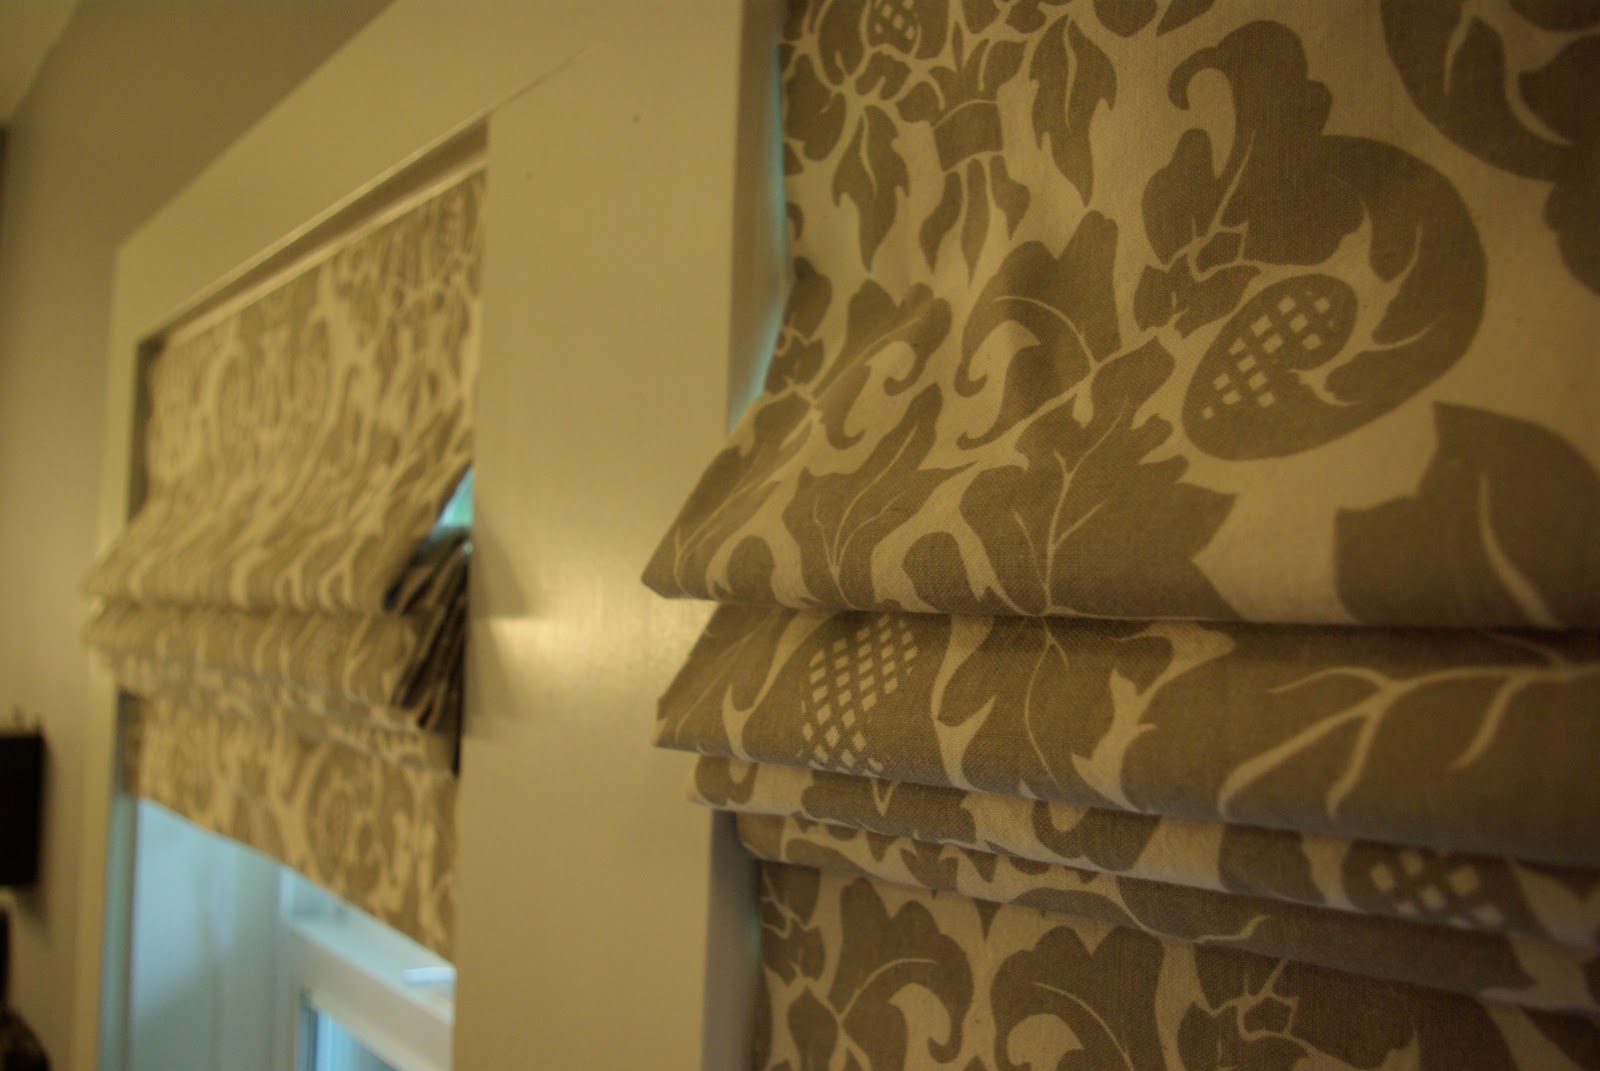
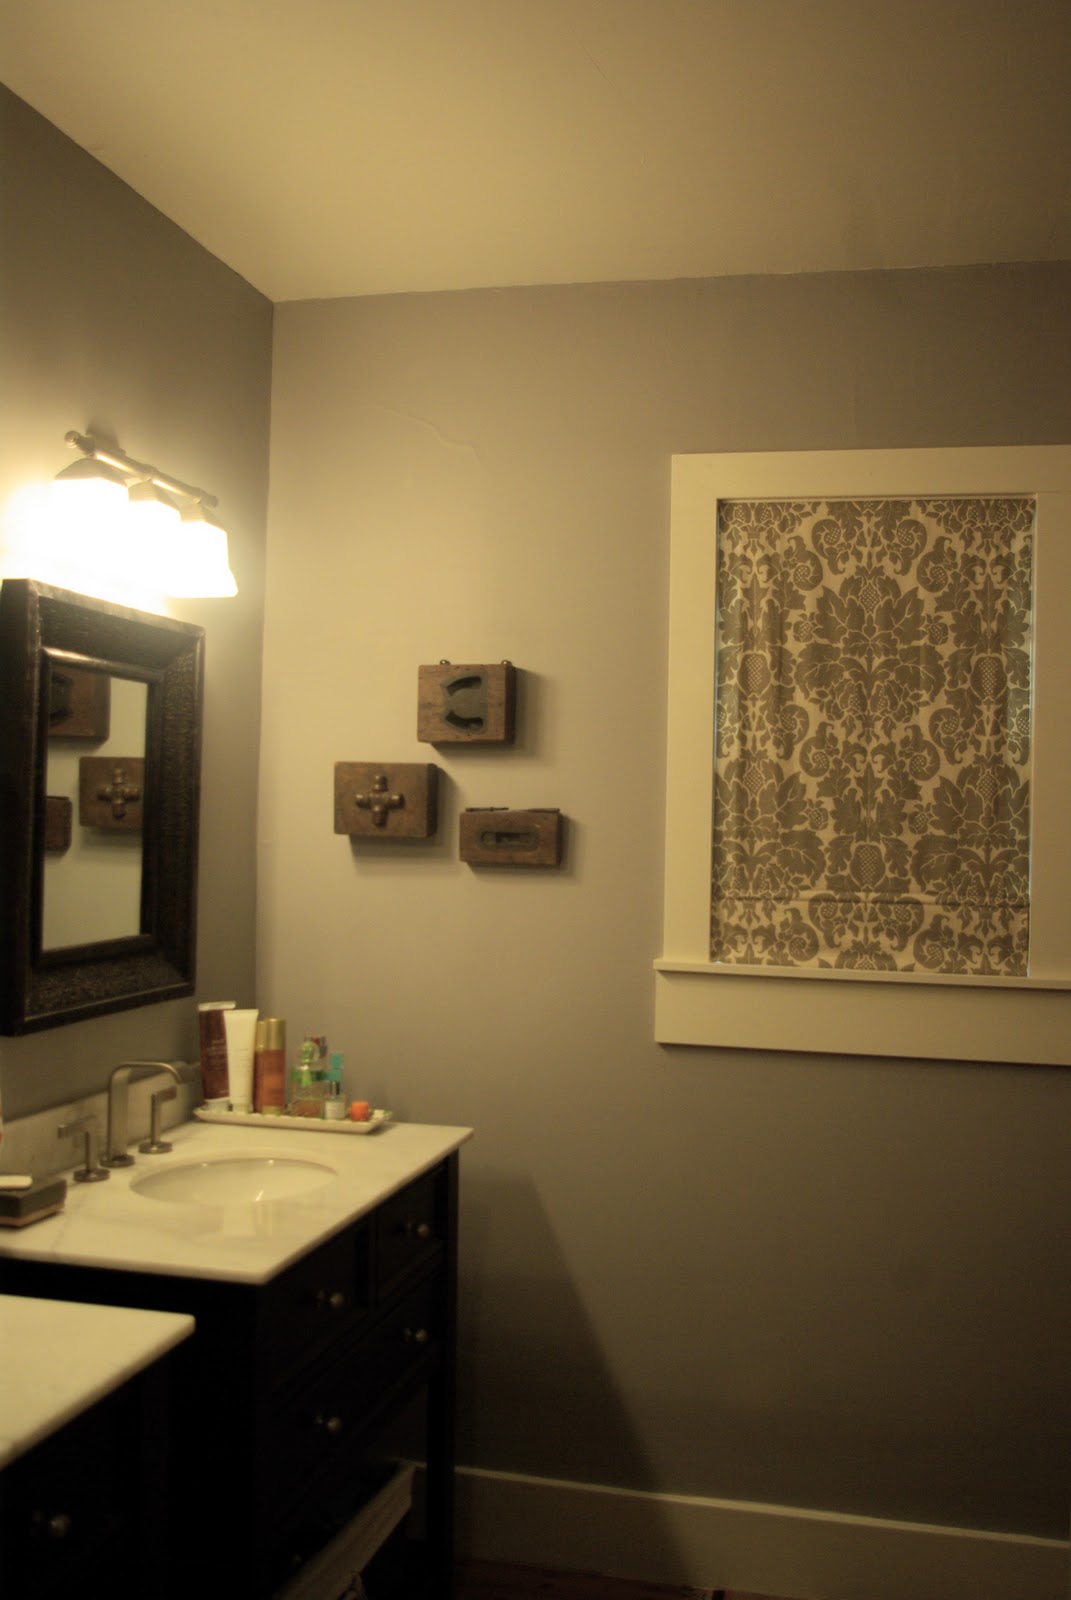
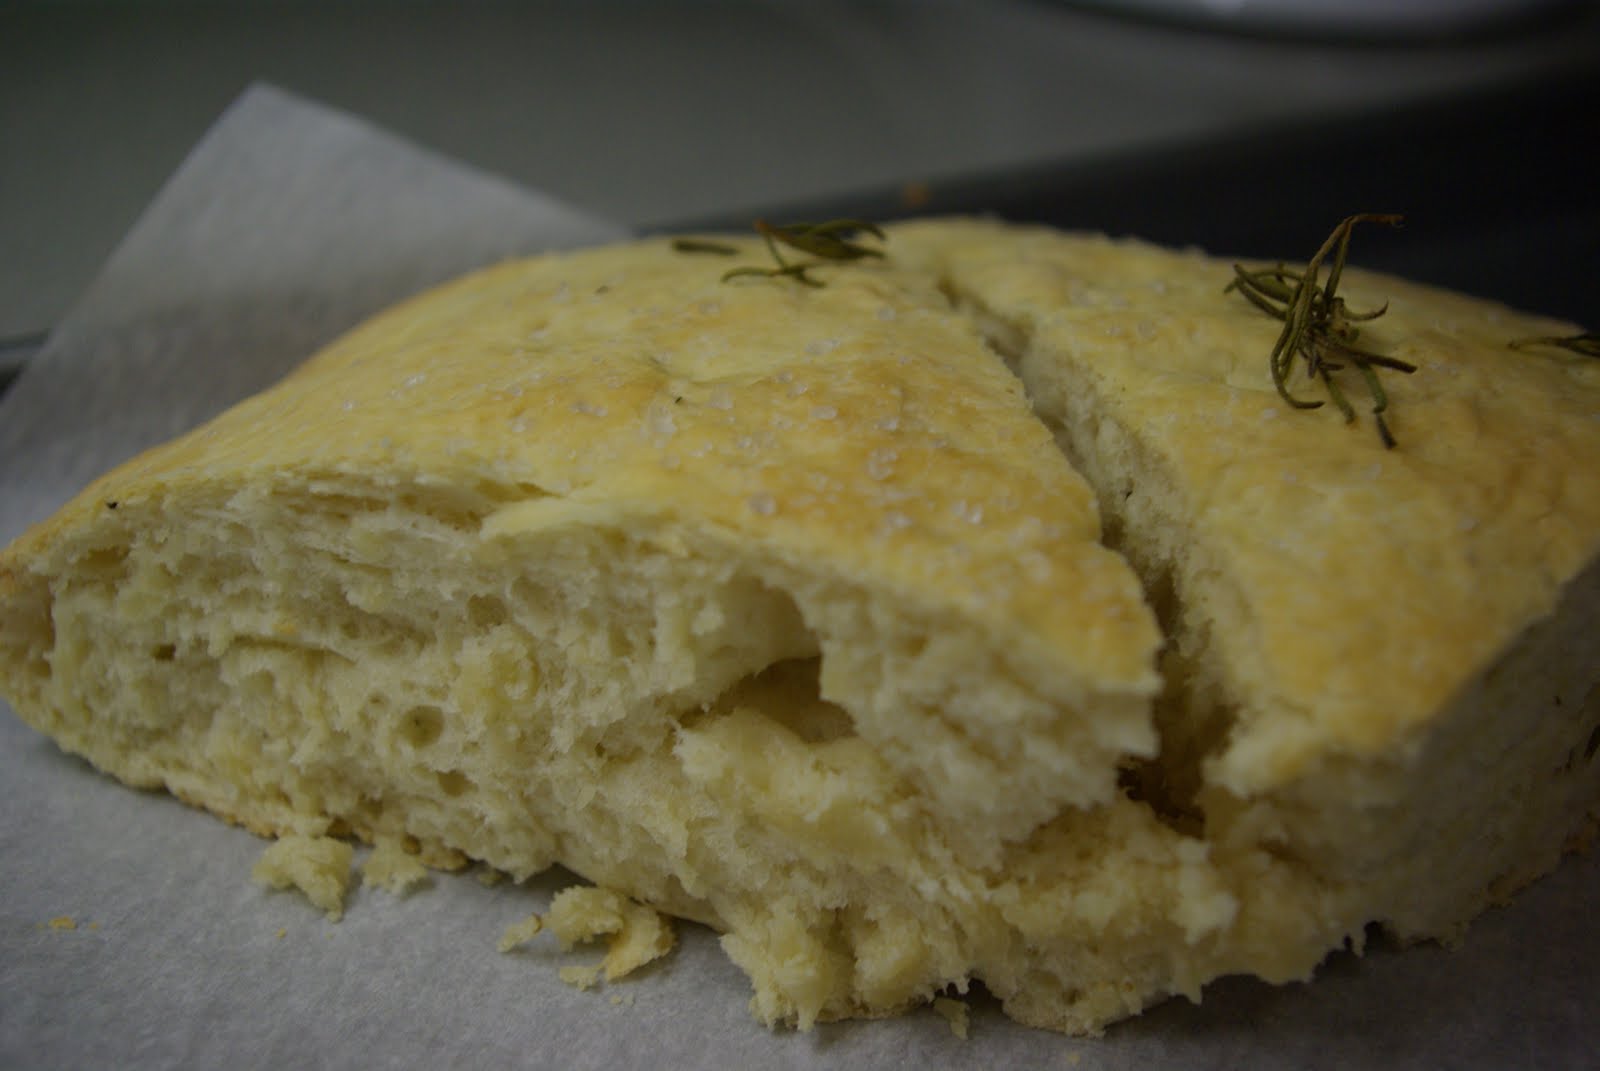
 I’ve been planning on making Roman Shades for my new master bathroom for 2 years now.  I’ve had the fabric for that long as well.  I don’t know why a procrastinated so long on making these.  Probably because they are an ALL day job.  My husband and my neighbors are very happy that I finally made these. 

Ok, this is going to be a long post with lots of pictures.  I am going to attempt to give you instructions on how to make Roman Shades.  I’m a very visual learner and need pictures and diagrams.  So, let’s see if I can describe the steps well enough for you to understand.

Start with measuring the inside of your window.  I draw a little diagram with all the measurements.

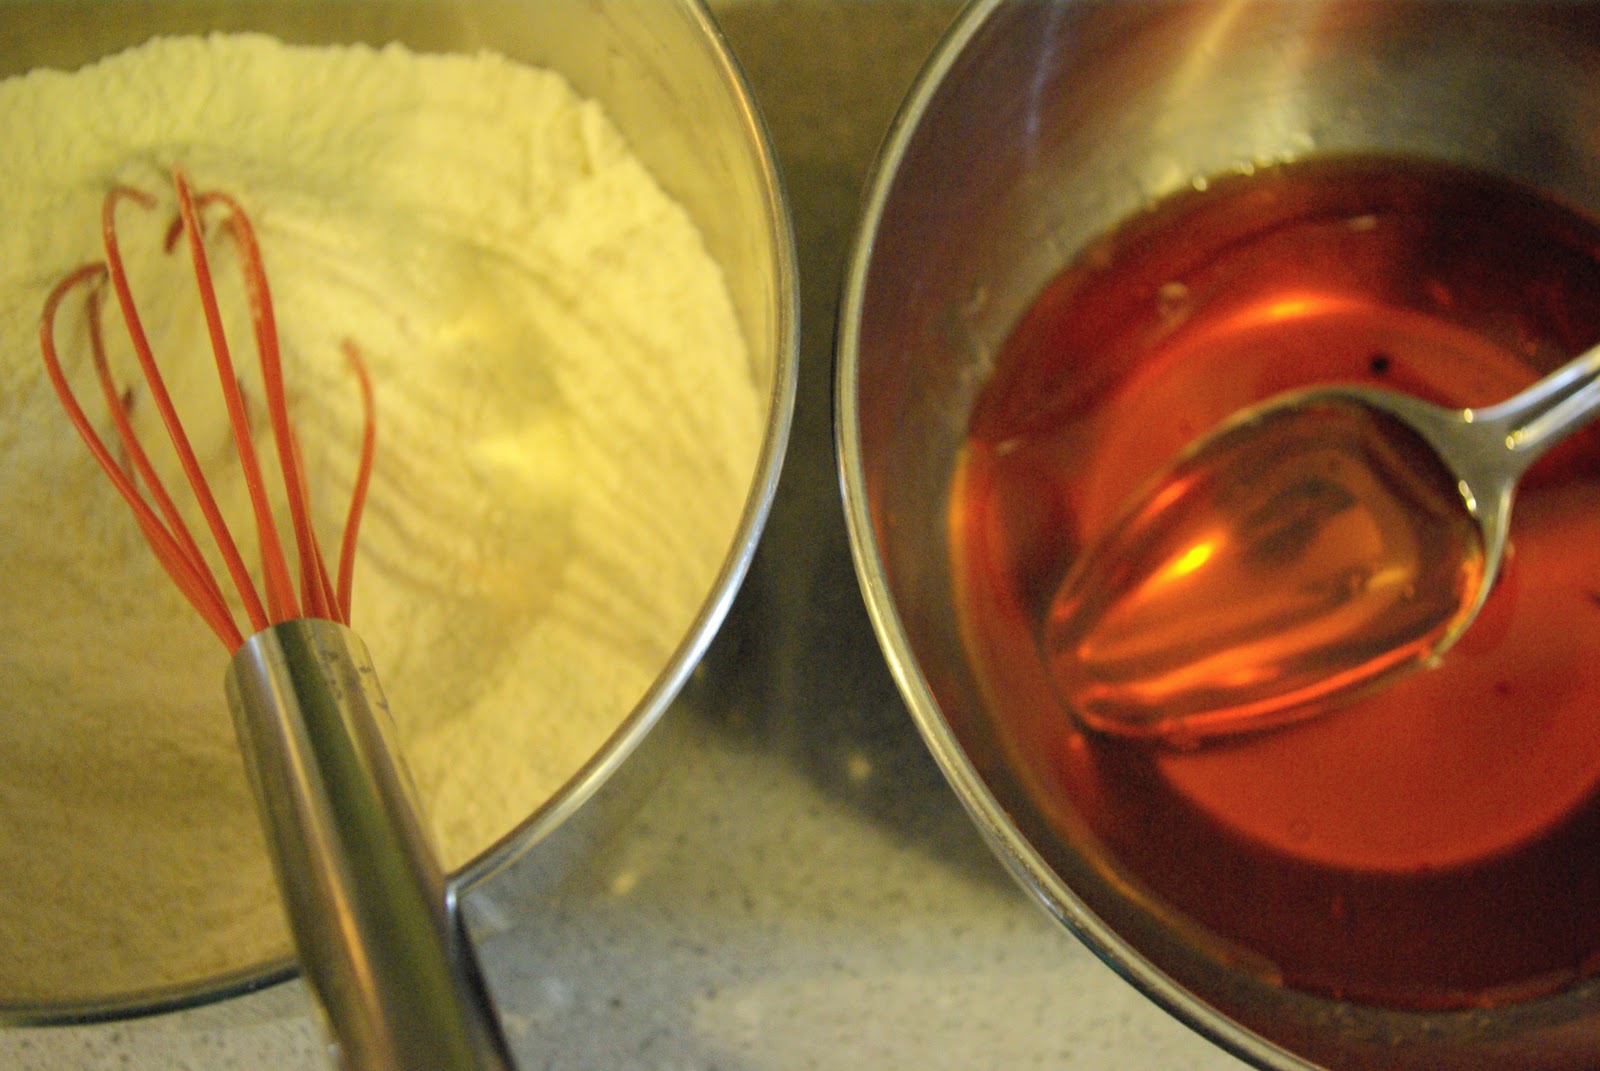
You are going to need fabric for the front of the shade and then blackout fabric for the back.  My bathroom doesn’t really need to be blackout, but the blackout fabric has a great weight to it and it helps the shade hang nicely.  You will just add and subtract a few inches to the width and length of your window size for the pattern.  Here is my formula:

Top Fabric Width = Width + 5 inches
Top Fabric Length = Length + 12 inches

Lining Fabric Width = Width – 3 inches
Lining Fabric Length = Length + 12 inches

(You are making the top fabric 2 inches wider on each side so that the fabric wraps around to the back of the curtain.  Oh, and you are allowing for a seam allowance.)

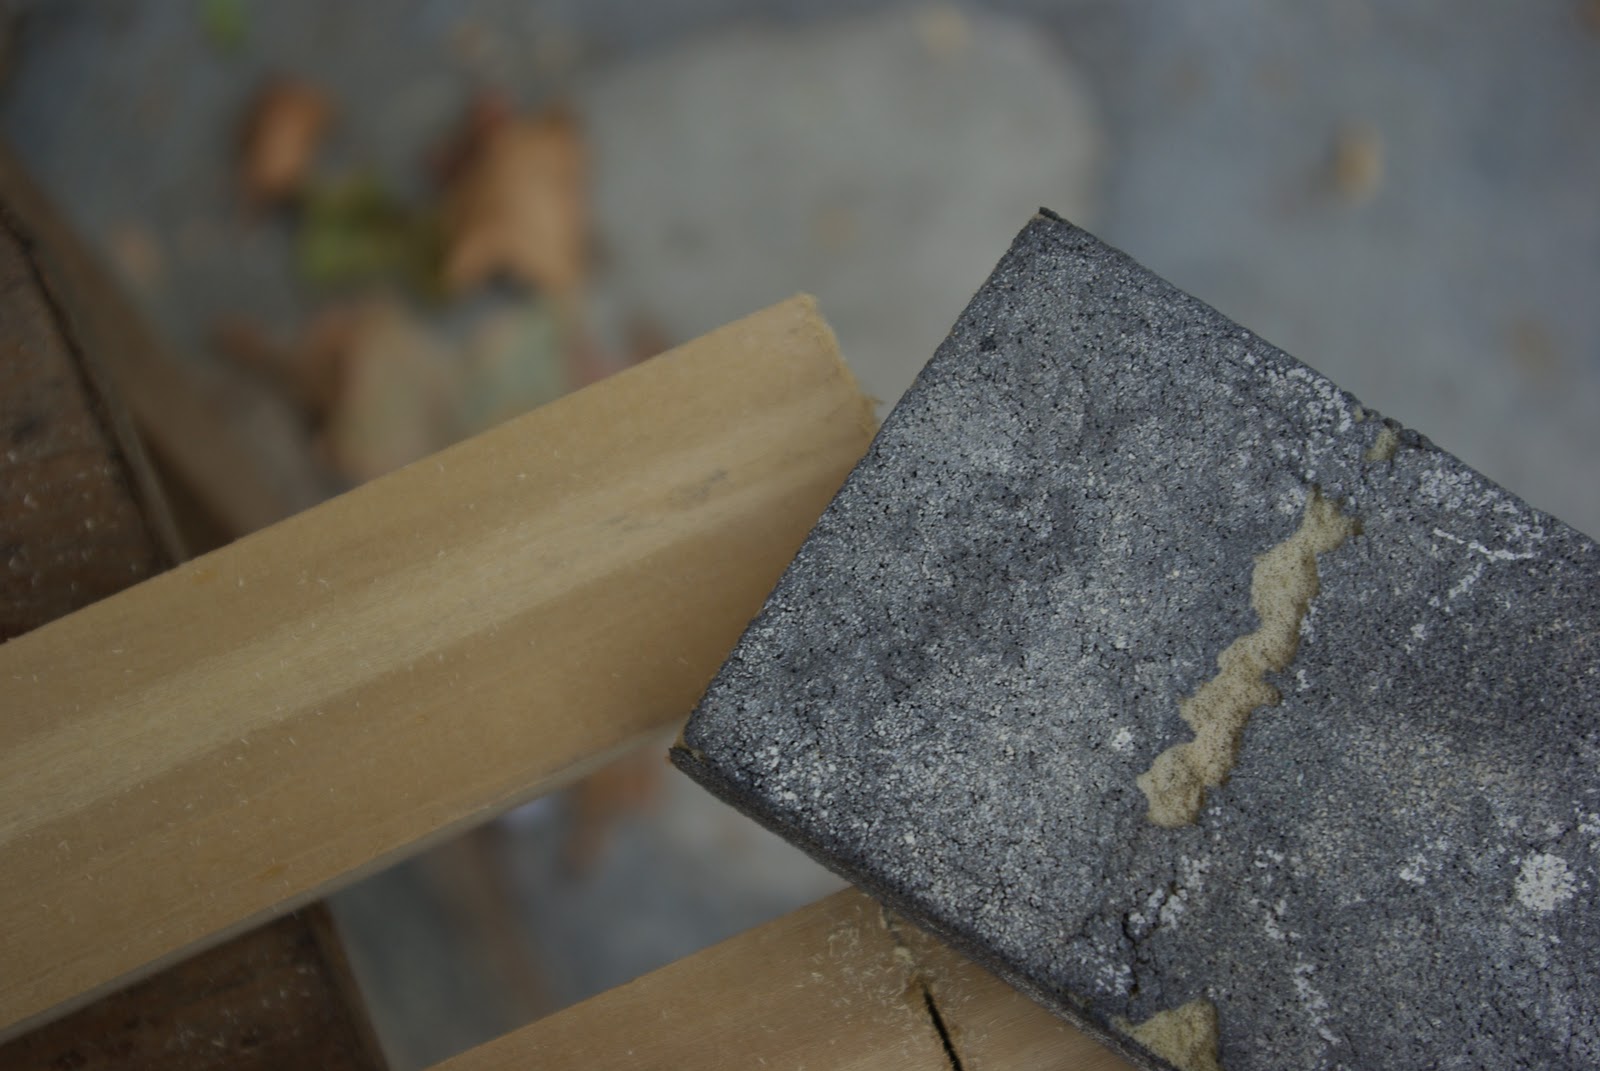
Next you will want to cut the piece of wood that the shade will attach to and hang in the window.  I use a
1 1/2″ by 3/4″ piece of wood.  Cut it to the exact width of the window.

Sand the ends so they are splinter free.

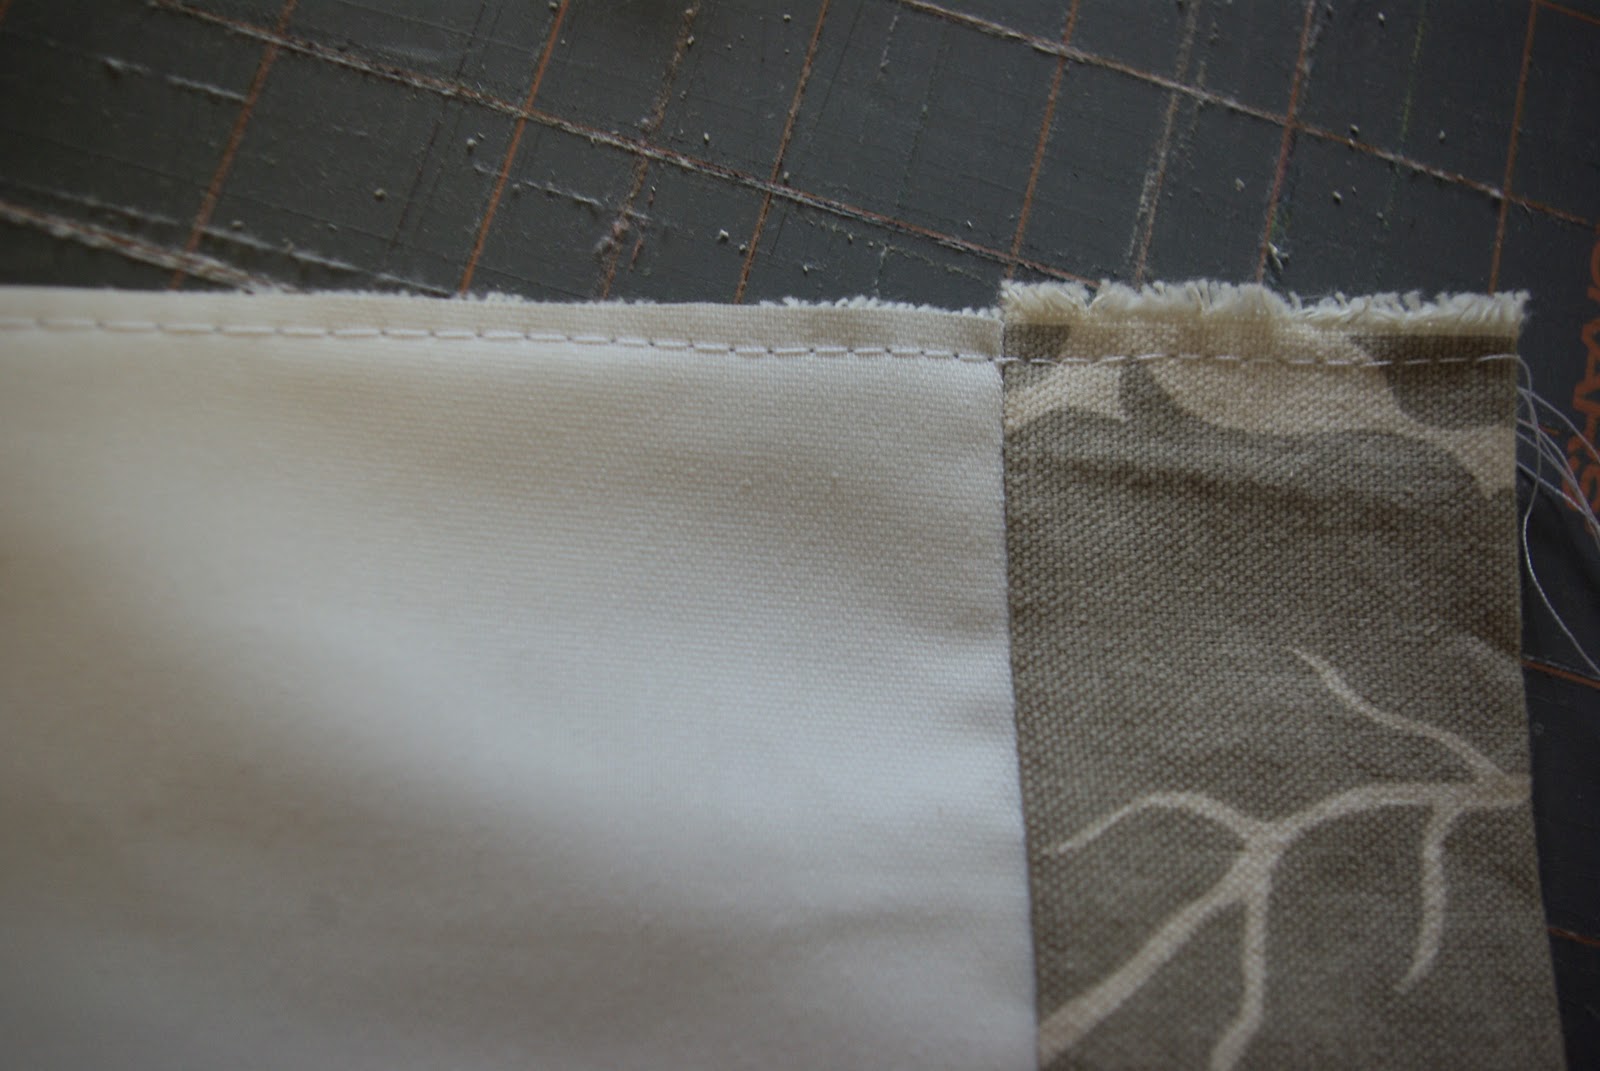
Ok, now you are going to sew the good sides of the fabric together down the length of each side.  The good side of the blackout fabric is the side that doesn’t feel rubbery.

You are actually going to give a 3/8″ seam allowance (just shy of 1/2″ because the shades always shrink up in the window and this gives less of a gap on either side).

Then you will turn the shade right side out and iron it flat.  Try to center the lining fabric by making sure that the front fabric folds over 2″ on both sides.

Oh, I should tell you that I cut my two shades to match.  Because I used a damask, I wanted the patterns to line up and be the same on both shades.  Now you need to pick the top of your shade and you are going to just stitch across the top to hole the two pieces of fabric together.

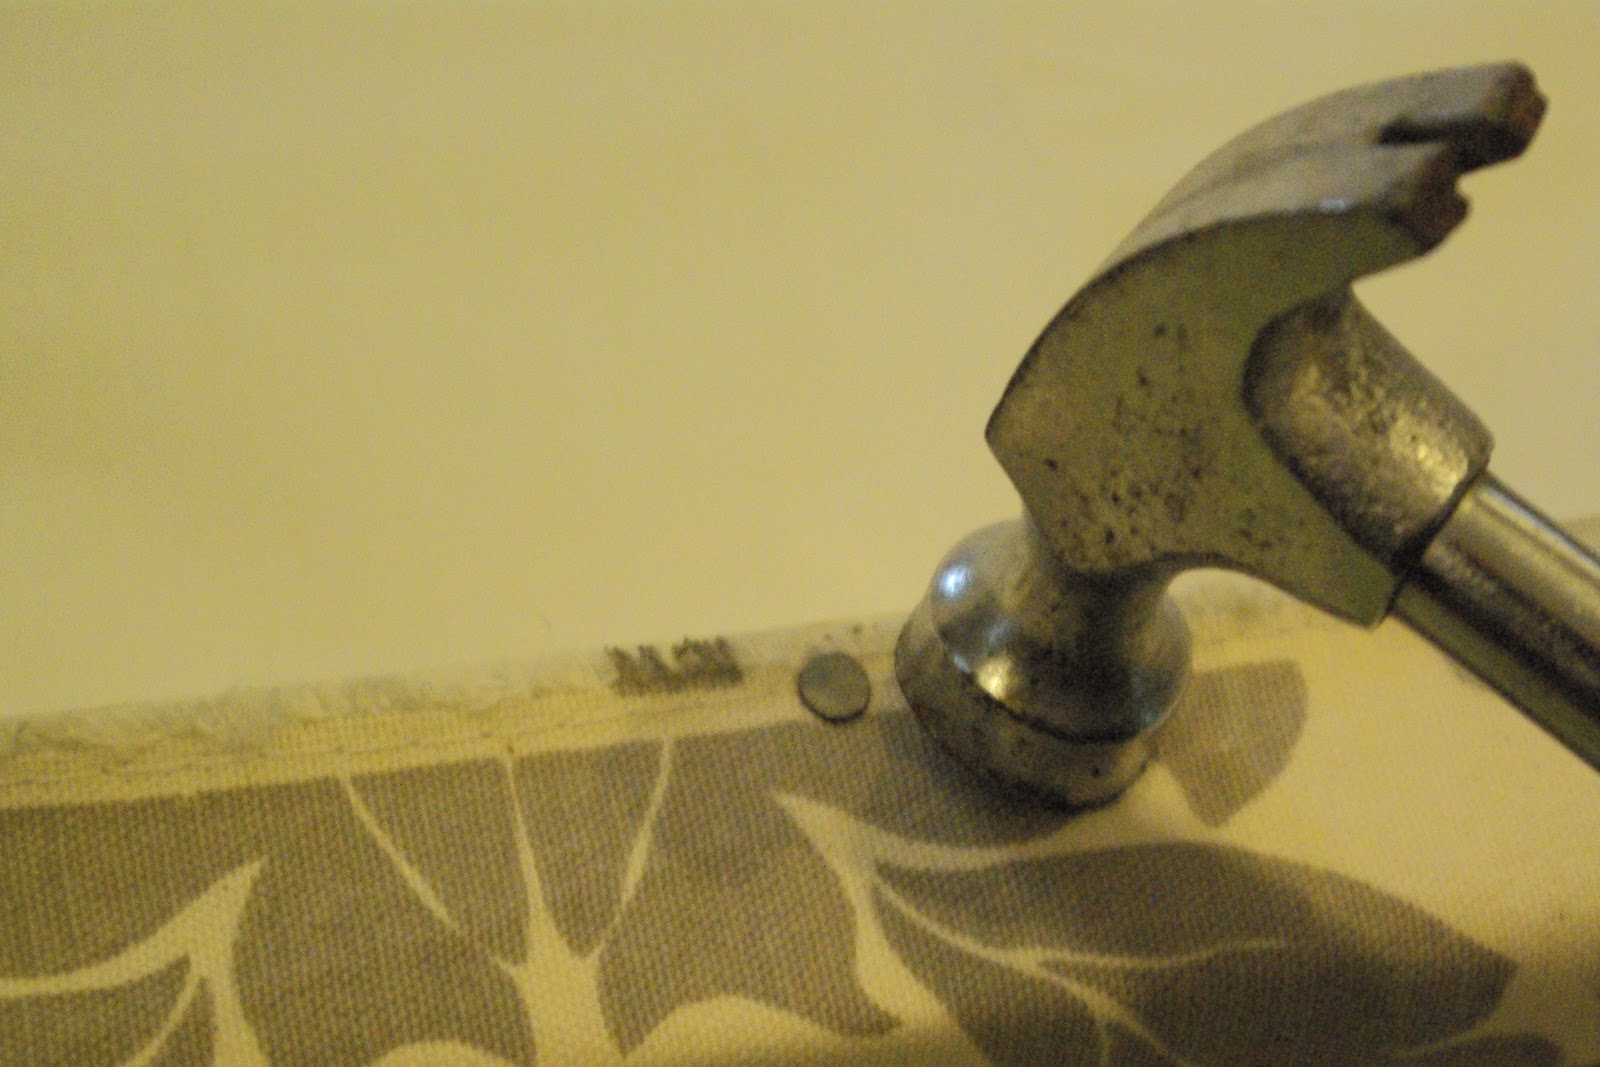
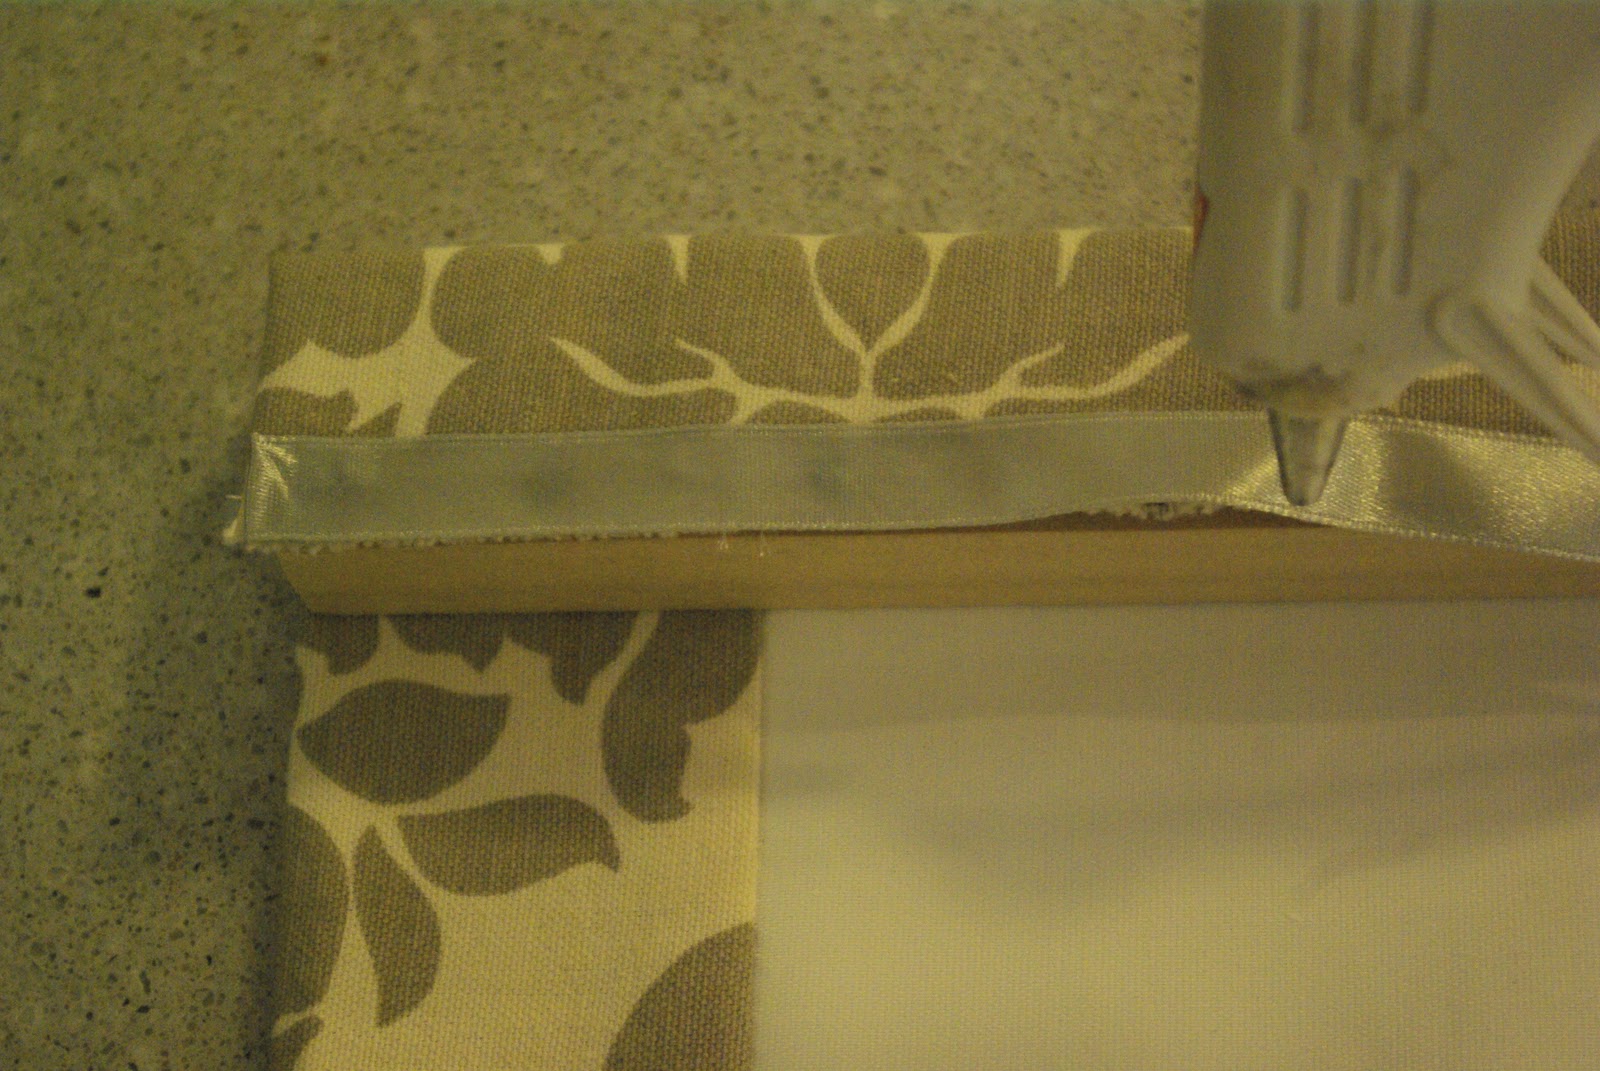
Ok, believe it or not, but you are ready to staple or tack the shade to the board.  I wrap that fabric around the board once and then starting in the center I tack toward the outside, pulling the fabric tight as a go.

I hope the pictures show what I mean here.  Then to make it pretty, I hot glue on a piece of ribbon to hide the tacks or staples.

Now you can attach the L brackets, I use 2″ brackets.  Screw these into the center of the board on either end of the board.

This is how the curtain will hang in the window, if that helps.  The bracket will be screwed into the sides of the window frame.

Next you will screw 3 eyes into the board.  One in the middle and two directly above the seam.

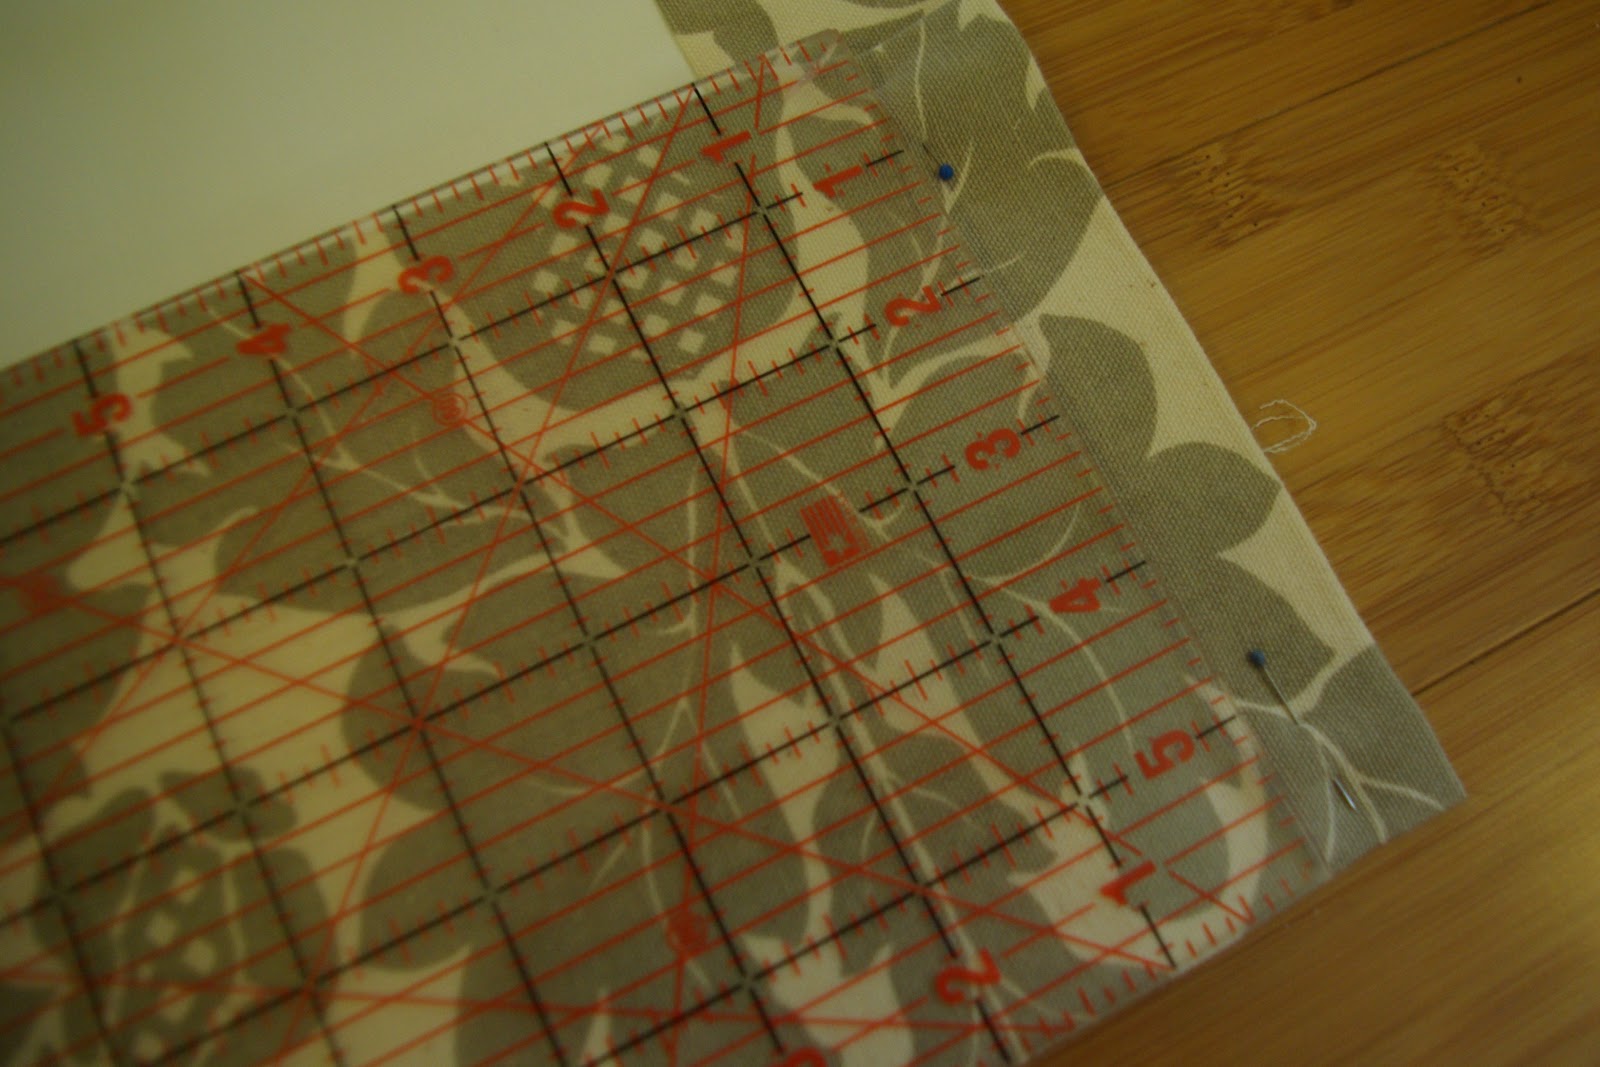
Back to the sewing machine, now you are going to hem the bottom of the shade.  Measure the length of the shade starting from the top side of the wood and then pin it to the length of the window.

Then you will turn the bottom hem under.  The hem will be 6″ wide.

You will need to sew 3/4″ pocket at the hem line.  This will be the pocket for the metal rod that will weigh down the shade.

I use a 1/4″ zinc coated rode that I get at home depot of $3. Cut the rode to about 1″ short then the width of the window.

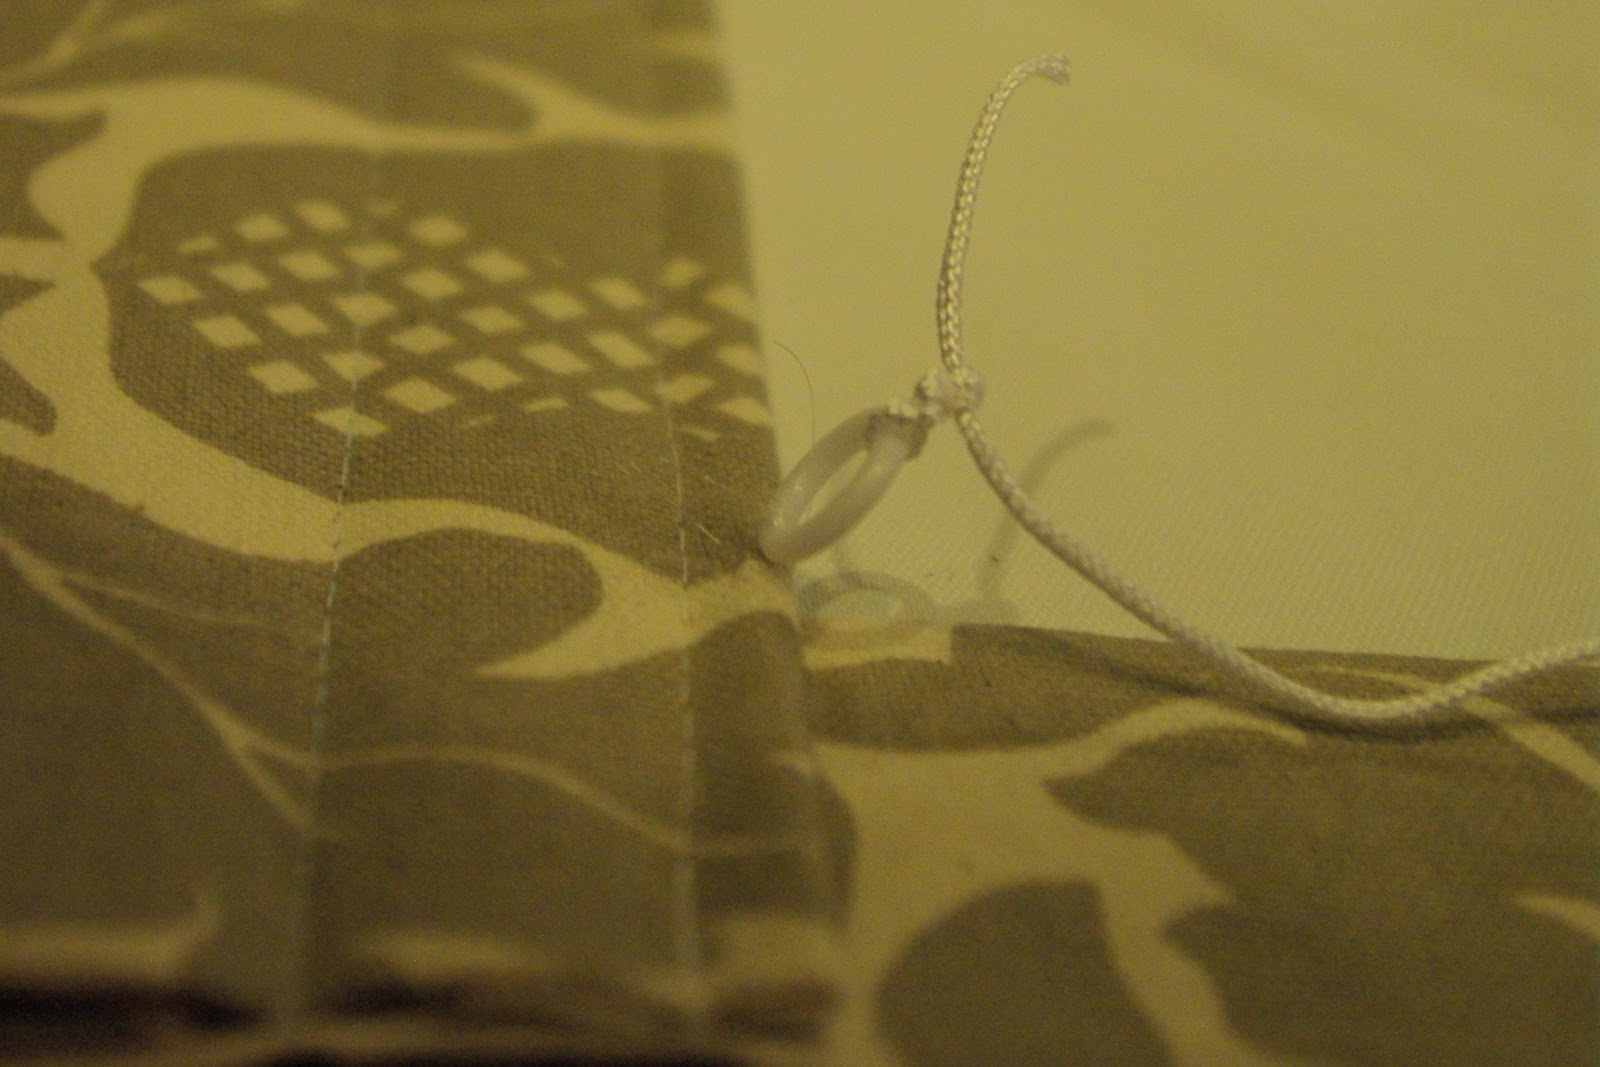
Starting at the top of the hem, you are going to mark where the rings will be sewn on.  There will be 3 rows of rings.  One row in the center and two along the seam between the lining and top fabric (lined up with the eyes).  The rings need to be put every 6 ” up the shade (this distance determines the folds or pleats).

Start a good movie, because now you are going to sewing on the rings by hand.  This will take a while.  The plastic rings should be sewn on with clear thread.  Make sure to stitch through both the lining and the top fabric when sewing on the rings. 

You are now on the home stretch, it’s time to thread the cord.  I will do my best to explain.  Hopefully the pictures will help.  Start at the top right hand eye, thread through the eye and down the first row of rings.  Tie off the cord.  Now go back to the first eye, thread through that eye and the middle eye and then down the middle row.  Tie off the second cord.  Do the same with the last row of rings.  The three cords should come out the right side.

You did it! Hang your shade.  Just screw the bracket into the side of the window frame.  You will want to add a tie back on the side of the window and a pull to the cords. 

I love having my shades, they make the room cozy and just dress it up.  Let me know if you have made or will make a Roman Shade.  I hope these directions help.

etc.

Best Play Dough Ever!

October 6, 2010

My kids LOVE Play Dough.  They have since they were itty bitty and they still do (and they are 7 and 8 years old).  This is my mom’s recipe that she made for me and my brothers when we were kids.  I made them a fresh batch last night and packaged it up like little pumpkins.  

Play Dough

1 cup flour
1/2 cup salt
2 tsp. cream of tartar

1 cup warm water
food coloring
2 tbsp. veg. oil

Combine the dry ingredients in a pot.  Combine the wet ingredients in the bowl.

Pour the wet ingredients into the pot with the dry ingredients and stir with a whisk.  Try to get out as many of the lumps as possible.  Put the pot on the stove on Med-high heat and continue stirring.

Stir with whisk until the dough begins to thicken, then change to a spoon.  The dough will become very thick.

Cook and stir until the dough forms a ball and pulls away from the sides of the pan.  (This picture shows the dough seconds away from being done).

Remove from the pan and it is done!  Allow the dough to cool for a few minutes.  This dough is soft and pliable and it lasts a really long time.  My kids prefer it over the store bought kind.  Oh, and because it has so much salt, it tastes really bad and kids don’t want to eat it (and if they do, there is nothing in it that will hurt them).

etc.

Tuscan Chicken Sandwiches

September 22, 2010

This is my “Old Faithful” or my go to recipe.  If you have ever had dinner at my house, then you have probably had these sandwiches.  They are easy and even the pickiest eaters love them.

Tuscan Chicken

1 1/4 lb. chicken breasts
2 garlic cloves chopped
1/2 cup roasted red bell peppers chopped (by them in the pickle section in a jar)
1/2 tsp. salt
1/4 tsp. pepper
2 tbsp. olive oil

Put all these ingredients into a crock pot or slow cooker.  Cook on low setting for about 6 hours (depends on the heat of your slow cooker).  Remove chicken from slow cooker and shred using two forks, return chicken to slow cooker (do not get rid of the liquid in the slow cooker).

Pesto Mayo
3 tbsp. pesto
1/4 mayonnaise

To assemble the sandwiches, slice wedges of fresh focaccia (I will share my recipe below or you can use store bought).  Spread a generous amount of pesto mayo on one side of the bread, added the Tuscan Chicken (use tongs so that it is not too juicy and doesn’t make your sandwich soggy), top with lettuce, tomato slices and peperoncinis. 

Focaccia Bread
2 packages yeast
2/3 cup warm water
2 tbsp. sugar
2 cups warm water
3 tbsp. olive oil
1 tsp. salt
1/4 garlic powder
1/2 tsp. oregano
7 + cups of flour

In a small bowl combine 2/3 cup warm water, yeast and sugar.  Set aside and let the yeast activate (it will look foamy and bubbly).  In a Kitchenaid mixer (with the bread hook on), combine 2 cups warm water, olive oil, salt, garlic powder, oregano, and 2 cups flour.  Add the yeast mixture to the Kitchenaid bowl.  When combined completely add 2 cups of flour at a time until you have added 7 cups of flour.  Then continue adding 1/4 cup flour at a time until the dough forms a ball and pulls away from the sides of the bowl.  Kneed the dough for a few more minutes with the Kitchenaid.  Put the dough in a greased bowl, cover and let it raise until in doubles.

When it has doubled in size, punch down the dough.

Divide the dough into two equal parts.  Prepare two cookie sheets with parchment paper and a tbsp. of olive oil spread on each.

Using your hands press the ball of dough out into a circle about 1 inch thick.  It does not need to look perfect.  You want it to be bumpy and rustic looking.

Using your finger tips, make small dents in the top of the bread.  Drizzle some olive oil on top and sprinkle some coarse sea salt and a few sprigs of fresh rosemary.  Bake in a 375F oven for 12-15 mins.  or until in it golden on top.

Slice the bread into wedges and prepare the sandwiches.

Enjoy!  Leave a comment if you make these sandwiches, I would like to know what you and your family think.