Category Archives: etc.

Design / DIY / etc.

Nature Photography Framed

November 6, 2015

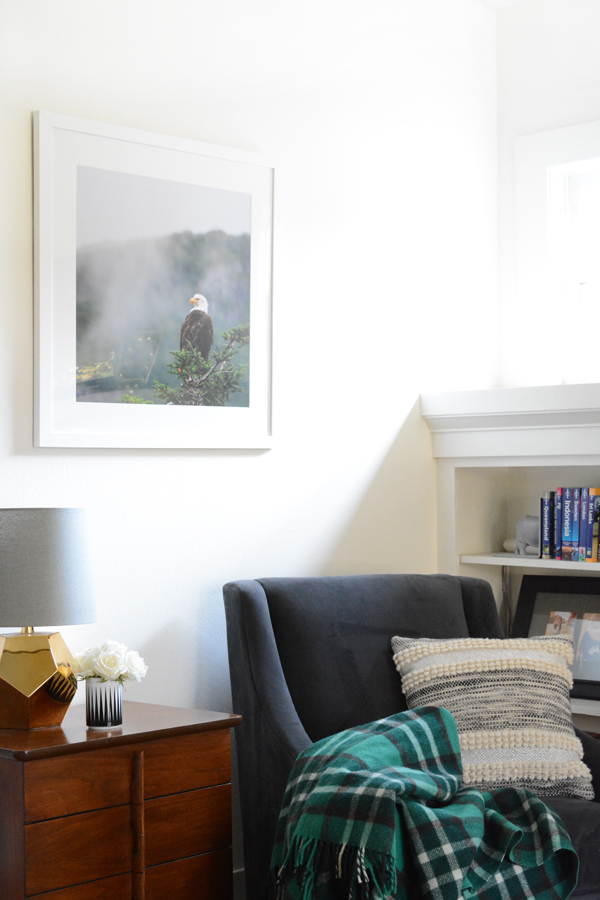
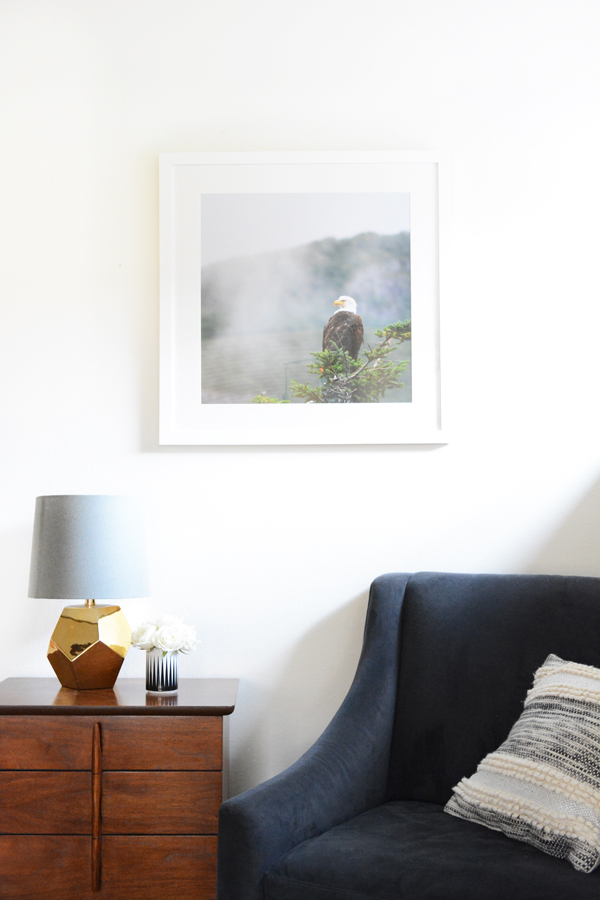
As we hit November, I feel the need to start thinking about all the Christmas gifts I need to buy. In our family, that is my job. And honestly, I don’t think anyone wants my biology nerd hubby picking out their gift. There’s always at least one person in the family that is hard to buy for and that person is the biology nerd. I really hate giving gift cards and there is no way I’m going to be able to pick out some scientific journal or ecologist biography that he’s been dying to read. So this year, I’m super excited about the presents I have for him.  I had a few of my nature photographs, from our trip this Summer, framed at Framebridge.  They turned out so good, and now I’m feeling like they are a present to me as well, I can’t wait to get them up on the walls. Well, to be totally honest, I already hung the eagle in the fog photograph in our living room. I made sure to say Merry Christmas to Lonnie when he saw it.

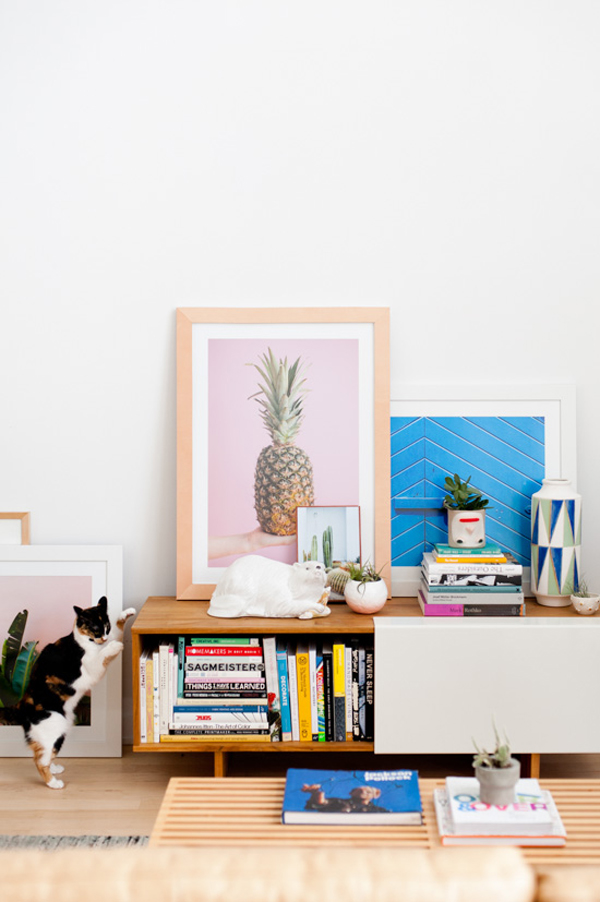
I took down all the smaller pieces on this wall and replaced them with this one big fabulous piece.  I love the simplicity and clean lines of having just one frame on this little wall. As I Canadian, I was a little worried that this eagle image felt a little too patriotic, tee hee. Lonnie insists that we’re making nature photography cool again. What do you think?

Keep reading all the way to end of the post because I have a special offer for Oleander + Palm readers only.

So, in case you are new O + P, this Summer we took an epic road trip as a family. We drove all the way from Southern California to Alaska and back with our vintage trailer, Riley.  It took us about 5 weeks, with some stops along the way of course.  But, we put over 9000 miles on our truck. We are so glad we did this as a family. Lonnie grew up in Alaska, so we’ve been as a family a few times, but we’ve never driven the Alcan together. Yes, it’s a lot of car time, but the scenery and the wildlife is absolutely amazing.  And nothing brings you closer to your kids then camping and road tripping together. One day in Northern British Columbia we saw caribou, buffalo, elk and a grizzly bear. That beats going to the zoo any day.

There’s nothing I like more then filling my home with memories from our travels.  I have very few generic art prints in my home, I want my the pieces I hang on my walls to have meaning and significance to our family.  Plus, I feel like I’m doing my kids a service, and when I’m long gone, they can inherit these framed pieces from our adventures together as a family. 
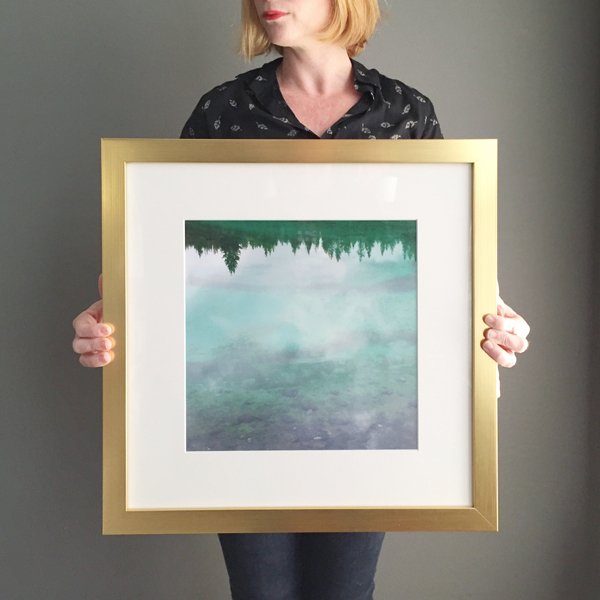
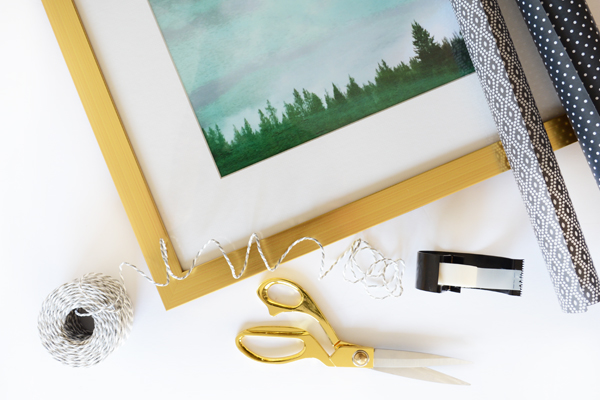
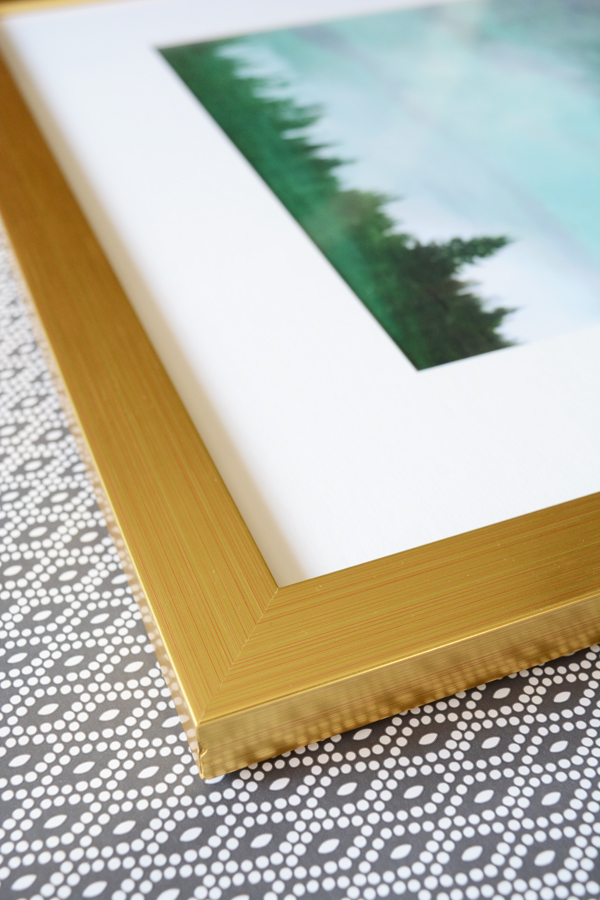
Framebridge had so many great choice for frames in lots of colors, finishes and styles.  I went with clean, modern frames called Carson and Irvine.  I squealed when I unwrapped the Jasper National Park reflection image in it’s gorgeous gold frame.  Green and gold are also so pretty together.  

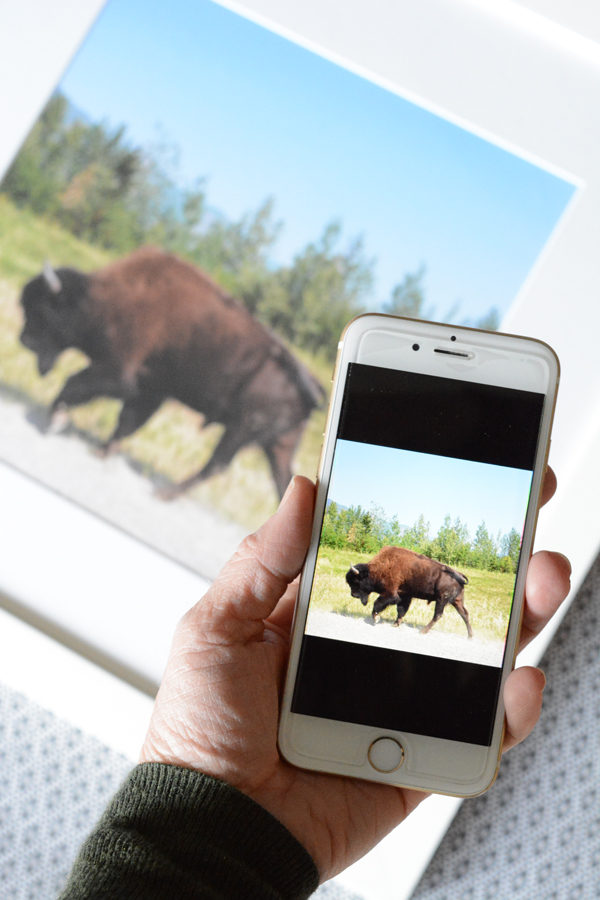
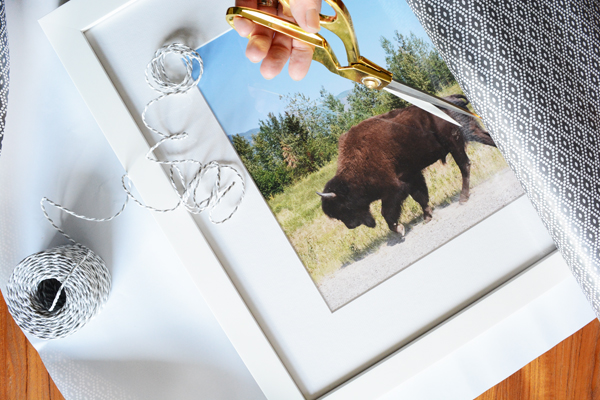
There’s a couple options for getting your artwork framed with Framebridge.  You can simply send them a digital file, like even an Instagram image like my buffalo print, or you can mail in a special art piece or photograph and they will custom frame it for you. I opted for both options. I had already printed the reflection image at a local printer, so Framebridge sent me a specific box for the print and I simply packaged it up and sent it on it’s way with my postman.  So simple and easy.  
Framebridge also sends you instructions and a picture hangers so you can hang your framed pieces right away.

I’m pretty excited to check one person off my Christmas shopping list.  Lonnie’s gifts are done!!! And he’s going to love them.

Ok, I promised I had a little something special for you too.  How about a discount code just for Oleander + Palm readers. Don’t wait to frame those special pictures locked on your phone or the art work you’ve been wanting to hang on your walls. Head over to Framebridge right now and check out all the amazing options. 
Enter the code OLEANDER20 to save 20% on your first order! (expires 1/31/16)

This post is sponsored by Framebridge.  Thank you for supporting the amazing companies that help make this blog possible. 

etc.

Friendsgiving Table Setting

November 2, 2015

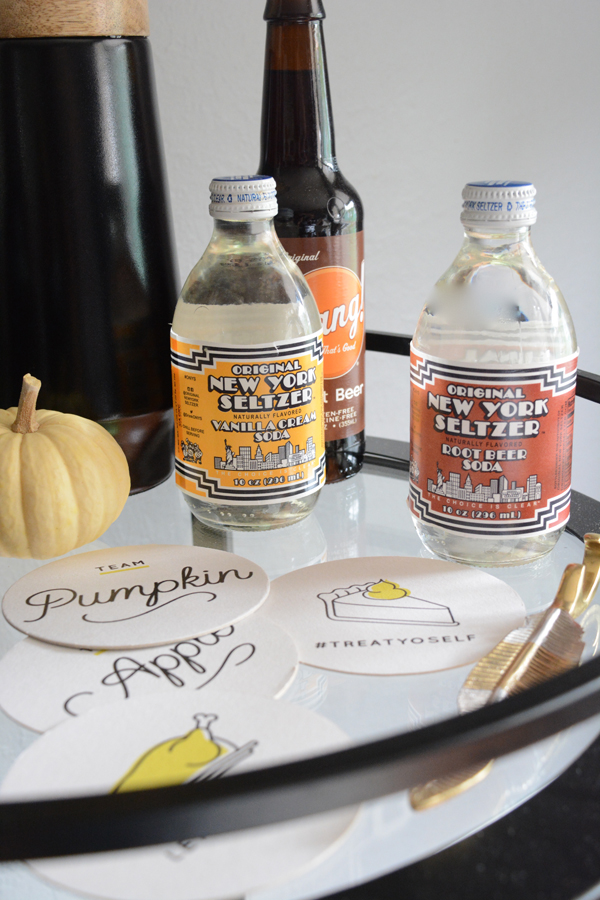
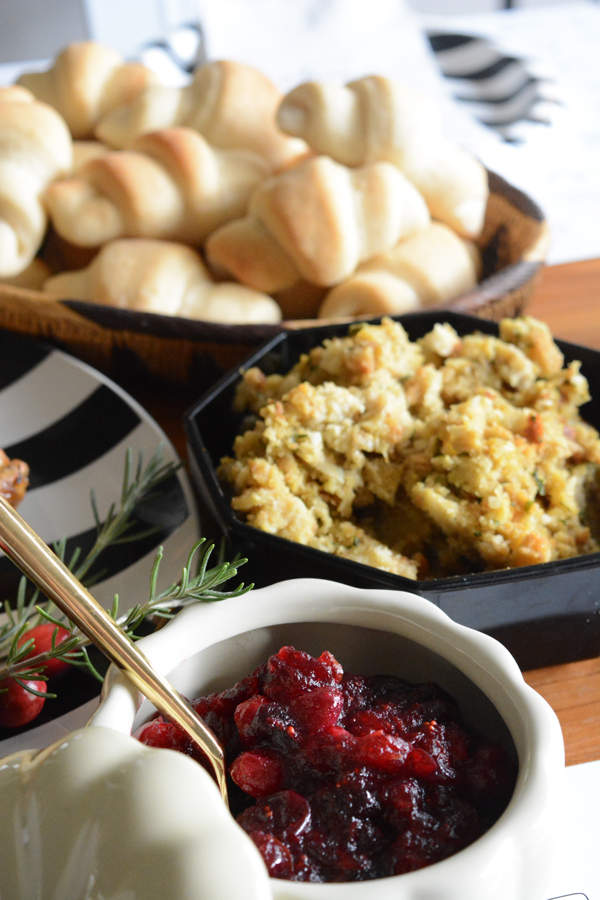
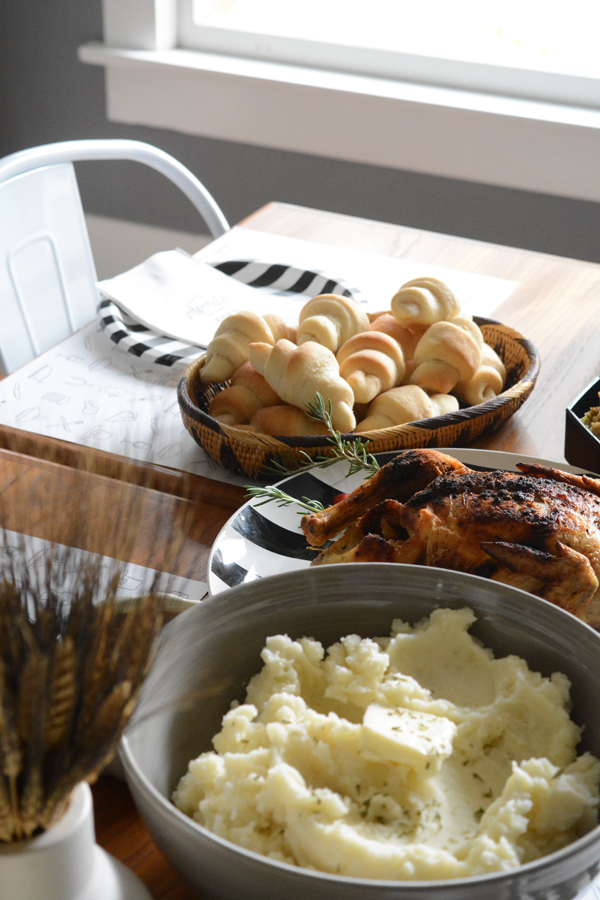
Can you believe Halloween has come and past? Before you know it, Thanksgiving is going to be here. We are headed to my parent’s for Thanksgiving week, but before we travel we are celebrating Friendsgiving here at home.  It’s going to be great!  I love this casual, no fuss version of this holiday. We are going to deep fry a turkey, and make the meal super simple by having everyone bring their favorite side dish. And to keep it kid friendly and fun, there will be a root beer and cream soda bar, with all different kinds to choose from.
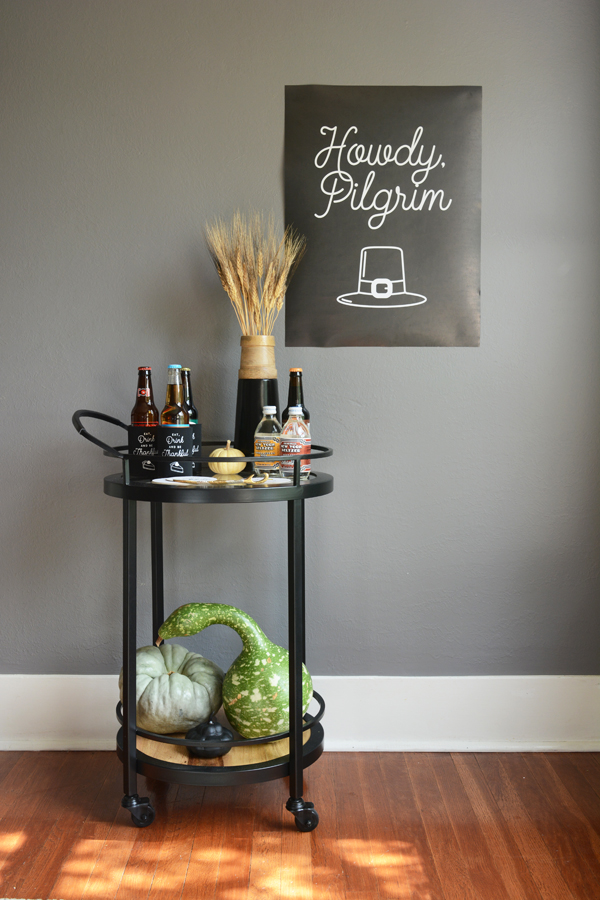
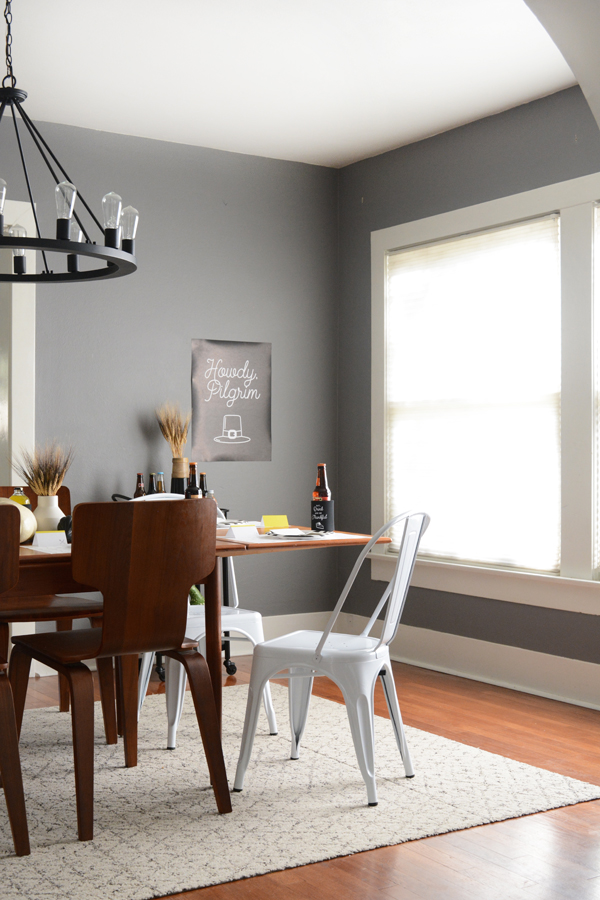
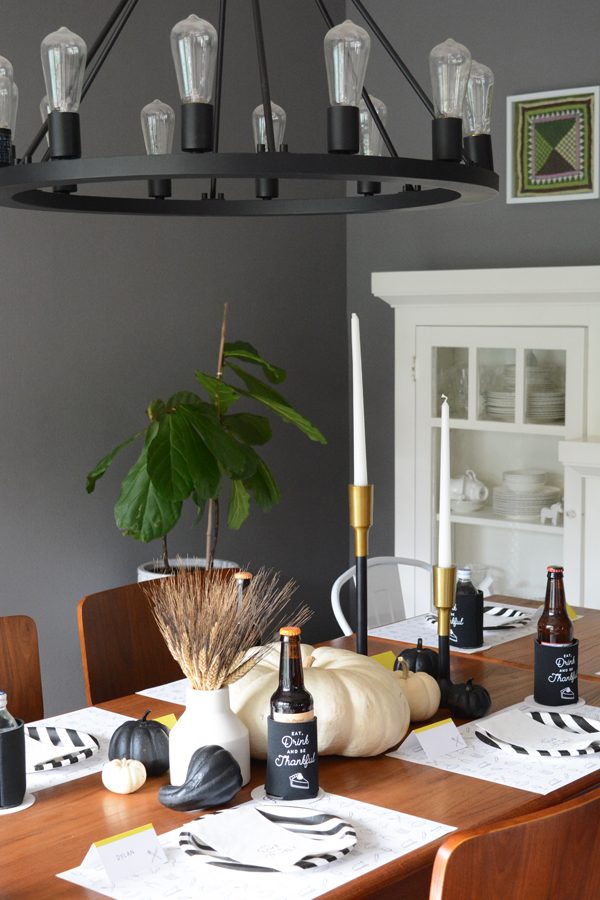
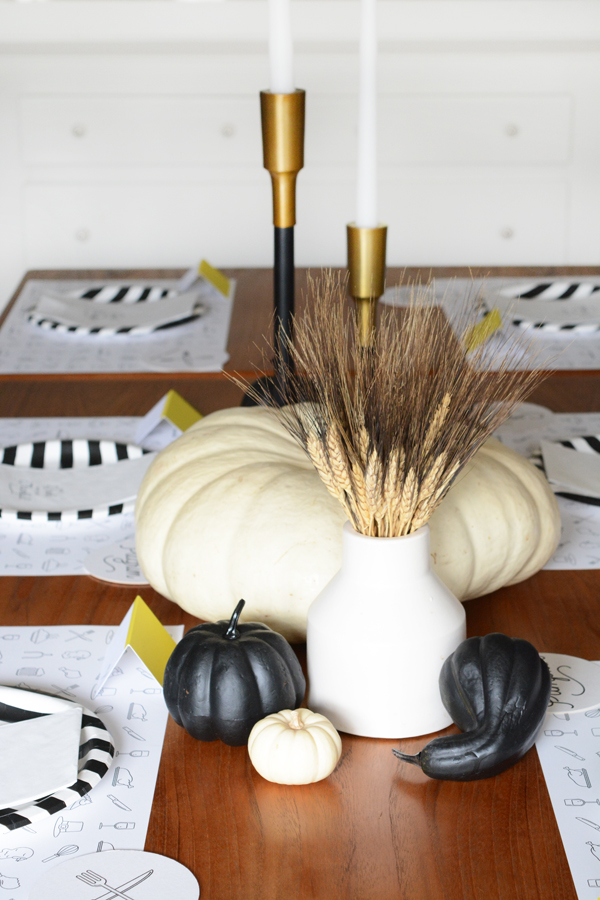
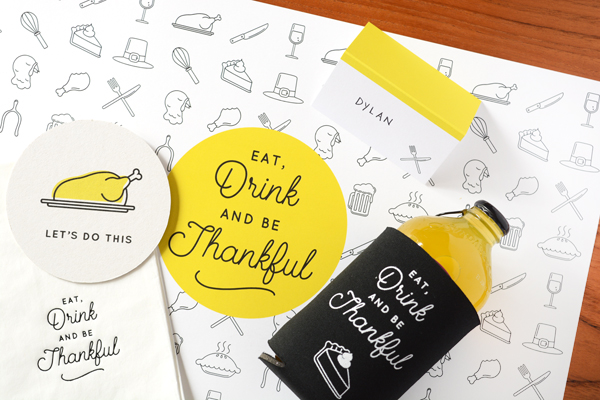
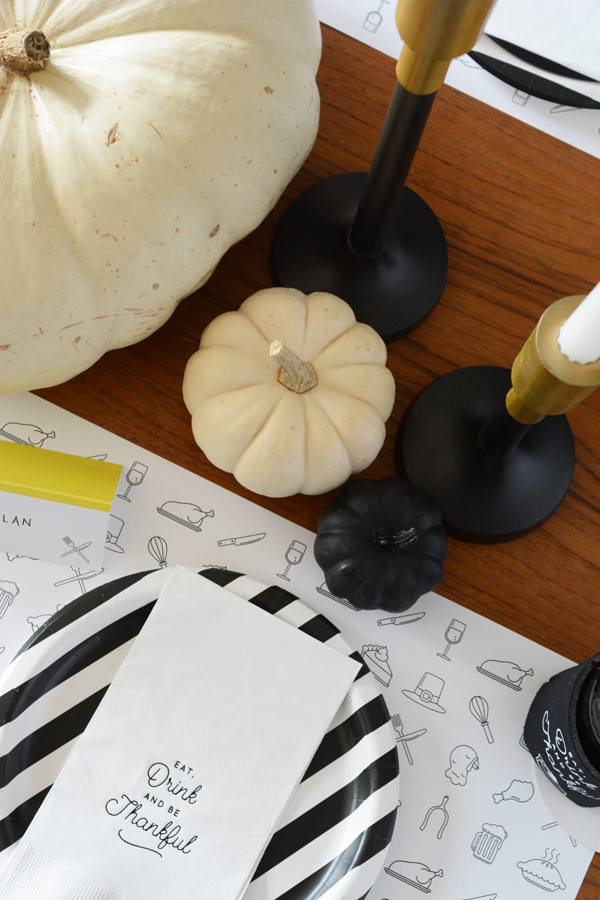
I’m excited to host, I love setting a table. I’m decorating with a little wheat, black and white pumpkins, some simple candle sticks and some awesome paper goods from Makr.  They have some really cute kits for setting a fabulous Thanksgiving table. I’m using the Friendsgiving set.  And how much fun is the Kids Table set

This kit includes:

  • 1 Howdy Pilgrim Poster
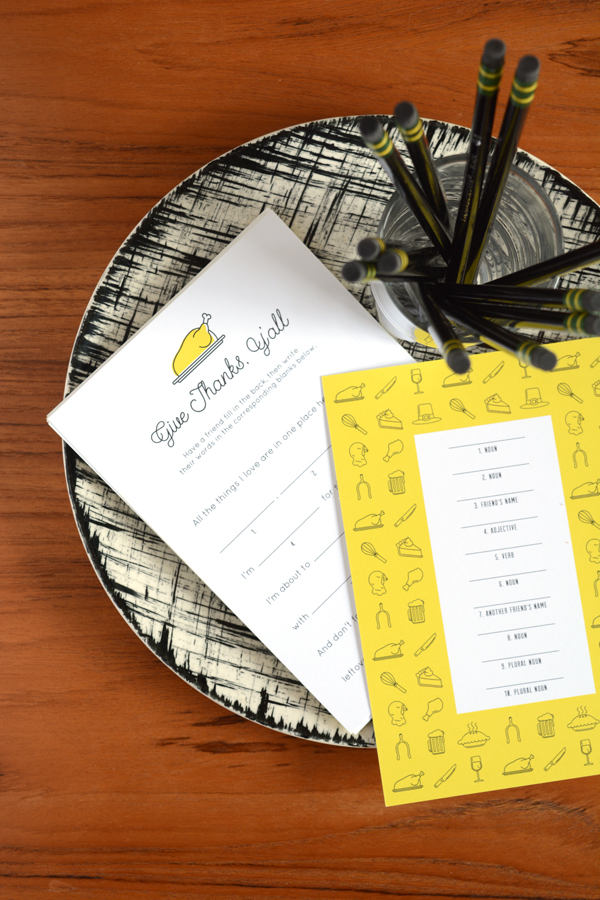
  • 12 ad-lib cards
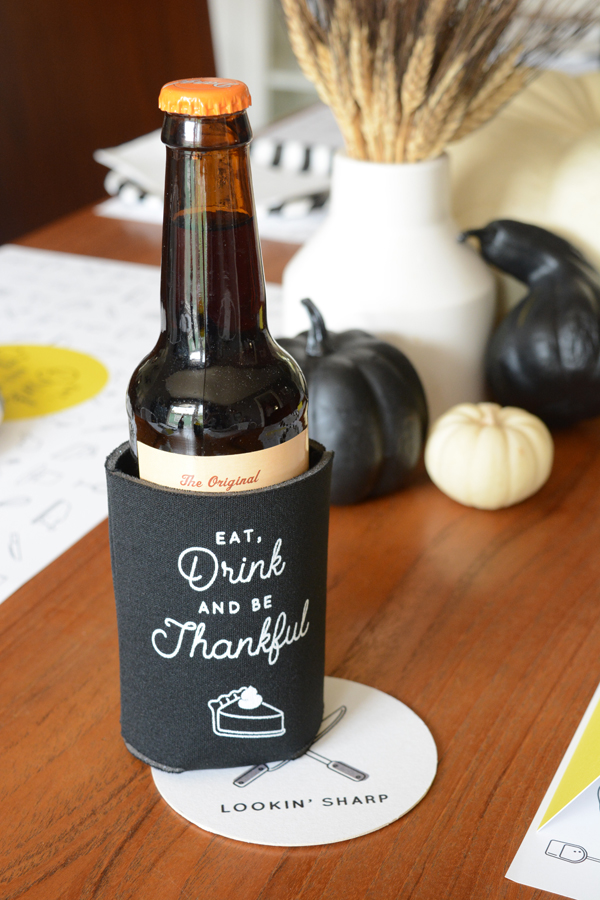
  • 8 can coolers
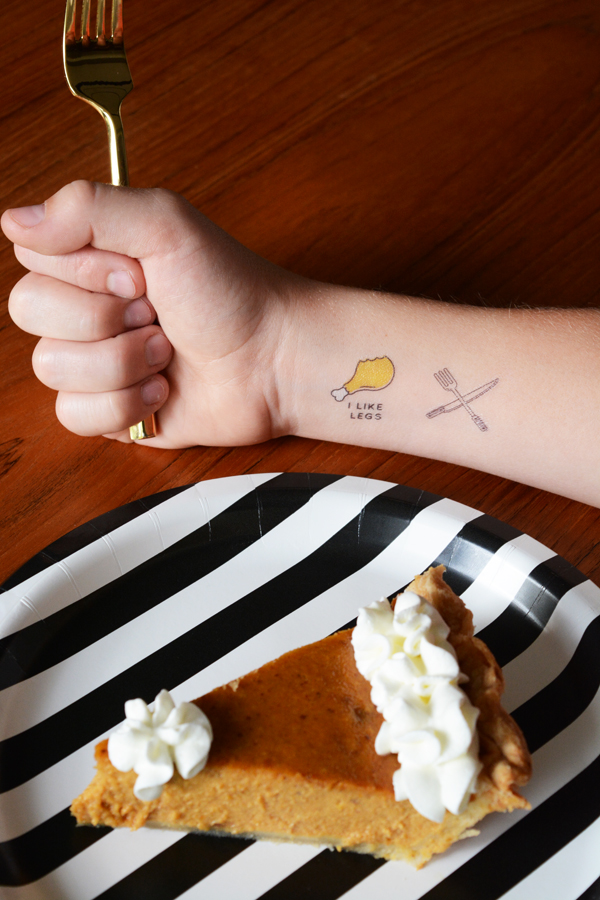
  • 25 temporary tattoos
  • 12 favor boxes
  • 12 placemats
  • 20 dinner napkins
  • 12 tent cards
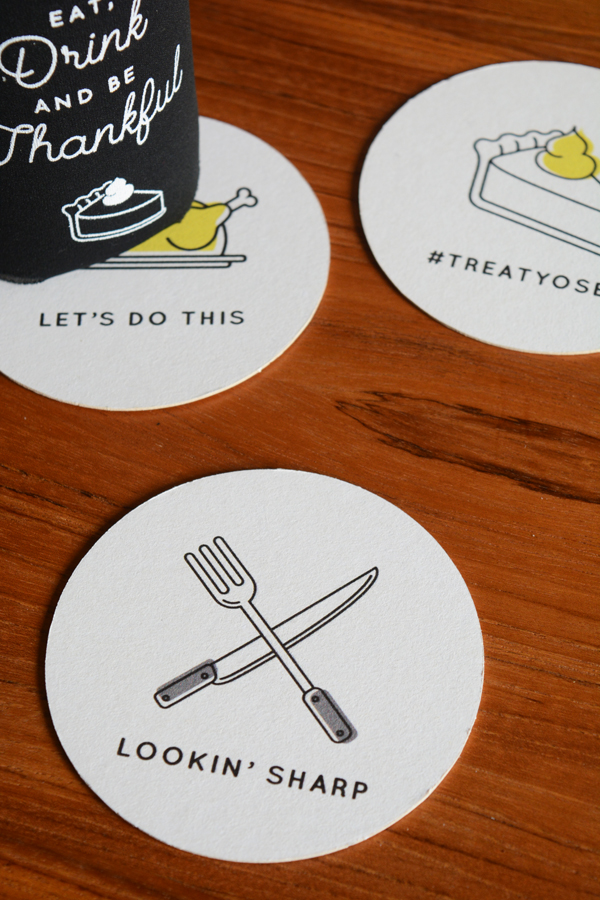
  • 12 coasters

The illustrations and clever sayings add a fun vibe to table. I love thoughtful details and this Makr kit does all the work for me.

Hey, you don’t even have to plan a game or activity, these ad-lib cards will have folks in stitches in between dinner and dessert.

Who doesn’t love a fun temporary tattoo?  “I like legs” and “Dish Duty” are just a couple of the clever ones available.

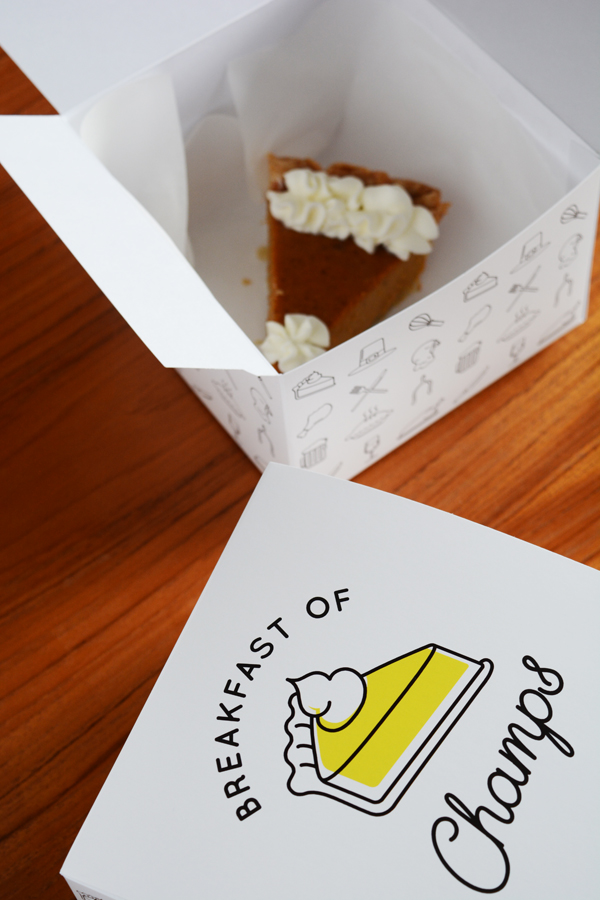
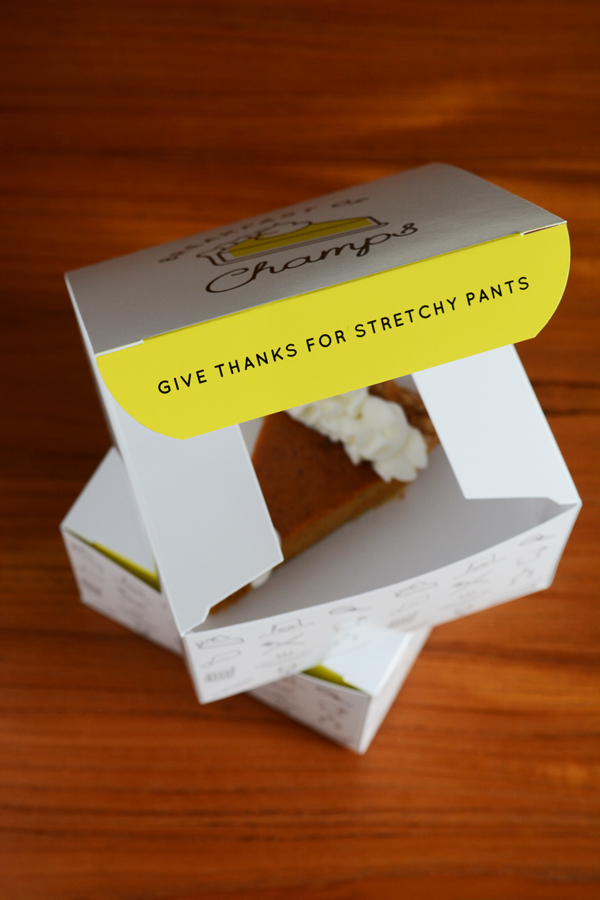
Everyone can go home with a piece of pie for breakfast the next day in these adorable boxes.

I’ve got a special deal for Oleander + Palm readers, enter the code PALM to receive 20% off of any kit order via makr.co (code is valid through 11/11/15)
This post is sponsored by Makr, thank you for supporting the companies that make this blog possible. 

etc.

The Week’s End

October 30, 2015

Yay, last night a finally finished my kid’s costumes for Halloween.  I’m headed to LA today with Olivia and a friend.  We just need a change of scenery and I need a few things at IKEA (always).  I’m hoping their Christmas decor is out – gotta get me some of that fun Swedish stuff.

This week has been a little strange.  I’m extremely exhausted, and kind of feel like I’m just about to get sick.  I just want to curl up on the couch and nap, but there isn’t any time to.  I think I’ve just had too many things on my plate lately. I’m hoping this week I can slow down a bit.  So, I apologize for the lack of posts this week.  I had big plans, but just not enough hours in the day. Part of my problem right now is dealing with a High Schooler, Jr. Higher and Preschooler. Their schedules are all over the place and I can’t keep on top of their activities and the places they have to be. Right now, my mom role is taking all my daylight hours. Can you relate?

I hope you have a great Halloween! And if you are going to through a little Halloween get to together, you might want to check out these ideas from some of my favorite bloggers:

This clever Halloween Candy Bark is sure to be a hit.

This Creepy Cocktail sure looks fun.

Need a festive photo backdrop, this Pumpkin Balloon Backdrop is absolutely adorable.

These little printable treat bags are a fun way to package up all that cute Halloween candy.

And what’s a party without a garland, this jack o lantern balloon garland will make any space feel like an instant party!

DIY / etc.

DIY Sassy Trick or Treat Bags

October 27, 2015

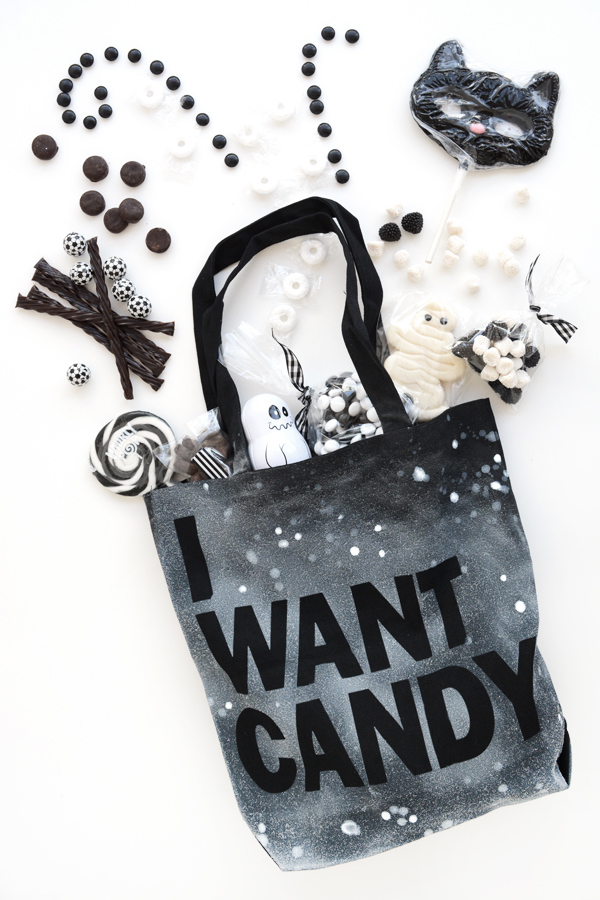
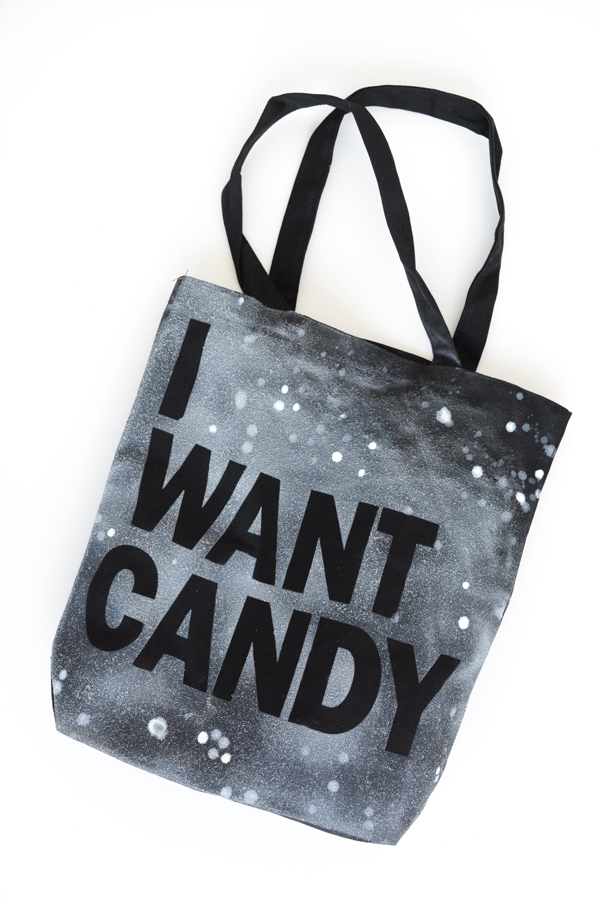
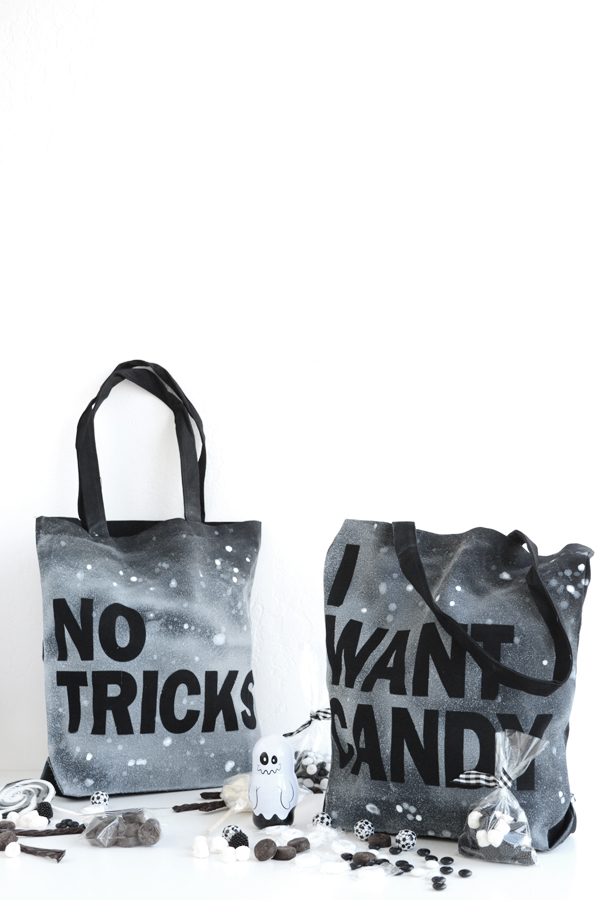
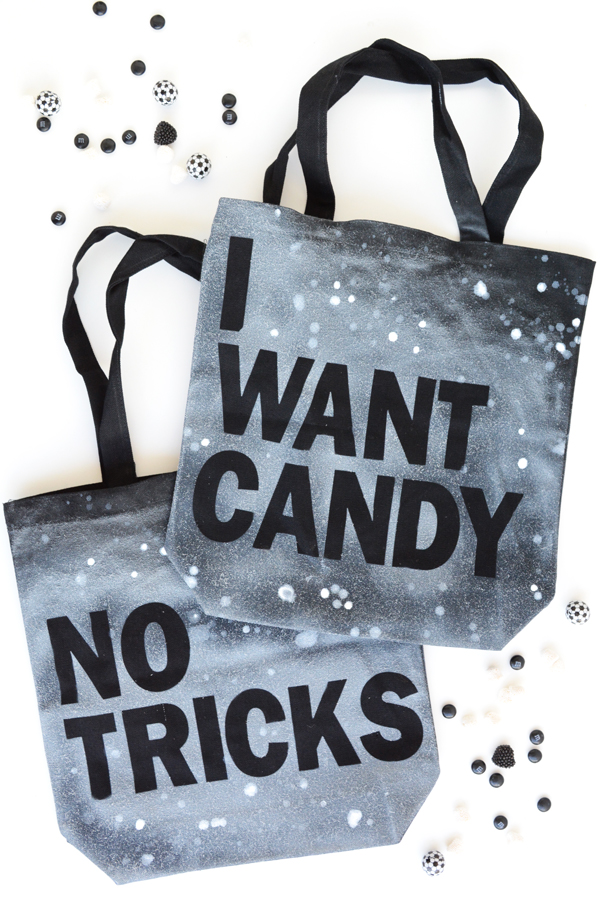
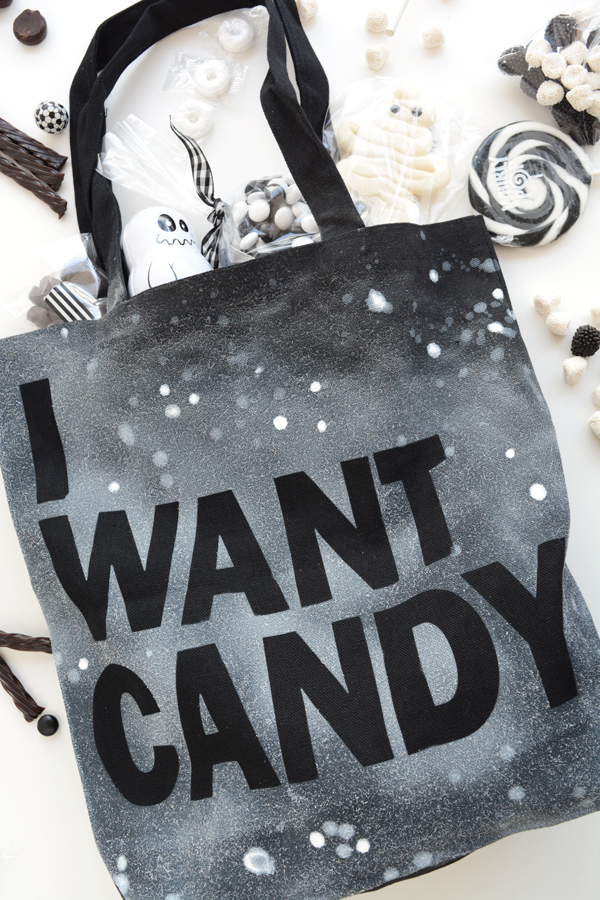
If you haven’t figured out your kid’s Halloween costumes yet, don’t feel bad, I still need to make my kid’s costumes this week. But, if you have planned ahead and have costumes already made or bought for your kids, you might like to make these super easy, somewhat sassy trick or treat bags.

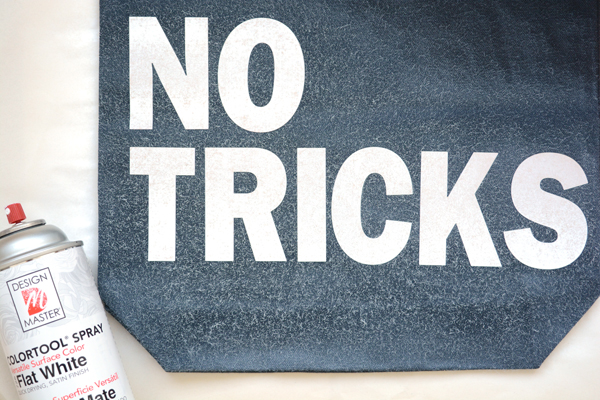
These bags can be made in just a couple minutes, with just a few supplies.  And you can add your on custom saying, like “Smell My Feet”, “Just Treats”, “Gimme Gimme”, or “Treat Yo Self”. Halloween is the perfect occasion to be a little sassy pants and rude in a fun way.

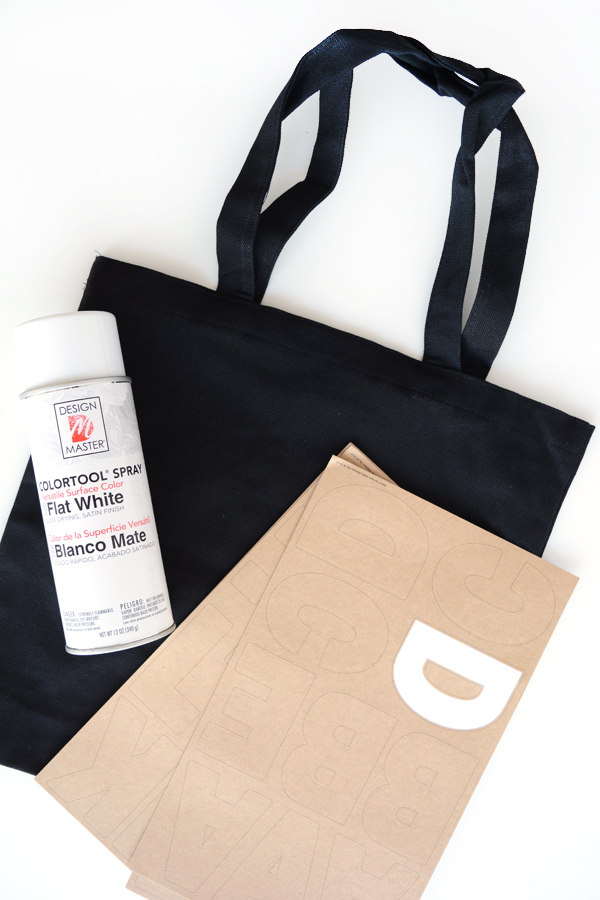
Here’s what you’ll need:

Design Master’s Colortool Spray Paint in Flat White
Black canvas bags
2″ letter stickers
white craft paint
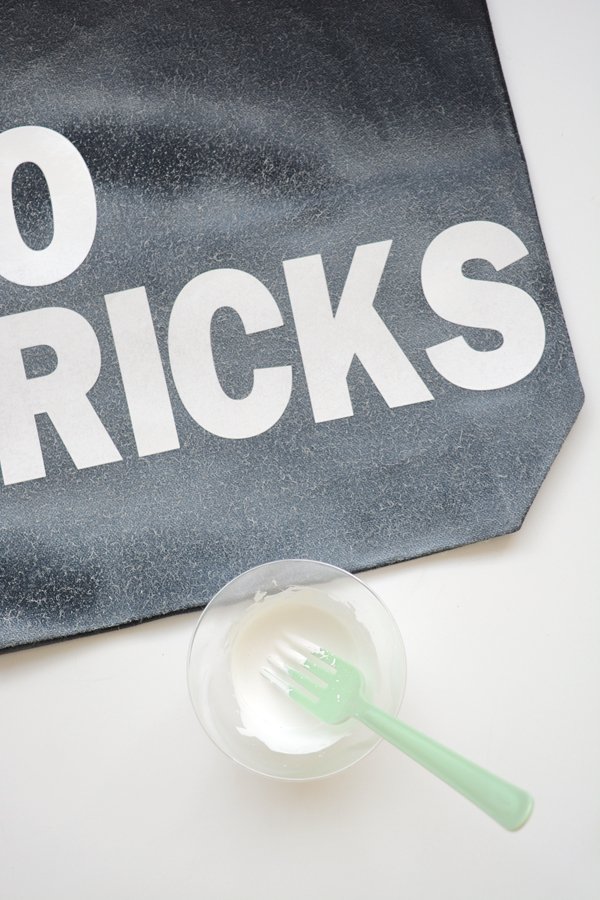
a small plastic cup and plastic fork

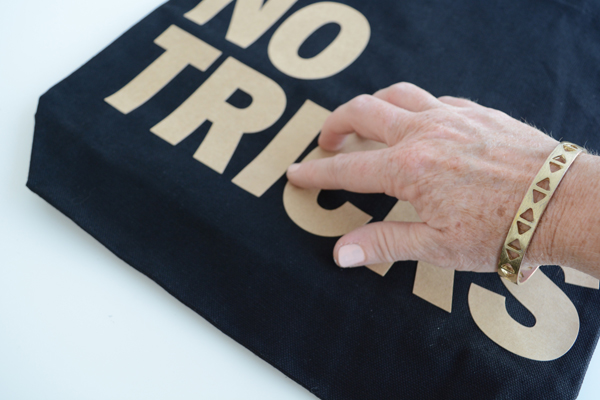
Start by adhering your letter stickers on the front of the bag.  Be sure to press firmly on the edges of all the letters, so that paint can’t get under the edges.

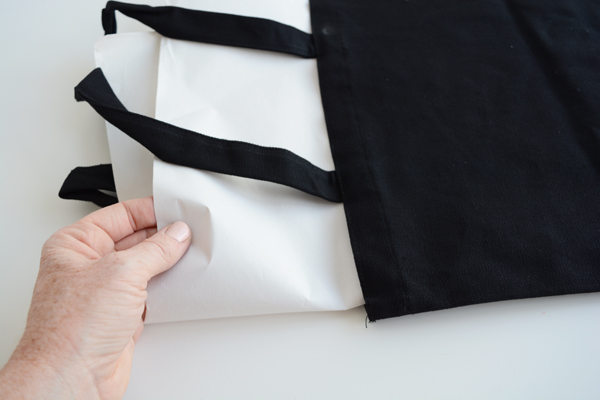
Place newsprint or cardboard inside the bag to insure that the paint doesn’t run through to the other side of the bag.
Start at the bottom of the bag and layer the paint moving towards the top of the bag. Allow the paint to dry between coats. I love Design Master Colortool paint for this reason, it layers in nice even thin coats and dries very quickly.  To achieve the dusty white effect of these bags, I sprayed the bags with 3 coats of spray paint.

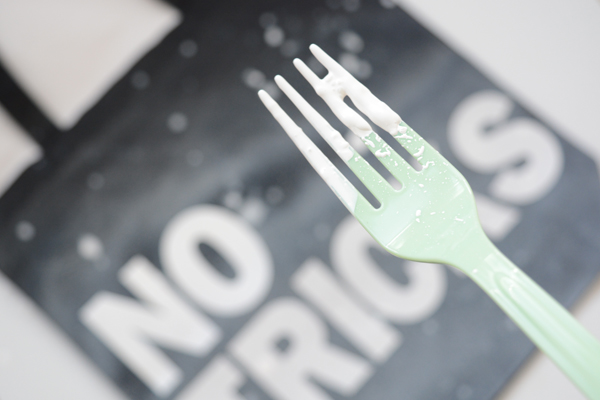
I wanted these trick or treat bags to have an erie night sky effect, so I added a little speckling of white splattered paint. I mixed 2 part white craft paint with 1 part water and then splattered it with a fork.

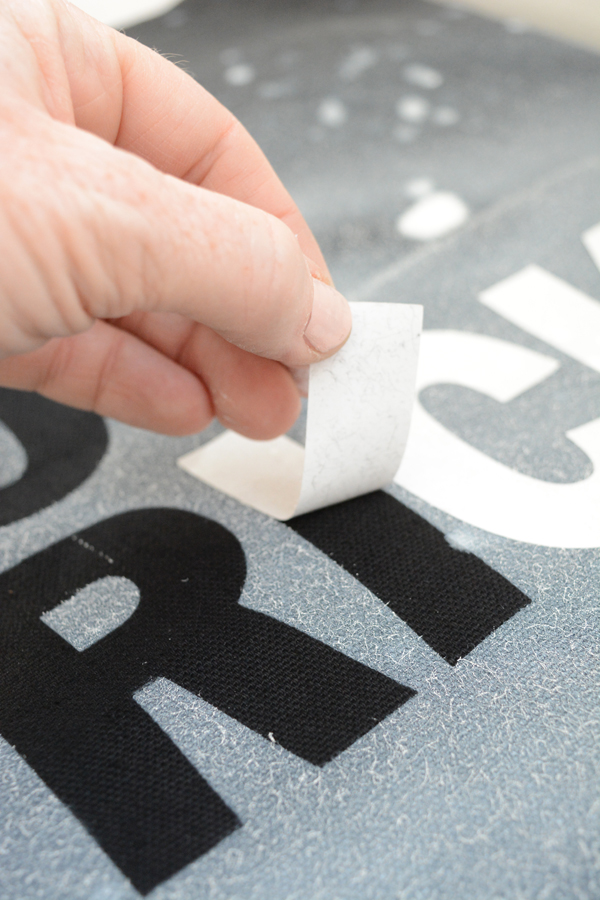
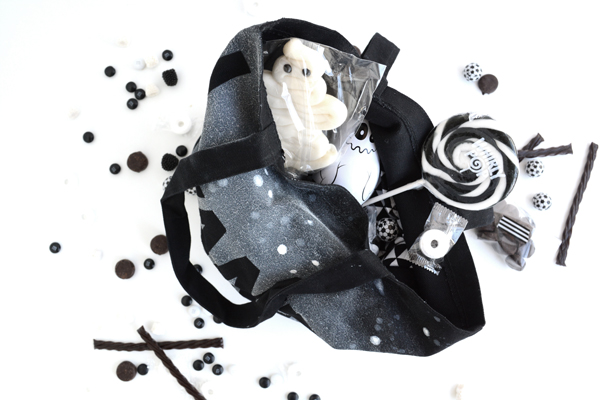
When the paint is dry, you can remove the letter stickers.  And now you are ready for trick or treating in style.

I had fun hunting down black and white candy that wasn’t black licorice!


I buy my Design Master paints and my local Michaels. Design Master paints can paint the most delicate of surfaces, such as silk and fresh flowers, fabric, ribbon, tulle, lace, paper, foam board and Stryrofoam TO the sturdy hard surfaces such as wood, metal, masonry, terra cotta, ceramics and plaster. Design Master is a great resource for products and ideas.  Be sure to check out all the craft and project ideas on their blog.  
This post is sponsored by Design Master. All opinions are my own. Thank you for supporting the brands that make this blog possible. 

etc.

Weekend Happenings

October 23, 2015

Yay, it’s Friday! And Halloween is just around the corner, so I better get me kiddo’s costumes made. I think we finally have an idea. I’m the dorky mom that makes my kids wear costumes that go together. Last year they were famous paintings, he year before, they were a BLT and here’s a whole bunch of costumes I’ve made over the years.

I’ve got a couple fun things going on this weekend.

1.  If you are local, I’m organizing an Instagram Meet Up downtown Bakersfield tomorrow morning. We are meeting at Dagney’s Coffee at 10 am.  Come meet your instagram friends in person.  Learn some phone photography tips and tricks and just help us make Bakersfield look COOL!

2.  I’ve got a Sven Clog GIVEAWAY going on right now!!!! Head over to Instagram to enter!

Here’s a few great posts you might want to check out this weekend:

These printable straw flags, adorbs.

I already have all the supplies for these color blocked candles, totally making some.

Ooh, I love me a FIMO craft.

And this Halloween floral arrangement is gorgeous.

If you are anything like me, taking care of yourself is your last priority.  I’m printing this and sticking it on the fridge.

If you are a blogger and creative entrepreneur and are thinking about attending a creative conference, this post is a must-read.

etc. / Food & Drink

Caramel Apple Popcorn Balls

October 15, 2015

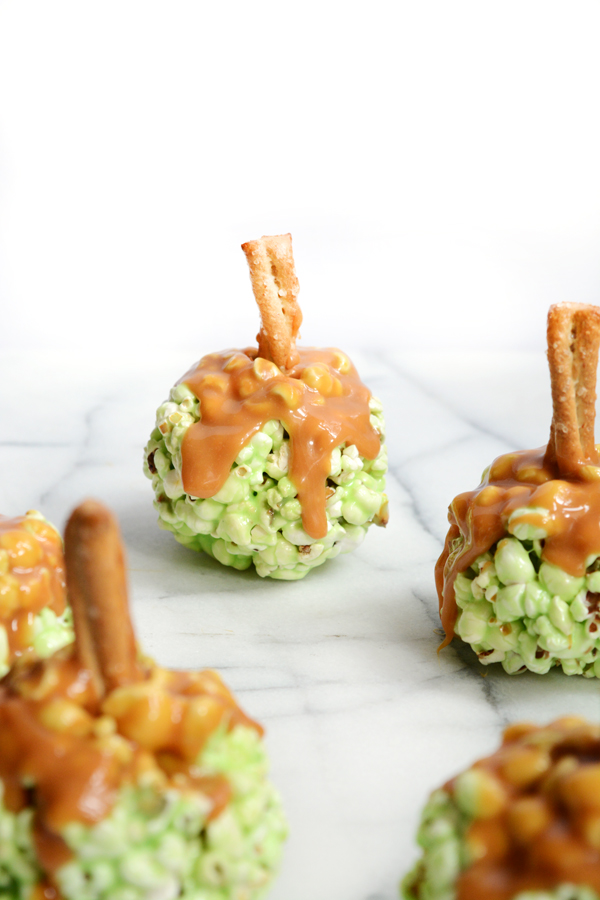
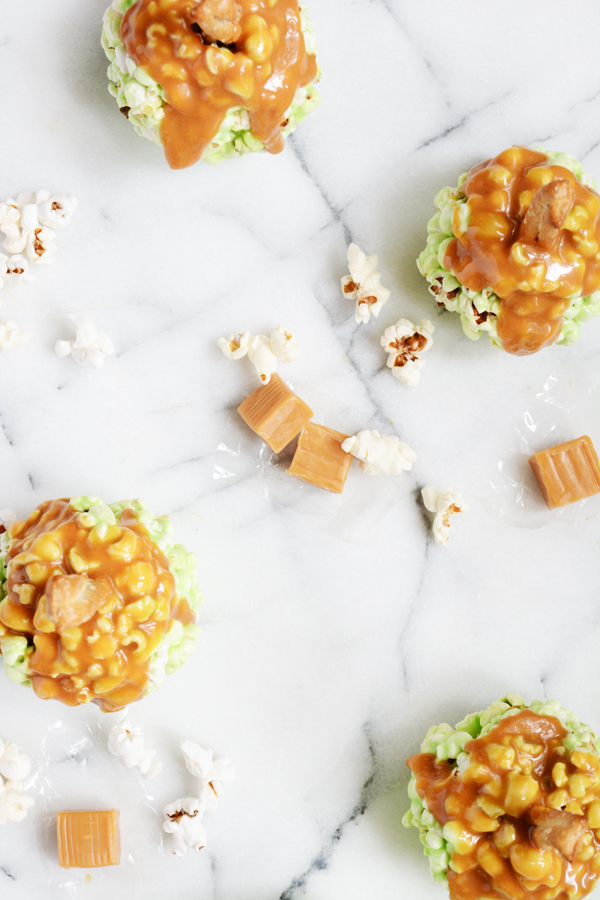
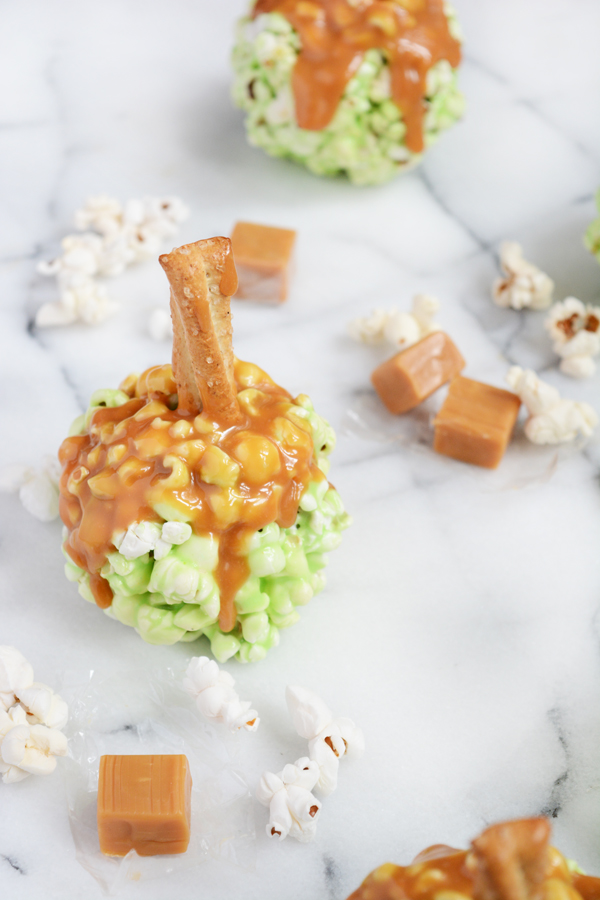
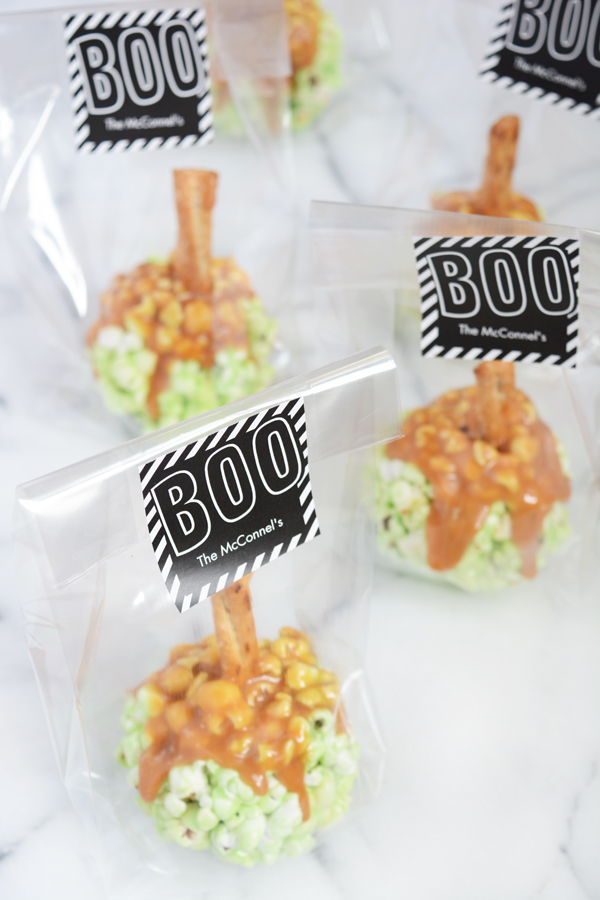
Halloween is sneaking up on me, and there are so many yummy treats to make. My mom is an amazing cook, baker and party thrower. Growing up, there was no shortage of yummy treats around any holiday. A halloween classic at our house was popcorn balls.  So, I decided I wanted to make these for my kids and their friends this year.  But, I took it one step further and turned these popcorn balls into caramel apples. They are super sweet, but the green apple flavor with creamy caramel is a Fall favorite.
Caramel Apple Popcorn Balls
3 tbsp.
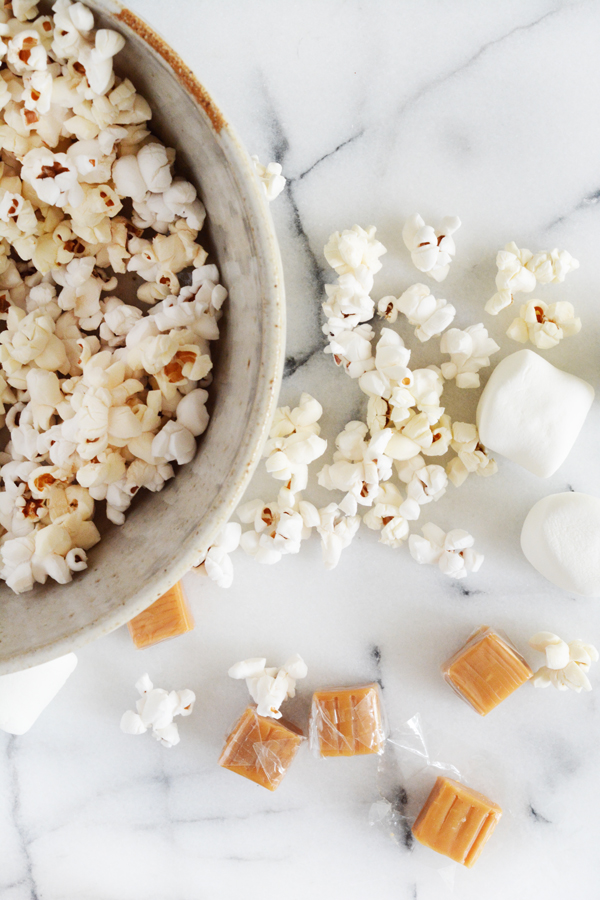
40 large marshmallows
8-10 cups of air popped pop corn
1 package of Green Apple Koolaid (the only place I could find this flavor was Walmart)
1 bag of Kraft Caramels
2 tbsp. water
10 thick pretzel sticks
In a microwave safe bowl, melt the butter on high for 45 seconds.  Add the marshmallows and sprinkle the package of Koolaid all over the marshmallows.  Toss together.  Place back in the microwave and heat on high for 1 min 30 sec.  Stir to combine all the ingredients.  All the popcorn and stir to coat.  
Butter the palms of your hands and shape into balls, pressing then firmly to keep their shape. Place on a parchment lined cookie sheet, because these bad boys are super sticky. While they are still soft, add the pretzel stick to the top.
In a small pot.  Heat the caramels and water on medium high heat until they are melted, stirring often. With a small spoon, spoon on the hot caramel to the top of the popcorn balls and allow the caramel to drizzle down the sides. 
Makes 8-10 popcorn balls.
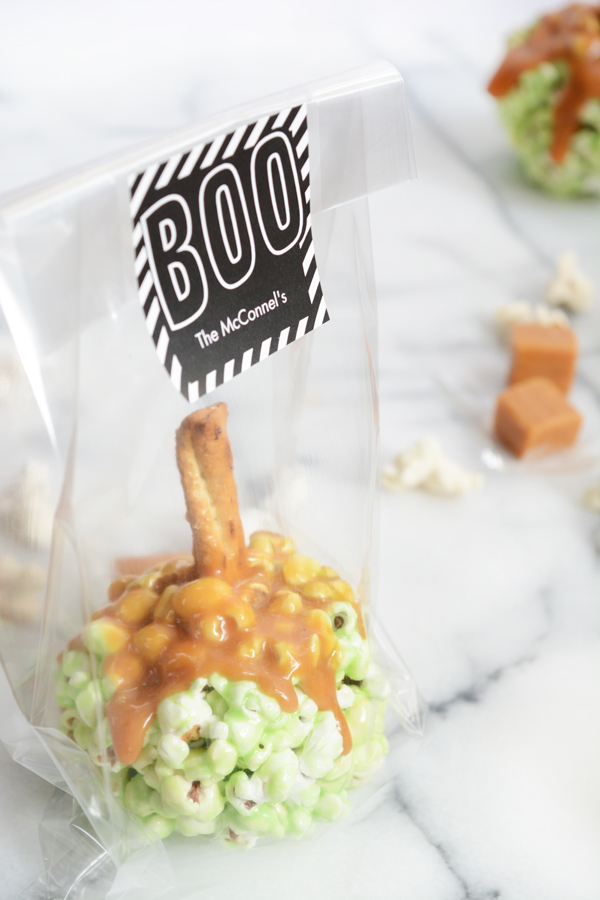
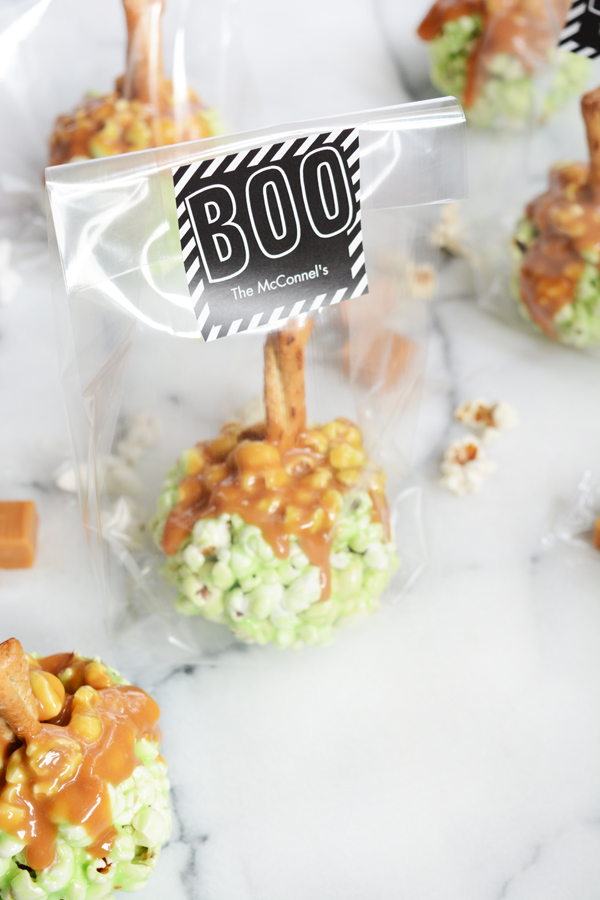
After the caramel has cooled and hardened, you can package up these sweet, chewy treats to give to friends and family. Tiny Prints is so much more then just cards and invitations, I made these cute BOO stickers with our name on them.  It was hard to pick, because there were so many great Halloween gift tags to choose from.  
I’m going to put together some little treat bags for my kid’s teachers as well.  These little custom stickers will look adorable on little brown paper bags as well.  

This post is sponsored by Tiny Prints.  Thanks for supporting the companies that help make this blog possible. 
Design / DIY / etc.

The Home Depot Halloween Style Challenge

October 2, 2015

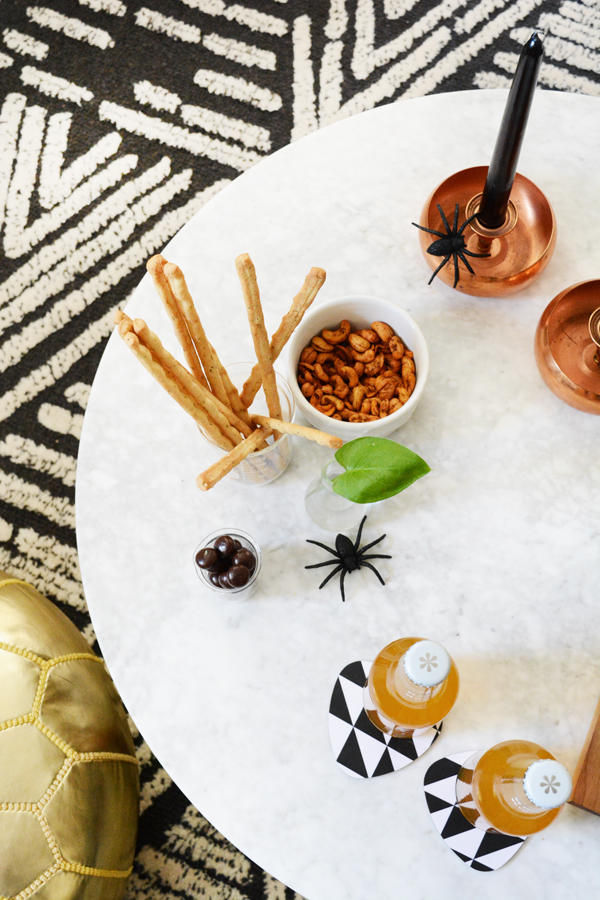
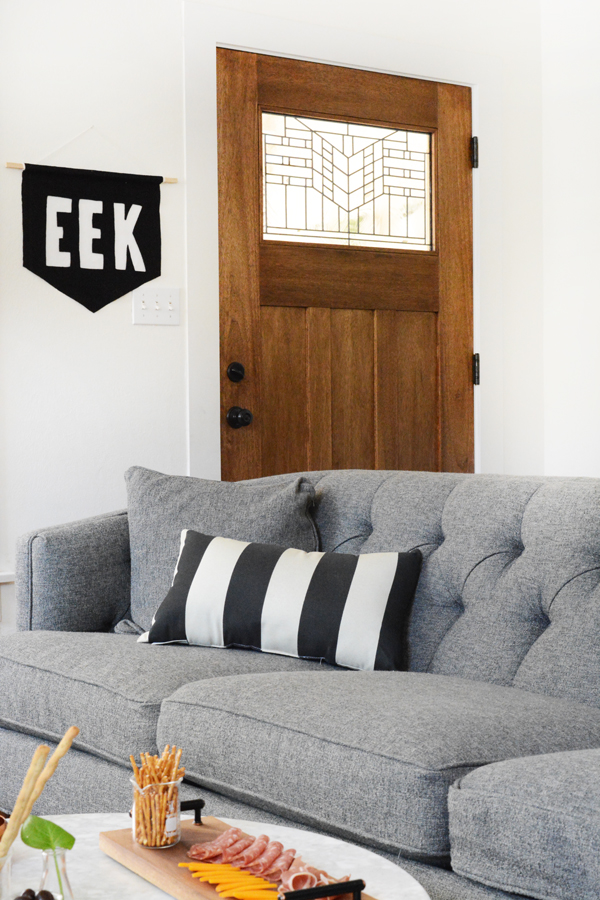
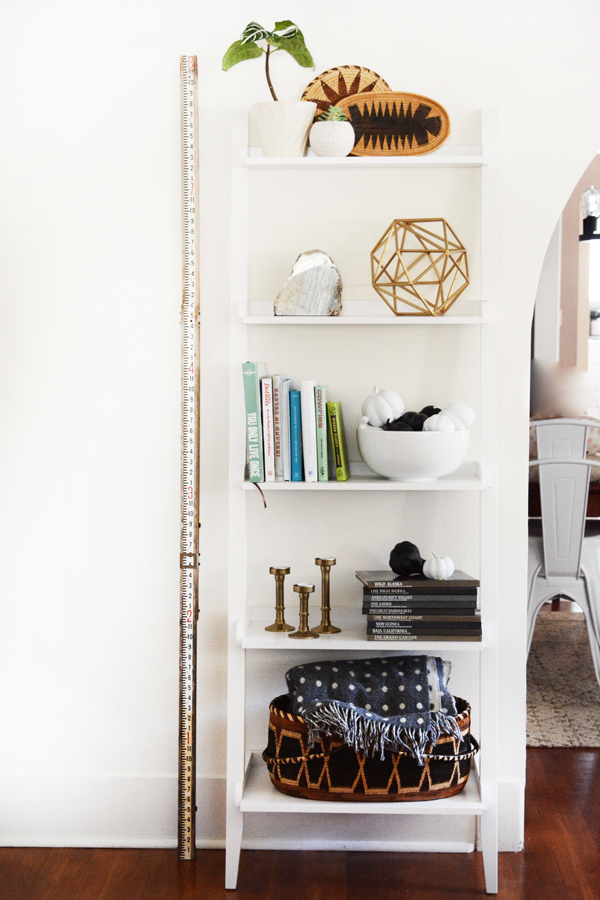
I’m really excited for you to see our living room all decorated for Halloween.  I took on The Home Depot Style Challenge and gave our living room a simple black and white halloween makeover. It’s just an itty bitty bit spooky. I’ve also got a couple easy DIYs for you, like a pretty walnut cheese board and some creepy eyes for your plants.  It’s clean and modern, so you don’t feel like you are living in a haunted mansion.  
Head over to The Home Depot Blog to see all the details.

etc.

Palm Study Prints and a Minted Giveaway

September 17, 2015

I just hit a big number over on Instagram!!! Well, it’s big for me. Oleander + Palm now has 5000 followers there. I’m totally flattered that these folks follow what I’m up to from day to day.  
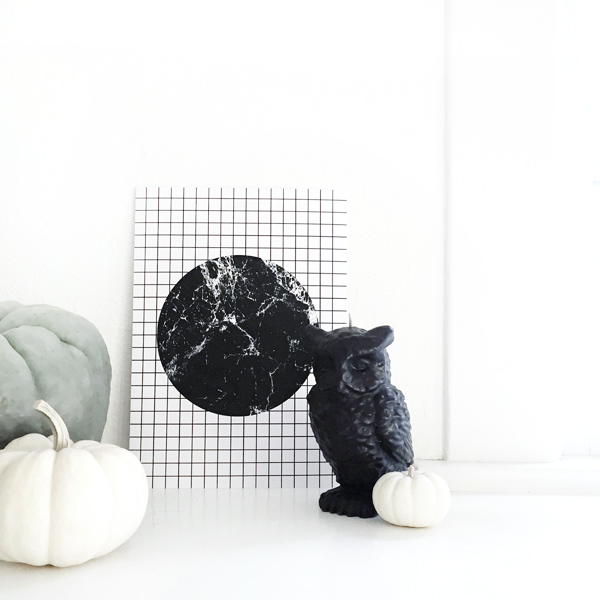
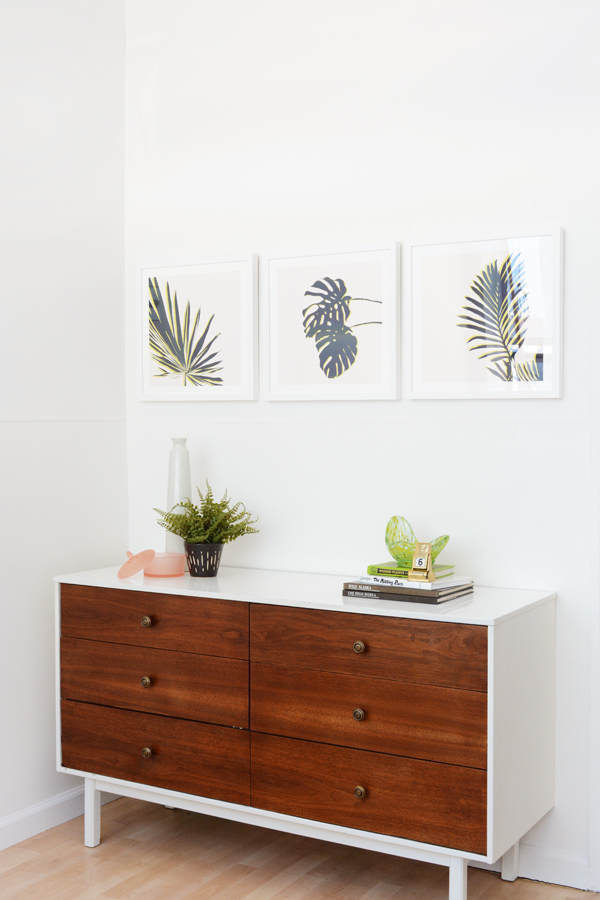
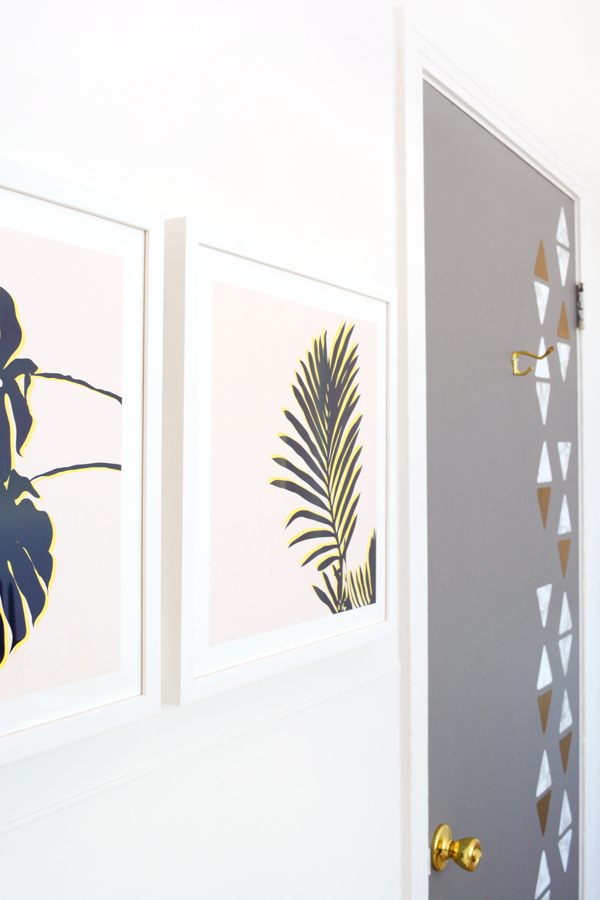
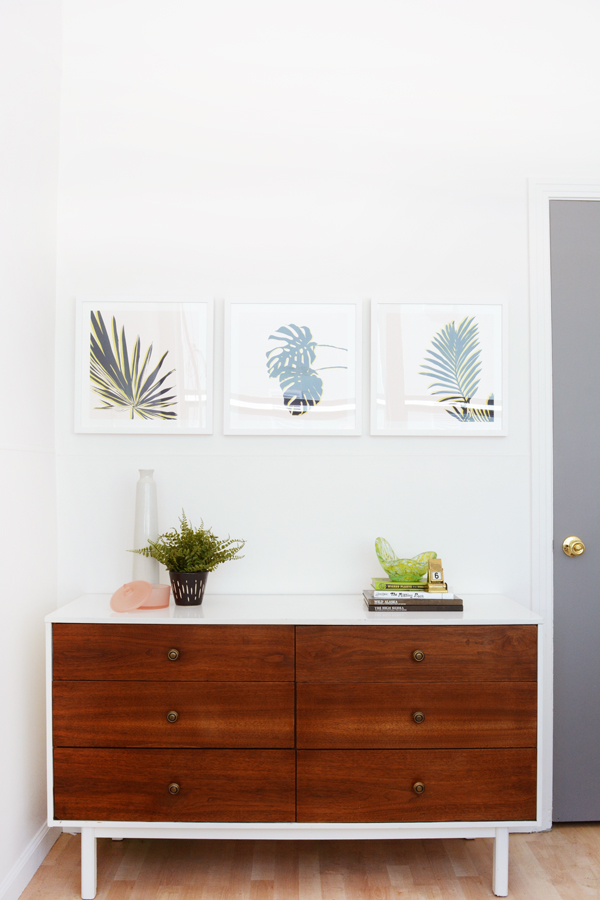
So, to celebrate, I’m hosting a fun GIVEAWAY over on Instagram.  I’ve teamed up with Minted to treat one of my lucky followers to $150 worth of art prints at Minted.  These gorgeous Palm Study prints look amazing in my studio.  Wouldn’t you love to win them?  Head over to this Instagram post to enter!

Good Luck friends and thanks for following!

etc.

Brass + Copper Beds

September 11, 2015

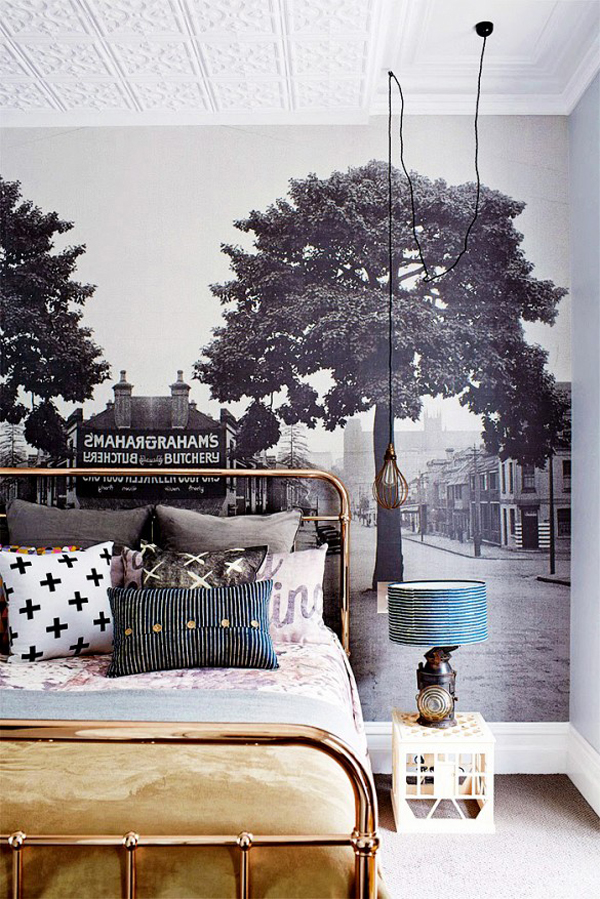
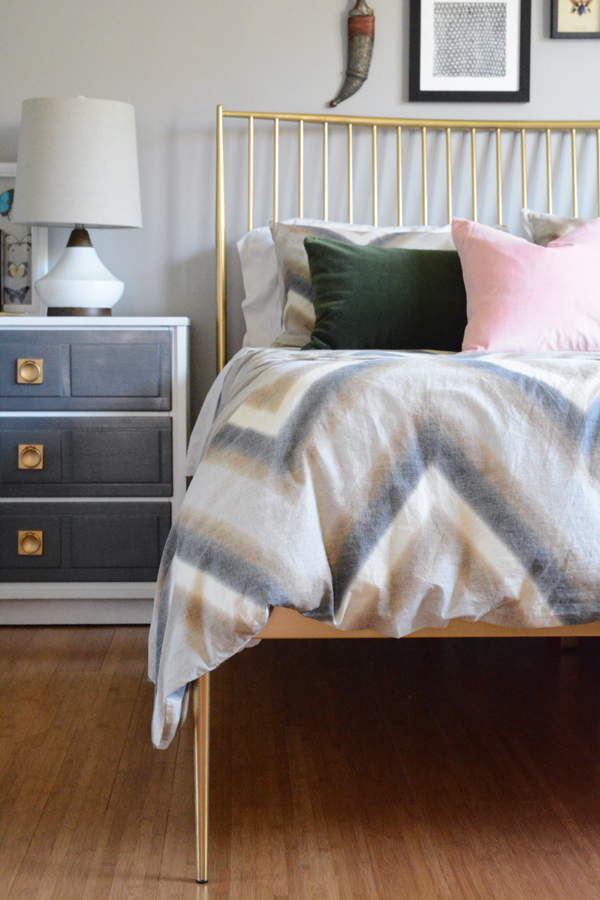
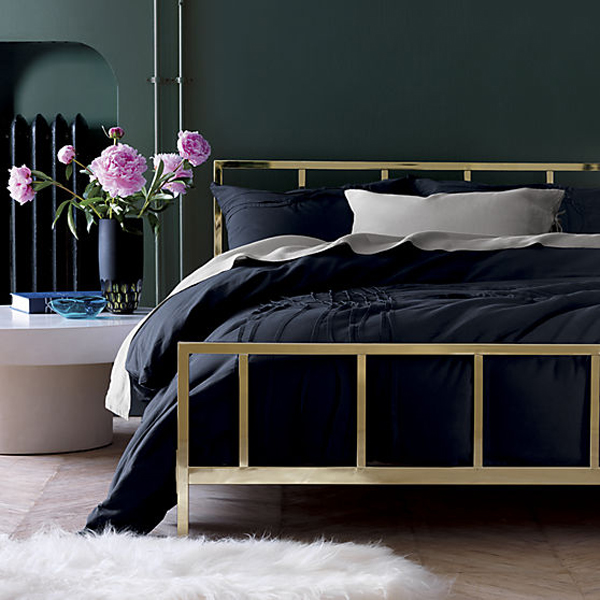
Ok, lets talk about brass bed frames and how the don’t have to feel straight out of the 80’s and early 90’s.  For the last decade or more, everyone has been painting brass beds white or poppy colors like teal and yellow.  I say, stop painting and embrace the marvelous metallics.

The shape does matter, in my opinion.  I recently got rid of my scrolly metal bed and replaced it with a bed that has gorgeous straight modern lines in brass.  If you stick with a simple straight shape, a brass bed doesn’t have to feel like it’s your grandma’s.  I think these clean shapes will be classic and timeless.

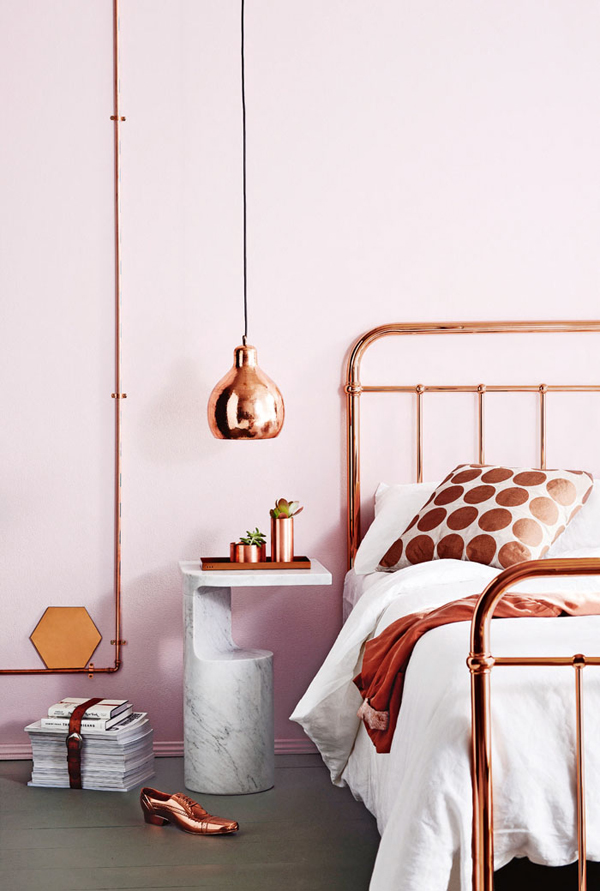
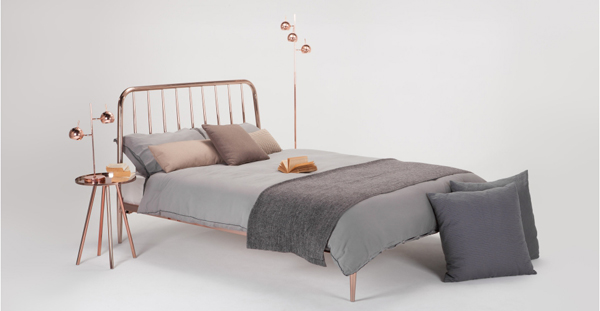
Ok and maybe even better then brass, copper.  Holy Cow, I need a guest room so I can get mya hands on these gorgeous copper master pieces?

Copper and pink – does it get any better?

So what do you think?  Can metallic bed frames feel modern and fresh, or is it hard for you to see past the dated brassyness?