Category Archives: Food & Drink

Food & Drink

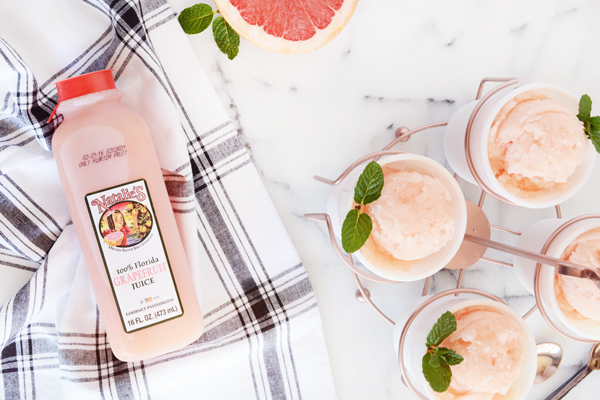
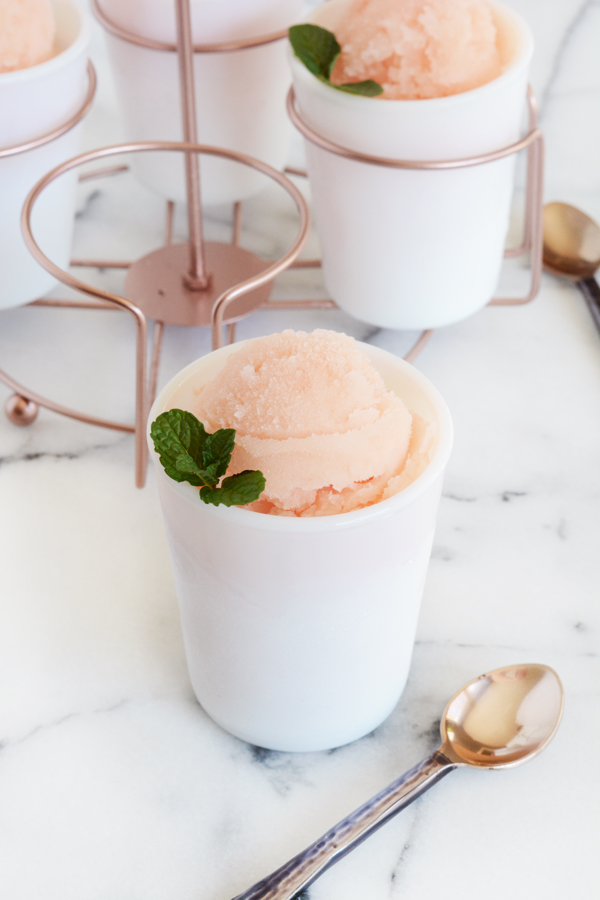
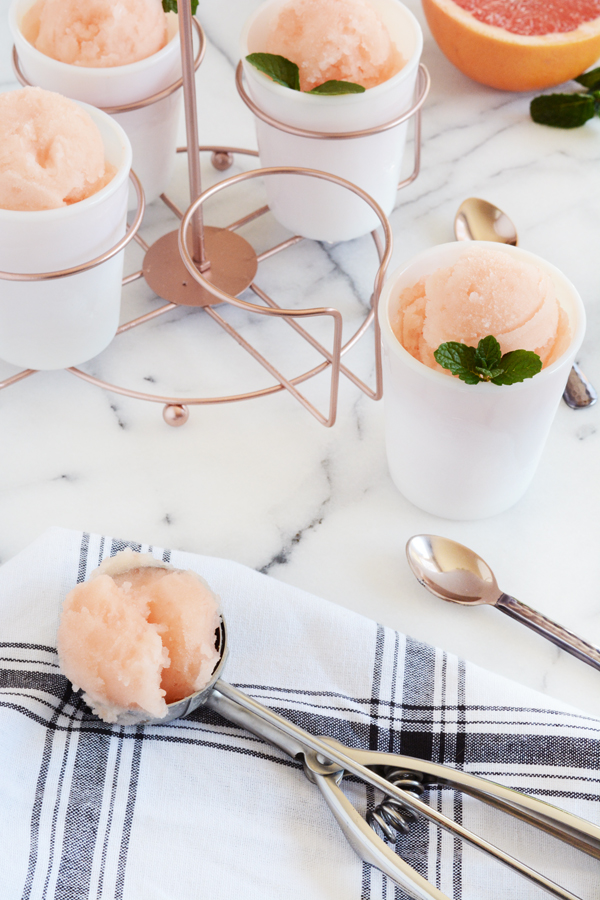
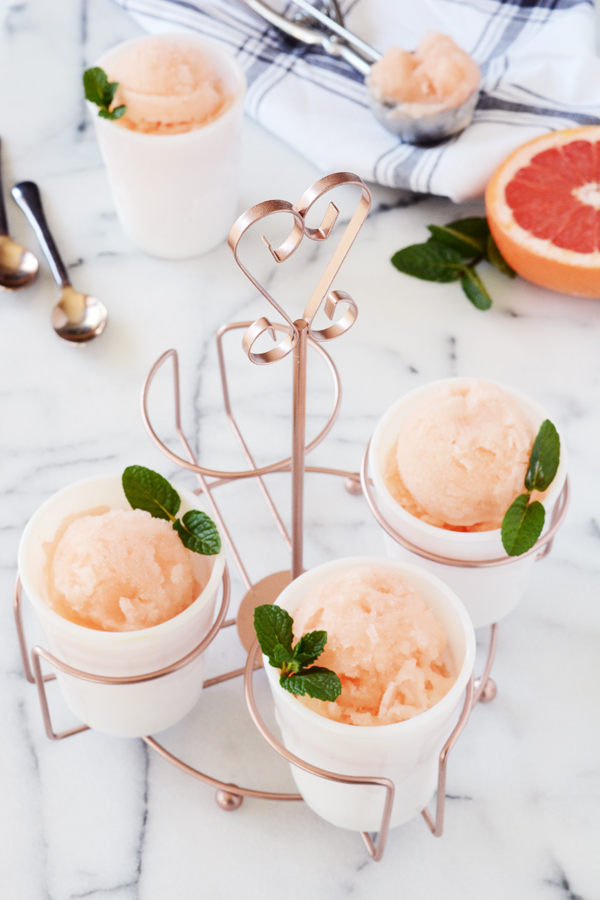
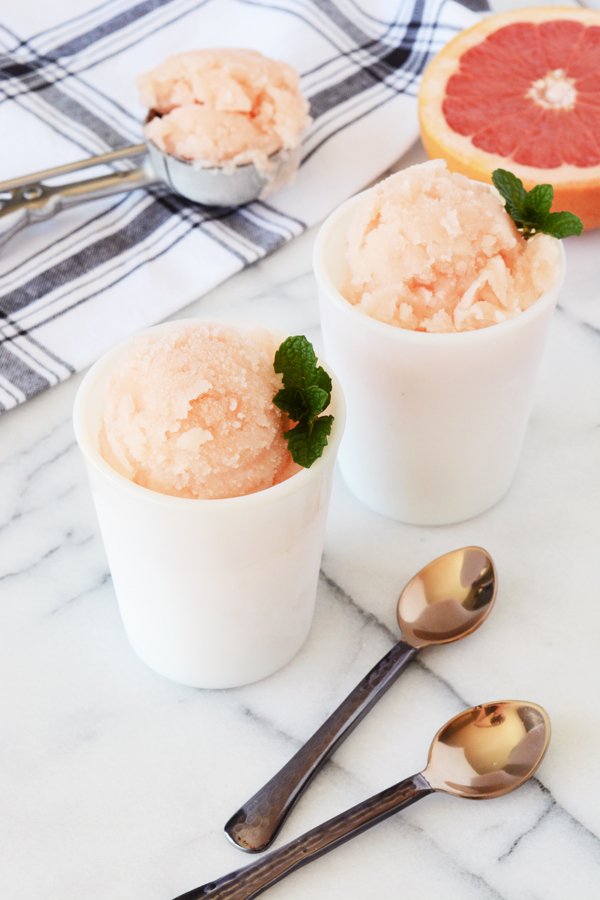
Grapefruit Mint Sorbet

February 11, 2016

I don’t know what I love more about this recipe, the pretty peachy pink color or the taste. Ok, taste wins because this sorbet is so bright and fresh. Sweet, tangy grapefruit paired with refreshing mint make this delicious icy dessert. I do love chocolate, but if this sorbet and a slice of chocolate cake were put in front of me, I’d probably go with this Grapefruit Mint Sorbet. No lie, it’s that good friends.

This sorbet has simple ingredients and is very easy to make.  

Grapefruit Mint Sorbet

4 cups of grapefruit juice (2 16 oz. bottles of Natalie’s Orchid Island 100% Grapefruit Juice)
1 1/2 cups of sugar
2 tbsp. finely chopped mint
a pinch of salt
Pour 1 cup of the juice along with the sugar, mint and salt into small pot.  Bring to a boil and boil for just one minute.  Allow the syrup to cool completely. Pour through a strainer to remove the mint leaves.  In a large bowl combine the remaining juice and syrup.  Chill in the fridge for at least 1 hour.  
Following the instructions of your ice cream maker, freeze the sorbet. I have a Cuisinart Freezer and it took about 20-25 mins to freeze this sorbet completely.  Transfer the sorbet to an air tight container and freeze in the freezer for a couple more hours before serving.  
This recipes makes 4-6 generous servings.  Garnish with a couple fresh mint leaves.

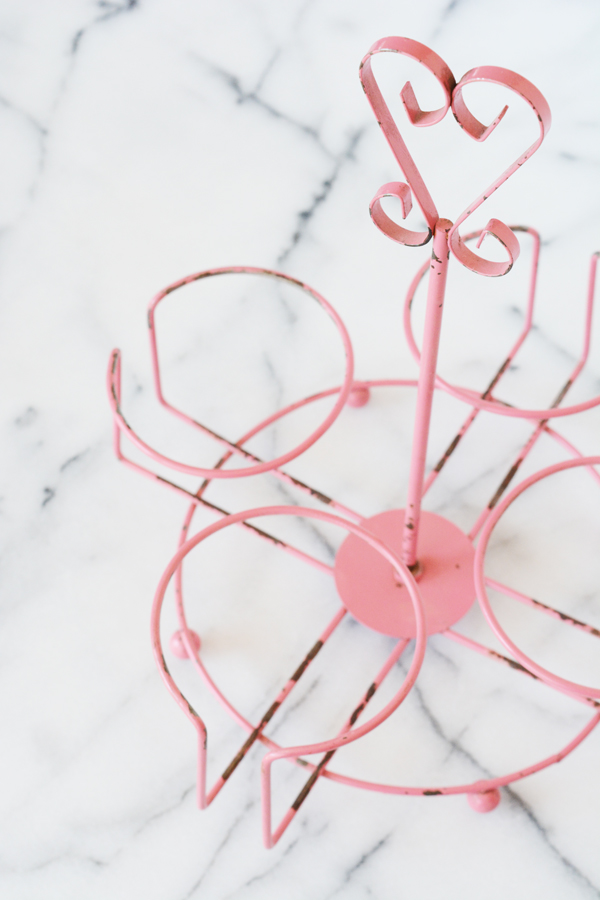
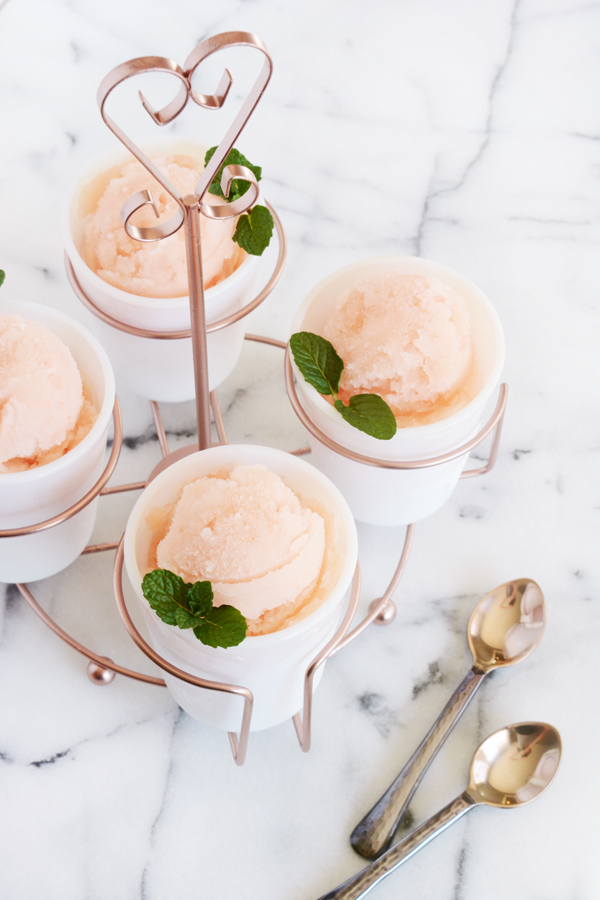
I found this little metal cup caddy at the antique mall for just $10.  I gave it a quick coat of rose gold spray paint, and now it’s perfect for serving my sorbet in little vintage milk glass glasses.


This post is sponsored by Natalies’s Orchid Island Juice Company.  Thank you for supporting the companies that help make this blog possible. 

Food & Drink

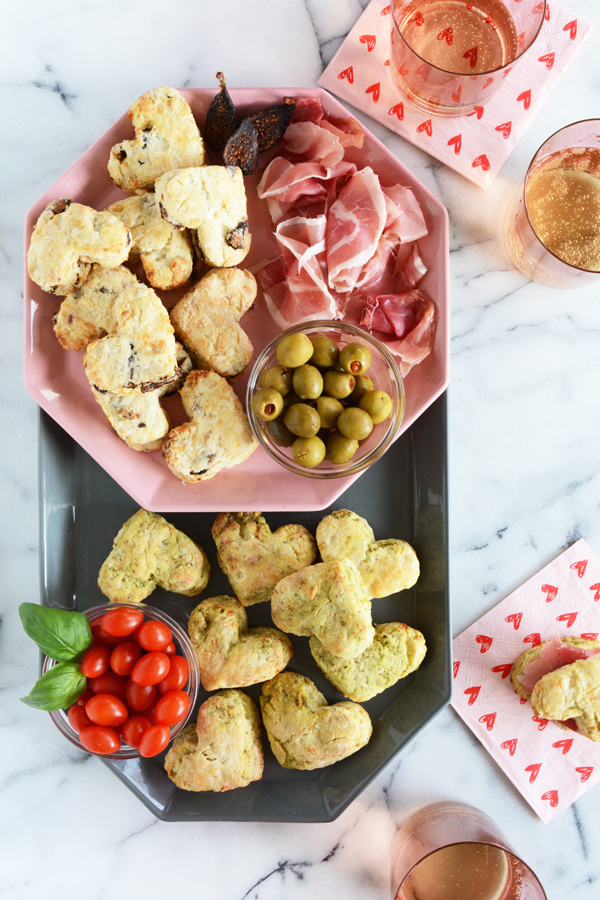
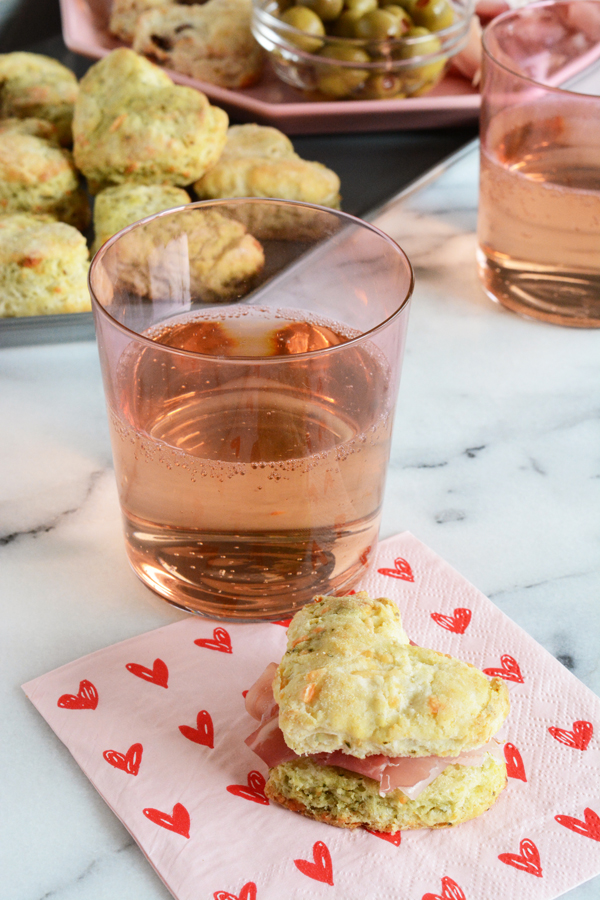
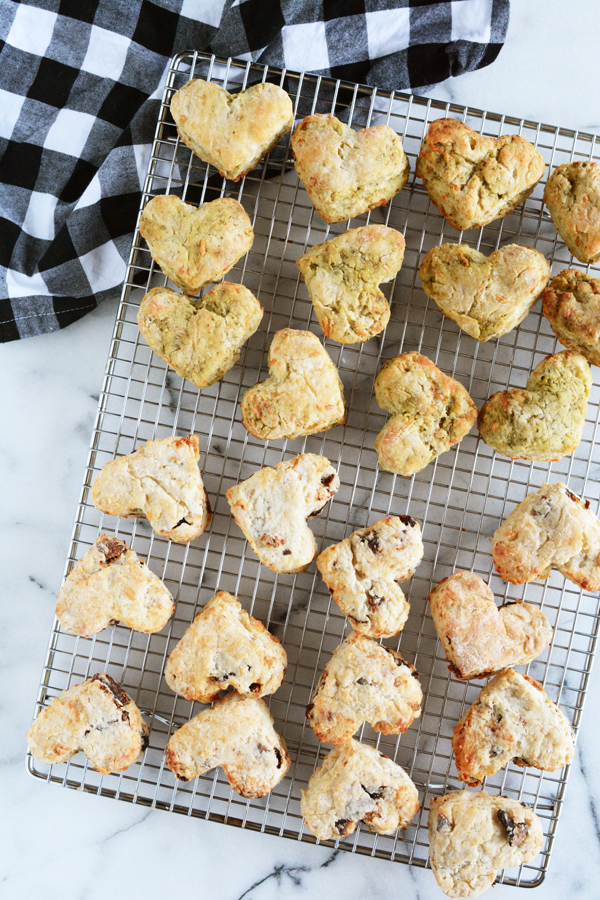
Savory Scones Two Ways for Valentine’s Day

February 9, 2016

I’m a huge fan of a buttery scones, sweet or savory, I love them all. This year, instead of chocolatey sweets, I’m opting for these little heart shaped scones to win the heart of my love. I’ve come up with two fun flavor combinations – Blue Cheese Fig and Pesto Parmesan.

You can find both recipes and lots of how-to pictures over on CB2‘s blog Idea Central today. Skip dinner plans out and just serve appetizers and drinks for a fun night in.

Food & Drink

Throw an Easy and Elegant Valentine’s Day Party

February 4, 2016

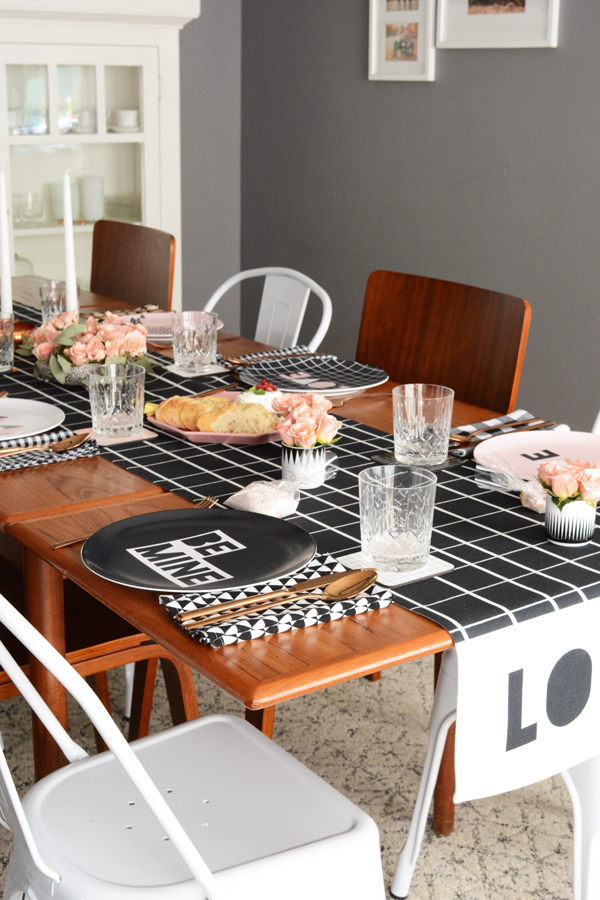
I love prepping for a party and then getting to see how it all come together in the end.  Hosting an elegant Valentine’s Day Party can be really easy.  I’m sharing with you my dinner party must haves.
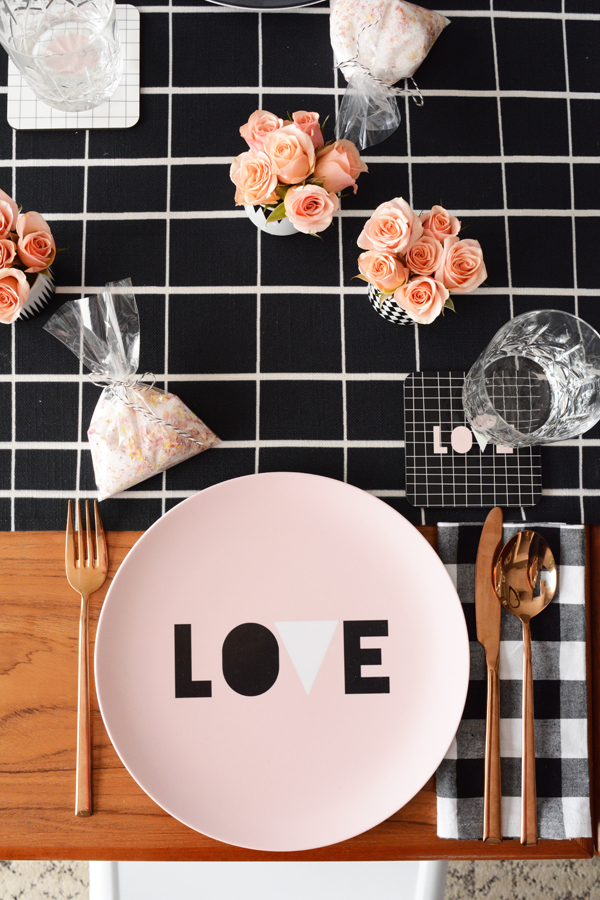
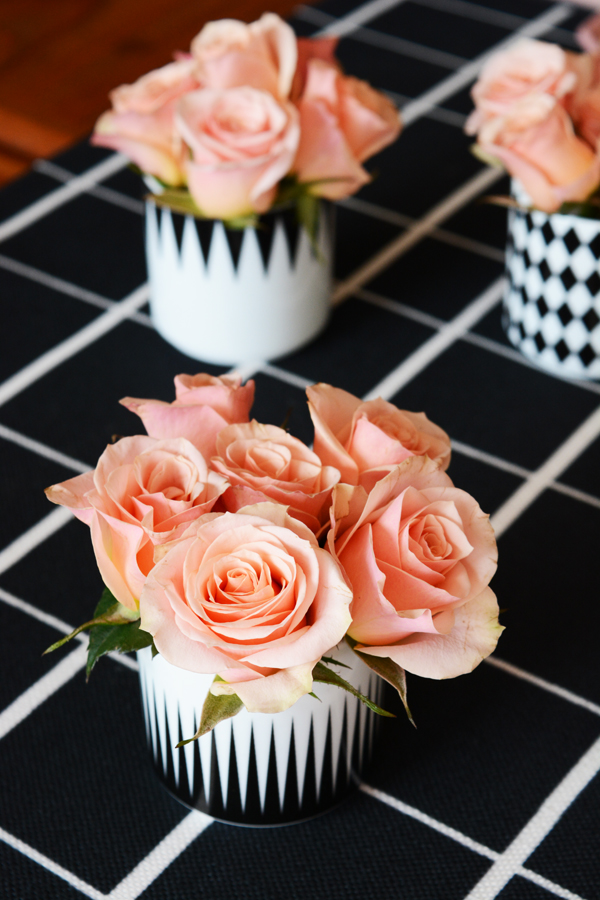
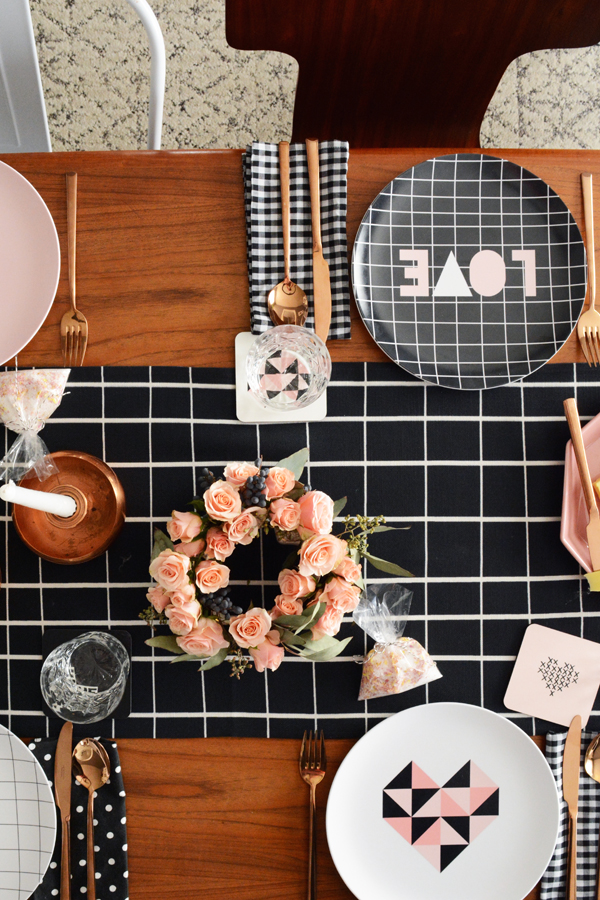
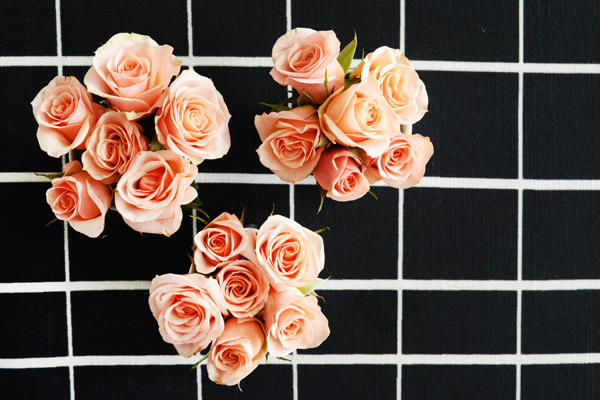
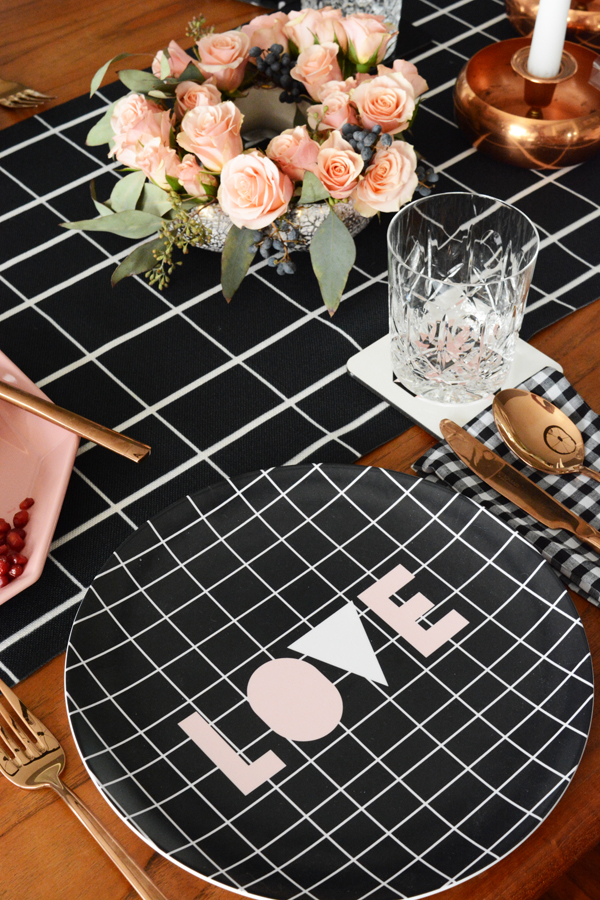
1.  Flowers instantly make a table feel special.  Guests will notice this extra effort.  They don’t have to cost a lot either.  I used inexpensive spray roses, that can be purchased at your grocery store or local florist for about $10.  Small, low arrangements across the table give you a lot of bang for your buck.  
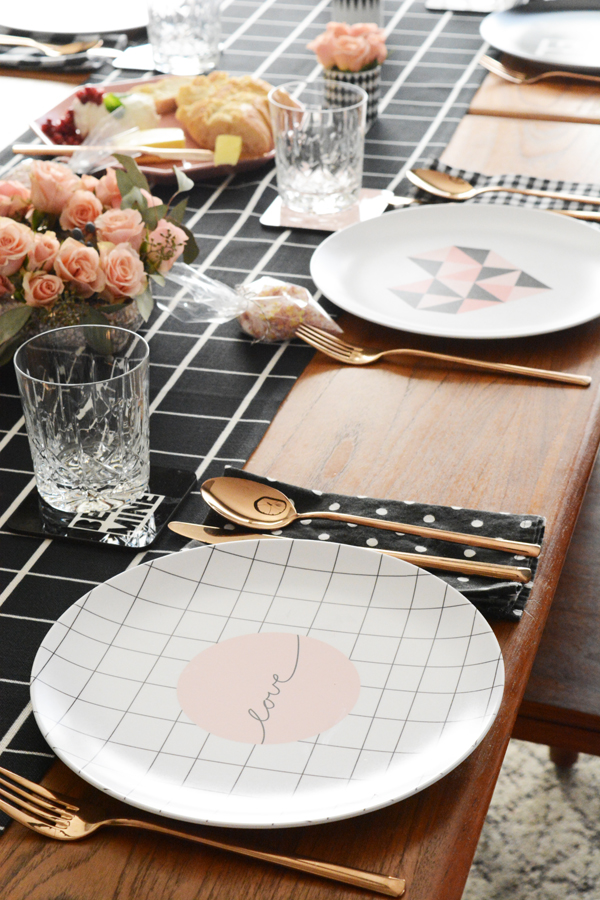
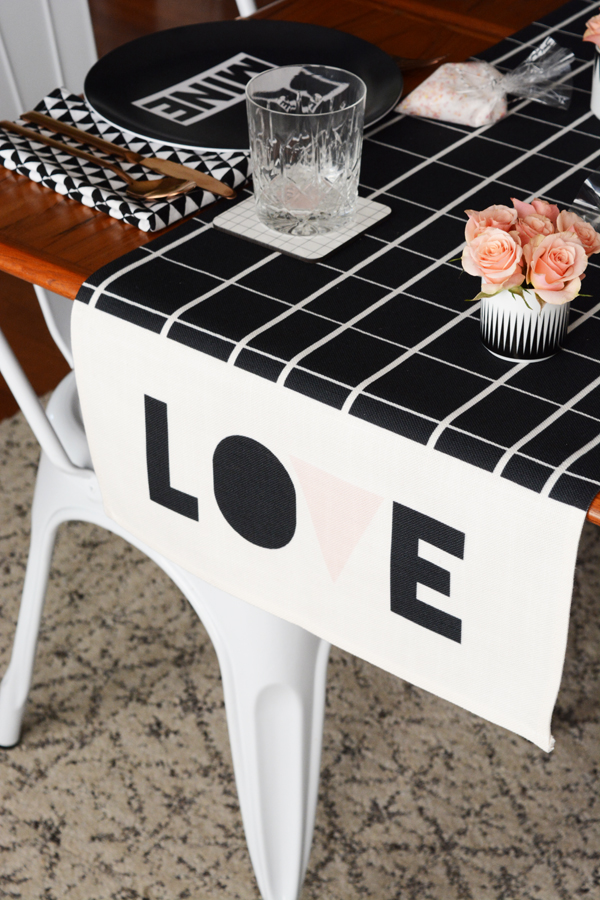
2.  Set the table.  I tired of buffet lines and piles of paper plates.  Let’s set the table with real dishes, real cutlery and gasp…… real cloth napkins.  As a foundation, I laid a long custom table runner down the center of the table.  I made this one-of-a-kind runner at Shutterfly to go with the plates and coasters I made. (If you’d like to make a runner for yourself, you can download my design HERE.)

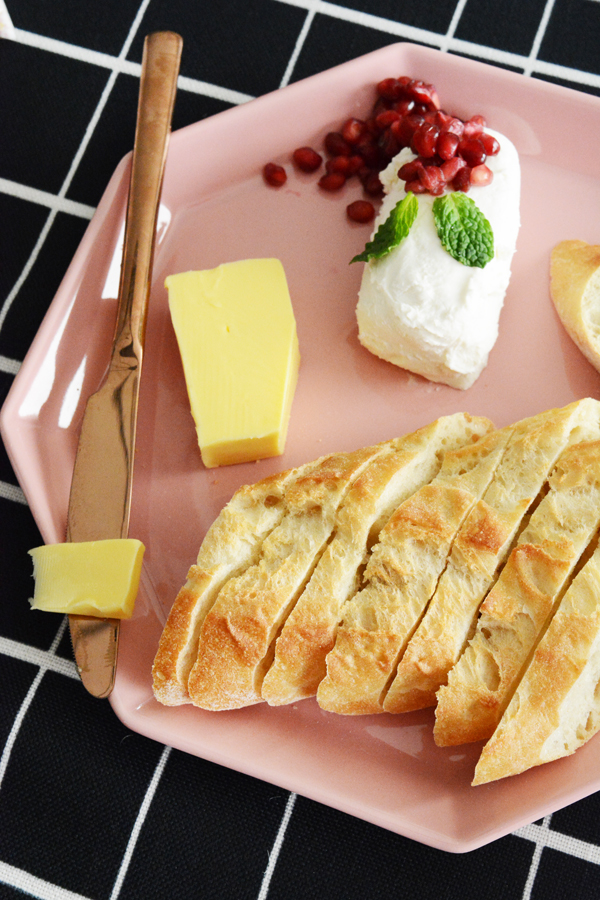
3.  Start with everyone’s favorite – bread and butter.  When guests can munch on bread, butter and a little cheese, you can feel ok about finishing up the finally touches on the rest of the meal. When folks are eating and drinking, they are usually happy. And don’t worry, there’s even some good gluten free options out there.

4.  Plan a simple homemade menu. Don’t over think the meal, just make a few good dishes that everyone will enjoy.  A heavy, carb loaded meal, will leave guests feeling weighed down.  I’m serving this light menu below that features a pretty salad and grilled salmon.  Guests will also appreciate that you cooked them a meal from start to finish.
French Baguette, Butter, and Goat Cheese
Grilled Salmon
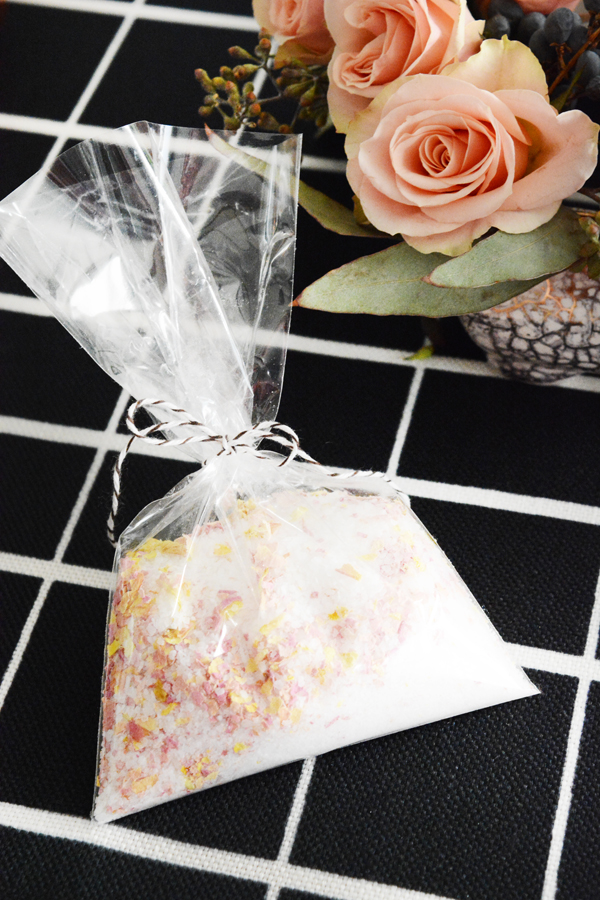
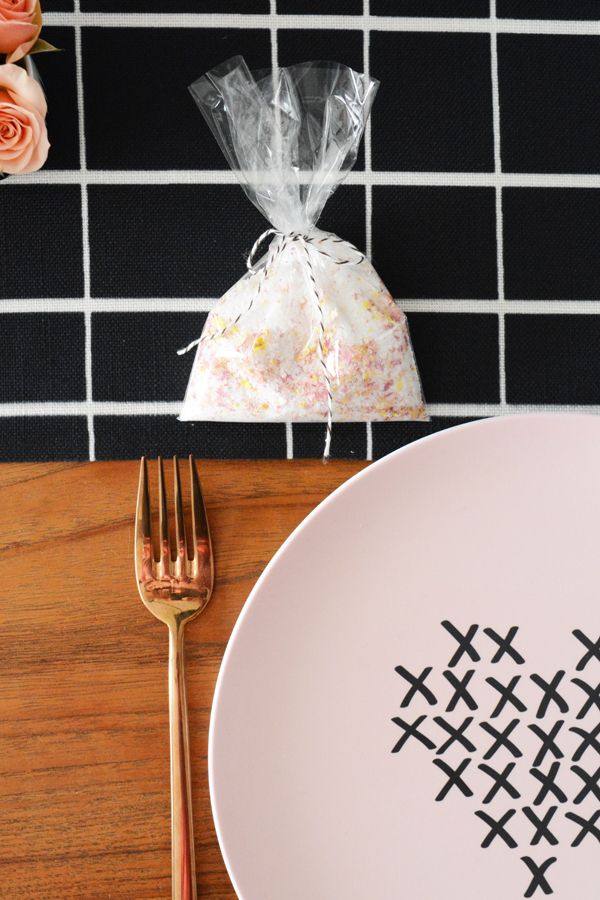
5.  Have a favor for your guests. You’ve gone to all this effort to make your guests feel special, give them a little memento to help them remember this event. You could give each guest one of the small flower arrangements from the table or I made little packages of bath salts for everyone to take home.

DIY Rose Petal Lavender Bath Salts

2 cups of Epsom salts
a few drops of lavender oil
1/2 cup of dried rose petals
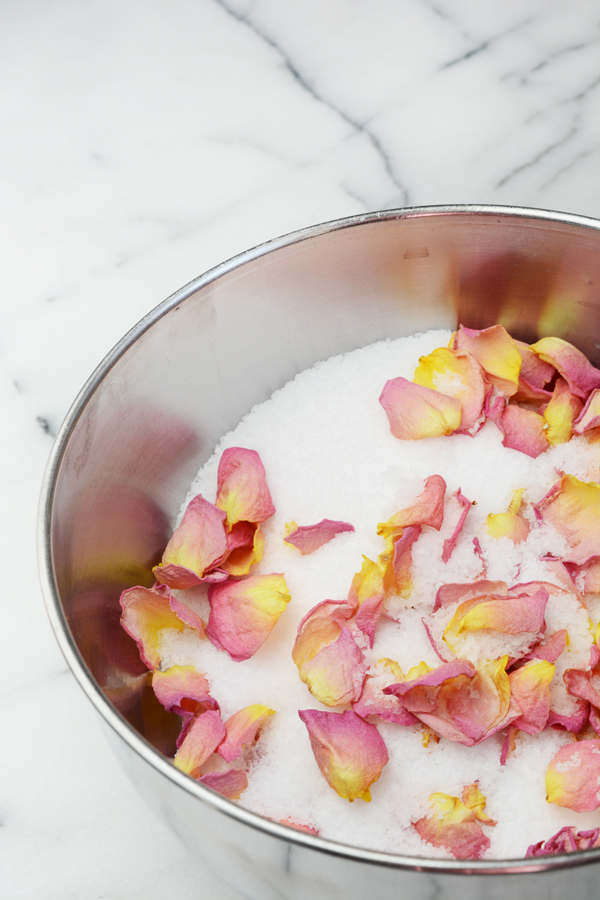
I took a small bunch of spray roses, and once they had wilted, I pulled off all the petals and allowed them to air dry for a day or two.  But, be sure to enjoy the roses for a couple days first.
In a food processor, place the salt, lavender oil and rose petals. Pulse on and off until the petals finely chopped and the oil is incorporated. 
Pour 1/2 cup in clear bags and tie with simple twine.  

Now you are set to host your on dinner party or luncheon. If you are a host or hostess with the mostest, what are your tips and tricks for throwing a party? I’d love to hear from you.
Be sure to check out Shutterfly’s Design Studio for inspiration and lots of great DIYs and downloadables. This coffee table and this living wall are pretty cool. 


This post is sponsored by Shutterfly.  Thank you for supporting the companies that help make this blog possible.

Food & Drink

Winter Pomegranate Salad and DIY XO Salad Spoons

February 1, 2016

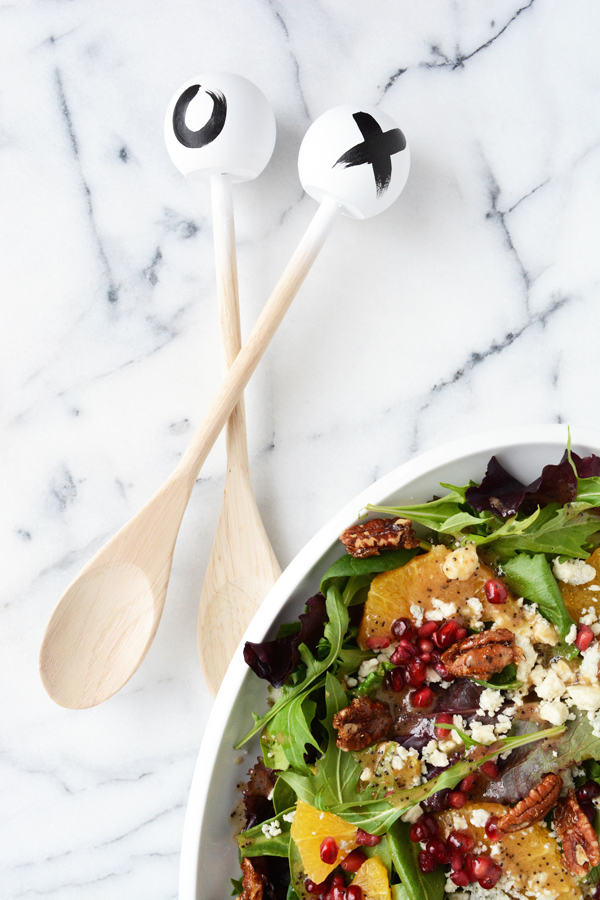
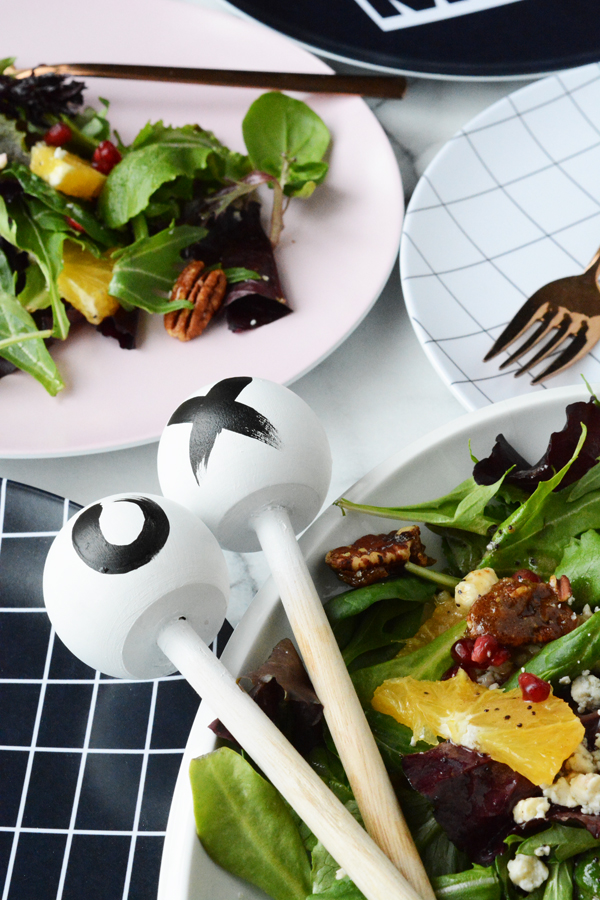
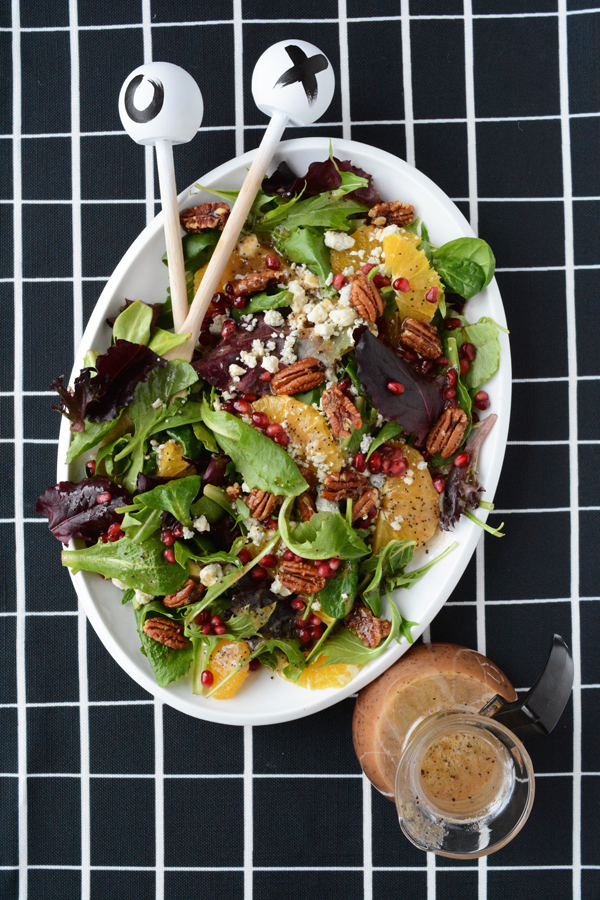
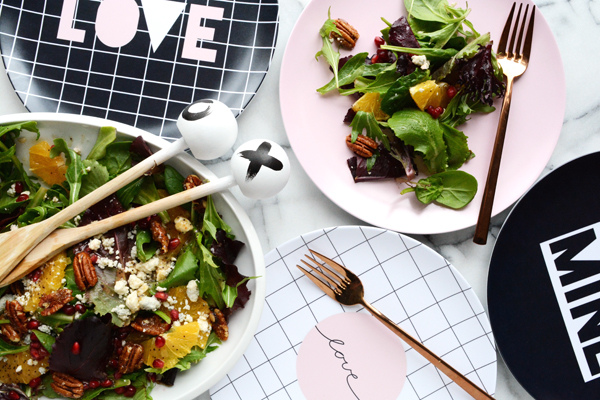
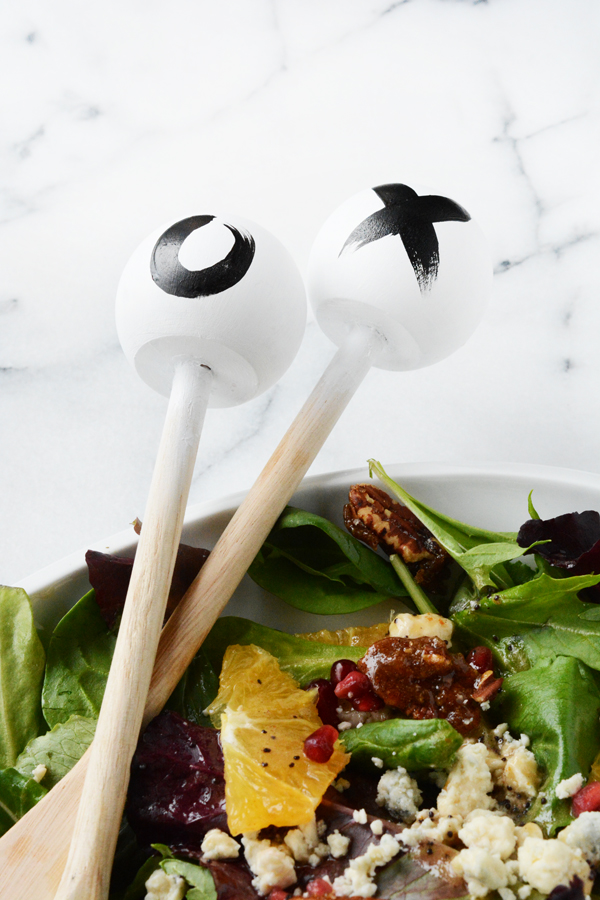
February is here, whether we are ready of not. This short month always seems to fly by, but one thing I love to do is plan a Valentine’s Dinner for my family. This year I have a light, but really colorful salad on the menu. If you add cheese, fruit and nuts to a salad, it’s guaranteed to be a winner.  This Winter Pomegranate Salad is loaded with all the yummy things.  And to give this salad a little extra love, I made some fun DIY XO Salad Spoons to serve it with. Keep reading for the recipe and DIY instructions below. 
Winter Pomegranate Salad
6 – 8 cups spring greens mix or baby spinach
2 oranges
1/2 cup pomegranate seeds
1/2 cup cinnamon sugared pecans (see instructions below)
1/2 cup blue cheese crumbles
pomegranate poppy seed dressing (see recipe below)
To candy the pecans, pour 1/4 sugar in a not stick frying pan and sprinkle with 1/4 cinnamon. Put on high heat and heat until the sugar just starts to turn to a liquid.  Add the pecans and toss to coat all of them.  Remove from the heat and pour the pecans onto a piece of parchment paper to cool. Break apart any nuts that are stuck together. 

Pomegranate Poppy Seed Dressing

1/4 cup pomegranate juice
1/4 cup white balsamic vinegar
zest of one orange
3 tbsp. honey
salt and pepper
1 tbsp. poppy seeds
1/2 cup olive oil
Mix the first 6 ingredients in a large mason jar or in a bowl with a whisk. Add the olive oil and whisk or shake vigorously. Store in the fridge in an air tight container.  Allow the dressing to come to room temperature before serving, if the olive oil is too cold it will become a solid.  
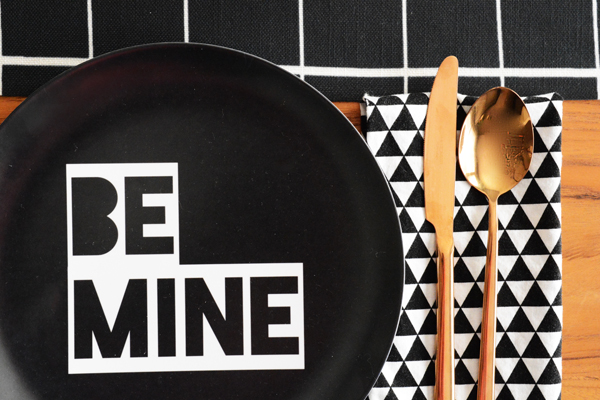
What’s a dinner party without pretty dishes? Just like the adorable coasters I made with Shutterfly, I took some of my favorite Valentine’s designs and had them printed on plates. These are going to be fun plates to pull out every Valentine’s Day.  
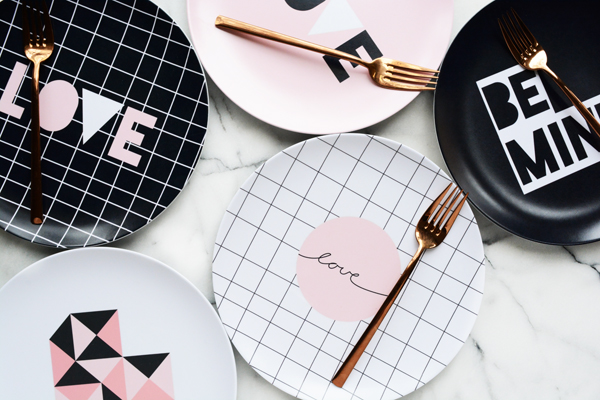
Shutterfly is so much more then just prints and photobooks. You can add your favorite pictures or illustrations to their plates for a one of a kind look. Or maybe you just like these plates I designed, if so, you can download the images HERE and make a set for yourself.  

DIY XO Salad Spoons

Here’s what you’ll need:

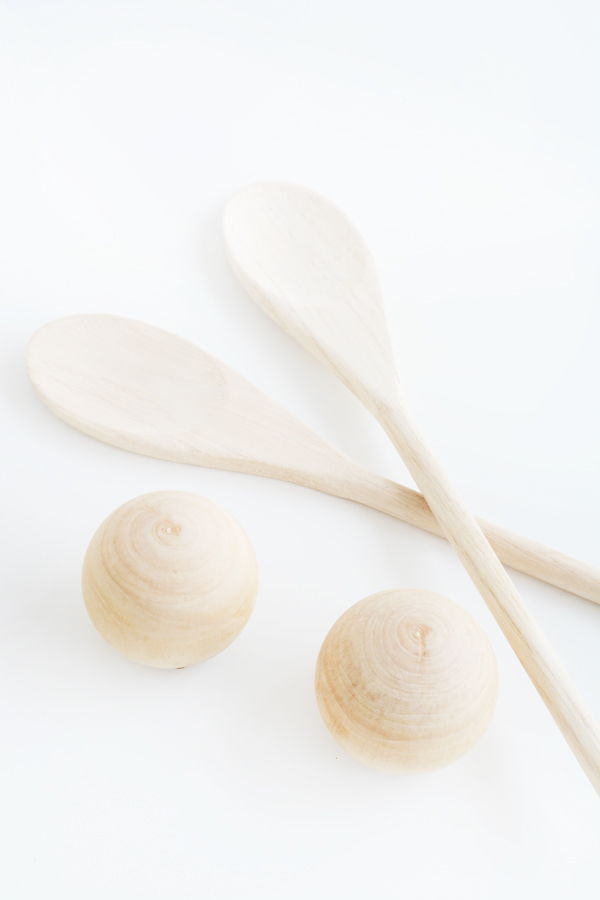
2 wooden spoons with round handles
2 2′ wood balls with flat bottoms (found at the craft store)
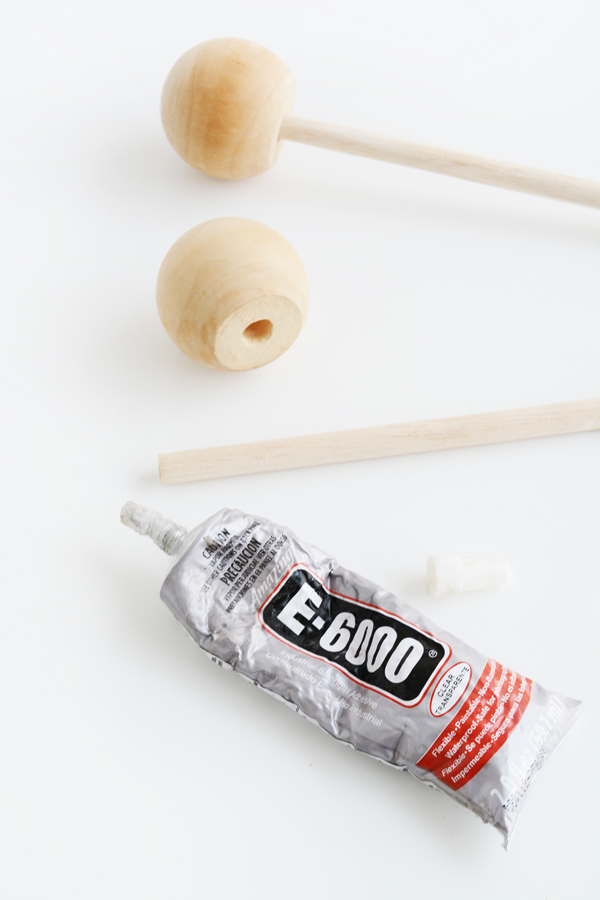
E6000 Glue
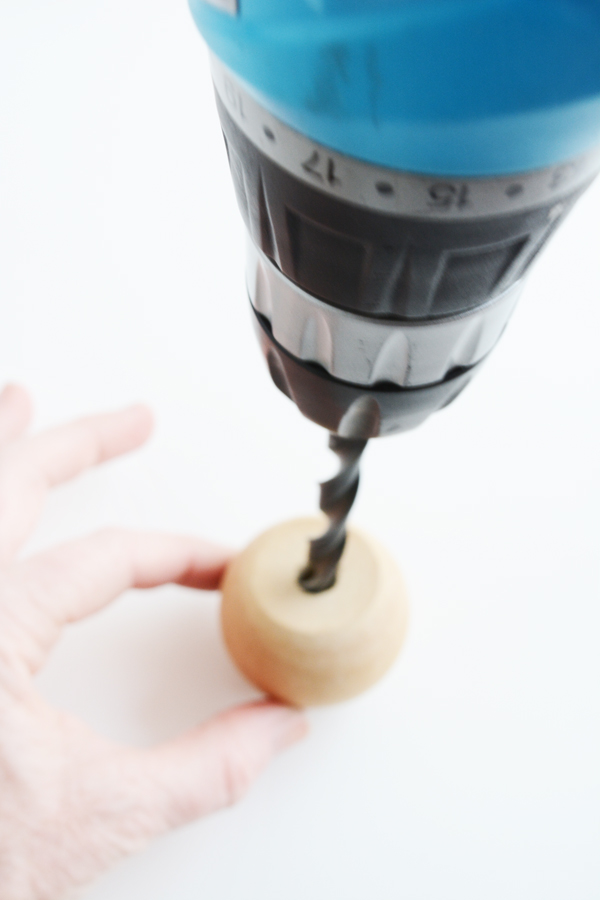
drill and drill bit the size of the spoon handles
white and black craft paint
paint brush

Start with a drill bit the same size as the handle of the wooden spoons. on the flat side of the wooden ball drill in about 1/2″ deep.
Using the E6000 glue, attach the spoons to the wooden balls.  Allow to dry for at least 1 hour.
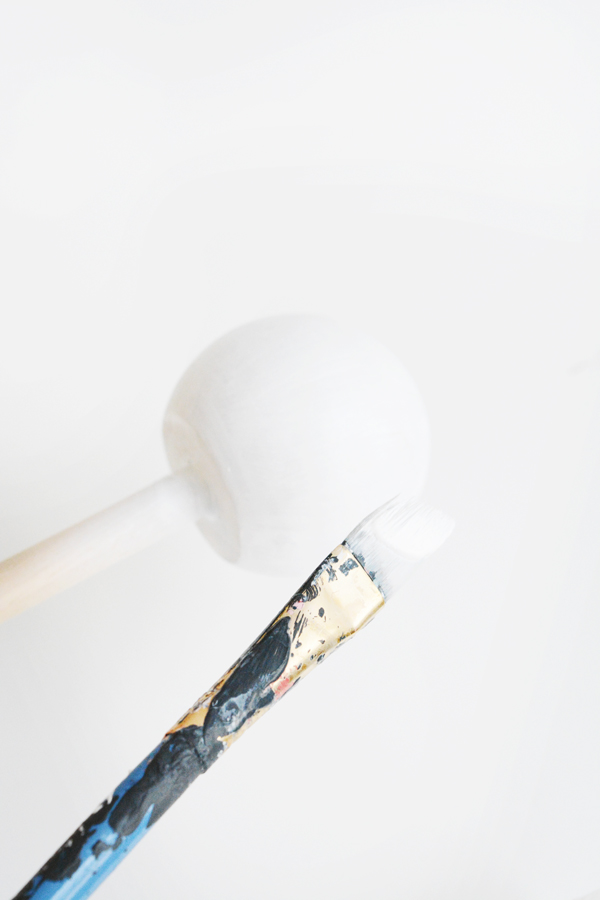
Paint the wooden ball and part way down the handle with the white paint.  You may need to give them 2 coats of paint.  
When they are completely dry, you can paint on the X and the O with a small paint brush and black paint.  I practiced on a piece of paper first to get an idea of the shape and size of the letters I wanted to paint.  And then, just go for it! 

Be sure to check out Shutterfly’s Design Studio for inspiration and lots of great DIYs and downloadables. This coffee table and this living wall are pretty cool. 


This post is sponsored by Shutterfly.  Thank you for supporting the companies that help make this blog possible.

Food & Drink

Valentine’s Day Coasters and Pomegranate Basil Lemonade

January 29, 2016

Does anyone else love that Valentine’s Day gives you an excuse to be extra girly and add tones of pink to everything?  I do! I tend to be pretty neutral in the colors I use in my home and wardrobe, but when Valentine’s Day hits, I’m all about the PINK! 
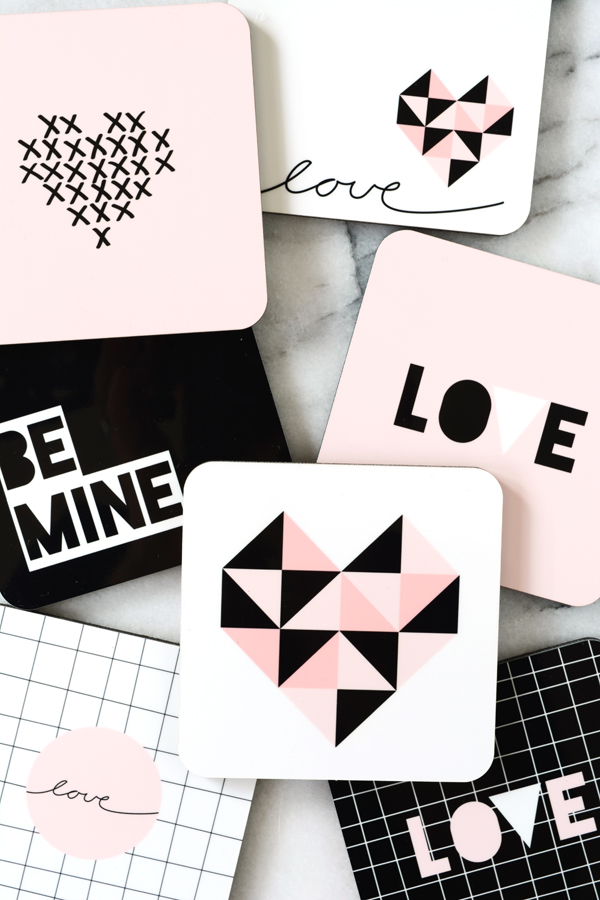
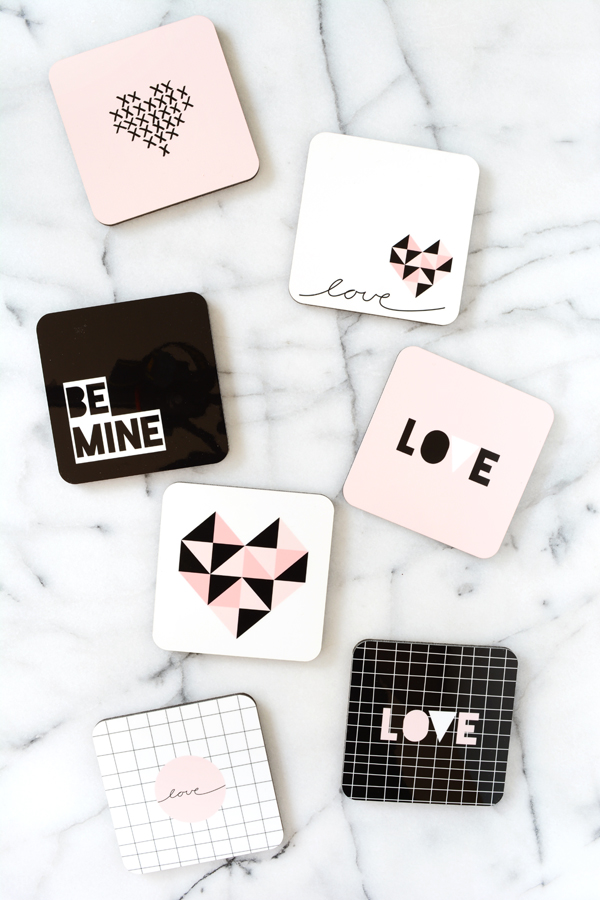
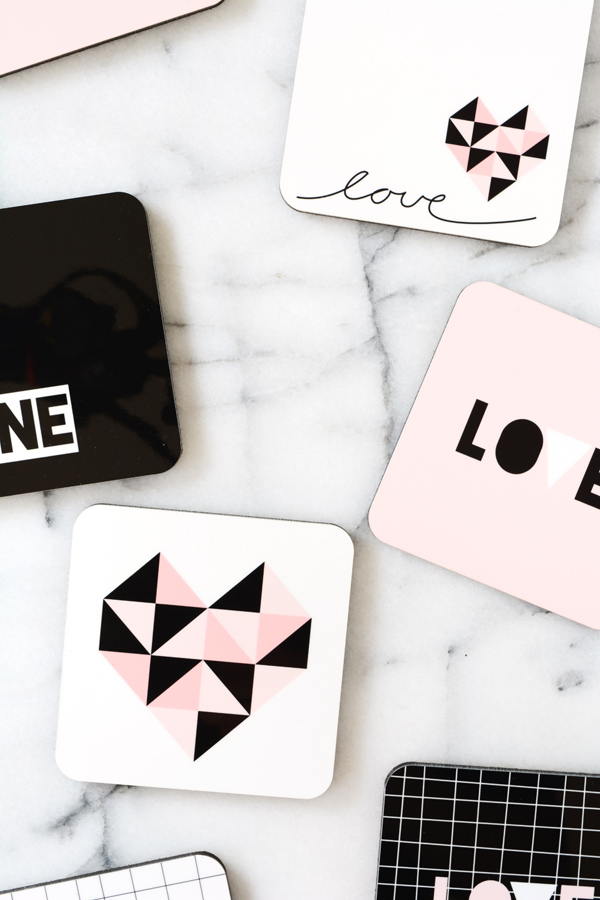
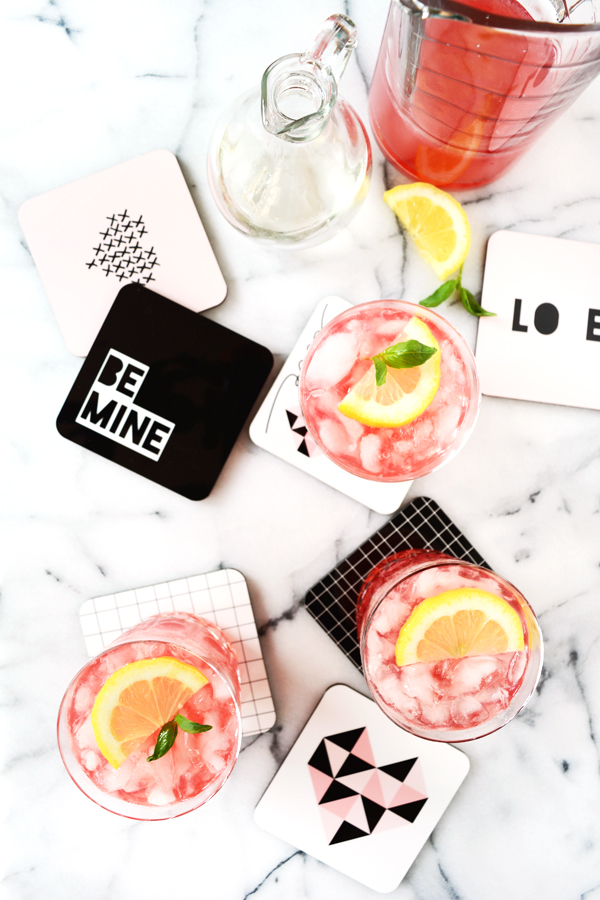
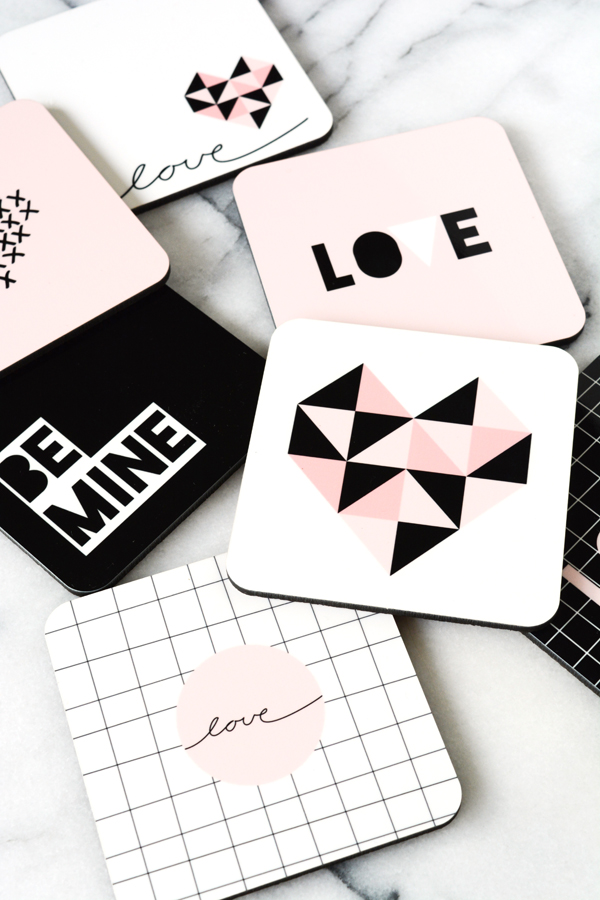
This year, I teamed up with Shutterfly to make some fun custom Valentine’s Day decor. These coasters might not get put away after February 14th.  You can add cute pictures of your kids and pets, images from your favorite vacation, or add your own illustrations like I did. I took some of my favorite designs that I’ve created over the years (like the geometric heart and these simple designs I did last year) along with some new ones and had them put on coasters. Shutterfly is not just pictures and photobooks friends, they’ve got some really fun home decor pieces. If you like these coasters and would like a set for yourself, you can download the files HERE

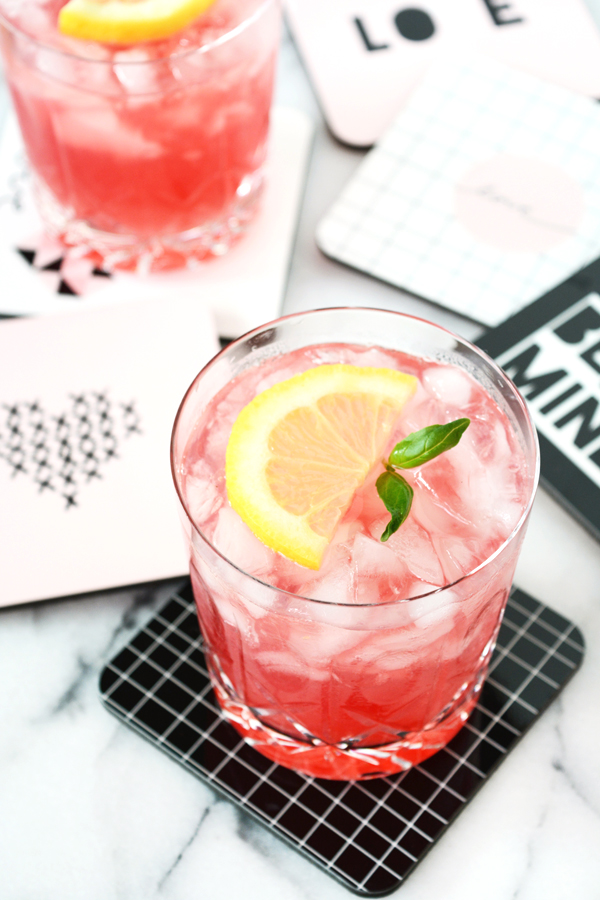
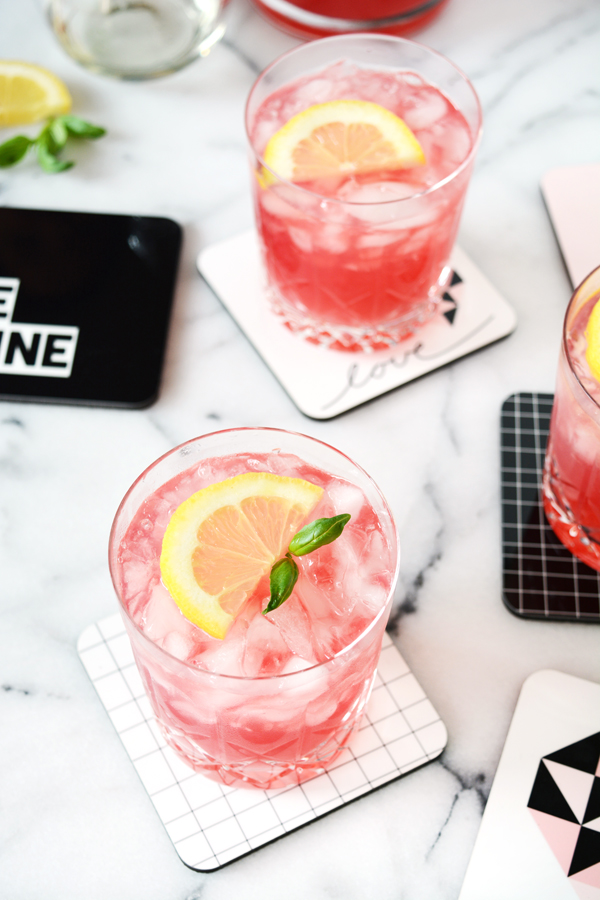
And what’s a coaster without a yummy drink to sit on it. Our lemon tree is loaded right now, so I’m serving refreshing Pomegranate Basil Lemonade this Valentine’s Day. 
Pomegranate Basil Lemonade
1 cup pomegranate juice
6 lemons, juiced
1 cup basil simple syrup (see recipe below)
6 cups of water
ice
In a large pitcher, combine the pomegranate juice, lemon juice, basil syrup and water.  Mix well. Serve with lots of ice and garnish with a slice of lemon and sprig of basil.


Basil Simple Syrup
1 cup water
1 cup sugar
2 tbsp. fresh basil chopped

Bring water, sugar and basil to a boil.  Boil one minute or until the syrup dissolves.  Strain basil leaves from the syrup.  Allow the syrup to cool completely, store in an airtight container in the fridge.

Be sure to check out Shutterfly’s Design Studio for inspiration and lots of great DIYs and downloadables. This coffee table and this living wall are pretty cool. 

This post is sponsored by Shutterfly.  Thank you for supporting the companies that help make this blog possible.
Food & Drink

Red Velvet Sundaes

January 25, 2016

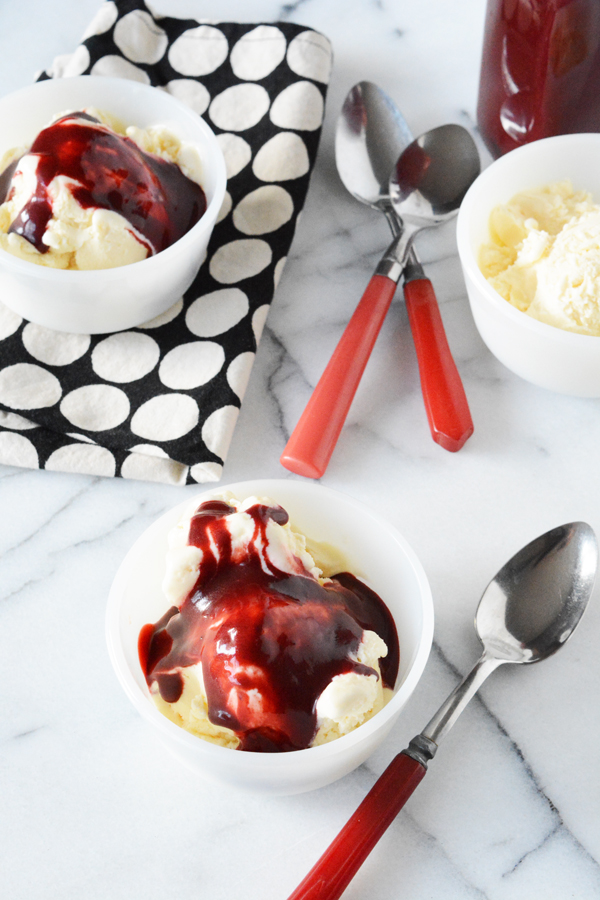
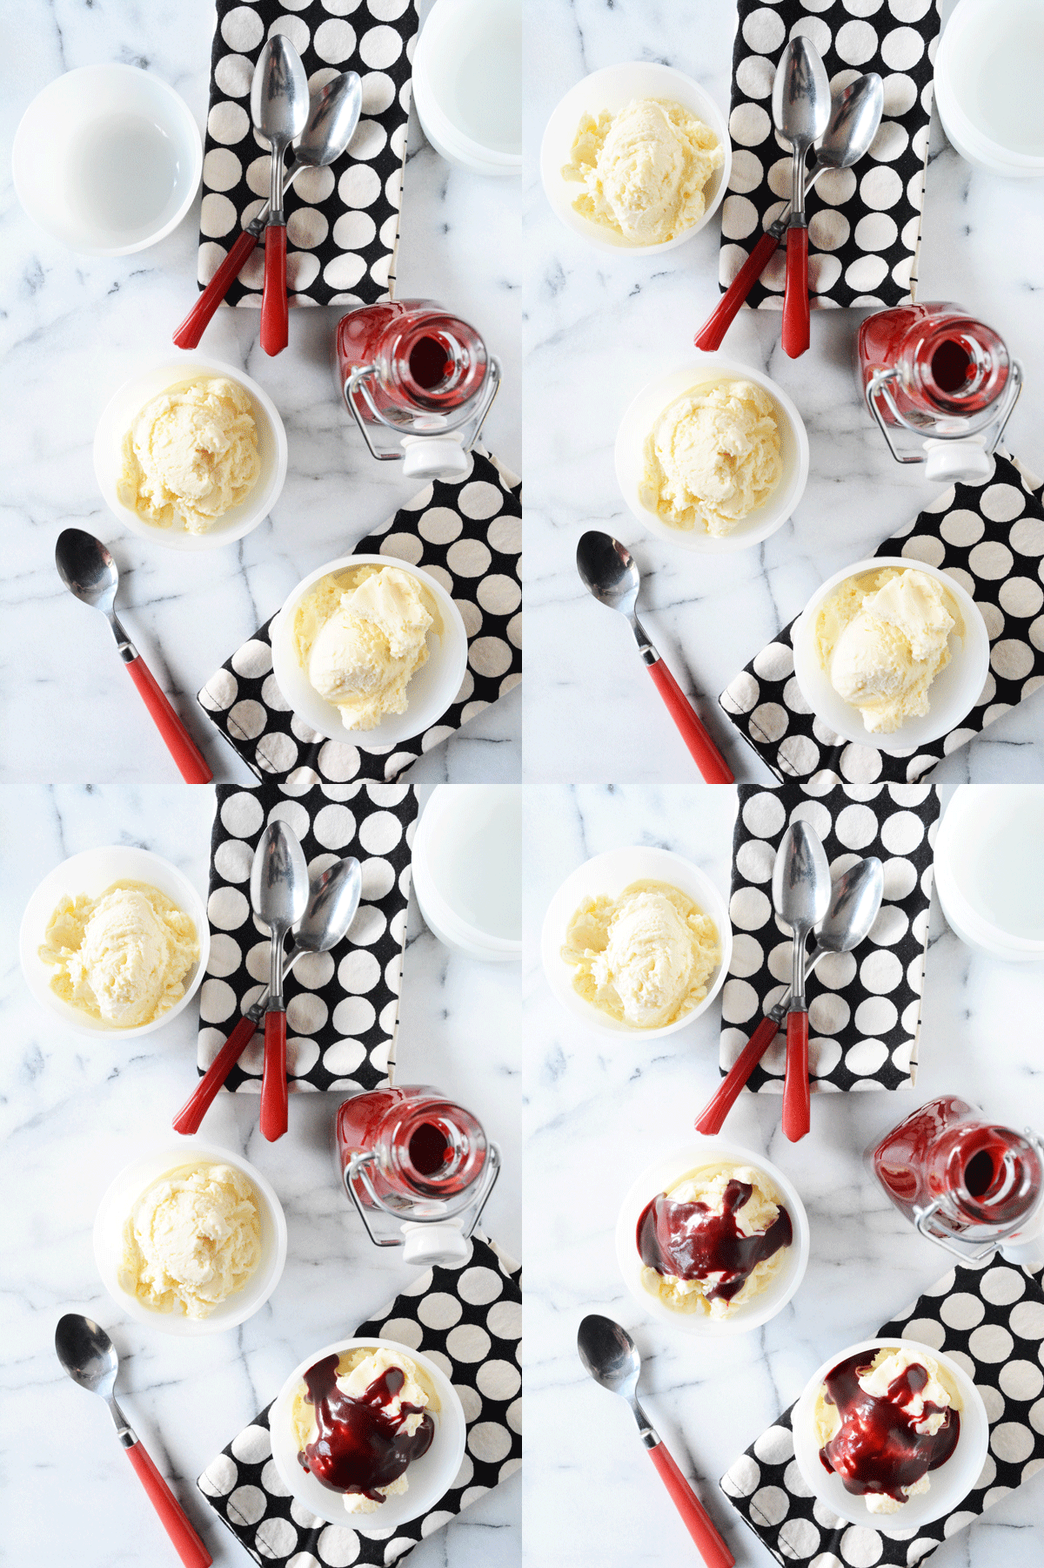
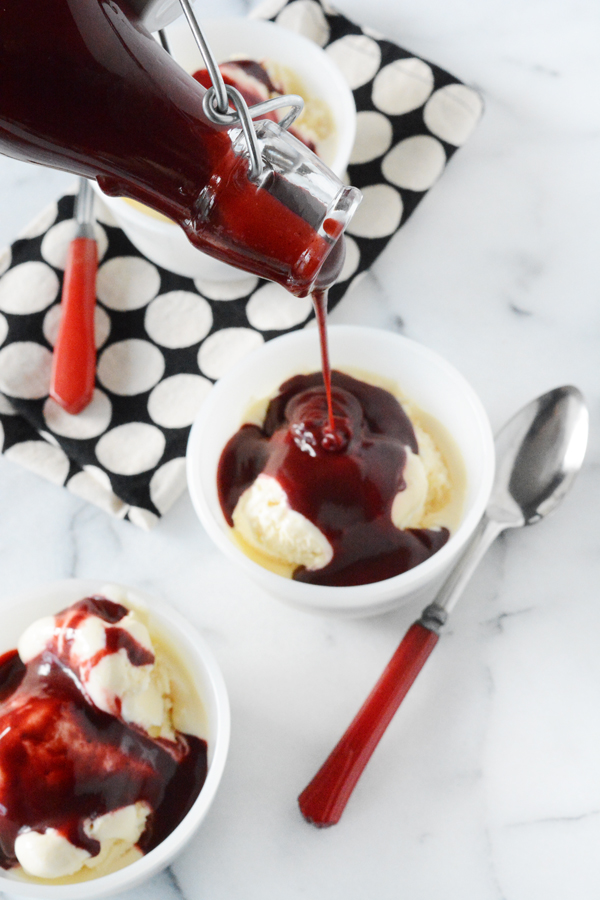
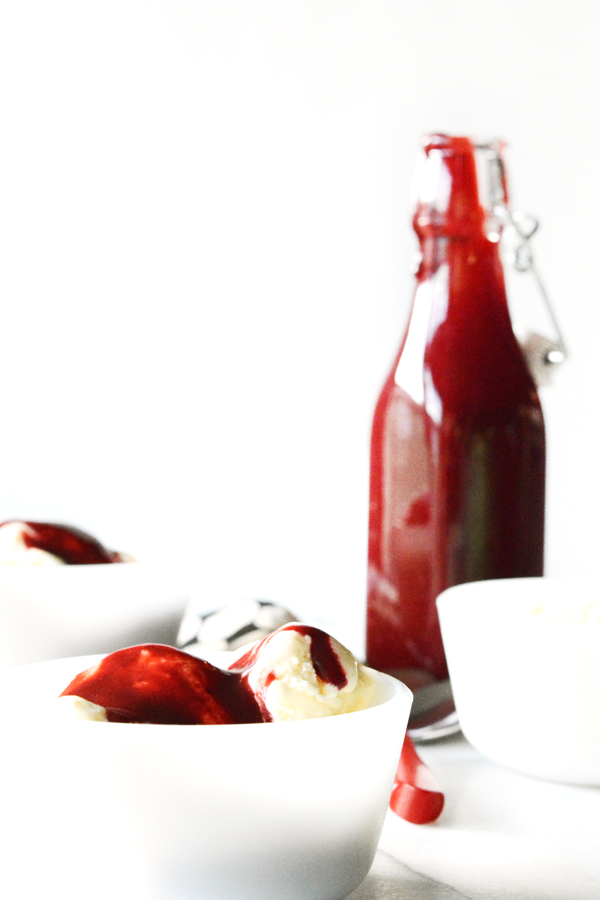
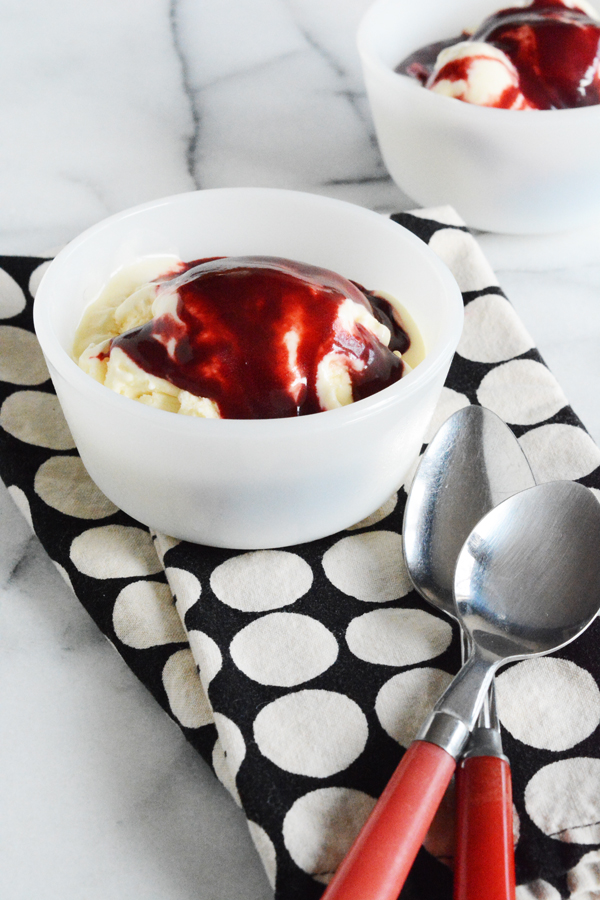
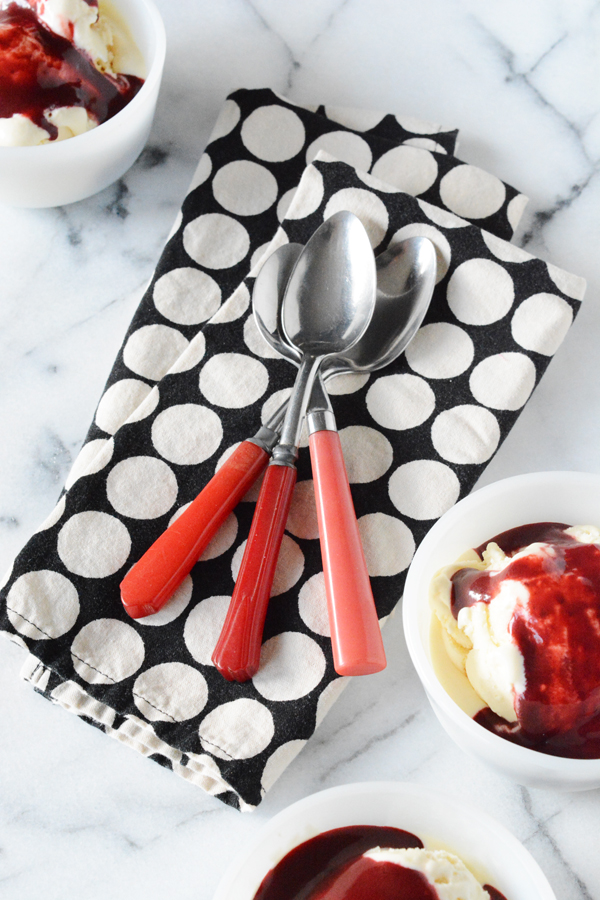
Valentine’s Day is just around the corner, and red velvet is always the perfect dessert for this holiday. I’ve already made these sundaes twice for my family.  I have to say, this might just be the best homemade ice cream ever. It’s the creamiest, smoothest ice cream. Topped with rich red velvet fudge, it’s definitely a special treat. 
I couple years ago, when we were in New York City, I had a bowl of cream cheese sage soft serve at Momofuku’s Noodle Bar.  And ever since, I’ve wanted to make something similar. I finally got an cream cheese ice cream recipe down that I LOVE! 
Red Velvet Hot Fudge
3 tbsp. butter
1 cup sugar
3 tbsp. cocoa
1/2 cup evaporated milk
pinch of salt
1 tsp. vanilla
1 tsp. red food coloring
In a pot, bring the first 5 ingredient to a boil, whisking well.  Boil for just one minute and then remove from the heat. Add the vanilla and red food coloring and allow to cool a bit before serving. This sauce can be refrigerated and warmed when ready to serve. 
Cream Cheese Ice Cream

8 oz. cream cheese (room temperature)
1/4 cup sugar
1 egg
1tsp. vanilla
1 cup evaporated milk
With an electric mixer, beat the cream cheese until it is very smooth.  Make sure the cream cheese is room temperature or it will clump and not combine well.  Add the sugar and beat again. Add the egg and vanilla and beat for at least 3 minutes, until is is light a fluffy.  Slowly add the evaporated milk and beat until completely combined.  

Pour the mixture into an ice cream maker and freeze according to your machine’s instructions.  Store in an air tight container in the freezer.  It’s best to freeze this for a couple hours before serving.

Recipe makes enough for 4-6 sundaes.

When I’m hosting a party or get together, I love recipes that can be made days ahead of time.  It creates a lot less stress for the day of the event. These sundaes area  perfect make-ahead dessert.  It would also be fun to add some heart shaped sprinkles to the tops of these sundaes. 
So, for Valentine’s Day, are you a go-out or eat-in couple?  This year, I think I’d like to avoid the crowds and make a fun meal for my valentine and finish it with these sundaes.

Food & Drink

Cranberry Shirley Temple Mocktail

January 9, 2016

2015 brought a new series to O+P – Mocktails, fun drinks the whole family can enjoy.  I had a lot of fun coming up with nonalcoholic drinks that tasted like you were really having a special treat.

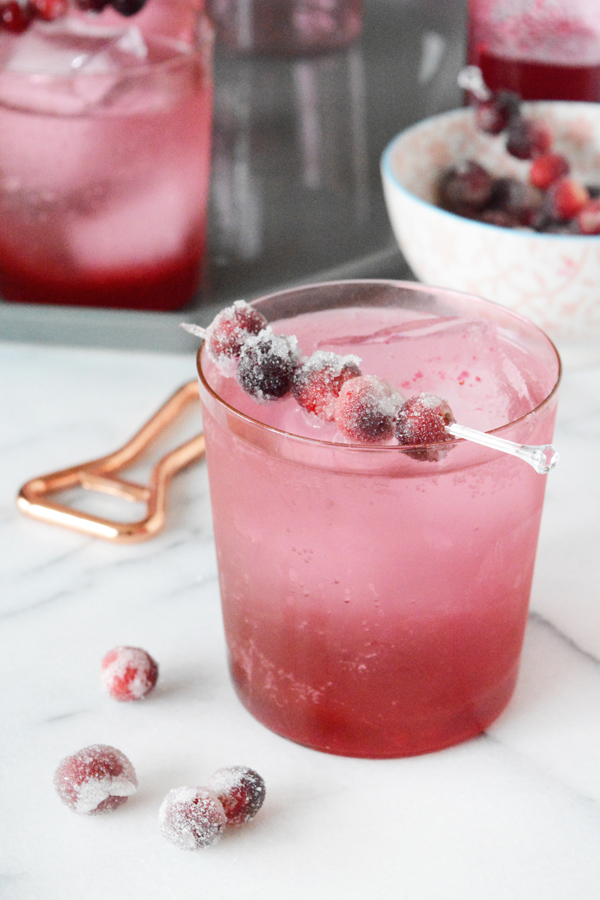
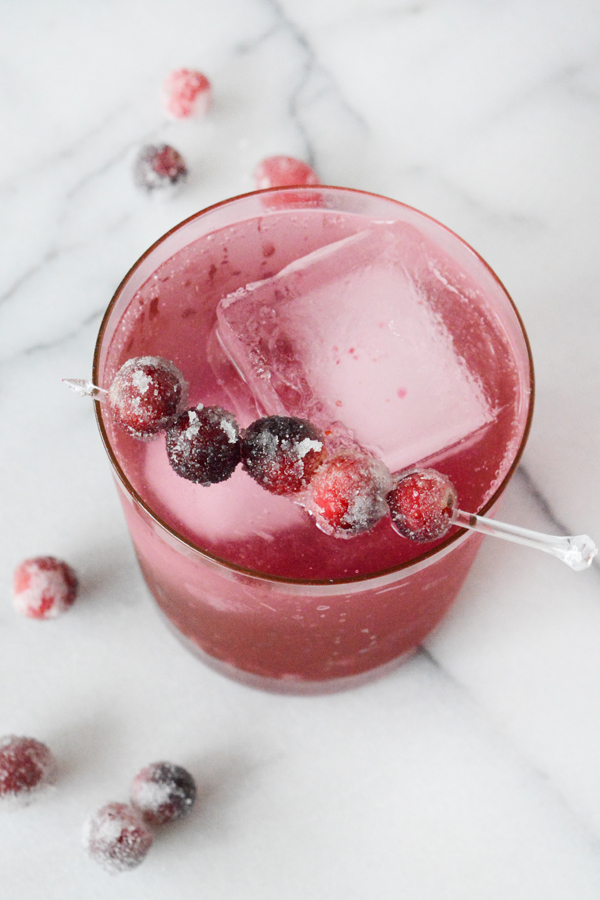
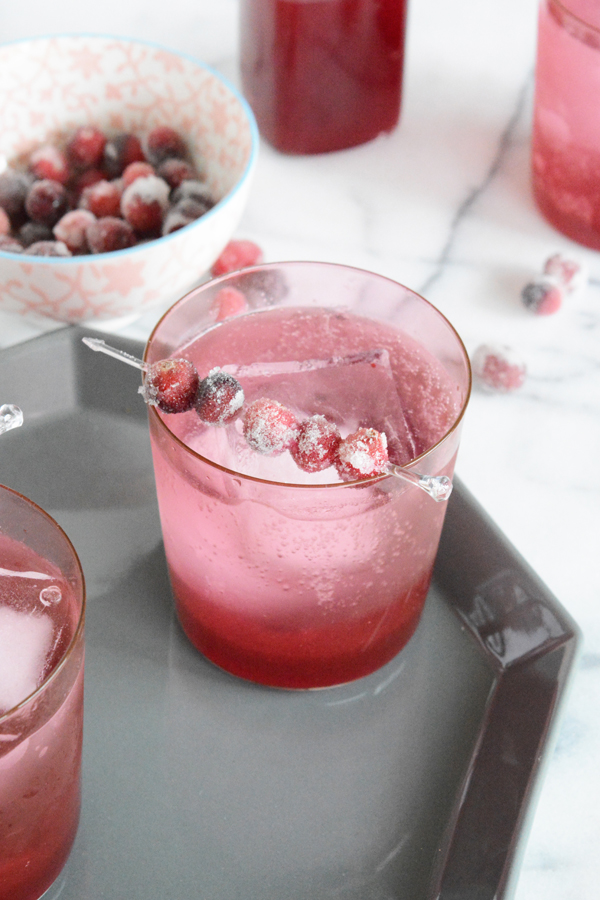
I’m starting 2016 off with a zesty Cranberry Shirley Temple.  I gave the most classic mocktail of all a modern twist with cranberries, orange zest and ginger.  You can find the recipe over on CB2’s blog.

If you’d like to see more of the Mocktail Recipes I’ve shared, click HERE.

Cheers! Have a great weekend friends.

Food & Drink

Candy Cane Italian Soda

December 24, 2015

Merry Christmas Eve! I think I’ve finally finished my shopping. Today I’m going to baking pies and making Swedish Cardamom Rolls. It’s snowing here in Idaho, and we are hoping it sticks. Before I get elbow deep in baking, I think I might go for a little run in the snow. 
I’ve had a lot of fun coming up with mocktail recipes, I think it’s a series that might stick here at O+P. And I’ve got one more fun family friendly mocktail for Christmas.  Kids big and small are going to love these Candy Cane Italian Sodas. 


Candy Cane Italian Soda

club soda
half and half
peppermint syrup
crushed candy canes

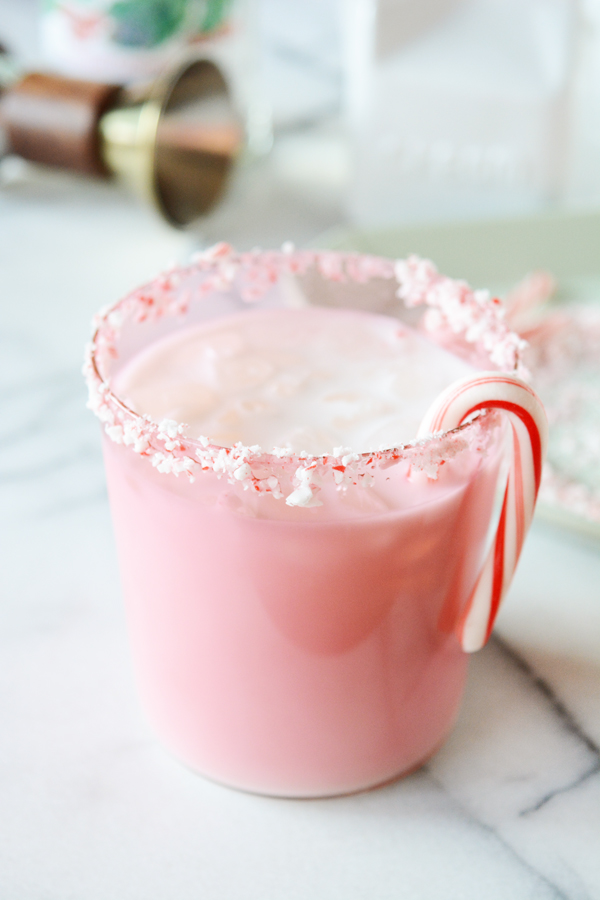
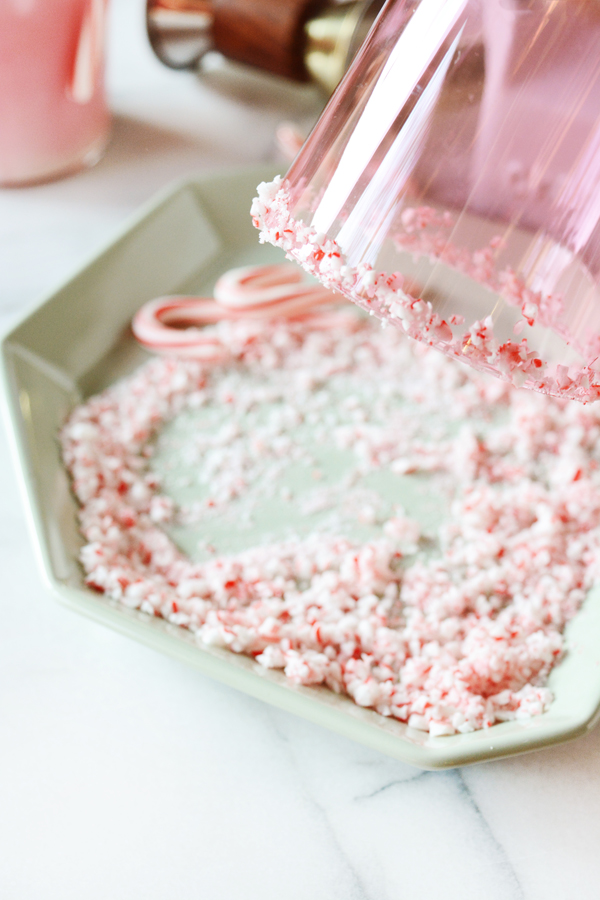
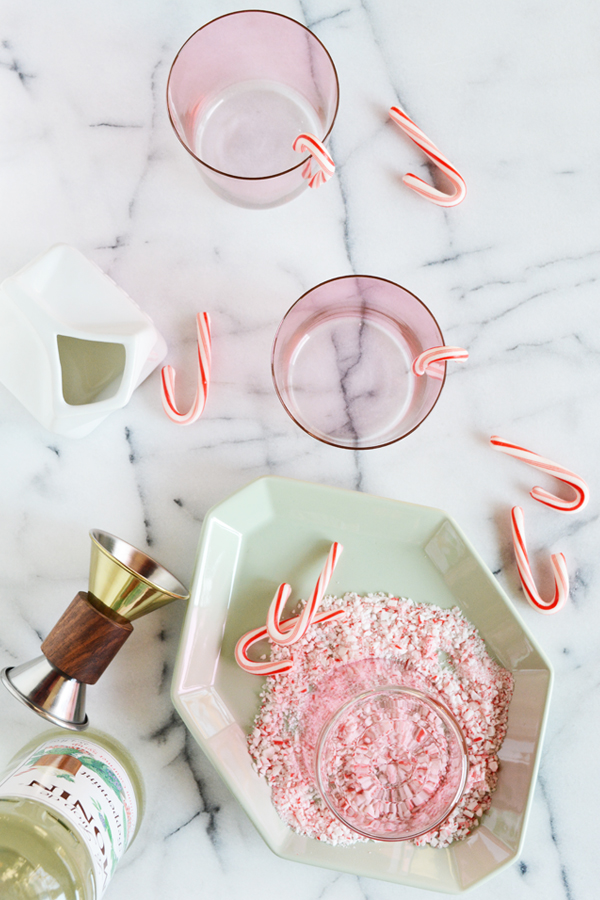
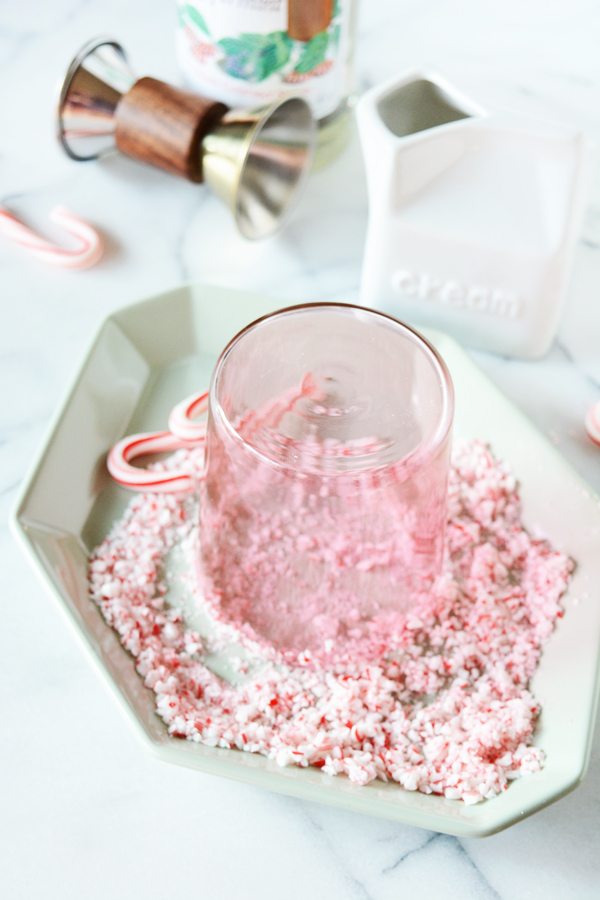
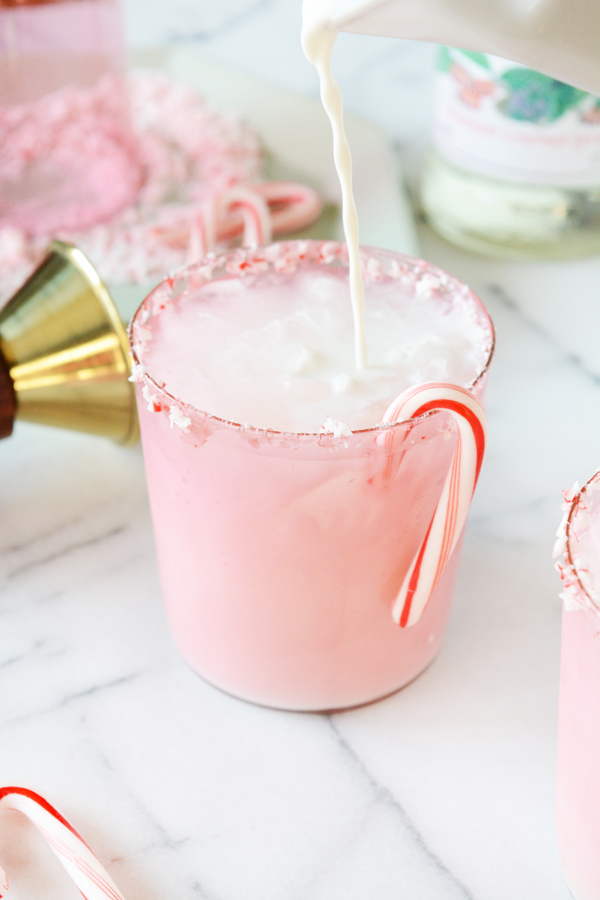
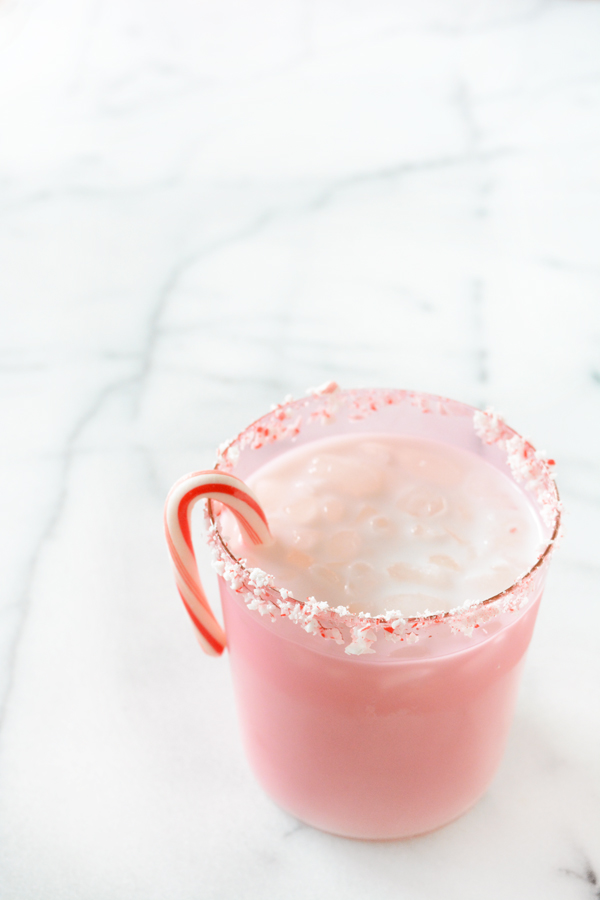
You can make your own peppermint simple syrup (this one is delicious)  or you can cheat like I did and use a yummy store bought version.  Start by crushing the candy canes to a very fine dust in a zipper bag.  Dip the rim of the glass in the peppermint syrup and then roll it in the crushed candy cane.  Fill the glass with crushed ice.  Pour a couple tablespoons (more or less depending on how sweet you want it) of peppermint syrup in the bottom of the glass.  Add club soda to almost fill the glass and then finally add a splash of half and half.  Stir and serve with a candy cane on the edge of the glass.

I’ve serving my candy cane sodas in these adorable pink double old-fashioned glasses from CB2.

Be sure to check out some of my other mocktail recipes. And Merry Christmas friends!

Food & Drink

Family Friendly Swedish Glogg

December 14, 2015

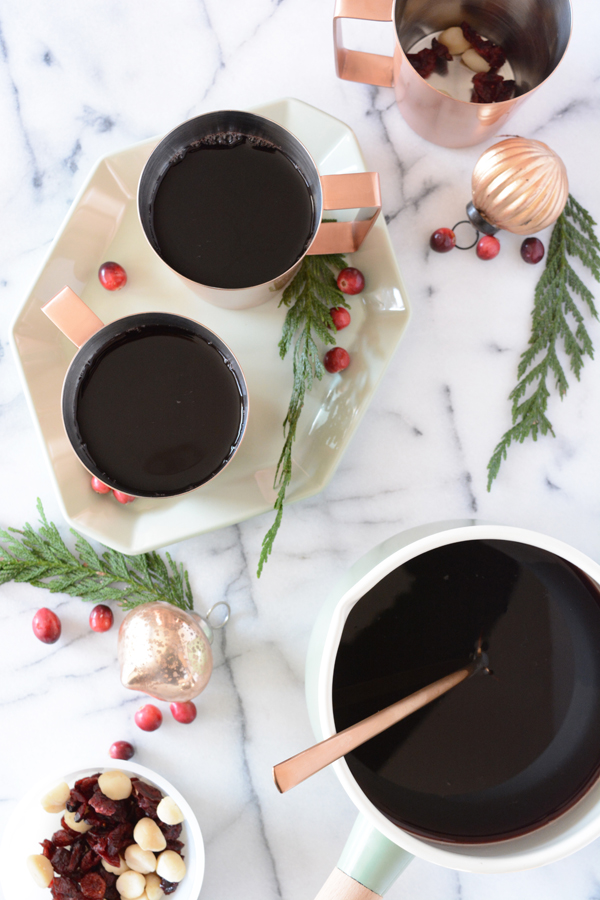
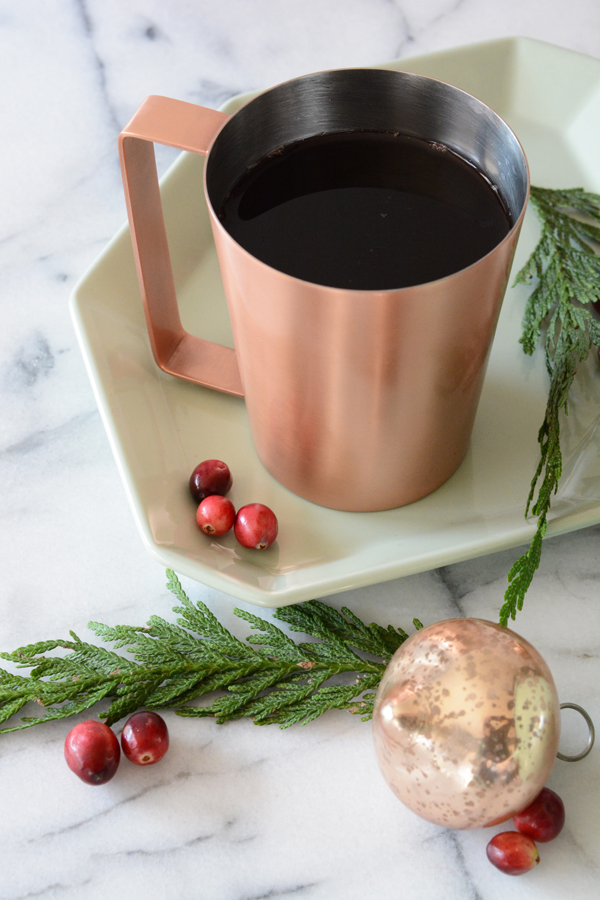
Move over Hot Apple Cider and Hot Cocoa, Glogg is our new favorite warm wintery drink.

A couple of years ago, my whole family visited Sweden over the Holidays.  My Grandpa was Swedish and still had a lot of family there, so we went to meet them and visit that gorgeous country. Sweden is all I had hoped for and more.  Those short cold wintery days involved quite a bit of Glogg, which is a delicious mulled wine and vodka drink that is infused with spices and served warm with a scoop of raisins and almonds in the bottom of the cup.

I’m all about mocktails and creating fun drinks the whole family can enjoy. So, I’ve come up with a Non-Alcoholic Swedish Glogg recipe. This is a little North Americanized, and I took the liberty of using cranberries. Nothing says Christmas like a cranberry, can’t you agree?  This recipe make a big generous amount, perfect for a holiday get-together.

Non-Alcoholic Swedish Glogg

4 quarts Grape Cranberry Juice Cocktail
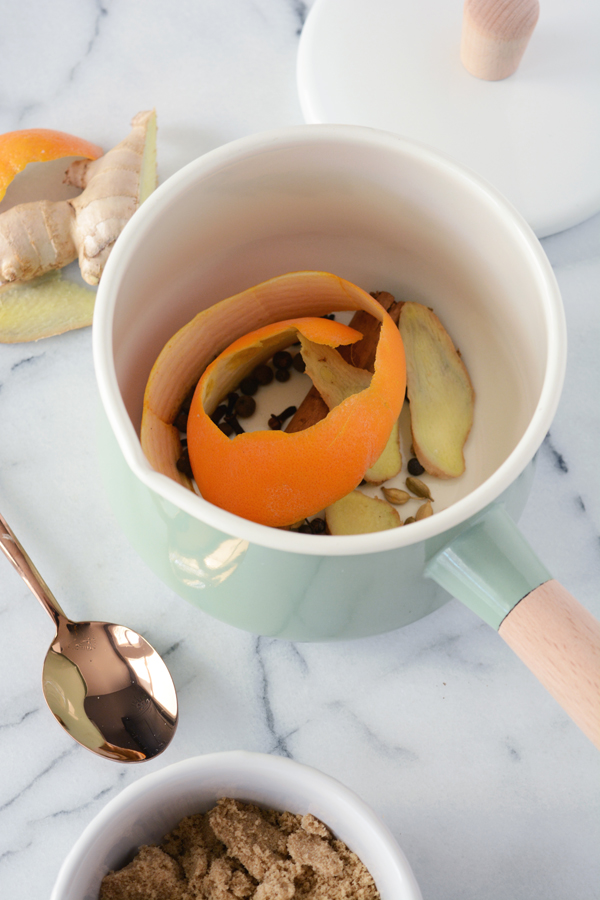
4 cinnamon sticks
1 tsp. whole cloves
1 tsp. whole all spice berries
1 tsp. whole cardamom pods
3 generous slices of fresh ginger
zest of 1/2 of an orange
1 cup brown sugar

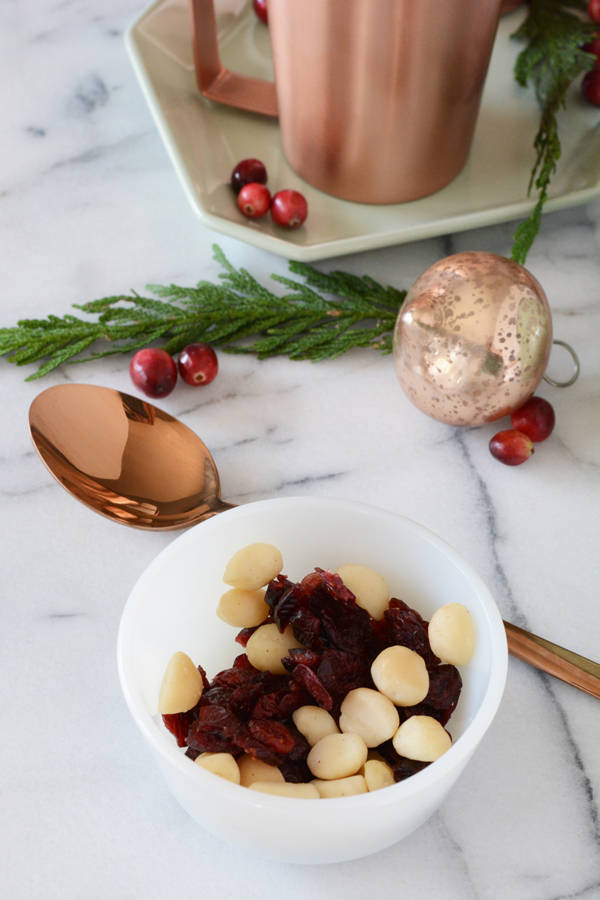
1/2 cup of whole blanched almonds or macadamia nuts
1/2 raisins or craisins (cranberry raisins)

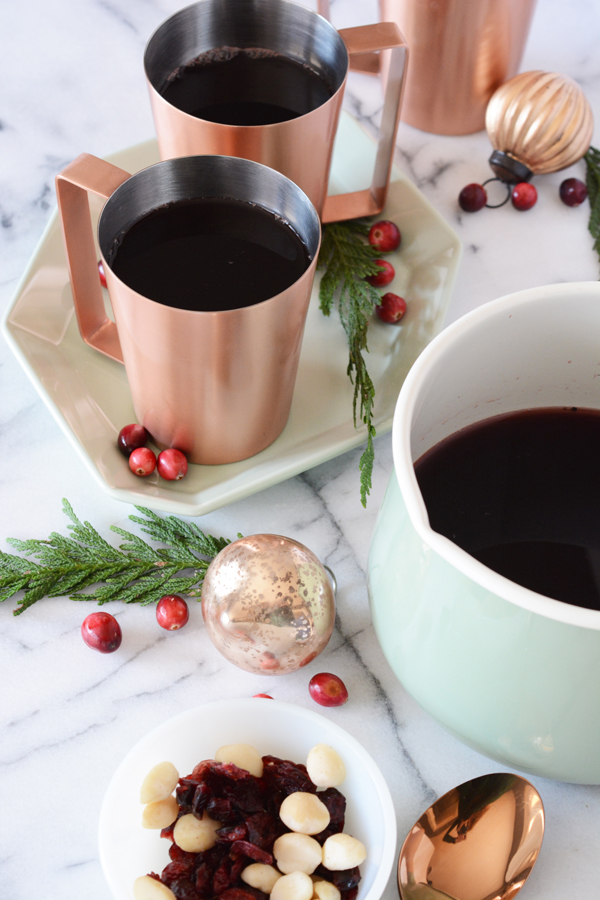
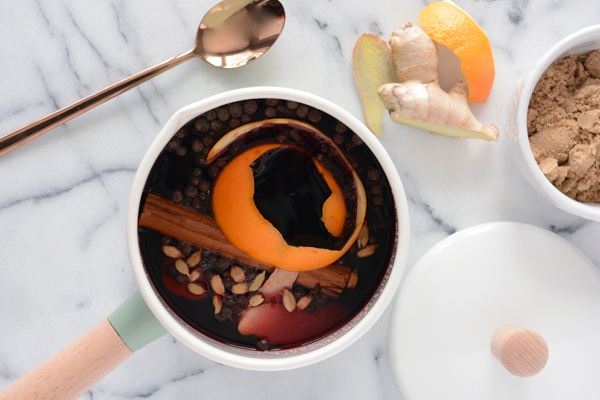
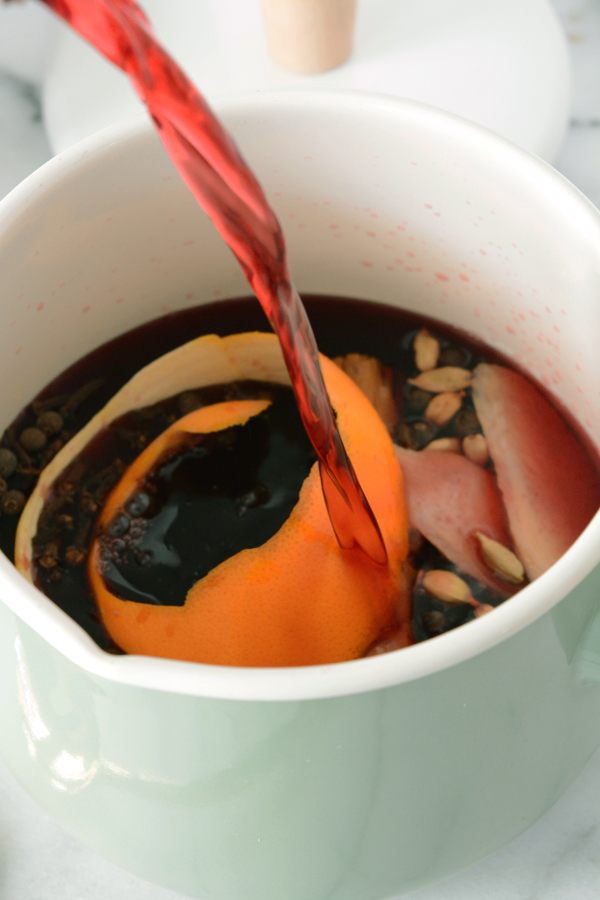
This recipe can be done on the stove top or in a crockpot. Combine all the ingredients in a large pot. Heat on low heat for at least 3-4 hours.  This gives the spices time to infuse into the juice.  Remove all the spices and zest with a slotted spoon. Scoop a spoonful of nuts and raisins in the bottom of a cup, pour the warm glogg over and enjoy.

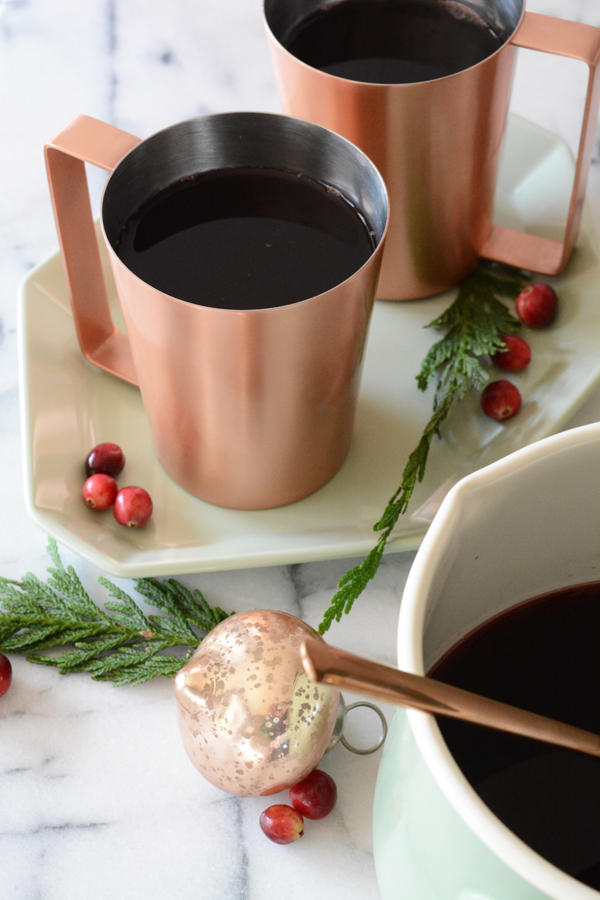
And because I know you are going to ask, both the copper mugs and copper cutlery are from CB2. I love the modern sleek shape of these modern moscow mules.


A Big thank you to CB2 for partnering with me on this post.  Thanks for supporting the companies that help make this blog possible.
DIY / Food & Drink

Grapefruit Thyme Spritzer and DIY Color Block Coasters

December 10, 2015

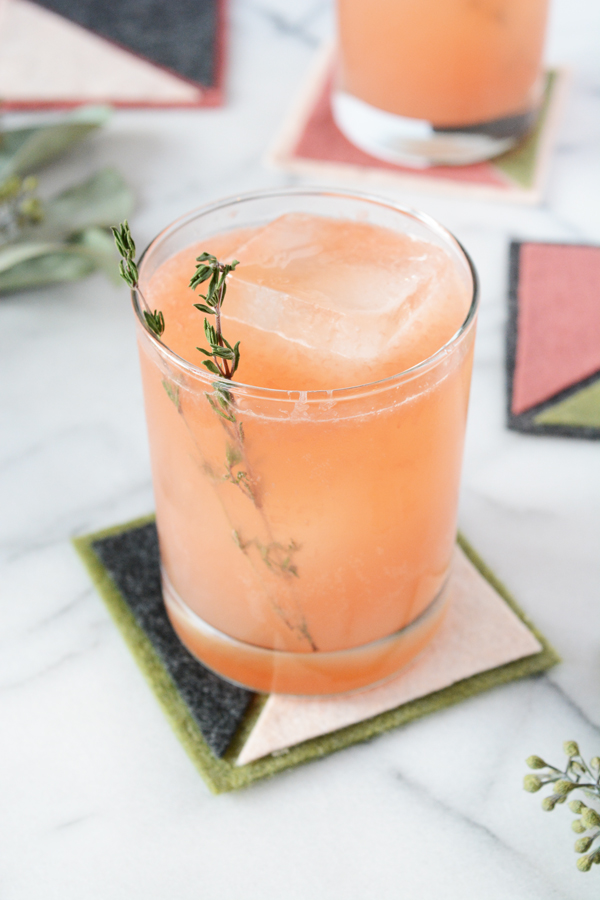
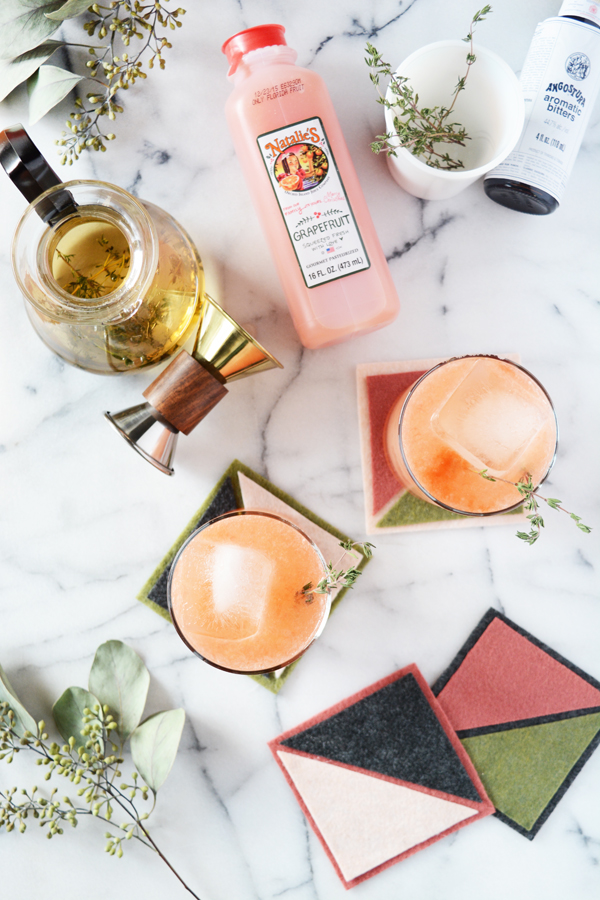
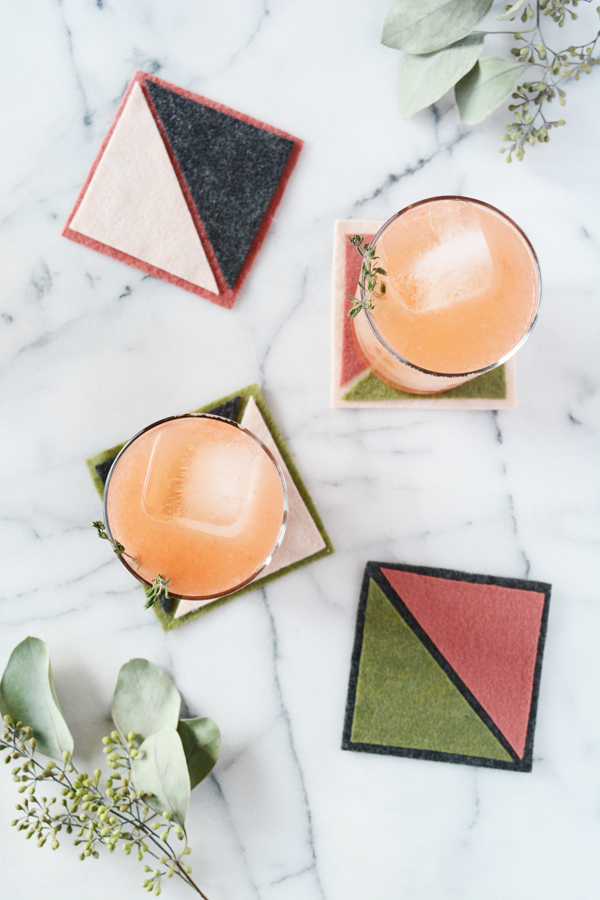
I’m having so much fun creating mocktails for my family.  This might be my favorite yet. I LOVE citrus and combined with the earthy, herby flavor of thyme, is a match made in heaven. You really feel like you’re having a treat with this pretty nonalcoholic drink. So, invite some friends over and celebrate this holiday season with a Grapefruit Thyme Spritzer and your favorite cheese and crackers.

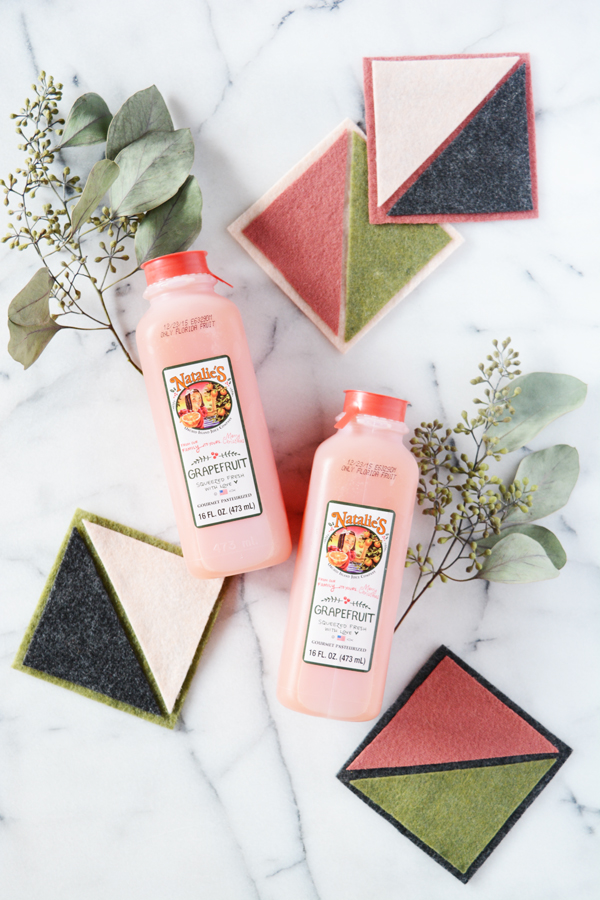
Just as it is in cooking, good ingredients make the drink. My friend Sarah, of Sarah Hearts, introduced me to Natalie’s Orchid Juices and now I’m hooked. This is probably the freshest tasting juice I’ve ever had. We have an orange, lemon, lime, and grapefruit tree in our yard, so I consider myself a citrus snob. And yes, this Californian now loves Florida citrus as well. This is hand picked, freshly squeezed, made in American juice.


Grapefruit Thyme Spritzer 


1/2 cup Natalies’s Orchid Grapefruit Juice
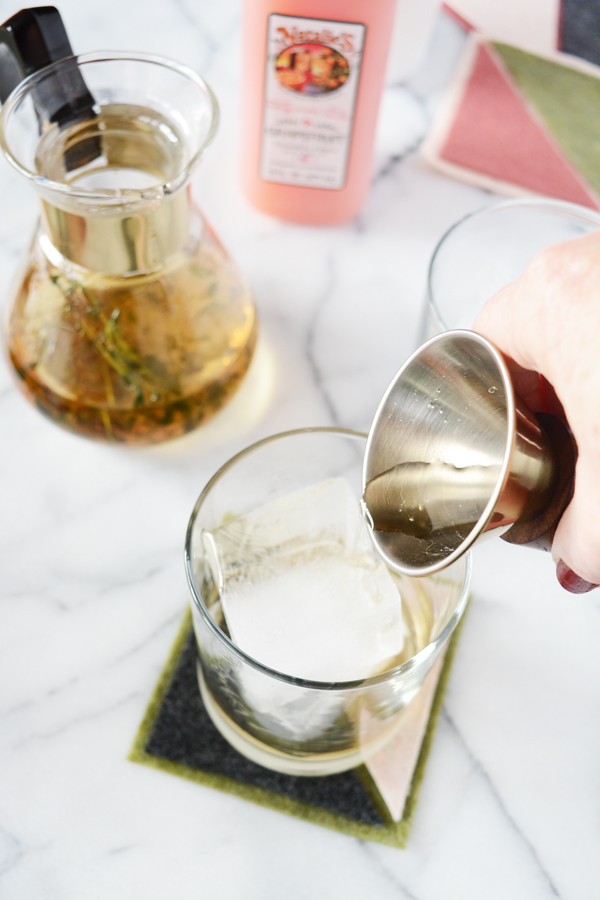
1 oz. Thyme Simple Syrup (see recipe below)
1/2 cup of club soda
a splash of aromatic bitters
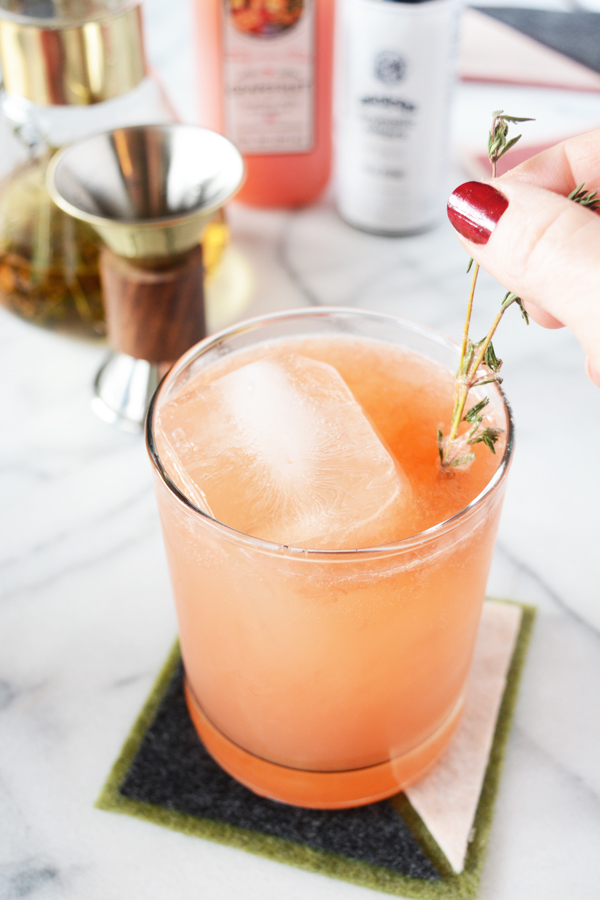
a sprig or two of fresh thyme

Fill a glass with ice, pour in the juice and thyme simple syrup and mix.  Top with club soda and a splash of bitters.  Garnish with a couple sprigs of fresh thyme.


Thyme Simple Syrup


1 cup of sugar
1 cup of water
3-4 sprigs of fresh thyme

In a small pot bring the sugar, water and thyme to a boil. Boil for 3 mins.  Remove from the heat and allow to cool completely. Store in an airtight container in the fridge for up to 2 weeks. You can remove the thyme or leave it in the syrup.

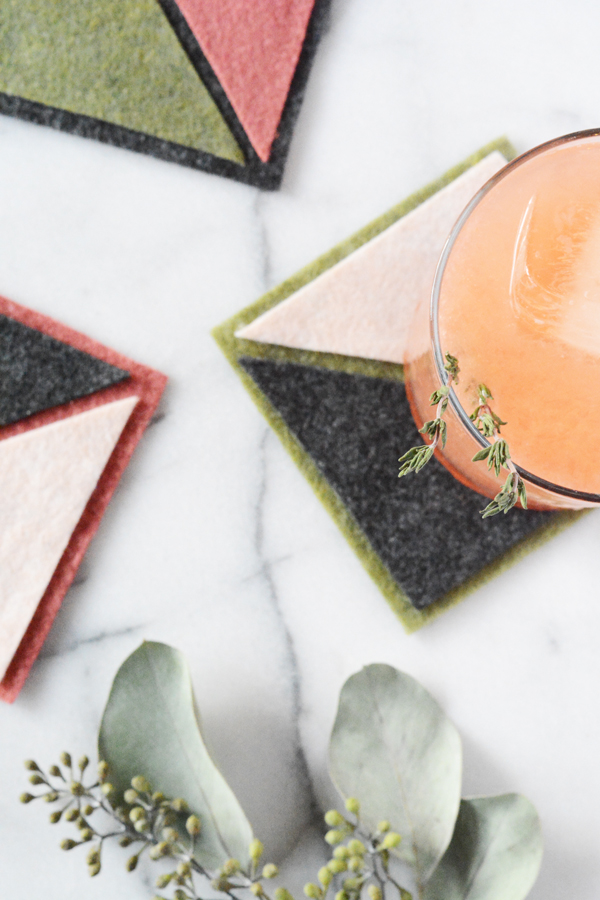
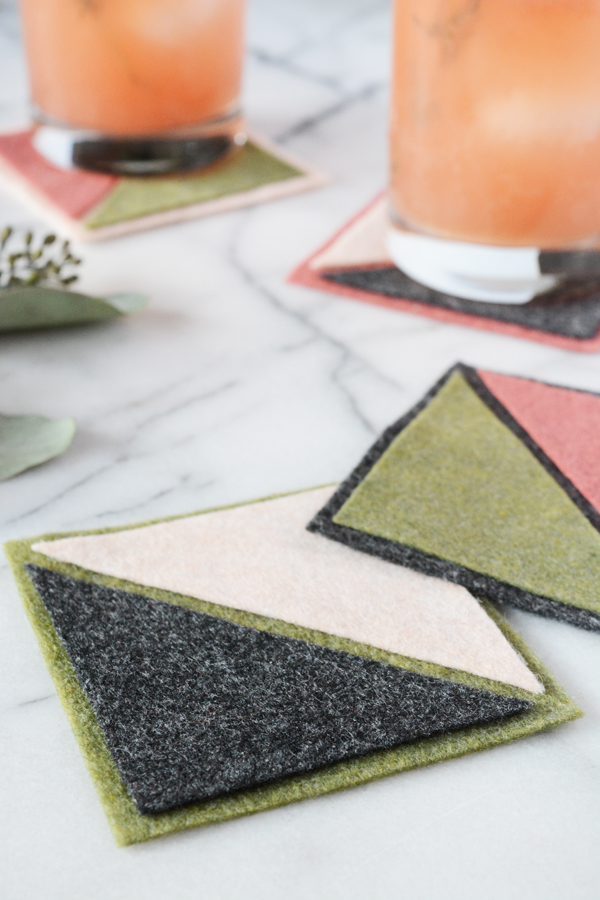
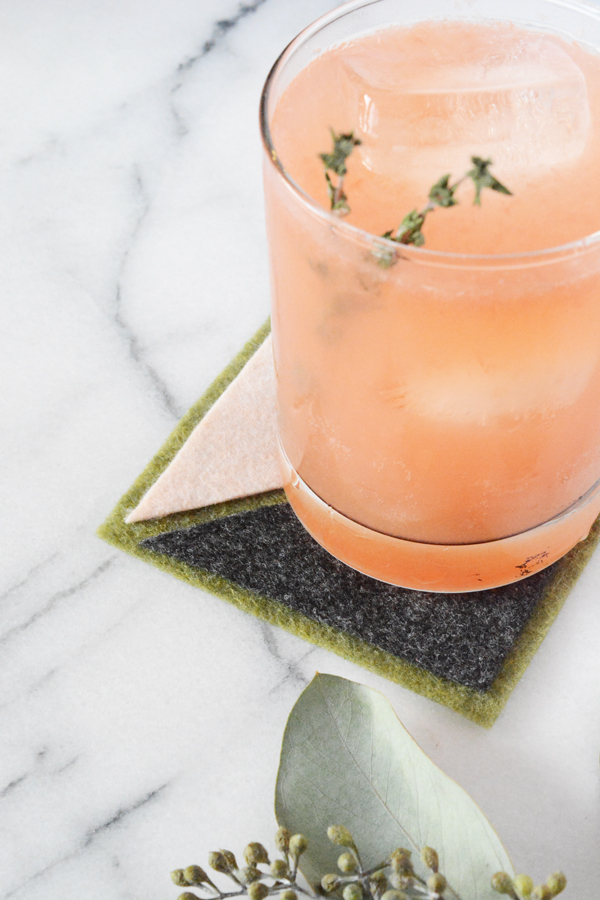
And if you are going to serve a pretty drink, it needs an equally nice coaster to rest on. I made some simple felt color blocked coasters inspired by the colors of this drink. And they require absolutely no sewing at all!!!
Here’s what you will need:
  • 4 colors of felt
  • scissors or rotary cutter
  • felt glue
  • a couple q-tips

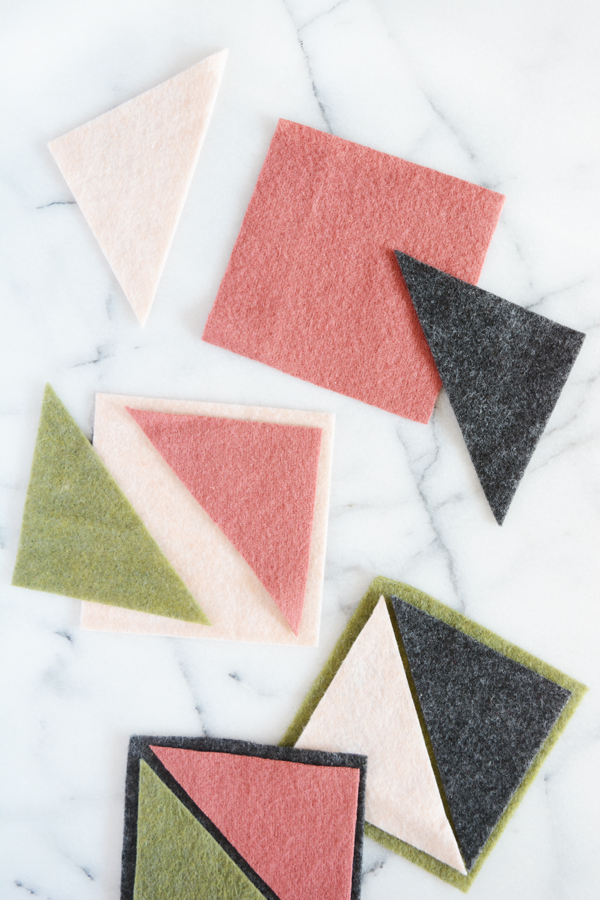
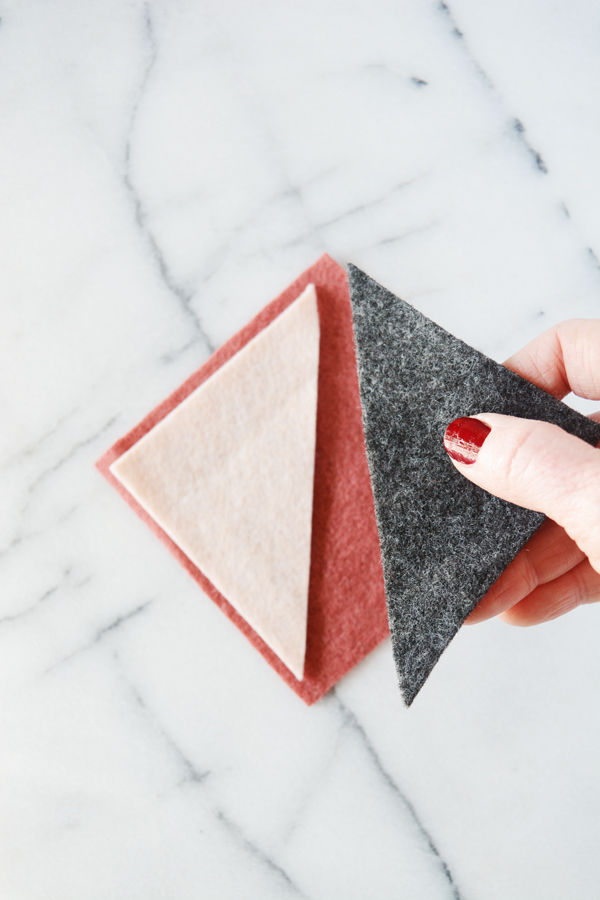
Start by cutting 4 square of felt that are 4 x 4 inches and 4 square that are 3 /12 x 3 1/2 inches.  Cut the smaller squares in half diagonally.

Play around with the felt pieces and decide on 4 combinations that work well together.
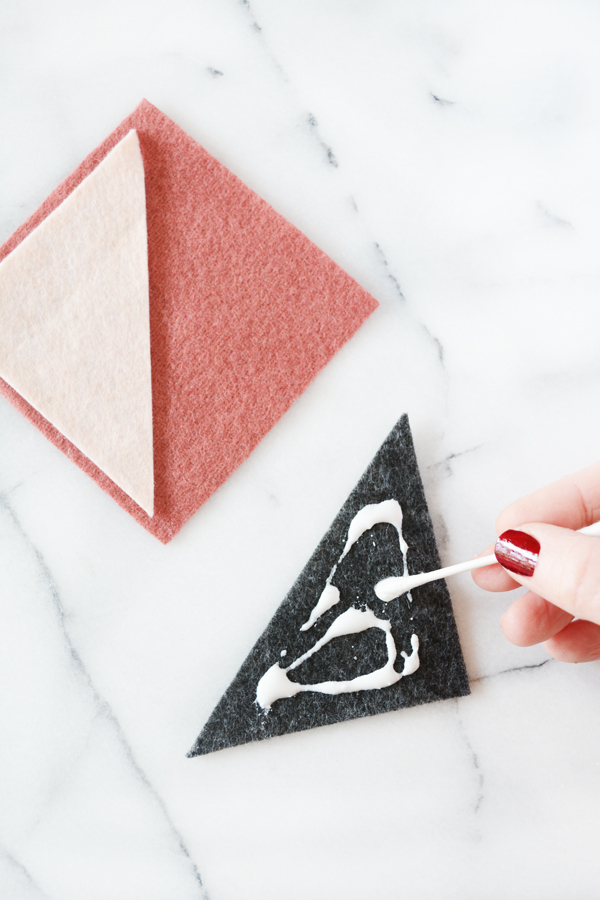
Apply a generous amount of felt glue to the backs of the triangles and spread the glue all the way to the edge with a q-tip. 
Glue down the triangle and allow the coasters to dry over night.

This post is sponsored by Natalie’s Orchid Island Juice Co. Thanks for supporting the companies that help make this blog possible.