
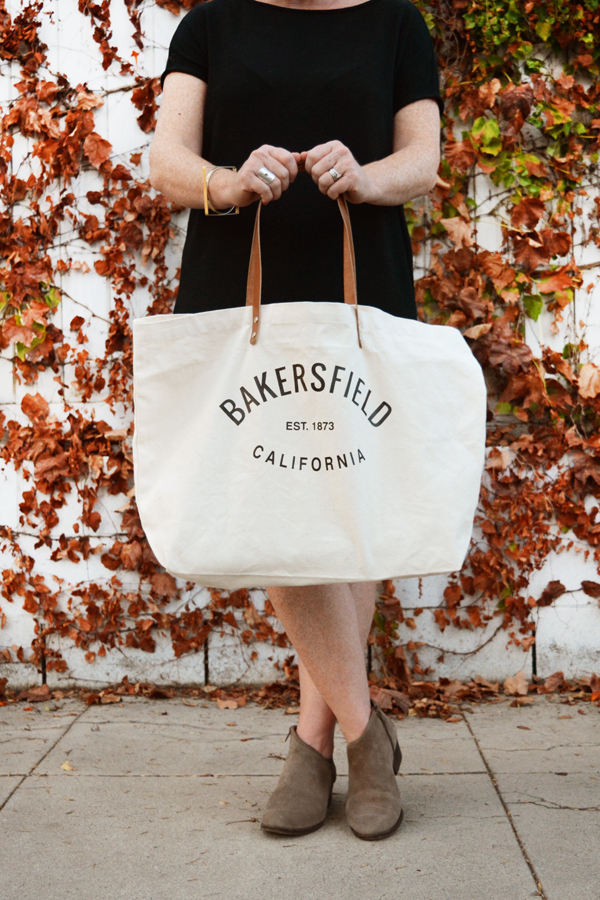
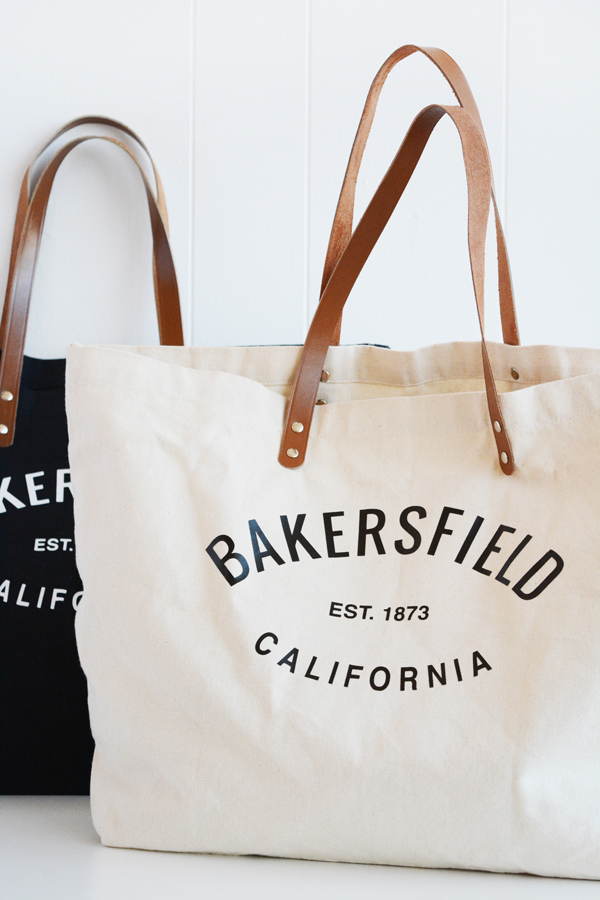
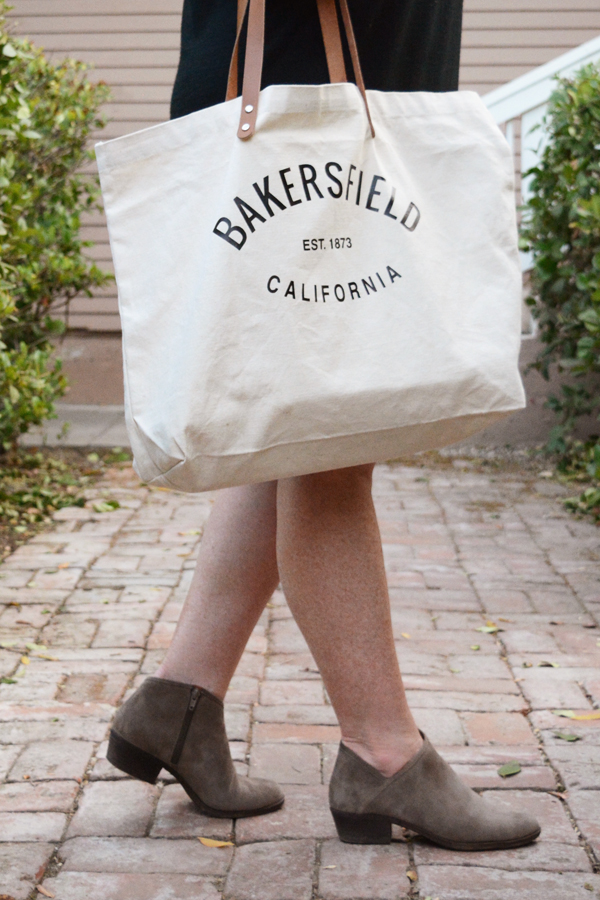
Wanna be a hipster in your own town? Step One: carry a cool market tote bag stating where you live. I made a few bags with my home town, Bakersfield, California proudly stated on the side. Everyone is going to ask you about it and they are definitely going to want one. Which makes you hip, right? I firmly believe have have to love where you live and what better way to say it then to carry the name everywhere you go.
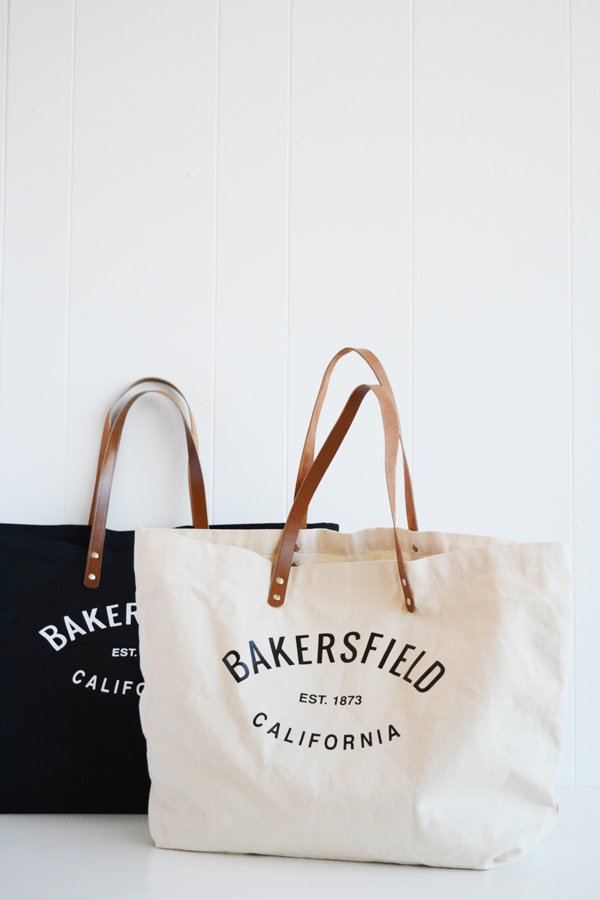
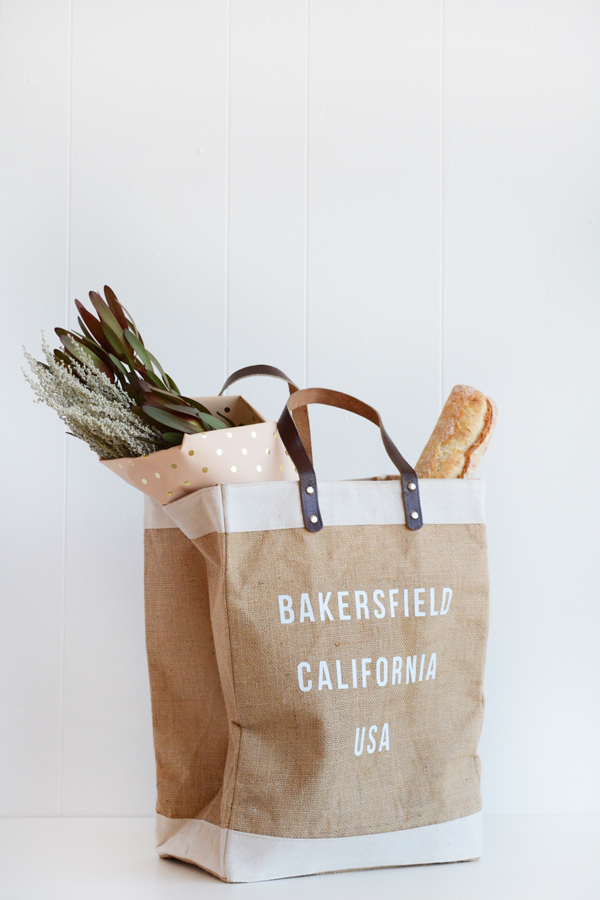
I started with a couple canvas totes and a tall burlap market bag, both of which I found on amazon (I’ll like them below in the supplies). Then you are going to need to decide what you want you bag to say. I played with two designs. The burlap bag is my copy-cat version of the Apolis market bags. The handle on the amazon one I found is definitely not as nice as the original, but my budget version is holding up pretty well so far. On the burlap bag I mimicked the Apolis font and spacing and on the canvas bags, I simply curved the lettering on the city and state and added a date to the center.
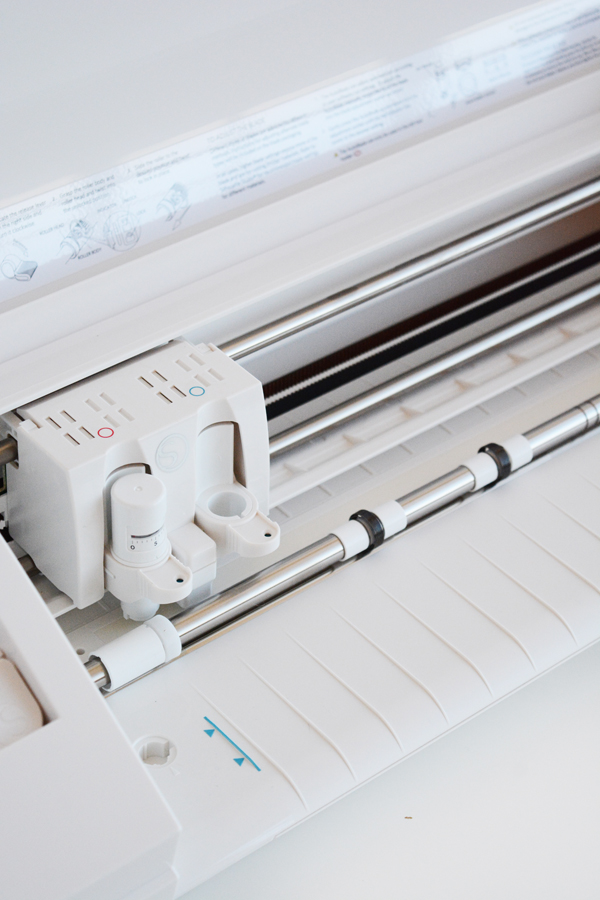
Then, using my new Silhouette Cameo machine, I cut out heat-transfer vinyl letters in a matter of minutes and adhered them to the bags. DONE! I just love a simple, customizable project like this. Each of these bags cost under $20 in supplies to make and they turned out looking like bags something you’d pay a lot more for. This is why we love to DIY, am I right?

Here’s why I love the Silhouette Cameo – I don’t have to save my work as a jpeg or pdf and then upload it to a program and then cut away all the background. None of that! I can take any font/text or illustration directly from Adobe Illustrator right to the Silhouette software. One click from Ai and I’m ready to cut. Ya, it’s really that easy.
Here’s what you’ll need:
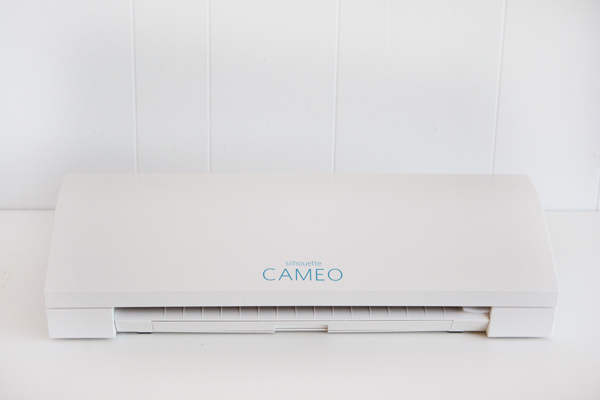
- Silhouette Cameo
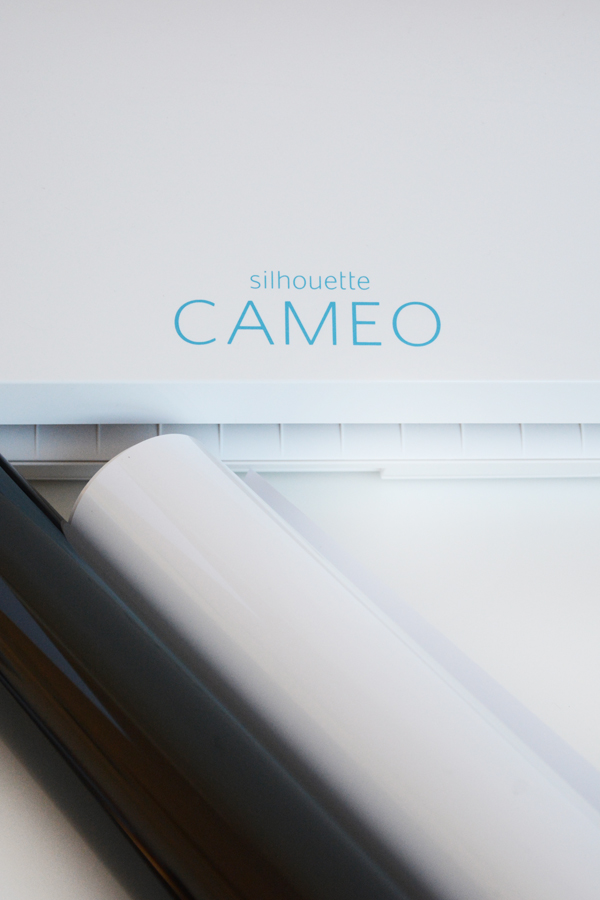
- Heat Transfer Vinyl in Black + White
- Silhouette Tools
- Silhouette Cutting Mat
- Iron
One of these bags:
Simply type out the text with your city, state and country. I used Adobe Illustrator, but you can use the silhouette software as well, make sure you reverse the image before cutting. This video tutorial was helpful. Then, using the Silhouette Cameo, cut out your text. Weed away all the excess vinyl, leaving just the text on the vinyl backing. Place the lettering on the bag where you want it positioned, then using an iron with no steam, adhere the vinyl to the bags.
I used the heat-transfer vinyl in black and white to create high-contrast lettering on the bags. I love how sharp the black bag with the white lettering looks.

I know that definitely not everyone owns a personal cutting machine, like a Cricut or Silhouette. But, for those of you that do, I think it’s fun to share some projects that you can make with your machine. But, if you are serious DIYer, I really do think you’d enjoy having a Silhouette Cameo.
A big thanks to Silhouette for providing me with a machine and play with.
Love these totes so much, Jerran! Now I’m trying to think what I could make with them. Pinned.
I think you should sell these!
Did you use a standard font? I really like this one.
What font did you use?
If you sold these personalized they would sel fast
That would be cool. I just don’t think I have the time or energy for that though.
What font did you use? I notice several have asked but I don’t see your answer.
I believe it’s just Helvetica.