
We’ve all done it, we’ve waited to take that first bite of our meal until we have taken a picture or 20 with our phones. Sometimes the restaurant it just do dang cute or the latte and plate of food is just too delicious not to share. For some reason we just gotta take a quick pic to make all your internet friends hungry. I’m just as guilty as the rest of you, probably a little more guilty than the average instagrammer, if I’m being honest.
But, if we are going to share all these foodie pics, let’s do it in the best way possible. Today I’m sharing all my tips for taking better shots of the food we order at our favorite restaurants. No fancy equipment needed, just your phone camera. I have an iphone 6, and all of these images were taken with that phone.
1. LIGHT
Without good, natural light, I think getting a great shot can be almost impossible. Whenever possible, I ask for a window seat, or even better, I sit outside. Try to avoid overhead light bulbs, because they can cause a glare on the plate or table. Artificial lighting will also cast a very yellow tone to your food and drinks.
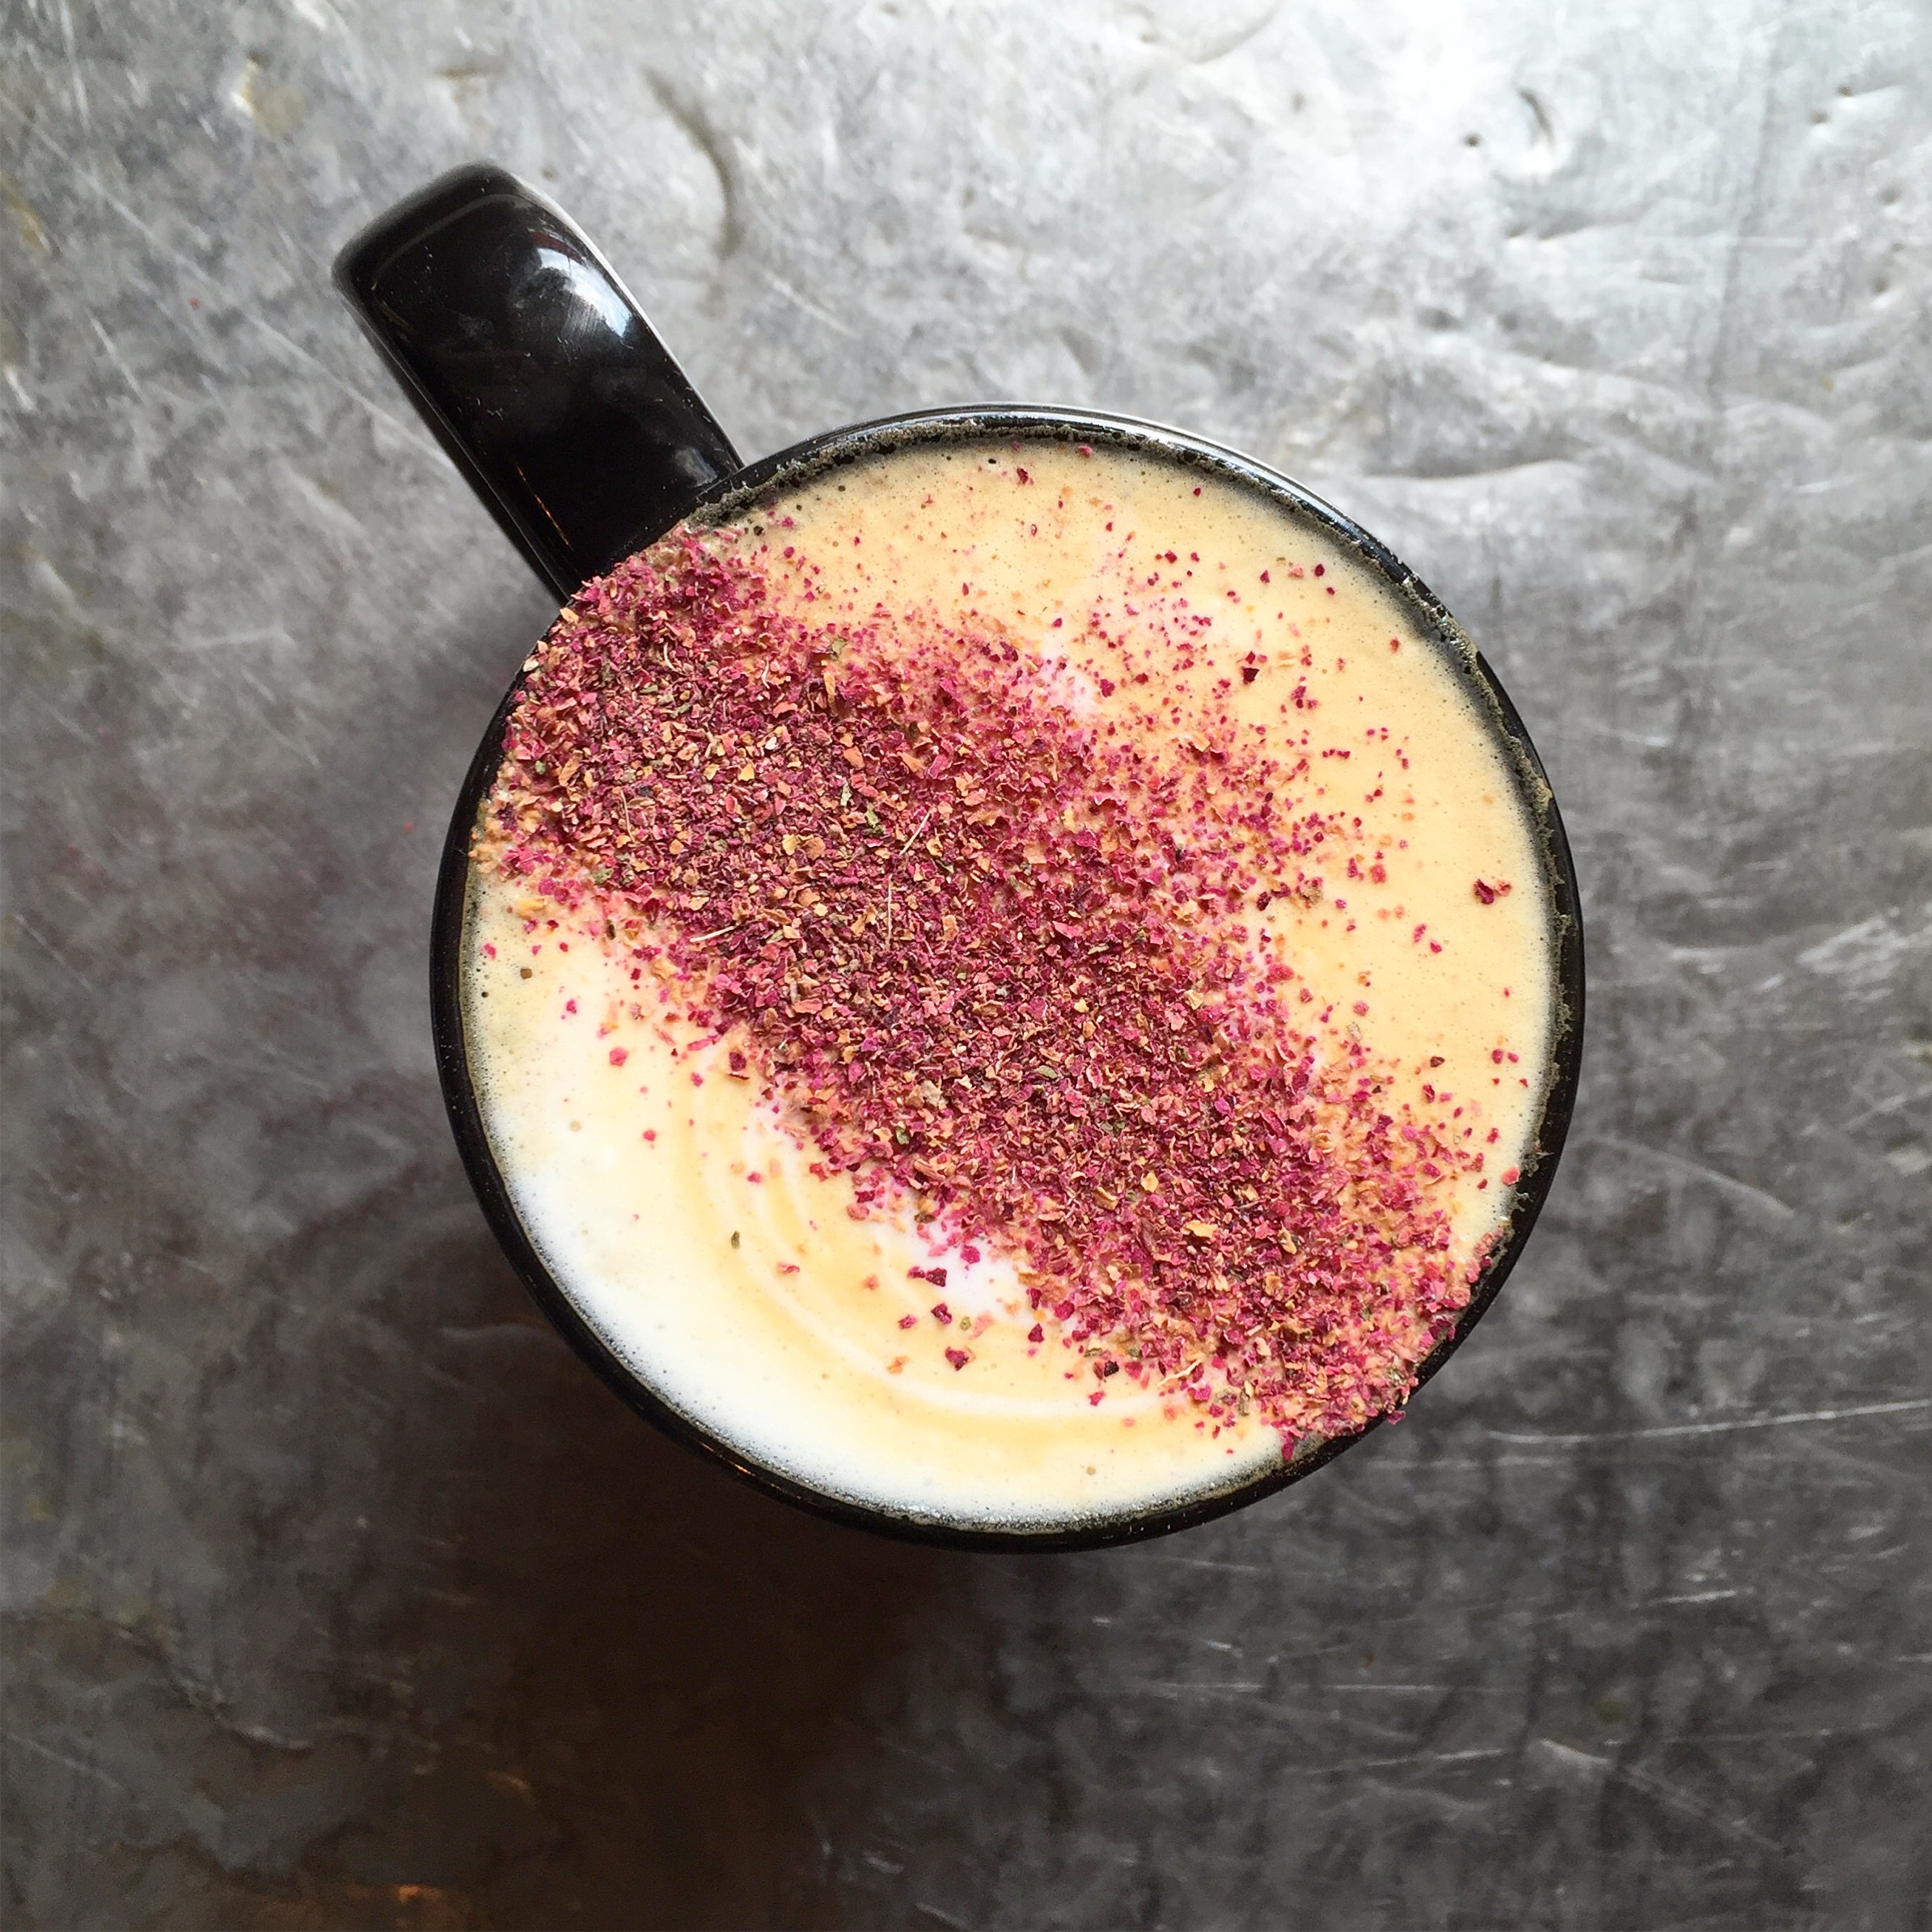
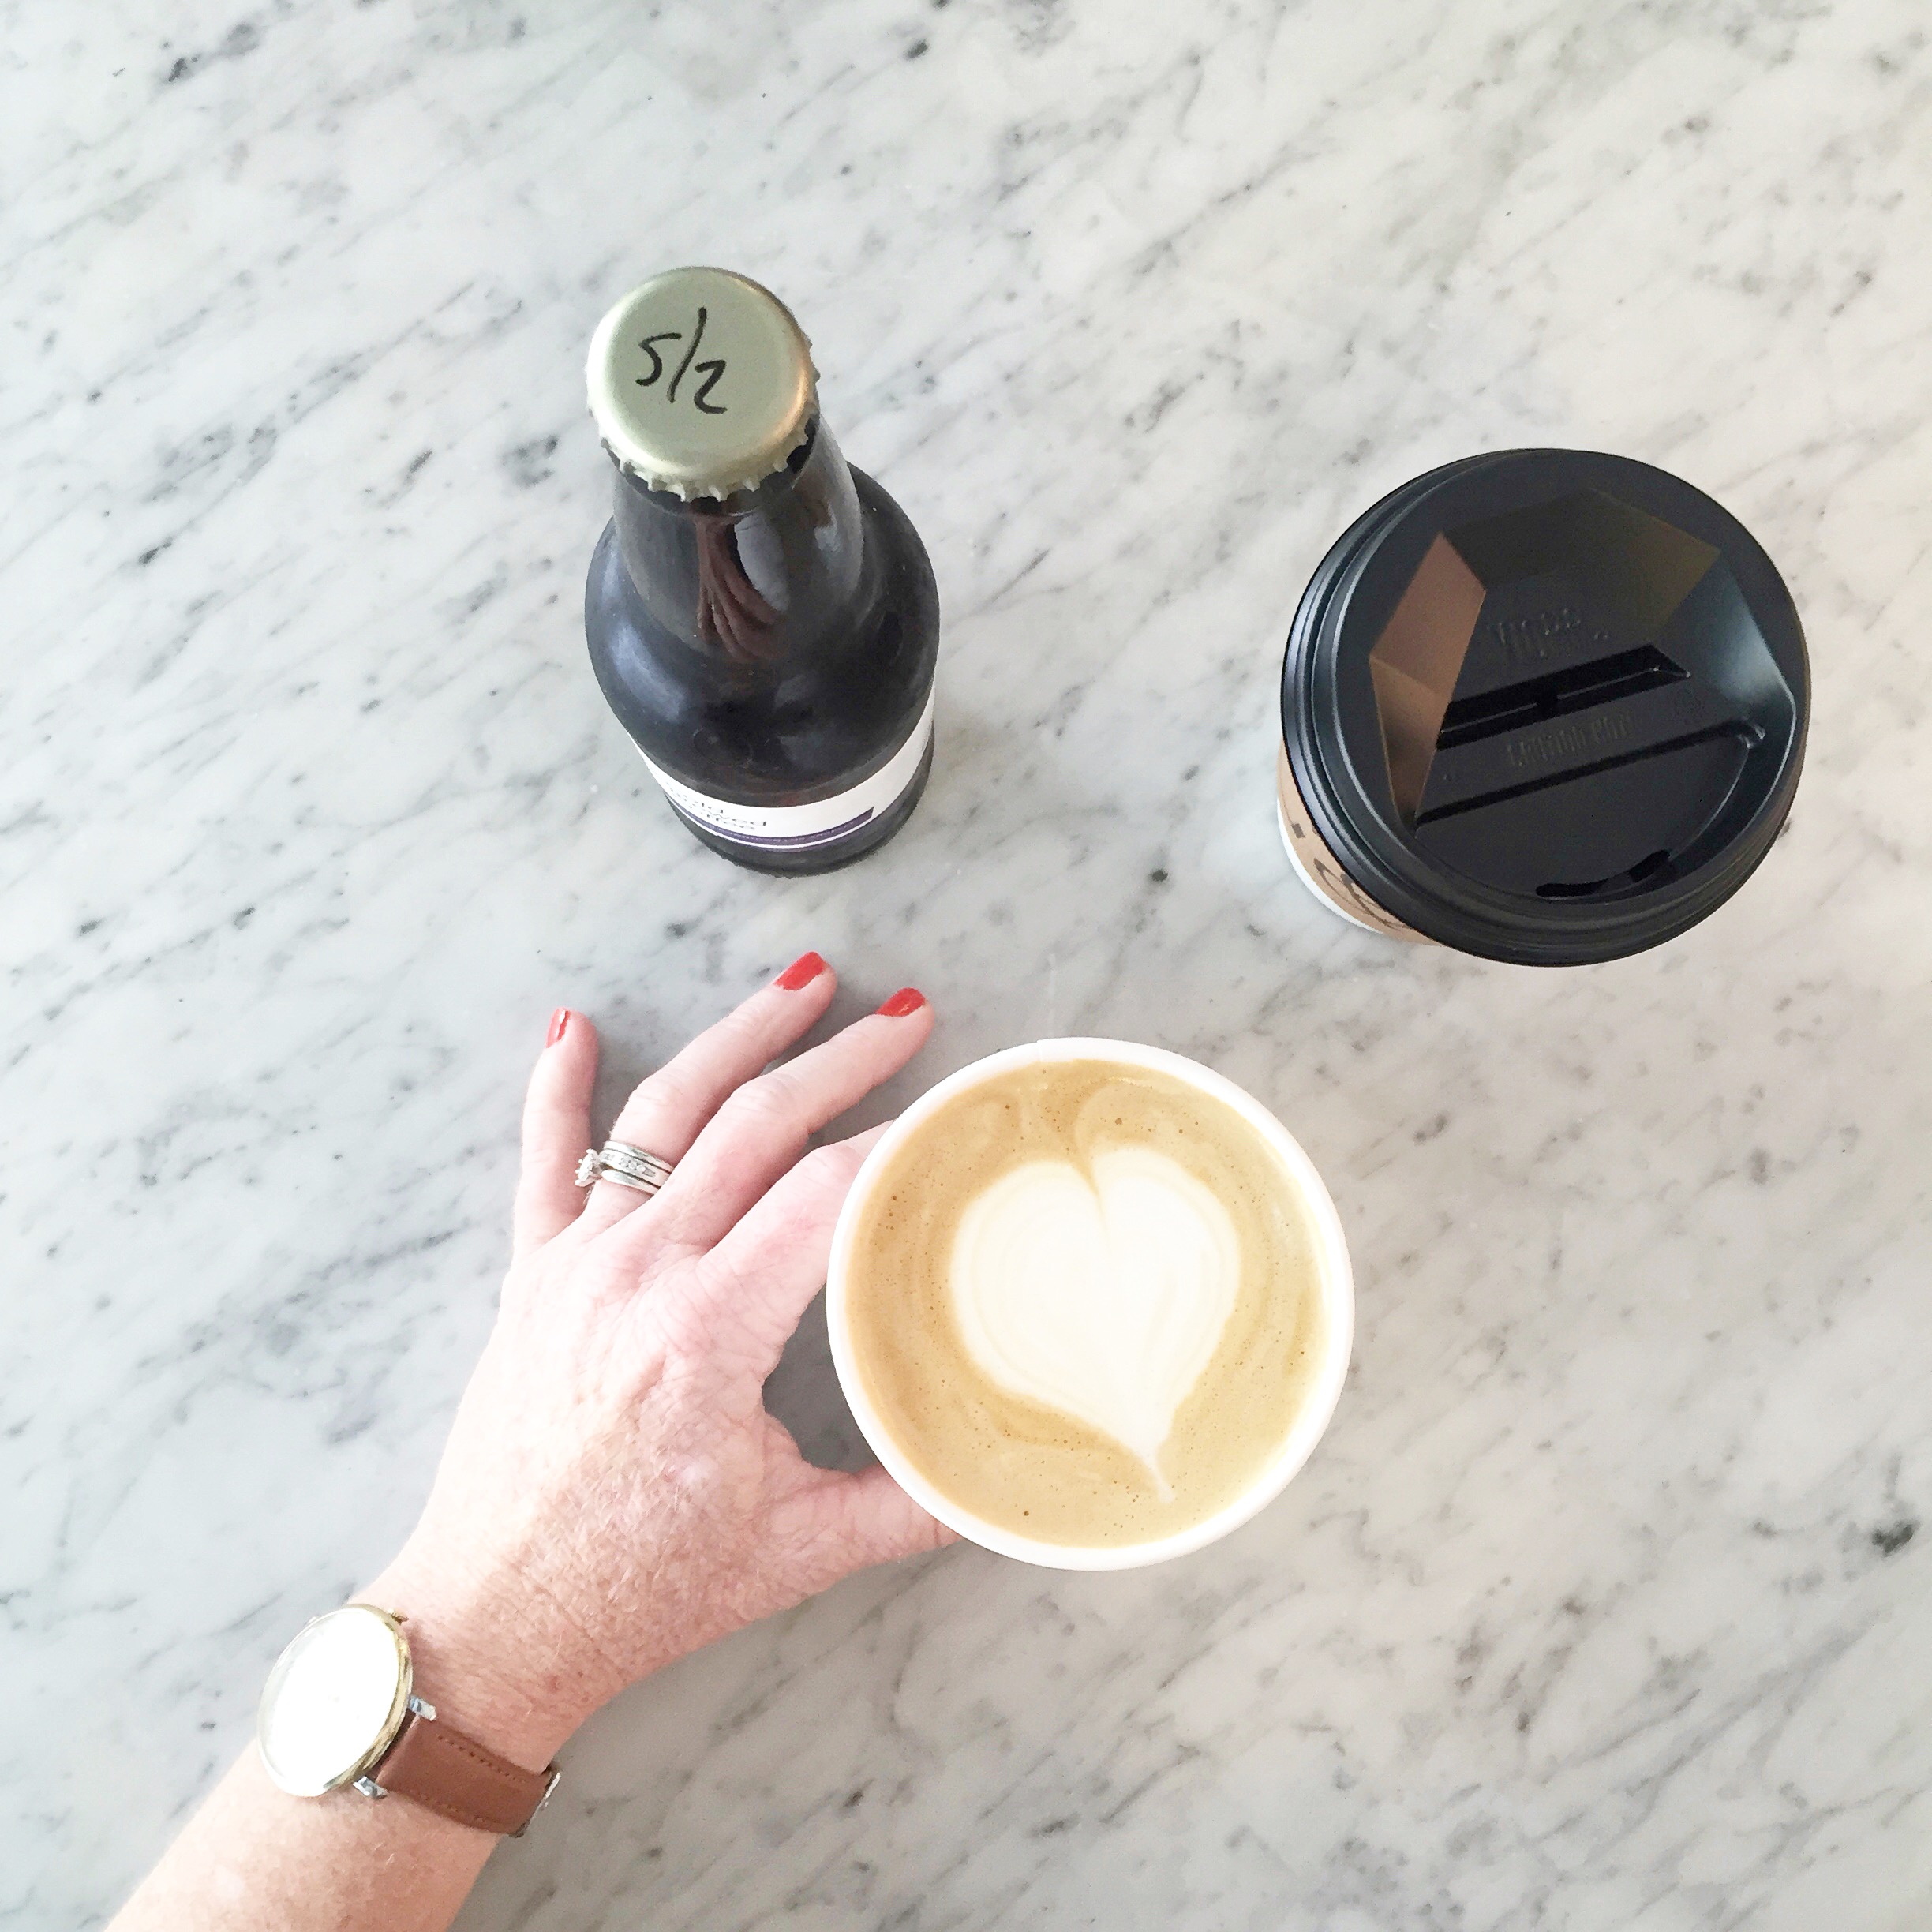
In the picture above, I moved to the window sill in the cafe to get this shot of this pretty rose latte. The table tops were all to far from any natural light.
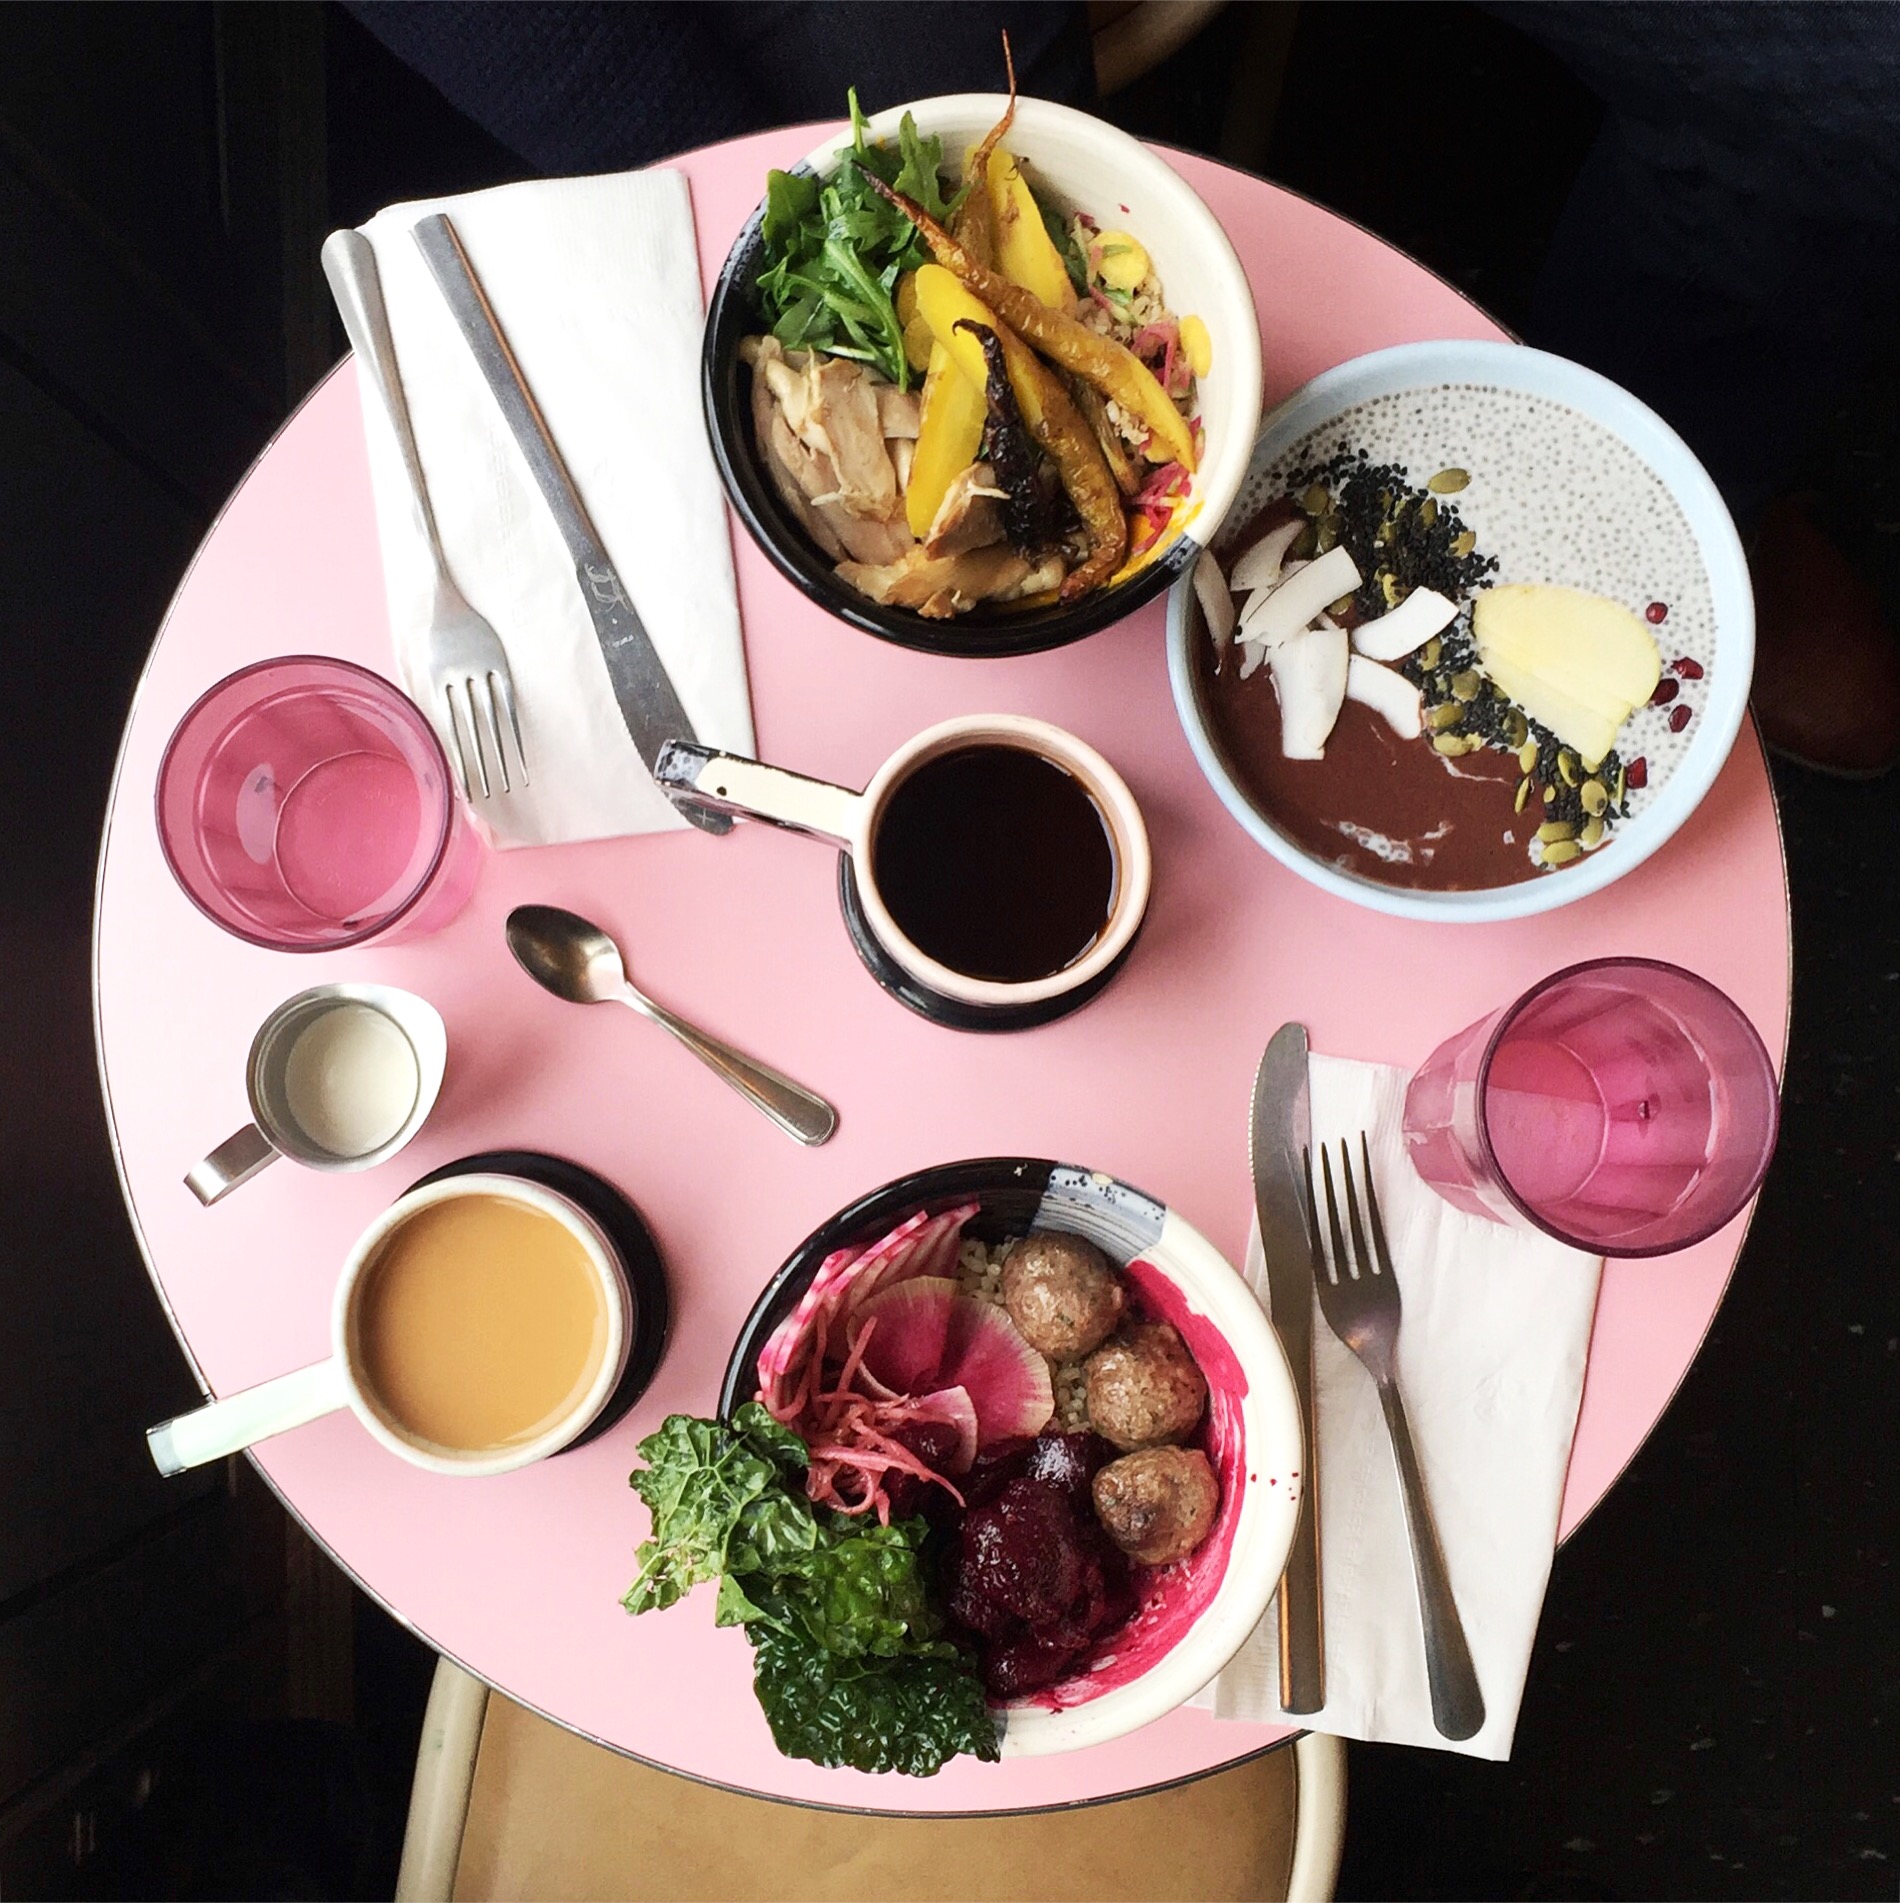
Below is a shot of a yummy brunch at Bluestone Cafe. The restaurant was actually very small and very dark because it was in the annex of an old church. So, even though it was a rainy day in NYC, we sat outside under an umbrella. But, the lighting couldn’t have been better. If we would have eaten inside, this colorful photograph would not have happened.

2. BOUNCE + FILTER
Now that you have found the light source, you can direct it were you want it to go. Unless the sun is directly overhead, usually one side of your table will get more light than the other. Bouncing light on that shady side can give your image a boost and eliminate dark shadows. To bounce light, you usually need something white or very close to the color white. Most times, restaurants have white napkins. Simply have a friend hold the napkin or a menu directly opposite to the light source. By holding this white object on the side of the food that is in the shadow or furthest away from the light source, you can “bounce” light onto that side. The sun will hit that bright object and then reflect a little more light to the other side. Often food and objects can look flat in very shady light. Bouncing light can help bring a little more depth back.
If the sun is very harsh and direct, filtering or blocking the light can eliminate some of those harsh contrasts and dark shadows. Holding up a white cloth napkin to filter the direct sun through can be very helpful. If it is really bright, you might just want block the sun with a menu or even or date. I’ve made my kids or husband stand by my plate of food so that it is entirely in the shade just for a great picture.
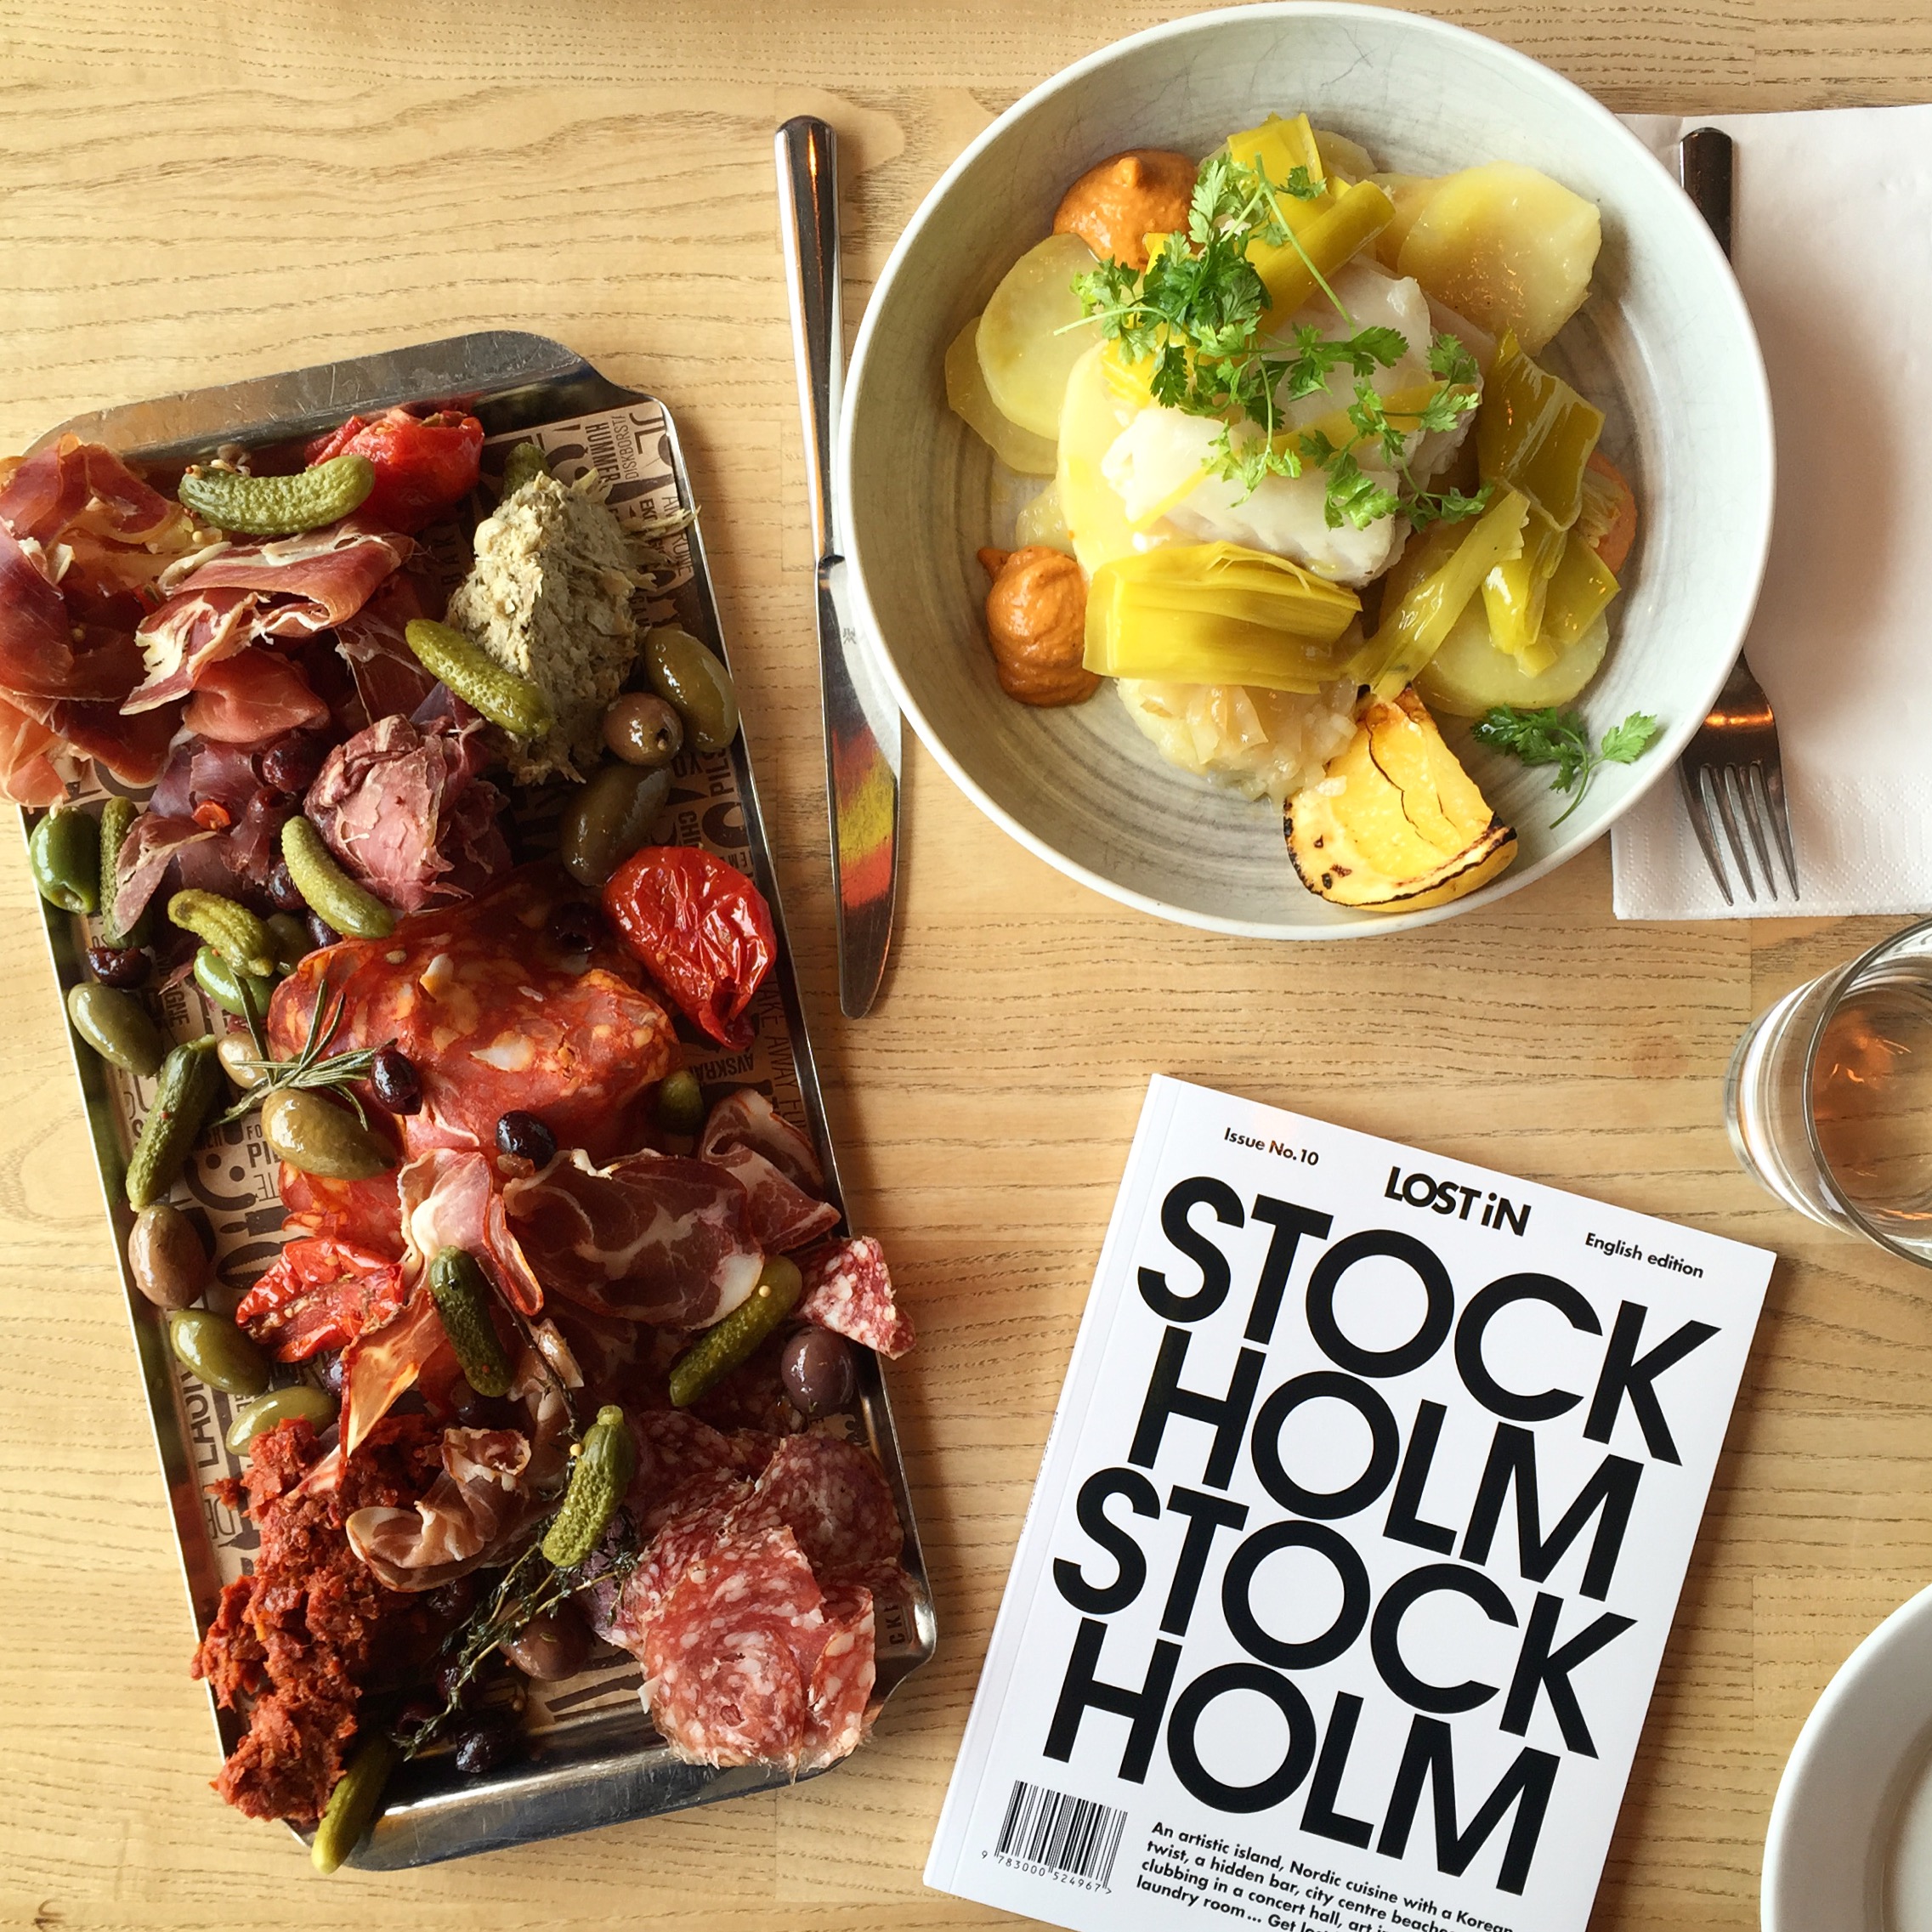
Outside of this shot below, my husband is holding up a napkin to bounce light from the window so that the left side of the bowl and table is not dark and shadowy.
3. BACKGROUND
Often the background to an image can distract from the food or drink you are trying to spotlight. It can be hard to achieve a soft blurred background very closeup with a smart phone. So, if the table top is not attractive, there are other backgrounds that can be considered – your napkin, menu, floor, chair or bench, a wall, and even the clothing you are wearing can work.
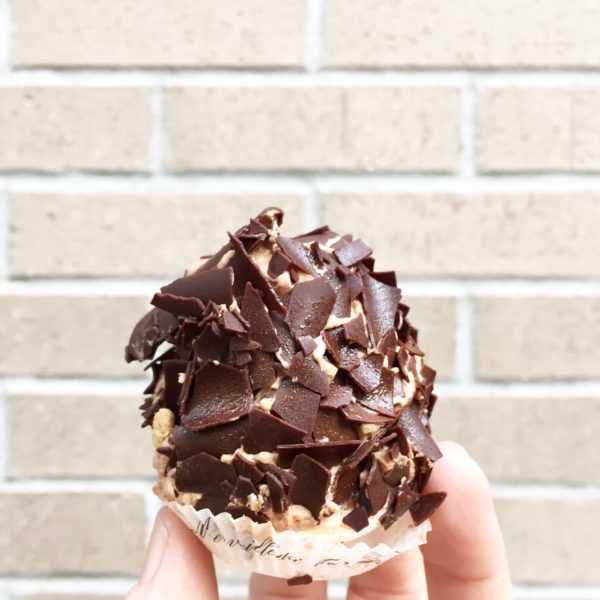
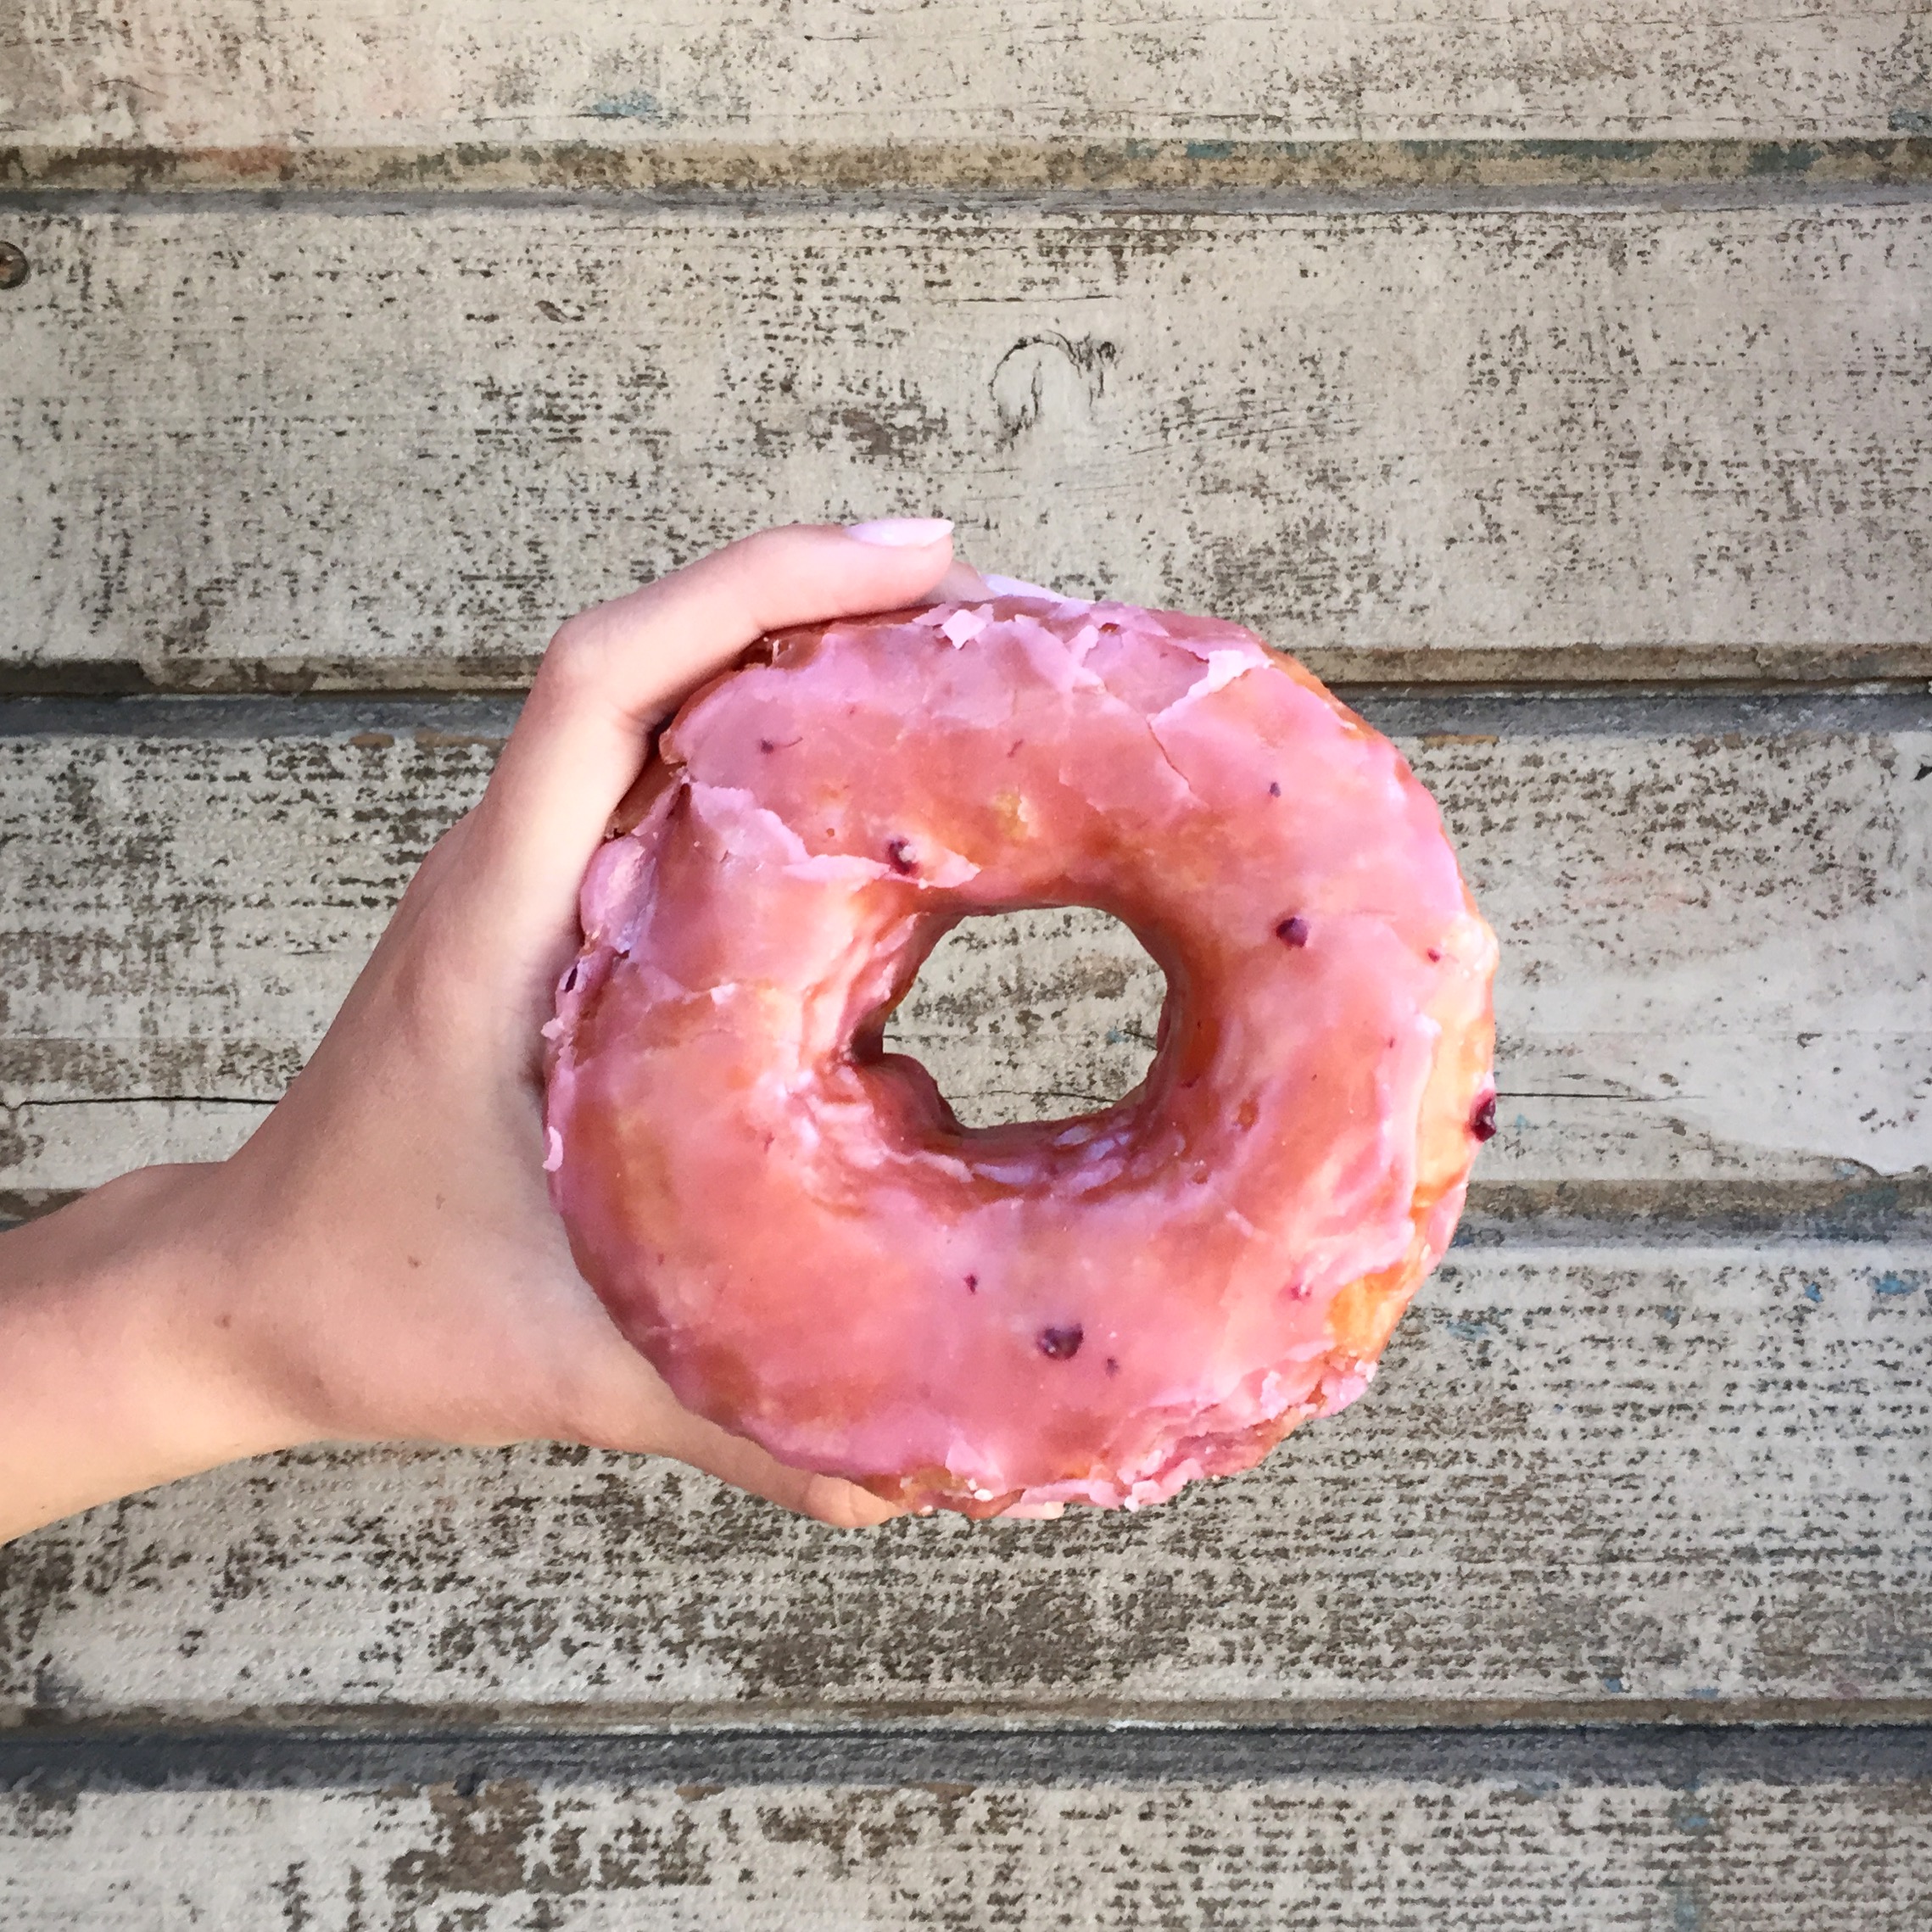
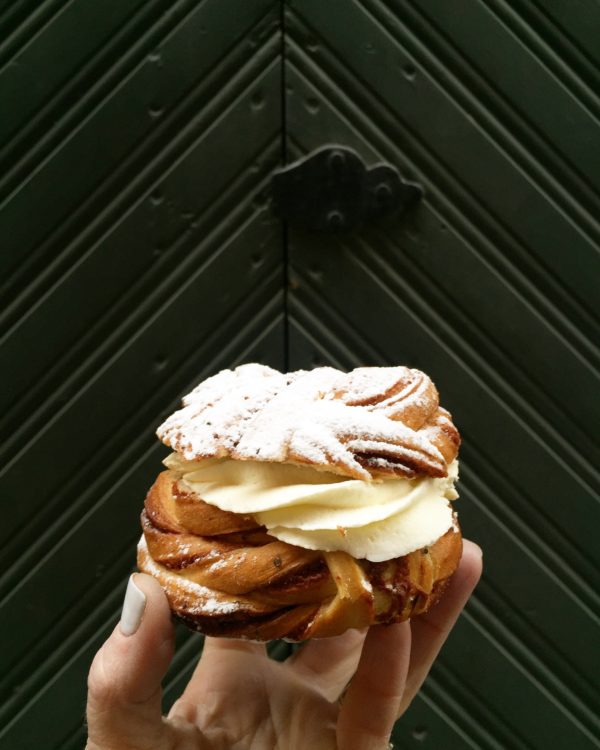
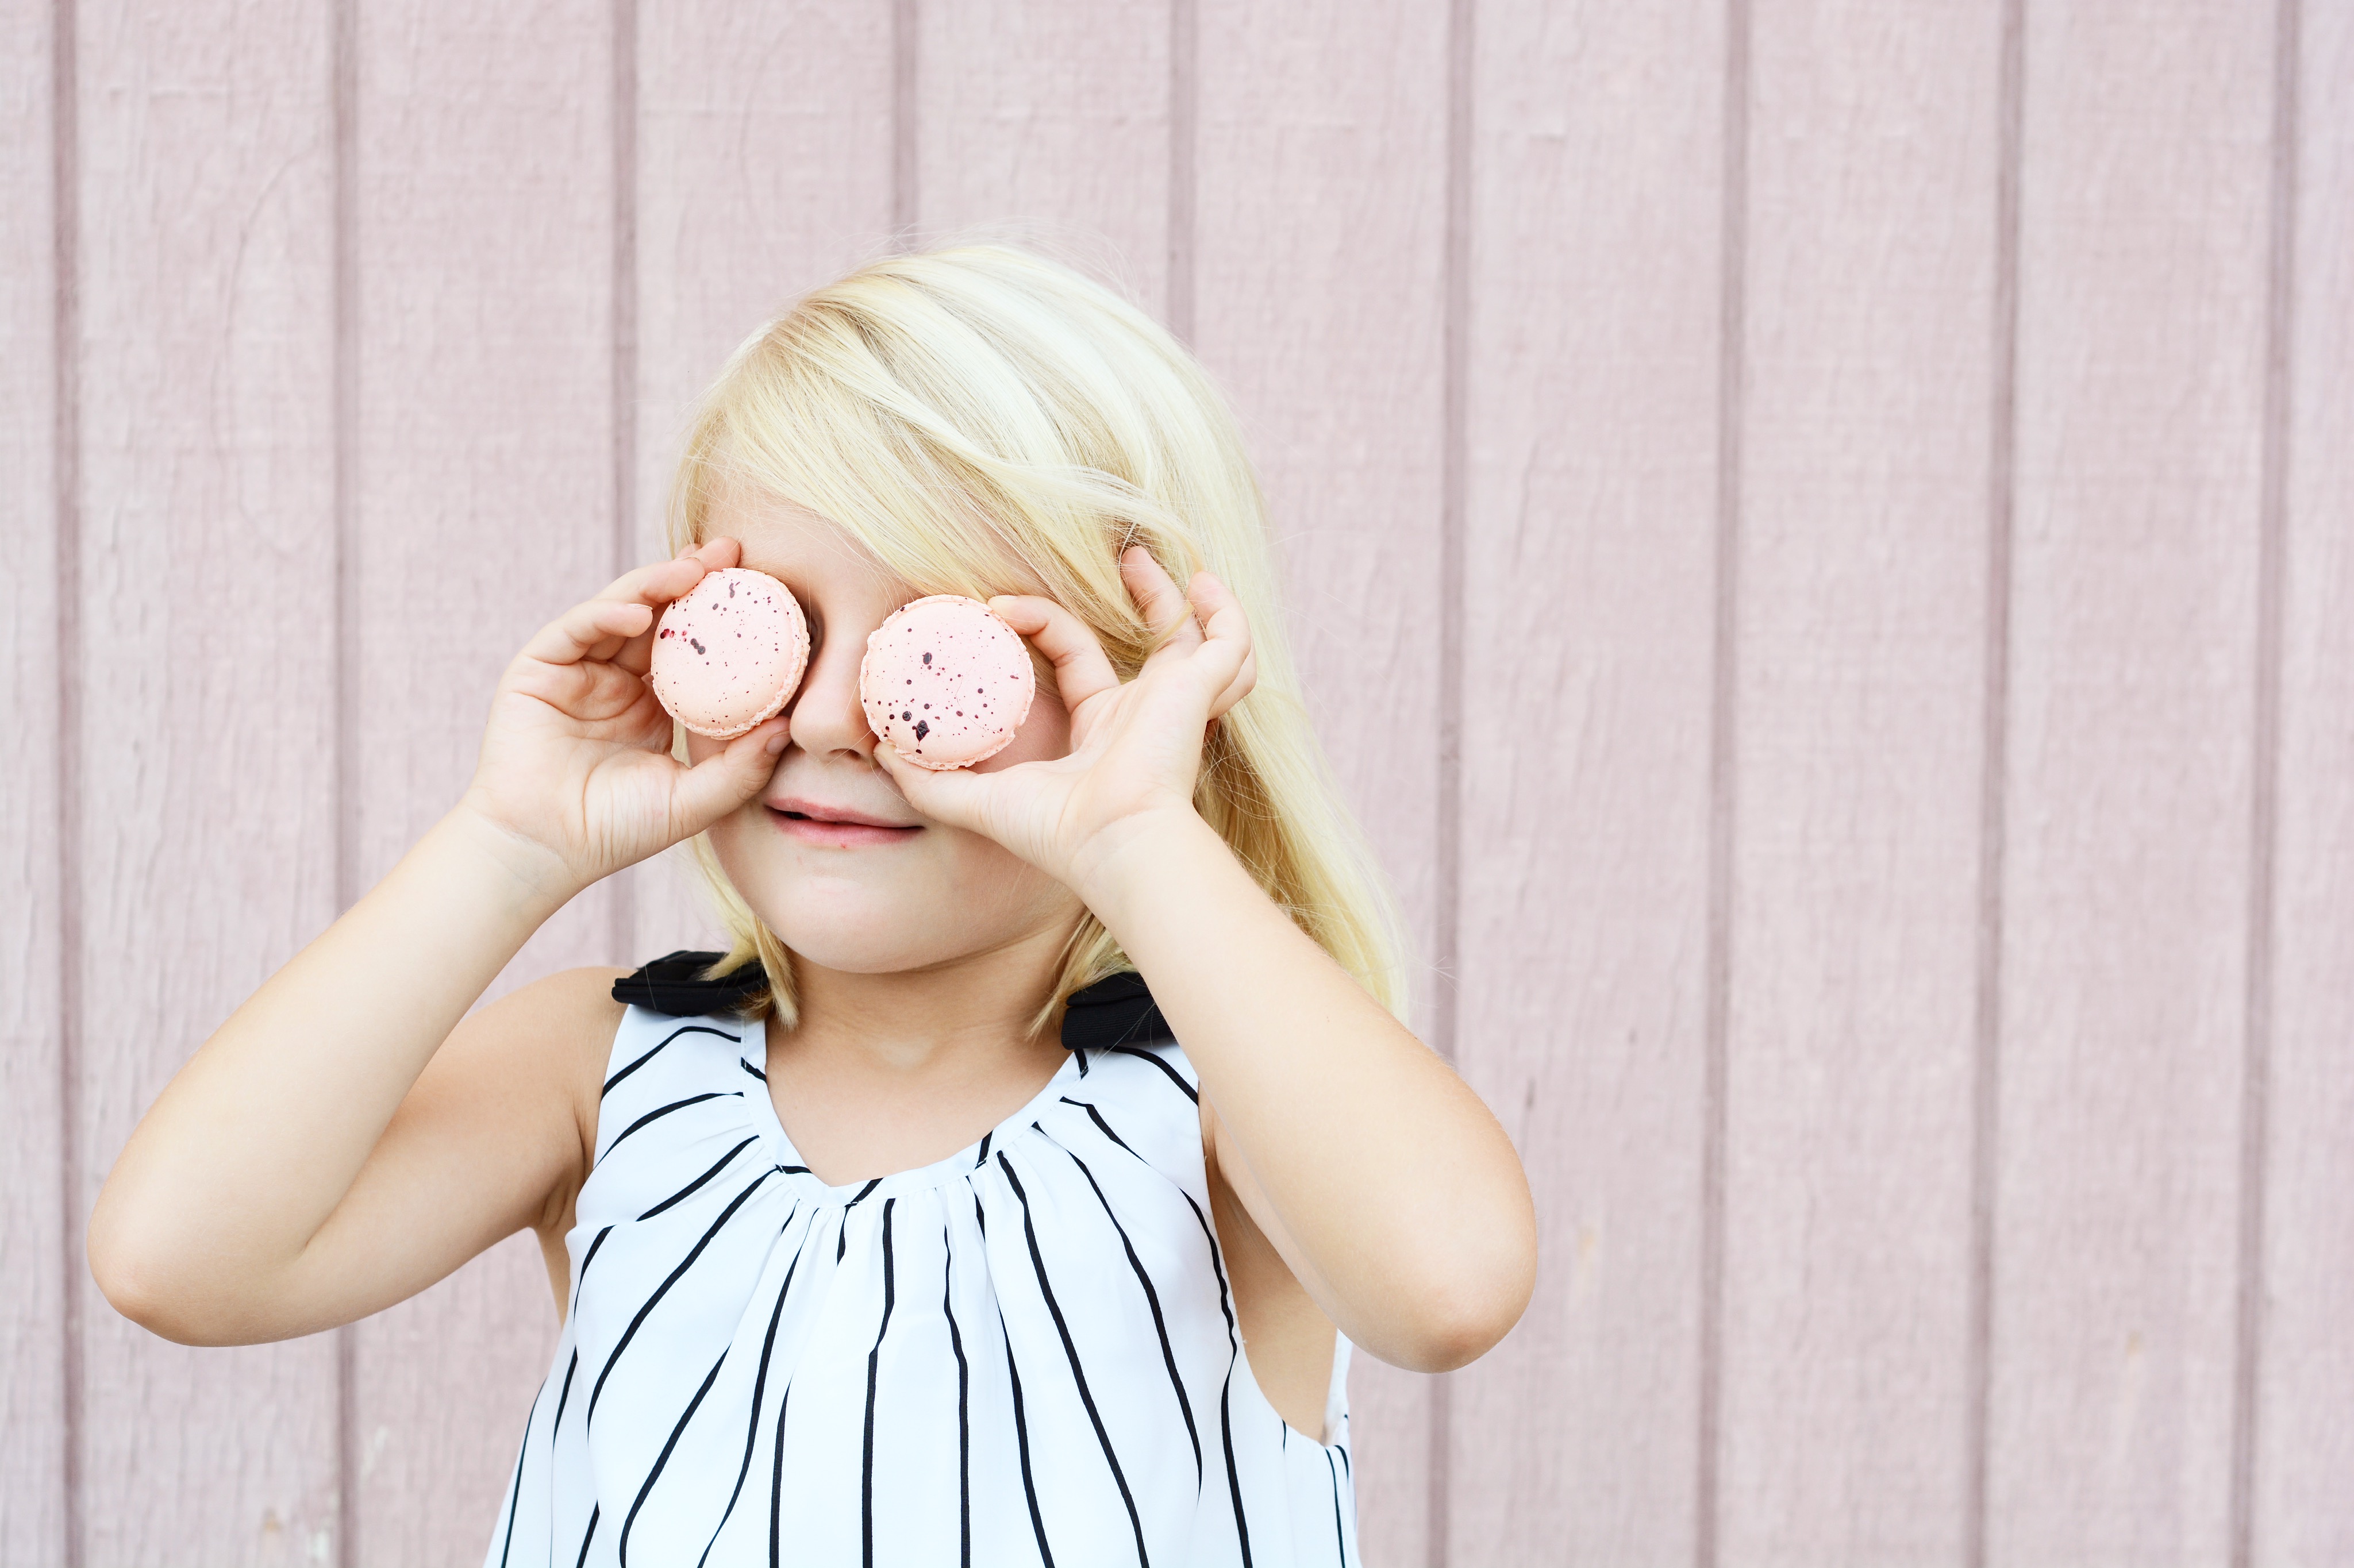
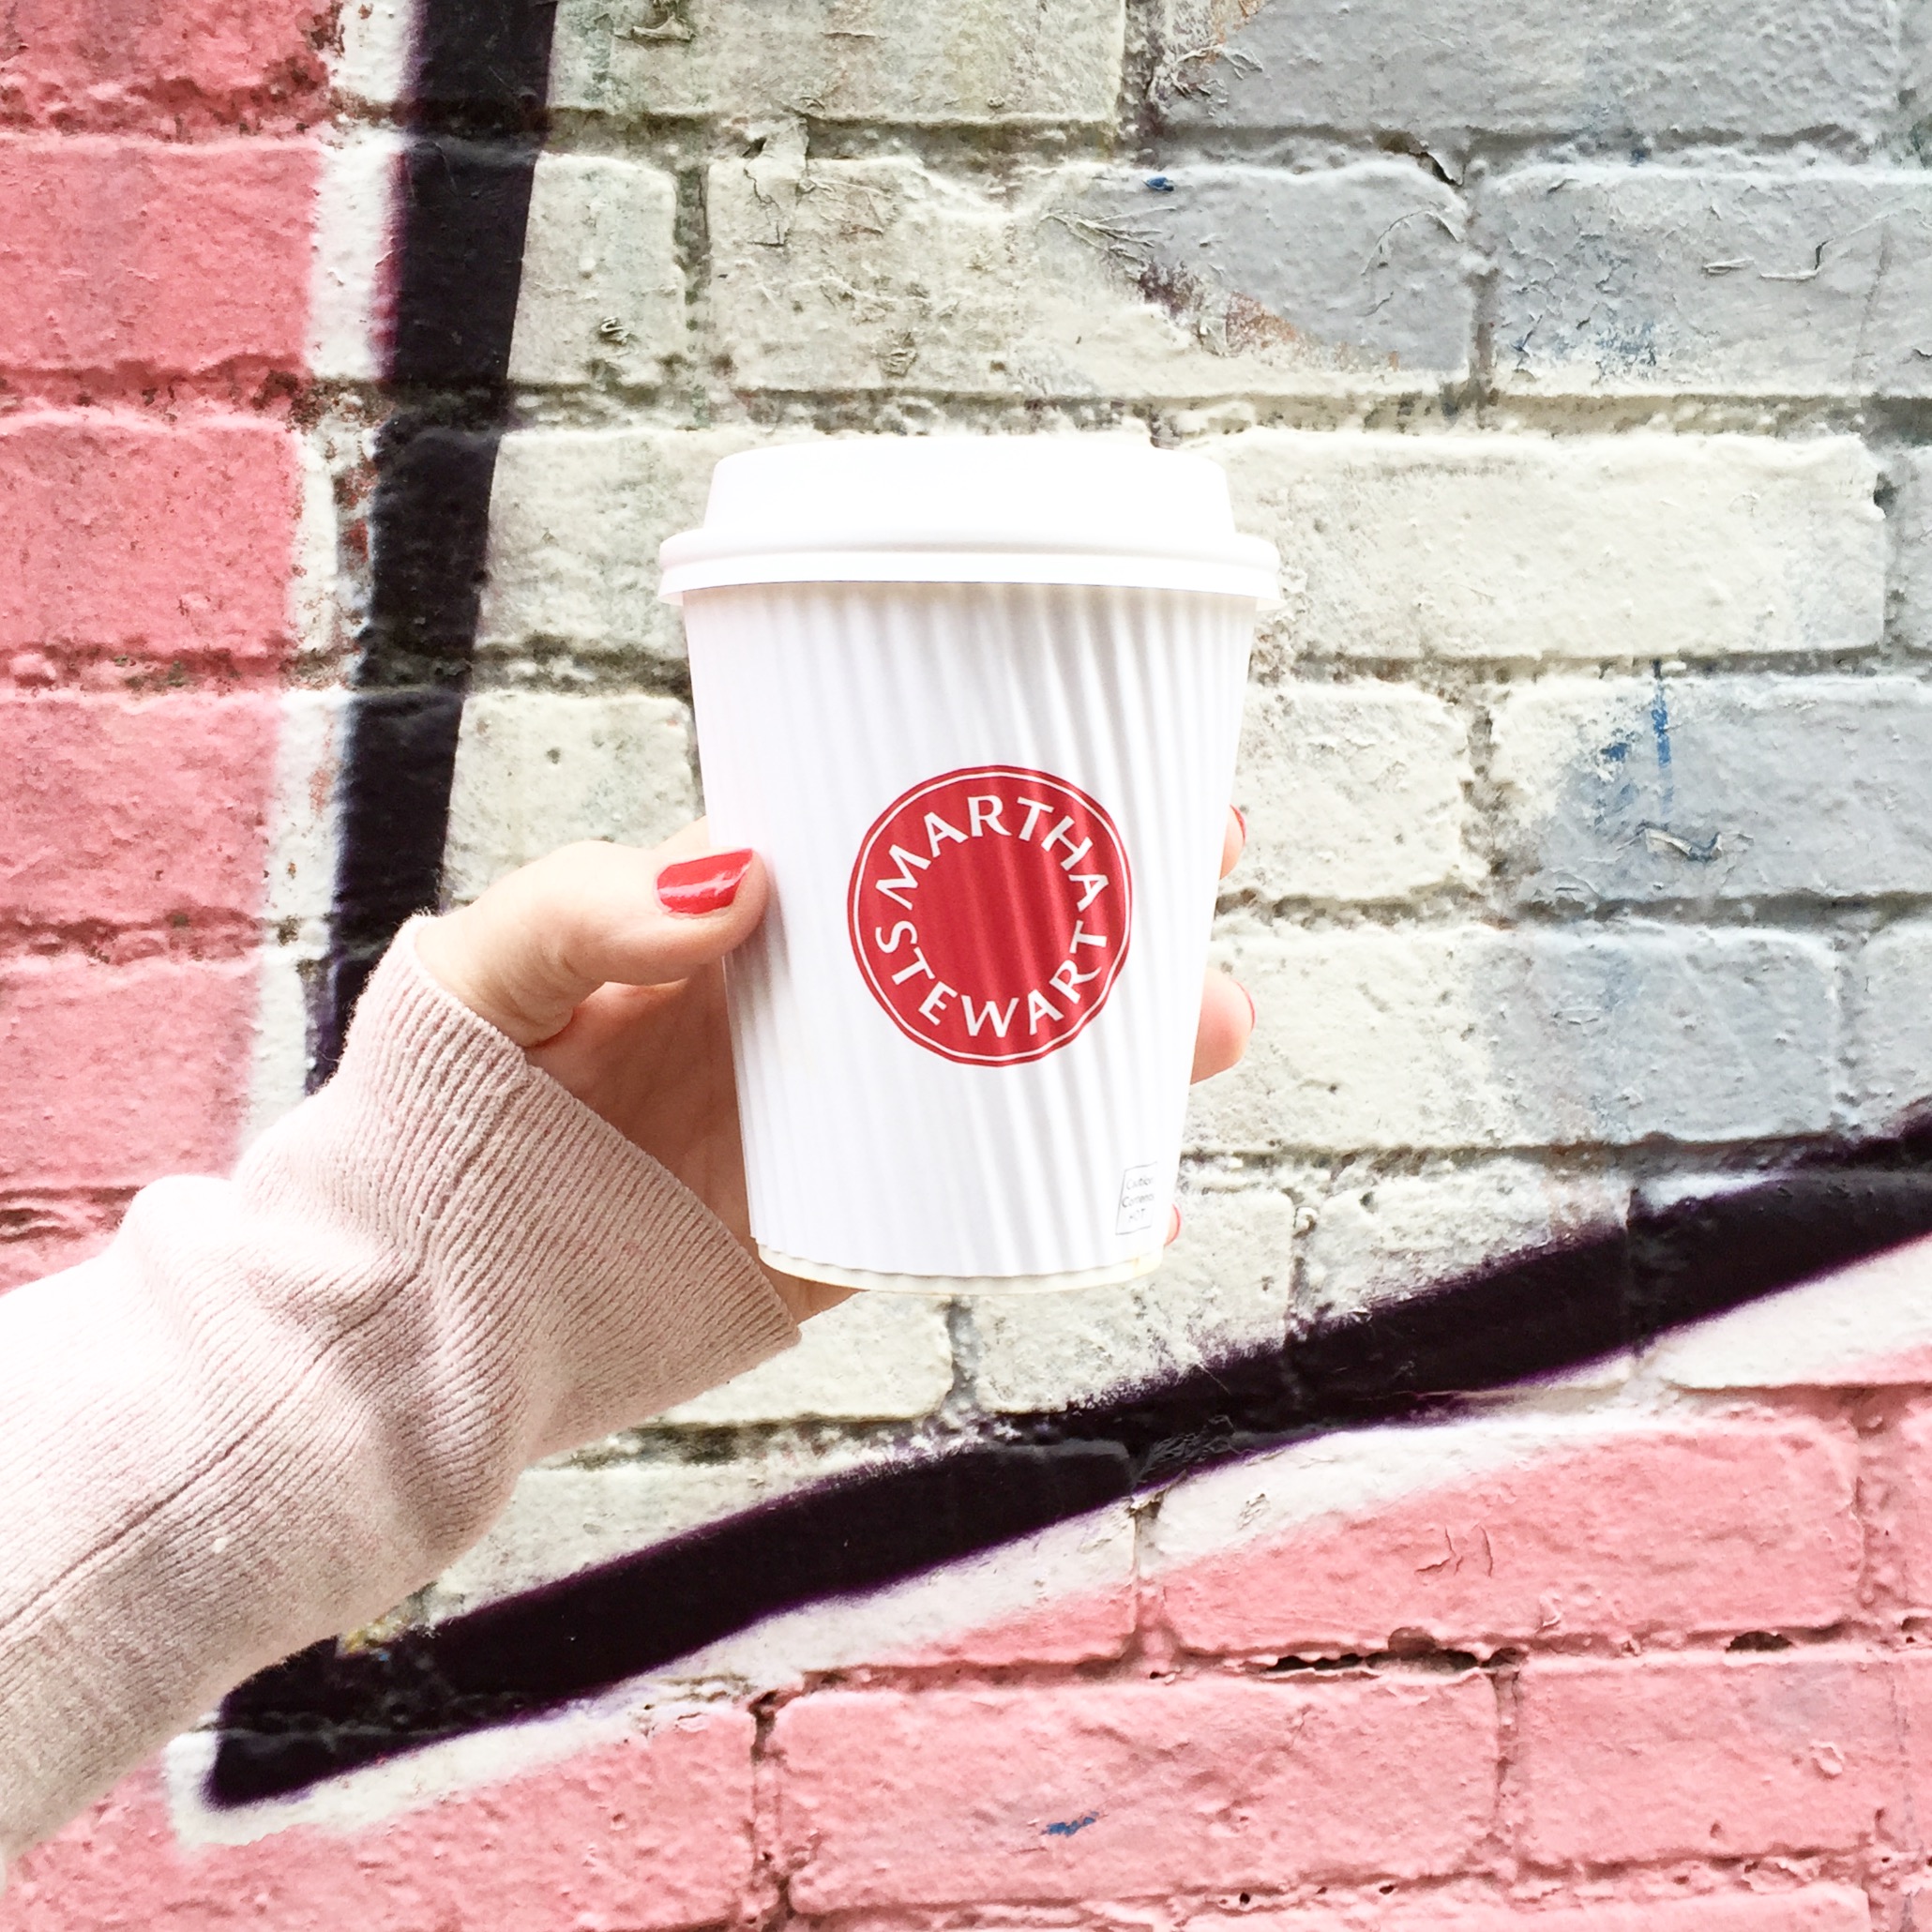
I have been known to carry a treat quite a distance before taking a bite. This meringue, donut, and Swedish pastry were all carried for a few blocks until I found the right wall to photograph them against. The restaurants were both crowded and cluttered, I didn’t like the dishes they were served on, and a top down image just wouldn’t have done them justice. So, walking to find a wall that would complement and not compete with my subject worked for me.
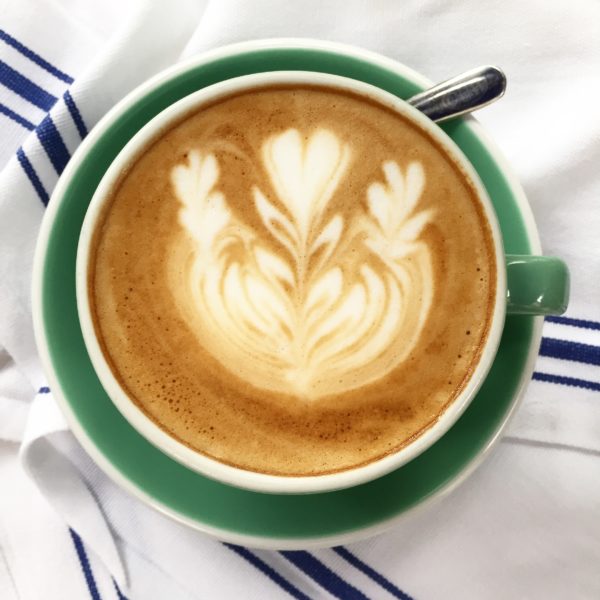
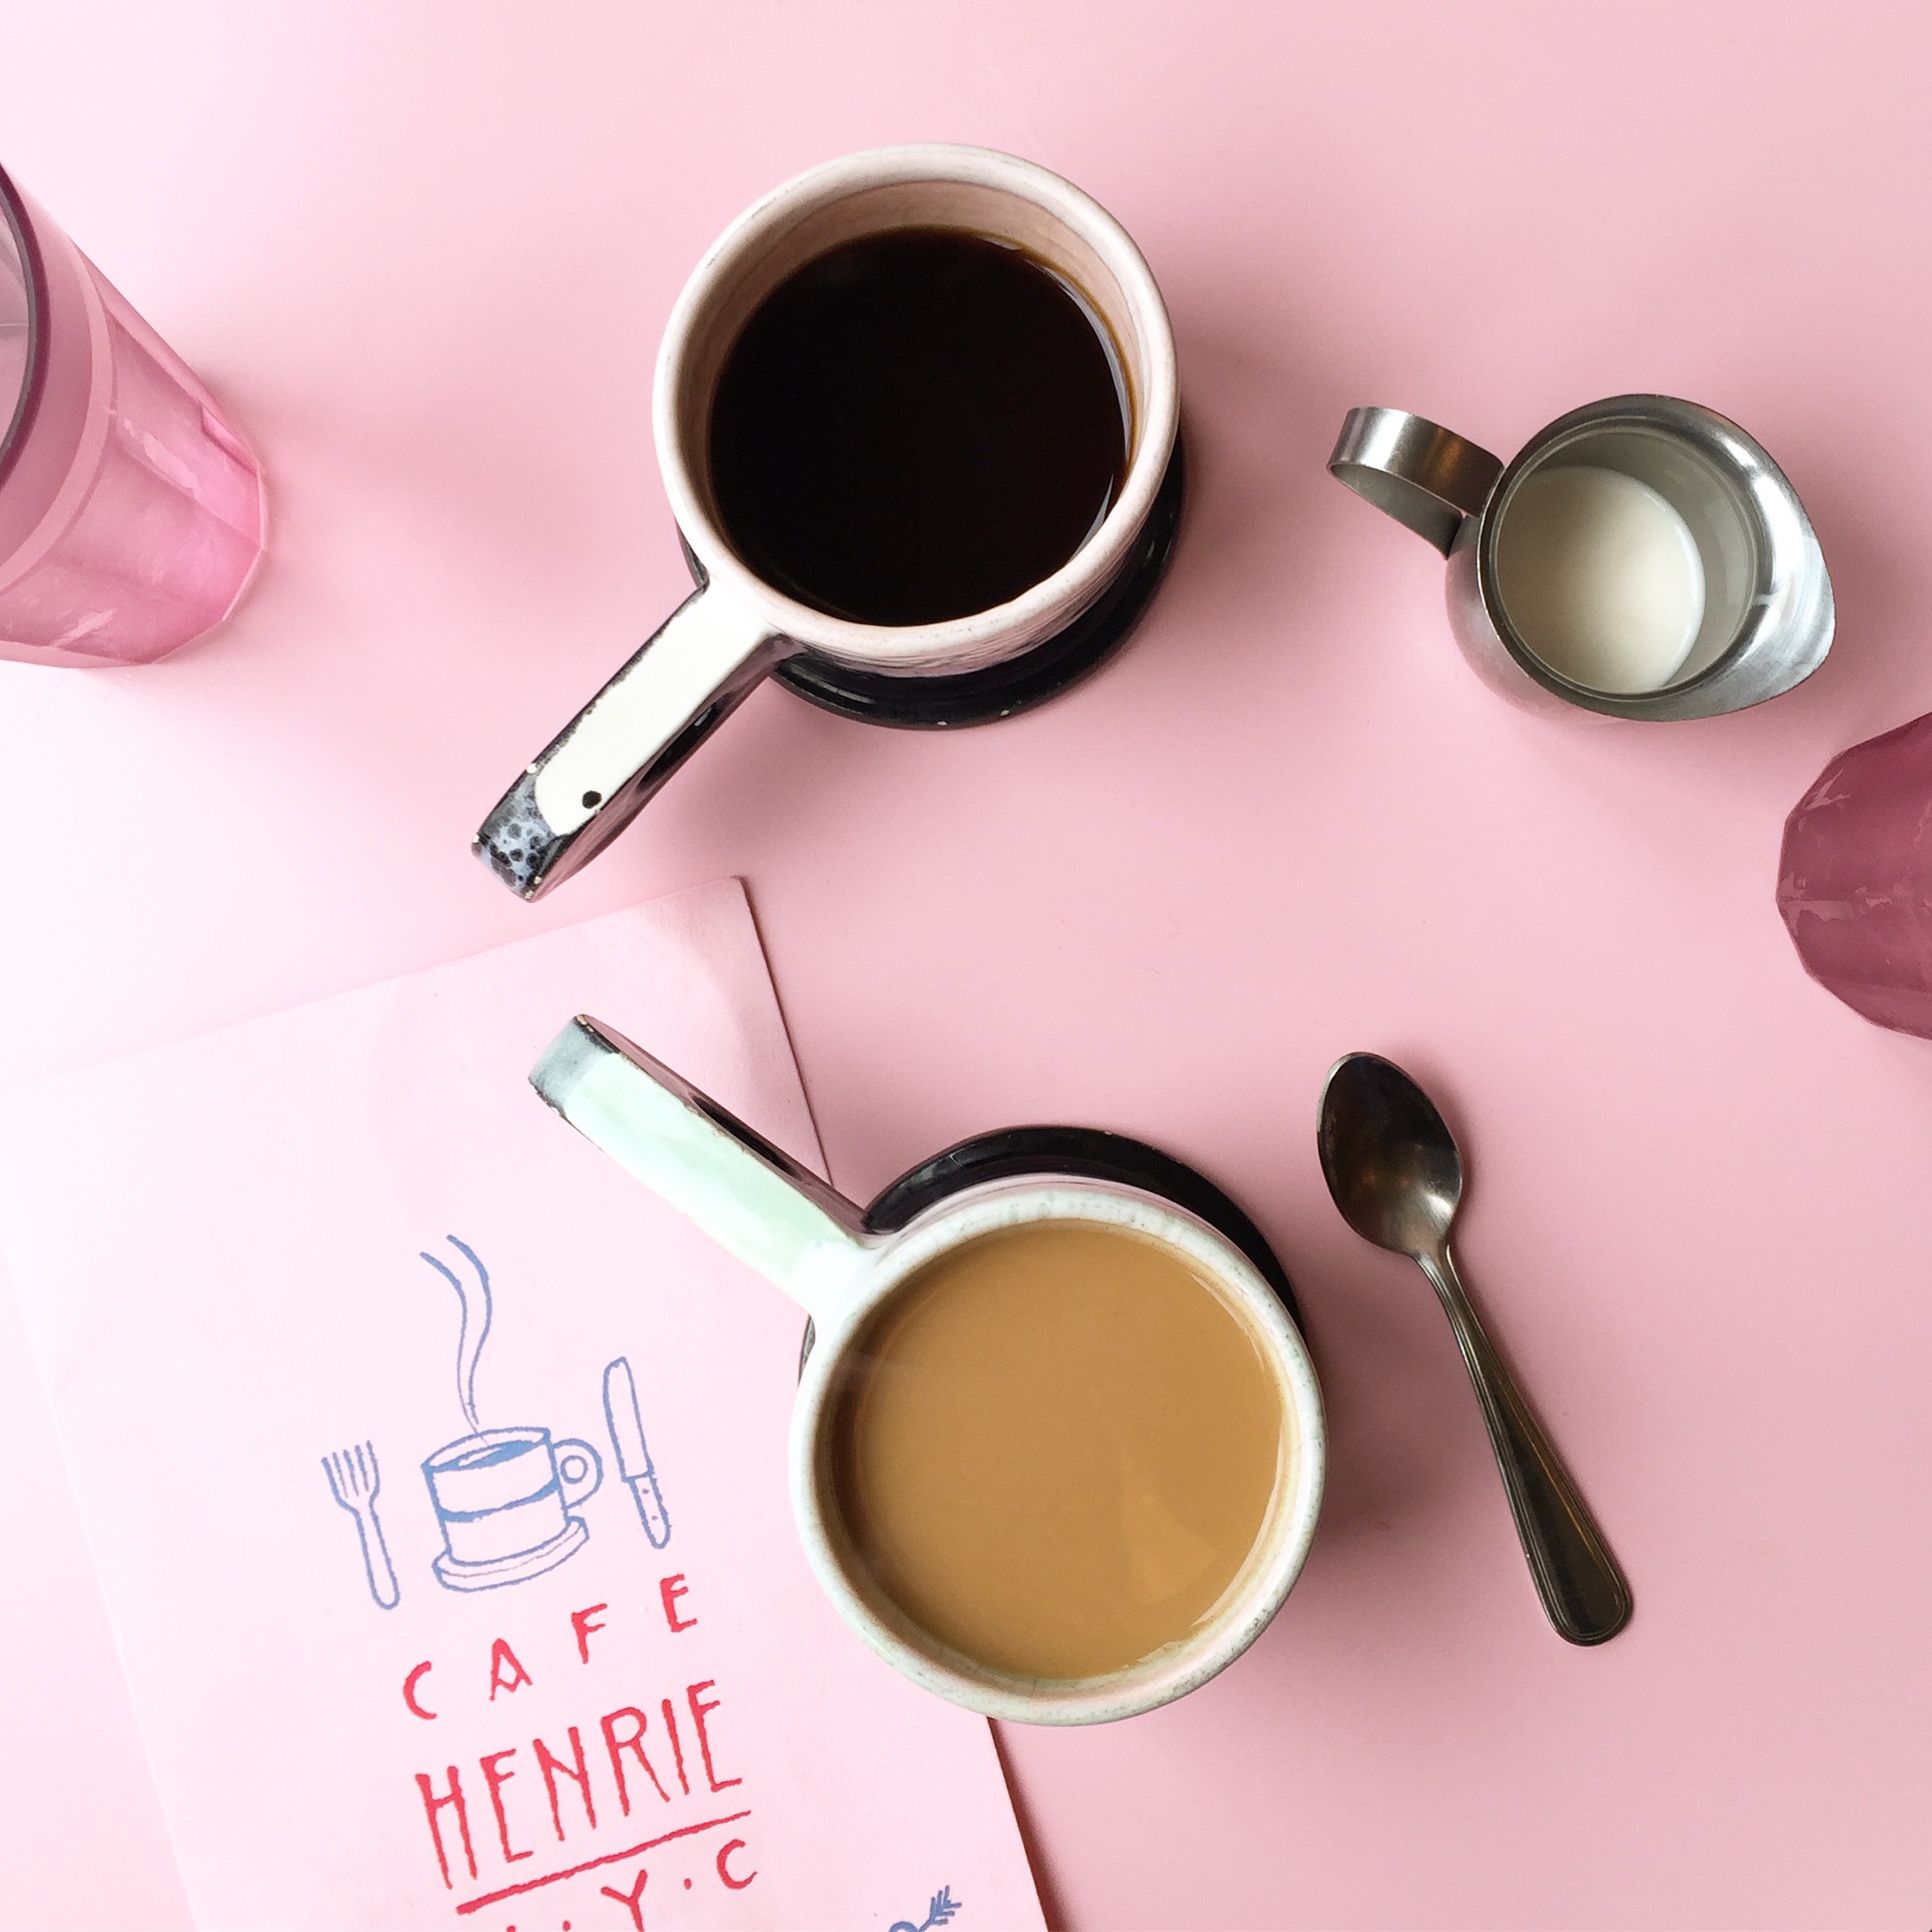
The table top that this coffee was sitting on was a little busy and completed with the pattern and art of the latte. So, I laid out my napkin, in a kind of haphazard way, to create a more calm and bright background.
4. COMPOSITION
Ok, first of all, don’t order the meatloaf and mashed potatoes, order food that you know is going to have color and texture. Fruits and veggies are always going to have more vibrant colors.
This is when you can add your personal style to the image. Bringing people into the shot will give the food a little more life and personality, even if it’s just your hand in the shot. Don’t be afraid to play with what’s already of the table – add a glass to the frame, move the flowers, place the napkin, scatter the cutlery and unfold the napkins, or even pull the condiments out of sight if they are too busy. And then add some of your own props into the image – a hand, your phone, purse, a scarf, keys, a notebook. When you bring a personal object into the shot, immediately your personal style will come through. If you are a brand, this is where you can tell your story, not just share pretty food that is on the plate.
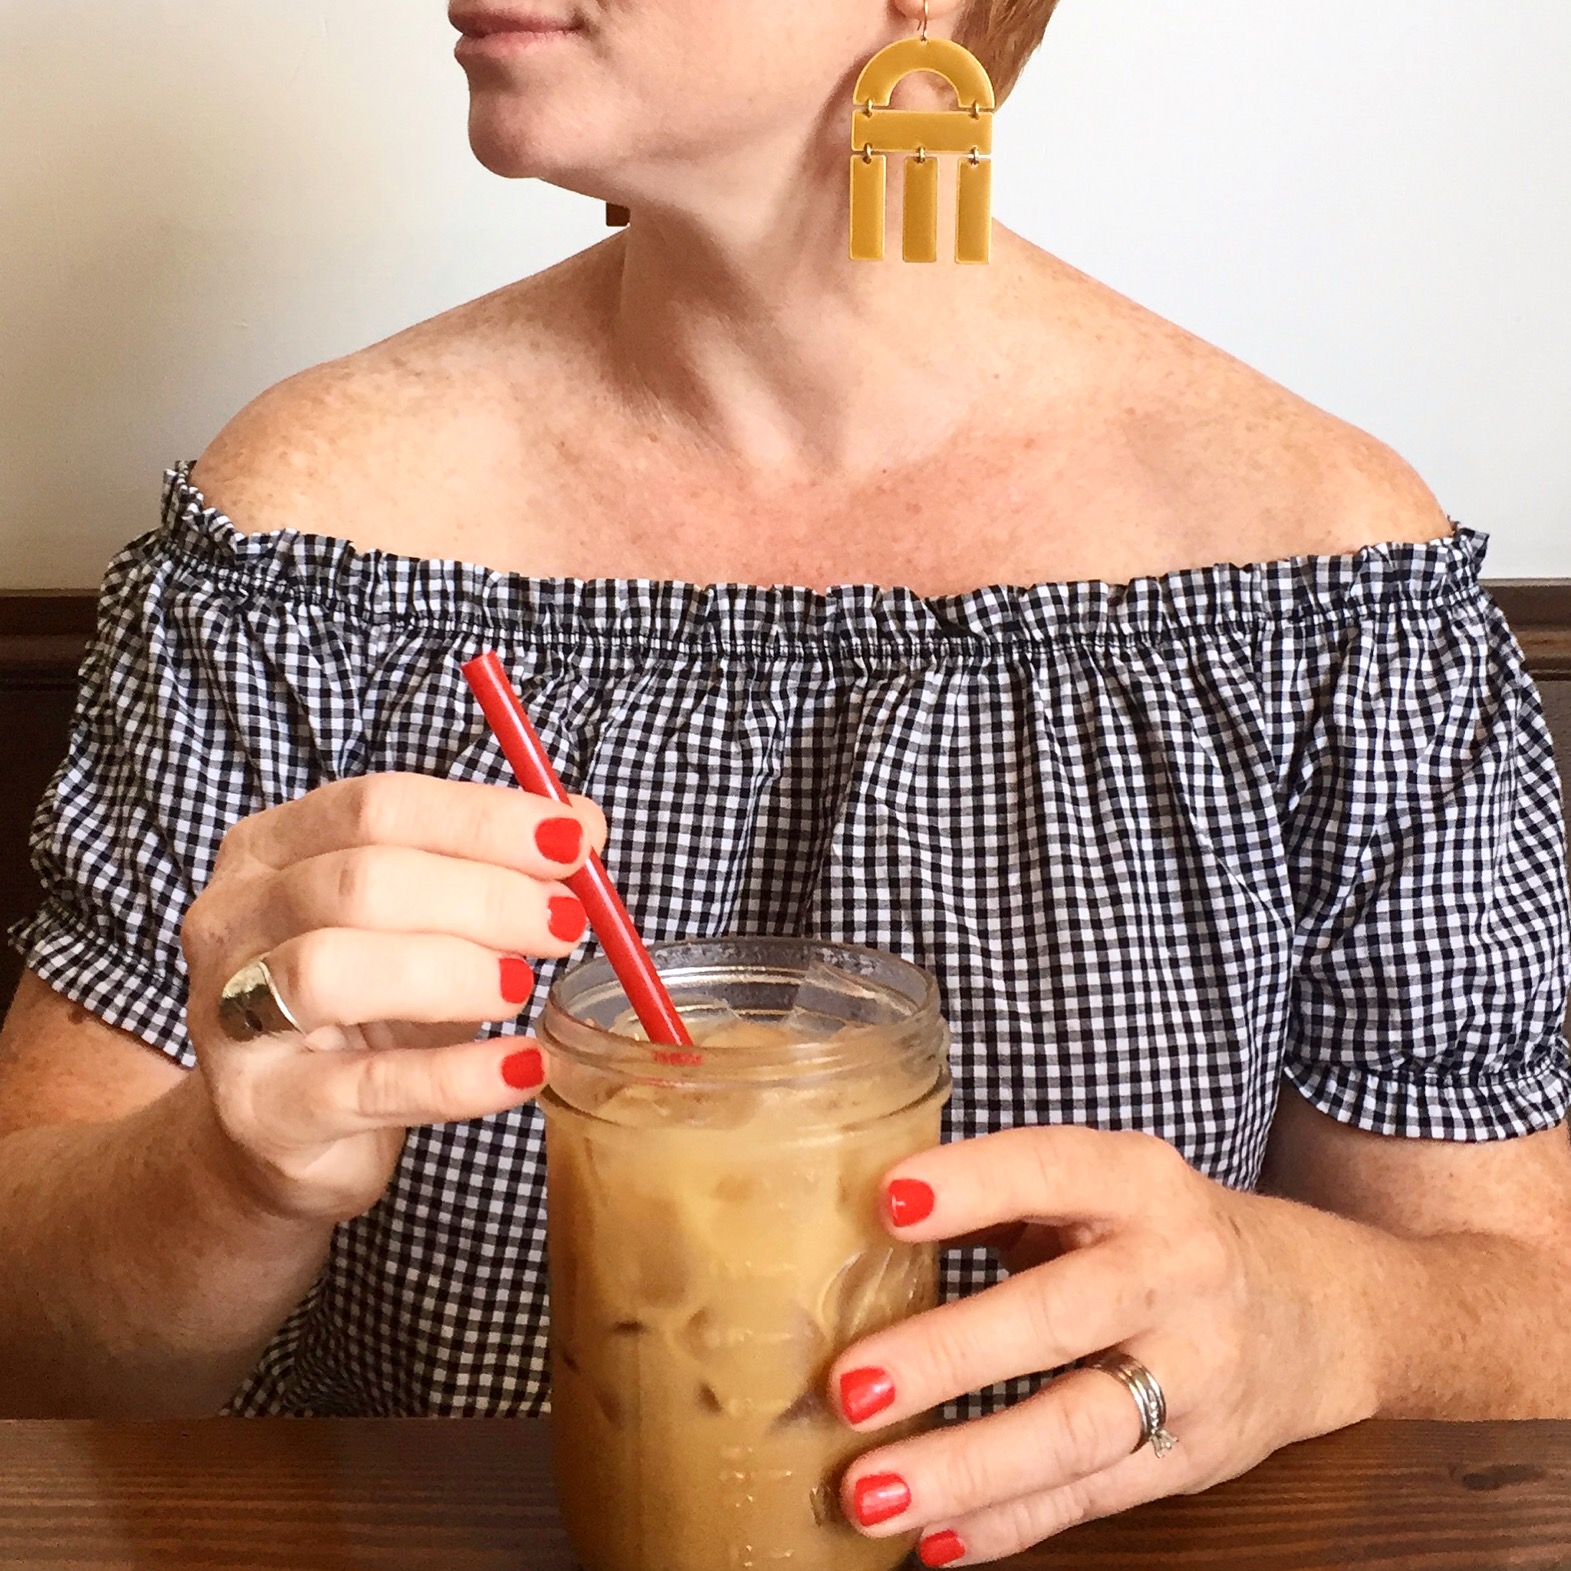
I like to play with black and white patterns in my feed. This top was a much better contrast to my coffee then the wooden bench behind it. Also my red nail polish was a perfect match to the straw
5. ANGLE
Smart phones have a wide-angle lens and the depth of field cannot be adjusted, so closeup images can appear distorted. This is why top-down food photography is so popular. Straight on can also work well. Holding the plate or glass in your hand or lap, or take the donut and walk over to a wall. (You can see a good example of straight on above where I’m holding the iced coffee.)
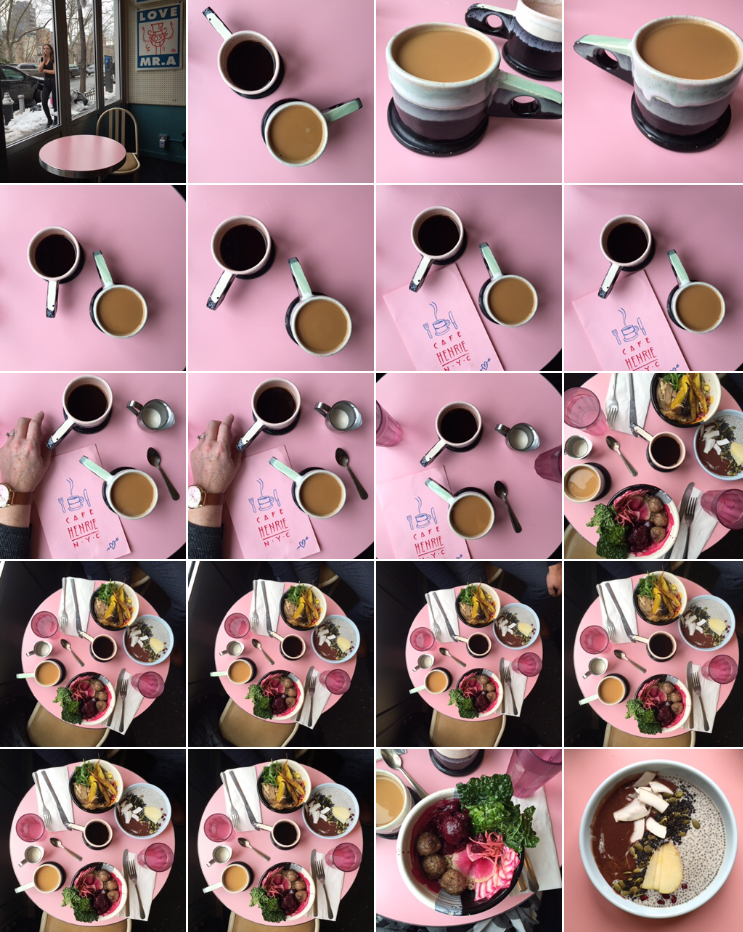
If you keep scrolling down, you will see that I tried to take a few pictures of the mugs side on, to show the handles. But, the images were just too distorted. I just fell back on the top-down angle because it is the easiest to work with when you are shooting with a phone camera.
6. SHOOT
The first step is to clean your lens with the corner of your shirt. You’ve seen it before, just a foggy, blurred image. Next, hold the camera steady (tuck in your elbow). Touch a focus point on your screen and shoot way more images than you think you need.
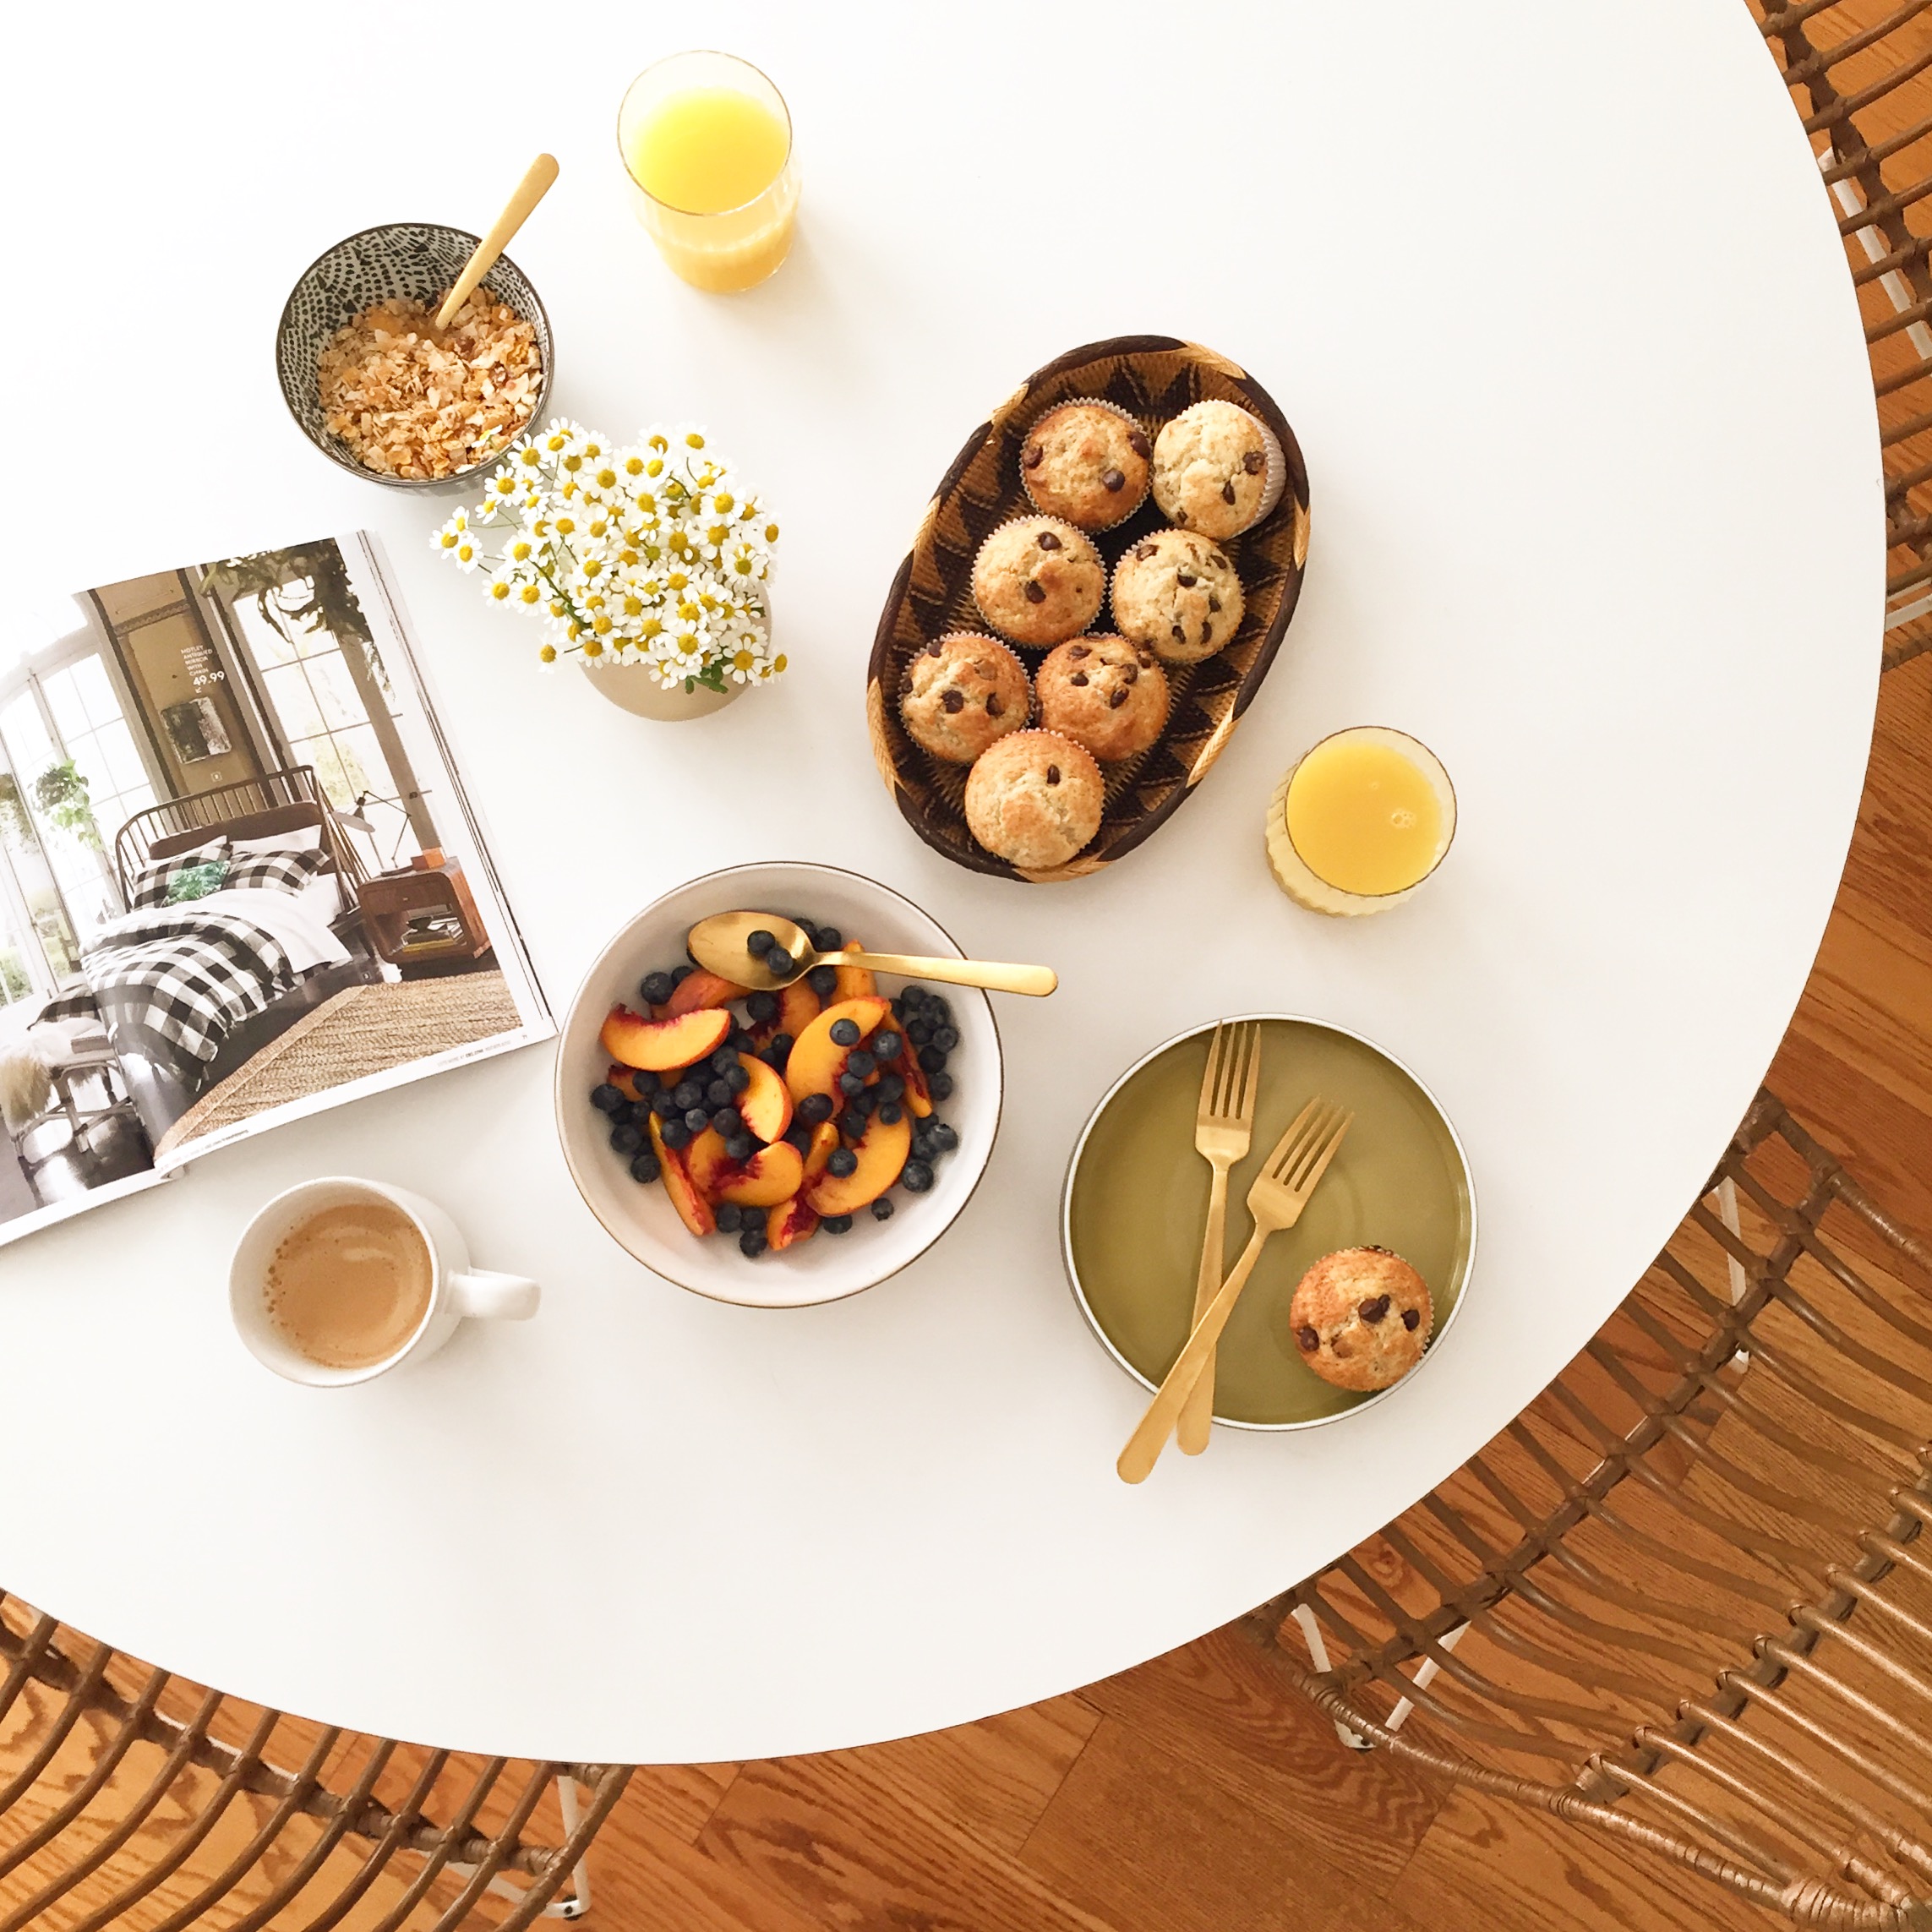
And as embarrassing as it might seem in public, take way a lot of pictures. It’s probably mostly strangers around you, so who cares? You can see that I tried a lot of different angles and played with pulling way back and then coming in on some details as well. To get the full table, I was definitely on my tippy toes. Because I took such a variety of shots, this one lunch date has given me at least 4 instagram images over the last year.
Zoom out and zoom in – there is something beautiful about the big scale mess of all the dishes and cutlery on a table and also the close up details of a meal can be just as interesting. I should mention that I am not using the zoom feature on my iphone, simply hold the camera higher or move it in closer to the subject.
7. EDIT
First rule – NO instagram FILTERS. Now if you have created your own custom filters on VSCO or consistently use the same filters on A Color Story app, this can be ok. But, sticking with clean, crisp colors is best when sharing images of food. The Instagram app can do most of the work for you. I use brighten, warmth (especially in the shade), contrast, crop, and tilt (keep those horizons straight). I also like Google’s Snapseed app. I can clean up spots and more detailed lighting issues with this app.
The morning I took this photo of this coffee cup, it was pretty grey and cloudy. Adding a little brightness and some contrast make the colors pop just a little more. I little editing can go a long ways.

I hope you find this helpful. No more ugly plates of food in dark restaurant corners. I can’t wait to see what your next meal looks like.
So awesome – and so helpful! Thanks for sharing! Also, I’m going to check out your Travel section to see if you have info on Sweden – I’m heading there this year!
EEEk, I haven’t written my Sweden post. I NEED to write one. I’ve been twice, I LOVE that country sooooo much.
Wonderful tips! Gorgeous photos! Thanks for sharing!
Awesome! I’m glad it might be helpful.