
This post is sponsored by Gilmour. Thank you for supporting the companies that help make this blog possible.
Well, we are back from our big trip and I am inspired more then ever to up my gardening game. Everyone is Papua New Guinea has some sort of garden that is helping feed their families. I want that! I want to know where my veggies are coming from and the best way to do that is to grow my own. My husband and Olivia, my youngest, have always had a little garden spot in our yard, but with us having such a big yard I knew we needed more space allocated for growing food.
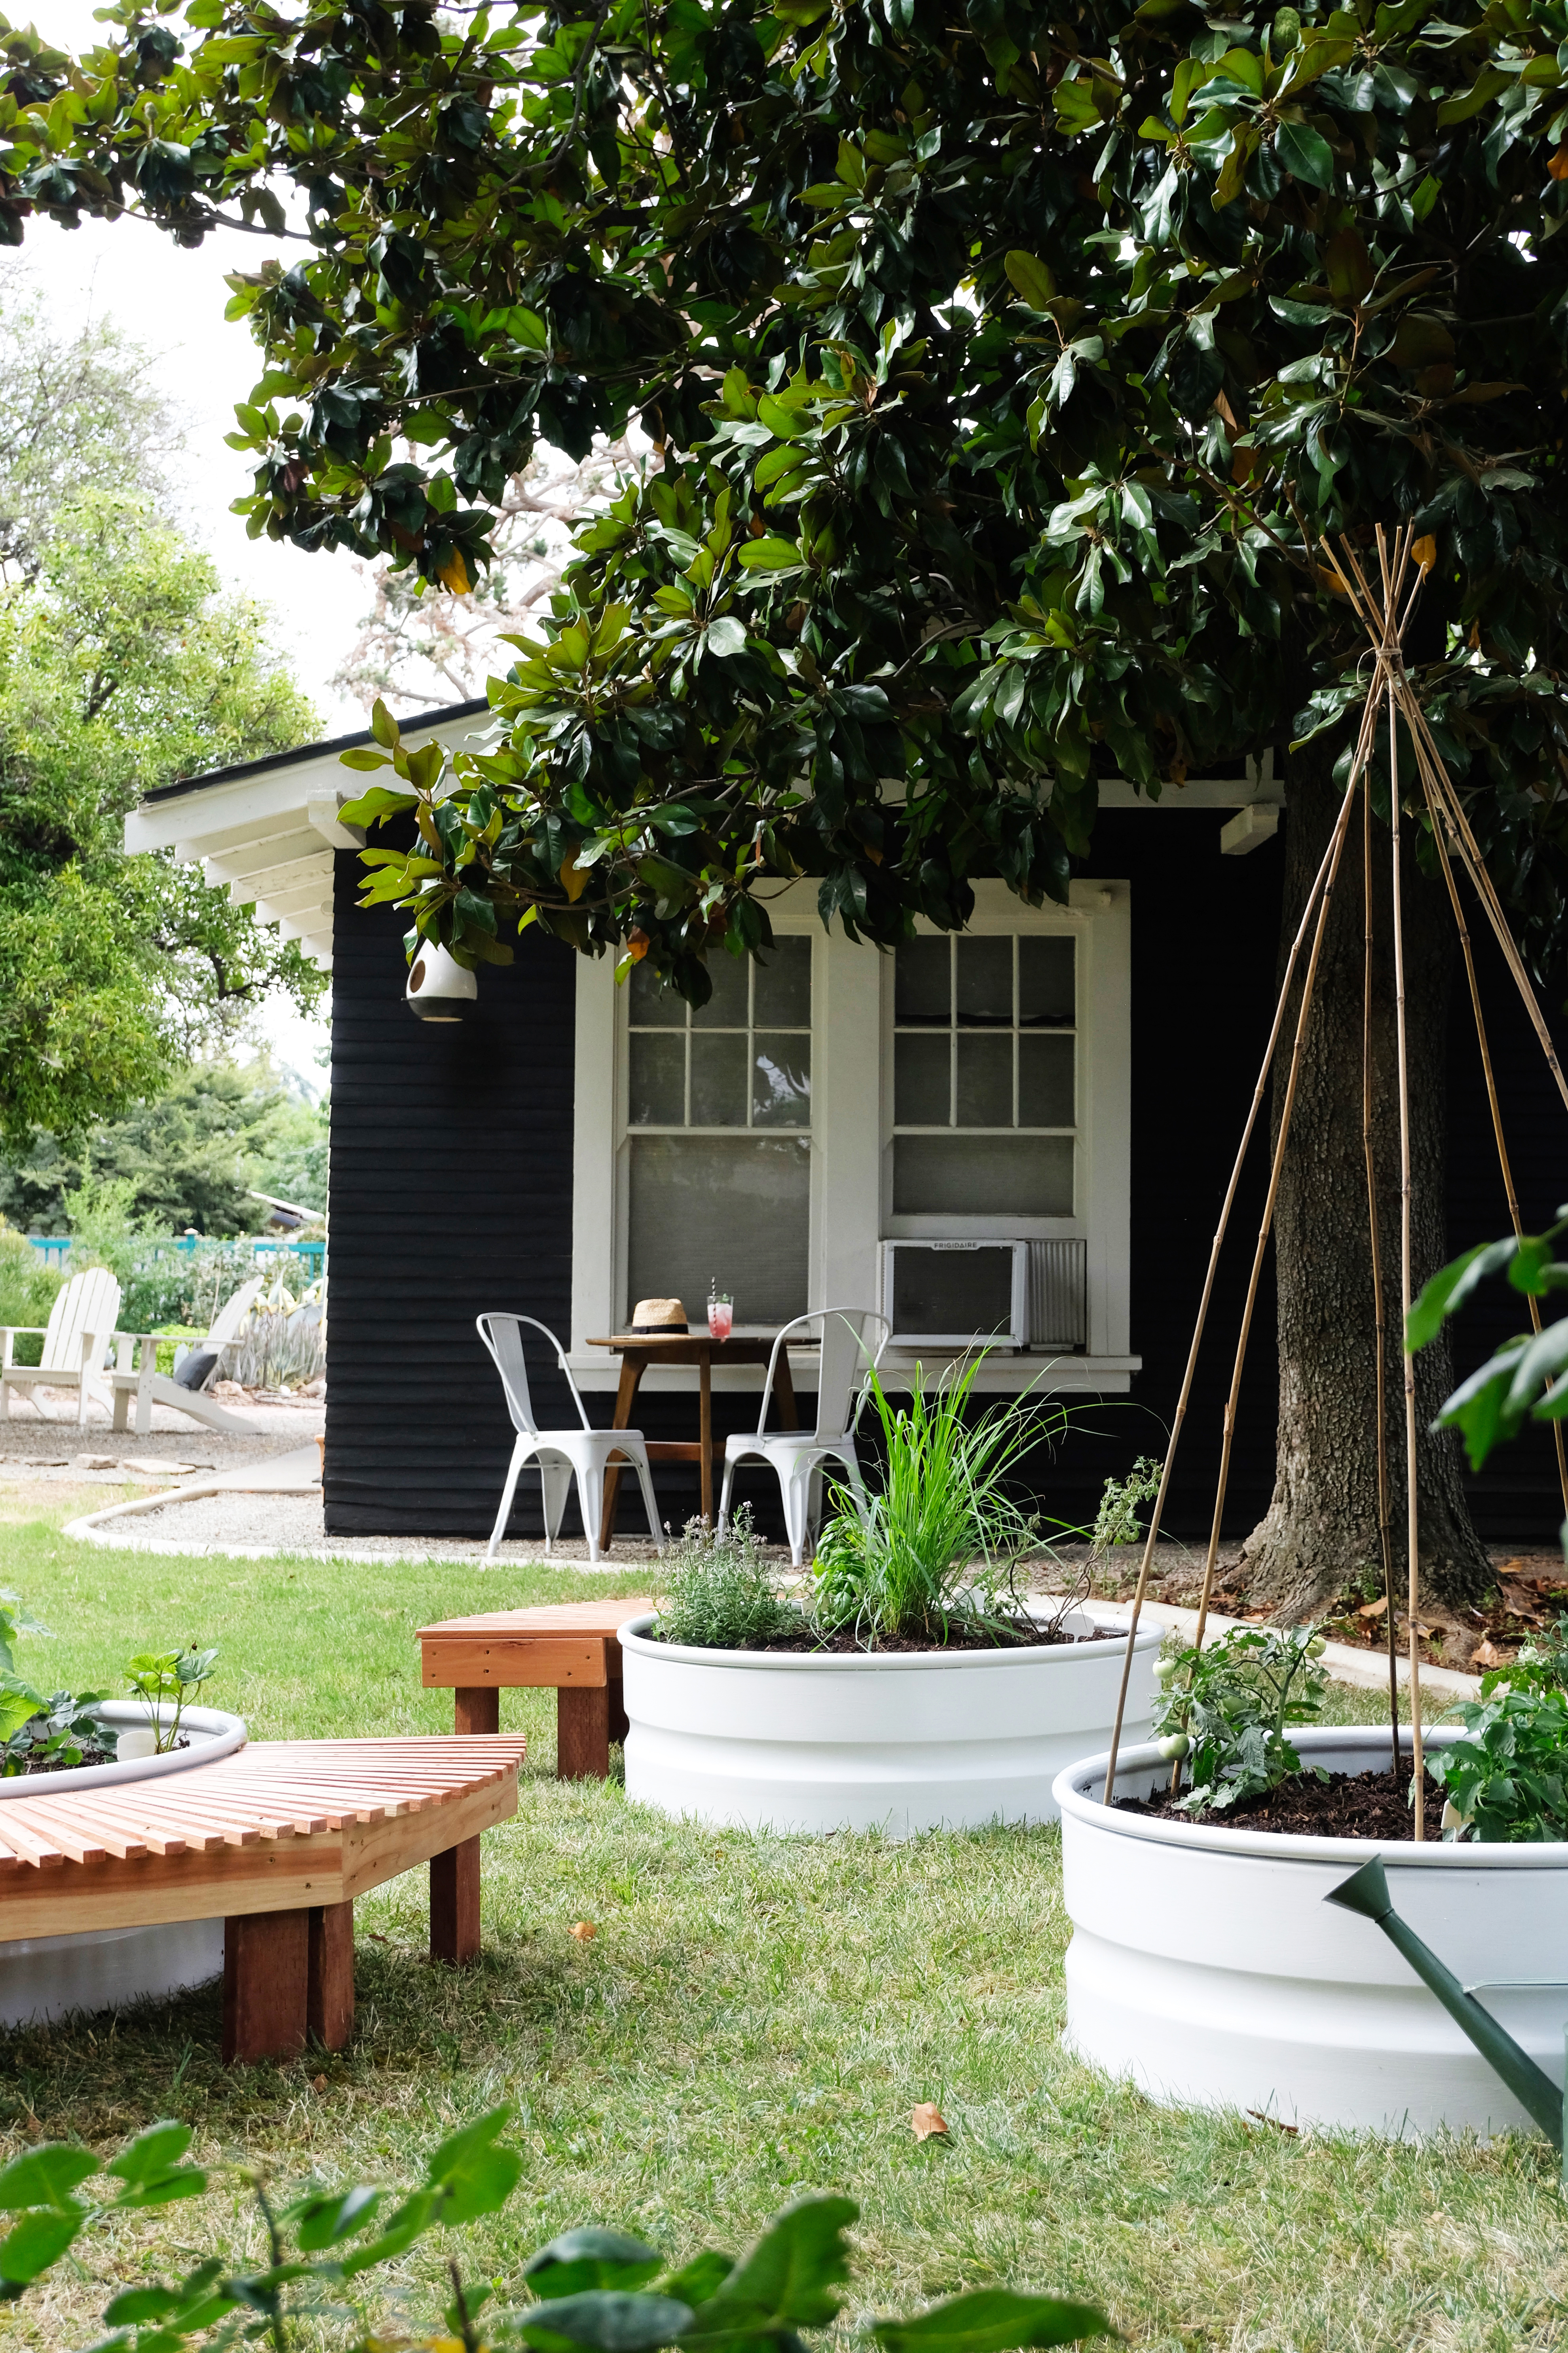
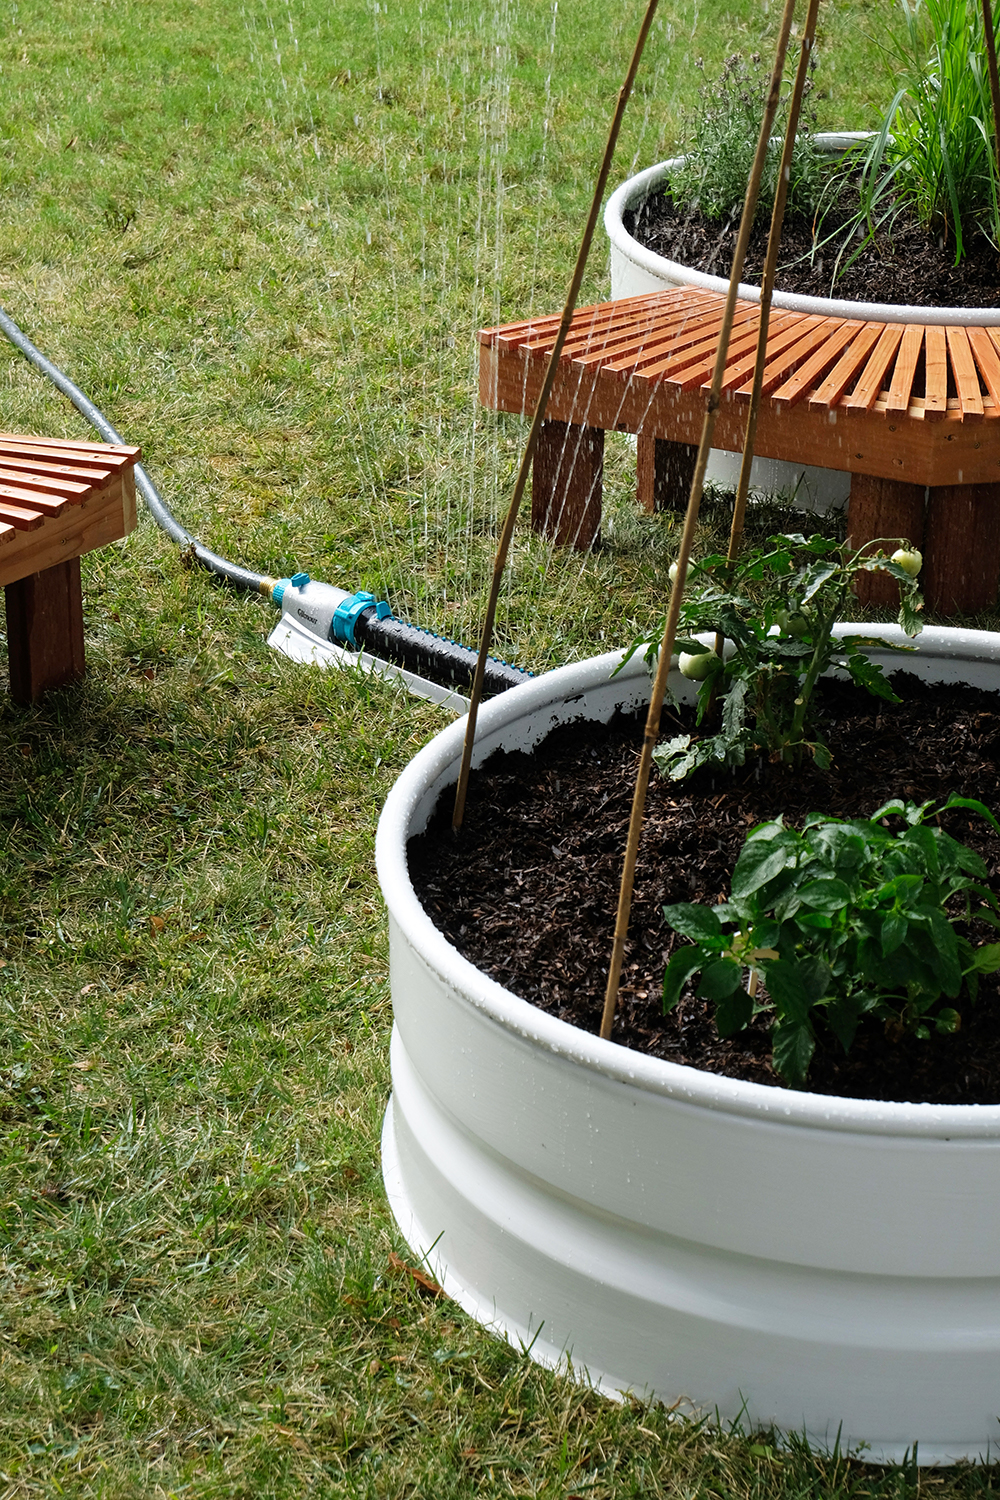
Raised beds are such a nice way to contain a garden. There are a million different designs and shapes out there, but I really wanted to add some garden beds that had both a little form and function. I looked into buying some cattle water tanks, but they were a little more expensive then I wanted to pay. So, I started to look for some other options, and that’s when I found round galvanized fire rings. These do not have a bottom to them, but I decided that wasn’t necessary and at under $45 for each ring, this was way more economical.
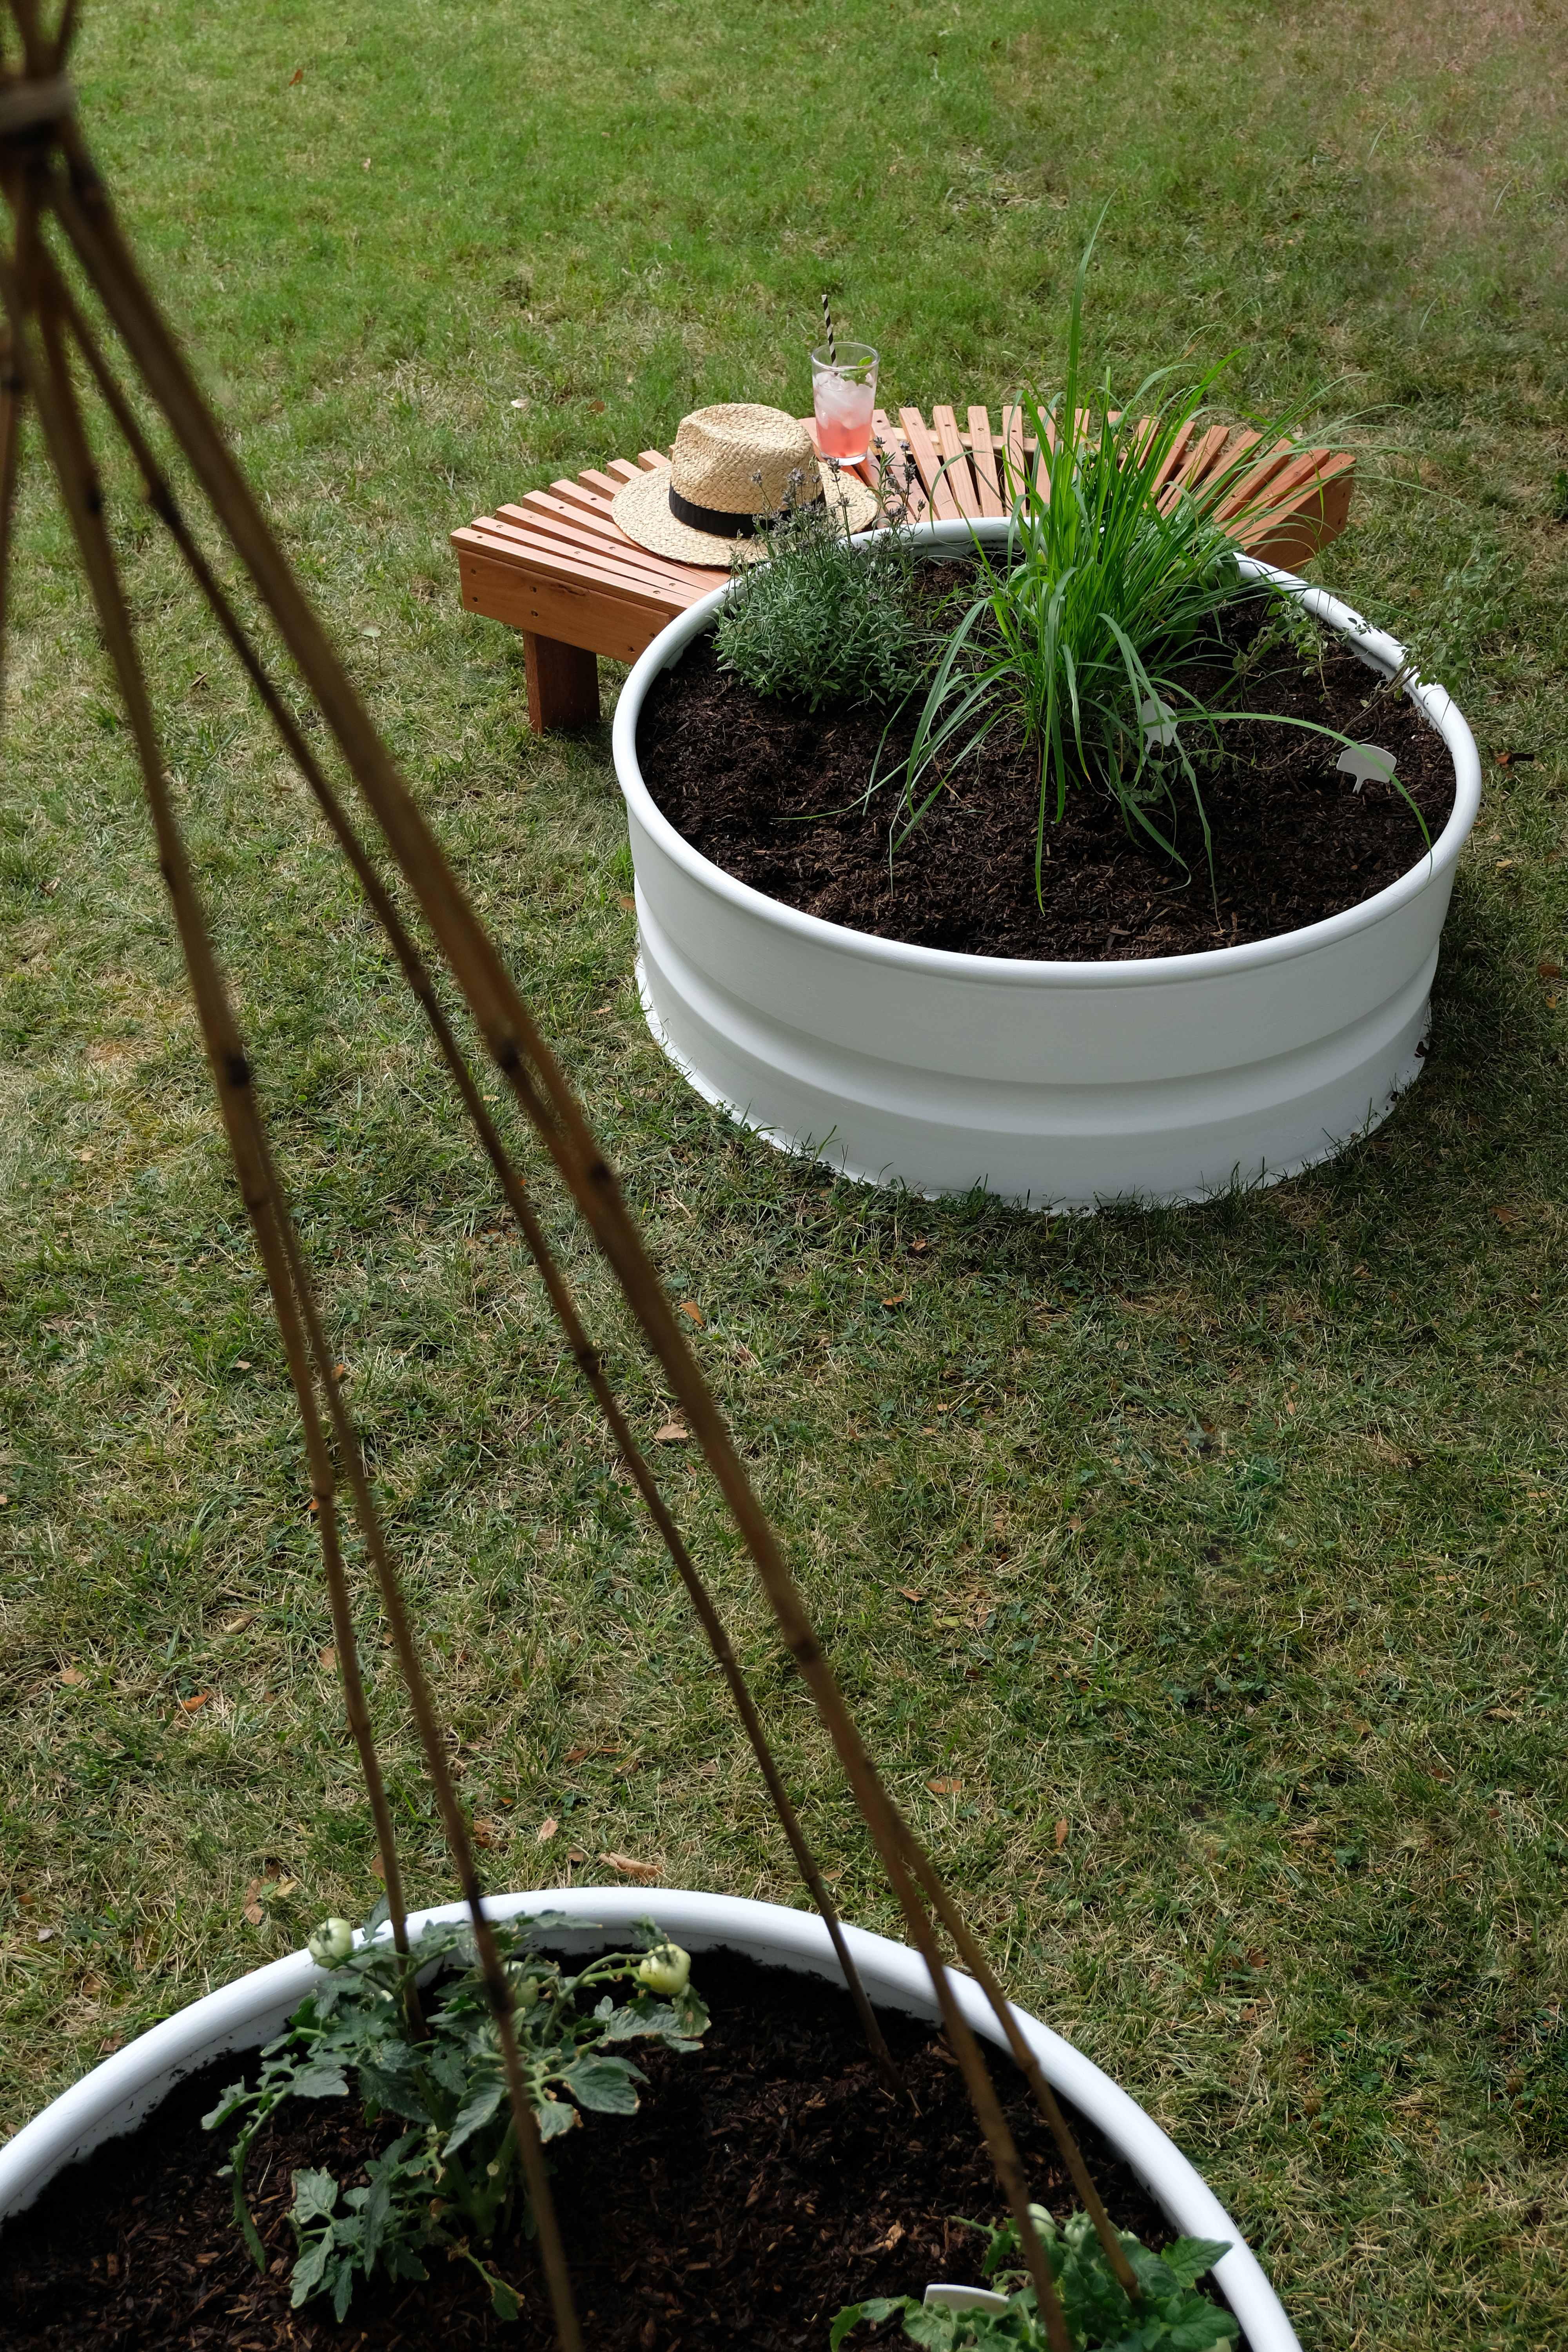
I started with 3 raised beds, but I feel like it would be super easy to add more at anytime. I wanted to give these beds a little modern, clean look, so a coat of white enamel paint did the trick. Plus, I feel like the paint with help protect the metal from water and weather.
This is a really easy project and these fire rings need very little prep at all. In just over an hour, you can be ready to plant some flowers or veggies.
Here’s what you’ll need:
- a 3 foot galvanized fire ring
- steel wool
- white vinegar
- Rust-oleum Self Etching Primer
- Rust-oleum Oil Based Enamel
- disposable paint brush
- compost, leaves or garden clippings (optional)
- two bags of organic garden soil (3 cubic feet per bag)
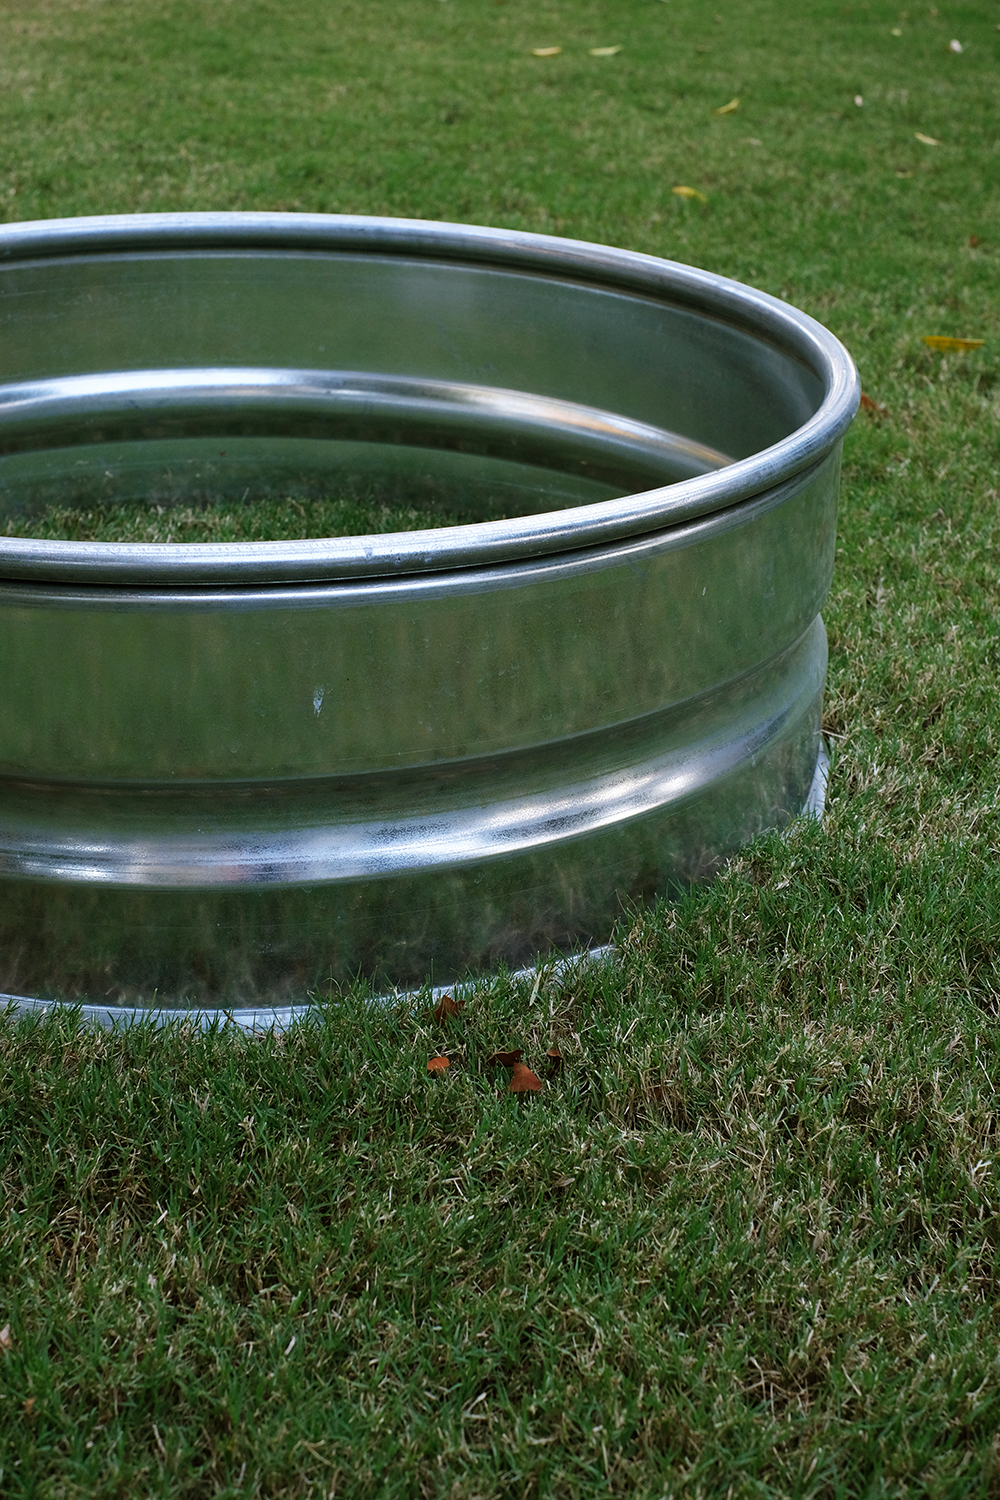
Start by scrubbing down the metal with a little white vinegar and some steel wool. The metal can have a bit of an oiled/greasy finish on it and you want to remove this before painting.
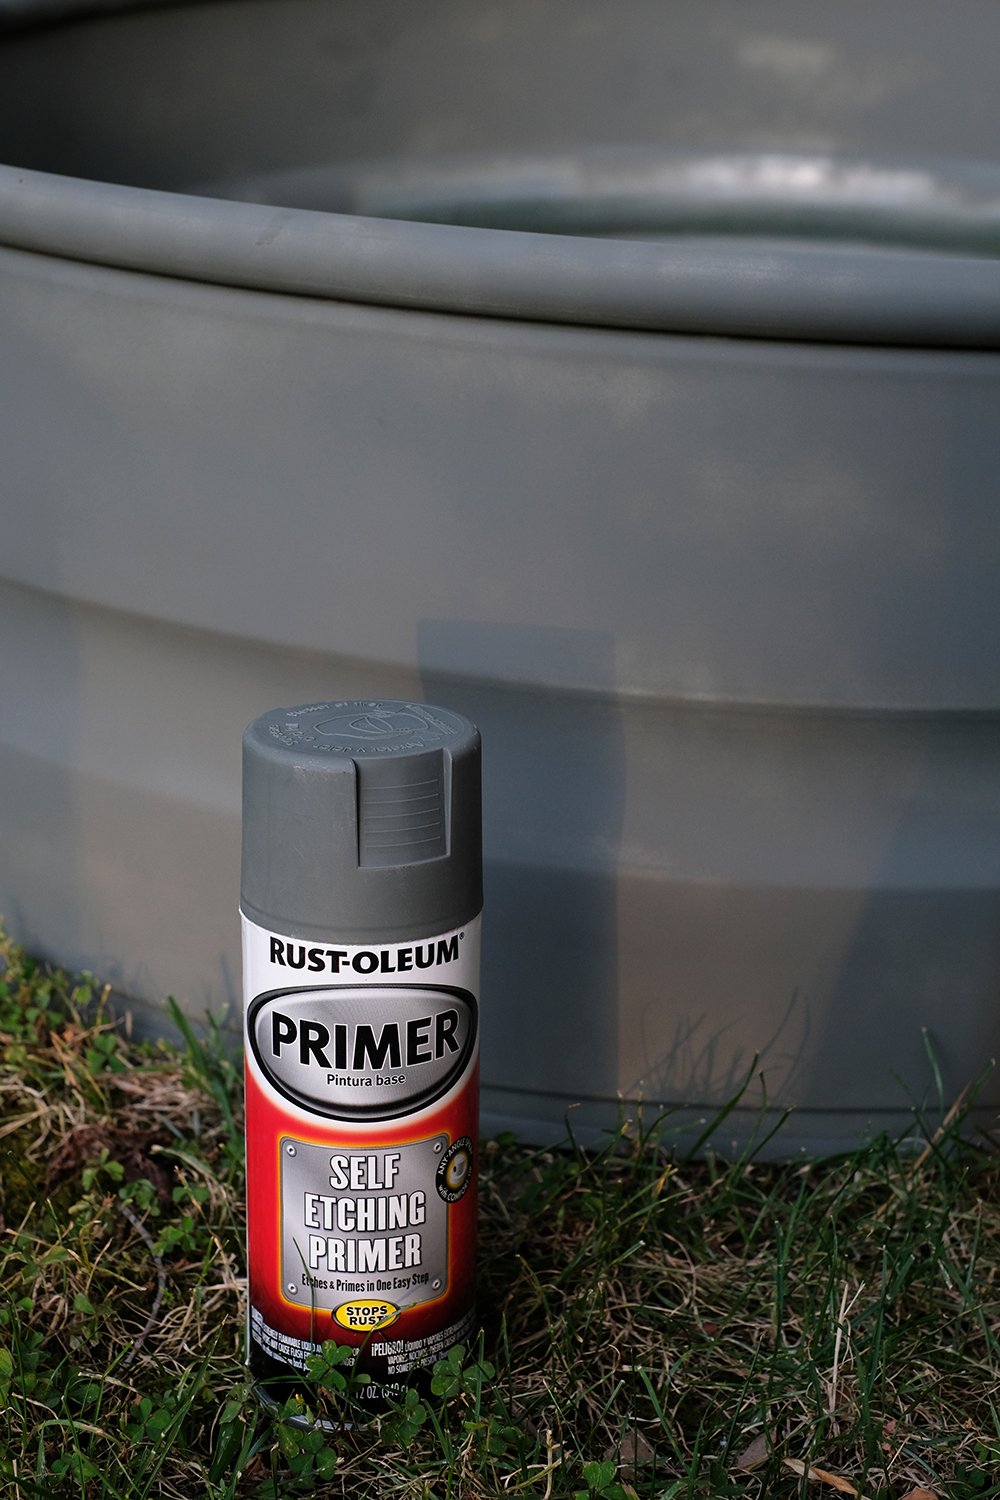
Prime the metal! We loved this easy to use, spray primer. This is just one more layer of prep that will insure you paint adheres really well. The raised bed will be exposed to weather (both heat and cold) and water.
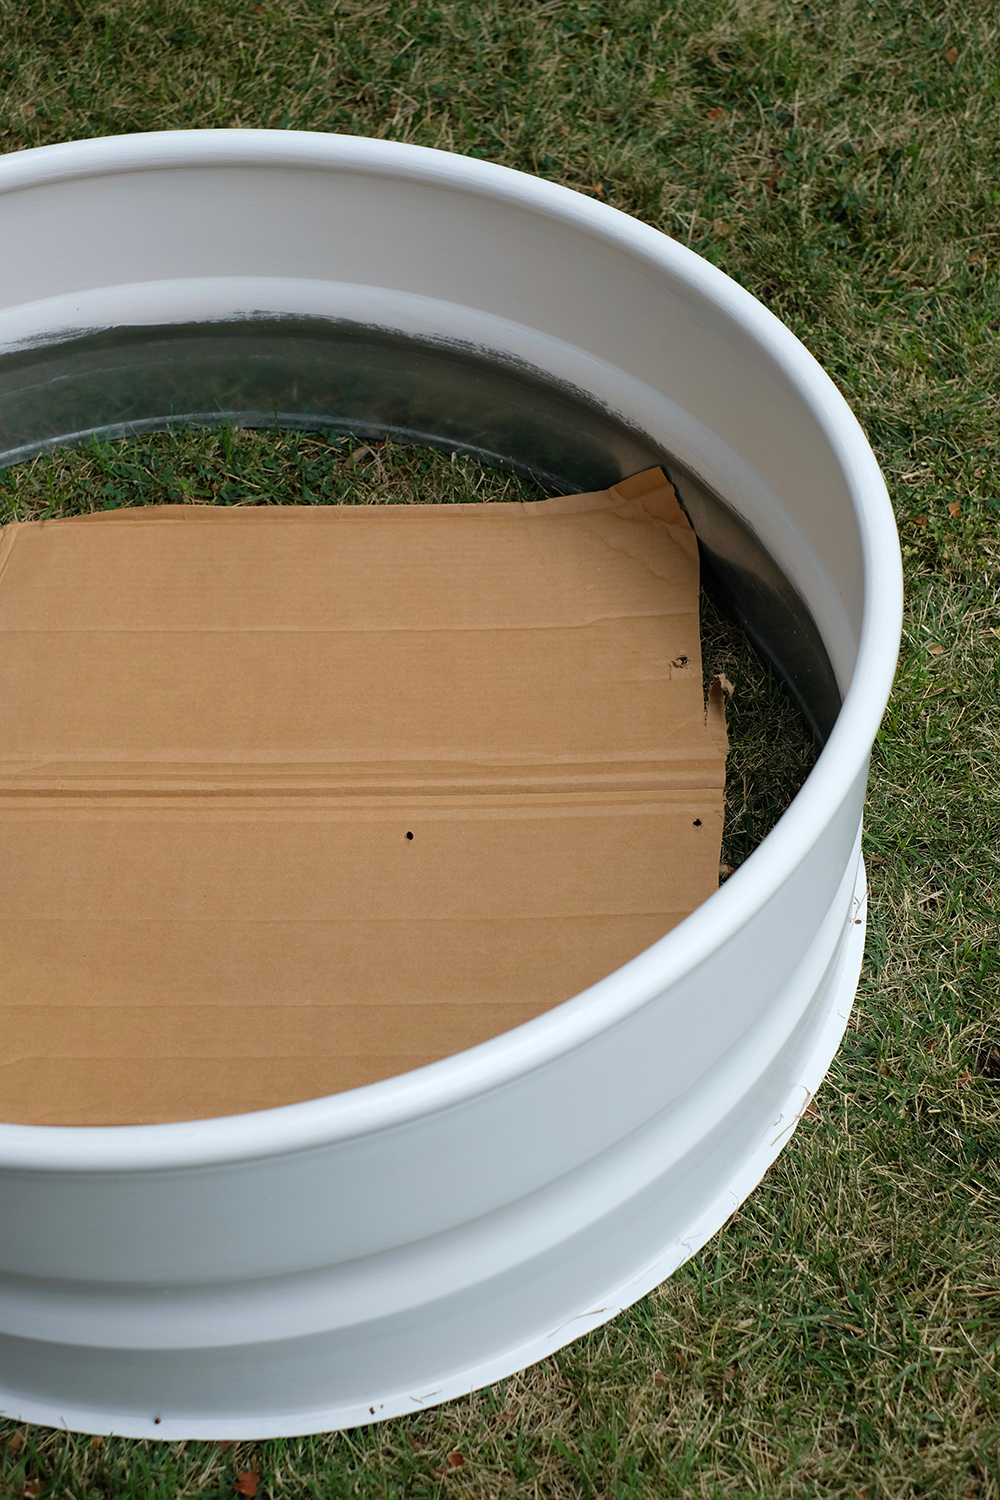
Finally, brush on the oil-based enamel paint with a disposable brush. I don’t know about you, but I don’t want to deal with paint thinner, so I just tossed the brush away after applying the paint. These raised beds took two coats of paint to get a nice bright white finish. Oil-based paint can take a while to dry, but on a warm, sunny day I found they were ready to go in less then an hour.
To create an inexpensive weed barrier at the bottom of the bed. We cut up cardboard boxes and layered them in the bottom of the bed.
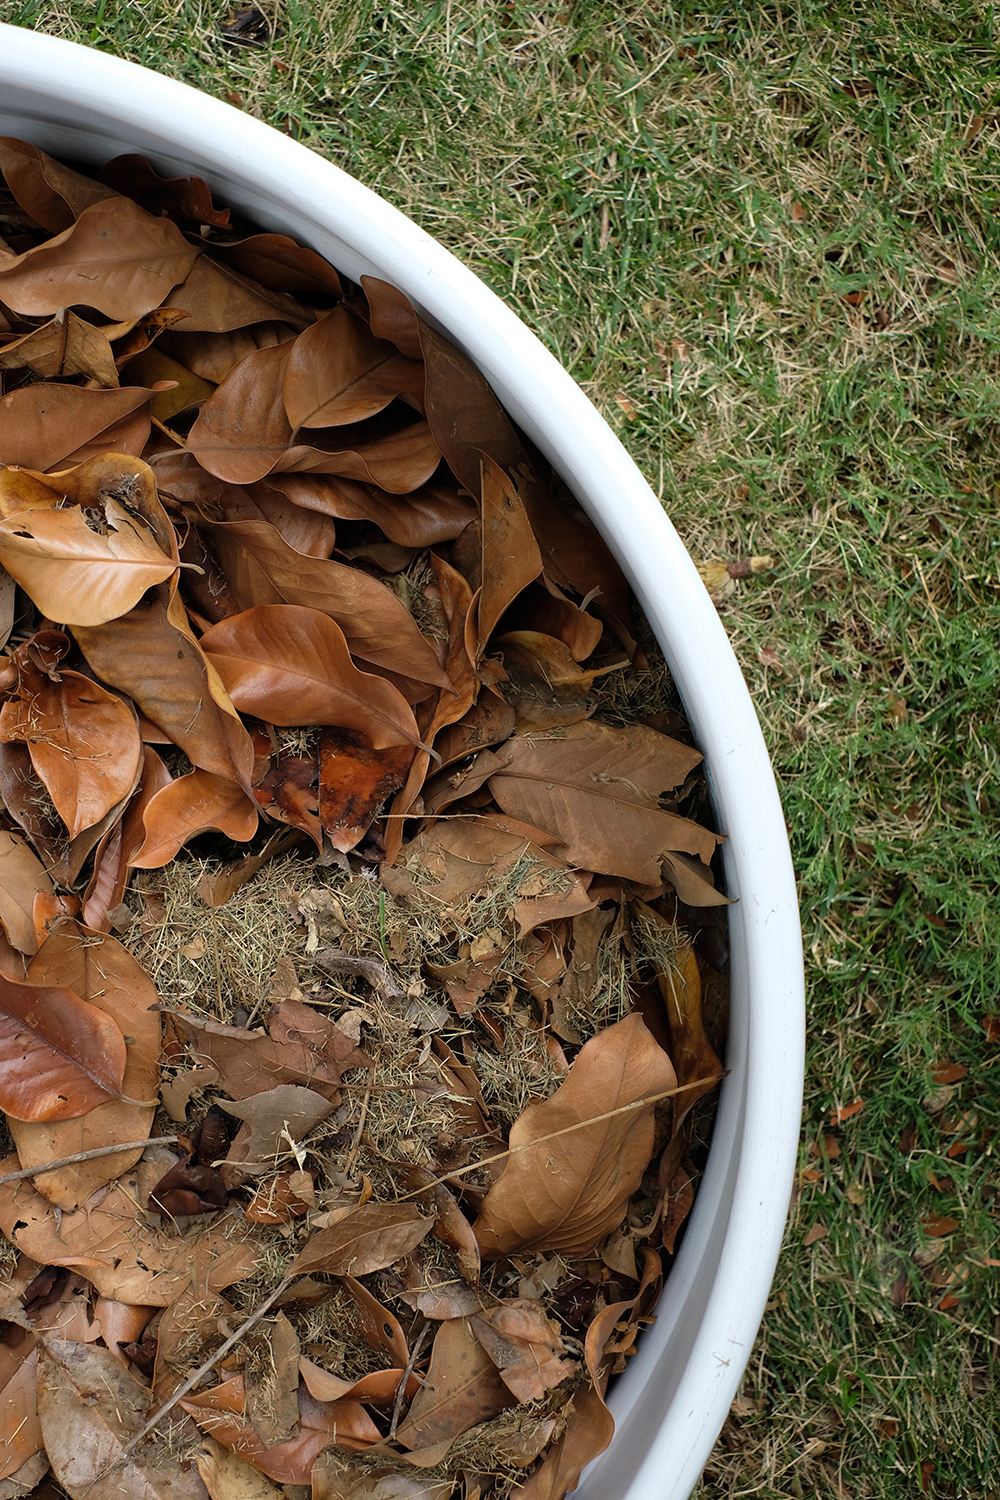
These planters are just over 12 inches deep. To fill these with just soil would require A LOT of dirt. So, we filled the bottom 4-6 inches with leaves, grass clippings and compost from our compost bin. All this green waste with pack down under the weight of the soil and will eventually decompose.
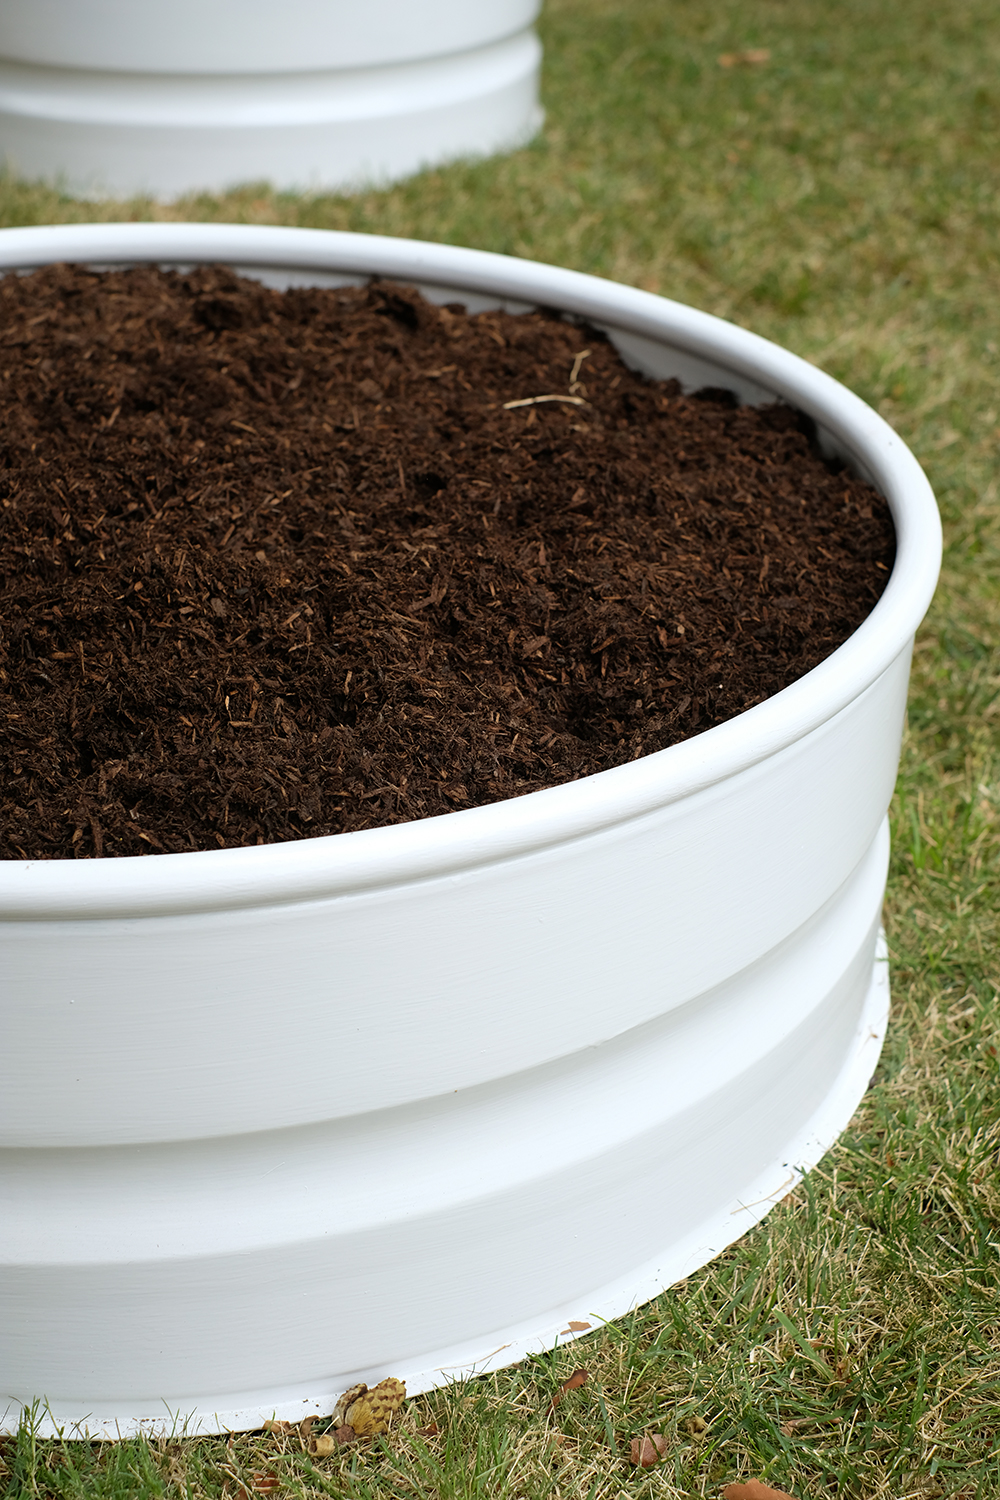
And then finally we filled each raised bed with organic garden soil. I filled each bed with two 3 cubic feet sized bags at the hardware store that cost under $9 for each bag. Then I gave each bed a good soaking of water before I planted my veggies.
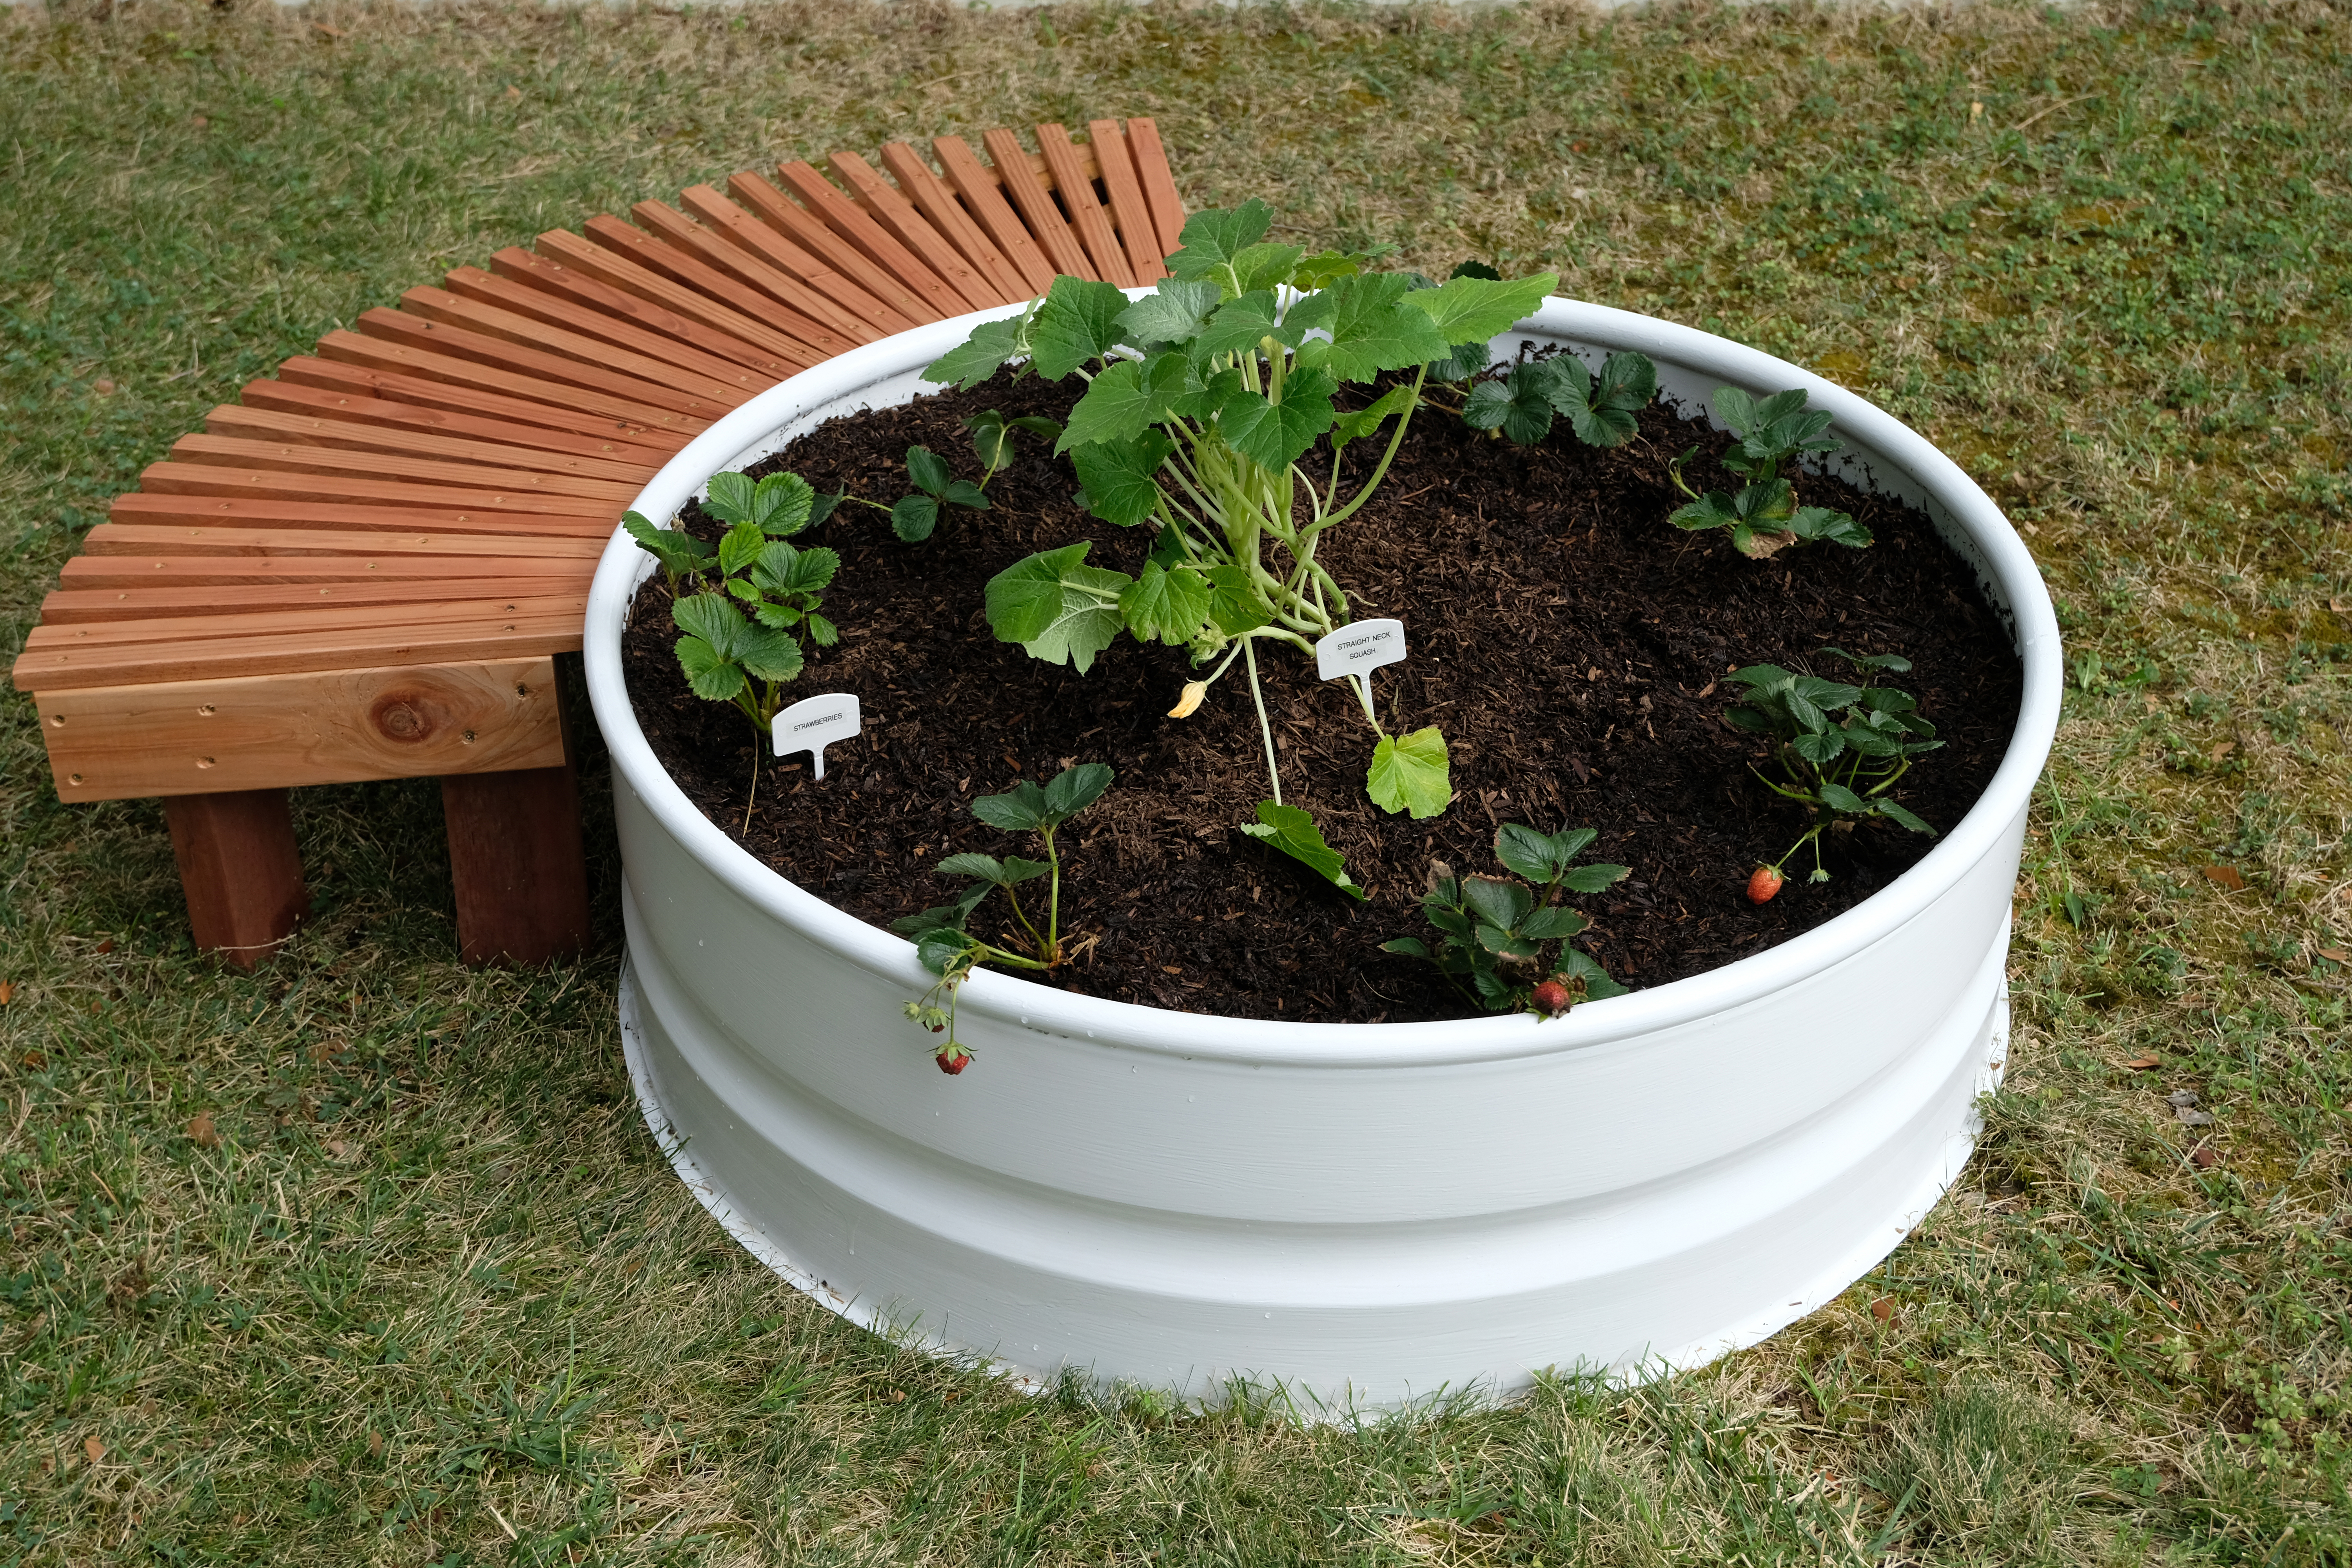
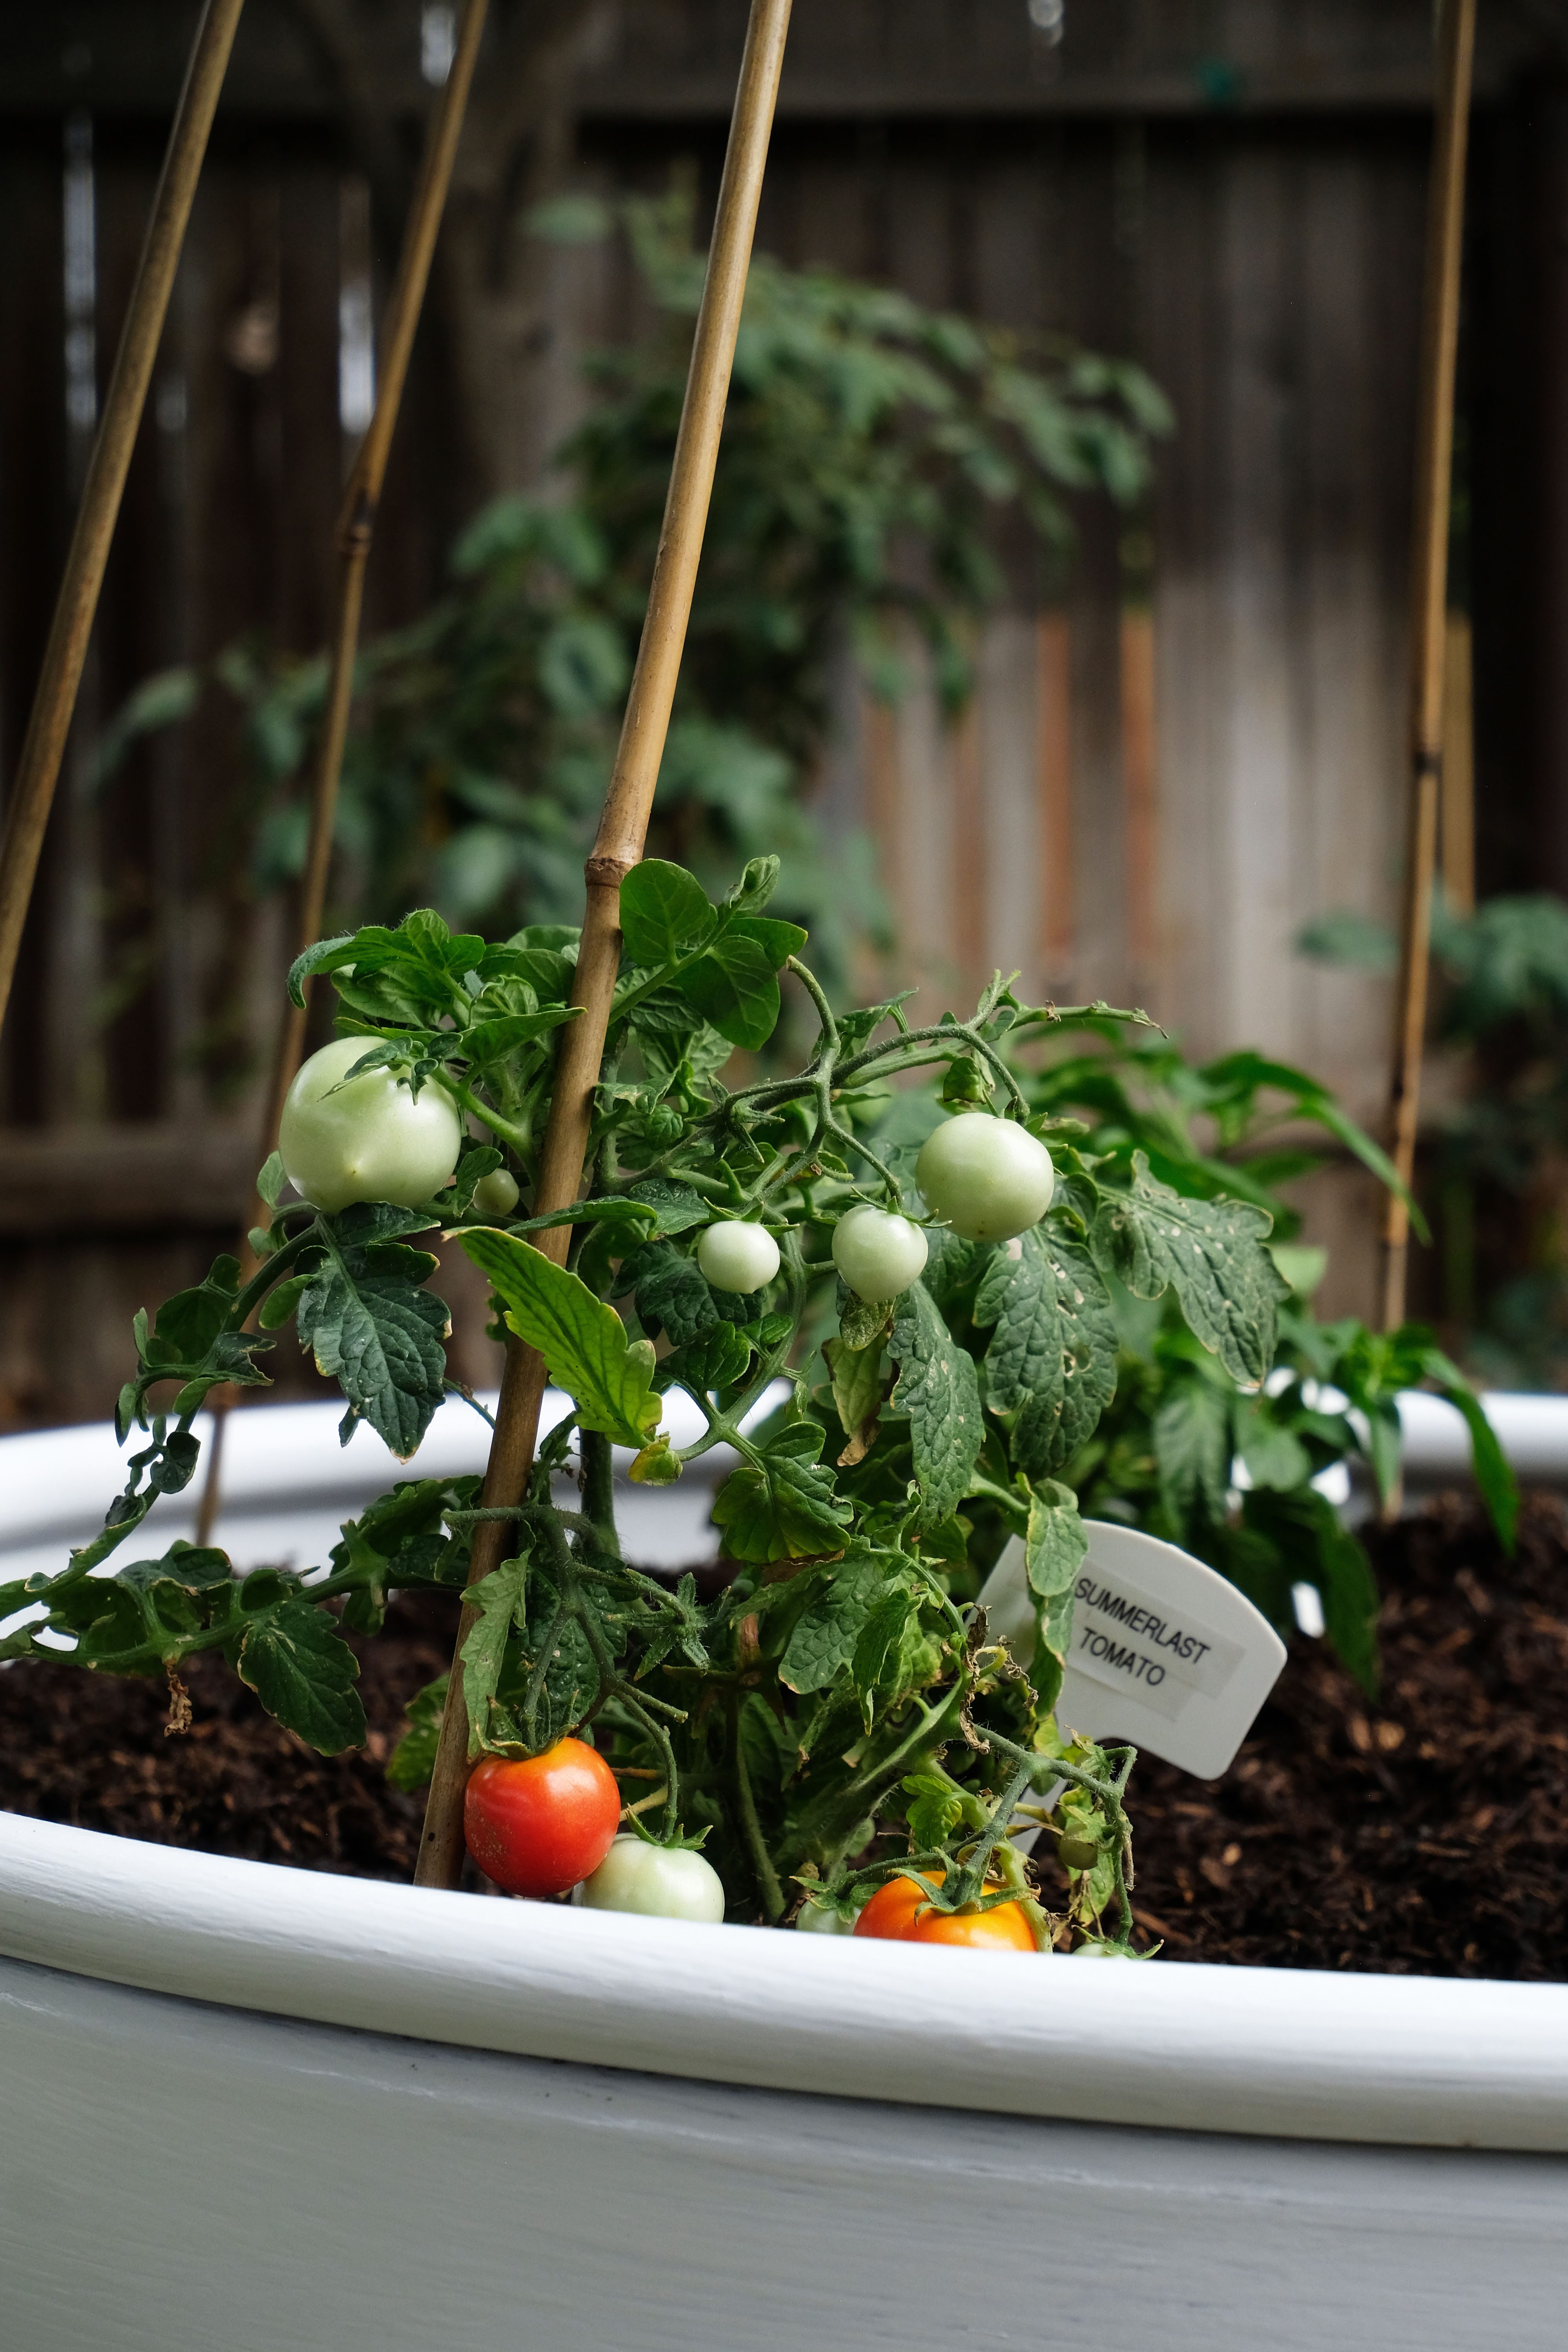
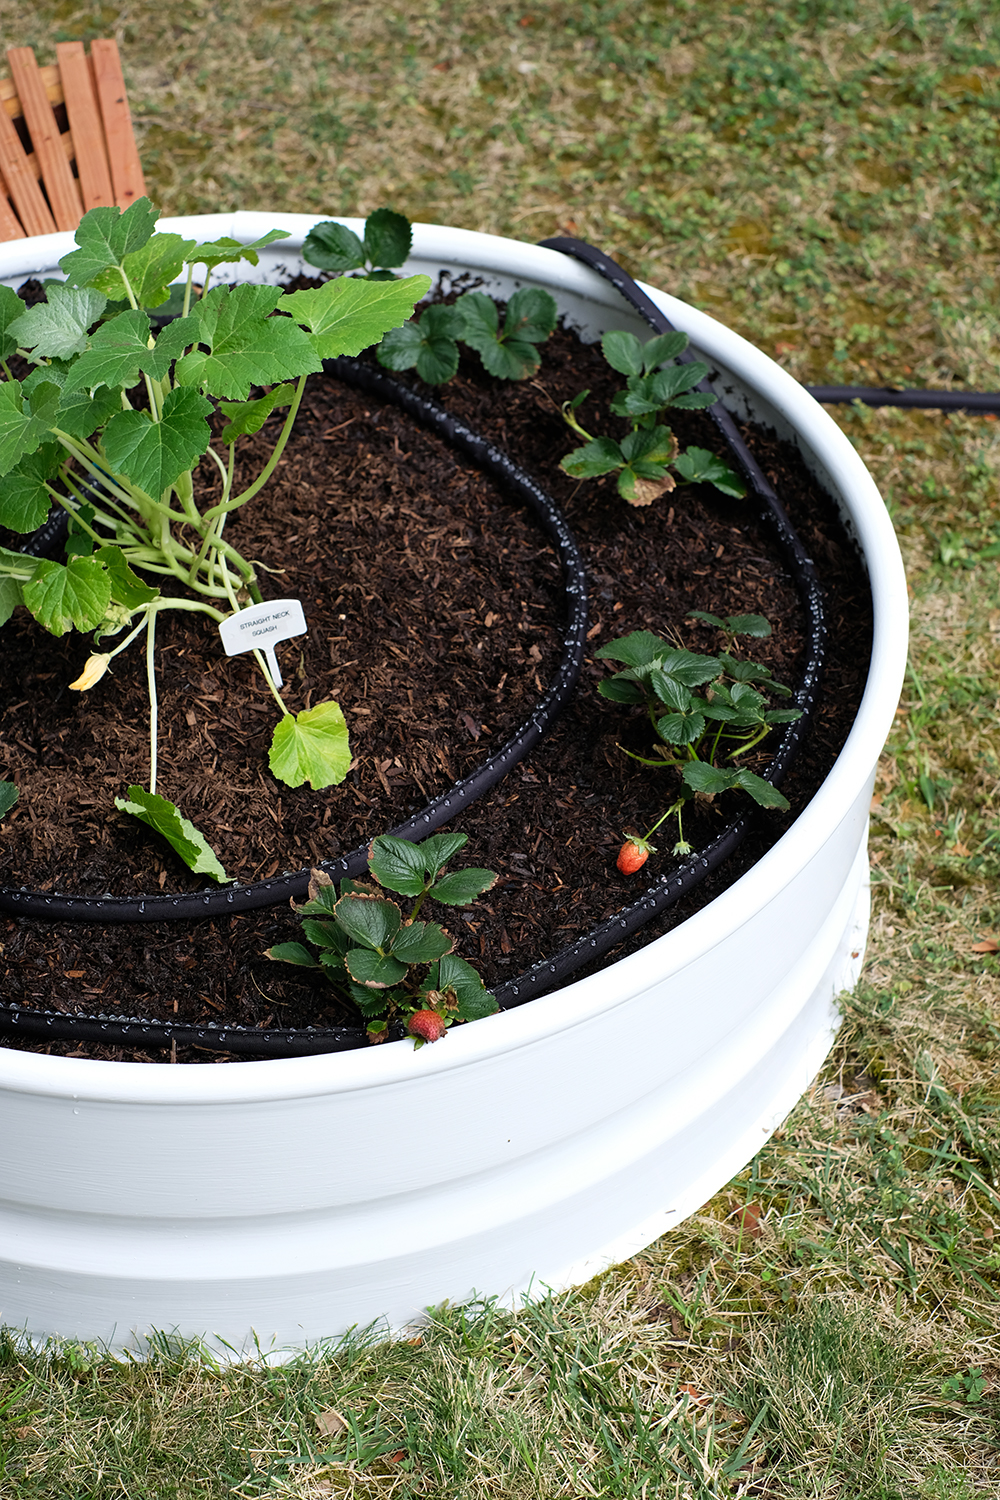
It wasn’t easy to find seedlings this time of year. It’s pretty hot, but I did plant some herbs, stawberries, squash, tomatoes and pepper. Because we live in California, in another month or so I’ll be able to put in a Fall garden as well.
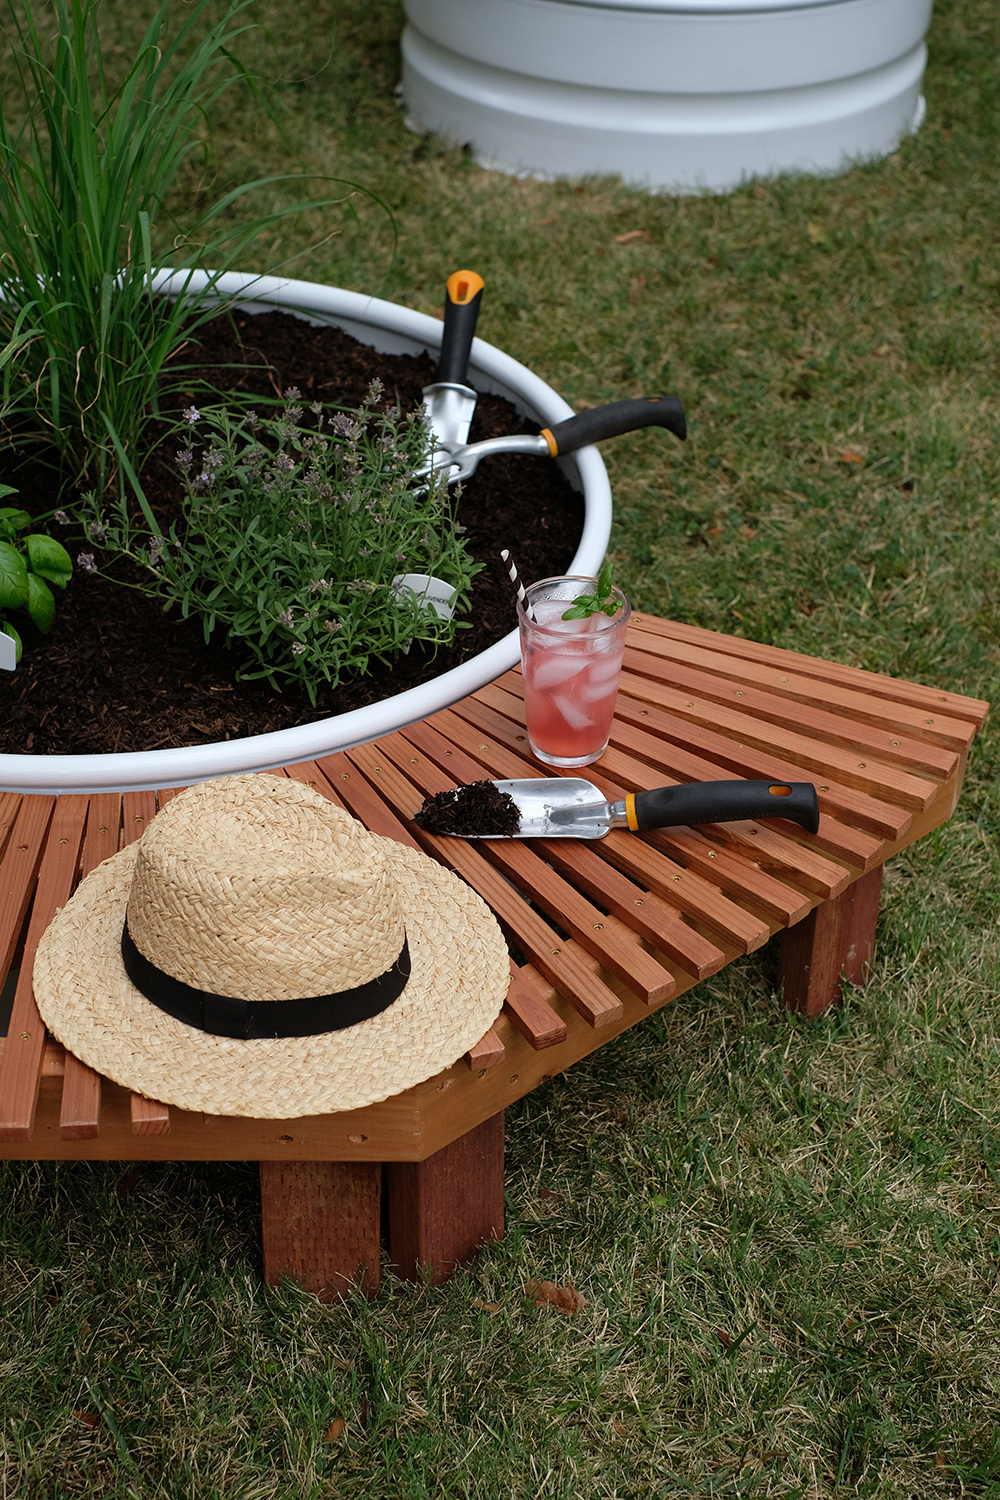
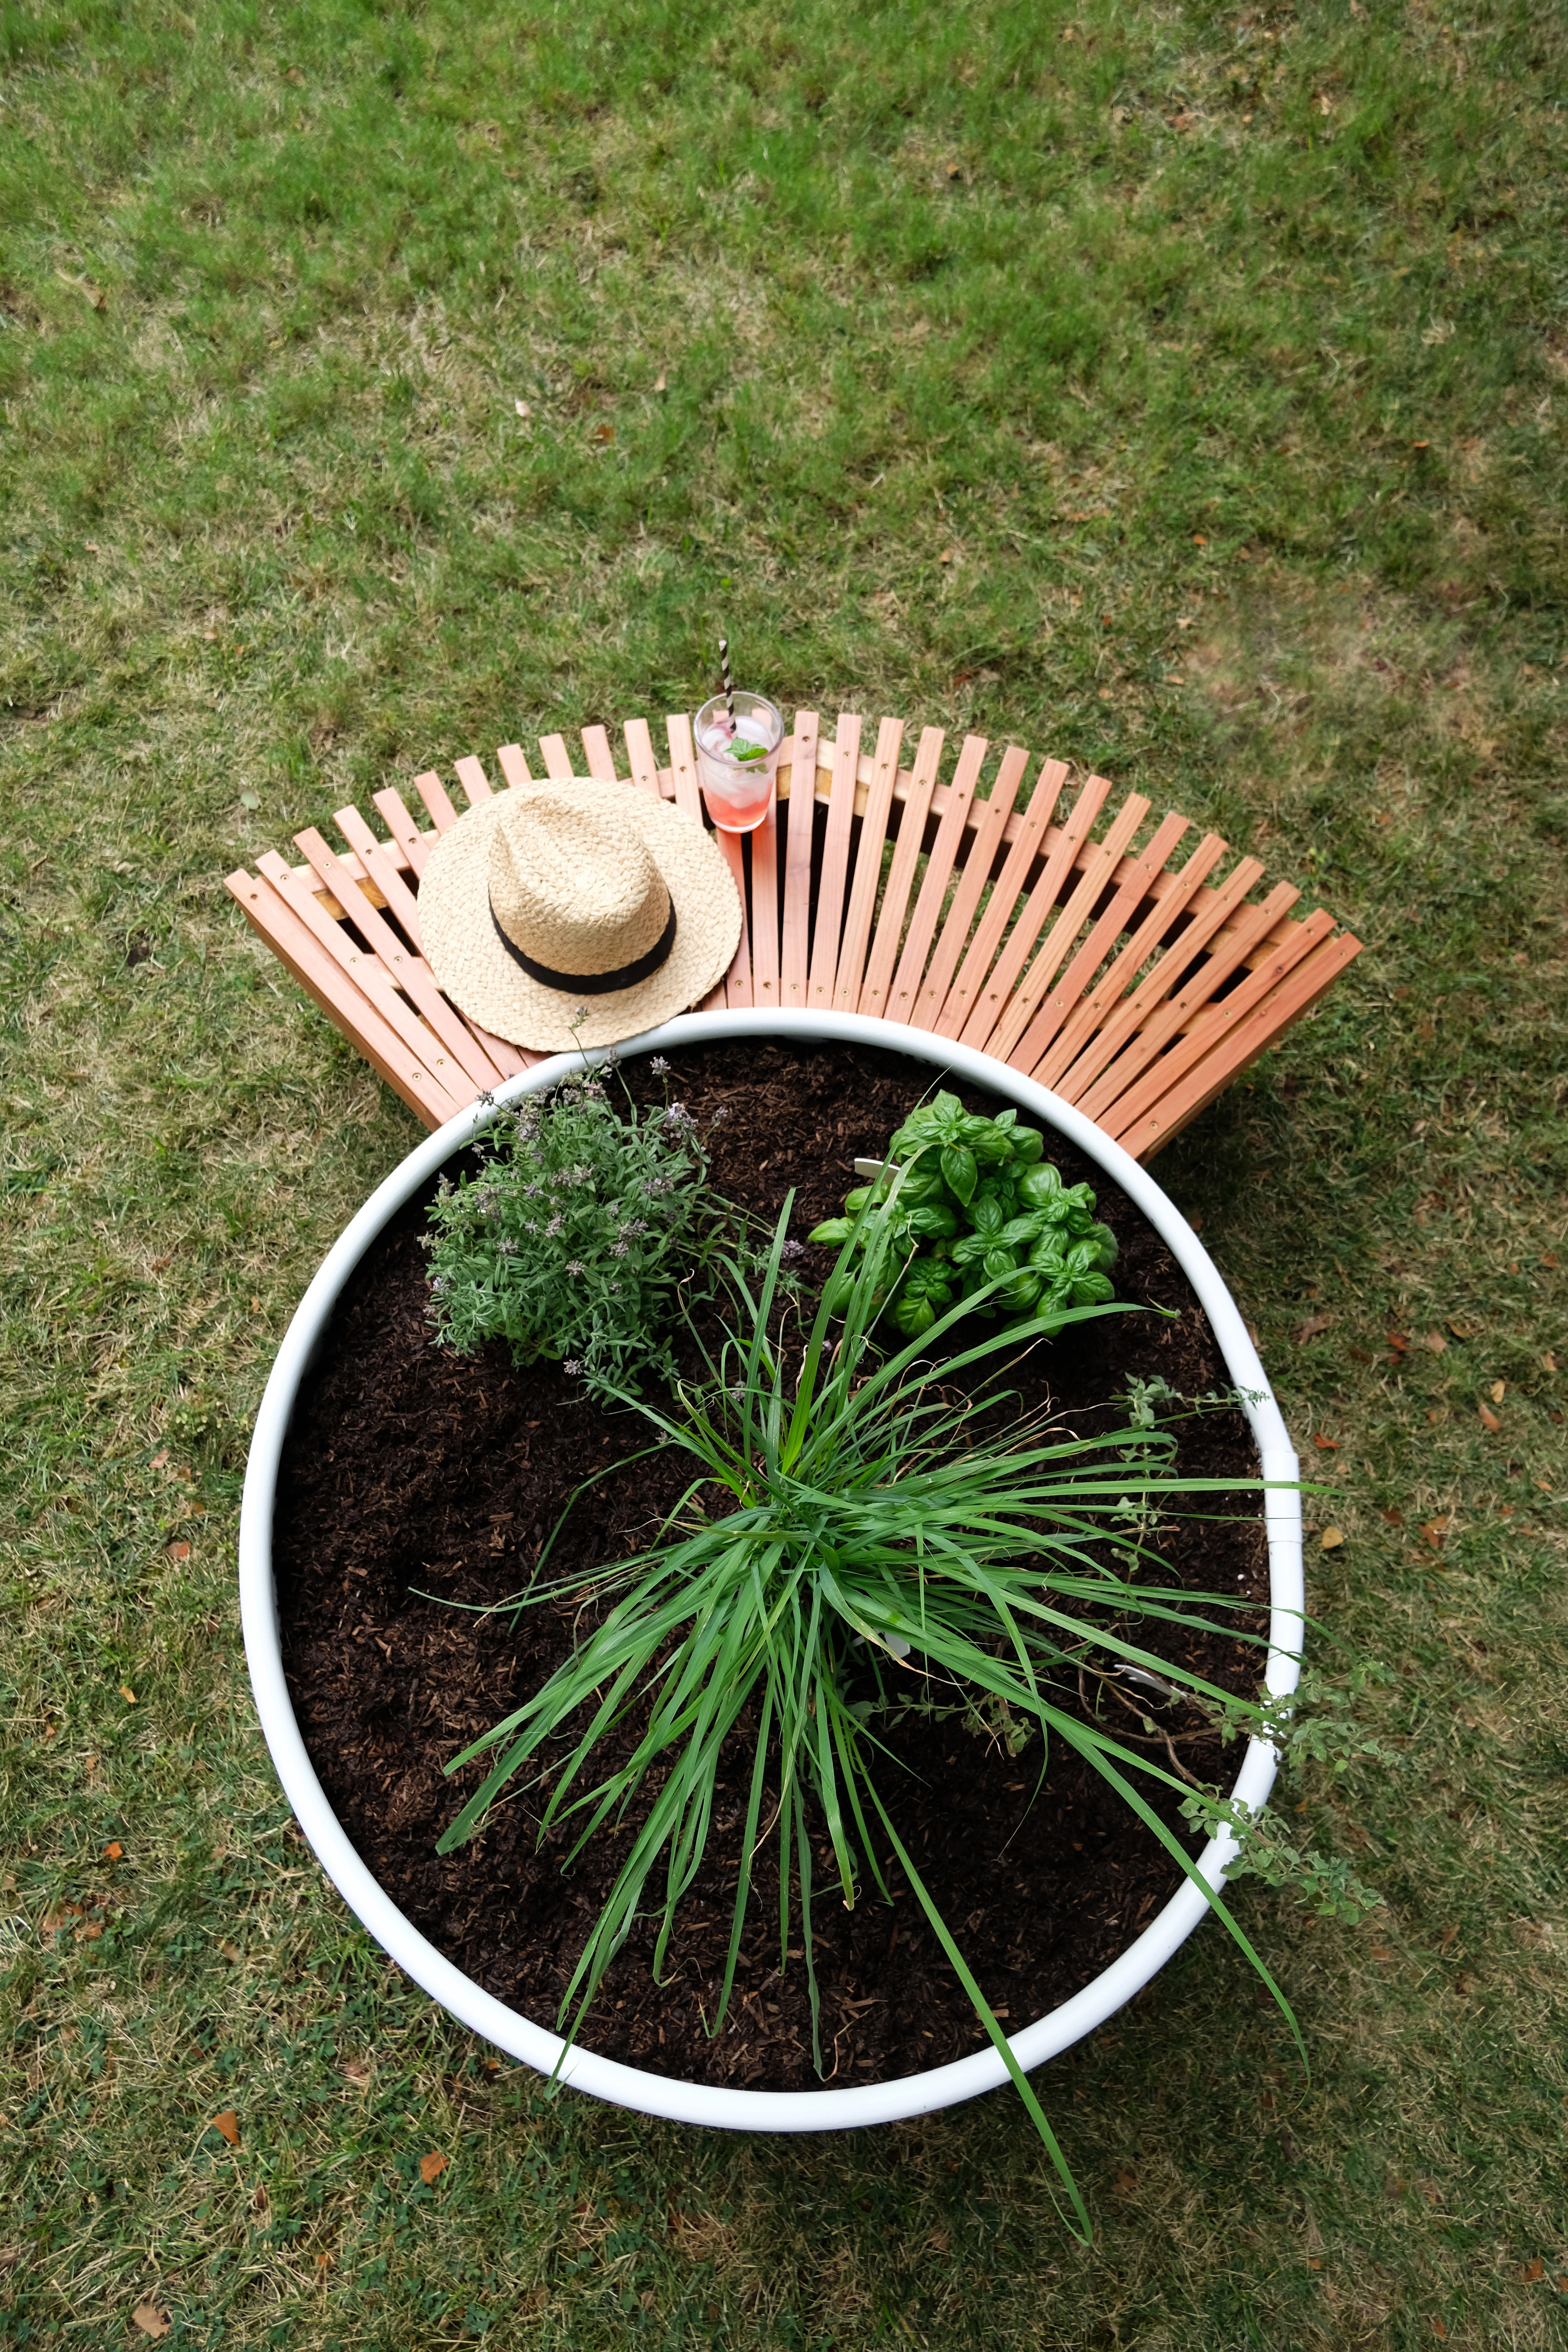
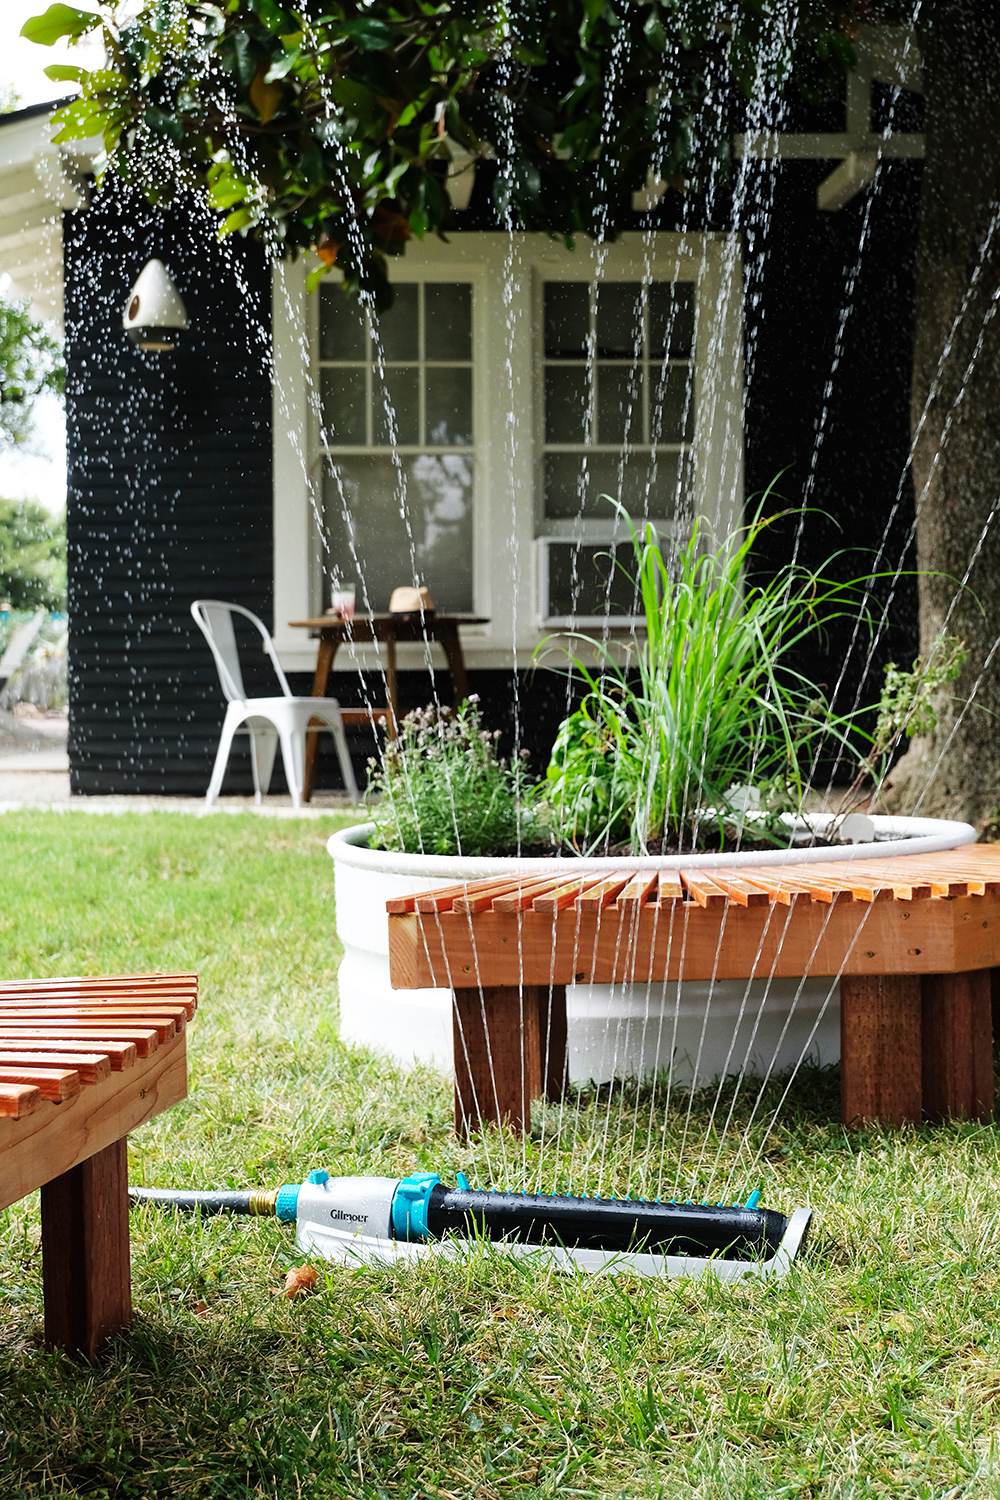
I also wanted this little corner of our yard to be a hangout spot and have some sort of seating. So, because I have access to a very handy brother, Ash, he made me a couple of really awesome redwood curved benches to sit around my new beds. I’m already enjoying my morning coffee out here and really they offer a great place to sit while I’m tending to my new little plant babies.
I will post instructions for these cute little benches soon. I kind of feel like that really make these raised beds. I love how that can be moved, repositioned, and even joined together.
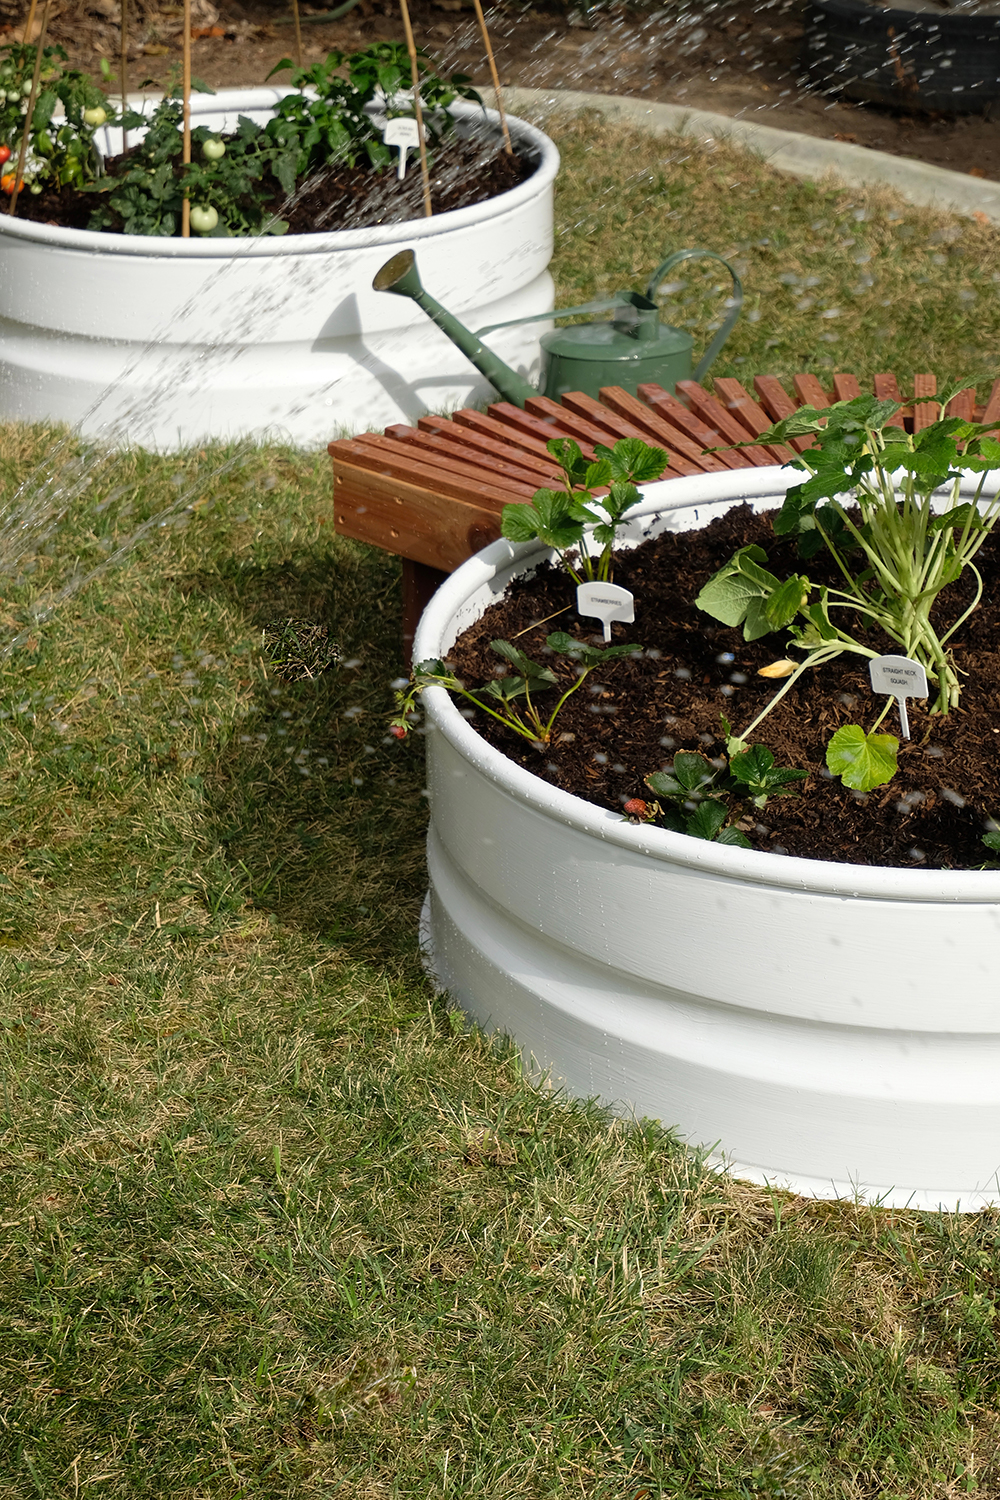
Watering is a big deal in this part of the world. Our Summers are long and hot and water is usually hard to come by. So, I did a little research and invested in some great watering tools to keep my plants happy, but also no waste any water in the process. Gilmour has every watering tool you could dream up – here’s two of my faves:
The Rectangular Sprinkler with On/Off Flow Control works like a dream. There is no over watering with this sprinkler, you can adjust and aim the water to exactly where you want it to hit.
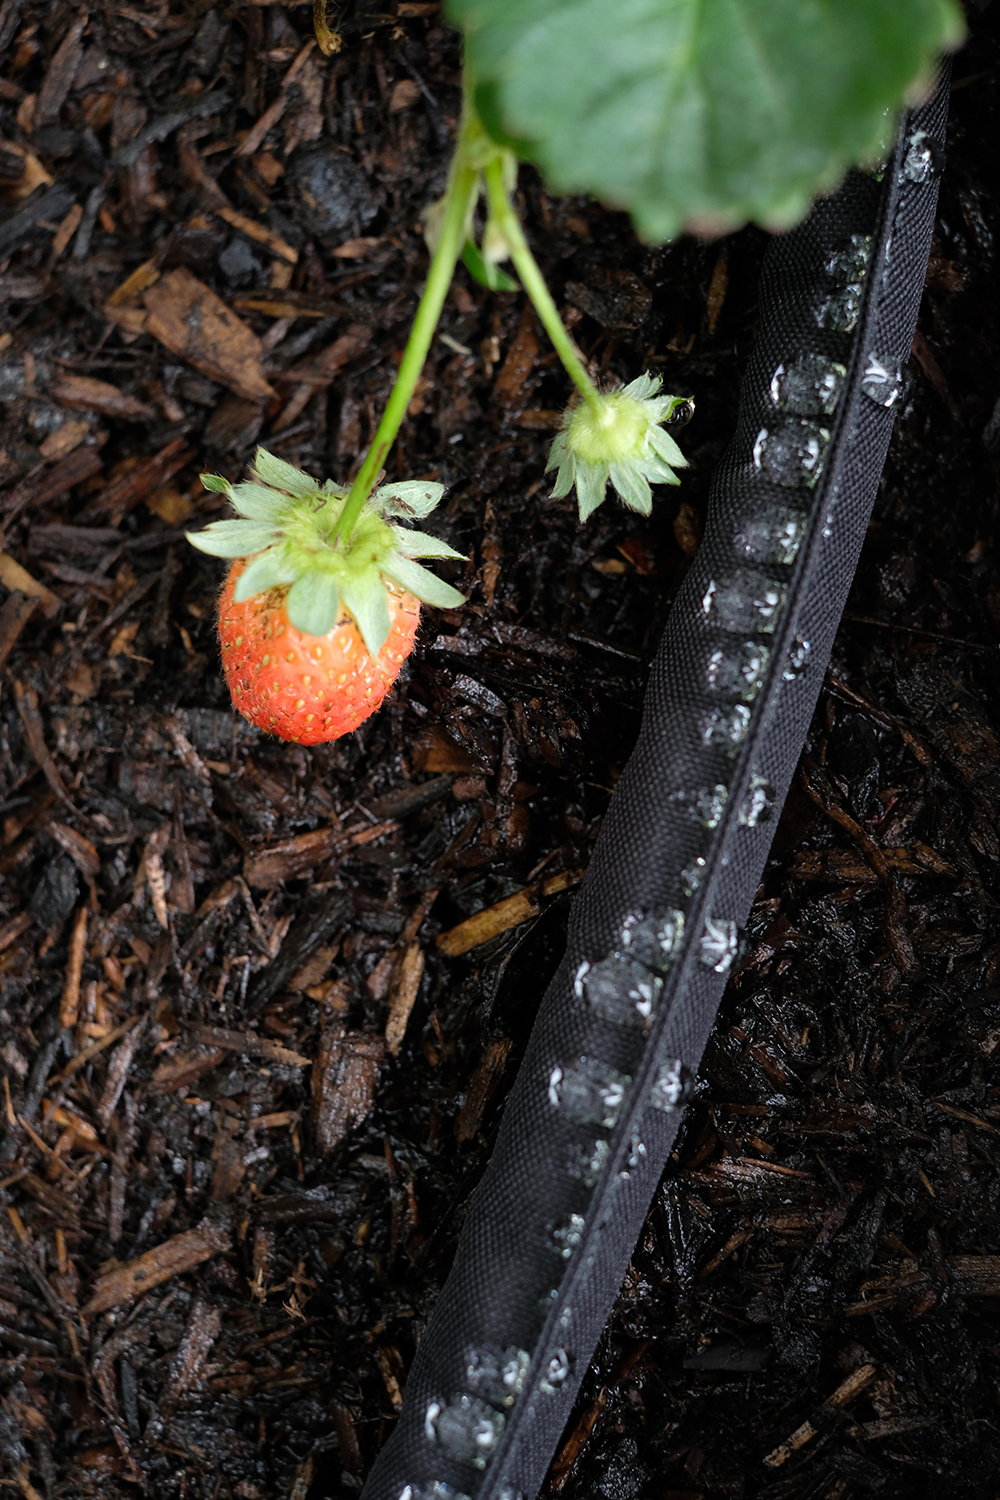
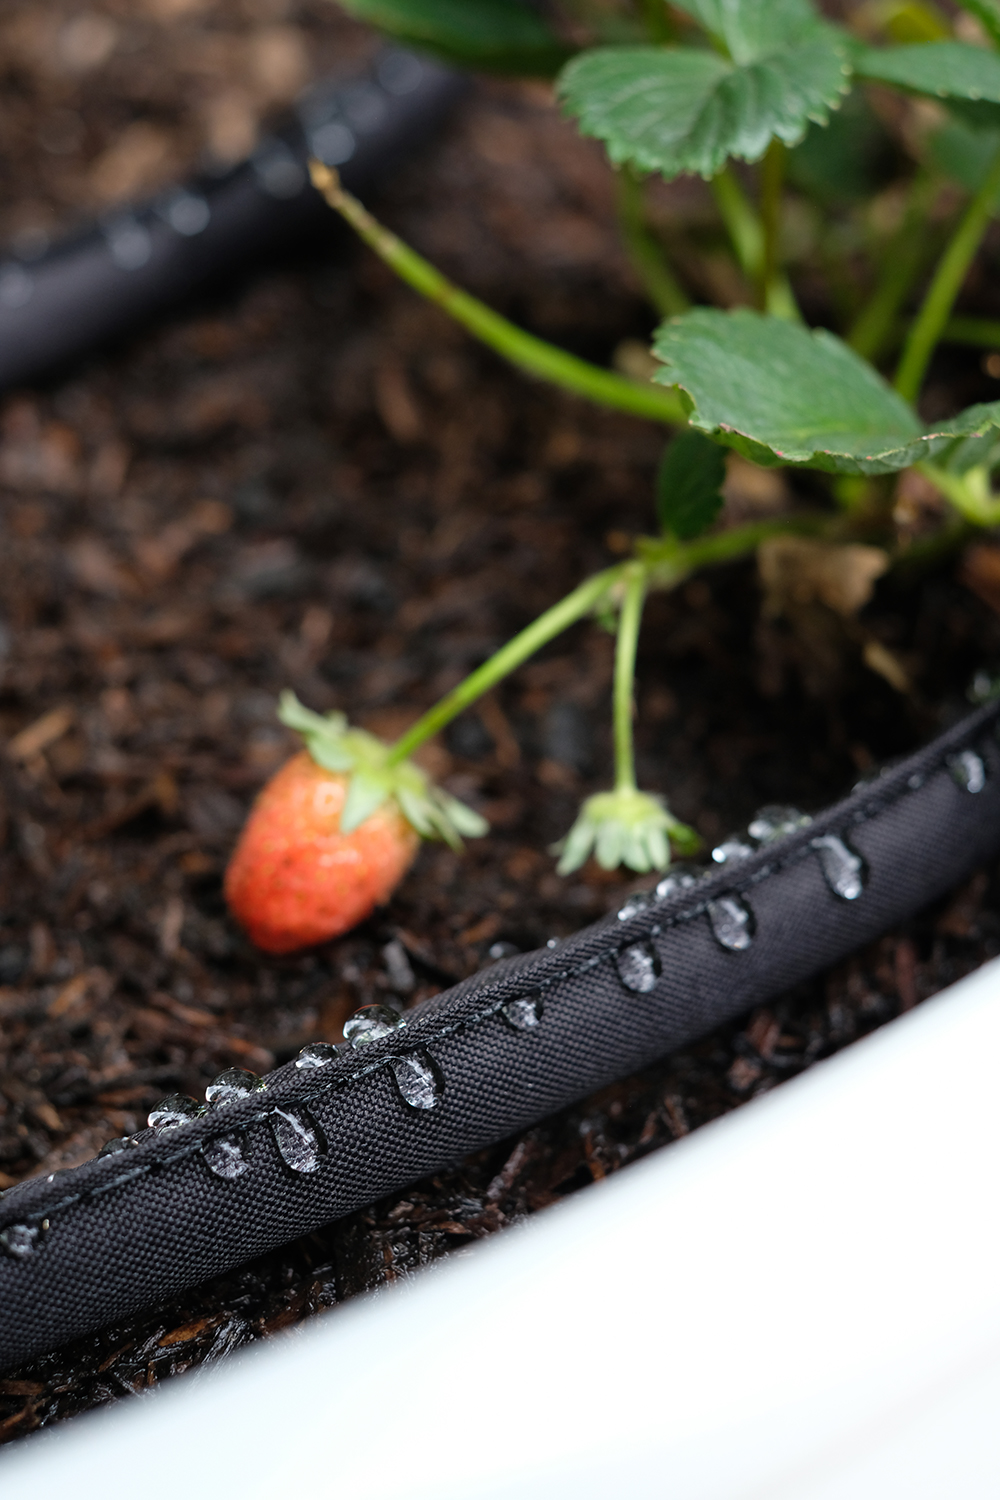
And the Flat Soaker Hose is perfect to laying right in the raised beds to soak the ground and not just wash away the top layer of soil. We have never owned a soaker hose before and now we find we use it more than any other tool in our garden. It’s perfect for wrapping around our citrus trees and targeting their roots specifically. If you don’t own this hose, I’d definitely highly recommend it.
I’m really excited to see my little plant babies take off. I’m looking forward to spending more time outside messing around in the dirt. So, do you have a veggie garden? I’d love to hear about what you are having success growing.
Charming! These raised beds are lovely.
I grow all year long as well, same city but a little higher and in a different growing zone. I’m getting ready to put in my fall garden with help from a weekly email from gardenate that gives me a monthly planting guide for my specific zone, very helpful.
Nice job on those raised beds and adding such a welcoming feel to the backyard.
That’s awesome. I hope to put in a Fall garden as well. Be sure to email me more updates about your newletter.
I love how this looks! My husband is concerned that the chemicals from the paint will leach into the soil. Is that even a thing? I live in Ohio so I will definitely need to do something to decrease the chance of rust. Thank you!
Good question. We only painted the outside. So I guess I don’t think that is close enough to the plants. But, I’m not an expert. We do not use any pesticides or fertilizers in our yard. But, you could just leave these the raw galvanized metal. The white paint was definitely a design/aesthetic choice.
Great resource, thank you for the tip. I’ve been looking at horse troughs and also curved composite garden bed components, but am going to explore whether these might work in our space. Would you be willing to share any info. re: where you found your slatted round benches? They look great adjacent to your new garden beds. Thanks very much.
Hi, did you ever post a DIY for the benches?
These beds look great. I have around 8 beds now and I want to spray paint them to a brown shade to blend with the soil. Your posted is dated in 2019. How has the paint held up? Thank you