This post is sponsored by Gilmour. Thank you for supporting the companies that help make this blog possible.
Gardening is one of those things that I WISH I had more time for. I actually really enjoy spending an afternoon weeding a flower bed. It’s one of those tasks that feels good for the soul. You get to be outside and I think digging in the dirt helps keeps you grounded (literally). But, until my life is a little less hectic, it’s actually my husband that spends more time out in the yard planting, weeding, watering and maintaining. Olivia and him have a little garden and they are always growing something weird and wonderful for us to eat.
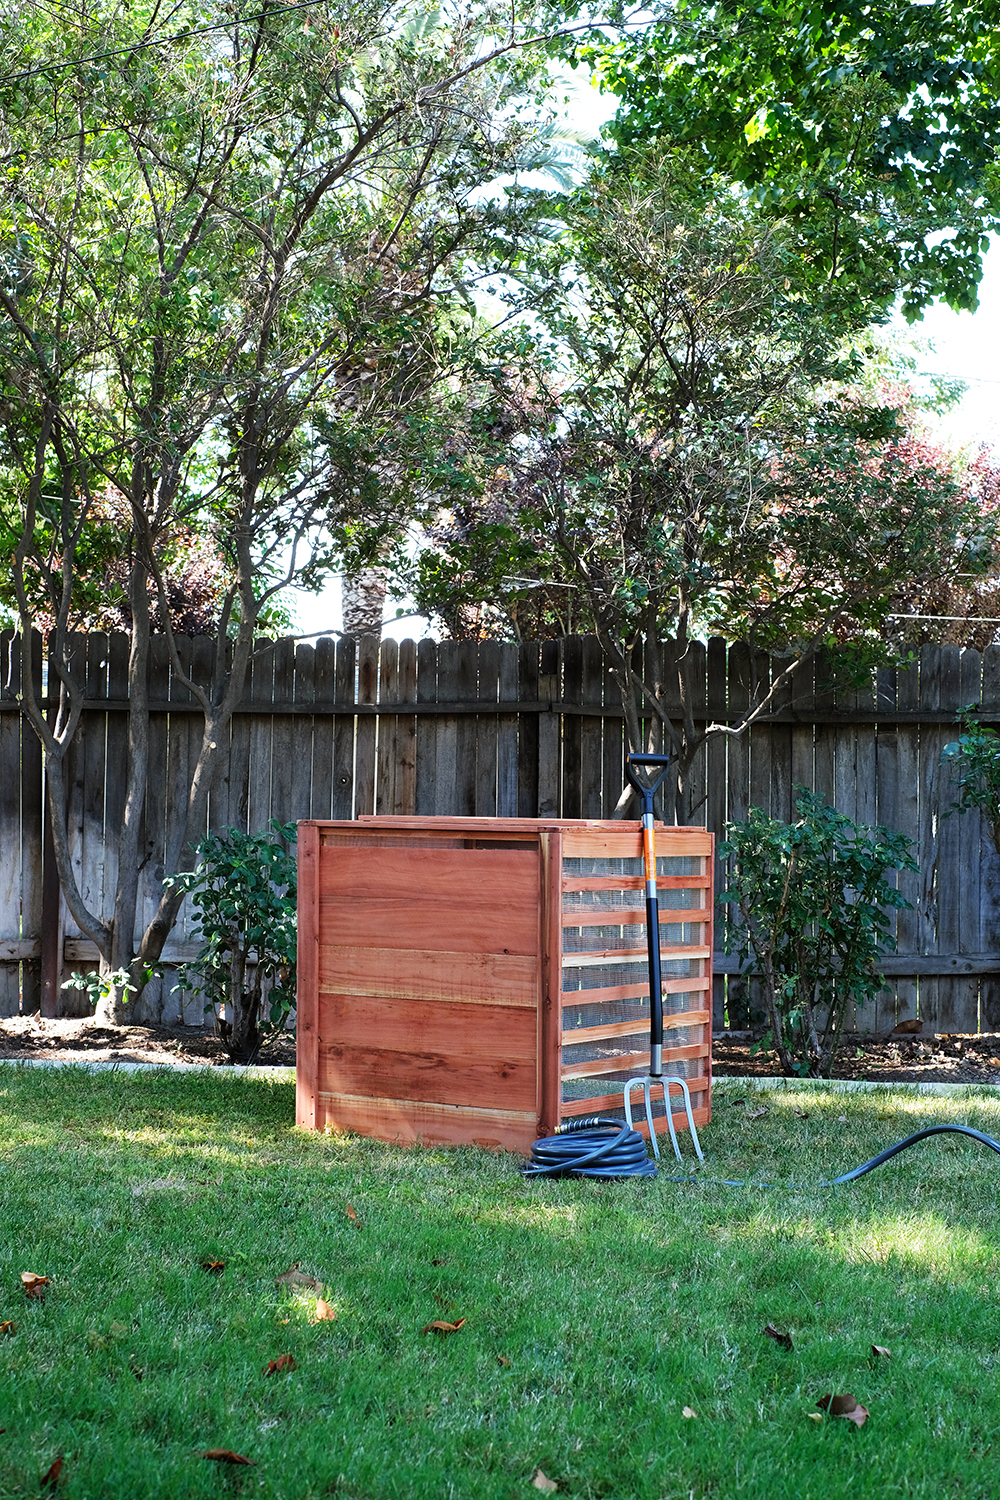
I’ve shared before, so you probably know that I’m married to a real life biology nerd. Lonnie is an environmentalist, and a High School biology + ecology teacher. Needless to say, we compost! But we actually have just had a compost pile/heap. And I’m a bit of a neat freak, so I wanted to contain the mess just a bit. It was time to build a compost bin!
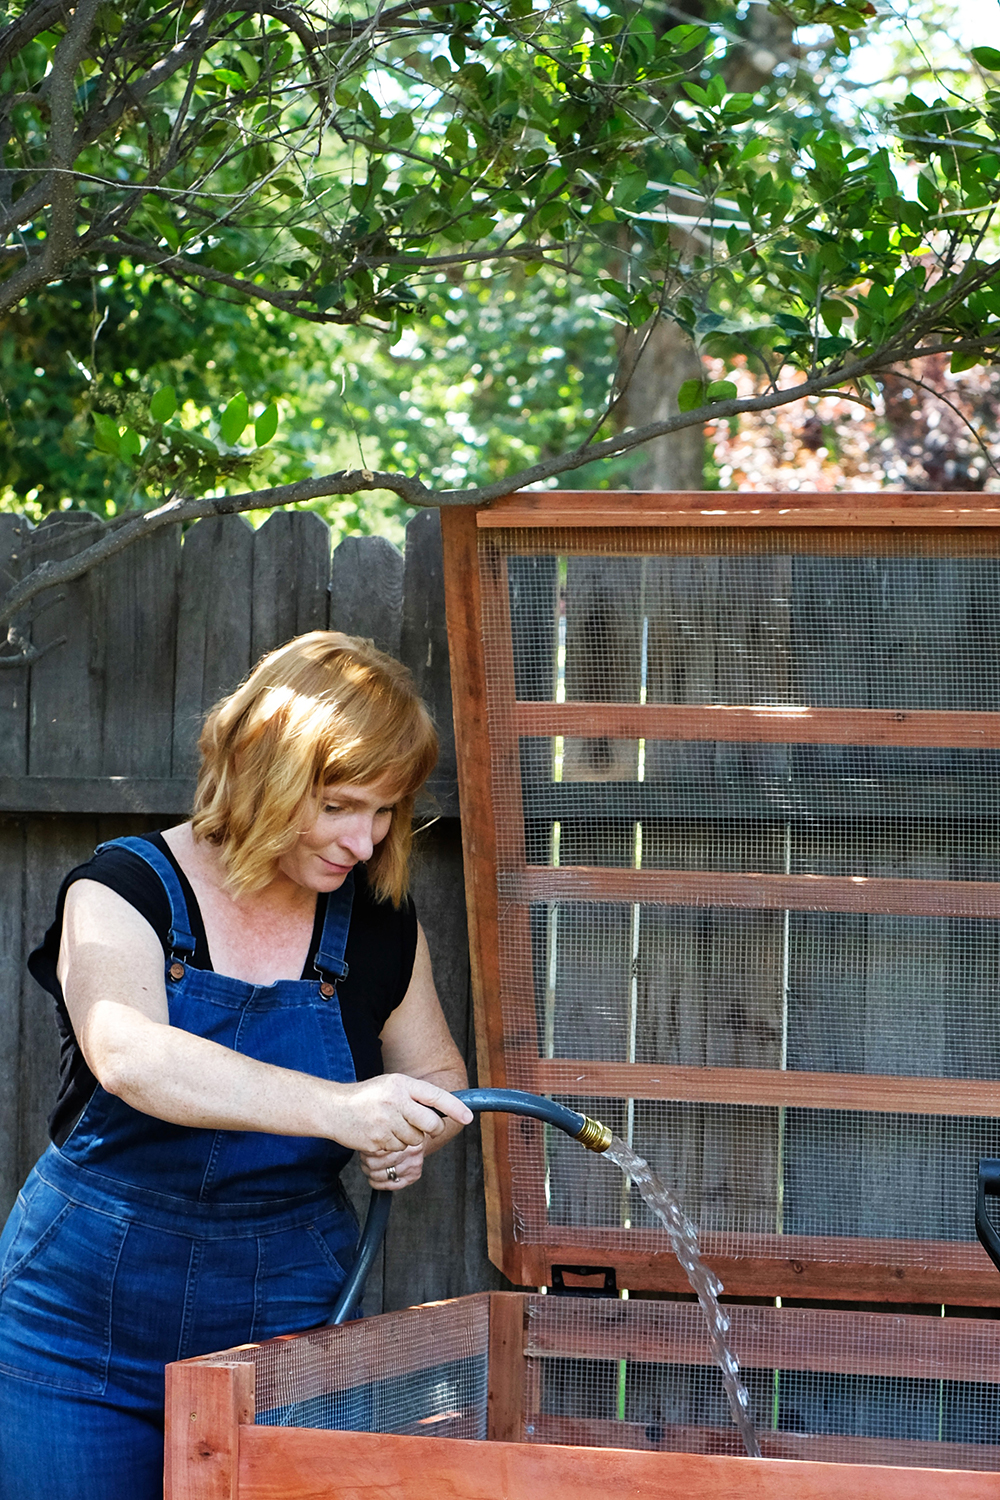
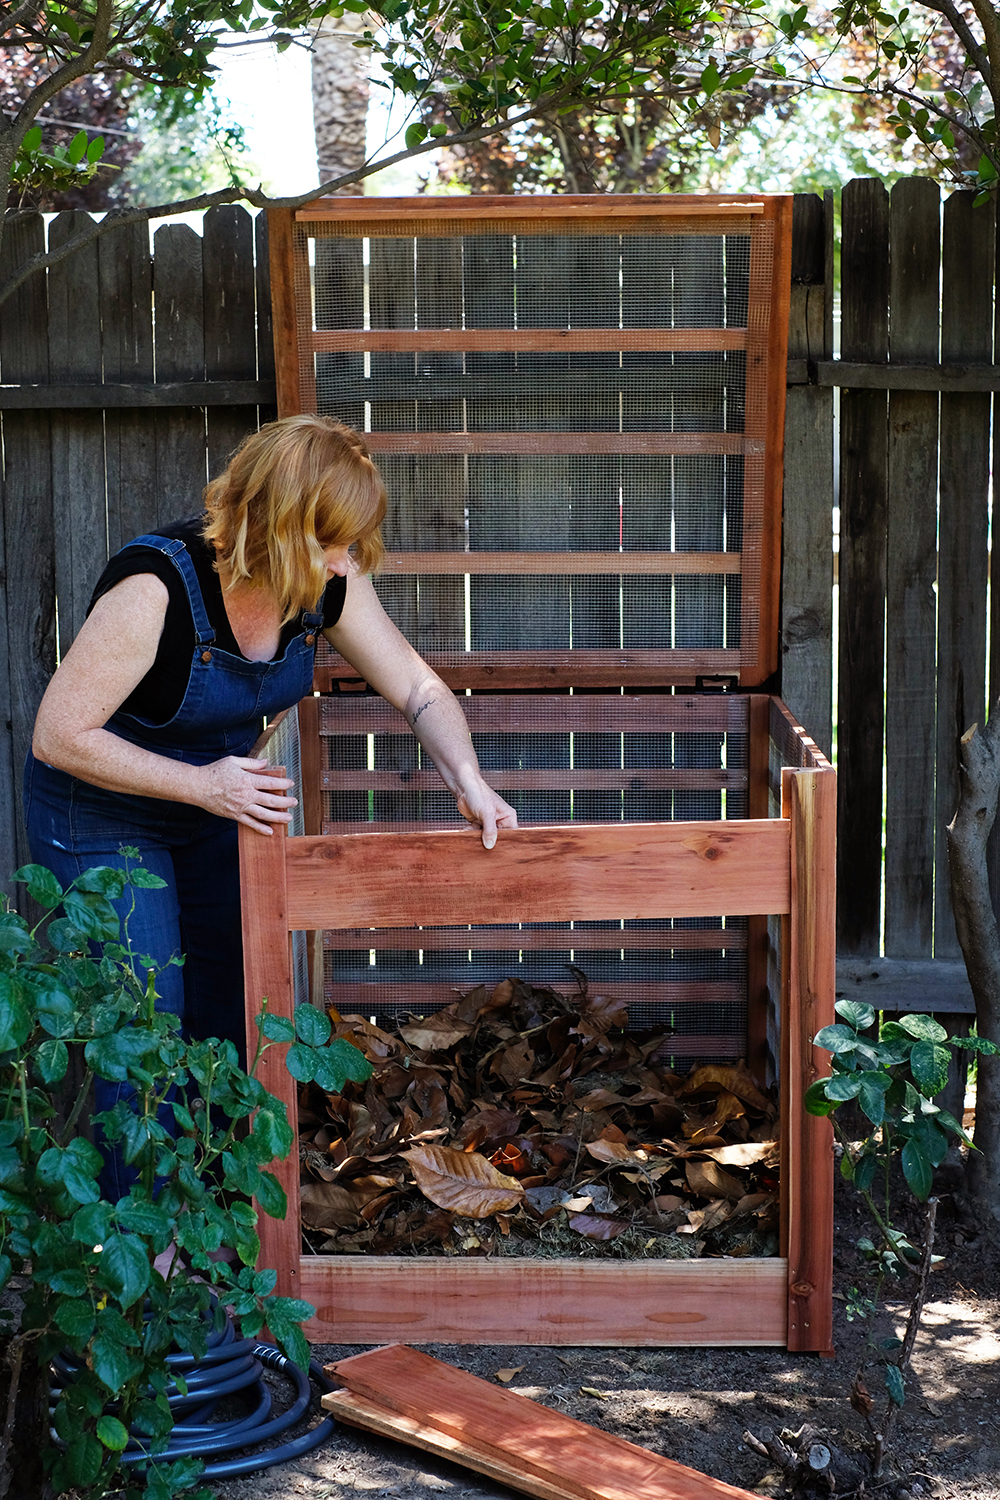
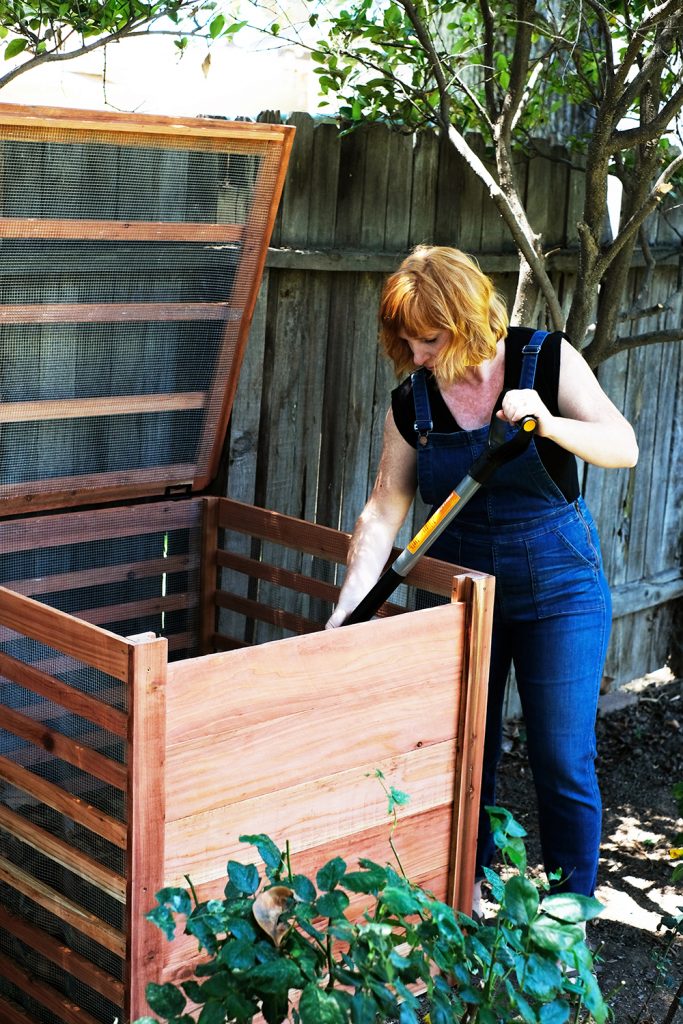
Using inexpensive Redwood fencing boards and some mesh fencing – we built a large compost bin to hold our yard and garden clippings as well as our veggie and fruit scraps. We kept the design simple, but it has all the components you need to compost properly. It has ventilation, a lid to keep out critters and removable front access so that the compost can easily be turned and the bottom decomposed material can be removed.
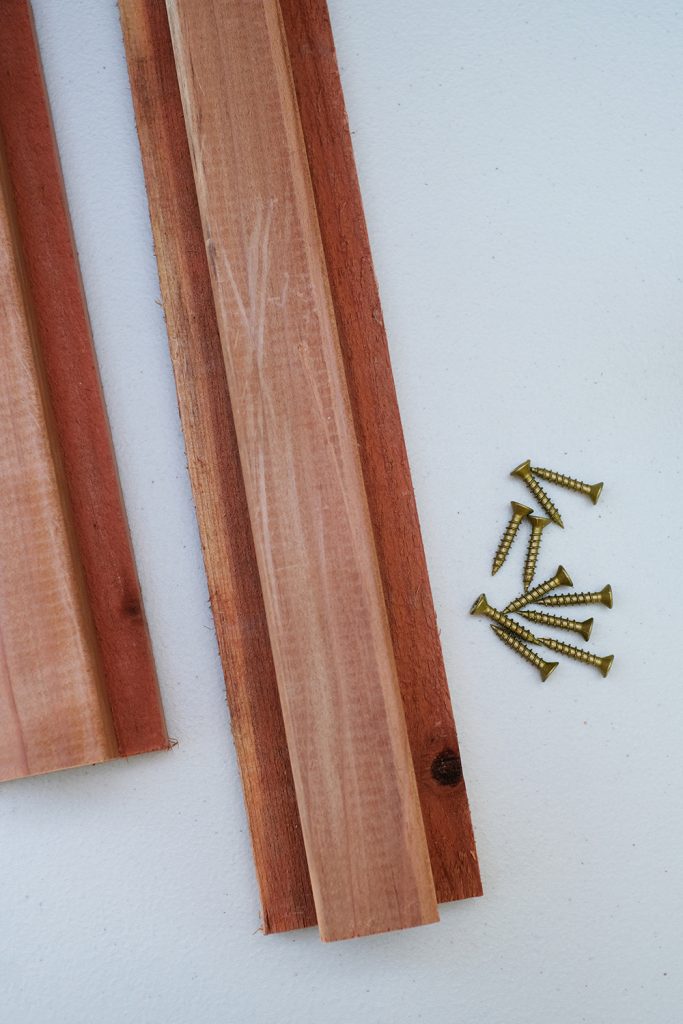
For this project, we used 12 linear feet of 1 1/2″ x 1 1/2″, and then just 1 dozen redwood fence boards. To save money, and also use redwood (because it’s so great for outdoor projects), and we used a table saw to cut all the boards down to 2 inch strips.
This compost bin is 3 ft. x 3ft x 3ft. There is an order to building this bin that makes this very easy to assemble. You are going to start with the back wall of the box. This will give you something sturdy to build the other walls off of.
The 1 1/2″ x 1 1/2″ pieces are the four corner posts of the frame. Attach those to two 3″ wide by 3 ft long pieces.
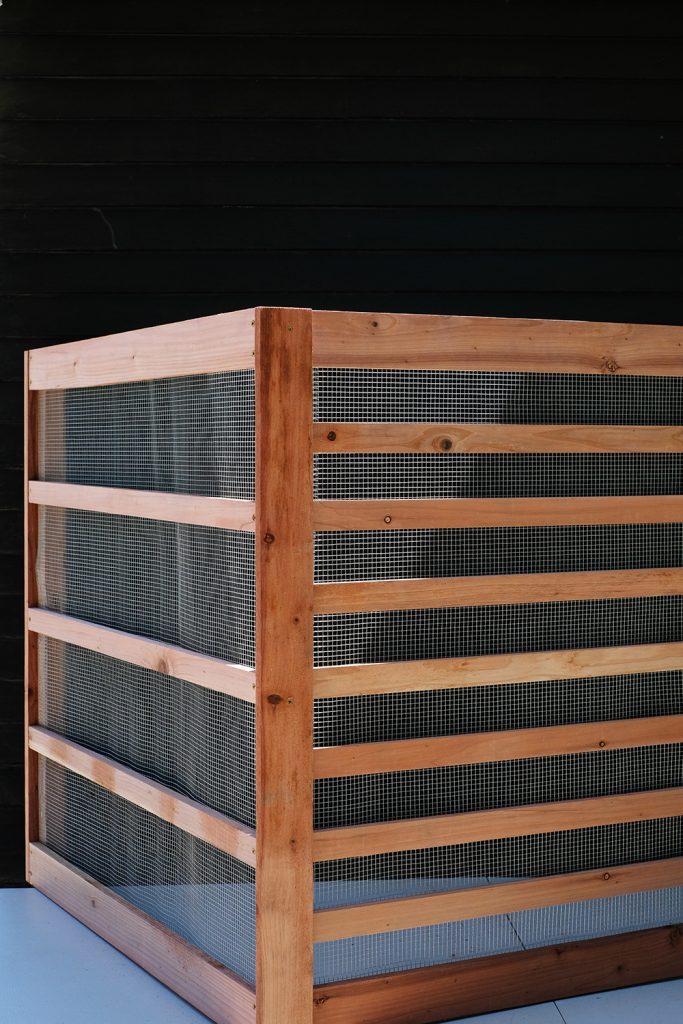
Then you can attach the 2″ rails. We started in the middle and then spaced these out evenly.
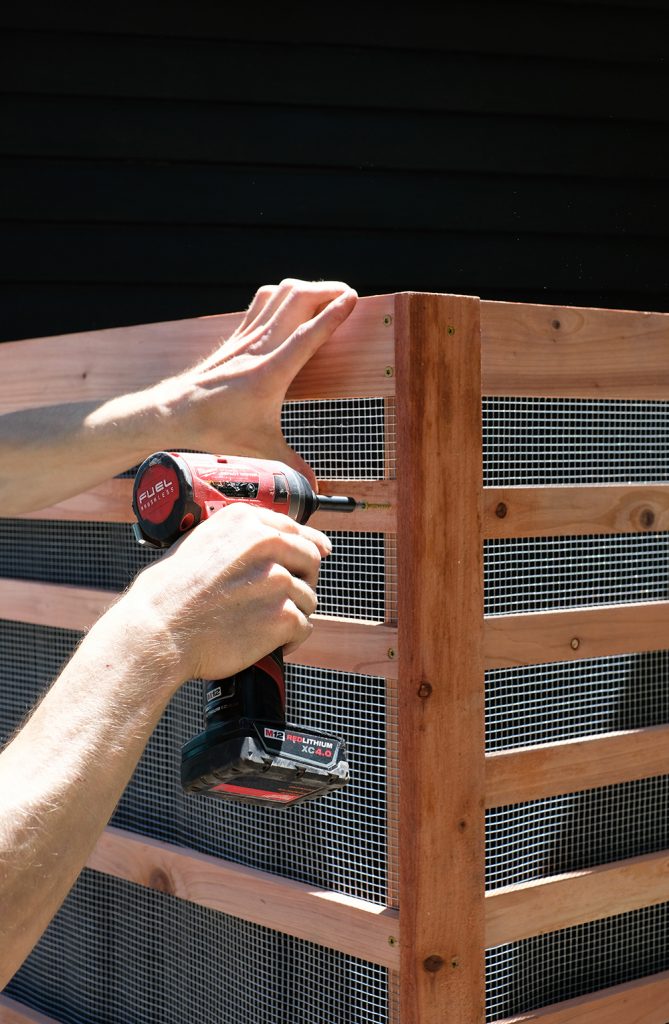
Then you can attach the mesh fencing with a staple gun. I LOVE Fiskar’s new DIY line of tools and this staple gun might be the best one I’ve ever used.
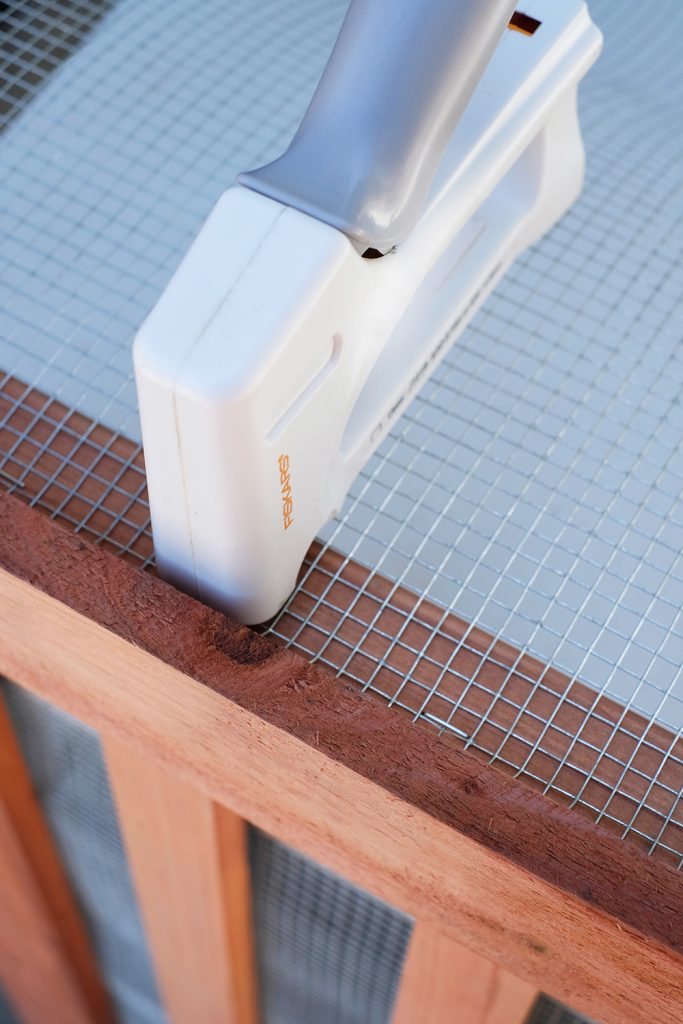
Once the back wall is complete, you can built the two side walls off of it and attach the mesh fencing to the inside. You will then add a lip to the inside of the front of the bin, it needs to be at least 1/2″ wide so that you can slide the fence boards down the front.
The lid is just a repeat of the 3 ft x 3 ft walls and attached at the back with a pair of hinges.
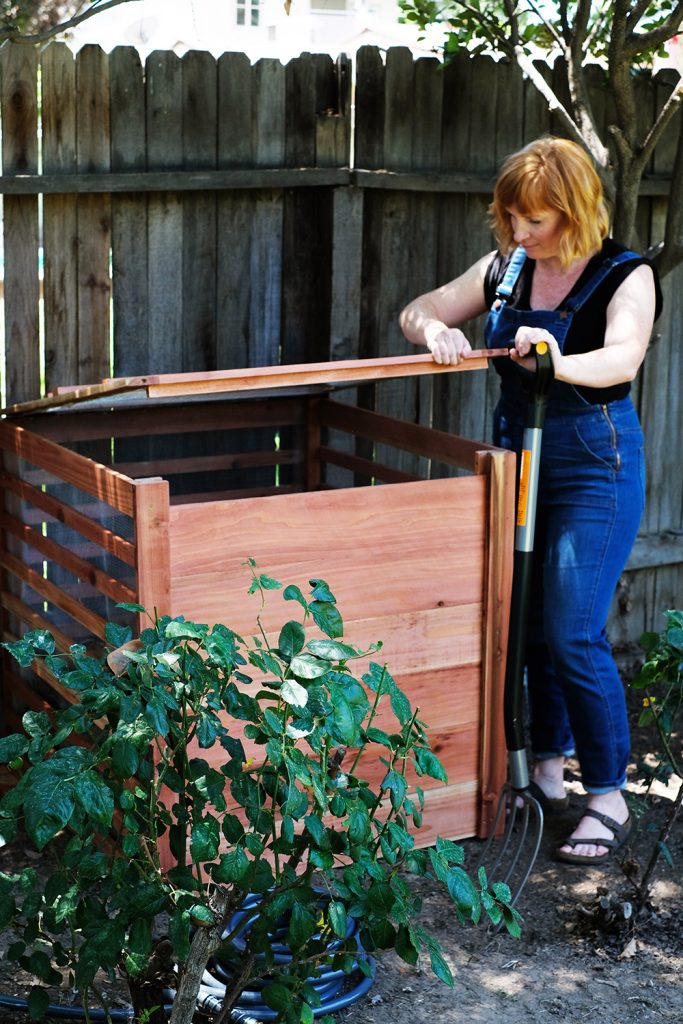
I’m so excited to have this neat and tidy box in our backyard now and I can’t wait to have nutrient rich compost for your garden and flower beds in no time at all.
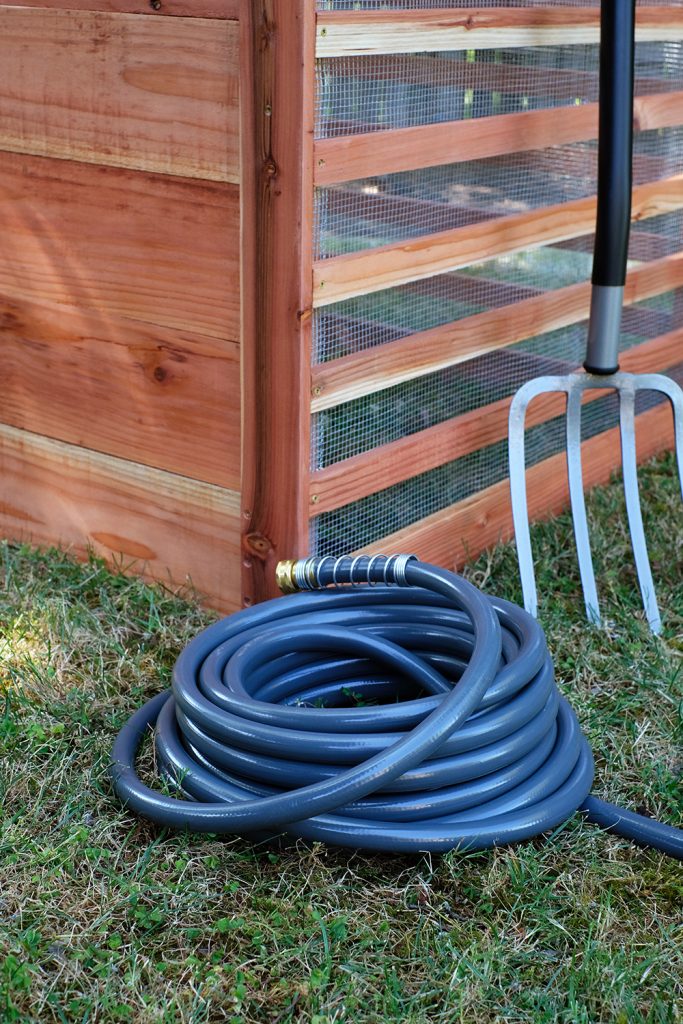
There are really 2 tools you need to help you be on your best compost game – 1. a hose to soak your compost from time to time and 2. a garden/pitch fork to move and rotate your waste. I highly suggest Gilmour’s Flexogen Super Duty Hose and Fiskar’s Garden Fork. Excuse me while I brag about this hose for a second. Because, over the years , we have purchased and invested in so many different hoses hoping to find one that wouldn’t kink or crack with time. The Flexogen Super Duty Hose is the strongest, lightest hose in its class. It has a patented 8-layer construction with reinforced core maximized both durability and kink resistance. And this hose comes with a Lifetime warranty!
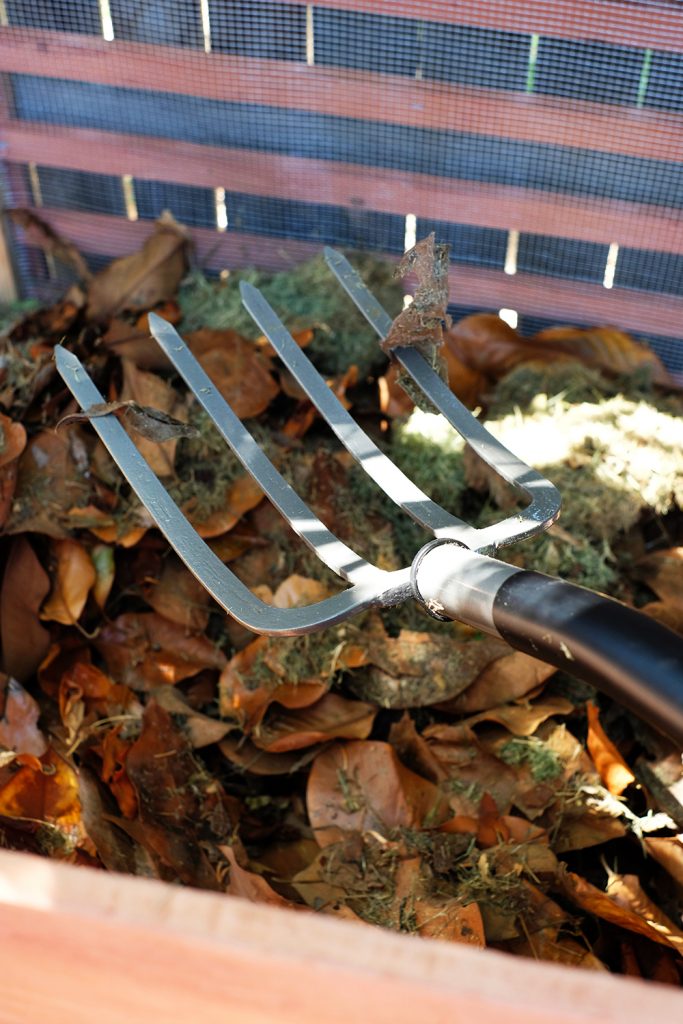
We add grass clippings, leaves, and even veggie and fruit scraps from our kitchen. To help the decomposition process, it’s a good idea to move the waste around. This garden fork is the perfect tool for this.
I feel like I’m one step closer to being a legitimate gardener with this new compost bin. Right now we are in the hottest part of the year. In another month of so we will plant some more garden beds so that we can have more produce throughout the Fall months.
