etc.

10 Actions to Take Right Now to Boost Your Creativity

May 25, 2017

I try to be as honest and authentic as I can be here. Just enough, but not too much to be a totally downer all the time. Really, most of the time I love life and really am enjoying this season. But, it’s really far from perfect. I know I post pretty pictures of yummy drinks, flowers, and a clean house – but, that’s not always the case. I just don’t think folks want to see pictures of my cluttered bathroom counters and my unmade bed today. There’s nothing inspiring about that. Believe me, it sucks all the creativity out of me.

So, without sounding like someone who wants sympathy or attention, I just wanted to say that the last couple of weeks have been hard. I’ve felt drained, anxious, unmotivated and just blahhh about my job life in general. I share this here so that hopefully someone else doesn’t feel alone.

When you feel like this, creativity is GONE. I don’t know where it goes. I think I’m an idea person, I usually have a few good ideas brewing at anytime.  But, lately I’m totally tapped out. I’m not one to wait for something to happen or change in my life. I’m a door knocker, I’m knocking on all the doors and hoping someone answers and says yes. Over the last couple of weeks, I’m trying a bunch of things to try to kick start my creative juices.  So, I thought I’d share with you what is working. I’m not a self-help guru and definitely don’t have everything figured out. But, maybe some of these ideas will resonate with you and maybe help you out of a creative slump.

  1. Rest – this probably seems obvious. But, if you are a do-er and go-er like I am, rest can feel like a waste of valuable time. Listening to your body and taking a nap can actually be a good place to start. For me, I had no choice, I stopped for about 10 mins a Sunday afternoon a couple weeks ago and fell sound asleep for 4 hours. For someone who naps about once a year, this is a big deal. Over the last 2 weeks, I’ve been conscience to go to bed at a reasonable time and try to give my body what it needs.
  2. Make Healthy Eating Choices – I consider myself a pretty healthy eater. We cook most of our meals at home and yes, I do bake treats, but actually I rarely eat any of it. But, when I feel burnt out though, I let me guard down and I don’t pay attention to the things I’m putting into my body. So, I’ve cut back the amount of coffee I drink and I’m trying to pack as many fruits and veggies into my meals as possible. Thinking about food more as fuel always helps me. Right now I’m in the middle of a Juice Cleanse. It may feel a little drastic, but I felt like I needed to hit restart and flush my body of toxins. Whether it’s taking a simple step like making an effort to drink more water or taking on something more intense like a Juice Cleanse, a change in nutrition can help boost creativity.
  3. Hunt for Inspiration – sometimes you have to seek out a creative spark. My spark was definitely gone, like a bucket of water had been dumped on it. I’m trying to make time to do the things I love, like walk through an antique mall or actually flip through the beautiful design magazines that sit on my coffee table but I never have time to read. I also have a trip to downtown LA in my sites. I need a little time in a big city from time to time. The energy of a city, the hustle and bustle, the people, the traffic, the food, the art, the mess – all help my mood. Sometimes life feelings to hectic or busy to make time for just being inspired. It can seem a frivolous, but usually stepping away can be really helpful.
  4. Clean and De-clutter – clean out your purse, your car, your closet. I always feel like my home is a refection of my state of mind and schedule. If it’s messy and cluttered, usually my life is too hectic and I’m feeling stressed out. So, this week I took a whole day to just clean and put away all the junk that collects around a house with 3 busy kids. Honestly, seeing a clean space can instantly give my mind room for creativity. The mess definitely hinders me taking on a new project or idea.
  5. Get Dressed – well, I do wear clothes everyday, but some days it’s just a tank top and some yoga pants. Getting dresses in something that makes you feel confident and pretty in can really change the way your day starts. For me, putting on mascara and some big earrings can boost my moral. Maybe a hair cut or getting your nails done can be a breath of fresh air.
  6. Exercise – This might be the most important one for me. I need to burn off all those endorphins. Ya, I’d like to be a little skinnier, but mostly I exercise for my mental health. For the last couple of months, I have been swimming laps at my local pool. An hour of swimming back and forth gives me a lot of time to think and process my day. I’ve rediscovered how much I love swimming. Being weightless and submerged in water has a restorative power. I’ve also been riding my bike a lot. I never regret a bike ride. A bike ride always takes me back to my childhood and simpler times.
  7. Make Something – even though your creativity might feel totally tapped out, sometimes the act of starting a project can spur on something new and interesting. For me taking my camera for a walk around my neighborhood can help. I use my camera almost daily for my job, but taking pictures of flowers that are in full bloom and just taking pictures for no purpose at all is fun. I also picked up my water color paints this last week and painted for 3 hours straight. And yesterday I decided I’d finally make the swings that I wanted on our porch. So, I headed to the hardware store with absolutely no plan at all. It was fun to make something with a little trial and error, not know if the outcome would be good or not.
  8. A Change of Scenery – today I’m writing this post from my favorite coffee shop. but, I also editing a big batch of pictures from my front porch this week as well. Often I get stuck at my kitchen table trying to work. But, from my kitchen table, I can see my basement, which is where my laundry room is, I can also see my kitchen sink and all the dishes that need to be done or the dinner that needs to be started. Finding a new location to work can really help eliminate distractions and give you fresh eyes for the task ahead.
  9. Do Something New – for me, this kind of long, wordy post is not my usual type of blog post. I tend to rely on pretty images for the foundation of my posts. So, I type this post with a little bit of fear of failure. But, it also feels good to push myself outside of my comfort zone. Sometimes you discover something that you are good at, sometimes. Don’t get me wrong, I don’t think that writing is something I’m good at, but a little exploration of something different can be refreshing.
  10. Get Outside – I’m an outdoors kind of girl, but I do believe there is some power in being in nature for everyone. If I can’t make it to the desert, beach or the mountains, a little time weeding in my yard can be really helpful. I walk is also always a good idea. Right now our river has a lot of water (which hasn’t had any water for 7 years), so even though it’s still in the middle of the city, it’s good to walk along the water and listen to birds and crickets. As a christian, nothing makes me feel more connected to my Creator then being in his handy work. It always brings me so much peace.

I hope this is helpful to someone out there. Obviously there are no perfect formulas or answers for getting out of a rut. But, my thought is that change isn’t going to happen unless you take the first step. So, I’m taking all kinds of steps forward and hoping that something works. Here’s to finding my creativity again.


Food & Drink

Cherry Limeade

May 22, 2017

It’s Monday, and I’m pretty sure I’m going to need a Mocktail to get through it.

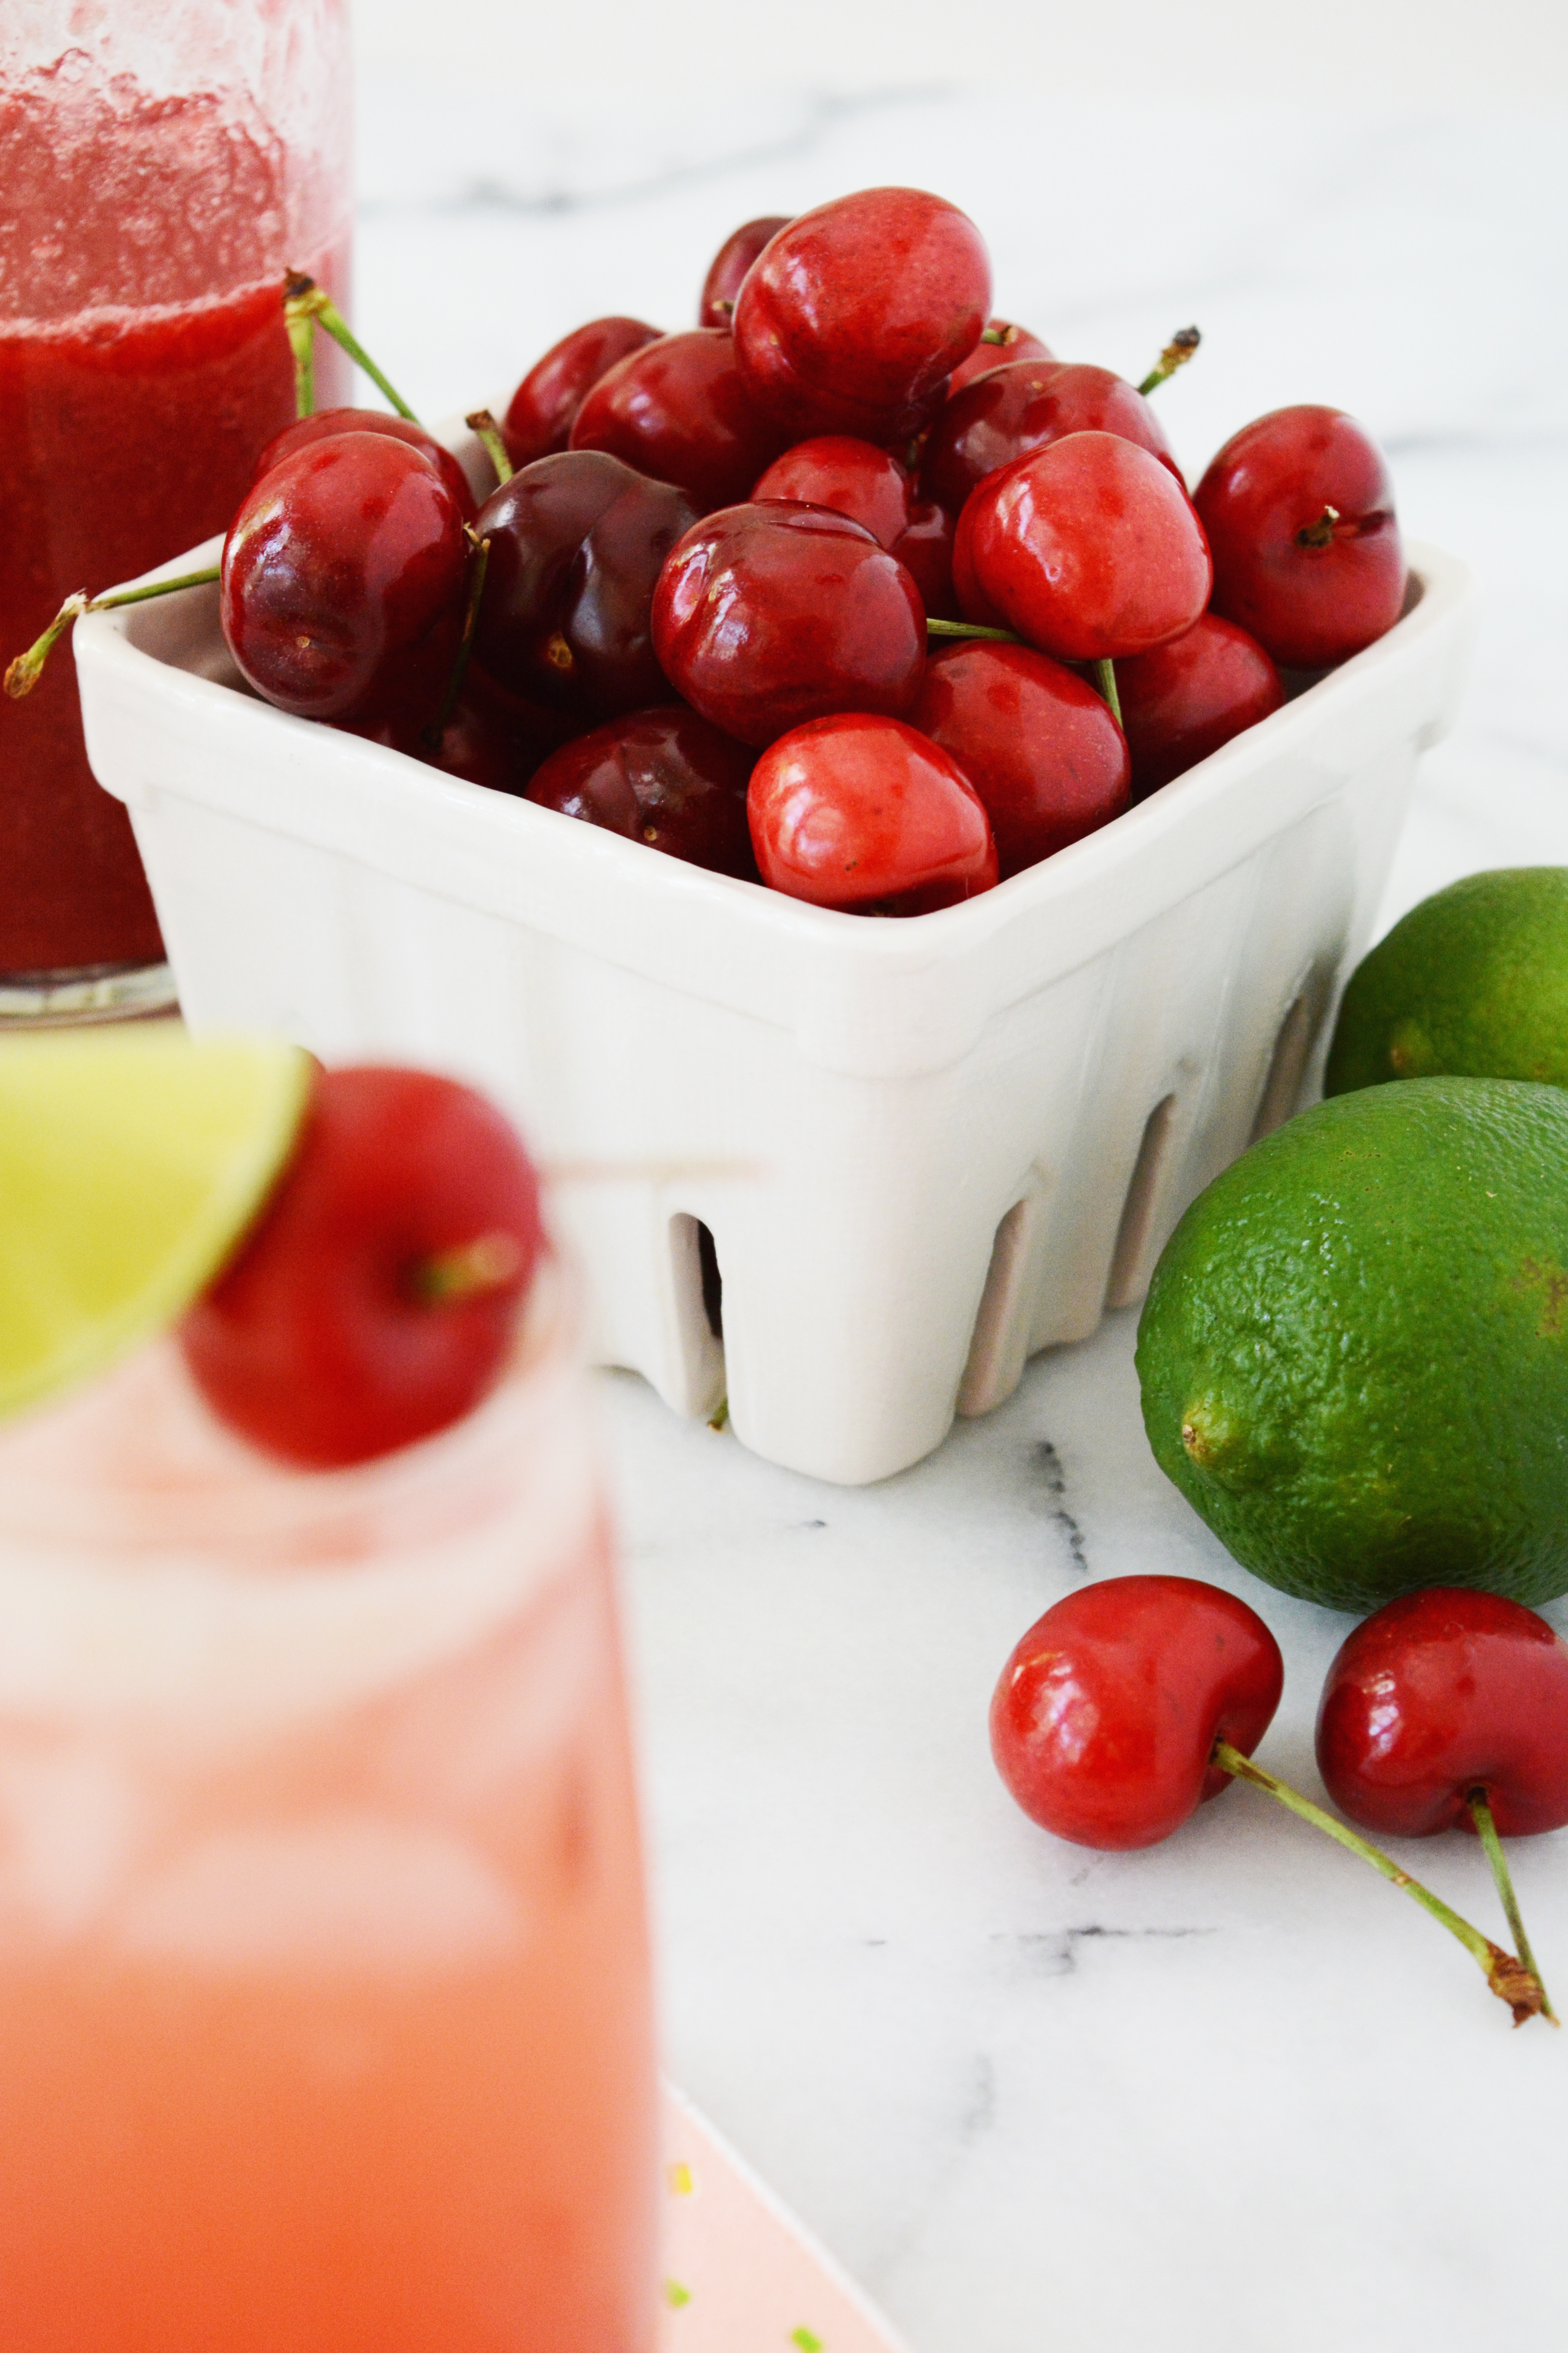
Cherry Limeade recipe - a healthier take on a drive-thru classic.

This weekend we hit 100 F. The heat makes me crave trip to Sonic for a huge Cherry or Strawberry Limeade. So, this year I’ve come up with a healthier version of one of my favorite hot weather drinks. Without all the sugar and artificial colors and flavors, I feel I lot better about serving this Cherry Limeade recipe to me kids and guests.

I’m actually not a huge fan of cherry flavor, but real, fresh cherries – YES, I love those!  My fridge is always stocked with an assortment of La Criox, so as long as I can find fresh cherries this Summer, this drink will definitely be served often.

Cherry Limeade recipe - a healthier take on a drive-thru classic.

Cherry Limeade

  • 2 cups of fresh cherries pitted
  • 1/3 cup honey
  • 1/3 cup fresh lime juice
  • a pinch of salt
  • La Croix Cerise Limon or sparkling water

Start by making the cherry syrup. In a small pot bring the cherries, honey and lime juice to a boil. Reduce to a simmer and simmer for 5 mins. Remove from the heat and pour the cherry mixture into a blender or food processor. Blend or pulse on high to make a puree. There will still be some little bits and chunks of cherry, but you kind of want folks to know that this was made from real cherries.  All the cherry syrup to cool completely. Store in an airtight container in the fridge for up to 2 weeks.

In a glass filled with ice, pour about 2-3 tbsp. of the cherry syrup (depending on how sweet you want the drink) then fill the glass with La Croix Cerise Limon or you favorite sparkling water. Stir and garnish with a wedge of lime and a fresh cherry on a pick.

Cherry Limeade recipe - a healthier take on a drive-thru classic. Cherry Limeade recipe - a healthier take on a drive-thru classic. Cherry Limeade recipe - a healthier take on a drive-thru classic. Cherry Limeade recipe - a healthier take on a drive-thru classic.

I hope you have a fabulous Monday friends.

Cherry Limeade recipe - a healthier take on a drive-thru classic.

DIY

The Chlorophyll Wall

May 18, 2017

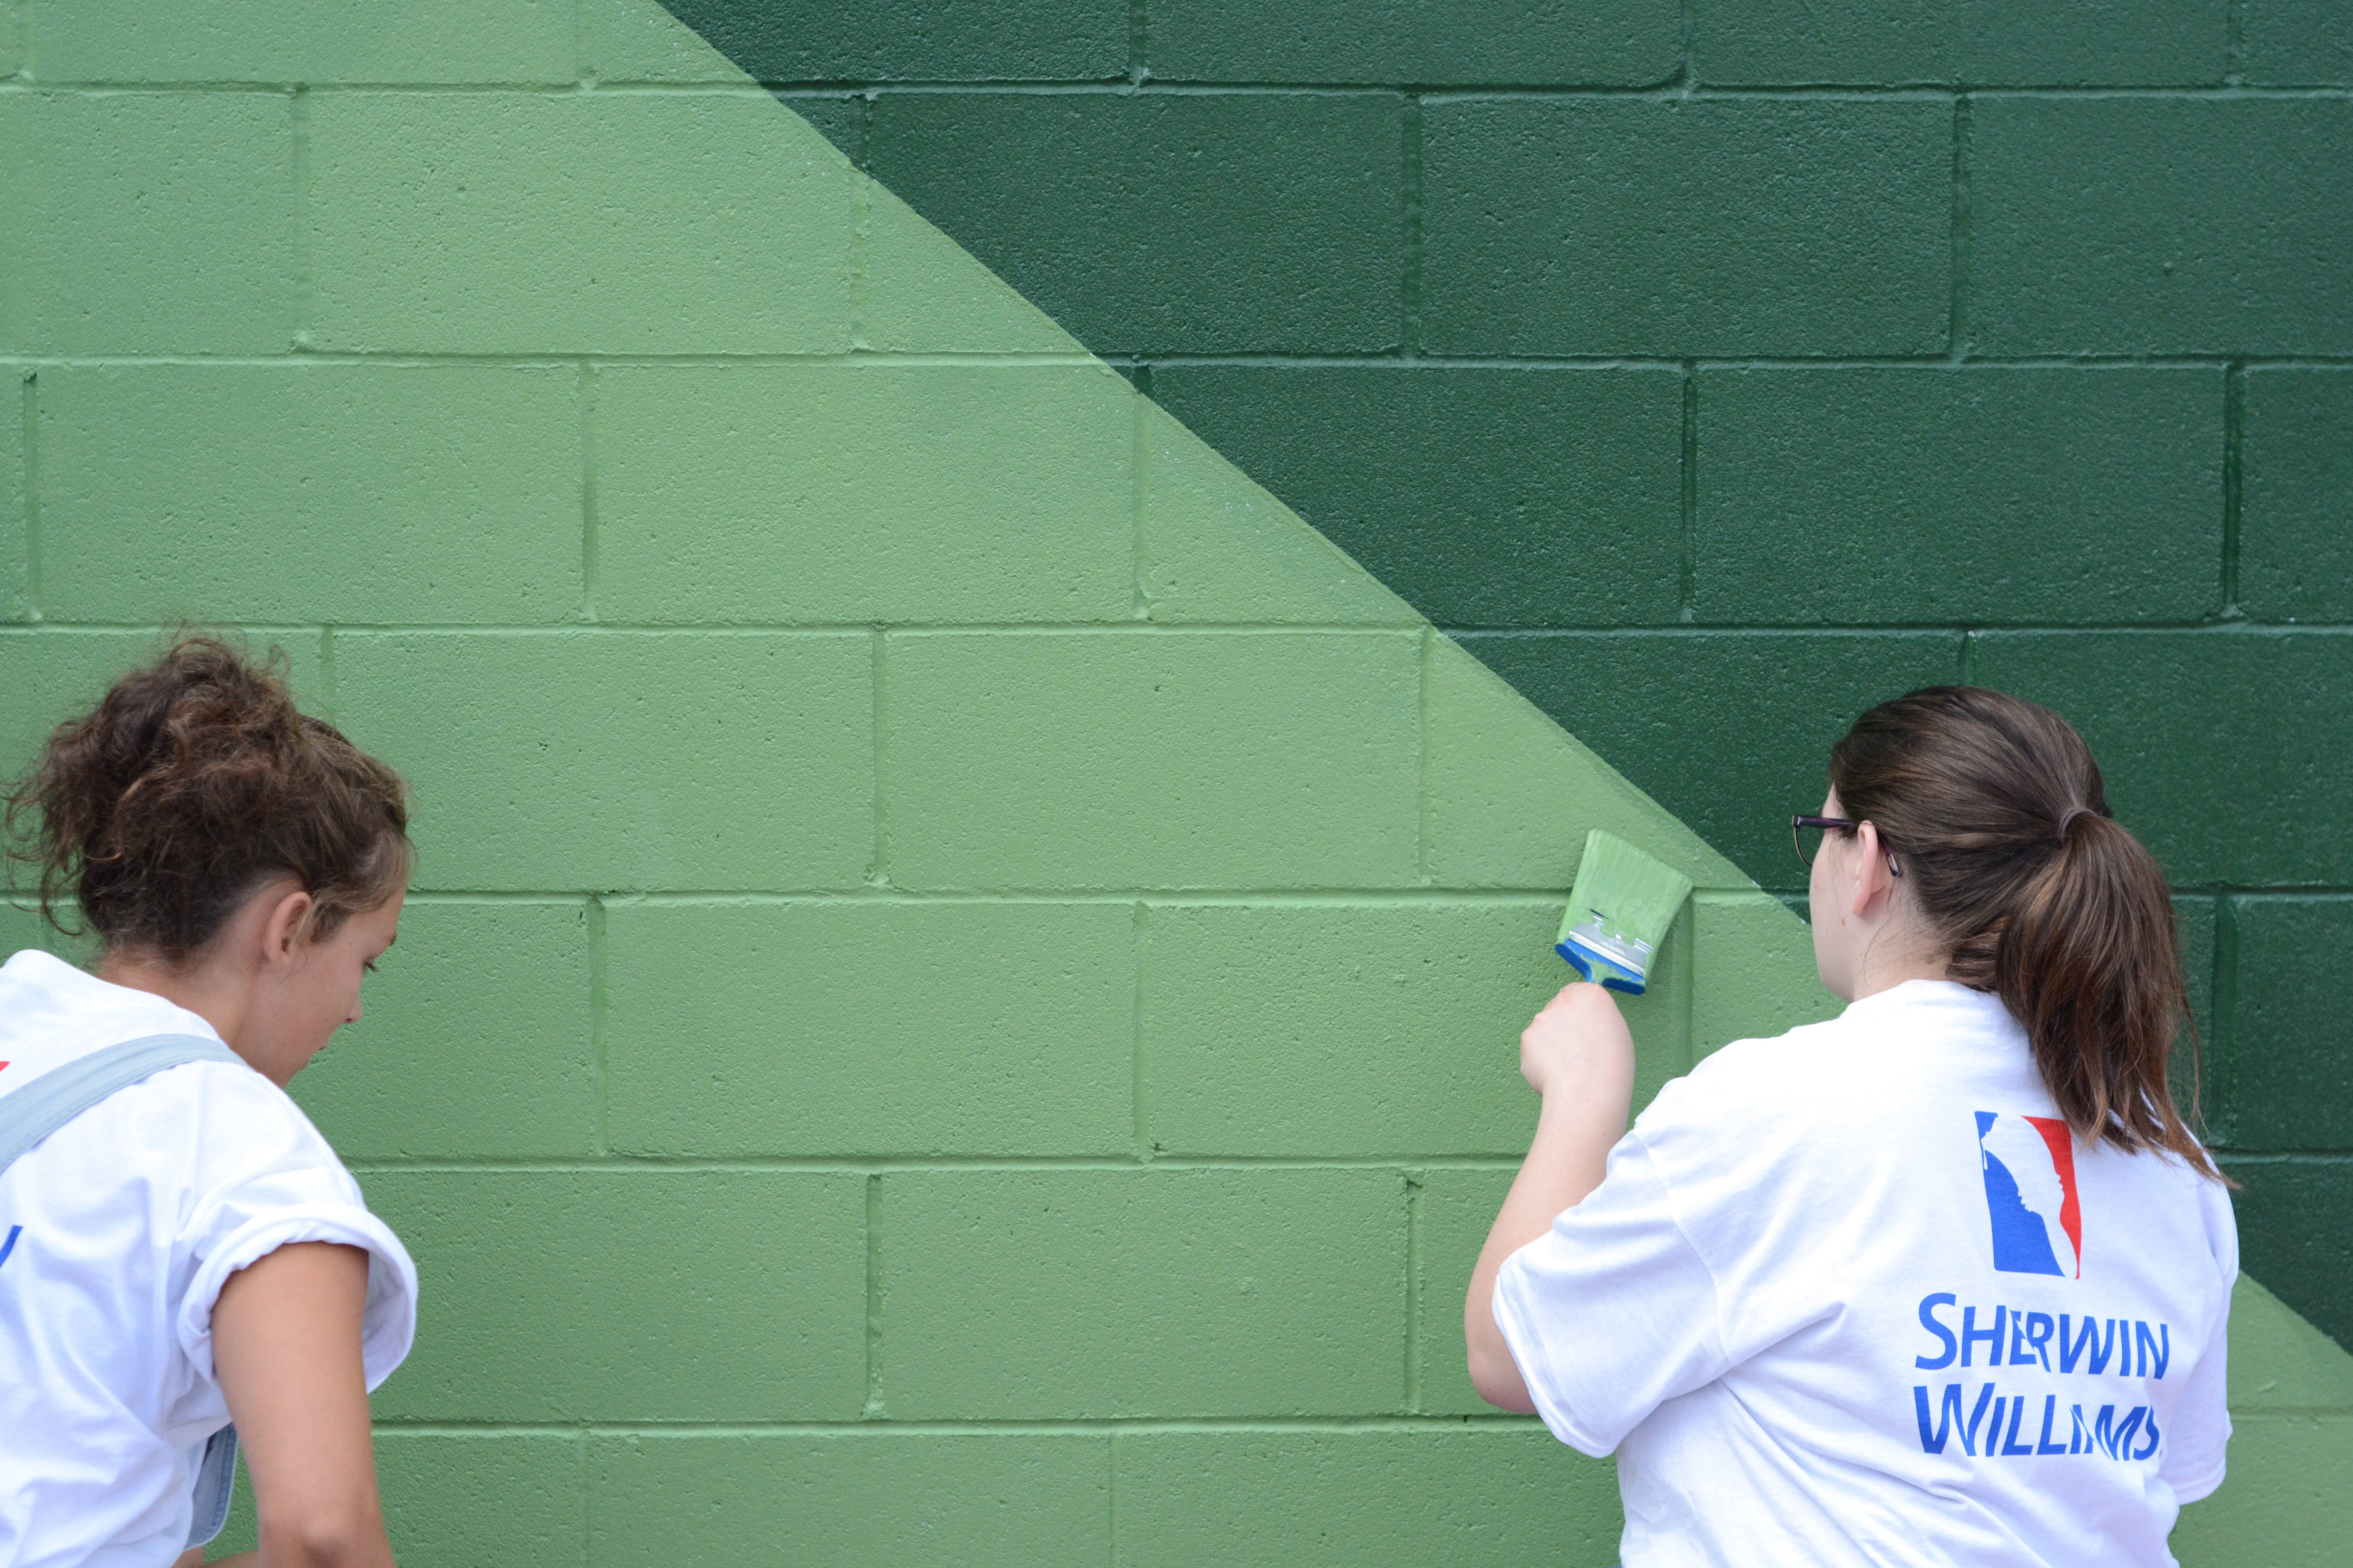
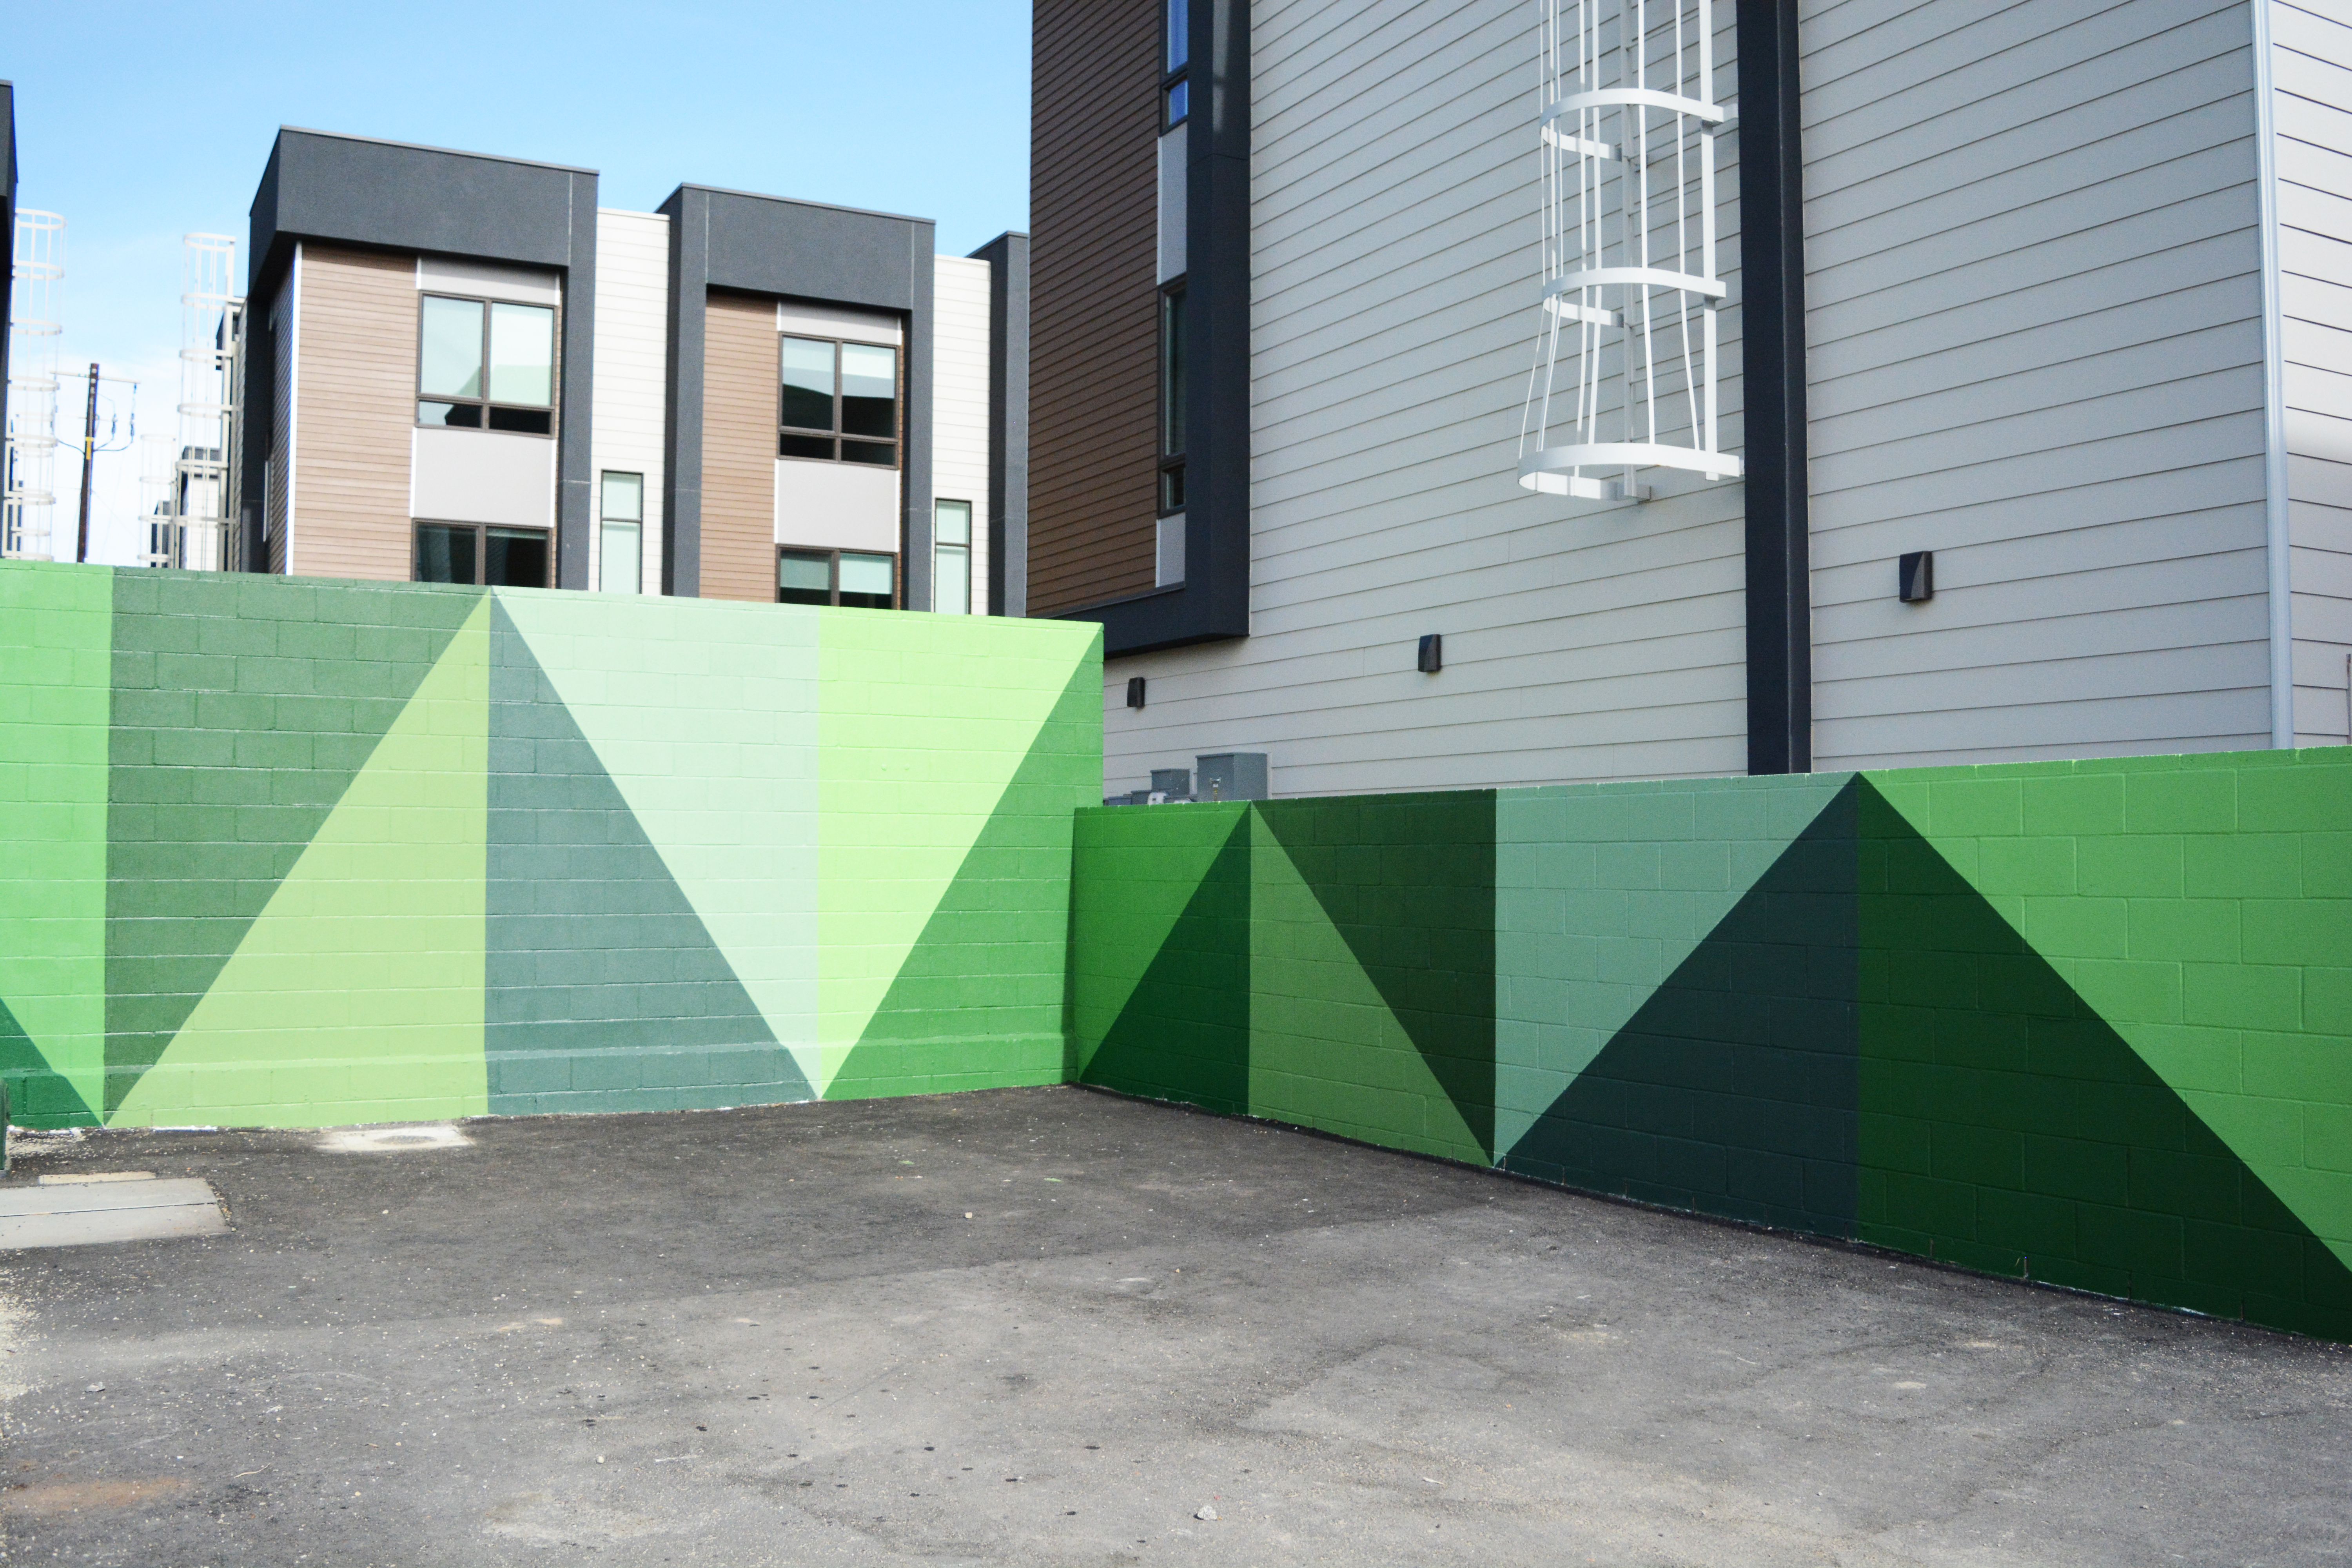
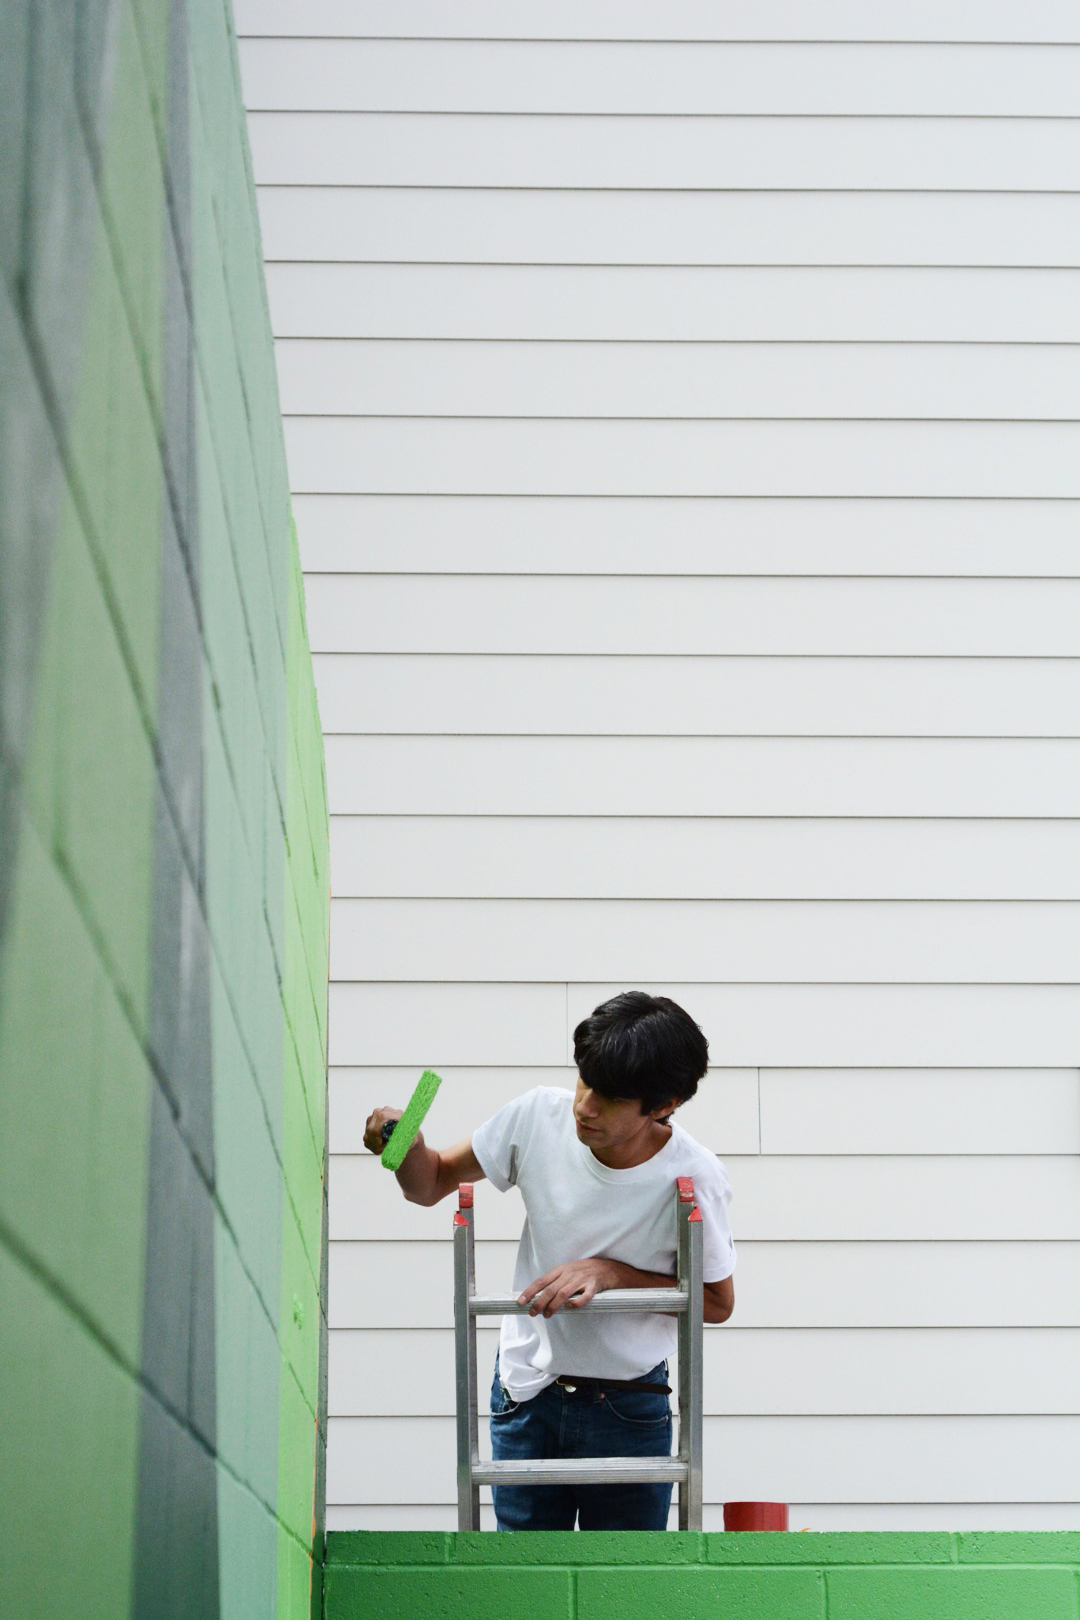
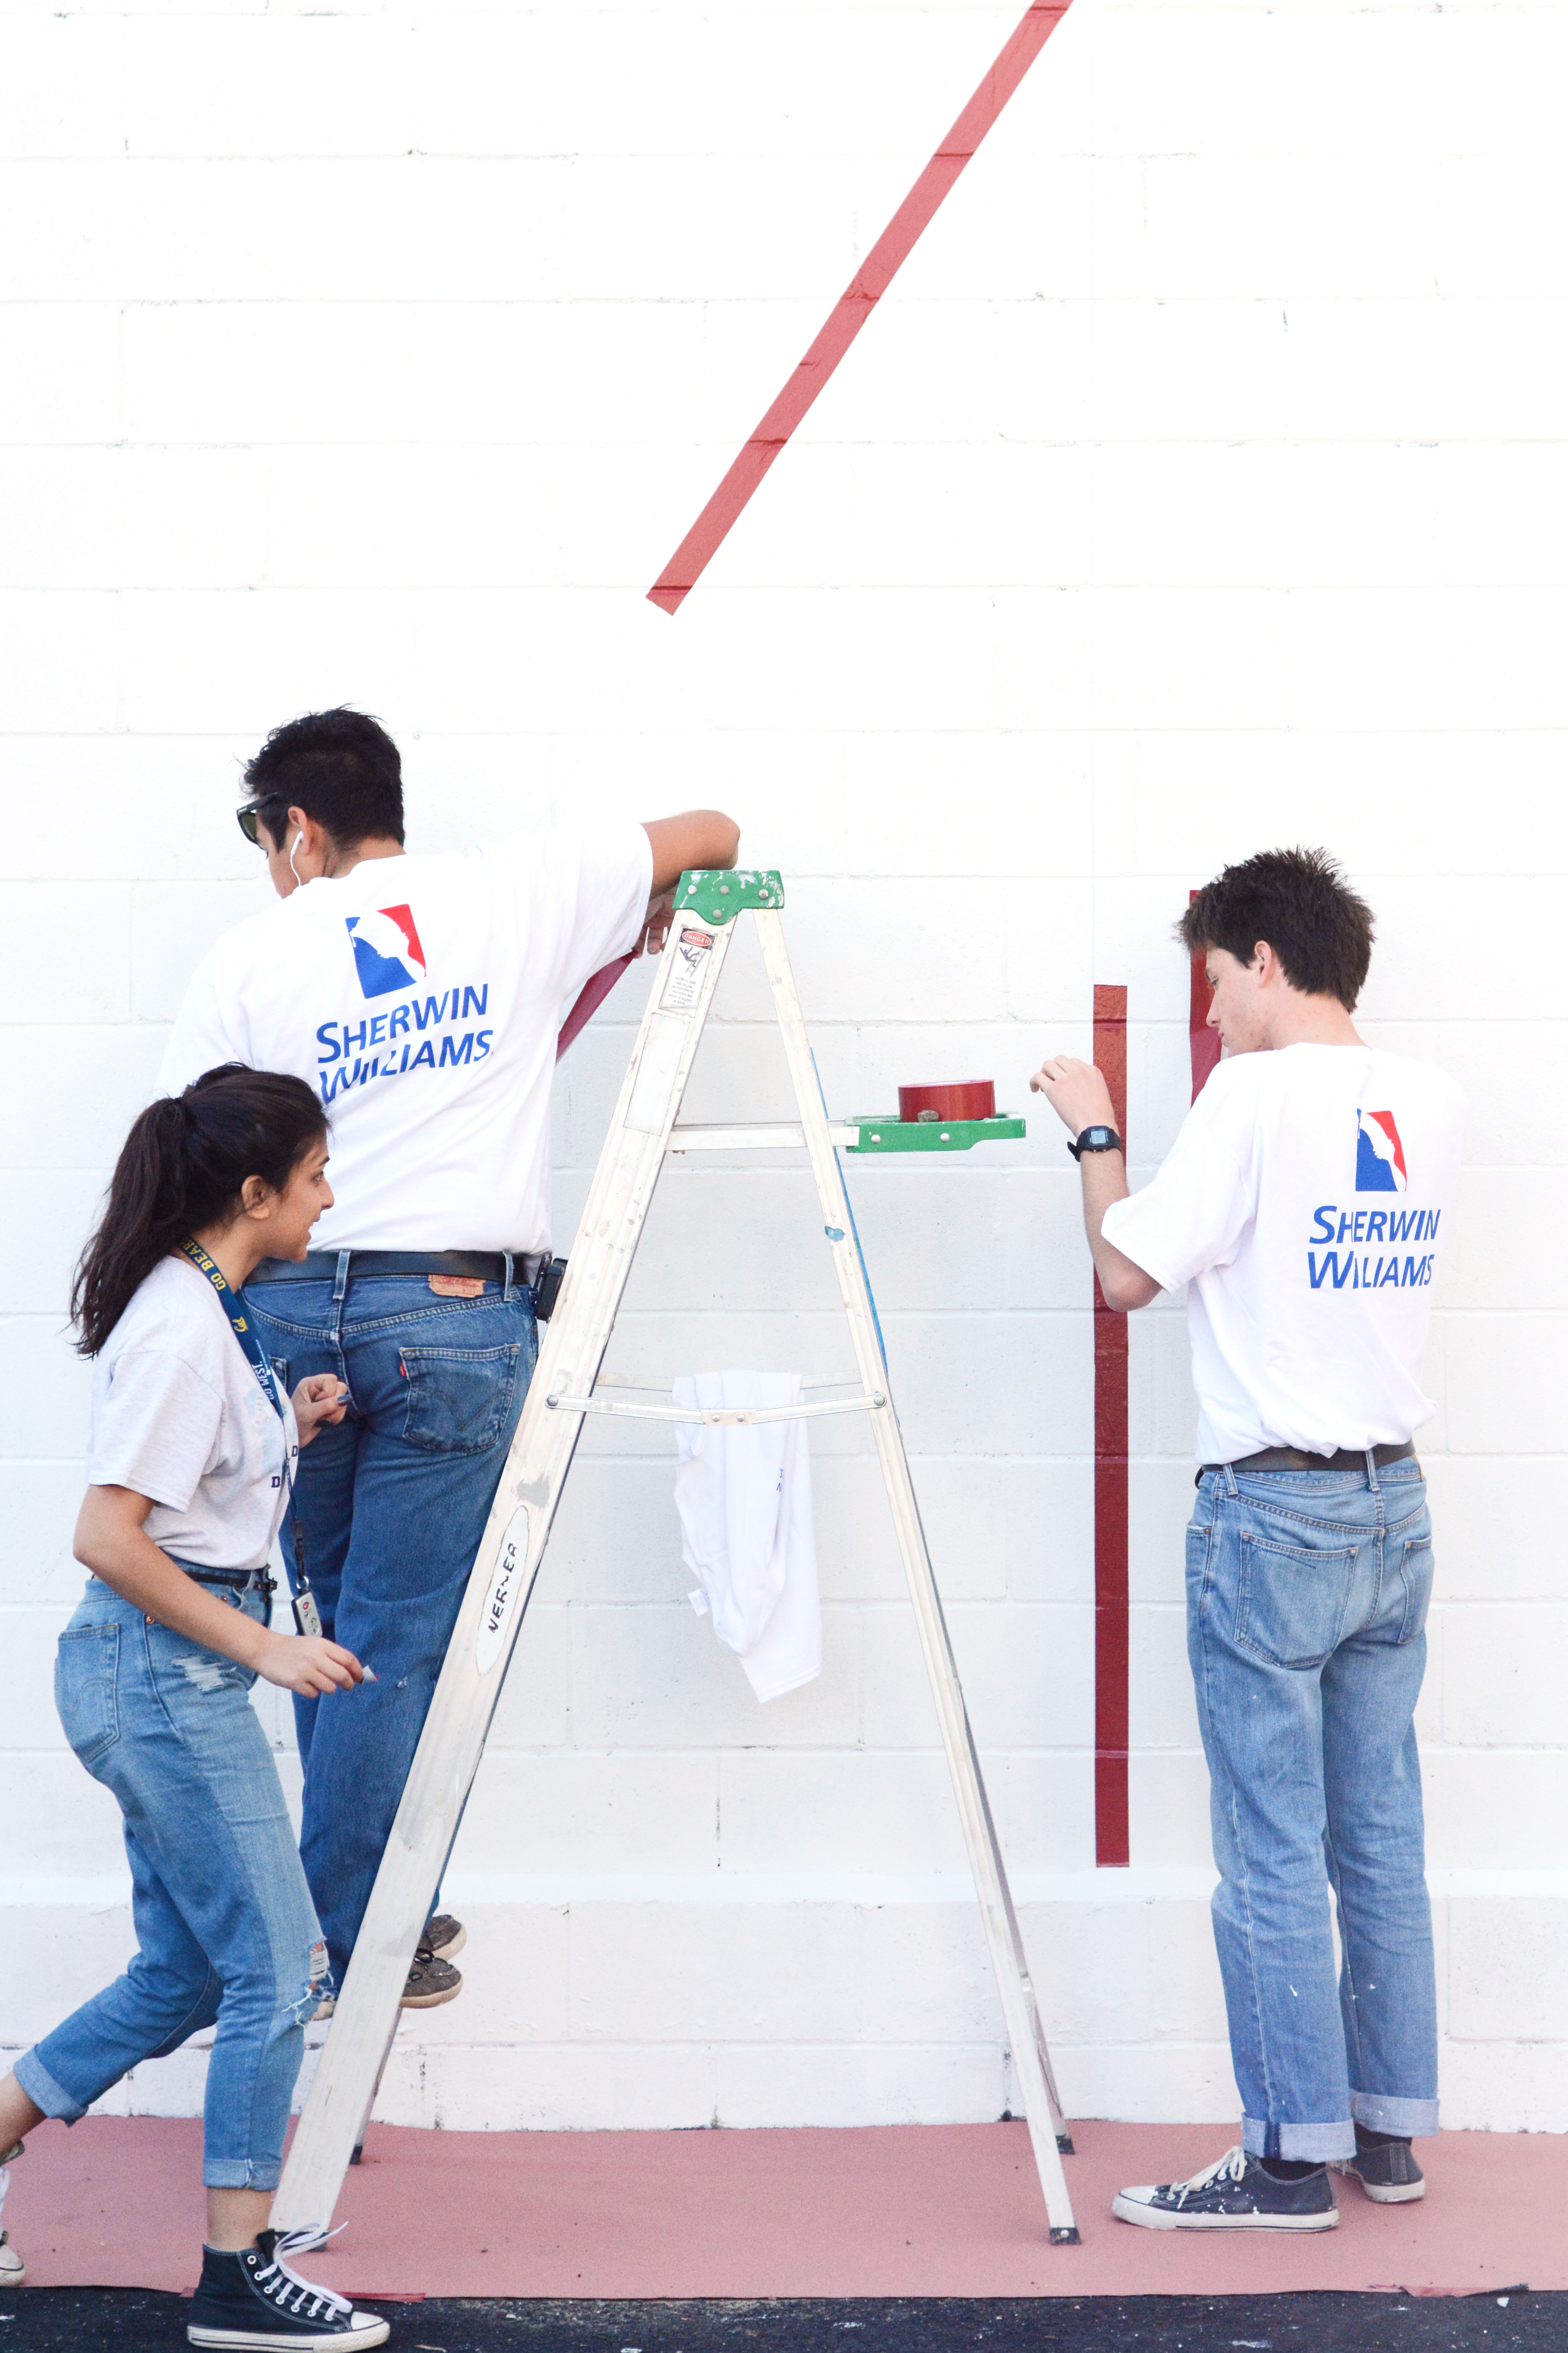
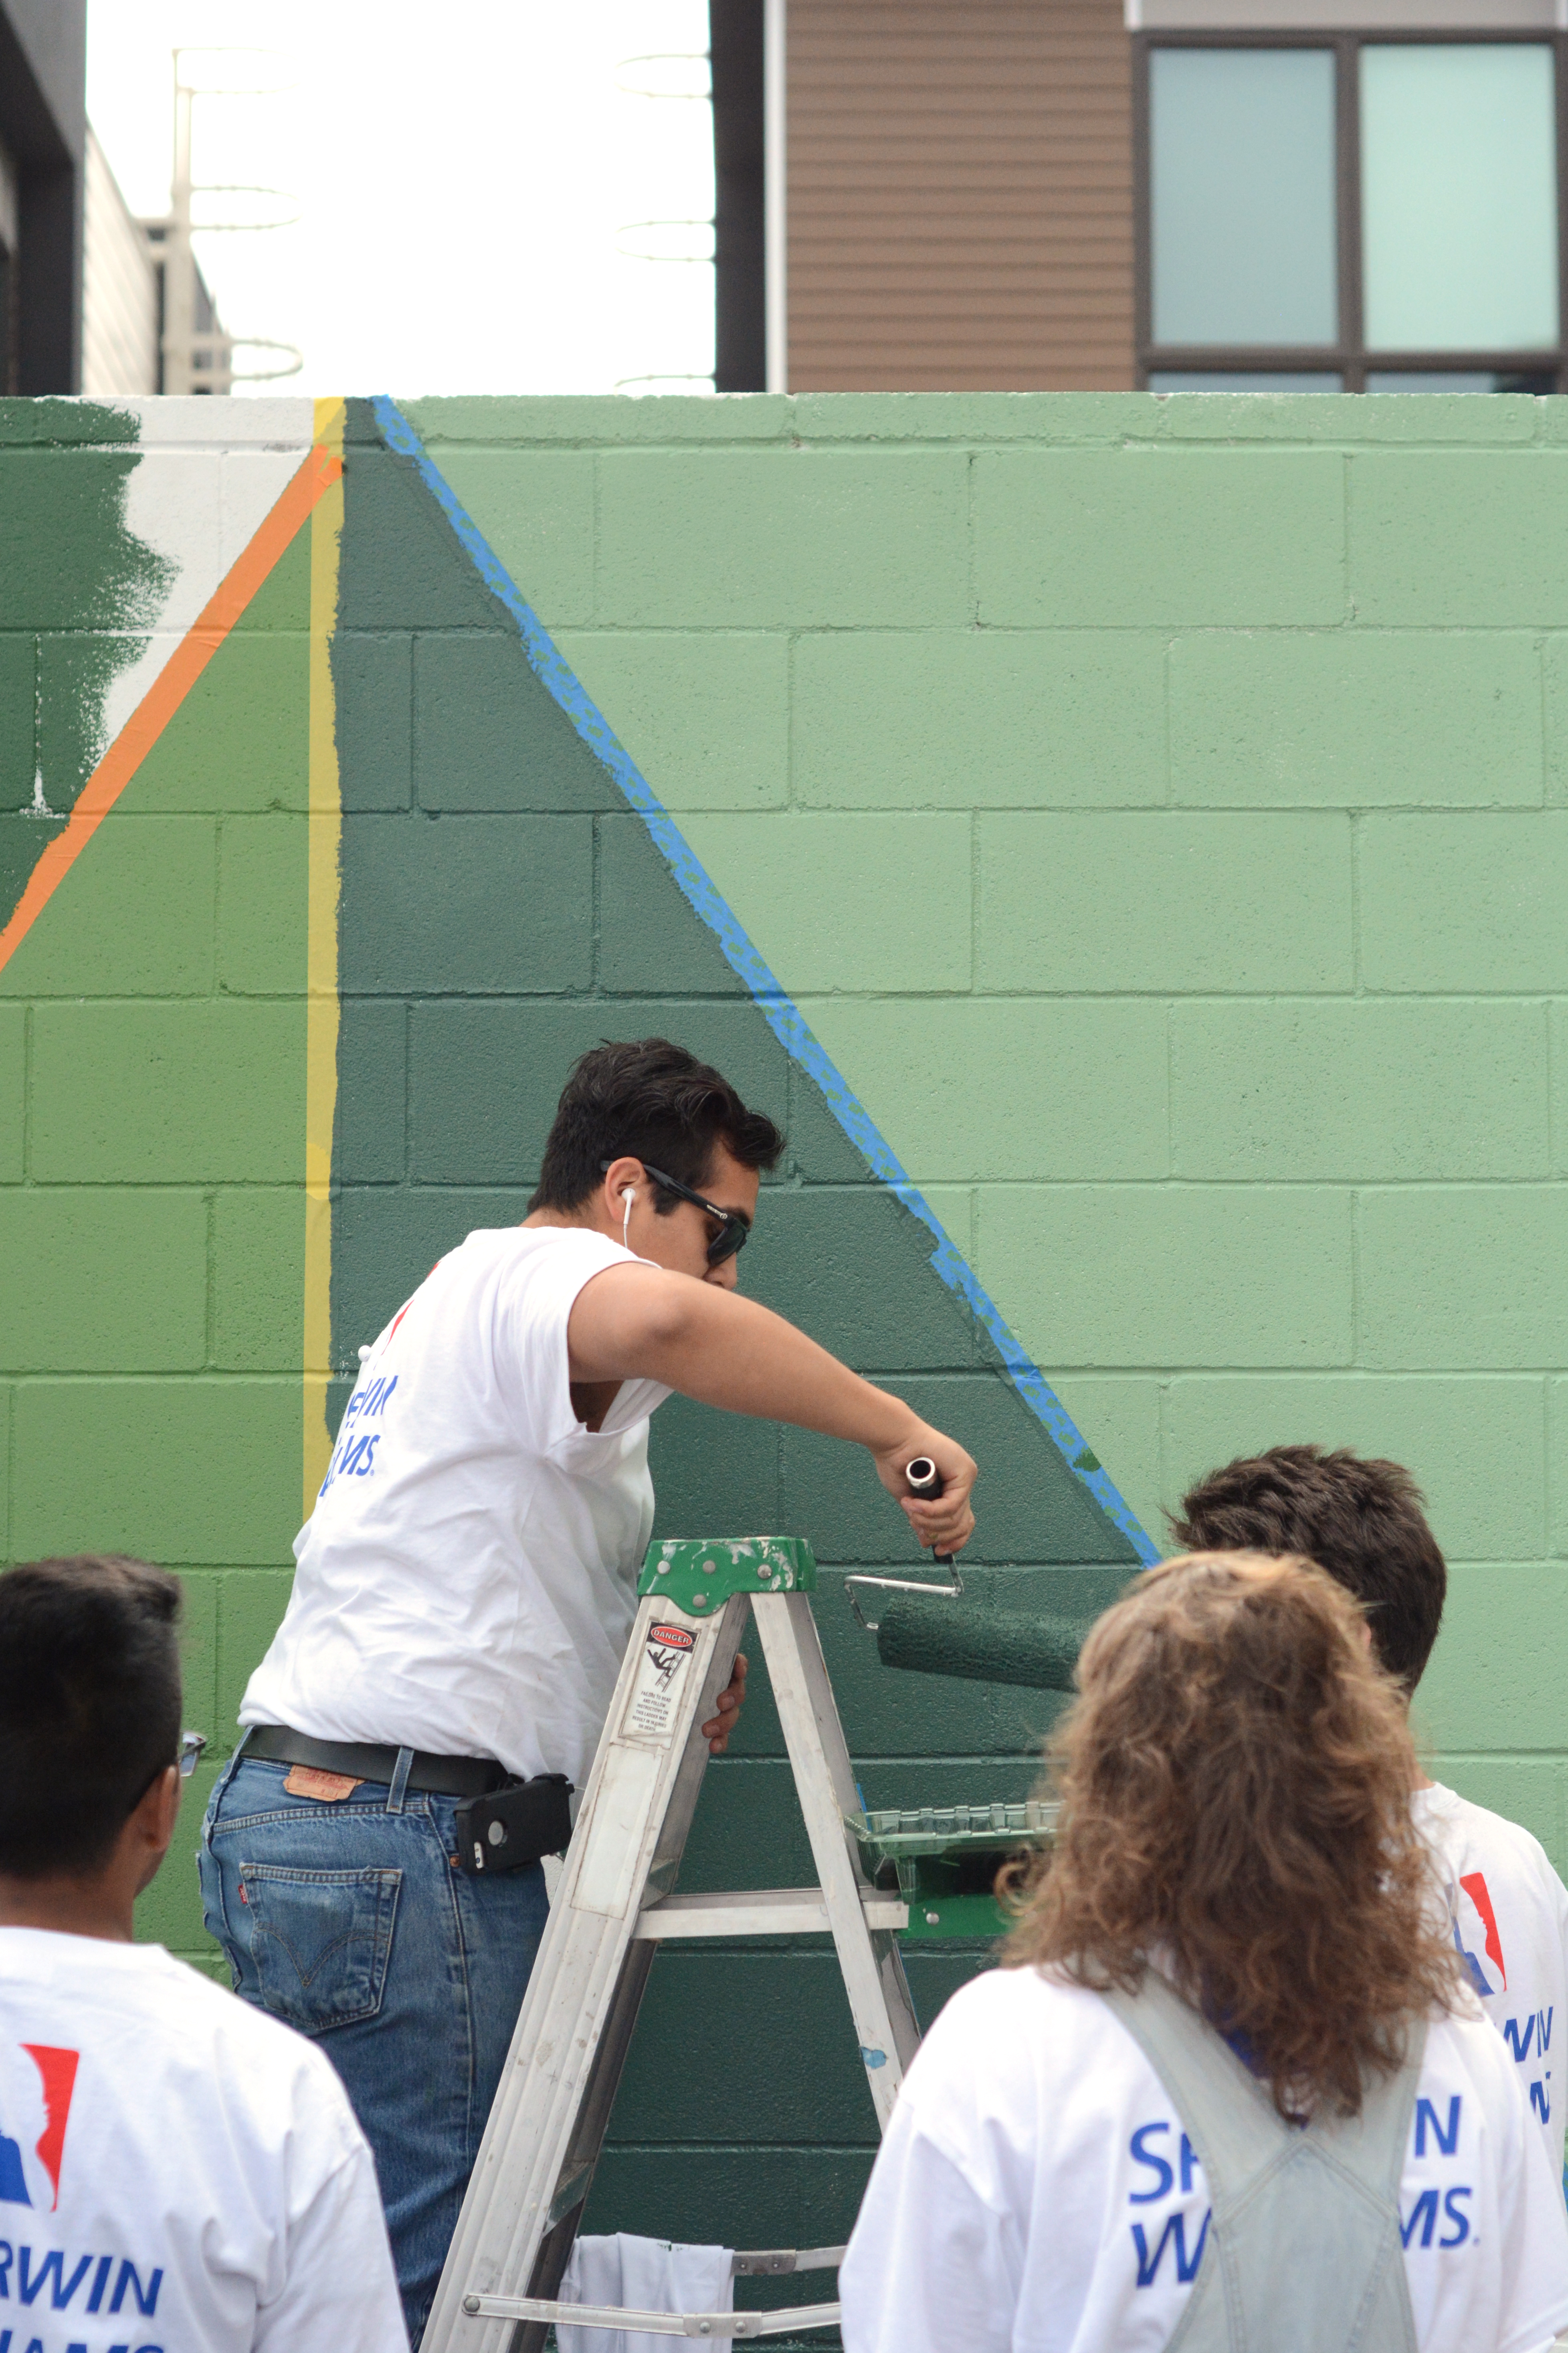
You know, somedays I love my job more then others. I have a great job, but this weekend was really SO MUCH FUN! For a couple months now, I have been planning and prepping for this project – The Chlorophyll Wall. I’ve been wanting to find a way that I could collaborate with my husband (the biology nerd) and his students. So, with The Bakersfield High School Ecology club as the man power and 17th Place Townhomes providing us a space, we teamed up with Sherwin-Williams for National Painting Week to bring a little green to our downtown.

I put together a little video to show you a little of the behind the scene fun.

If you have followed me for a while, you’ll know that my family loves living downtown Bakersfield. We work, live and play all in about a 1 square mile radius. We love our little community and are always looking for ways that we can help it grow and improve.  We also wanted to get students involved so that they would feel a little ownership and pride for their hometown. Adding a little color to our downtown was an idea I’ve had for a while now. Selfishly I chose the color green, because it’s my favorite color. Chlorophyll is the life giving force behind plants, our hope is to bring a little of that natural fuel to downtown Bakersfield. We chose 8 native plants from this area. Using the ColorSnap App by Sherwin-Williams, we picked 8 shades of green to represent those plants. You simply upload an image to the app and it picks Sherwin-Williams paint colors in the image.

My local Sherwin-Williams store provided all the paint and even sent a crew out to help us. They gave the kids great painting tips and were such a pleasure to partner with. 

Here’s the colors we used and the plants that inspired those color selections we used:

  • Bakersfield Cactus – Courtyard SW 6440
  • Green Palo Verde – Dill SW 6438
  • Valley Live Oak – Billiard Green SW 0016
  • Manzanita – Agate Green SW7742
  • Joshua Tree – Shamrock SW 6454
  • Lichen – Talipot Palm SW 6726
  • Willow – Arugula SW 6446
  • California Poppy – Picnic SW 6731

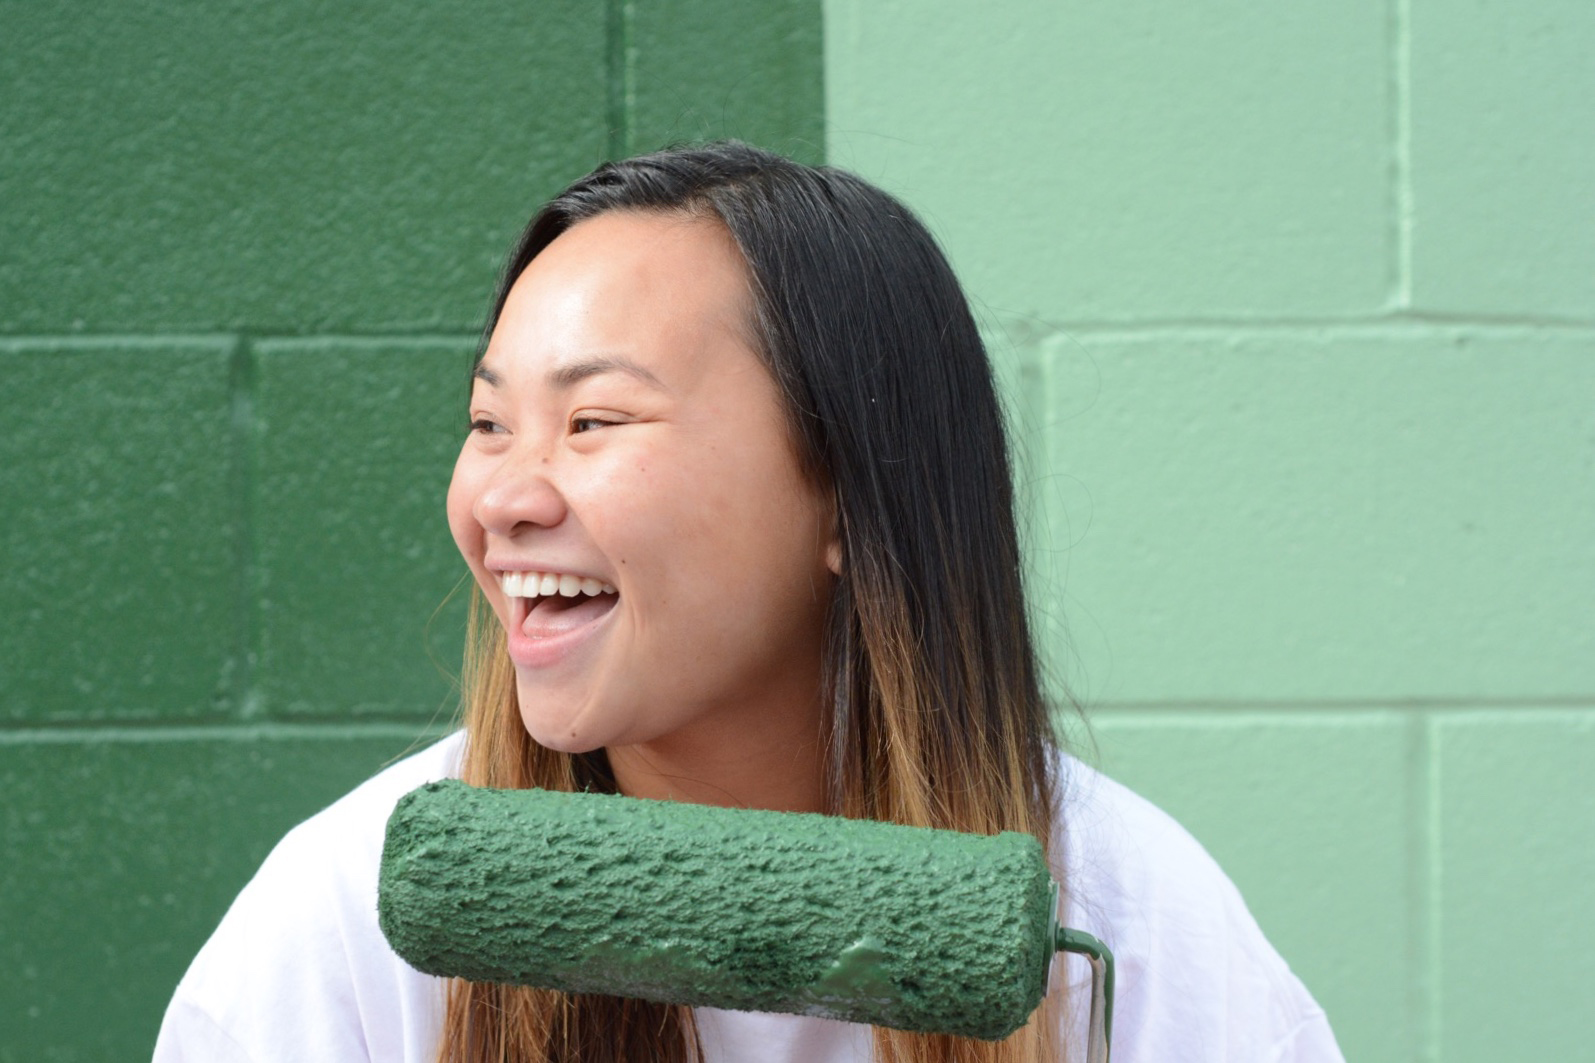
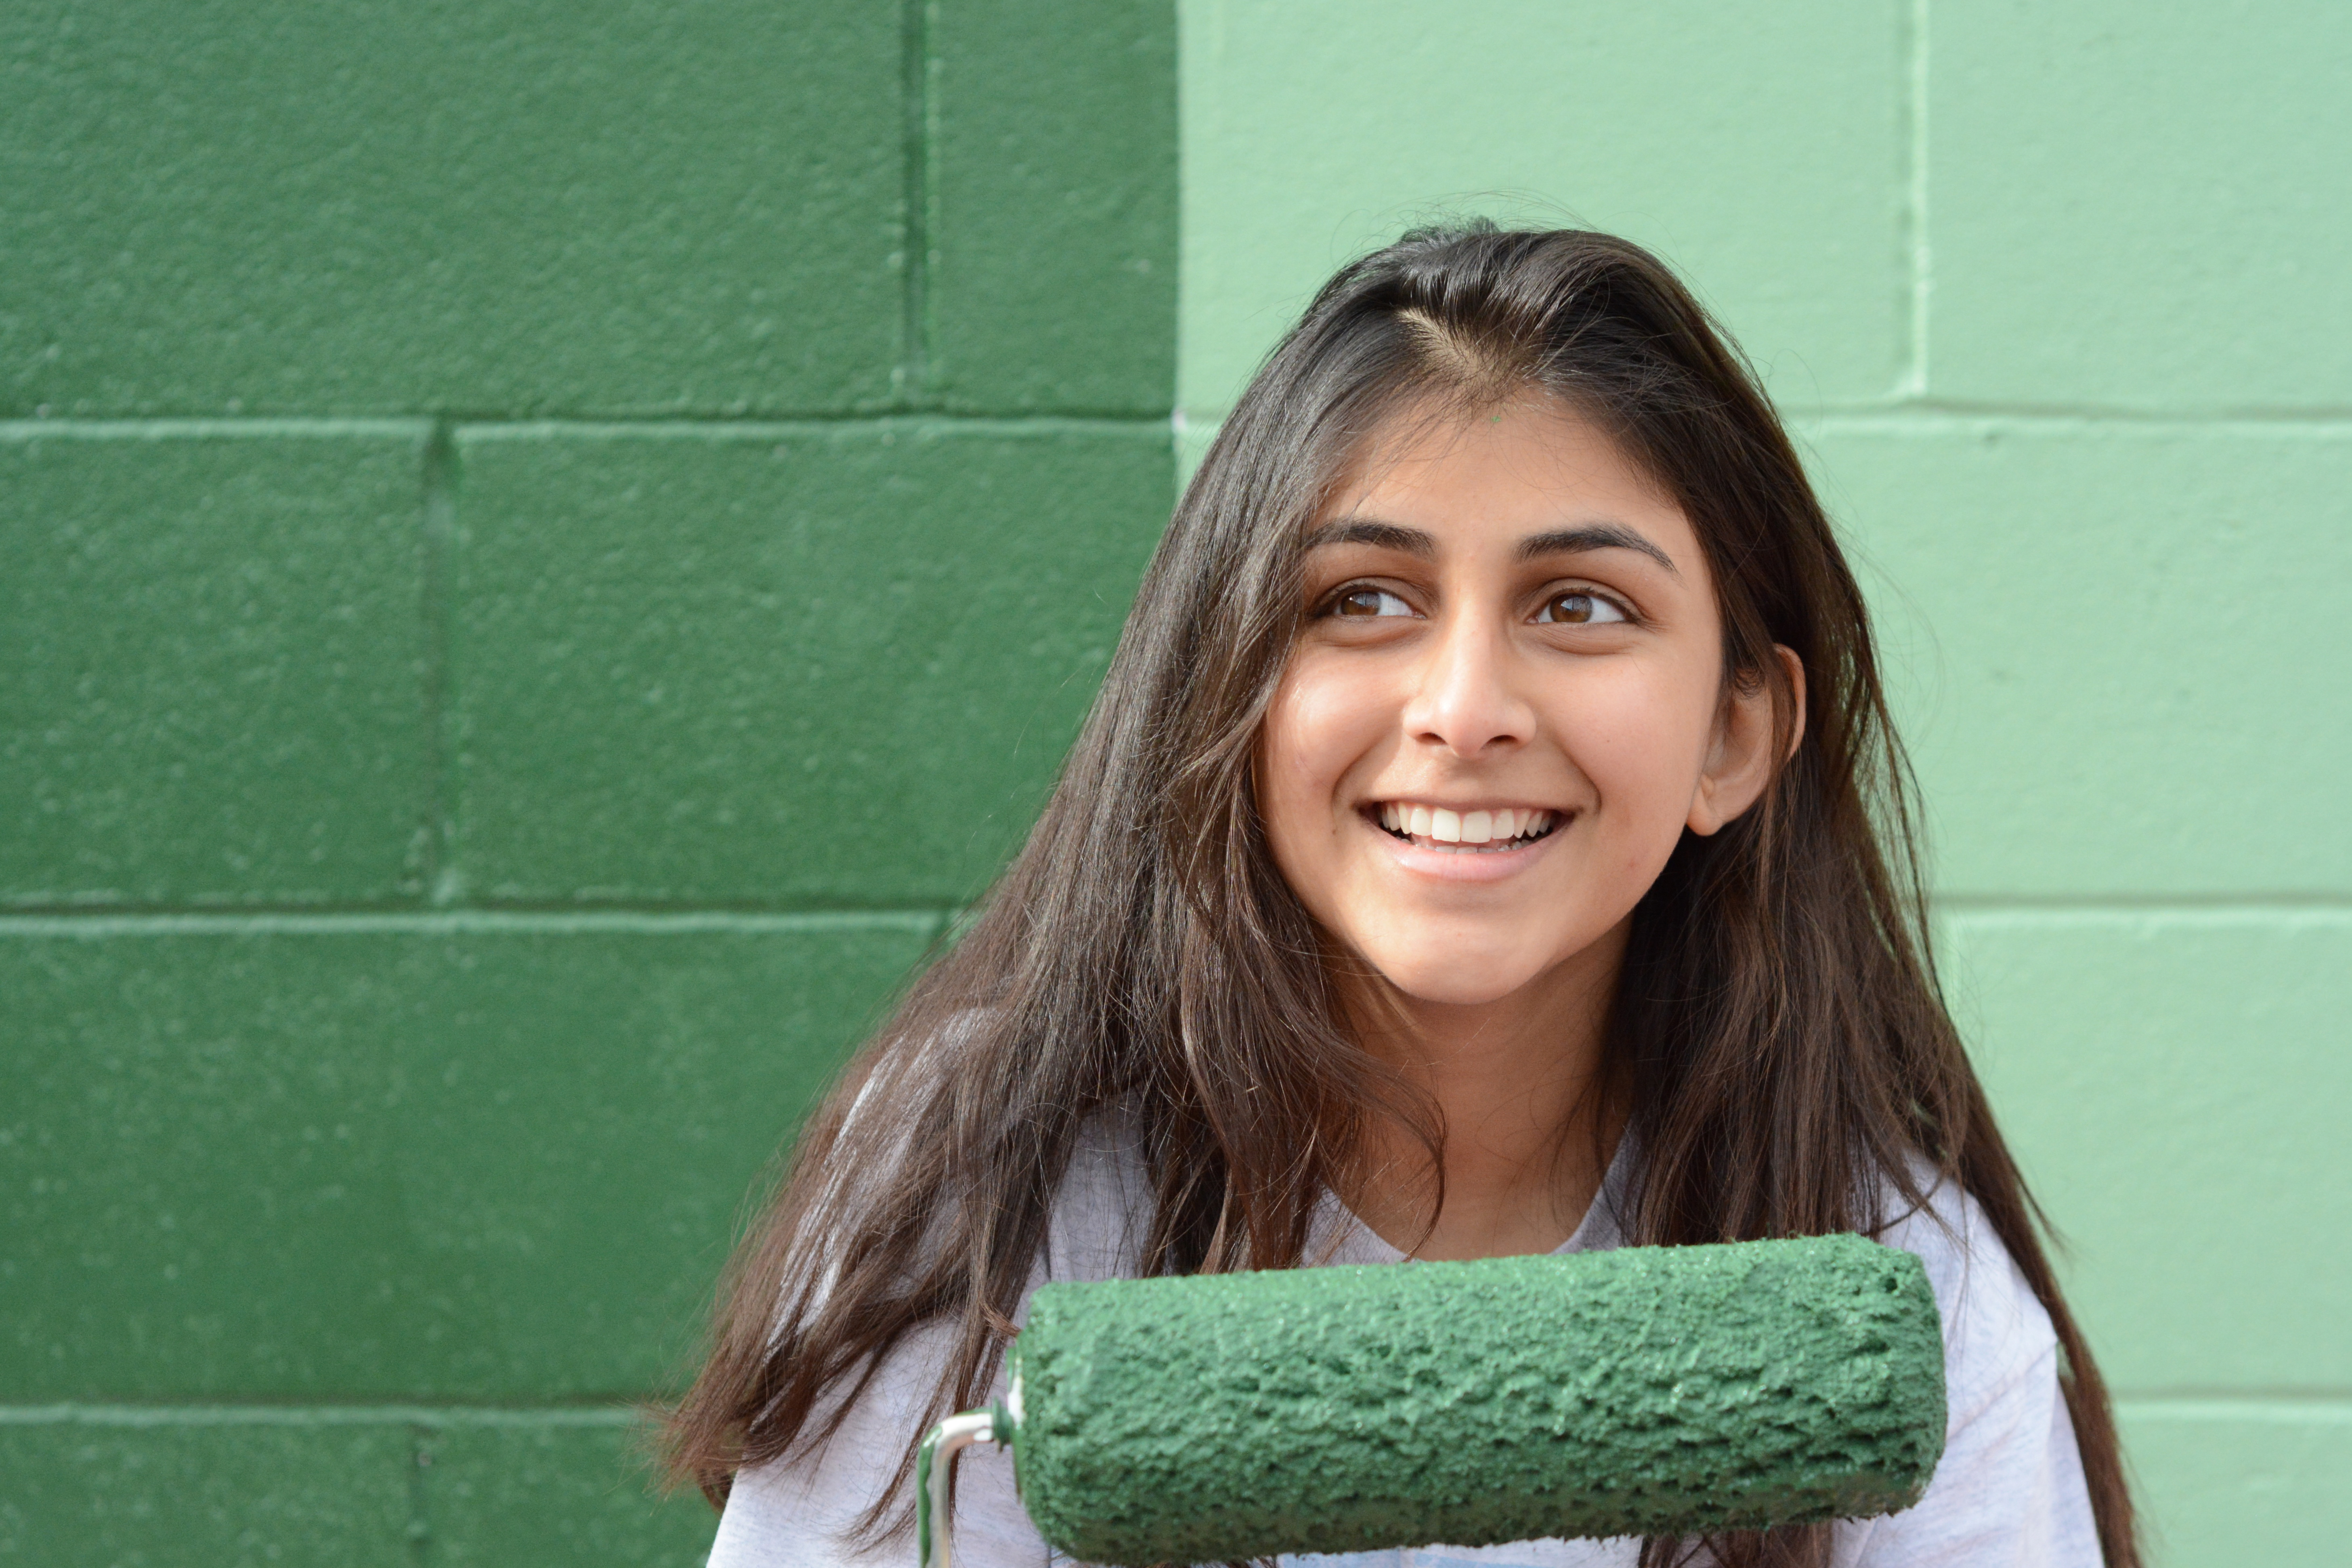
These kids were amazing! They worked so hard and did an excellent job. I’m a very picky painter and these kids were all about quality work. The taped, they rolled, they brushed and they cleaned. While is was work, it was also a really great day spent together. If you are in Bakersfield, be sure to stop by the wall and take a picture. It’s located in between 17th and 18th St. on N St. Use the hashtag, #chlorophyllwall, we want to see your pics. And now we are ready to take on another wall!
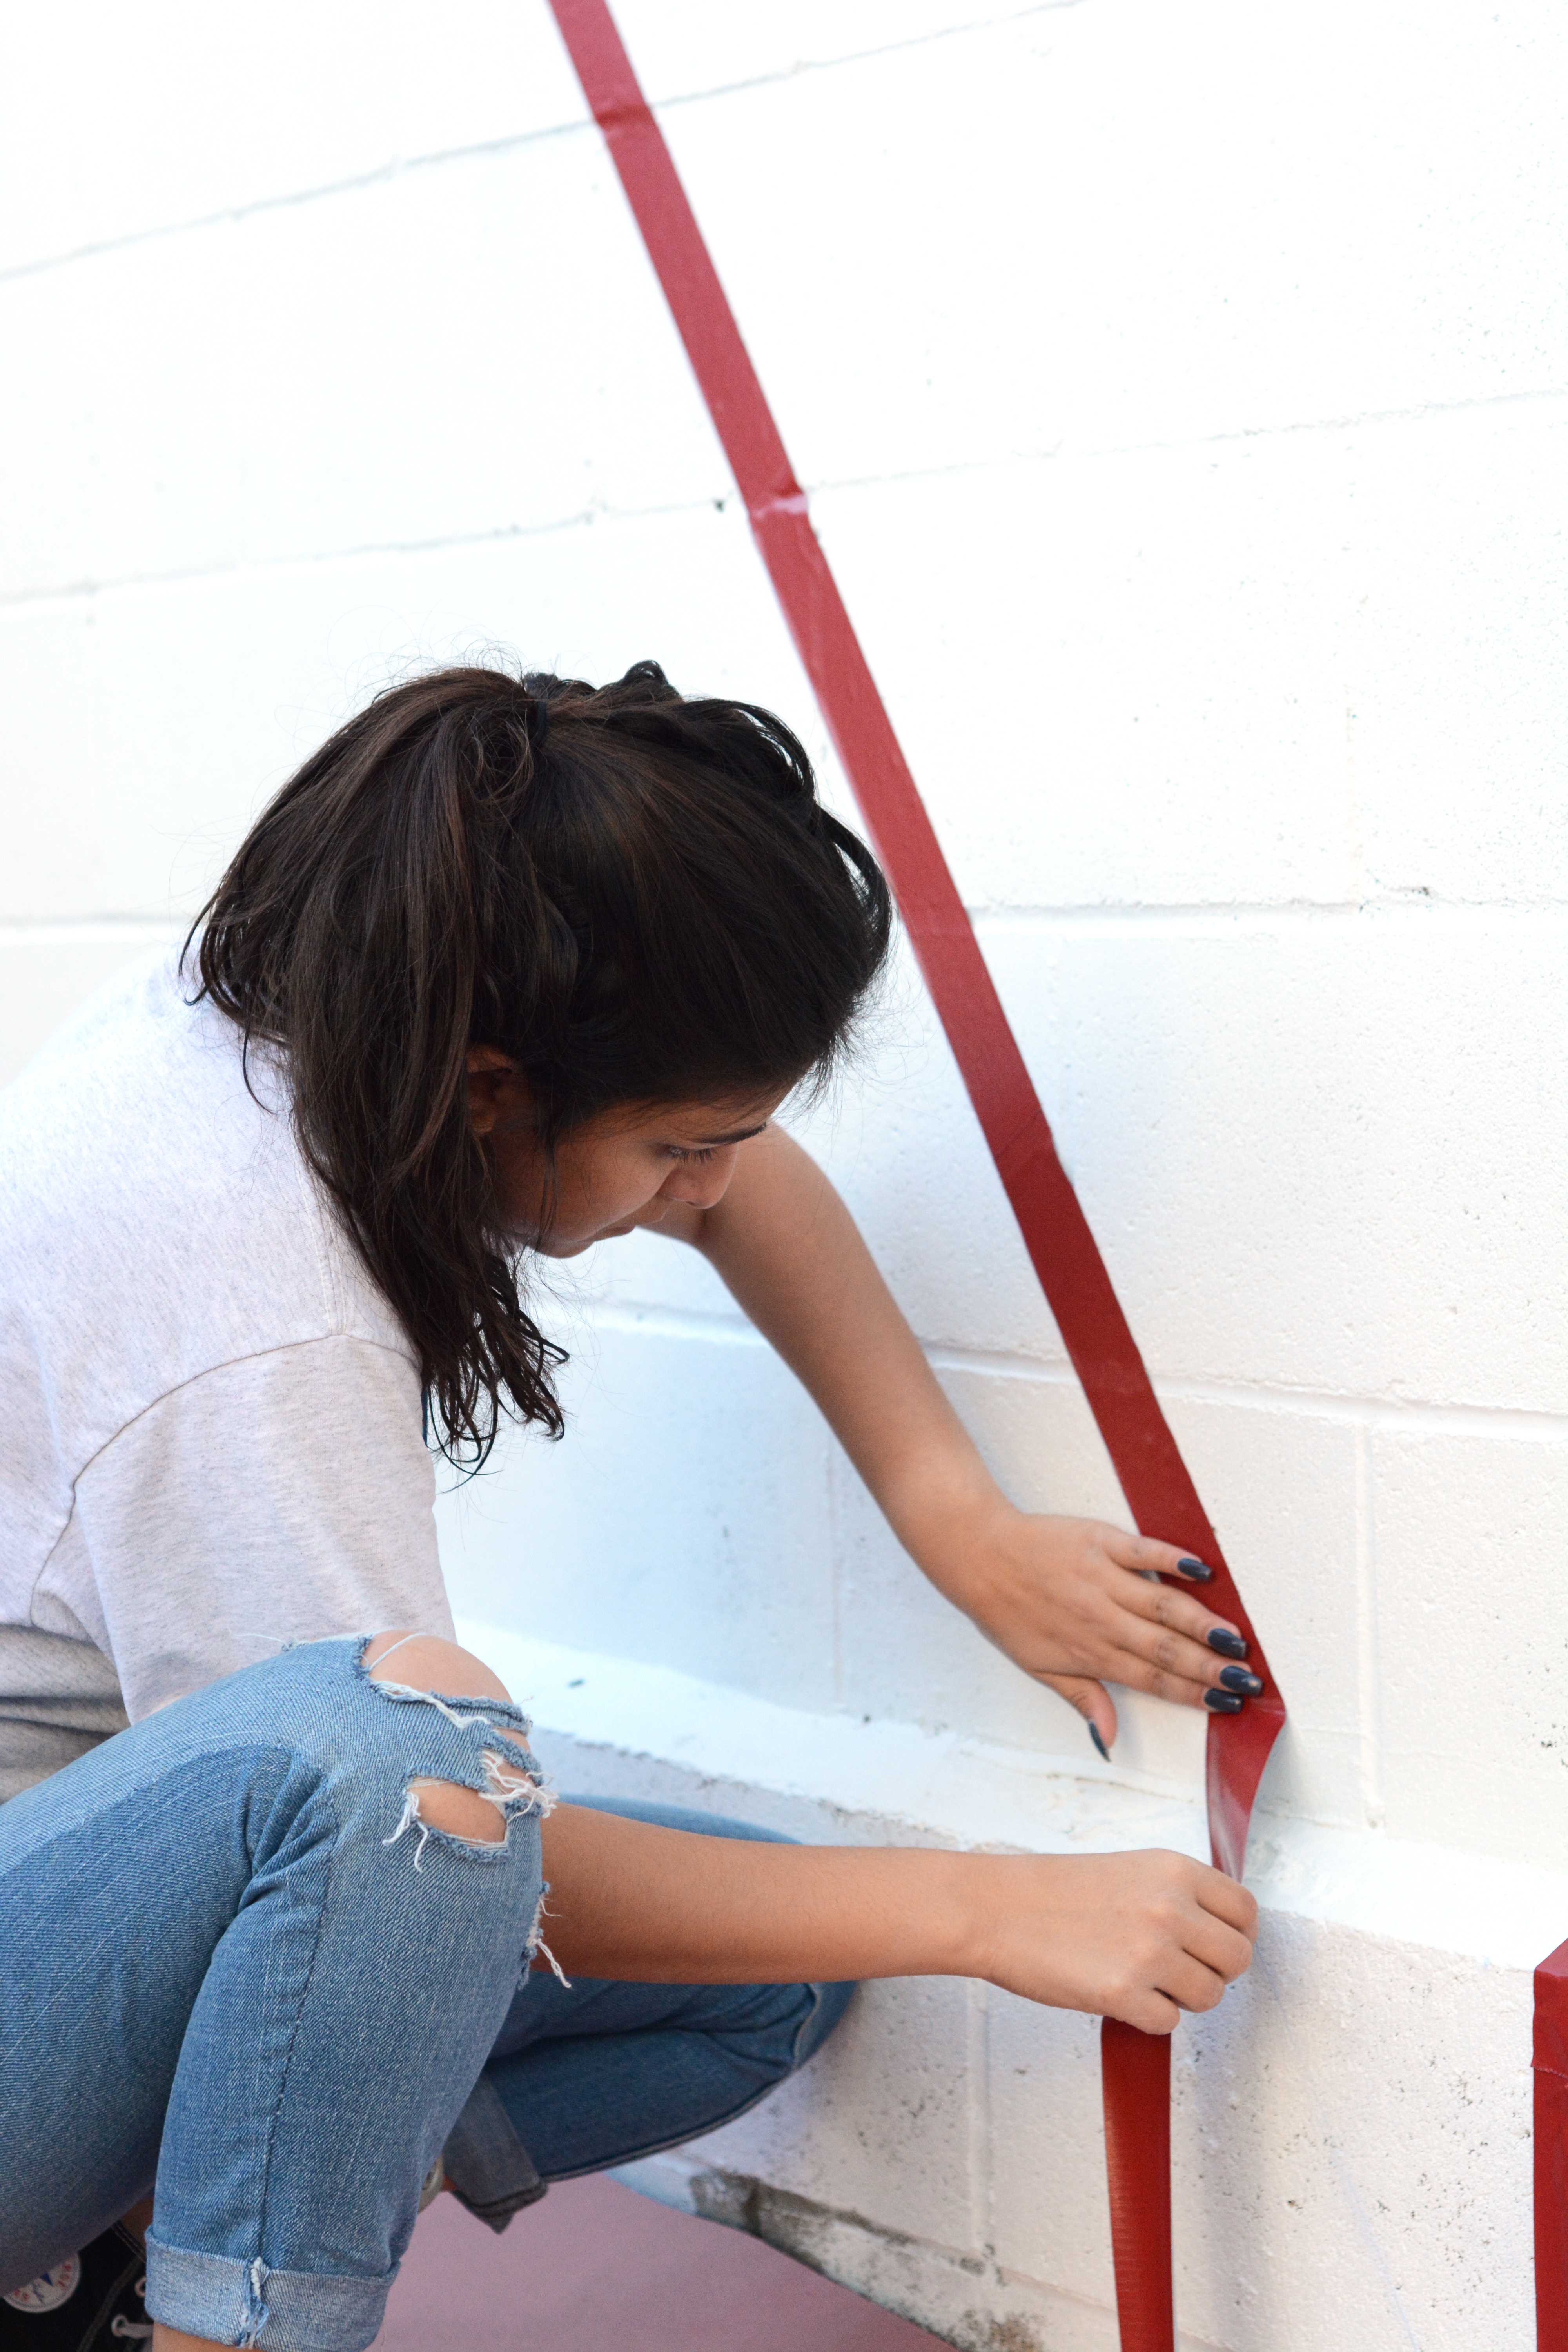
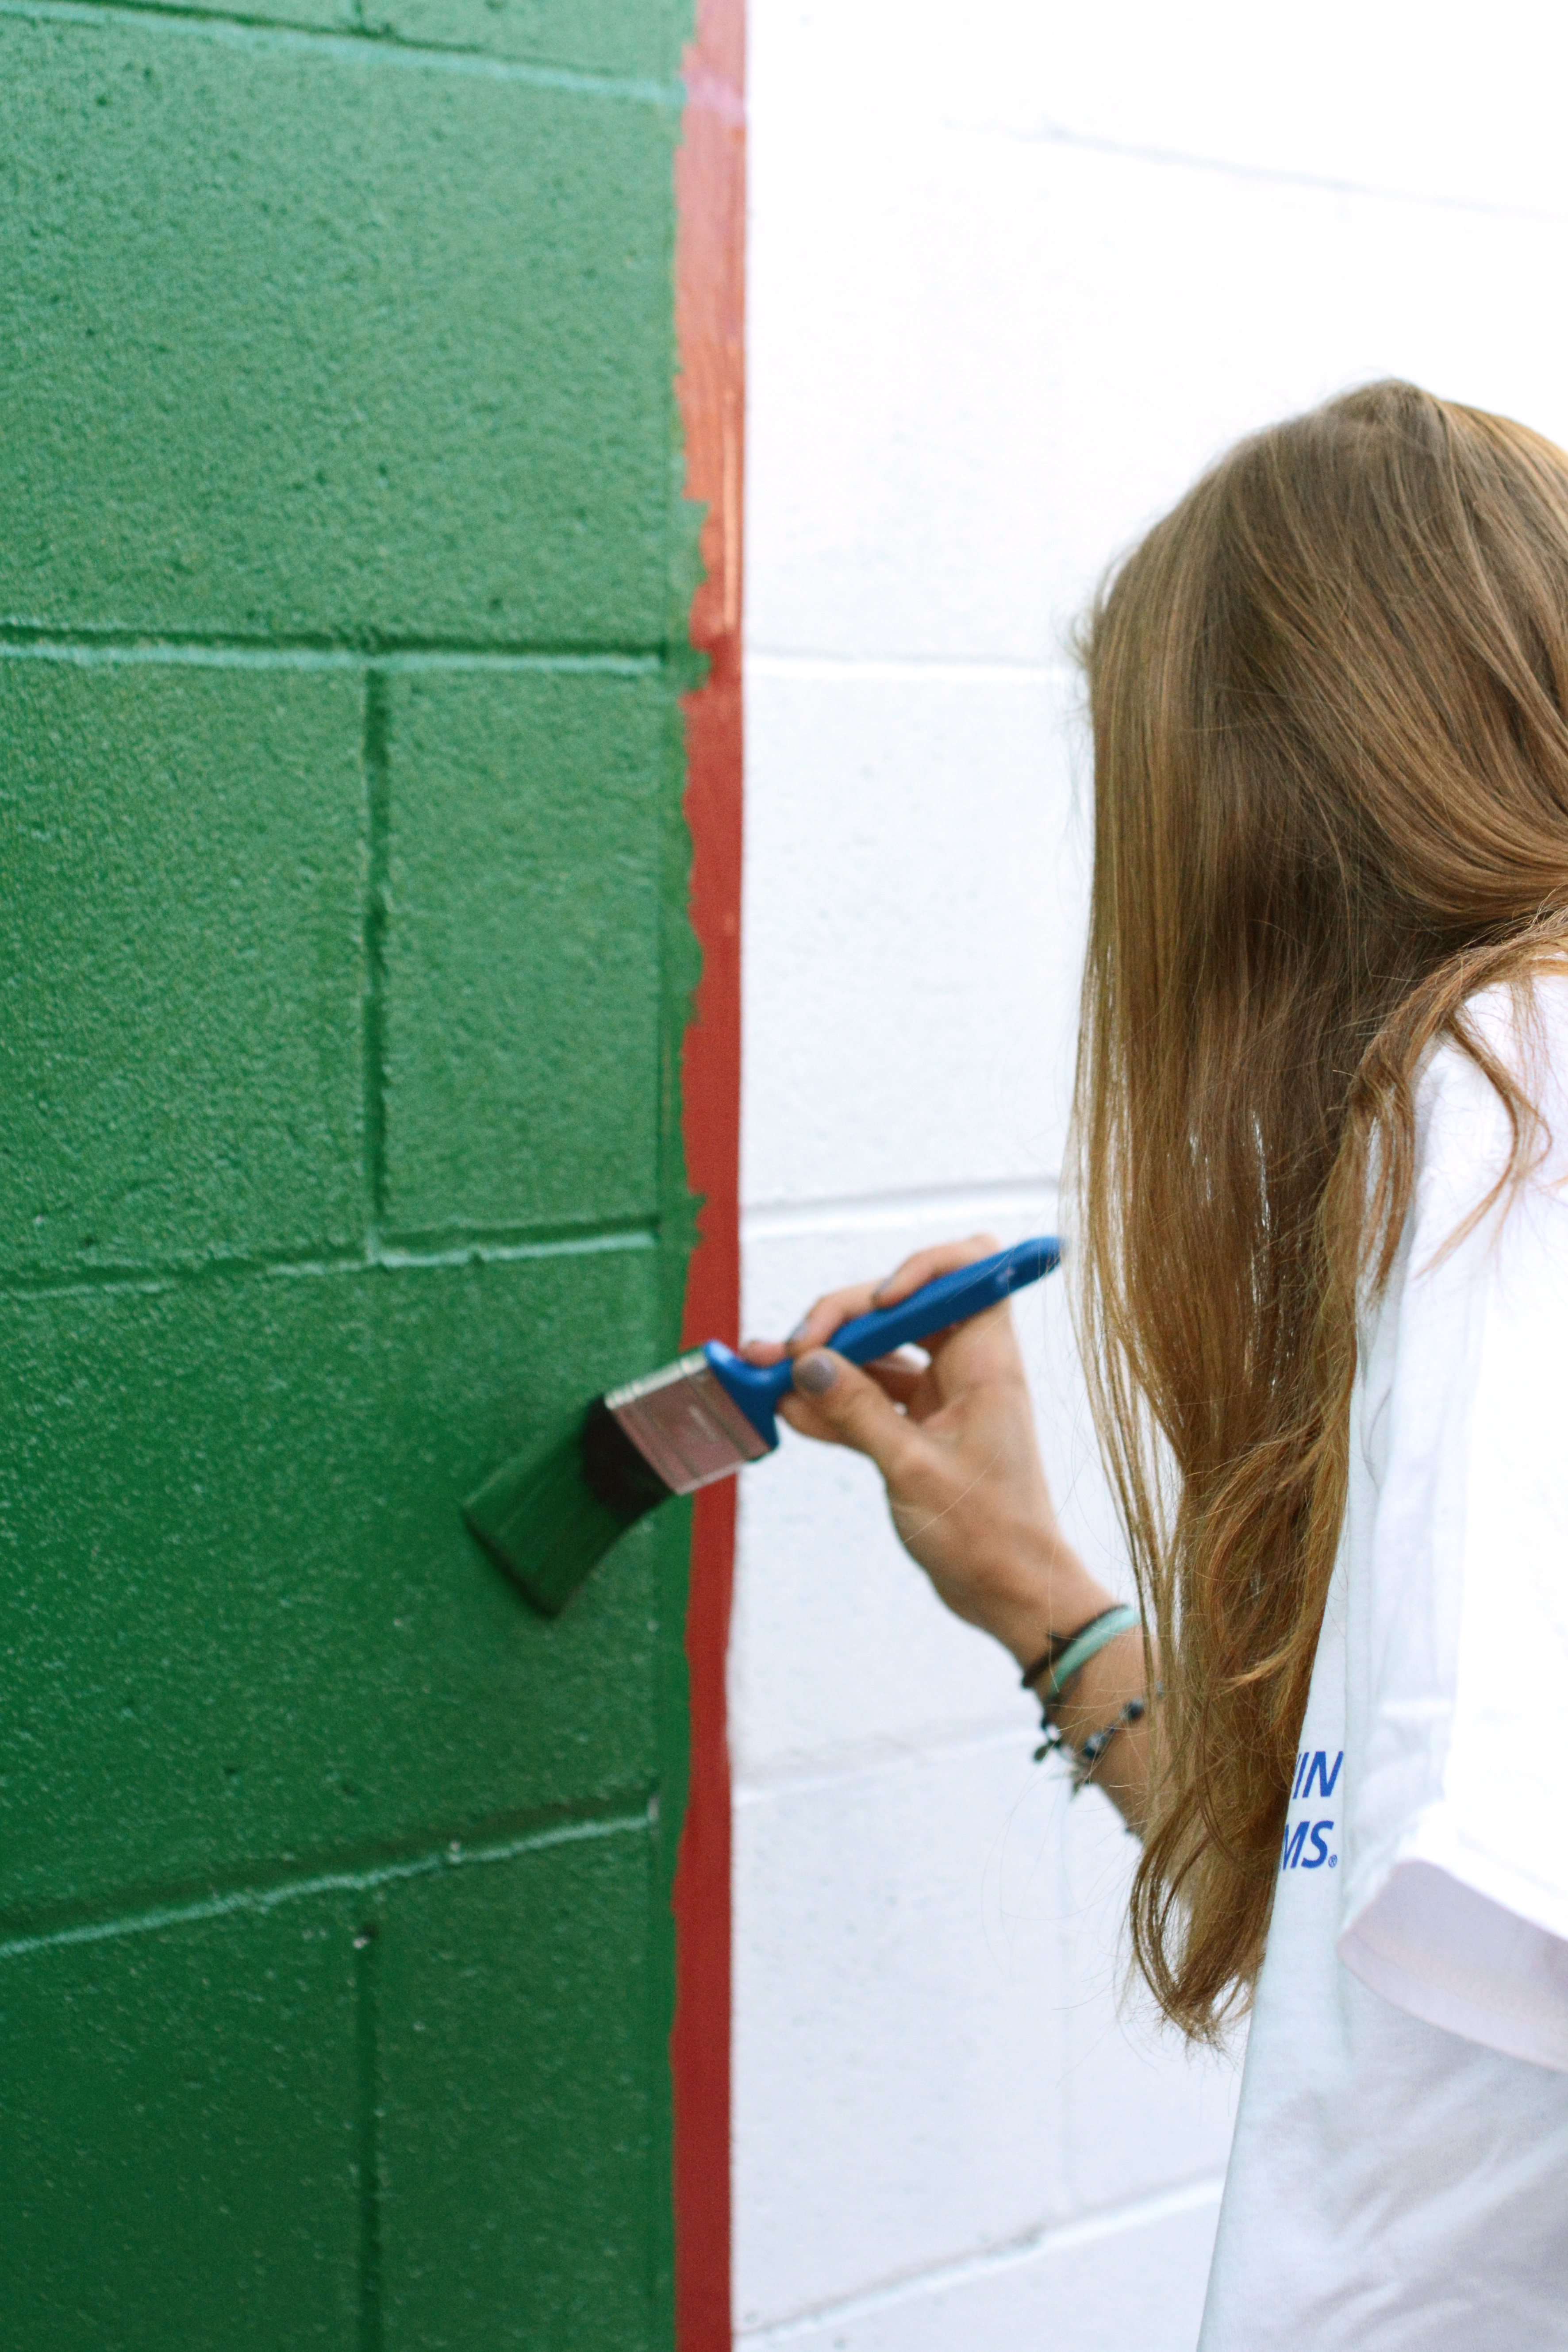
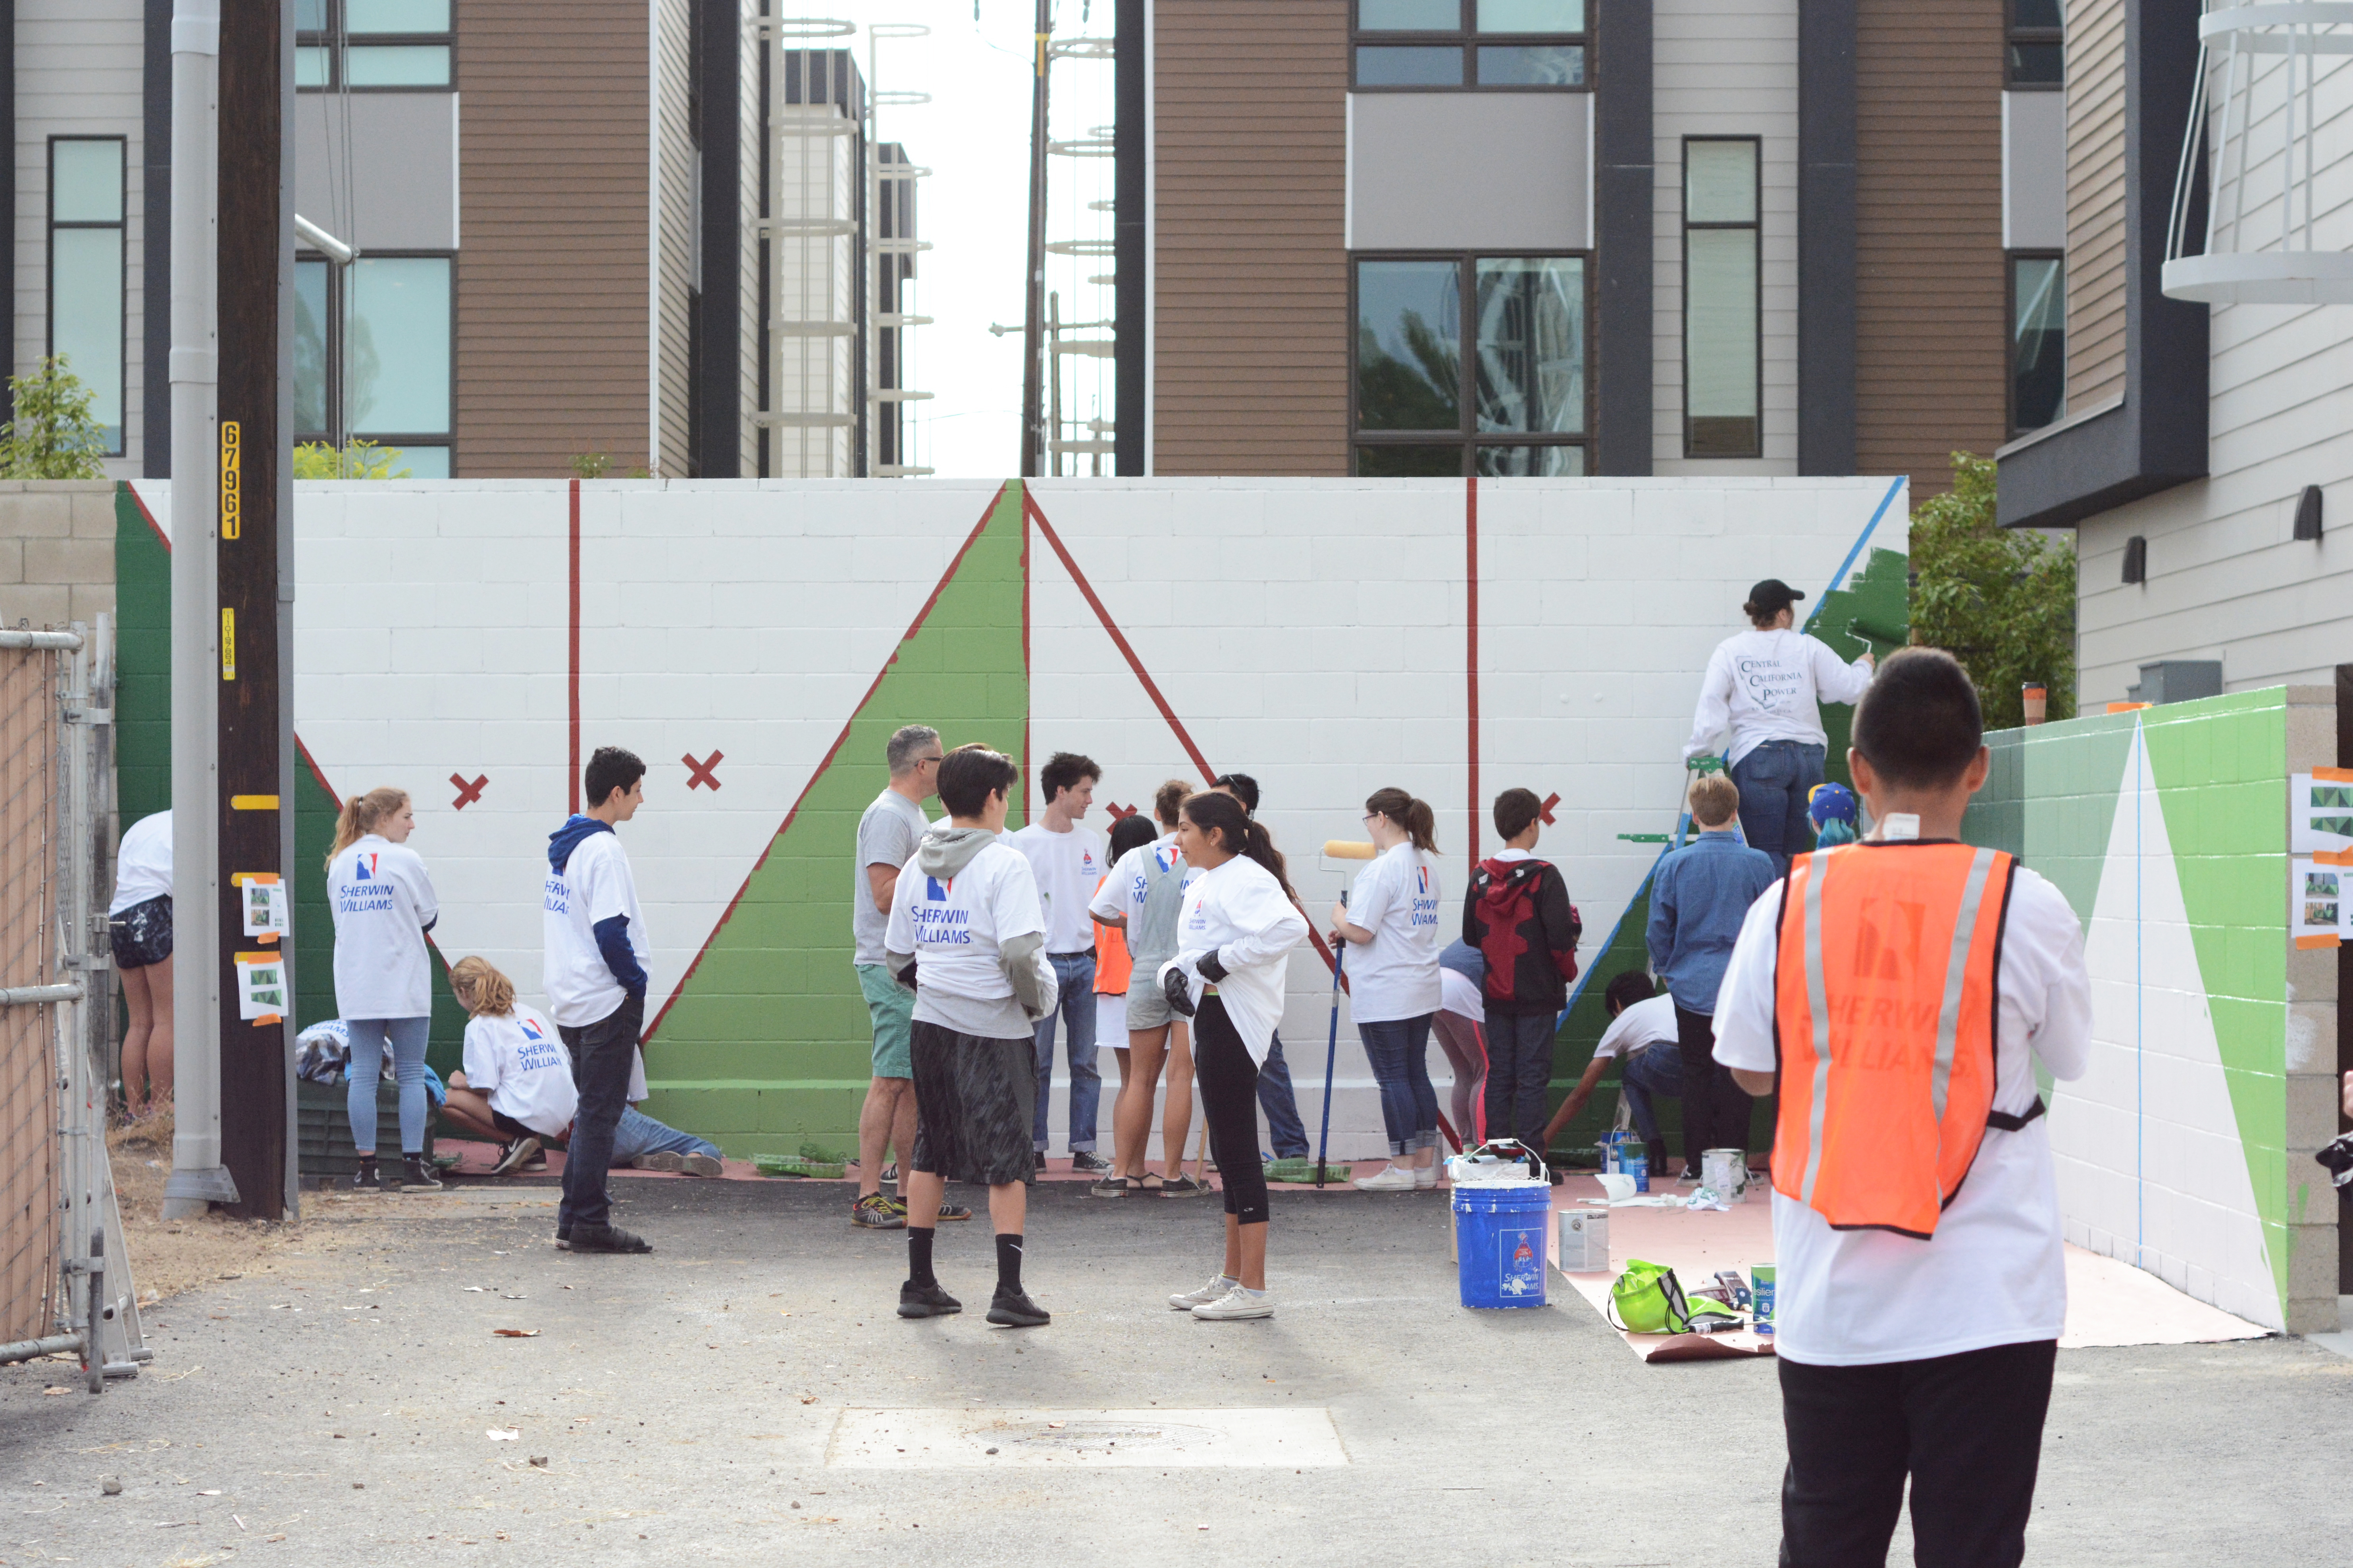
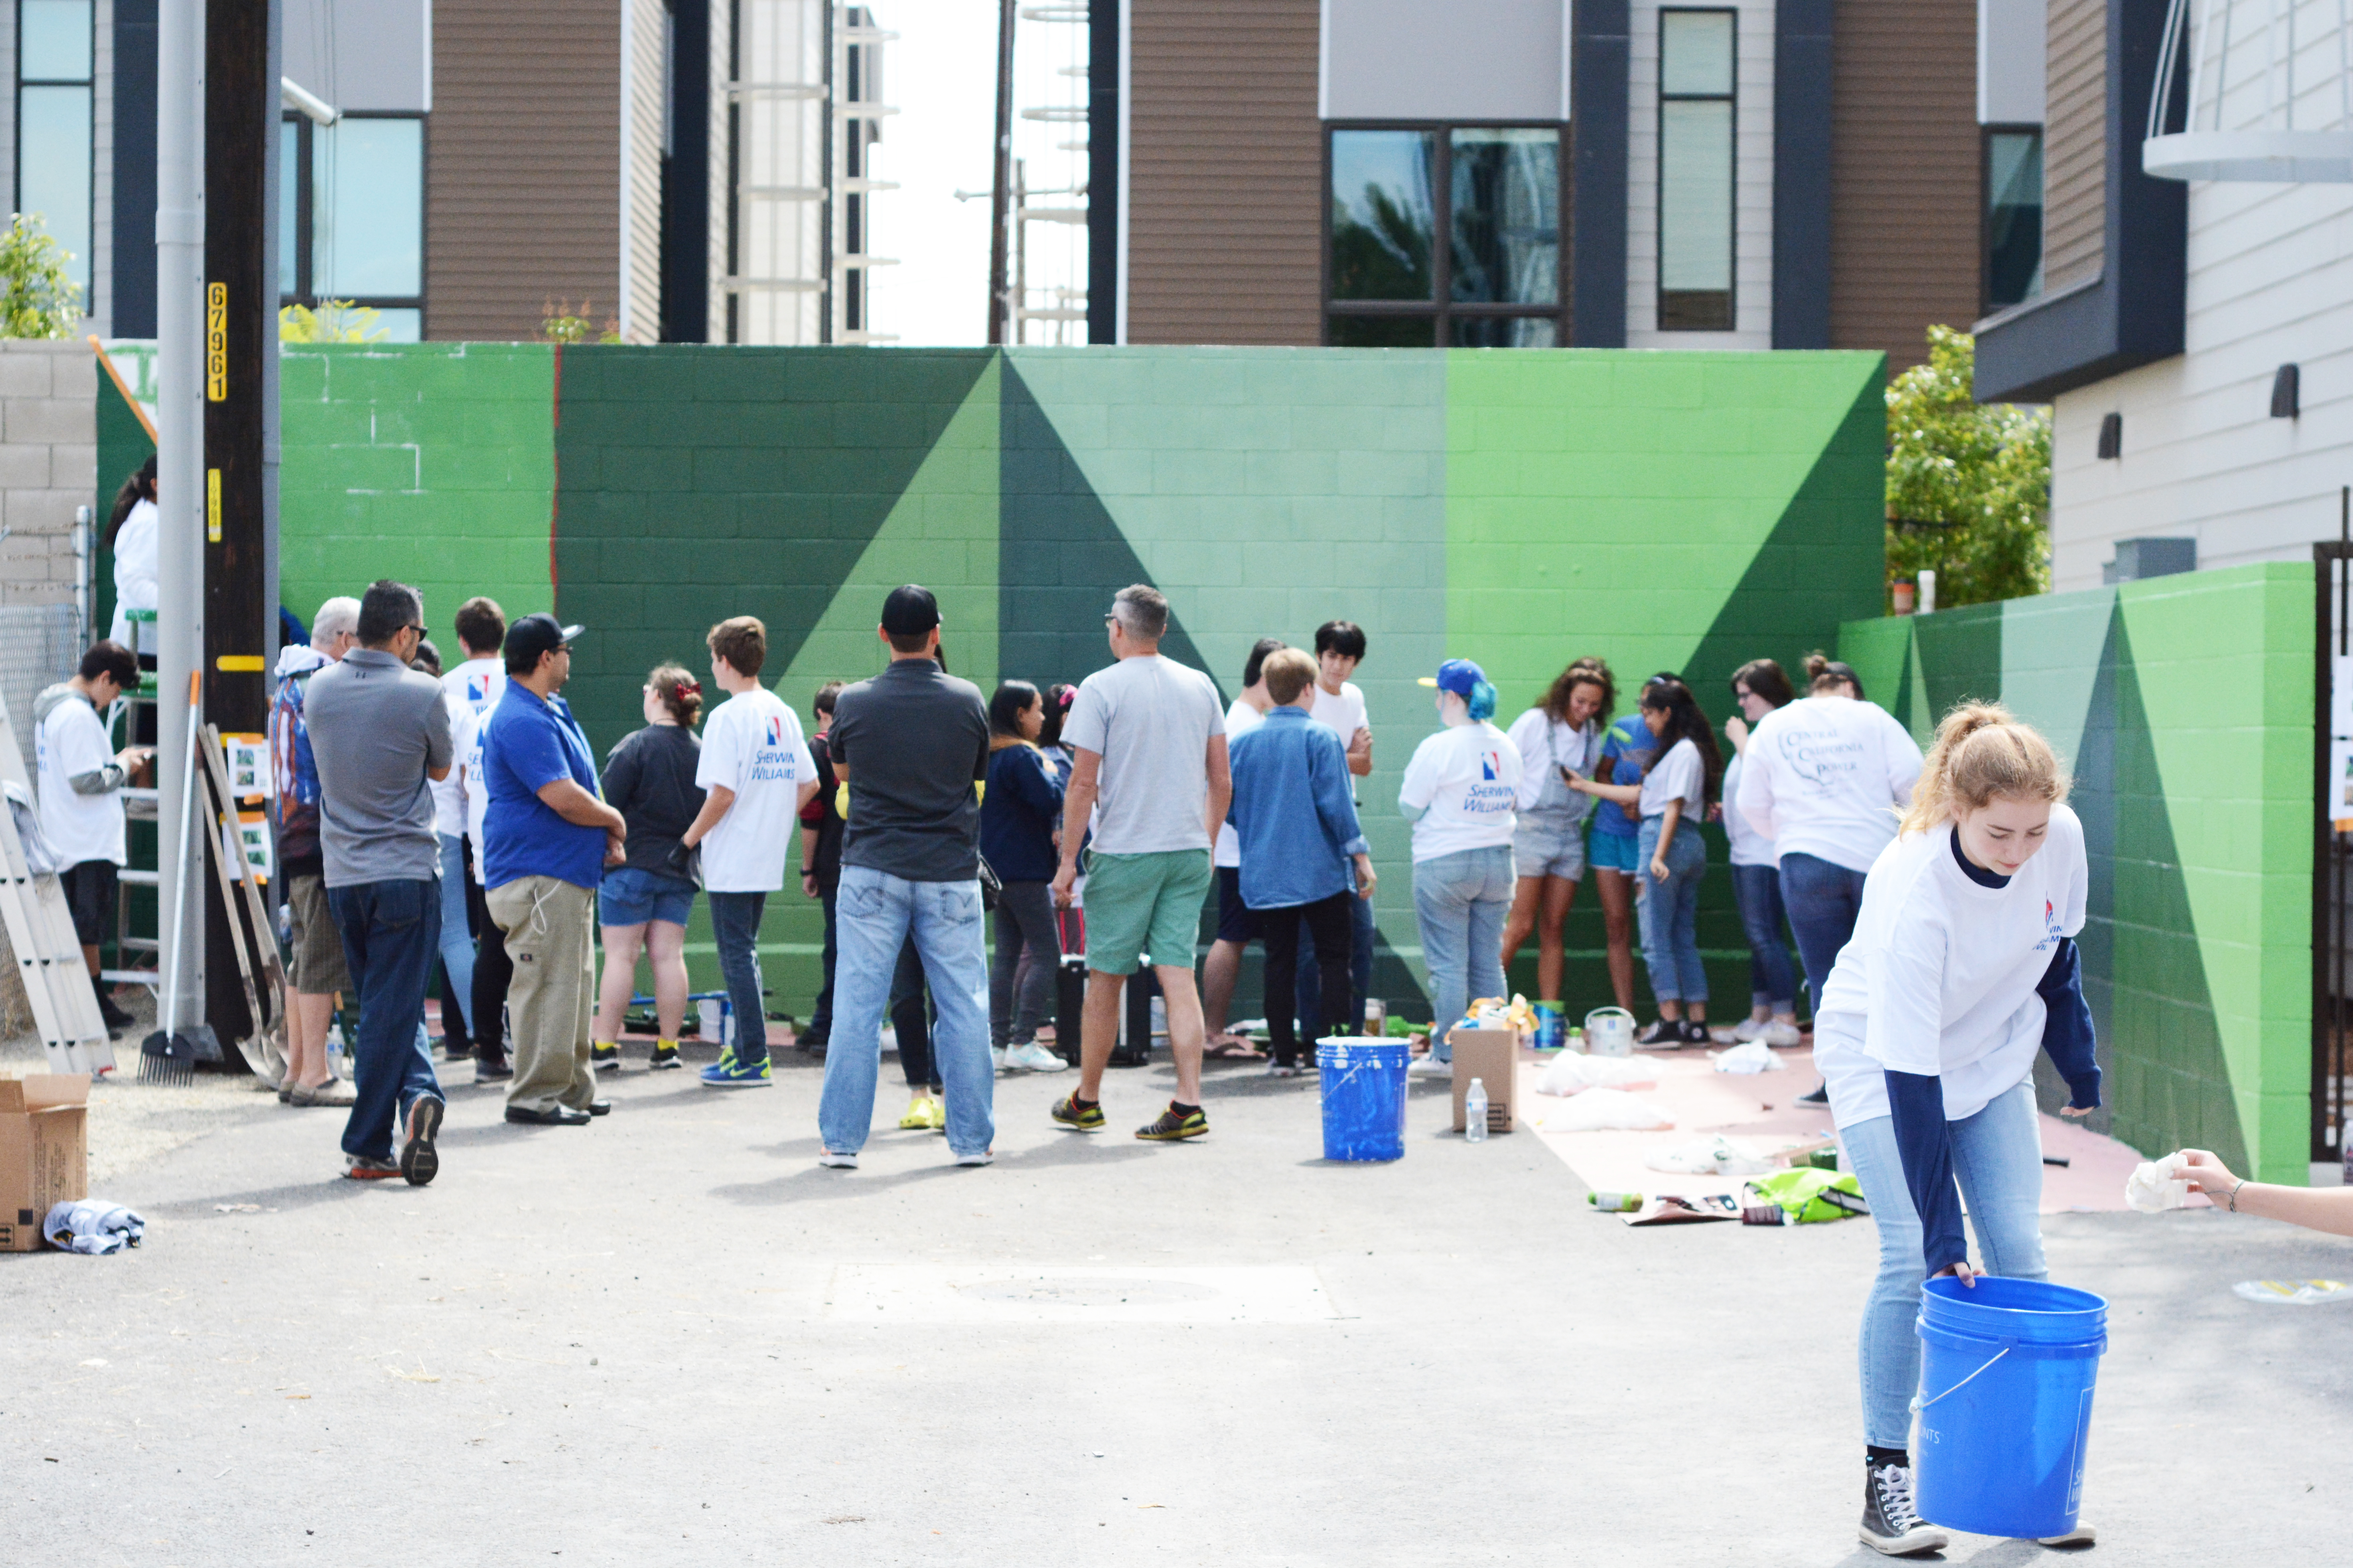

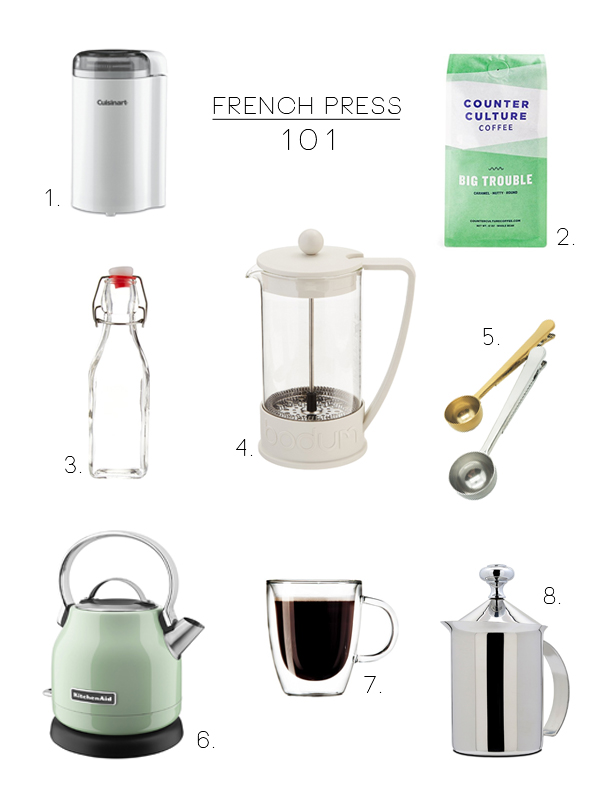
Photo Credit: Ally Swen Photography


Find / Food & Drink

How to Make French Press Coffee

May 17, 2017

There is a lot of debate on how the perfect cup of coffee is made. But, in my opinion french press might be the most accessible “good” cup of coffee out there. A french press is one of the least expensive coffee makers out there and I’m not sure if I’ve ever had a bad cup of coffee poured from one. So, here’s my “how to make french press coffee” guide.

There are a lot of instructions out there of how to use a french press properly. A lot of those guides require a timer and a scale. My process is a lot less technical and and a little more approachable. Like with any cooking or baking I do, a little experimenting is always apart of the process.

I’ve put together a little guide of all the things that you might need to make a great cup of coffee with a french press. Now, you definitely don’t NEED all of these items, but a lot of them are very helpful. The only item on guide that you have to, have to have is a french press. We can find substitutes for al the other items.

  1. Start by grinding your coffee. I always start with whole beans. I feel like the flavor of coffee immediately starts to change once the beans are ground. You coffee will taste so much better if you grind your beans right before you brew them. A coffee grinder is one of the first appliances I bought. I think I was in college and they usually cost around or less then $20 for a great basic grinder.
  2. Measure your coffee. This really comes down to personal preference. But, 1 tbsp. of fresh ground coffee to each cup of water is a good starting place. I LOVE strong coffee so I tend to add a couple more tablespoons of coffee to my french press.
  3. Put water on to boil. You definitely don’t need a fancy electric kettle, but they do make the job a little more hands off. Water can be boiled in a simple pot. Experts say that the water should be a very specific temperature for brewing coffee. My simple trick to knowing when the water is ready is to watch the water and just before it hits a rolling boil, that’s when you use the water. If it does hit a rolling boil, just let it sit a few minutes before adding it to the coffee.
  4. Add the water. Pour about 1 cup of water over the ground coffee. Allow it to sit for about 30 seconds and then stir it. Then add the remaining water. The brew time can vary. But 4 mins. is perfect brewing time as far as I’m concerned. Then press the plunger down.
  5. Serve the coffee immediately. If you leave it in the french press, the coffee will continue to brew. So either pour it in cups right away or store it in an insulated thermos till you are ready for a second cup.
  6. And if you want to take it to the next level. Sweeten your cup with a little simple syrup and top with warm frothed milk.

  1. Coffee Grinder – Once you have a french press, a coffee grinder should be next on your list. You’ll never want to buy ground coffee again.
  2. Whole Coffee Beans – Counter Culture is one of my favorite roasters. They source beans from small scale farms around the world.
  3. Simple Syrup Bottle – I make all my own syrups and don’t worry and simple syrup 101 is coming soon as well.
  4. Bodum French Press – this is the best of the best. I still use a Bodum that was my mom’s and she used it back in the 80’s. The best part of Bodum is that all the pars are replaceable, even the glass.
  5. Coffee Scoop + Bag Clip – these are so handy for both keeping your beans fresh in their bag and also for measuring out the coffee.
  6. Electric Kettle – I actually haven’t owned an electric kettle in years. But, they really are so handy. Maybe I’ll add this cute mint one to my Christmas list.
  7. Insulated Coffee Mugs – if your cup of joe isn’t piping hot, what’s the point? I also love that you can see your coffee through this mug. So much of drinking coffee is a ritual and experience, the right mug can make all the difference.
  8. Milk Frother – this is for taking your coffee enjoyment to the next level. When we lived in both Papua New Guinea and Yemen, I had one of these hand frothers and it worked so well.


etc.

Mother’s Day Flower Giveaway

May 10, 2017

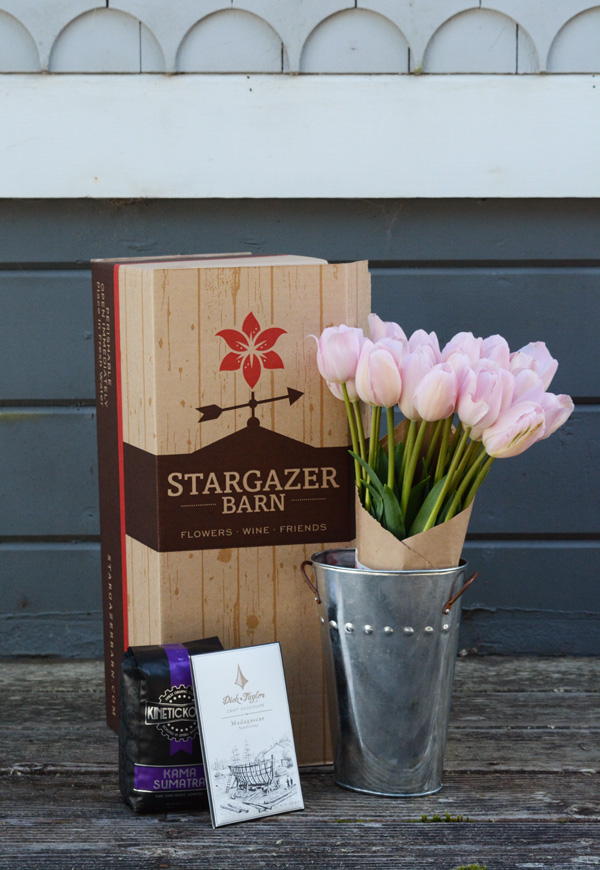
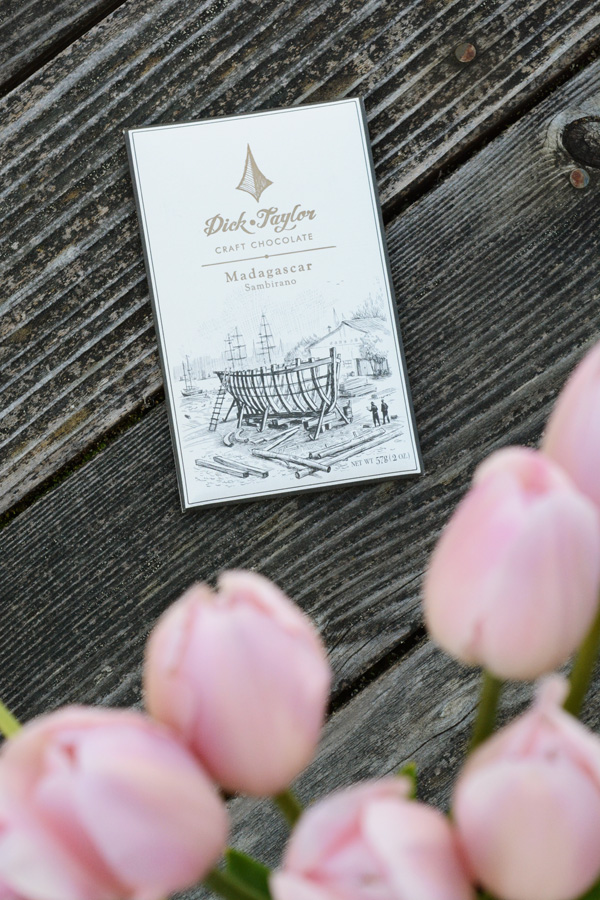
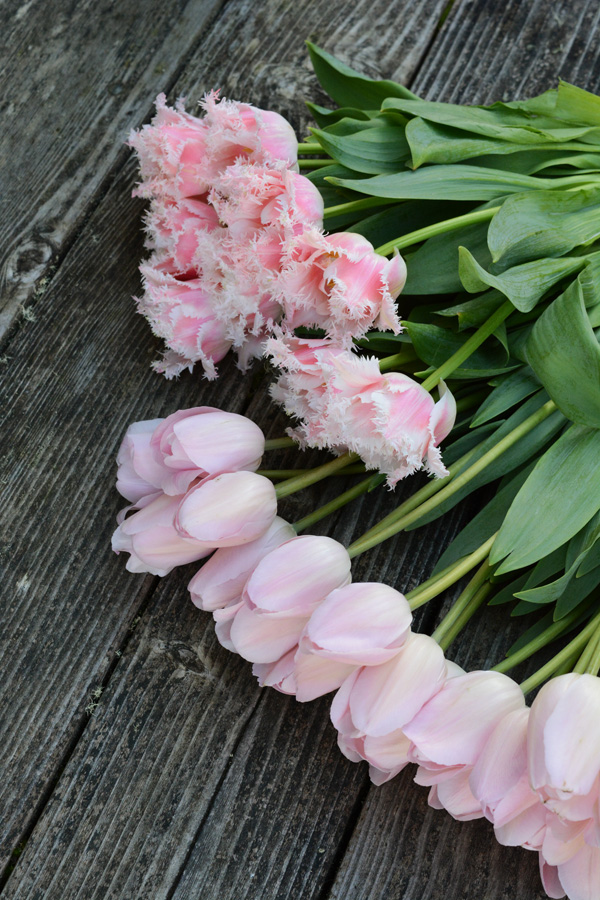
Today’s post is just a friendly reminder that Mother’s Day is just around the corner and maybe I can help you with a really pretty last minute gift idea. But first, head over to instagram and enter to win a really pretty bouquet of flowers to send to a special mom in your life. Over Easter break, while we in Northern California at my parent’s place, we got to visit and tour Stargazer Barn.  It was a super rainy, cold day, but we stayed dry walking through their huge green houses filled with tulips and lilies. These are American Grown flowers. Did you know that a lot of the flowers you buy at your local supermarket are shipped in from all over the world. Not only do they ship fresh flowers all over the country, but Stargazer Barn also delivers unique gifts paired with these gorgeous fresh flowers. They pair local artisan products with their lovely blooms for an perfect gift for someone you love. Wine, chocolate, coffee and even jewelry with fresh flowers – a match made in heaven. This gift set of tulips, chocolate and coffee is my favorite. Oh and these Queensland Tulips are AMAZING!Stargazer Barn has a special discount for Oleander + Palm readers. You can get 20% your total purchase from now till Mother’s Day with this code: FLWRS4MOM20. And be sure to head over to instagram and enter the GIVEAWAY! 
etc. / Food & Drink

Rosemary Shortbread with Strawberries, Ice Cream and a Balsamic Reduction

May 9, 2017

Rosemary Shortbread

Shortbread cookies have always had my heart. I love these little buttery treats so much. I also love to play with interesting flavor combinations. These herby cookies hit all the right notes for me. Earthy rosemary, paired with sweet strawberries and tangy balsamic reduction make for an unforgettable sundae.

Rosemary Shortbread

Rosemary Shortbread Cookies

  • 1 cup butter (room temperature)
  • 2/3 cup powdered sugar
  • 1 3/4 cup flour
  • 2 tbsp. finely chopped fresh rosemary
  • a pinch of salt

With an electric mixer, beat the butter on high for a minute. Add the powdered sugar and beat until smooth. Add the flour and salt and beat again until smooth. Add the rosemary a mix until it is incorporated evenly.

Wrap the dough in plastic wrap and refrigerate for at least one hour. Roll out the dough to 1/4″ thickness on a well floured surface. Cut out 1 inch by 3 inch rectangles. Prick the tops of the cookies with a fork. Place the cookies on parchment lined baking sheet. Place the cookies in the freezer for at least 30 mins. Preheat the oven to 350 F, bake the cookies until just golden brown on the edges, about 12 mins.

Rosemary Shortbread

Serve with vanilla bean ice cream, fresh strawberries and a drizzle of balsamic reduction. Balsamic reduction sounds super fancy, but it’s one of the easiest things to make. Simply bring 1/2 cup of good balsamic vinegar to a boil and then reduce to a simmer. Simmer until the vinegar reduces to 1/4 cup of liquid. Allow to cool completely and you have a rich, think sauce to serve with meat, veggies or in this case – ICE CREAM!

Rosemary Shortbread

etc.

The Week’s End

May 5, 2017

These are just a couple pictures from my camping trip to Joshua Tree National Park last week. The Cholla Garden was still blooming. It’s are really cool place to visit and feels a little like you are on another planet. If you’ve never visited Joshua Tree, you are missing out. It’s my favorite National Park. And I didn’t even know I was a desert girl.

Happy Cinco de Mayo! Well that was a week. This is a fast, super productive week. This weekend we are hosting a church potluck, so of course I have a bunch of things I want to finally finish around the house. Probably only about a 1/3 of the list will get accomplished, but that’s ok. I stripped some wallpaper up stairs this week. I patched the wall already, so before today is over, I really wall to sand the wall and get it painted. I have this huge round mirror that I bought before we moved into the house and it still hasn’t been hung up yet. So, that is priority # 1!

And now, here’s my recommendations for blog reading this weekend. You guys, there’s some good stuff out there:
Happy Weekend Friends!

Find

Summer Swim + Sun Skin Savers

May 3, 2017

Summer Swim + Sun Skin SaversCactus Pool Float

Well, Summer is here in California. Yesterday we hit 95 F and today is supposed to be triple digits. So, shorts and sandals are definitely out and the thought of putting on a swim suit in public has been giving me hives. I was I’ve kind of been in an exercise rut. To change things up a bit, I’ve been swimming laps at our local community pool. The gym definitely wasn’t fun and running was really bothering my joints. I love swimming and kind of forgot that I did. Now, I look forward to my workouts. Imagine that!  Lonnie has even been getting up with me a few mornings a week and we’ve been swimming at 5:30 am together. I’m about 3 weeks in and I feel like I’m getting a great workout and my joints aren’t complaining at all.

The only downside is the sun and water draining all the moisture out of my hair and skin. So, I’ve had to up my skin and hair routine. I’ve found a few things that are really helping, so I thought I’d share some of my favorites for Summer Swim + Sun Skin Savers.  I’m definitely not a beauty blogger, just a real person with fair, sensitive, and kind of old-ladyish skin. And in true O+P style, these products are all very easy on the budget and almost all of them can be found at Target (because you know that’s the only place I go).

Summer Swim and Sun Skin Savers

  1. Conditioning Hair Mask – Not only is the packaging pretty, this hair mask smells so good. I use it at least once a week to help with the pool hair situation.
  2. Body Scrub – If you want to feel as soft as a baby’s bottom, definitely use this all over your body.
  3. Facial Oil – Summer of the Girls with Glasses introduced me to this. I don’t ever use lotion now. I LOVE this oil so much.
  4. Foot Mask – My sister in law gave me one of these for Christmas and oh my do they work well. I live in my Birkenstocks and flip-flops – so dry heals happen. You won’t believe how great your feet look and feel after using this mask.
  5. SPF Lip Balm – Definitely a winner and so many great flavors.
  6. Body Brush – Exfoliate exfoliate exfoliate!!!! It’s the name of the game when you are dealing with dry skin. I use a soft brush like this in the shower almost daily to help get rid of dead skin.
  7. Body Oil – I just started using this last week and I love it! I have very dry skin and I spray this all over my body when I get out of the shower. It smells sweet and soft and doesn’t compete with my perfume. And it moisturizes so much better then just lotion.
  8. Oil Free Sunscreen – This is my go-to! As a redhead, I’ve tried all the suncreens, believe me. Hawaiian Tropics is oil free and doesn’t feel plastered on and sticky. I even wear this on my face and my very sensitive skin loves it. It also smells the way Summer should smell – a hint of coconut.

Do you have any go-to skin and hair products that I should be trying? I love a good “real person” recommendation.

This post contains affiliate links, but these really are all great products that I 100% use and recommend. 


Design

Sage Green Walls

May 2, 2017

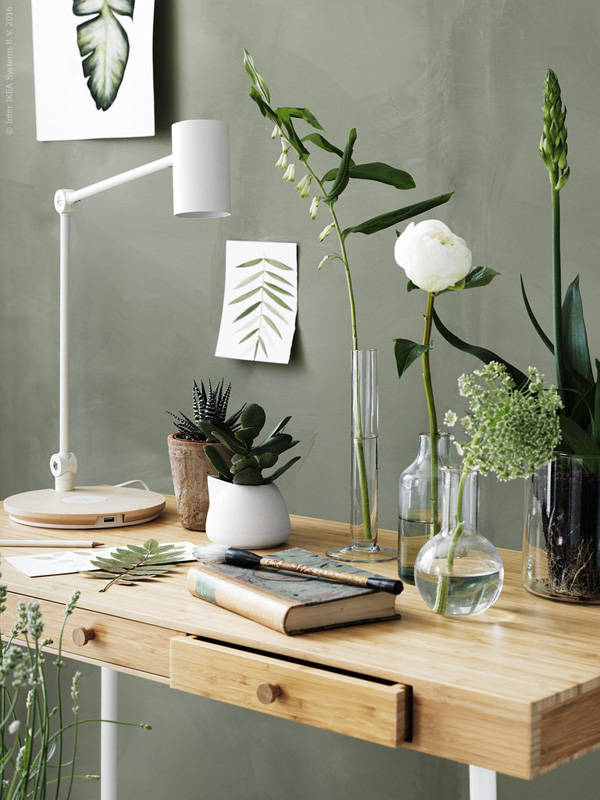
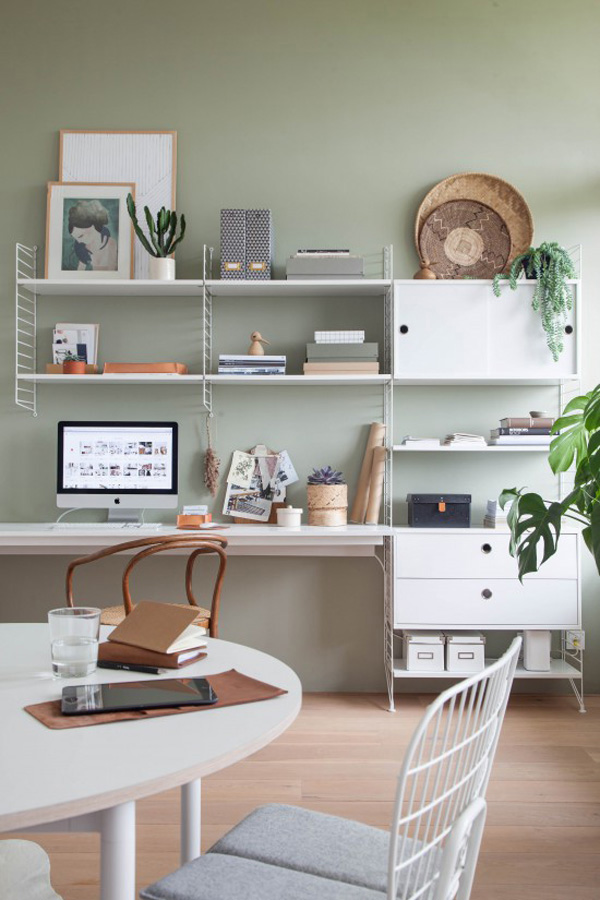
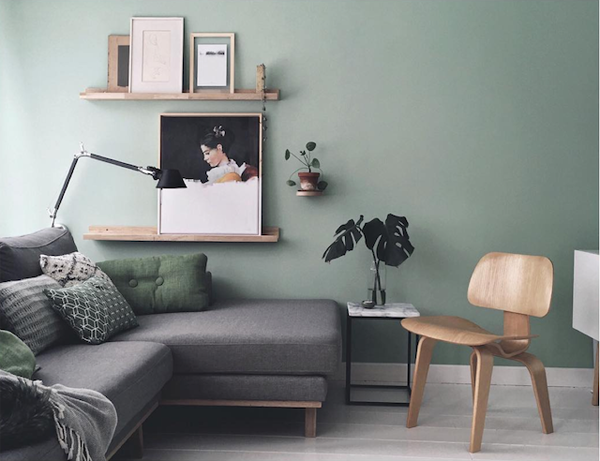
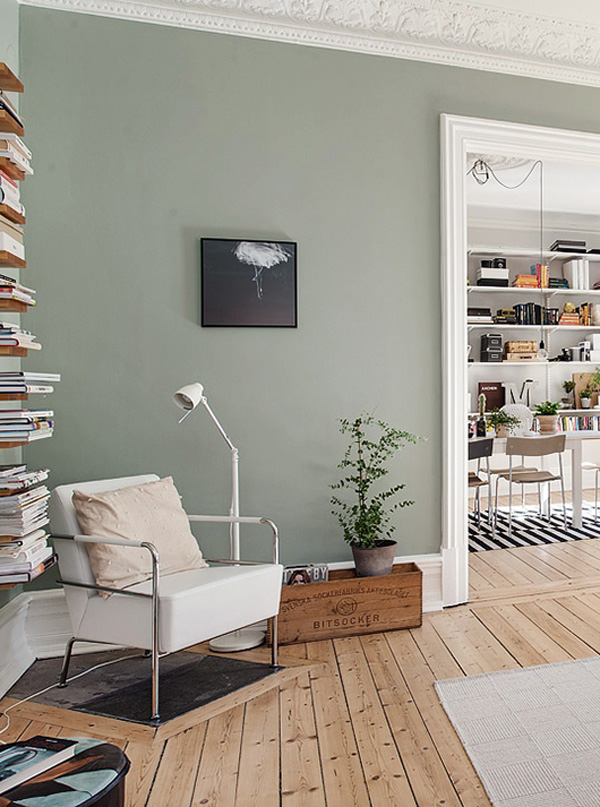
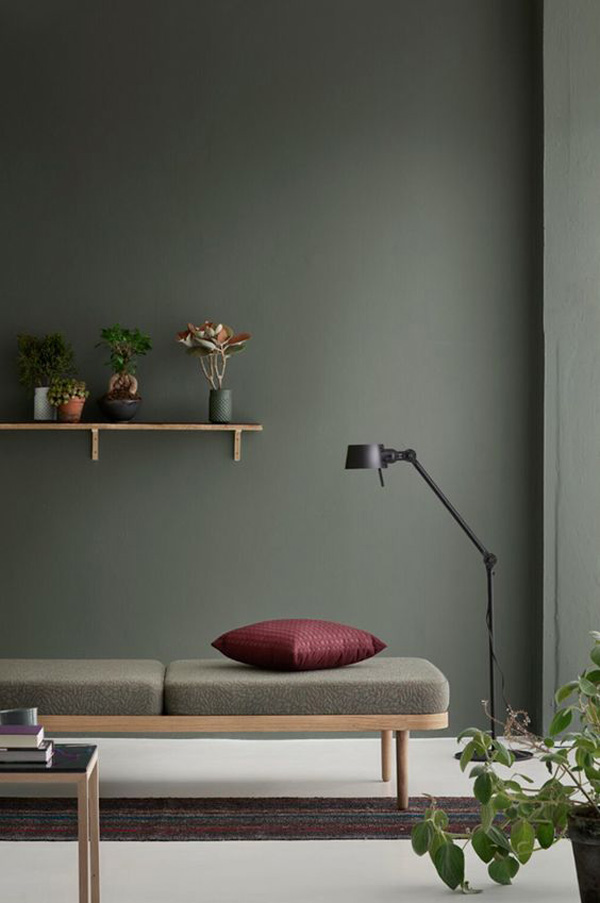
After visiting Sweden last month, I’m definitely convinced that it is ok to bring back sage green. I saw this calm, cool, soft tone in a lot of homes and restaurants. It’s definitely a throw-back color for me and I’m sure many of you. My brides maid’s dresses were sage green in 1998 and our first house had lots of sage green walls.

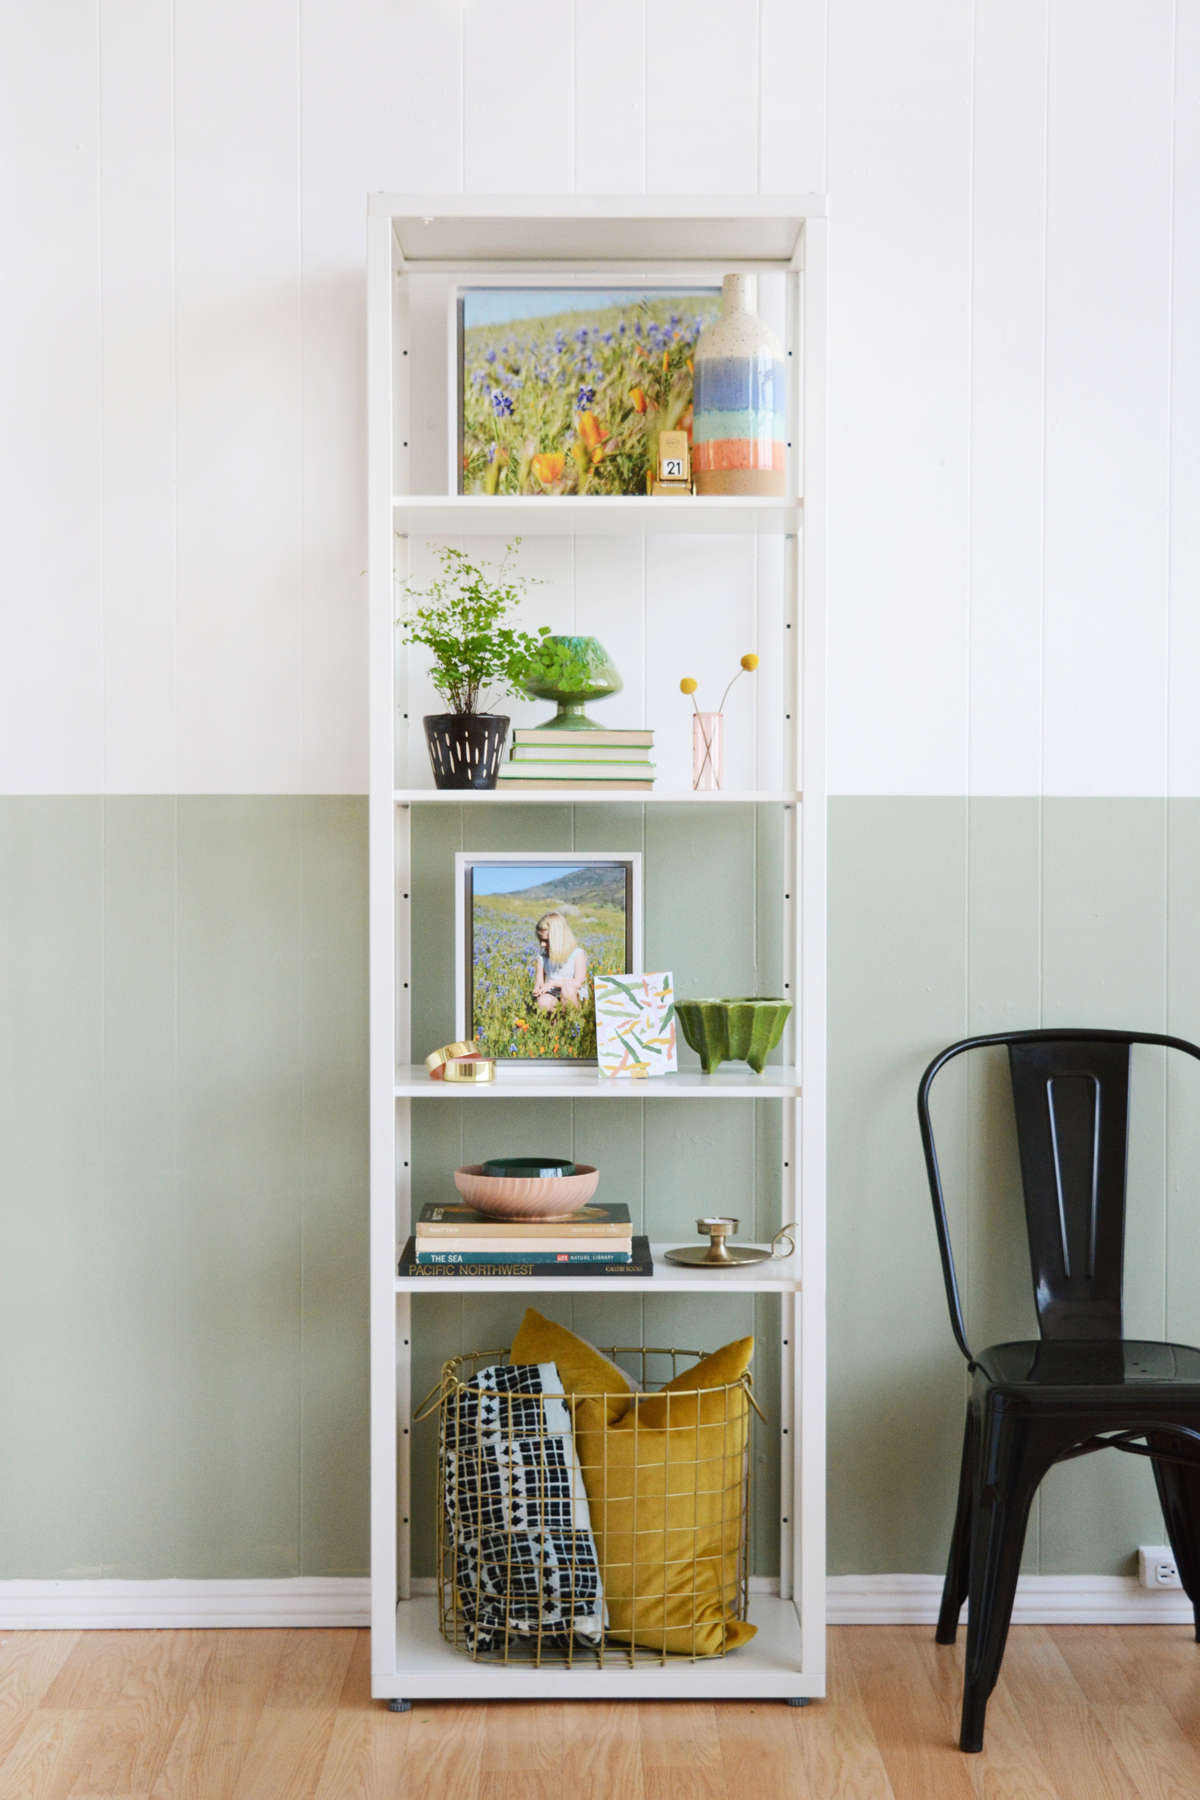
It’s really such a great color. I consider it almost a neutral. It’s subtle and not overpowering at all. And it looks great with so many other colors. I recently painted a half wall in my studio, and I really love how it came out. I’m trying to decide which room in our house would look good with sage green walls. Maybe the powder room is a good place to start.

I did a little pinterest search and found some really great rooms that use sage green in a fun modern way and don’t feel too 1998. No surprise at all, a lot of these rooms are from Scandinavian homes.

Sage Green Paint

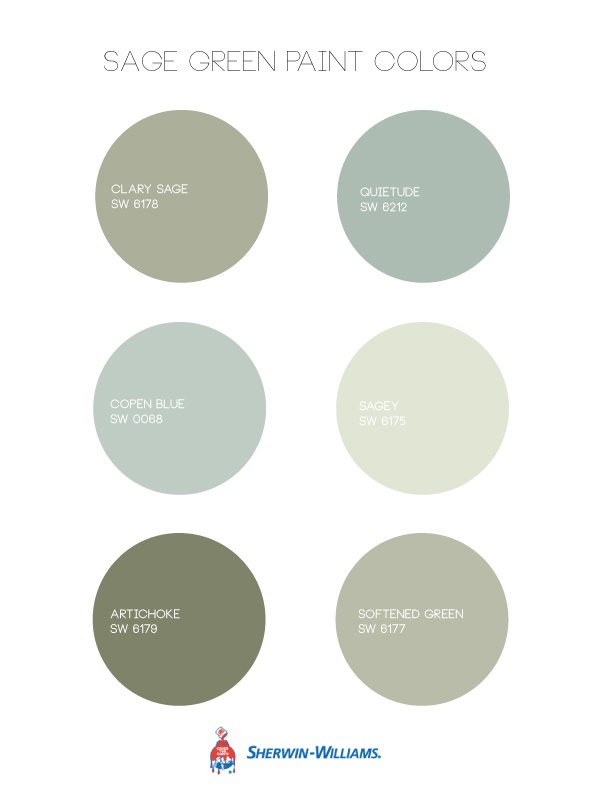
I did a little sage green research for you. This is totally not an ad or even a sponsored post, I just love Sherwin-Williams paints, and it’s the paint store I shop at.  Here’s a few sage green paint colors to consider. The color I used in my studio is the very first one Clary Sage. My studio is very bright, so the color seems lighter once it’s on the wall. But, with any color, you have to try it in the space first. These are just 6 sold sage greens that I was drawn to. Copen Blue feels quite modern and very similar to a lot of the sage tones I saw in Sweden. Maybe this is the color I’ll try in our powder room. And while Artichoke is the darkest in this group, I think it’s my favorite. It’s dark and grounded but still a soft, subtle green in a way. Sage is just that perfect earthy green. It kind of has that pretty pastel feel, but with a little more sophistication.

Sage Green Paint ColorsSage Green PaintSage Green PaintSage Green PaintSage Green Paint Sage Green Paint Sage Green PaintSage Green Half Painted Wall


image sources: 1 // 2 // 3 // 4 // 5 // 6 // 7 // 8 // 9 // 10
So what do you think? Are you ready to throw back? I’m definitely still in love with my white walls, but I think a little sage green could be fun to play with.

DIY

DIY Living Wall with Moveable Planters

May 1, 2017

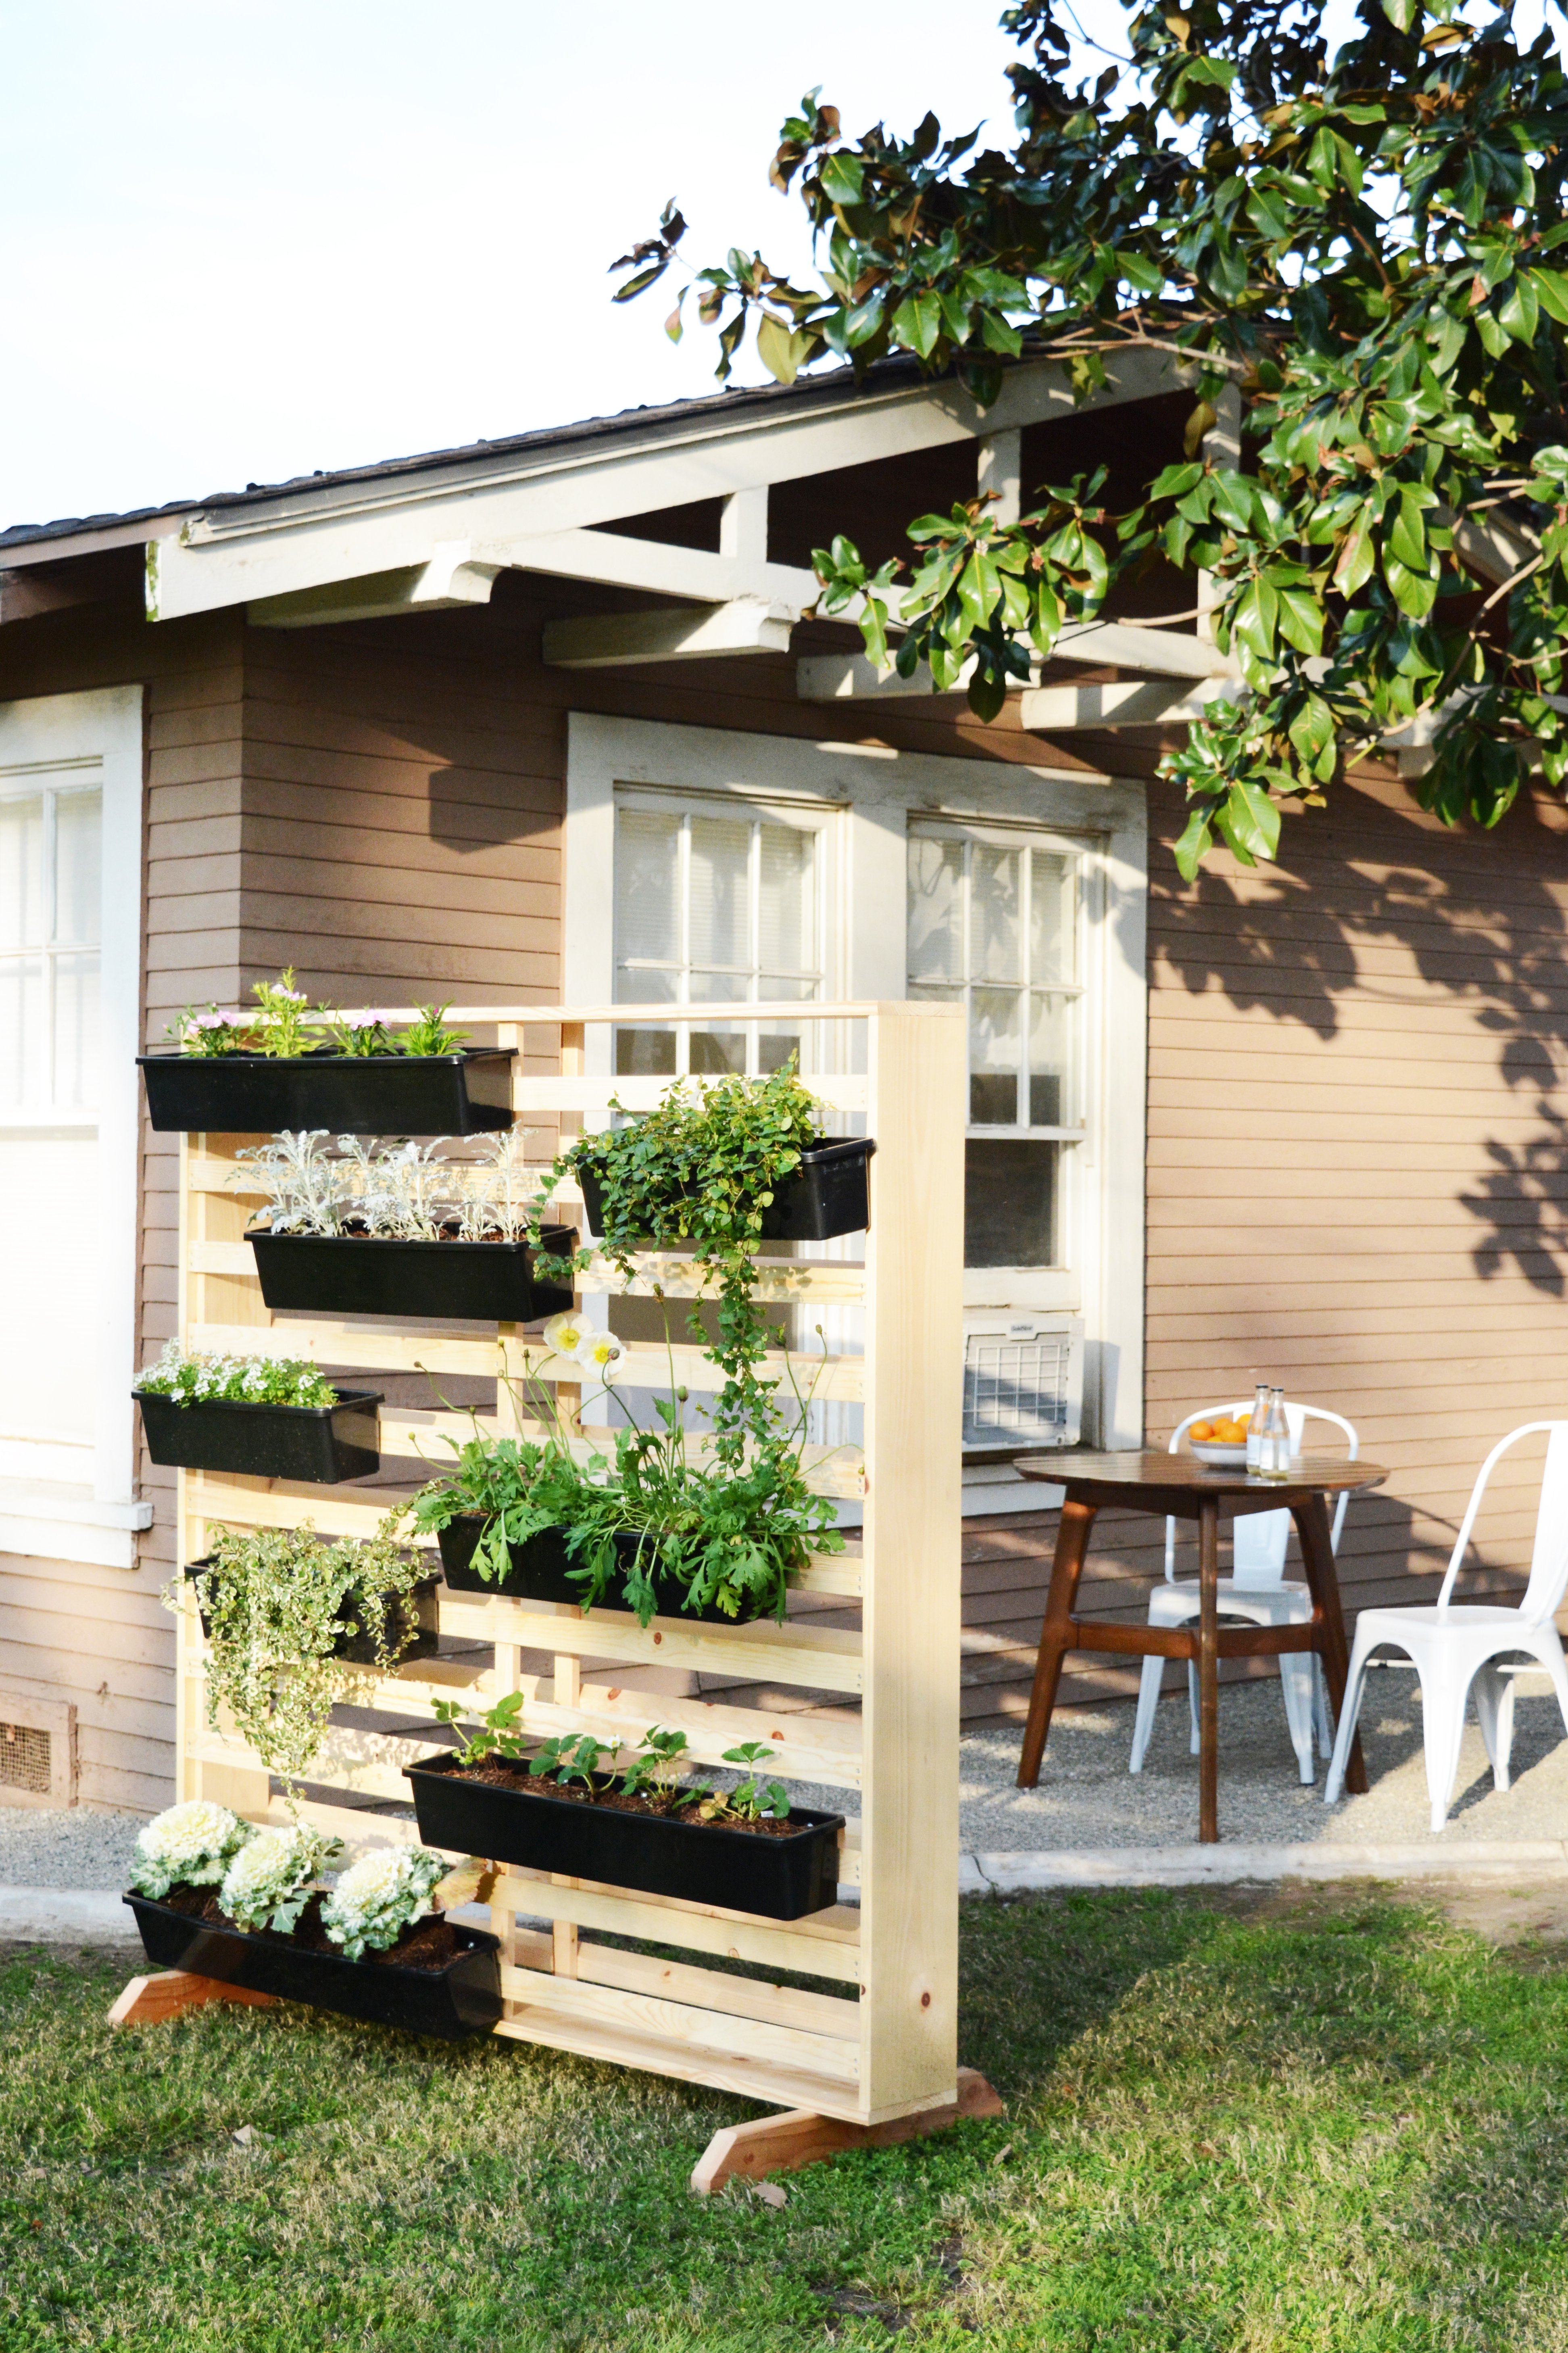
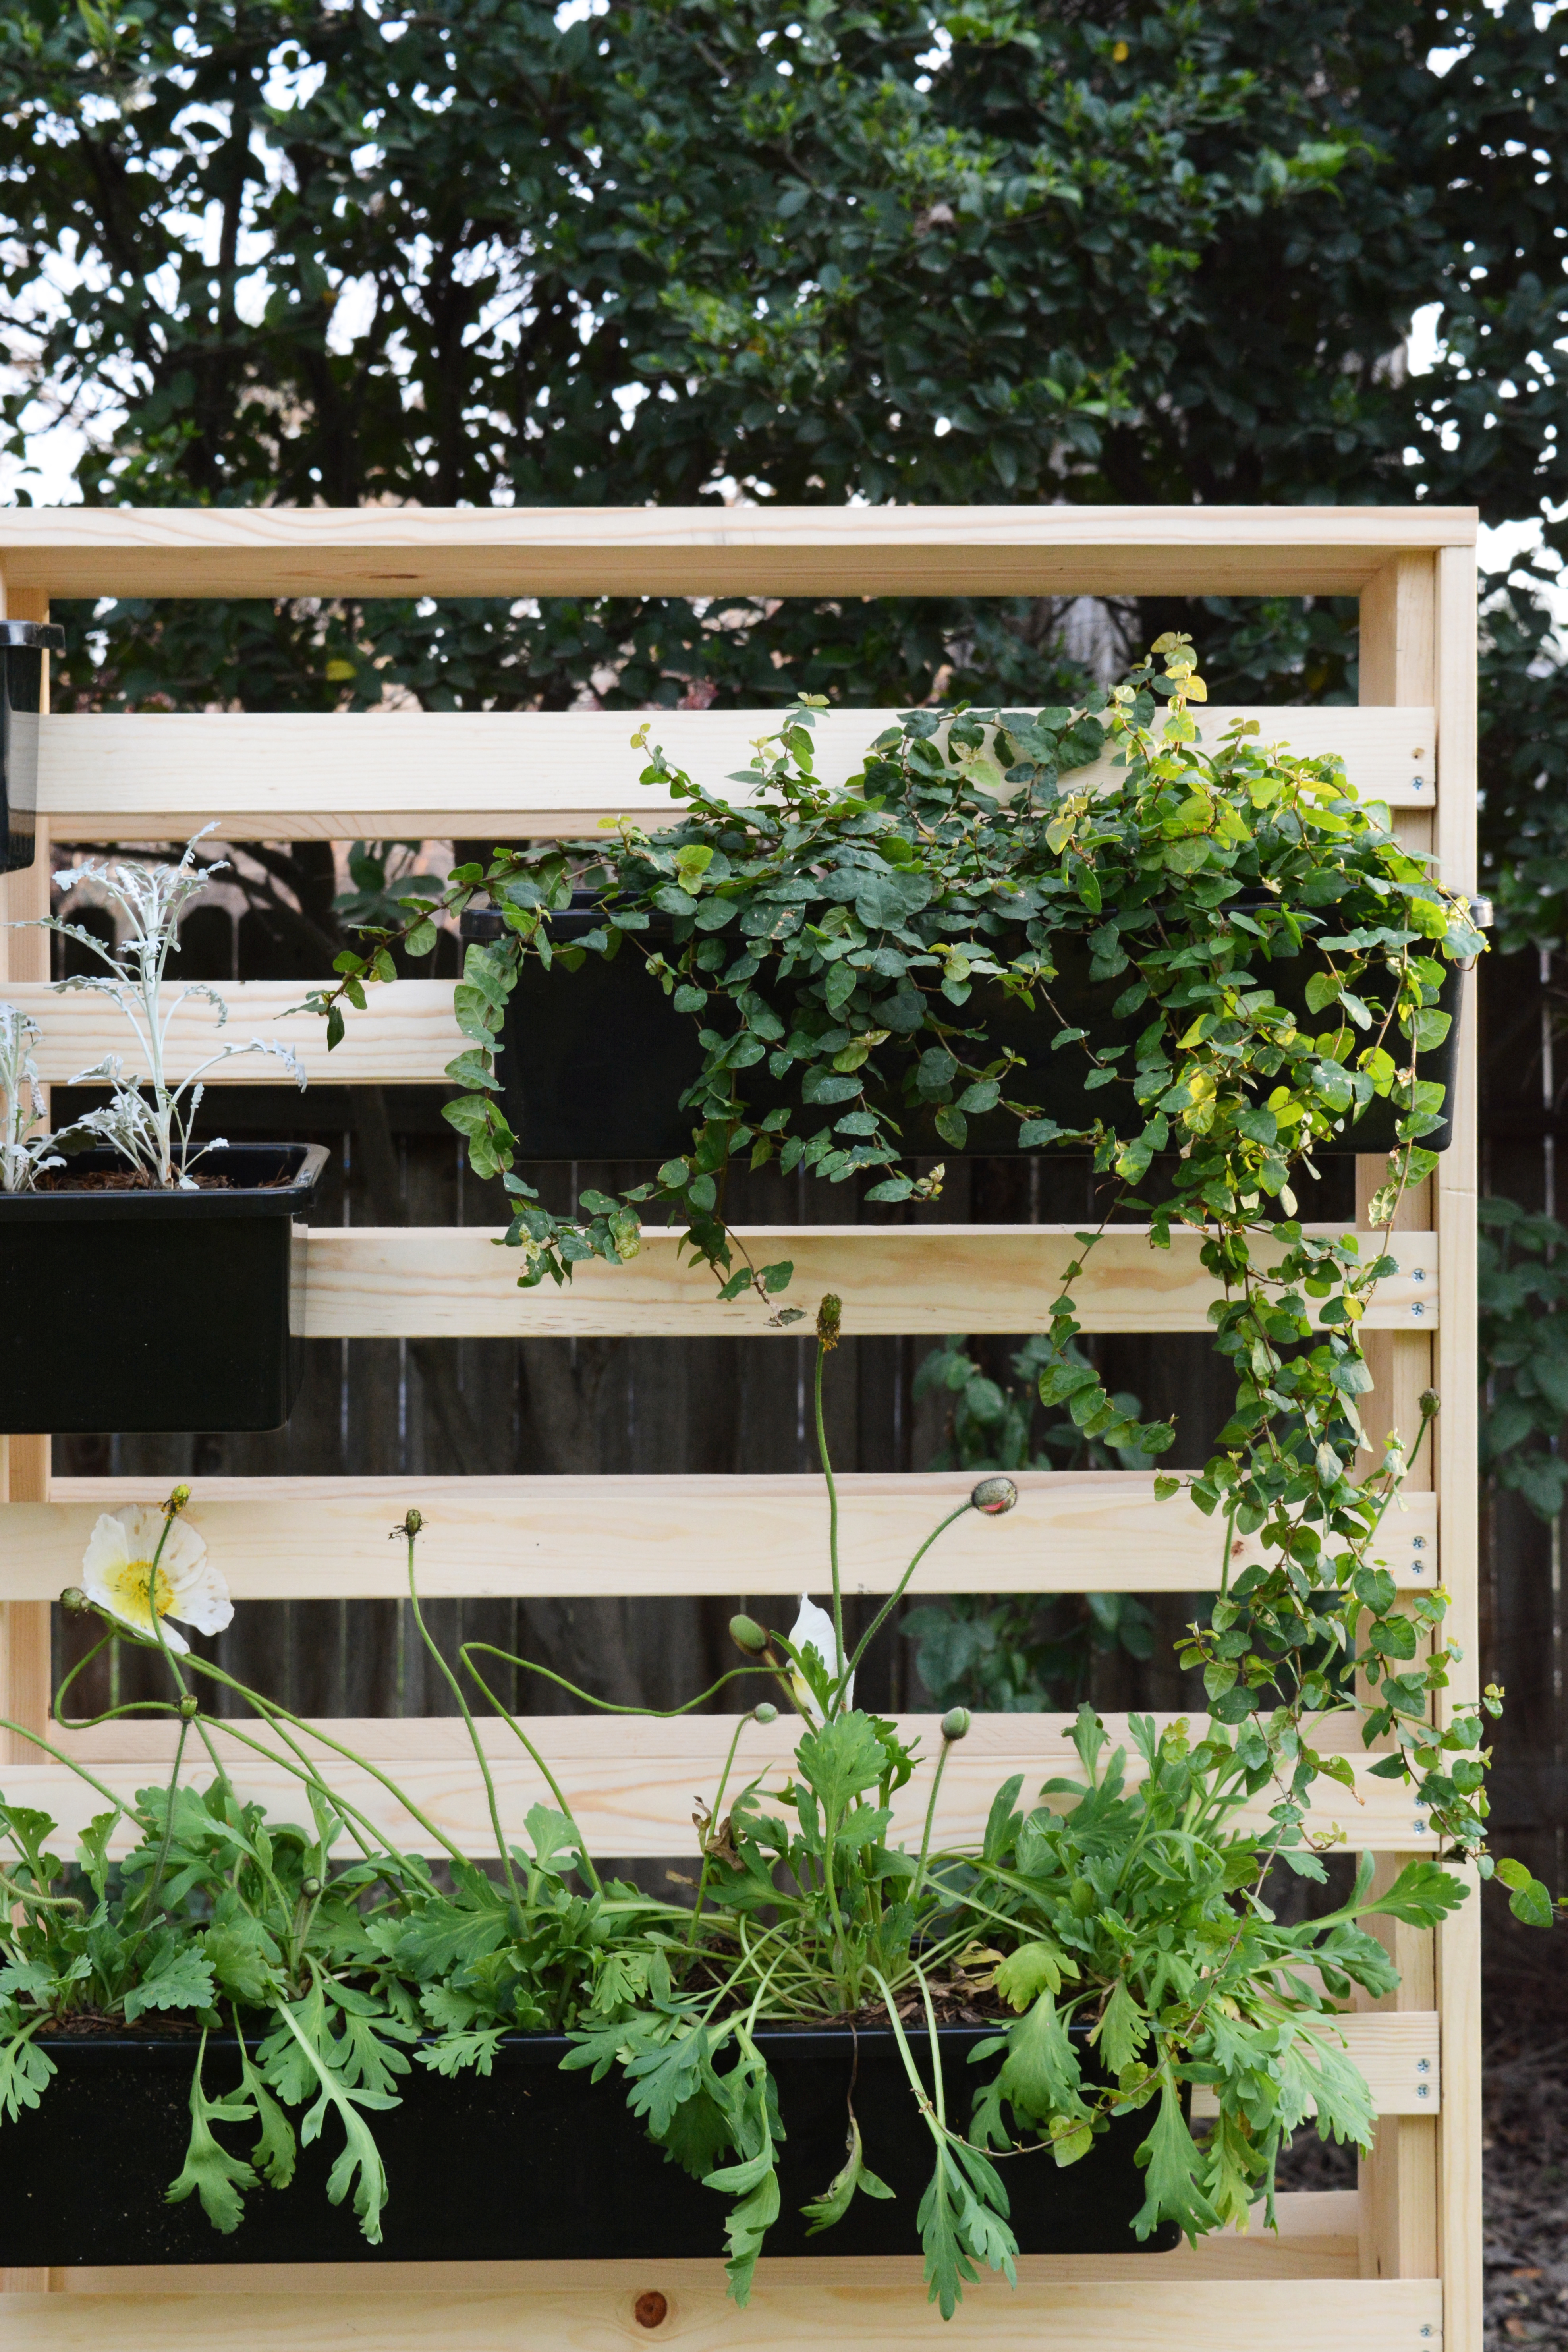
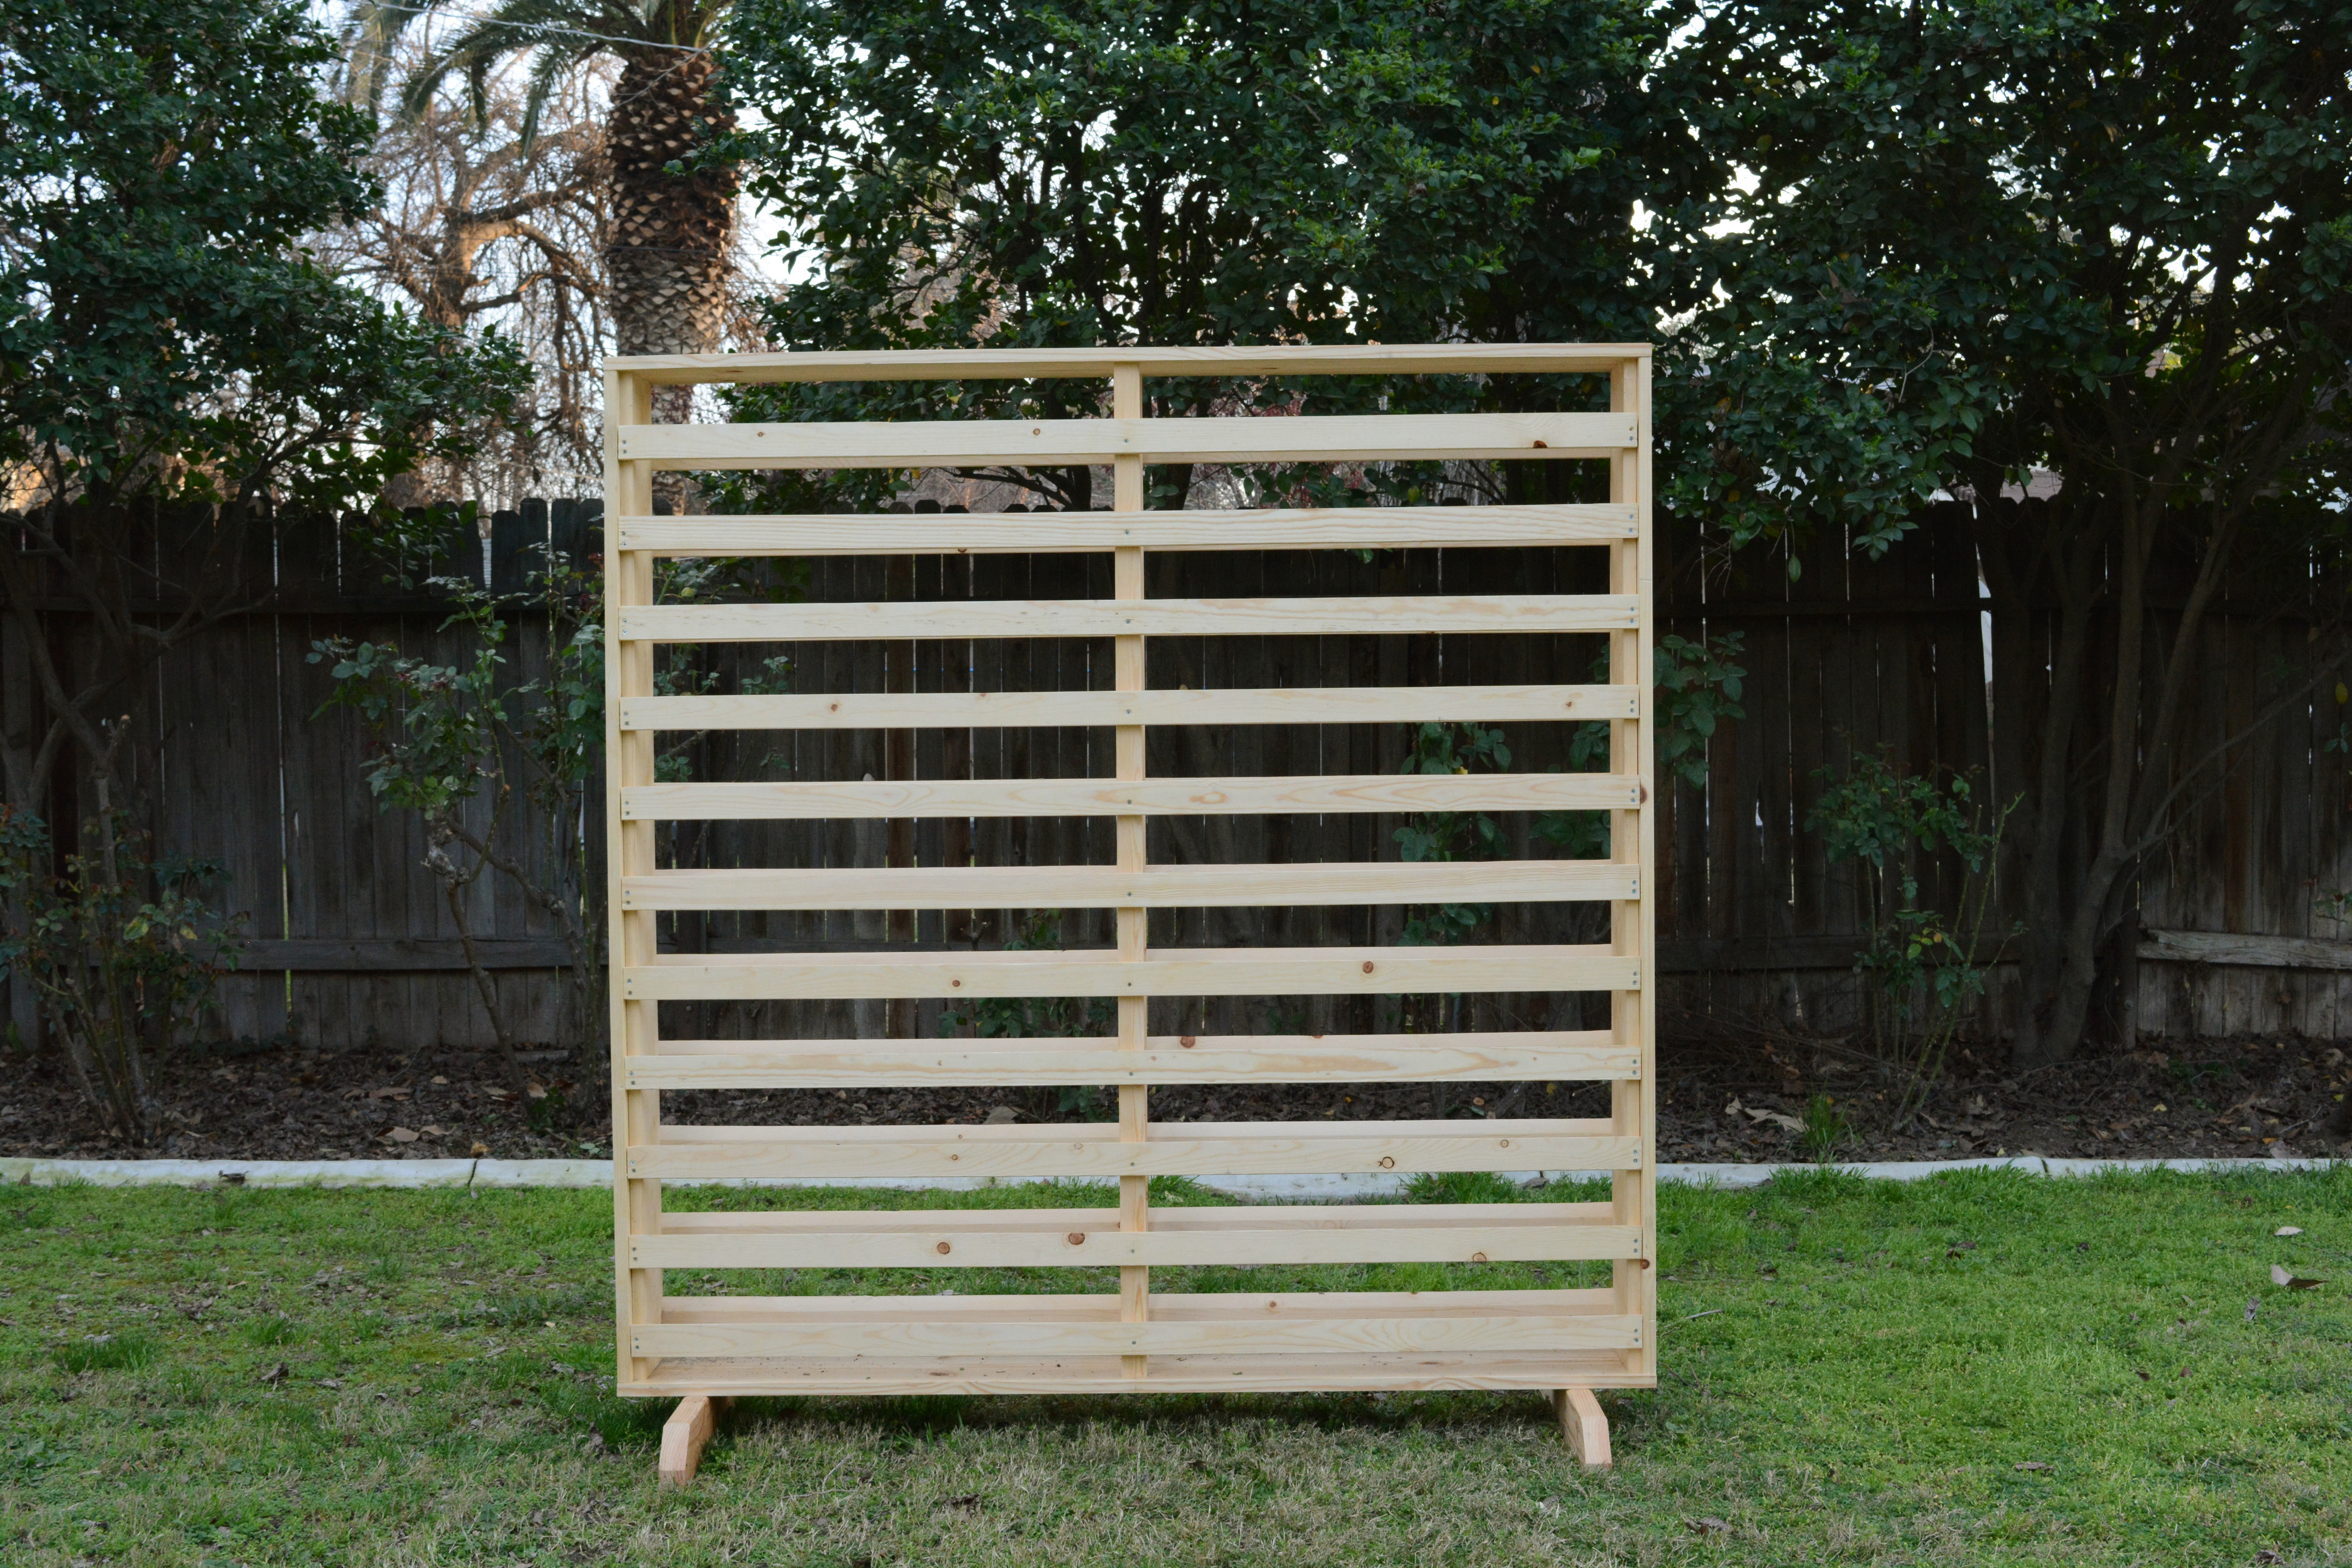
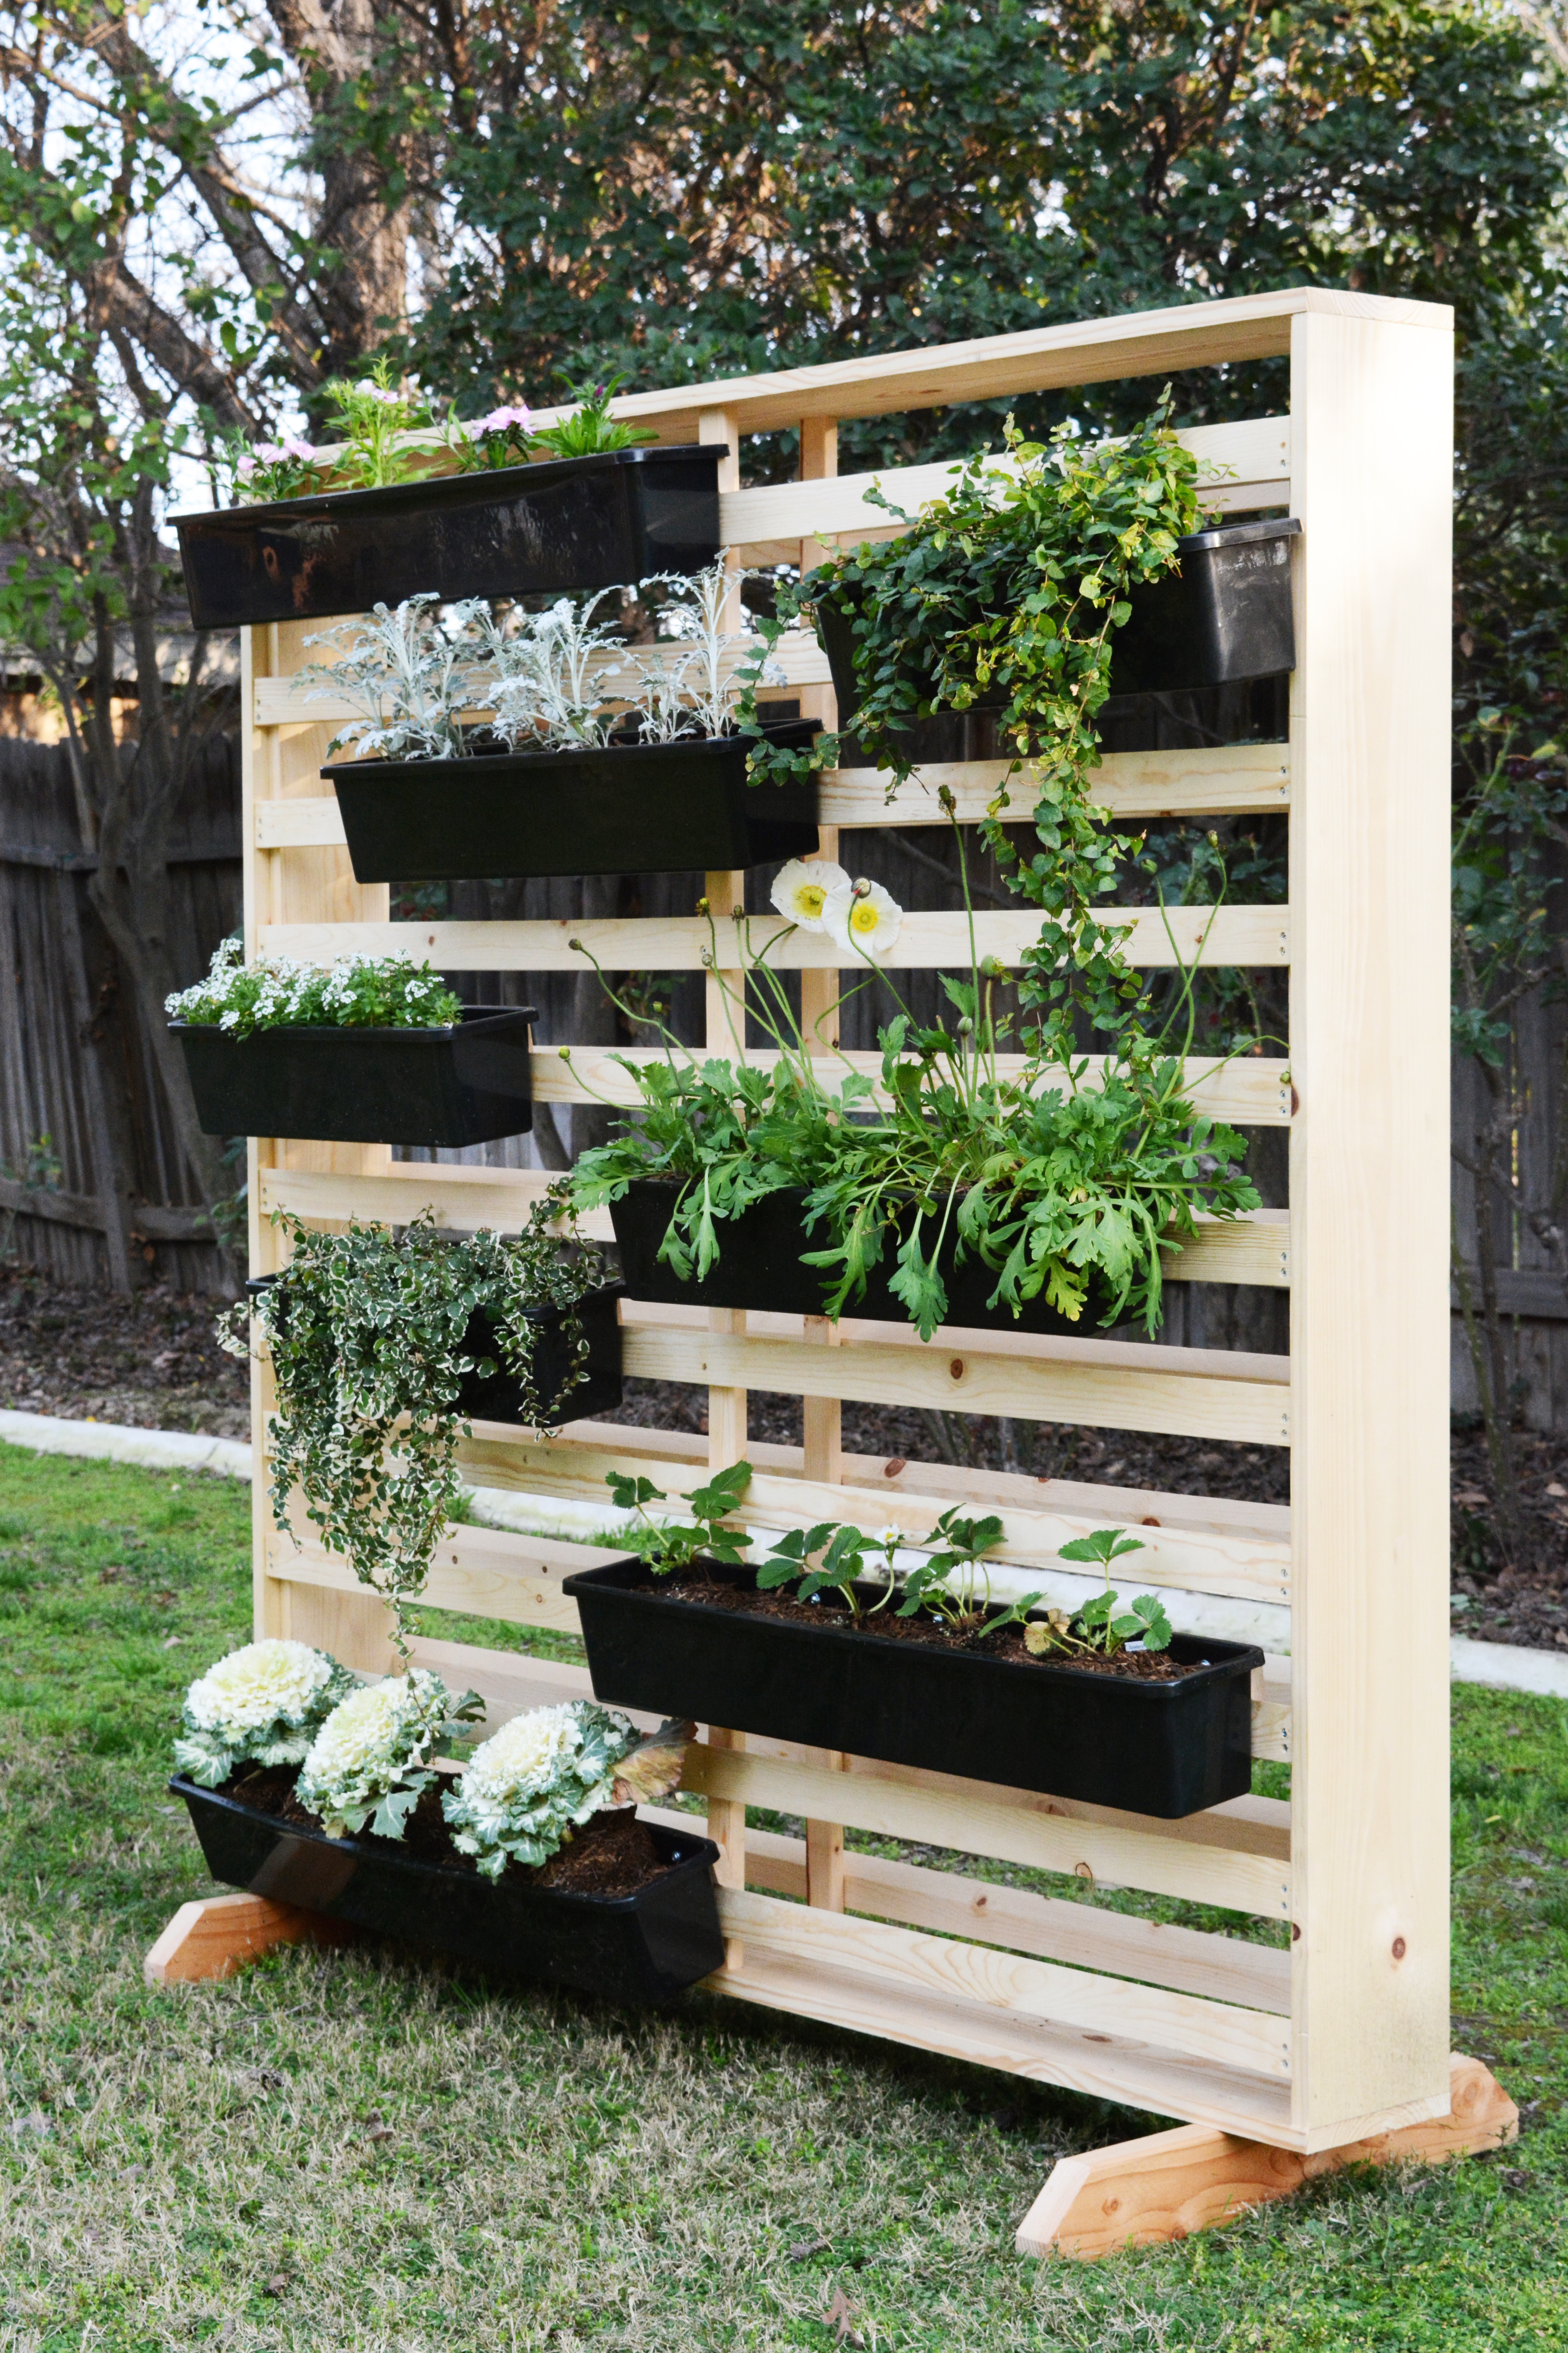
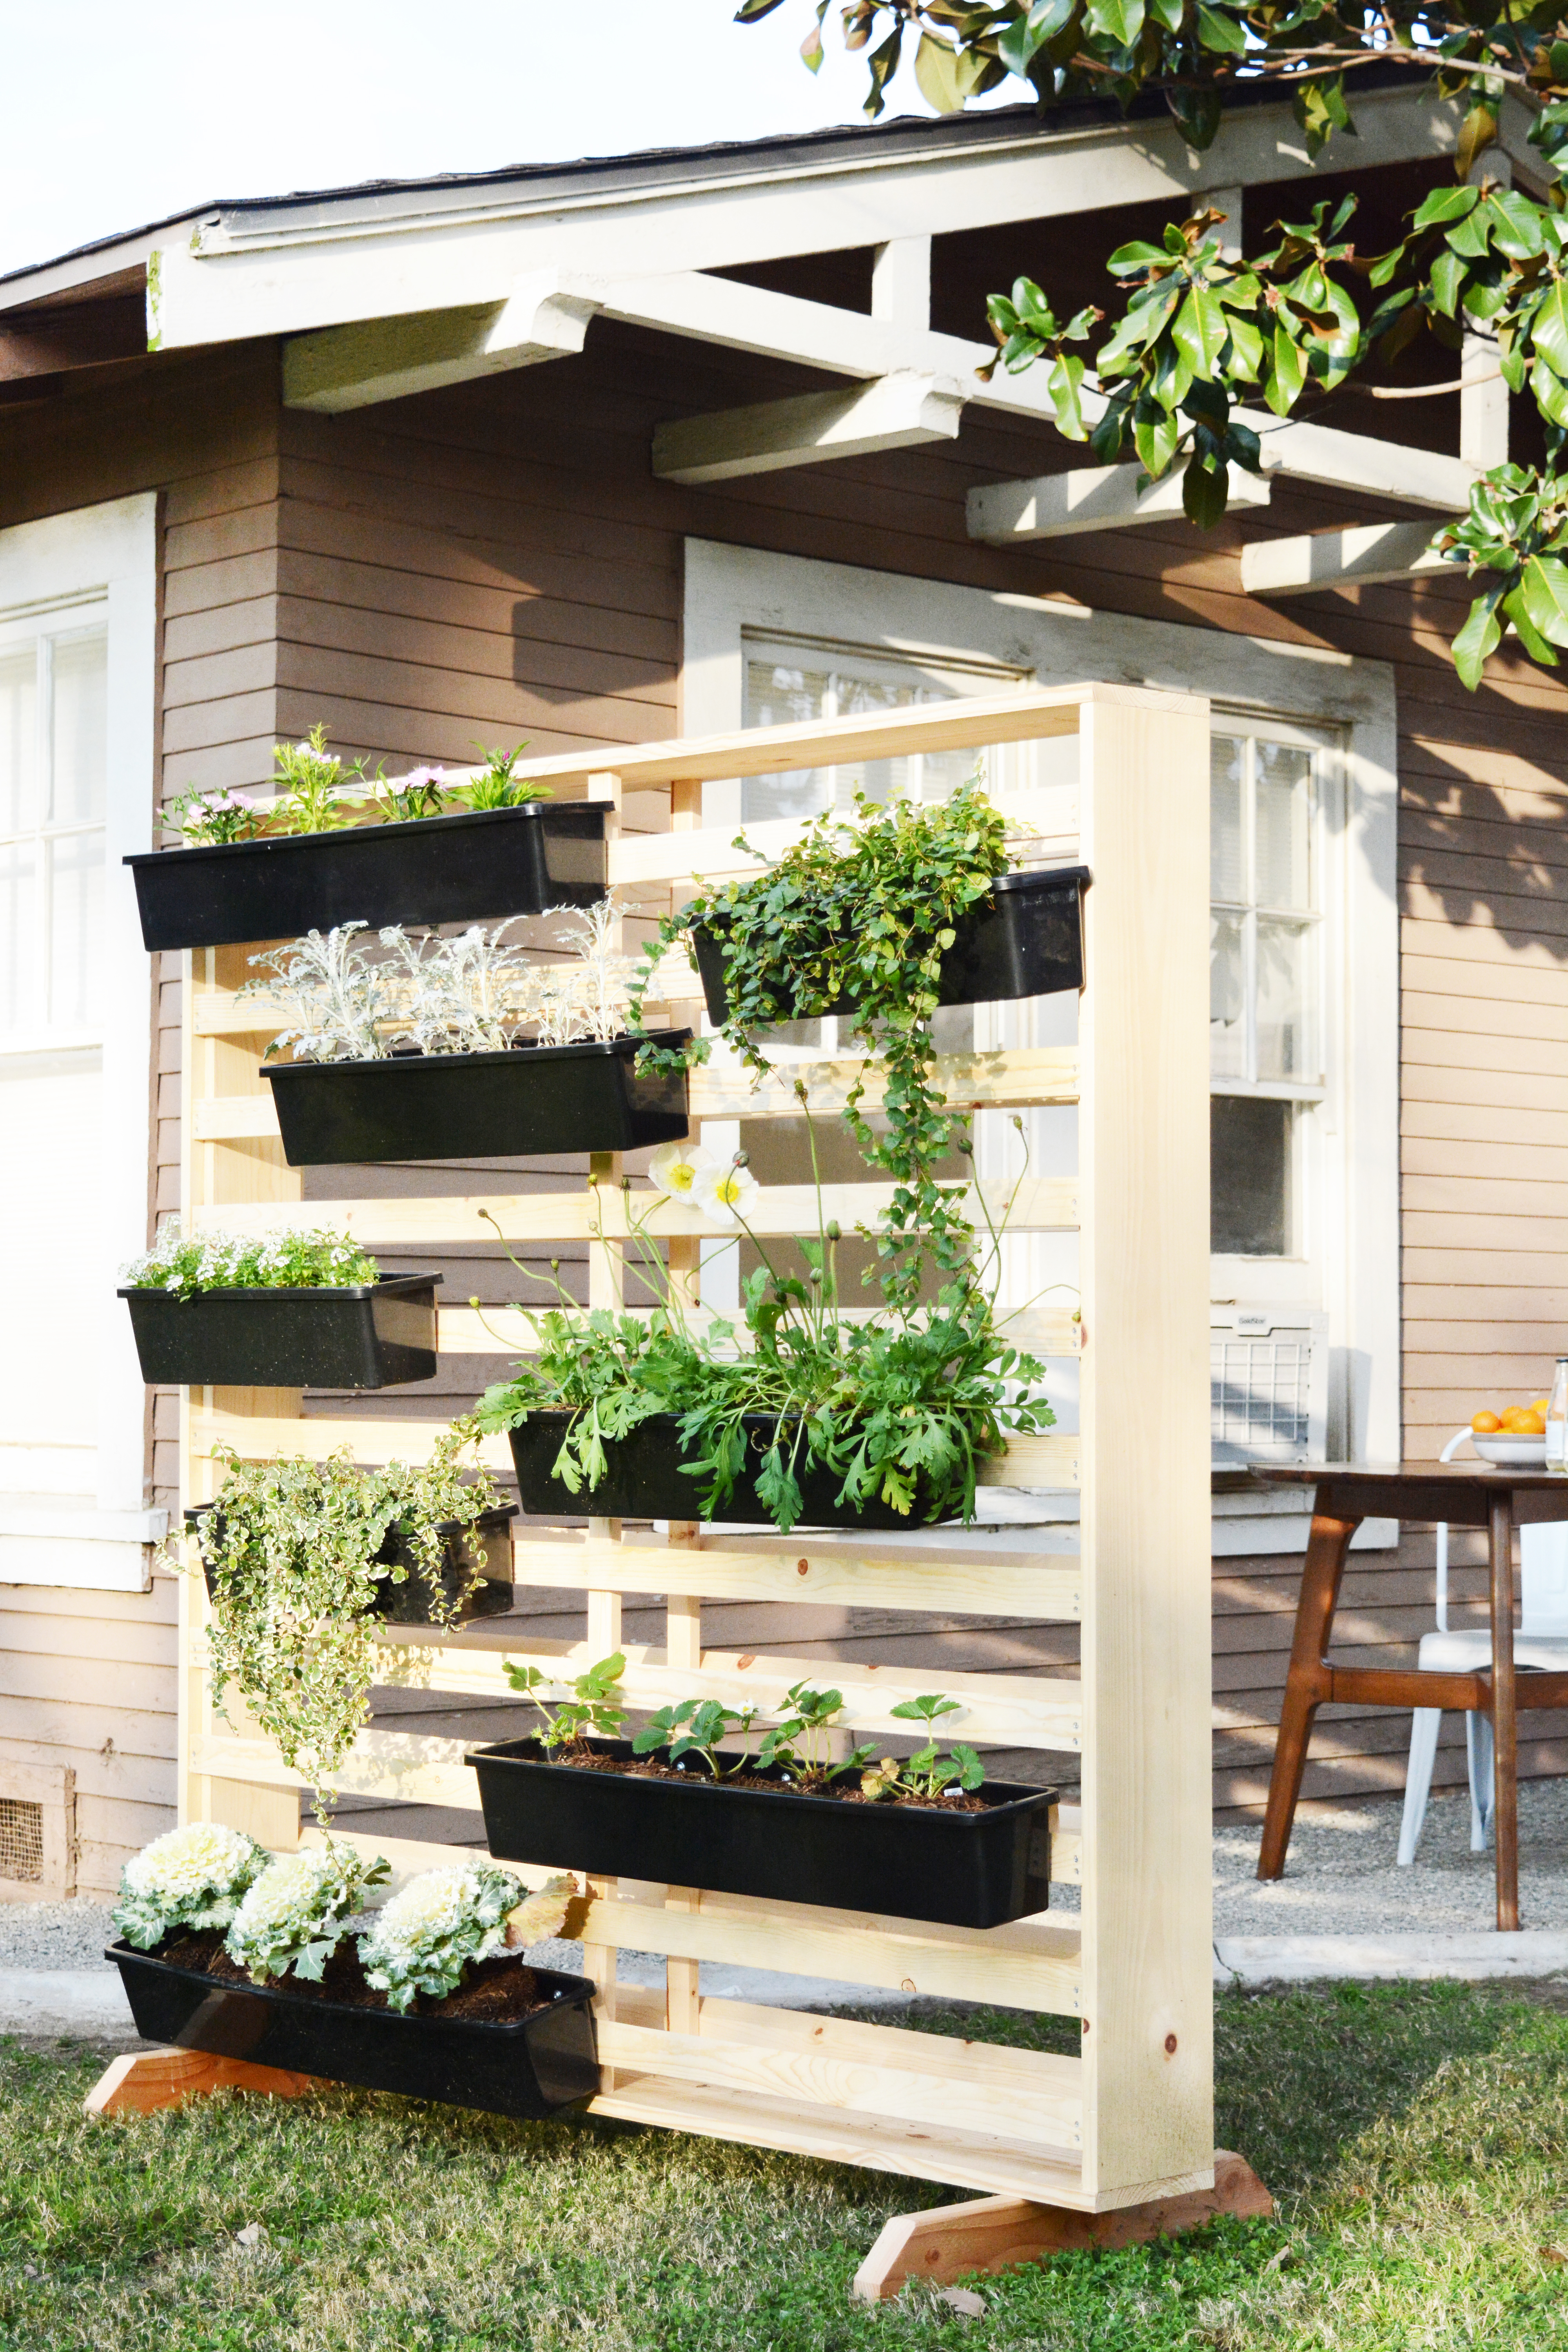
Sometimes you just need a little privacy in your outdoor areas. As you know we recently converted a small unit attached to our garage into a guesthouse that we are using as an Airbnb.  We wanted to create a little outdoor seating area for guests that was a little more private and secluded. So, a DIY Living Wall with Moveable Planters seemed like that best idea. It’s a great way to add even more green to a space. And in a tight space, going vertical is the perfect solution.

Vertical Living Wall with Moveable PlantersVertical Living Wall with Moveable Planters Vertical Living Wall with Moveable Planters

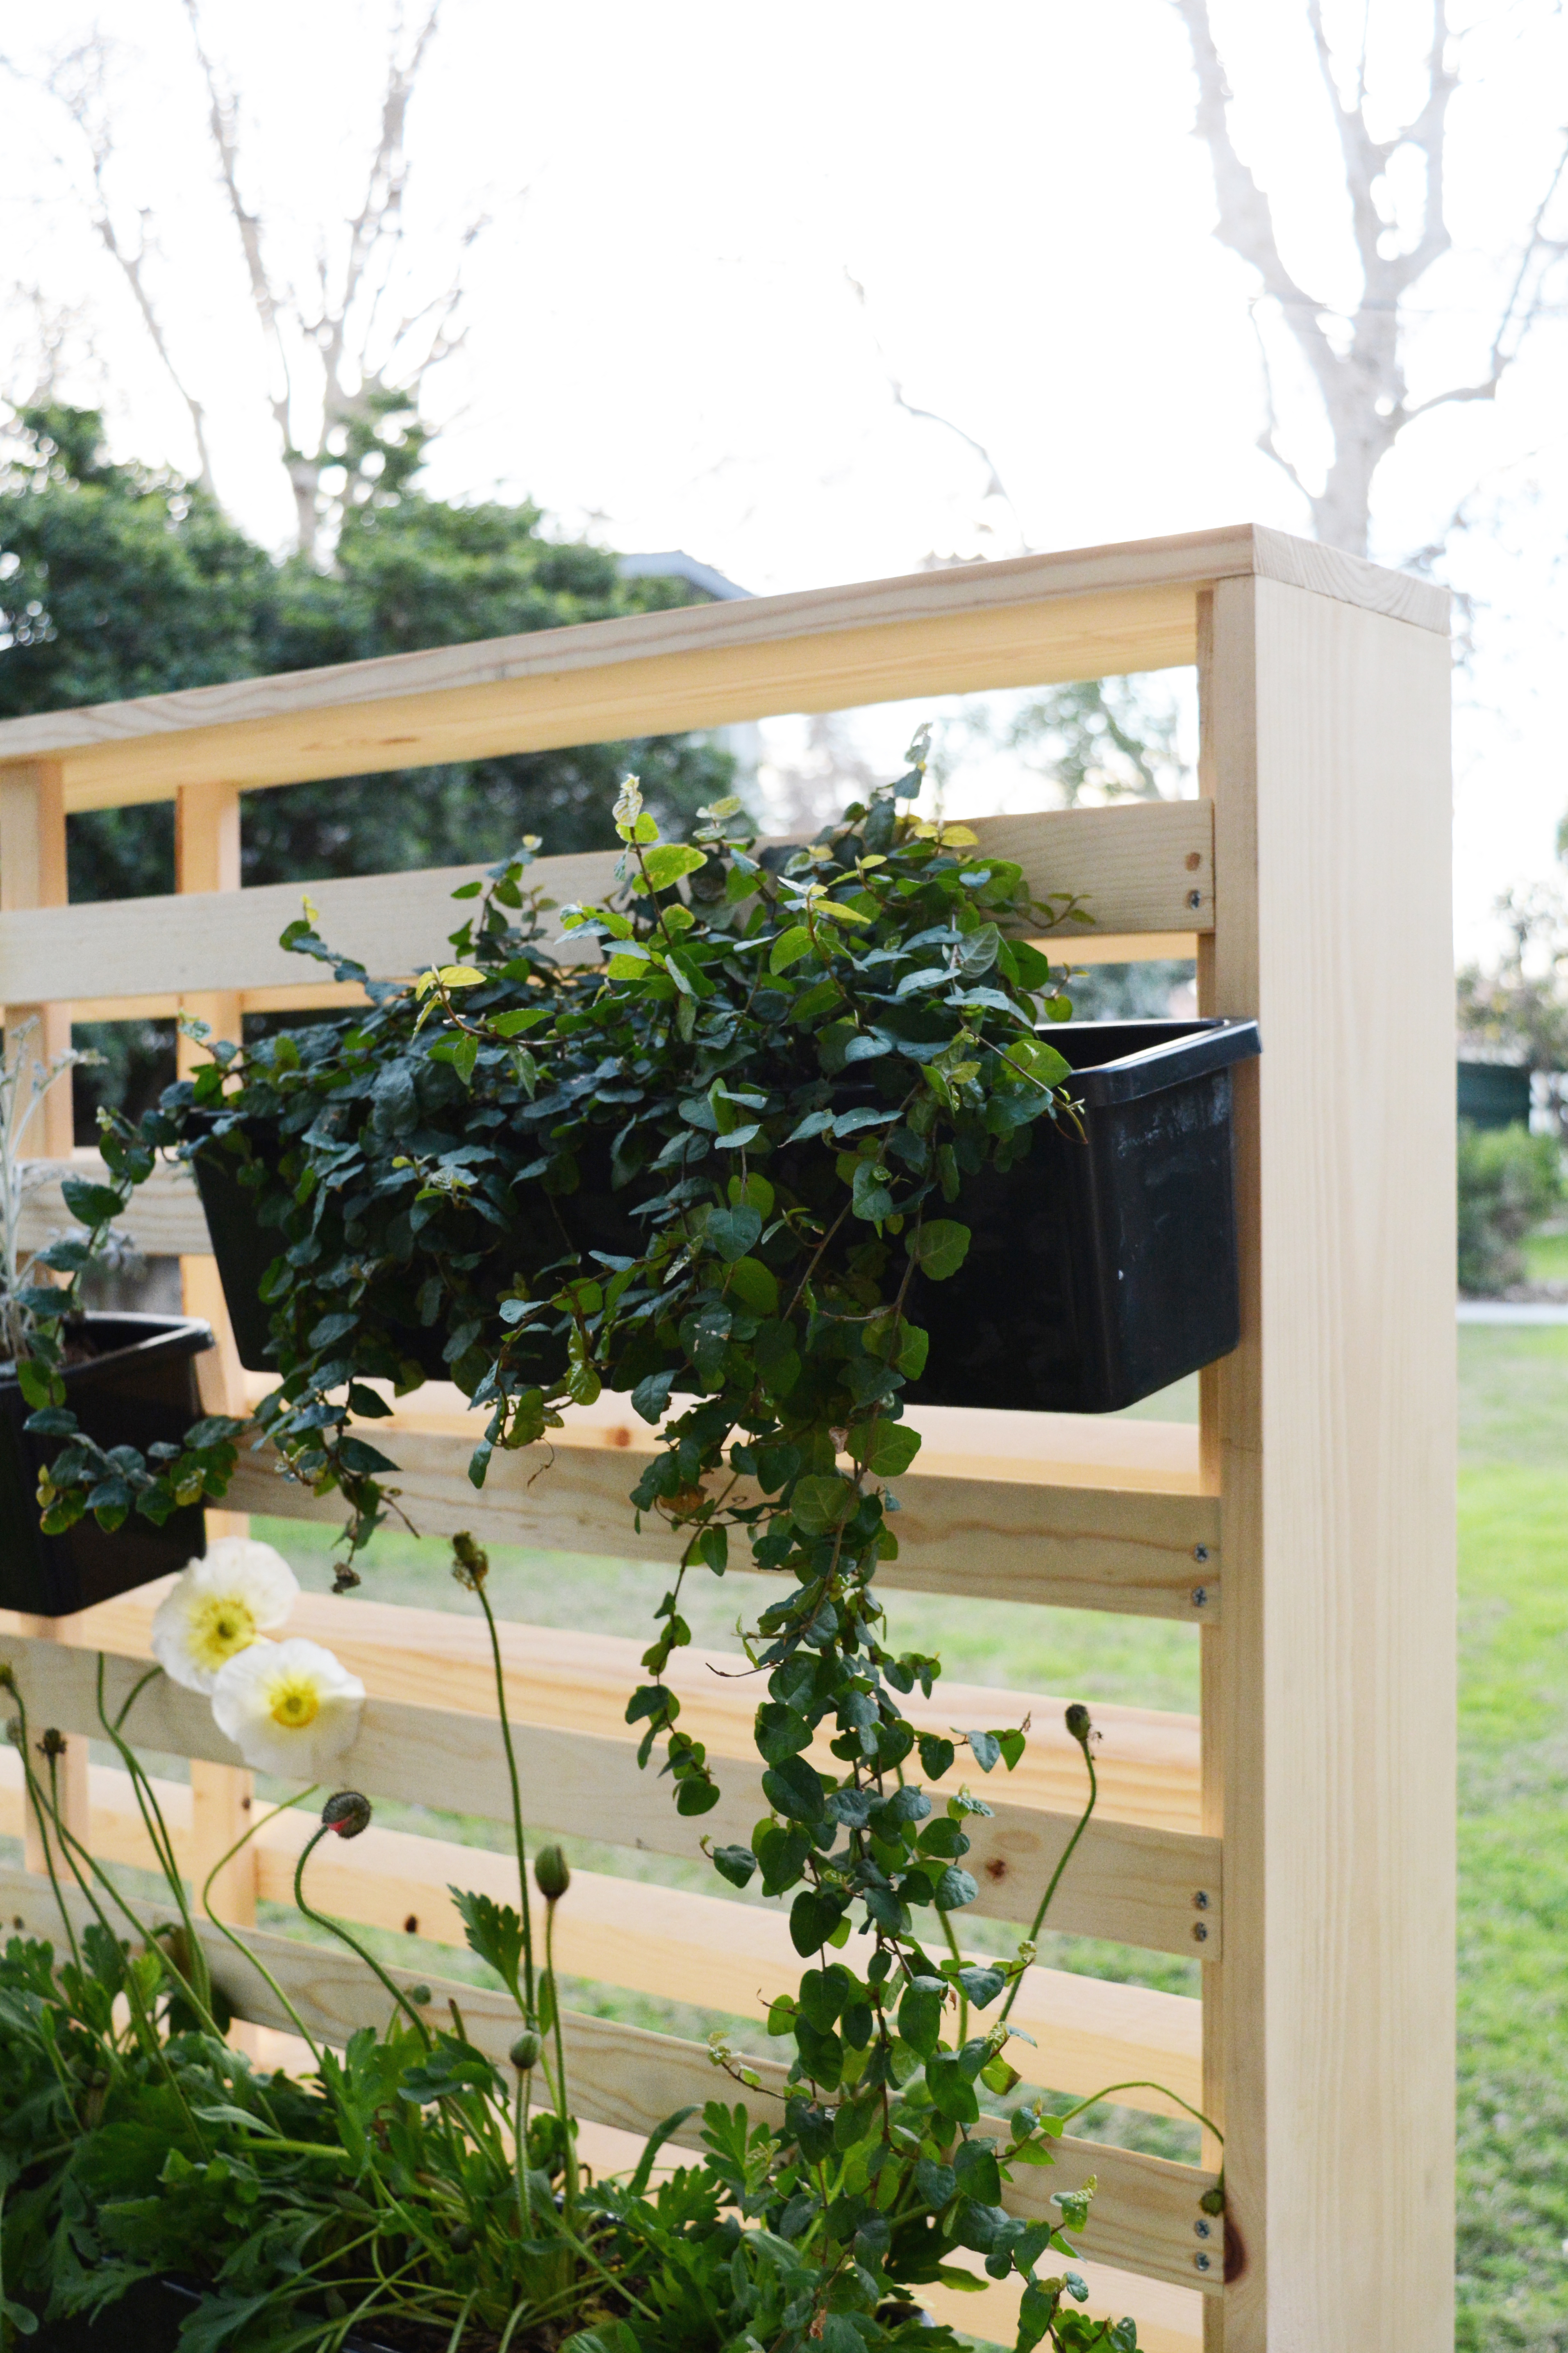
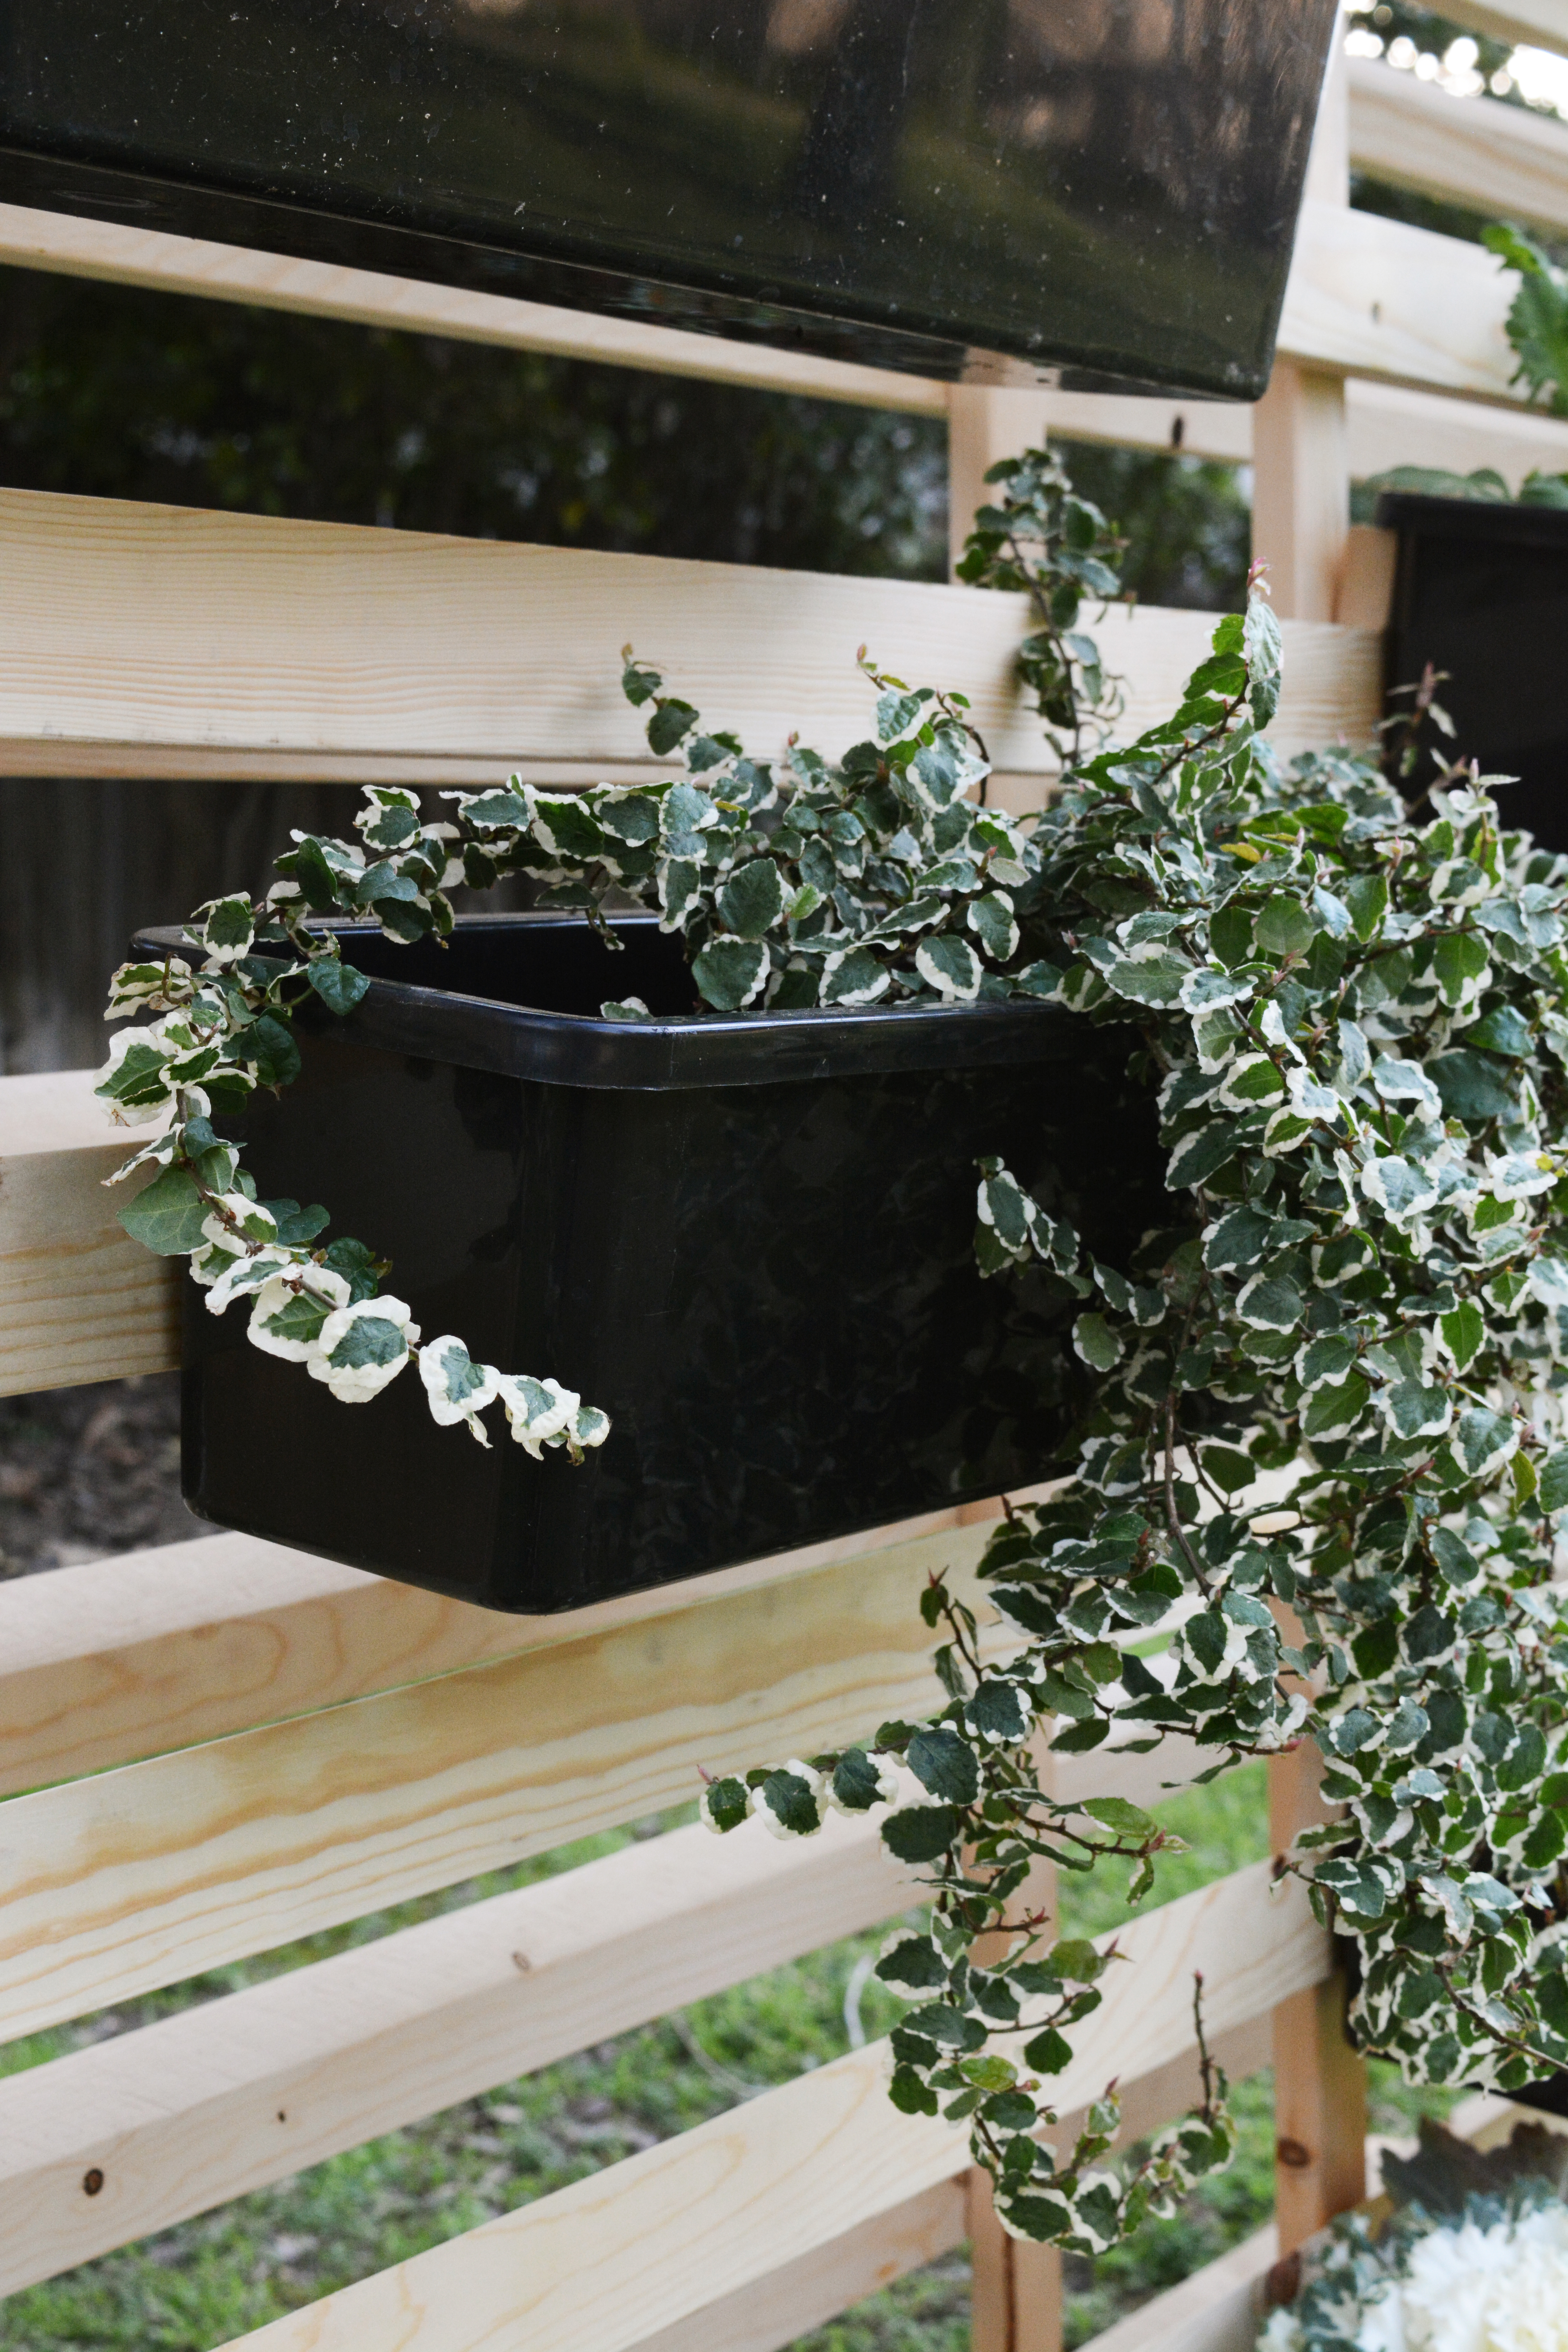
I teamed up with my brother Joash (aka super handy, carpenter guy) and Fiskars (because they are the garden tool experts) to dream up an easy-to-build, yet totally stylish modern living wall. We designed it with simple, inexpensive materials, and simple cuts and assembly. No fancy hooks or hardware is needed. Using a simple cleat system, the planters can easily be moved around, repositioned and hung of either side of the wall.

Vertical Living Wall with Moveable PlantersVertical Living Wall with Moveable Planters

I am including a pattern with all the dimensions to help you visualize all the cuts and pieces for this project. We used inexpensive pine and just sealed it with an outdoor sealer to protect it from the elements. But this could be painted or stained, we just loved to Scandinavian feel of light wood. Bold black planters paired with the light wood created a nice contrast.

Start by glueing and screwing the frame of the wall together first. Pre-drill and attach ‘B’ to ‘A’ and then screw both pieces of ‘a’ to the top and bottom. Use the 2″ screws for assembling the frame.

Next attach ‘C’ in the center of both sides. Use the 1-1/4″ screws to attach these supports.

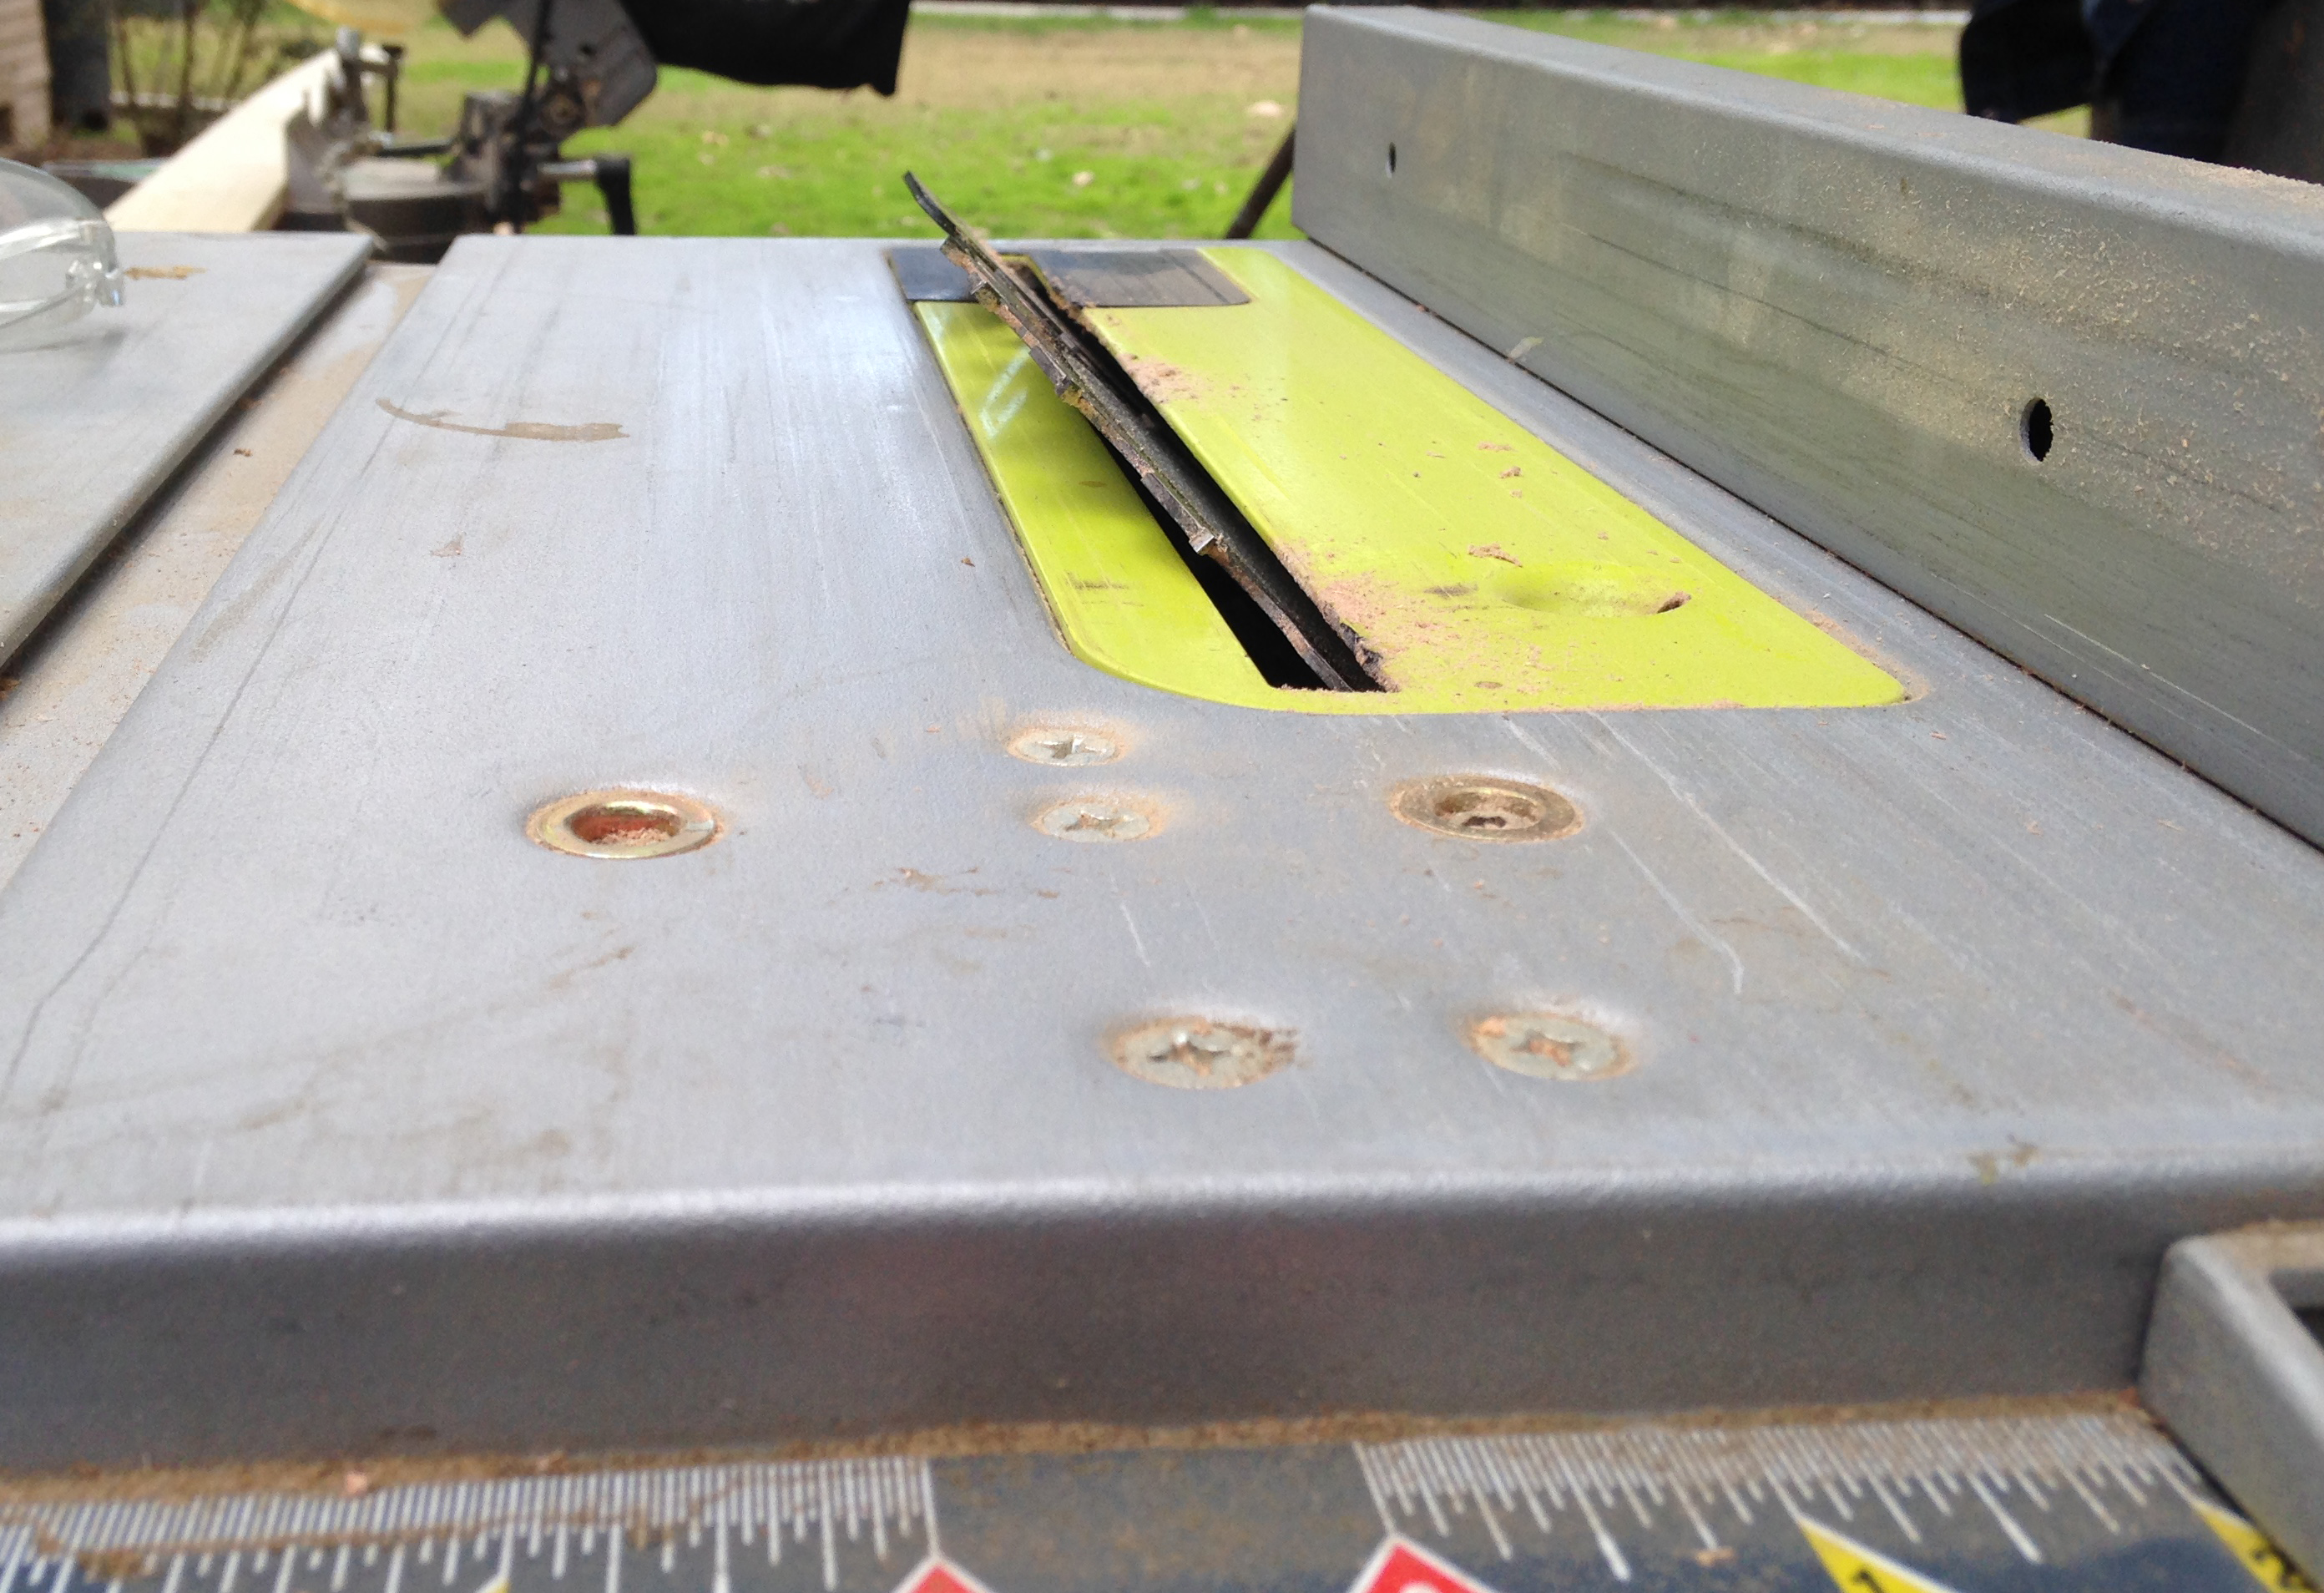
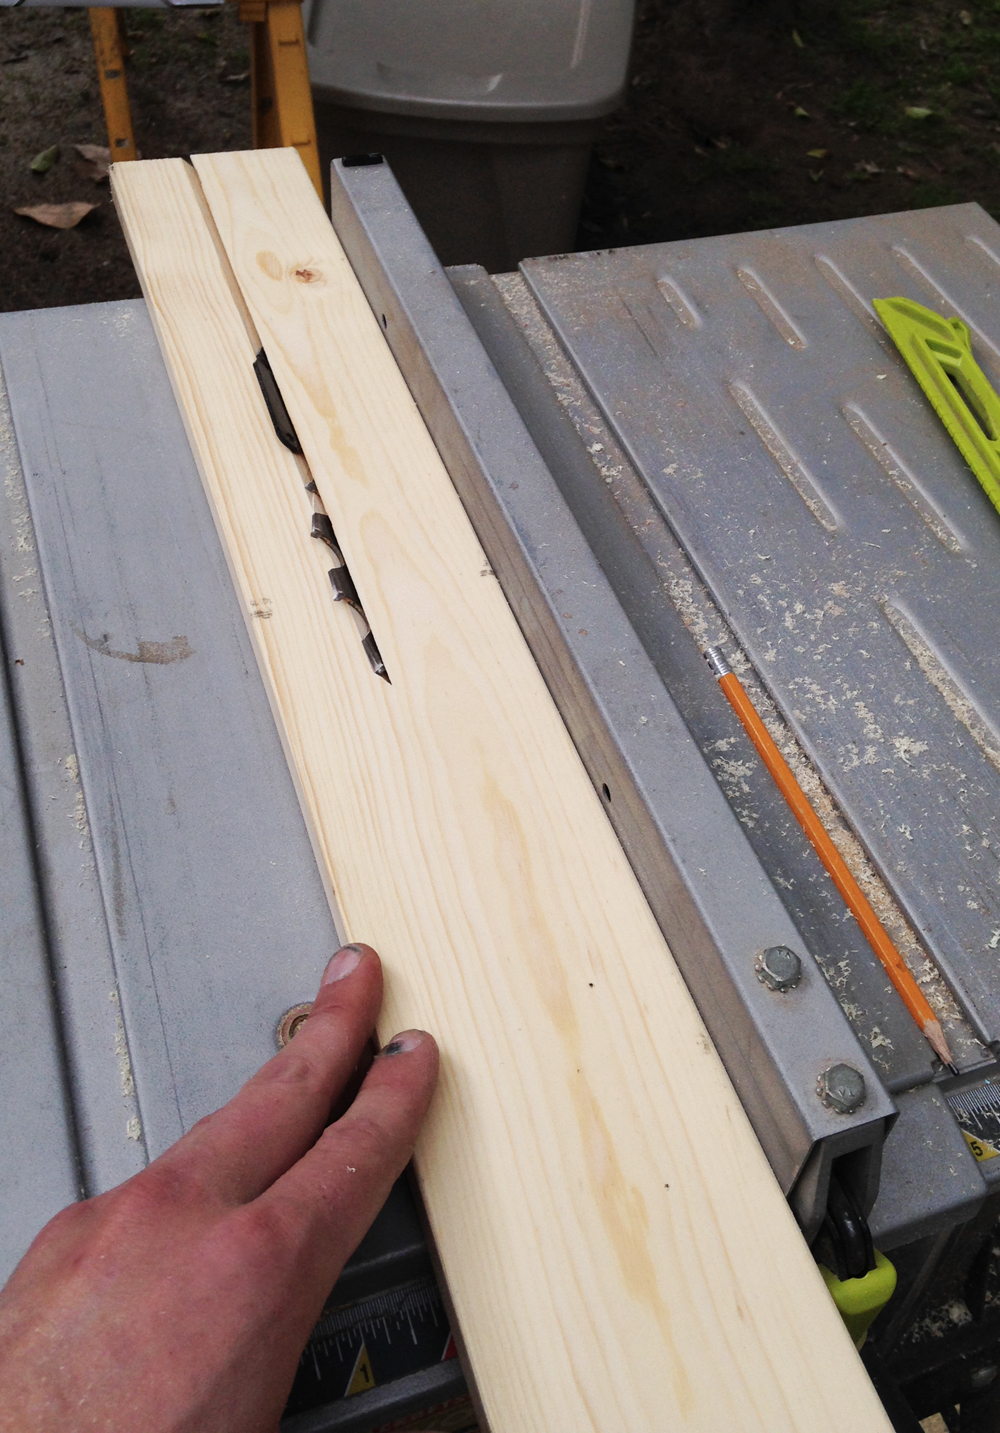
For the horizontal slats, you will need to cut the 1×4″ pieces cut down the center at a 45 degree angle using a table saw. You will need 22 total, each 5 ft. long. Space these slats 6 inches apart from each other. Pre-drill with a counter sink bit, and attach them to the frame with 1-1/4″ screws, 6 screws for each slat. Screw two in the center and two on each end of the slat.

Vertical Living Wall with Moveable PlantersVertical Living Wall with Moveable Planters

Now you will attach cleats to plastic planters. I chose to use inexpensive black plastic window box lines because I loved their simplicity and clean lines.

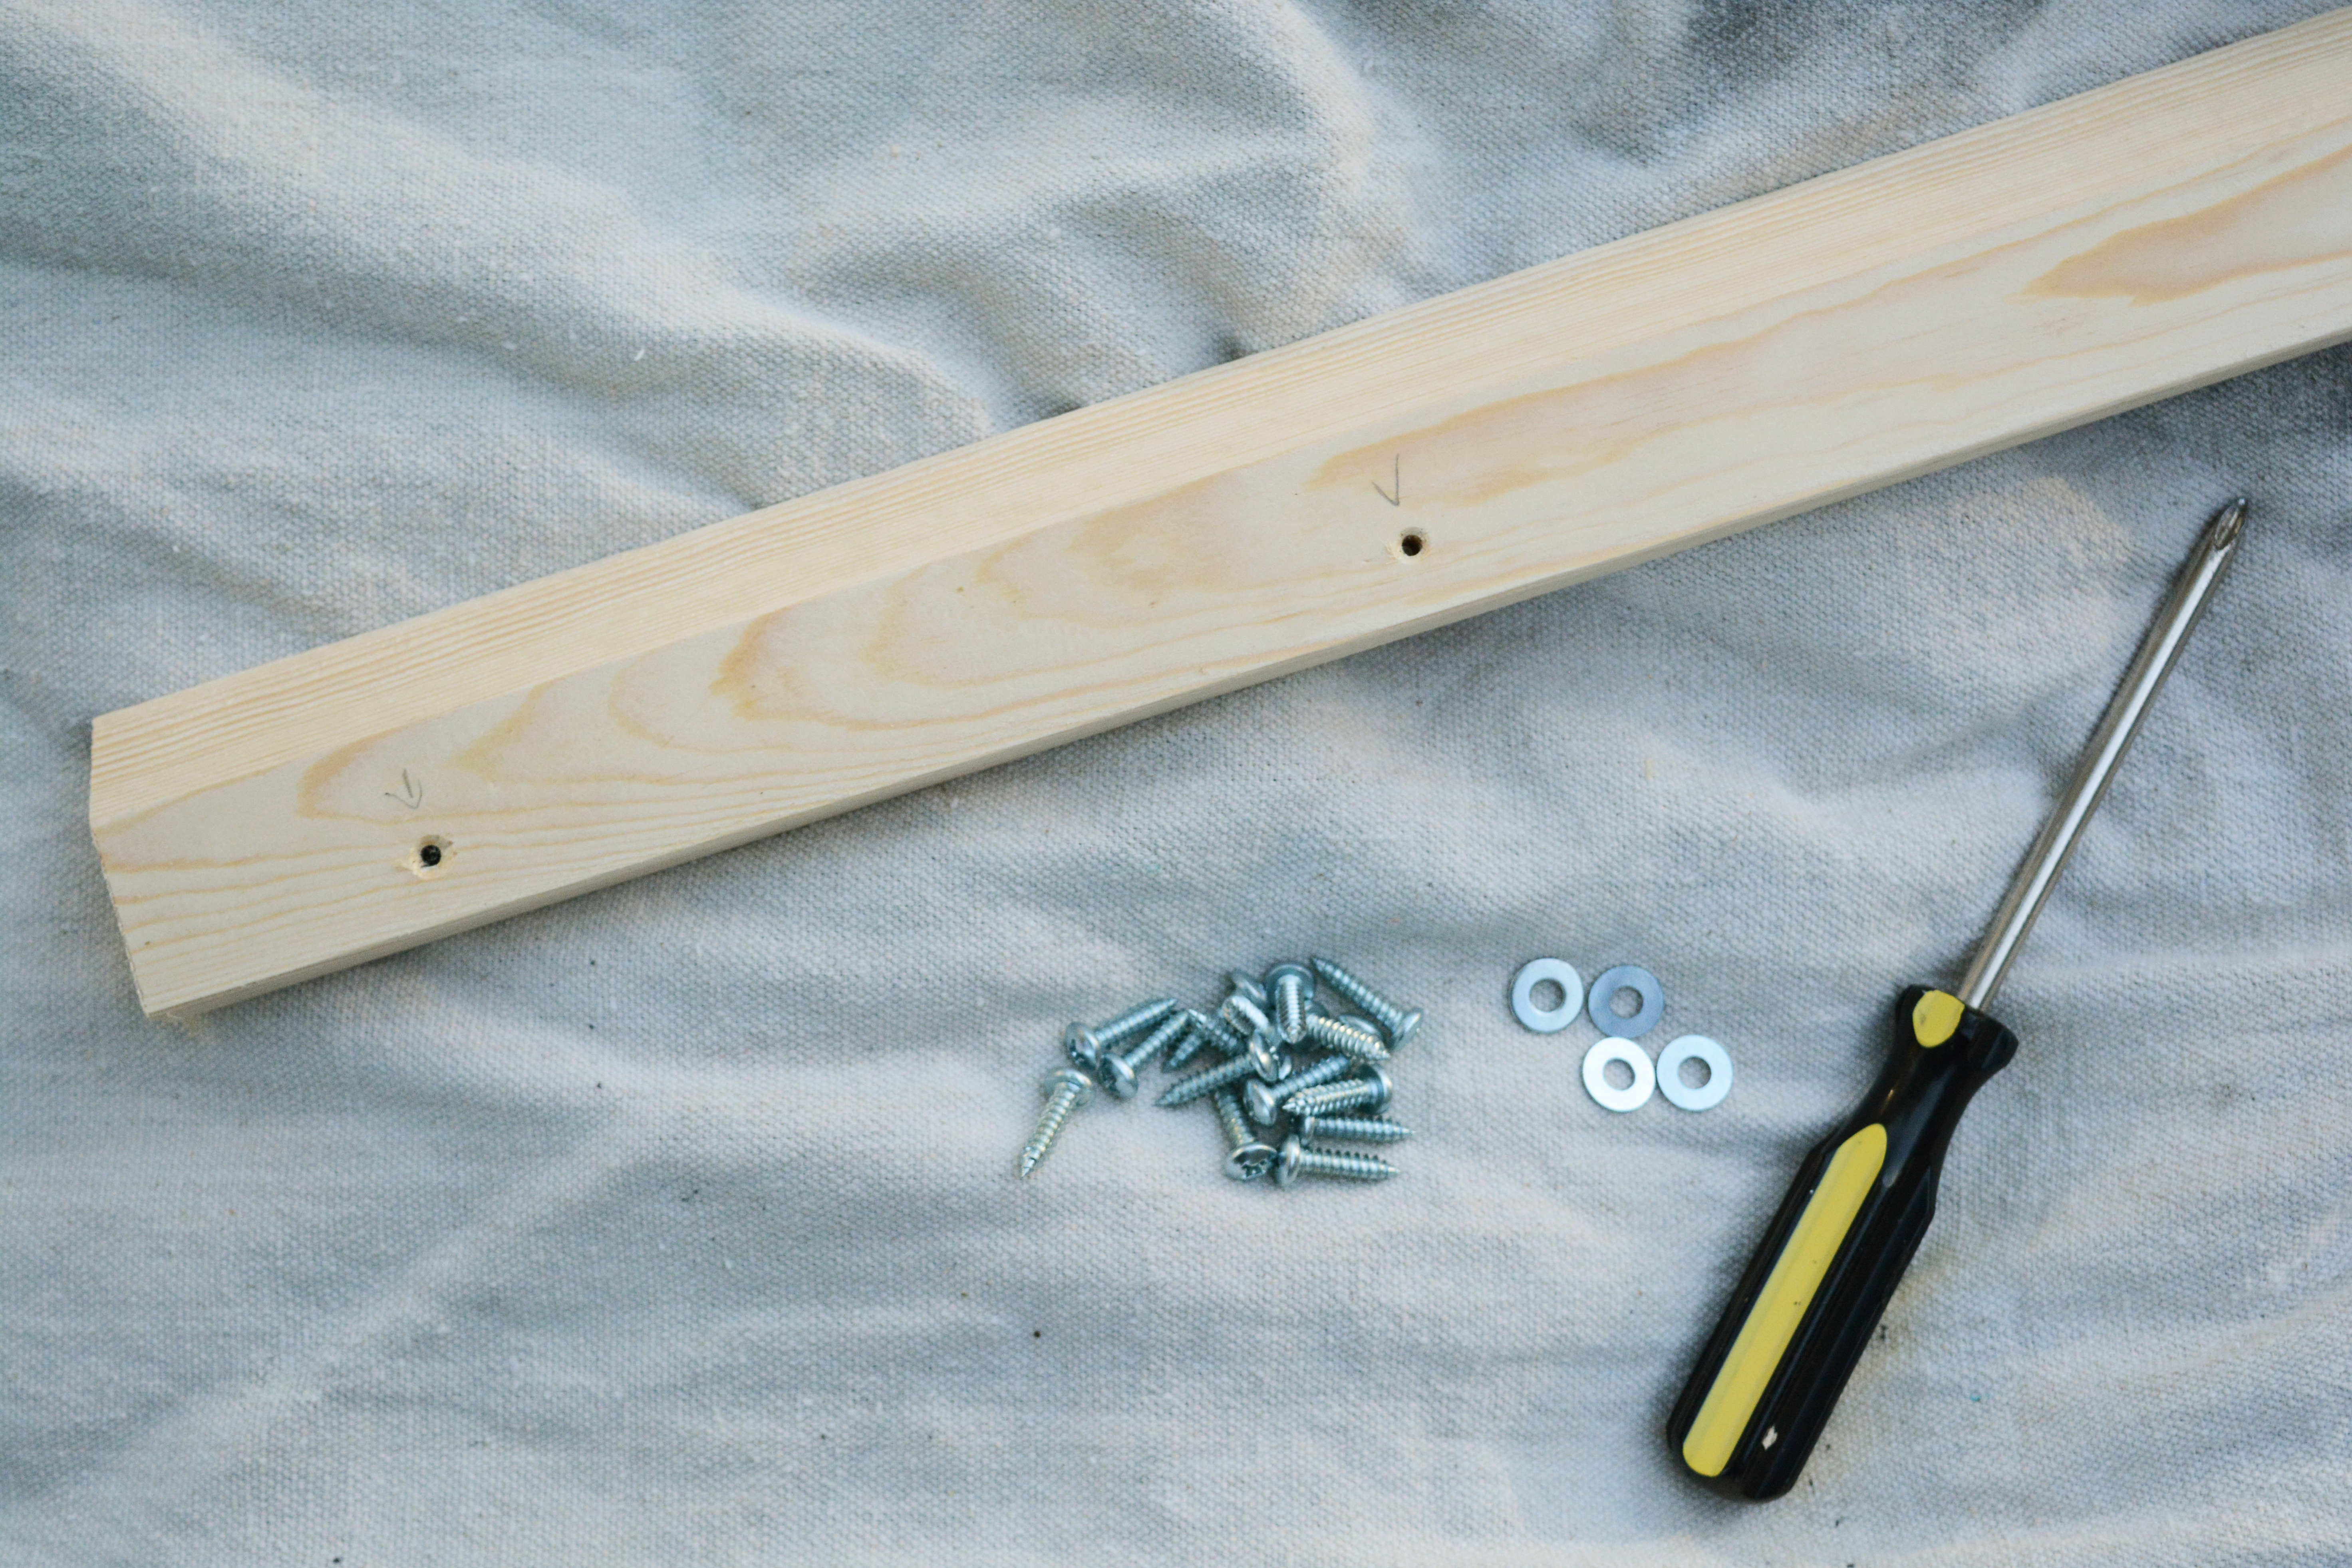
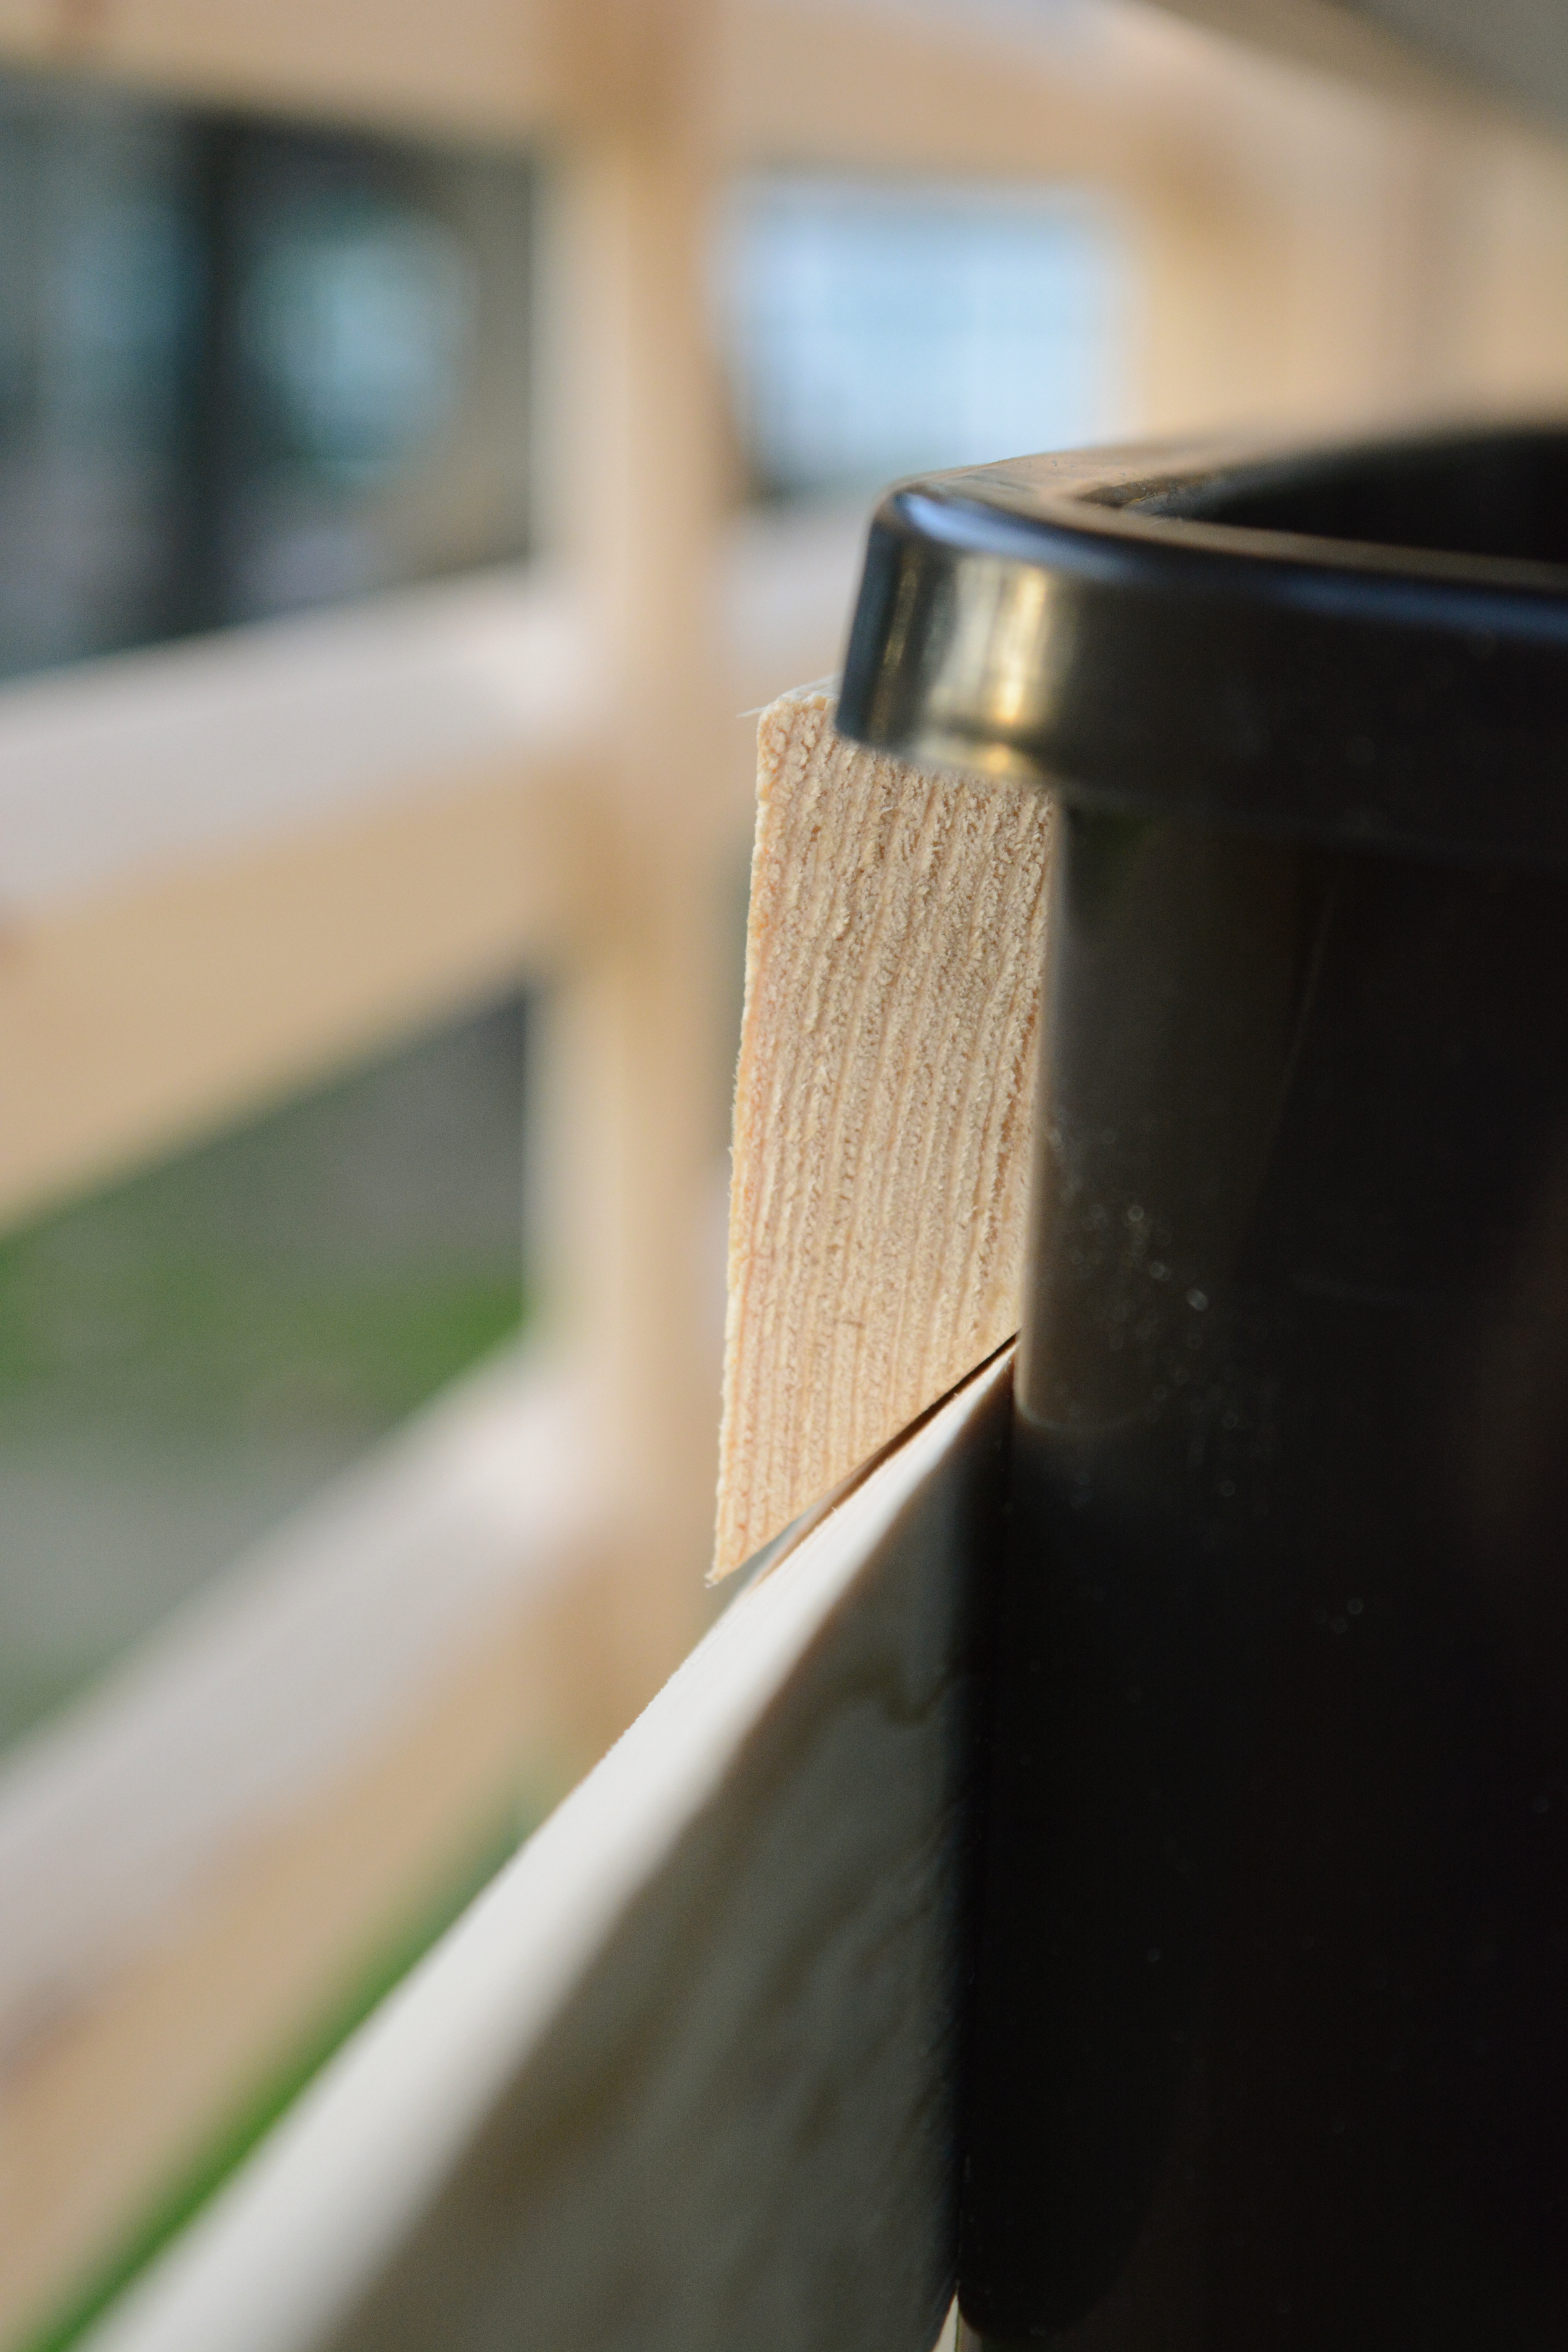
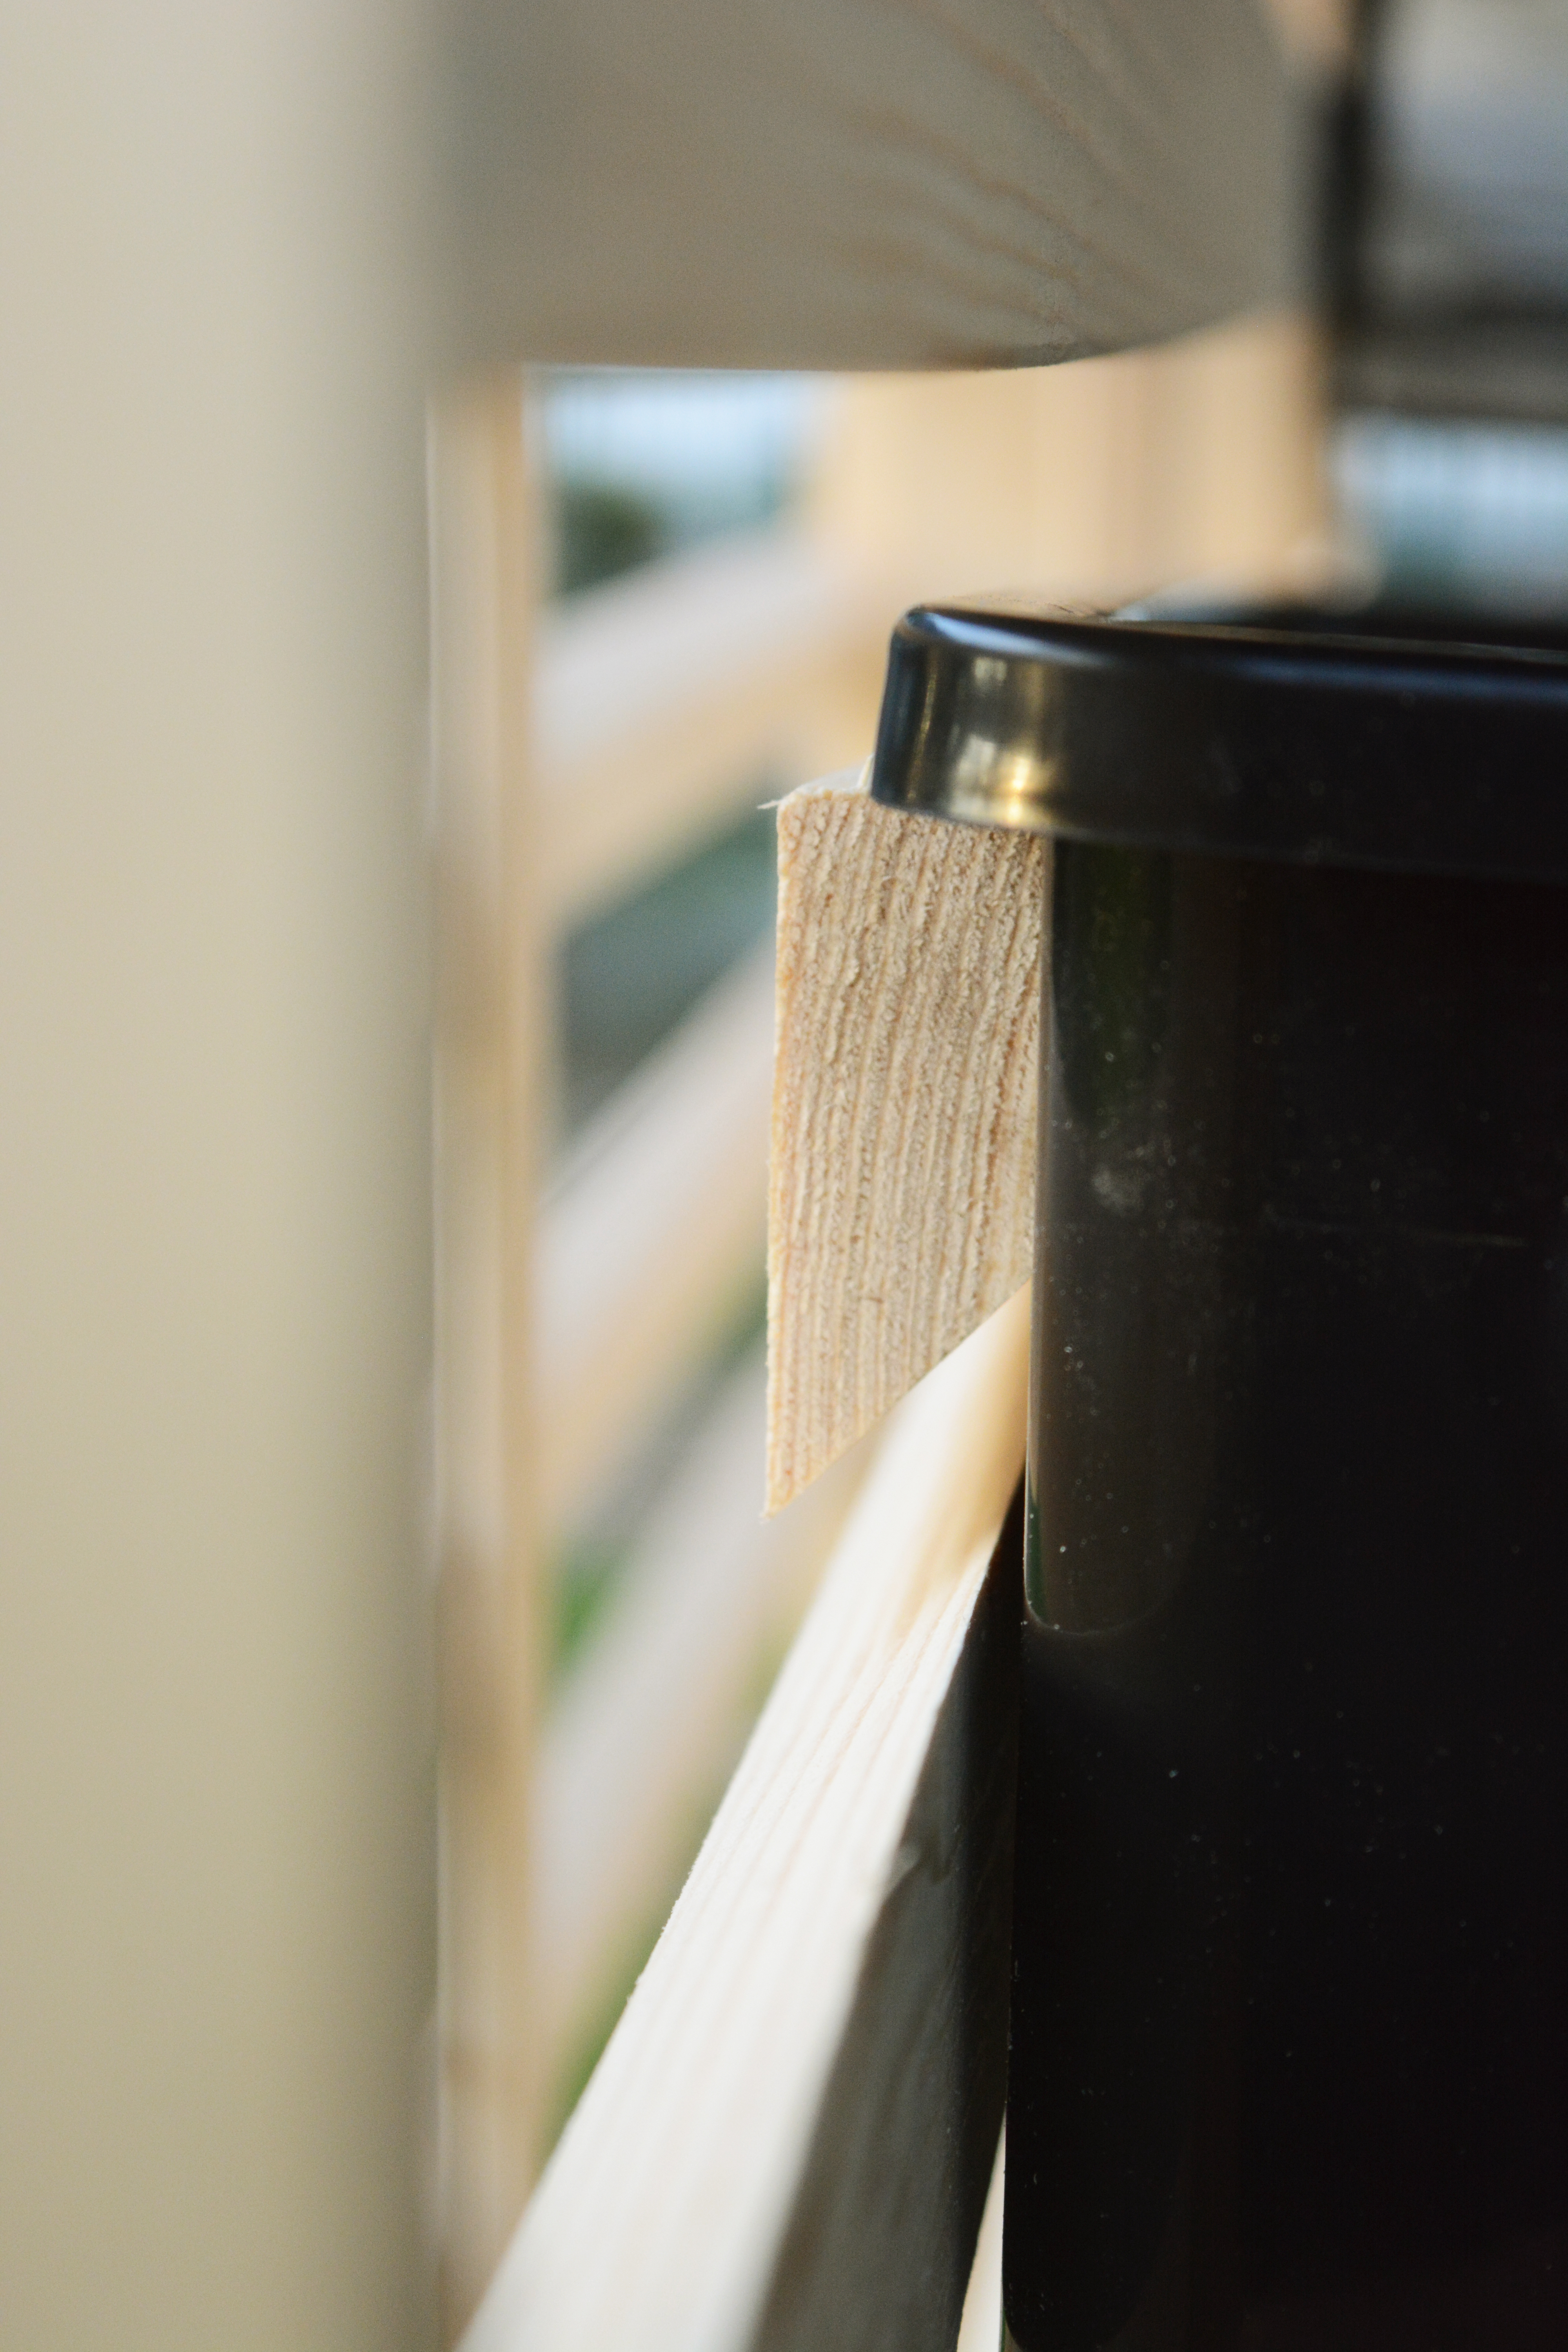
Cut extra lengths of the 45 degree angle slats. These will be cut the lengths of the plants that attached to backs in the opposite direction.  Pre-drill the holes, starting 2 inches from the edge and spacing the screws no more then 6 inches apart.

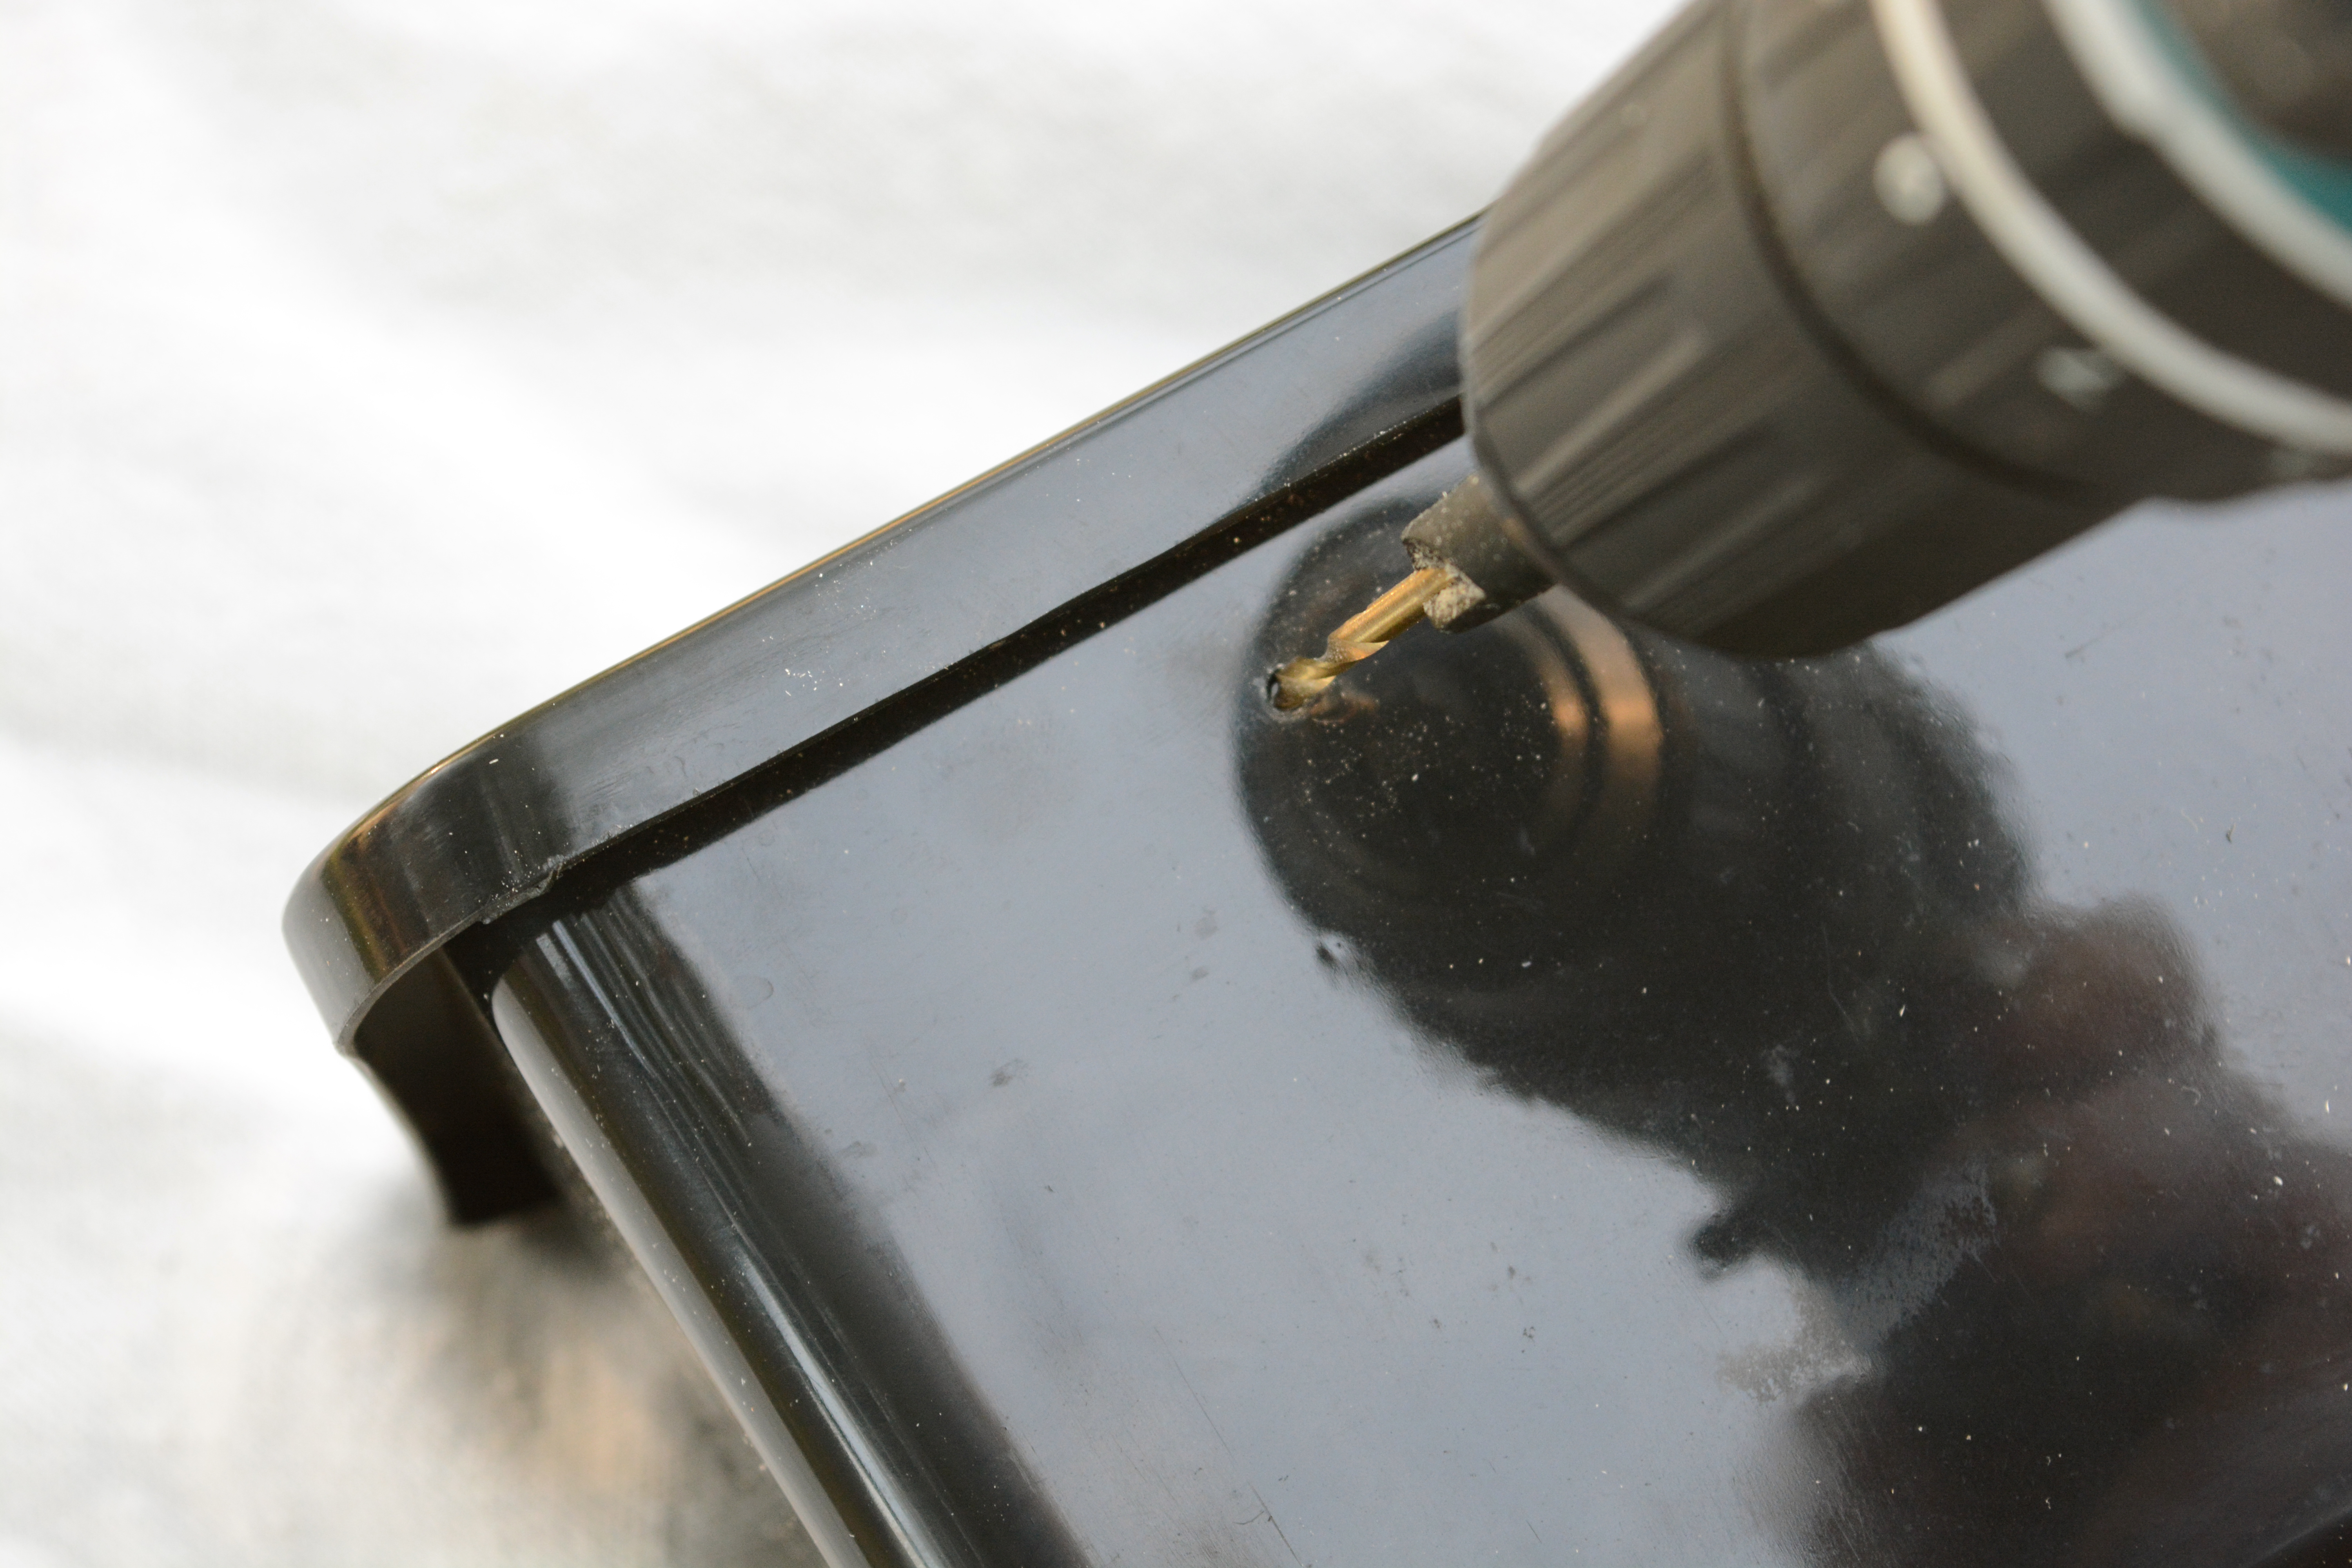
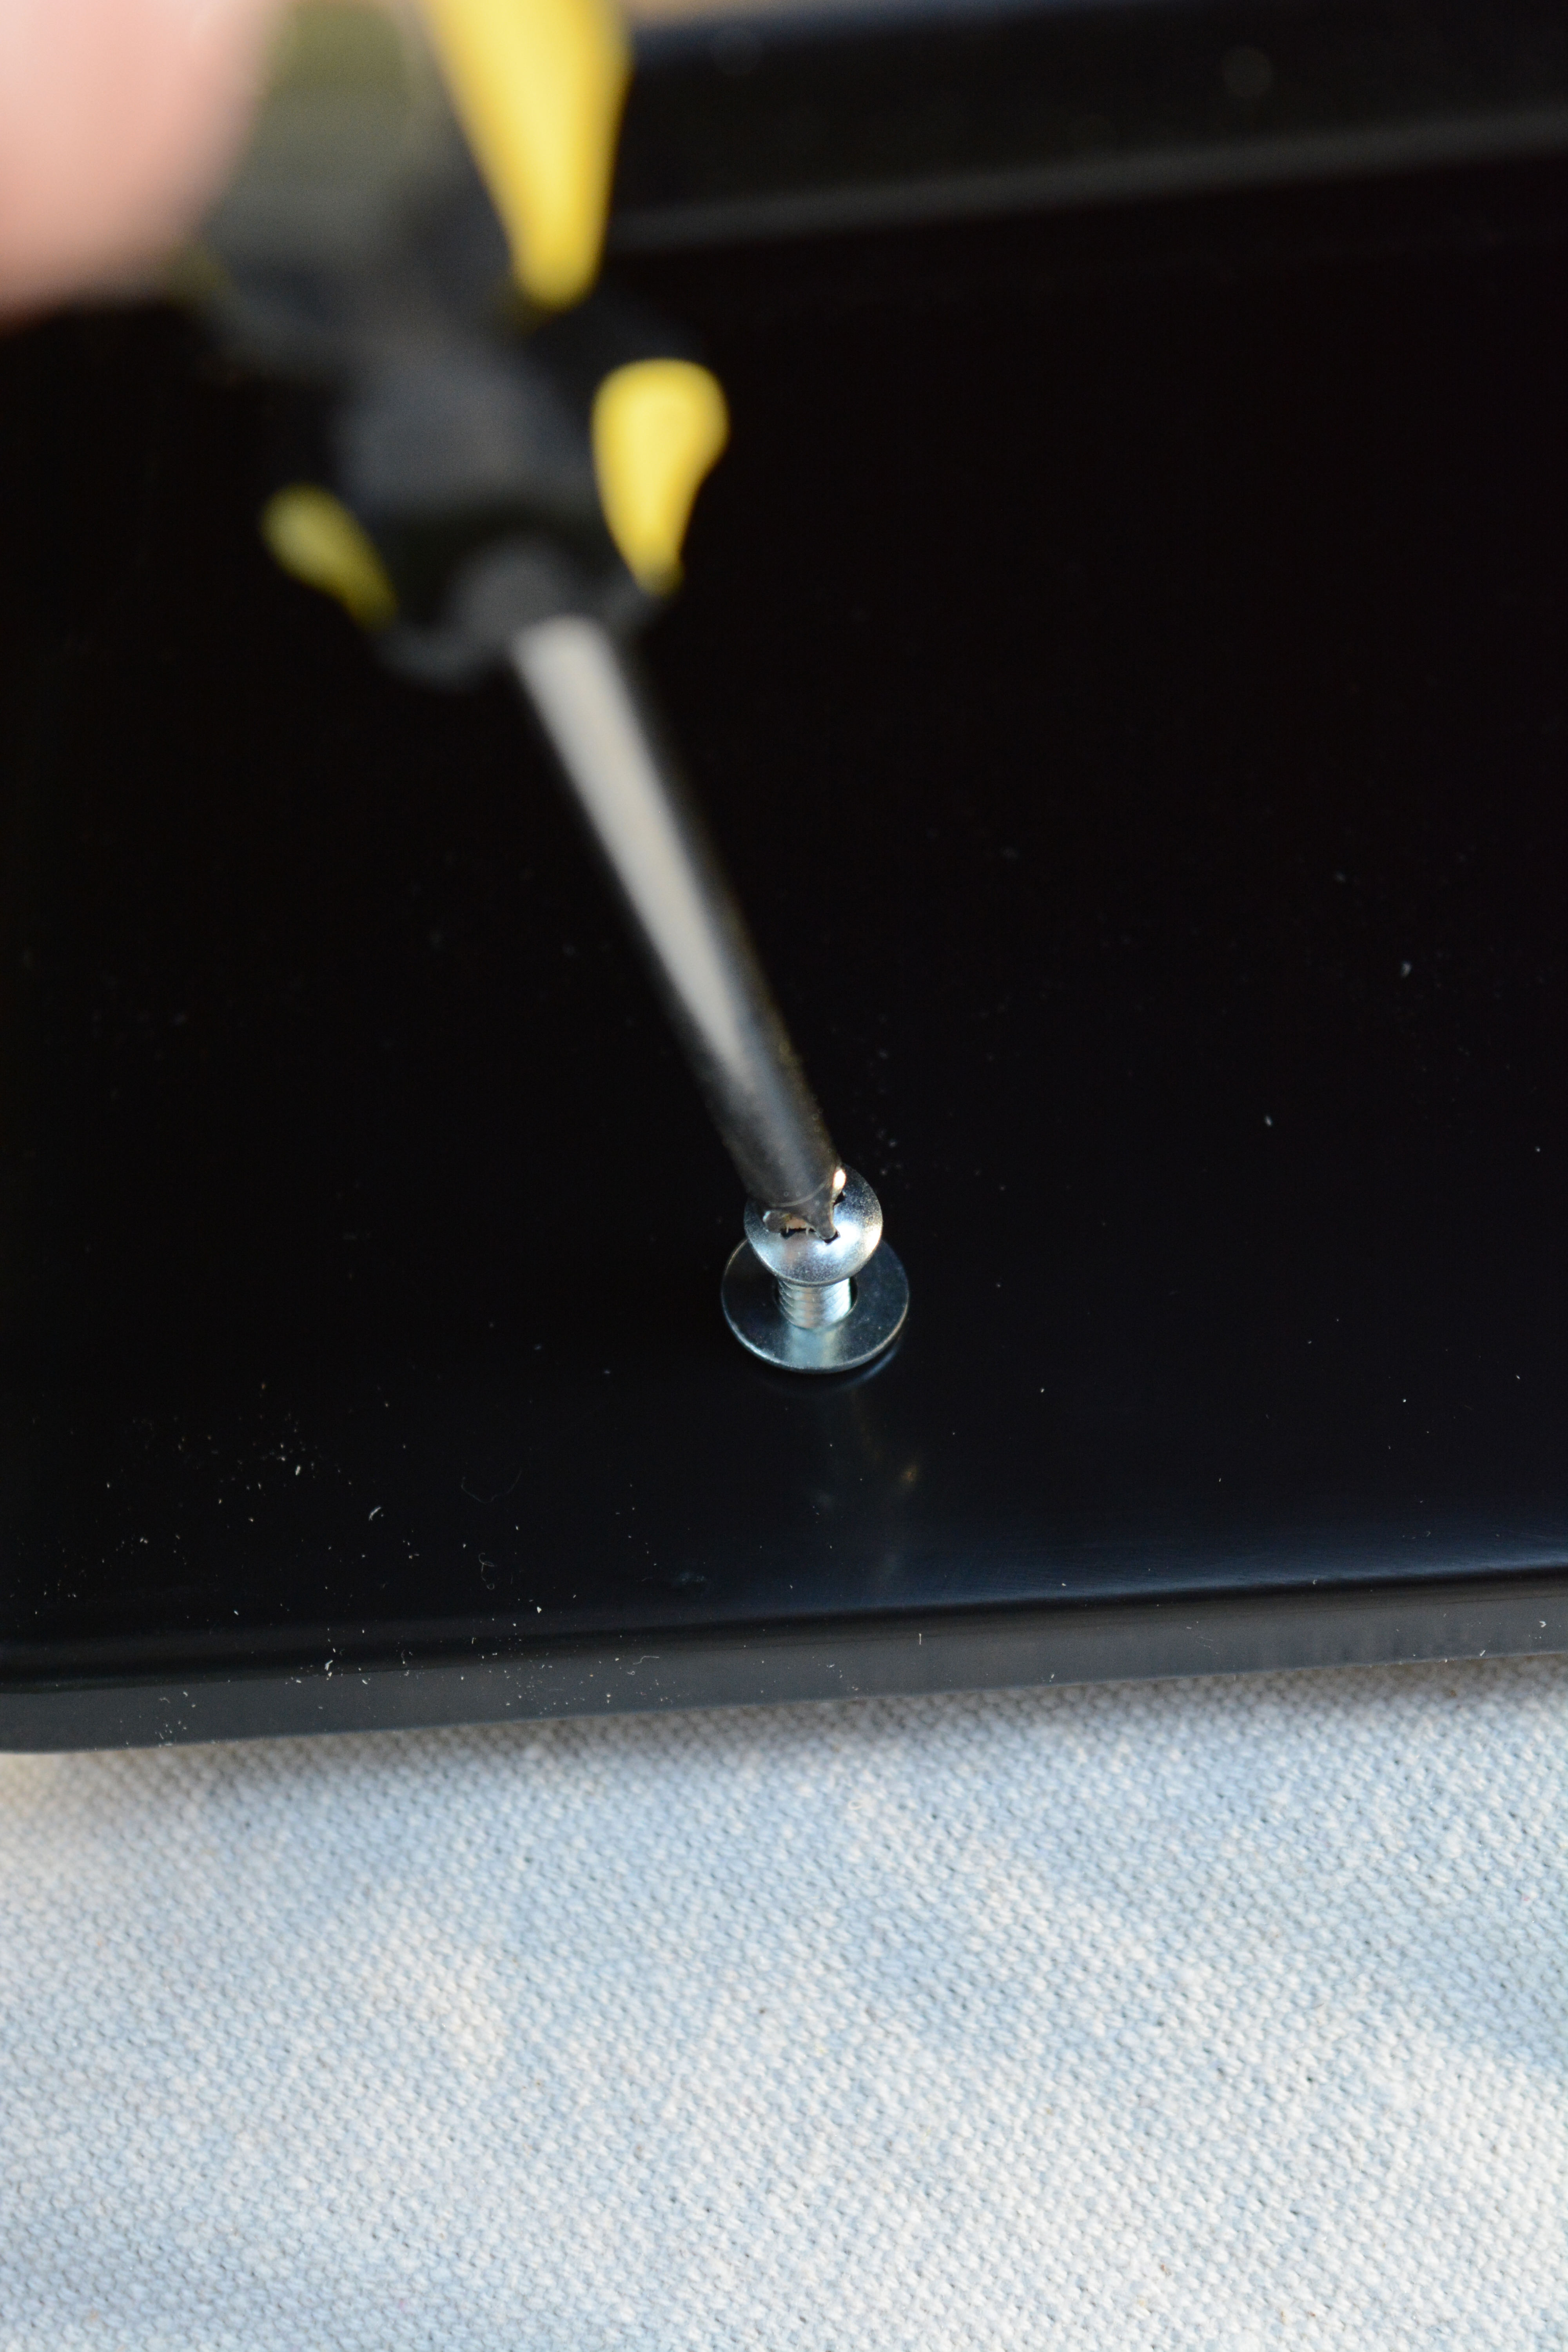
Pre-drill holes in the plastic planters as well. Then using a 1-1/4″ screw and a washer, attach a cleat to the back of every planter.

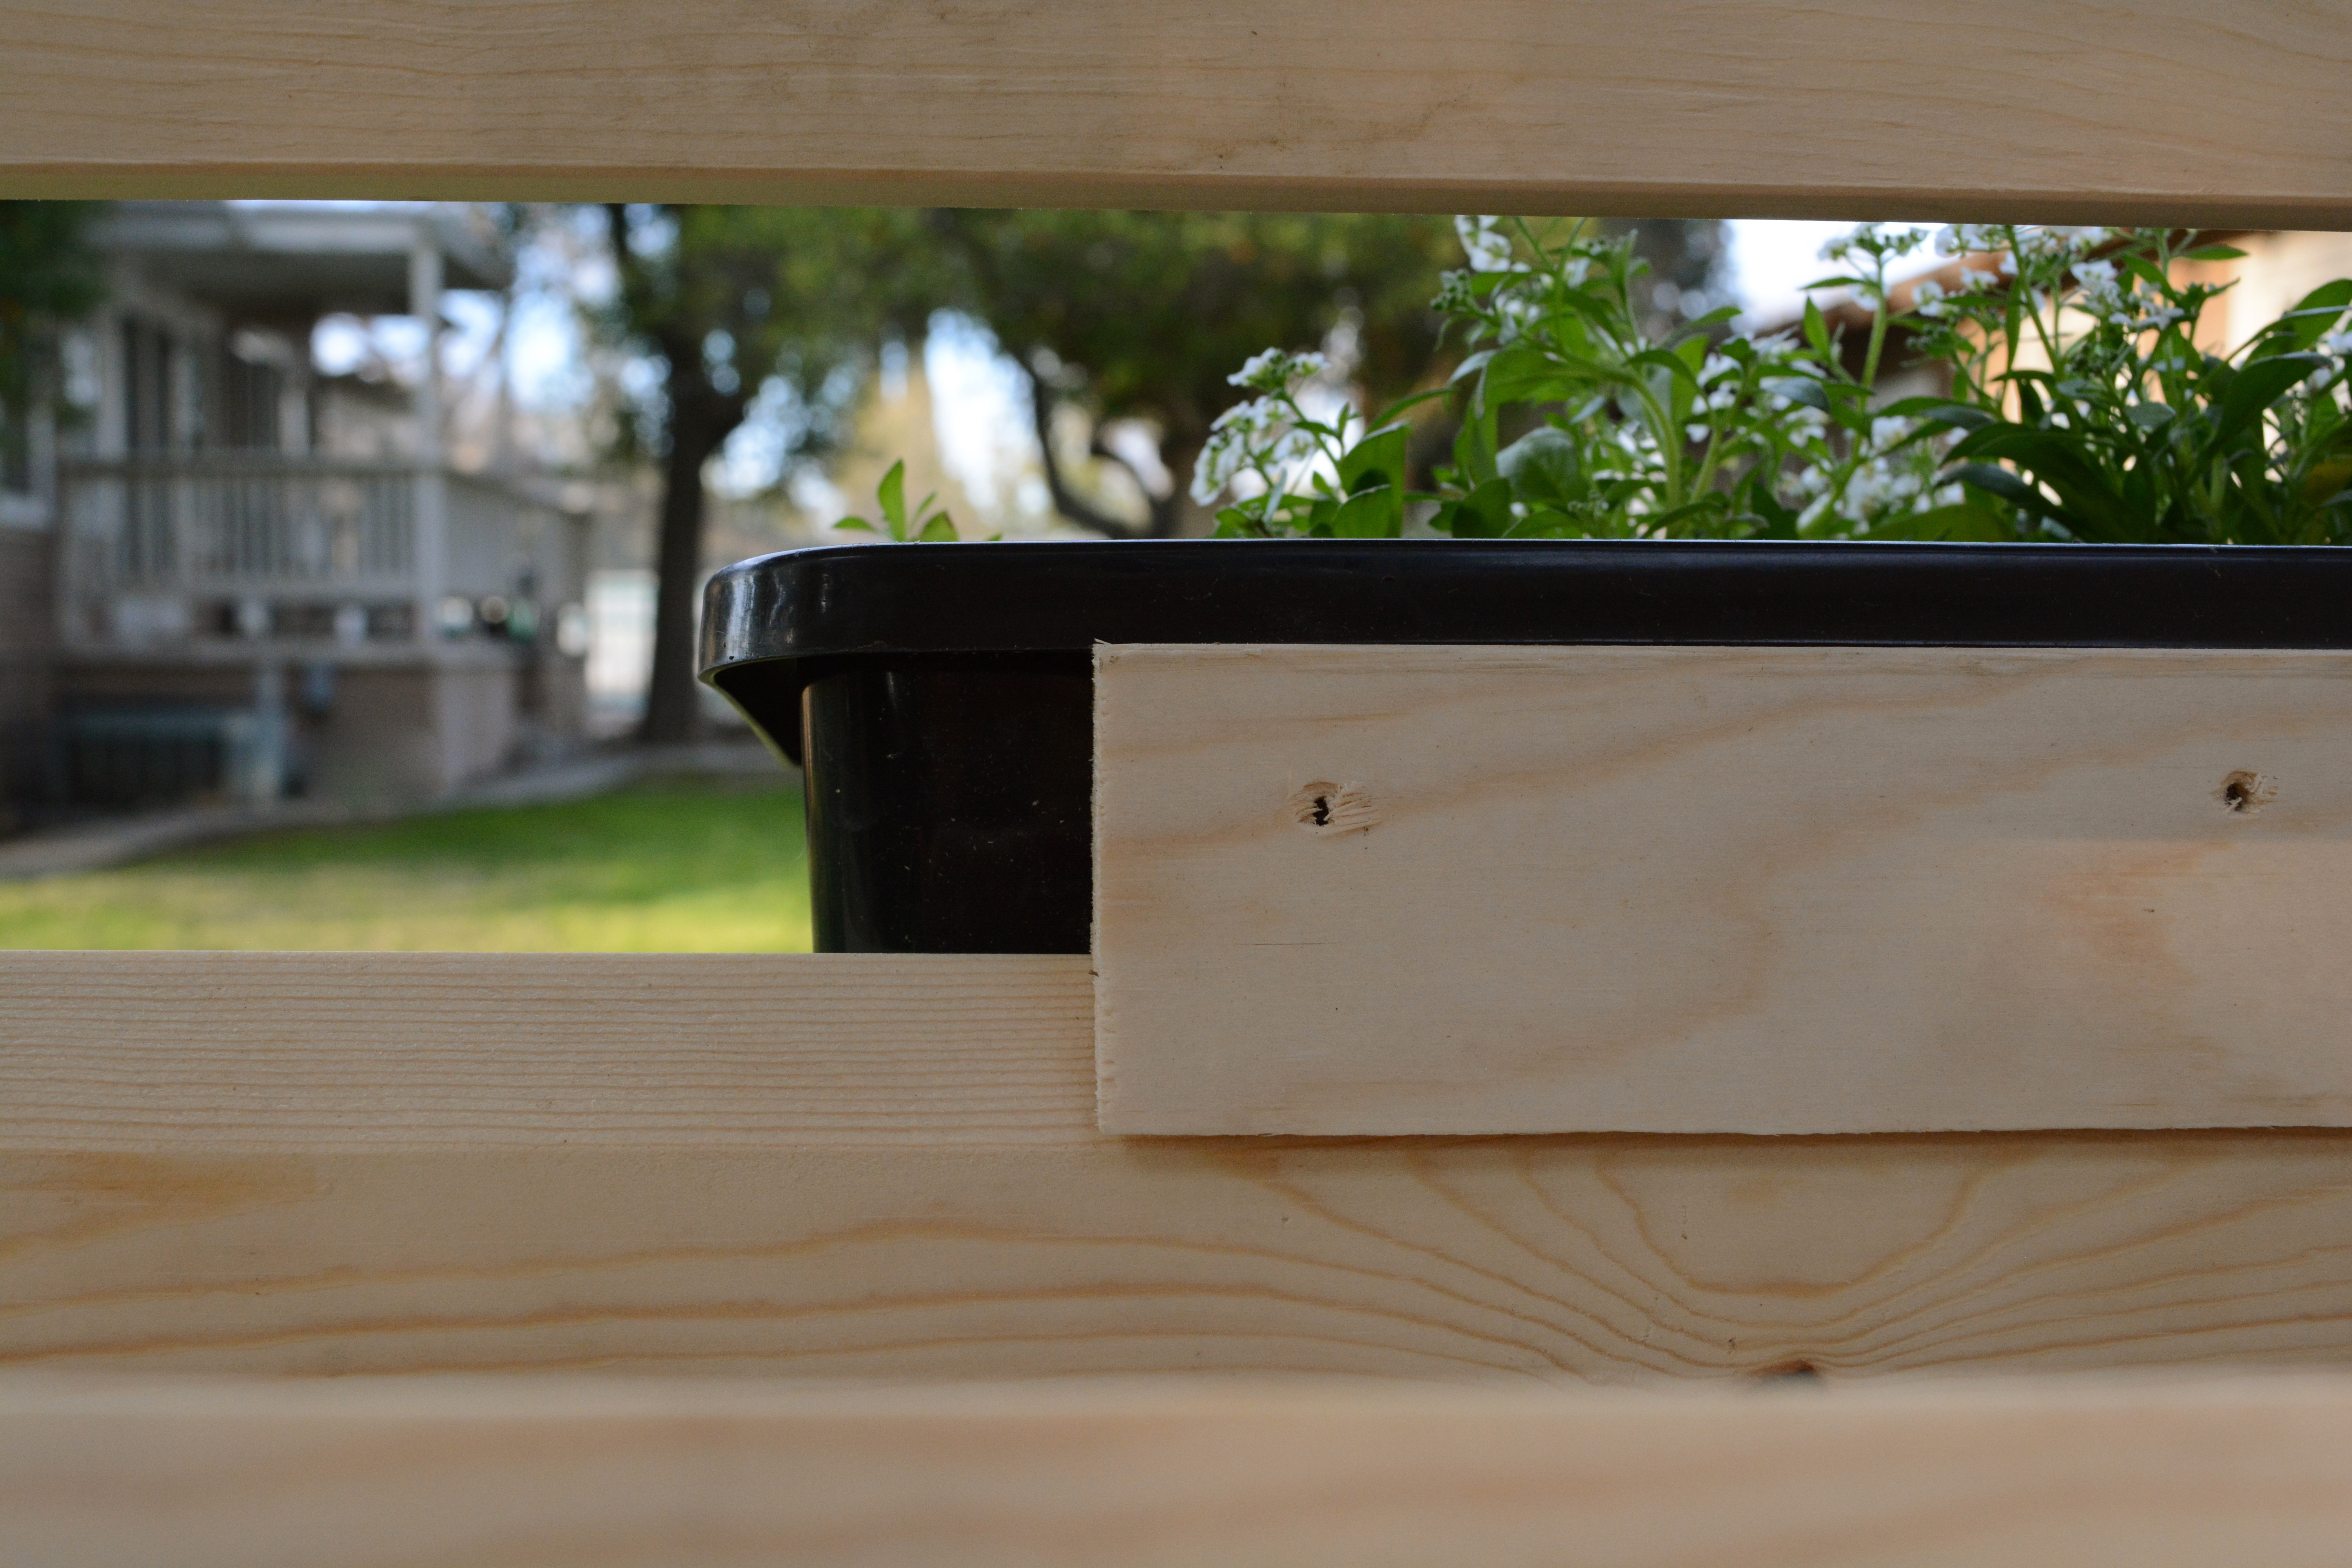
The cleats fit seamlessly on the wall. The weight of the planter holds them in place and there is no worry of them slipping off.

And there is no clunky hardware or hooks, the planters even look great from the back.

Vertical Living Wall with Moveable Planters

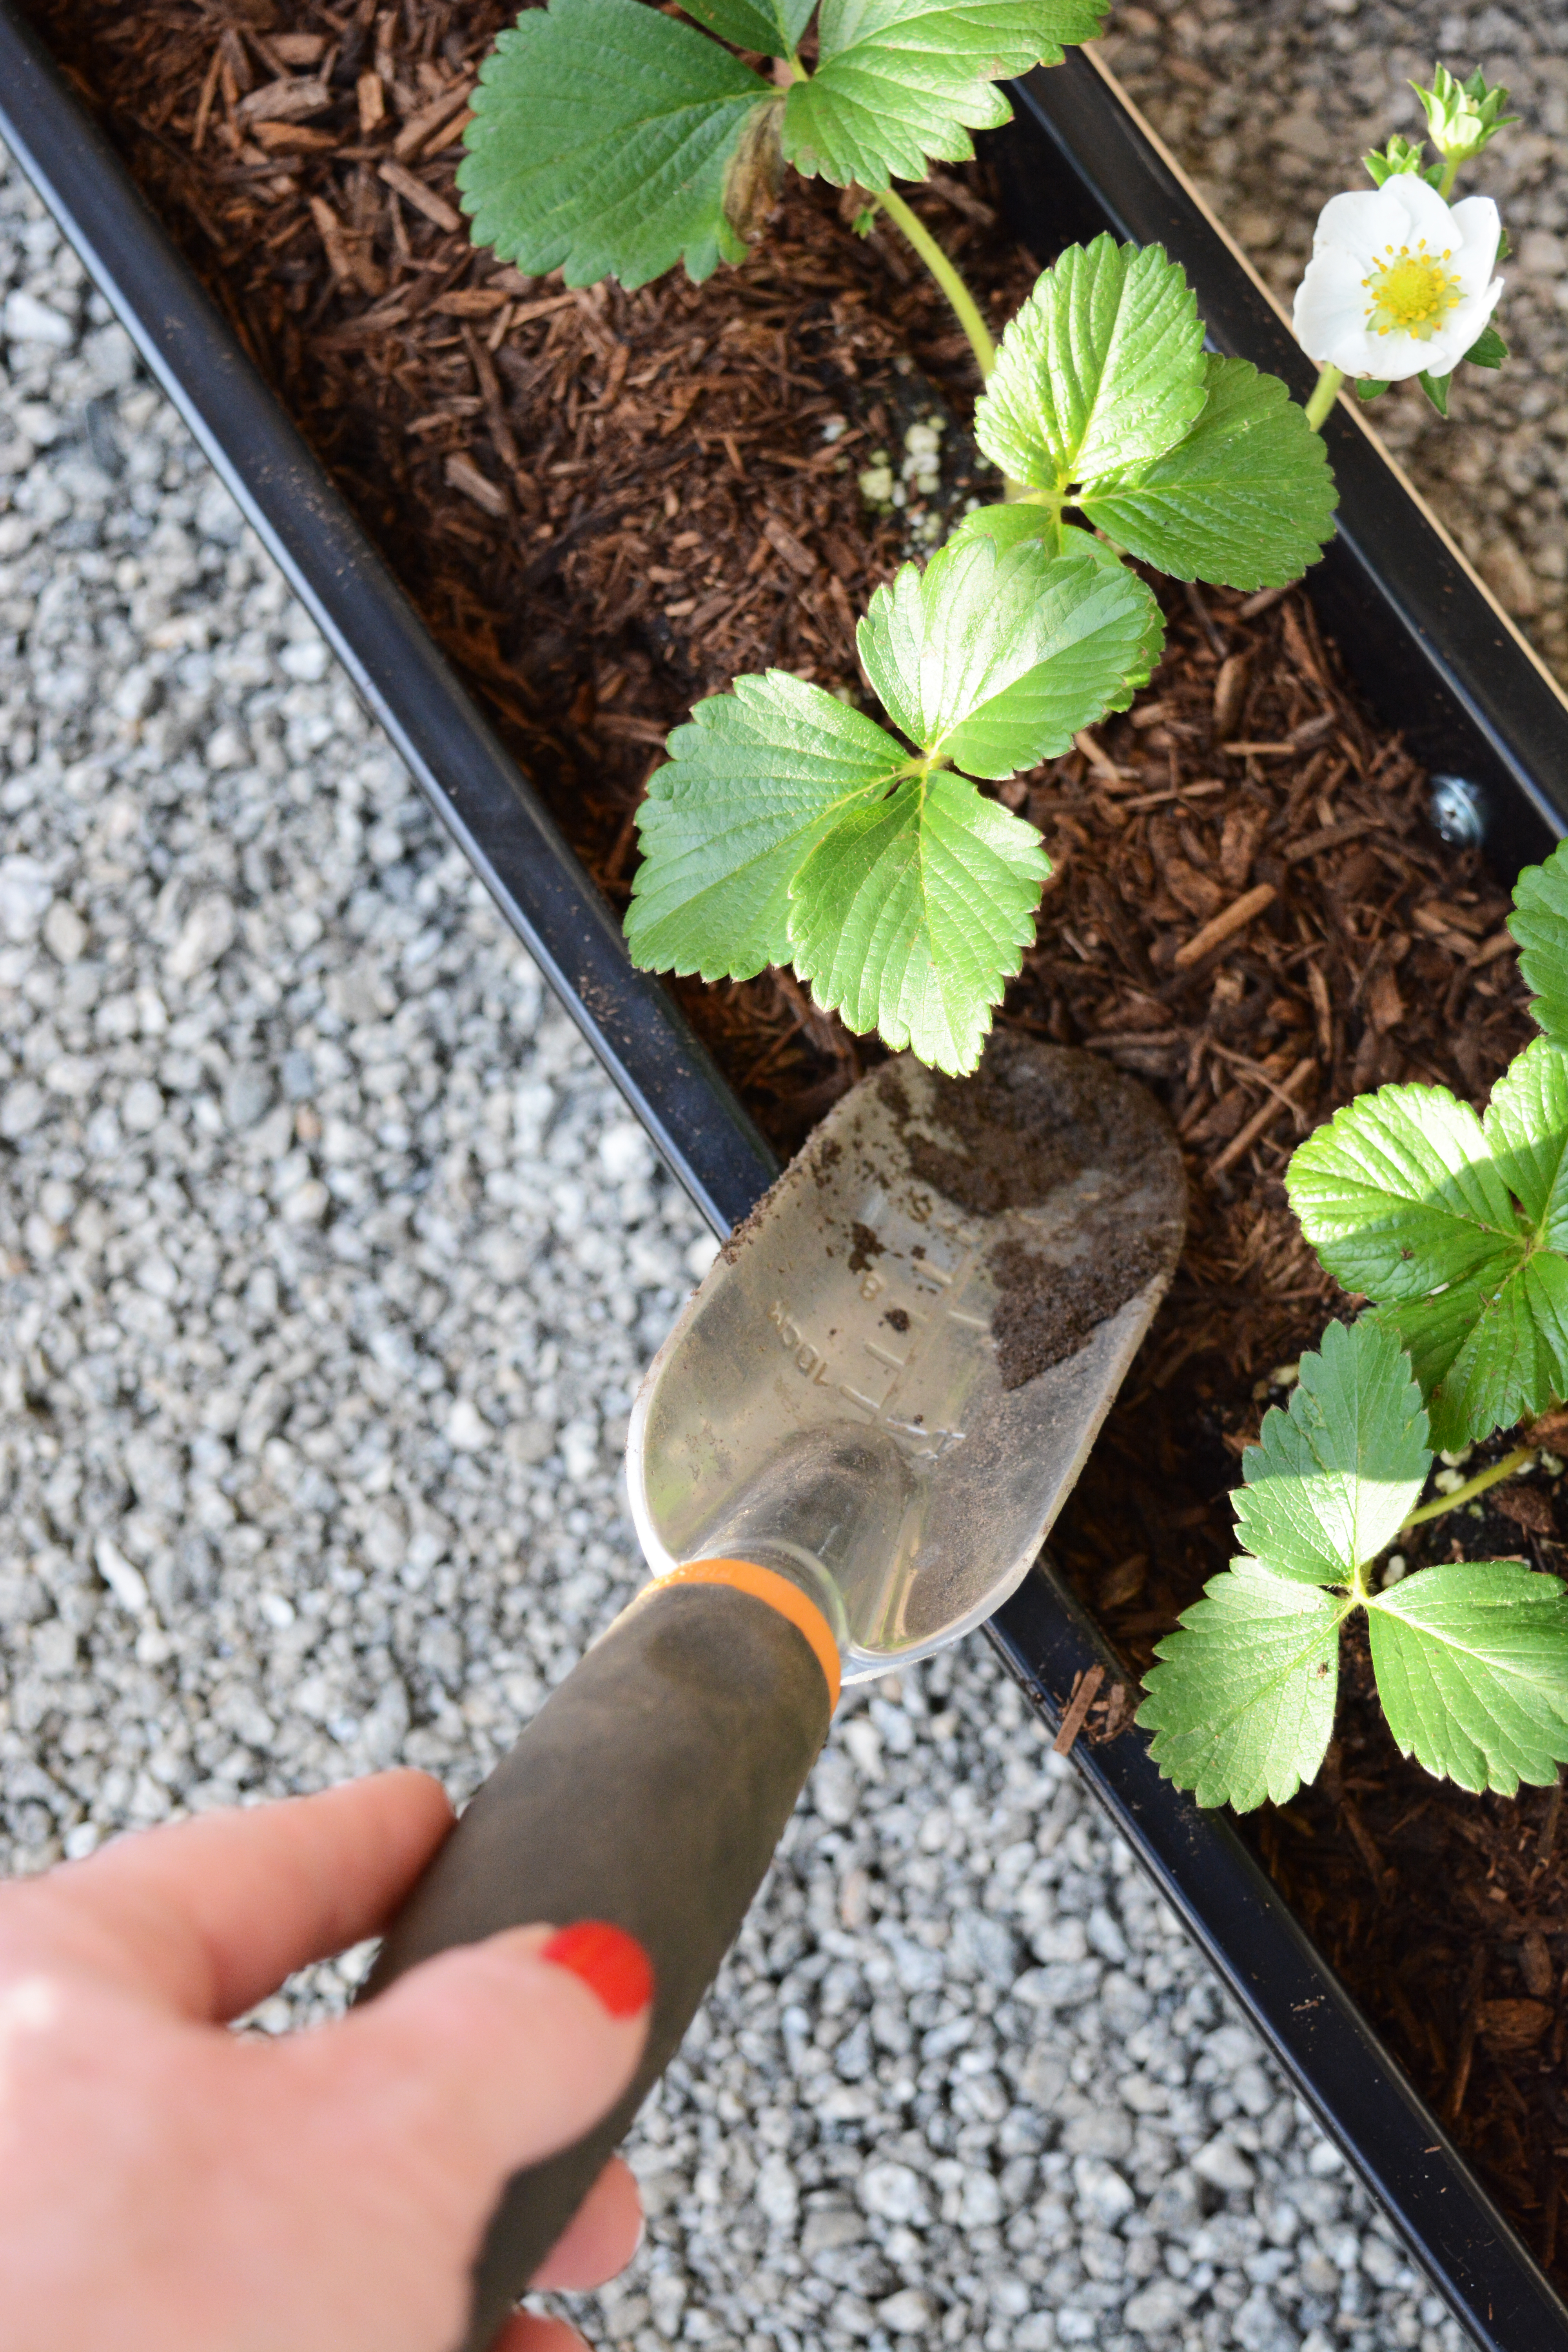
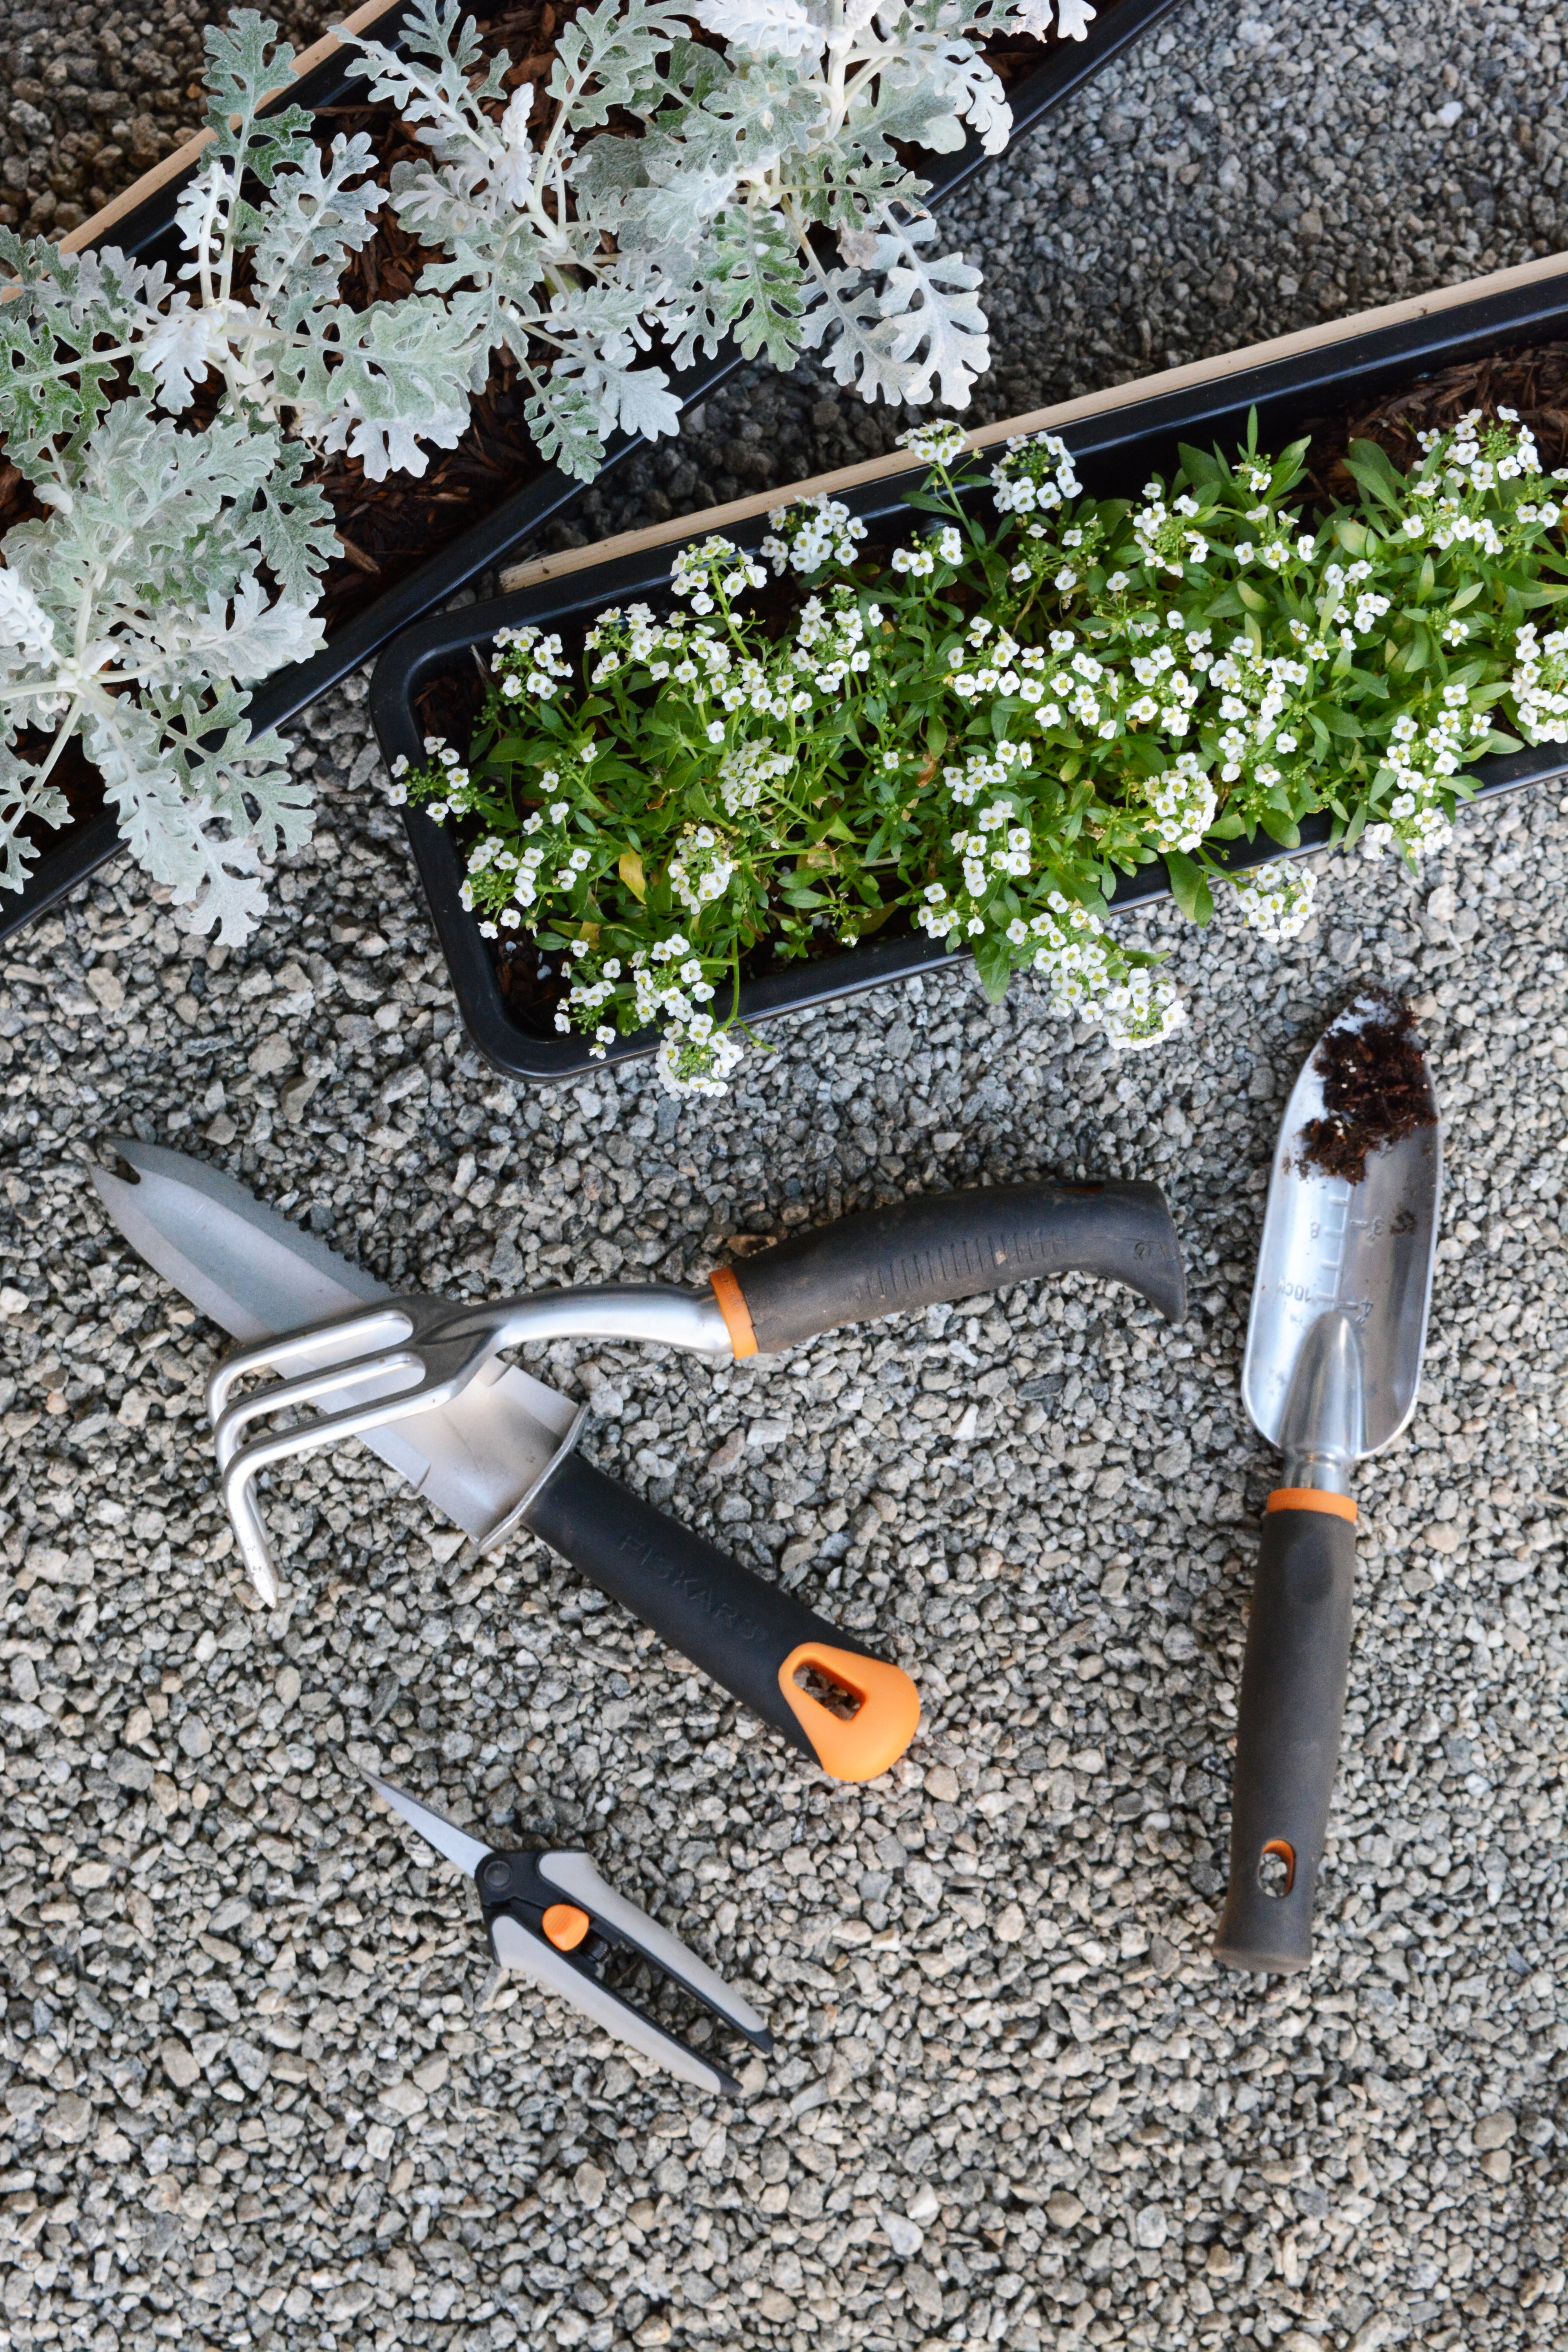
The planters can easily be take down to water, plant, prune or weed.

Vertical Living Wall with Moveable Planters

I think I’m going to have a lot of fun with this living wall. I’m excited to play with more plants and figure out what will grow best in the vertical garden. It’s also has created a great little outdoor getaway spot for my guests.

Vertical Living Wall with Moveable Planters Vertical Living Wall with Moveable PlantersVertical Living Wall with Moveable Planters

I teamed up with Fiskars to create this fun project. Thank you for supporting the companies that help make this blog possible.