DIY

Felt Tic Tac Toe

February 2, 2015

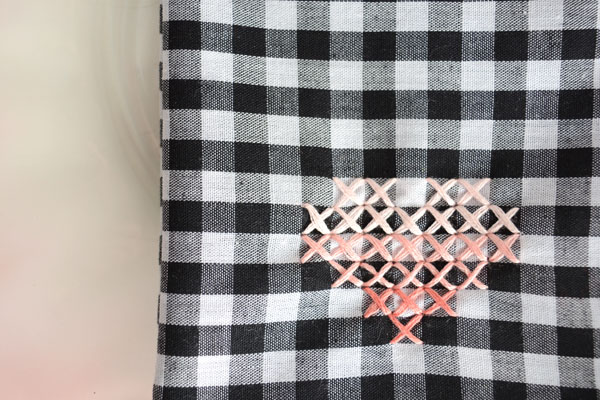
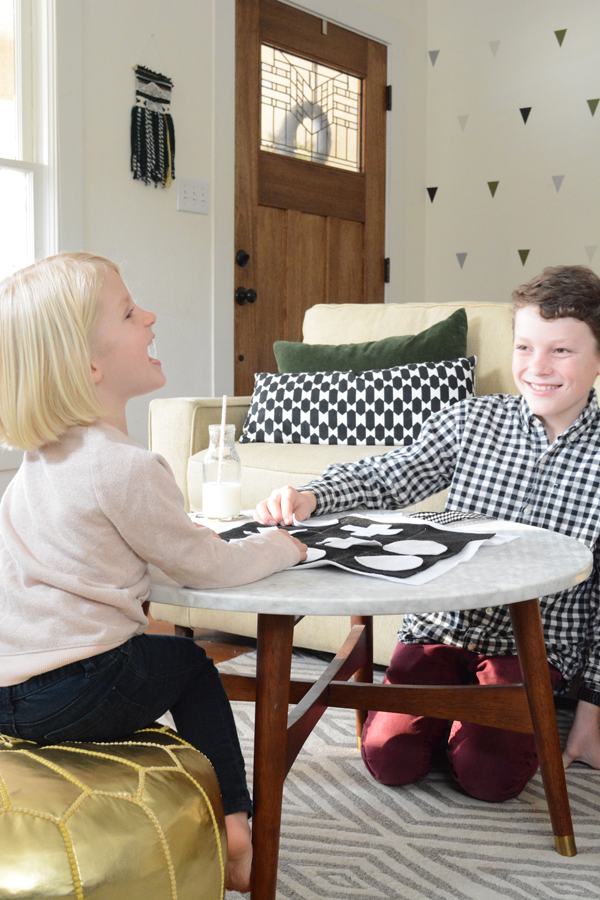
We always need less TV in this house.  Games are a great alternative, and nothing’s simpler then good old tic tac toe.  I made a little felt game board and pieces this week for my kids.  Olivia is not quite old enough to really get the concept, but it’s good for the big kids to patiently play with her and teach her the rules.  
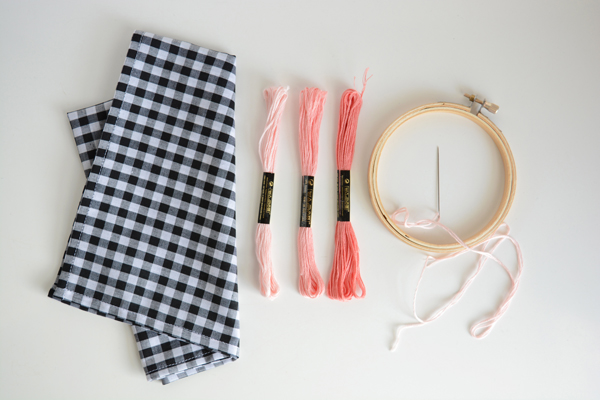
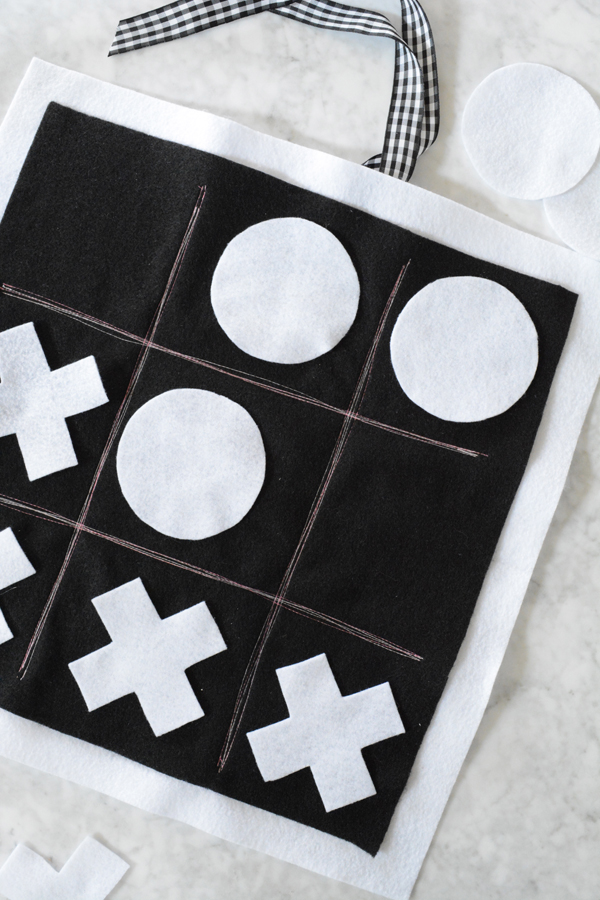
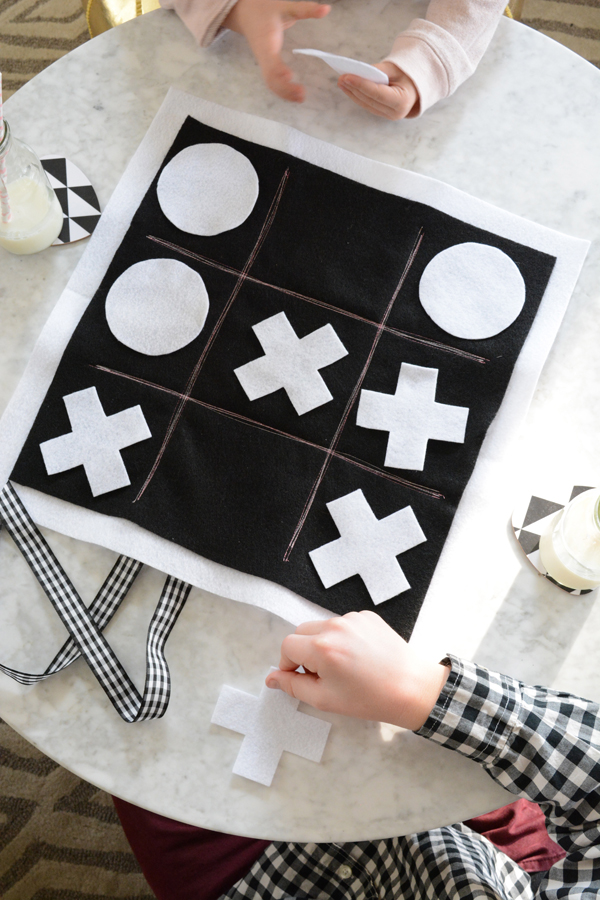
All you need is a little felt, some scissors and you can either sew the game board pieces together, or just glue them with felt glue.  I cut two squares of felt. The bottom white piece is 16×16″ and the top black piece is 14×14″.  And I also cut 5 each of the Xs and Os out of the white felt (I’ve got a printable template for the those HERE).  
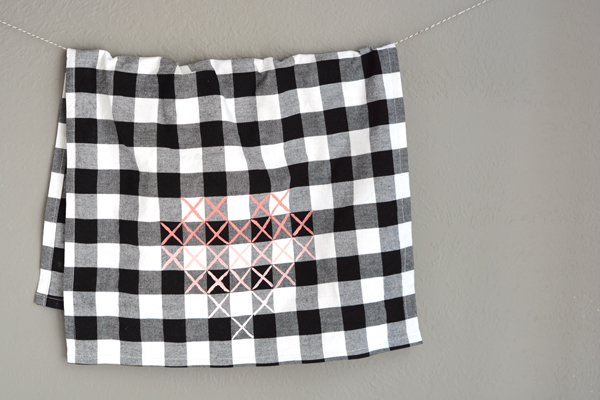
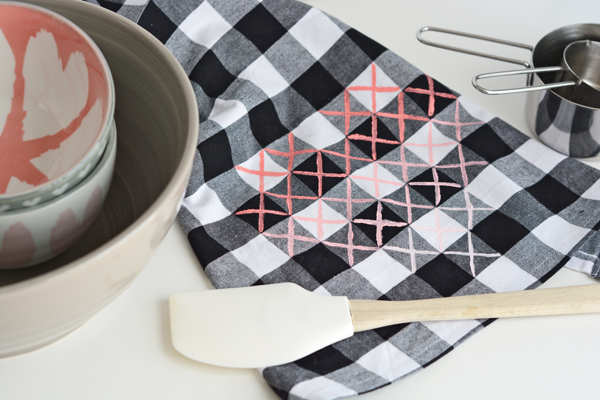
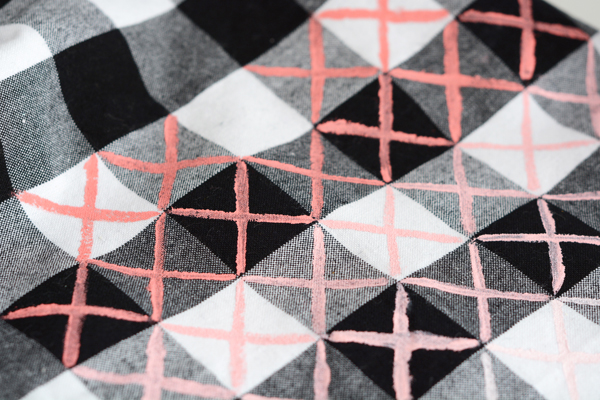
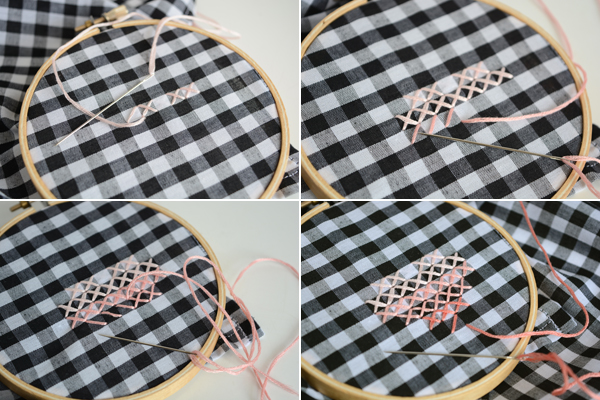
To make the grid on the board, I sewed back and forth with my machine in pink thread.  You don’t even have to sew in a straight line.  I like the imperfection of the overlapping stitches.  And if you don’t want to sew at all, glue is always an option, but you’ll need to glue some strips of felt for a grid as well.

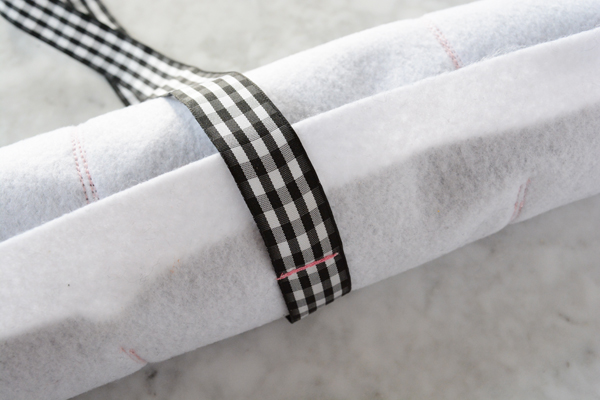
I also stitched on a piece of ribbon to one side of the board, so that the board could be rolled up for storage.  Because all the pieces are felt, they stick together well.  Just place all the X’s and O’s on the board before you roll it up and they will stay put.

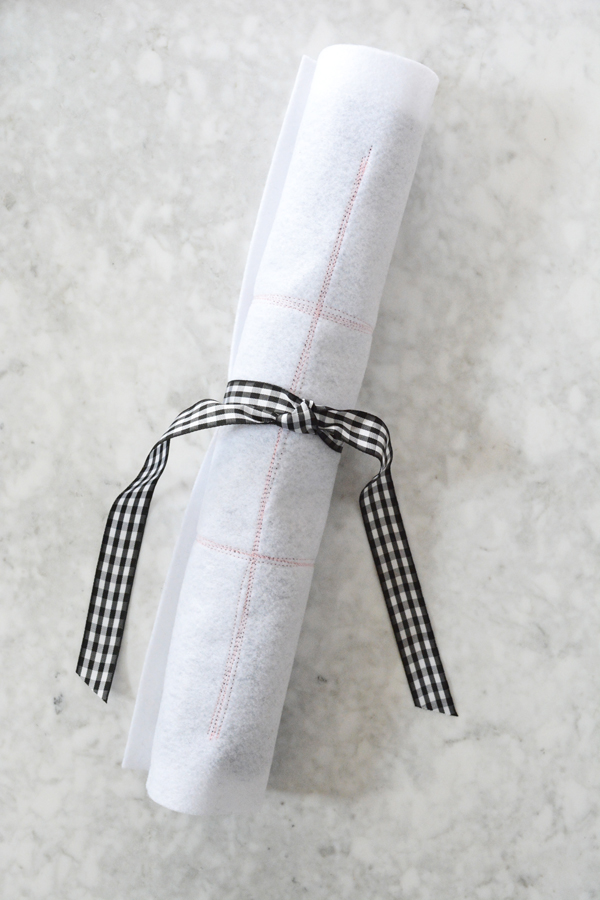
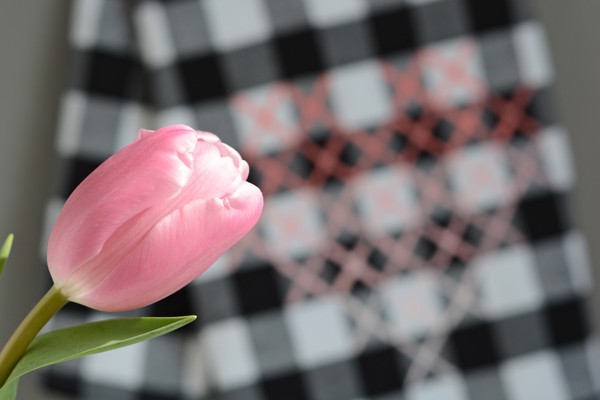
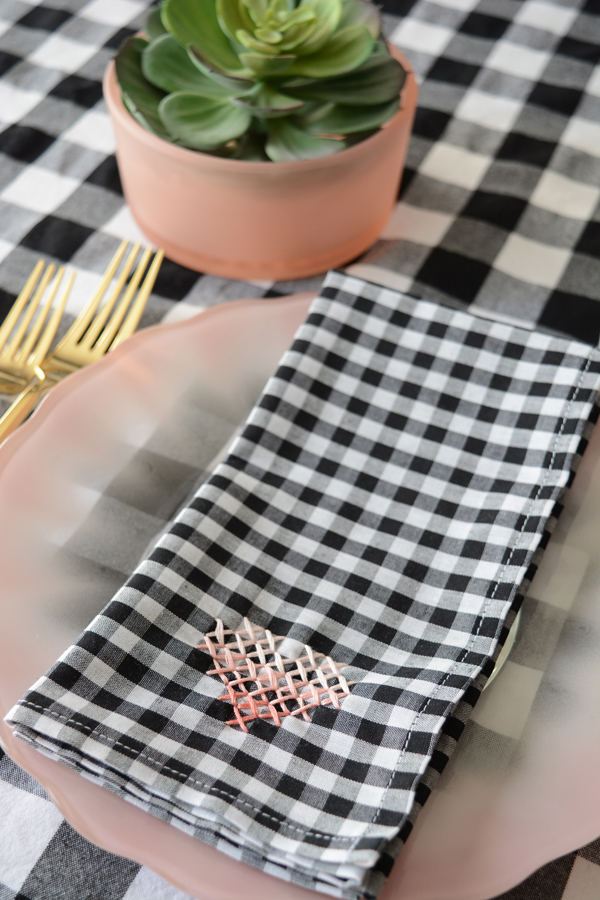
Wouldn’t this make a great non-candy Valentine’s gift for some kiddos in your life?

I hope your Monday is off to a great start.  We had a fun weekend together as a family.  Saturday, we spent the day in Ojai.  It was fantastic, I’ll share more about our day here soon.  And on Sunday, we went to church and then we just chilled at home, ate snacks and watched the game (actually I really only watched the half time show).

etc.

Friday’s Fabulous 5 – Heart Shaped Treats

January 31, 2015

Three cheers for the weekend!  I’m not a very girly girl, but when it comes to Valentine’s Day, everything has to be hearts.  I’ve found 5 fabulously creative heart shaped treats that you could make this weekend.  Be sure to head of to these blogs, they are some of my favorite bloggers out there. 
This week has been a long one.  In order to actually have some time together as a family and not just end up cleaning up around the house and yard, we’re going to take a little day trip to Ojai.  Ya, we’re pretty much cool like that.  I’ve been itching to go for quite a while now.  There’s a few shops I want to check out and definitely some eats and coffee to be had.  I’ll be sure to document it for you.  
Boy do I love California, there is no shortage of activities and places to go.  While folks across the country are shoveling their walks and bundling up their kiddos, we’ll be enjoying warm hikes in the hills near Ojai.  Sorry to rub it in, but there is a reason this Canadian and Alaskan, live in sunny California.

DIY

Painted Cross Stitch Heart Dish Towel

January 29, 2015

If you saw my napkins, then you know that I’m continuing with my cross stitch heart theme, but this time there is no sewing necessary.  Using the check or large gingham as my grid, I painted on my X’s.  I decided to use the ombre effect again to make it a little more interesting.  You always need dish towels (or tea towels as I call them), and if they are cute, even better.

I used Martha Stewart’s craft paints in Pink Flamingo, Wedding Cake and Pink Carnation. The darkest color is the Pink Flamingo, the middle tone is Pink Carnation mixed with a little Pink Flamingo and the lightest color is Wedding Cake mixed with a little Pink Carnation.  Using a this detail paint brush, I started in the middle of the towel and painted the bottom X first.  My lines are far from perfect, but if you’ve ever painted on fabric, you know how tough this can be.  But, I really don’t mind the imperfections, it’s what makes this look handmade.  Some things you just don’t want to look like a machine created it. I think the charm is in the uneven brush strokes.

I actually bought 2/3 of a yard of fabric and hemmed the fabric to make two towels, but you can also find cute pre-made gingham and check towels online, like these ones.

If you are in the LA area and would love to get your craft on with me, I’m hosting a Craft Workshop on Feb. 8th at the West Elm Los Angeles.  Get your ticket soon, there is limited space.  I’m making yummy treats for us to snack on and I’ve got some great goody/sway bags for all the guests.  I’d love to see you there.

Food & Drink

Curried Chicken and Pear Salad

January 28, 2015

We’ve been trying to change some of our eating habits since Thanksgiving.  Lon and I took on whole 30.  We feel great and I think we’ve even lost weight.  Now we are just doing our best to eat well and avoiding sugars and processed foods. This chicken salad is a go-to for us.  It doesn’t taste like a diet and it’s jam packed with the protein my body needs for fuel.

This salad is the perfect balance of sweet and hot. I love a little sweet with curry, actually I love curry anyway. But, the pears and raisins make this salad taste like a real treat.

Curried Chicken and Pear Salad
2 chicken breasts cooked and shredded or 1 can of white meat chicken drained well
1 – 2 tsp. good curry powder
1/4 cup mayo (I use the whole 30 olive oil recipe)
juice of half a lemon
1/4 cup red onion finely chopped.
2 pears chopped
2 tbsp. raisins
1/4 cup cashews
salt and pepper to taste

Combine all the ingredients in a bowl. I LOVE curry and the heat, so I probably add even more then 2 tsp. of curry powder.  Refrigerate and serve on a bed of baby spinach for extra greens. I store this salad in an air tight container in the fridge to give me lunch for about 3 days.

I’m not sure if you come to O+P for recipes, but I really just like to cook and spend a lot of time in the kitchen each day. Would you be interested in some of the Whole 30 type meals we are eating regularly? I’d be happy to share.

DIY

Craft Workshop at West Elm

January 26, 2015

I’m excited to be hosting a fun craft workshop February 8th at the Los Angeles West Elm.  Join me for a morning of crafting.  We will be making cute Valentine’s Day Felt Pendants in O+P’s unique retro meets modern style. All the supplies will be provided, along with fancy drinks and yummy treats.  Each guest will take home their own pendant and a goody bag filled with unique finds. 
Tickets are limited, so please sign up right away.  If you are in the LA area, I hope you can make it. Click here to get your ticket.

etc.

Friday’s Fabulous 5 – XOXO Fun

January 23, 2015

I hope you’ve had a great weekend.  I’ve gathered a few fun XOXO ideas for Valentine’s Day.  It’s a nice less-girly way to decorate without hearts on everything.  And I’d be happy to leave these up in my home long after February 14th has passed.  
I’m still in SLC at Alt Summit, but I’m so ready to get back to my family and give them a whole bunch of X’s and O’s (hugs and kisses). It’s been great week connecting with other creative folks. I’m feeling more equipped and ready to take on new adventures with Oleander and Palm.  I’m excited for this year and where it’s going to take me.  So, XOXO to you, my faithful readers.  Thanks for being here. 

DIY

XOXO Wall Heart

January 20, 2015

I love a big heart on my wall (like this one and this one), so I had to come up with a new one for Vday 2015. This XOXO Heart is pretty fun. Playing with the modern shape of the very popular Swiss Cross, this heart is fun and graphic. And I love the combination of gold, white and grey.

I used my Cricut Explore machine to cut out these X and Os in no time at all.  Then using a little blue painters tape to keep the shapes in rows and evenly spaced, I stuck them to the wall. It’s a big statement, but so easy to remove when you want a change.  Vinyl is really a fun material to work with.

Well, I’m finally packed and off for SLC to attend Alt Summit. I’m excited to learn more and connect with other creative folks.

etc.

Friday’s Fabulous 5 – Perfect DIYs for the Weekend

January 16, 2015

A few of my favorite bloggers have some really great DIYs that you could tackle this weekend.
Be sure to head of to their bloggers and leave them a little comment love. 
Like most weekends, I’m hoping to have a SUPER productive weekend.  I have so many things on my to-do list, I’m hoping to shorten it a bit.  Tuesday I head to Salt Lake City for Alt Summit. Sometime this weekend I need to pick out my most stylish outfits and pack a suitcase.  I’m excited to connect with other creative folks.  Have a great weekend friends.

DIY

Cross Stitch Heart Napkins

Ok, I’m ready to host a Valentine’s Day dinner party. The table is set and I have some really cute napkins for my guests.

I am loving blush and paired with black and white, it’s looking pretty sharp.  Last year I used this simple cross stitch heart a couple times (on my wall, in a frame and on a piece of wood).  So, this year I thought I’d play with this cross stitch pattern a little more.

Black and white plaid or gingham is perfect for cross stitch, with squares already marked out, all you need is a needle and some embroidery thread.

Here’s what you’ll need:
embroidery floss in 3 shades of pink or blush
a needle
a small embroidery hoop
plaid or gingham hemmed into square napkins (mine are 18″ square)
I started by cutting 20″ squares of cotton gingham plaid fabric and then simply turned under the sides twice and hemmed them to make 18″ napkins.  
Attach the embroidery hoop to the corner of napkin.  Count out your squares so that the heart will be equal distance from the side and bottom of the napkin.  I stitched two rows of each shade of pink to create an ombre.  
I love these napkins with my vintage frosted pastel pink plates.  I have a set of 8 that I got for $15, there are two of each color – pink, blue, lavender, and mint.  And the little depression class candy dish that is serves as the vase for the succulent was Lonnie’s Grandma’s.