Design

Inspired by: Black and White Plaid

November 14, 2014

I can’t get enough of it – Black and White Plaid or Buffalo Check.  Maybe it’s the grunge, 90s child in me.  I’ve got a whole Pinterest board devoted to it.  It’s definitely apart of my wardrobe, but I’m loving it in home interiors as well.  And I don’t think it feels too country or cutesy in these three rooms.
Plaid Wall (I wish I knew the source, if you do please share)
Plaid Table Cloths (be sure to check out the whole restaurant in this post, it’s amazing)

Is there a pattern or trend that you are leaning towards this season?  Are you wearing plaids and buffalo checks?  Could you see this bold pattern in your home, how would you use it?

DIY

Air Plant Christmas Ornaments

November 13, 2014

Ok, I’m finally recovered from the Rose Bowl Flea Market.  With over 24 hours without sleep, loading and unloading furniture four times, and then getting to drive Riley through LA traffic, it just about took me out.  It was a good experience and I’m really glad we did it.  It was a group effort and I’m really grateful for my family and all the work they put into this adventure.  And I even got to hang out with The Girls with Glasses for a few minutes.  
I know this might be a no no, but I’m ready for Christmas.  Yes, Thanksgiving is lovely, but Christmas is everyone’s favorite.  Am I right? So, let’s just dive in with a DIY Christmas Ornament.
I love air plants, I have a couple beaded glass bubbles hanging in my dining room and I used them to as center pieces for my mom’s 60th birthday party.  Because all our family lives far away, we spend our Christmas’s away from home.  I love a live tree, but for the years when we are gone for long periods of time, I got a cute little tinsel tree to stand in.  This year I’m hanging live ornaments on the tree in mini glass bubbles.  
Supplies:
Glass Bubbles (Amazon is a good source for the round and for the tear drop shaped ones)
Round and Geometric Beads (this post lists good sources for these beads)
Natural Twine
I painted some of the beads metallic gold and paired them with dark stained ones.  Then I simply strung them on the some natural twine and attached them to the glass bubbles.  

The tree might not be live, but the ornaments are.  

Food & Drink

Peanut Butter Fondue

November 7, 2014

As the holiday’s approach, I’m gathering easy, go-to recipes to serve my guests.  This Peanut Butter Fondue is a definite crowd pleaser.
You can serve it with crisp apples and all the fondue favorites or simply pour it over vanilla bean ice cream.  Head over to Minted’s blog, Julep today for the recipe.  

And I sure hope you’ll join the #instagratitude2014 project.  You can read more about it here.

etc.

Oleander and Palm will be at the Rose Bowl Flea Market

Yep, for the first time ever, I’m going to be selling at the Pasadena Rose Bowl Flea Market.  I’ve been a long time shopper there and have always wanted to try selling.  So, my youngest brother, Joash and I have teamed up on this adventure.  He’s been making some amazing furniture, mostly from reclaimed and found materials and I’ve got years of thrifting thursday treasures stored up.  We’re bringing Riley, our vintage trailer.  So, stop by and you can chill in our trailer for a few minutes.

I shared some of the projects I have been working on on instagram today. But, here’s a few of the chairs that got makeovers and repairs.

If you are in the LA area, I hope to see you there.  We’ll be on aisle G, look for Riley!!!

DIY / etc.

DIY Ombre Give Thanks Banner

November 6, 2014

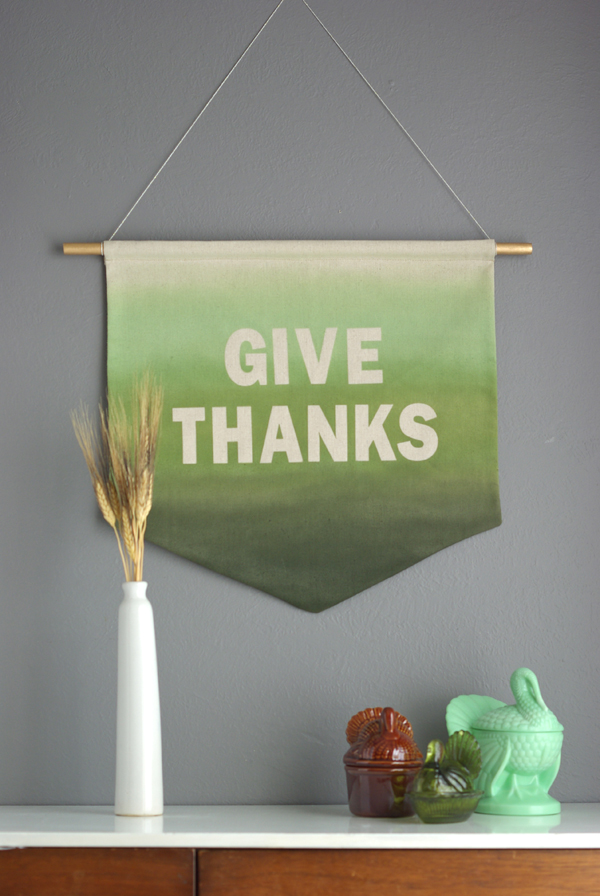
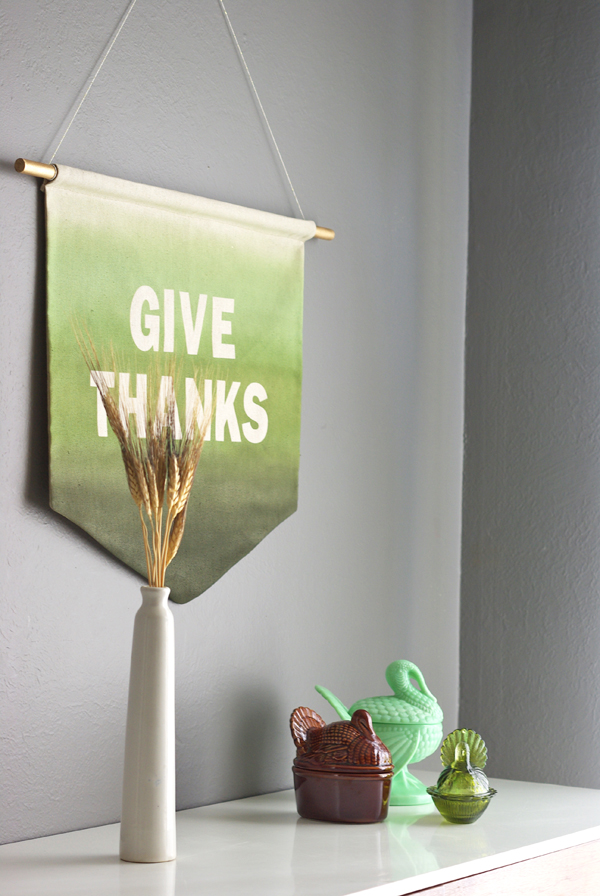
Good bye Halloween, hello Thanksgiving.  Oh boy you guys, I had fun with my favorite spray paint (Design Master) making this DIY.  This turned out just how I had imagined it (which is not always the case).  And even though it has a simple Thanksgiving message on it, I may keep it up all year.  This has the look and feel of popular dip-dye effects, but without the mess and hassle of dying fabric.

Here’s what you’ll need:
  • a cotton fabric banner
  • wooden dowel
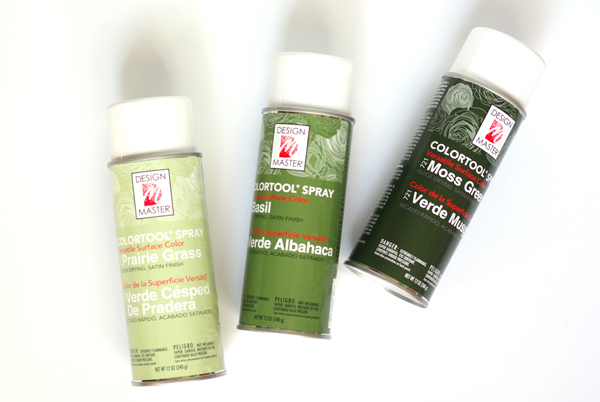
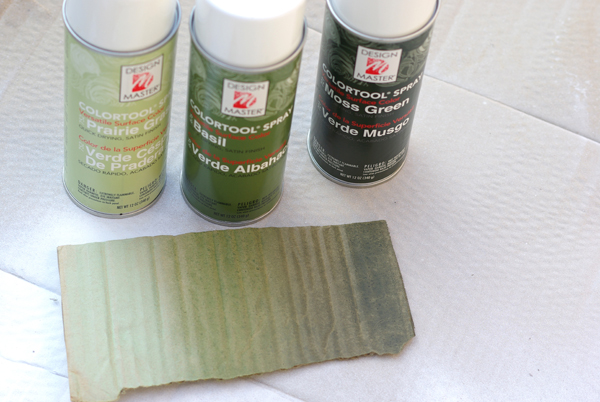
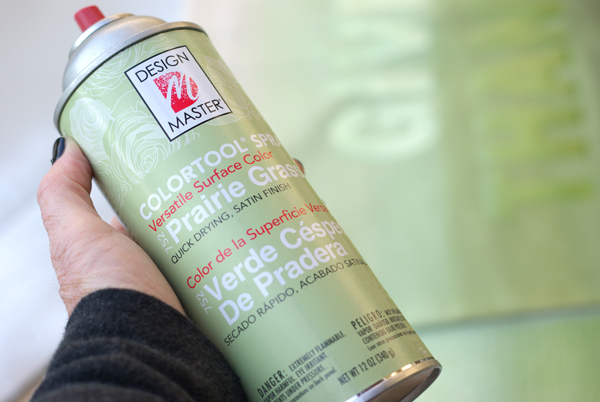
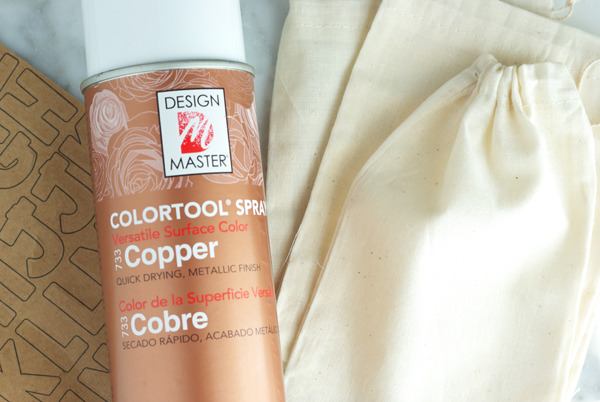
  • Design Master colortool spray paint in 3 shades of one color (I used Moss Green, Basil and Praire Grass) and gold for painting the dowel. 
  • Large letter stickers (I bought these at Hobby Lobby)
  • String or yarn for hanging the banner

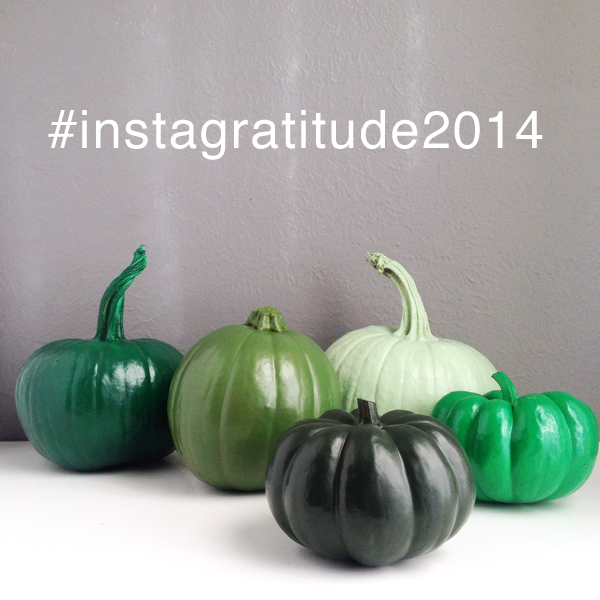
Start by picking a color that you are going to work with, then find 3 shades of that color to create your ombre effect.  
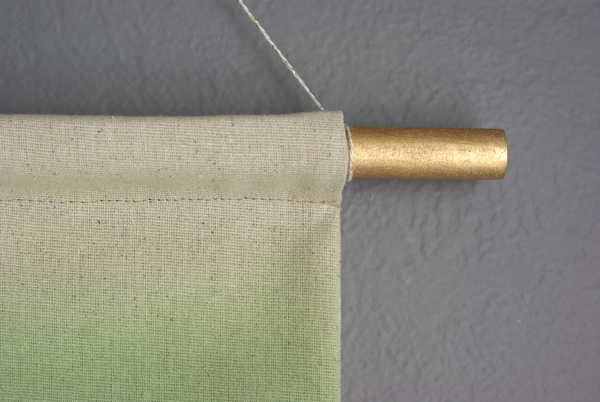
For the banner I cut two 22 inch squares of unbleached muslin fabric.  Then I measured from the bottom up 5 inches, and drew a line from the center to the 5 inch mark for the angled edges on the bottom of the banner.  Then I simply sewed the two pieces together and then turned it right side out.  Iron the banner nice and flat.  Then turn the top edge down an inch and iron that in place.  Sew a single line along the top to make a tube for the dowel to fit into.  (If you don’t sew, you could definitely just leave the edges raw and hot glue the dowel sleeve down.  It would be a more rustic look, but still very pretty.)
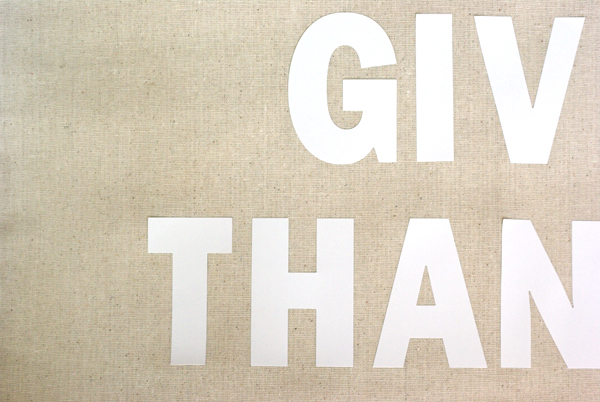
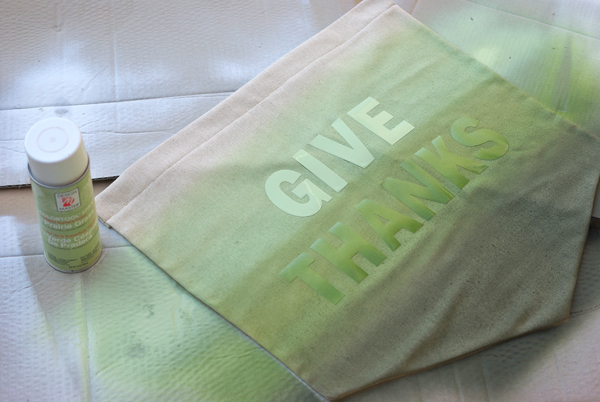
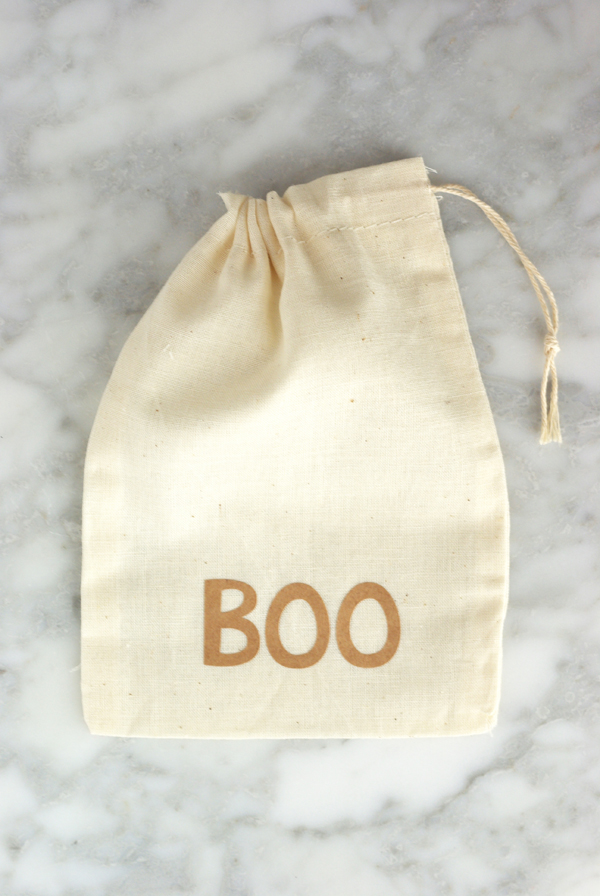
Now apply your letter stickers to the front of the banner where you’d like the ‘give thanks’ to appear.
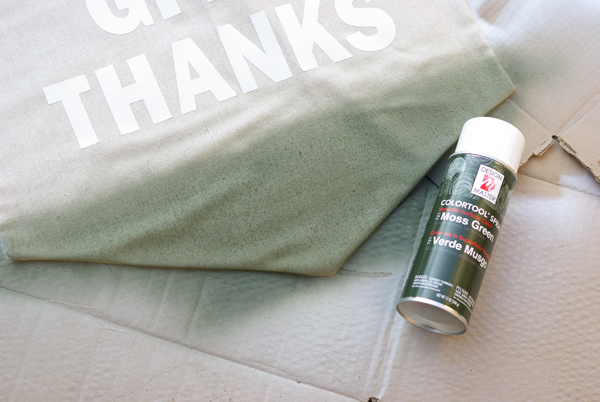
Working outside on a drop cloth on cardboard, play with you colors a bit and practice layering the colors.  Design Master paint works so well for this technique because it sprays a light, even coat that can be layered to create less opacity.  
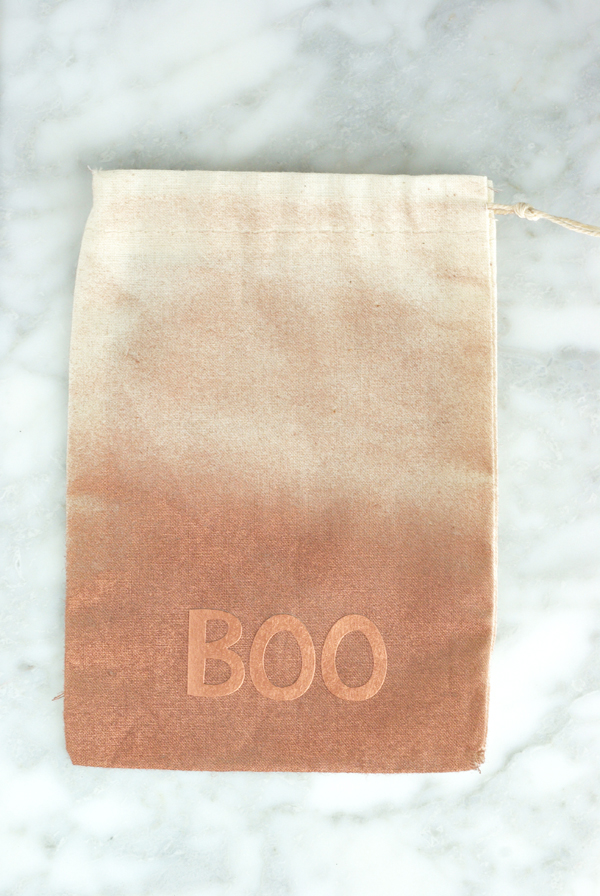
Start with the darkest color first.  Spray about 1/3 of the way up the banner.  Spray horizontally from left to right.  Layer more paint towards the bottom of the banner.
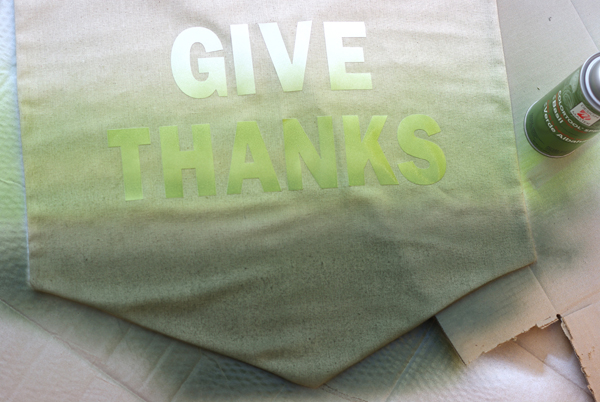
Now add the middle shade.  Be sure to overlap the darkest color just a bit.  Again, layer the paint so that the color is darkest at the bottom and you leave the top very faint.
Apply the lightest color last.  As before, be sure to overlap the lightest color with the middle shade to achieve a nice blending affect. 
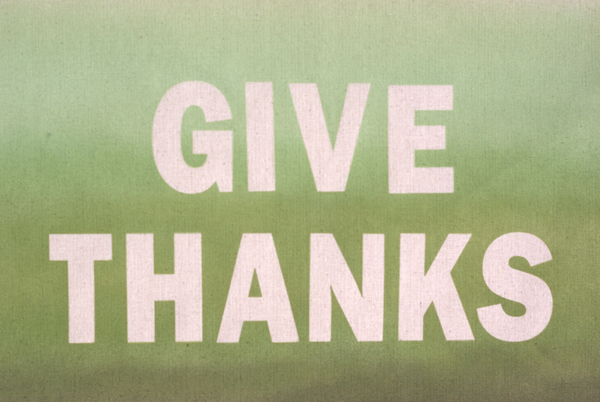
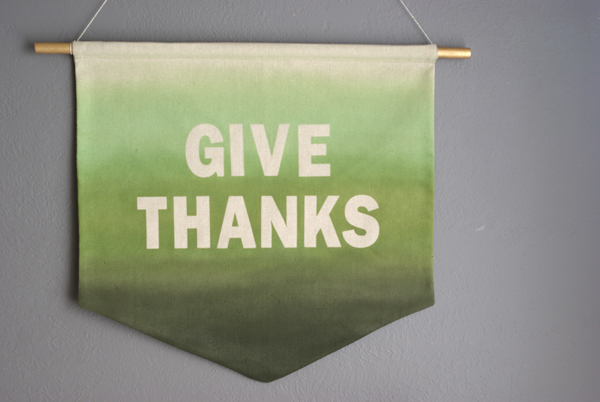
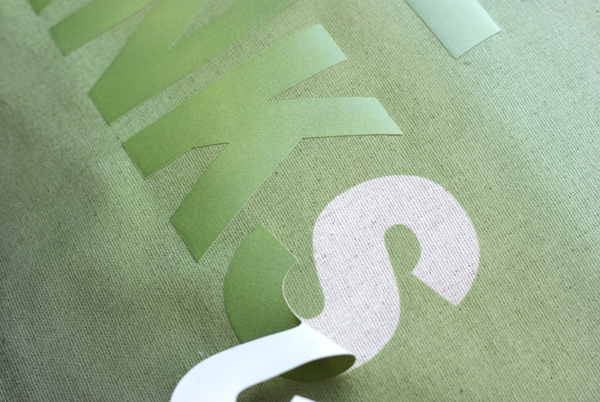
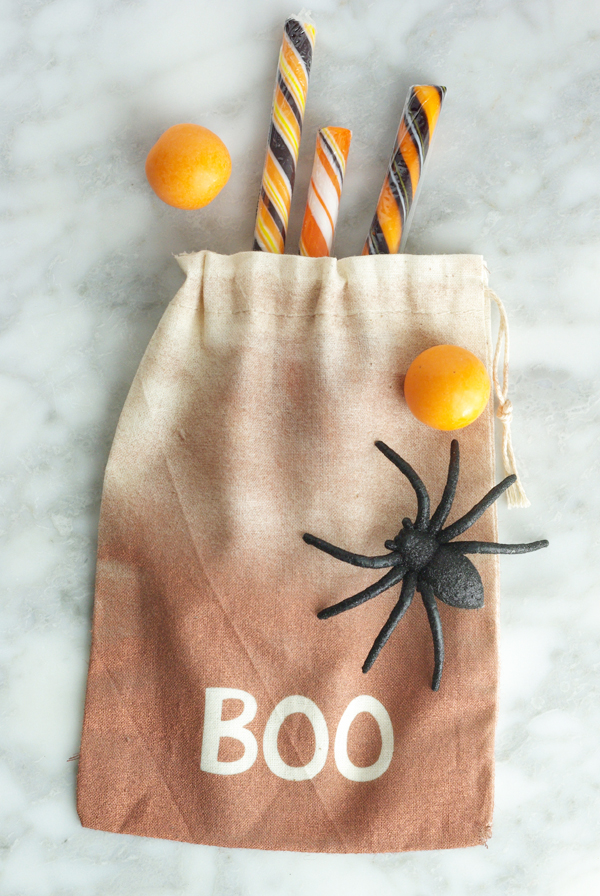
Here’s the cool part, Design Master paint takes only 5 minutes to dry between coats.  So, you don’t have to wait too long before you can remove the letter stickers and reveal your Give Thanks message.  I’m so pleased with how crisp and clear the letter turned out.
Paint your dowel ends metallic gold or an unexpected splash of color and side it into the tube you made at the top.
Be sure to check out the DIY Faux Copper Vase I made with Design Master Copper paint as well. 
I buy my Design Master paints and my local Michaels and Joann Fabrics. Design Master paints can paint the most delicate of surfaces, such as silk and fresh flowers, fabric, ribbon, tulle, lace, paper, foam board and Stryrofoam TO the sturdy hard surfaces such as wood, metal, masonry, terra cotta, ceramics and plaster. Design Master is a great resource for products and ideas.  Be sure to check out all the craft and project ideas on their blog.  

This post is sponsored by Design Master. All opinions are my own. Thank you for supporting the brands that make this blog possible. 

DIY / etc.

Famous Paintings Halloween Costumes

November 5, 2014

Oh man, I’m so pleased with this year’s Halloween costumes.  Every year, I HAVE to dress my kids in costumes that go together.  Folks always ask, “How do you get your kids to agree to this every year?”.  The truth is, they don’t have a choice.  It’s a given that their costume have to go together.  I’m a mean mom, but I’m also the one making their costumes every year.  The truth is, they love it and I think it will be fun thing for them to look back on.

We start talking about Halloween costumes months in advance.  I’m not sure who came up with this idea, but it was a good one.  It didn’t require a lot of sewing, just gathering and hunting down bits and pieces to make each painting. Surprisingly, the frames were the hardest part of the costume. But, after hitting a few thrift stores and an antique mall, I found 3 that would work.  I gave them a quick coat of gold spray paint and Lonnie made little labels for each of the frames (that was his contribution to the costumes).

Olivia kind of stole the show as Frida Kahlo.  Going from her super blond hair to black was very dramatic.  She took Halloween very serious this year and was all about holding her frame up every time she said trick or treat.  The dress we had already, it was Denali’s when she was a toddler, we bought it in Baja Mexico.  I put one of my scarves around her shoulders and glued and wired a bunch of huge felt flowers to a head band.

Denali’s Mona Lisa costume was the easiest.  We found a beautiful vintage gown at a store downtown for $20 and she wore one of my black scarves around her shoulders.  We sprayed some black hair spray into her hair as well to match the original look as close as possible.

Dylan played an excellent Vincent Van Gogh, he kept the pose just right all evening.  I painted his face in small strokes to give the effect of an impressionist painting.  We wrapped his ear with gauze, and he wore my wool coat and his grandpa’s hat.  The pipe I found at Party City.

I hope you had a fun Halloween.  We sure did.

etc.

Instagratitude Project

November 3, 2014

Wow, November is already here and going strong.  With the craziness of Halloween and then Denali’s birthday party the very next day, I didn’t get a chance to share about the Instagratitude Project yet.  For the last 2 years (2013 and 2012), during the month of November, I’ve shared daily on Instagram something I was grateful for.  And even though I’m a couple days late this year, I’m excited for #instagratitude2014.  

As the Holiday’s approach, I want to be sure the focus of my mind and heart is on the many blessings I have in my life.  I’m choosing to be grateful.  It’s easy to get bogged down in the hectic pace of life and fret the things I don’t have.  So, I need this daily exercise to remind myself of what is good and important in my life.

As a Christian, I want to honor God by sharing how grateful I am for his provision and generosity in my life.  I live such a blessed life.  I have the best husband, awesome kids, a beautiful home, amazing opportunities and my life is full of family and friends that love, encourage and support me. How can I not share all that I am grateful for.  

I hope you’ll join me.  If you want to participate and be encouraged and inspired, capture one image a day on instagram that represents something you are grateful for, then add the hashtag #instagratitude2014. Invite your friends to join in. 

These verses are great reminders for me:

Psalm 9:1
I will give thanks to you, Lord, with all my heart; I will tell of all your wonderful deeds.


1 Thessalonians 5:16-18 
Be joyful always; pray continually; give thanks in all circumstances, for this is God’s will for you in Christ Jesus. 


Psalm 107:1
Give thanks to the Lord, for he is good; his love endures forever.  

To see how this works, I’m @oleanderandpalm on instagram.

DIY / etc.

Easy DIY Halloween Treat Bags

This might be the easiest little treat bag I’ve ever made.  The perfect little package for Halloween sweets.
You just need 3 simple supplies to put together this little DIY.
  • Design Master Copper Spray Paint (or any other color)
  • Letter Stickers (one sheet for $1.99 at Hobby Lobby)
  • Muslin Bag

Stick the letter stickers where you’d like them. 

Starting at the bottom of the bag and begin layering the spray paint a little at a time.  Finally, peel off the letters and you are done!!!

Design

Small + Unique Chandeliers

October 29, 2014

I love our kitchen.  It’s big and efficient, but still stays true to the style and era of our 1920’s house. When we renovated the kitchen, we chose to keep the original breakfast nook.  The built-in benches and table are where we eat most of our meals.

After replacing the dining room chandelier, I knew the fixture over the breakfast nook needed to be updated. For years, I’ve overlooked lighting, thinking it was not a very notable part of design. But, now I think it is vital and is a huge opportunity for making a statement. You can set the vibe for a space with the lighting that is installed.

I’ve been searching for a unique fixture that is not too big, but would bring light and interest to one of our favorite spots in our home.  I’m obsessed with Schoolhouse Electric & Supply Co.  I love there mix of period style lighting (turn of the century through 1940’s) and quirky unique pieces. As a vintage and thrift shopper I love their whole aesthetic. They mix patterns, textures and shapes to create spaces that feel loved and lived in.

Here’s 5 small + unique chandeliers that I think would look fabulous over my breakfast nook.

Is there one that appeals to you?  It’s all-of-the-above for me.  Which one do you think would look good in my kitchen?