Colorful Chairs Family Pictures
October 13, 2014
October 13, 2014
October 11, 2014
You guys know I’m a huge Cricut fan. I’ve been cricut cutting for years. But, this is a pretty fun new product that Cricut has just come out with – Window Cling.
You can create easy-on, easy-off static cling decals with this product. Use your Cricut machine to cut shapes or phrases for holiday decorations, parties, school decor, business window dressings, kid’s activities and more. It’s durable and reusable. I love to decorate my front porch window for the holidays. So, I quickly cut out a bunch of white bats (like my wall of bats) and a big, blocky BOO in black. With the design space, you can use all of your own fonts, so I used one of my faves – Blackout.
You cut this Window Cling product just like you would vinyl, with a “Kiss Cut”. On the Cricut Explore, it’s just a turn of the dial and then hit GO.
I placed the BOO in the center of the window to start with. No stress, with this material, it can be repositioned and moved to exactly the right place. Then I traced a rough circle around the BOO with a chalk marker. I used this as my guide to place the bats circling the BOO. And when Halloween is over, I can place these back on the backing sheet and save them for next year.
October 10, 2014
I’m taking a break from my usual diy/design posts to share something that is close to my heart – my kiddos and their education. I know everyone is Back-to-School now and in the full swing of it. I’ve shared before, but I was a Elementary School teacher and I have a BA in Elementary Education. And, so sad for my kids, but my husband is also a teacher. He’s the nerdy High School Biology teacher. We’re pretty passionate about our kid’s education and their success in school. We were and are public school teachers and our kids go to their local public schools. Schools, districts and teachers can be far from perfect, but no matter where your kids attend school, parents can help facilitate success for them. So, today I’m partnering with the California Milk Processor Board (Got Milk?) to bring you 3 tips that we use to help ensure our kids get the most out of their school experience.
1. Fuel the mind and body!
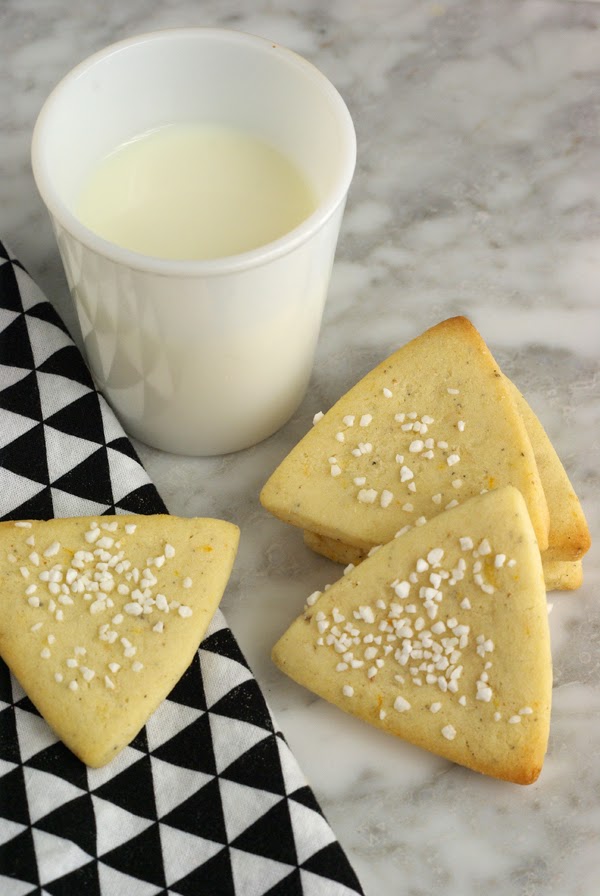
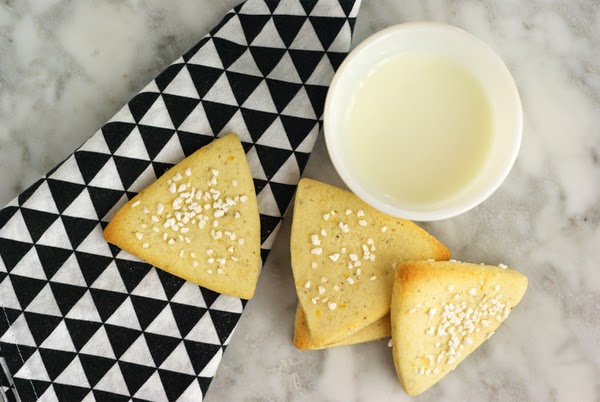
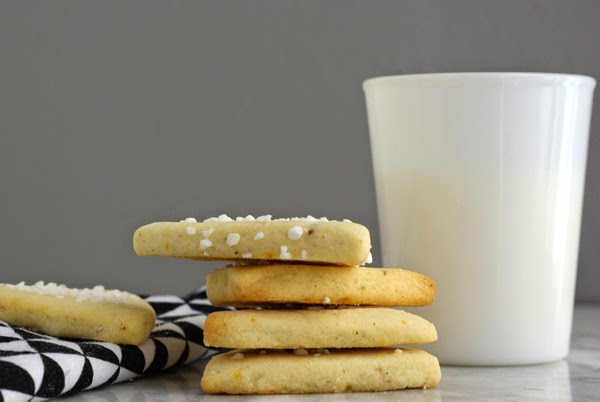
This probably seems pretty obvious but, good nutrition and strong, healthy bodies is where it starts. My kid’s definitely eat junk from time to time but, I really try to make sure they eat a balanced diet daily. Breakfast is important. Parents have to make sure that their kids are arriving at school fueled for the day. For us, a big glass of Milk is #1 in the morning. From time to time, Denali (who is almost 13) will skip breakfast or chose something sugary. She will admit that she crashes before lunch can come when she makes those decisions. I try to keep a few healthy options on hand, so they feel like they can have a choice. And I cook a homemade meal and we eat dinner as a family most days.
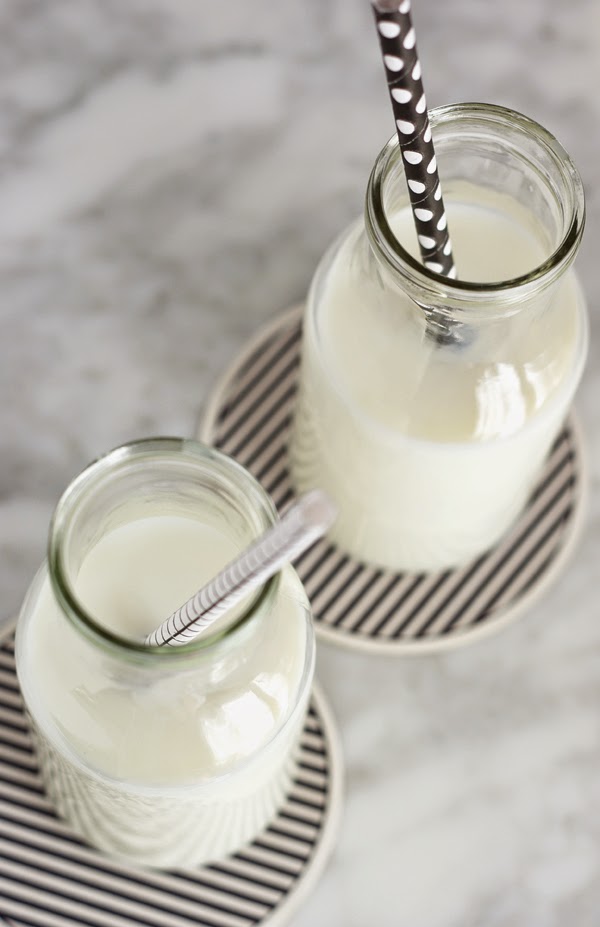
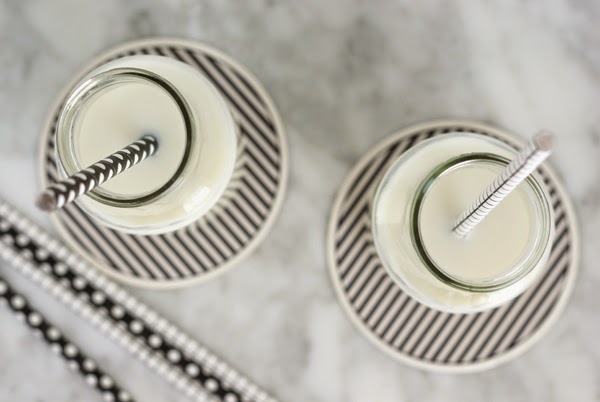
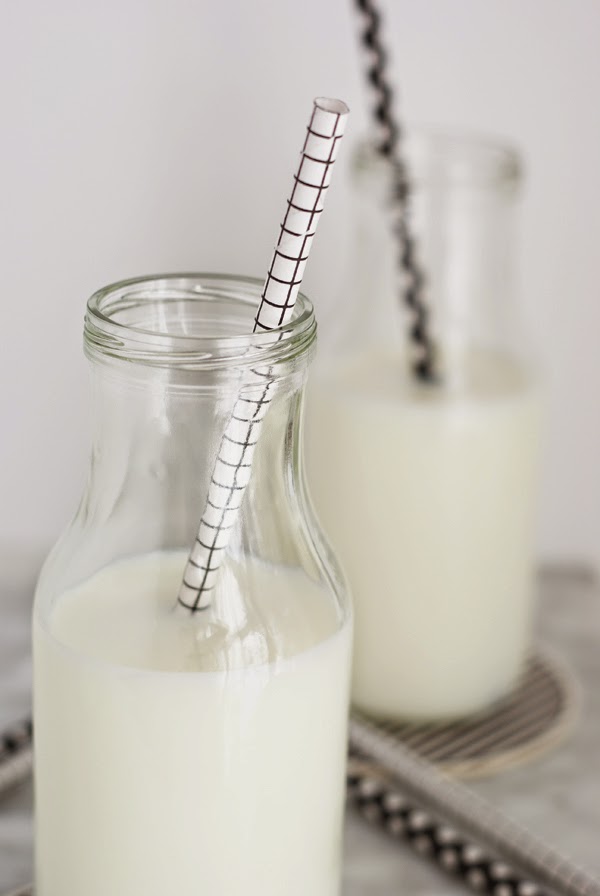
To encourage my kids to drink more milk, sometimes fun paper straws and cute milk bottles do the trick. Making it feel more like a treat is important.
2. School – it’s your kid’s job!
Kid’s need to know that they have responsibility in life and SCHOOL is their JOB! It’s not our job as parents, it’s theirs. We are their to support and encourage them, but the buck stops with them. Since our kids were in kindergarten, we’ve (mostly my husband) have talked to them about future careers and college. They know that they will be going to college (a good college) and choices they make now, WILL affect their future. Denali and Dylan, my older 2, already have colleges picked out and degrees they want to pursue. Will their choices change, have they changed many times? YES, but college is not an option. Just like adults, kids need to have a purpose and goals.
3. Be the teacher’s pet!
No, I really mean it. A little butterying up goes a long way. I’m telling you this from a teacher’s perspective. Your child’s classroom experience can be a whole lot better if you support and even give your child’s teacher treats. Teachers are under paid and face a lot of struggles these days. A coffee gift card or movie tickets for their day off will show you care. And if you have time to take it a step further, be the mom or dad that volunteers. Any little effort will be noticed and as a result, your child will be noticed! In my opinion a happy teacher is going to be a better teacher. This may sound like bribery, but really I’m just suggesting practical ways to support your child’s teacher. It really doesn’t have to be much.
I hope you find my tips helpful. Do you have some great ideas or advice for helping assist success in school? I’d love to know what works for you. I hope your kids are having a fantastic school year. Be sure to check out Got Milk? for more about the health benefits of Milk. The site has some GREAT recipes for kiddos and grown ups (like Lavender London Fog Lattes and Cinnamon Rose Lattes).
If you aren’t a Milk believer yet, here’s the facts folks:
Milk is a source of protein: There are 8 grams of protein in every 8 oz glass.
Milk has 9 essential nutrients:
Calcium
Protein
Potassium
Vitamin D
Vitamin B12
Vitamin A
Riboflavin
Niacin
And milk can help grow healthy hair, strong nails, strong bones and it prevents risks of cavities, promoting strong teeth.
This post is sponsored by The California Milk Processor Board (Got Milk?). All opinions are my own. Thank you for supporting the brands that make this blog possible.
Well, we’ve got all our Halloween fun out. My kids love it when we make our home a little spooky. I’ve got plans for a couple more Halloween projects in the next week or so. But, right now, while my camera is being serviced, I thought I’d share a few shots from my instagram.
Have you added a little spook to your place yet? Now, I better get working on costumes. We’re just weeks away now.
October 8, 2014
I teamed up with Wayfair to give my front porch a little curb appeal just in time for Fall. Be sure to check out my home and 4 other fabulous front porches on Wayfair today.
With a few new accessories, a diy, some herbs, white mums and white pumpkins, I’m ready for Fall. I’m on a black and white kick. It was grey for so long, and black and white is not a far departure from that colorless palette, but I believe it’s classic and timeless. With this very neutral palette, the plants are in the spotlight and your eye focuses more on the shapes, patterns and textures.
I’ve got a lot of pictures, so I’ll let them do most of the talking. But, I’ll tell you quickly about my two favorite new elements. I added a herb wall to the left of the front door. Using ceramic wall planters hung in a square, the plants created a clean and unique focal point for our porch. The second thing I did was paint a “WELCOME” sign on the first step (found the idea here). I cut a simple stencil out with my Cricut Explore on some vinyl (but, this could be done with an x-acto knife as well) and then spray painted the letters bright white. I love these blocky letters, so just like my YOU + ME poster, I left the centers of the letter out.
I added a few white pumpkins and the Southwest Pumpkins I made last year, and I’m ready for Fall. It doesn’t take much, I have to remind myself often that LESS IS MORE!
October 7, 2014
October 6, 2014
I love shortbread cookies, I have a lot of recipes for them here on my blog, but this might be my favorite flavor combination. These tender cookies are bright and just a little spicy with all the cardamom. I can’t get enough of cardamom. Swedish baking uses a lot of cardamom and with Olivia’s Dala Horse themed party last week, I thought this would be an appropriate flavor.
Cardamom Orange Shortbread
1 cup butter
2/3 cup powdered sugar
1 3/4 cup flour
2 tsp. freshly ground cardamom
zest of one orange
1 tsp. vanilla
Optional for the tops of the cookies, Parlsocker (pearl sugar or any coarse sugar)
Cream the butter and sugar with an electric mixer. (I like to use whole cardamom in the pods. You have to remove the seeds from inside the green casing and then either crush the seeds with a mortar and pestle or a spice mill. This takes a bit of time, but it’s totally worth it.) Add the vanilla, cardamom and orange zest. Add the flour and mix until the dough comes together. Wrap the dough in plastic wrap and chill for at least 30 mins.
Pre-heat the oven to 350F. Roll out the dough to a little less then 1/4″ on a well floured surface. This is a very soft dough, that’s what makes them so tender when they are done. Keep the dough cold and work with flour on your hands and on the surface. Cut out desired shapes and sprinkle with pearl sugar. Place on parchment lined baking sheets. Chill the cut cookies for at least 20 mins. before baking (this helps the cookies keep their shape and not spread on the cookie sheet). Bake the cookies for about 12 mins. or until the edges are just barely brown. Cool on wire racks.
These cookies freeze well in an air tight container.
October 3, 2014
October 2, 2014
Yay! I actually had time to pop into one of my favorite thrift stores this week. I was in party mode last week and didn’t have a minute to spare. I’ll be posting pics soon. So, this week on the way to pick up my oldest from Junior High, Olivia and I ran into Salvation Army. I came away with two great Fall decor pieces that cost me just over $10 for the pair.
I spotted this beautiful gold leaf glass bowl first. It is definitely vintage, and looks like something my Grandma had. From my research, it looks like it’s from the 1950s and it’s an ice bucket made by Libbey Glassware (found this one on etsy). It was my most reasonable find, I paid $8 for it. But, it’s really pretty and will definitely be out all season long.
I also found a long copper tray that has a Restoration Hardware label on the under side. Sometimes you thrift and find new or almost new objects. Knowing RH prices I’m thinking this wasn’t a cheap decor piece. I paid $3.50 for it though. I added some felt pads to the bottom so that I don’t scratch any of my surfaces with it.