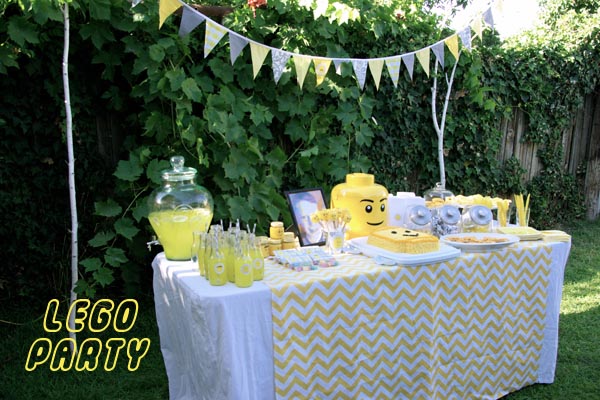
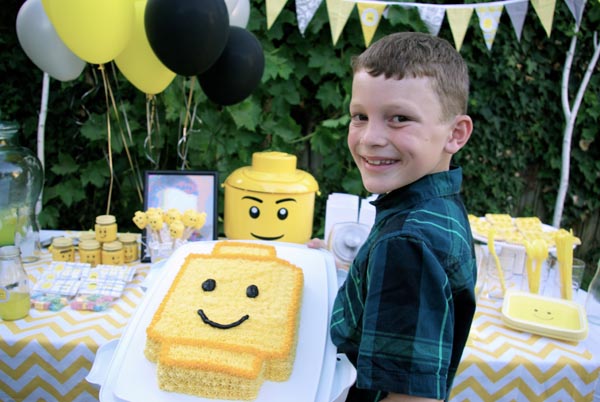
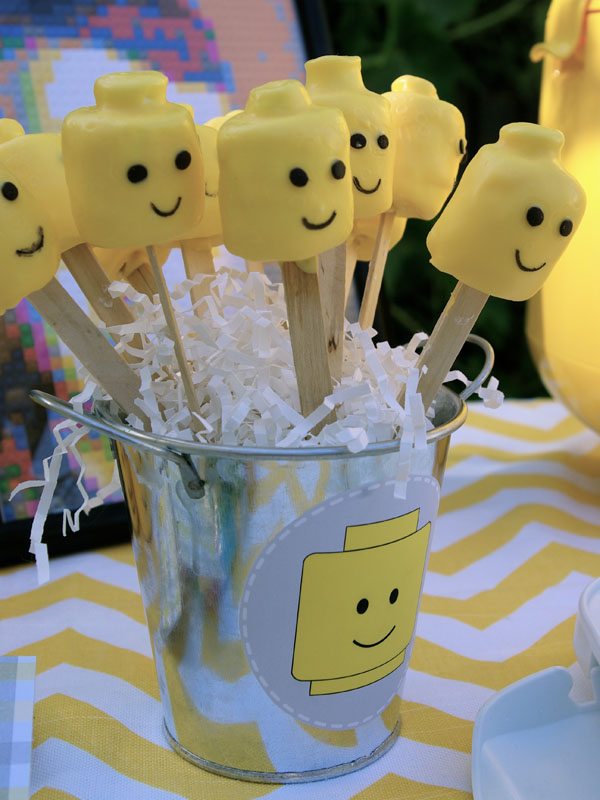
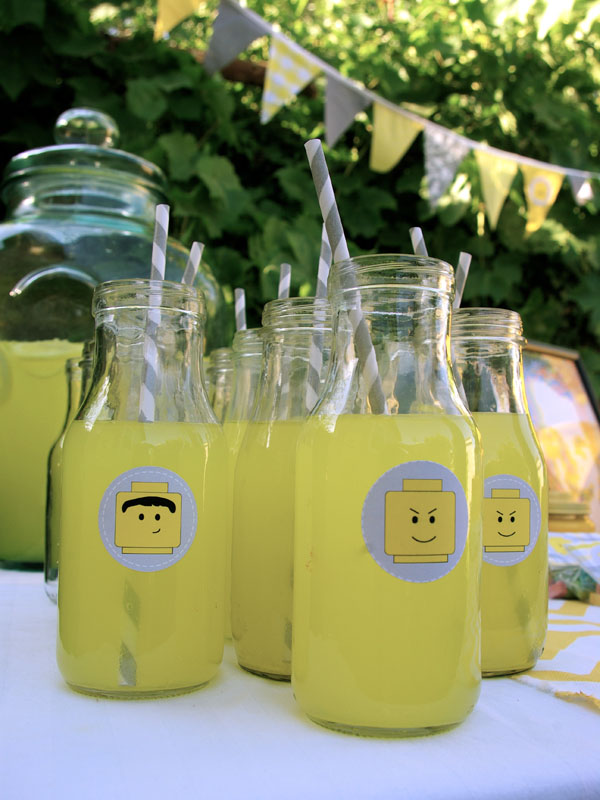
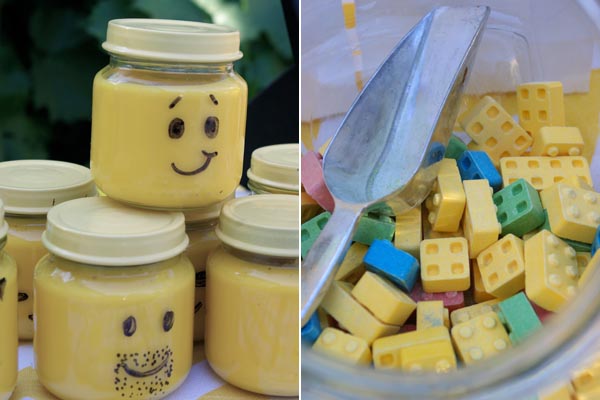
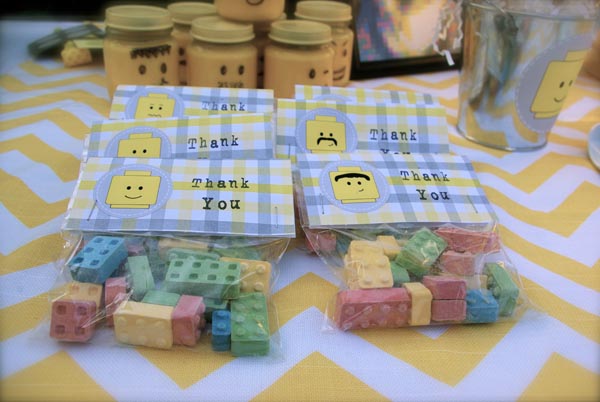
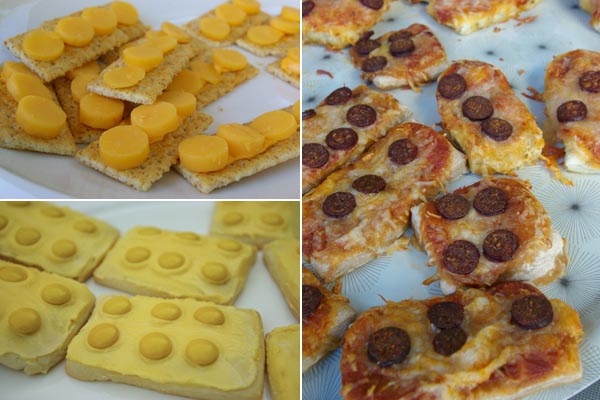
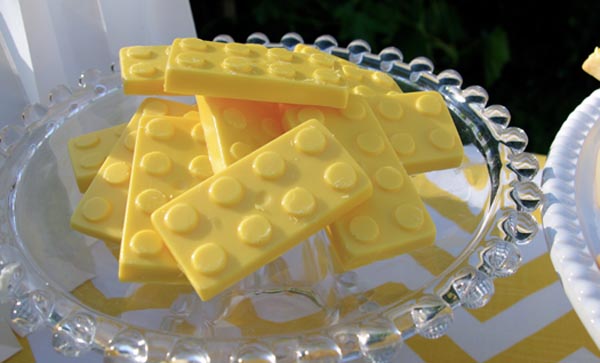
This week has been extra crazy. To make a long story short. I flew to Colorado very early Friday morning on an unexpected trip. Flew back to LAX Sunday around noon, drove 2 hours home and threw together Dylan’s Lego Party. The party went well, but I was frazzled and didn’t get the pictures I wanted. Oh well, Dyl seemed to have a good time and that’s what really matters. I’ll be sharing the party this week. Then, Monday morning we headed out on a 3 day camping trip to the beach. Oh, and Lon’s parents arrived while I was in Colorado too. Needless to say I am exhausted. But, we are home and the laundry is done, so I have a spare moment to share something fun we made while camping.
I have to credit pinterest, once again. I had seen these chocolate cakes made in hollowed out oranges and thought they looked fantastic. Then, a couple days later I came across an even easier version that used canned cinnamon rolls. I thought this seemed like even less prep and mess, I decided to give them a go.
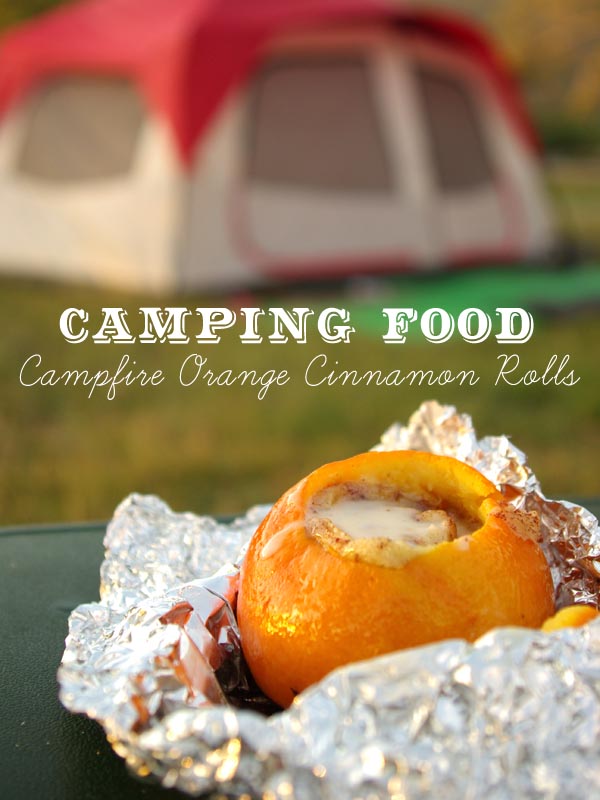
Campfire Orange Cinnamon Rolls
1 can of 8 cinnamon rolls
8 oranges
Aluminum Foil
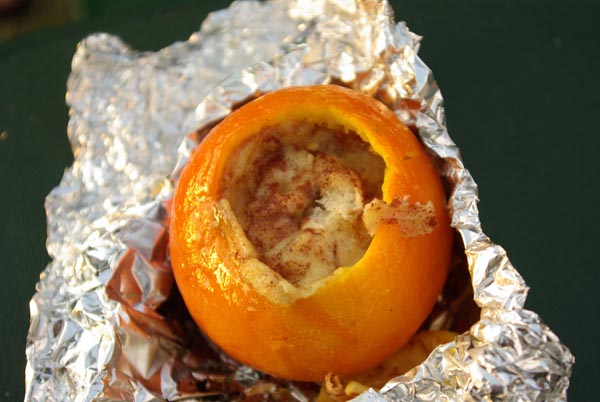
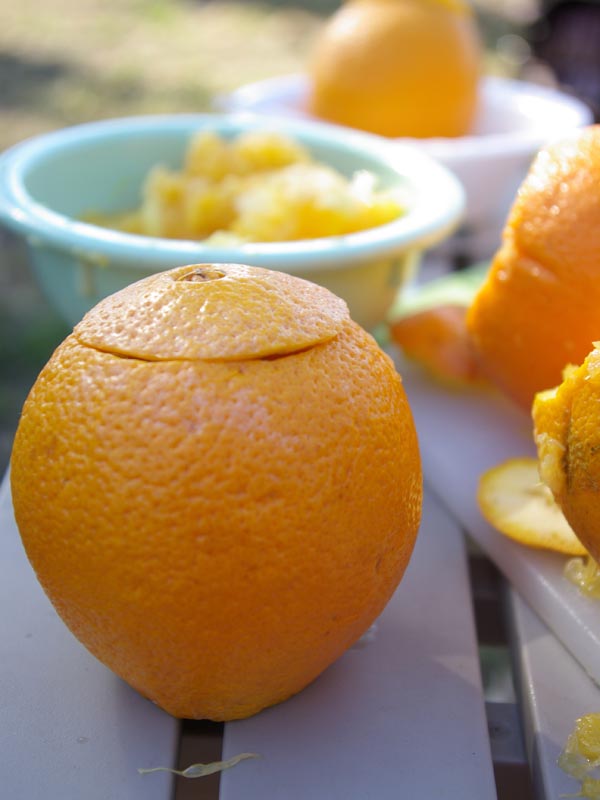
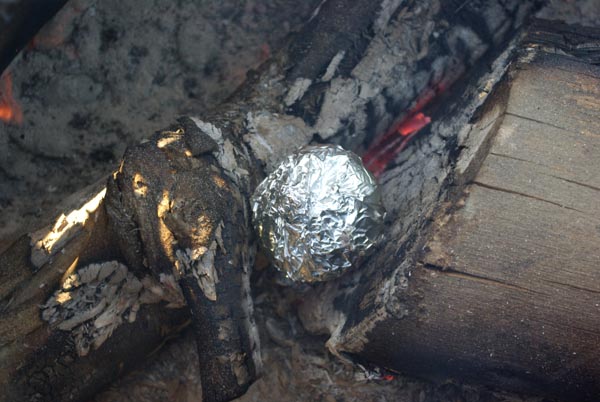
I hollowed out our oranges. It was a bit of a messy juicy job, but why not when you are outside. I cut a 2 ” circle out of the top and then used a spoon to scoop out the orange. We filled a bowl with the orange flesh and the kids munched on it. Then we simply stuck one cinnamon roll in each orange, put the cap back on, and then wrapped them in foil. We wrapped from the bottom up, so that the excess foil could be bunched up into a little handle. Then we put to right into the coals. They took about 12 mins to bake, but it really depends out your fire. While they were still piping hot, we put a little drizzle of the frosting included in the can on top of the cinnamon roll.
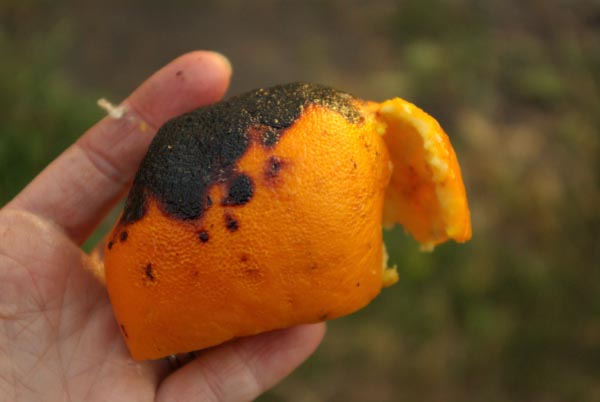
The orange totally protects the bread from the heat. The roll was perfectly orange infused and super moist. Even though the outside of the orange was charred and black, the inside was perfection.
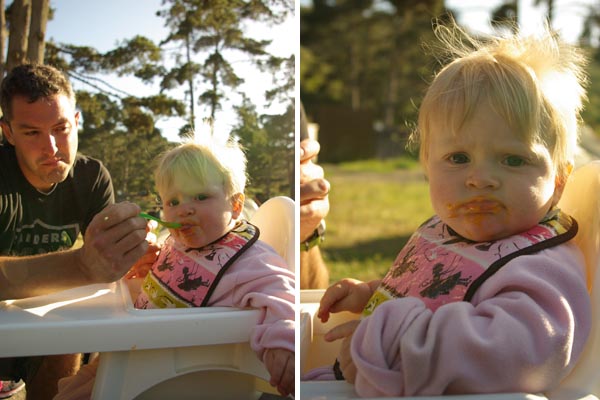
And I just had to share these pictures of Olivia eating in the great outdoors. She is a total disaster and is absolutely cute.
If you like what you see, BE A FRIEND! Leave a comment, follow Oleander and Palm by email,
Pinterest,
Facebook, or
Twitter.