You put the lime in the coconut…. Sorry I couldn’t help myself. I’m a sucker for shortbread – I love all that butter. These shortbread have a bright summery taste with the zest of lime and rich flavor of coconut.
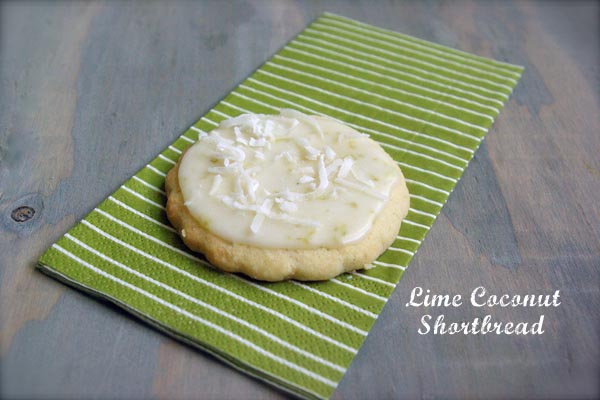
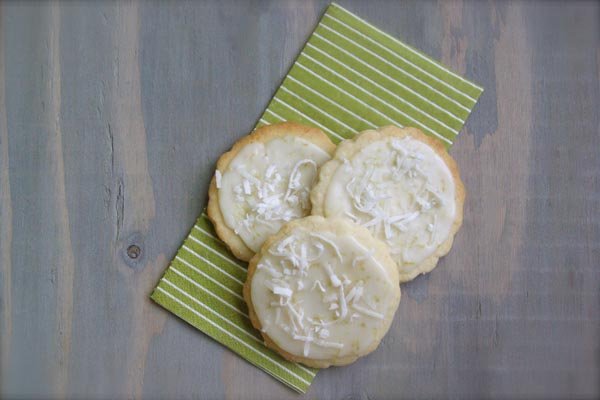
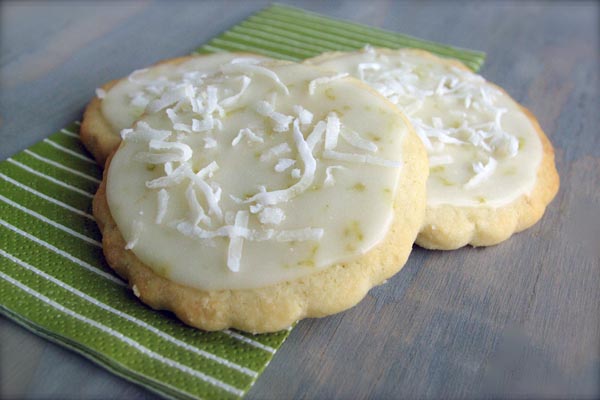
Lime Coconut Shortbread
1/2 cup sweetened shredded coconut
2/3 cup powdered sugar
1 1/2 cups flour
1 cup cold butter (cut into 1/2″ cubes)
zest of 2 limes
1 tbsp. lime juice
1 tsp. vanilla
This is a quick cookie to whip up. I did all the mixing in the food processor.
Start by putting the coconut, vanilla, powdered sugar and lime zest in the food processor. Pulse until the coconut is chopped up quite fine. Add the flour and pulse again. Put all the butter in and pulse until the dough starts to come together. It will probably be quite dry and crumbly. Add one tbsp. of fresh lime juice and pulse one more time. The dough should come together now, if it doesn’t add a tsp. of lime juice at a time more.
Wrap the dough in plastic wrap and chill for about an hour in the fridge.

Roll out the dough on a well floured surface to about 1/4″ thick. Cut out desired shapes. Chill again for 20 mins. Bake in a 350 F oven until the edges turn ever so slightly brown. Cool on racks.
The icing is simply the juice of one of two limes (depending on how juicy they are), the zest of one lime, and about 1 cup of powdered sugar. Mix well to make a thick glaze. Top each cooled cookies with about 1 tsp. of the glaze and spread it out to the sides. While the they are still wet, sprinkle with a little shredded coconut.
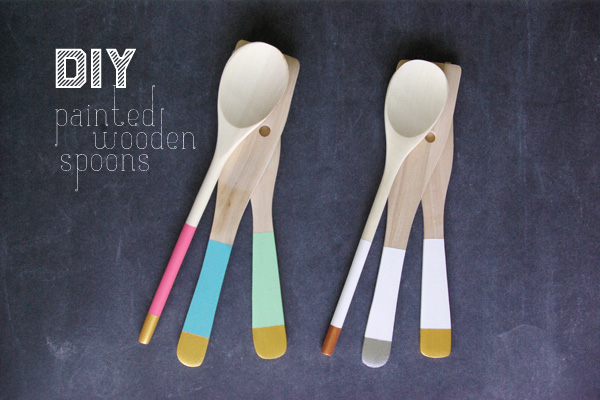
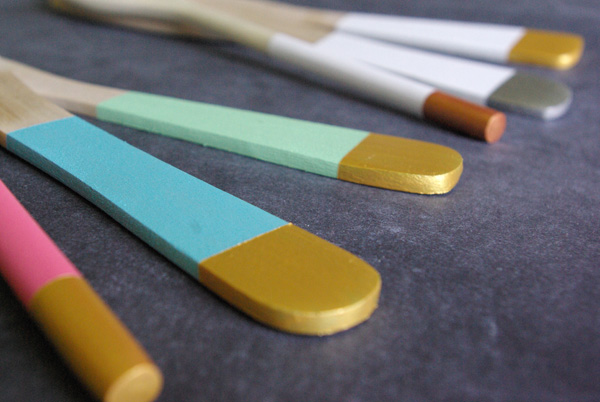
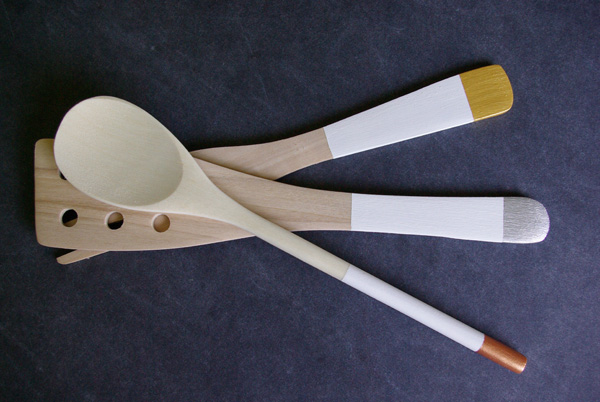
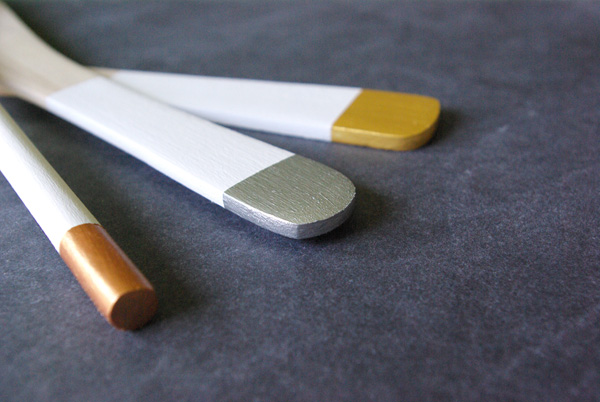
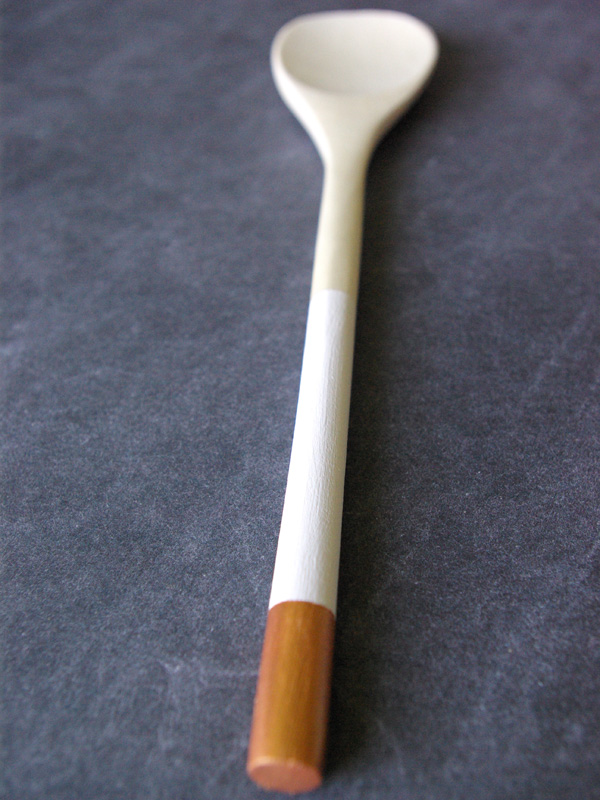
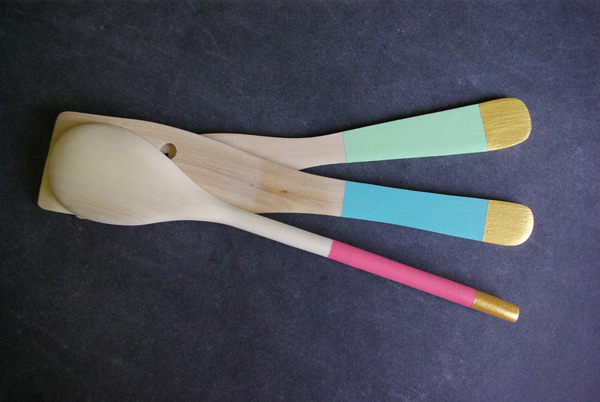
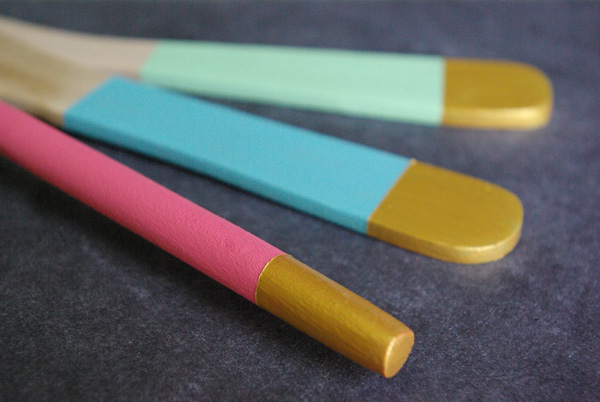
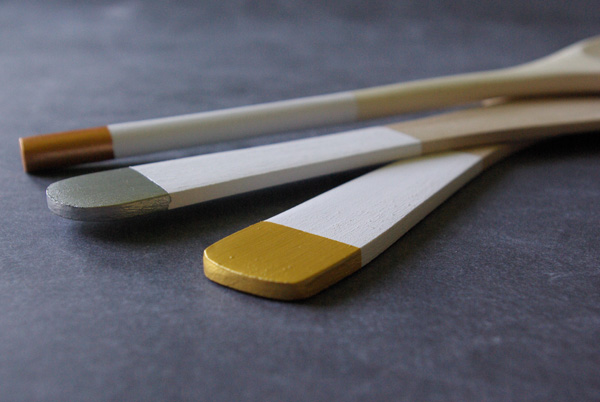
I served these and a couple other treats at O + P’s second DIY workshop this Wednesday evening. We made painted wooden spoons. It was a nice evening, with great company. I’ll keep you posted on the next event. Hope you can make it. What should O + P’s next DIY workshop craft be? Any suggestions?