Happy New Year friends. I hope you had a great holiday. We did. It was so fun to host my family here this year. I’m just popping in to say hey and then kind of good-bye for a little while.

Well, can’t say I’m sad to say good-bye to 2016. I’m ready for a fresh start. I’ve been sick for the last couple of days, so I feel like I’m moving slowly into this year and not with the usual energy that I have. And that’s ok, it’s given me some time to plan and dream for this new year.
In the past, I’ve picked a word for the year. But, this year I’m kind of stumped on finding one word to focus on. Maybe because I don’t have good goals set for the year yet. But, I do have a lot of things I want to accomplish. Last year was kind of a blur, and I felt really way too busy and scattered. So, I’ve decided to take a the month of January off from writing blog posts. I do have a few things scheduled that will definitely be posted in this month, but I just need a little time to gather my thoughts, organize my life and get a clear picture of where I’m headed. This feels like a stupid thing to do for my business, but to be 100% honest, it’s such a good decision for my personally. I’m just plain old tired and burnt out. I’m hoping to find ways to stretch myself creatively without the pressure of having to share it on the blog. Like I’d love to paint and draw more.
I’ll still plan to post often on Instagram and I have a lot to say over on Instagram Stories probably too much, so you can still follow along there.
Maybe the idea of turning 40 this year has me feeling a little overwhelmed. I’m not super excited by the thought of being 40 – yuck! How did I get this old? But, there are a few things I want to attempt this year. I’m not calling them resolutions, but that’s really kind of what they are.
- I watched the Minimalism documentary and while none of the concepts are new to me, it has inspired me and I have a plan for this year. And I think I’ve convinced my family to join me. I’ve decided to buy no new clothing all year!!! Yep, what we own right now is it! It’s a good time to start, everyone just got new socks in the stockings. Really I don’t own a lot of clothes and really I’d love to own less. I’d really just like to have a capsule wardrobe for each season. Come Summer, I may need a new bra, and that is the exception I’ll make. But, if there is anything that we REALLY need, I’m sure we can find it at a thrift store. It’s going to be a challenge with growing kids, but I’m excited to try.
- Whole 30! I’m back on it. This is the 3rd year in a row I’ve started the year with Whole 30. I’m planning on finishing 30 days and then see if I want to keep going. It’s a great way to reset and broaden my healthy recipe repertoire. I’m the only one taking on this challenge, but most dinners at our house will be Whole 30 this month. (I’m going to share a lot of the food I’m making on Instagram Stories, if you are interested.)
- More hikes! It’s my favorite form of exercise, so I’m pushing my family to go on at least one hike per week. I got new approach shoes for Christmas, so I’m excited to put some miles on them.
- This year will see a lot of painting our new house. I will be working my way from room to room in this house and hopefully we will be able to tackle the outside as well.
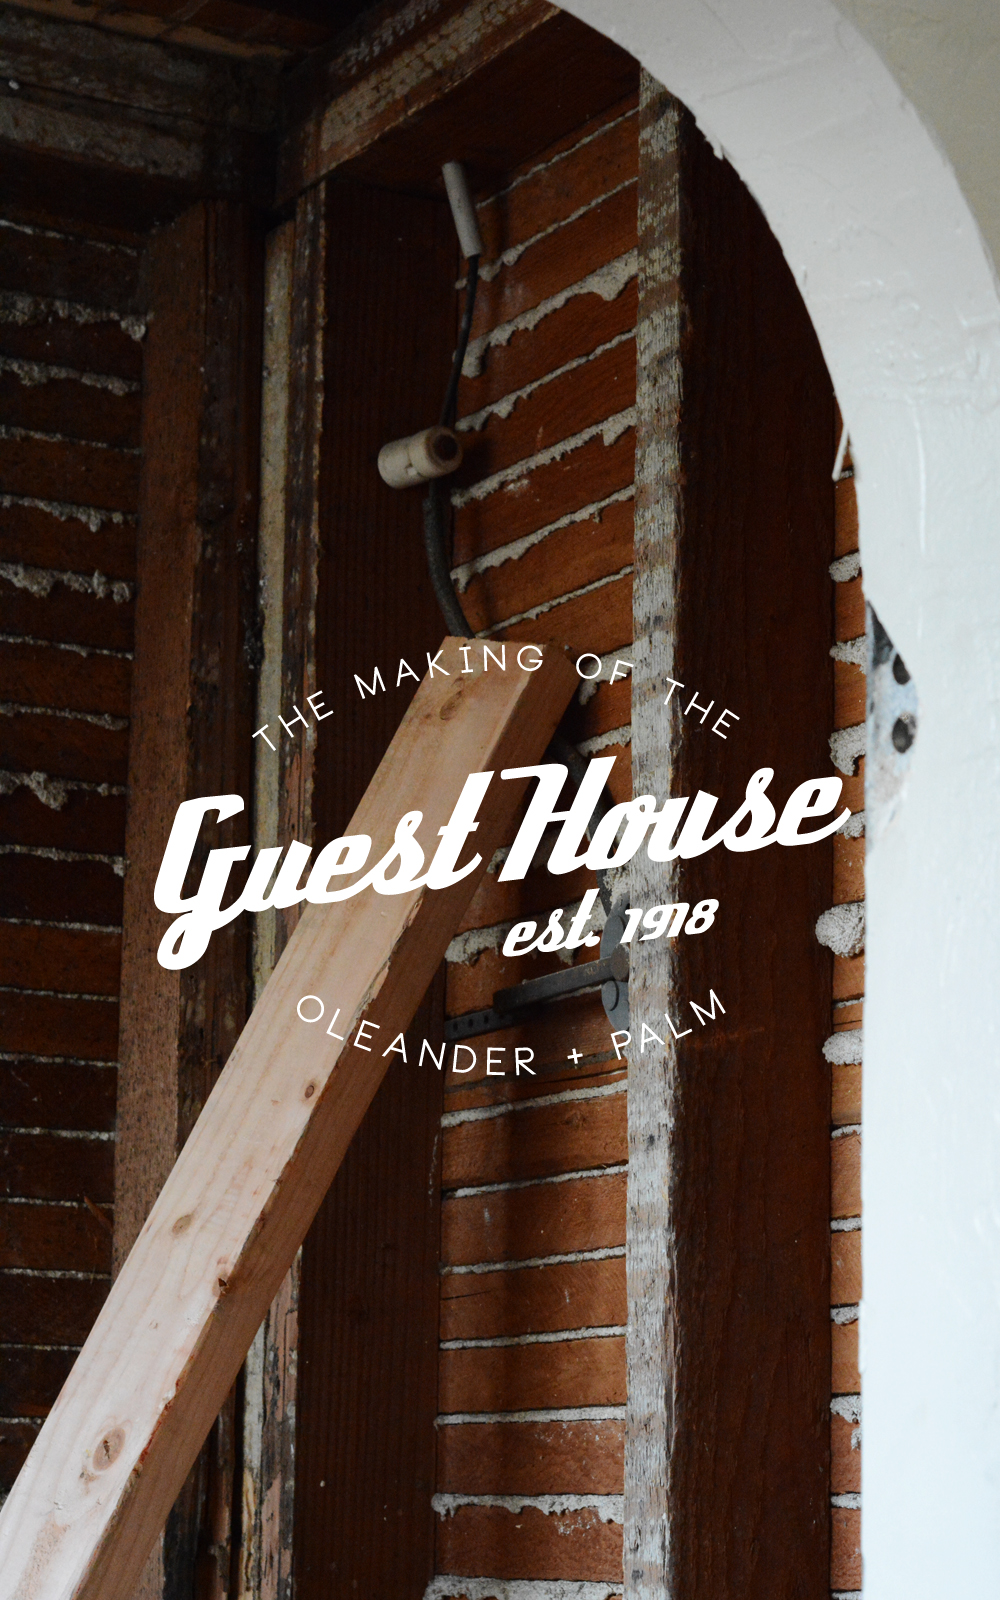
- Get our Guesthouse Airbnb up and running! I really want this to be successful and hopefully help us earn a little extra cash. (I have an update post coming your way this week.)
- I want to find more peace and joy in the present and not always be aiming for bigger and better. I also want to set some more reasonable work hours for myself. So, I don’t feel like I never have any down time. I’m sure it won’t happen, but I’m going to keep it in the back of my mind and give myself permission to stop from time to time.
- And then there are a bunch of business goals I want to tackle. I won’t bother you with them here. But, I want to push myself and expand in a few ways. I want to try more video content and I want to have a little more fun with my photography.
Well, that’s a very disjointed list of random ideas. But, that’s what’s going on in my head right now. Maybe at the end of January I’ll have more direction and more plans and dreams for the year. I hope you’ll stick with me while I figure things out this month. Come February, I’ll be back and stronger and more inspired then ever, well that’s the hope at least.
What are some of your goals and plans for this new year?

 Be sure to check out the some of the other fun DIYs I’ve created using


 This post is sponsored by
 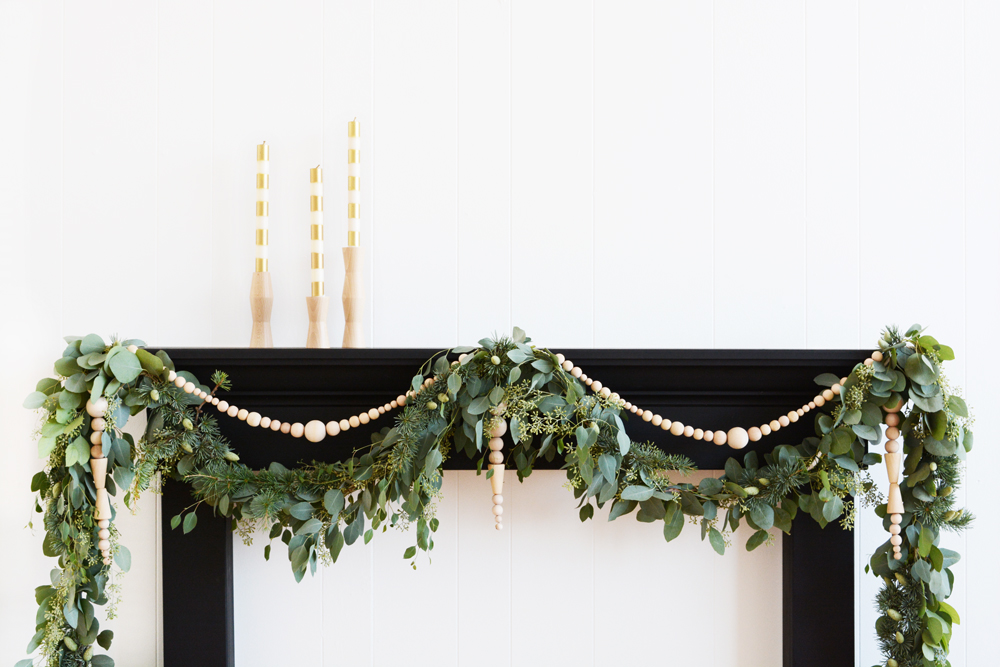 I know Thanksgiving is just one week away, but I think it’s ok to start planning your Christmas decorations. And the mantel is a great place to start.
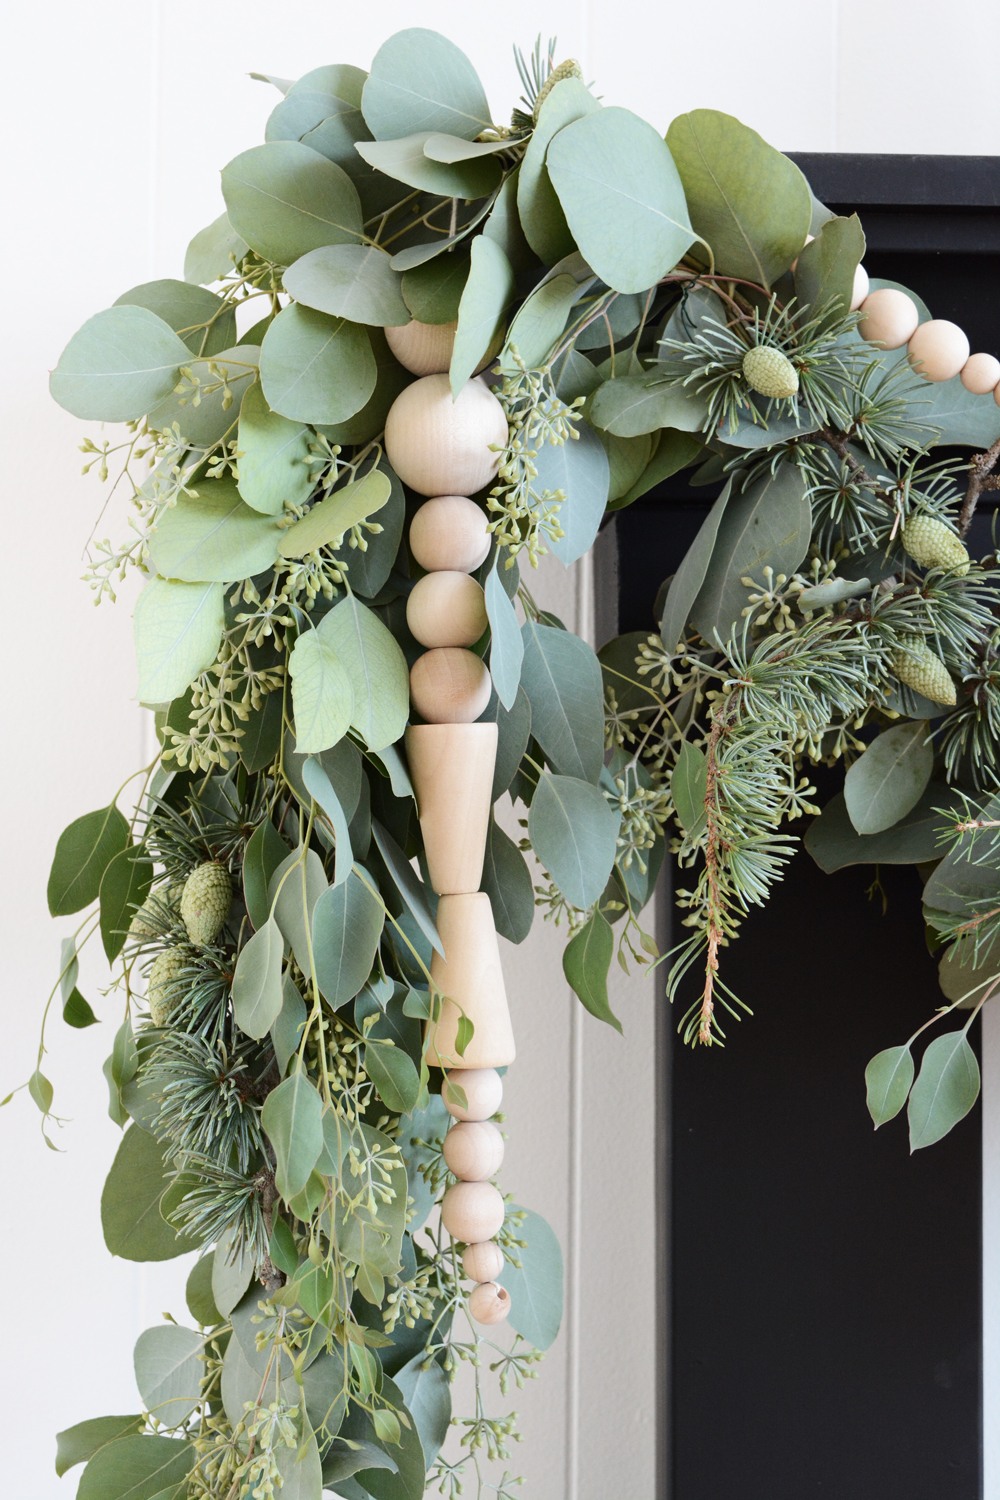
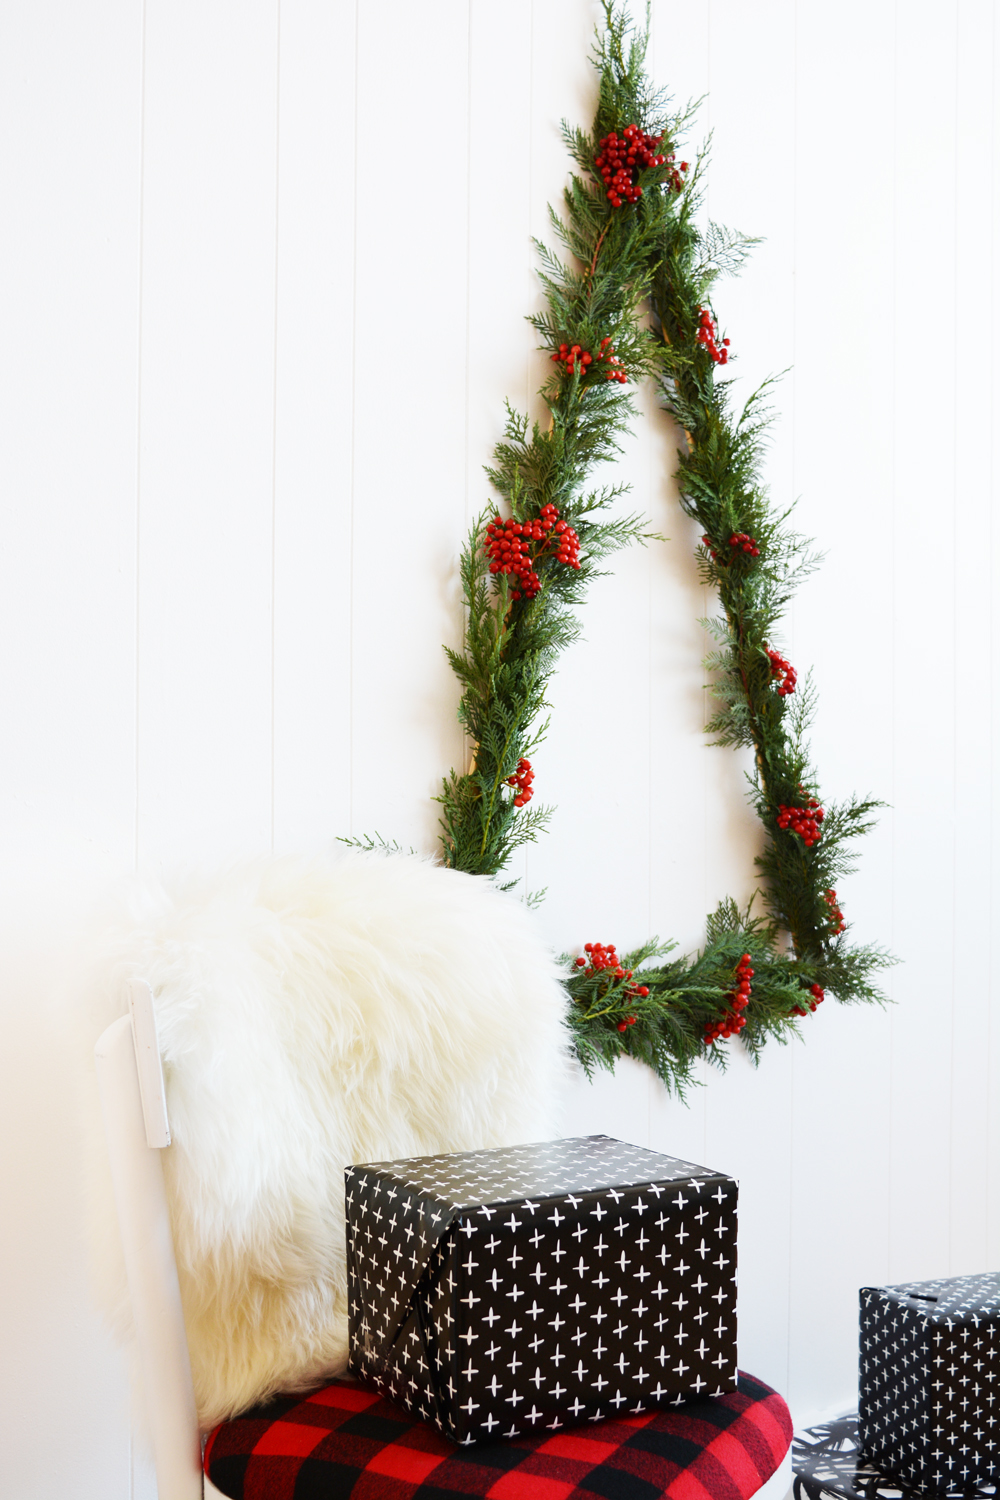
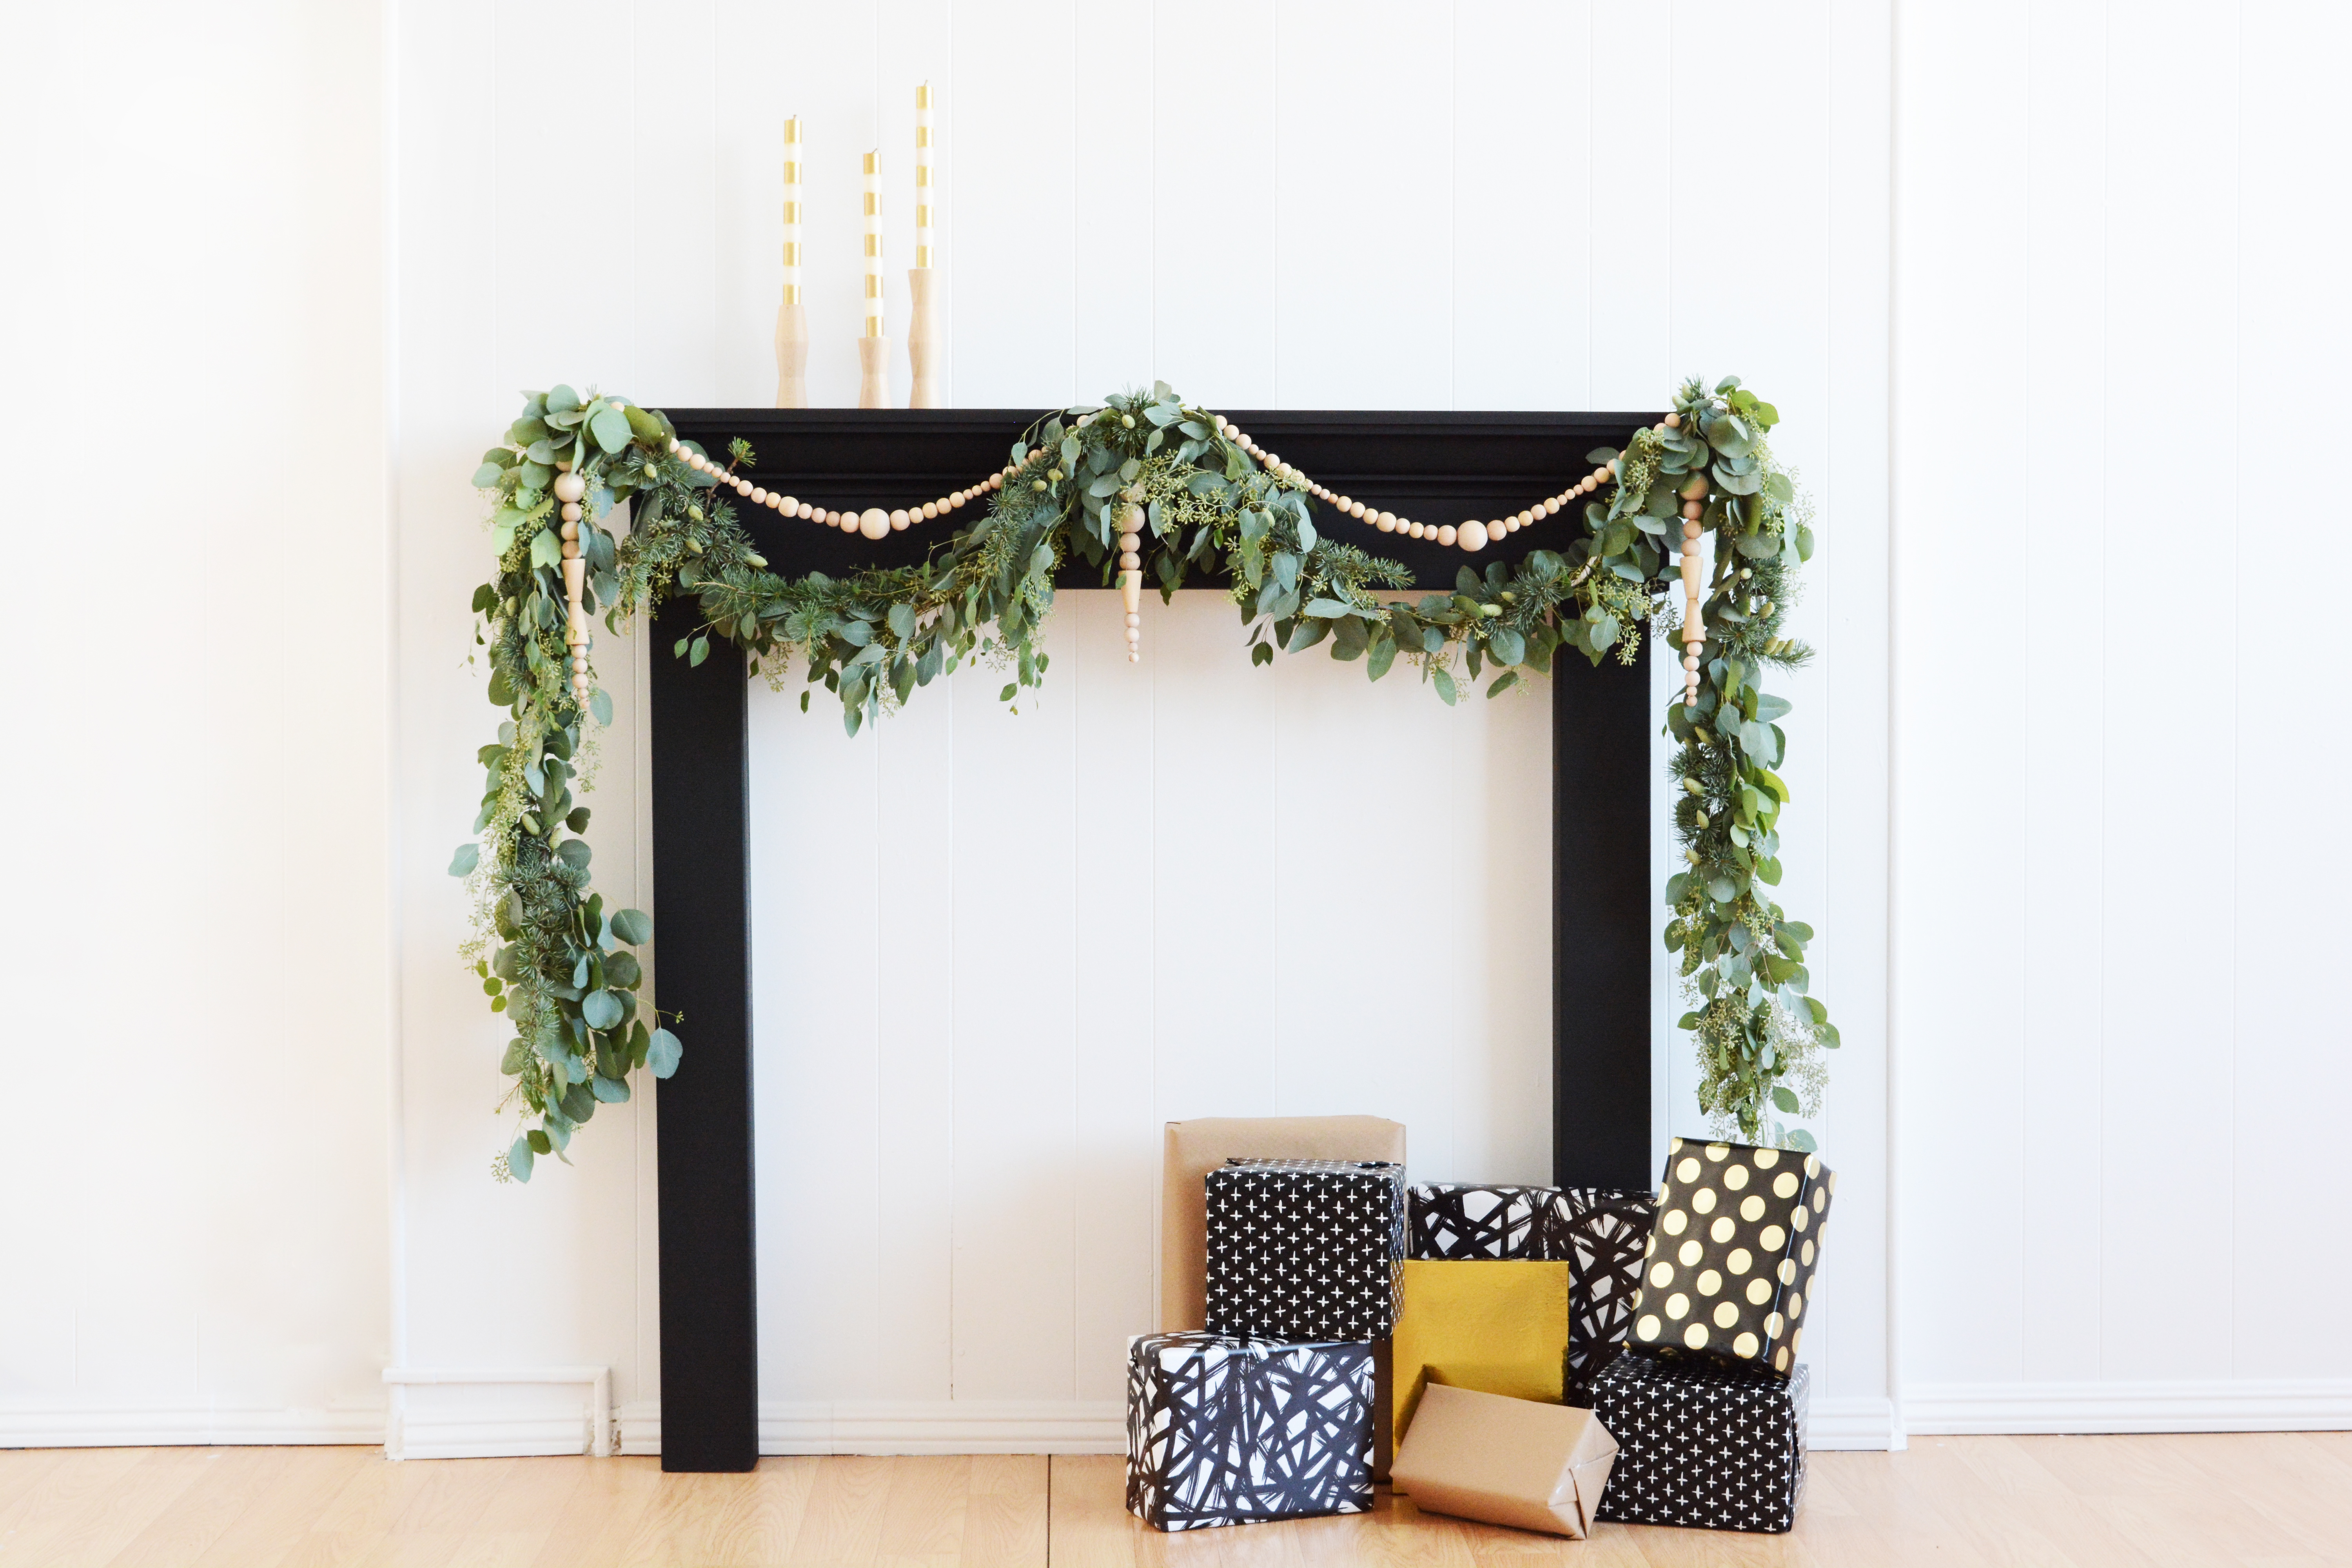
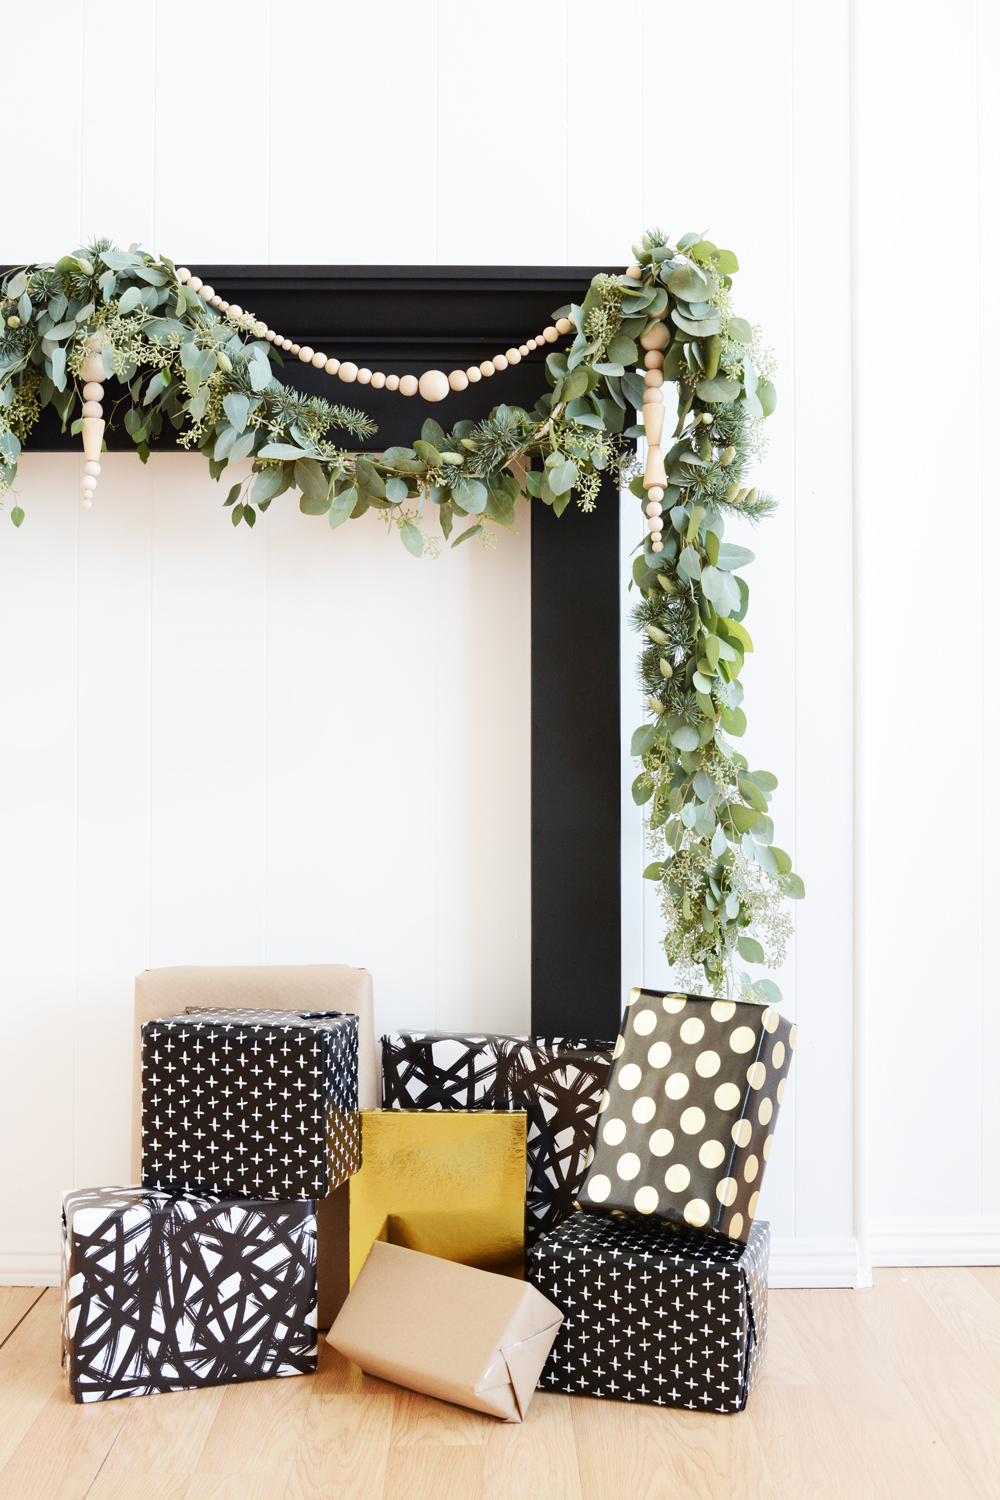 To start, you will want to measure your mantel for the length of the garland. Using the 1/4″ rope, decide how long you want it to hang on the sides and also account for the swags along the top of the mantel. I made my garland to dip just twice.
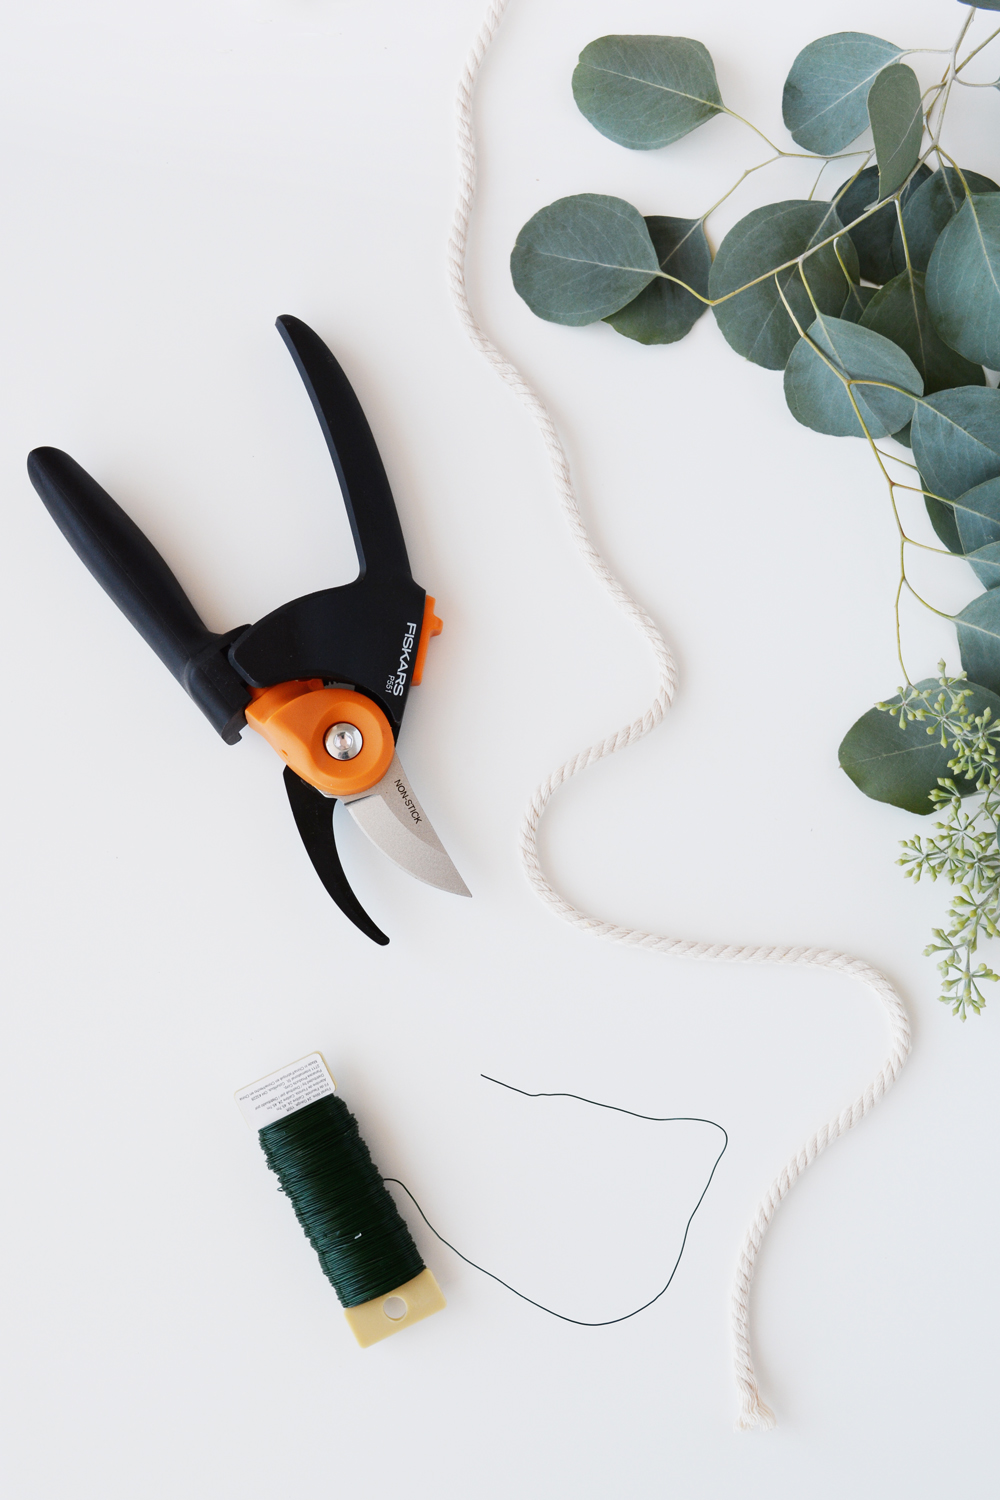 Using the
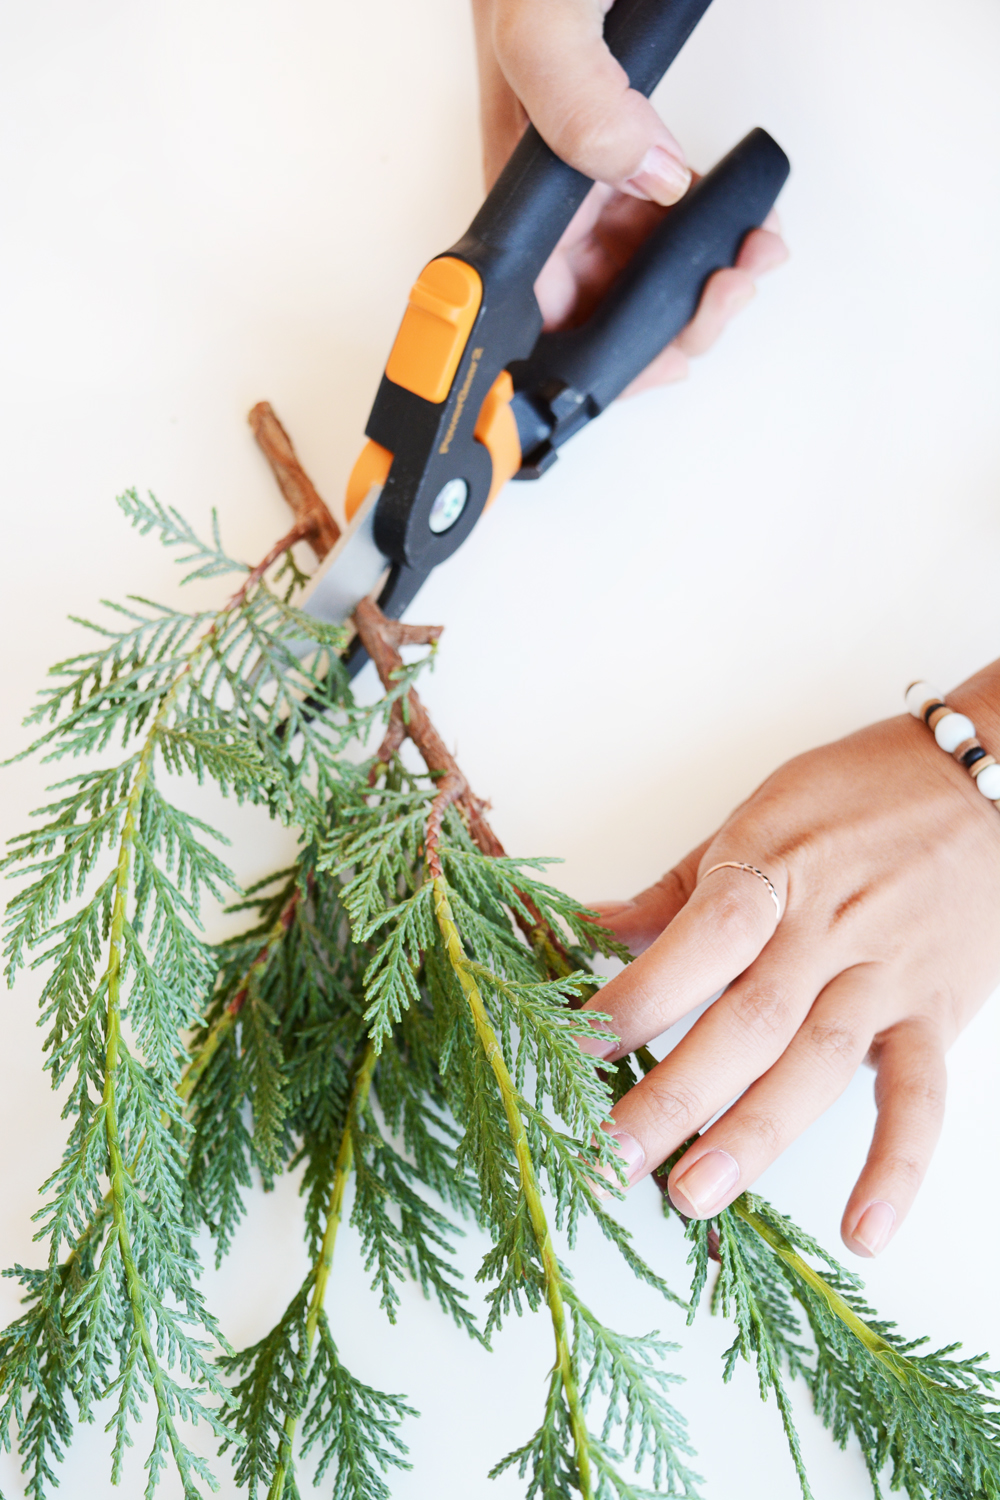
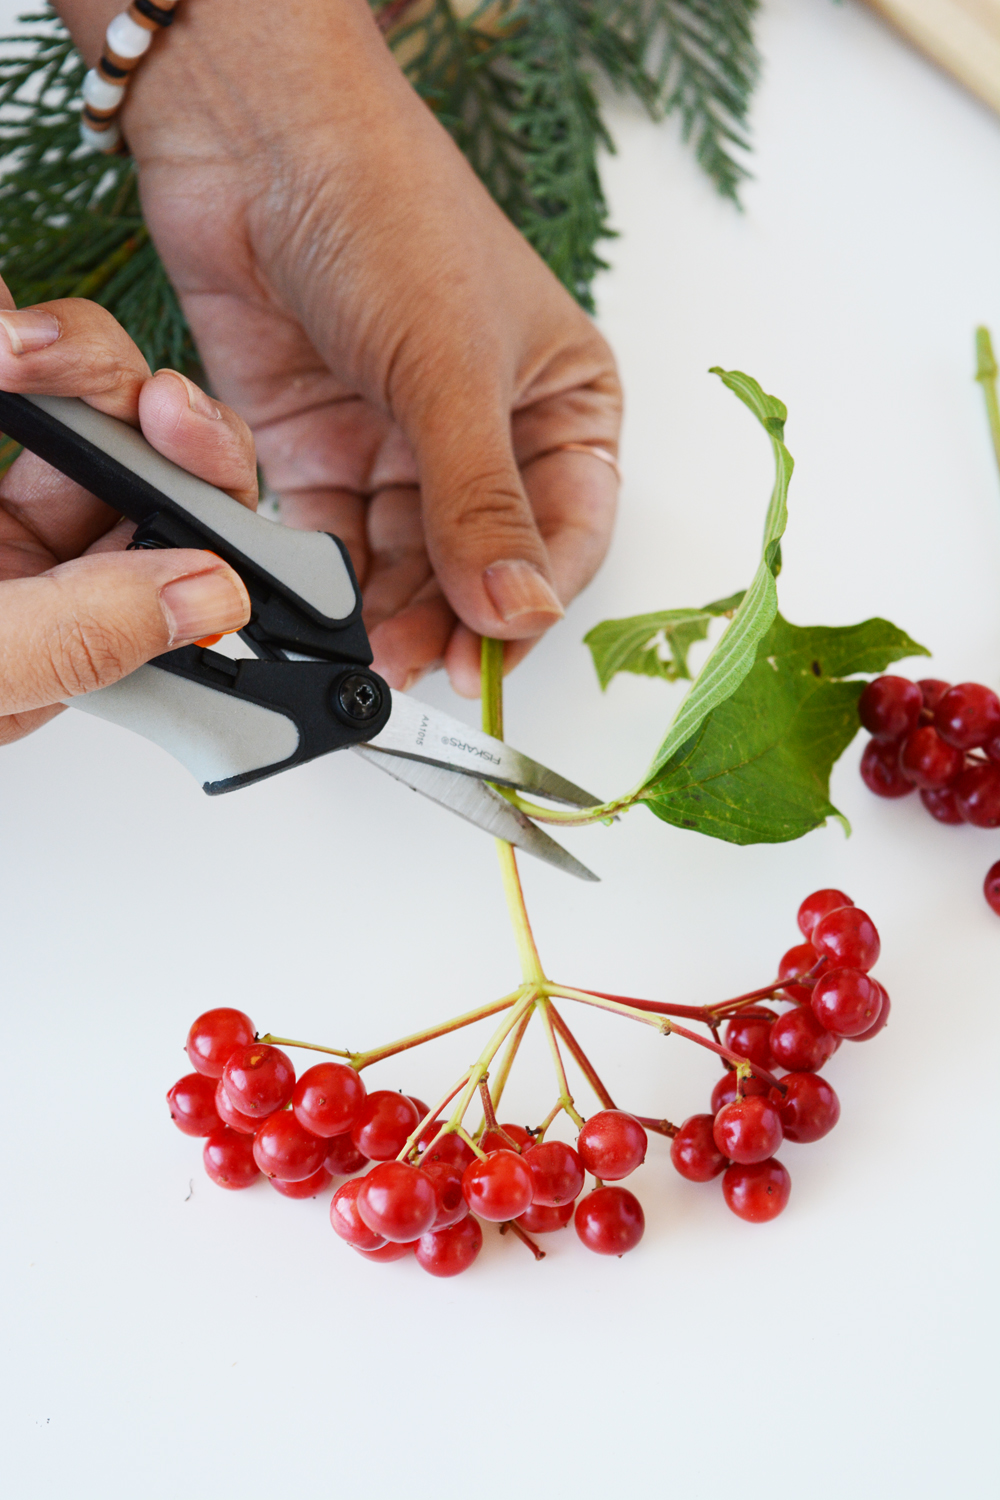
  I used the Pruners to trim away parts of the branches that didn’t have very many leaves. These Pruners are one of the best tools I own. They are easy to grip and the non-stick blade cuts through thick branches with ease.
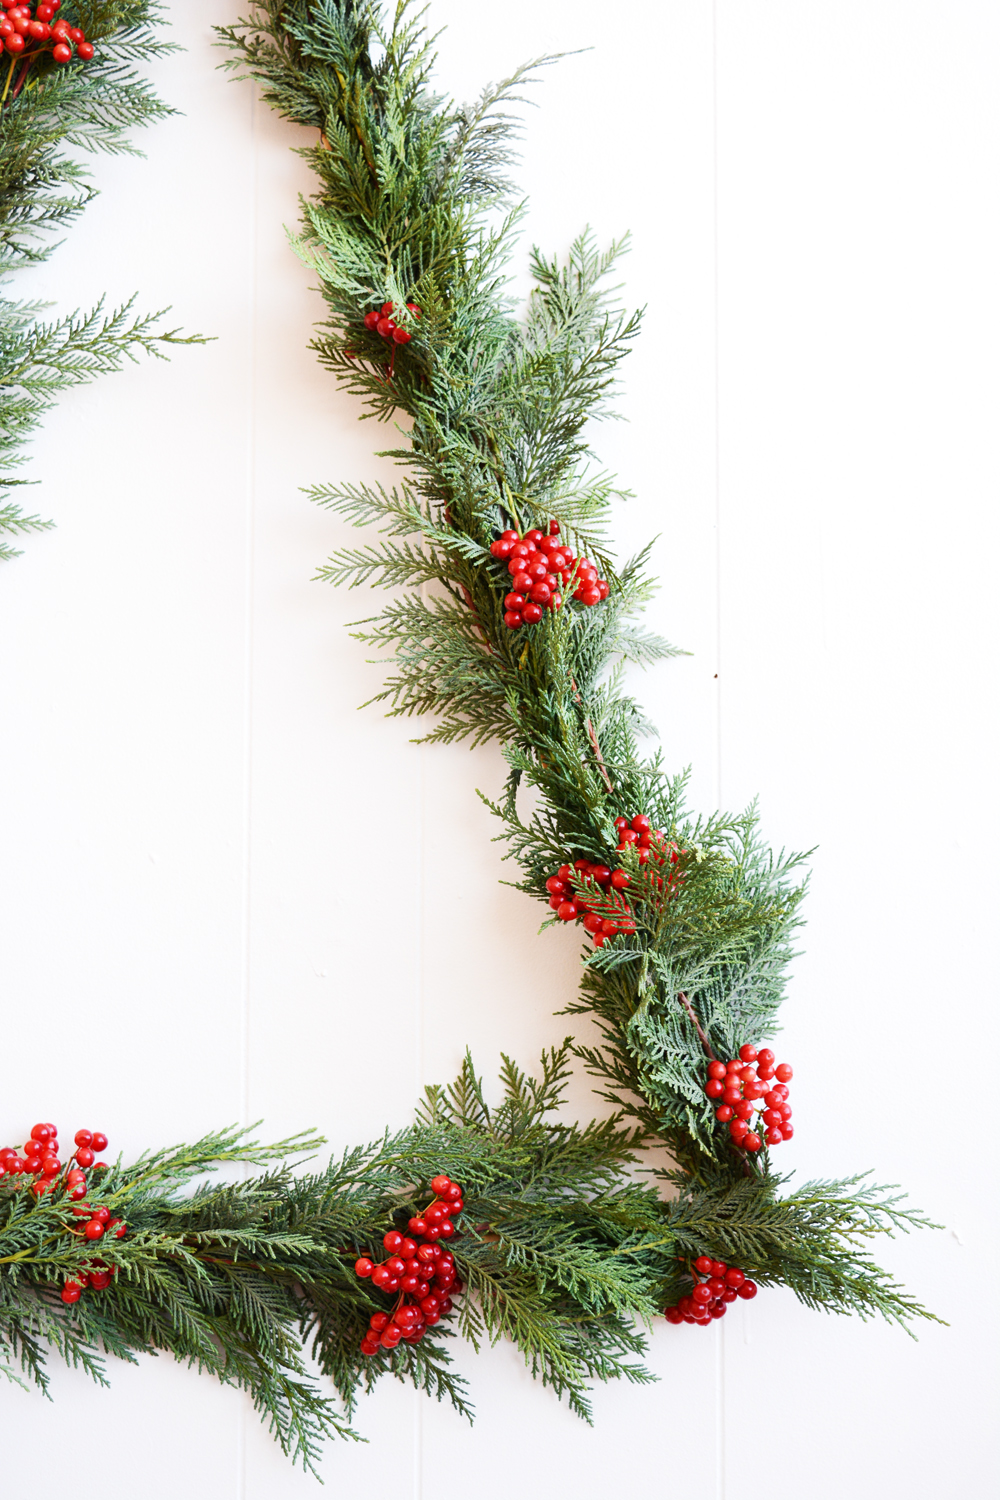
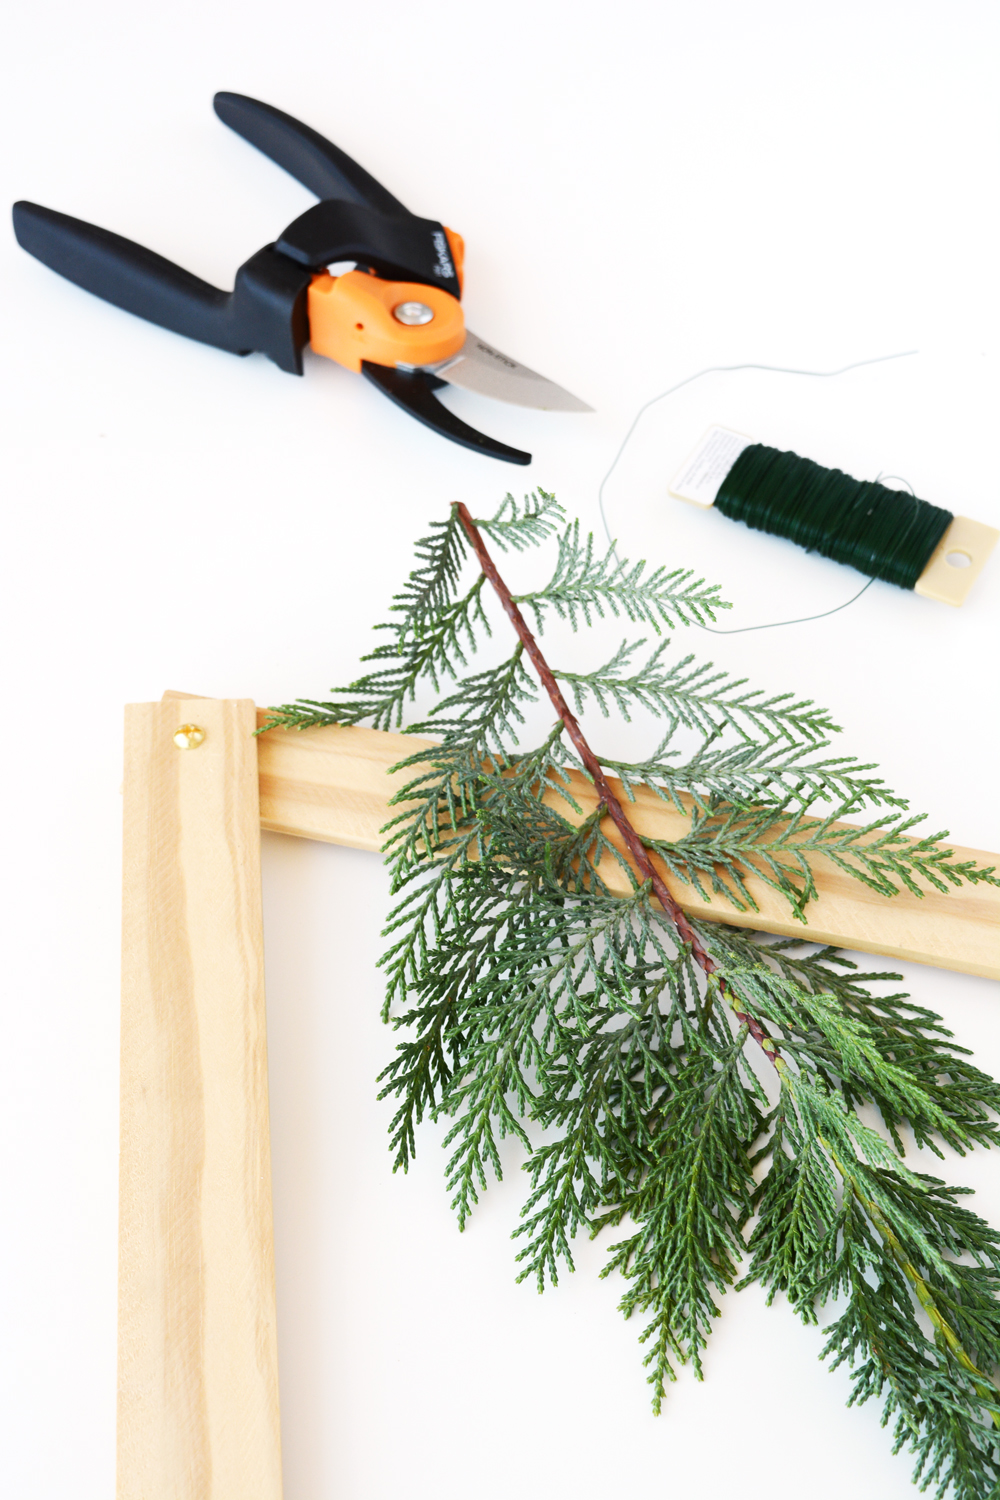
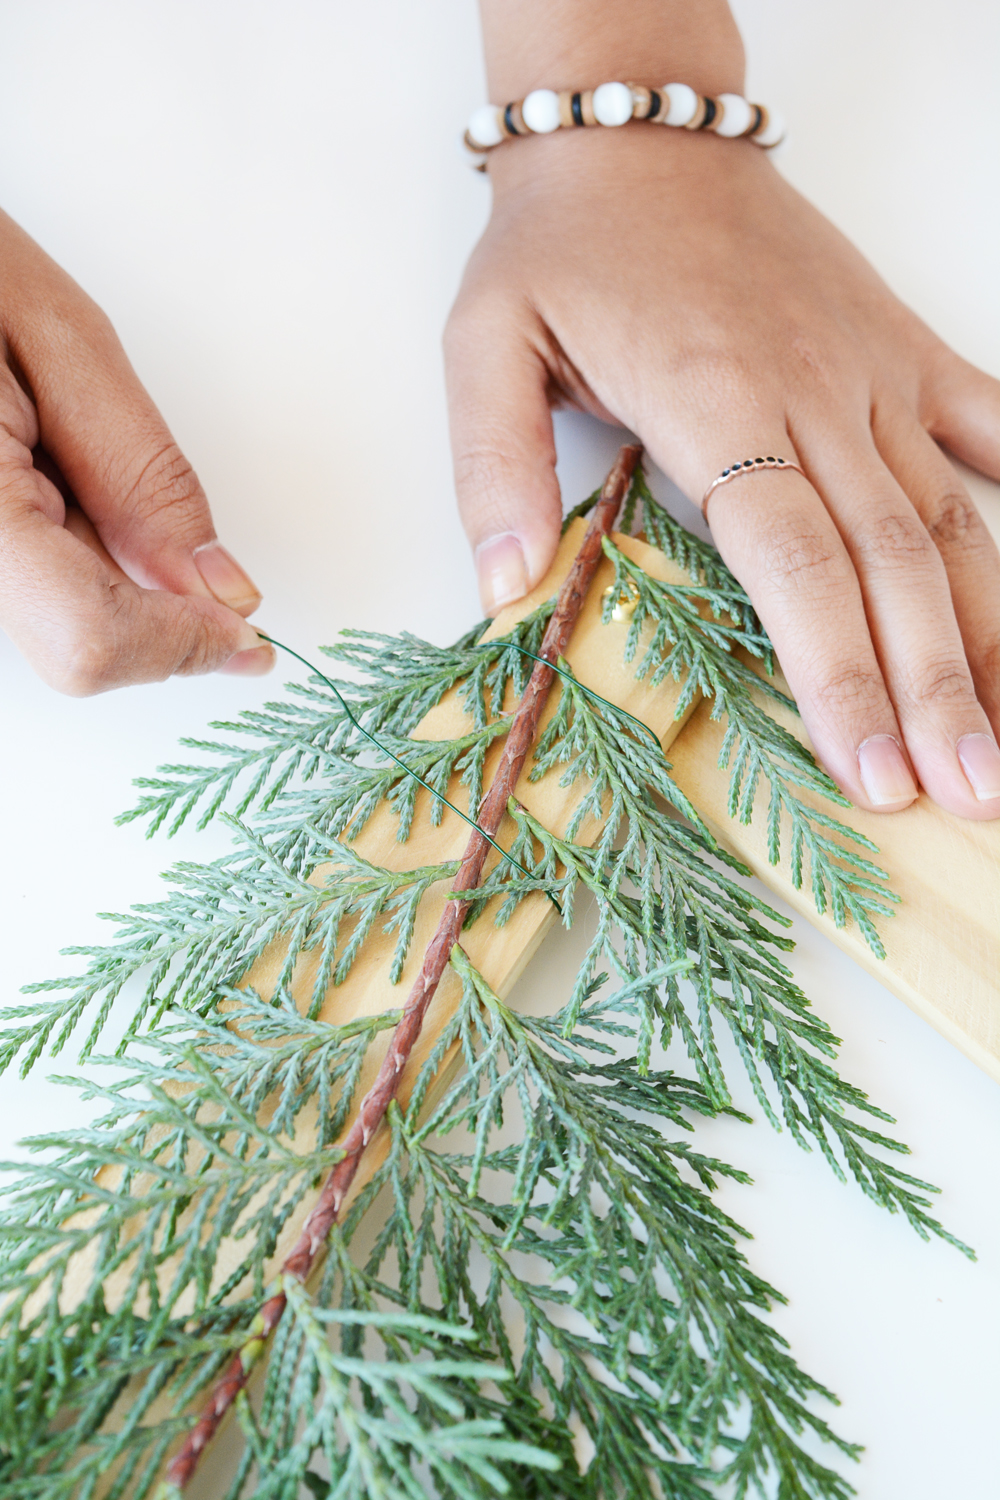
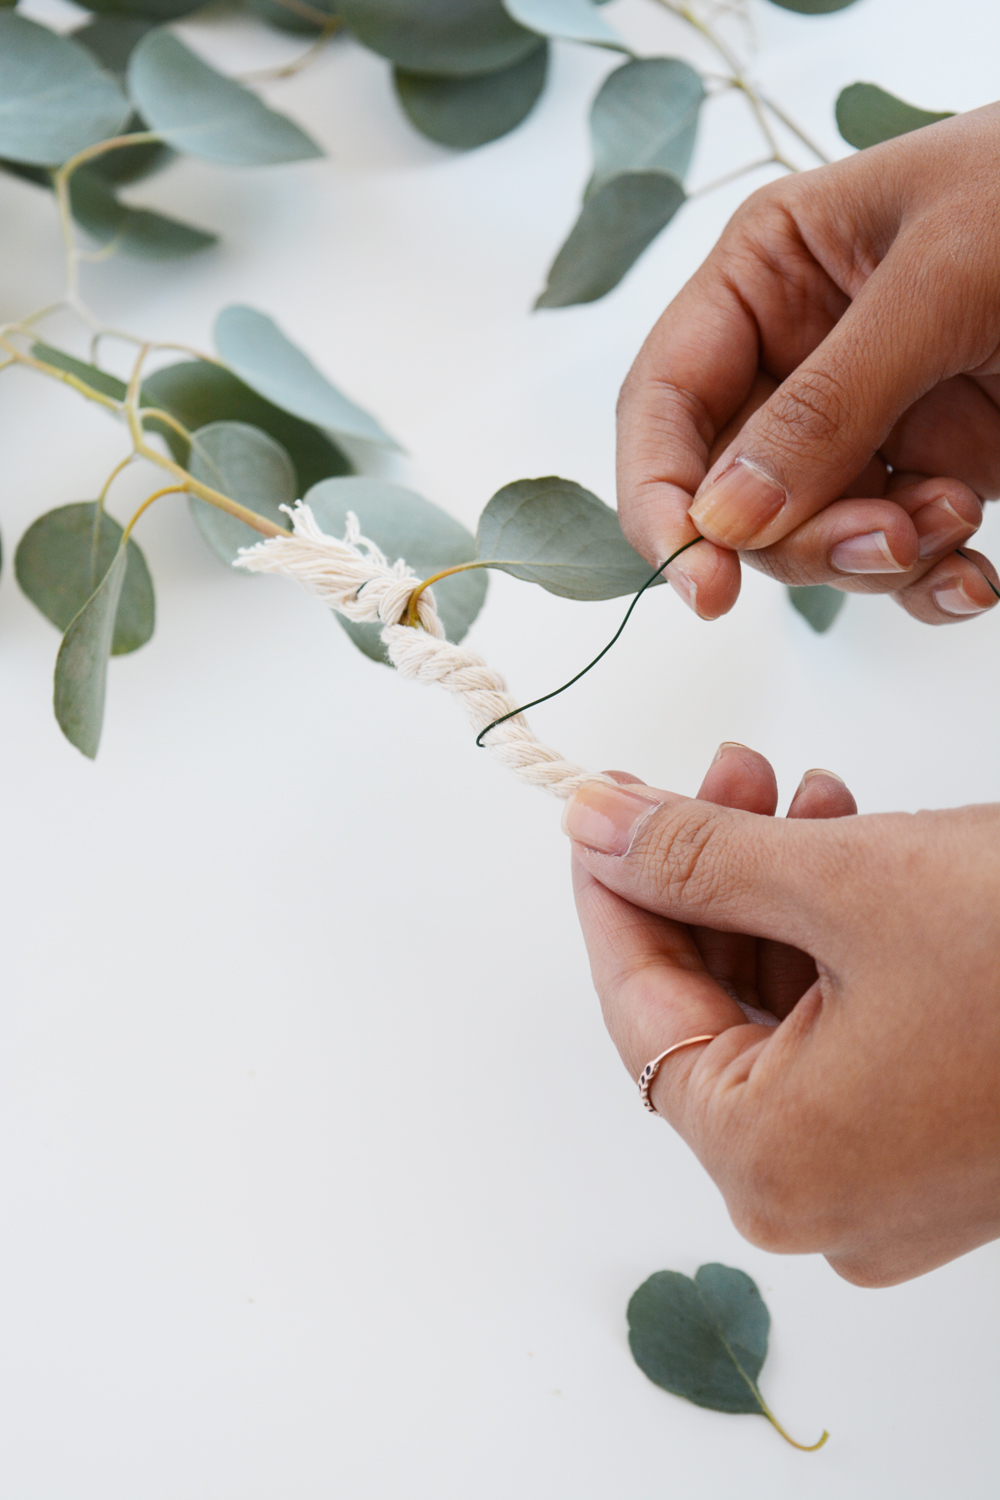 Starting at one end of the rope, I wired on a branch of eucalyptus with the foliage falling away from the end of the rope. Every couple inches, I added in another brand, laying them all the same direction, and wired them all tightly to the rope. I used enough foliage to be sure the rope was hidden and out of site.
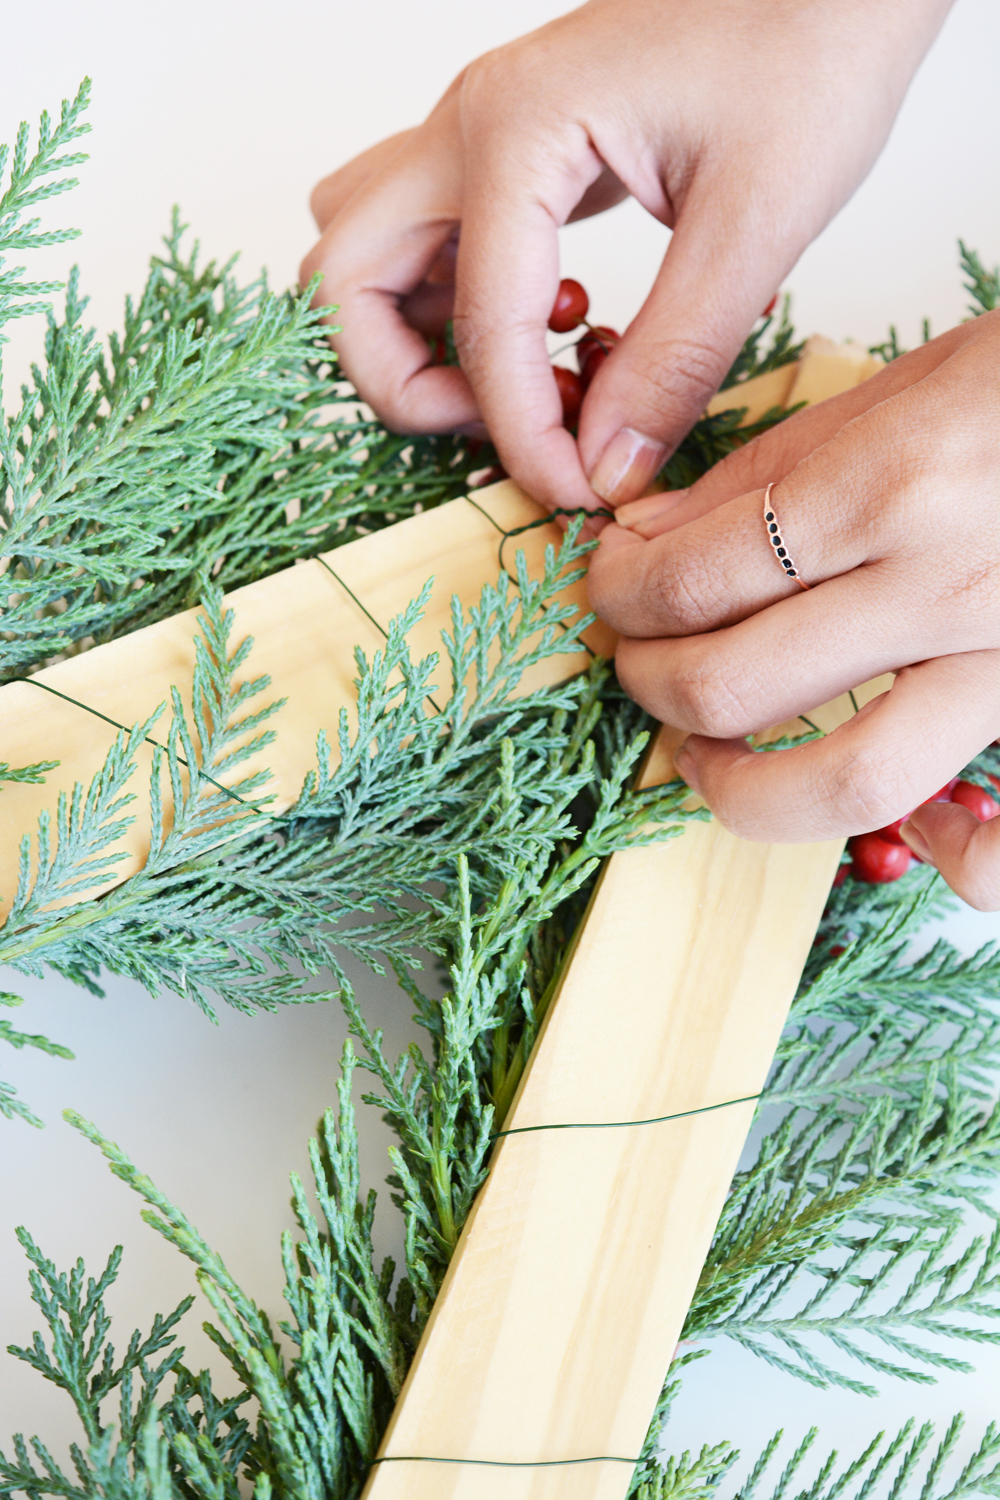
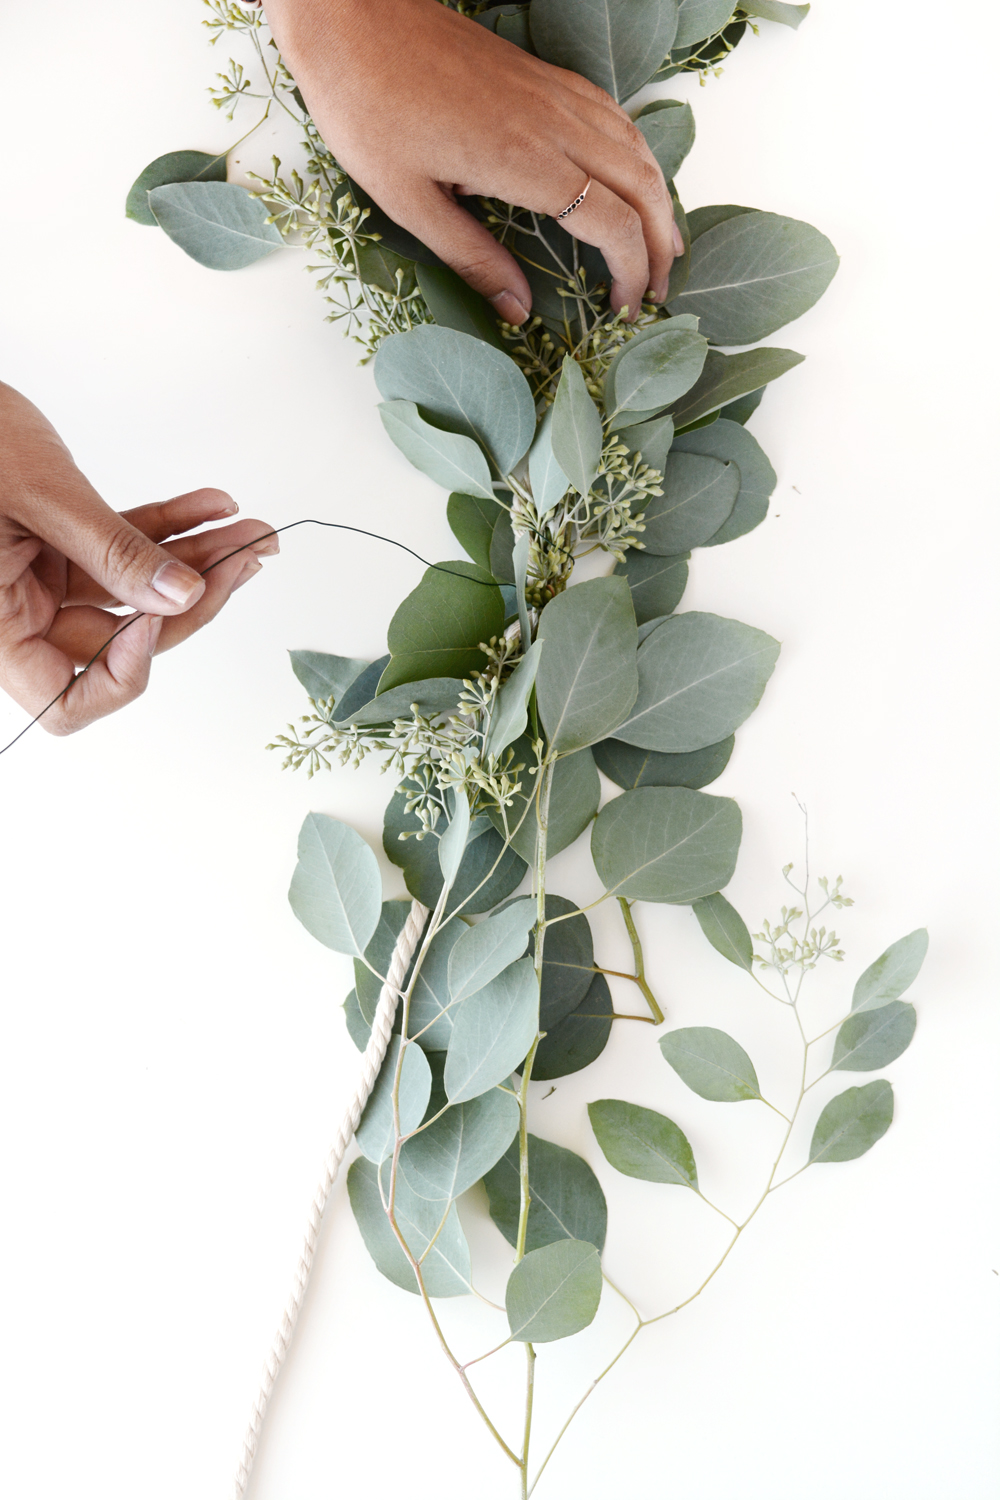 Working with pieces of florist wire that are about a yard or two in length is the easiest. You are less likely to get tangled in the leaves and branches. And when you need more length, simply twist the two ends of the wire together to secure.
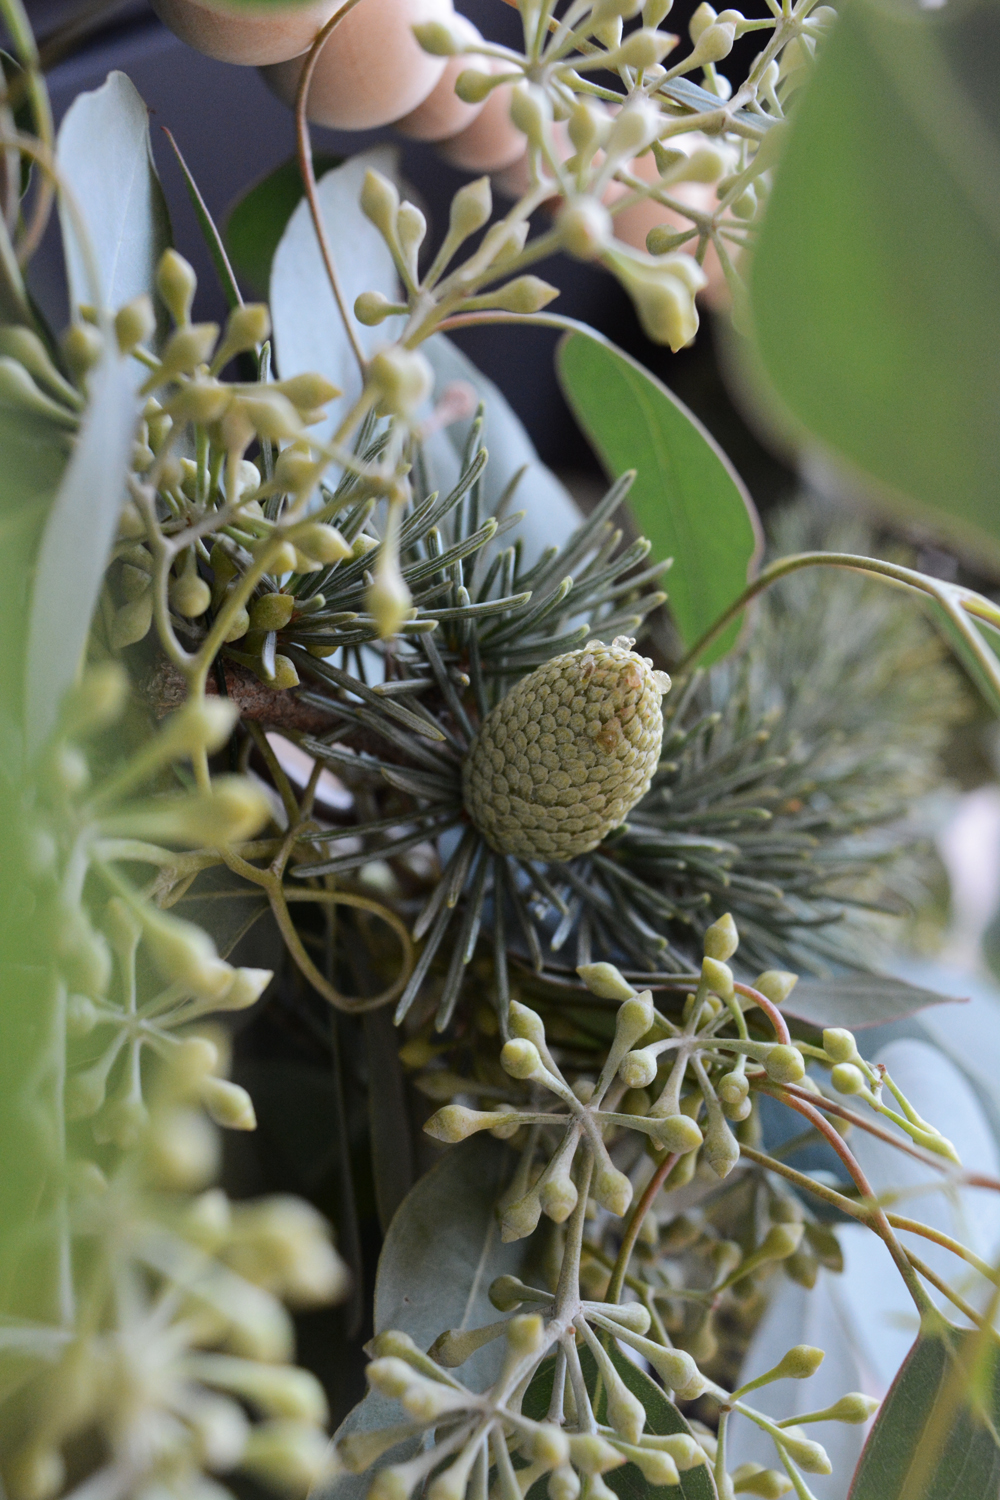
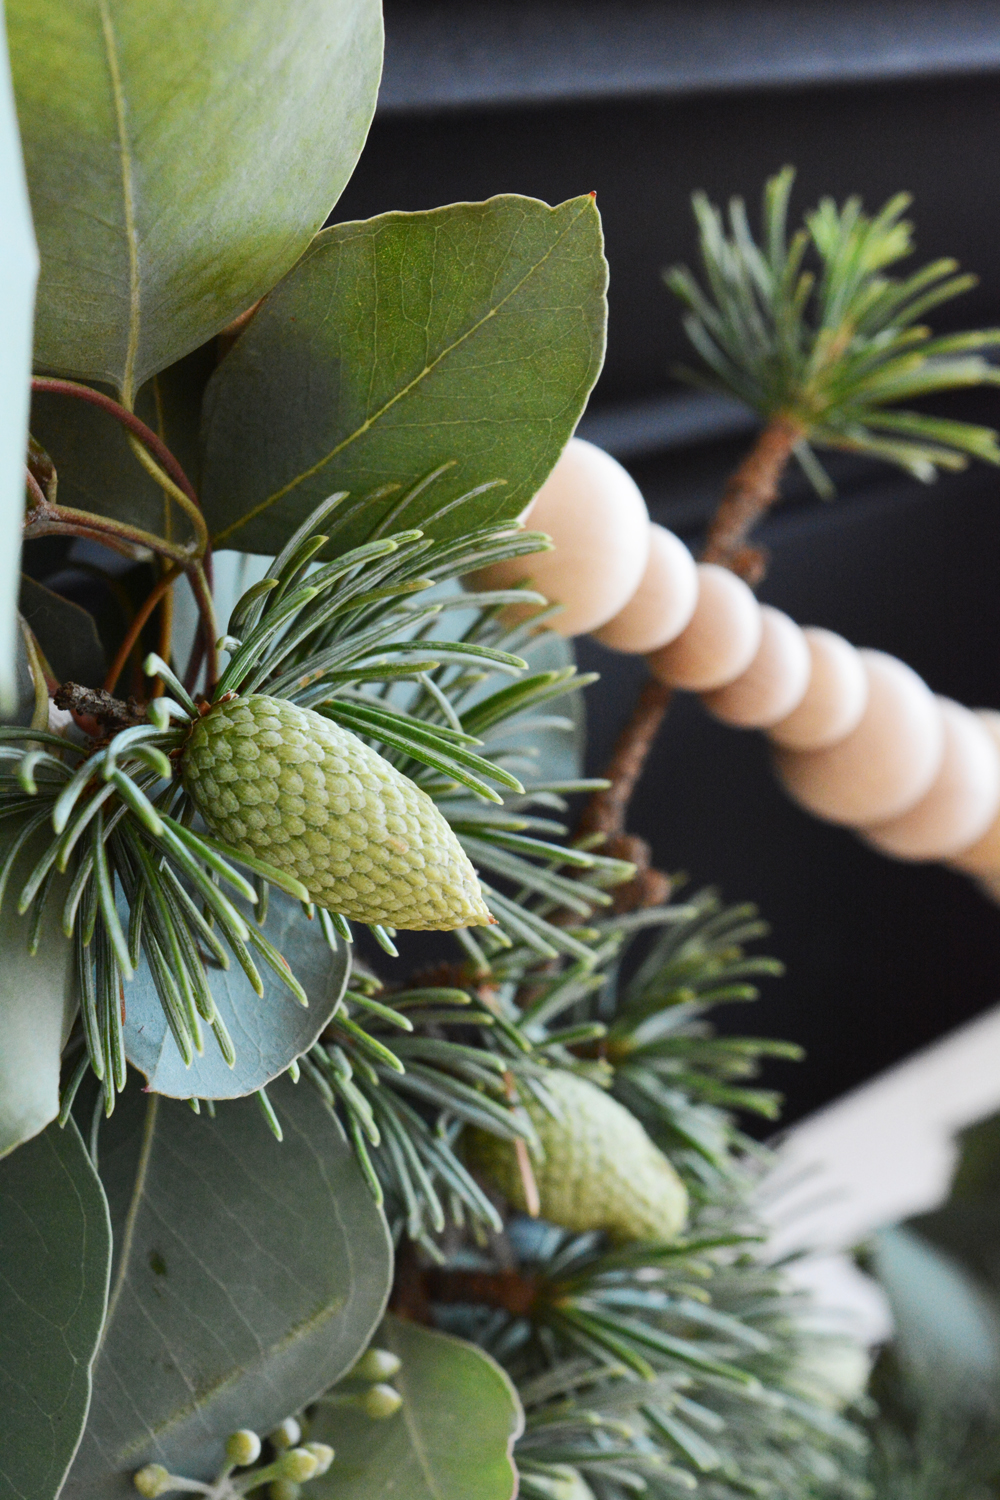
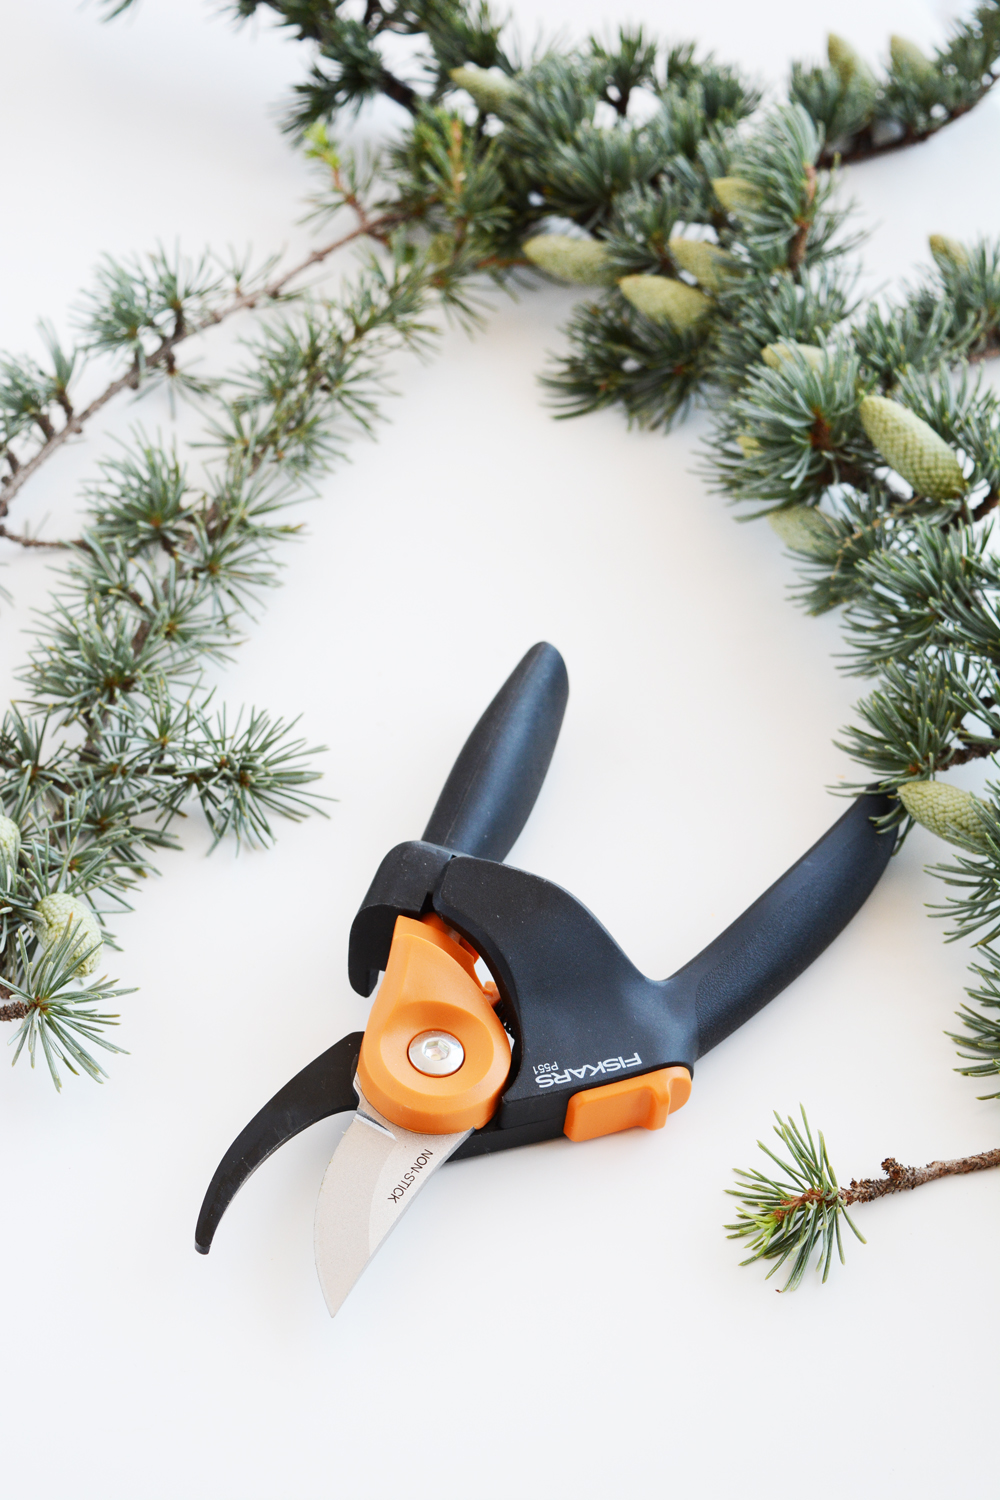 Next I trimmed about 8-10 sprigs of pine that had pine cones on it. These were not big pieces, most were about 6 inches in length. Then, before I wired in the pine sprigs, I hung the eucalyptus garland on the mantel with just 3 tacks to secure in the middle and the 2 ends. I wanted to get an idea of how the piece hung and then attach the pine sprigs where they would be visible.
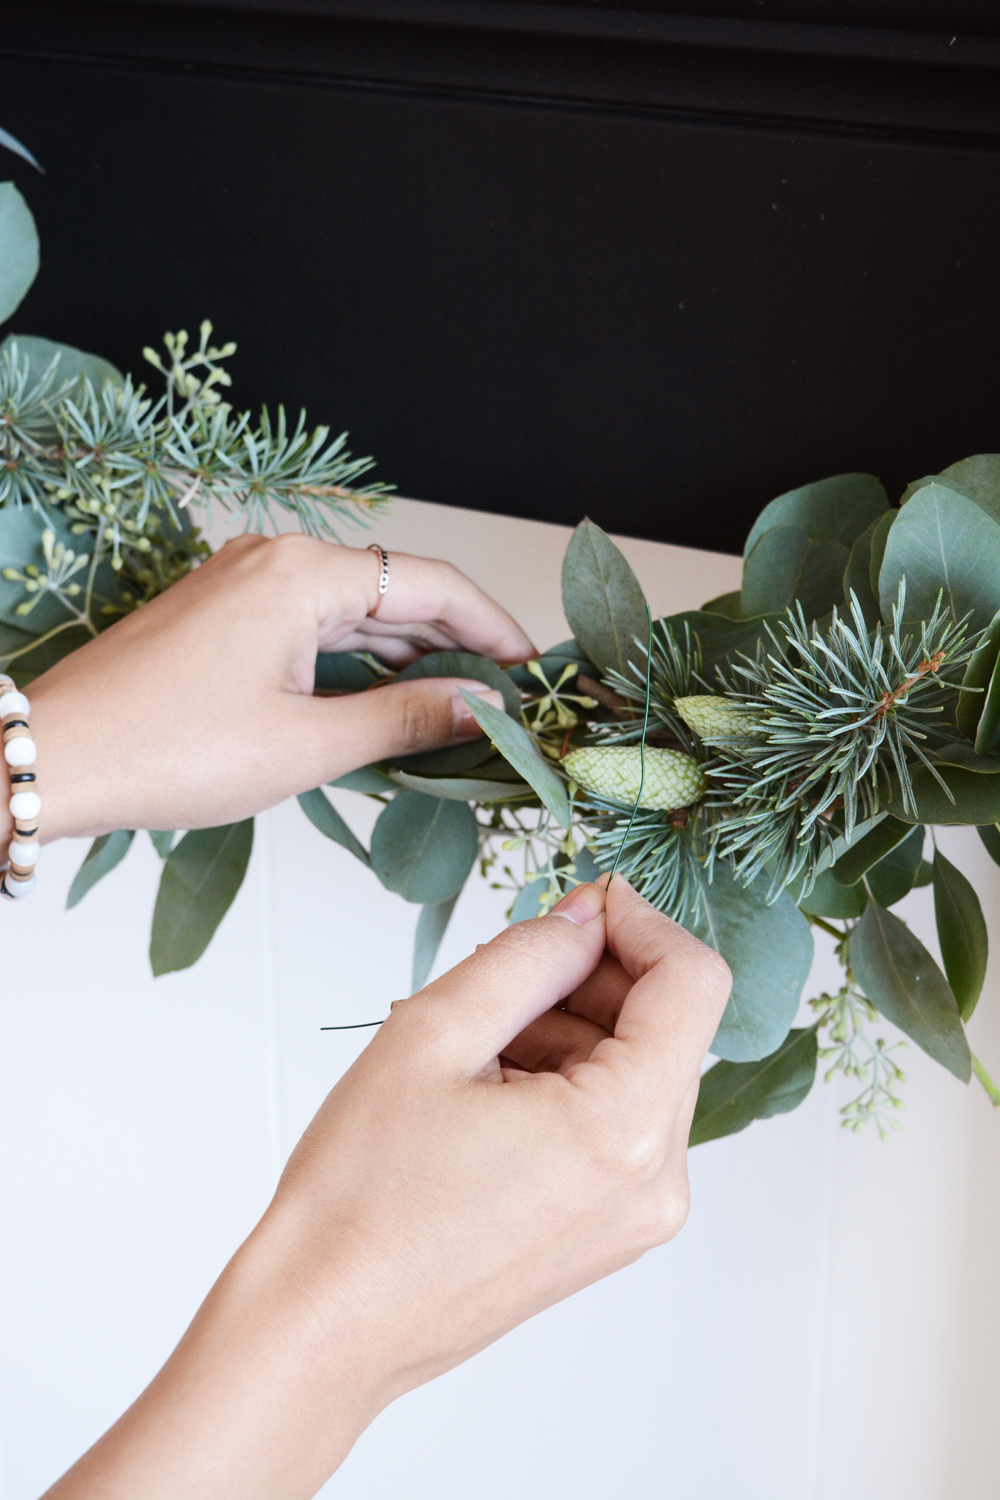 Next I worked on my wooden bead icicles.
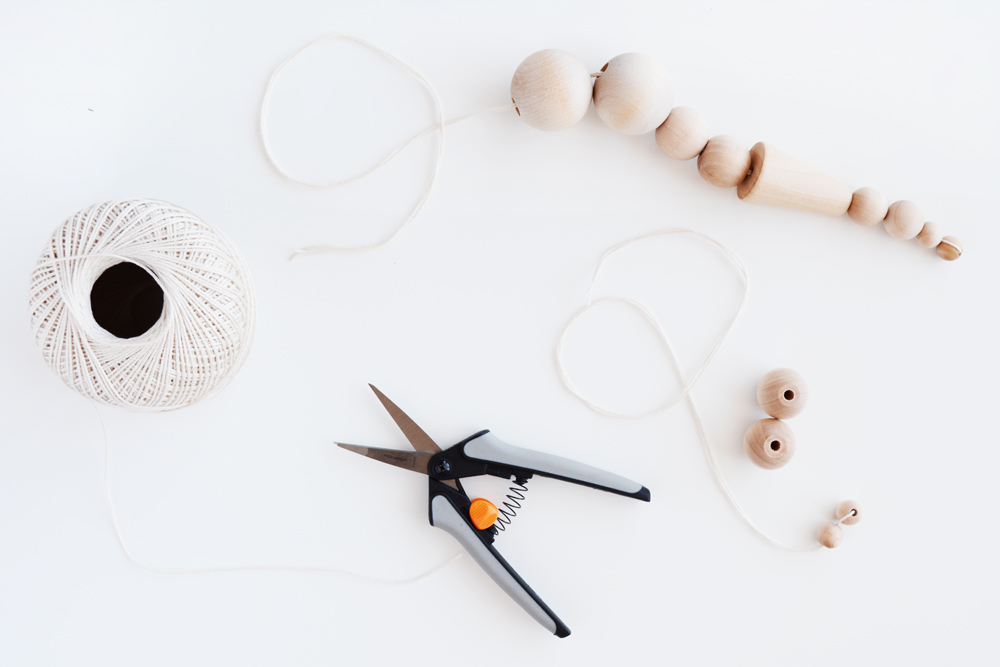 Start by cutting a 3 foot length piece of crochet thread. I love the Pruning Snips for jobs like this. They are super versatile and can go from cutting branches to snipping thread with ease.
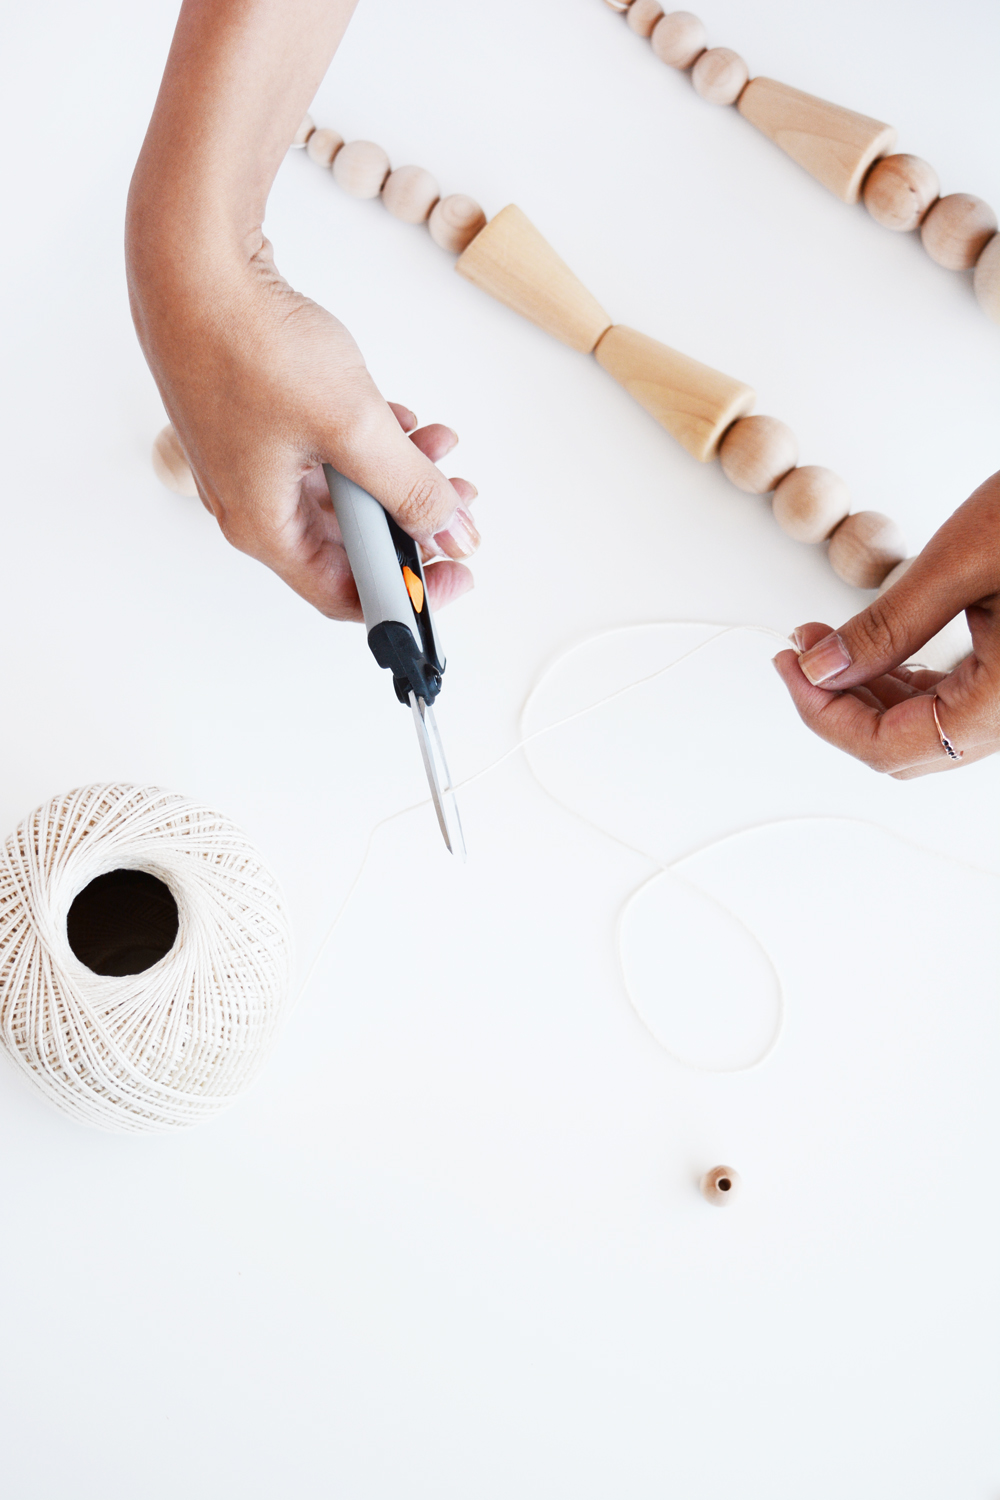 Lay out your beads in the desired pattern. I worked from biggest to smallest to create an icicle effect. Using the large needle, thread the smallest bead on and place it in the center of the length of thread.
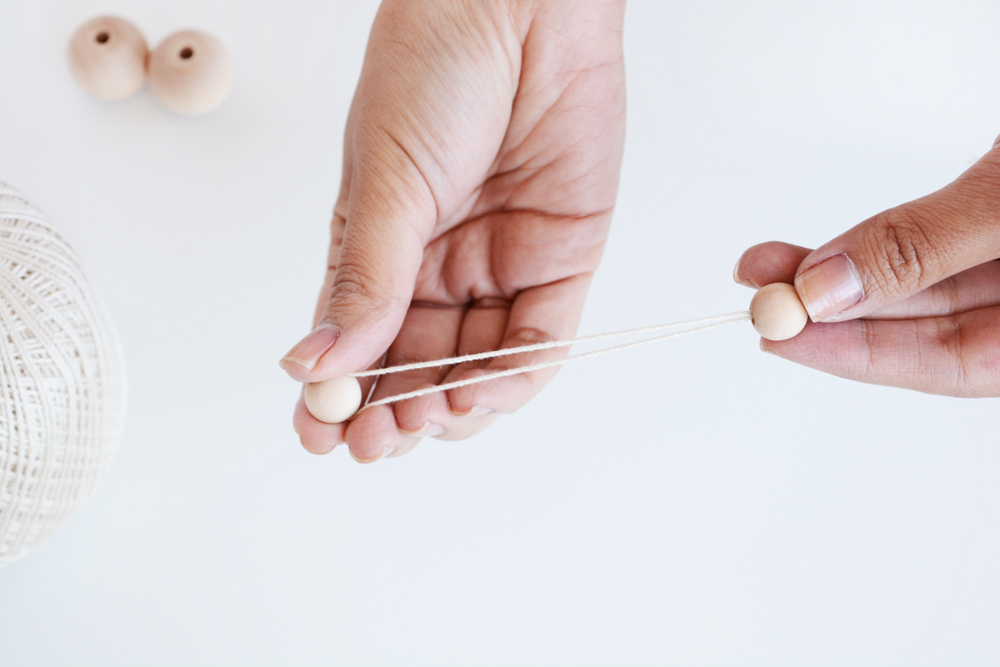 Then re-thread the needle onto both ends of the thread and thread on a second bead.
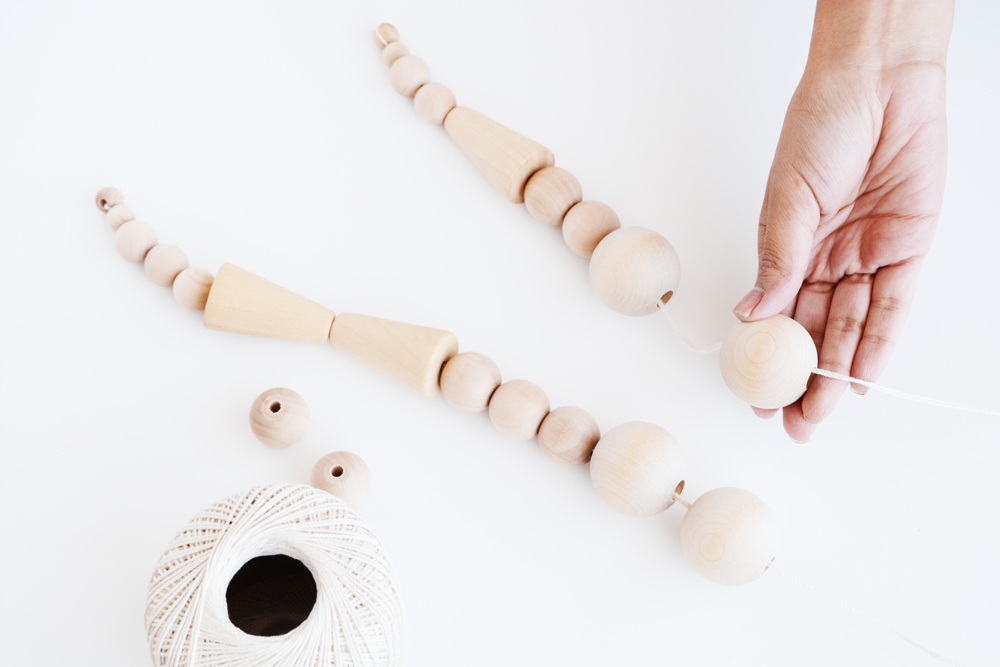 Continue threading on all the beads. I made 3 icicles for my mantel. I simply tied them onto the tack that was securing the garland to the mantel.
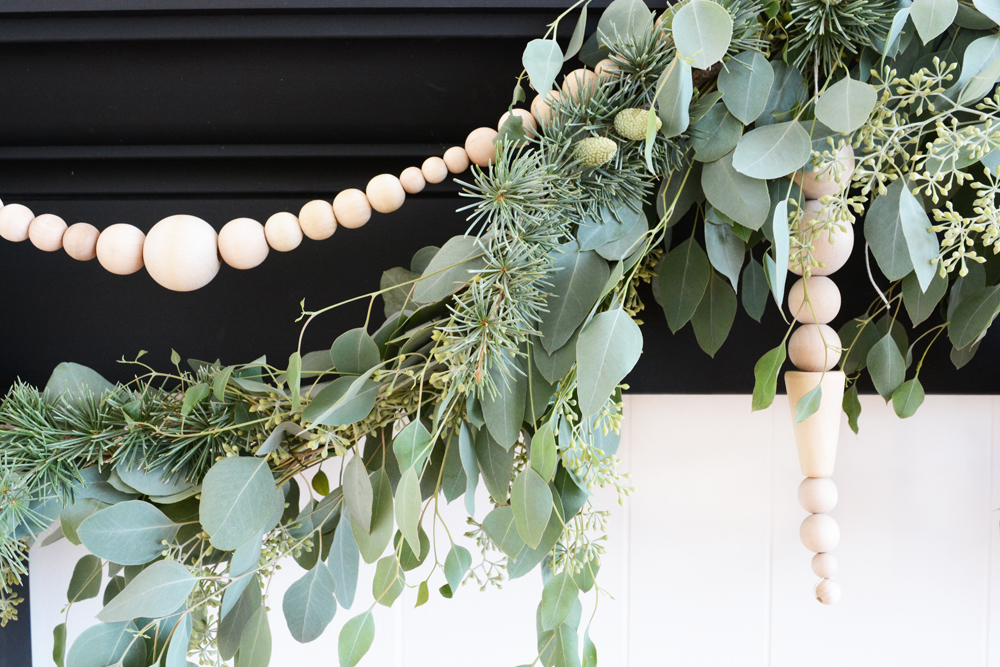
 This post is sponsored by