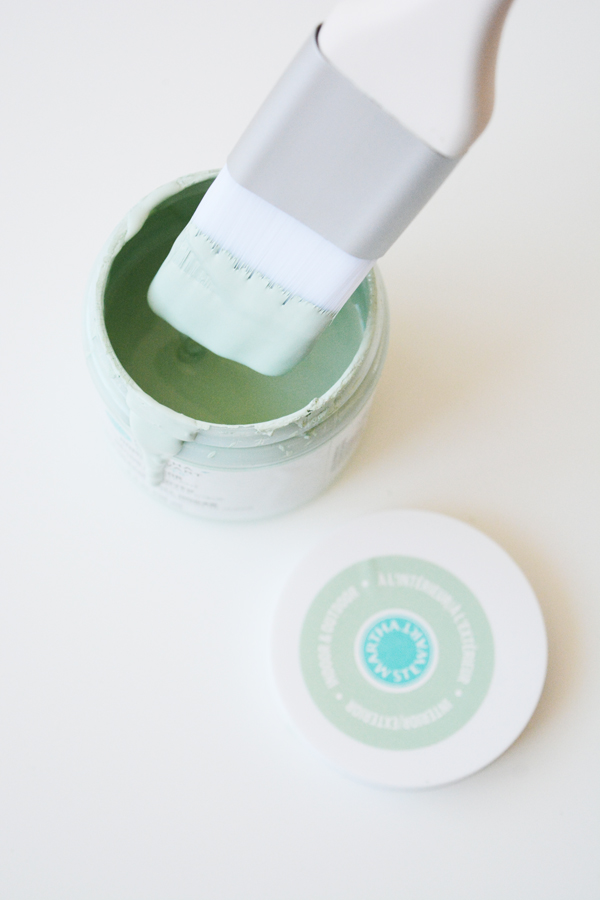
This is for my instagram friends, before I tell you about our FANTASTIC new door, just watch the video and you’ll find out what color I painted the inside of the door. I know the suspense is killing you.
It’s been a while since I shared an update on our little guesthouse. If you are new here, I’ll fill you in really quickly. We bought our house just over a year ago and one of the first projects we decided to take on was the little guesthouse attached to our garage. Our house was built-in 1918, and the guesthouse need A LOT of work. You can check out the bedroom and bathroom reveals for my details. But, we use the guesthouse for friends and family that come to visit and we also rent it out on airbnb as well.

We did so much work on the space and we knew that the door needed to be replaced REALLY BADLY. The door was literally falling apart. All the glass panes were tilted and slanted to the side. There were 1 inch wide gaps at the top and bottom of the door that let in dust and bugs on a regular basis. We had replaced the handle and lock earlier in the year, but guests often struggled with the door still. After temps as high as 115 F this Summer, we realized that we just couldn’t keep the room cool. Heat just penetrated through the single pane glass on that door.
But, we just couldn’t work up the courage to take on this big project. If you know anything about old houses, you know that walls, floors and doorways are not always straight or level. In our last house, we replaced an exterior door ourselves and then had issues with it for years to come. And while we do DIY very often, we decided we wanted this project done RIGHT, so we called the experts at Home Depot.
Our house is a Craftsman house, so we really wanted to stay true to that style. Home Depot’s, JELD-WEN Steel Craftsman door seemed like the perfect fit for our house. It comes in 6 classic colors, we chose the crisp white. I love that this door still has some glass at the top, but also still provides privacy. One of the best features of our guesthouse is how bright and airy the space is. We didn’t want to take away all the natural light in that corner of the room.
Not only is this door extremely handsome, this steel door is strong and secure. We are so happy to have an energy efficient door. We’ve already saved in cooling bills and I’m sure we will save with heating this winter as well. This door glides open and shut with ease and seals almost airtight. With the old door, you could see light coming through on all sides, this door keeps the outside stuff outside, where it belongs.
We chose to hire the professionals. Bob + Andy from the Home Depot door installation team went above and beyond in installing our new door. Home Depot’s professional door installers are local, licensed, insured, and have undergone a thorough background-screening, so you can feel confident that you are getting reliable help. My installers took the time and care to remove all the original trim without damaging it and then replaced it like it had never been touched. They also had to cut new moldings for the outside of the door, and did an awesome job keeping with the style and era of the house. These guys worked long and hard. The installation took over 9 hours to do and it was 112 F here on the day they were here working on our guesthouse.
If you are the market for a new door, I would definitely recommend this JELD-WEN Steel Craftsman door and Home Depot installation.
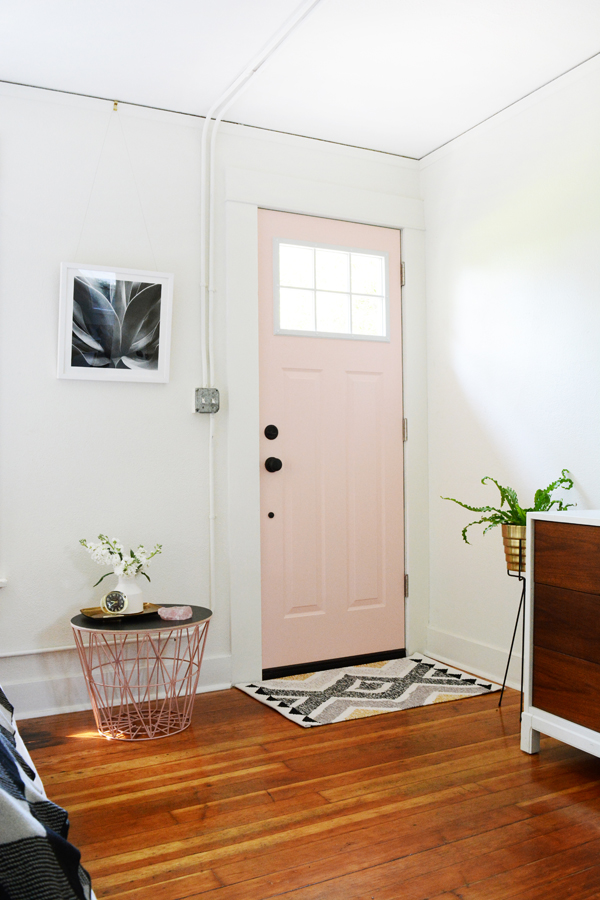
Oh, and I decided to have a little fun with the inside of the door and paint it a fun color. I polled folks on instagram and a pretty pale pink got over 80% of the votes. I have lots of touches of pink through the room already, and I might as well use this color while millennial pink is still a thing. To be 100% honest, I really just wanted to paint the inside black, like my kitchen door.
This post is sponsored by Home Depot, thank you for supporting the companies that help make this blog possible.


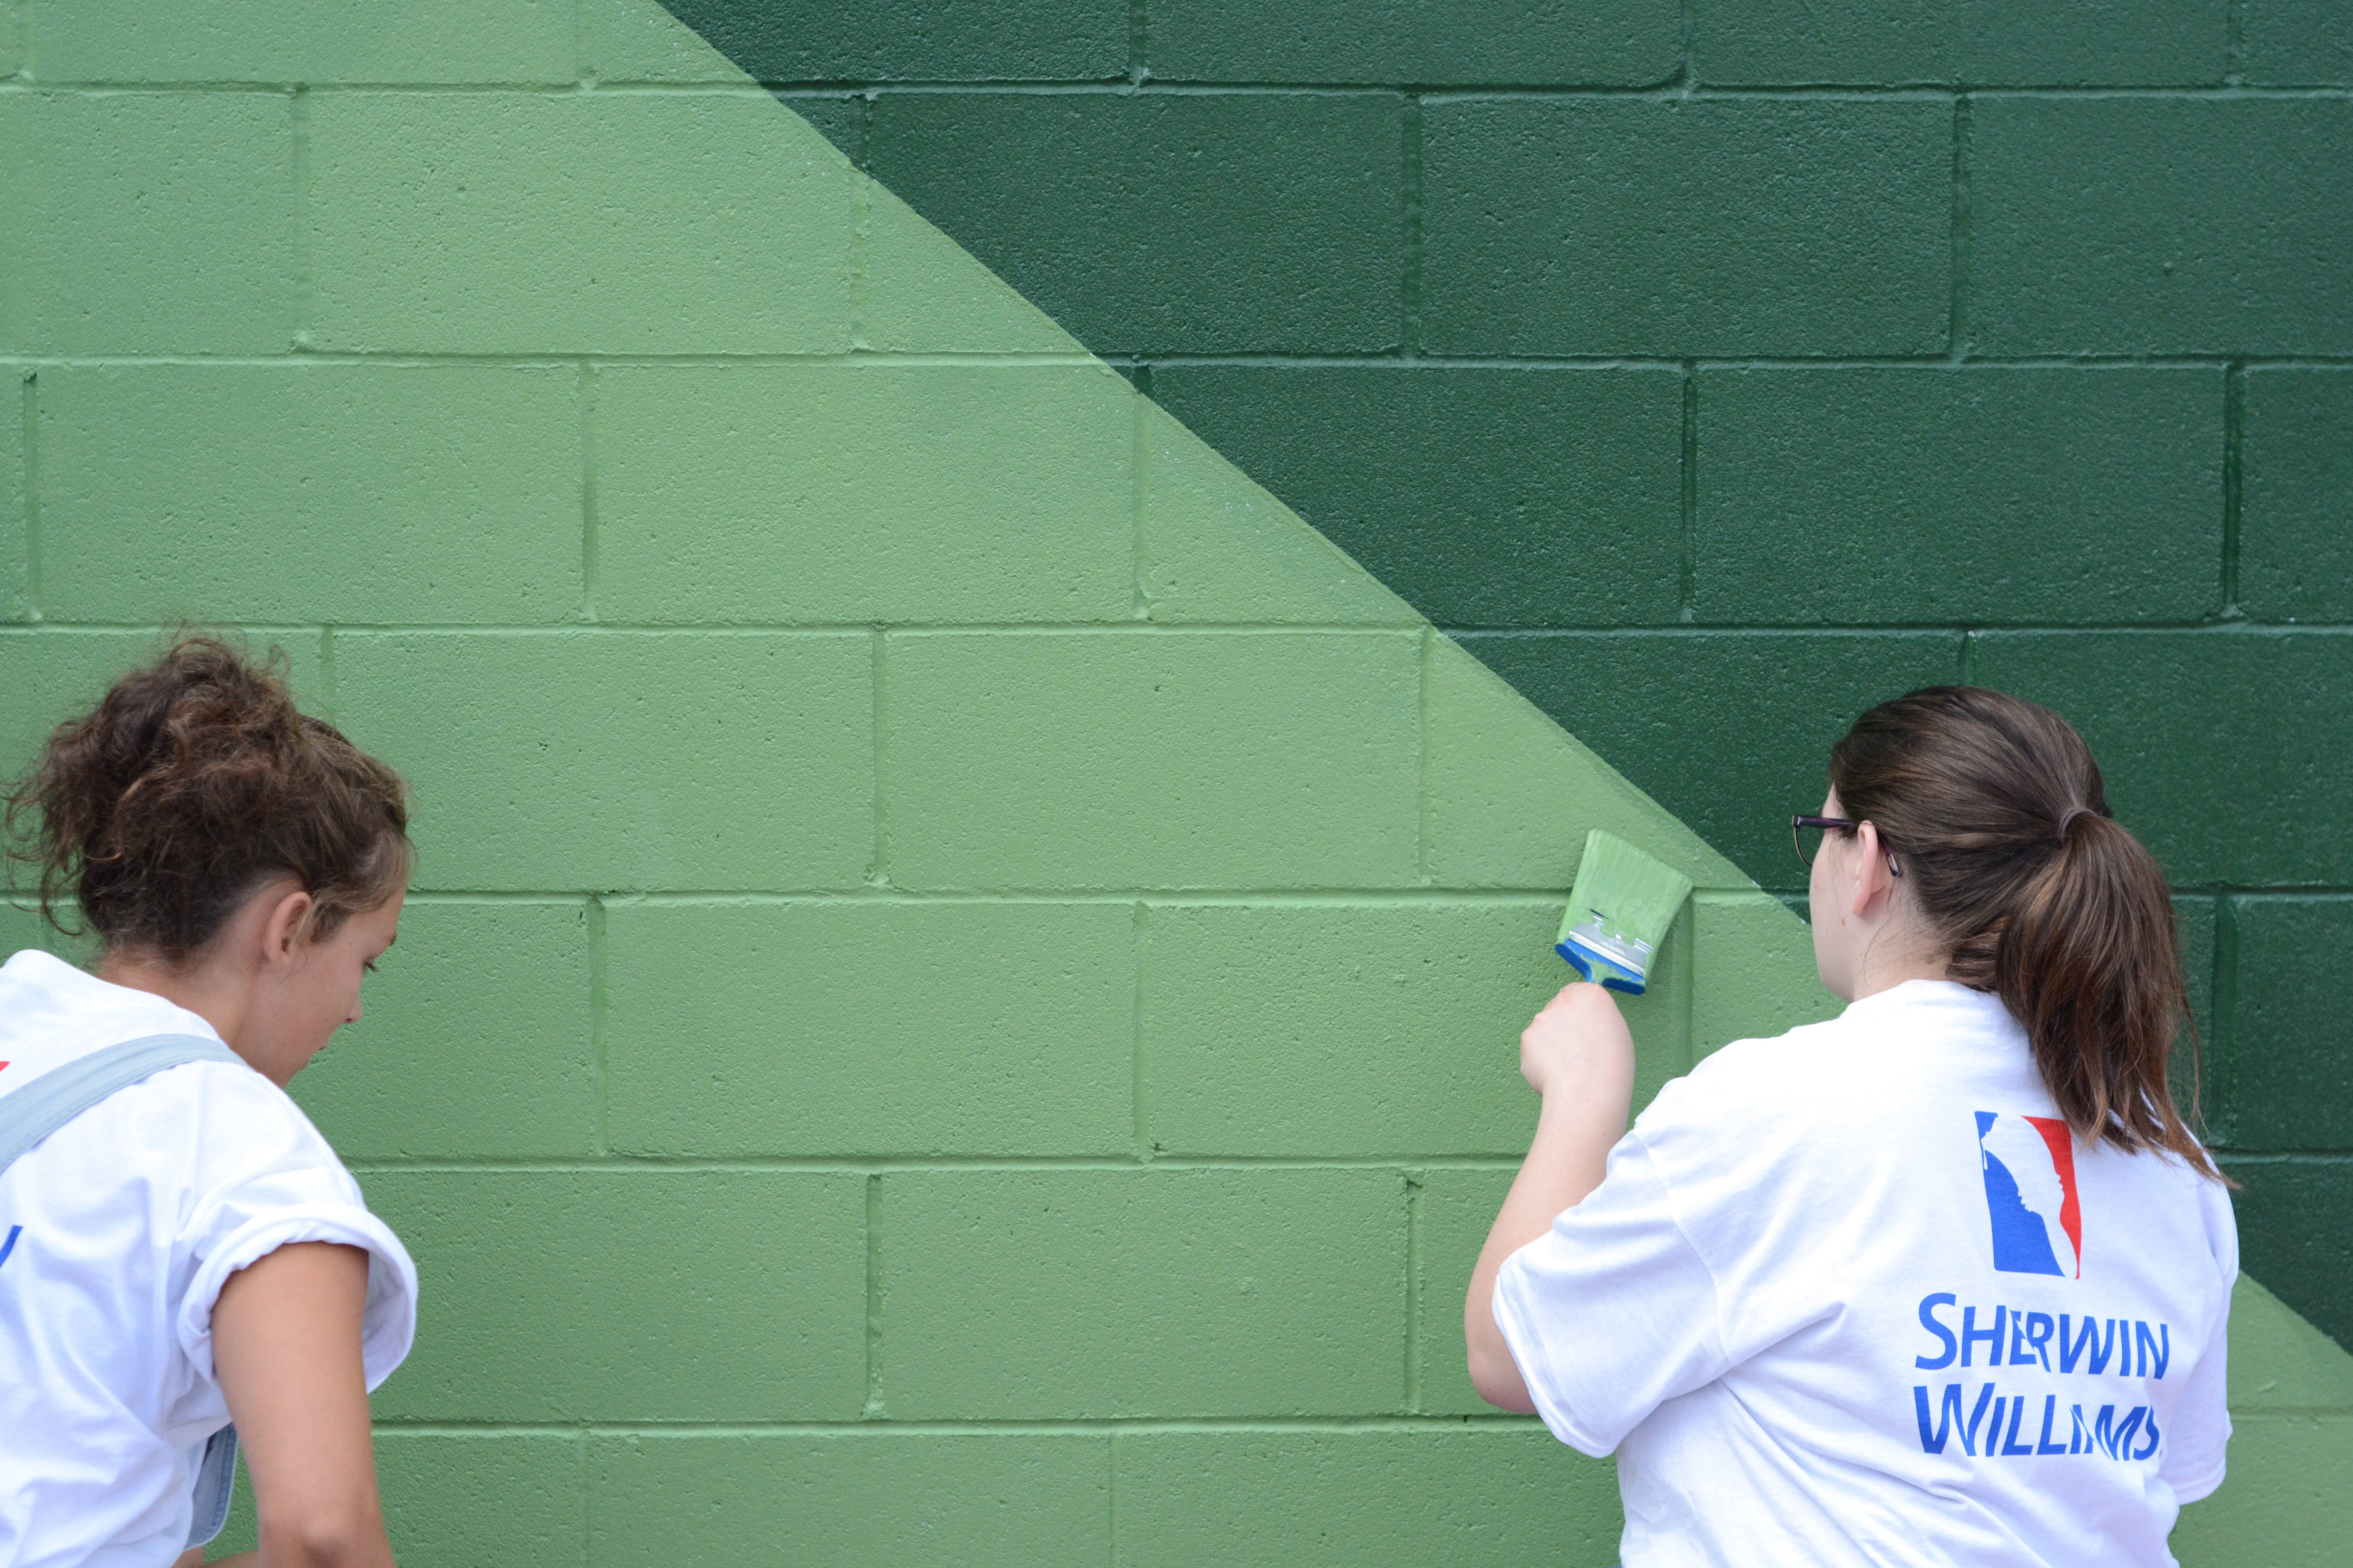
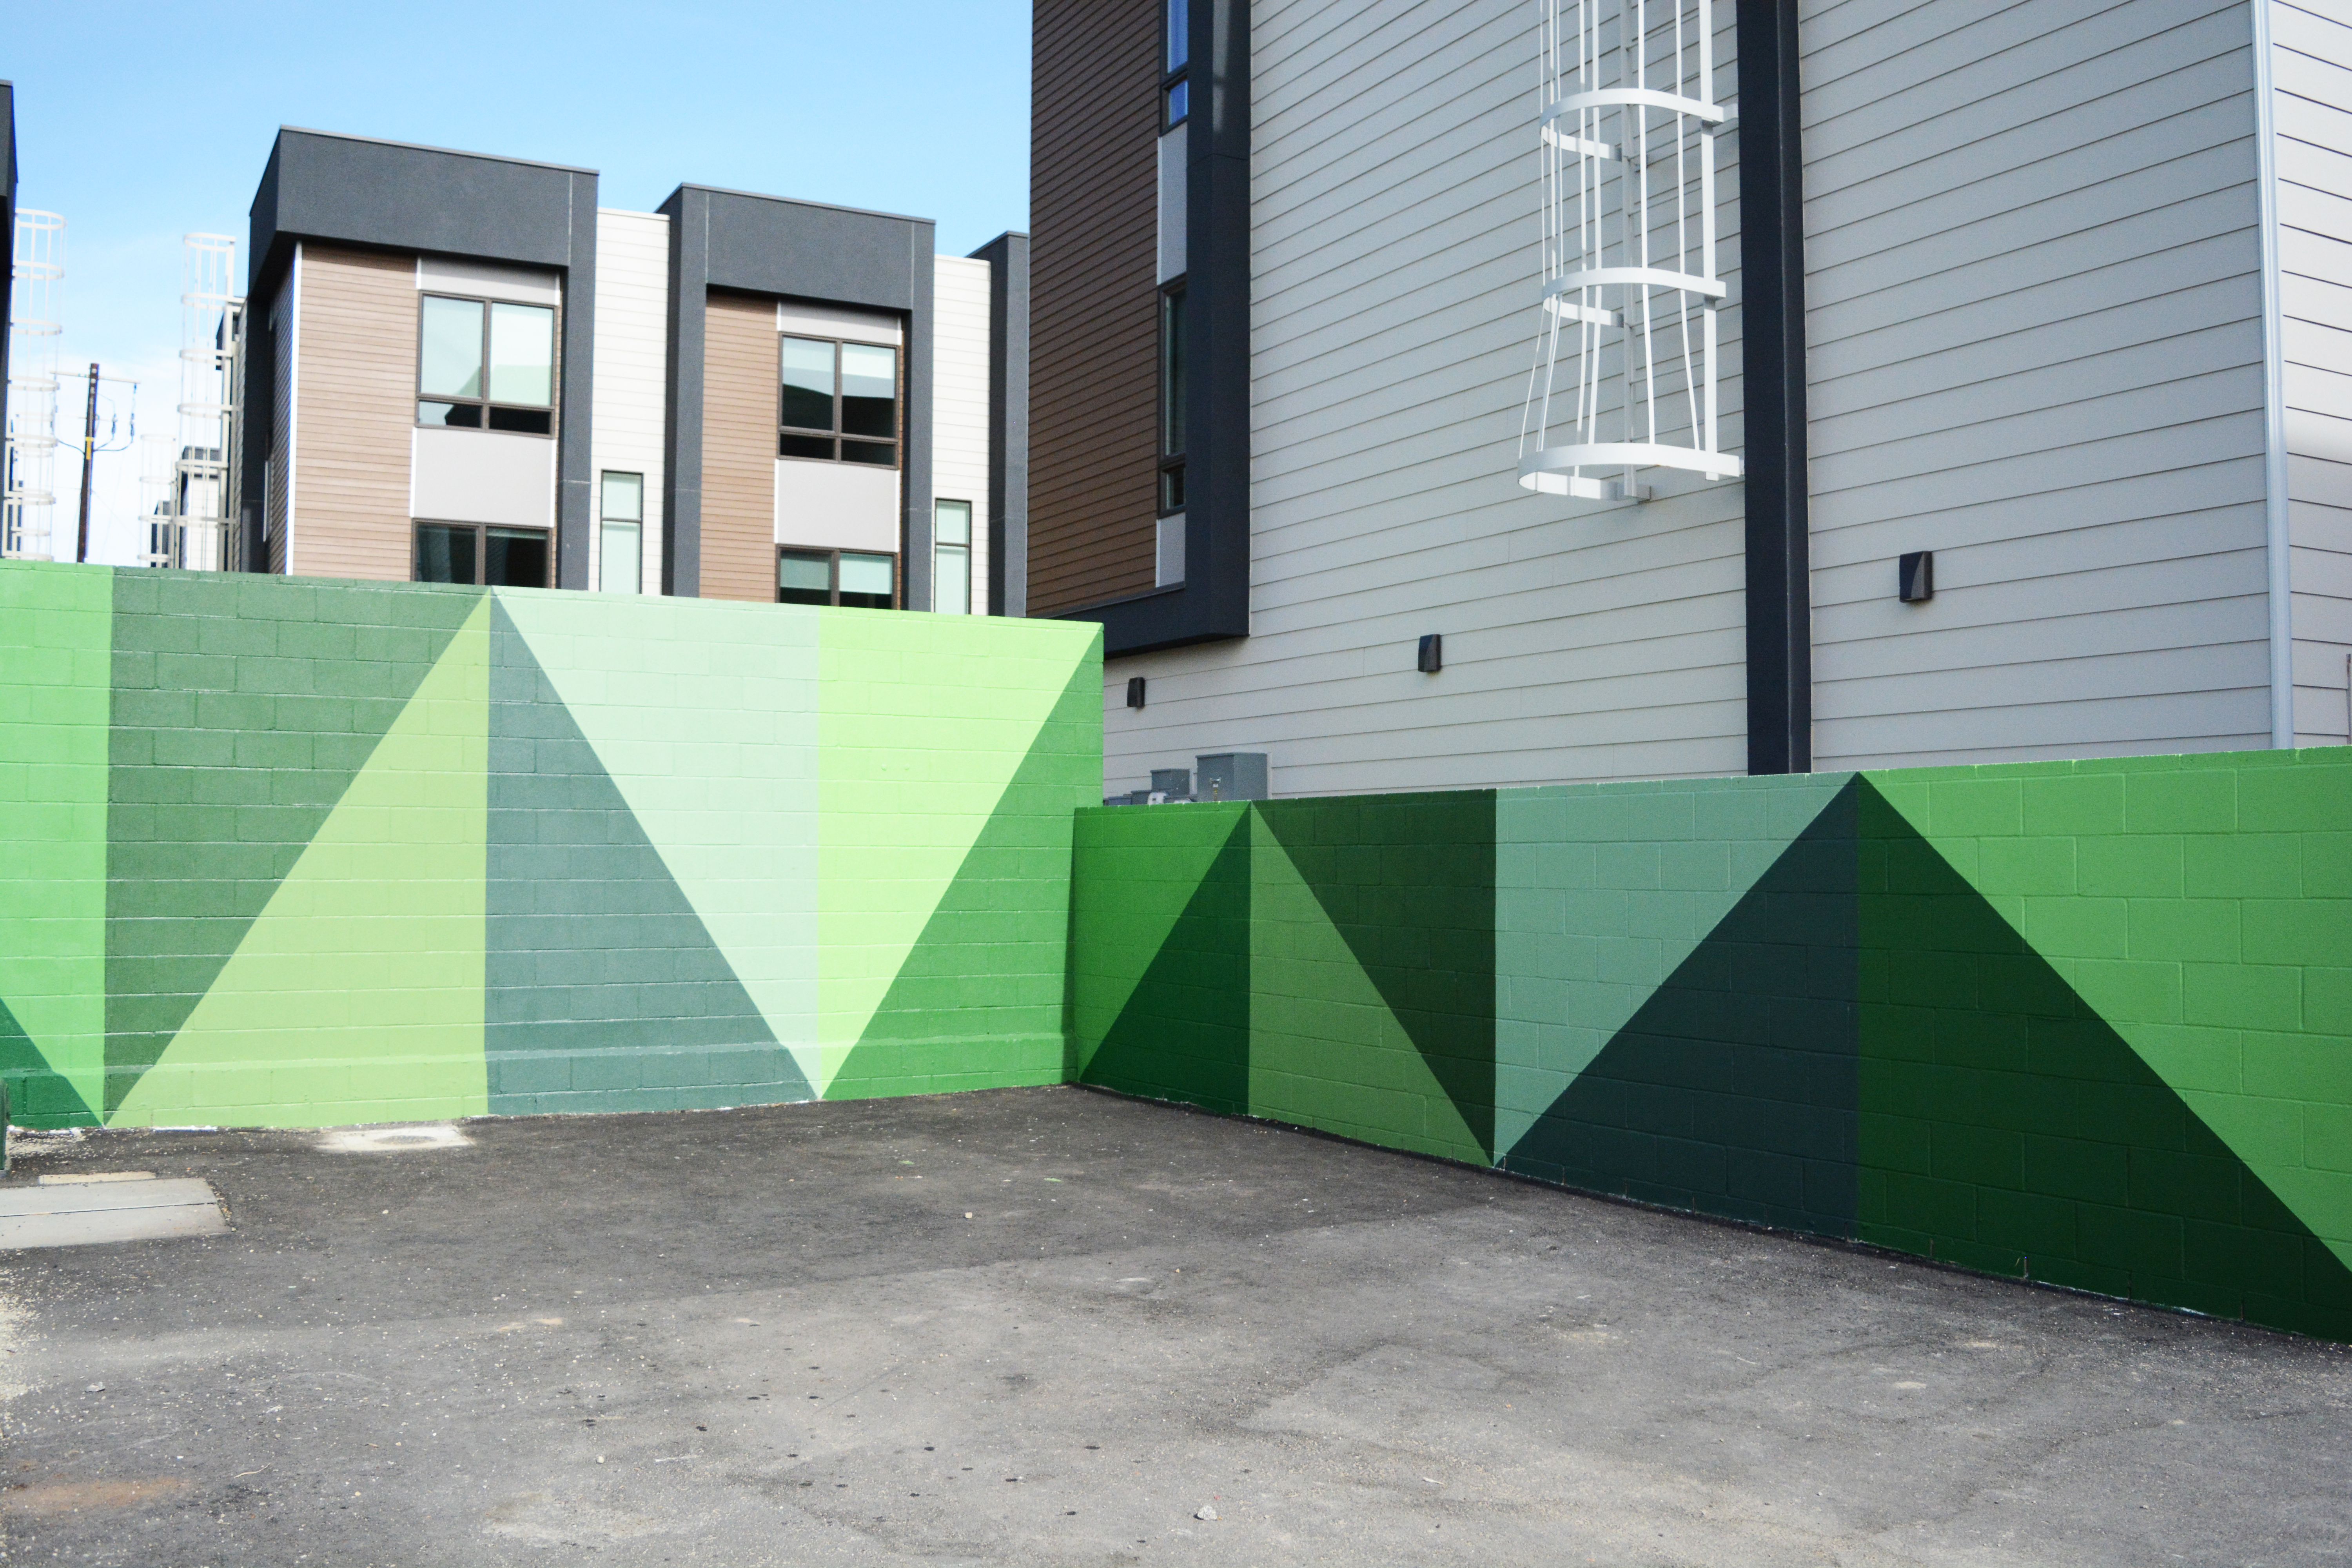
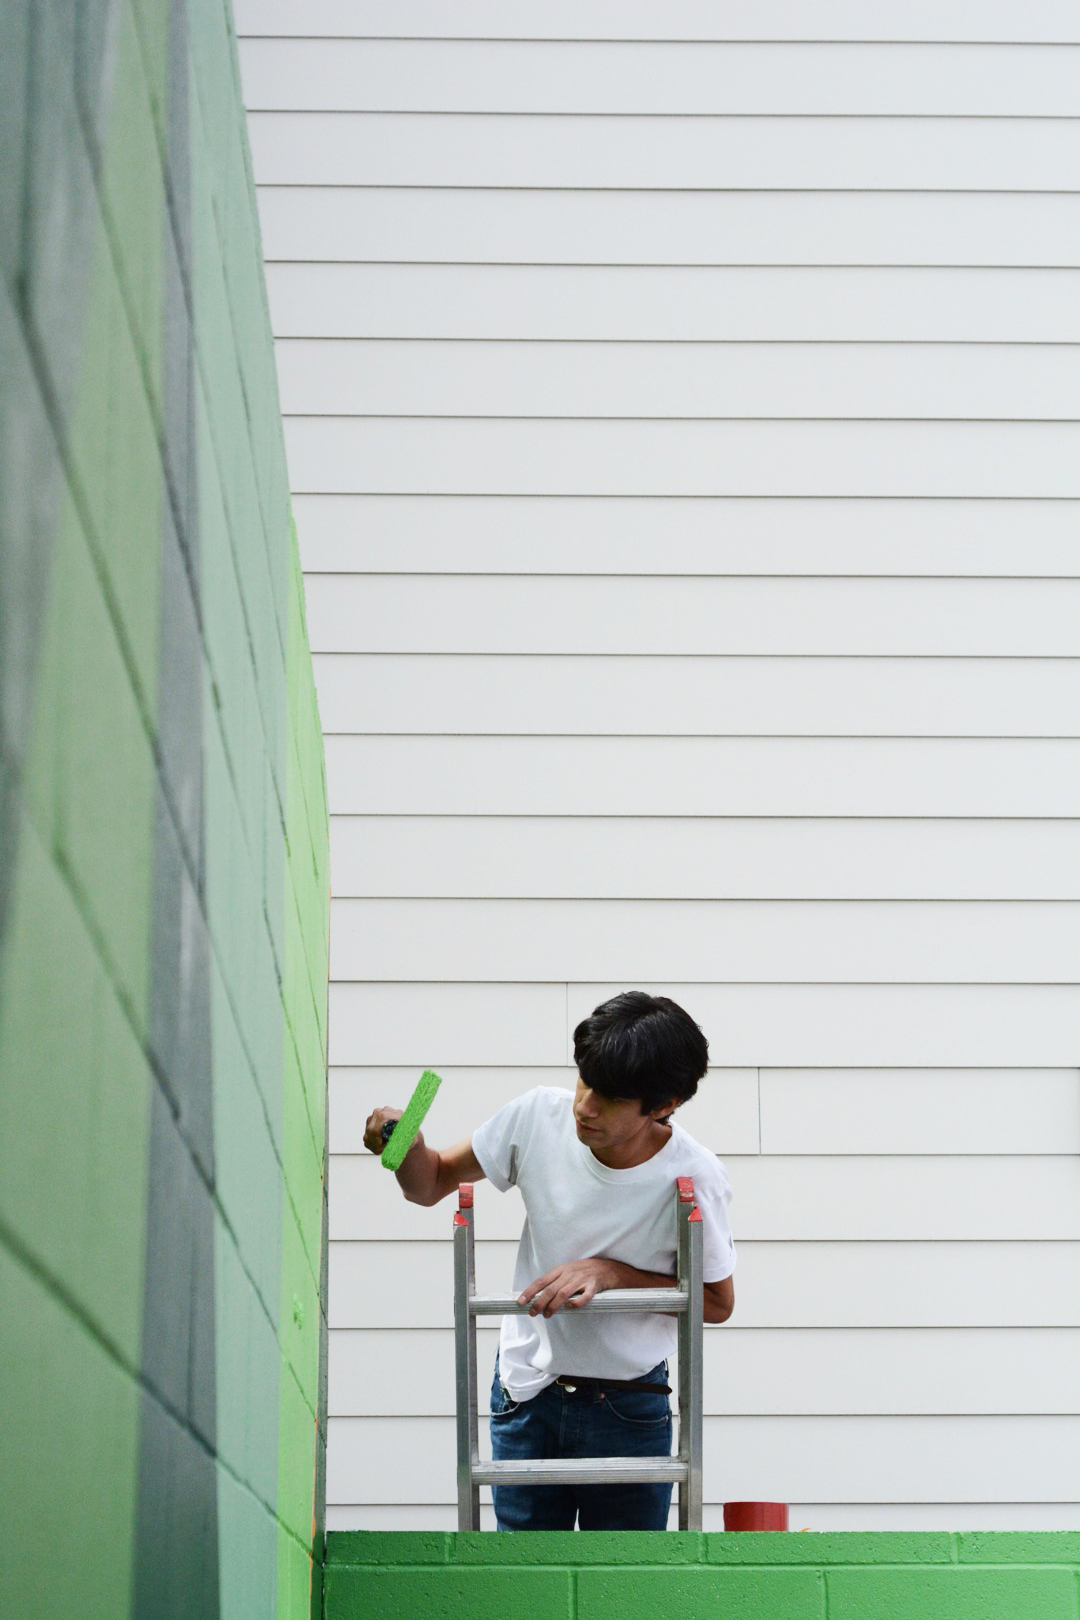
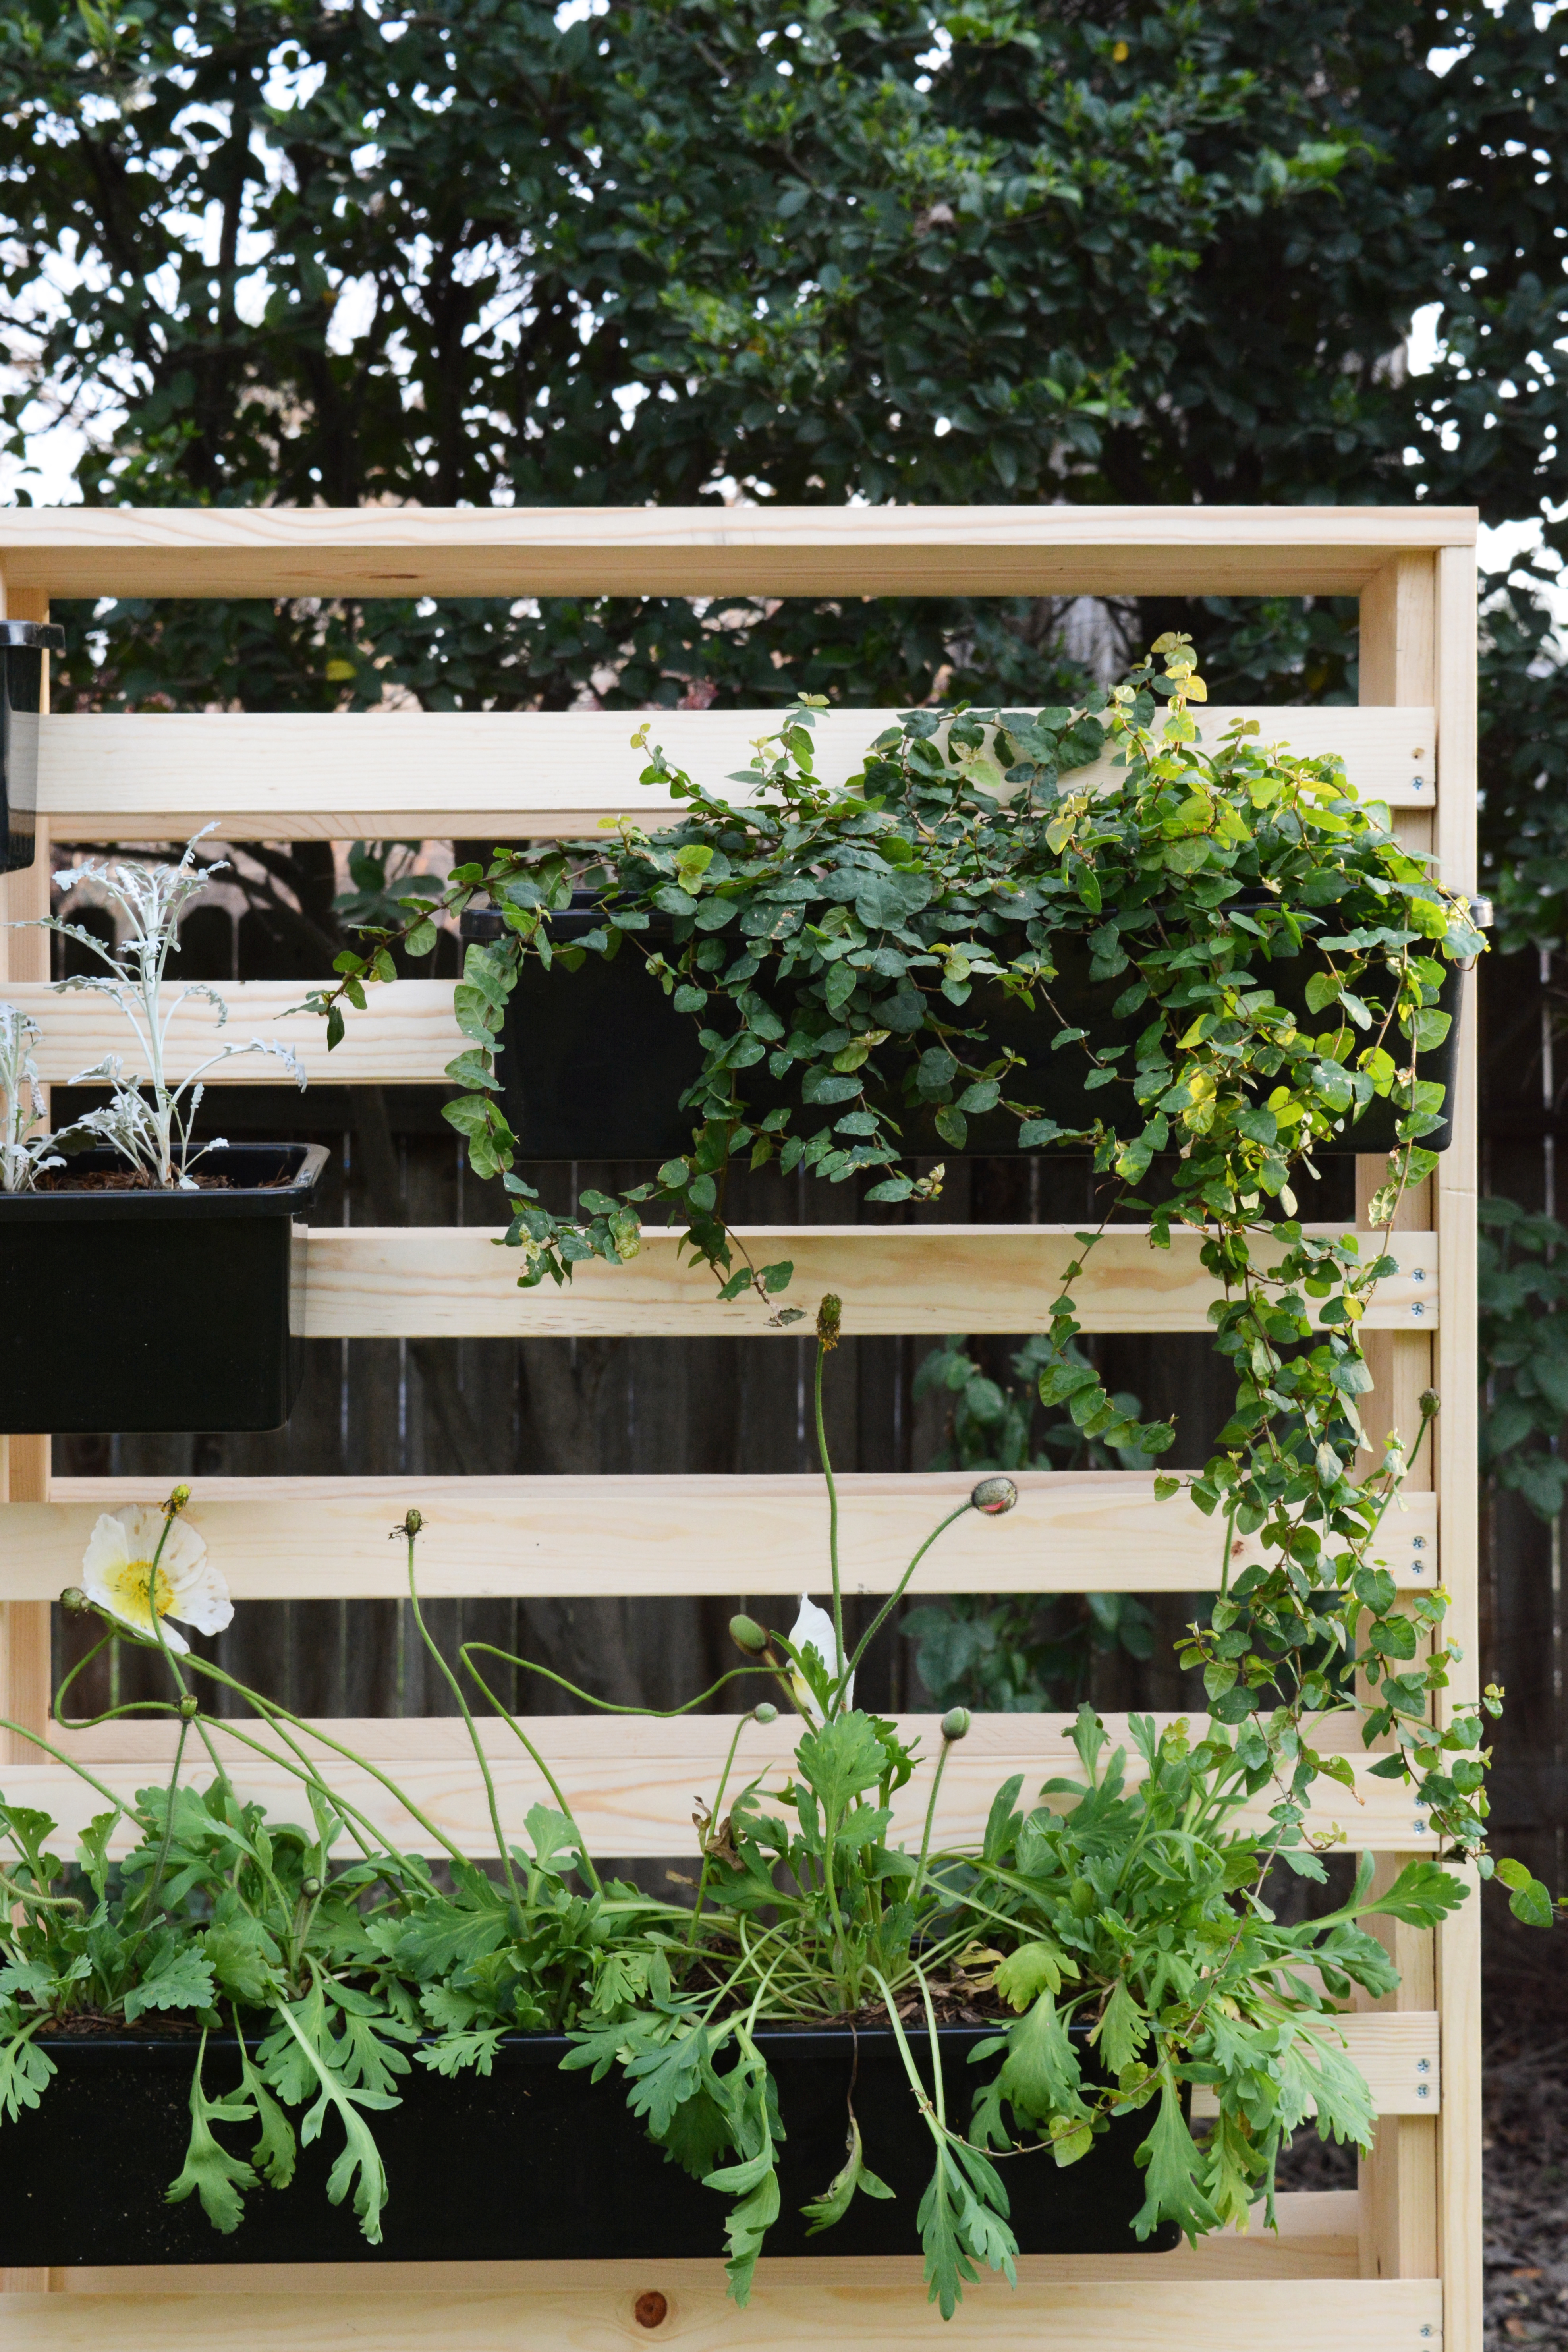
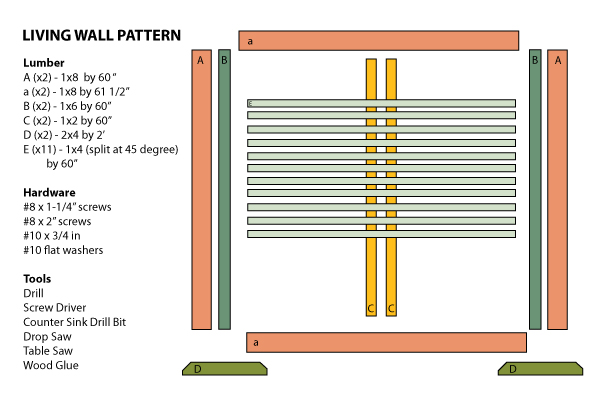
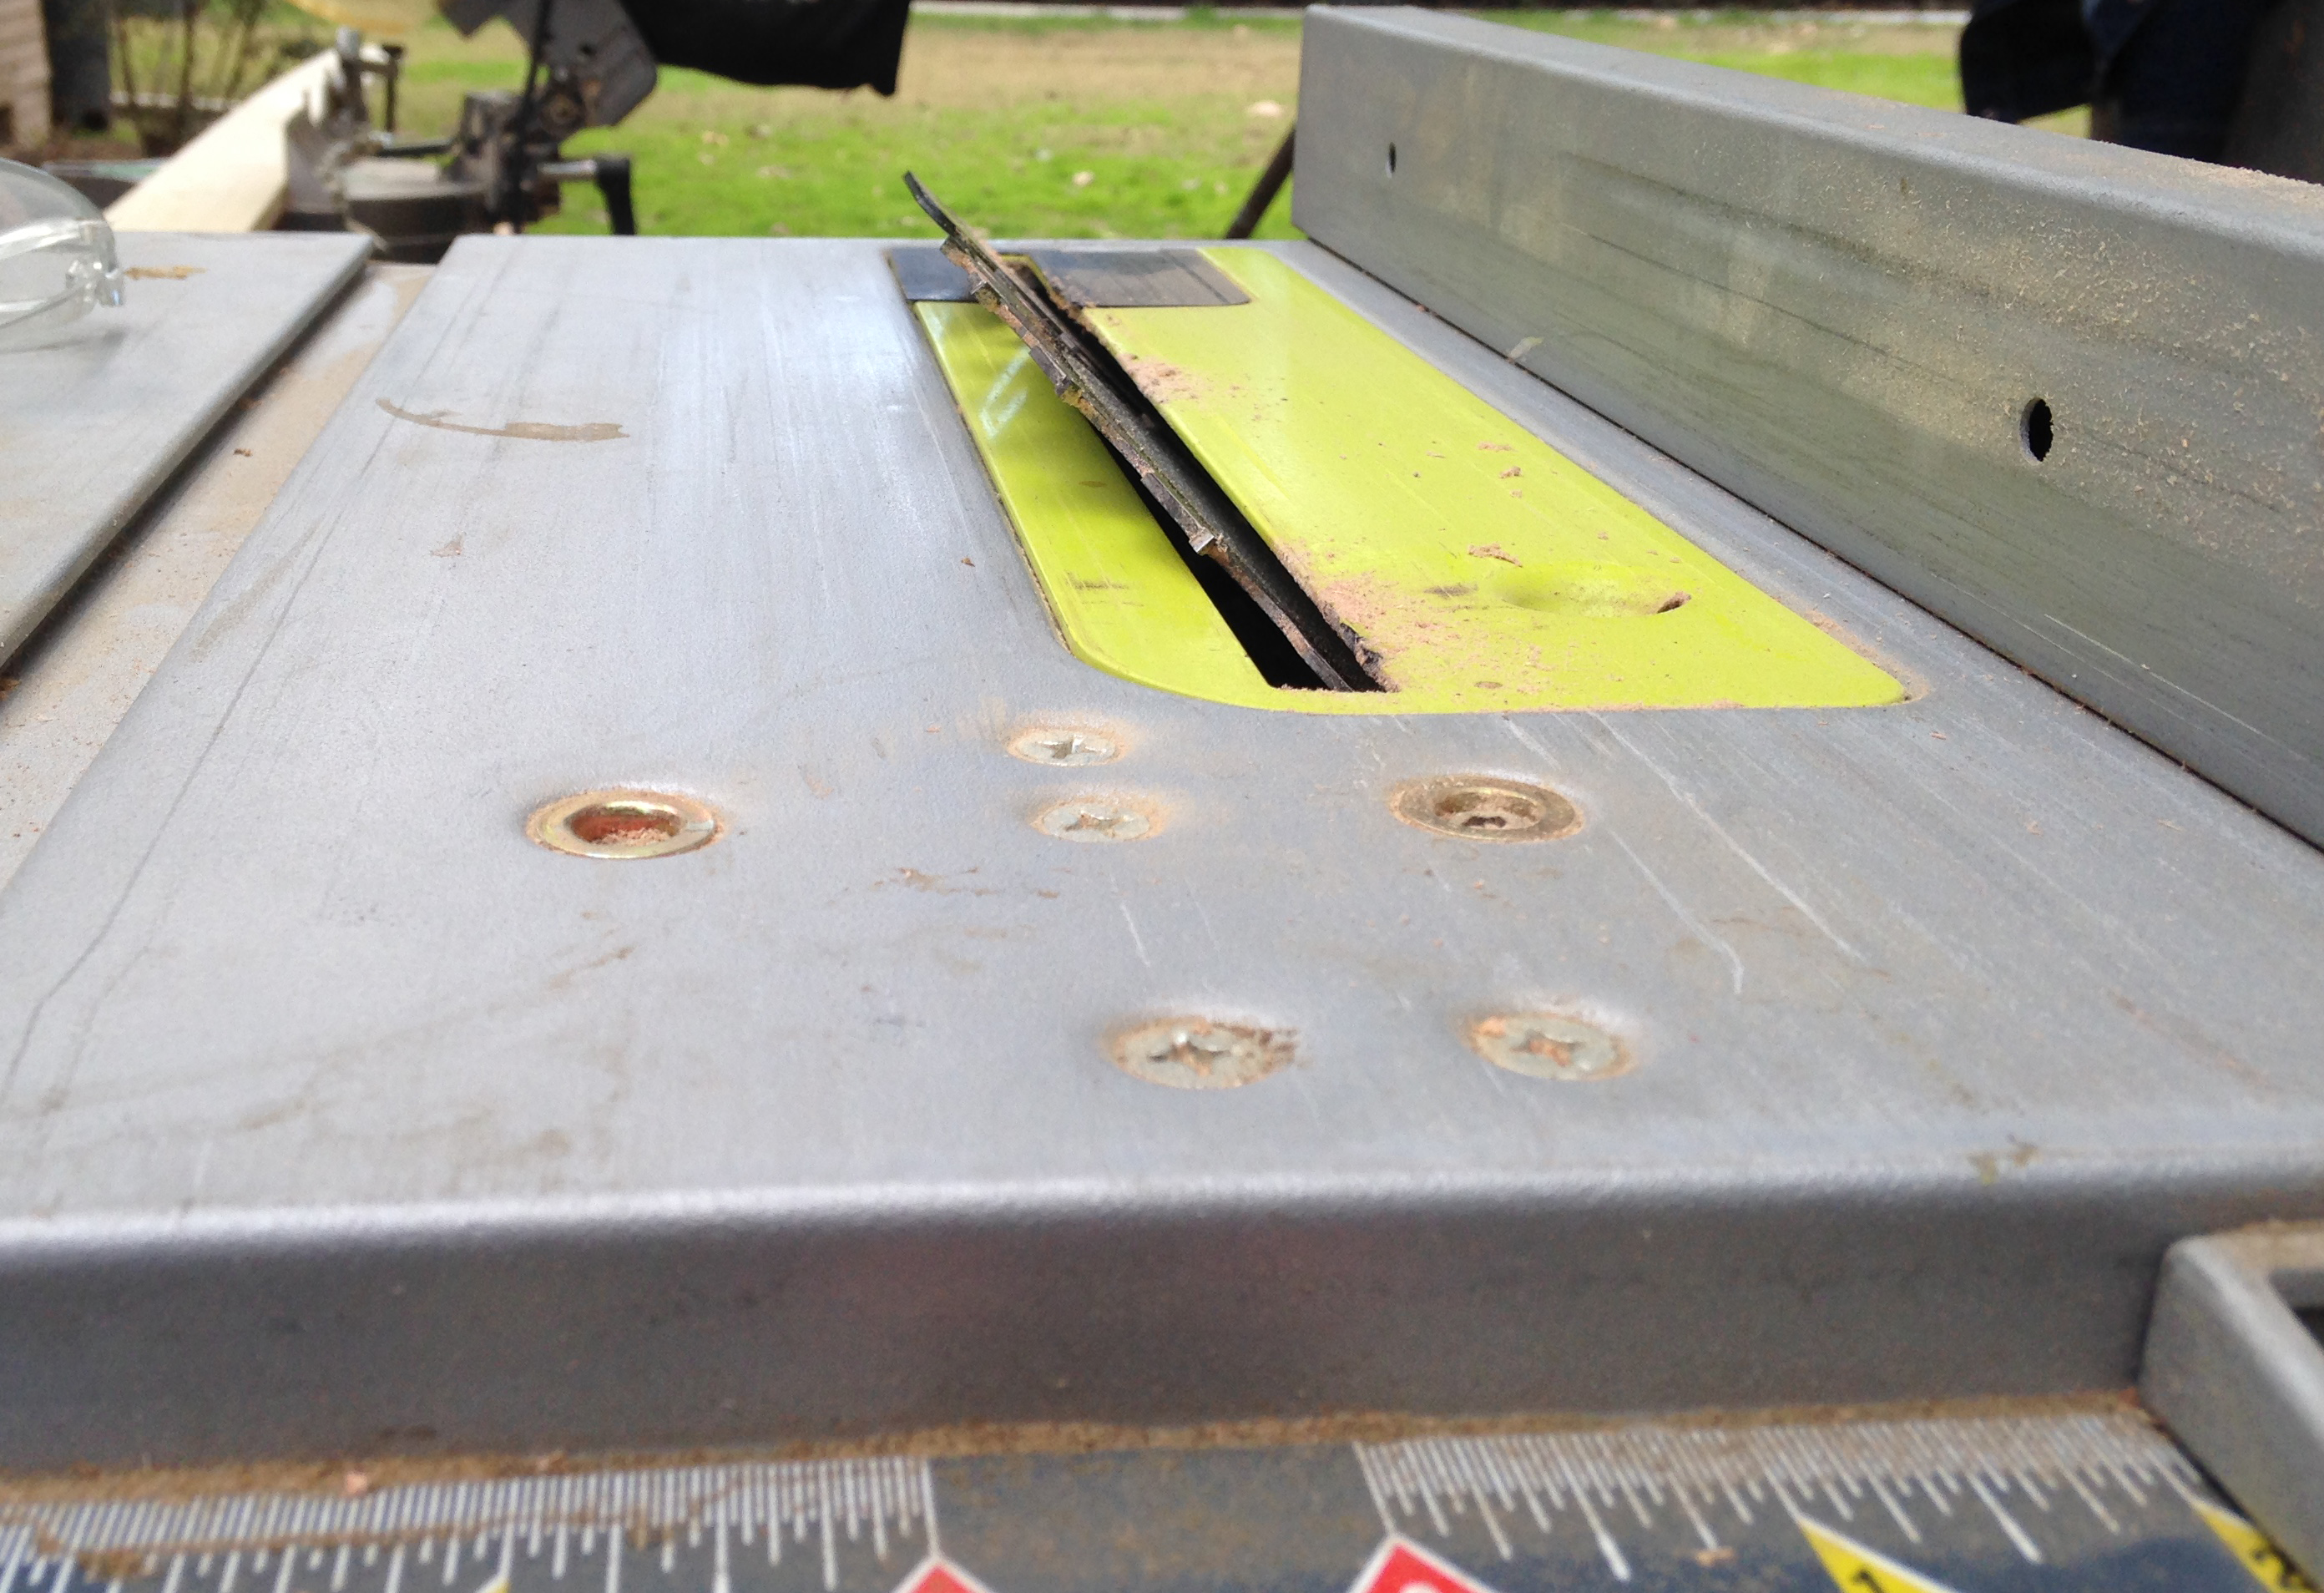
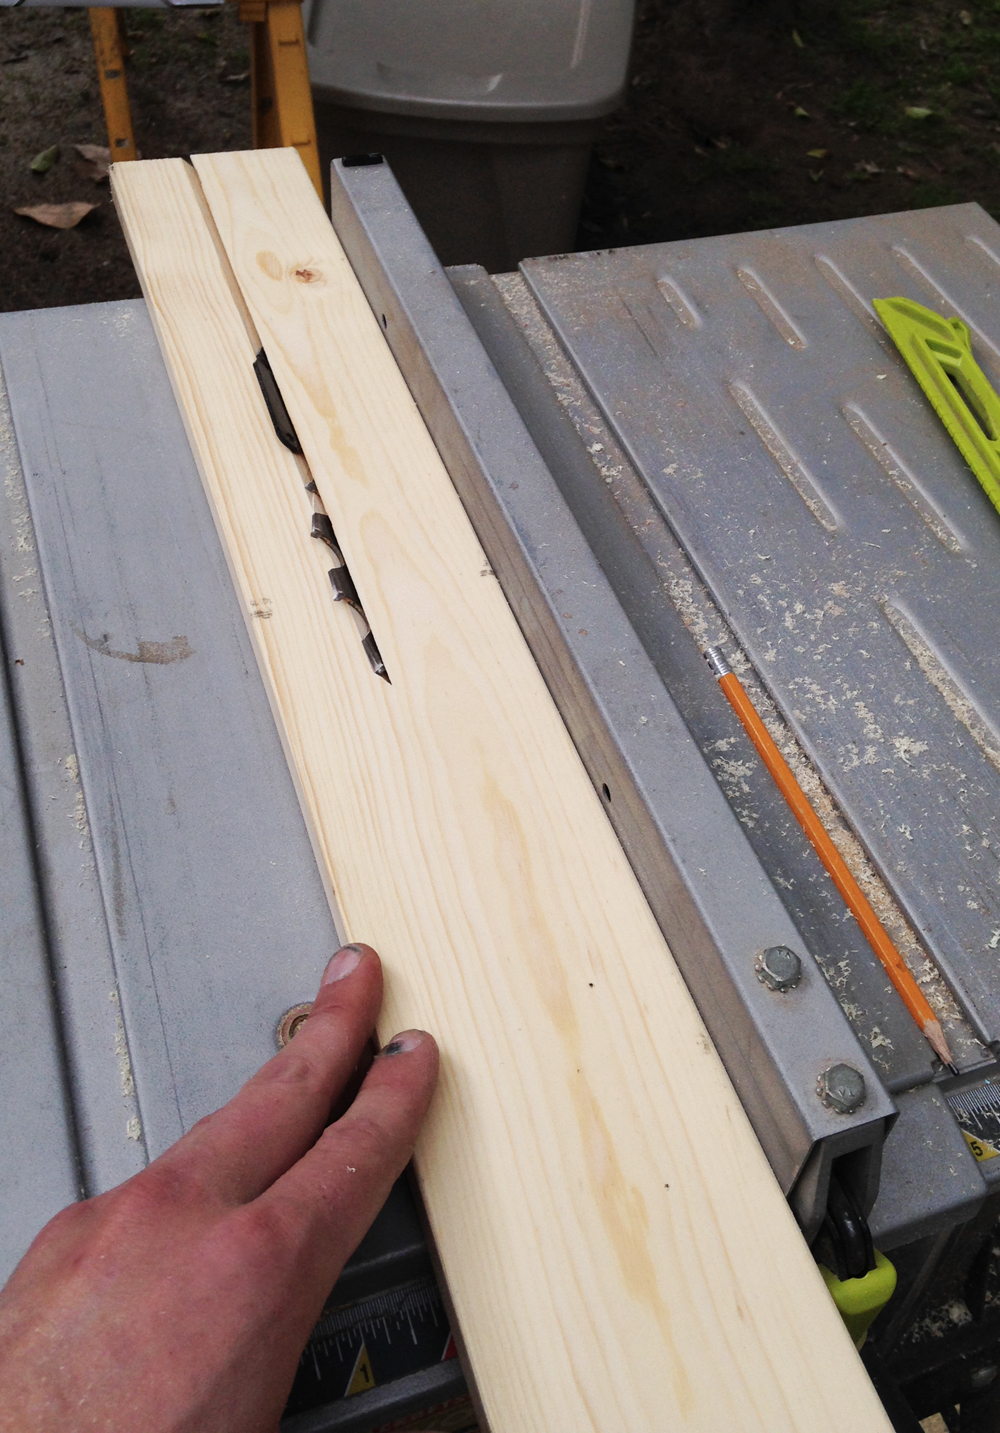
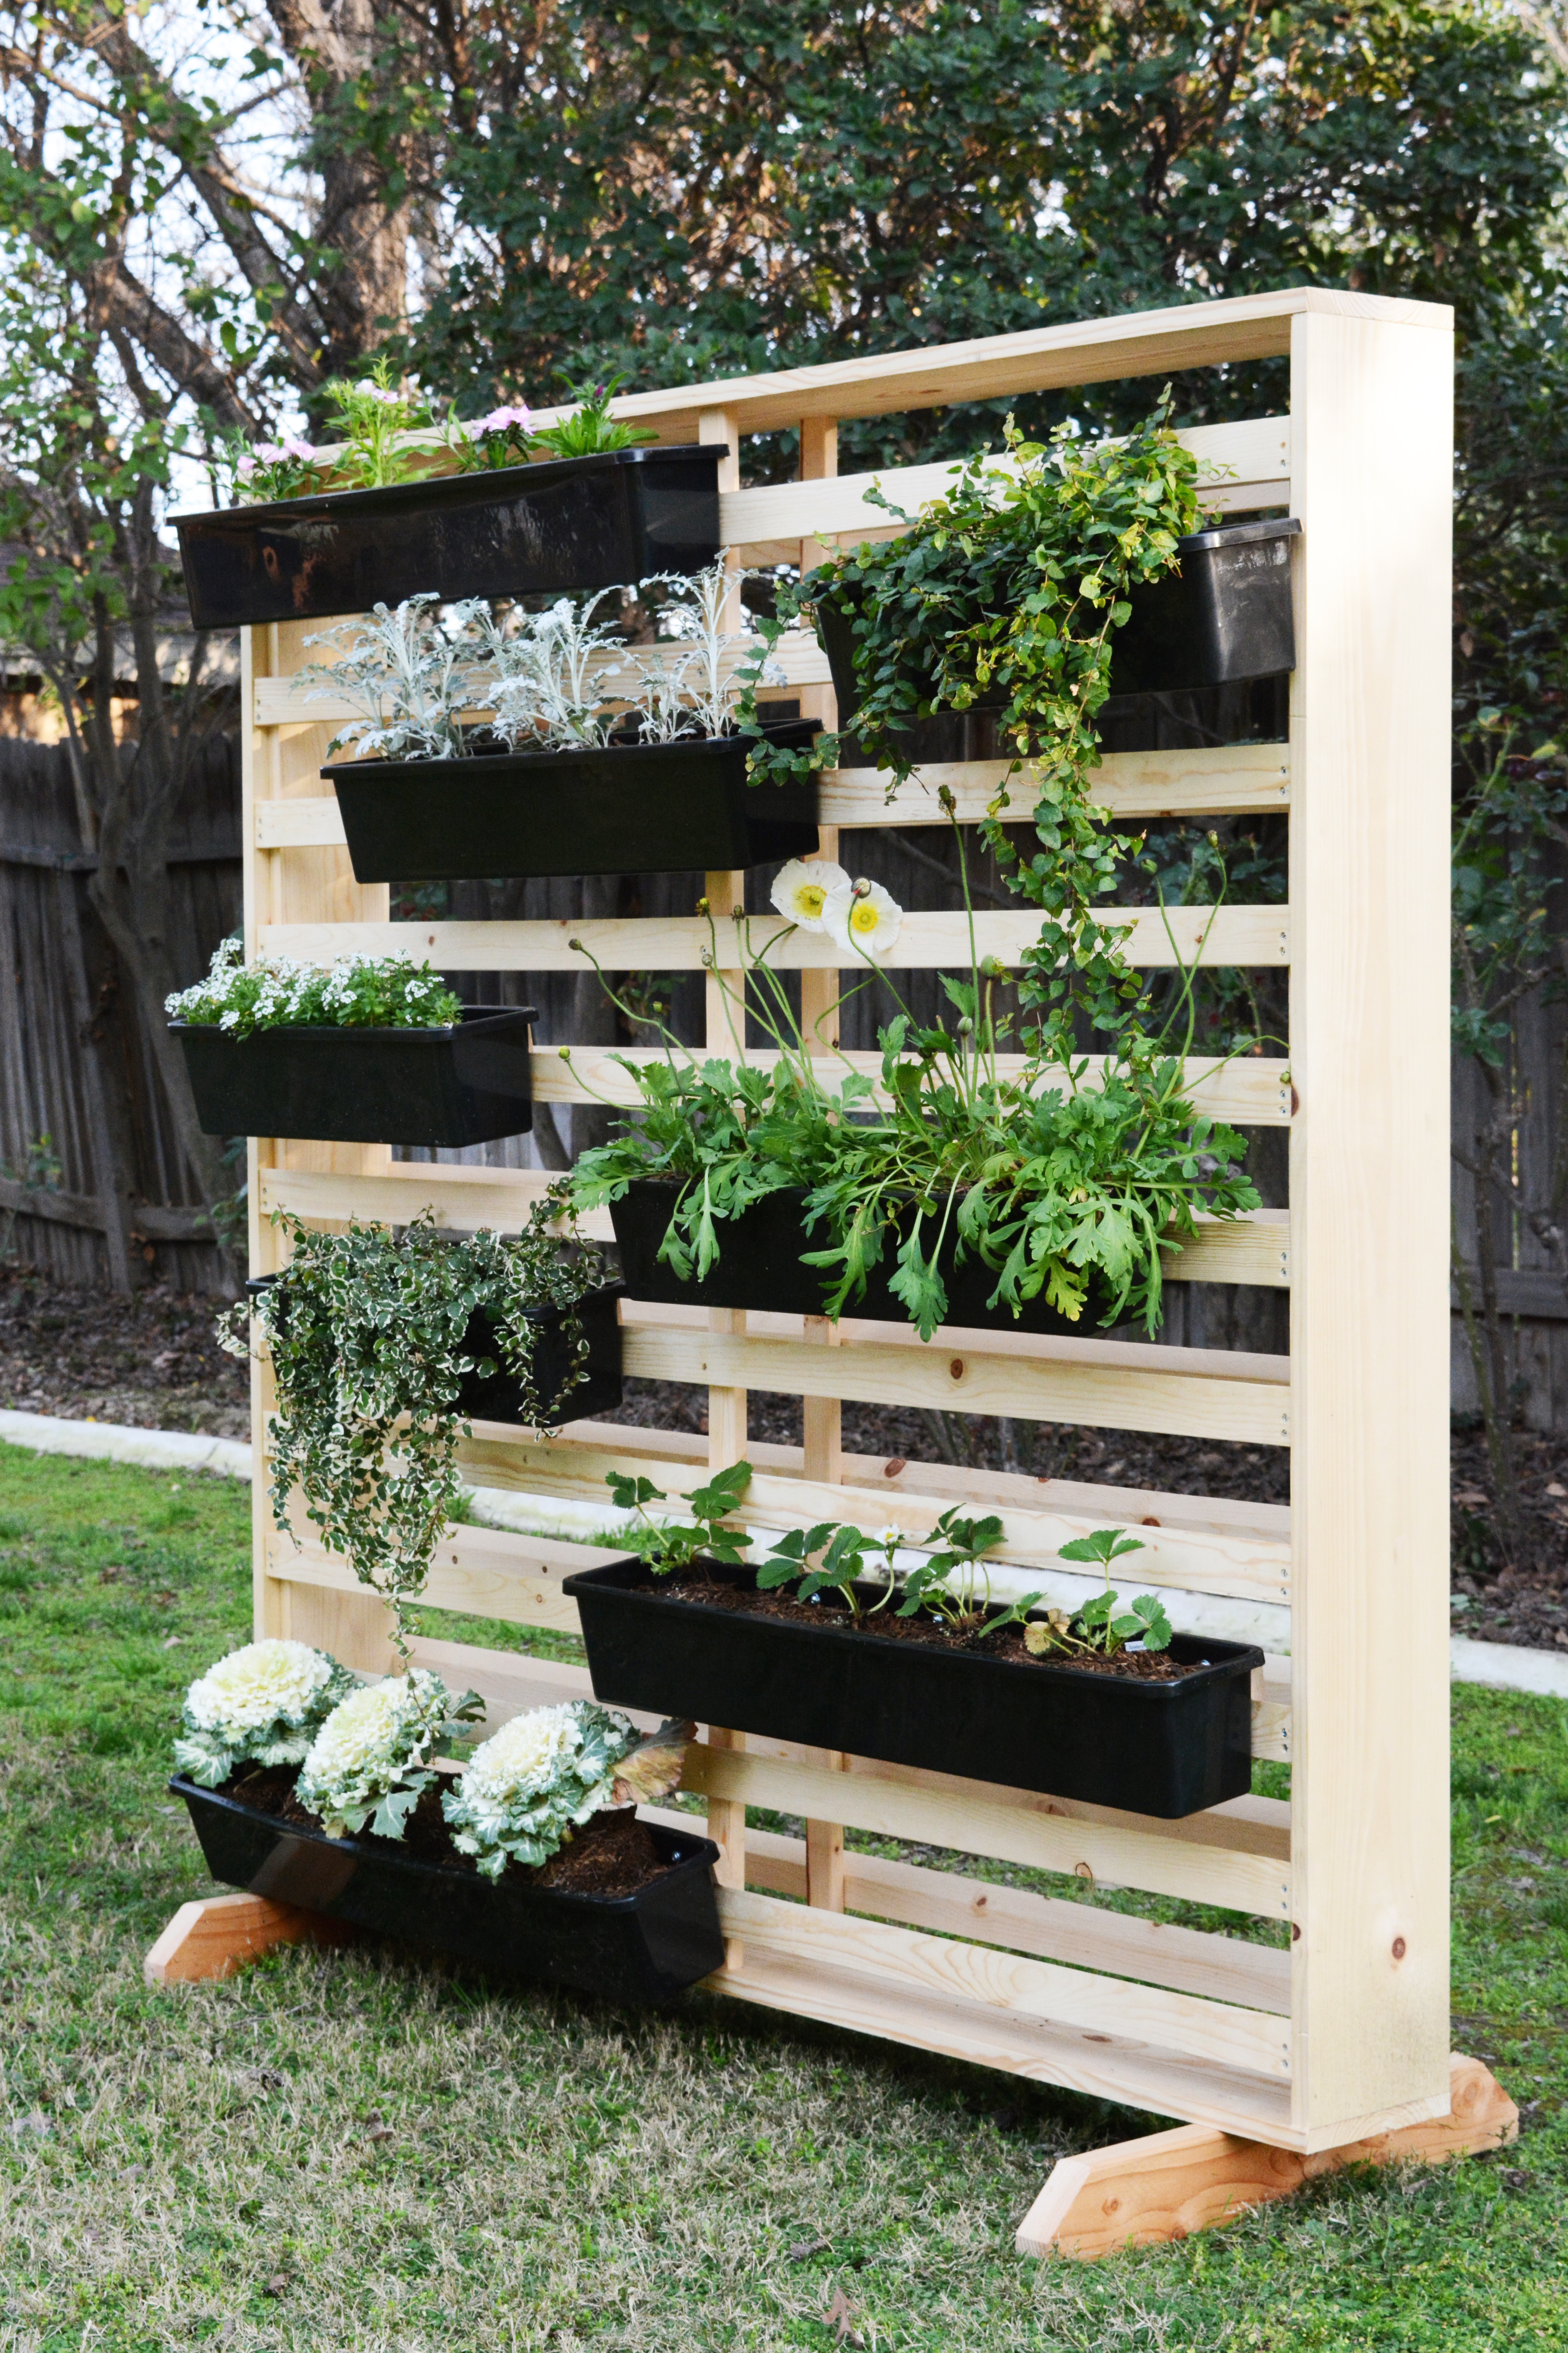
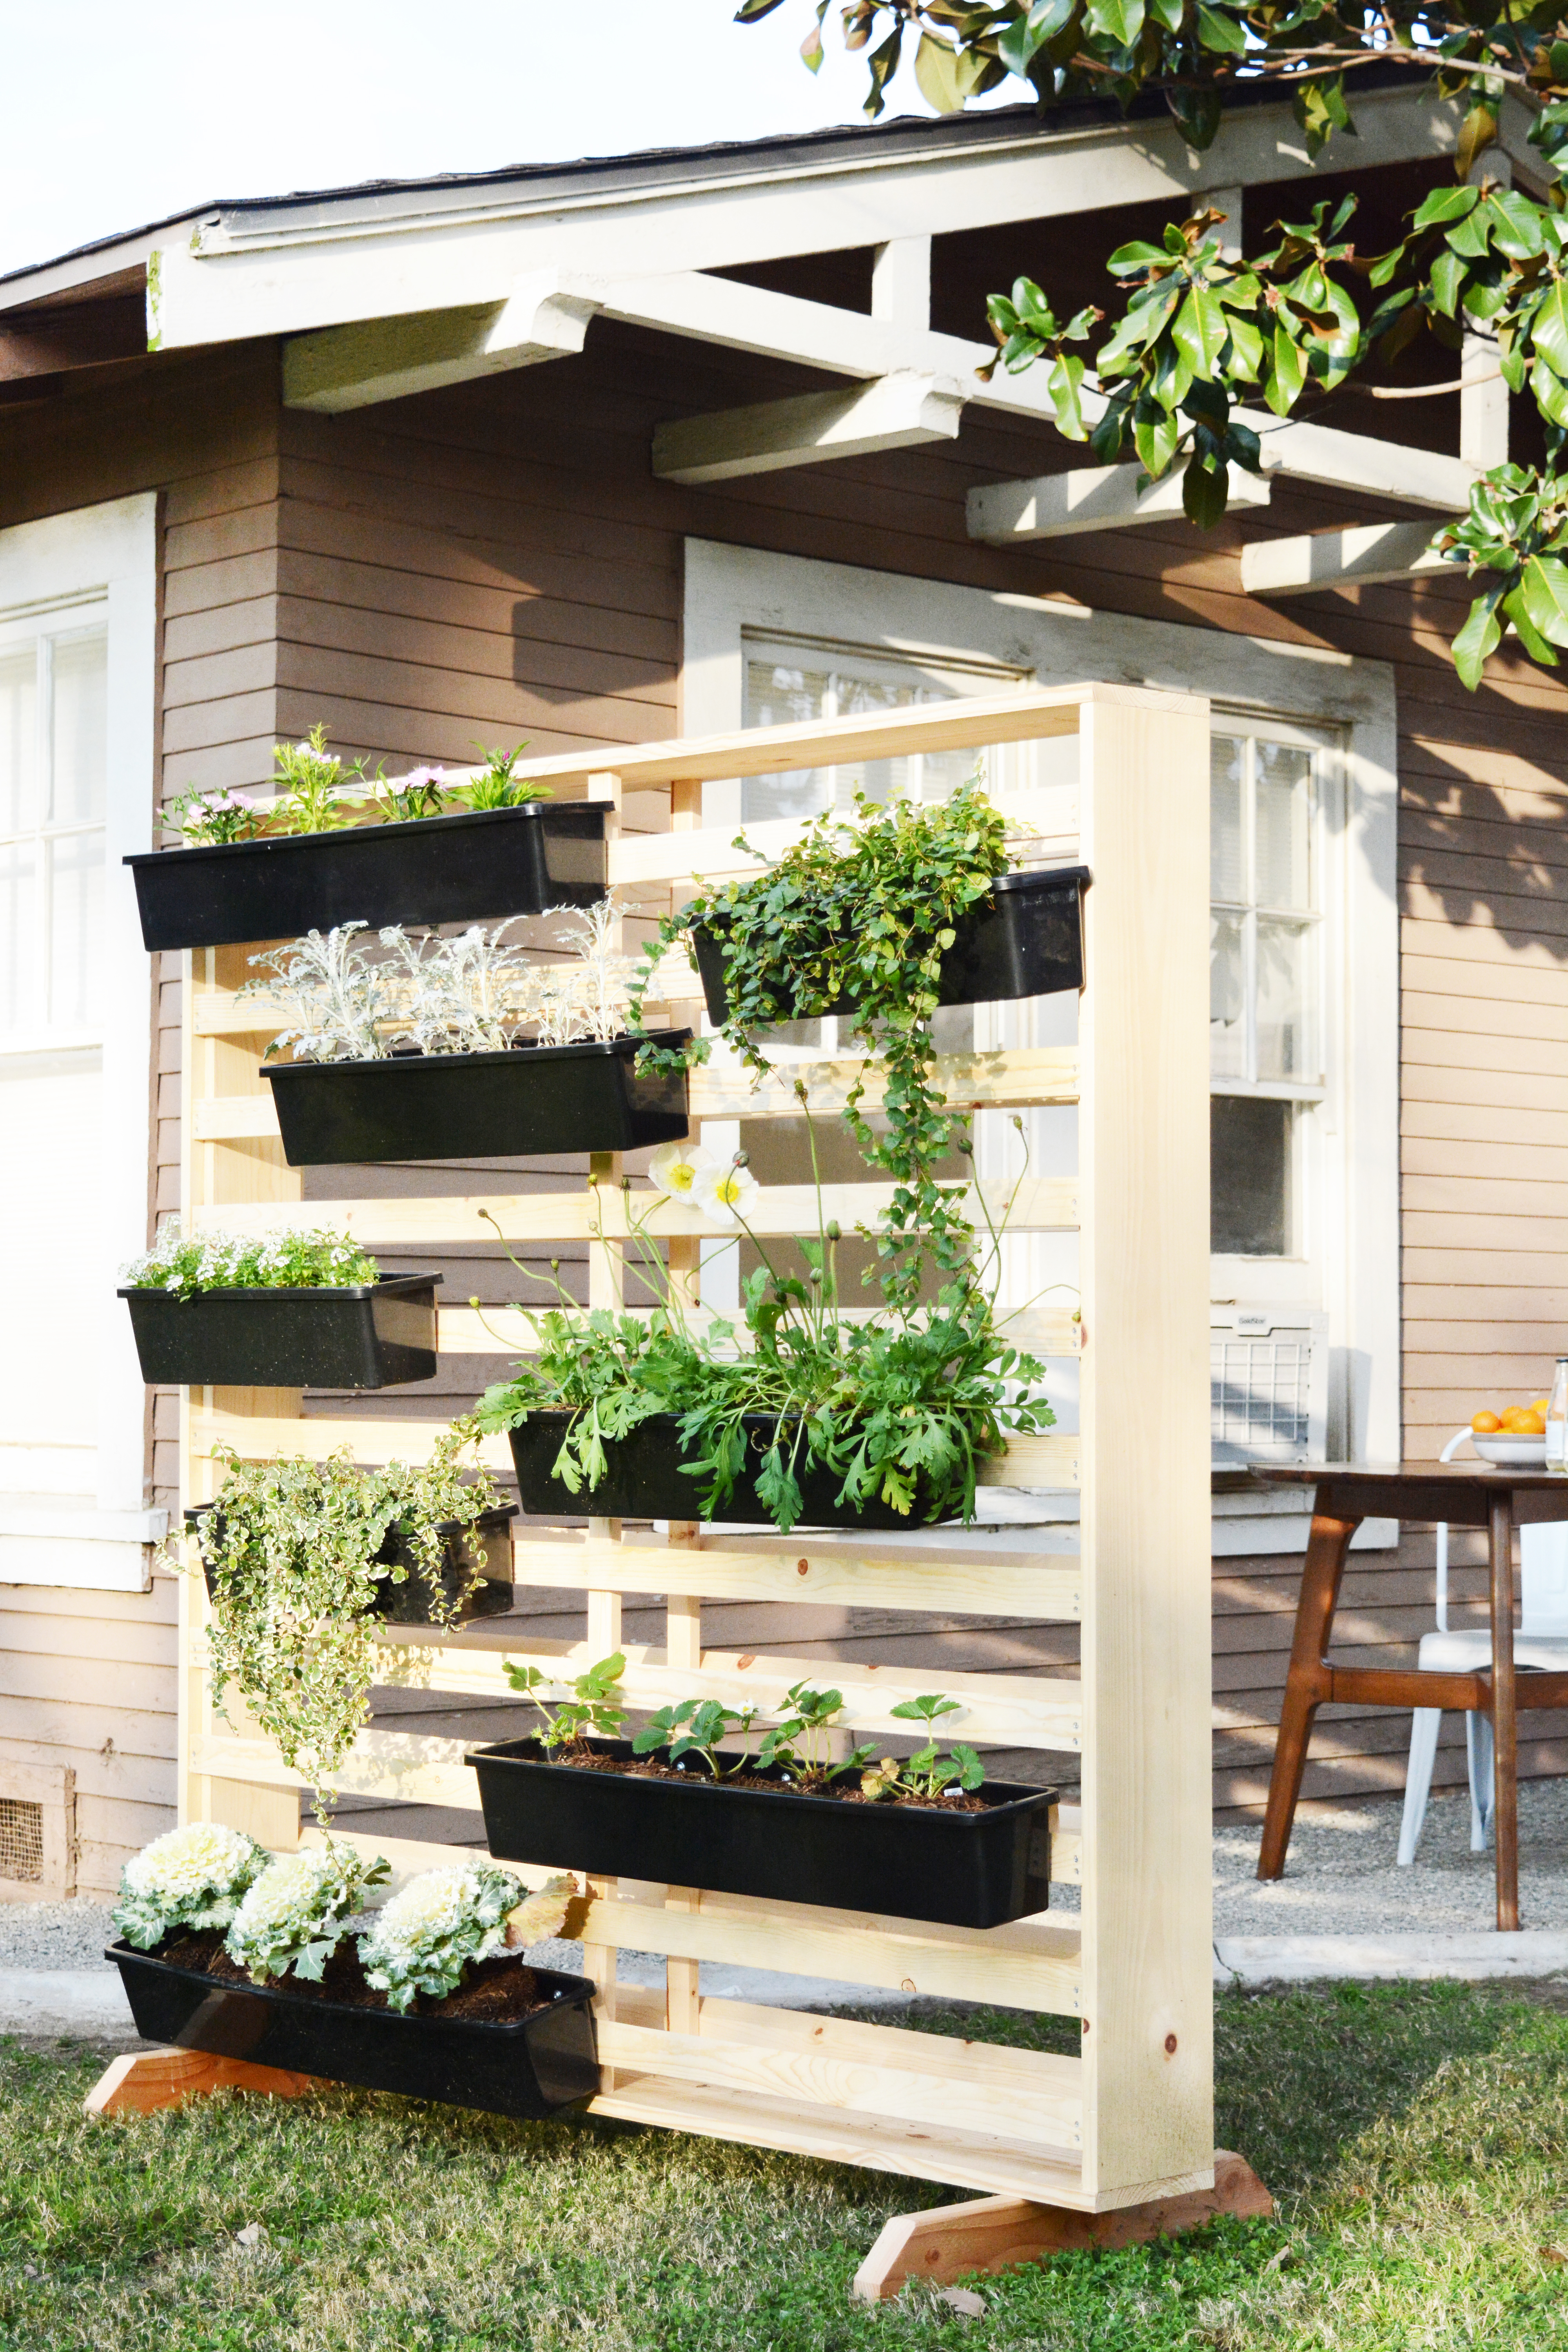
 You know, somedays I love my job more then others. I have a great job, but this weekend was really SO MUCH FUN! For a couple months now, I have been planning and prepping for this project – The Chlorophyll Wall. I’ve been wanting to find a way that I could collaborate with my husband (the biology nerd) and his students. So, with The Bakersfield High School Ecology club as the man power and
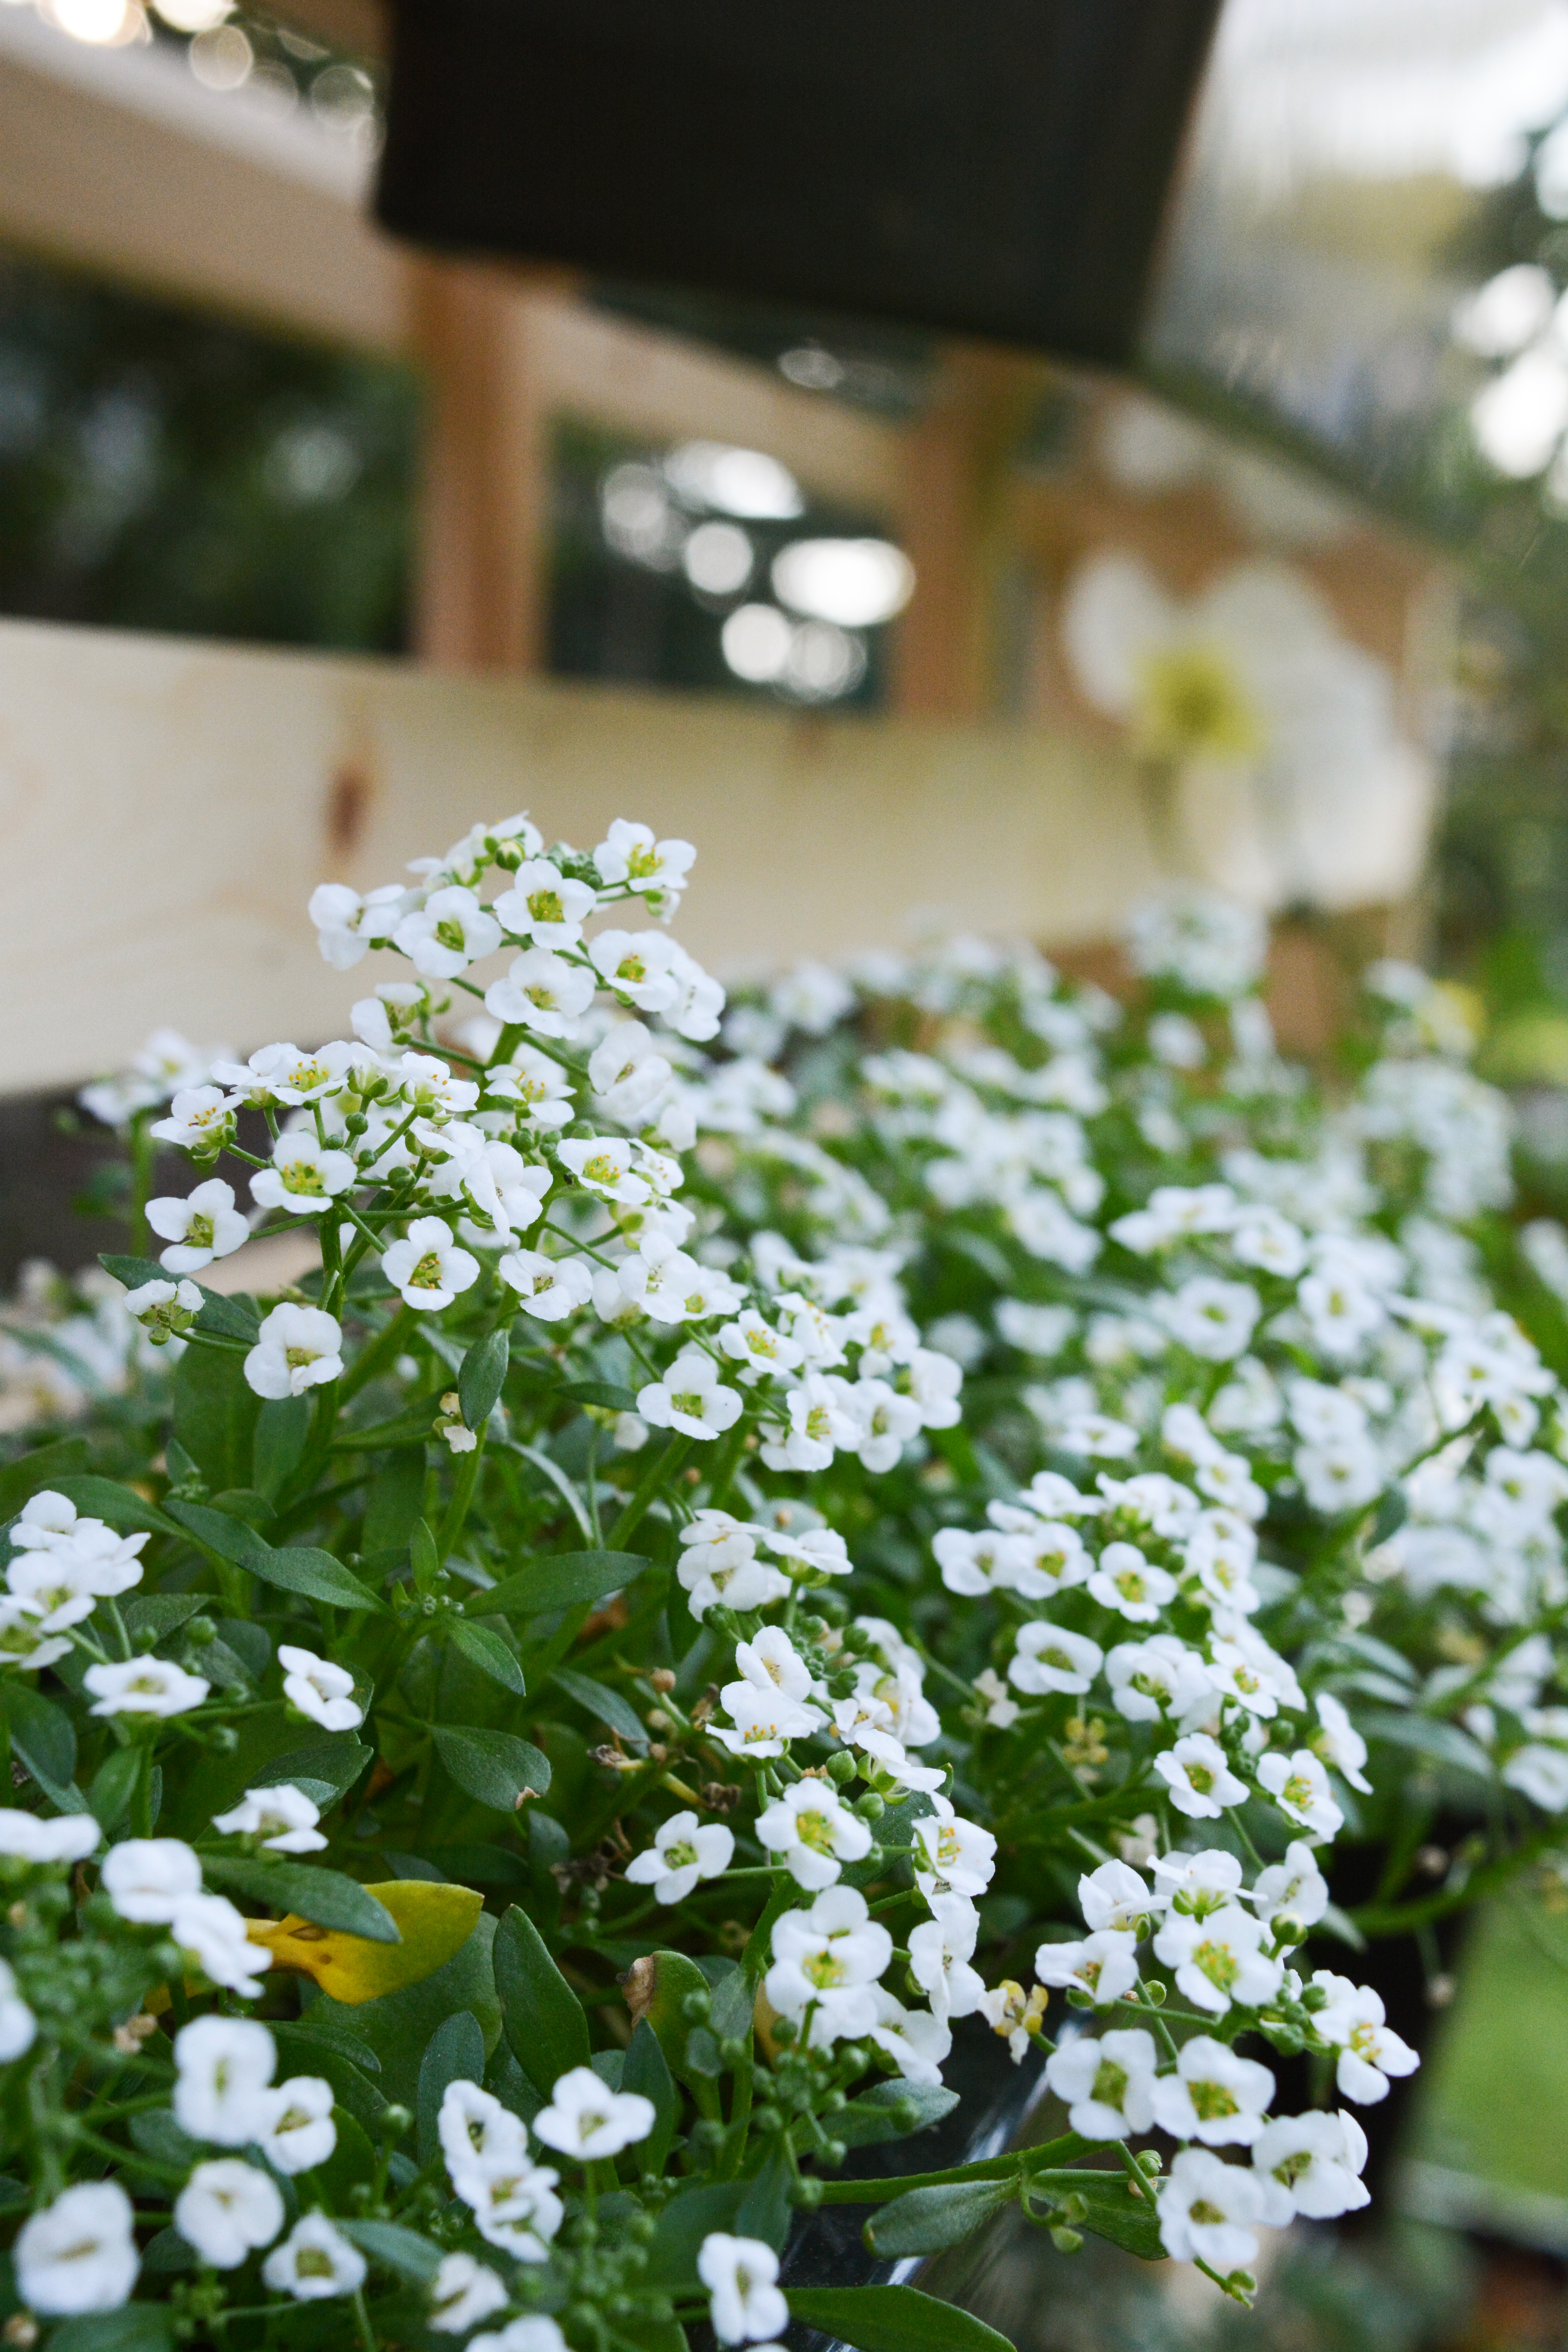
  We chose 8 native plants from this area. Using the
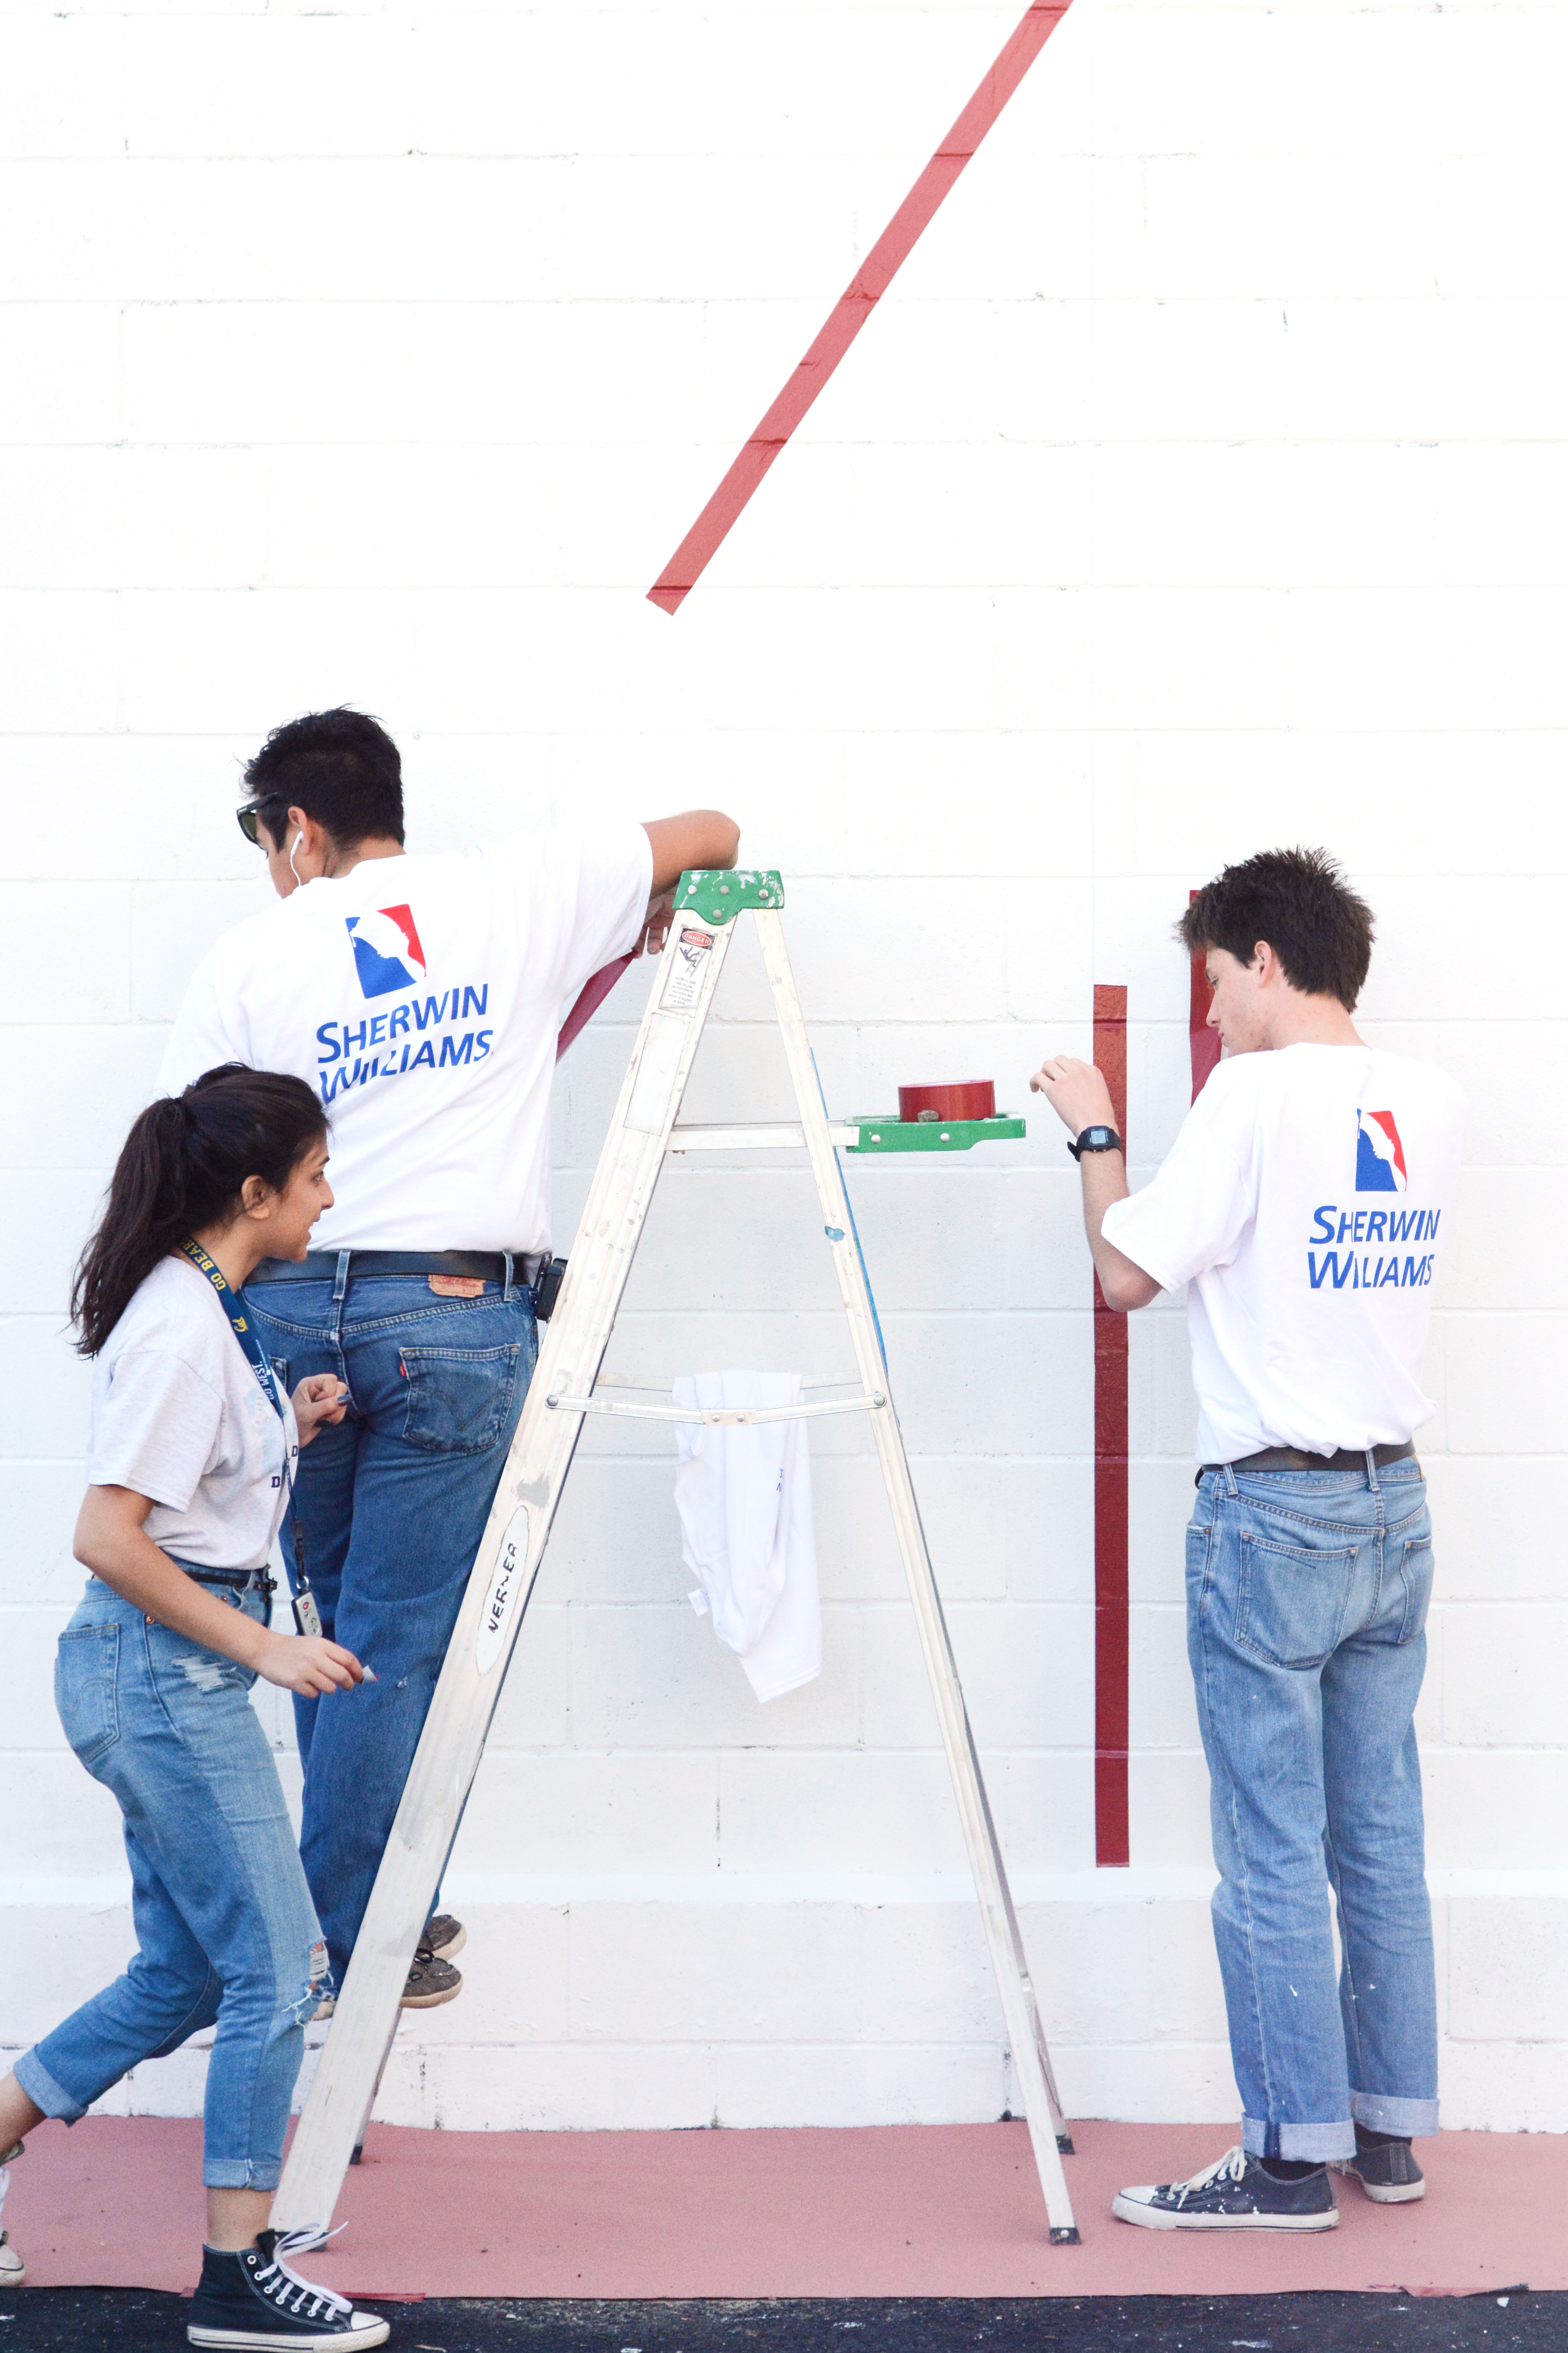 These kids were amazing! They worked so hard and did an excellent job. I’m a very picky painter and these kids were all about quality work.
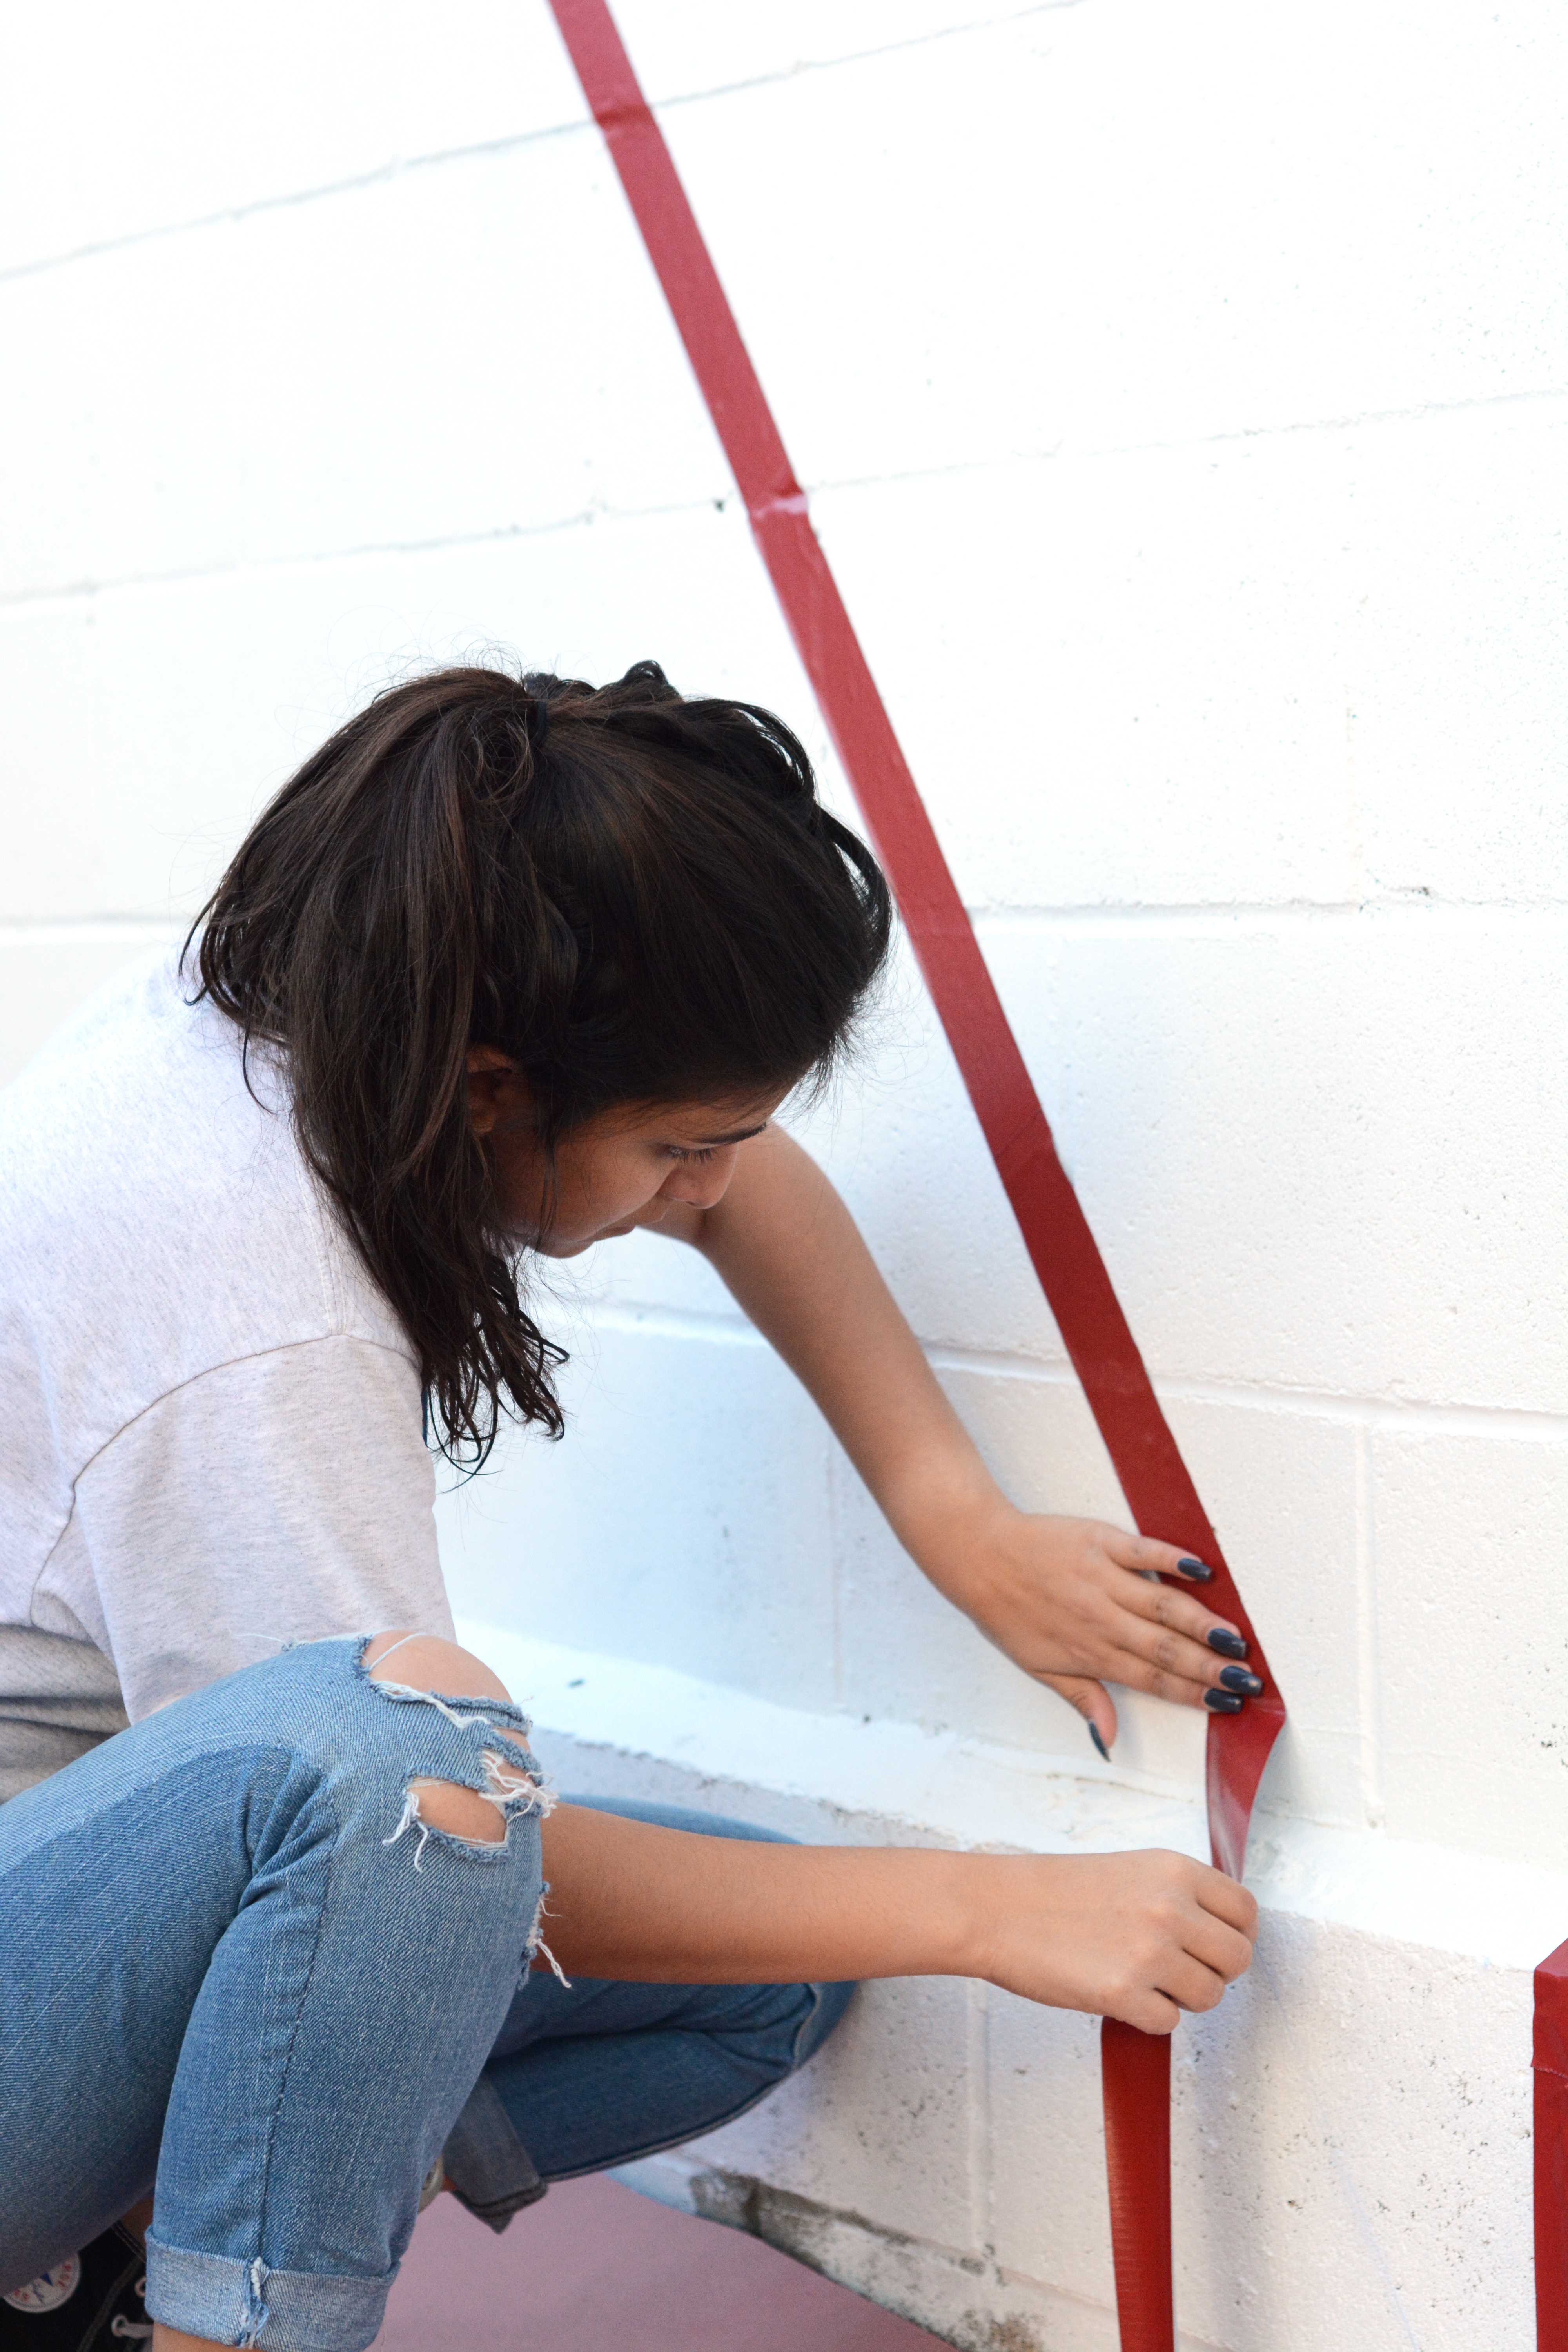
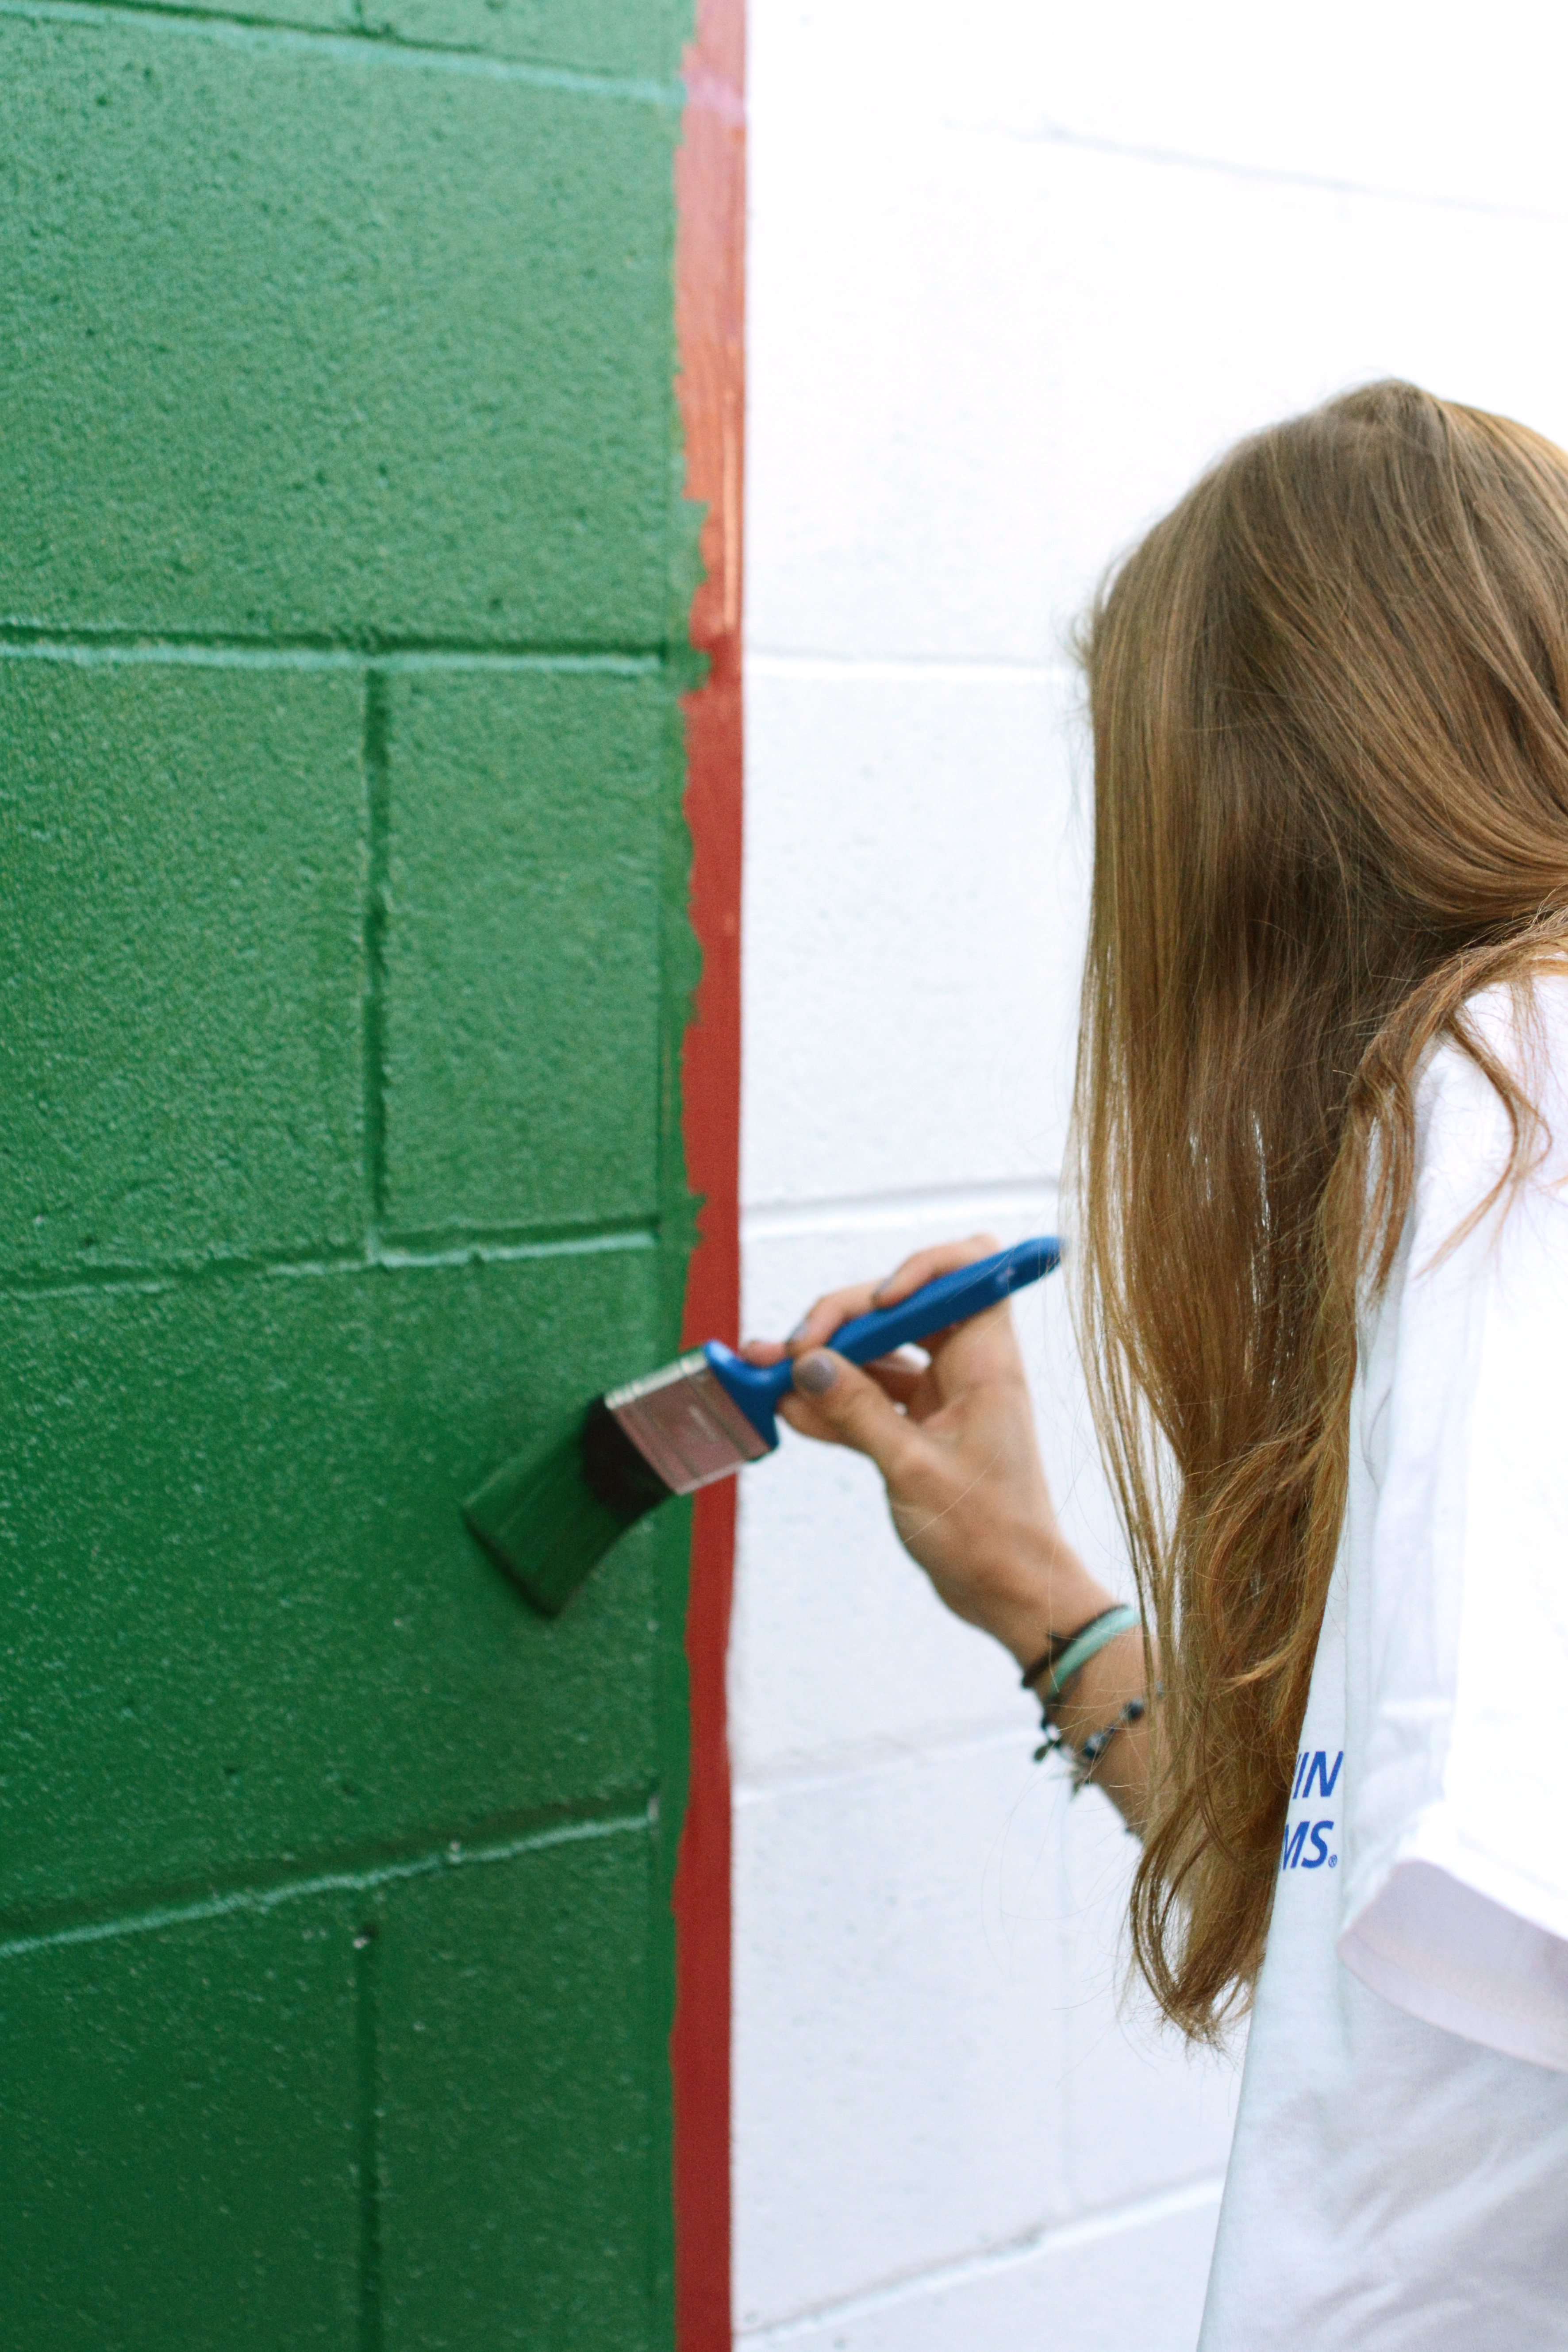
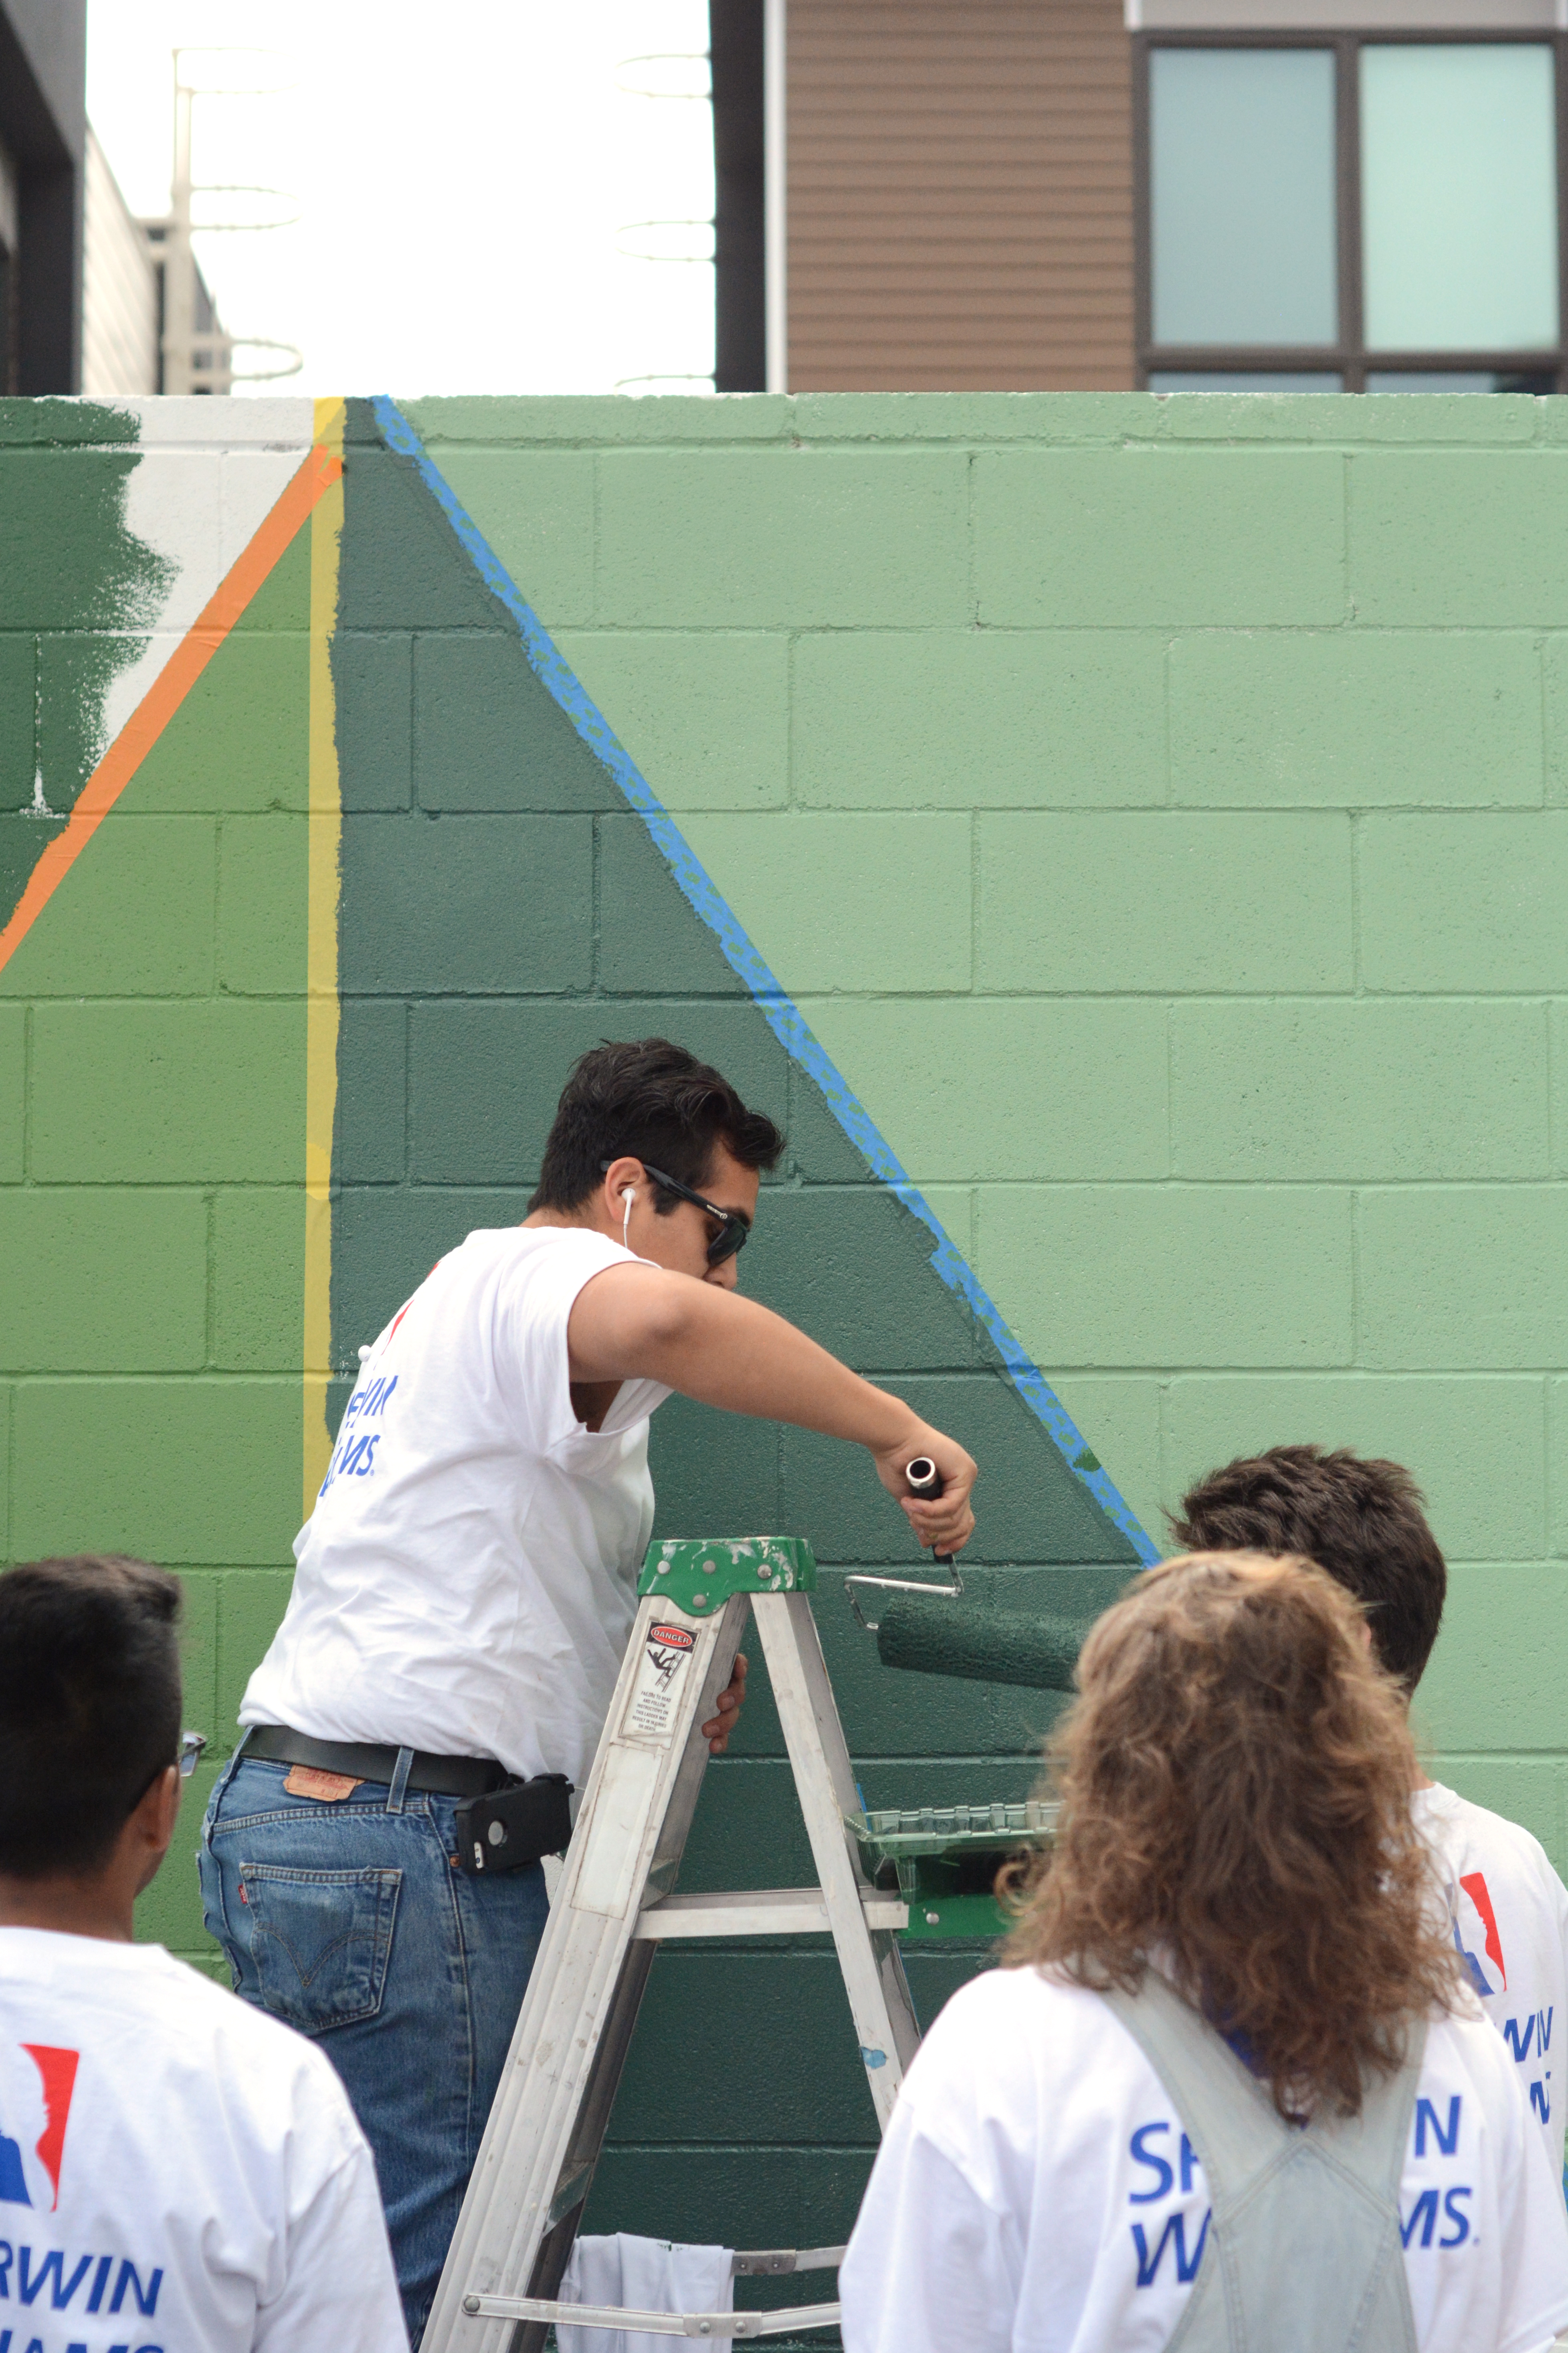 The taped, they rolled, they brushed and they cleaned. While is was work, it was also a really great day spent together.
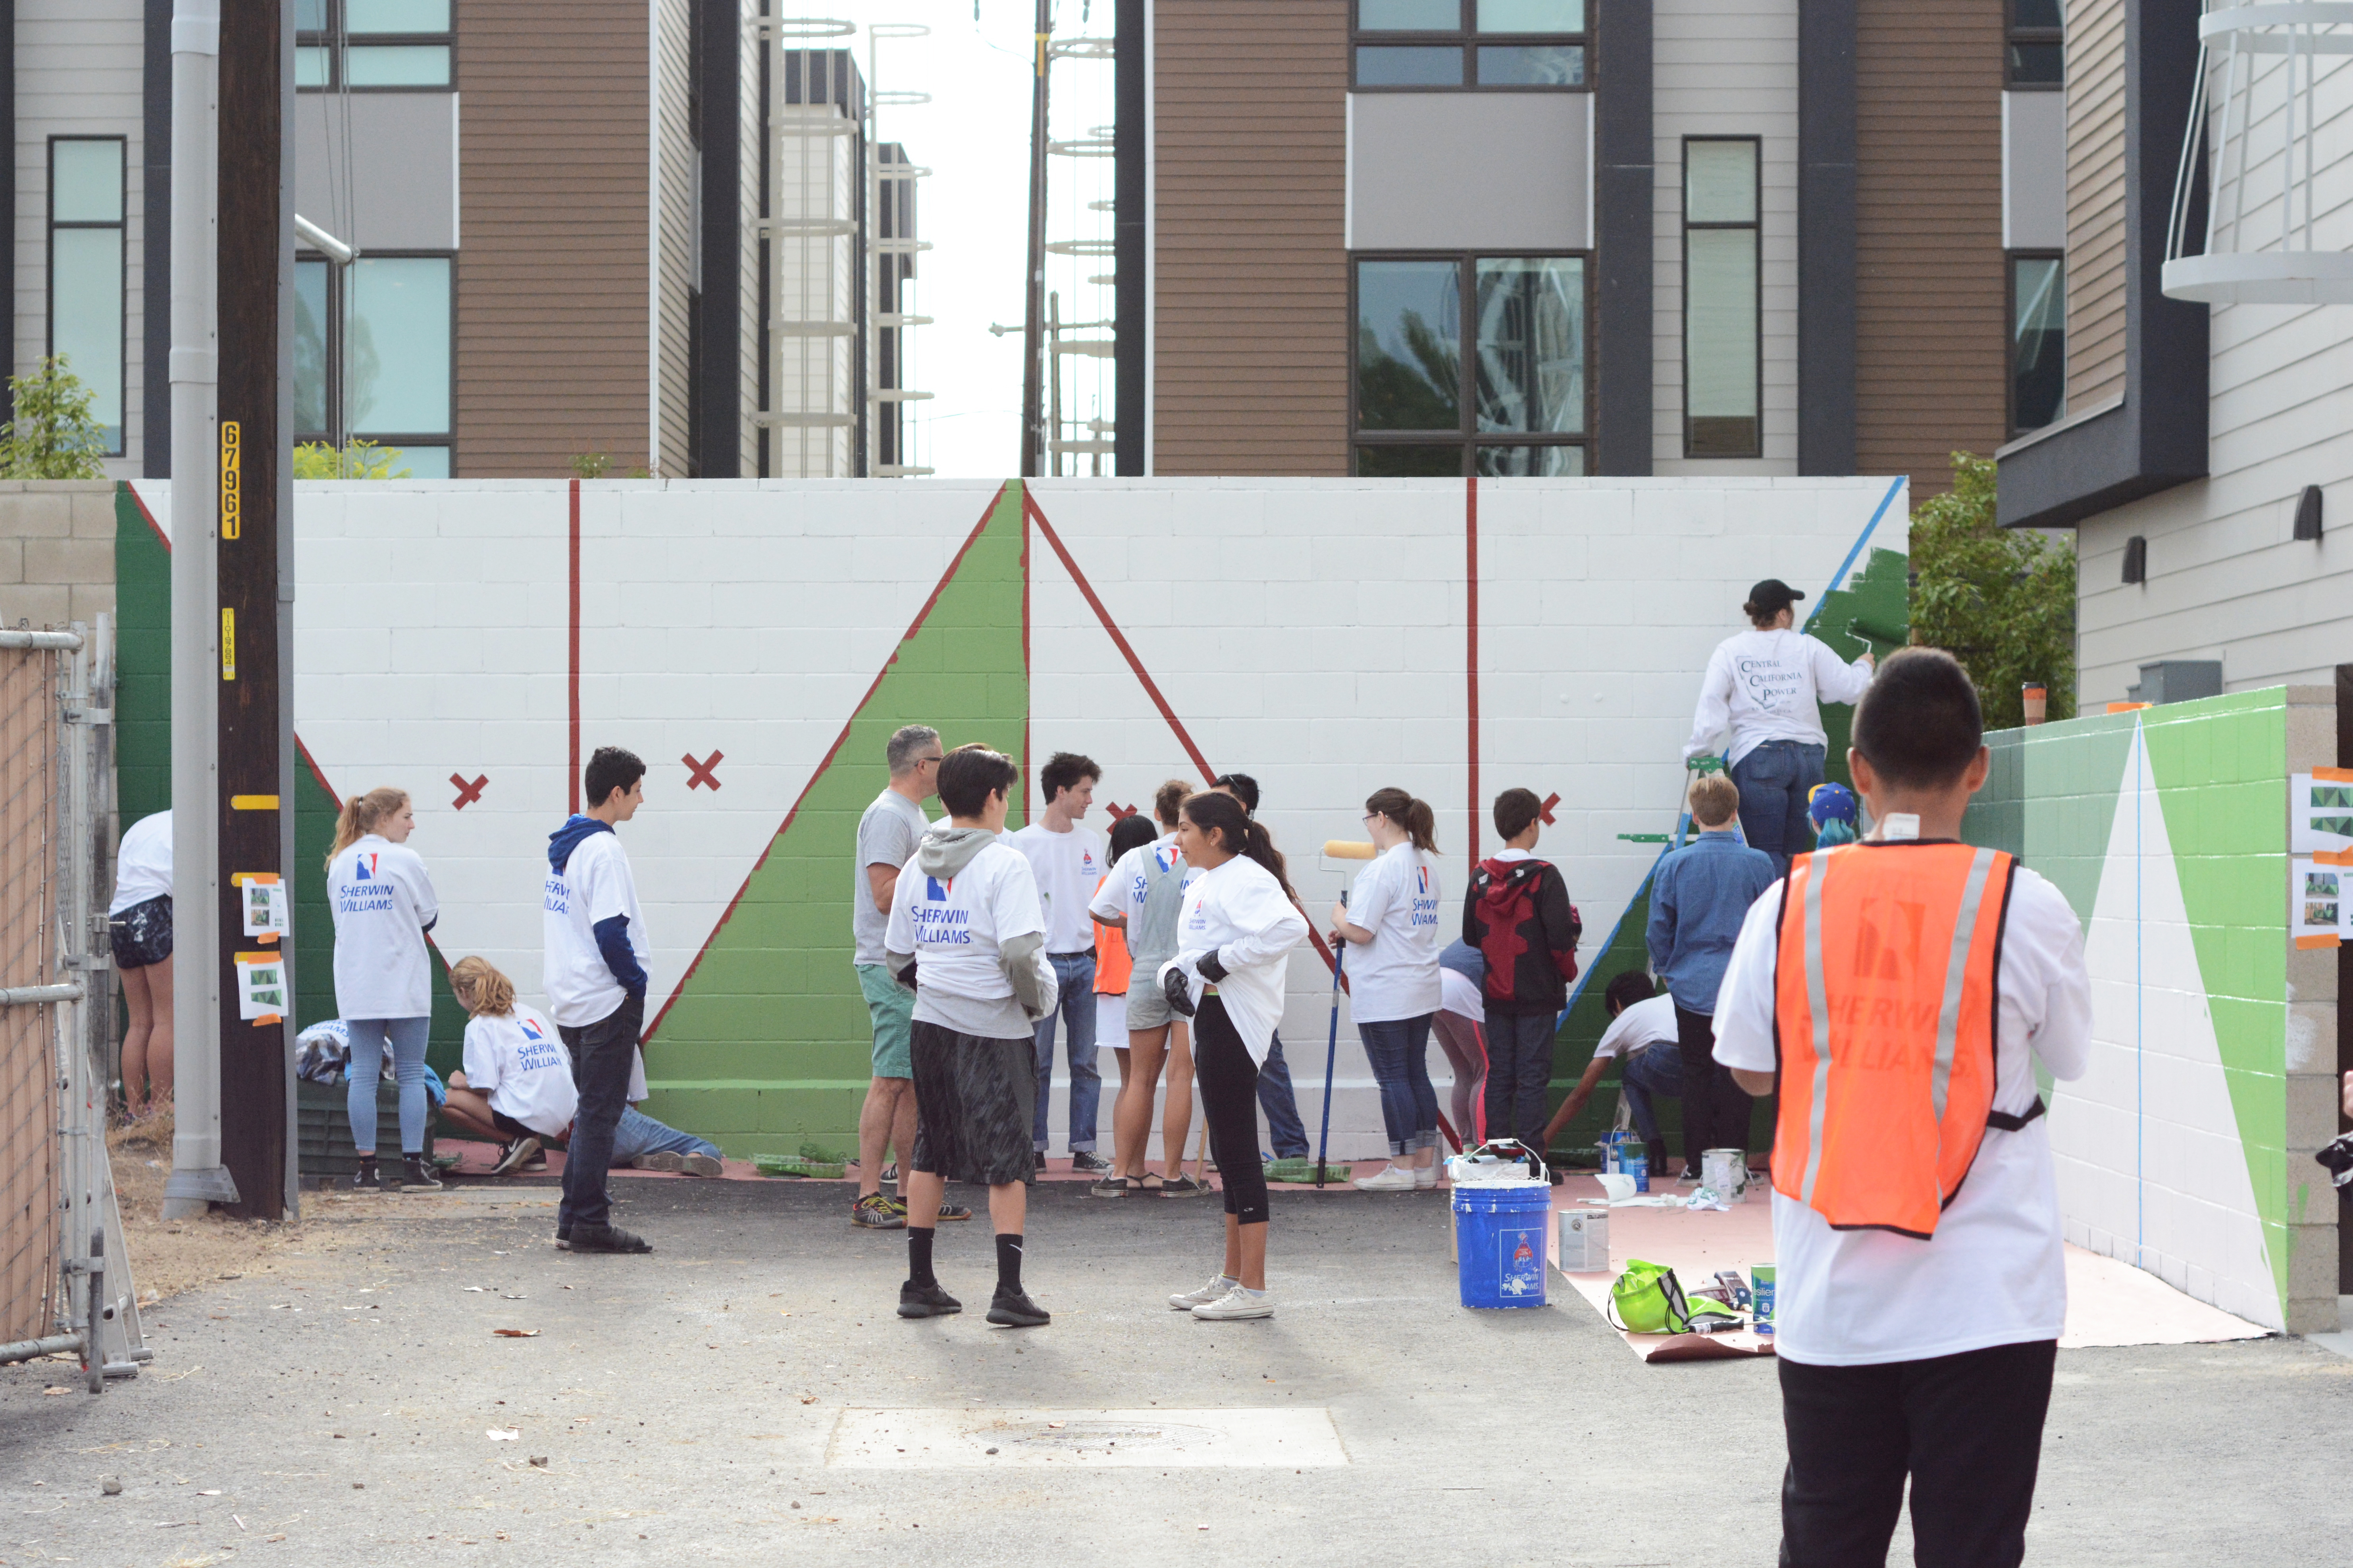


 If you are in Bakersfield, be sure to stop by the wall and take a picture. It’s located in between 17th and 18th St. on N St. Use the hashtag, #chlorophyllwall, we want to see your pics. And now we are ready to take on another wall!


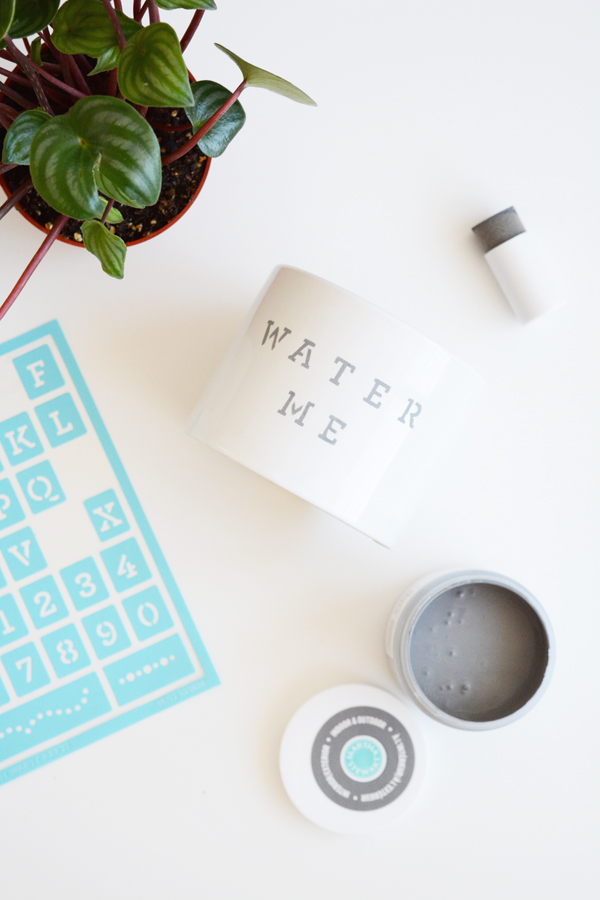
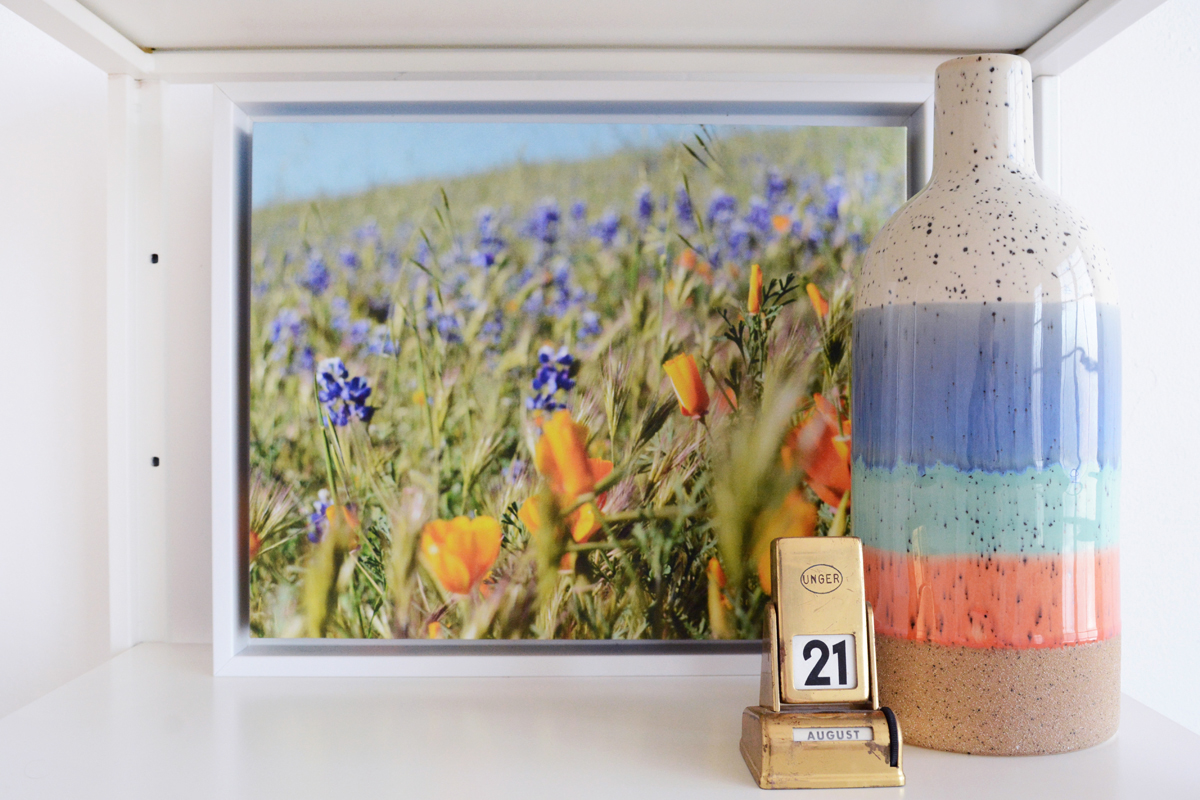 You can download this FREE California Wildflower image
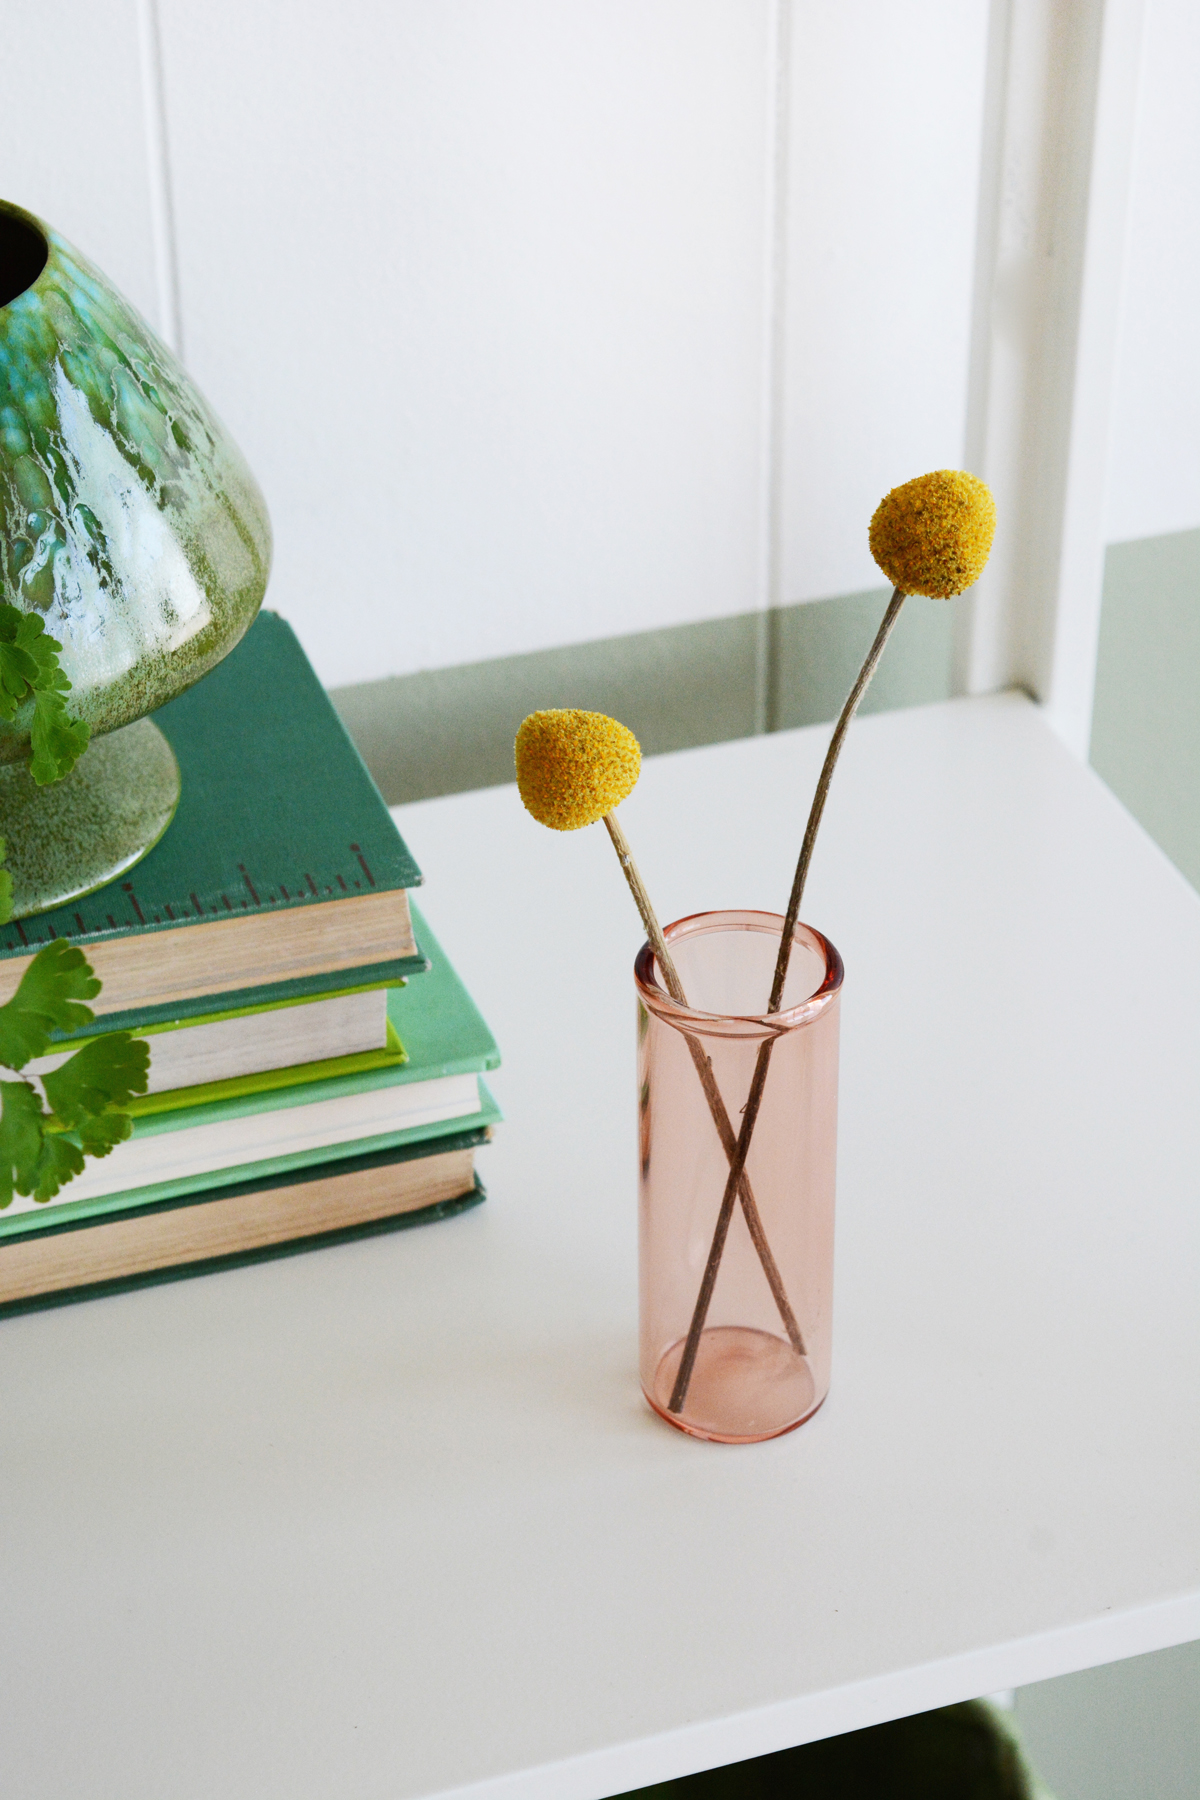
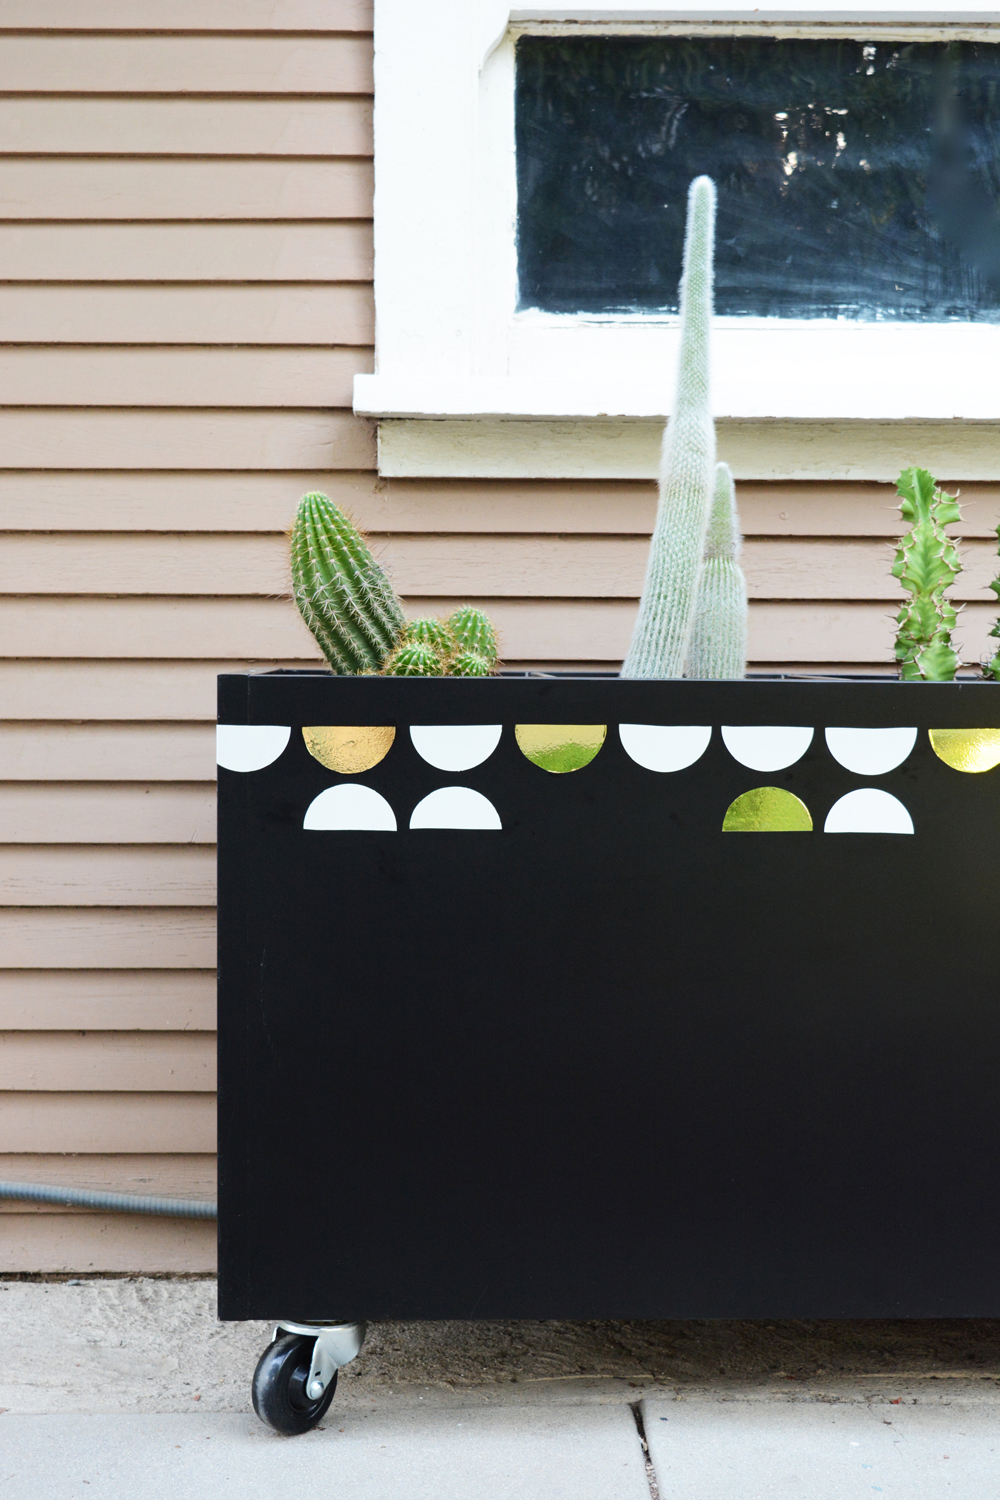
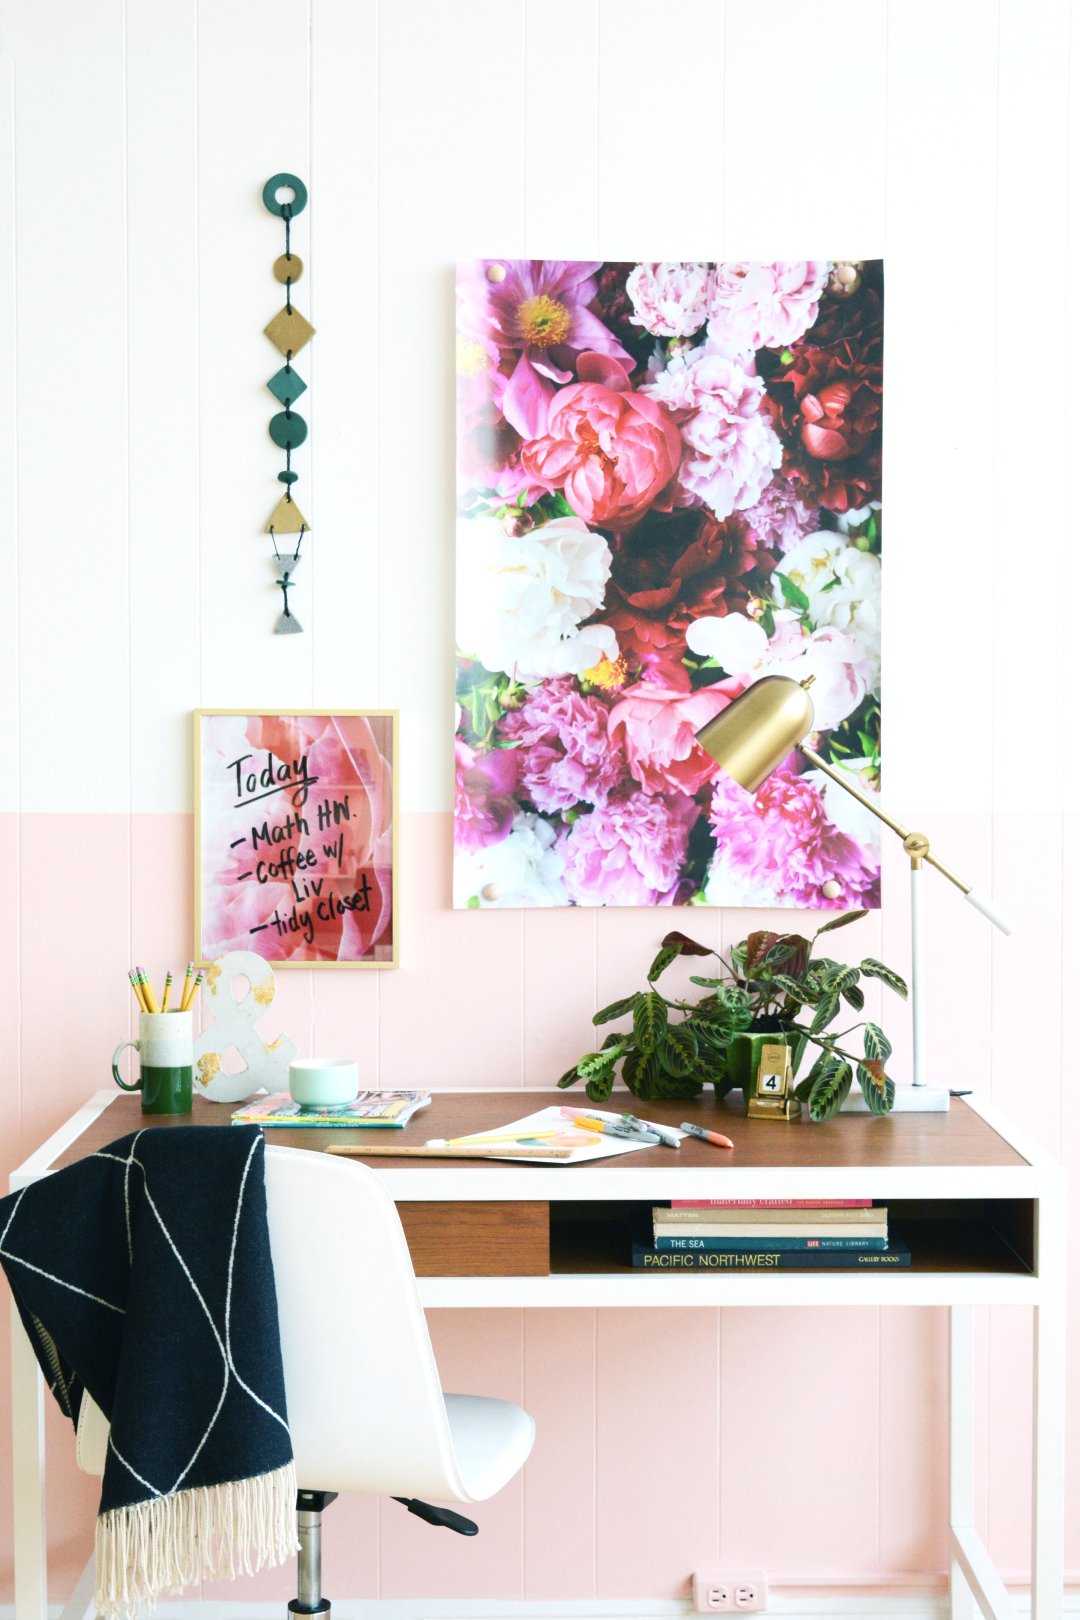
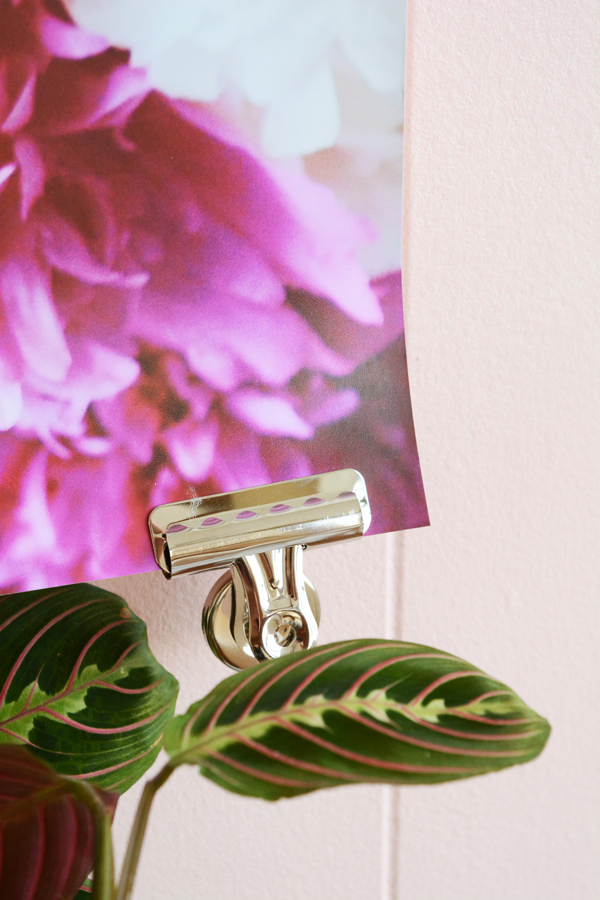
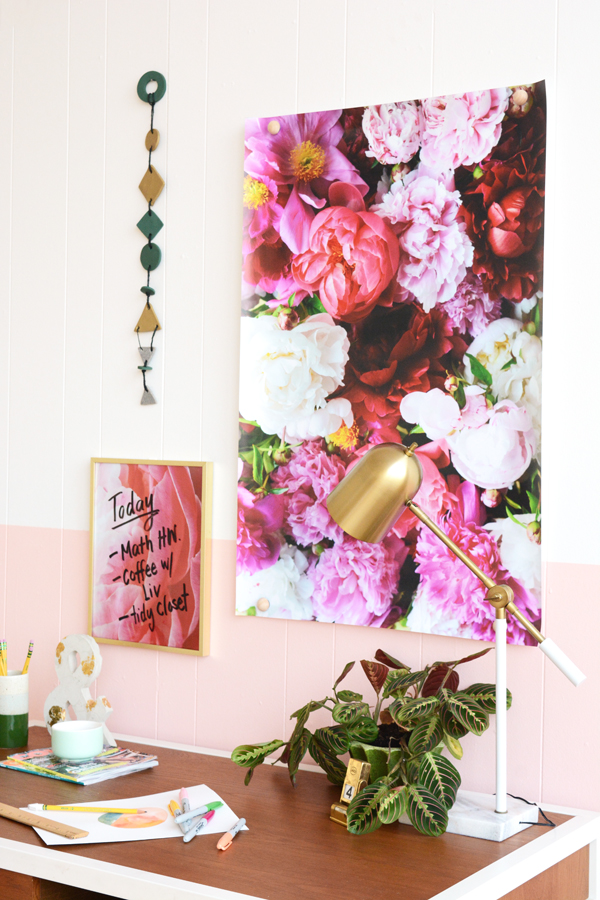
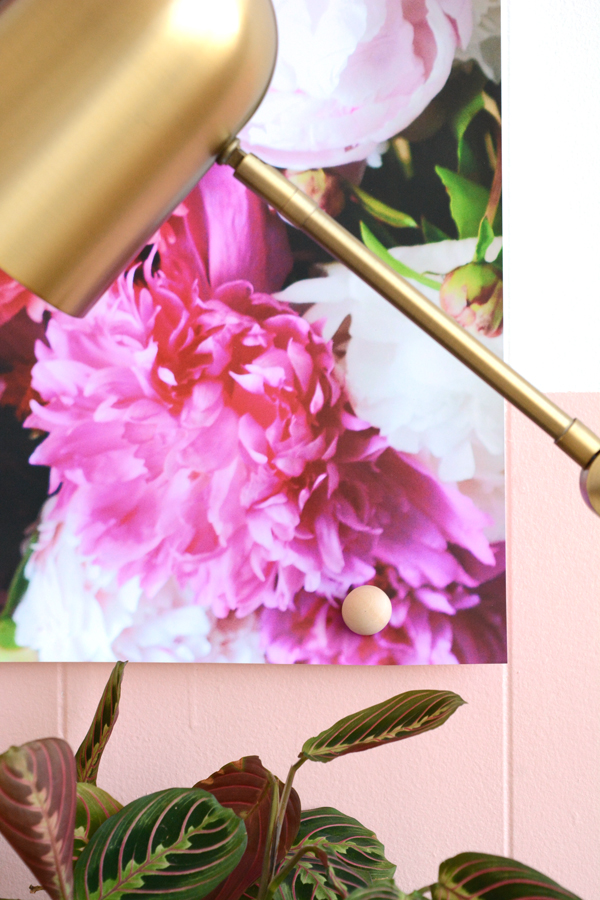
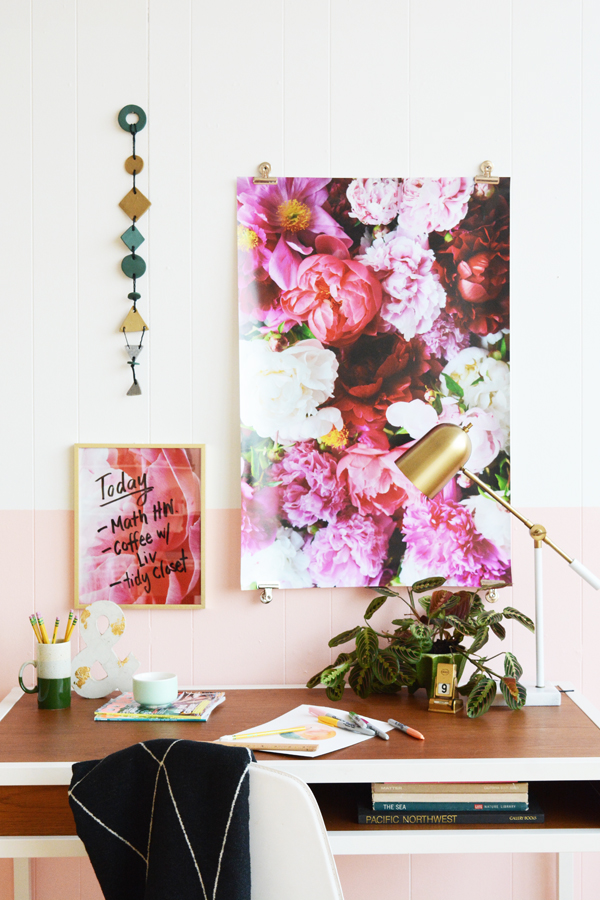
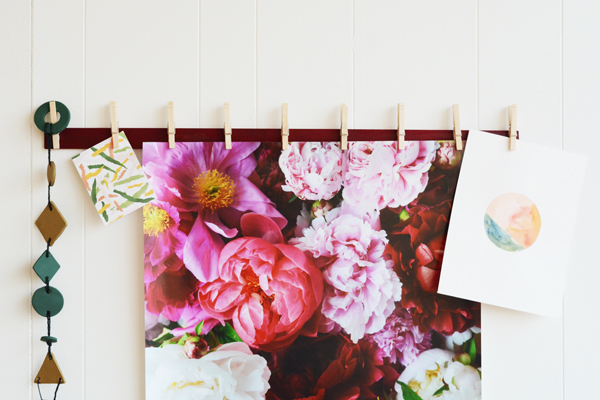
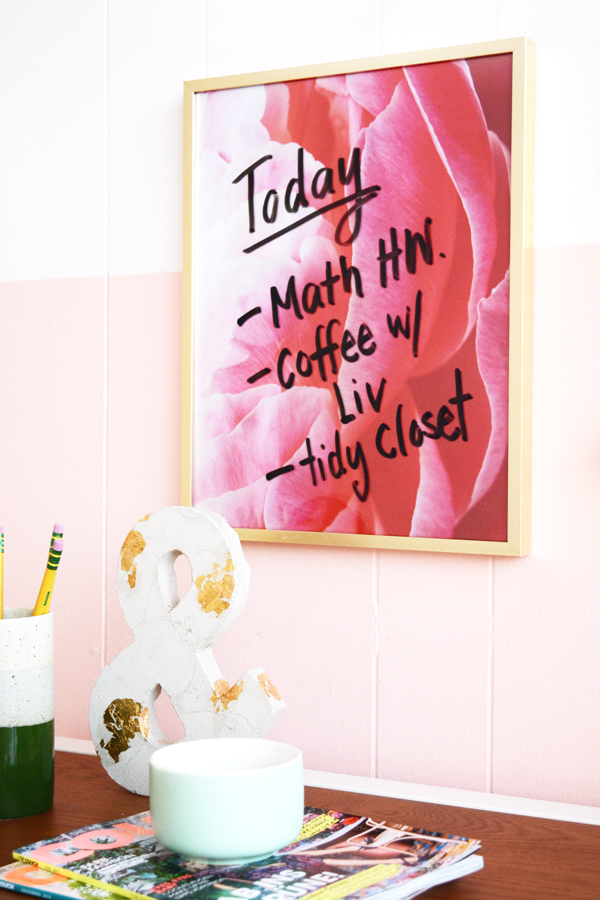
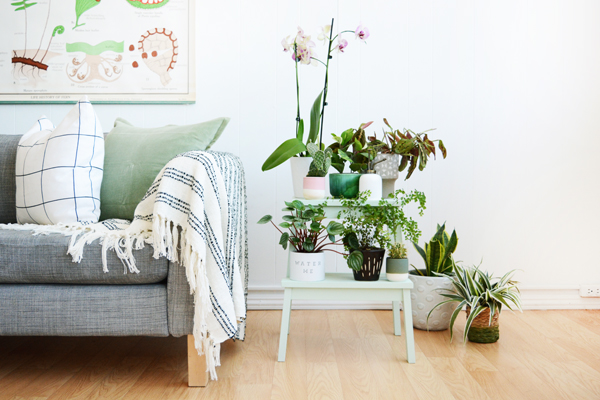
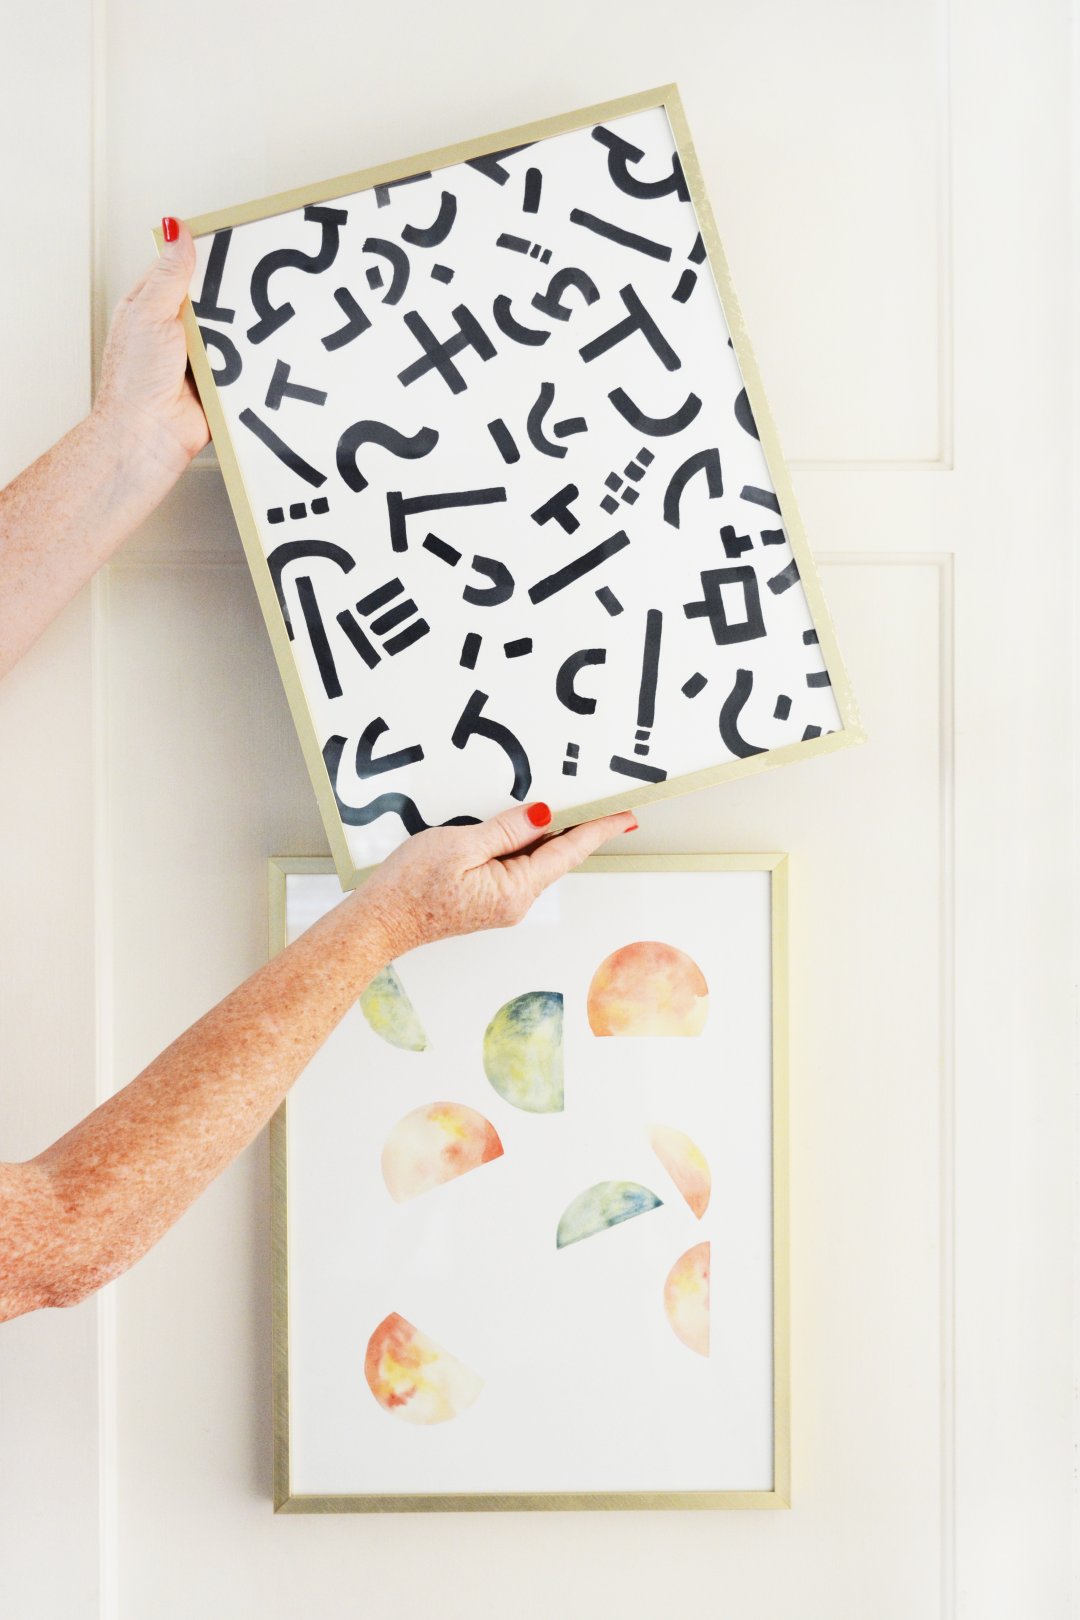
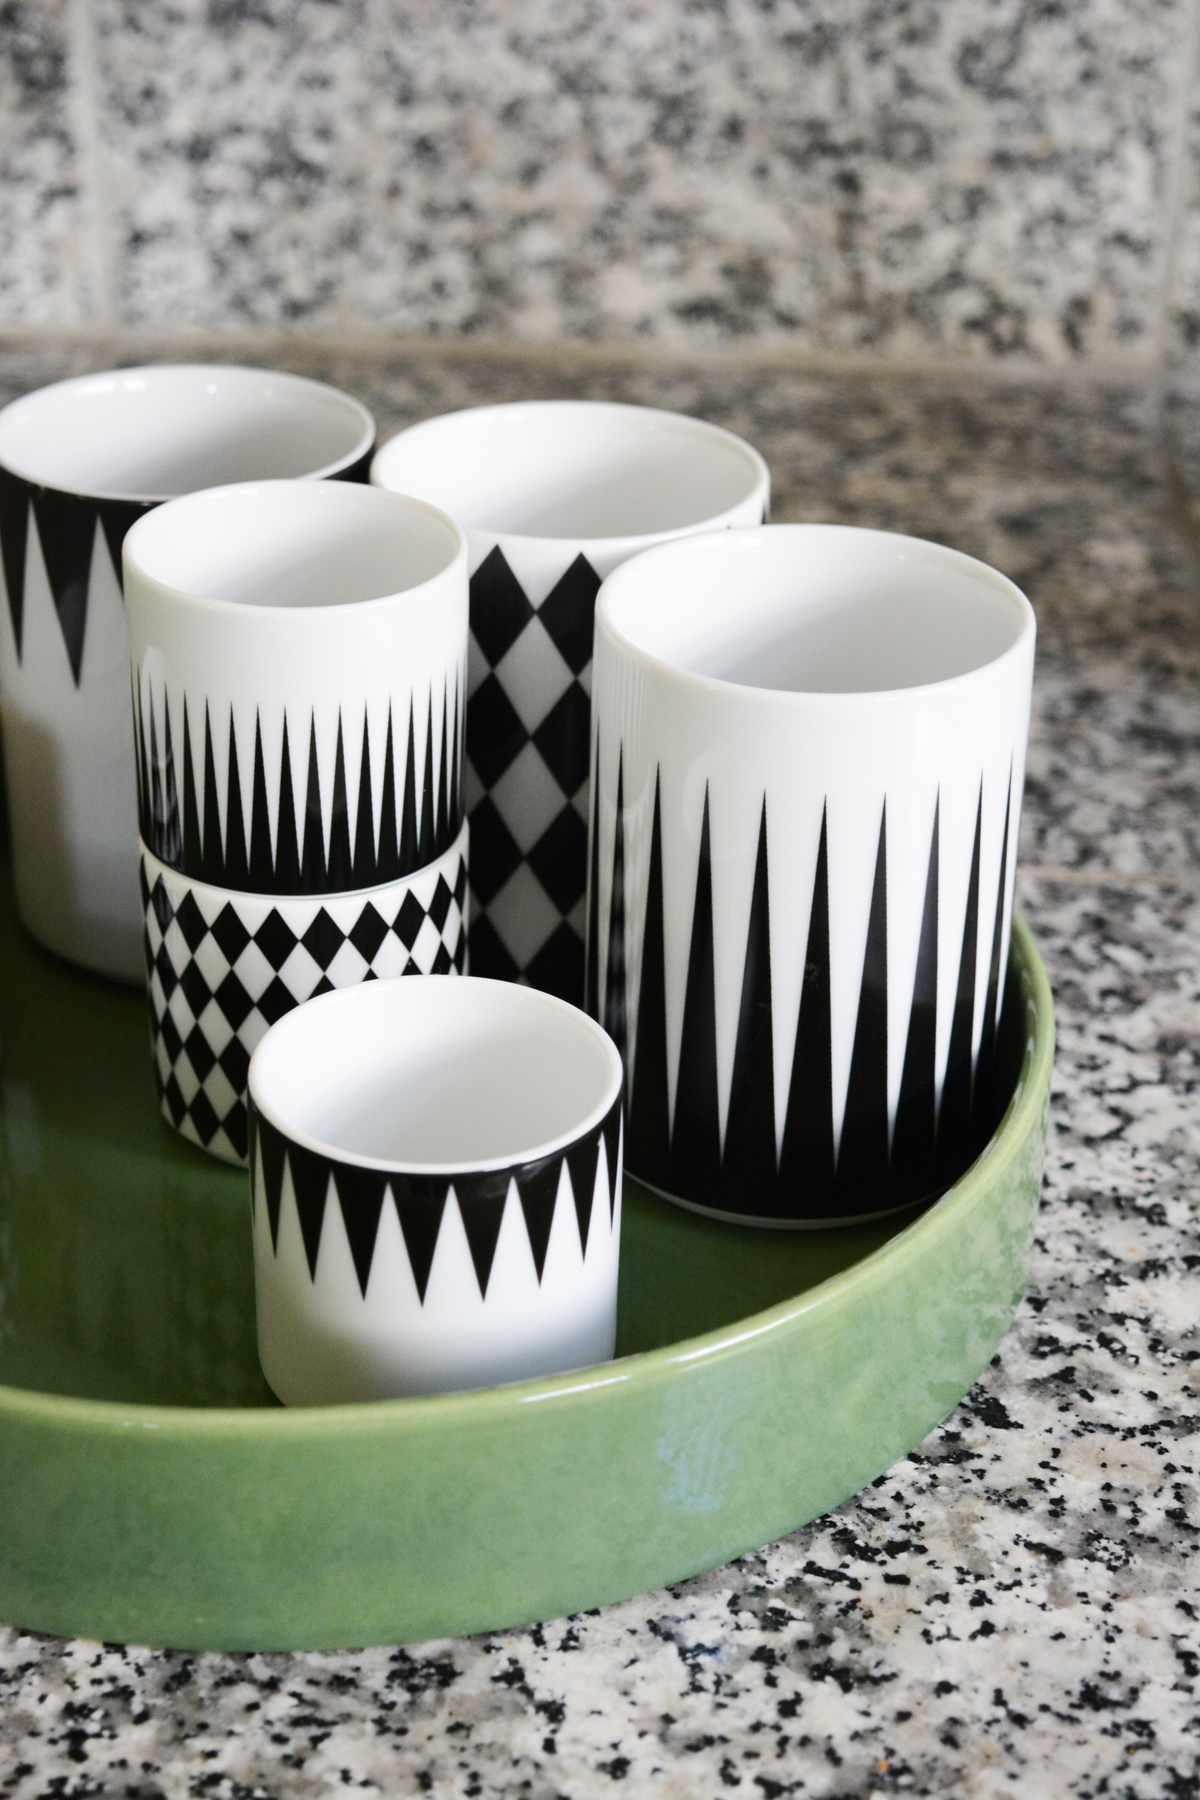
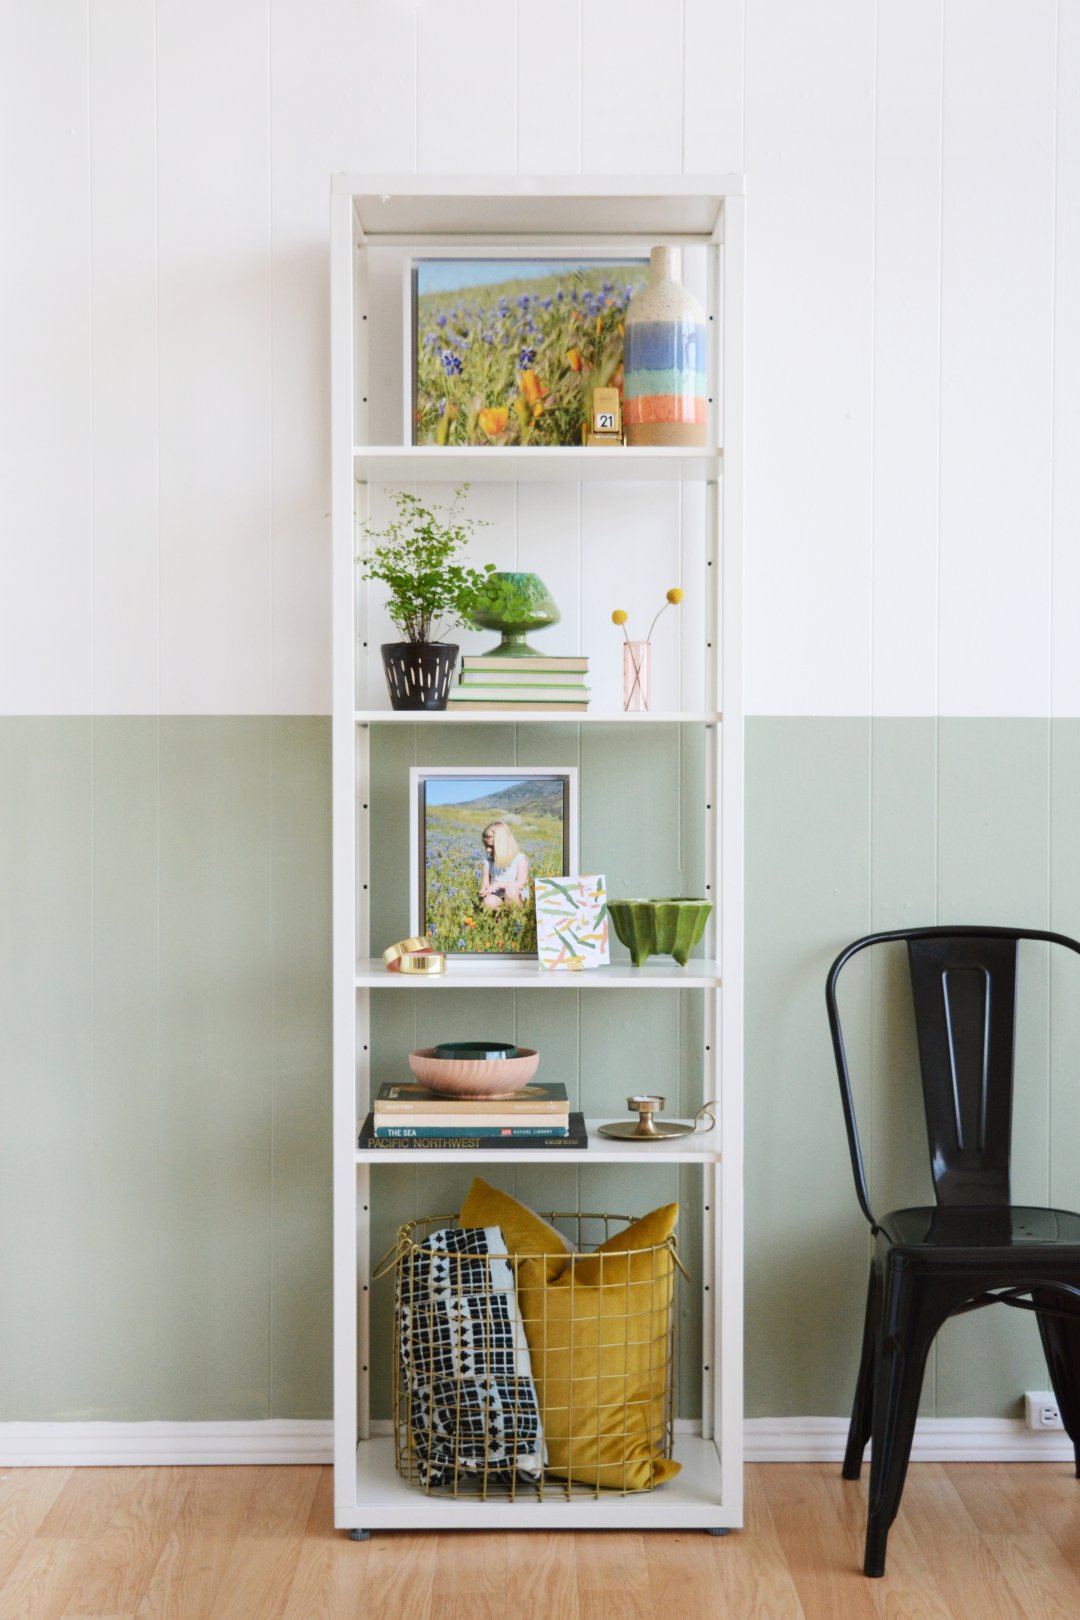
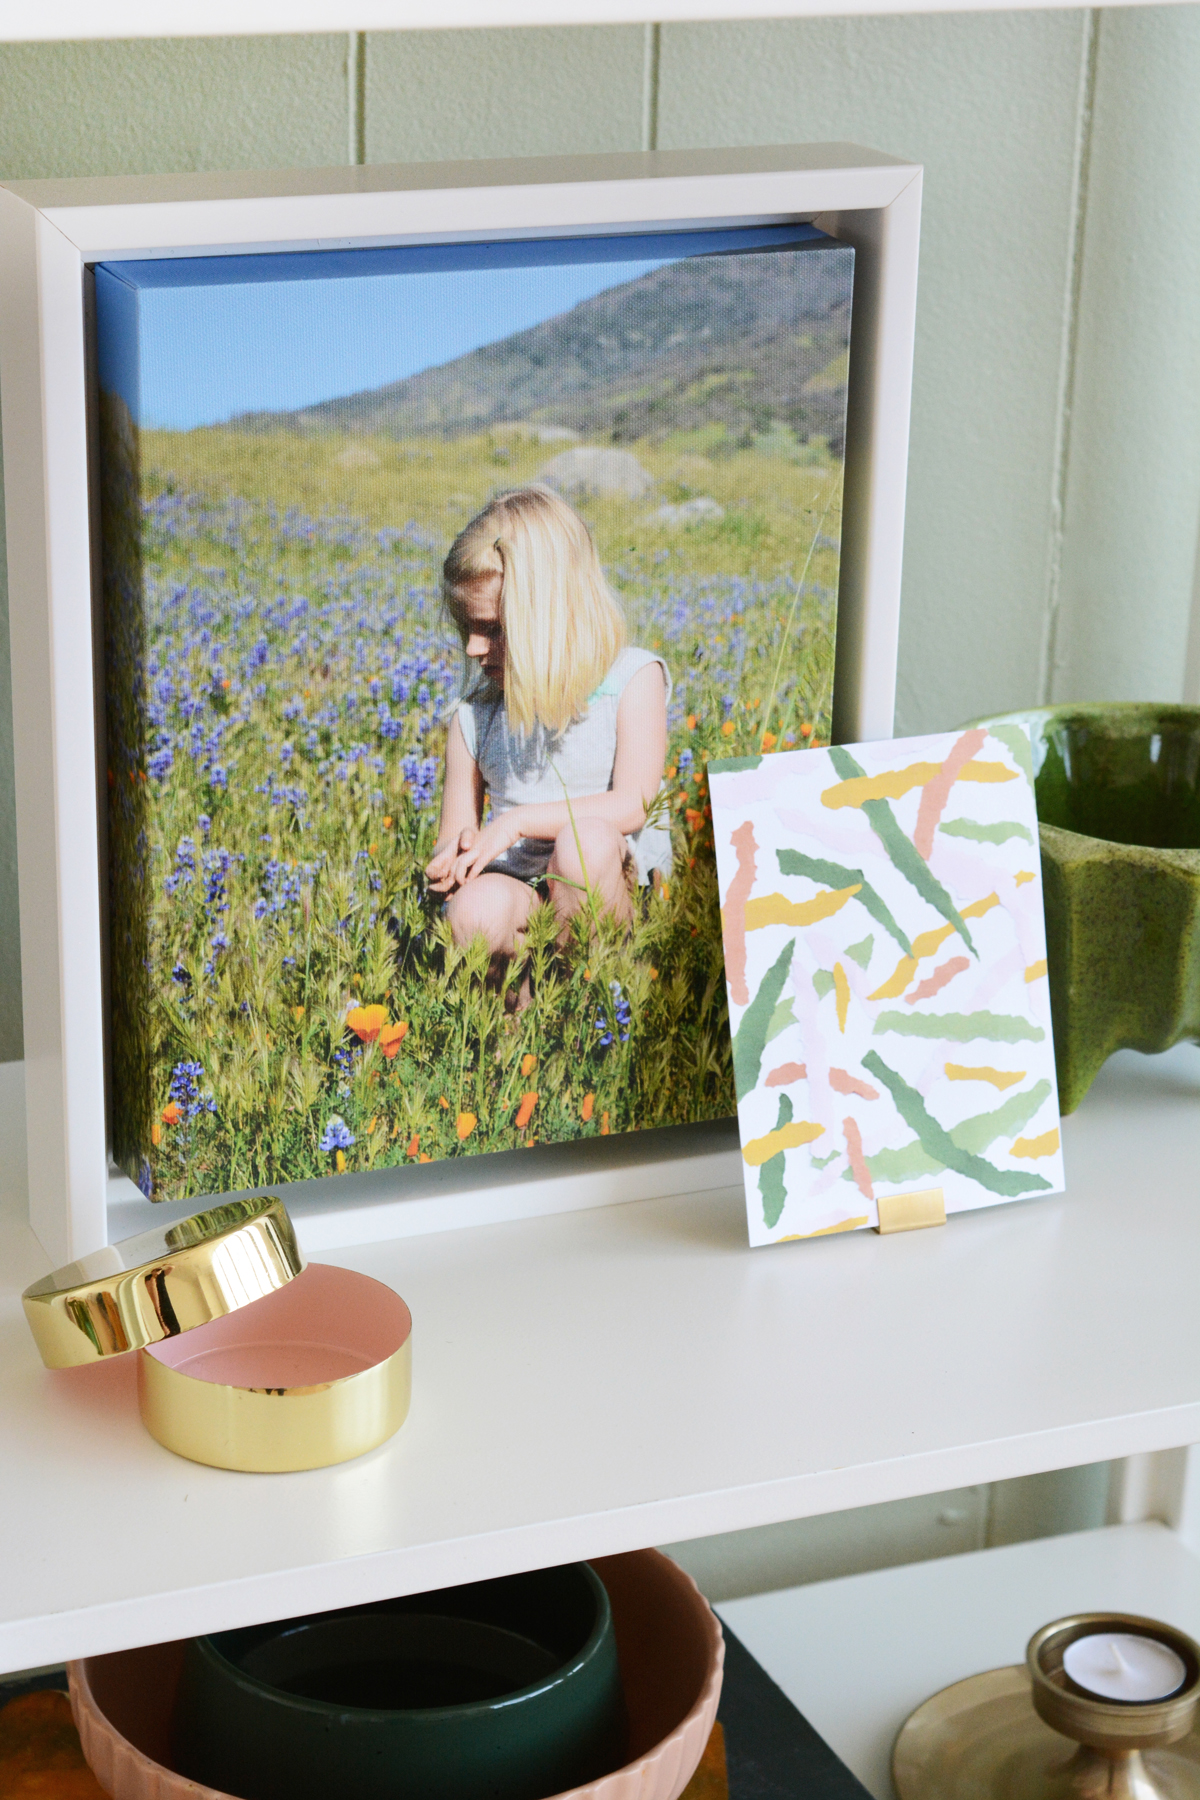
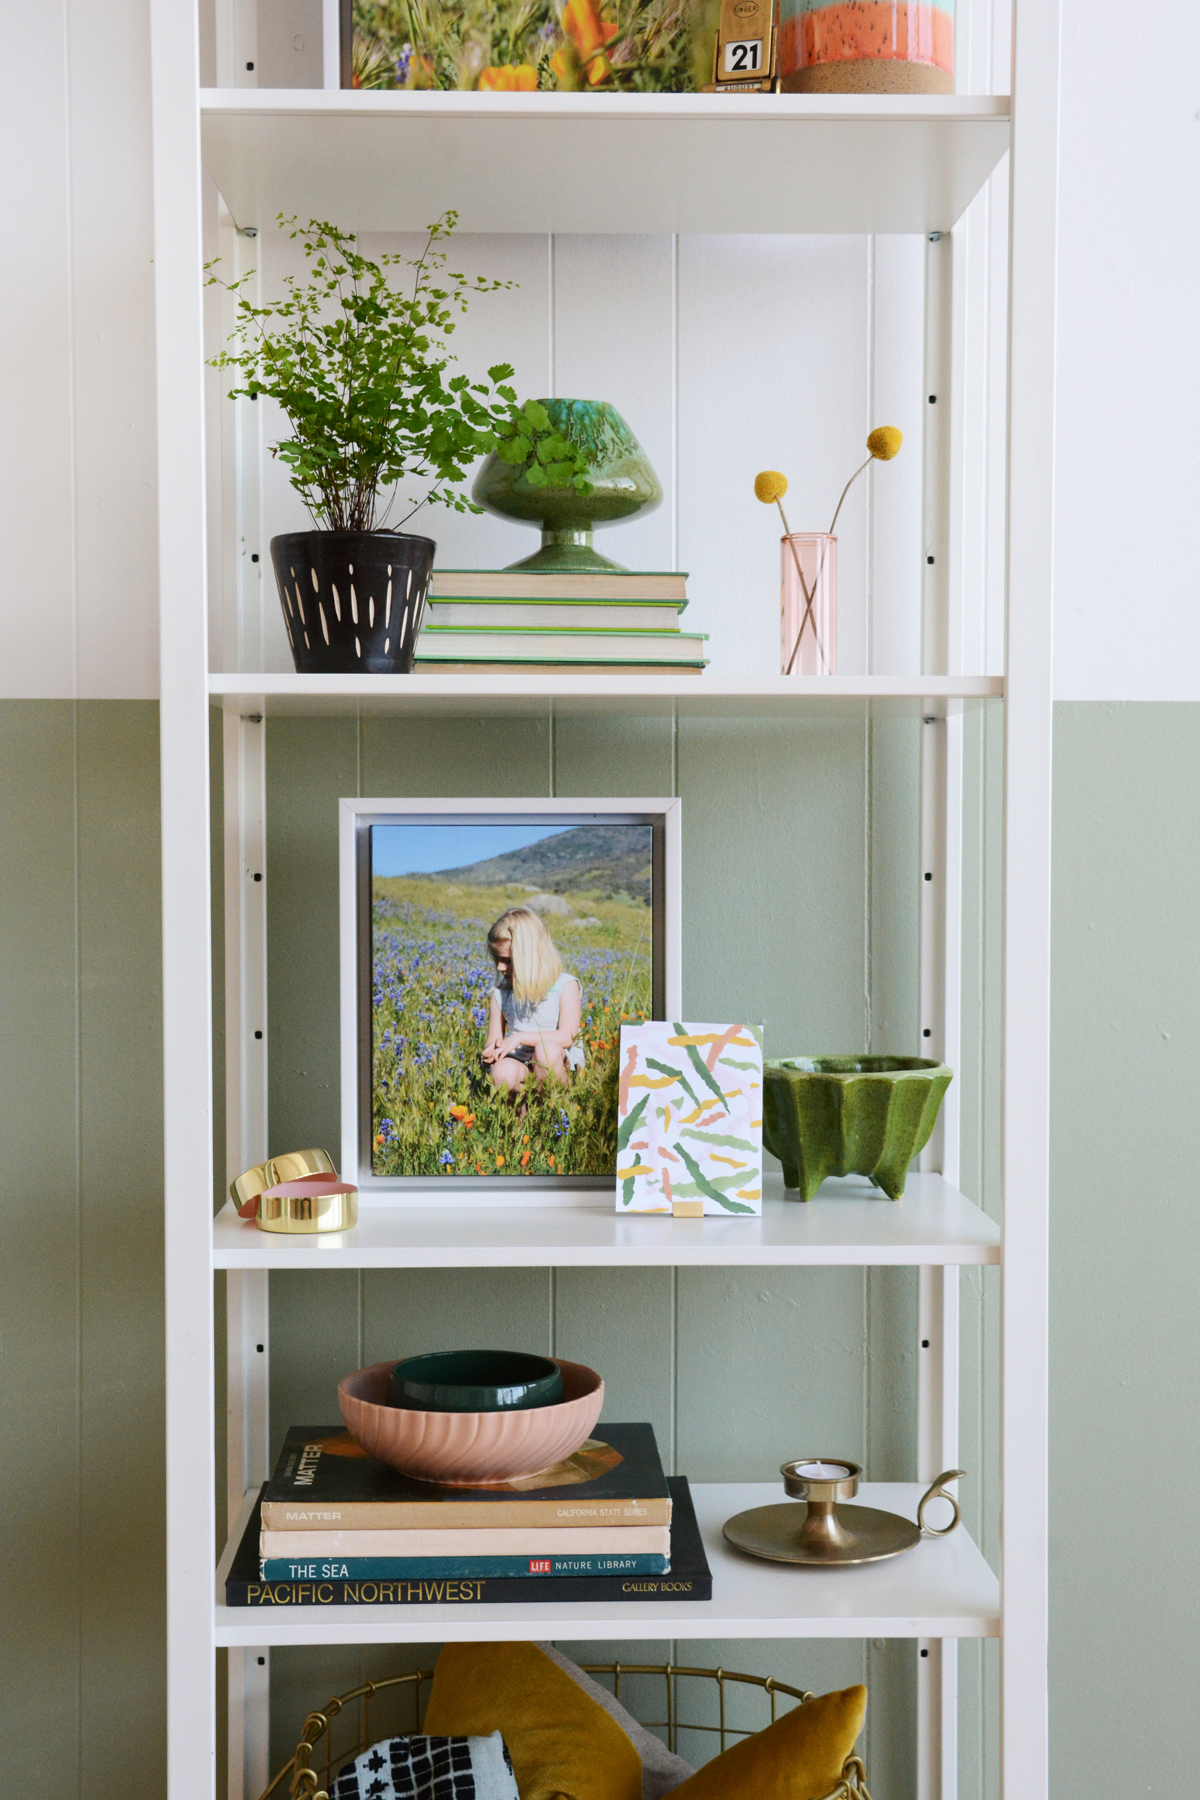 While we are here chatting about art on a bookshelf, I thought I’d share a few tips for styling a good looking #shelfie. I started with a very inexpensive, industrial/storage style shelf. And with the right items, place in the right stops, it looks nice enough for a living room.
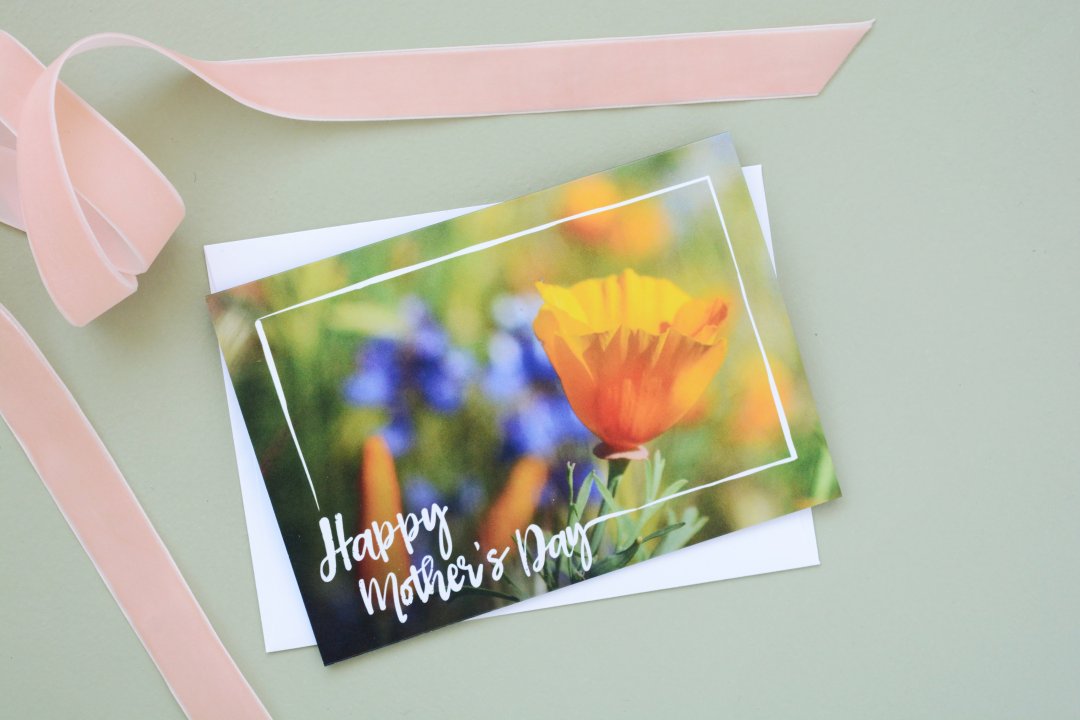
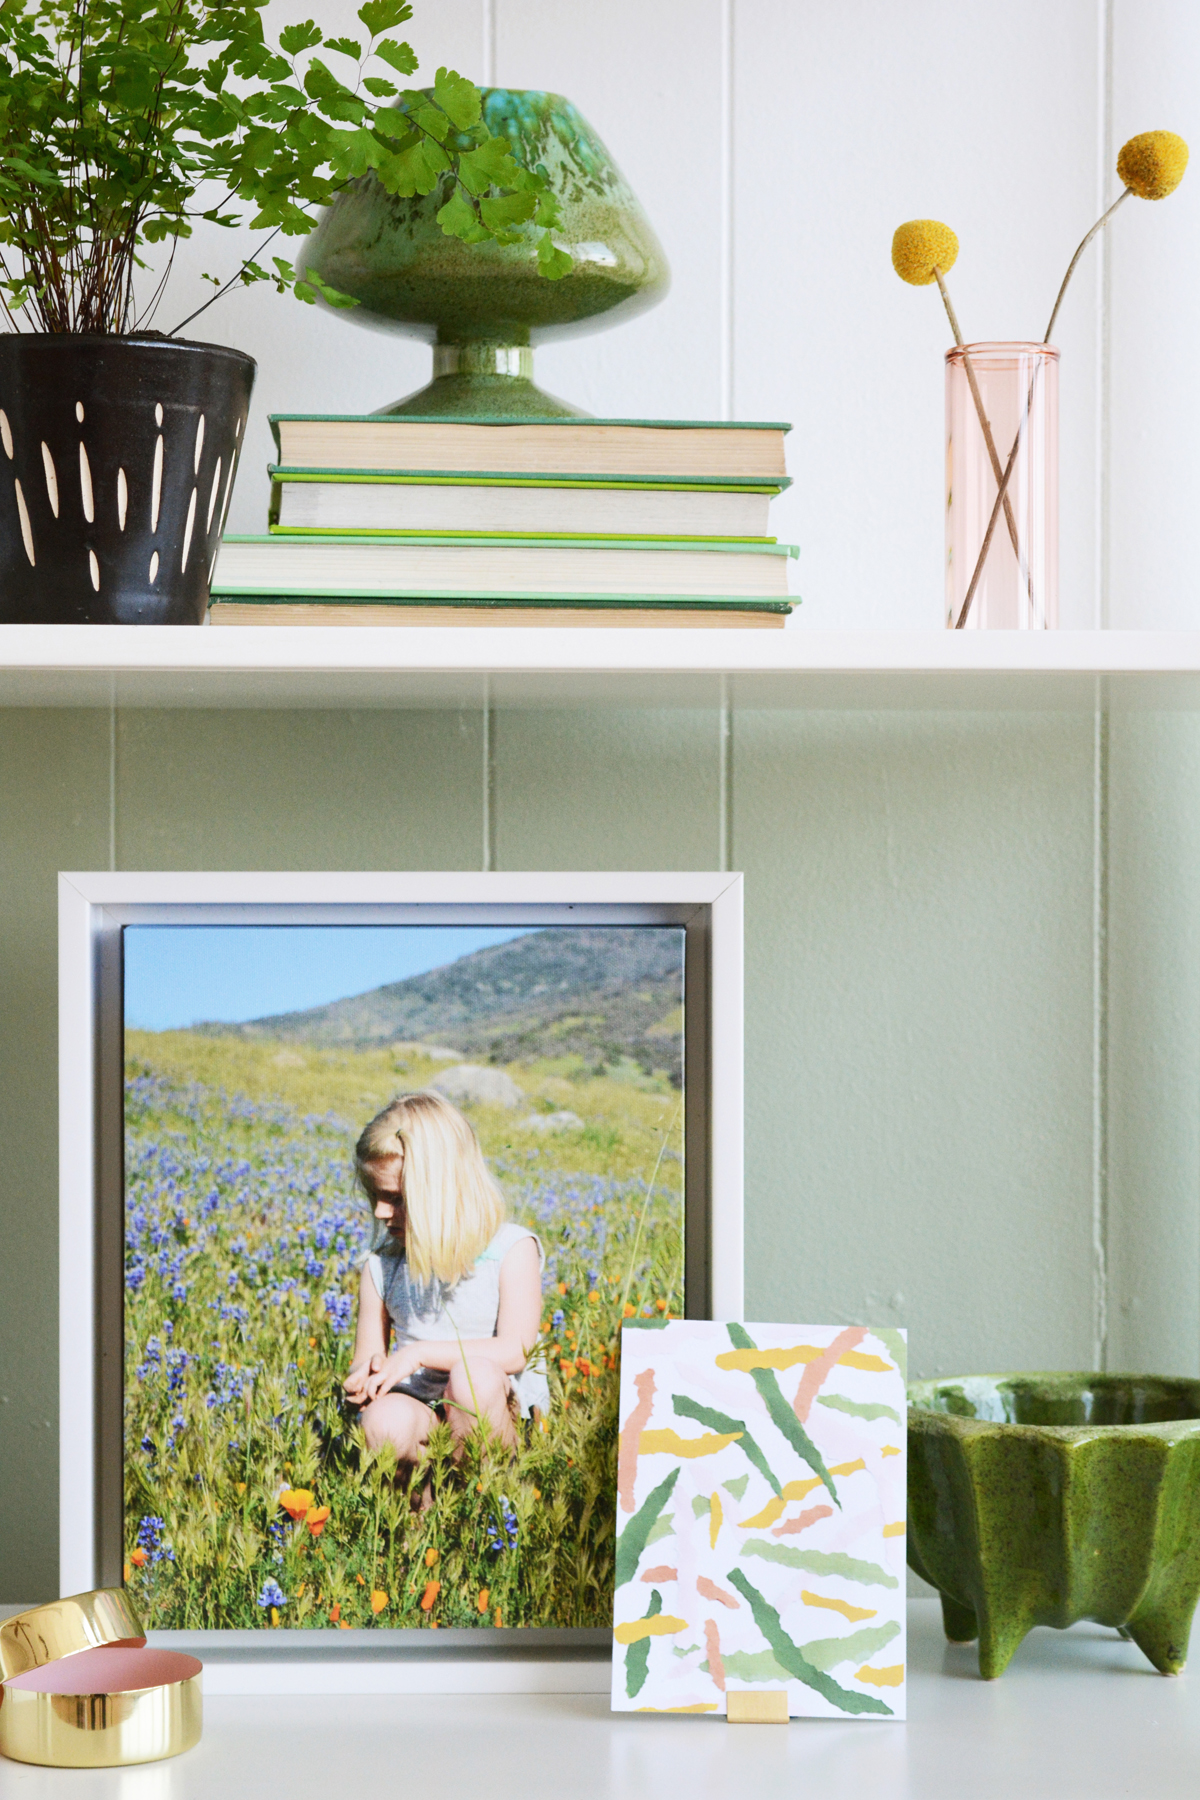 And what’s a Mother’s Day gift without a thoughtful card (another thing moms are guaranteed to love)? Did you know that
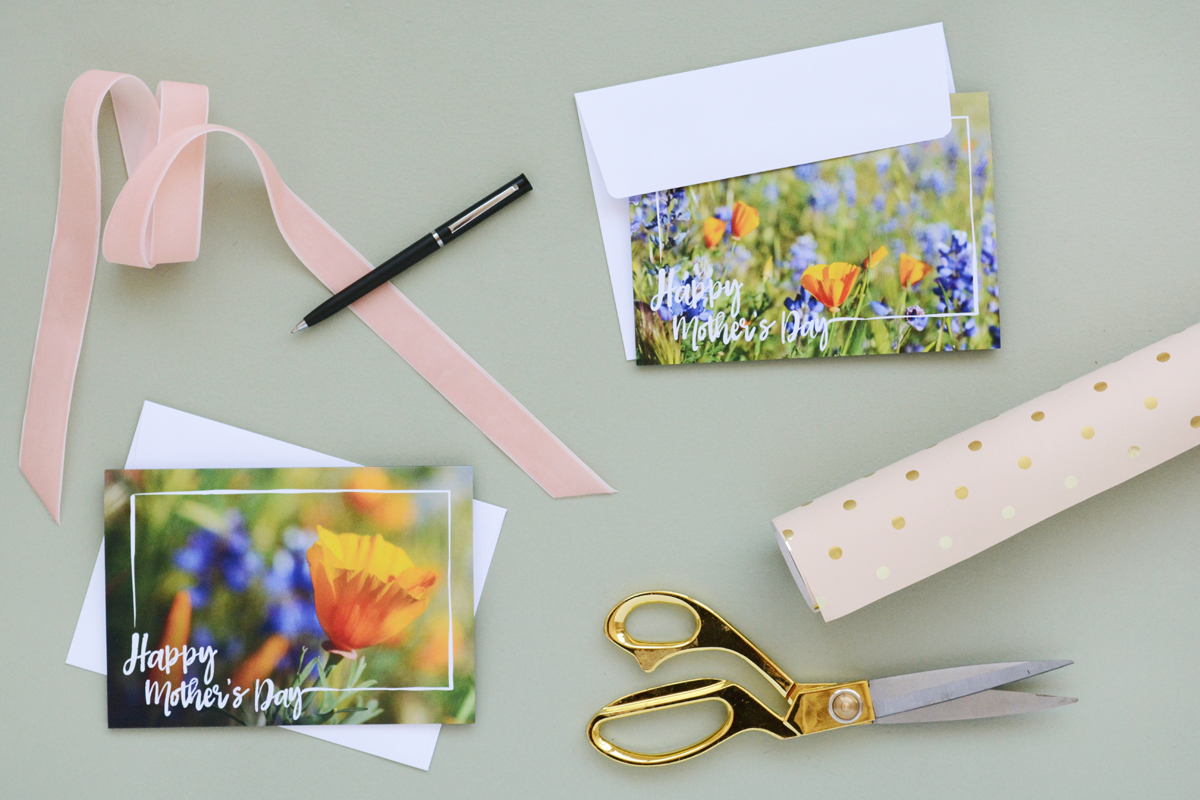
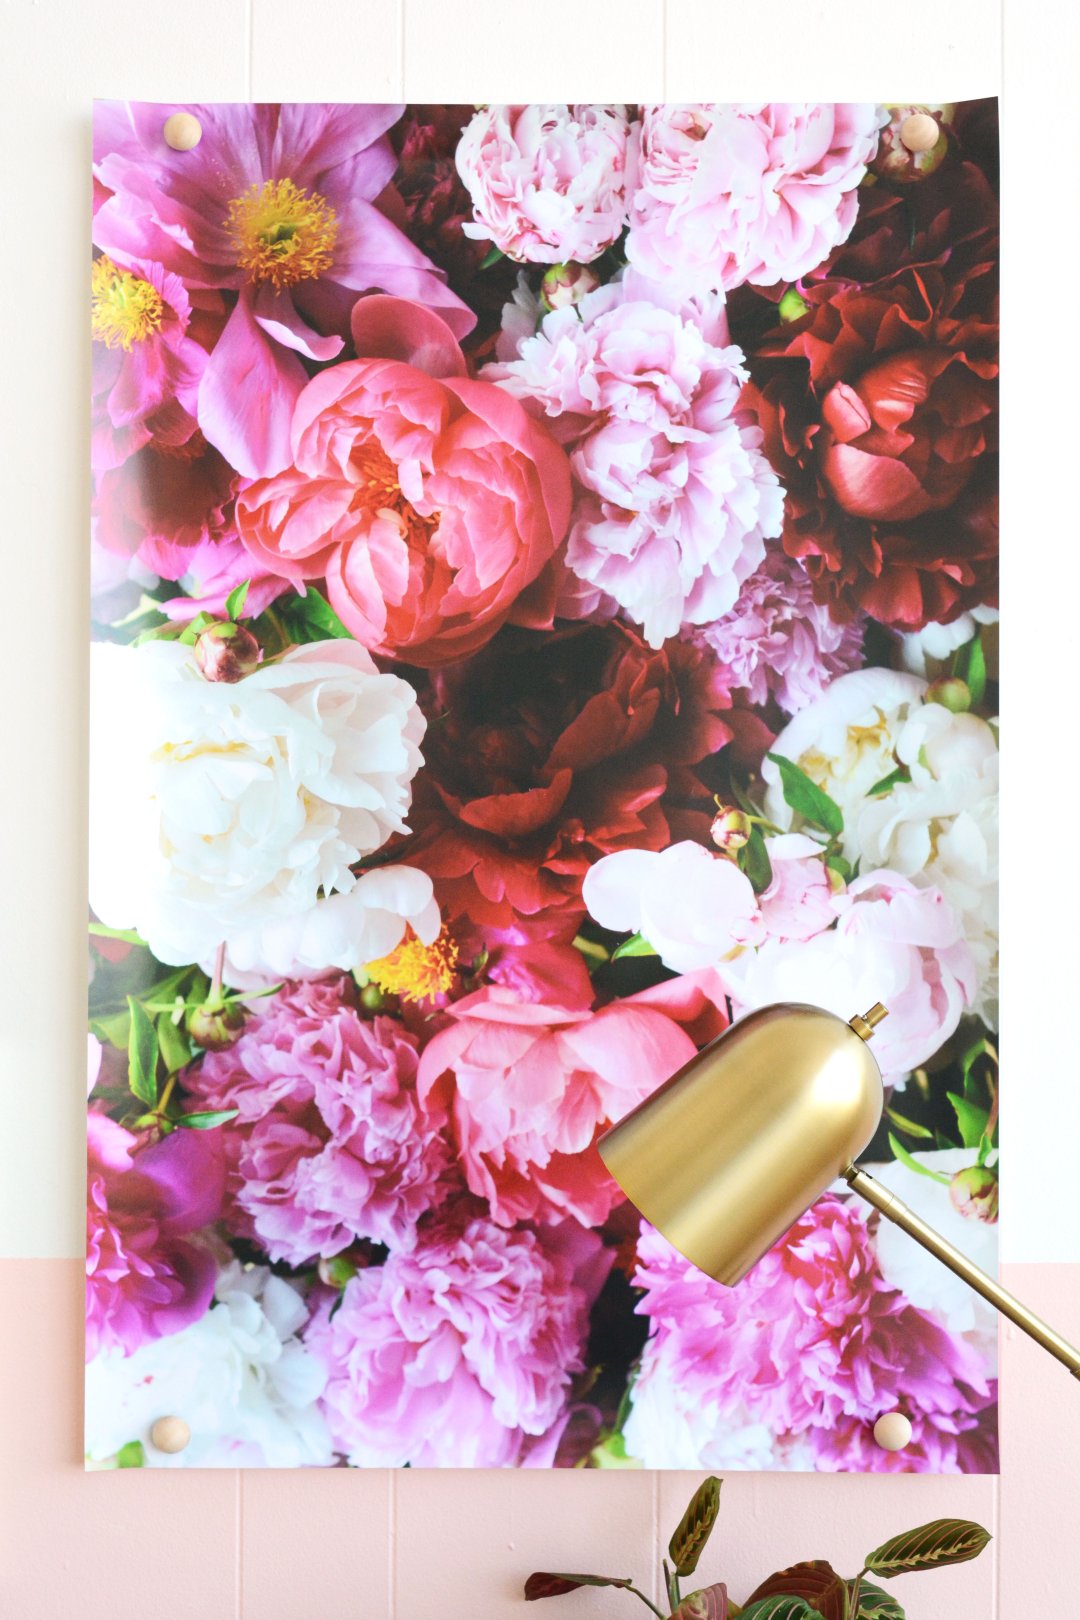
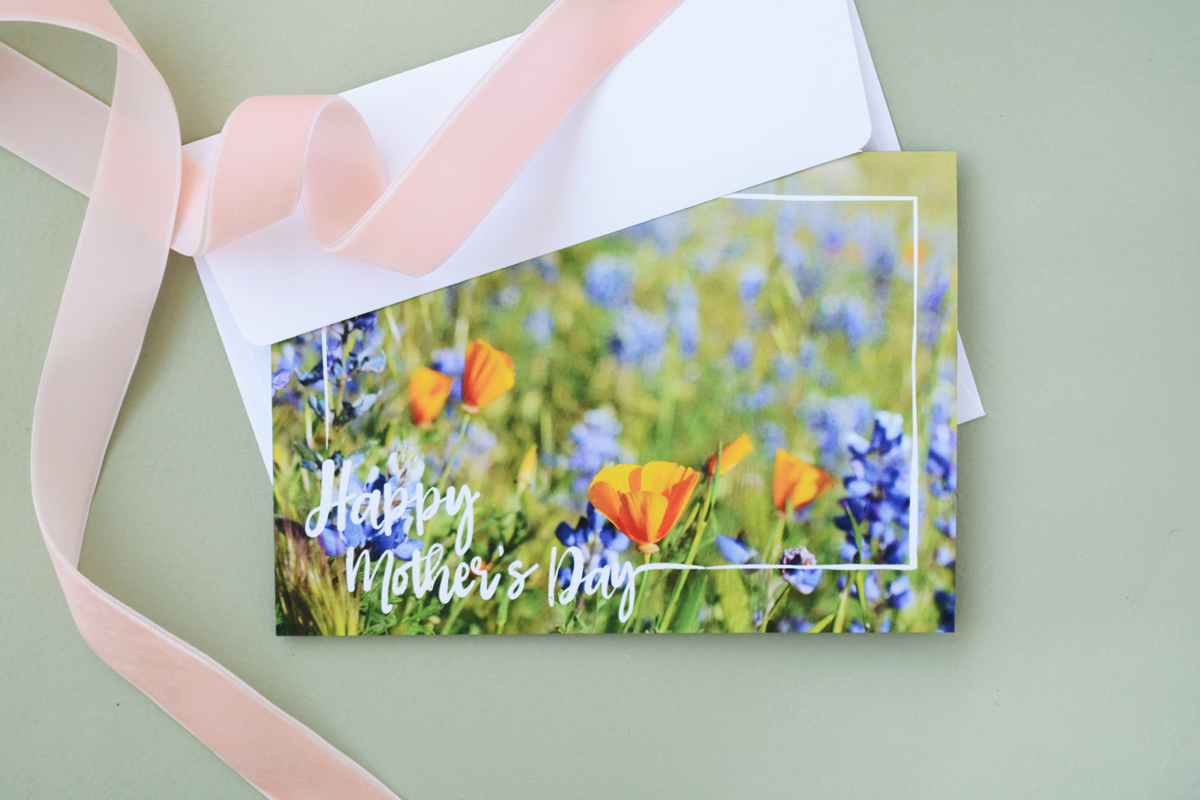 You can even add custom text and pictures to the inside of the cards as well. I added one more shot of Olivia to the inside.
 Add don’t forget, Mixbook has an AMAZING discount for Oleander + Palm readers. You guys get 60% Canvas Prints!!!!!! Just enter the code OP60 (offer good until 5/10). But don’t just check out their gorgeous canvas prints, be sure to check out their calendars, photobooks, cards, prints in every size and shape, acrylic prints, metal prints and so much more.
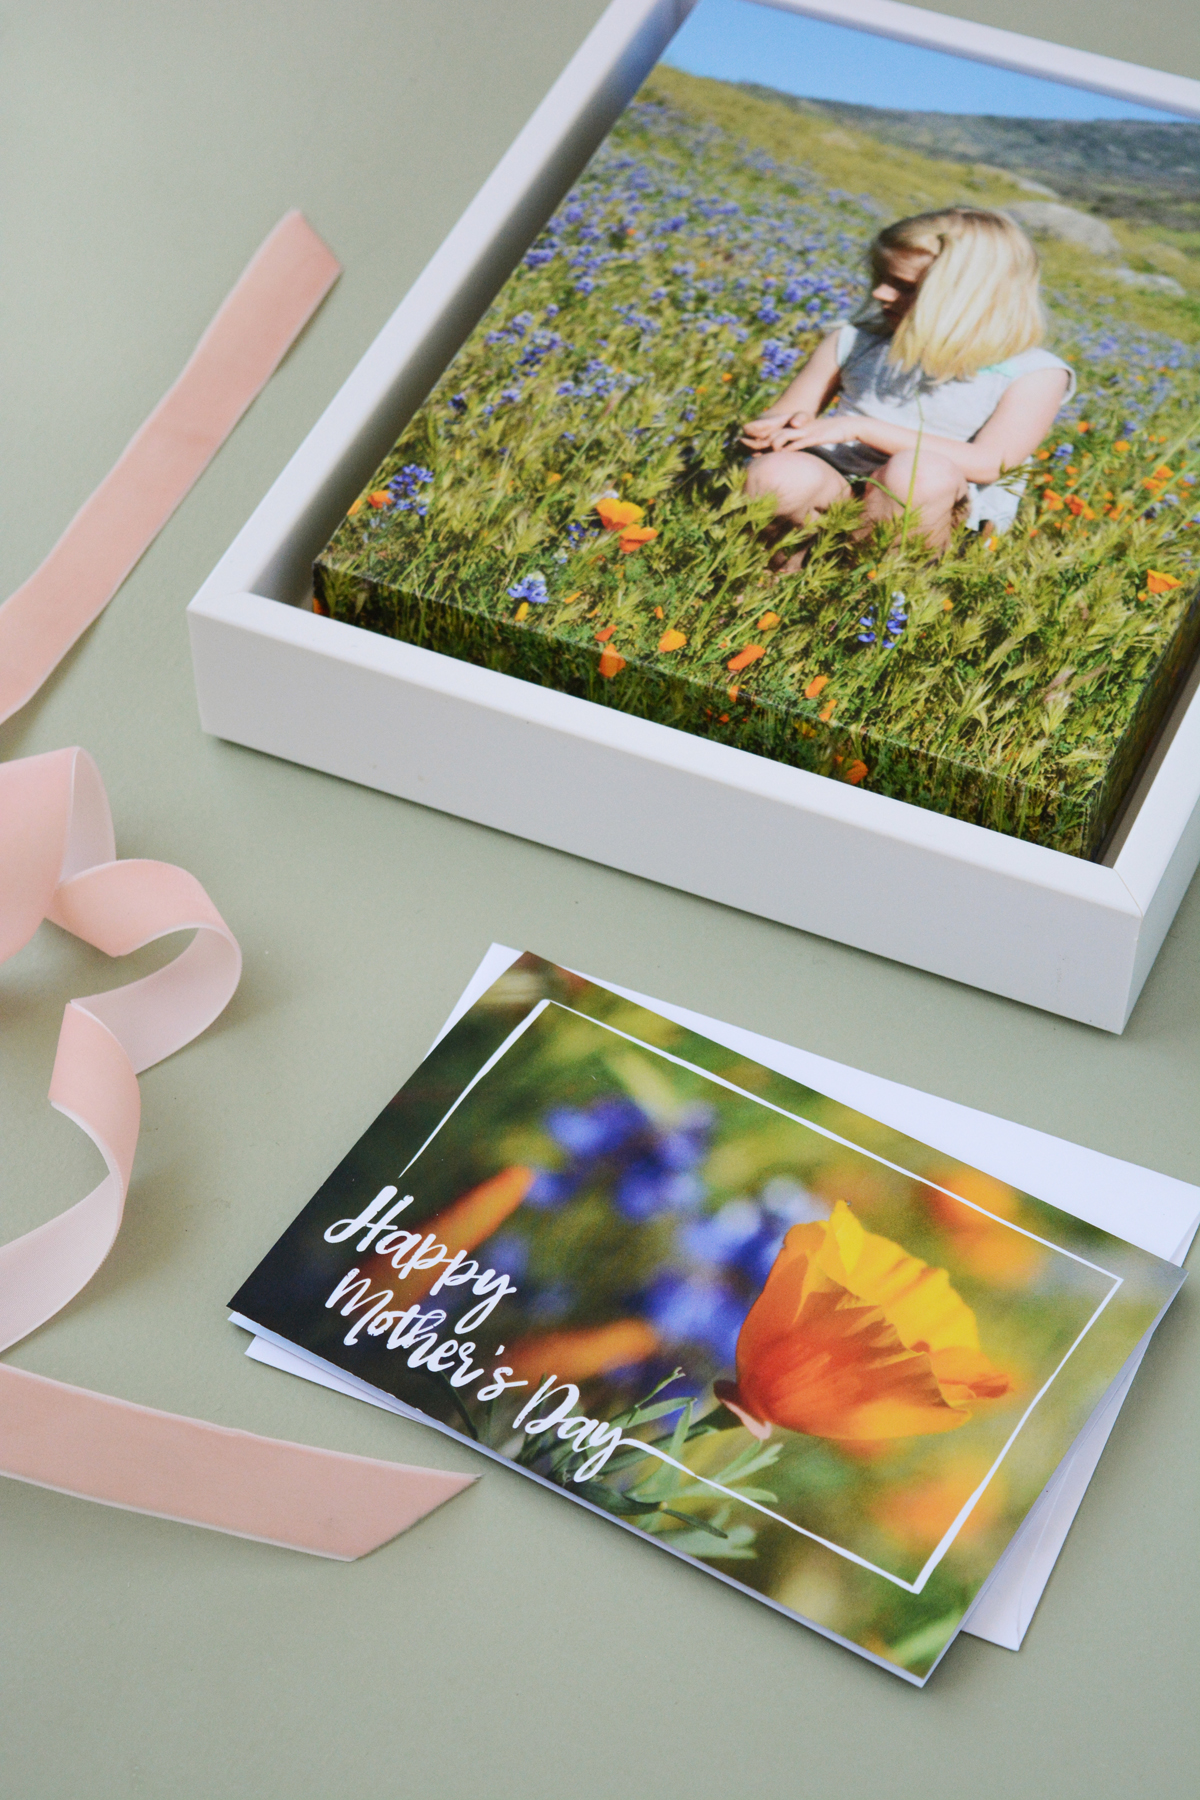 This post is sponsored by