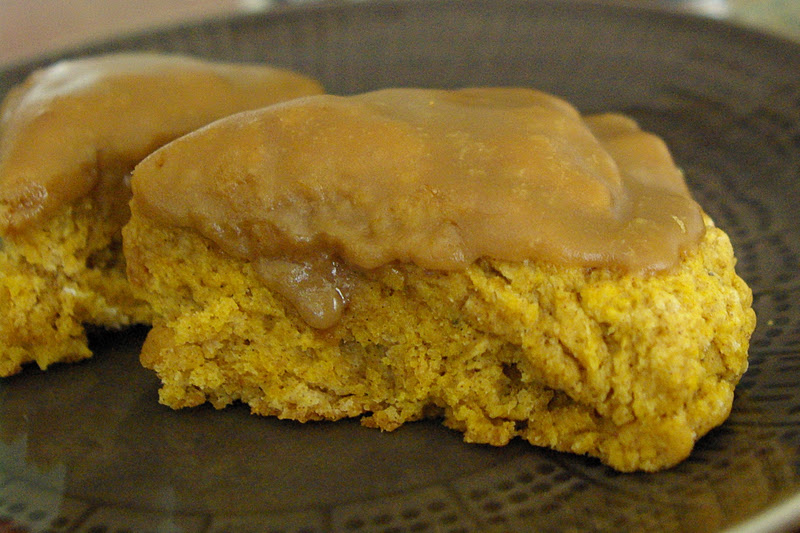
One of my favorite things to make and eat is scones. They are fast and easy. You can whip them up for breakfast in no time, and everyone is always impressed. I have quite a few scone recipes I have worked on, this is my latest – Pumpkin Spice Scones.
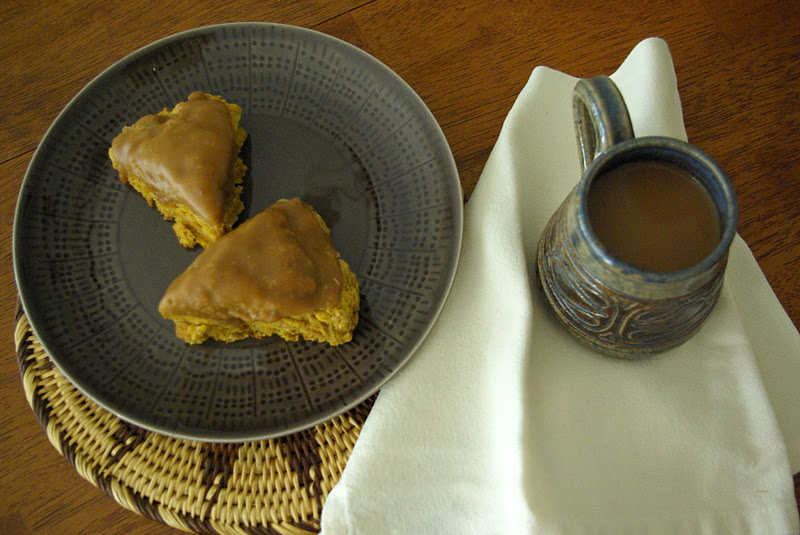
Pumpkin Spice Scones
2 cups flour
1/2 cup sugar
2 tsp. baking powder
1/2 tsp. baking soda
1/2 tsp. salt
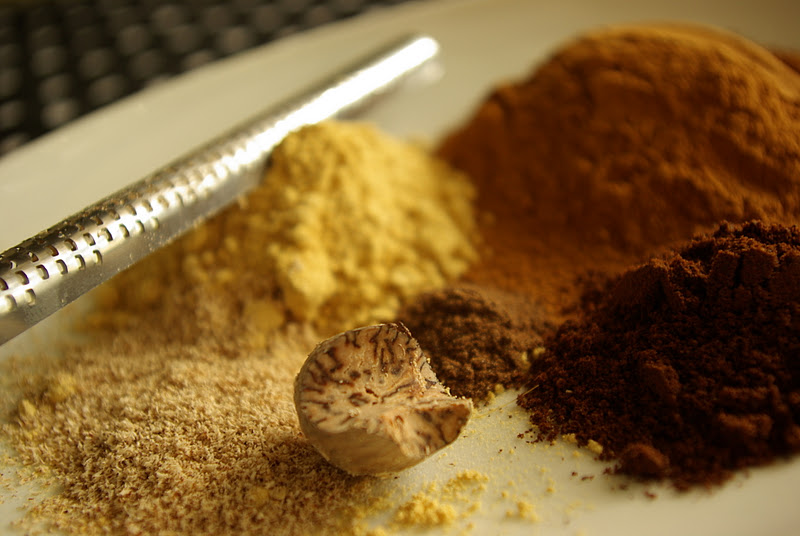
2 tsp. pumpkin pie spice
1/3 cup cold butter
1 cup pumpkin puree
3 tbsp. milk
Combine first six dry ingredients in a bowl. Using a pastry knife, cut in the cold butter. Add milk to the pumpkin puree and then add the pumpkin mixture to the dry ingredients. Mix until it all comes together. Do not over mix (this will make the scones tough). Divide the dough into two portions. On a parchment lined baking sheet form the dough into two 5-6″ rounds. You may need to flour your hands because the dough is quite sticky. Then take a floured knife and cut each round into 6 pieces. This will make it easier to cut and separate them after baking. Bake at 350 F for about 20 mins. Cool on a baking rack for 5 mins. before cutting them.

Brown Sugar Icing
3 tbsp. butter
1/4 cup cream
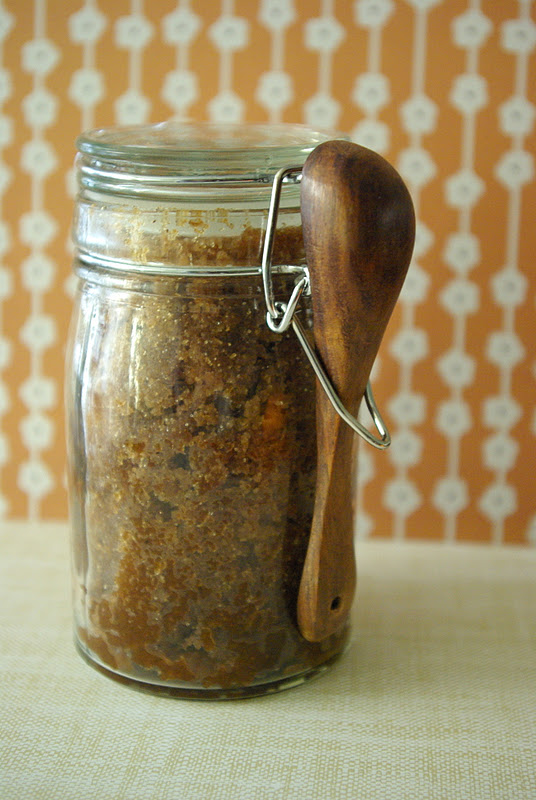
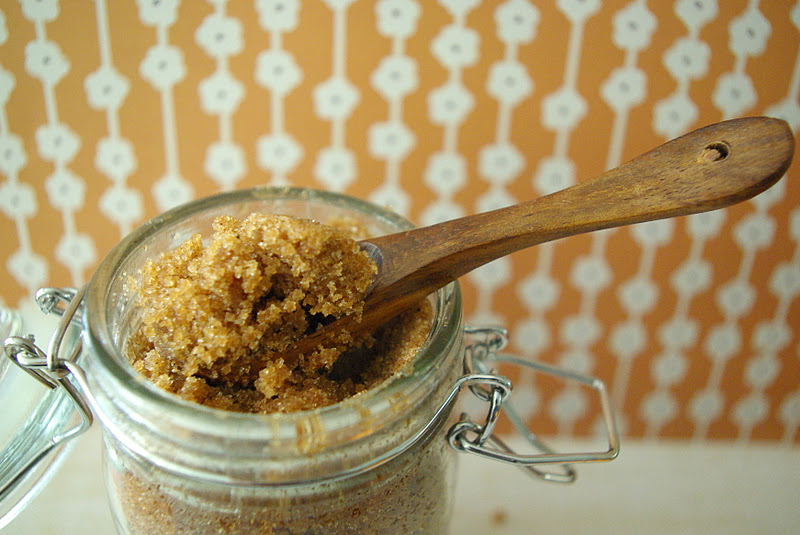
1/2 cup dark brown sugar
1 tsp. vanilla
about 1 cup powdered sugar
In a small sauce pan, melt butter. Add the cream, sugar and vanilla and bring to a boil. Remove from the heat and whisk in the powdered sugar. You may need a little more or a little less then 1 cup of powdered sugar. Dip the tops of the warm scones in the icing and allow to cool completely.