This post is sponsored by Samsung. Thank you for supporting the brands that help make this blog possible.
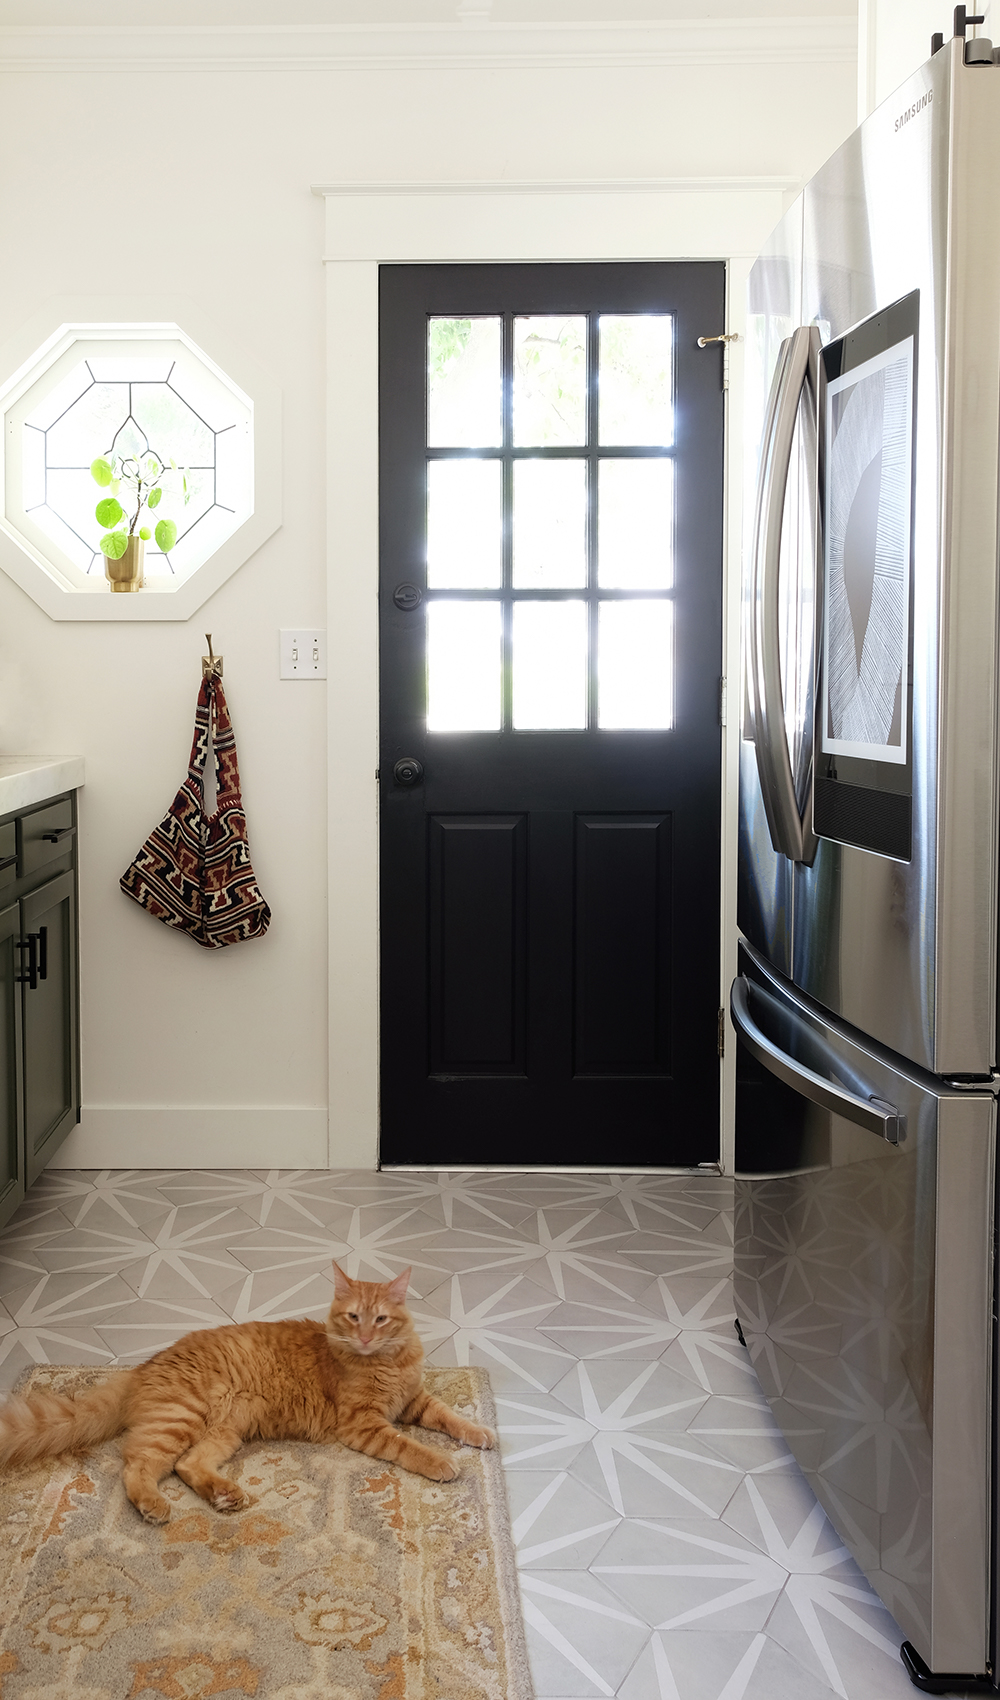
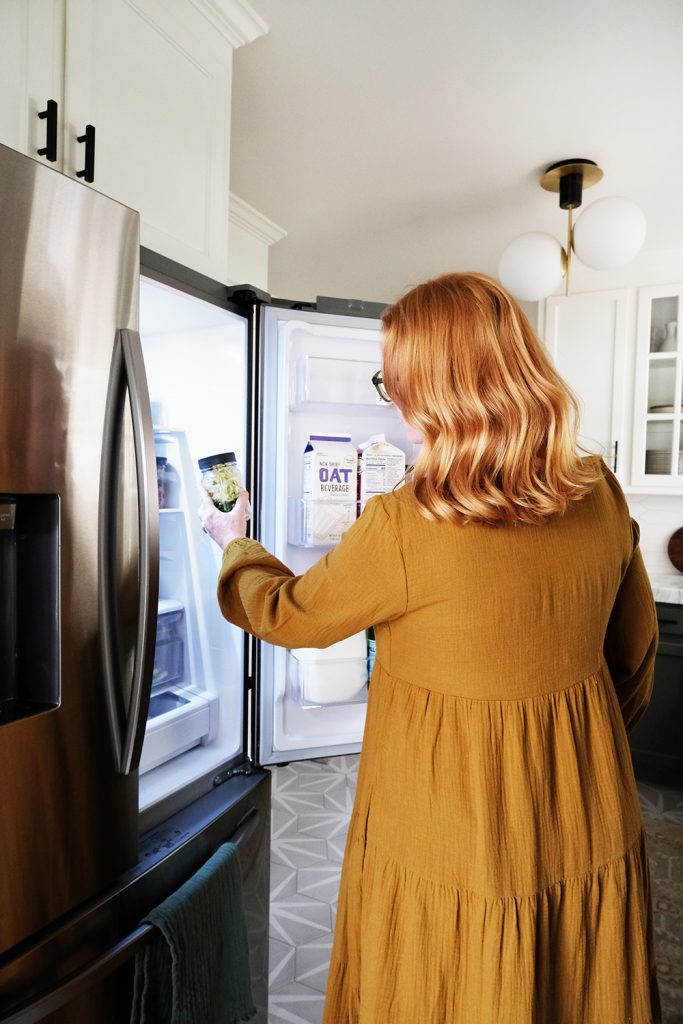
A new year always motivates me to have a little more organization and routine in my life. We’ve been working through The Month of Minimizing, where we daily tackle one area of our home that could use a little less “stuff” and a little more organizing. When we hit day 6 and cleaned out and organize the fridge, I realized again how spacious and organized my Samsung Family Hub ™ refrigerator already was. Last year we upgraded to this fridge and we gained over 10% more space. Fridge organization is my happy place. 10% more interior space is a big deal when EVERYONE is home all the time and we are cooking and eating EVERY meal at home. With fatigue from cooking so many meals, I decided I had space to stock my fridge with a weeks worth of grab-and-go salads for both my husband and I.
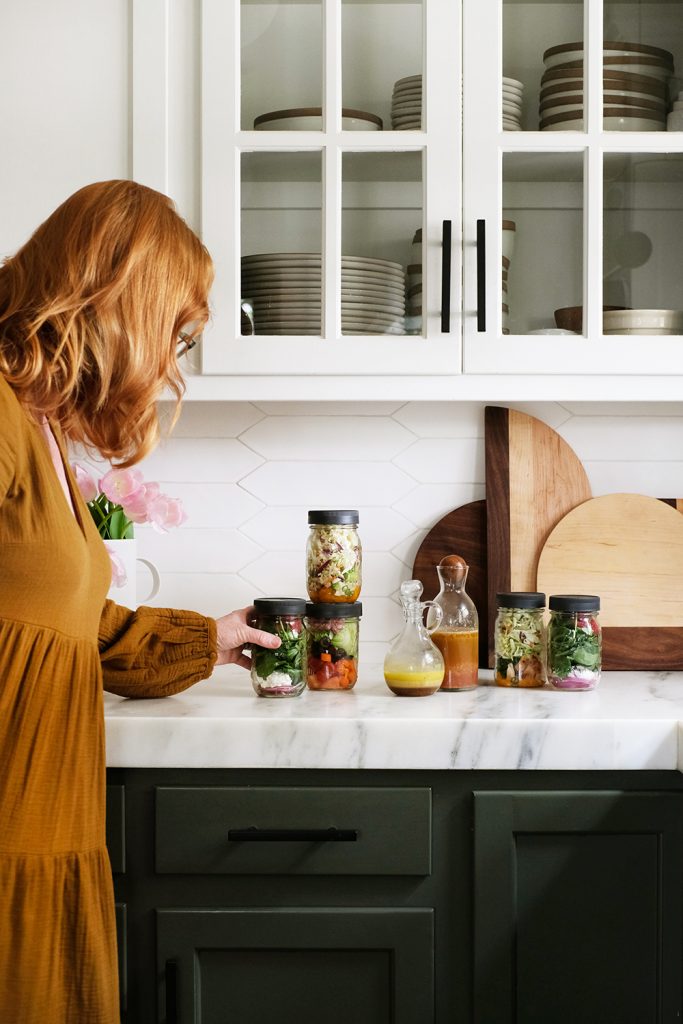
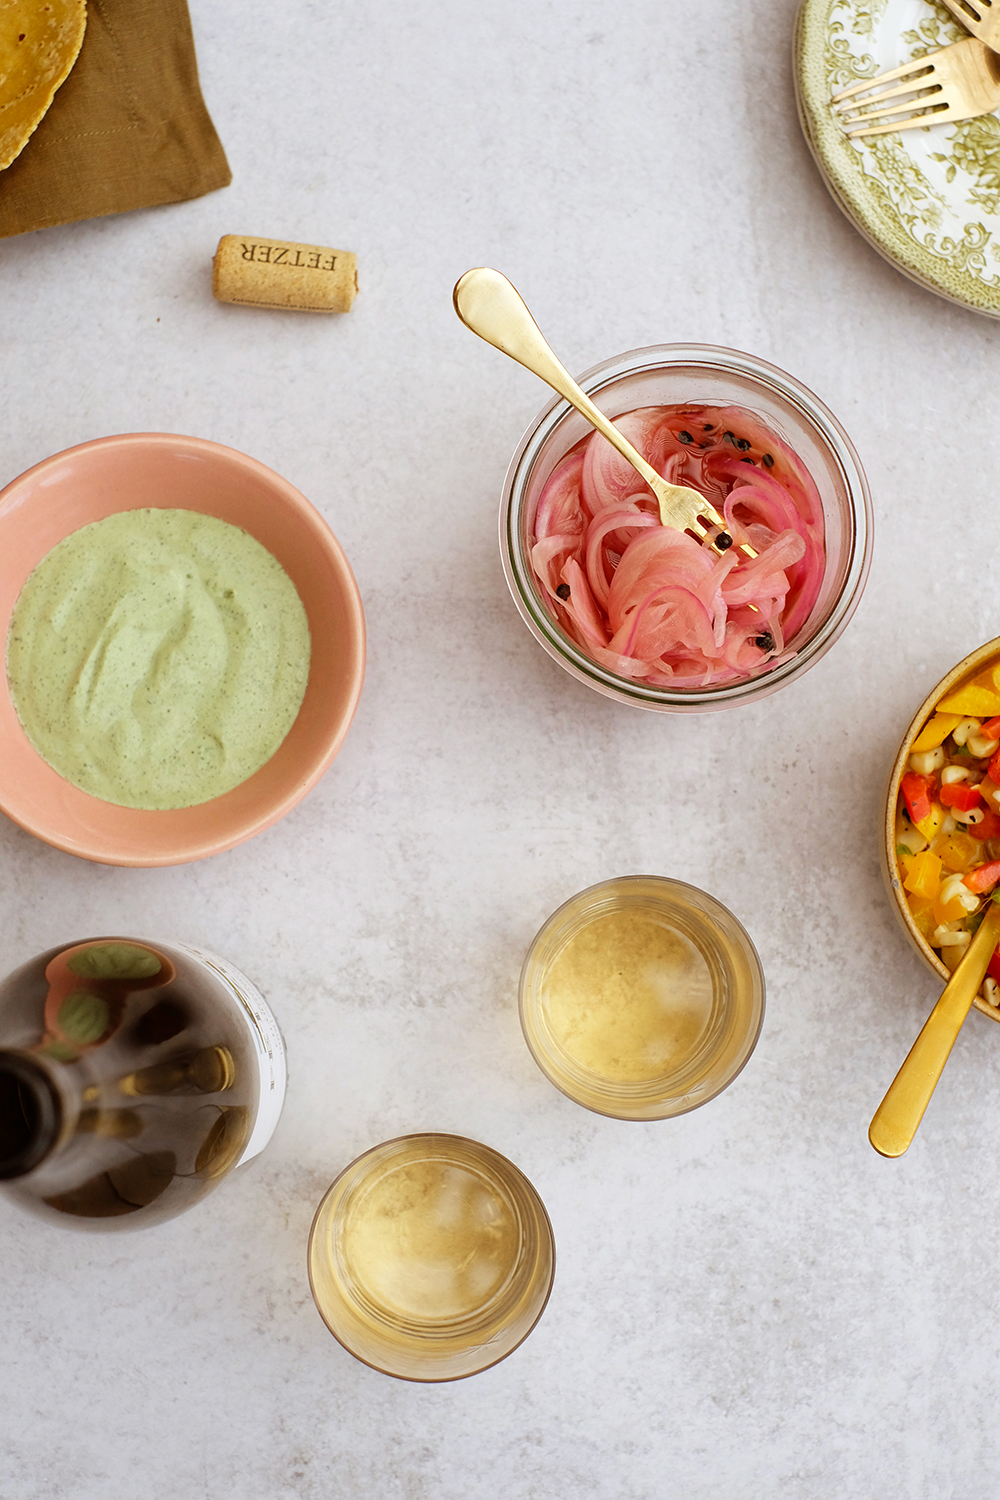
I know salads are a great lunch option, but sometimes they can feel like just another task to put together. With grab-and-go salads in jars, there are not excuses. I shop and prep once and then the work is down and we can eat healthy all week. I’ve put together 3 salads and homemade salad dressing recipes for you. These are our 3 favorite salad combinations, but really you can add any of your favorite salad ingredients. (Keep reading for the recipes.)
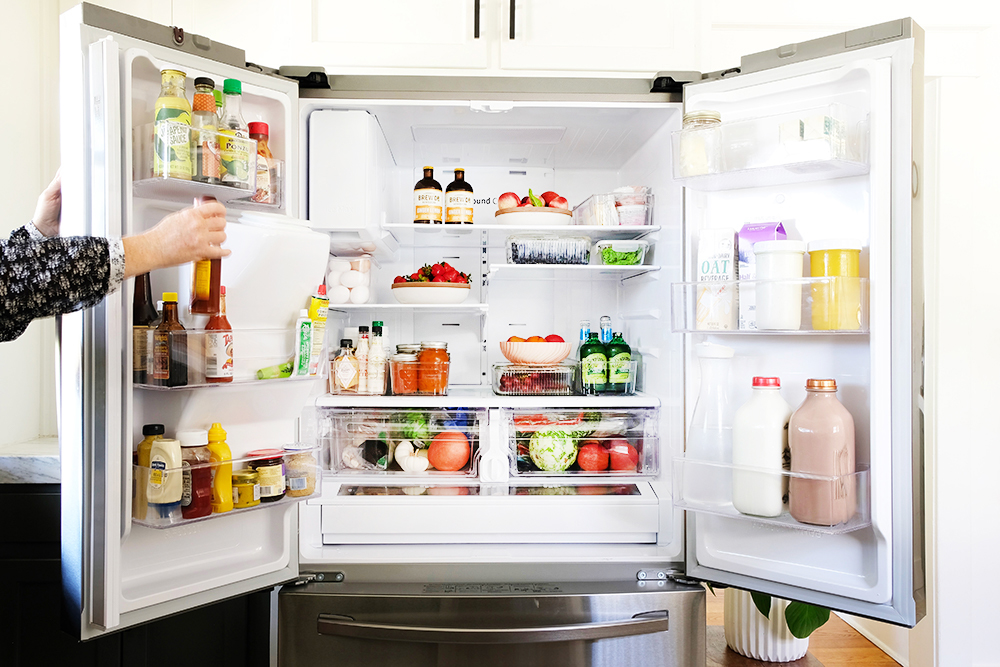
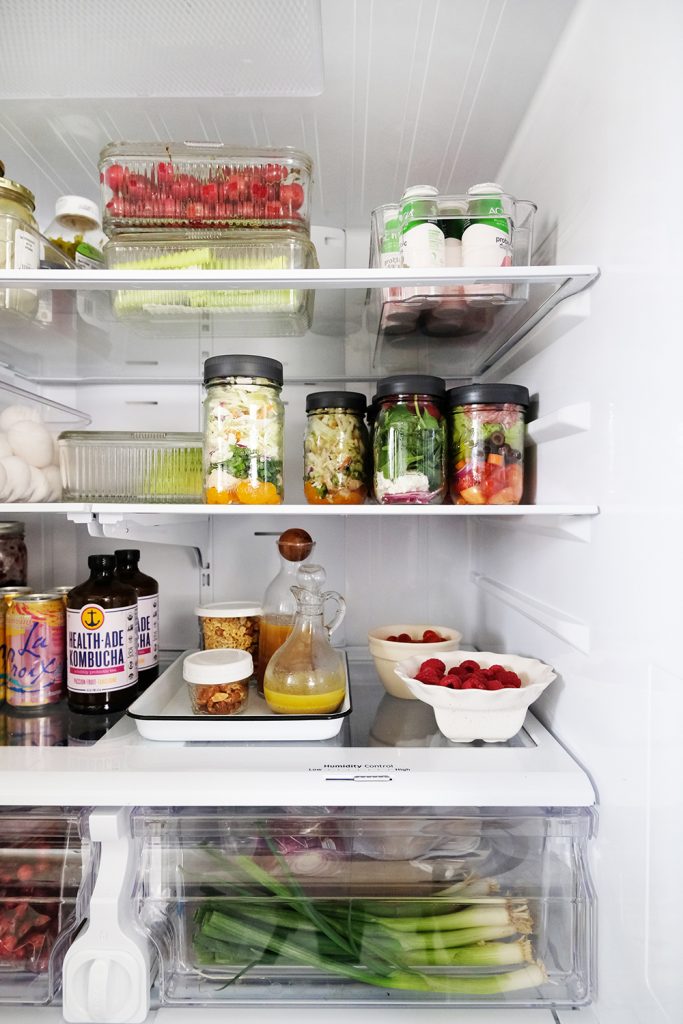
Whenever I share a picture of the inside of our fridge, I get questions about fridge organization. I have 2 simple fridge organization ideas for you. It’s not complicated, but these two ideas really help me keep some order.
1. ZONES – Create zones so that like items need to live together. Then you don’t end up with 4 half used ketchup bottles because they get lost deep in the fridge.
2. CONTAIN – Contain those zones. I love clean fridge bins. They keep like items together and they made cleaning up spills and leaks a lot easier.
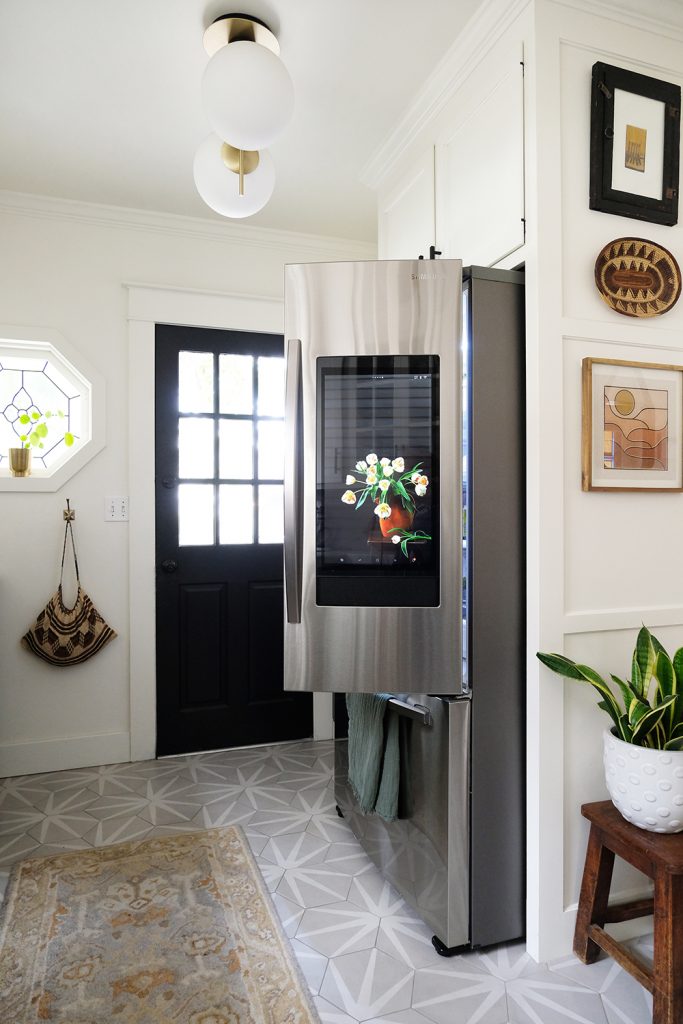
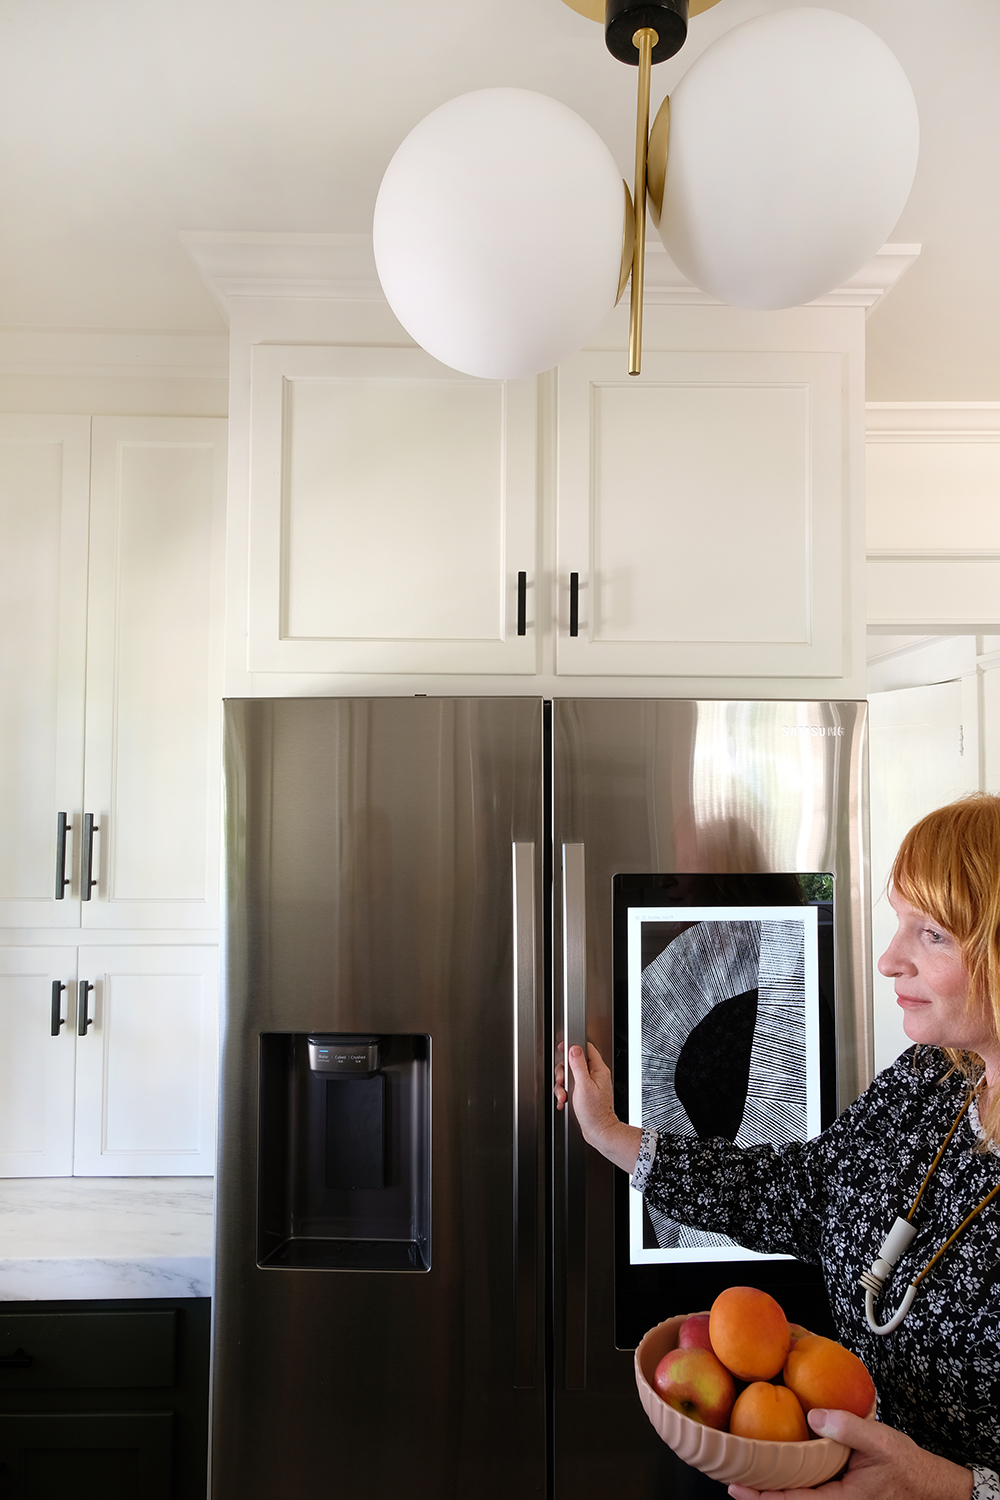
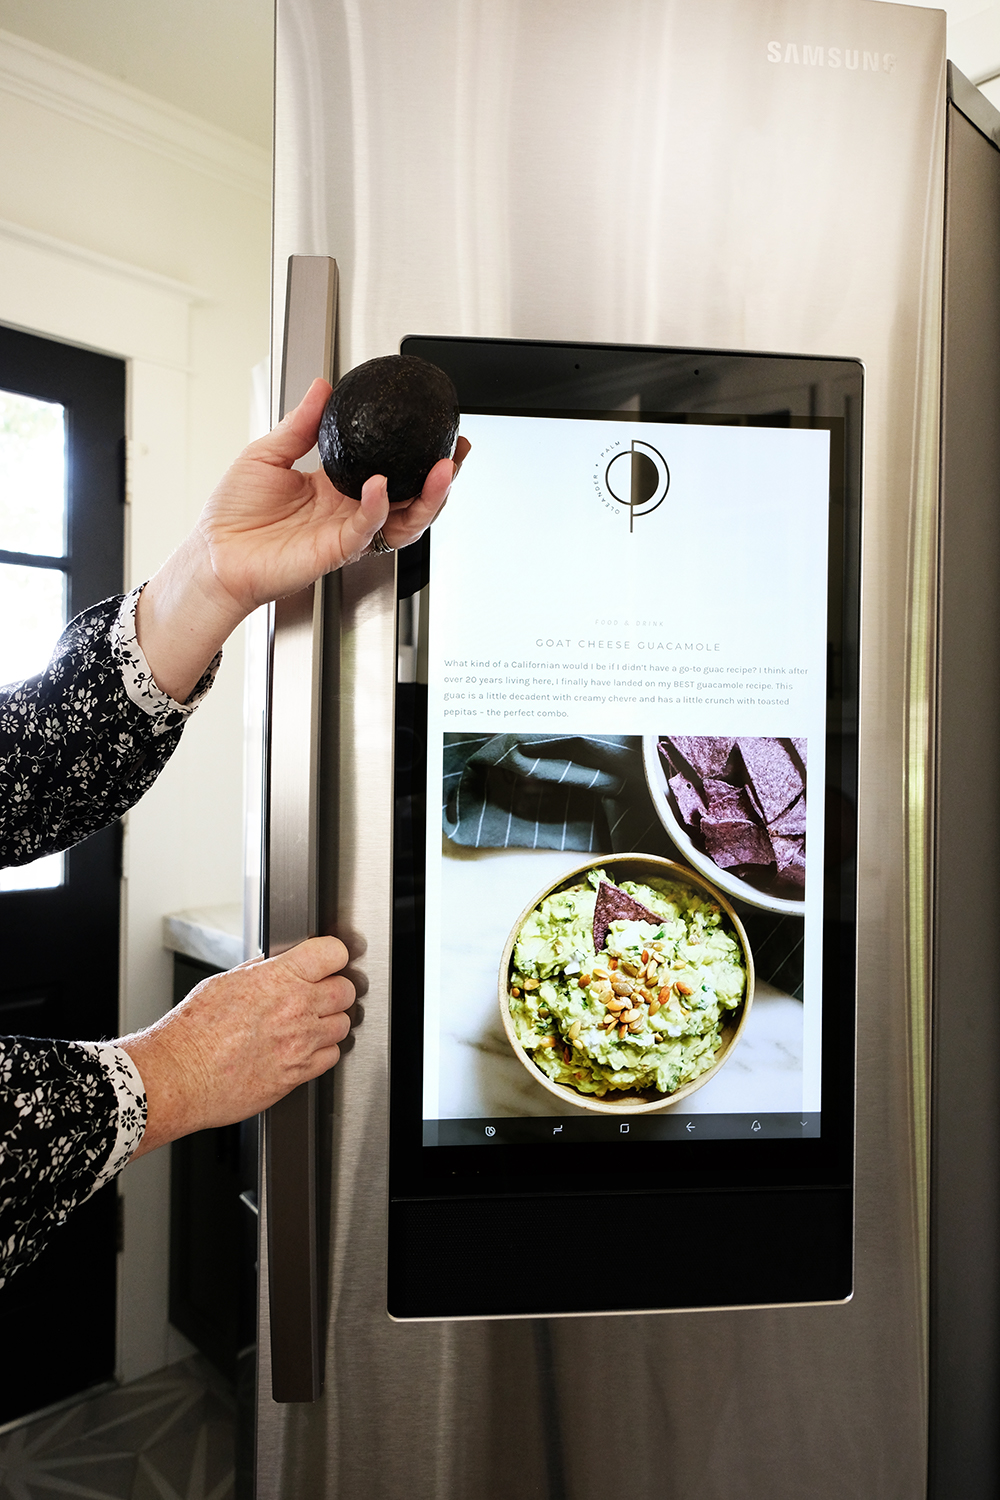
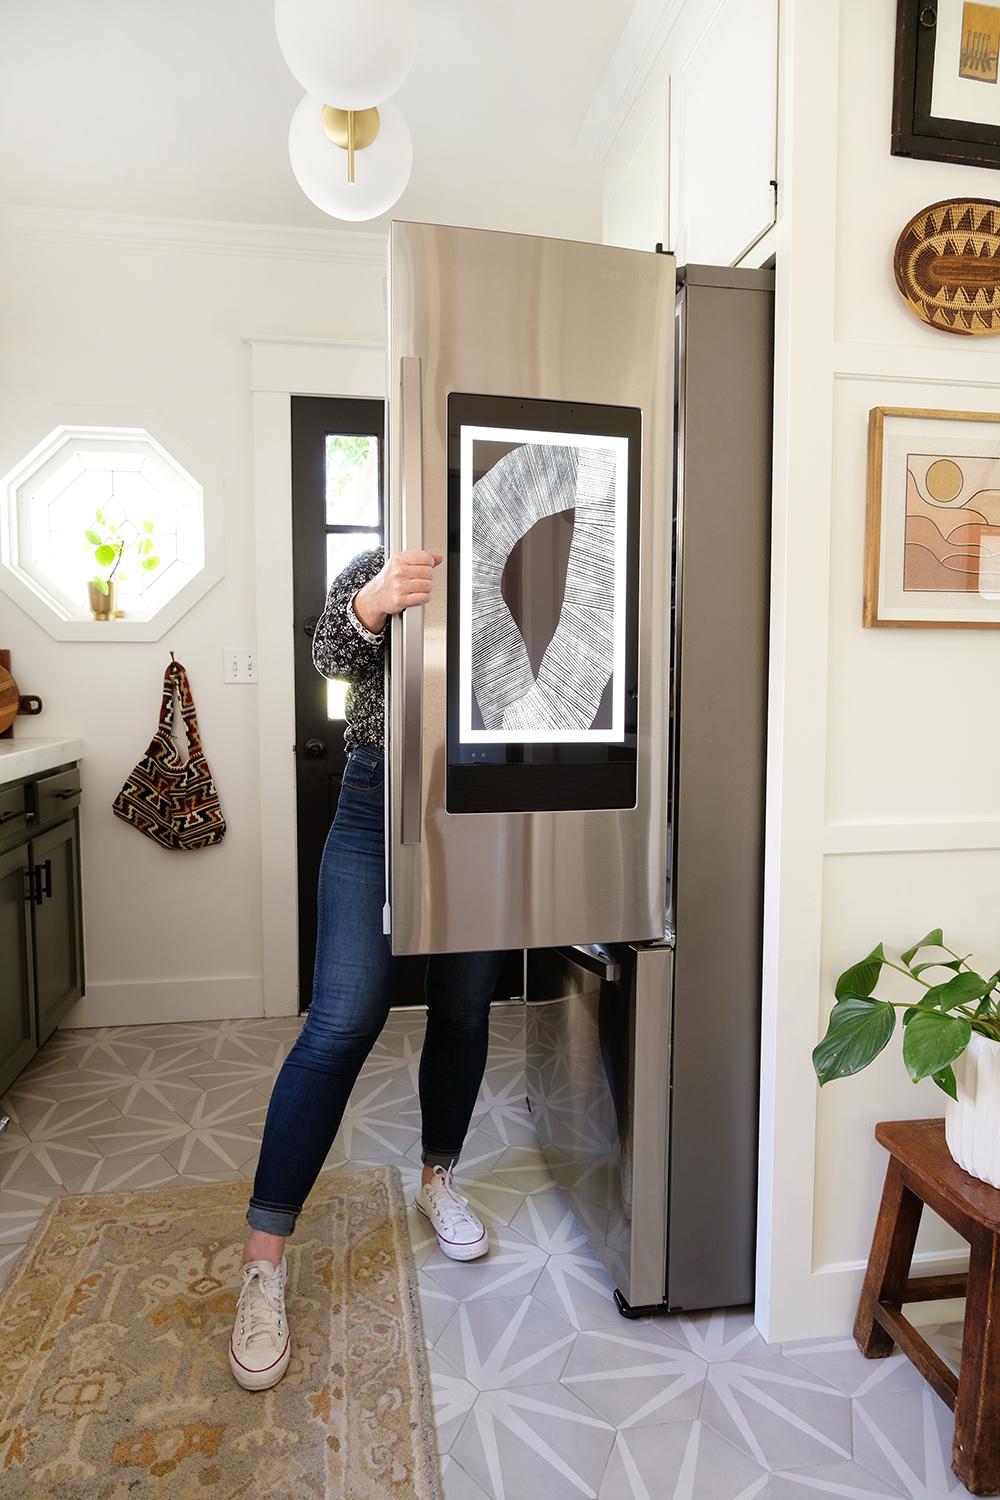
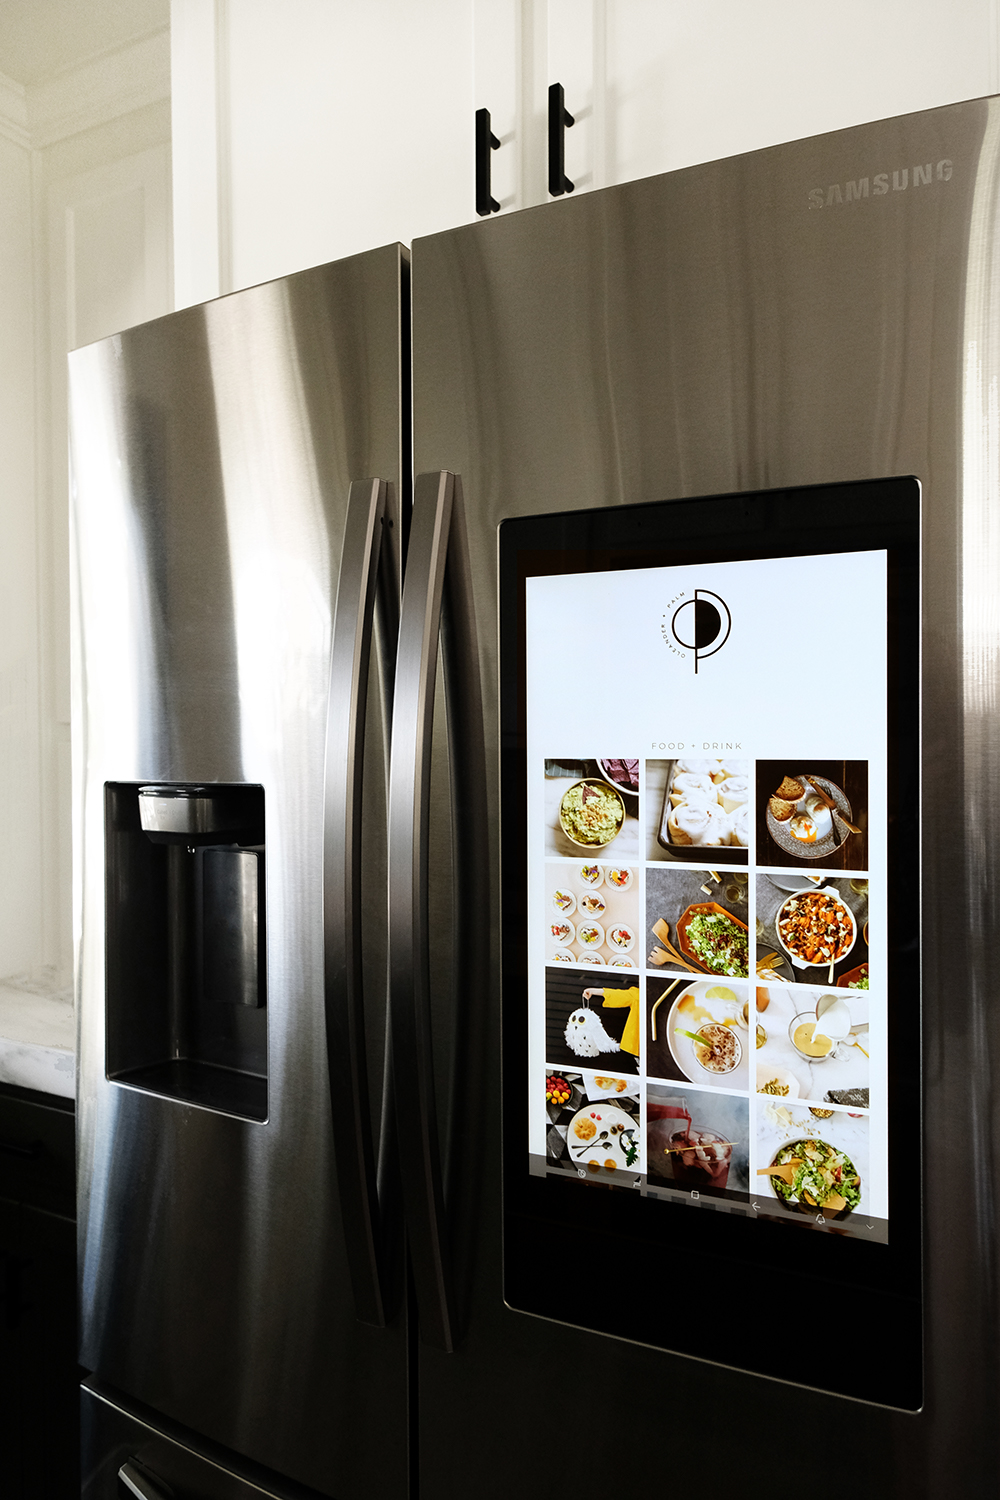
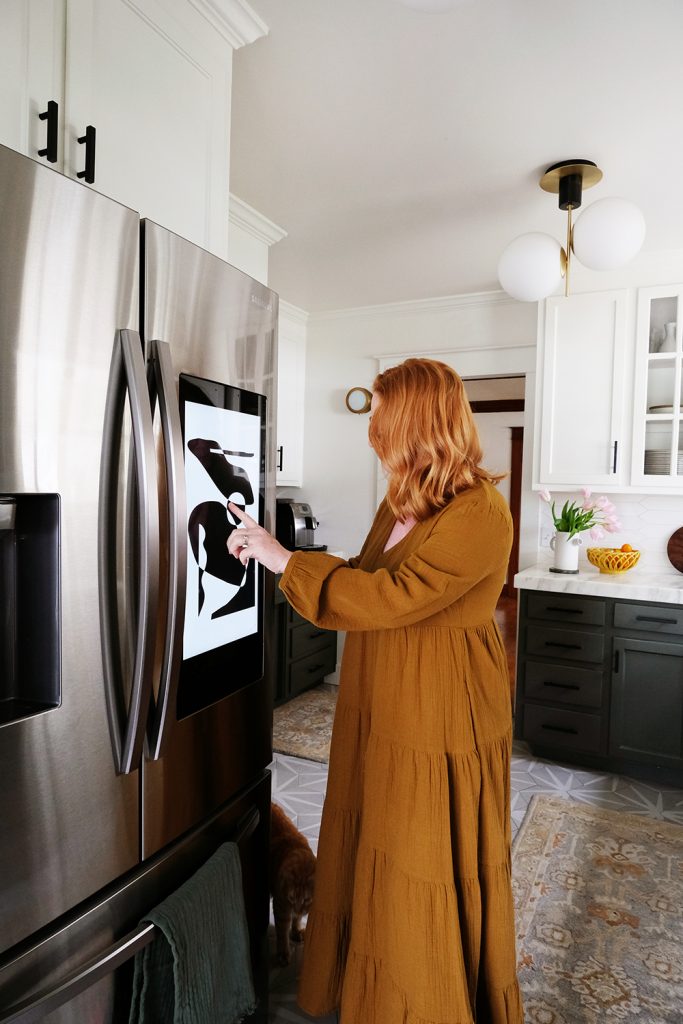
Our new Samsung Family Hub ™ refrigerator has so many great features that make it so much more then just a place to chill your food. We use the family calendar, the white board for to-do lists and chore charts, and the shopping list and live interior view is so handy when you are at the store. With the Family Hub app, you can literally see what is in your fridge no matter where you are. If I’m at the store and I’m not sure if we need more milk or eggs, I can just pull up a live view. This really is a smart grocery list and I definitely feel like I’m living in the future.
*inside view image* I need to reshoot this, but it’s a shot with the phone in hand showing the fridge interior view.
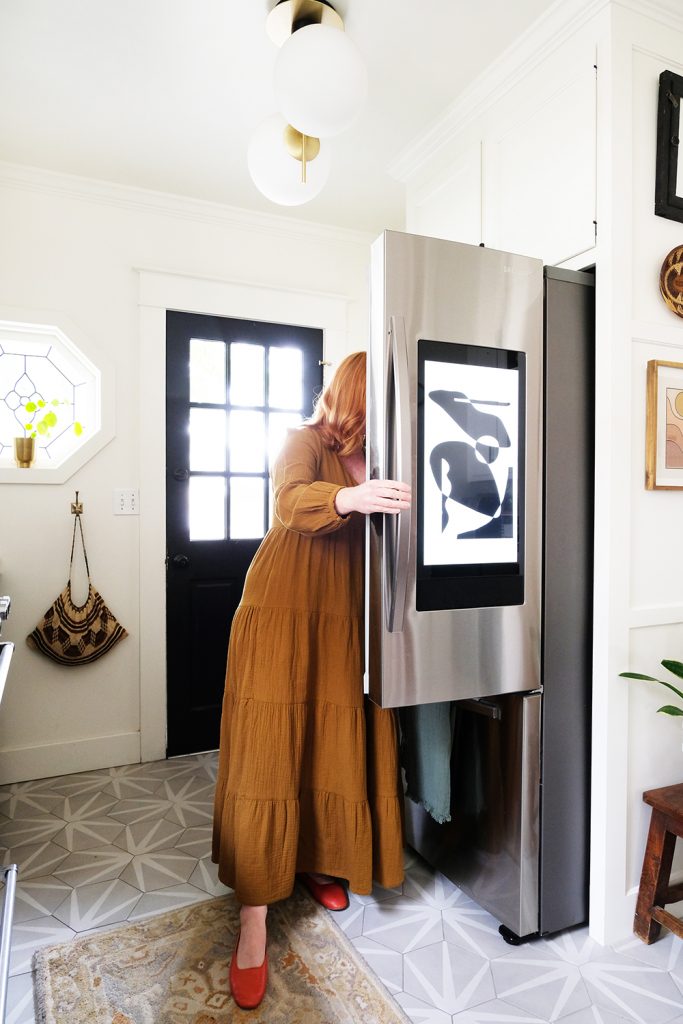
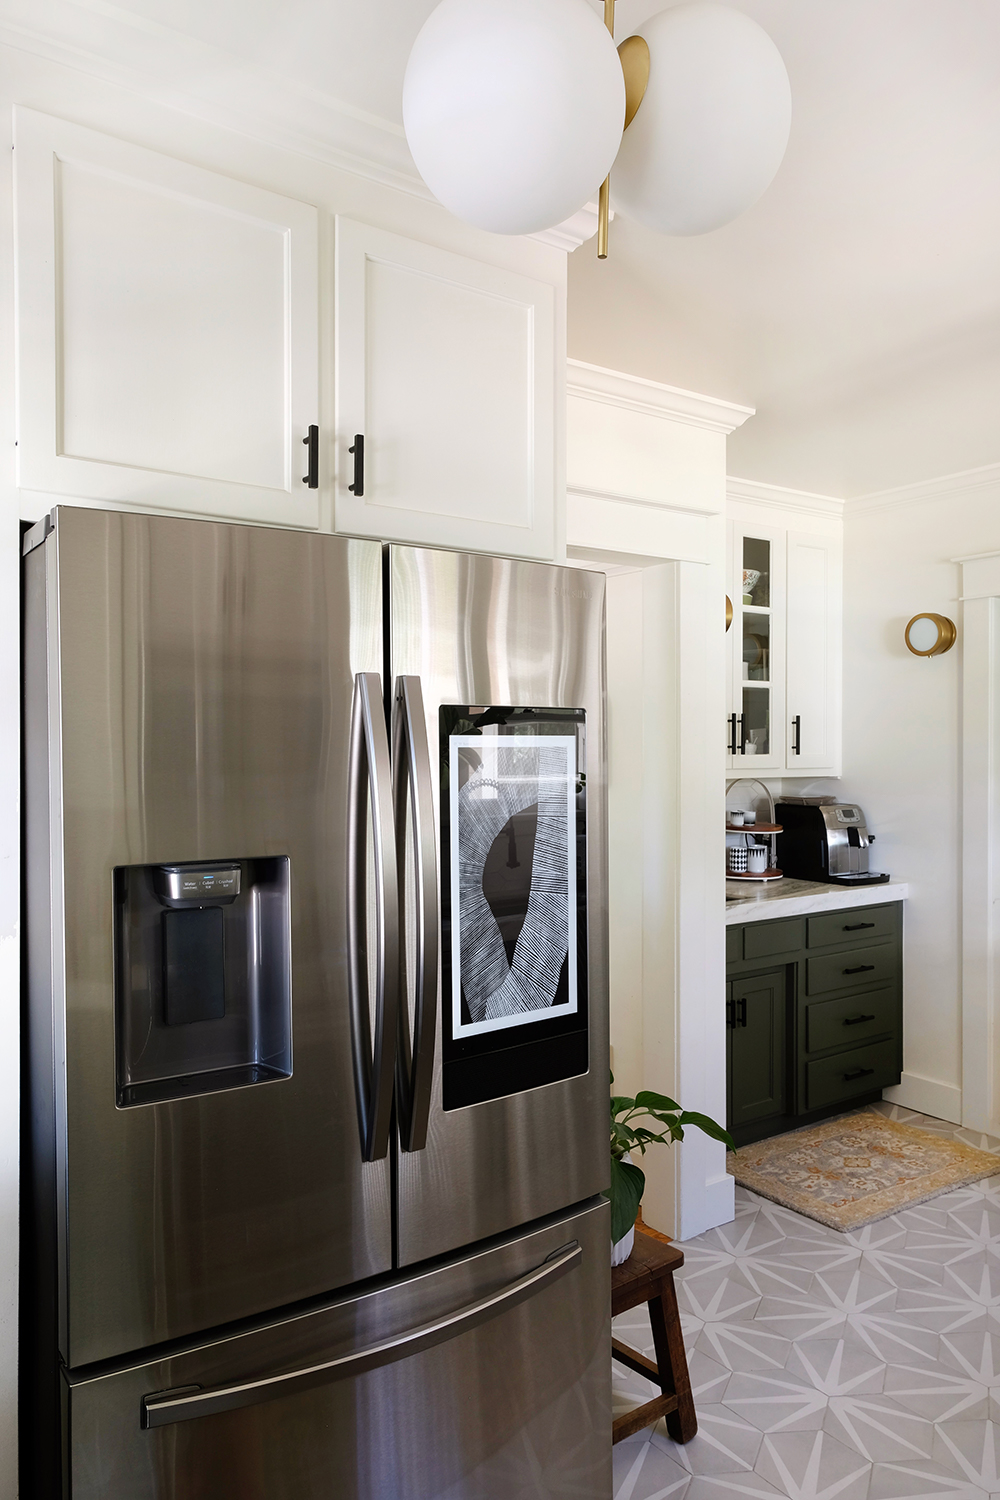
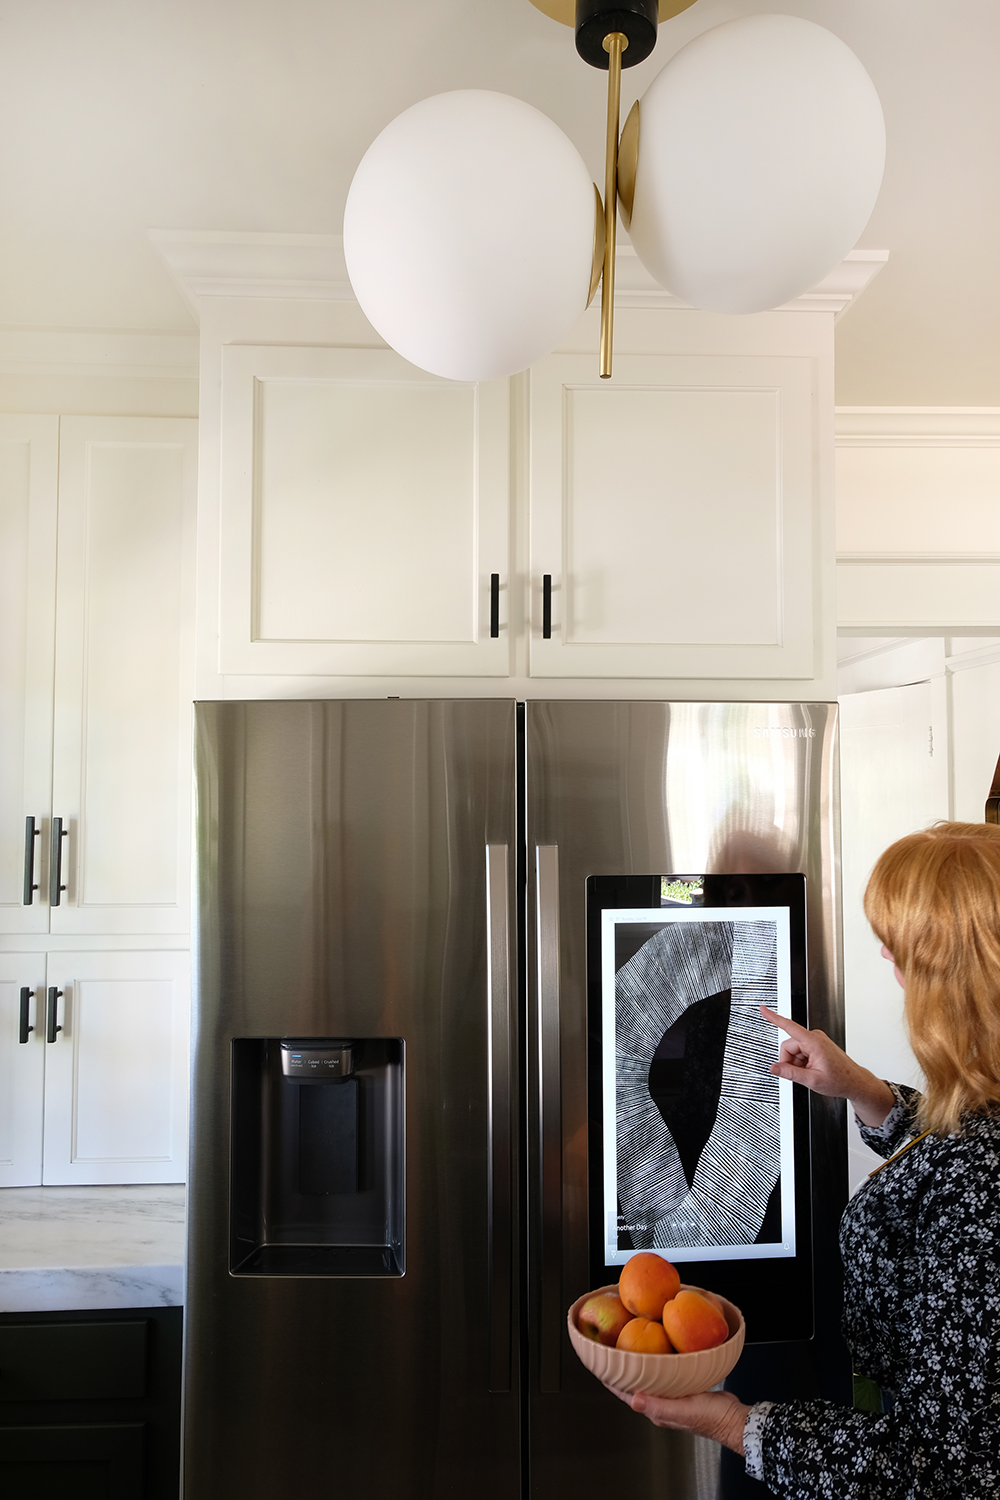
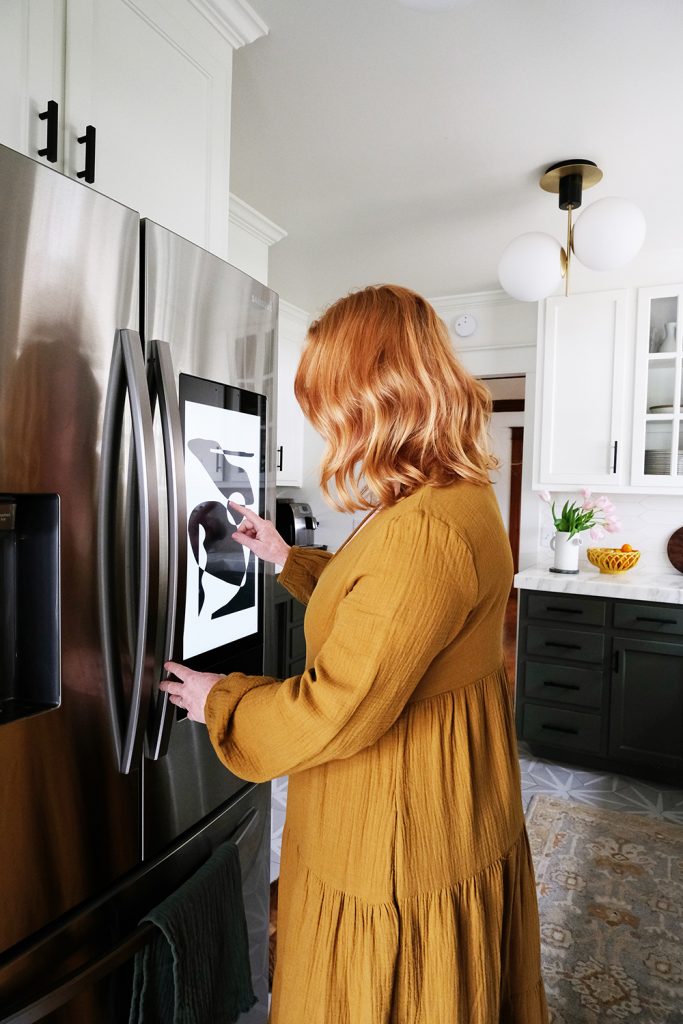
We also love being able to change up the art and photos on the Family Hub Screen from time to time. You can customize everything, from color to style to fonts.

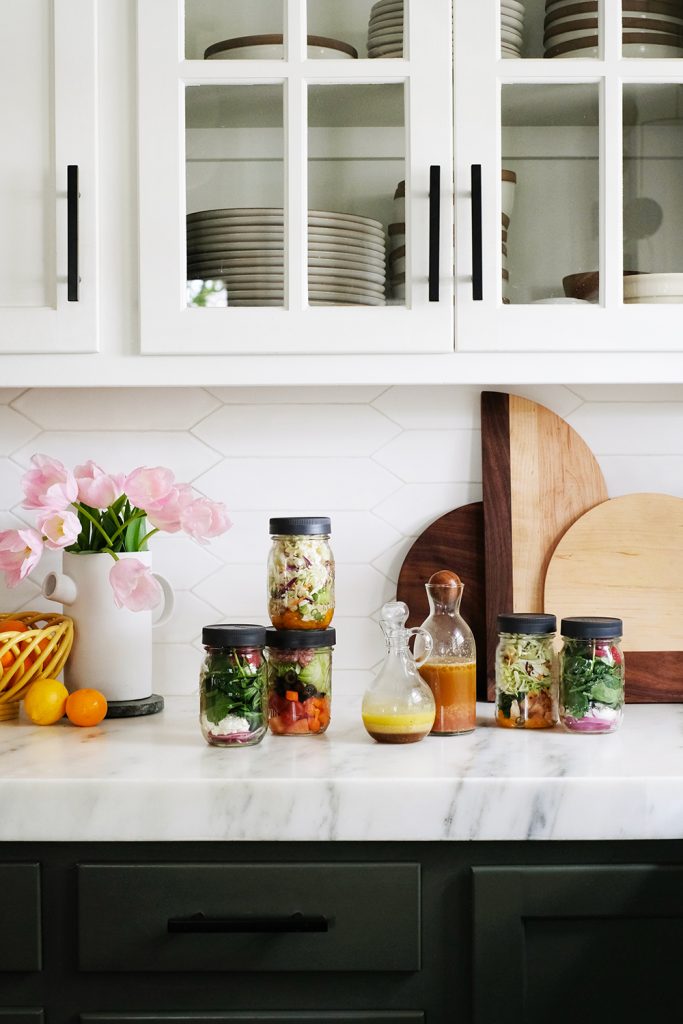
Since we are not leaving the house much and everyone is still working from home, there are no lunch bags to pack. So, I decided to leave the dressings in separate jars and then just add a little when we are ready too eat them. Just empty the contents of the jar into a large bowl or plate, drizzle with the dressing and then toss.
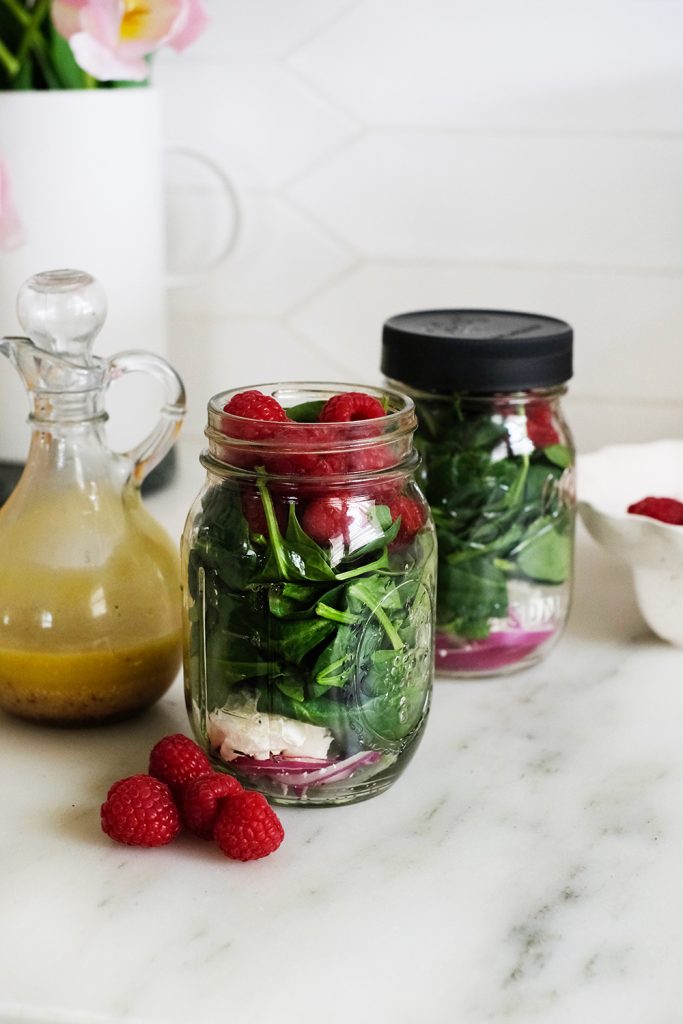
Honey Mustard Spinach + Berries Salad
- spinach
- raspberries (or any other berry)
- roasted chopped almonds
- chevre or feta cheese
- red onion
Honey Mustard Dressing
- 1 tbsp. honey
- 1 tbsp. dijon mustard
- 1/4 cup apple cider vinegar
- 1/4 cup olive oil
- 1/4 tsp. salt
- 1/4 tsp. lemon pepper
In a mixing bowl, combine all the ingredients except the olive oil. Then, while whisking, slowly drizzle in the olive oil. The dressing should begin to thicken and emusify. Refrigerate for up to a month or serve immediately.
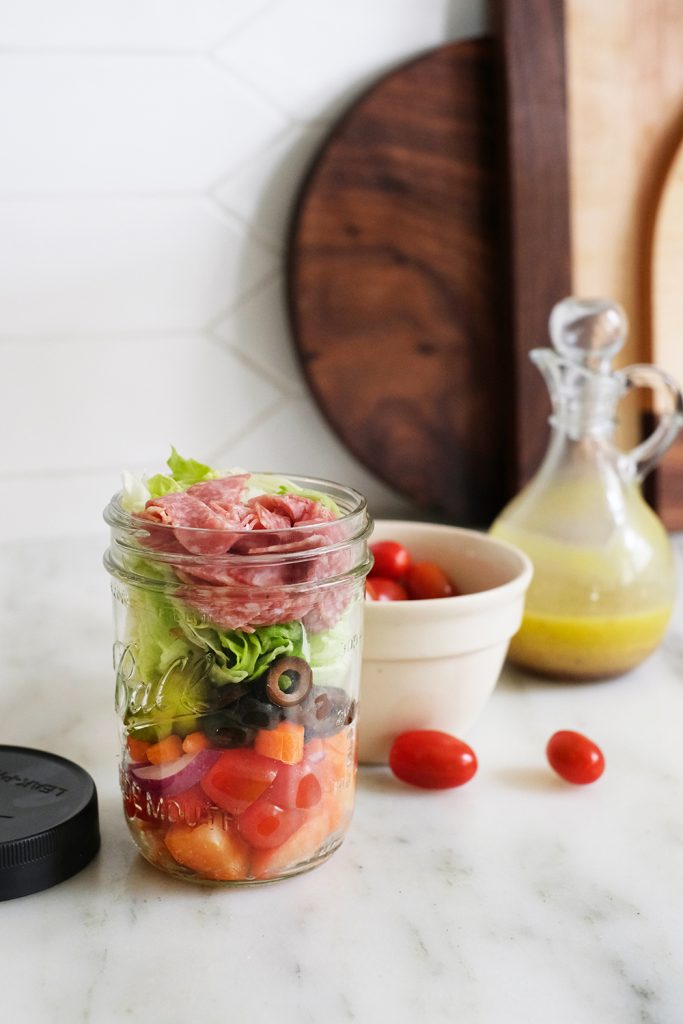
Loaded Italian Salad
- romaine or iceberg lettuce
- cherry or grape tomatoes
- salami
- grated parmesan cheese
- black olives
- peppercino
- grated and chopped carrot
Italian Vinaigrette
- 1/2 cup olive oil
- 1/4 cup white balsamic vinegar
- 3 tbsp. water
- 2 cloves of garlic minced
- 1 teaspoon fresh oregano and basil
- 2 tbsp. fresh parsley
- a pinch of red chili flakes
- 1/2 tsp. coarse salt
- 1/4 tsp. fresh ground pepper
In a large mason jar combine all the ingredients and shake well. You can add a little dressing too the bottom on the jar or you can store it in a separate jar and just add a little dressing when you are ready to eat.
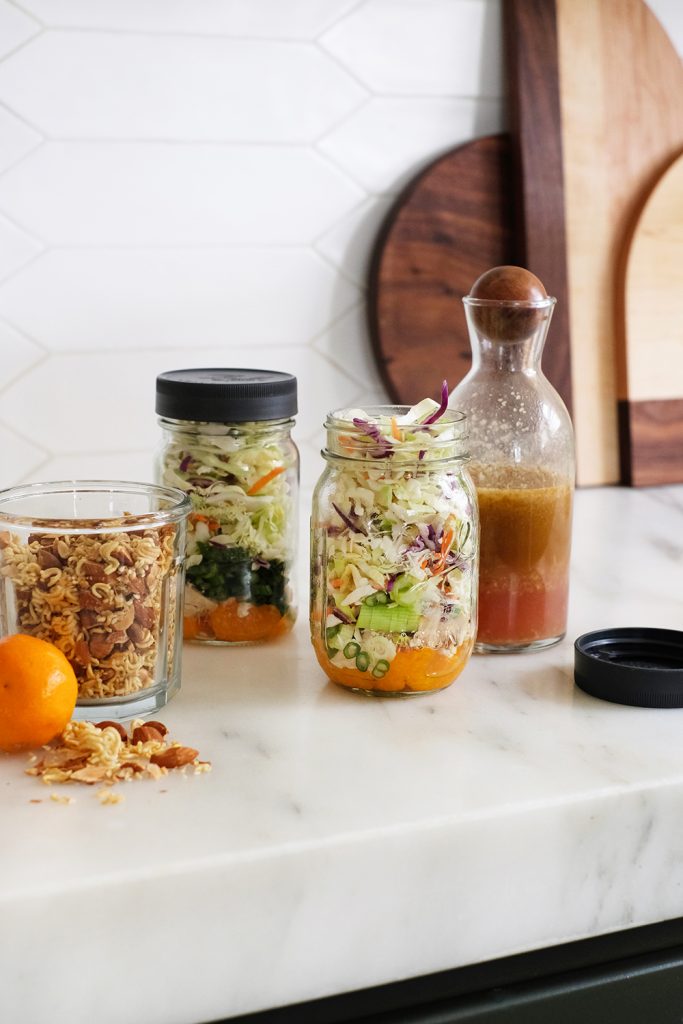
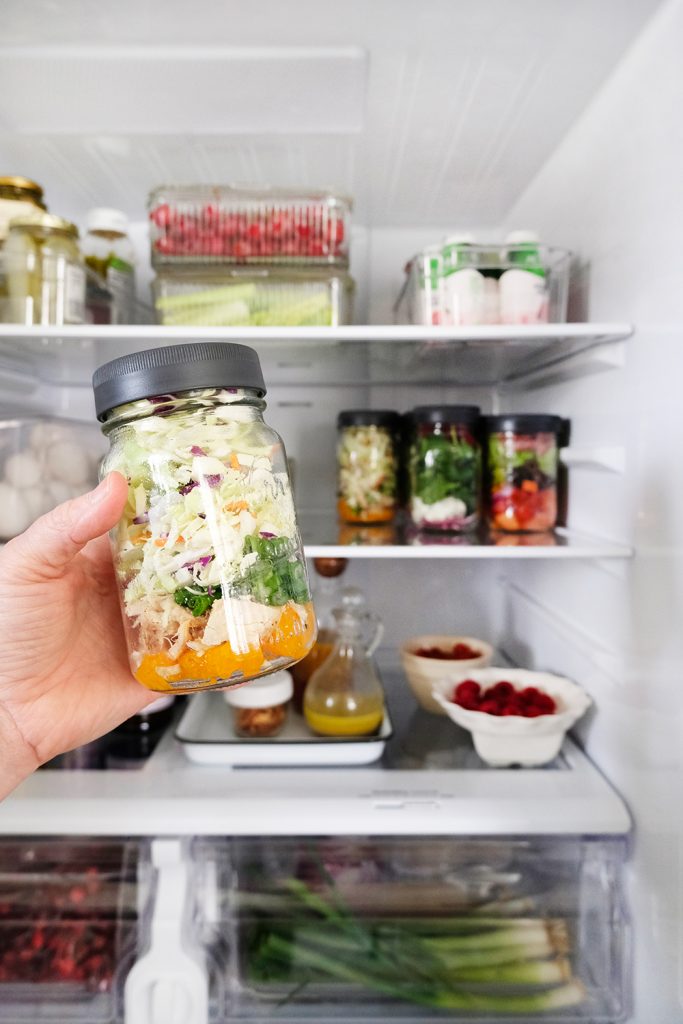
Spicy Chinese Chicken + Cabbage Slaw
- shredded cabbage
- cooked chicken (I used a rotisserie chicken and removed the meat from the bones and shredded it.)
- green onions finely chopped
- mandarine orange slices
- ramen noodles
- sesame seeds
- chopped almonds
Crunch up the uncooked ramen noodles and place them on a baking sheet with the sesame seeds and almonds. Place in a 350 F oven for about 12 mins or until they are just golden and toasty.
Ginger Wasabi Vinaigrette
- 1/2 cup red wine vinegar
- 1/2 cup vegetable oil
- 1/3 cup sugar
- 1 tsp. wasabi paste (more or less depending on how hot you like)
- 1 tsp. sesame oil
- 1 tbsp. fleshly grate ginger
In a large mason jar combine all the ingredients and shake well. This makes enough dressing for a couple salads, so go ahead and store the extra dressing in the jar in the the fridge.
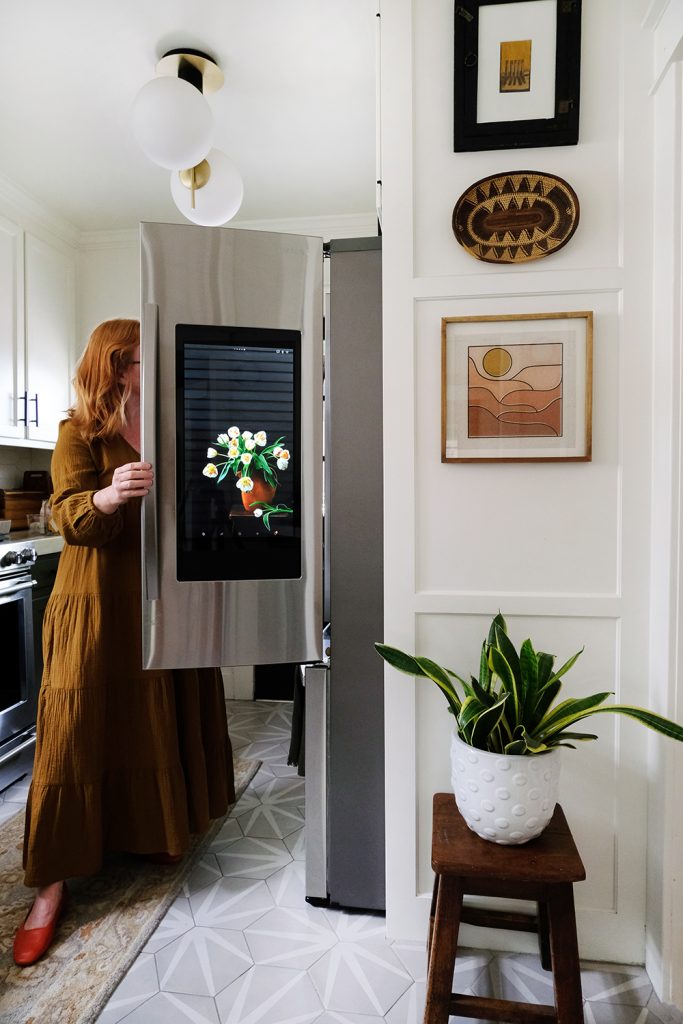
We added a little spring vibe to our Family Hub screen with a picture I took of some tulips. If you have any questions about this awesome fridge, leave it in the comments below. We are definitely fans of this high tech appliance.